


They flayed you open for that one. I can imagine the surgeon, "well he's clearly not making any money as a model, it'll be fine......"

They flayed you open for that one. I can imagine the surgeon, "well he's clearly not making any money as a model, it'll be fine......"

mazdeuce - Seth said:They flayed you open for that one. I can imagine the surgeon, "well he's clearly not making any money as a model, it'll be fine......"
LOL, Kathleen asked how big the cut was going to be before surgery. I said I better get a good scar out of this so give yourself plenty of room to work in there. Part of the need for the long cut was because the bones were overlapping by an inch or more before going in.
Well, I'm still not exactly healed but I have some strength and range of motion back in my left arm. I went 3 wheelering in the snow with a buddy of mine and it was a blast.
[URL="https://flic.kr/p/F3UoeD"] [/URL][URL="https://flic.kr/p/F3UoeD"]Untitled[/URL] by [URL="https://www.flickr.com/photos/144181232@N05/"]Petrolburner[/URL], on Flickr
Unfortunately I towed the Big Red behind my CR-V on an open trailer and it was covered in road slush and grit. Time to get back on the BoxVan floor. I must really suck at measuring because I had to cut a fair amount off in several places.
[URL="https://flic.kr/p/22agauf"]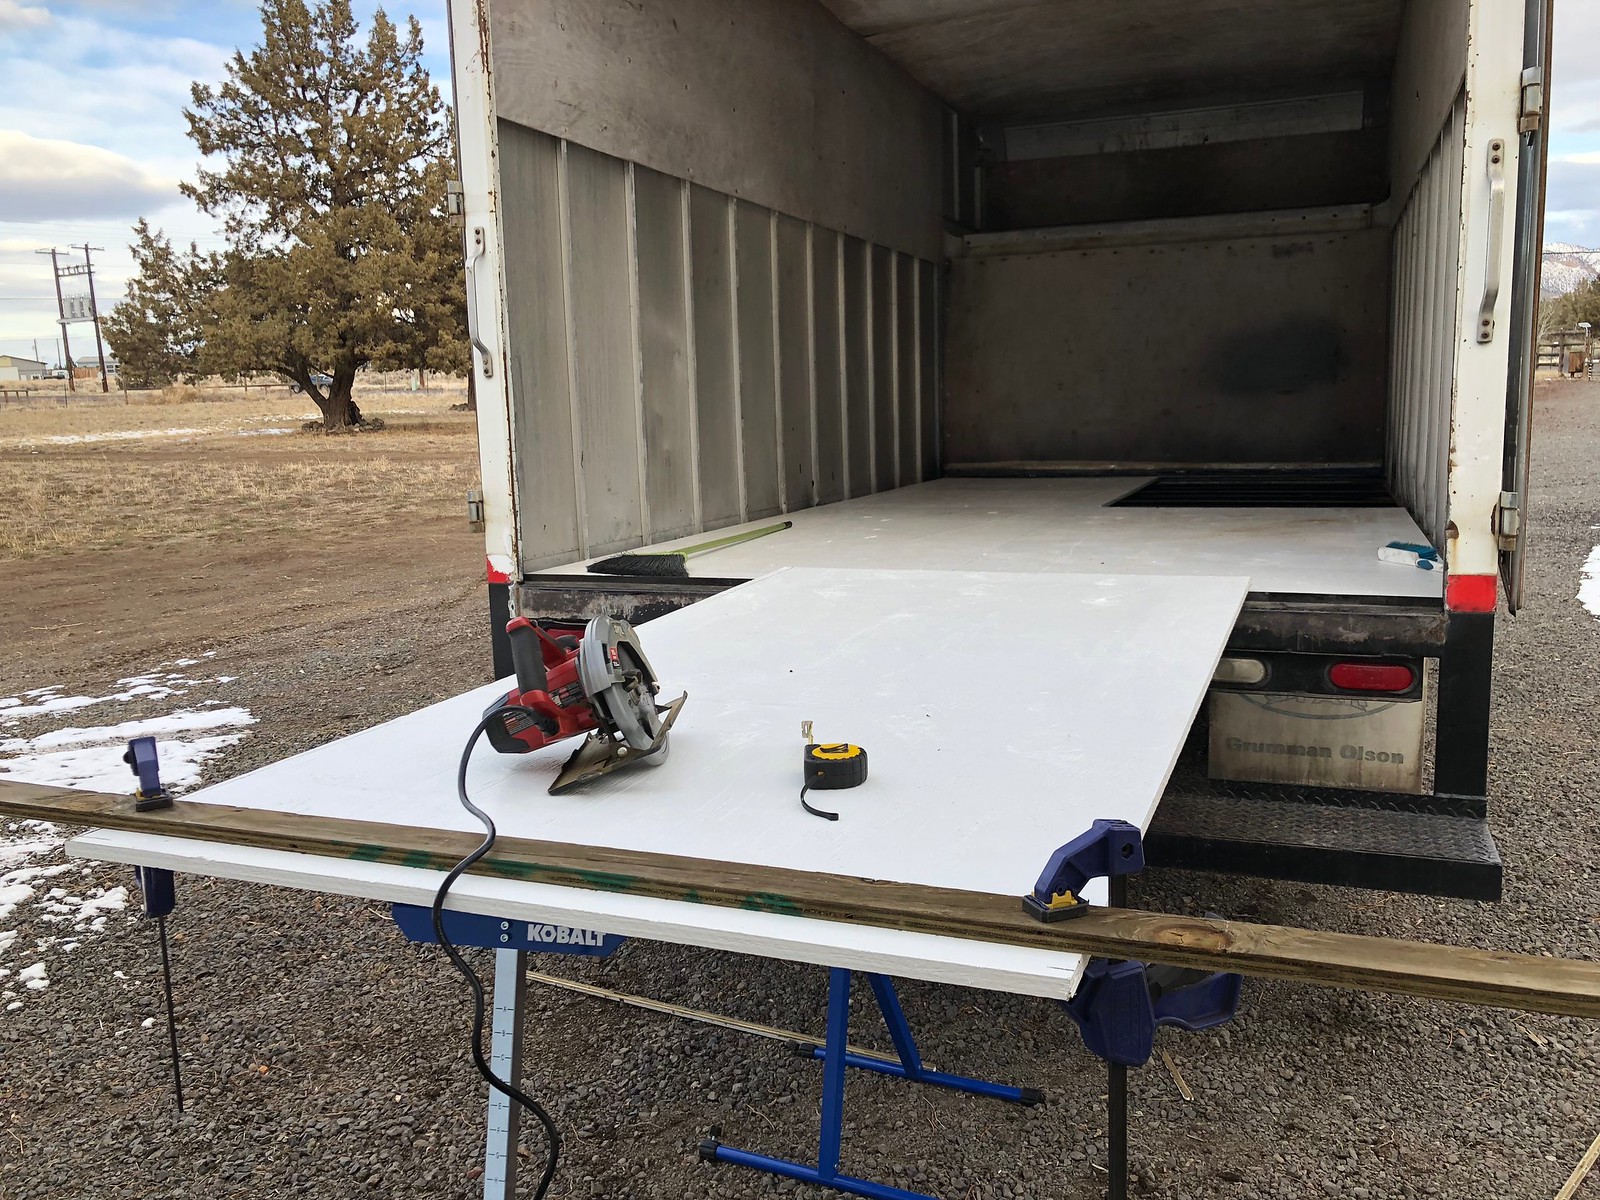 [/URL][URL="https://flic.kr/p/22agauf"]Untitled[/URL] by [URL="https://www.flickr.com/photos/144181232@N05/"]Petrolburner[/URL], on Flickr
[URL="https://flic.kr/p/23Quoxf"]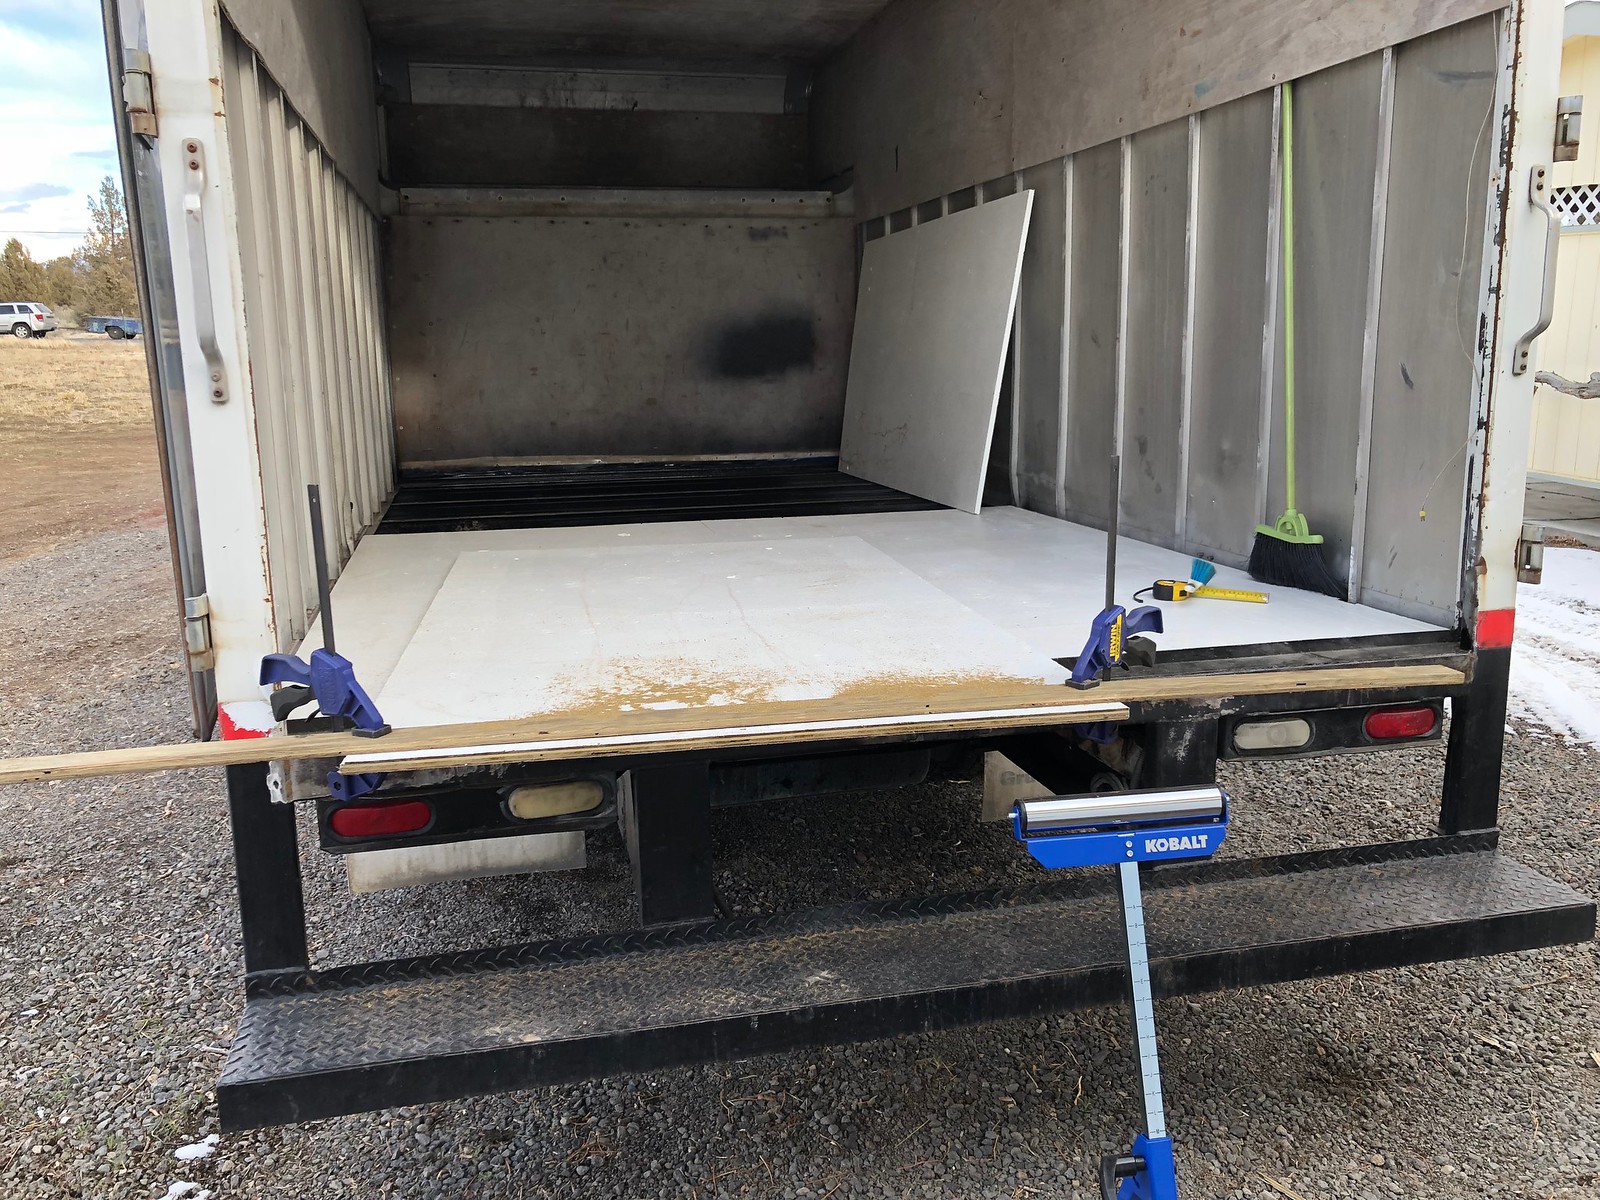 [/URL][URL="https://flic.kr/p/23Quoxf"]Untitled[/URL] by [URL="https://www.flickr.com/photos/144181232@N05/"]Petrolburner[/URL], on Flickr
[URL="https://flic.kr/p/23y55oz"] [/URL][URL="https://flic.kr/p/23y55oz"]Untitled[/URL] by [URL="https://www.flickr.com/photos/144181232@N05/"]Petrolburner[/URL], on Flickr
[URL="https://flic.kr/p/23QukeG"]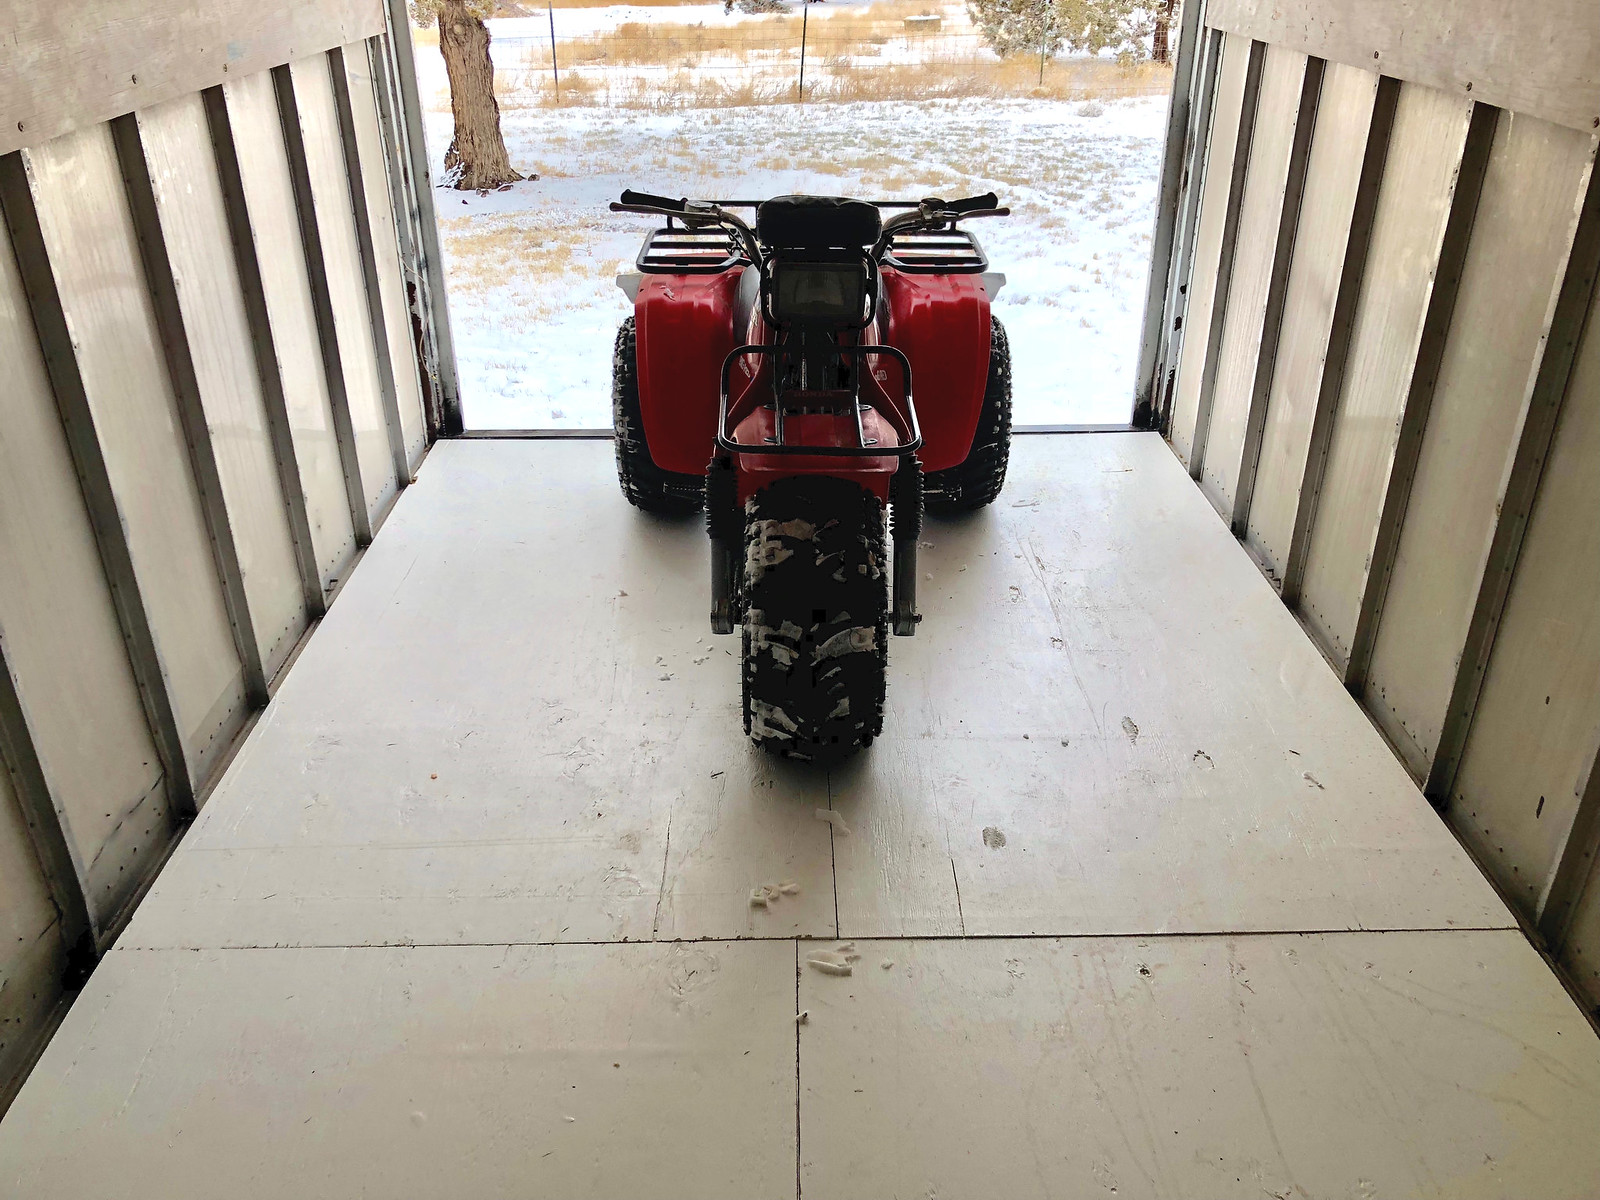 [/URL][URL="https://flic.kr/p/23QukeG"]Untitled[/URL] by [URL="https://www.flickr.com/photos/144181232@N05/"]Petrolburner[/URL], on Flickr
[URL="https://flic.kr/p/24RvBc5"]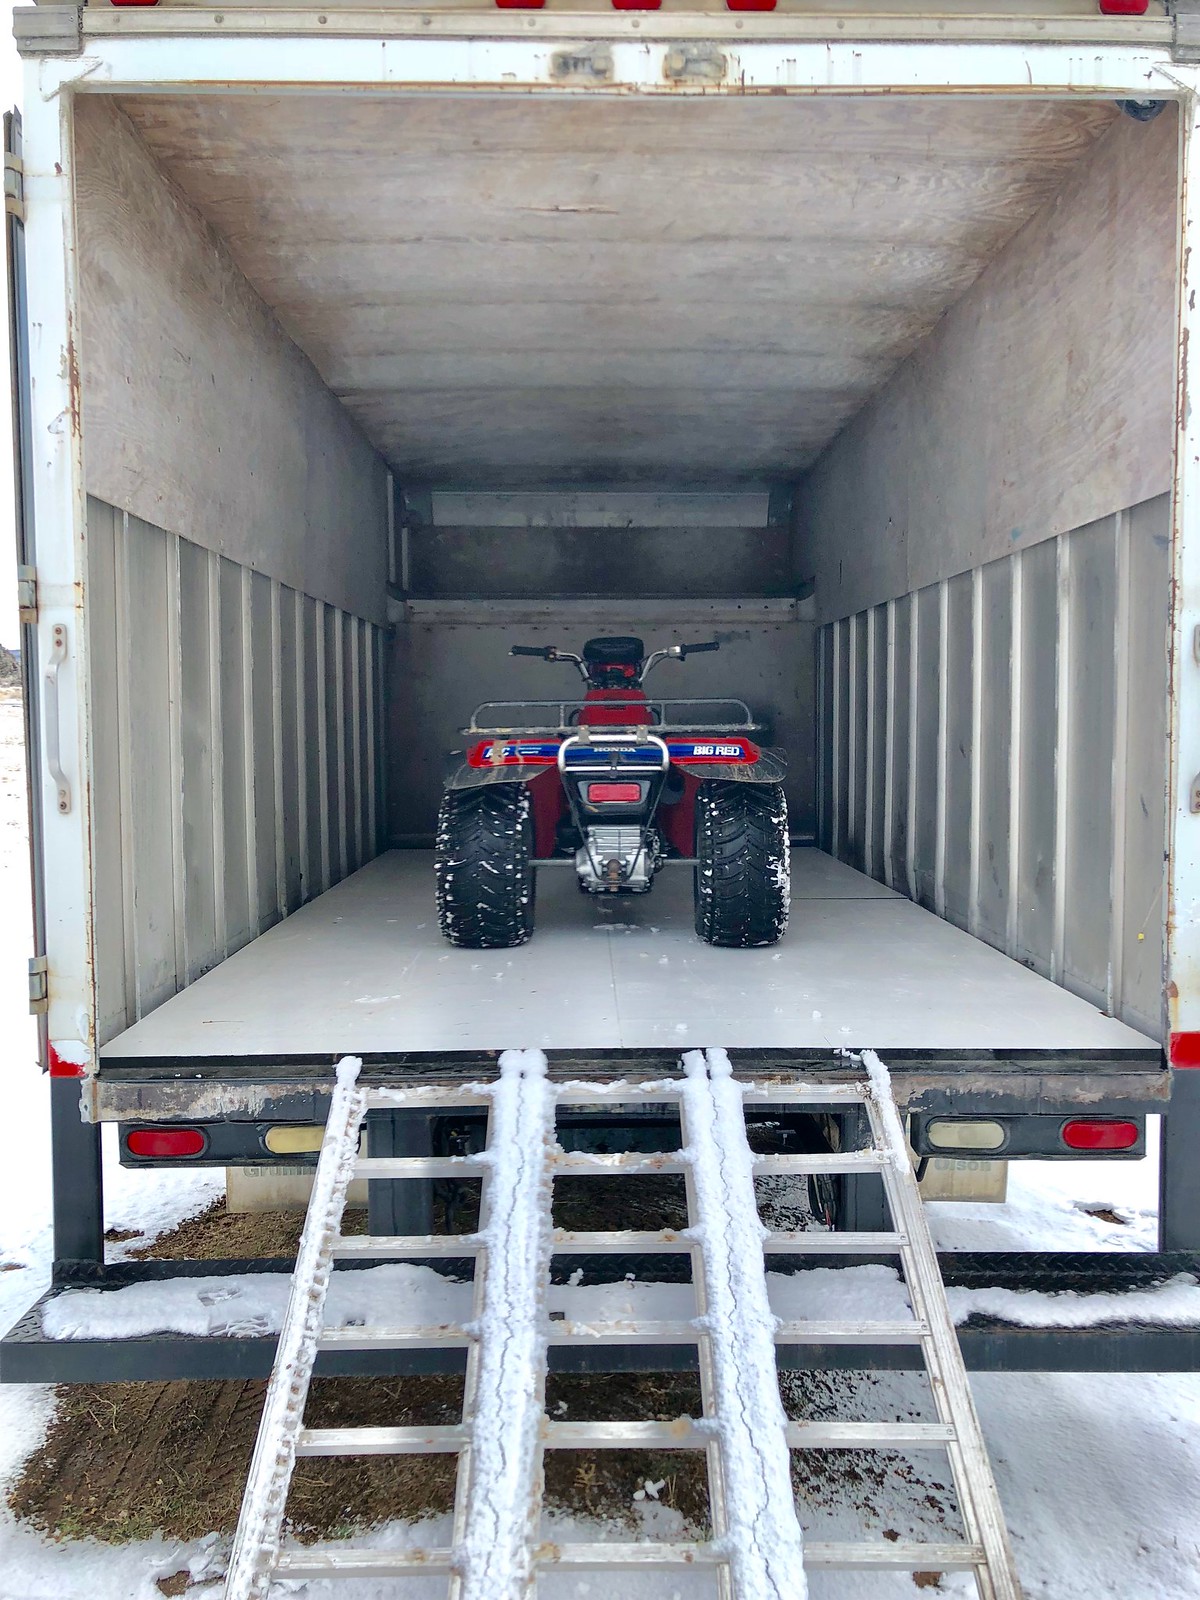 [/URL][URL="https://flic.kr/p/24RvBc5"]Untitled[/URL] by [URL="https://www.flickr.com/photos/144181232@N05/"]Petrolburner[/URL], on Flickr
Everything fits pretty well now. Edges will get repainted and the gaps are nothing some polyurethane adhesive can't handle. Next steps include tapping the fuel tank for the Webasto heater, new fuel fill hoses, drain the tank sump, fuel filter and oil change, new tail lights and reverse light setup, trailer hitch, cut the rear step off and weld up a new one much higher...
wow. Those classic machines are in great shape. What year model are they?

those 3 wheelers are clean! I had a 87 250sx with 250r forks and wheels on it, not super clean and not close to original, but it was a lot of fun.

In reply to edizzle89 :
That's awesome! Red plastic, blue fork boots and gold wheels is a winning combination. I need a set of gold wheels for my XR650R. I'm on the hunt for a 250 SX actually. I want the bigger motor and better suspension while retaining the electric start and reverse.
Onemanarmy, my Big Red is an 84 and my buddy has an 82 200S. He actually has a pair of them. Both original and in nearly mint condition. Mine was restored by the previous owner.
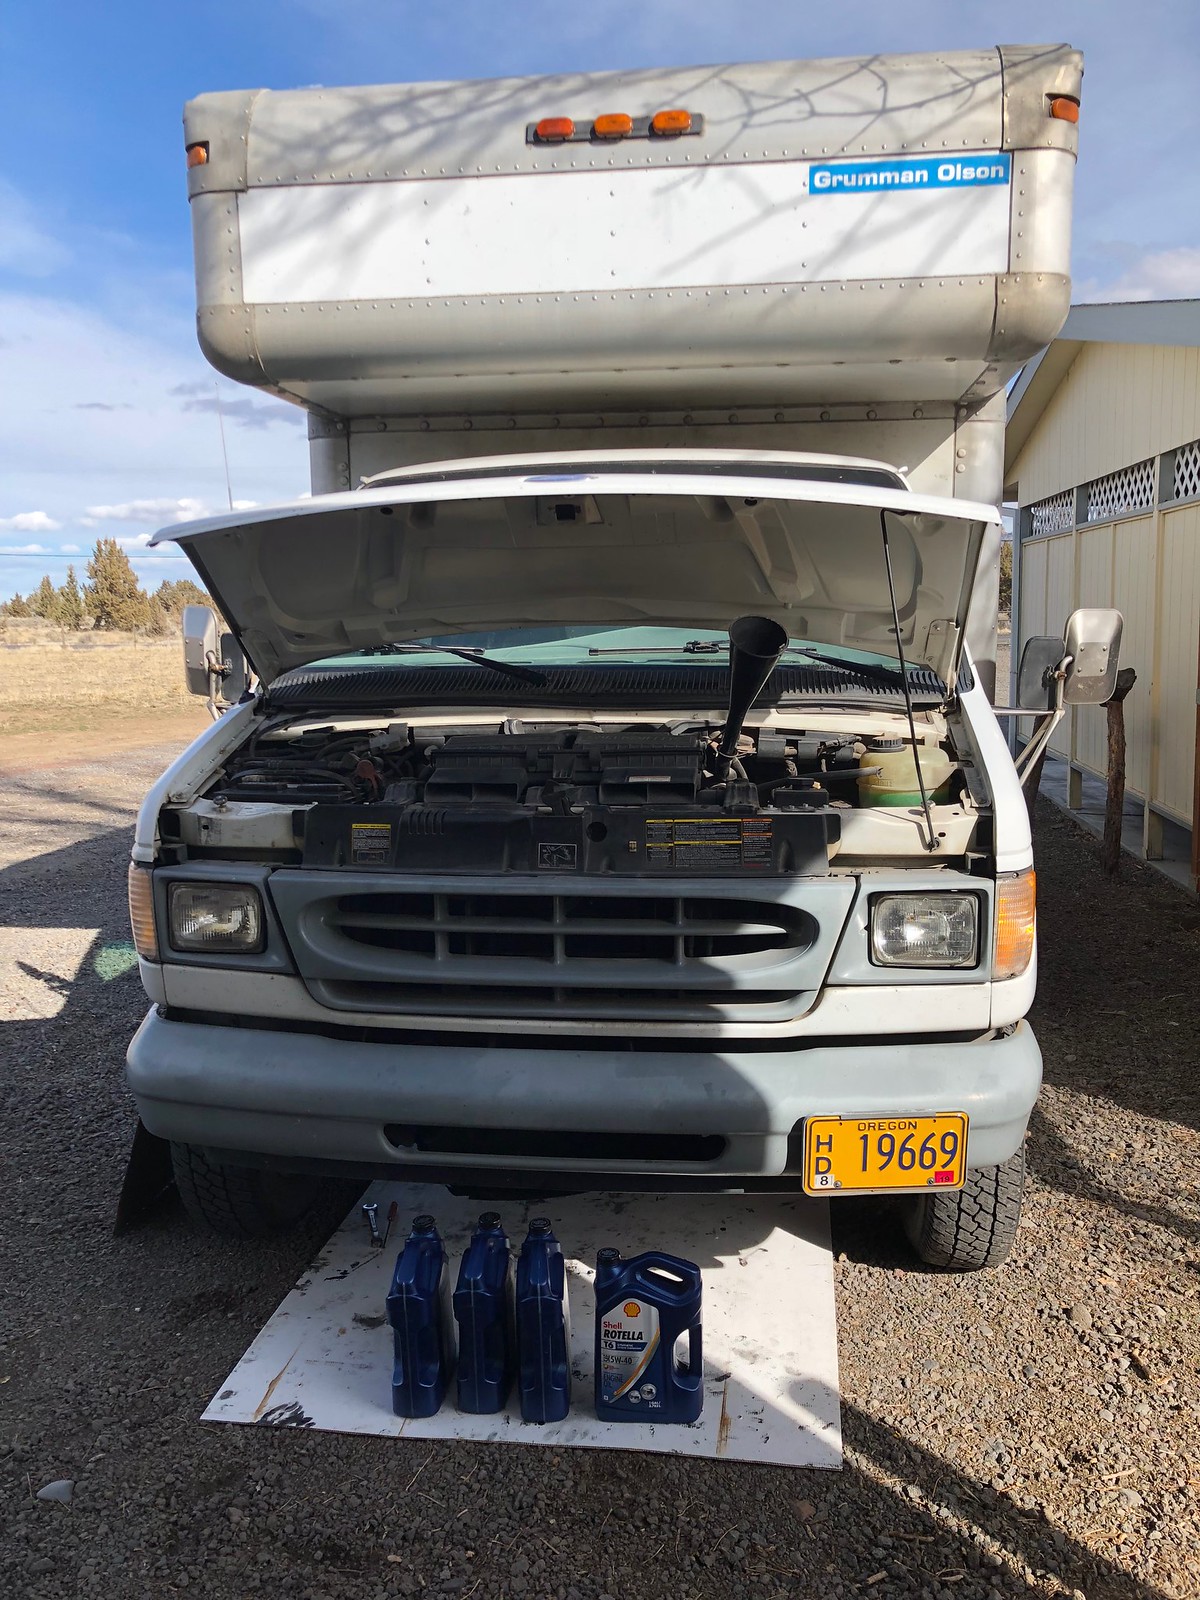
Next project was an oil change. I never complained about the cost of an oil change on any of my bikes or cars before. It's easy to do and really pretty cheap insurance and maintenance. Same story with Grumman but jeeze, 4 gallons of oil?
 Oil change by Petrolburner, on Flickr
I don't like working on gravel. I'm laying on one of those plastic campaign signs, much better than a sheet of cardboard. Thanks for the hook up Don!
 Oil change by Petrolburner, on Flickr
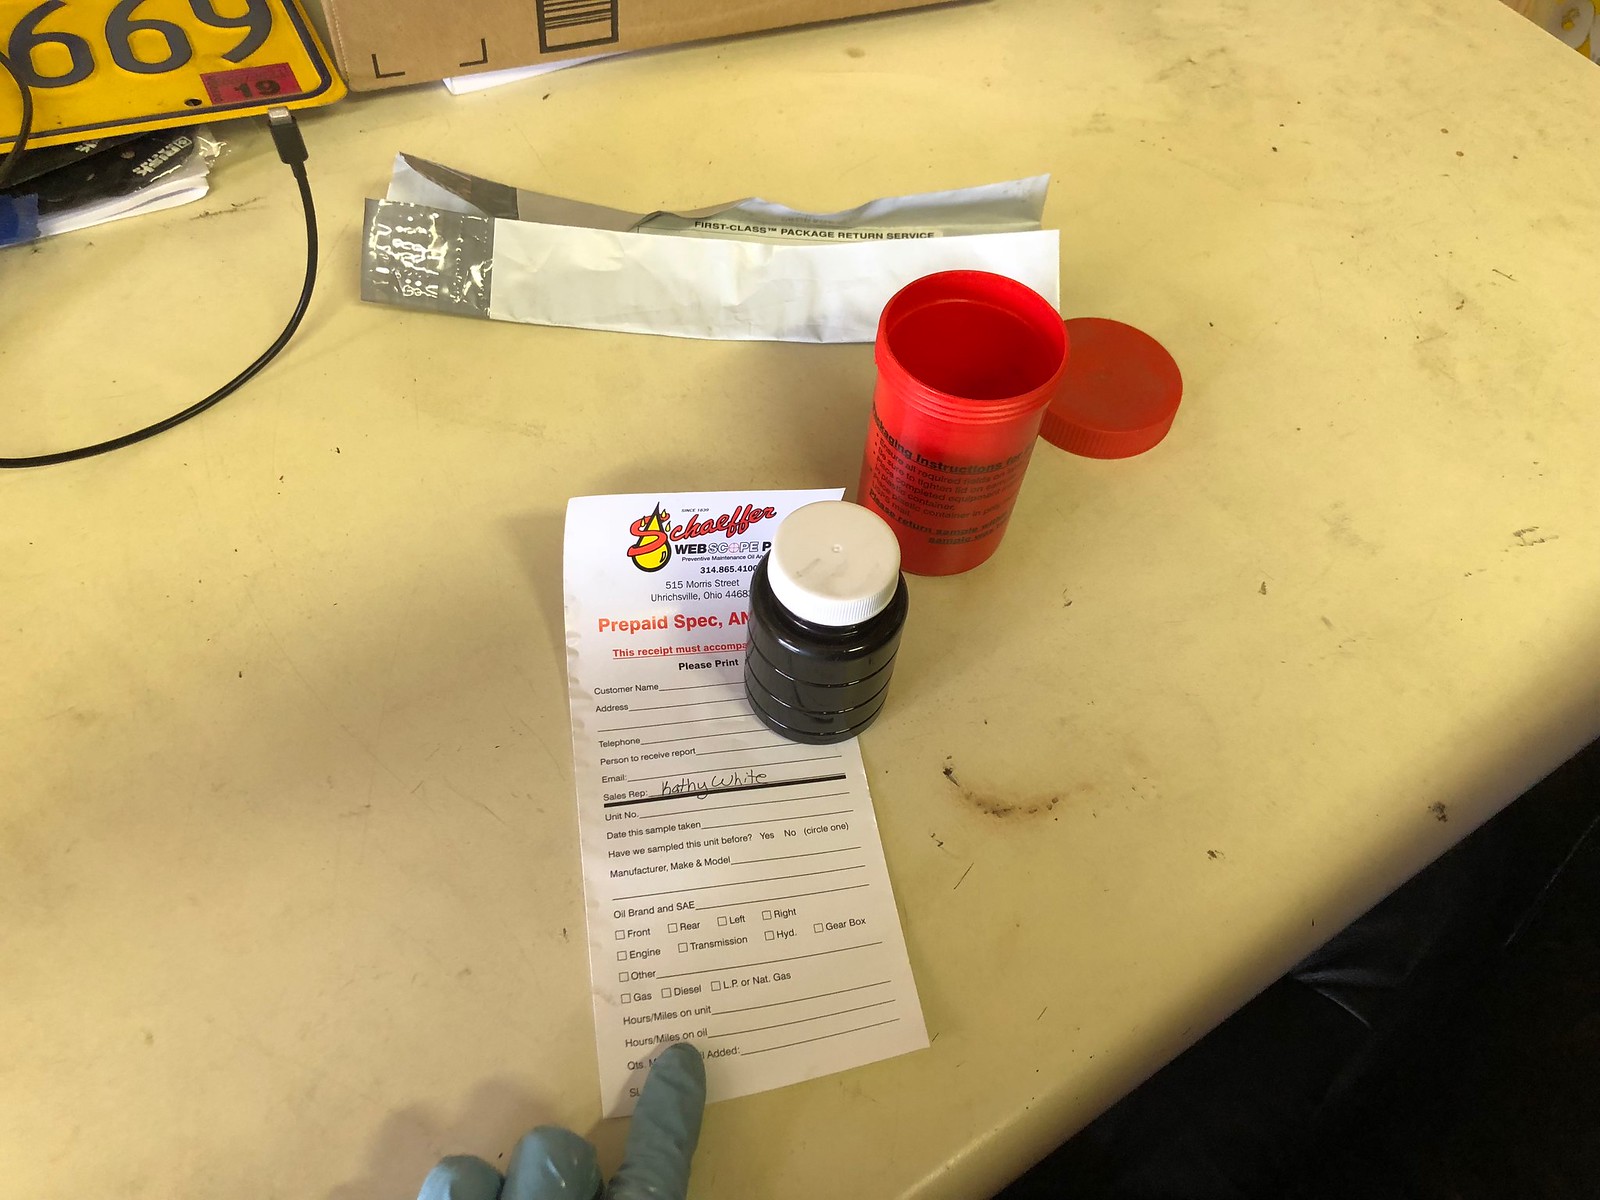
I'm sending a sample in to see what I can find out about the motor. It seems healthy other than injectors, but I don't want to go deep into this project if there's evidence that the crank bearings are falling apart or something like that. Good news is that the magnetic drain plug didn't have any shavings on it. Amazing.
 Oil change by Petrolburner, on Flickr
I got my results back from Schaeffer, all normal. I'll try to figure out a way to post them for anyone that is curious. I had no idea what the results page would look like.

I think you should break out the welder and weld some angle iron under the center seems of the plywood. Even with 3/4 it will flex after time. Also looking at the framing of the box could you have slid some aluminum sheeting on the top of the bottom flange.Then put a piece of rigid foam insulation on top of that to fill the void. Then put your 3/4 down. When you put your shower in I'd use red guard or aqua guard on the floor and walls. This will make it one big sealed area.
brad131a4 said:I think you should break out the welder and weld some angle iron under the center seems of the plywood. Even with 3/4 it will flex after time. Also looking at the framing of the box could you have slid some aluminum sheeting on the top of the bottom flange.Then put a piece of rigid foam insulation on top of that to fill the void. Then put your 3/4 down. When you put your shower in I'd use red guard or aqua guard on the floor and walls. This will make it one big sealed area.
The floor will be a sandwich of 3/4" ply, 1" foam board, 1/2" ply and then a sheet of vinyl flooring. I think it will be plenty solid and the seams will not be lined up.
Thanks for the tip on red guard and aqua guard.
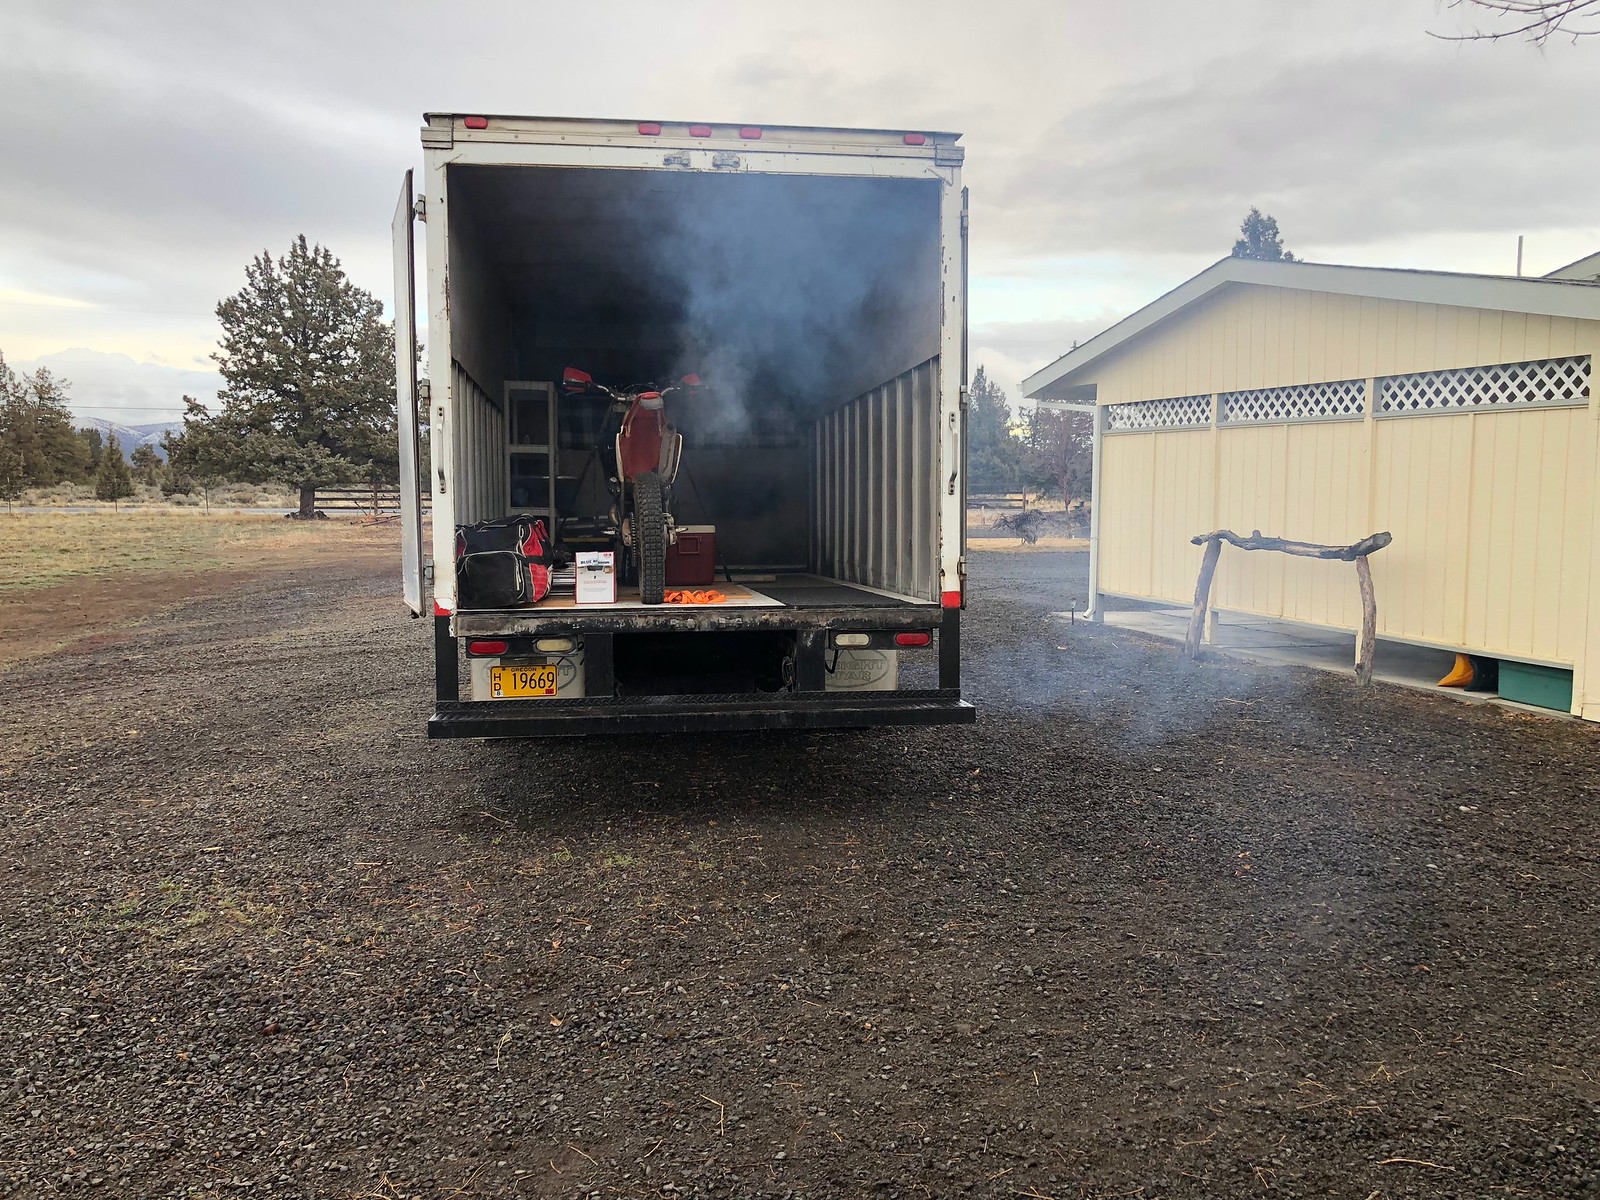
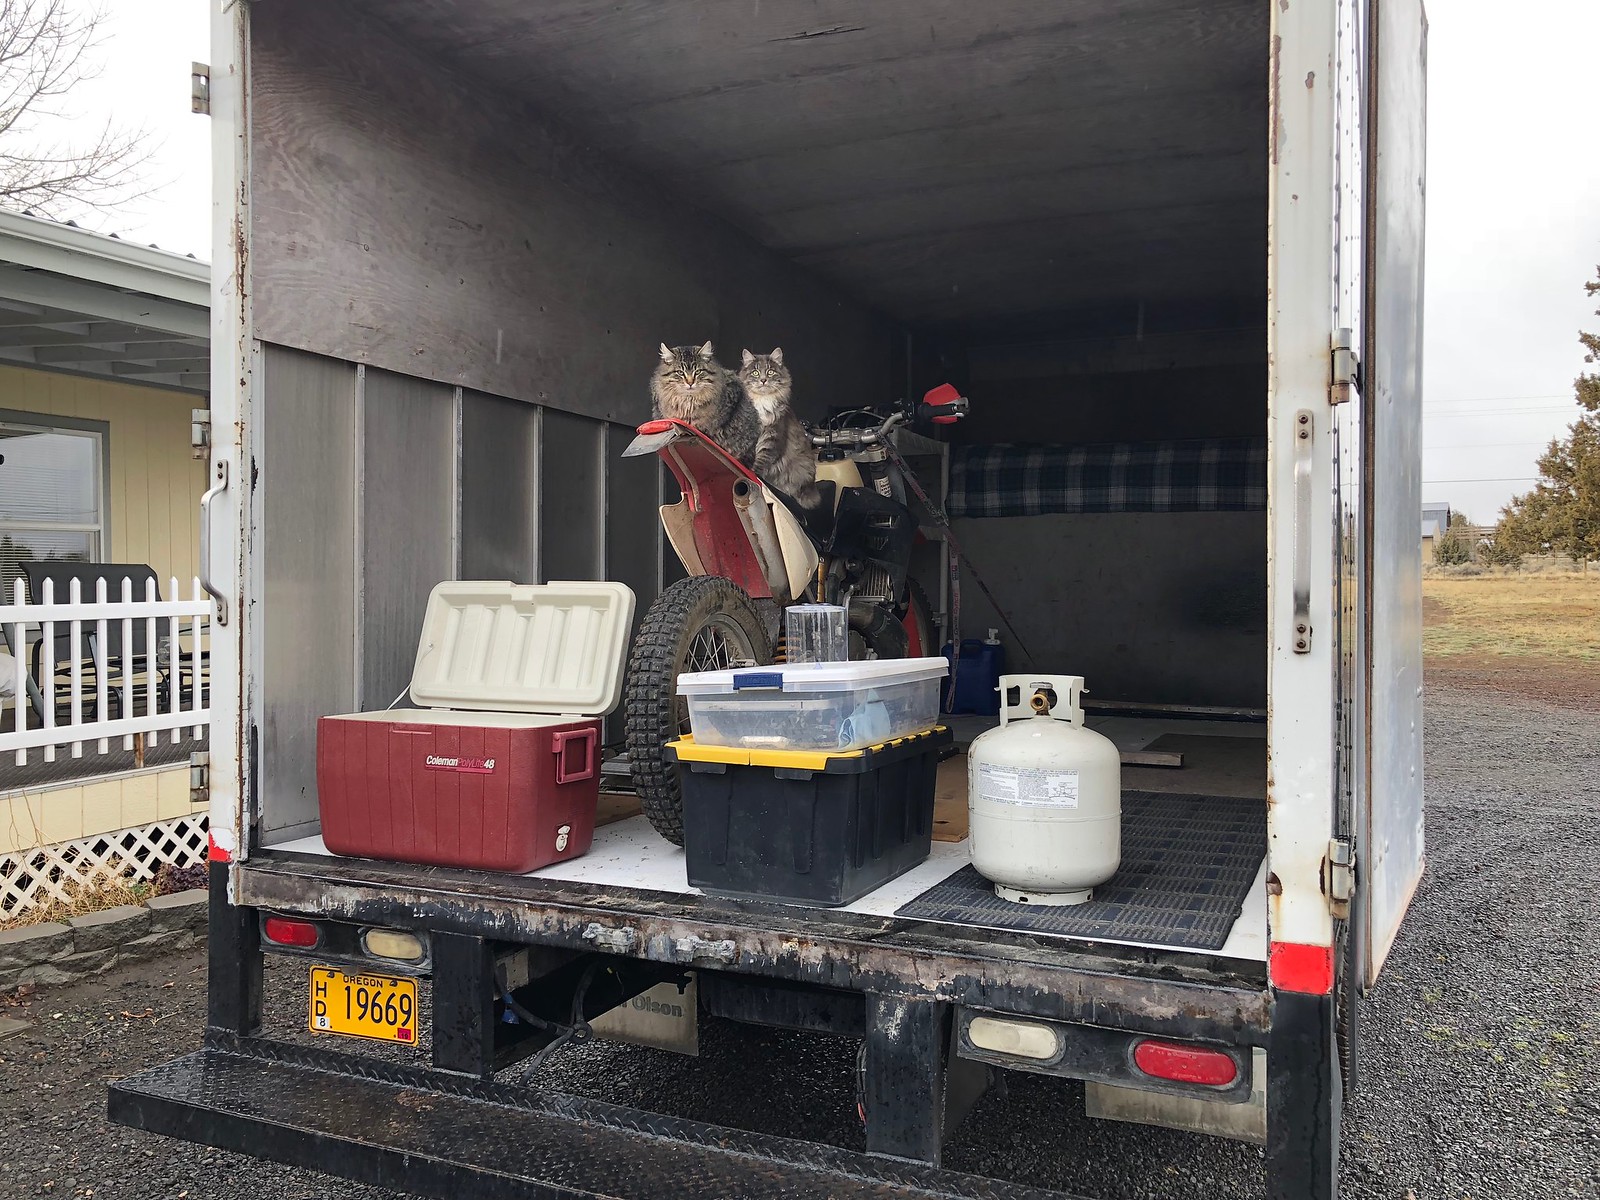
I took both of my smokers on a camping trip last weekend.
 Spring break in the crooked river by Petrolburner, on Flickr
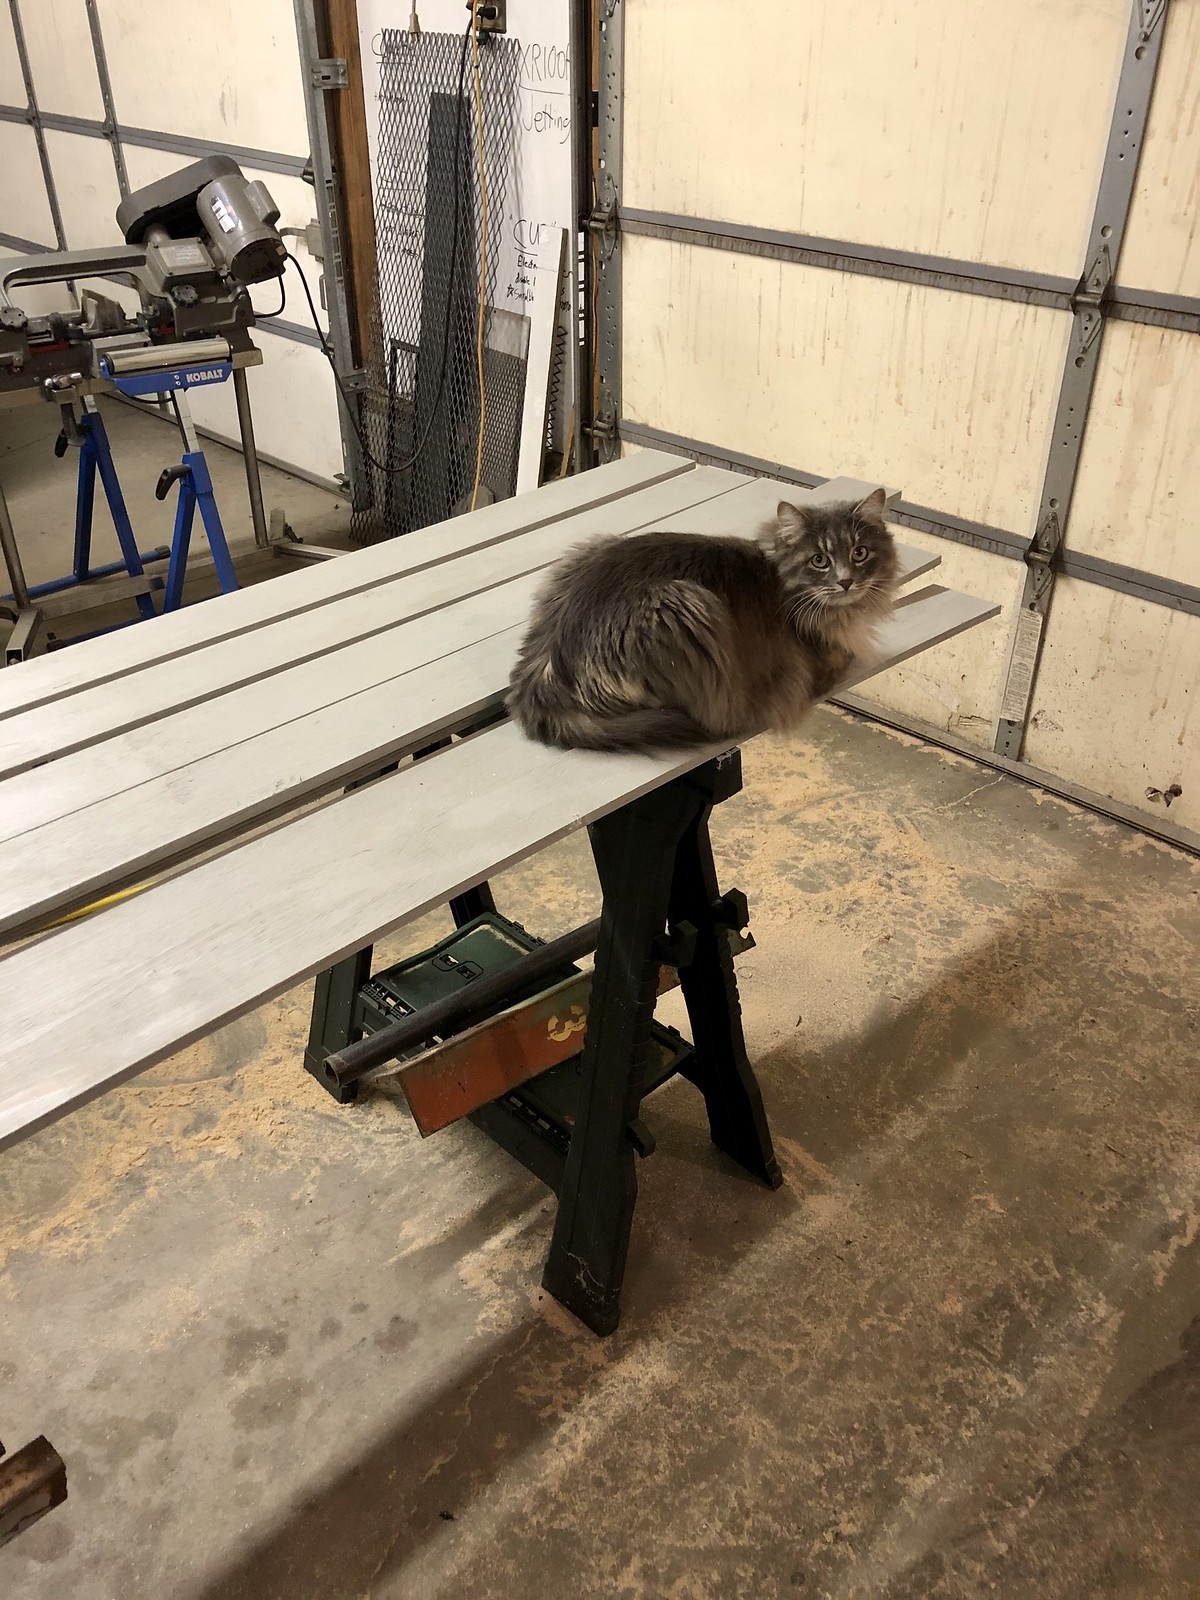
Mouse patrol supervising the loading.
 Spring break in the crooked river by Petrolburner, on Flickr
I don't have a side door yet, so I can only get in and out from the back door. It's tall. 2 steps is not enough. Lifting the van needs to be kept to a minimum, but these tires are just too small. I'm feeling like 235/85R16 is the way to go.

I think that is a great size, and there's a ton of options available, at a not to crazy price point. Just make damn sure you get E load tires, anything less is just gonna explode
This project is back on the front burner. I plasma cut some 22 ga sheet metal for the wheel wells afterall.
 Untitled by Petrolburner, on Flickr
This is where those sheets will go.
 Untitled by Petrolburner, on Flickr
Glued to the bottom of the first layer of plywood because 22 gauge is way to flimsy to span the gaps on its own.
 Untitled by Petrolburner, on Flickr
Removed the pass through and fastened the plywood to the I-beams with trailer decking screws and Sikaflex polyeurethane adhesive.
 Untitled by Petrolburner, on Flickr
I put up a layer of mass loaded vinyl above the head liner. I also put a layer of foil faced foam against the inner skin. Sound deadening is very important for this project. I did however just learn that the mass loaded vinyl should be decoupled from the roof and the headliner with foam. I'm not sure the plastic push pins will hold the weight of all this over a long term anyway. I might need to fasten the headliner up a little better once it's all done.
 Untitled by Petrolburner, on Flickr
 Untitled by Petrolburner, on Flickr
 Untitled by Petrolburner, on Flickr
 Untitled by Petrolburner, on Flickr
Next I've got some strips of 1/2" plywood to be fastened to the aluminum ribs for additional rigidity in the walls, a thermal break for the inner wall sheet fasteners to screw into, and spacing for another 1/2" of rigid foam. The plywood is getting painted because I have leftover paint and I want more rot resistance.
 Untitled by Petrolburner, on Flickr
She said she'd install this fan for me.
 Untitled by Petrolburner, on Flickr
Some interior brain storming.
 Untitled by Petrolburner, on Flickr
 Untitled by Petrolburner, on Flickr
Here's the proposed layout for the hydronic heated floor.
 Untitled by Petrolburner, on Flickr

Petrol, so glad you're continuing the build! I'm getting close to finishing my box van conversion. Dubbed the rVan. I bought a used penske 16' gmc. I was going round and round with rv layout ideas as well. Mostly trying to accommodate a side door. I ended up getting rid of the rear roll up door and making my own barn doors. The right rear door acts as a man door. I installed a house exterior door handle and dead bolt in it. The left door uses French door style top and bottom barrel locks. Going with this door arrangement allowed me to have all the walls open to do whatever I want. On the left side against the front wall I have a futon couch that folds into a bed. A set of bunk beds that fold up against the wall will be in the left rear. Right front has shower/$h!tter, then sink/counter space, then fridge with a microwave on top. There is about 6' of open space from the back of the fridge to the doors. On the left side it is open for almost 10' from the back of the futon to the rear doors. I can carry 3 quads/many dirtbikes/karts/whatever back there. And if I move the futon to the right side behind the fridge, the entire left side is open with about a 6' width of space front to back. If I can convince you of anything, get rid of the roll up door. I took mine on one trip with it, and it rattled/banged/leaked air/and was miserable. From reading your thread, I know you have used it and camped in it already. But once you took out your divider wall you lost that sound/air preventer divider.
Also, if you haven't seen, check out the "diesel parking heater" on ebay/amazon. They work amazing. I run mine on kerosene. Might be a good backup/addition to your floor heating. Which I love by the way!
I'll try and load up a couple pics as soon as I figure out how to turn my computer on! Took me twenty tries to remember my password. LOL
Love the build
Paul
Oh, forgot to mention, if you are building your own shower stall, put two drains in. One on each end/opposite corners/etc. I only installed one with a slightly sloping floor to it. But I haven't ever been able to park level enough for it to drain easily without me helping guide the water to it.
I'm a bit perplexed about the exterior bathroom door placement... Are you going to have to step over the toilet?
You really need to scale this out. There are apps for this. Unless you have the tiniest bums, that cushion/table arrangement looks iffy. Look at tiny house plans and see how they design the same space for multiple uses instead of kitchen, dining and sleeping being designated areas.
I've seen a bunch of overlander designs that utilize the exterior as well for kitchen counter/cooking space.
In reply to paulmpetrun :
Good idea on the dual drains for the shower. I have double doors in the back already, that was part of the selling point. I've already got a top quality door from Tern Overland, the full sized Wildlands Door. I also have 3 of their very high quality windows sitting in my living room.
maj75 said:I'm a bit perplexed about the exterior bathroom door placement... Are you going to have to step over the toilet?
You really need to scale this out. There are apps for this. Unless you have the tiniest bums, that cushion/table arrangement looks iffy. Look at tiny house plans and see how they design the same space for multiple uses instead of kitchen, dining and sleeping being designated areas.
I've seen a bunch of overlander designs that utilize the exterior as well for kitchen counter/cooking space.
The exterior door is for the cassette toilet to be removed from the outside. I want to be able to dump the cassette in pit toilets around here and avoid the dump stations and their $5 charge each time.
The tiny dinette needs to be tiny so I can keep my garage space. It's just a 2 seater and originally I wasn't even going to build one. I'll have provisions for cooking outside but I want to be able to pull over, cook, and start driving again. Indoor cooking that's ready to use immediately is a requirement.
My next step is to make my window frame spacers. I need to make mounts that are as thick as my walls will be minus the interior paneling, about 1 3/4" thick. Any opinions on whether I should make them from plywood or 2x4s? If I use plywood, it will be a one piece surround around the window, if I use sticks of wood it will be 4 pieces stuck together. I'm guessing it won't make any difference but I'm leaning towards plywood. I would use two sheets of 7/8" glued together I think.

In reply to Petrolburner :
Any updates? We're considering building out a box truck as an RV to meet our needs vs. renovating an older RV.
You'll need to log in to post.


