


Done for pork in the past...

Done for pork in the past...

In reply to Mad_Ratel:
NICE!
Another idea I was having:

Back on track (with things I'm SUPPOSED to be working on)
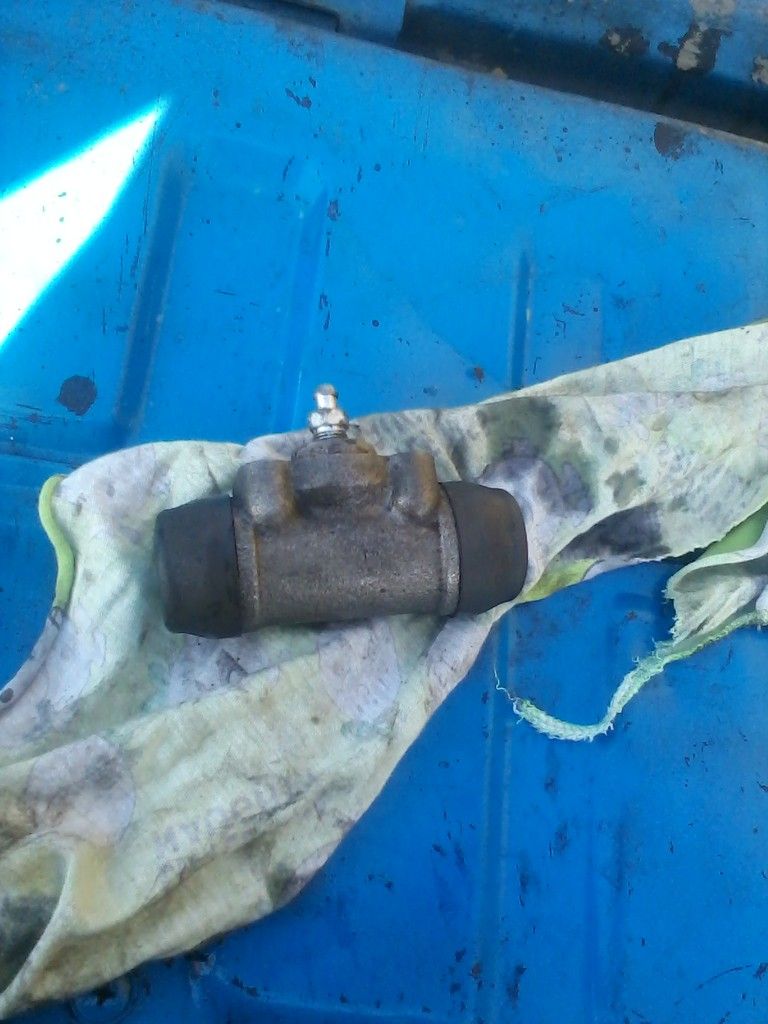
How to rebuild a Toyota brake wheel cylinder.
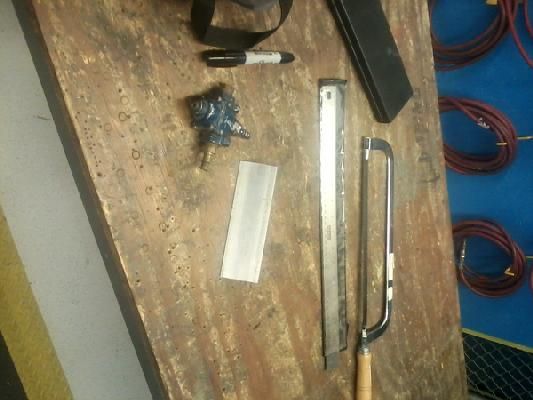
Step 1: remove the wheel cylinder and find a clean area to perform the work. I chose my tailgate for its convenient location
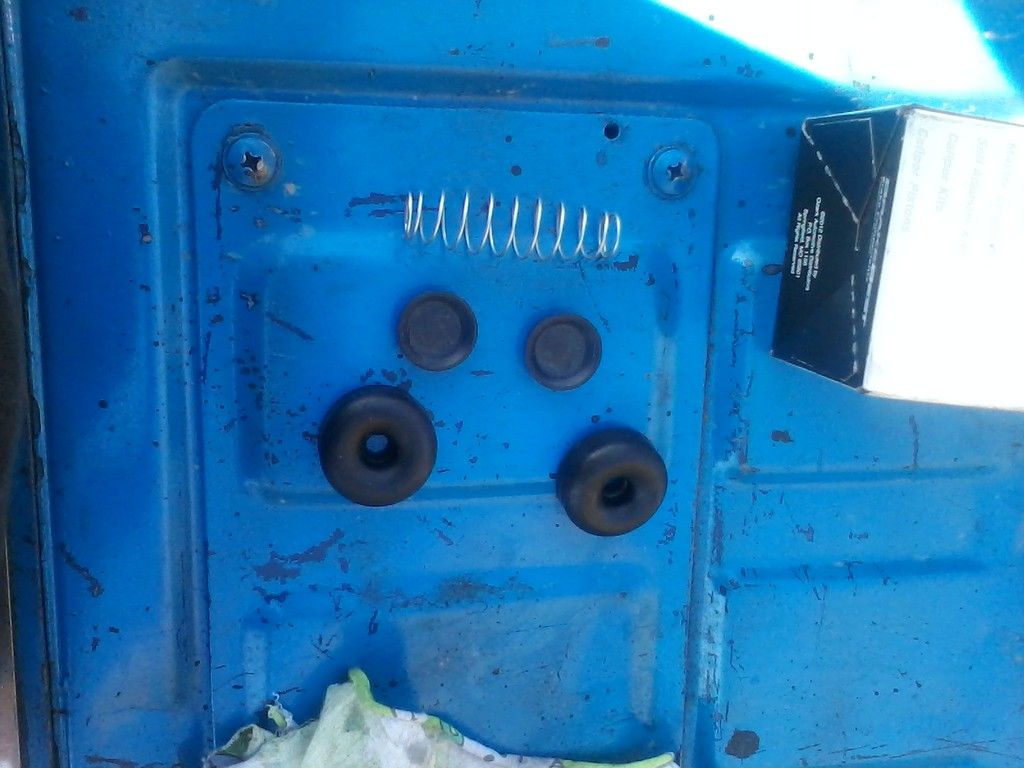
Step 2: Inventory the kit.
Make sure you have the inner seal and outer boot for each piston.
There should also be a tension spring that goes between the pistons.
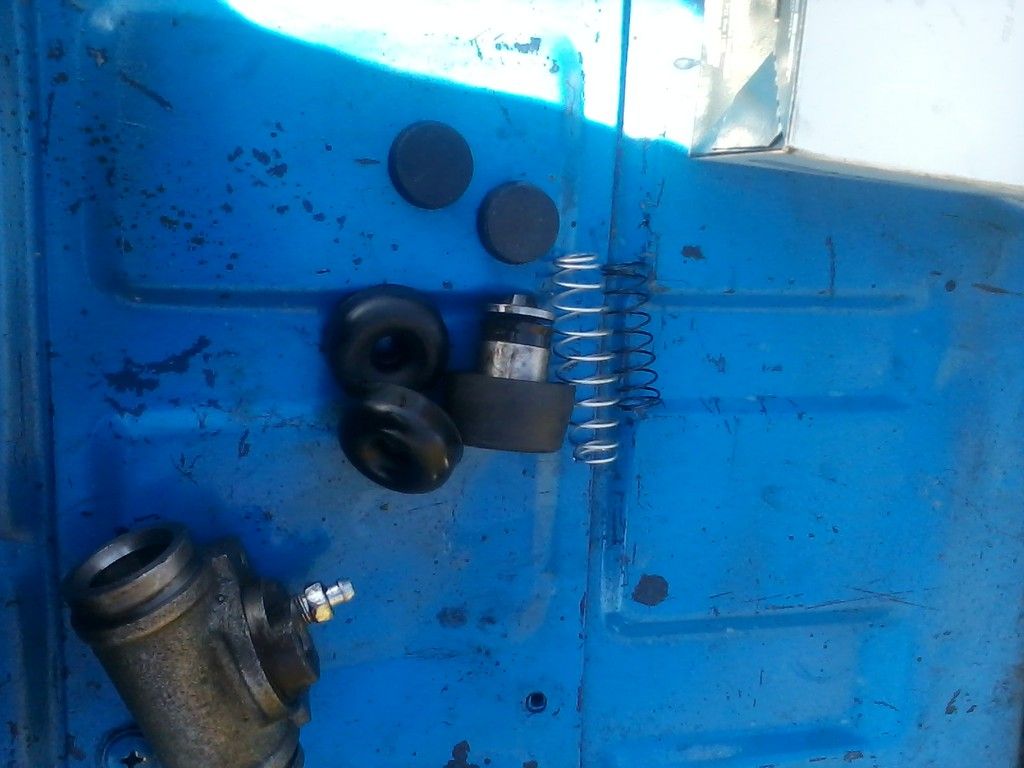
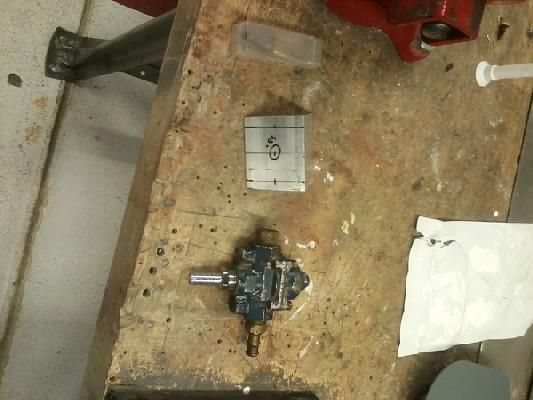
Step 3: Compare the rebuild kit with the suspect wheel cylinder.
It's VERY IMPORTANT that you pay careful attention to where everything is going to go. If you don't put stuff in the right place it's going to leak like a boat.
In this case, nothing contained in this rebuild kit goes anywhere NEAR this wheel cylinder.
Step 4: Return the kit to the parts store. Use the credit from the return and $12 to buy a new wheel cylinder.
Install new wheel cylinder (2-bolts and a brake line).
Bleed brakes.
Drive truck.
Now you know ![]()
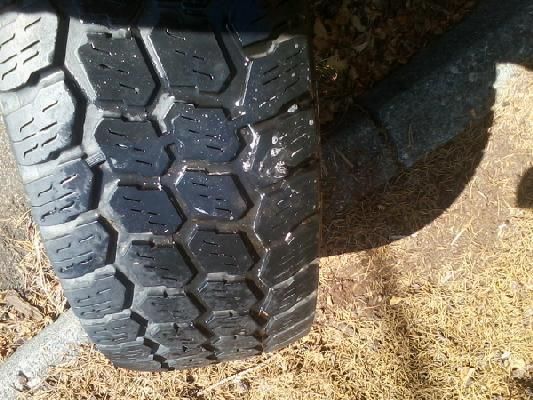
I've been getting really crappy gas milage these last couple weeks. Usually $20 is enough to get me through the work week and lately I've only been getting to thursday or so before needing gas again. A few weeks ago I found that both my passenger side tires were low. Today it was only the back one (was 2.5bar, now 1 bar... or was 35psi, is now I don't know how much psi, but definitely less than 35)
So I decided to give an old trick a try that I haven't done in a while ![]()
First, left over baby shampoo and water to find out where my air was escaping.
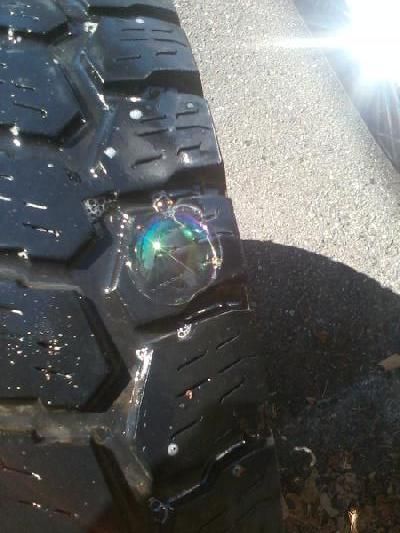
Well, now that we've got that established it's time to do something about it ![]()
The last time I did a tire plug was 2003 on a 1977 Chevy 3/4 ton. I was so broke then I actually had to wait till payday to get the $3.50 I needed for the plug kit ![]()
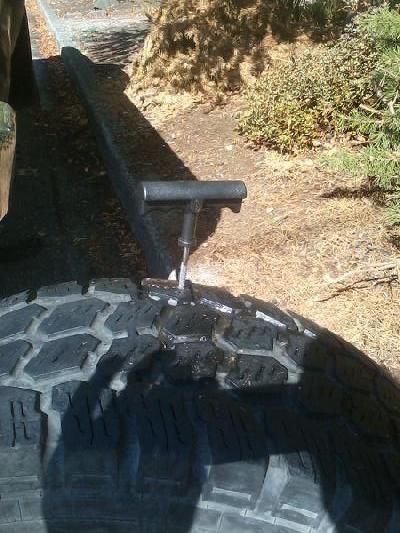
The first step in fixing a tire leak always cracks me up. To plug the leak, first you must make it substantially LARGER!
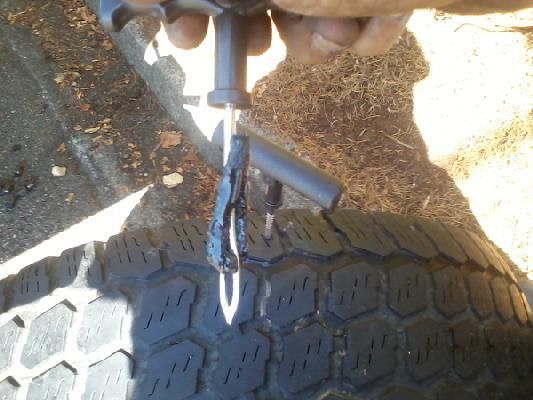
I did cut that plug a bit shorter than I usually do, but I think it'll be ok.
aaaaaand the moment of truth!
Did you know it takes me almost 15 minutes to inflate one of these puppies to 35psi with a harbor freight pancake air compressor? One time I had to do two of them and I was almost late for work!
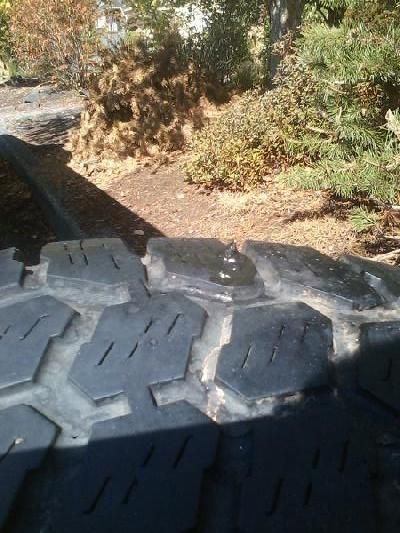
anyhoo, plug in, tire aired up, soapy water in hand.
Ta da!
no bubbles!
Still to come: Stickers, alignment, carb rebuild, fuel pressure regulator (then like a laundry list of "little stuff"
and no one's responded to my barter ad on craigslist to trade the CB. Might just have to try to sell it and parlay the cash into another purchase.

A redneck trick is use a drill instead of the whimpy "wallow" tool they give you with the plug kit. I love the look of peoples face when you take a drillbit to their tire to fix a hole.
And I know your pain with the HF pancake compressor, it took me 10 min to fill one 205/50/15 Hoosier Friday. Id hate to have to fill up a couple truck tires with it!
chiodos wrote: A redneck trick is use a drill instead of the whimpy "wallow" tool they give you with the plug kit. I love the look of peoples face when you take a drillbit to their tire to fix a hole.
I hadn't even thought about that! I'm storing that away for future reference.
As far as looks go, there were a couple walkers turned gawkers when I was out there with a mallot smacking that t-handle into my tire (those wallow tools really do bite the big one) I can only imagine the looks I'd git with a drill bit ![]()

The CB is the right size, the truck is too small![]() . My last one was in a full size Ford over the windshield. I got a shelf that attached to the sunvisor holes and I stuck the radio up there.
. My last one was in a full size Ford over the windshield. I got a shelf that attached to the sunvisor holes and I stuck the radio up there.

Always go straight for the drill bit unless you're on the side of the road

I never thought of using the drill before. I suppose you could follow that with the tool to rough it up a bit inside to make more surface area for the glue to bite. Next time...
A pancake compressor is the wrong tool for that kind of thing, as the pump also needs to fill the volume of the tank at the same time. Until the tank is up to the existing (low) pressure in your tire, the tire is backfilling the air tank.
Plug it in, fill the tank and then use the compressed air in the tank to fill the tire. Overall, probably the same total time, but you can start filling the tank while you're still drilling the hole in your tire.

I'd be wary of using a drill, it wont rough up the hole as well and will be liable to chew up the steel belts worse than they were already. It'd also take me longer to dig out the drill and index than to ream the hole with the reamer in the plug kit.
Kenny_McCormic wrote: I'd be wary of using a drill, it wont rough up the hole as well and will be liable to chew up the steel belts worse than they were already. It'd also take me longer to dig out the drill and index than to ream the hole with the reamer in the plug kit.
I've only done two, but they were rock solid.
I'm sure it works, it just seems like a waste of time and good way to invite problems that previously didn't exist to save a minuscule amount of manual labor, on what is already a somewhat questionable repair method.
Woody wrote: A pancake compressor is the wrong tool for that kind of thing, as the pump also needs to fill the volume of the tank at the same time. Until the tank is up to the existing (low) pressure in your tire, the tire is backfilling the air tank. Plug it in, fill the tank and then use the compressed air in the tank to fill the tire. Overall, probably the same total time, but you can start filling the tank while you're still drilling the hole in your tire.
I've found that for a "low tire" I can let the tank charge to 60psi and it'll run out of steam towards the end (still positive pressure).
For a completely dead, recently plugged, tire I've found that 80psi is not nearly enough... ![]()
Good times

Kenny_McCormic wrote: I'm sure it works, it just seems like a waste of time and good way to invite problems that previously didn't exist to save a minuscule amount of manual labor, on what is already a somewhat questionable repair method.
I tend to agree... maybe if all you have is a cheap, screw-driver handle reamer, then cutting the handle off and chucking it into a drill would be easier... But if you have a T-handle reamer the process goes pretty quick... like less time than it would take to go get the drill and chuck the reamer.
I plugged one of the Caravan's tires a few months ago. The entire process takes less than a minute. I'd imagine it probably takes a tire shop more time to write the repair ticket than it does to plug the tire.
WHEW! one month and no updates. Sorry for the delay, but as I was working on the truck, my wife was working on one of these ![]()

and for those who don't know. The work involved due to number of children in the house is not "additive". One child equals the work of one child. But two children equal the work of four children.
So, that being said I didn't get ANYTHING done to the truck on the two weeks I took off from work (and I had plans to do stuff an everything!)
I also don't see much work getting done to the truck anywhere in the near future. So here's one last push:

She made that baby a LOT prettier than you've made the truck. ![]()
Nice work! Are those blue mittens?

You win the award for best and most expensive project update of the month.
Congrats man.
Woody wrote: Nice work! Are those blue mittens?
I know the answer! Baby fingernails are sharp and you can't really cut them and they just flop their hands all around and scratch their face. Little mittens keep them from looking like they were attacked by the family cat. After a week or so you can trim the sharp corners of the nails and they seem to gain enough coordination to not gouge themselves.
Part 1: The alternator.
The GM unit I franken-natered into one piece started making what I thought was bearing noise. It dawned on me that I never had to change an alternator before going to the GM unit so I made a run to my local "Pick and Pull" to snag an alternator from one of the Toyota pickups and 4-runners I saw listed. Of the 5 on the lot, only one had an alternator still in it.
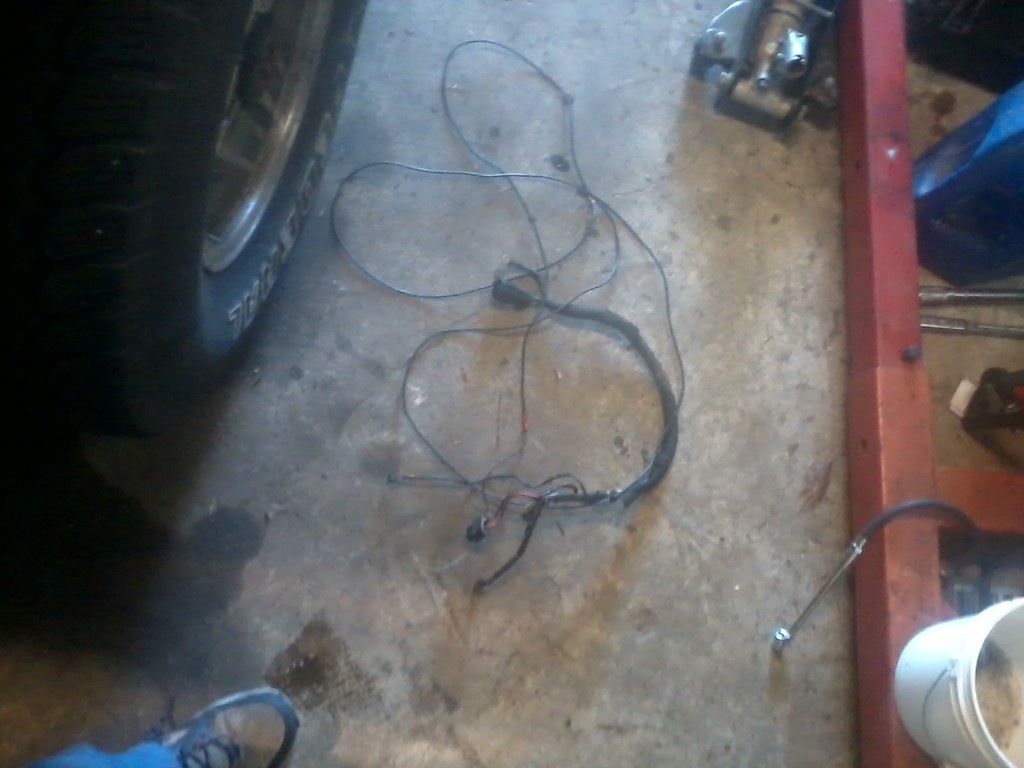
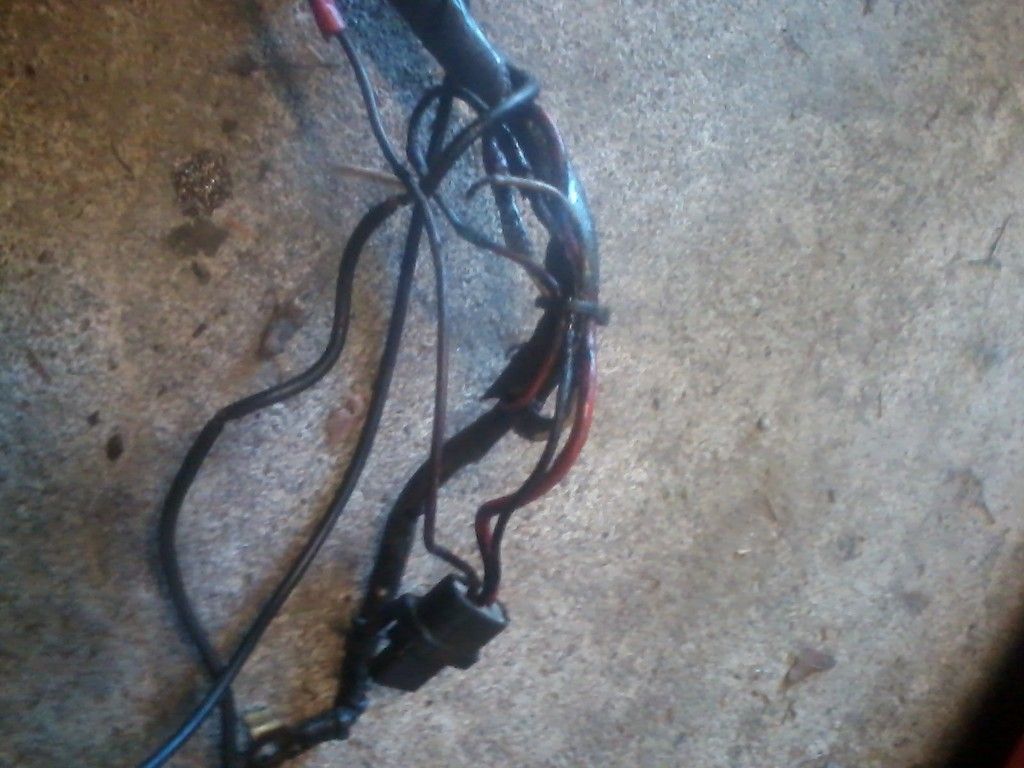
I figured no vehicle goes to the yard because of a dead alt, so I decided to snag it. It's worth mentioning I had to go to the yard anyways because if I wanted to go back to a Toyota unit I'd need the wiring harness.

The old harness was a bit of a hack-job anyways. I used aircraft grade splices, but I never really liked the idea of having something THAT much in the wiring harness that didn't match the wiring diagrams in the book.
With the junk-yard alternator in, I saw an opportunity here to franken-nater the two GM alternators back together again and make one unit from two (again). The old unit wouldn't charge due to me putting 12v where I shouldn't have. The new unit just sounded like it had dry bearings. I figured old alt's bearings with new alt's electronics and we'd be golden.
So away I went. I started by removing the old rotor. Good bearings and all.
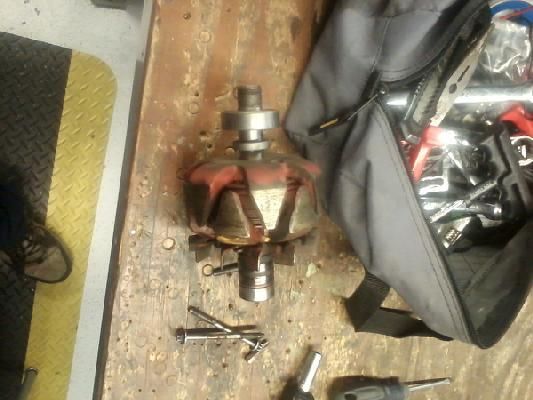
I think this thing's been submerged at one point in time or another...
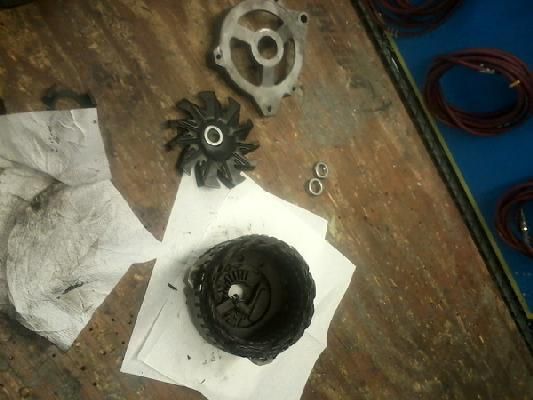
Anyhoo,
When I removed the rotor out of the alternator with the bad bearings, I noticed that it was showing evidence of contact between the rotor and stator.
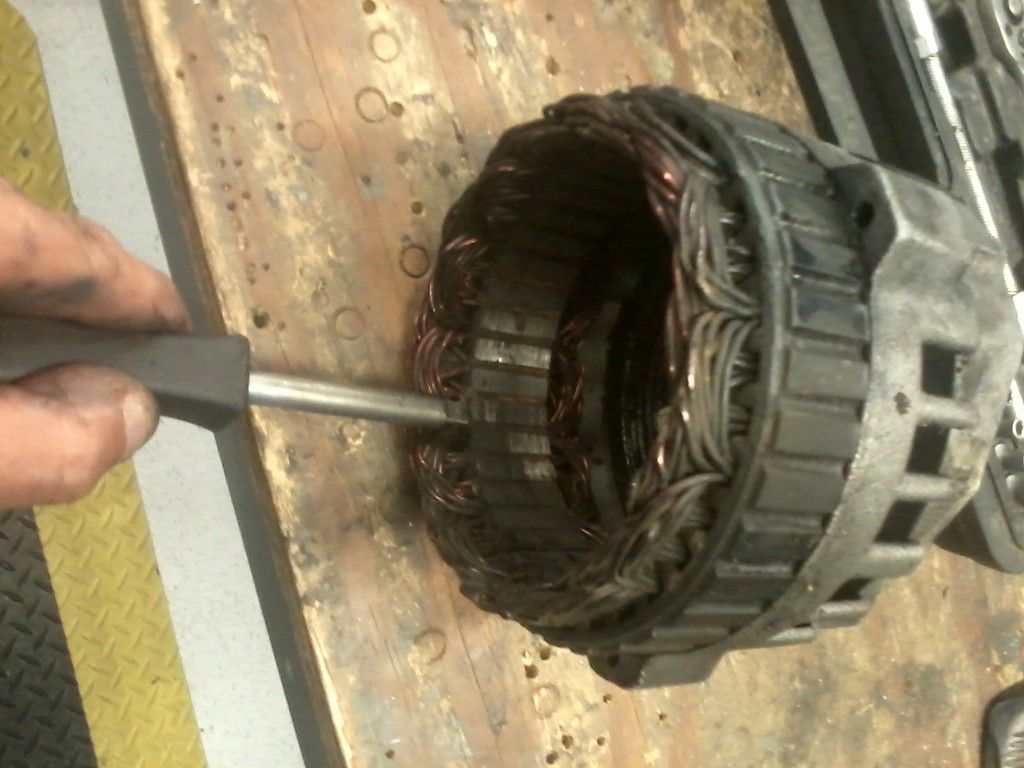
No big deal I thought. Probably just a bearing with too much play. If I stick to the plan the new rotor and bearings should work with that stator.
So I put everything together, and it looked something like this:
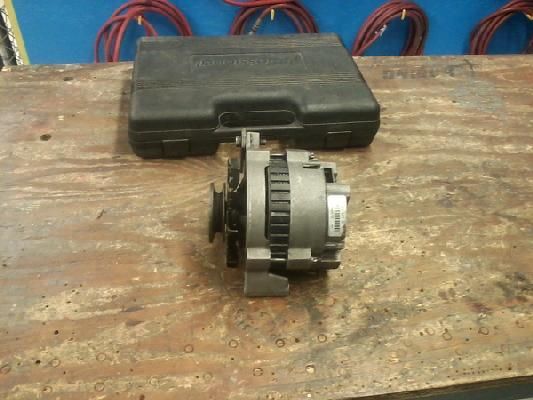
Man, I should rebuild these things for a living! ![]()
Anyhoo, I took it to O-vanced zone to have it tested... well, turns out it didn't work. Dead as a doornail. So much for having a spare on hand.
No worries though, because the truck had a good alt from the junkyard.
That is... Until a dead battery surfaced about 2-days later... dun dun DUN!
Not wanting to remove the alternator, I took the battery to O-vanced zone and got a letter back about 4 hours later "Dead Battery". This was a bit of a predicament because i really want to replace this battery with an Optima but we didn't have the money to spend $250 on a new battery...
So I threw it on the trickle charger. I figured about 35 hours is about right for a decent "trickle charge" so that's what the battery was doing from Saturday afternoon to Monday morning.
Well, wouldn't you know? The battery charged juuuuuust fine (yay) BUT when I removed the negative cable to check the alternator, the durned truck died.
Pick-and-pull gives these things a 30 day warranty, but when I try to take them up on the offer I get the "oh, you smudged the number we wrote on the alternator... we cant take it back".
(guess I have to drive the 30 minutes to "Budget Auto" from here on out)
The end result? I could have saved myself a lot of time and hassle by buying a new part from O-vanced zone, and just buying the harness I needed from P&P.
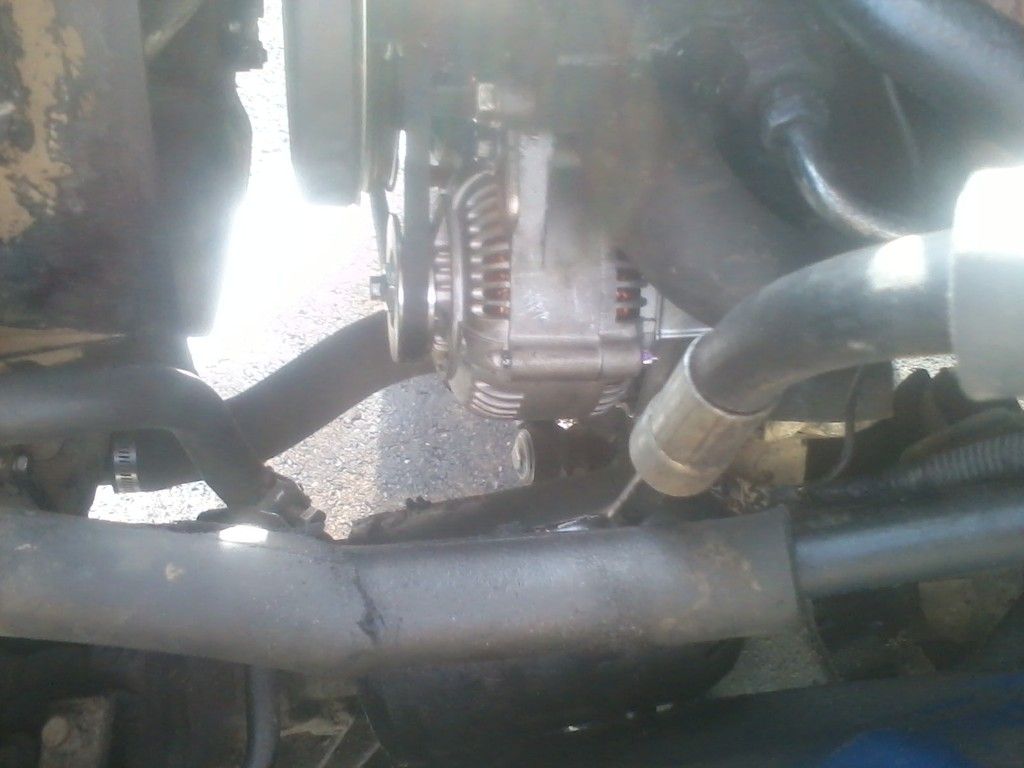
There she is in all her new glory. Lifetime warranty and everything...
Phase 2 The fuel pressure regulator
Here's something I've been meaning to do for a DOGS day...
The fuel pressure regulator is a bit heavy, I thought, to be supported by just some fuel line so I decided I needed to make a bracket for it. Enter: one piece of treated aluminum L-Bracket
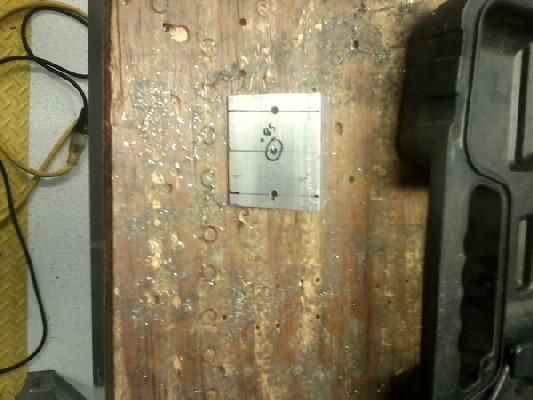

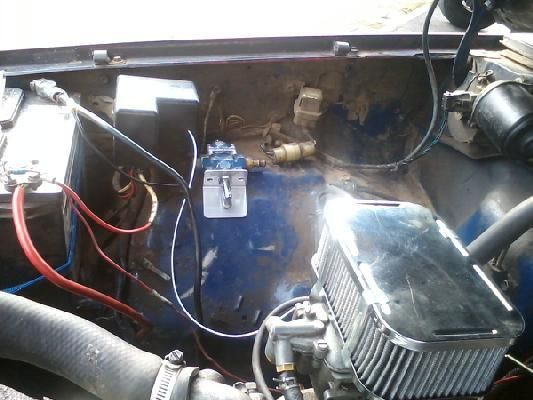
That's the plan at least. When I went to install it, I realized I have no extra fuel clamps, 3/8 fuel line, or the bolts I thought I had to bolt it all up ![]()
All things I should have remembered to grab the last time I was at O-vanced zone.
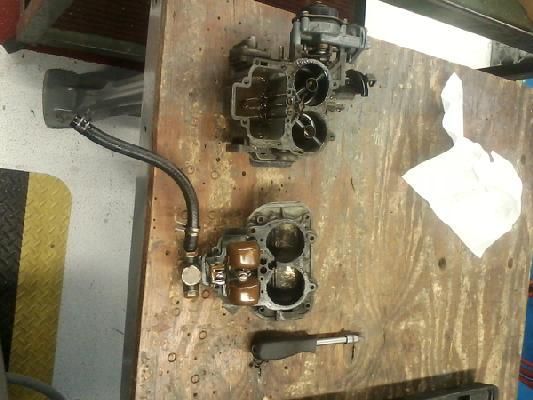
Phase 3 That Carburetor
So my rebuild experience so far is limited to several "cleanings" of motorcycle carburetors when I was a kid, and one Rochester BC Single barrel that ran me through the ringer while I climbed the learning curve (things like, don't push on the floats, you'll ruin the viton needle valve tip, etc)

Turns out, it's pretty easy once you get used to things:
First you unpack all the new stuff
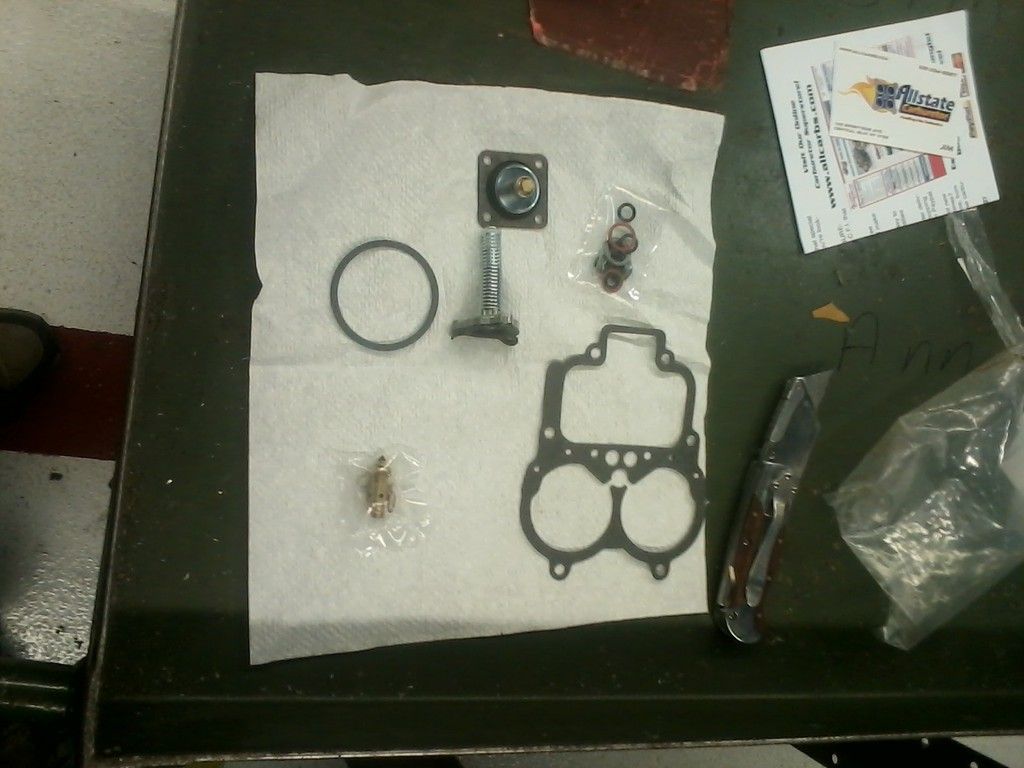
and start replacing all the old stuff
It's a good idea to check the jetting while you're in there and whatnot
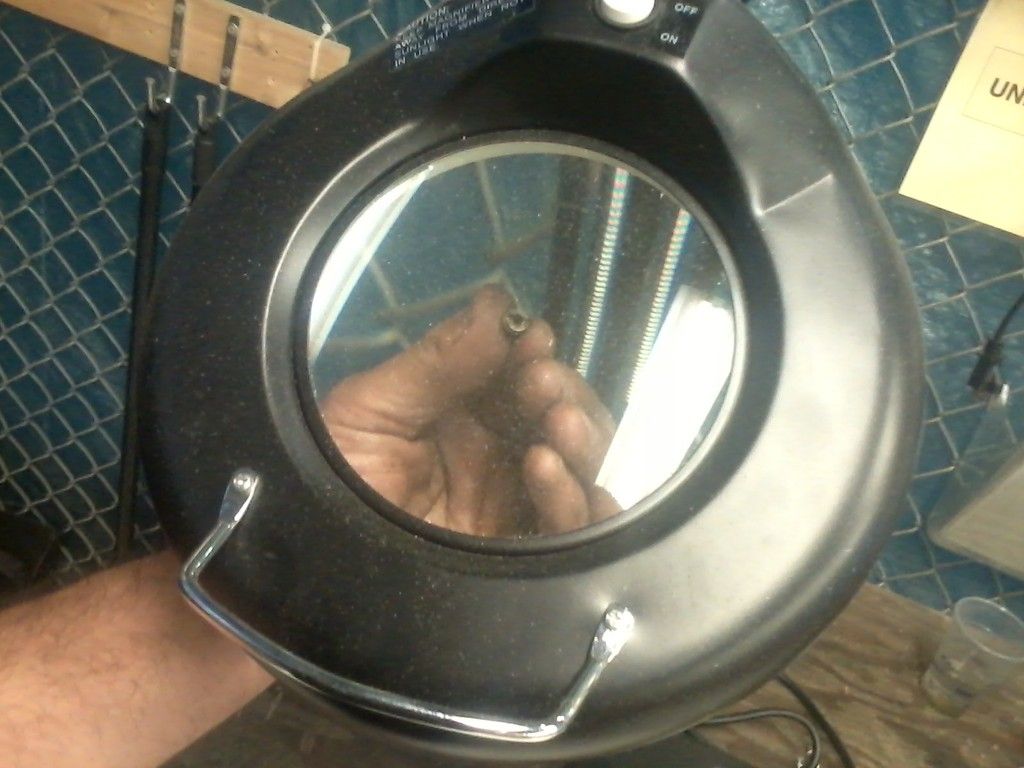
I wrote down all the numbers I saw on the jets, and got their proper names from the illustrated parts breakdown that was supplied with the rebuild kit. With that in hand I checked with LC Engineerings website and verified that what was installed in the carburetor IS what they recommend for use in the Toyota 22r
Judging by the look of some of the o-rings and by the varnish inside the carb, this thing was in use loooooong before they installed it on my truck
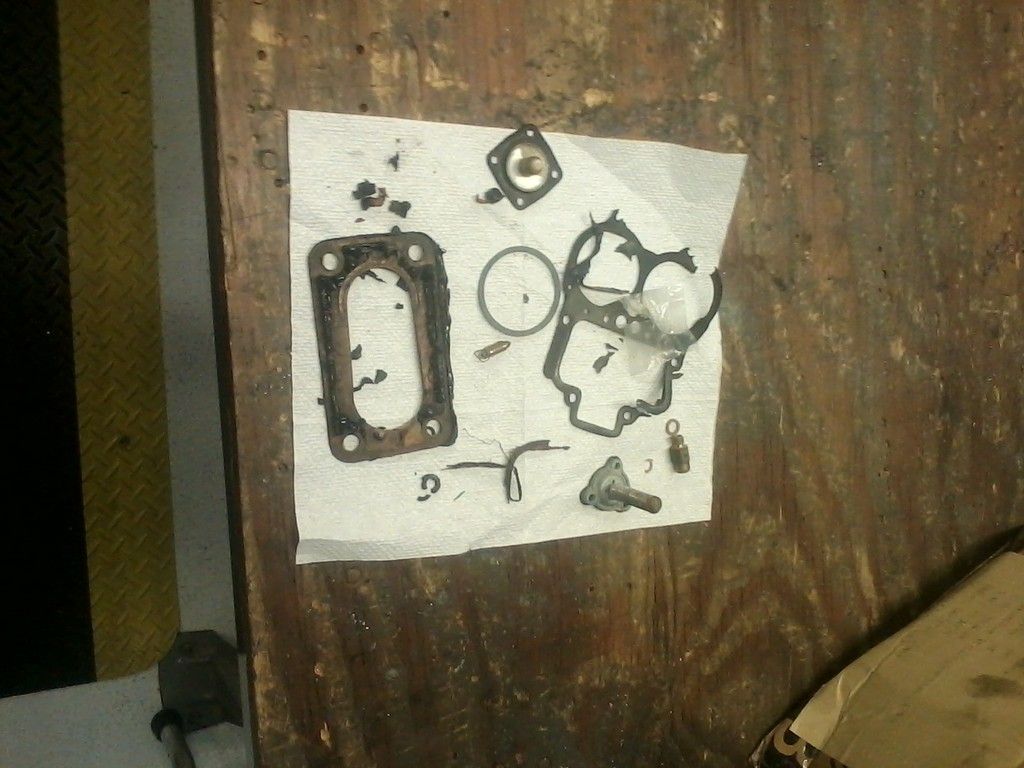
During that last push (back at the beginning of this thread) I had a non-car guy friend help me install stuff while I worked on the engine's ancillaries. I guess this was his first carb install because the base gasket looked like this:
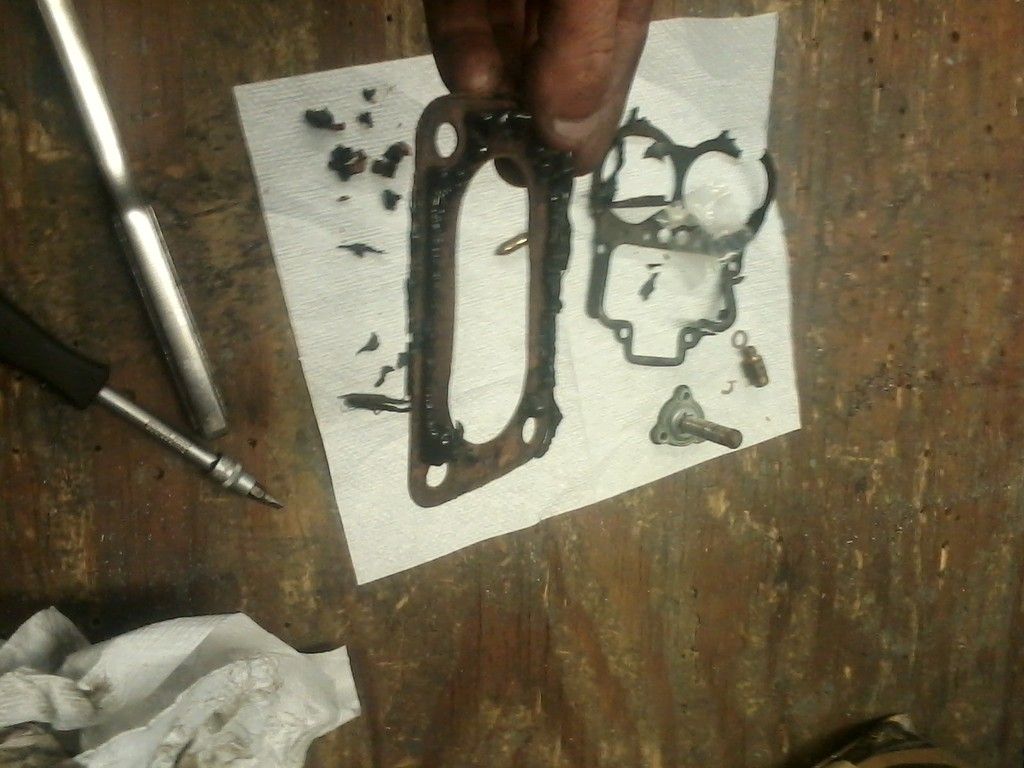
Some of that sealant was still wet. ah well, no harm, no foul. Looking at the picture now though, I wonder if my engine ingested some of that missing sealant there towards the bottom?
Ta da!
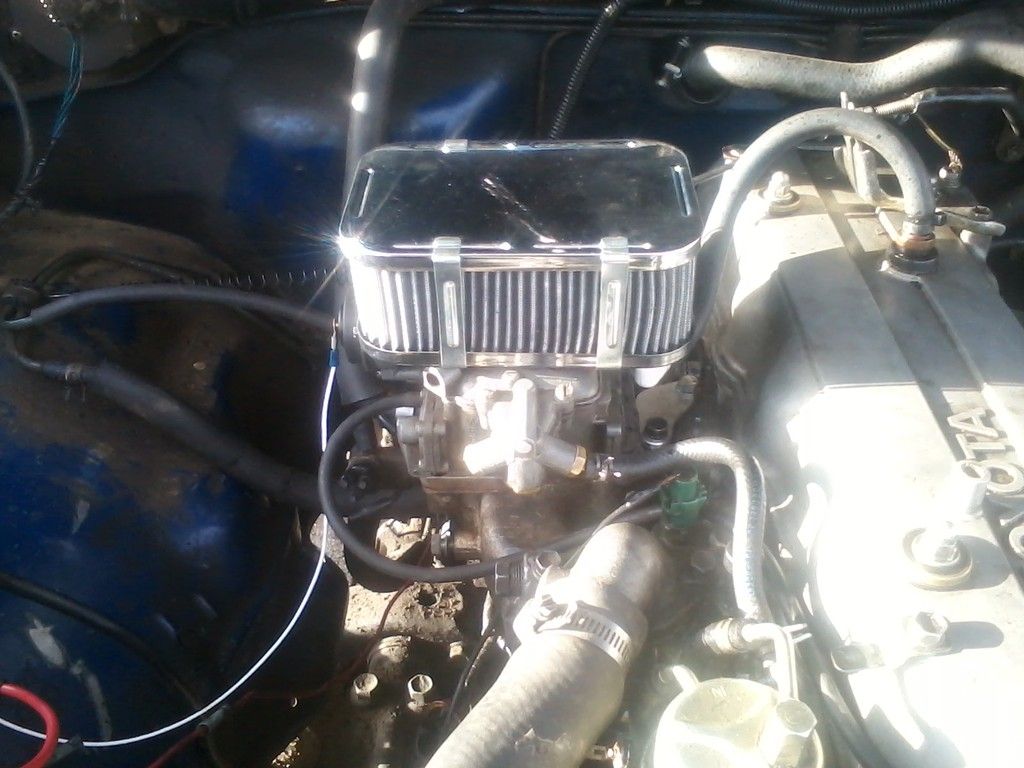
Runs a LOT better. Still having trouble with the cold start / fast idle. I currently have the idle mixture screw 2.5 turns out (from the 5 turns out pre-rebuild) but haven't connected a vacuum gauge. The choke coil just doesn't seem to be closing the choke at all or engaging the fast idle cam...
I guess that's what I get for ordering the cheapest one I saw on e-bay...
You'll need to log in to post.


