To start, I have never bought a new truck. Coming from a 4runner with 275k miles this is nice. Otto.... My wife calls is silverado (as in silver auto), also a Chevy truck, so I told her it could be silver Otto. Two words 
Debated a lot, front runners were GX460, Colorado zr2, and the Tundra. GX is too much $$ used even and small V8, Colorado is really unknown reliability, but good MPG, Tundra won out. Old school 6speed means E36 M3ty MPG, but the big V8 and Toyota reliability and here we are.
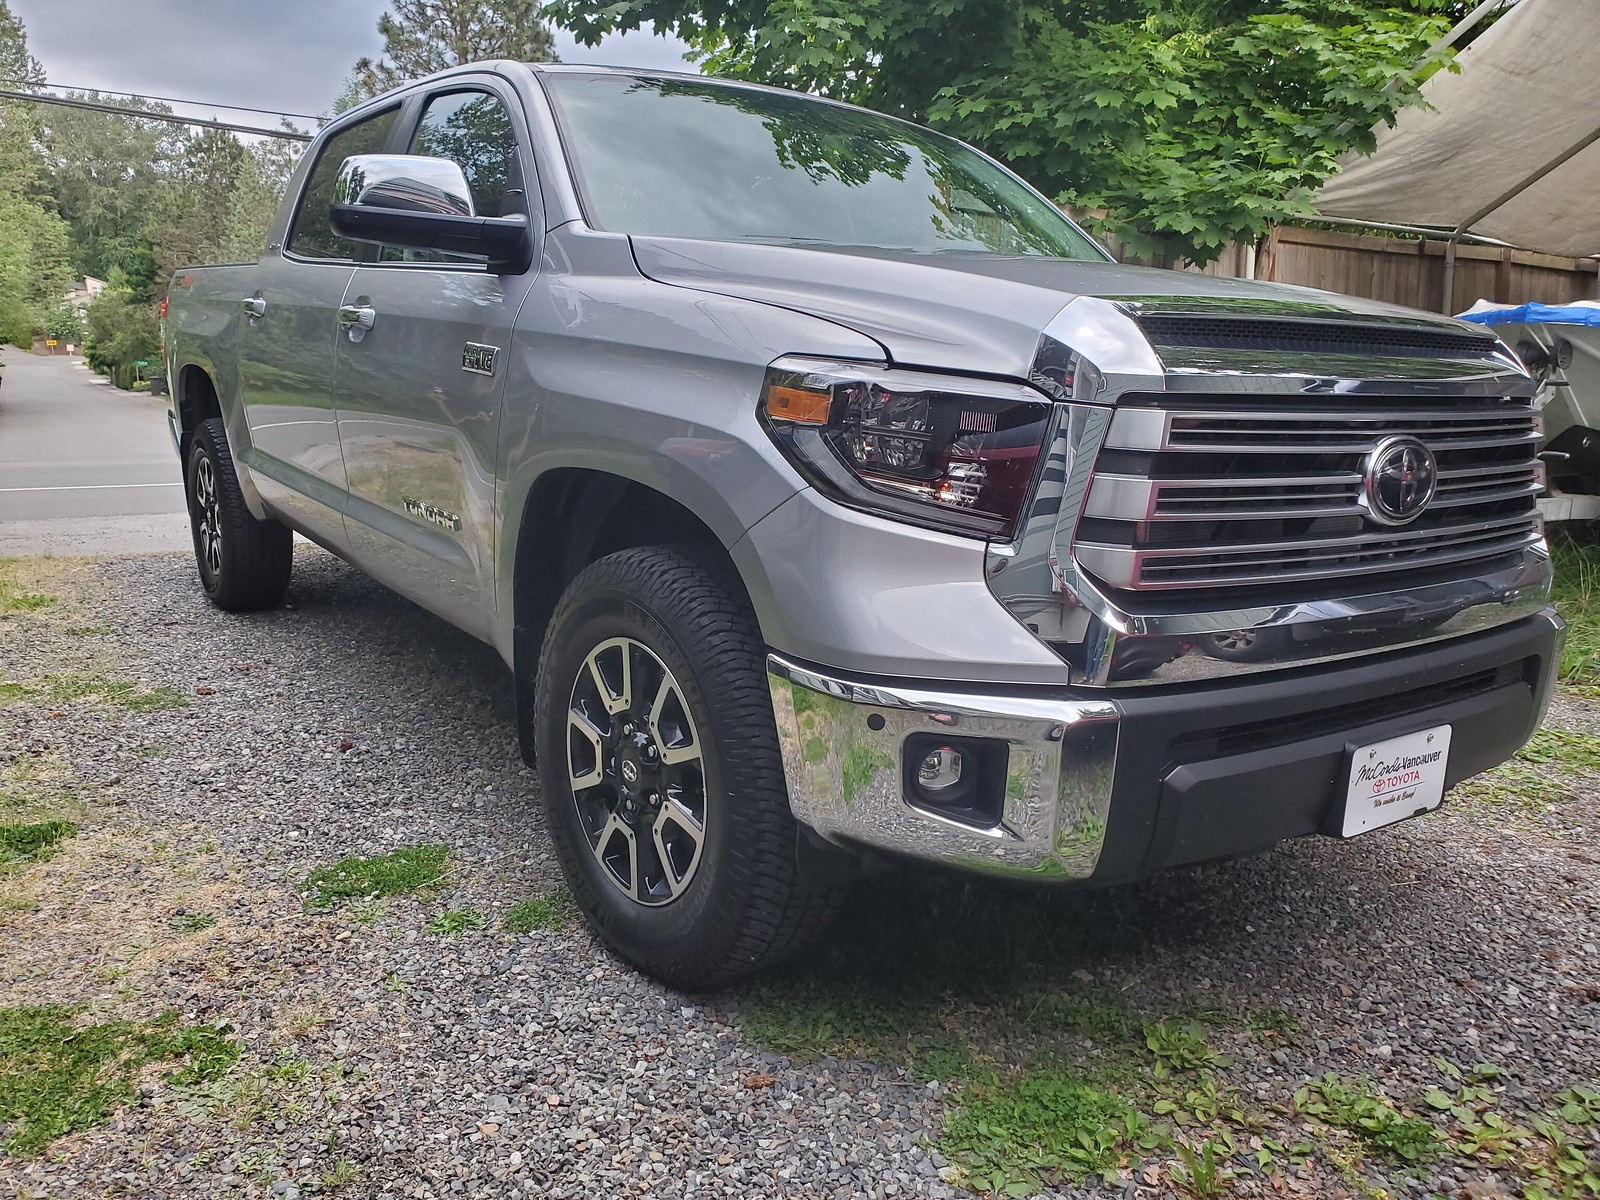
Anyway, new truck,picked up with a whopping 7 miles on it.

Grey on Grey interior. I was actually expecting black (I didn't read specs close enough I guess. Also the TRD Package).... But this is good. Grown on me greatly.

500 miles later we are home. It EATS highway. Loving it.
First Mod

Friends are enablers..... Ordered a whole pile of parts before I even owned the truck.....


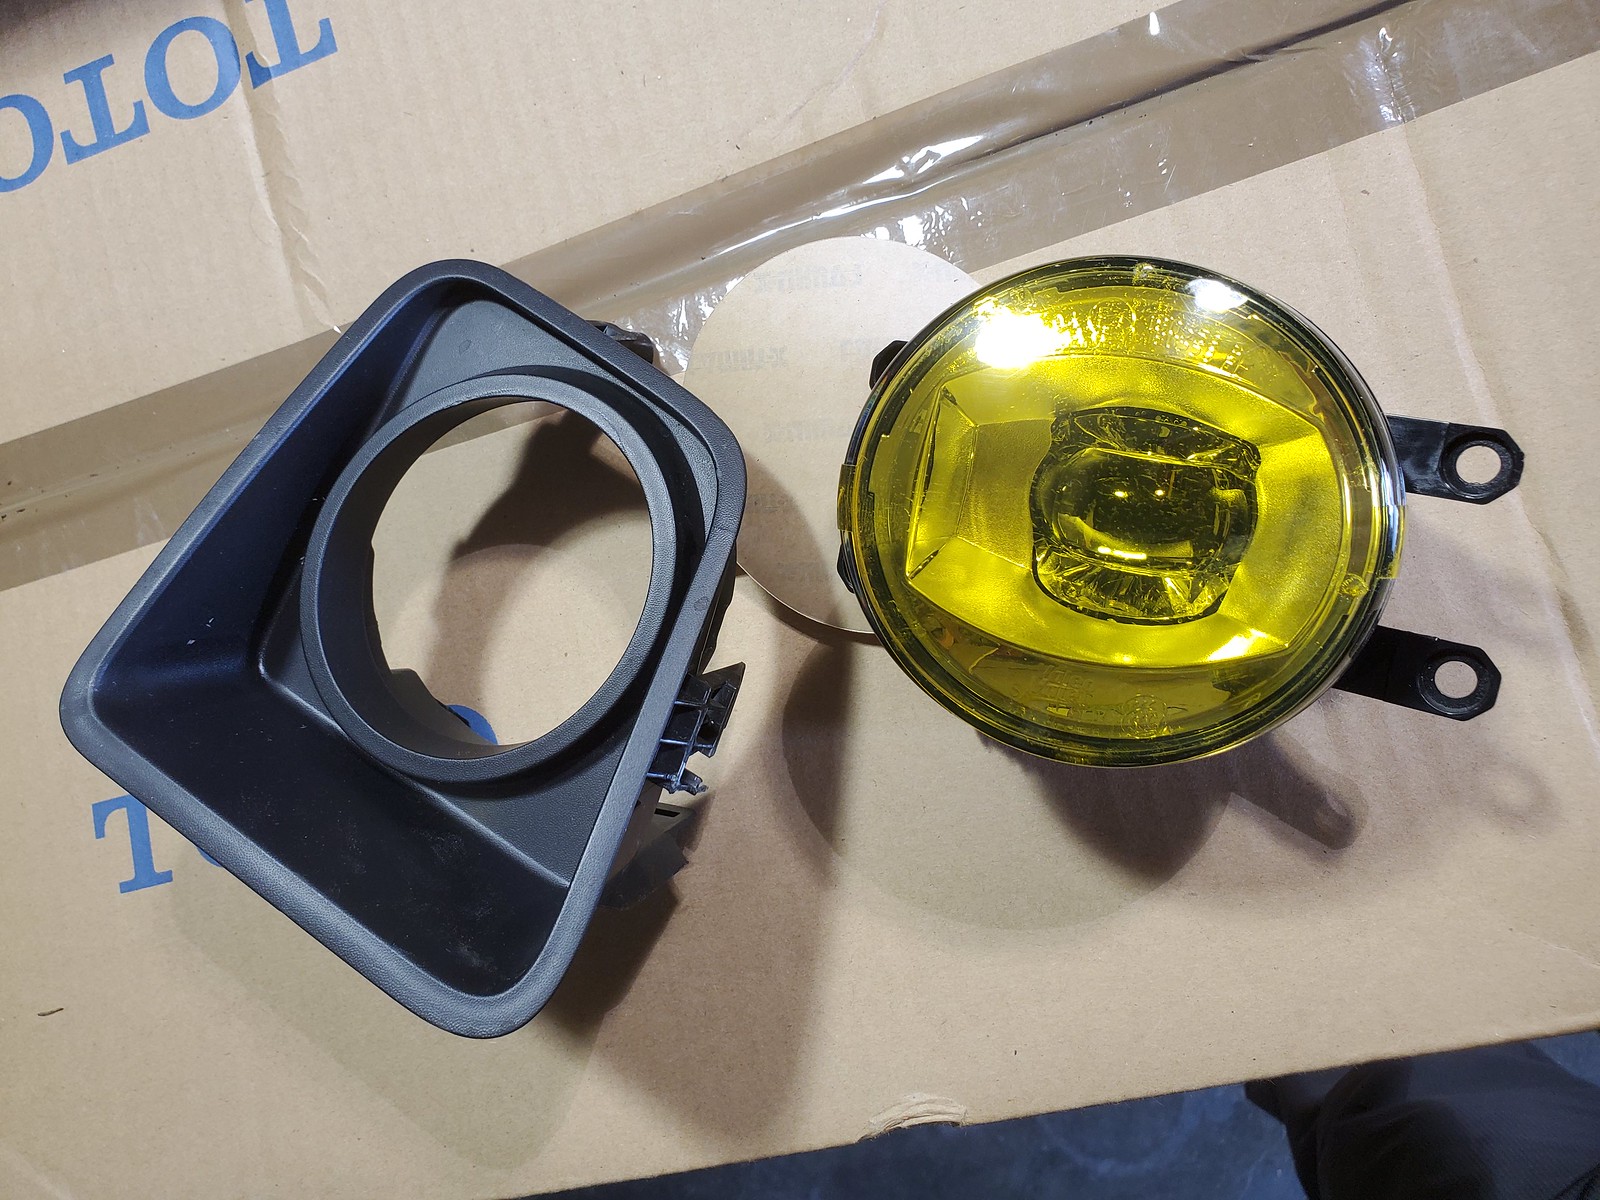
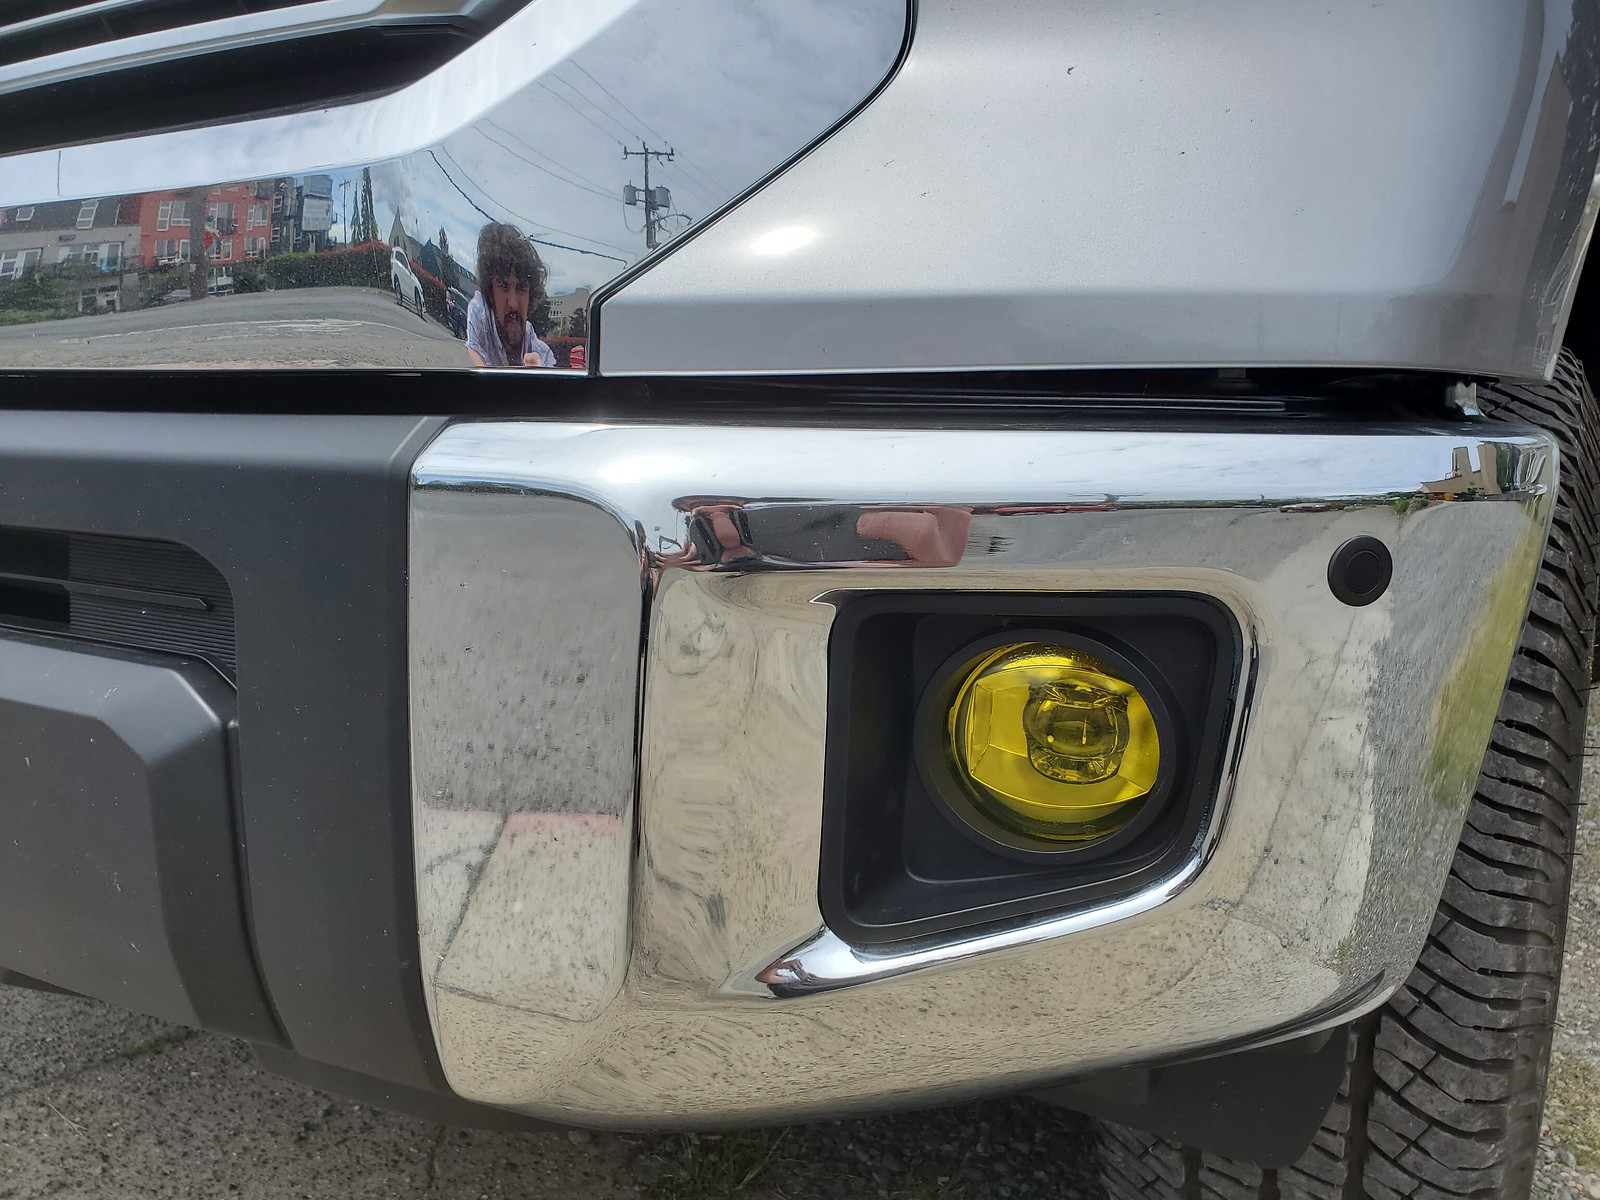
Mod #2, Lamin X on the OE Fogs. TRD Package includes black LED headlights, and LED fogs as well.
Have RCI Sliders and a canopy on order as well..... Looking at storage options for the bed, bed slide (half width) or drawer? Options.... But Excited for a new (mild) build. The 4runner is sticking around as backup car and beater to leave at trail heads when we backpack.
Keep us posted on how well those OME shocks ride. I haven't owned anything new enough to have the BP-51 option.
In reply to thatsnowinnebago (Forum Supporter) :
They are goooood. I'm behind on the build thread 
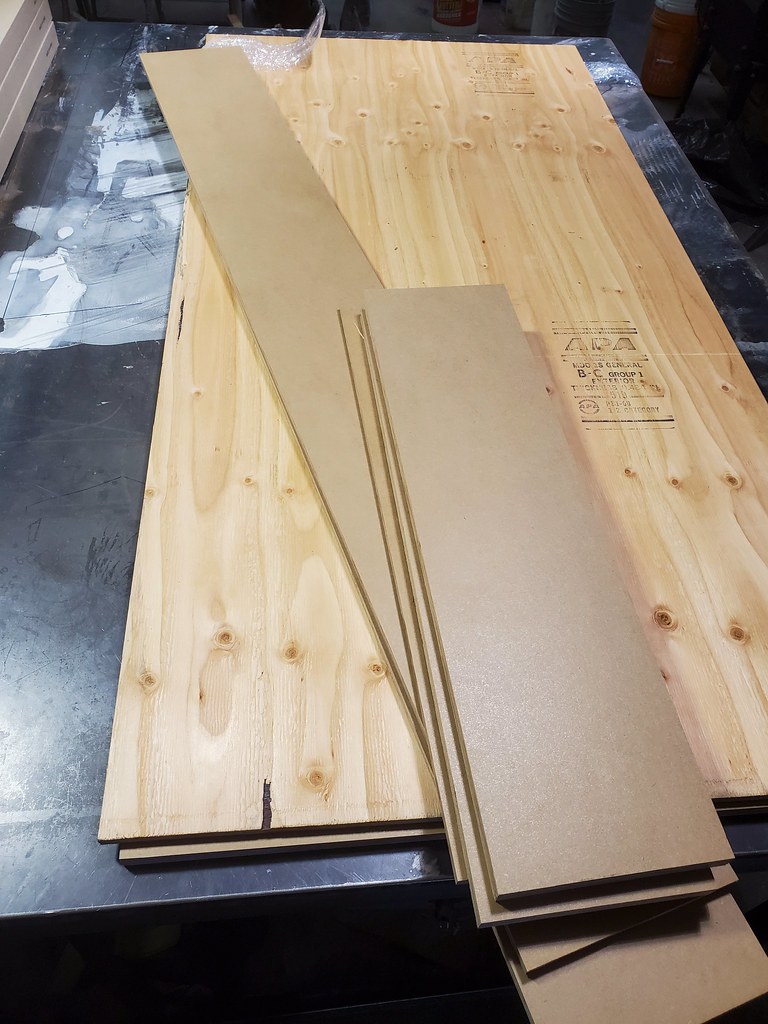
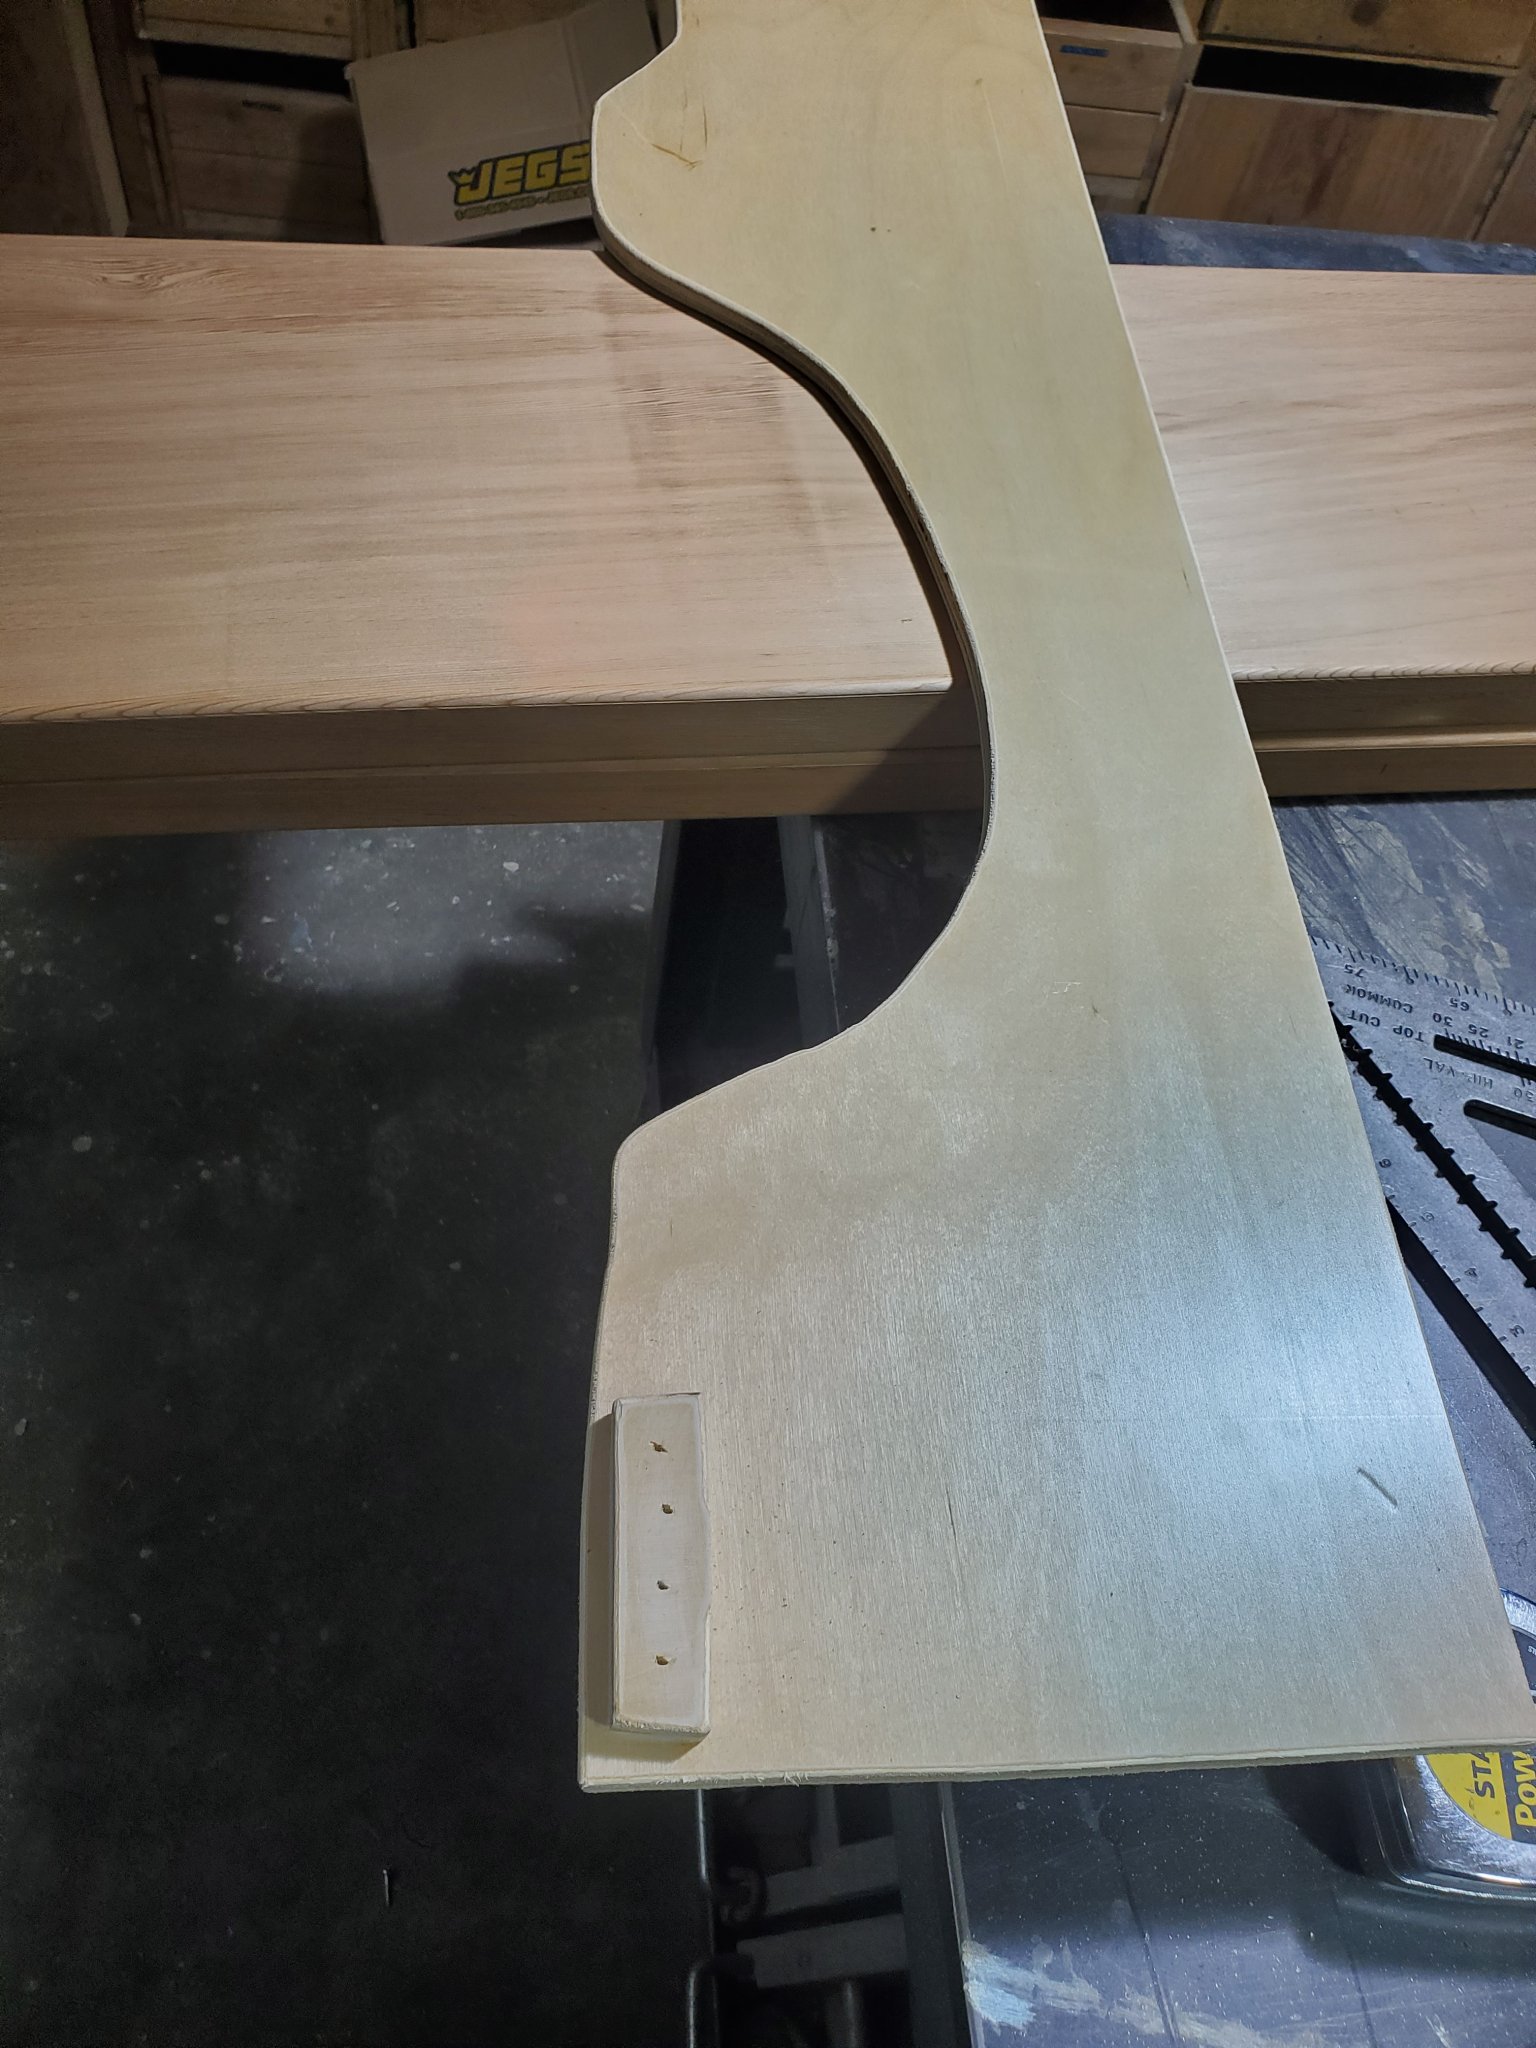
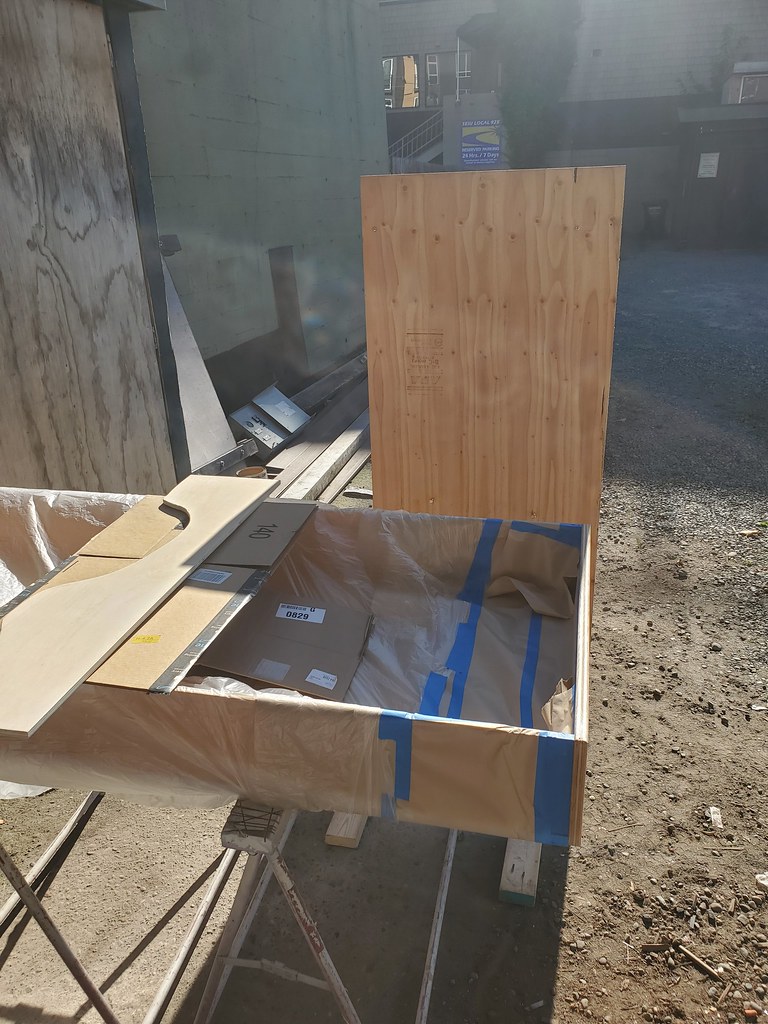
Got some of the parts for my drawer. Half my cut list got lost in translation between the cabinet guy and me.... But that's ok, because math is hard! I had some dimensions off.... Should get the rest of the parts today. doing a 2/3 width drawer.
Exterior grade MDO. Inside will get lacquered, exterior will be bedliner.
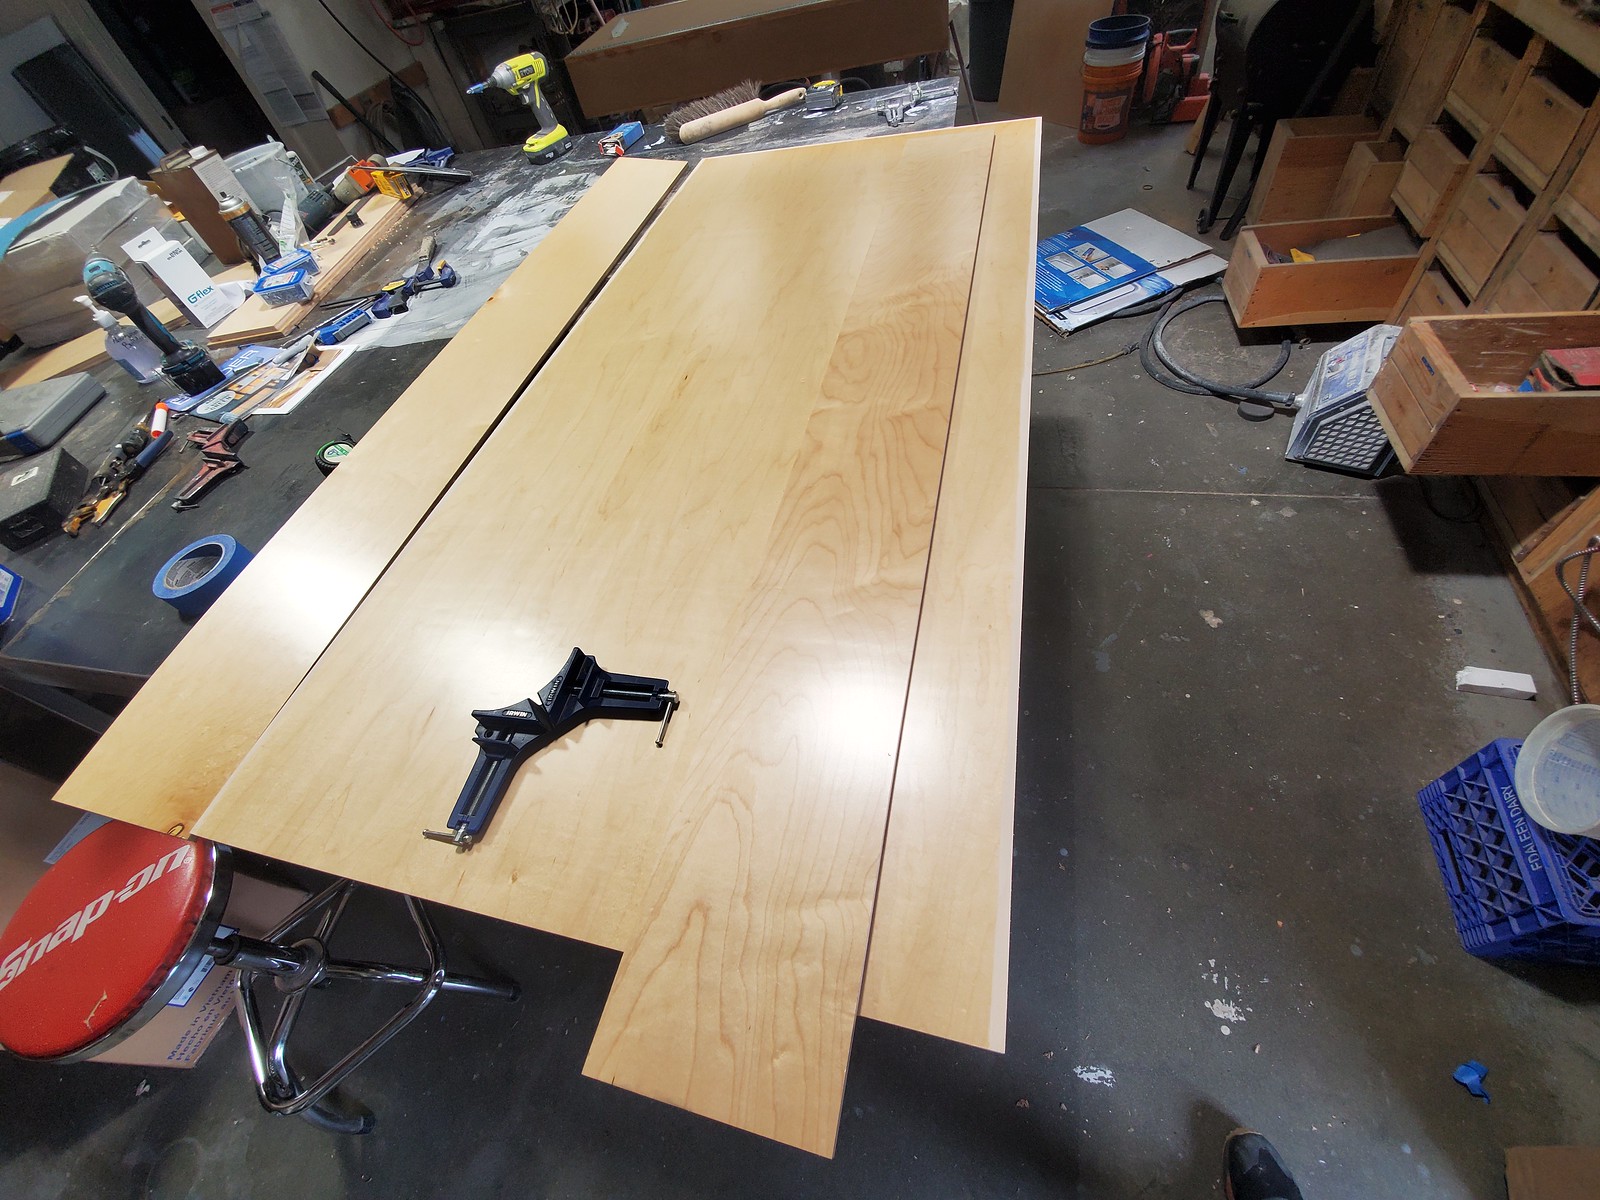
Whipped up a quick clamp/square jig since I had some extra wrong sized parts....

Sides are on. Screwed and waterproof glued. Top will get nailed and screwed. Needs to resist the upward force when the drawer is pulled out.

Will set it in the bed before the top goes on. Drill up from under for Tnuts. Then it will be bolted in place from below for final install.
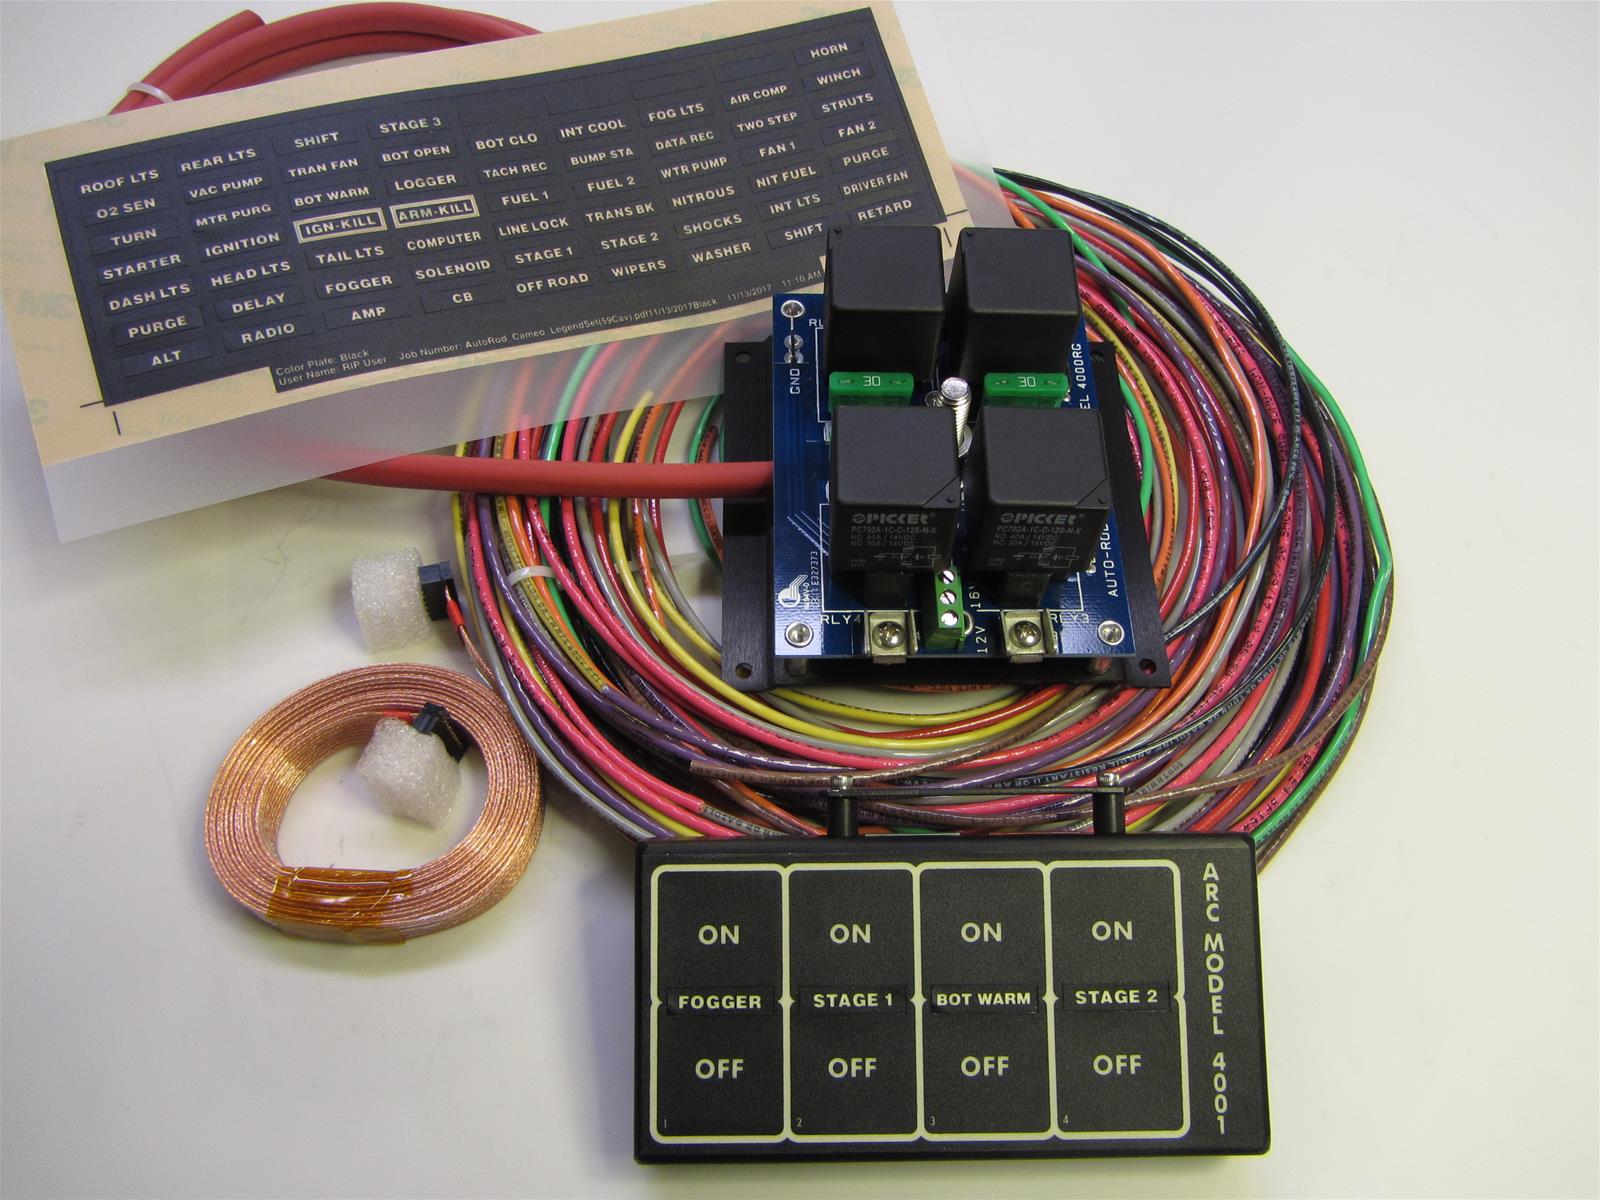
For switching I went with the ARC 4001, 4 circuit, 30 amps each using standard relays. Not standard offroad equipment, but has been used for race cars forever. Complete warranty forever.
I need some actual time to work on the truck.... Parts are piling up all over!
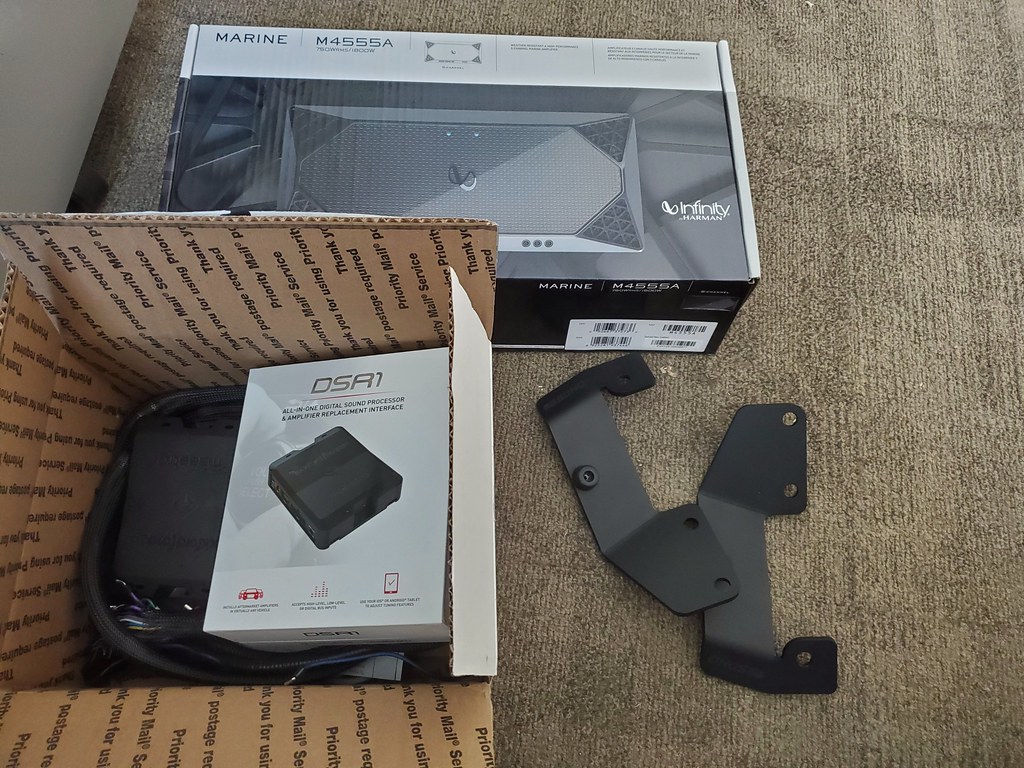
DSR1 and Infinity amp. The stock stereo is garbage. REALLY bad. DSR1 interfaces with the digital signal from the headunit and converts to normal analog for the amp. Only good thing is Toyota put the factory amp under the pass seat, so all the connections to the speakers and whatnot are right there. Have a nice P&P harness, so zero hacking into OE needed. Just need to run 4ga power.
SDHQ ditch light brackets. Really nice pieces. I have never really liked the look of the ditch lights but I am going to try. Ill run them as reverse lights if I hate it. Not a lot of real estate for lights on these.
Annnd roof rack parts just showed up! Going to try using 8020. Took a gamble on length, don't have the canopy to play with yet (corona slowing things down.....) so the cross bars may be a little short to mount awning on easily.... But 8020 looks pretty slick! I went with a double width.

Lots of structural corners/connectors etc.

Had an hour and a half to make some progress yesterday.
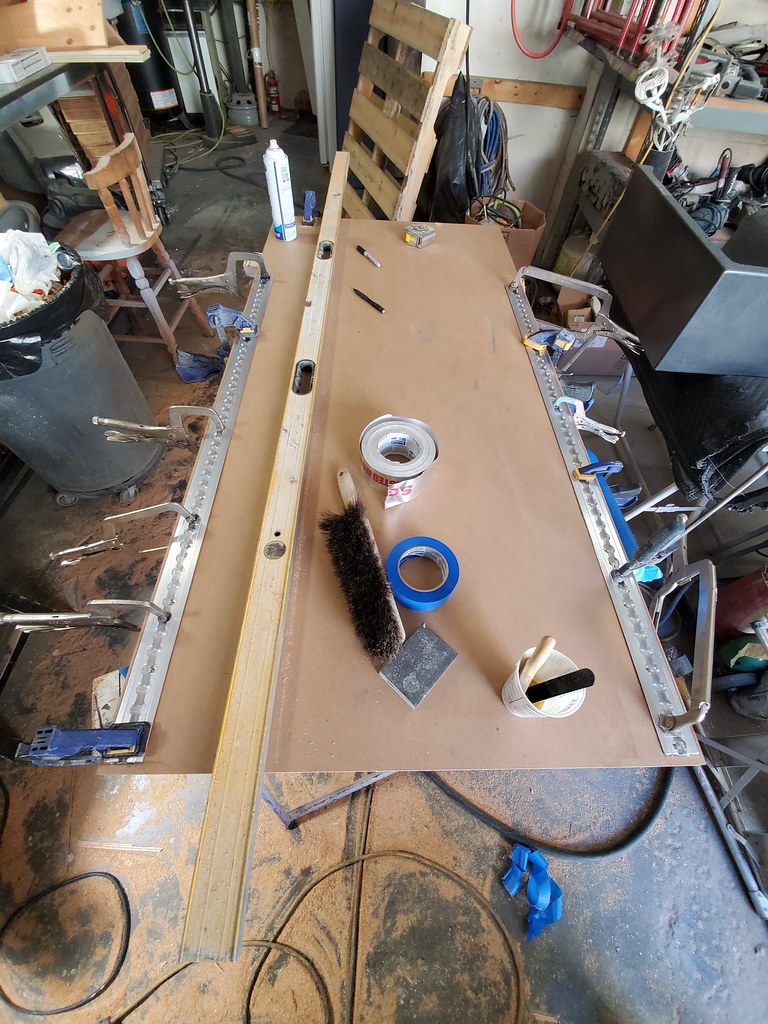
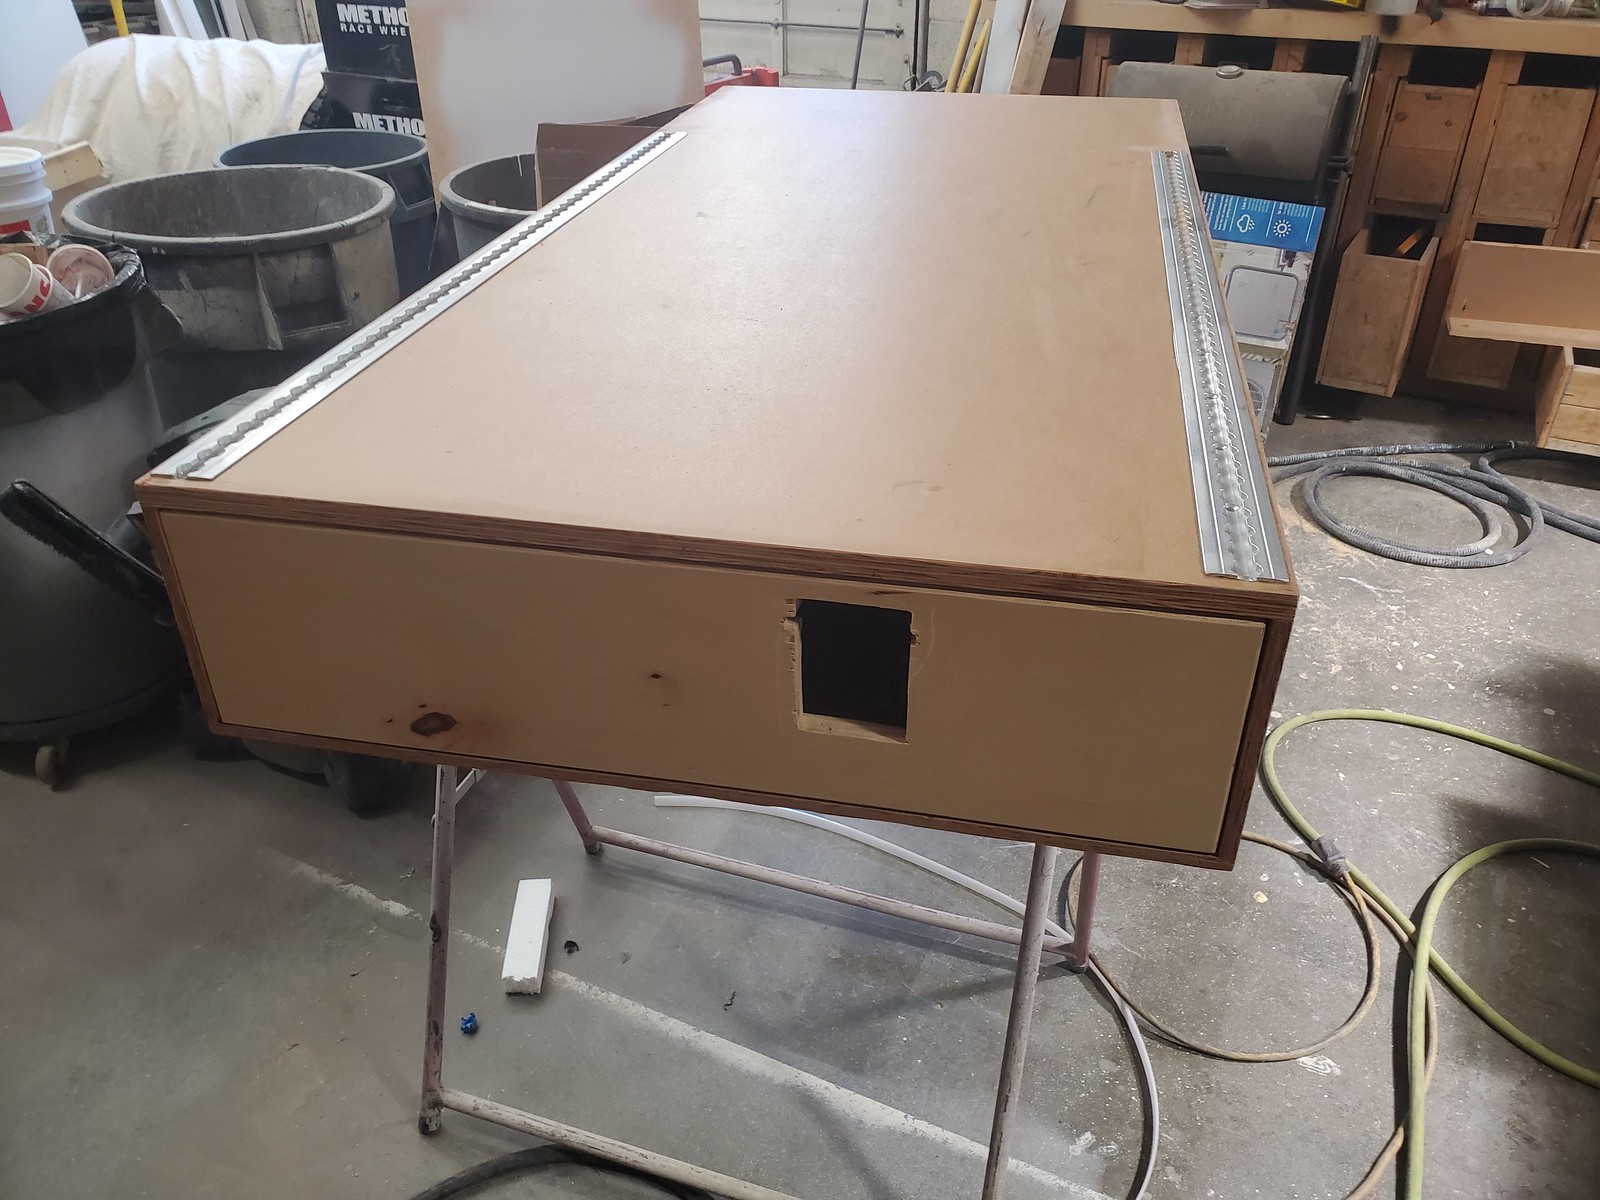
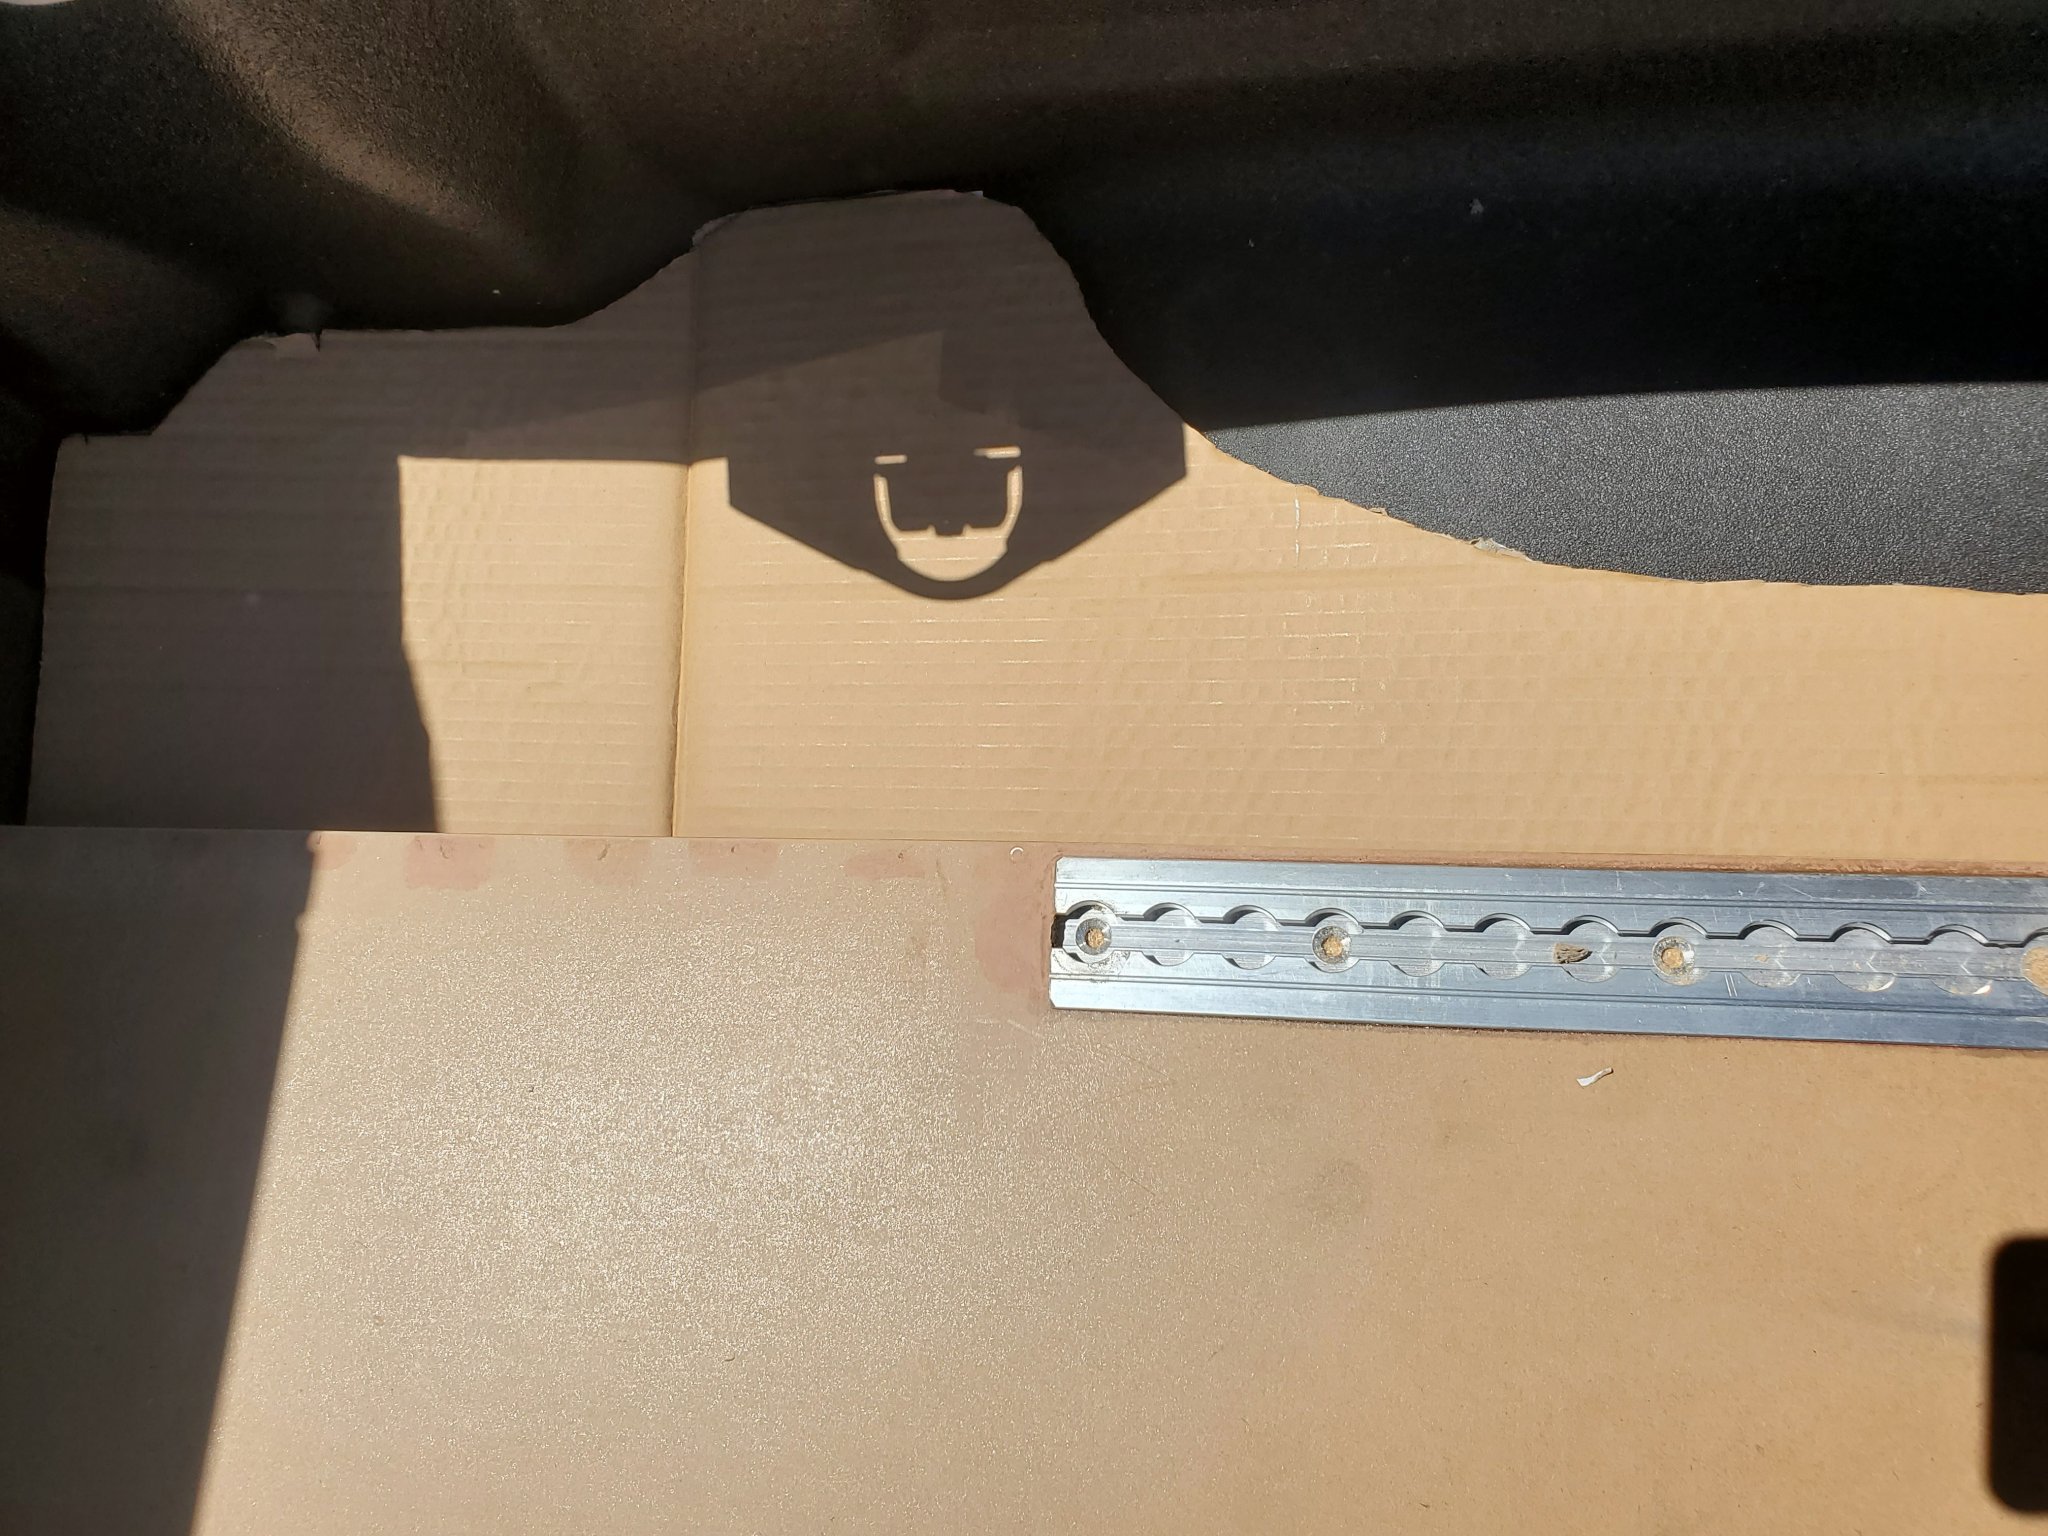
Laid out for L track. Its not going full length as I expect the dog to be at the front most of the time (and this was an 8' piece ") )
)

Pocket routered out.

Nice tight fit. I took a lot of material out of the ply, and wanted to be able to add that structure back with the track.

System Three G-Flex epoxy. I have used this stuff before and its amazingly strong and flexible. Designed for fixing aluminum boats. You can literally bend the thin coat left behind in the mixing cup without it fracturing at all. Should hold up well to vibration and material movements with temps.

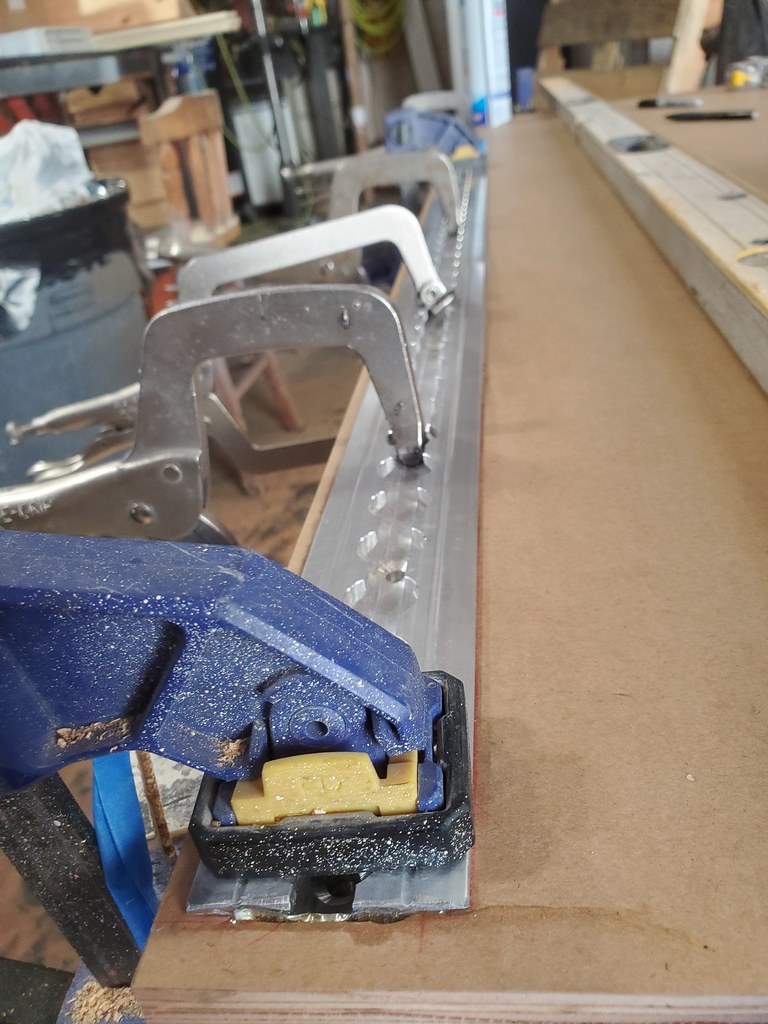
Clamp it up and leave it alone.
A little foil tape on the ends keeps the track from filling.
Assembly time!
Kreg screws are always just a touch proud, since I will be using UHMW PE for slides, I need smooth walls. 120 grit flap disk works great.
Now the hard part, holes in the new truck.... 7 to be exact because I screwed up one location. Luckily it was just an 1/8" bit so easy to fix.... 4 in the back 1/3, two in the front.

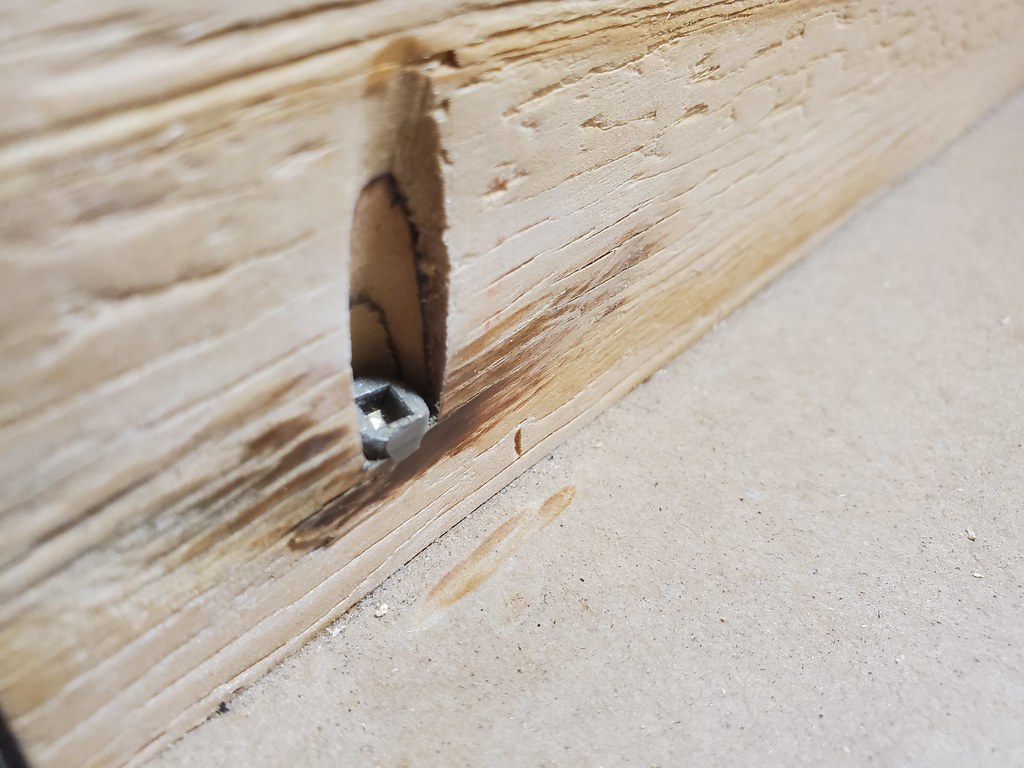
Back side get 4 recessed 5/15" T Nuts. They will be bolted from below.

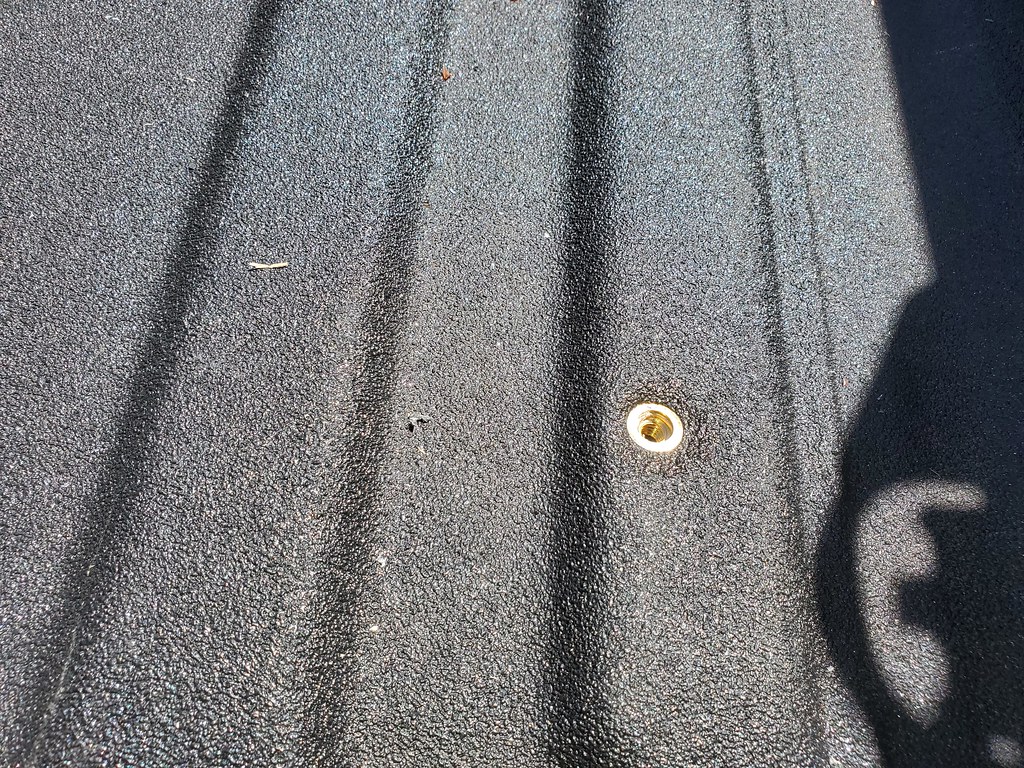
Front gets two Riv nuts, to be installed from the top.
Top goes on, glue and 18ga nails, plus some screws in select locations.

No shiners or glue dribble on the inside, so back can go on. All the nails and screws holes were filled with plastic wood putty.


Next drawer assembly!
Well drawer assembly sucked. I inch'ed myself.... Need a new drawer bottom
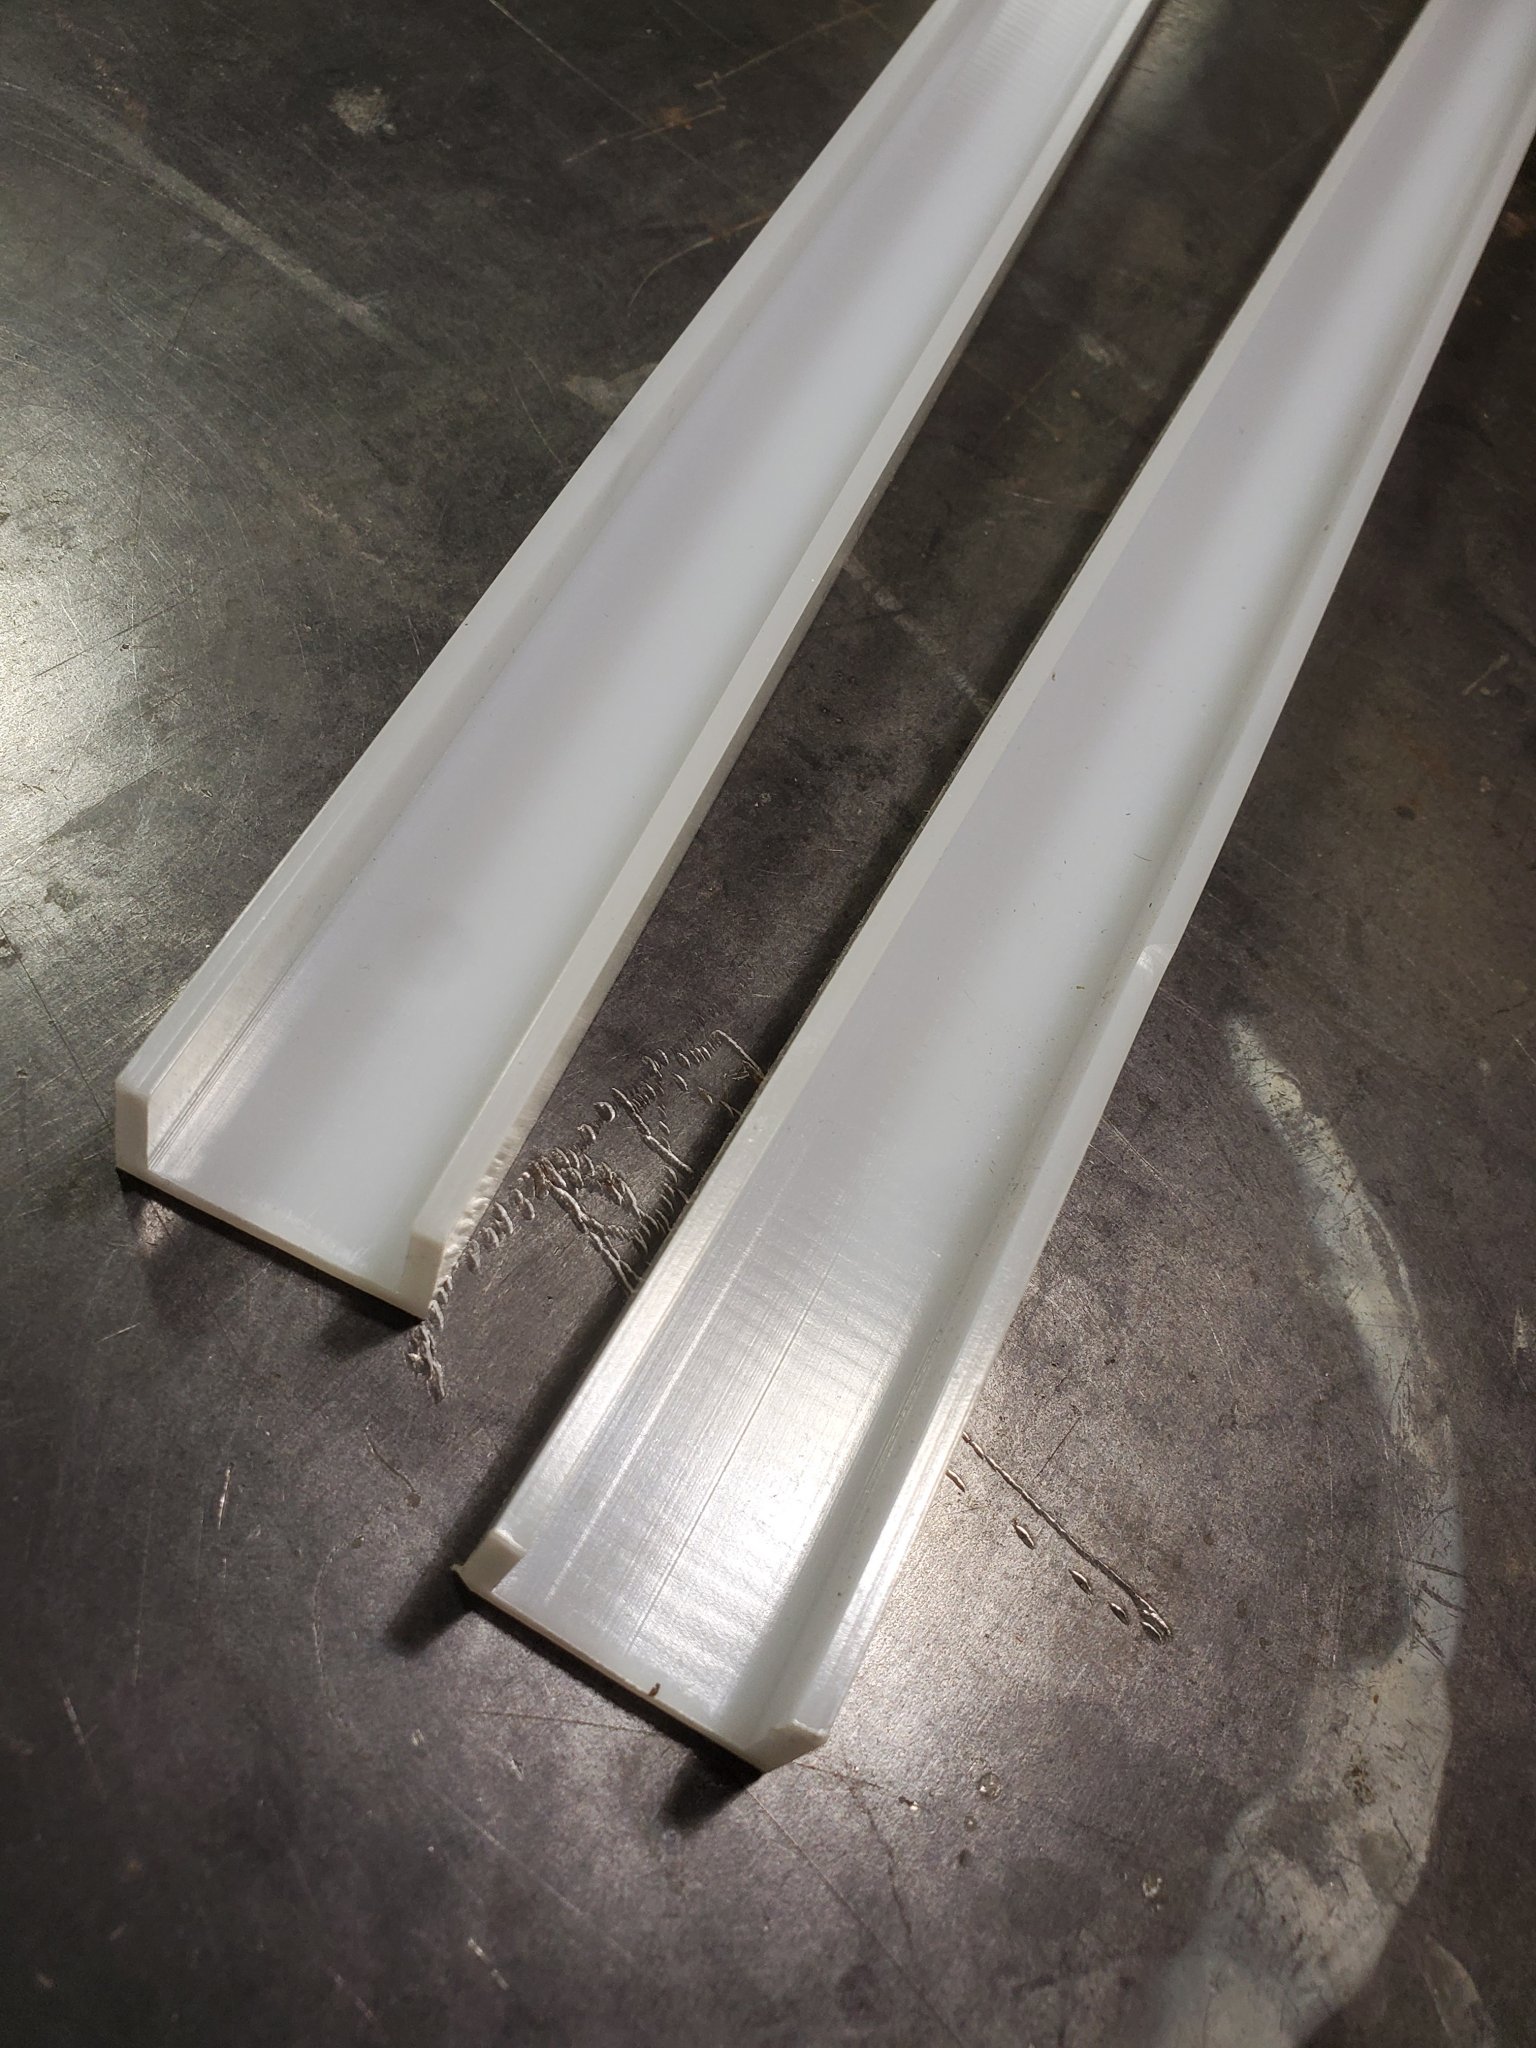
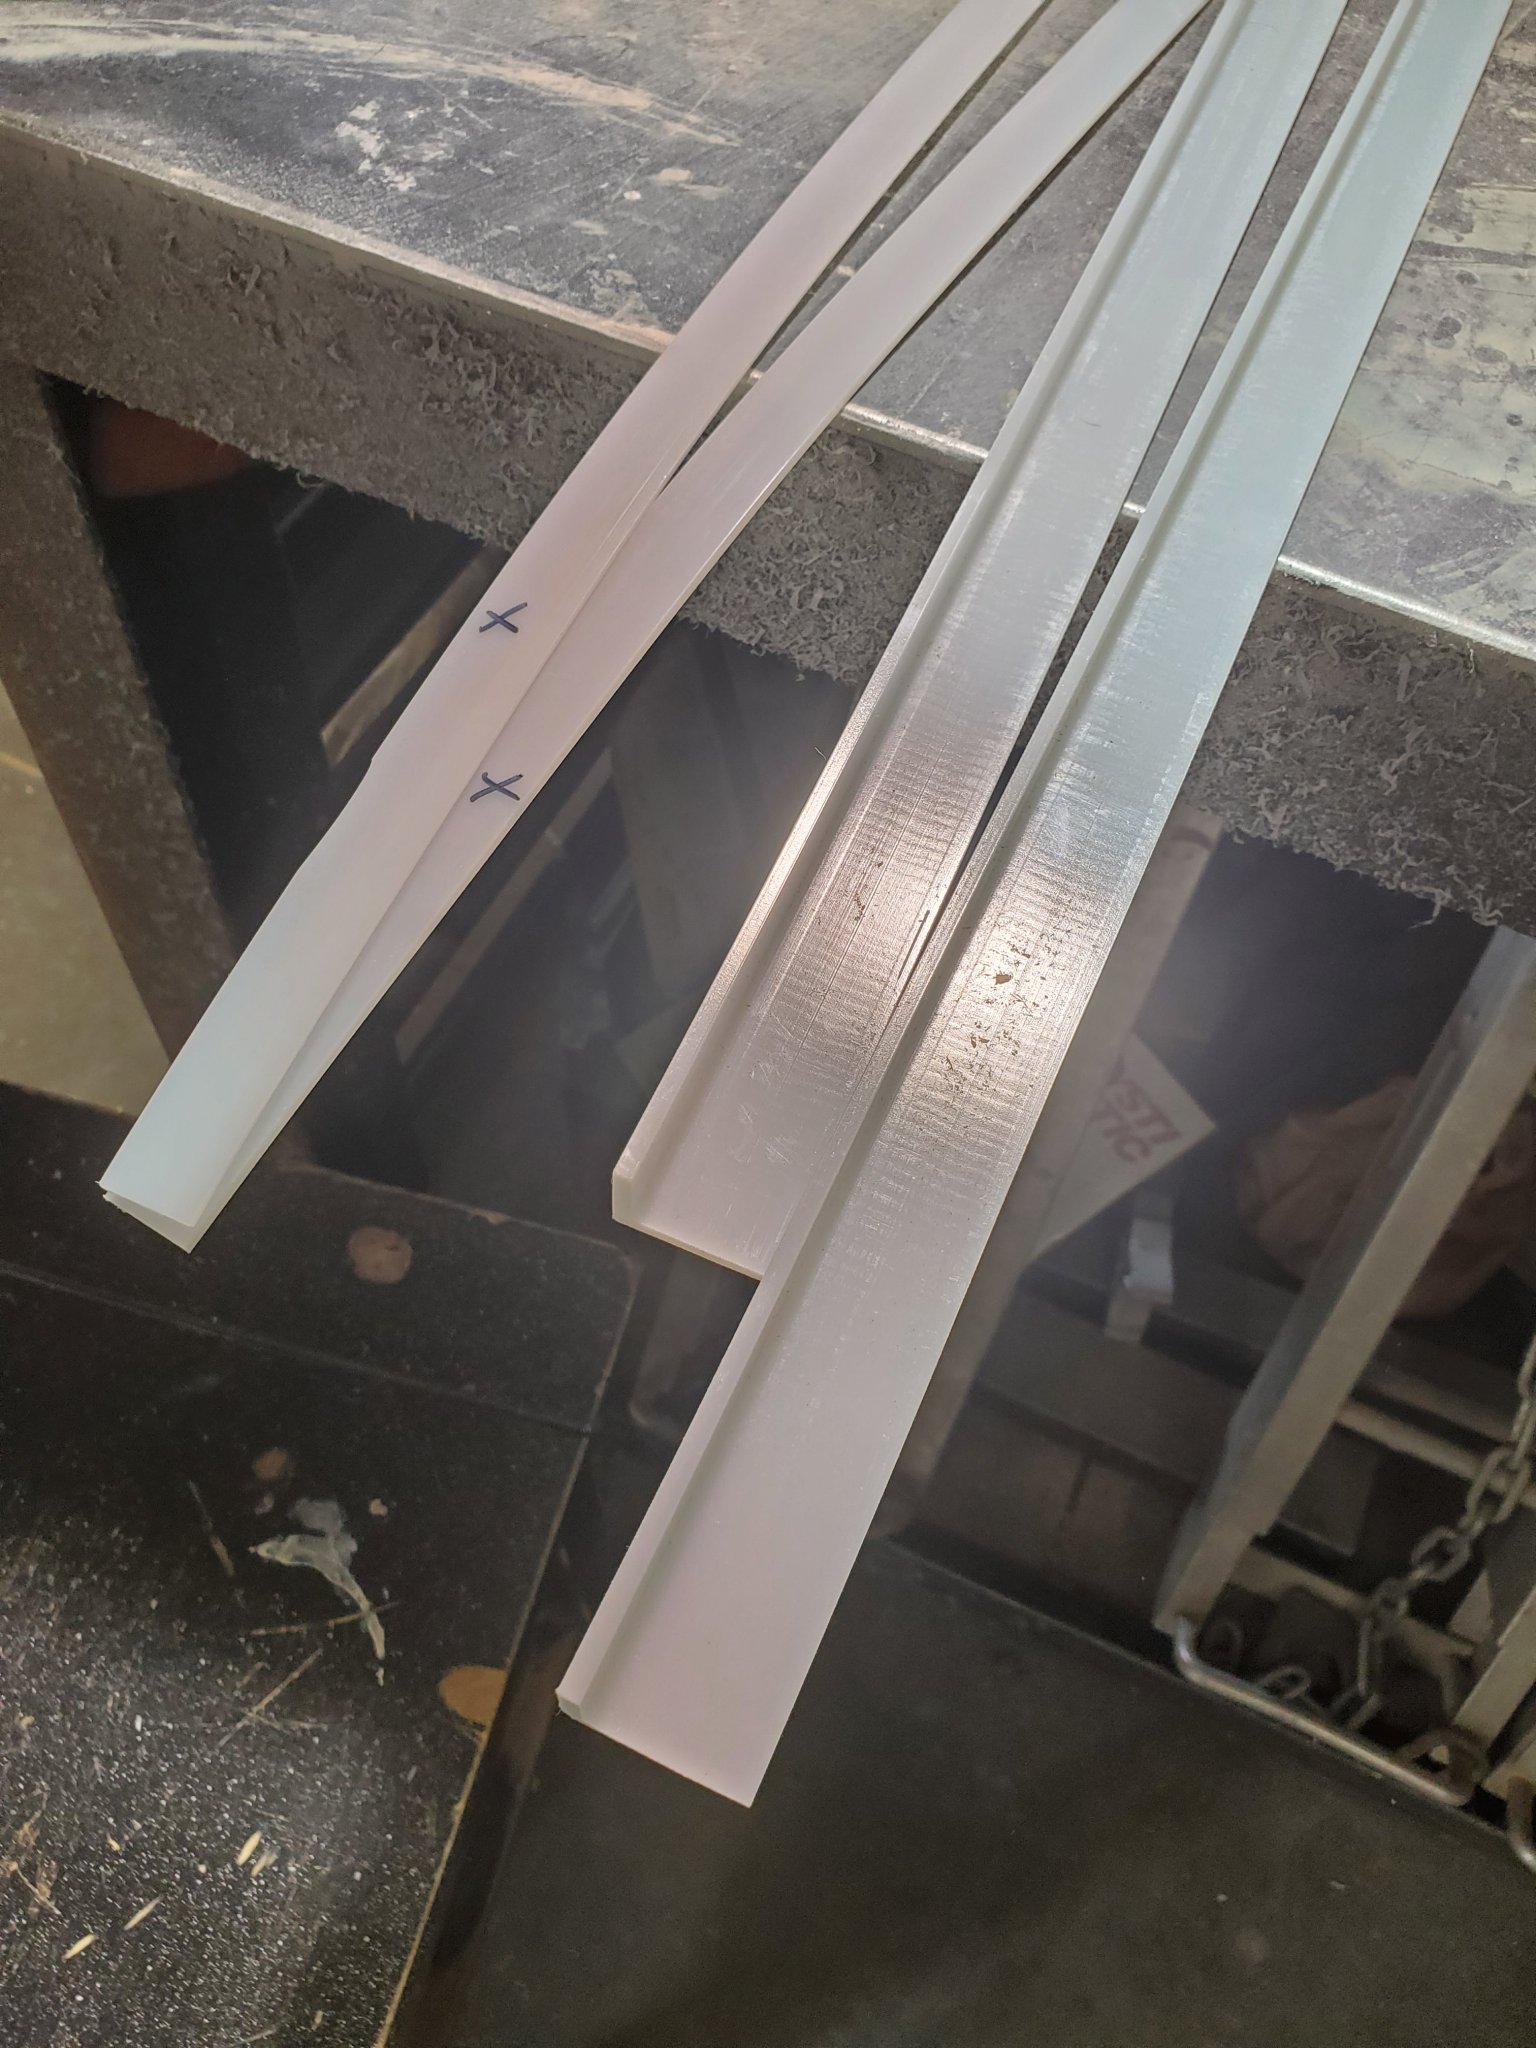
But I got The slides made. Uhmw U channel, ripped into L shapes. The leftover will go on the bottom of the drawer.
Couple free minutes today.
SDHQ light brackets on. Pretty darn simple.


And these came to go on them! BD S1's in wide cornering. 2375 lumens for a single chip. Bright enough to see in daylight, I am curious how are will do.

you are one progress-making mofo. keep it up!
In reply to AngryCorvair (Forum Supporter) :
Thanks, but this was spread over a couple weeks :D I am just behind on my build thread....
Nice choice, this thing is going to be awesome.
Switch controls have arrived. While not as fancy as the sPod or switch pros, Its dead simple, made in the USA and has a forever warranty. 4 30amp circuits, standard relays and fuses. The control panel is a bit big, but I will see where I can find a home for it.

Got some time for the drawer today.
Its big. Sand the edges so glue will bond.
Recessed the latch

It fits!
Slides well on the UHMW, may need to add air holes.... Its got some suction

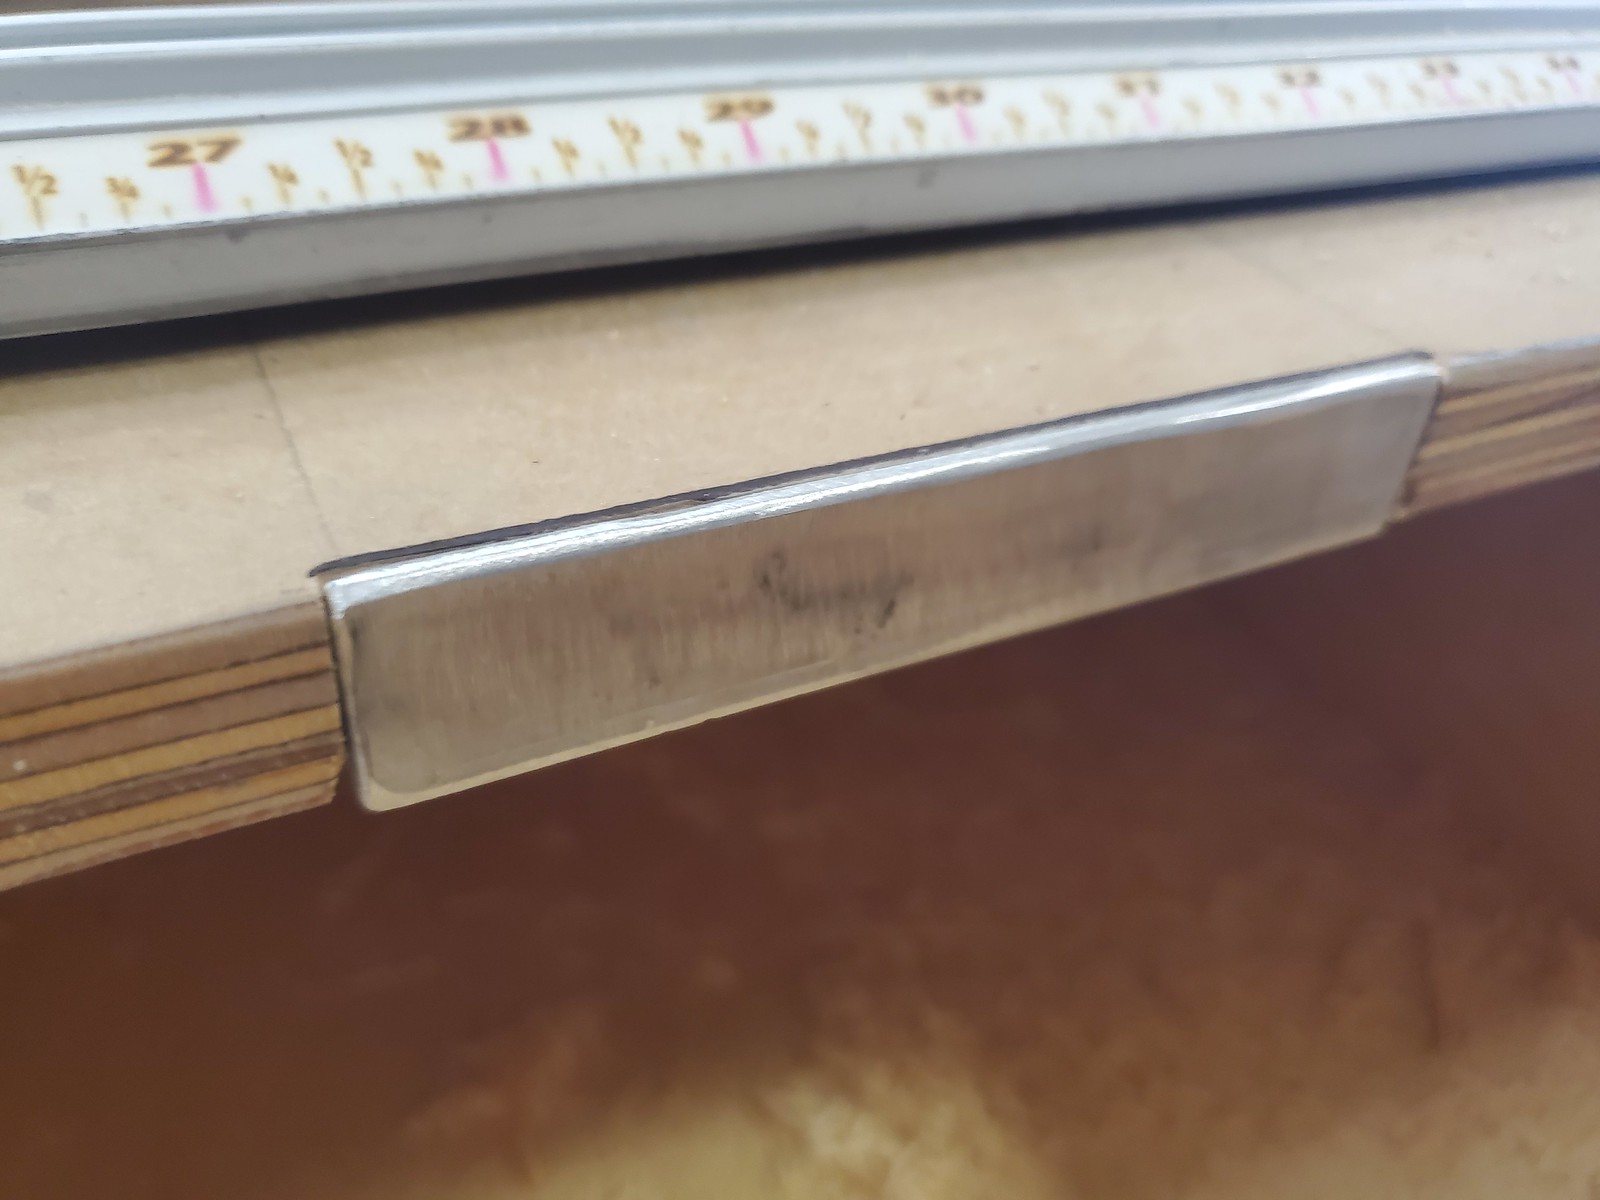
Added an aluminum strike and catch for the latch

Glued the slides in place


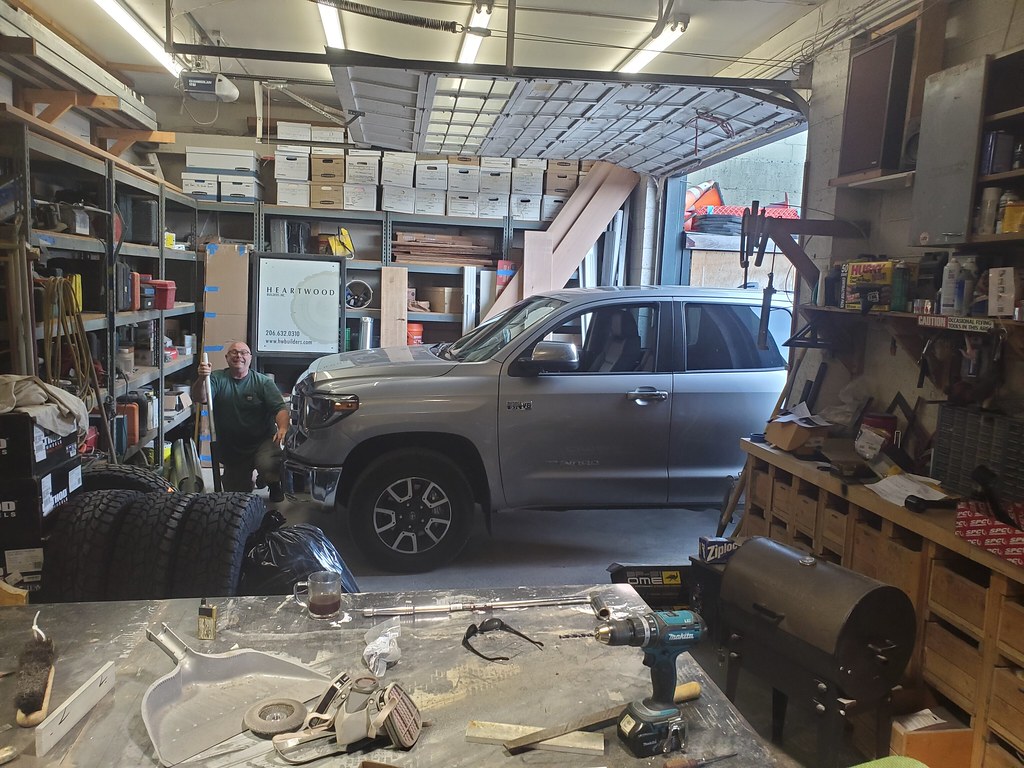
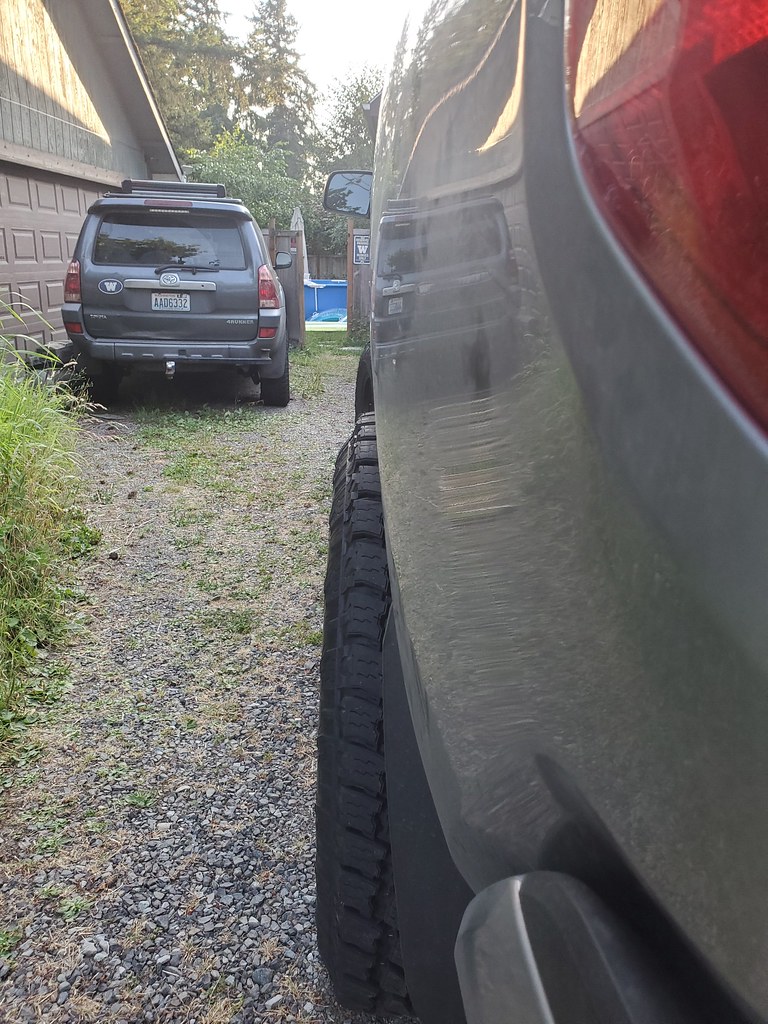
I no longer drive a turd.


And if your ever doing vinyl stuff, get yourself this. A friend who does vinyl wraps recommended it, it works amazing.

A little CAD. sorry lighting sucks...
A little more are WA la.
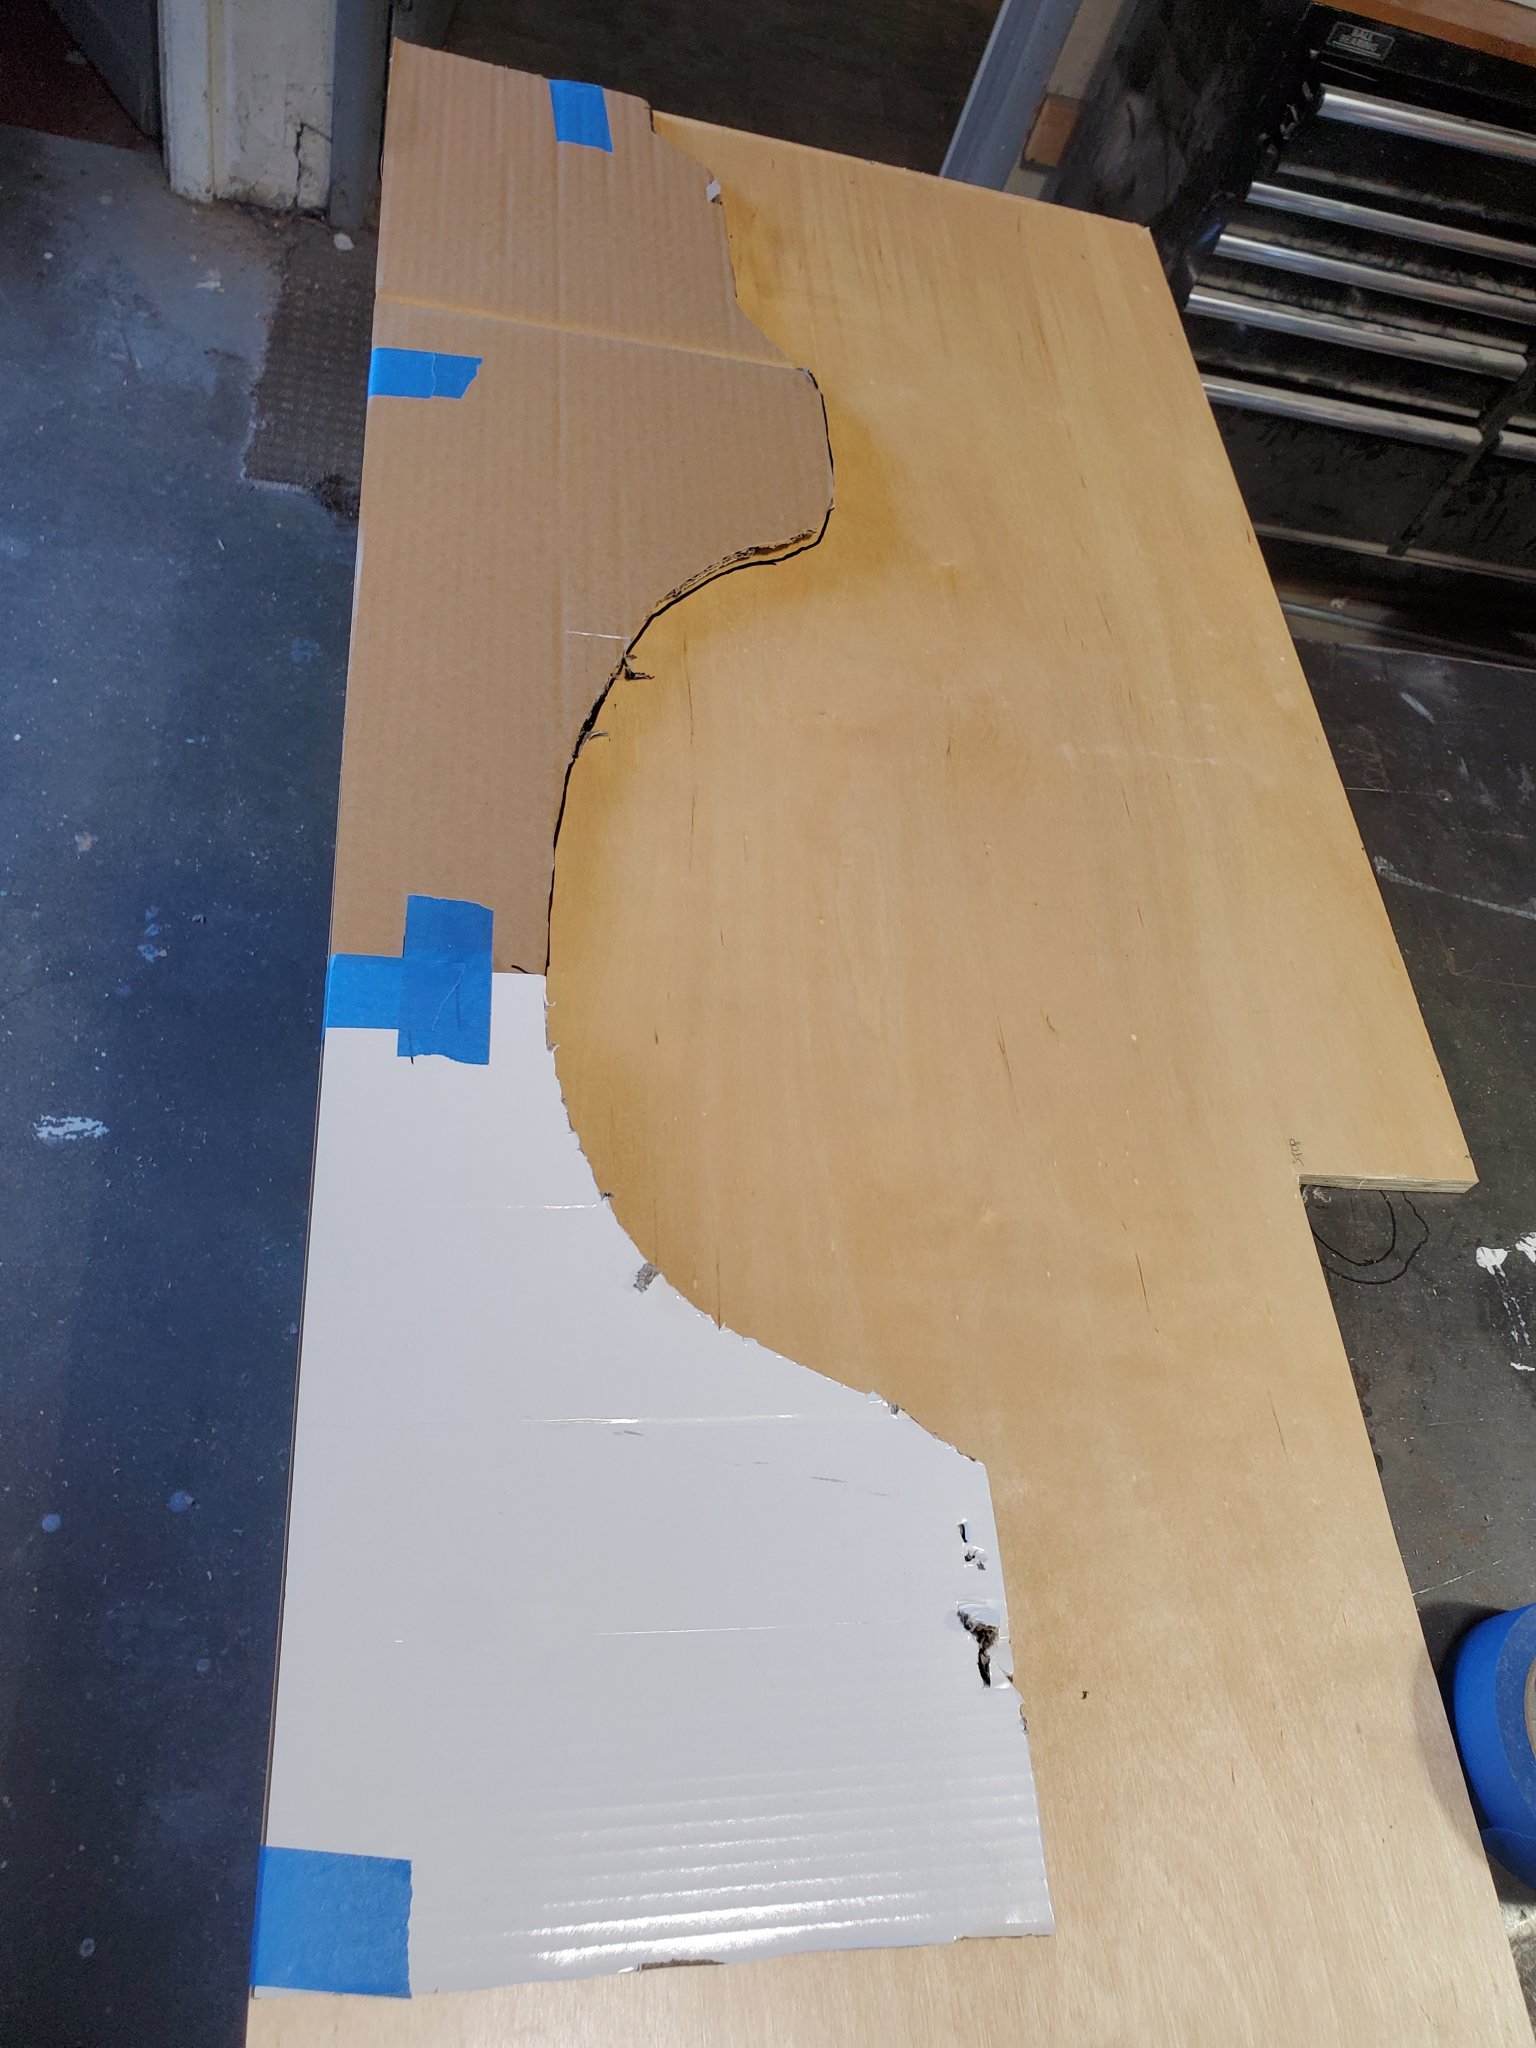
Transfer to ply, 2x because o can do it better than #1
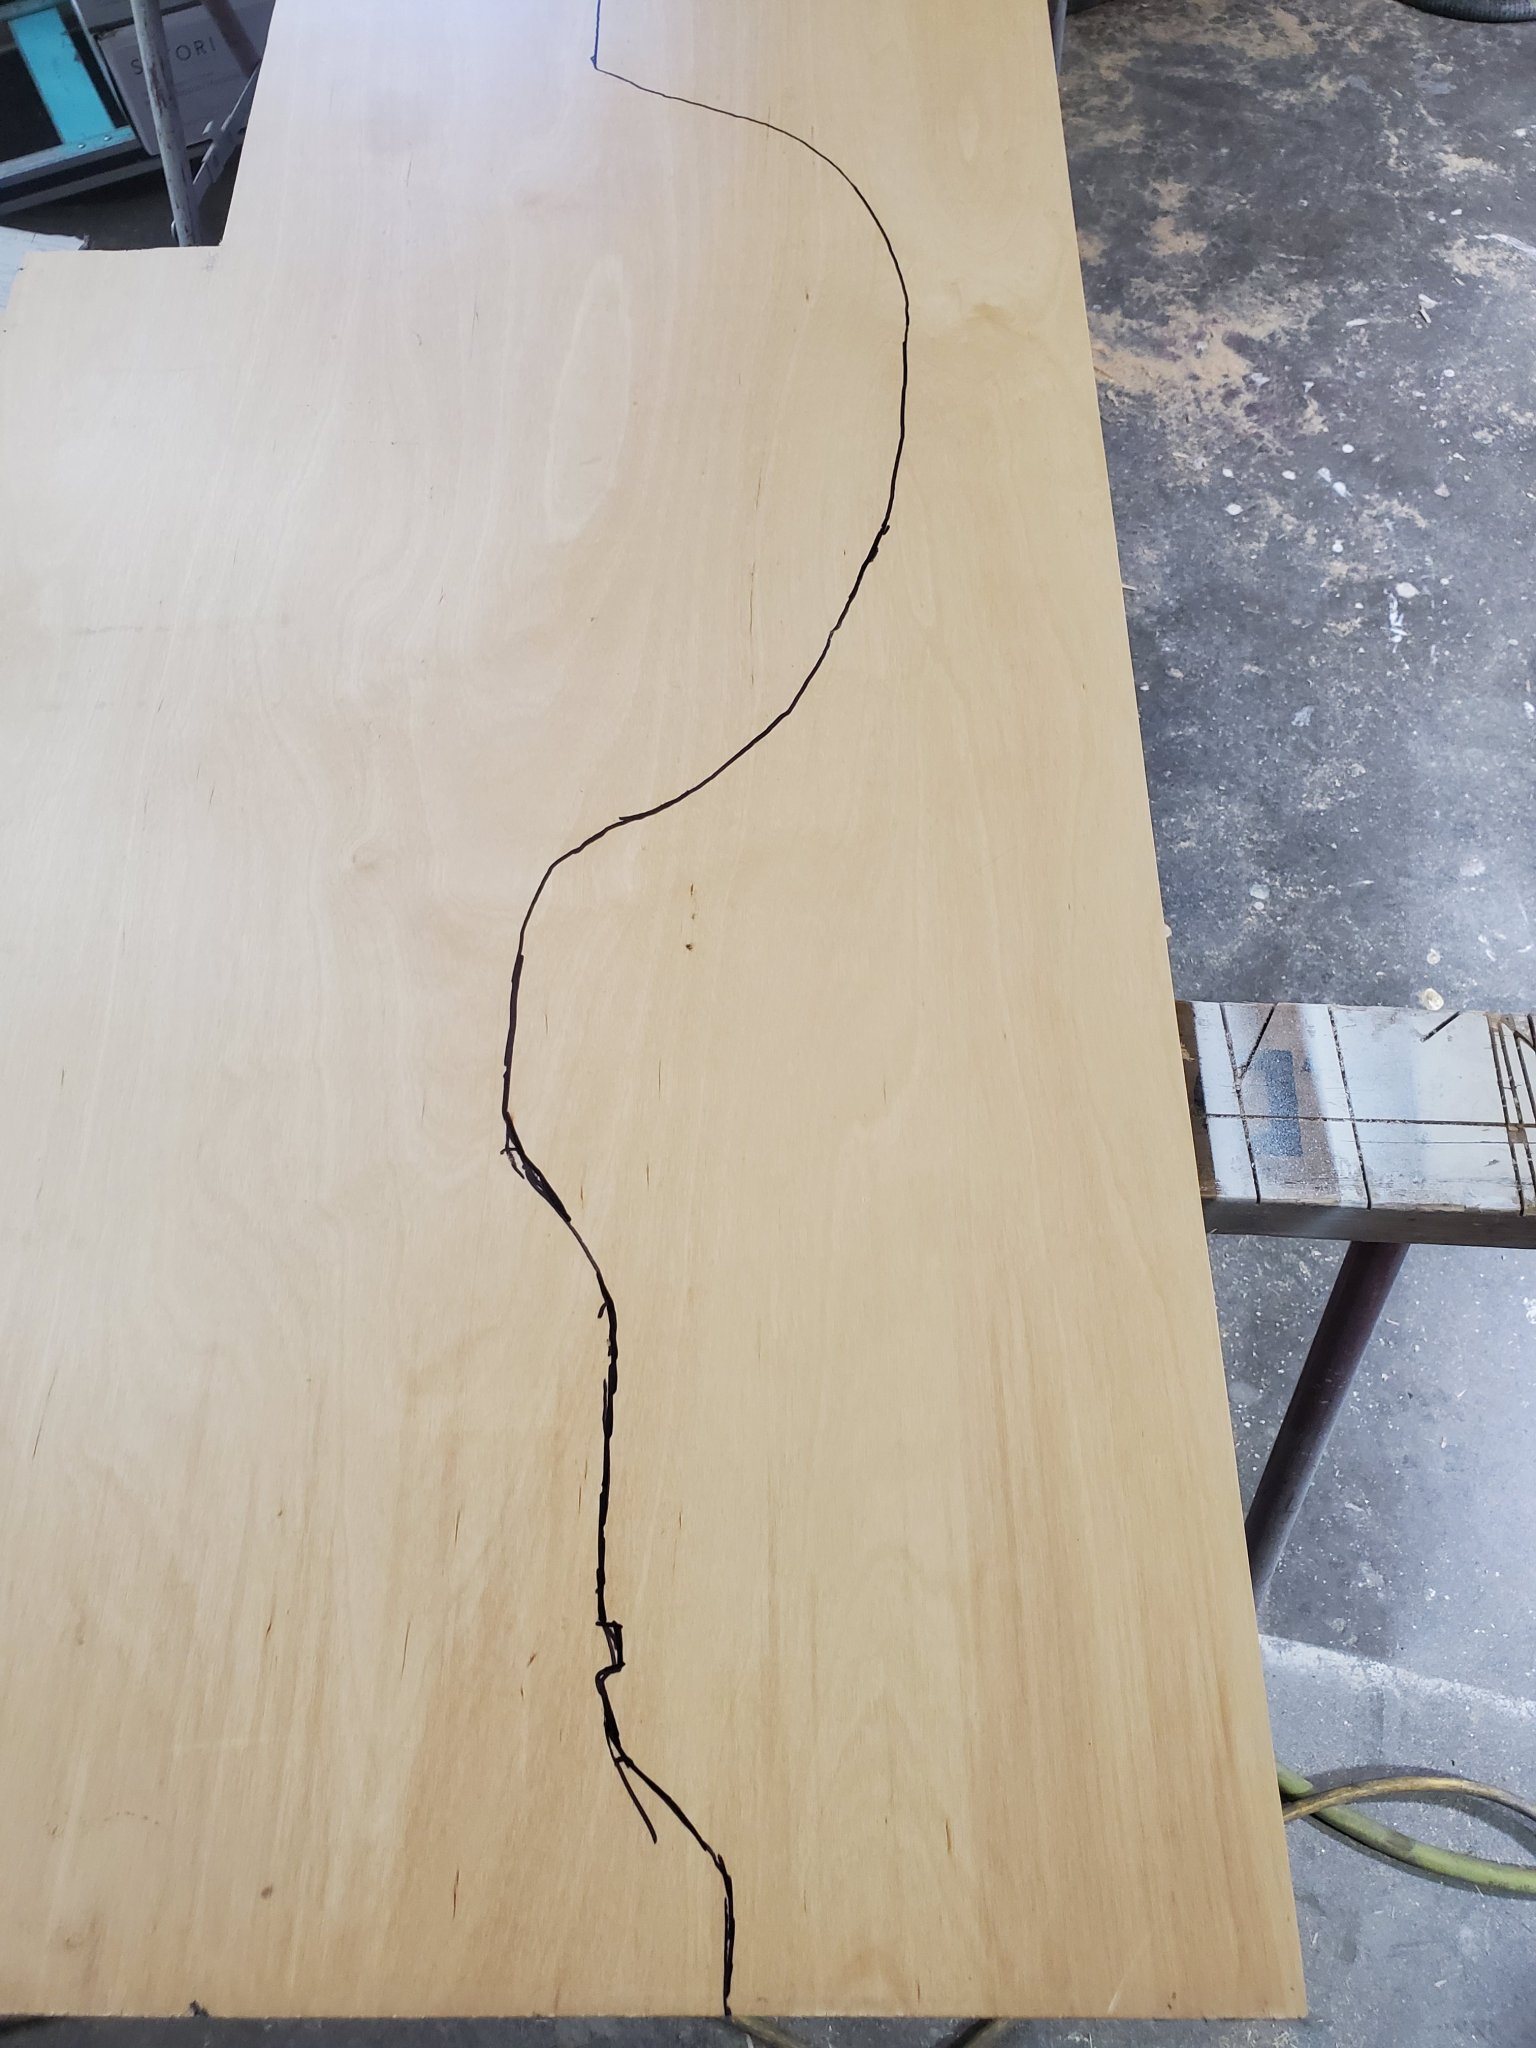

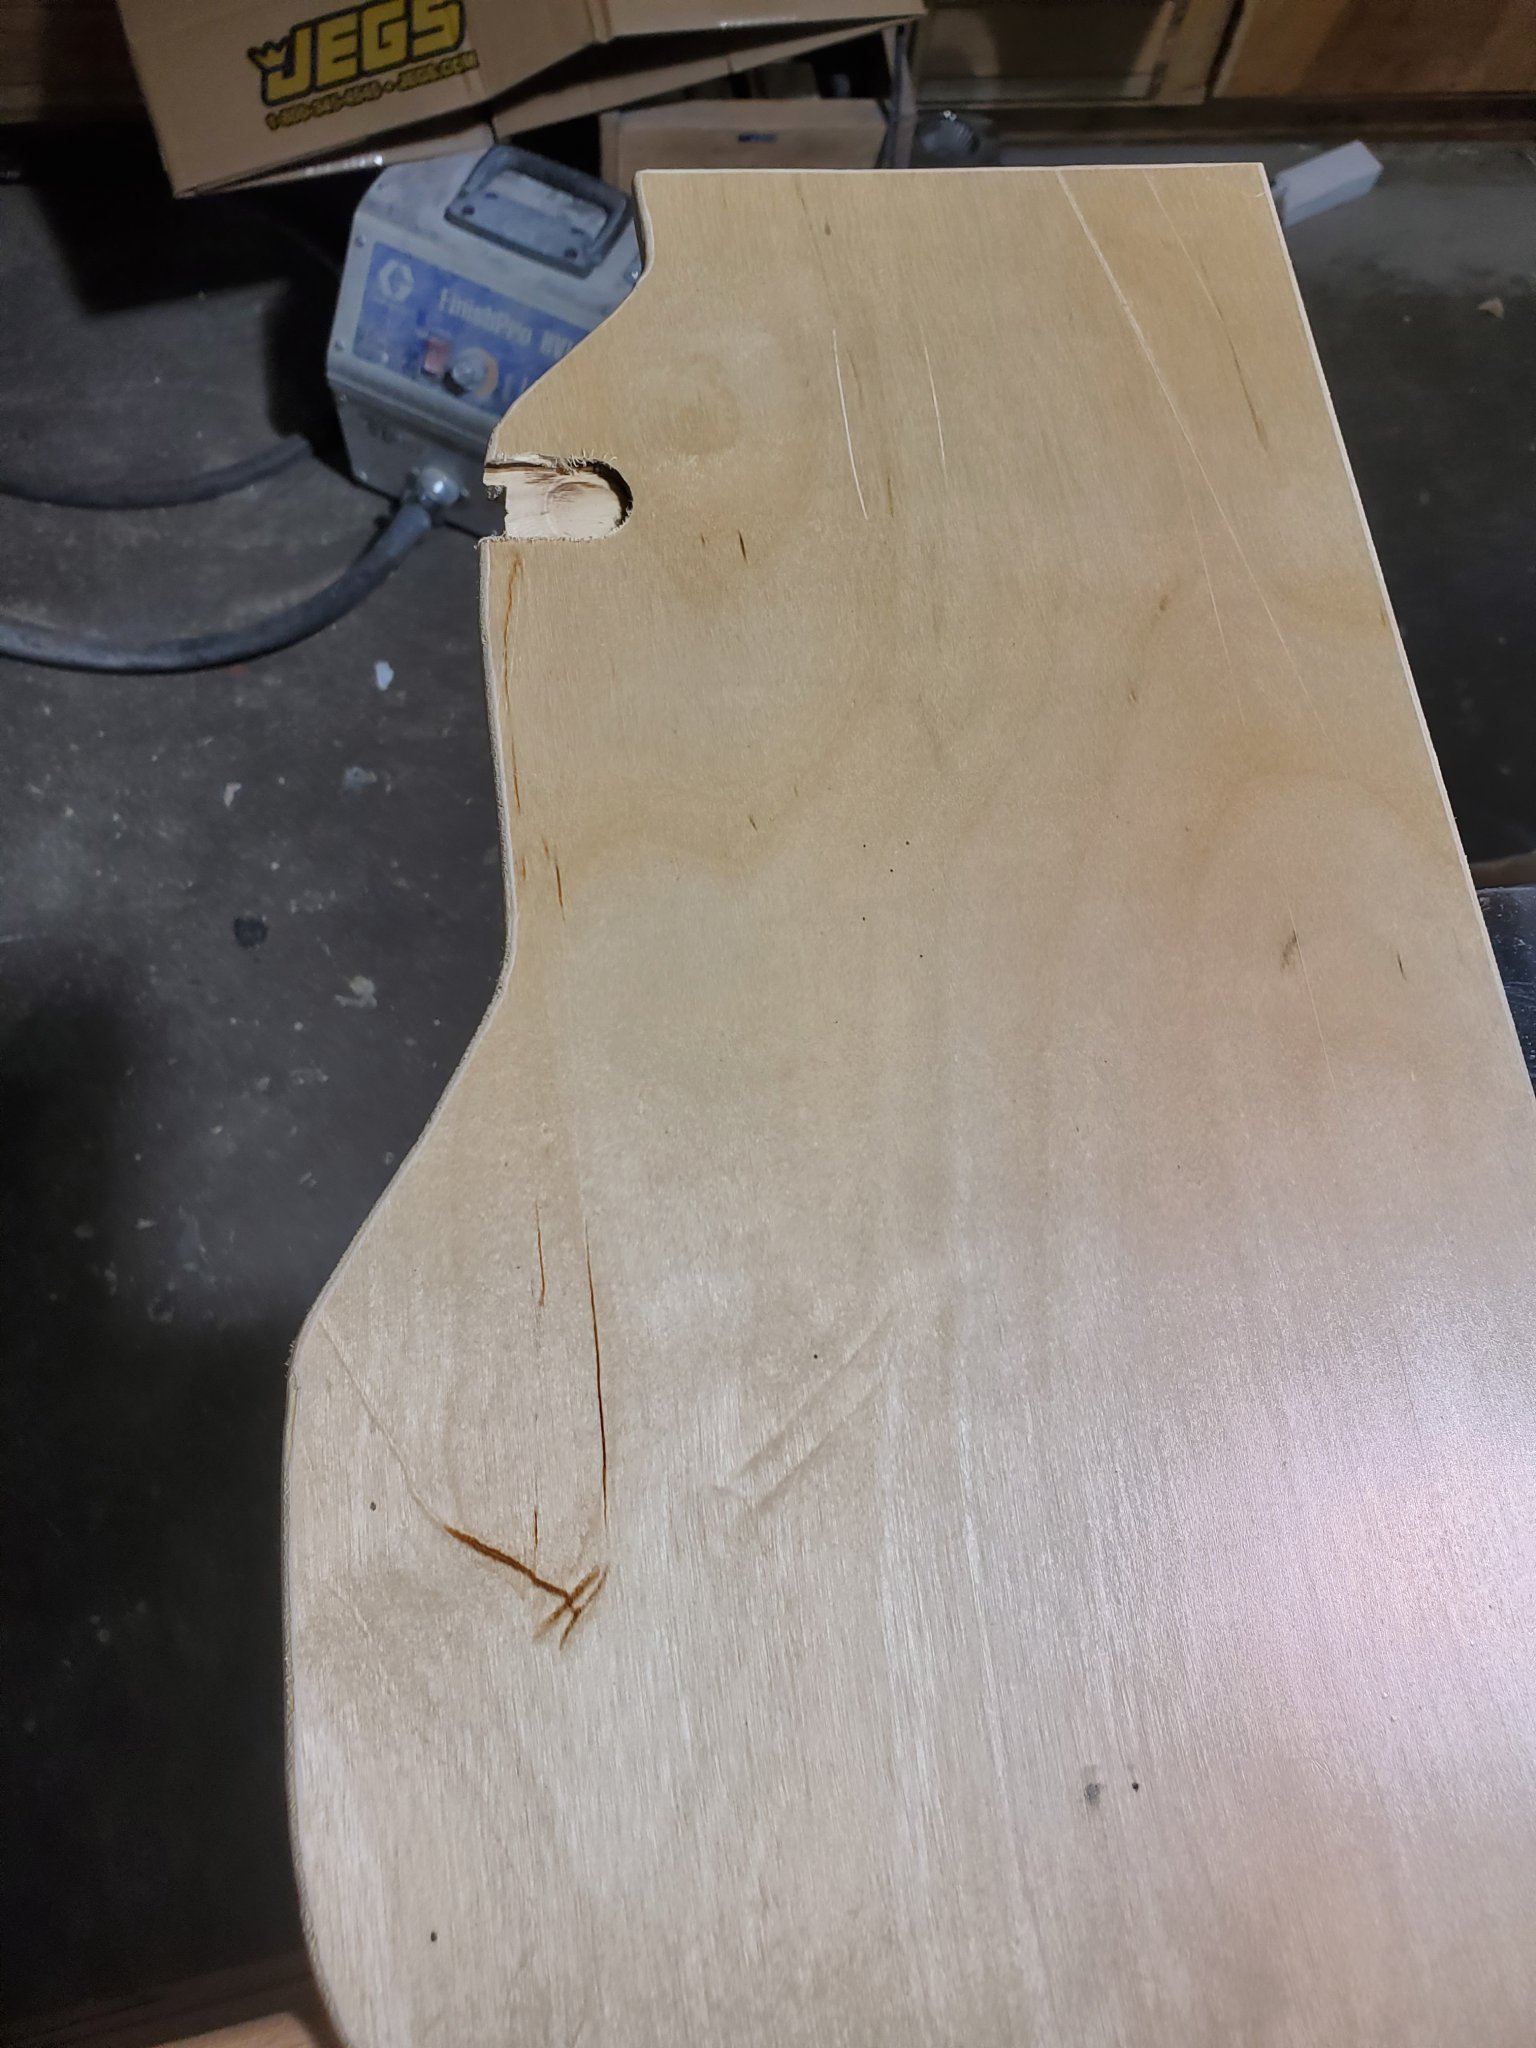
A little router and block action and it fits pretty damn well.
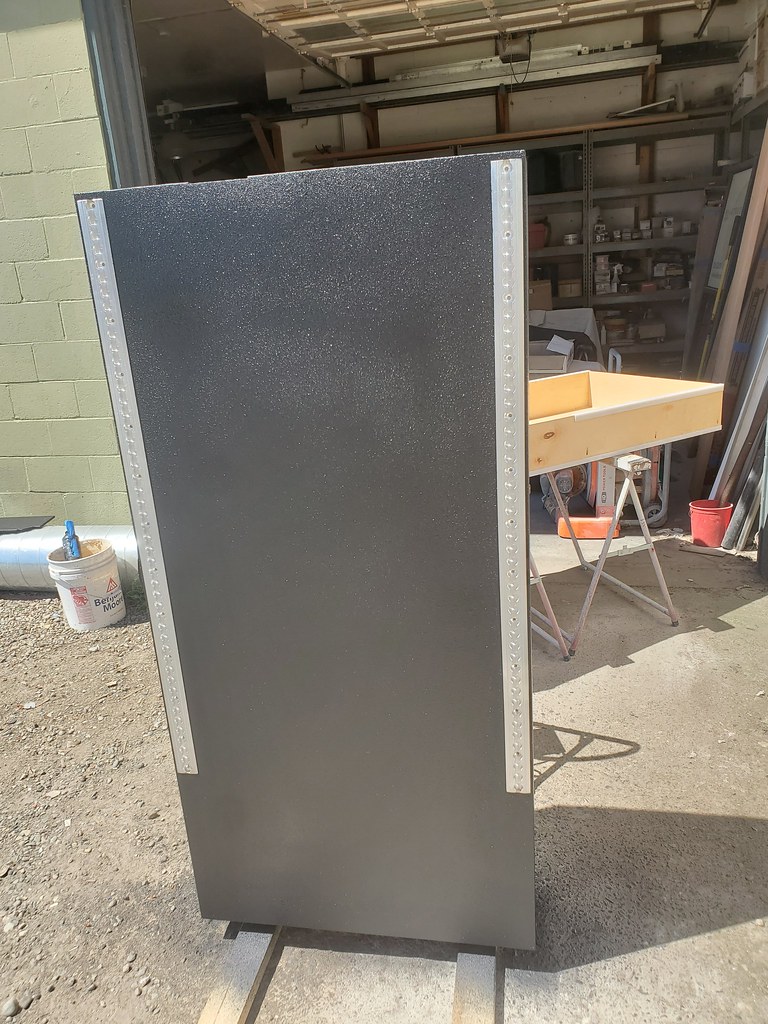
All masked off for bedliner.
Sprayed! I used a Scholtz gun I had, It's for bedliner and undercoating, but Raptor's gun must be much smaller orifice. Holy crap did I go thru it QUICK. Its only one coat, but does seem to be well coated.... 4 liters are supposed to do a full size truck bed, two coats.... I used two on this.
Wait till it just sets up a little and peel tape!


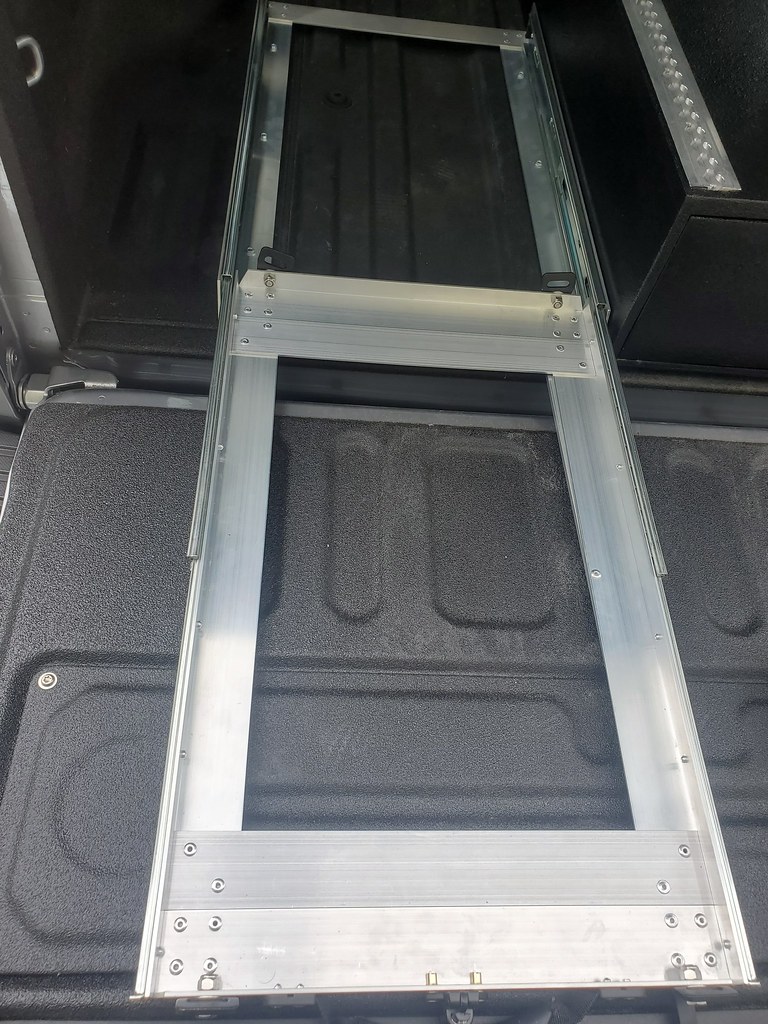
And drawer is installed! It fits great, my filler panel fits, and its not super heavy. Id bet 100lbs maybe. I can move it myself reasonably easy, its just awkward.
First I had to finish the latch and strike. Glued and screwed in place. Latch is offset to add a webbing pull on the other side.

Then added some brackets to hold the filler panel, just some scrape aluminum.

Four bolts in the back, sealant on them, then a coat of paint for good measure too. Two in the front, from the top, didn't take pic...

And WaLa! Works great!!
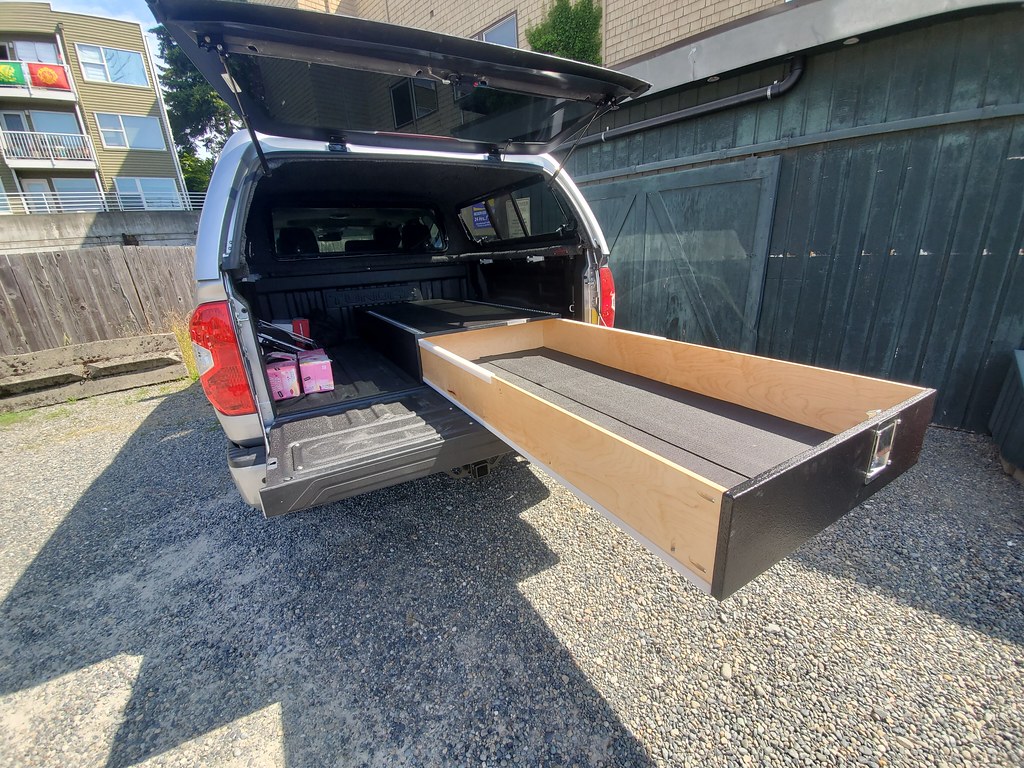

Filler fits good.

Cubby below, house battery will likely go there.

Tight to the tail gate. About 1/8" there.

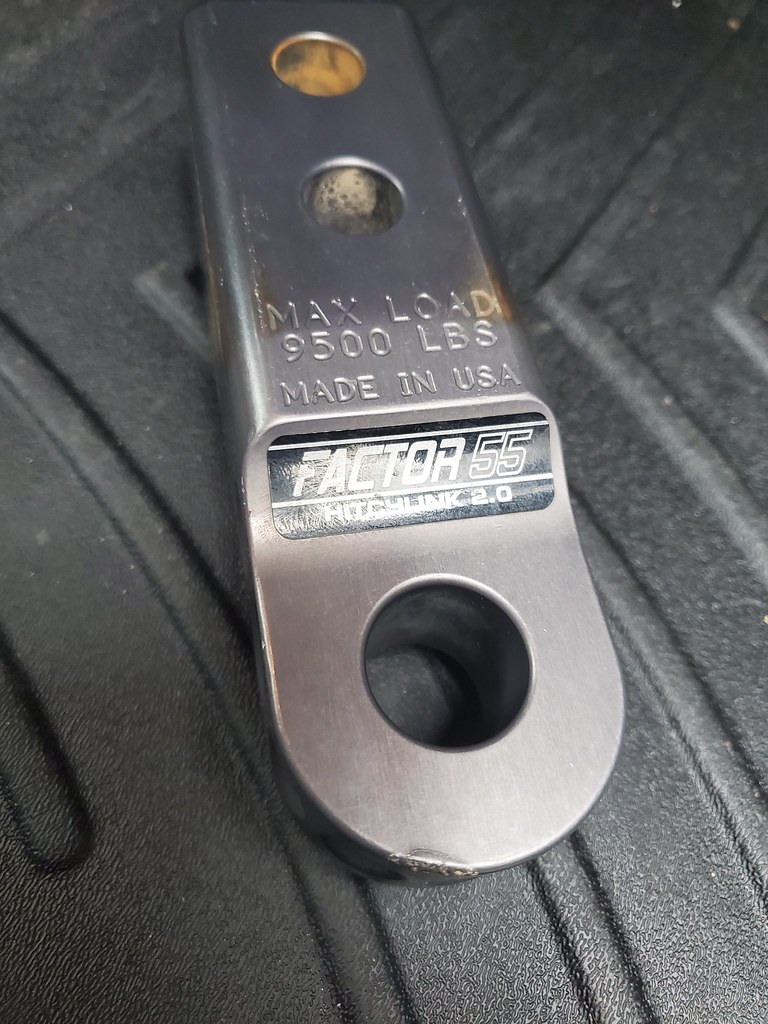
VOTE TIME: Fridge here or in the cab? Oh and new DFG Made in the USA aluminum slide. Nice little piece.

In reply to java230 :
Fridge in the bed.. that way if it fails or something goes wrong with stuff inside the fridge, the inside of the cabnever gets smelly or funky.
also AWESOME build thread.
In reply to spacecadet (Forum Supporter) :
Thanks! :)
Let me just start that I get it, canopy installs are done by the low paid employees..... But holy E36 M3. I hate sloppy installers....
Issue 1, the canopy pinches the factory tie downs, they moved them a little, and put the canopy on. They are now fixed in place...... Ask me if I want to just remove them!
Issue 2. Vampire taps. Really???? And get the wring wire the first time and leave a bite in the wire?
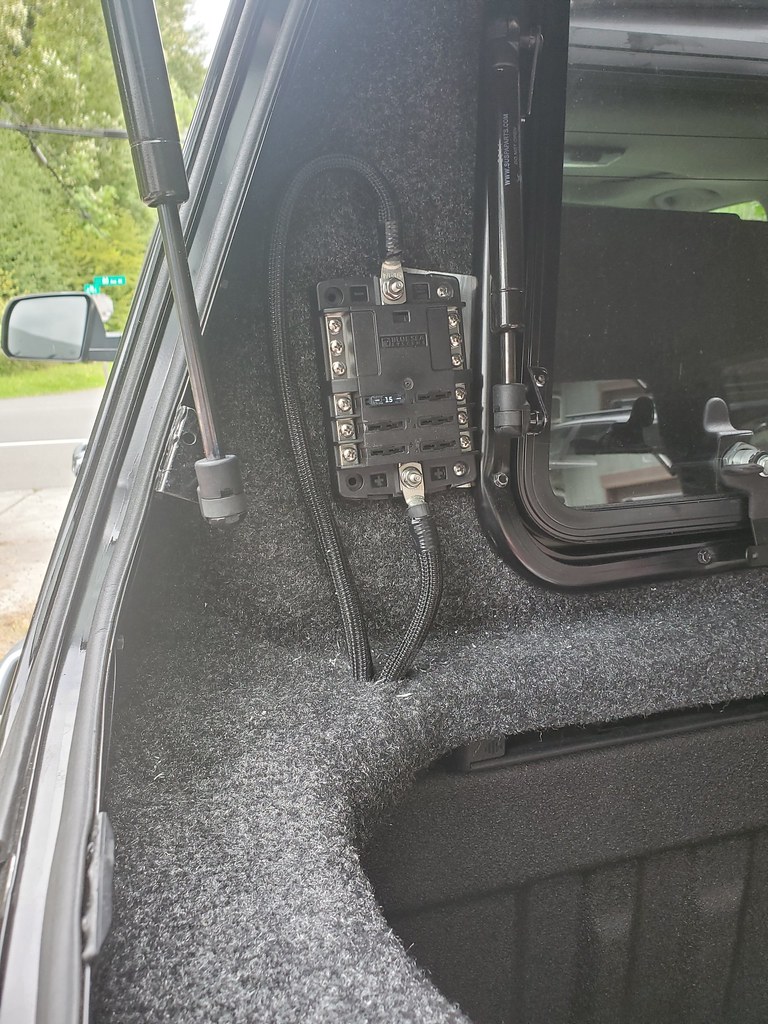
Issue 3. There is a "fuse box" and disconnect in the corner. The door on the fuse box is supposed to be able to open.... It was at a funky angle and hit the side, cant open. Once pried open is has USB ports?! But guess what isn't connected to anything.....Issue4: it rubs on the tailgate on one side....
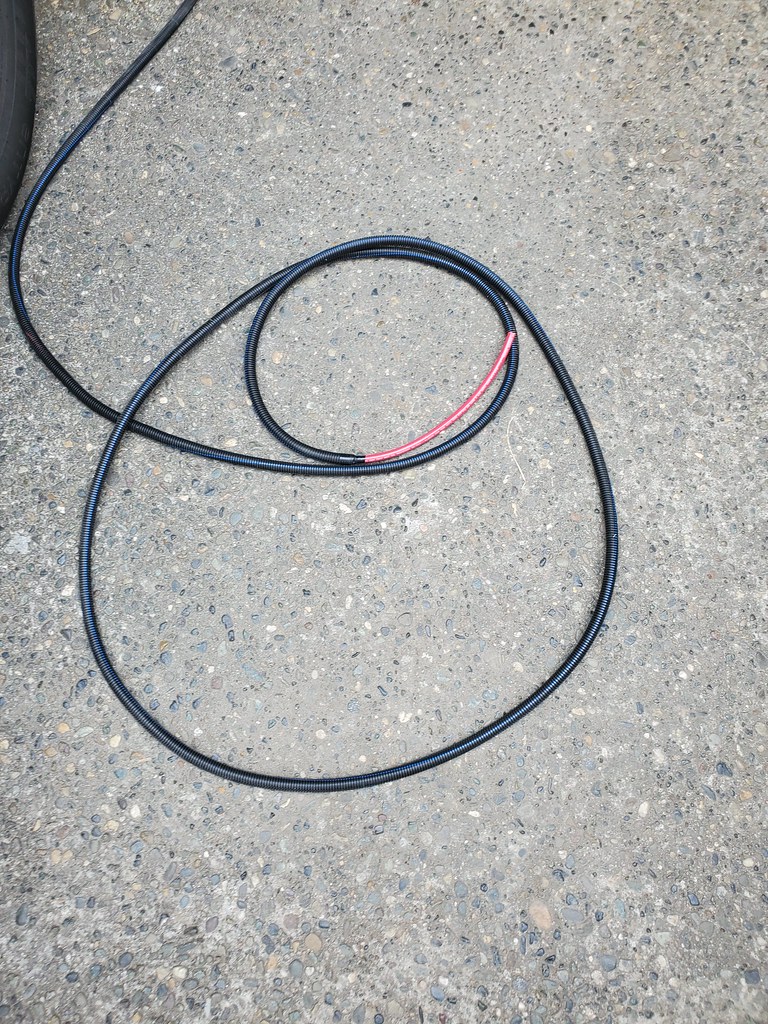
Annnnd they ran a wire to the cab for the lock, and used exactly ZERO zip ties..... Its just running along under the bed, supported kinda by some cross members, across hard edges, etc. That's gonna take some doing....
Come on, at least add some tape??

Fixed.

A little spacer and moving the bracket up a bit made the fuse box usable. Ill wire the usb up once I get my house battery figured out.

What's the gas strut behind the twilight about? Is that some fancy new truck thing?
Oh, and fridge in the bed. Those things are bulky. Is that fridge slide one of the ones that slides out and down?
In reply to thatsnowinnebago (Forum Supporter) :
Yep fancy new truck stuff. Soft open tail gate....
No just slides out. None of the out and down will clear the tailgate. And are stupid expensive!
Fridge is in the back.... Cut starboard spacers, get it up over the ridges, and the tailgate. Latch barely drags on the tailgate now. May add a little more spacer if needed.


Install day finally came! Had a bit of help and it took us 5 hours 58 minutes from the time the truck got pulled in. We weren't really rushing, but the heat killed us.
Working on a new truck is AMAZING. No rust, not much road grime even! Once the fastener was loose you could spin it off by hand even! Clean threads are amazing.
Font In, taking the upper UCA off made it easy to drop the in CO in. Swapped to the SPC ones. Had to disconnect the sway bar to get just a wee bit more droop.
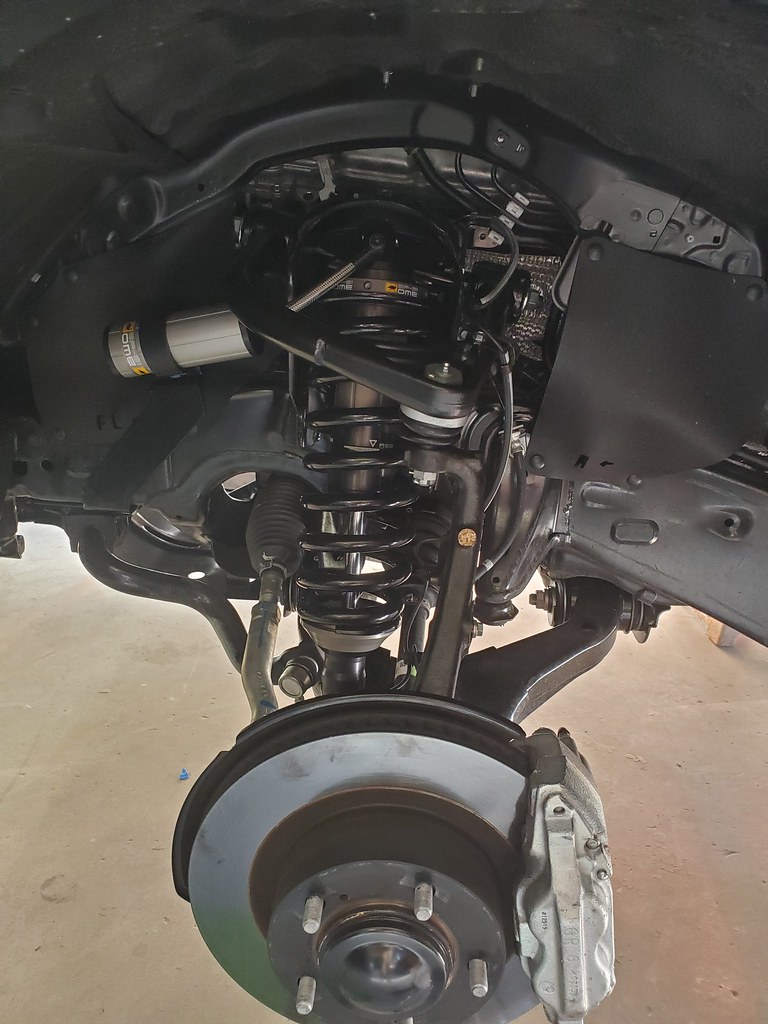
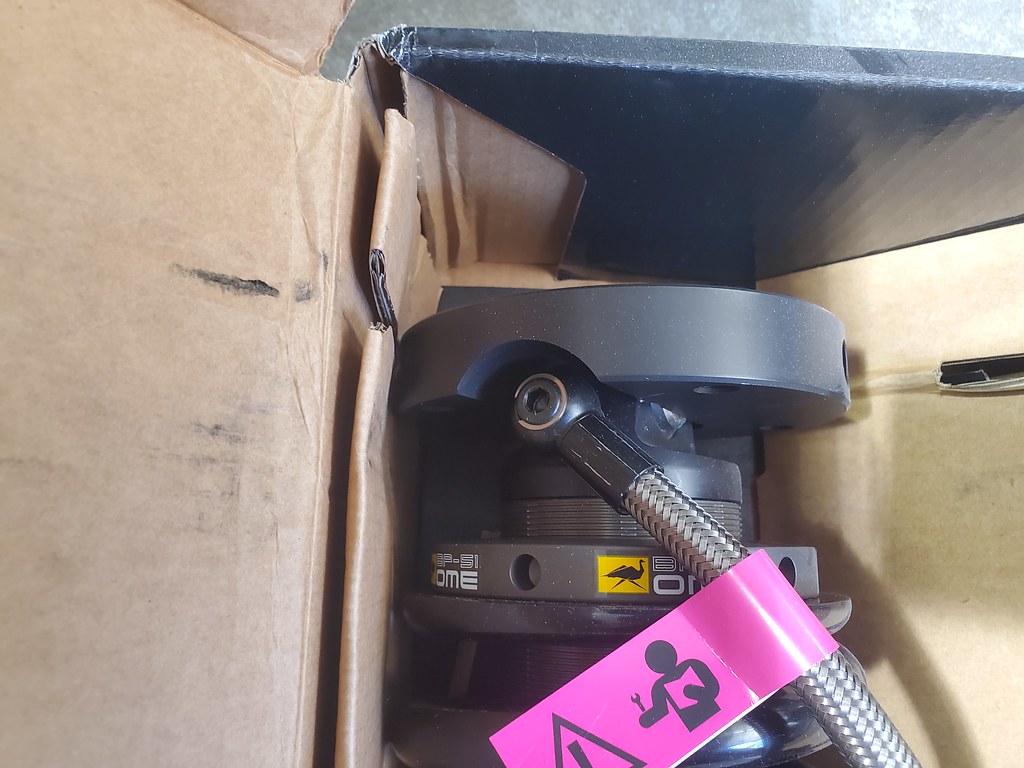
And this was the only issue with the kit. The resi line must run outboard and forward on the CO's. They were both assembled the same way, so one needed to be flipped. Was not possible without breaking the flex line, so the top cap had to be removed. Off to the store for a 12mm Allen wrench, but simple.
Rear end all free. Leafs are heavy. I am not super wild about how the OME kits does the brake line extensions, it simply raises them up off the axle. Seems like a spot to catch sticks etc..... Maybe find some longer replacement hoses.

Forgot to take pics.... But all back together.

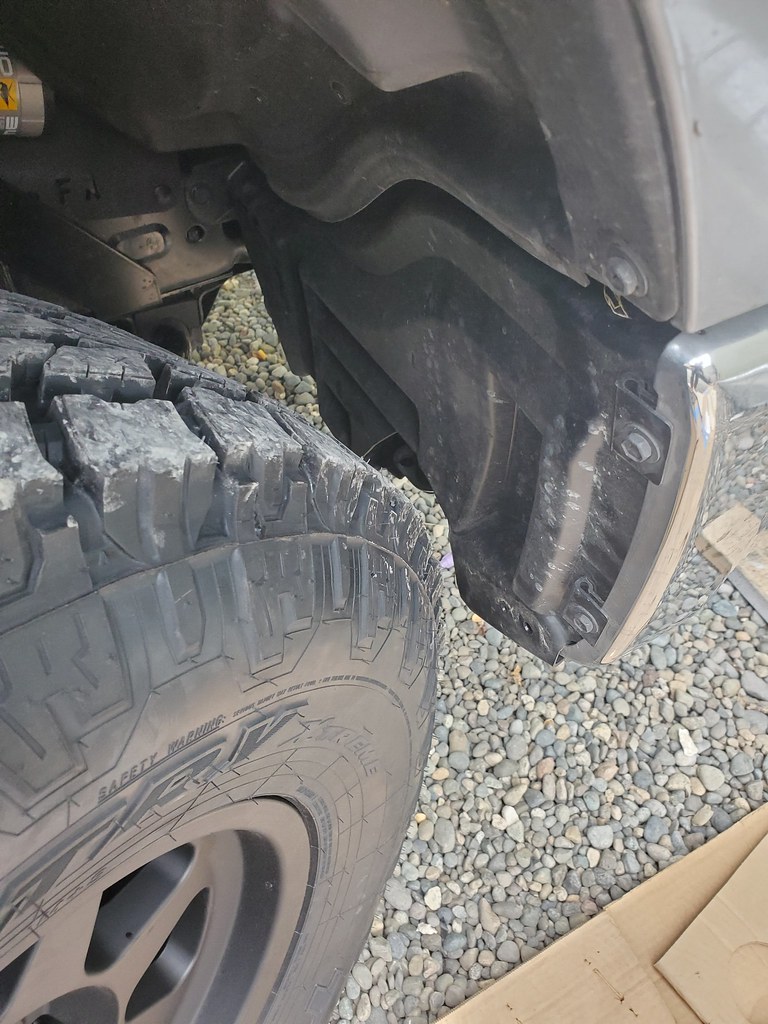
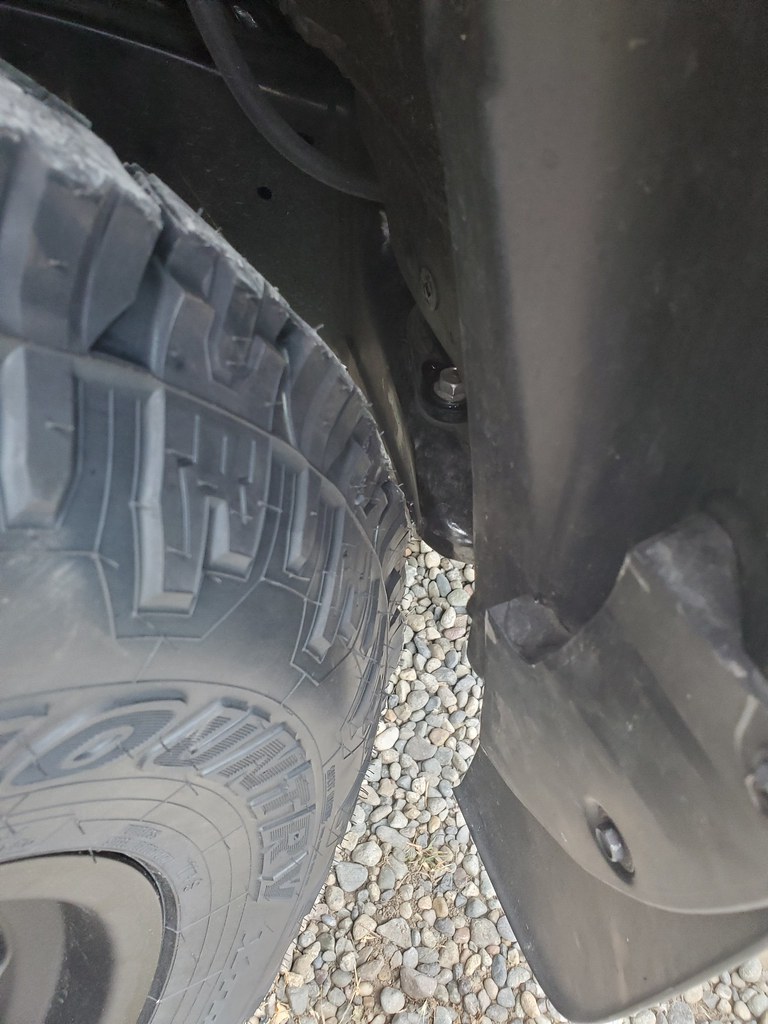
Now onto the wheels. More sidewall is better IMO, so I downsized to a 17". They clear, but barely. They have a bit less backspace than I anticipated, but I think I can live with it. Make a bit more rubbing in the front, and a little more poke than I would normally run, but it was the only BS option in the 17"

Wee bit of poke...
Nice work so far! Must be nice not having to soak nuts and bolt in PB Blaster the day before
Placemotorsports said:
Nice work so far! Must be nice not having to soak nuts and bolt in PB Blaster the day before
You have no idea!!! Its amazing. Not even road grime on the threads yet. You could literally thread the nuts off with your fingers once broken loose!
Great time hanging out with some old friends this weekend. First time in the dirt for the new truck. It worked great! No real complaints other than the canopy is rubbing on the tailgate. The layout worked well, and the truck just disappears gear into it. The 4runner was always stuffed to the gills!


Ate a lot of dust. Drove up to the highest point you can drive in WA.

Bookmarked! What a clean, smart suite of upgrades.
A buddy of mine recently purchased a 10 year old version of this truck and wants to outfit it similarly. He's decided to take it out exploring/climbing in the west, but when he's back we'll be doing a build and I'll be bothering you with questions!
In reply to ebelements :
Thanks! And ask away. Not much has changed on these trucks.
Looks great with the lift and tires. Its nice that the SPC arms have the big ball joints. Uniballs get annoying fast. Wish I'd would have gone that route on my old 4Runner, instead of the Total Chaos arms I used.
I have the same Bluesea fusebox waiting to be installed in my old ford. Pretty sure I have the same breaker too. Can't wait until I have time to run all the wires.
In reply to thatsnowinnebago (Forum Supporter) :
Yeah agreed. I wanted the ball joint for a DD.