


This thread makes me want to find a grandma-spec 97+ Buick Century/Regal, do the Series III swap, add cheap goodies, get 35mpg in comfort and run 13's N/A.

This thread makes me want to find a grandma-spec 97+ Buick Century/Regal, do the Series III swap, add cheap goodies, get 35mpg in comfort and run 13's N/A.

In reply to beans:
35 is a stretch, I'd guess closer to 25 mixed, 30 highway.

beans wrote: This thread makes me want to find a grandma-spec 97+ Buick Century/Regal, do the Series III swap, add cheap goodies, get 35mpg in comfort and run 13's N/A.
Yeah, you're actually not going to do any of that stuff... The lumpy cam is going to kill mileage. and we think we'll break into 14's without much trouble.
you'd if 13's are your goal you'd be better off finding either an early L27 2 door regal or just getting a '97+ regal GS and intercooling it.

I'm on board with this one. I'm a GM guy, drag racer, and along with V8's the 3800 V6 FWDs are my favorites. I'm not a big fan of the 2000 Bonne style either. The 96-99 was my favorite. I owned a 94 SLE for a long time that later was handed down to my son. We also have a 2000 Chevy Impala 9C1 that I'm currently working on repairing from an indicent with a semi (that will be a thread to come soon). I worked for GM dealer from 96-2001. (Pontiac Buick GMC) and drove a lot of 3800 cars. I've seen 3800 cars with 300K-400K plus.
ZZP,3800performance, and Intense Racing all support 3800 aftermarket. Thrashercharged I believe is out of business. You'll find few items at Summit/Jegs, but the above are the specialists if you need computer tuning and more die hard parts. SLP has a few items. Cartuning out of Canada has a nice turbo setup.
Since most 3800 cars were in "quiet" sedans, the intakes and exhausts are very restrictive. Put a cone filter on a 3800 and it will sound like it's ready to suck the hair off your head.
The supercharged 3800 models and the 9C1 Impalas have a stronger transmission.
The thought of a LeSabre for Lemons or Chump is a great idea. These are out there used cheap. The LeSabre did have a Gran Touring Suspension package that was "a little stiffer" but not very common-generally found on Limited models.
The "Grand Touring" suspension is the same as pontiac's F41 and is interchangable. it comes with stiffer springs and larger sway bars front and rear. I have a grand touring setup from a Park Avenue Ultra on my Lesabre Limited. The ACG car will be getting the F41 from the parts car. as well as a full suite of poly bushings and airbags in the rear.
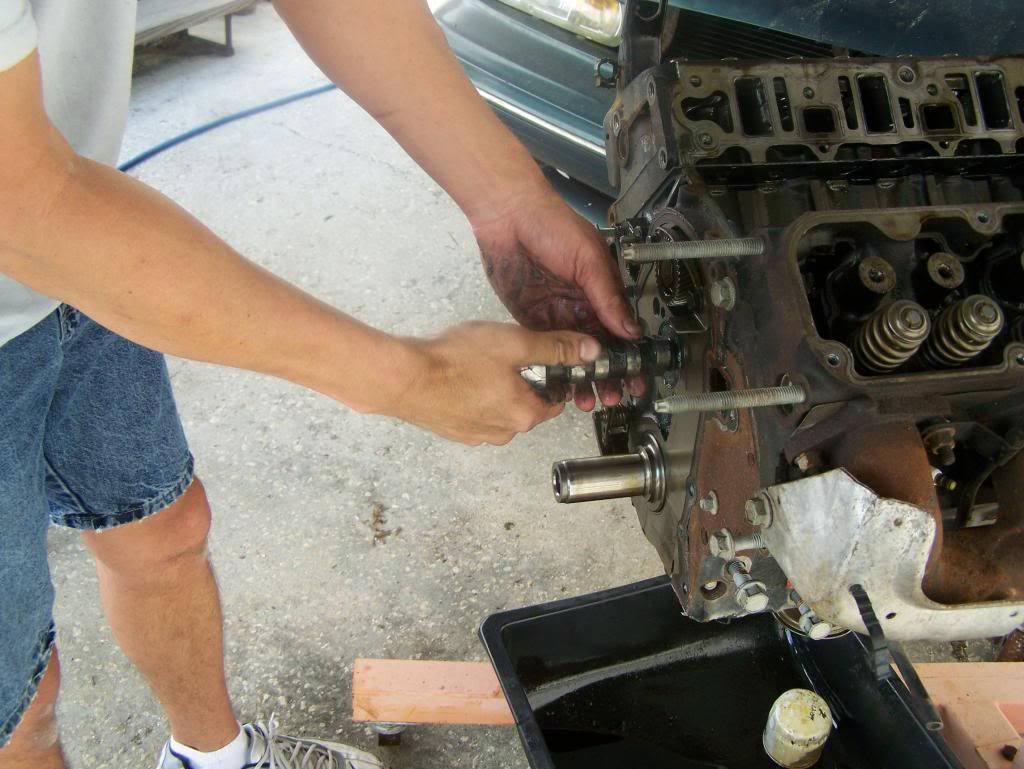
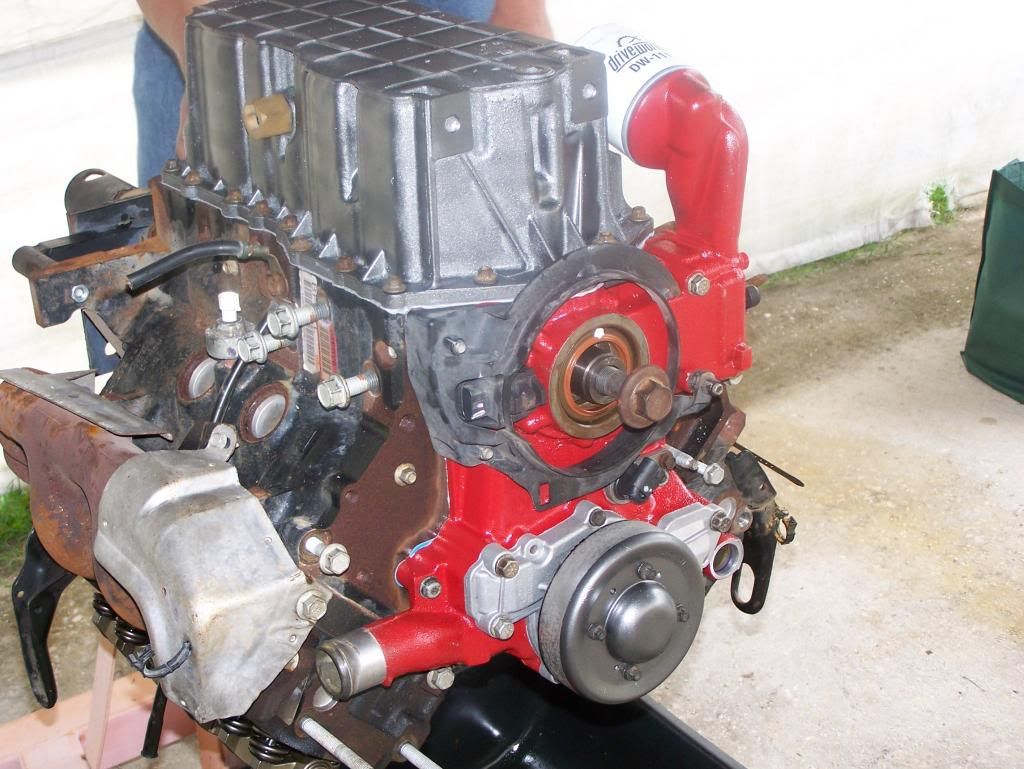
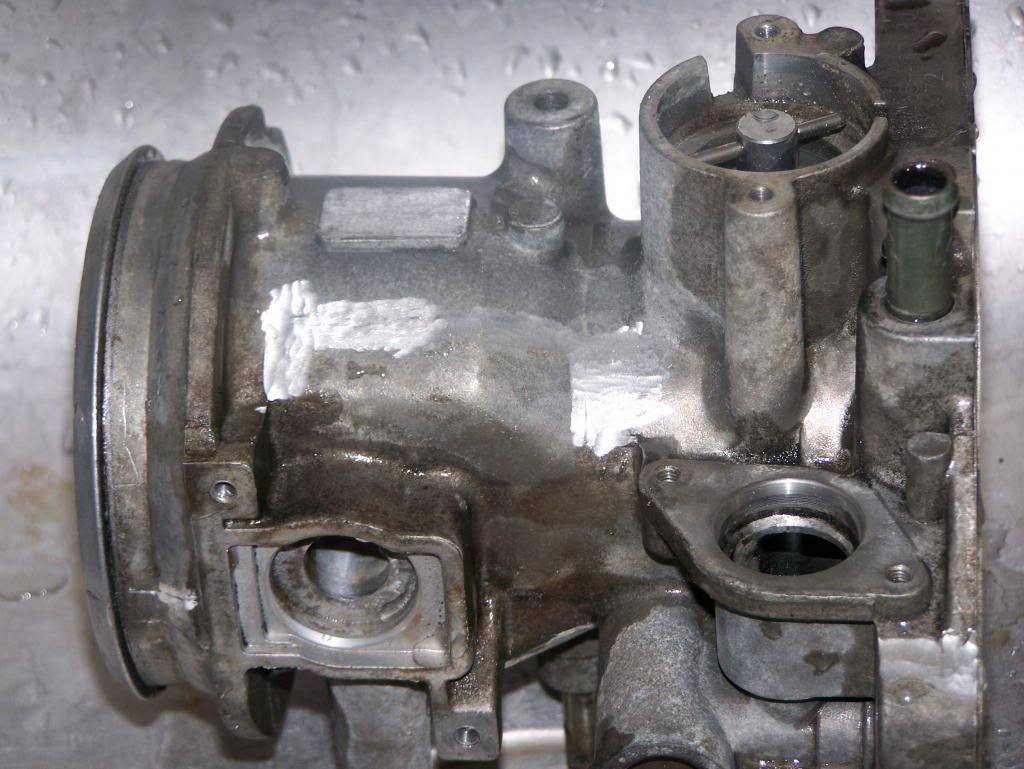
as we all know building a motor is more than just bolting parts together. The little touches are what make the project more than just the sum of it's parts... we started by breaking down the top end.
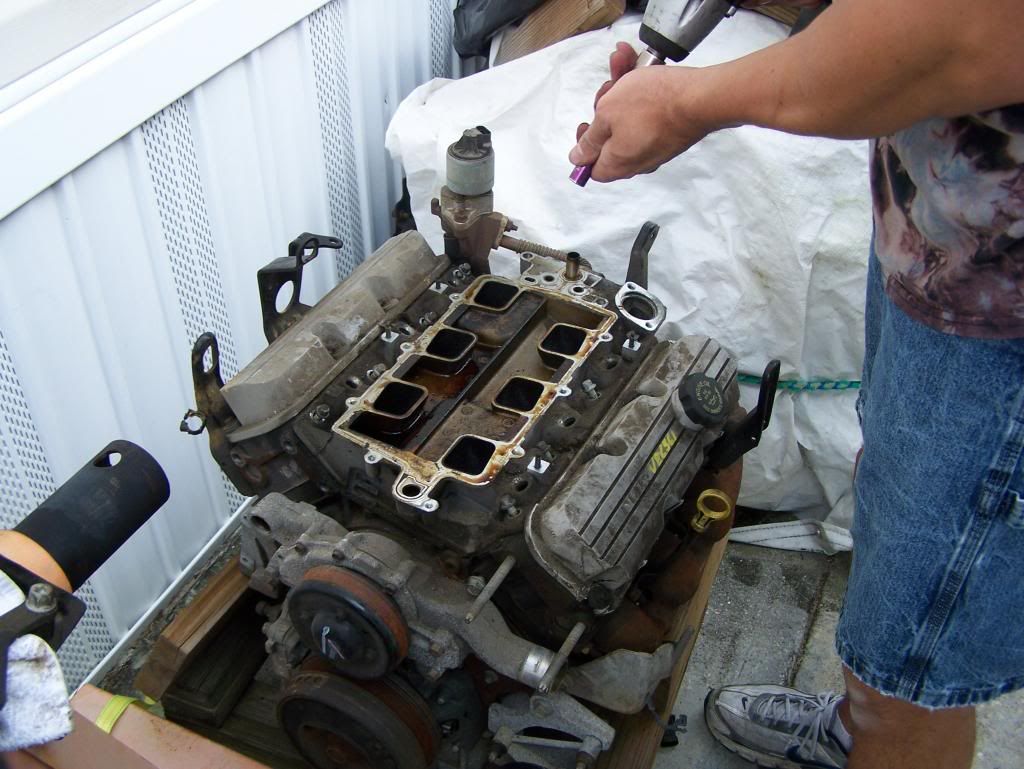
Yup, that's a clean motor.
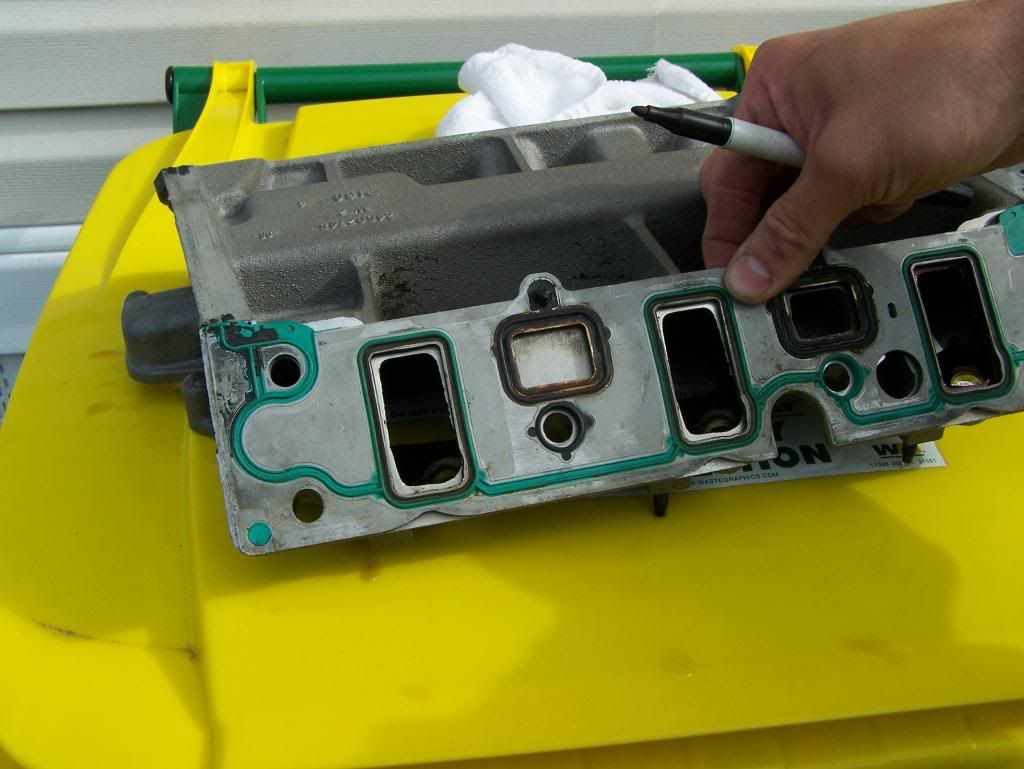
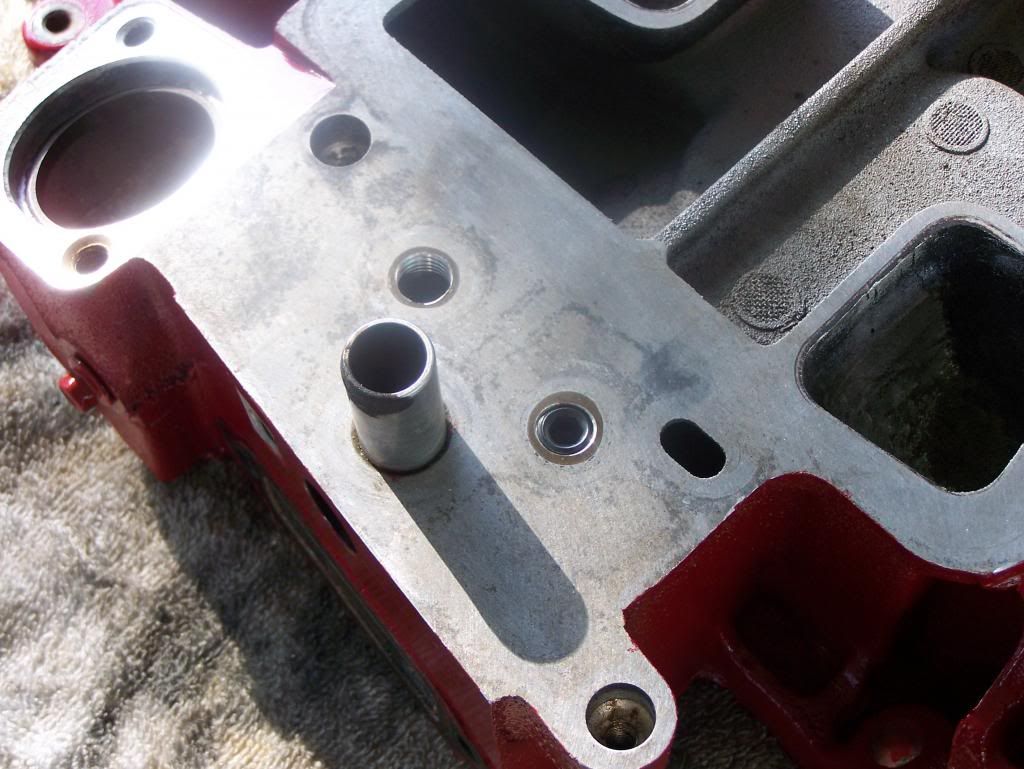
Like any mass produced motor tolerances can be loose and we sought to improve the fitment between manifold and head with some slight port matching.
Before:
After:
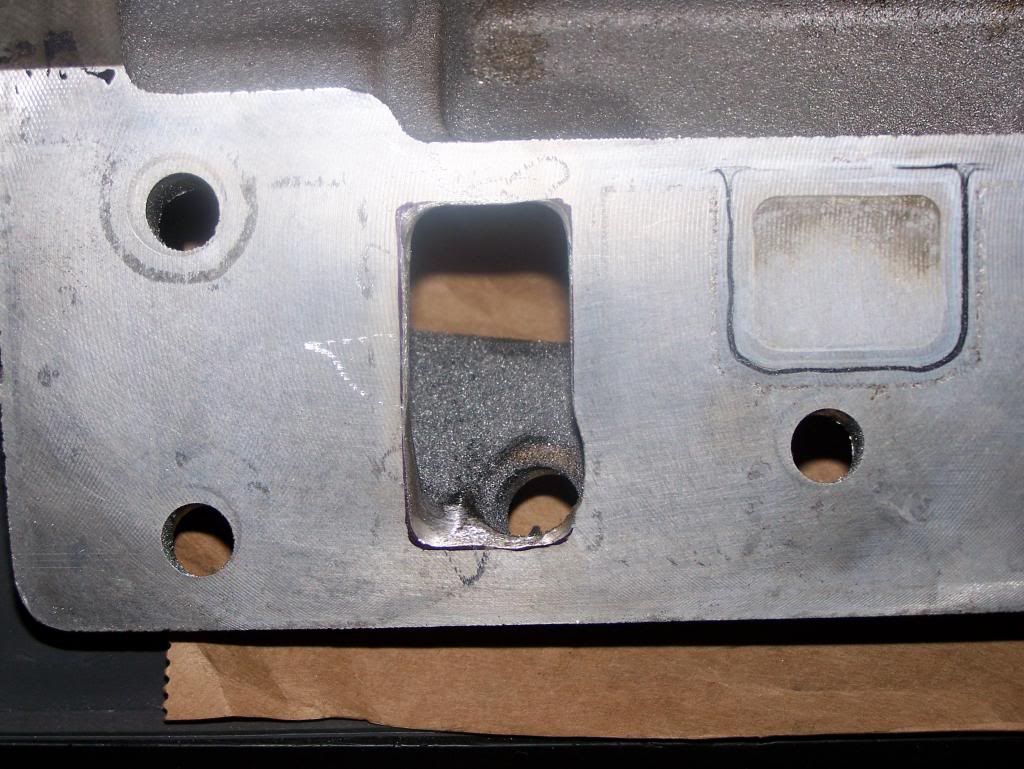
Not much material removed, just enough to make the ports uniform and smooth.
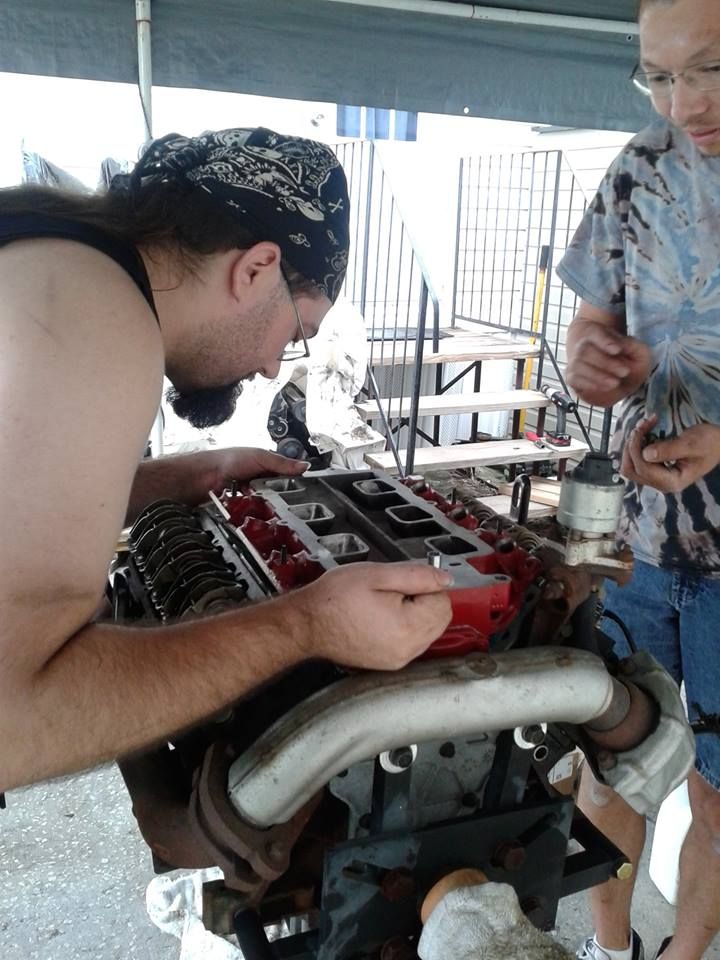
Here Don is doing the same to the heads. a powerful rare earth magnet wrapped in a shop rag is keeping metal shavings from entering the motor. risky I know, but that's the choice...
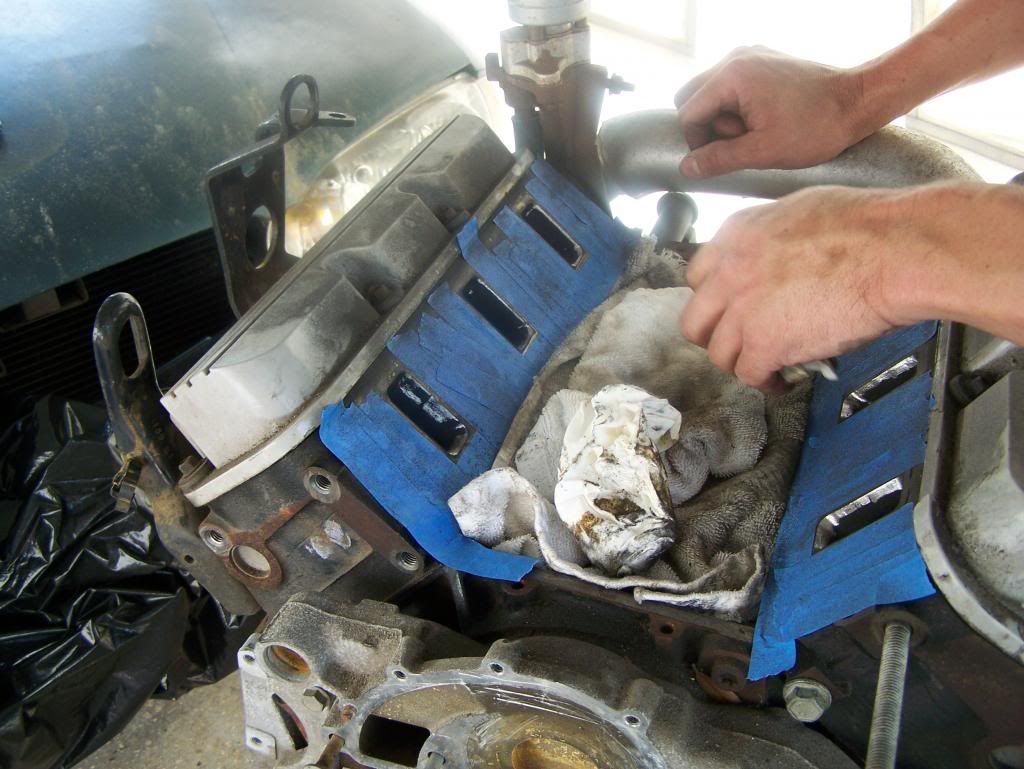
That should keep everything flowing well
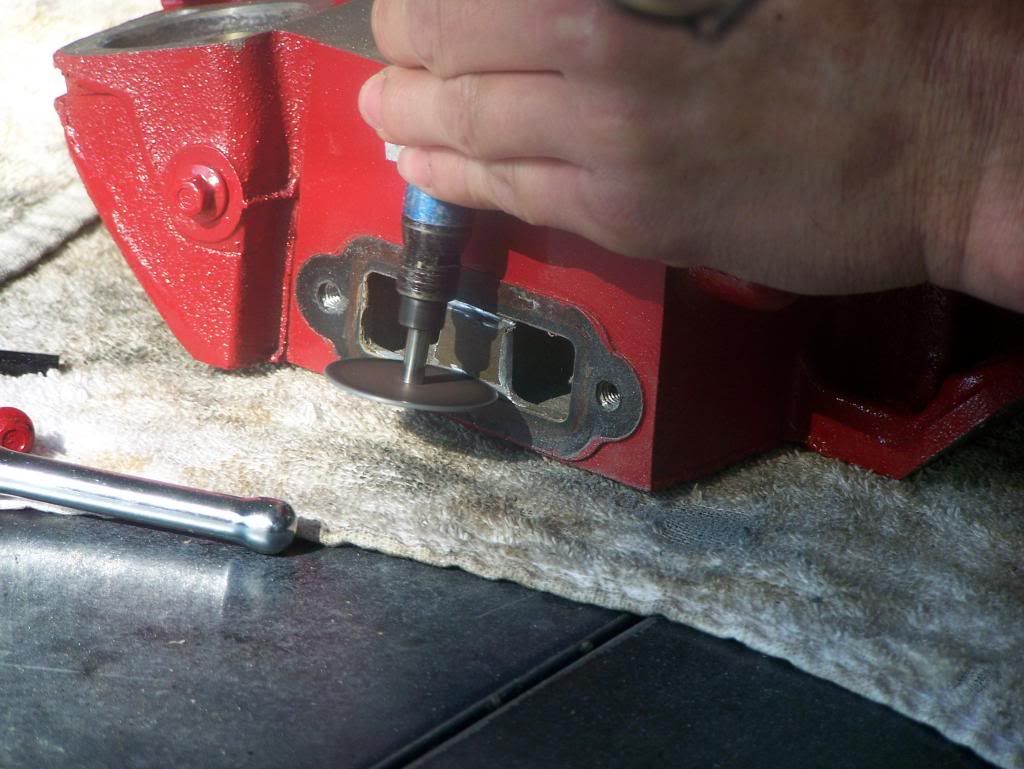
Next we went up top. Hot coolant is directed from the heads and through the throttle body to aid in wintertime warm ups. We... don't care and would rather not heat soak our T/B, so plugs were installed.
Ignore the paint, we'll get to that later. I'm grouping similar procedures instead of doing it in chronological order.
When you bypass the coolant flow you need to open up the end of the manifold to compensate for the additional flow. An air die grinder made short work of that...
With that the motor was ready for paint.

3800 Love

Watching this with interest. Kid is driving this for the moment 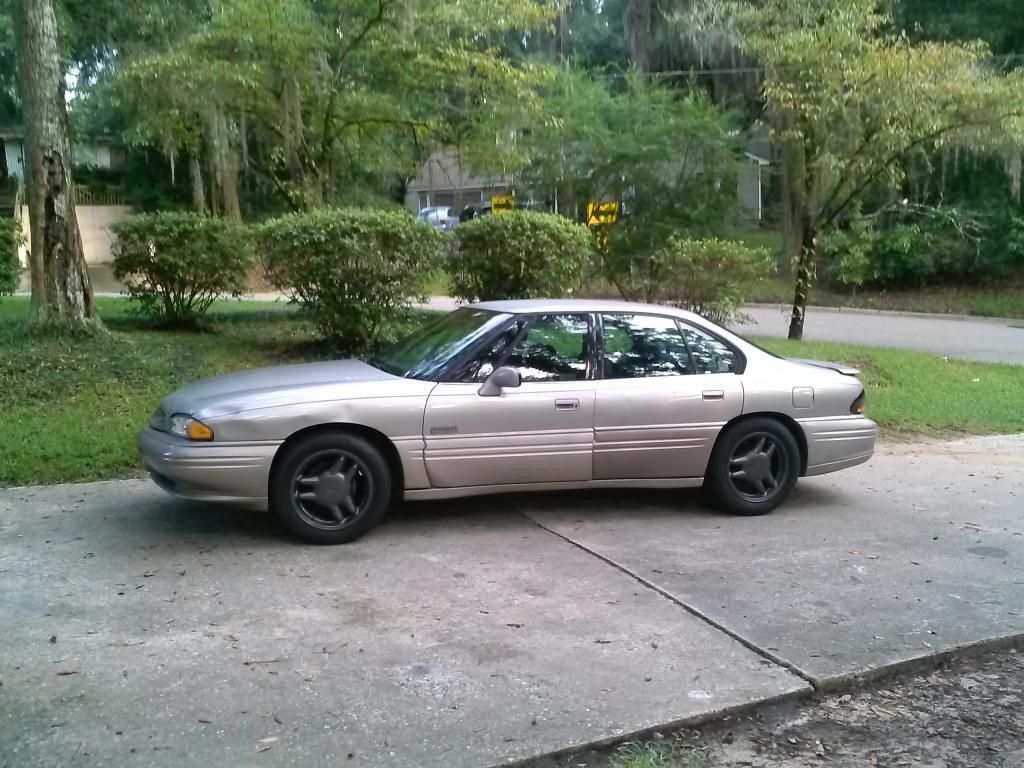 you are making me want it back.
![]()
In reply to 06HHR: Get those mustang wheels off of there right now... the bolt pattern is slightly different and doesn't allow the lug nuts to seat properly.
In reply to AClockworkGarage: Believe it or not, it's not any worse than the aftermarket wheels that were on it when I bought it. If nothing else, at least the wheels are hubcentric now as the hub size is the same (67.3). I'm getting it for it's quarterly oil change and service so i will check the hub and lugs then to see if there's any damage.
NINJA EDIT: I checked it out for a few hundred miles before I let my kid start driving it again, and everything seemed ok. We will see and i'll keep you posted.
So now we've got the manifold prepped with smooth transitions from the intake into the head. There is plenty of power to be had in reworking the heads but we decided for the sake of simplicity to leave the longblock alone.
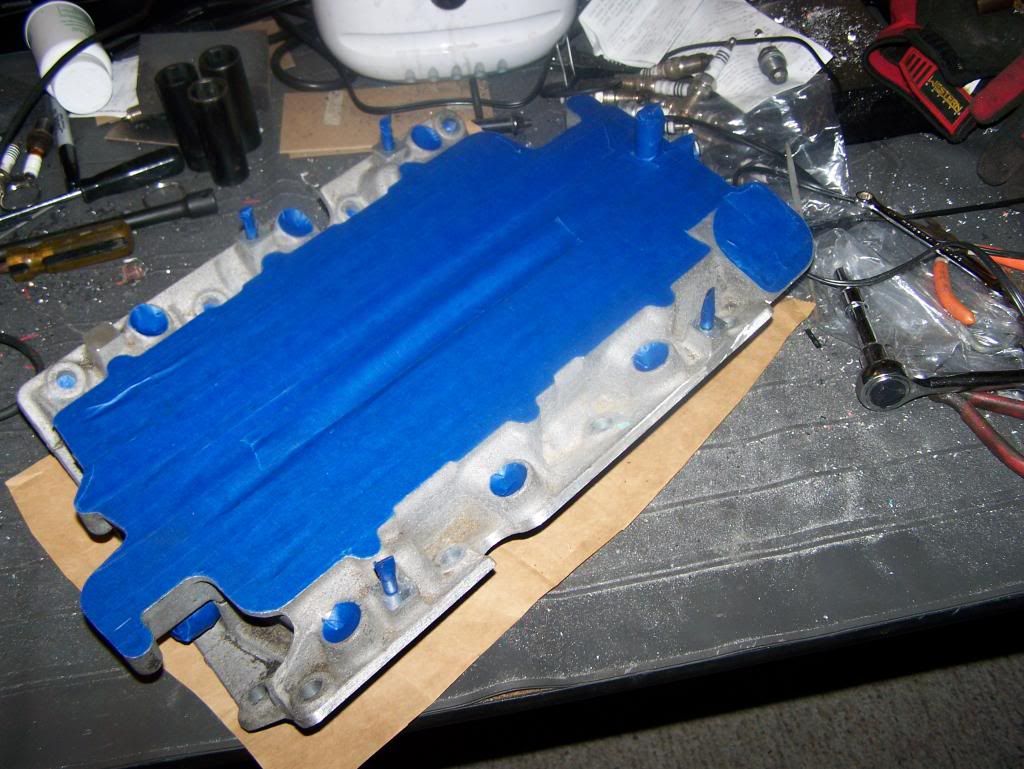
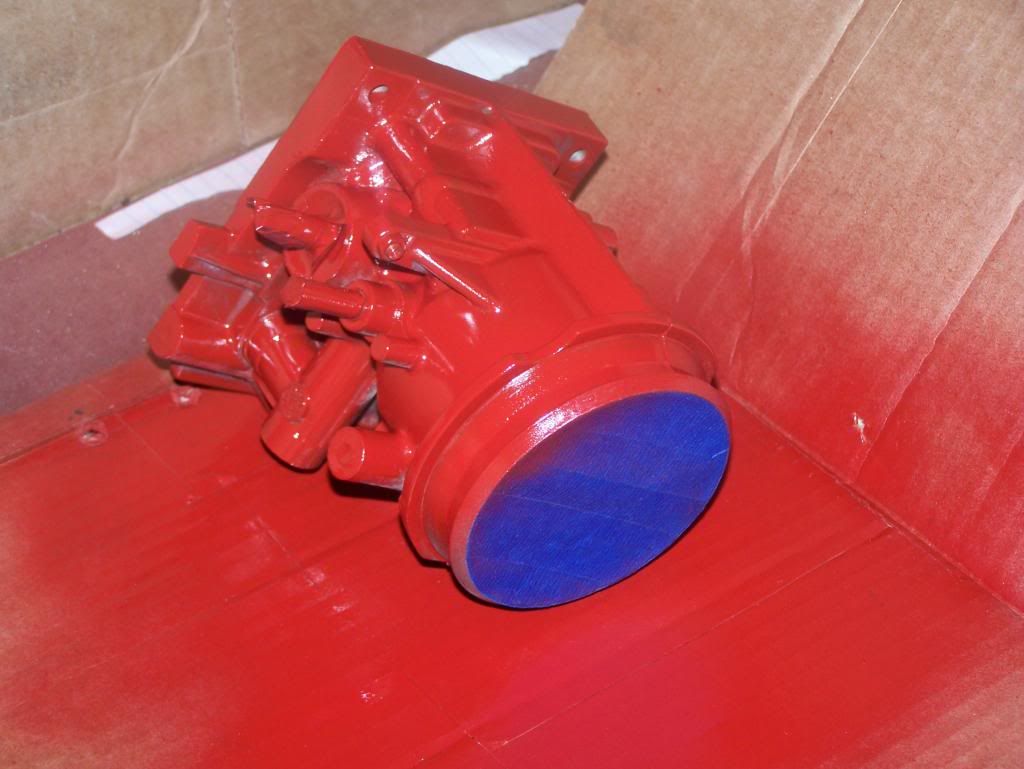
The car lives at my buddy's house out by the coast so I don't get to work on it very often. I brought some parts back to my house so that I'd at least get some progress made during the week. I started with the manifold. Everyone knows the secret to a great paint job is the prep work. I threw a movie in, grabbed my awesome little high school metal shop ball pein hammer and began masking. (if you don't know the hammer-taping trick let me know, it's the best thing ever) after 90 minutes we were ready to go.
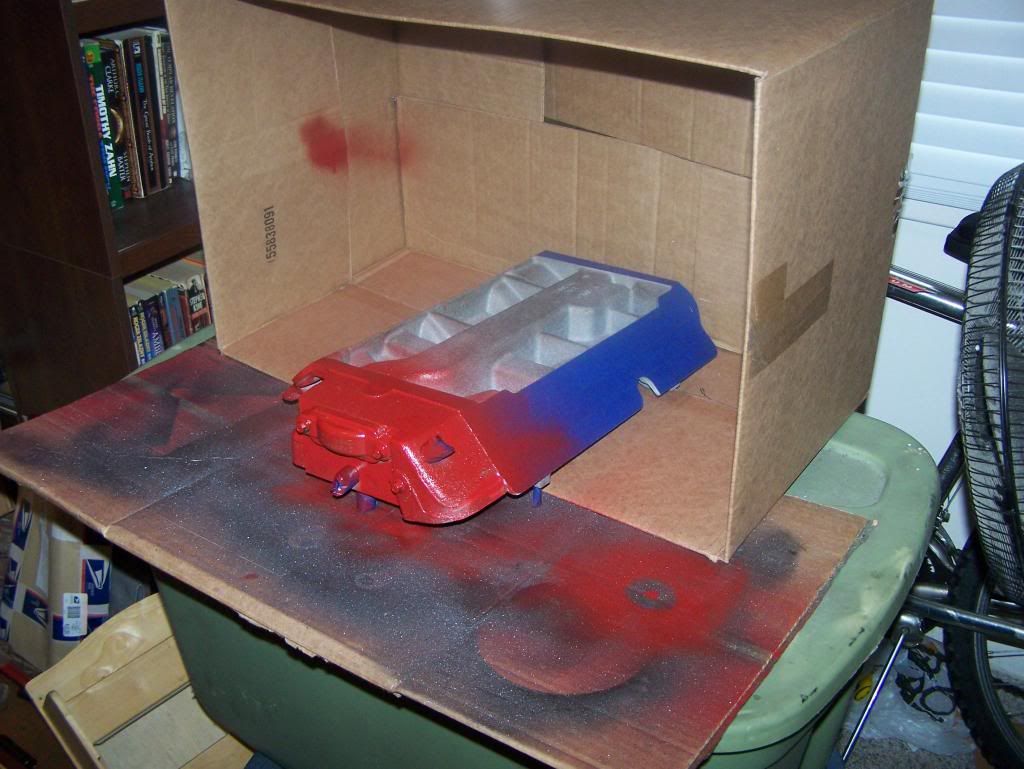
rain had started outside so I was forced to improvise...
and finally into the oven to bake for a few hours...
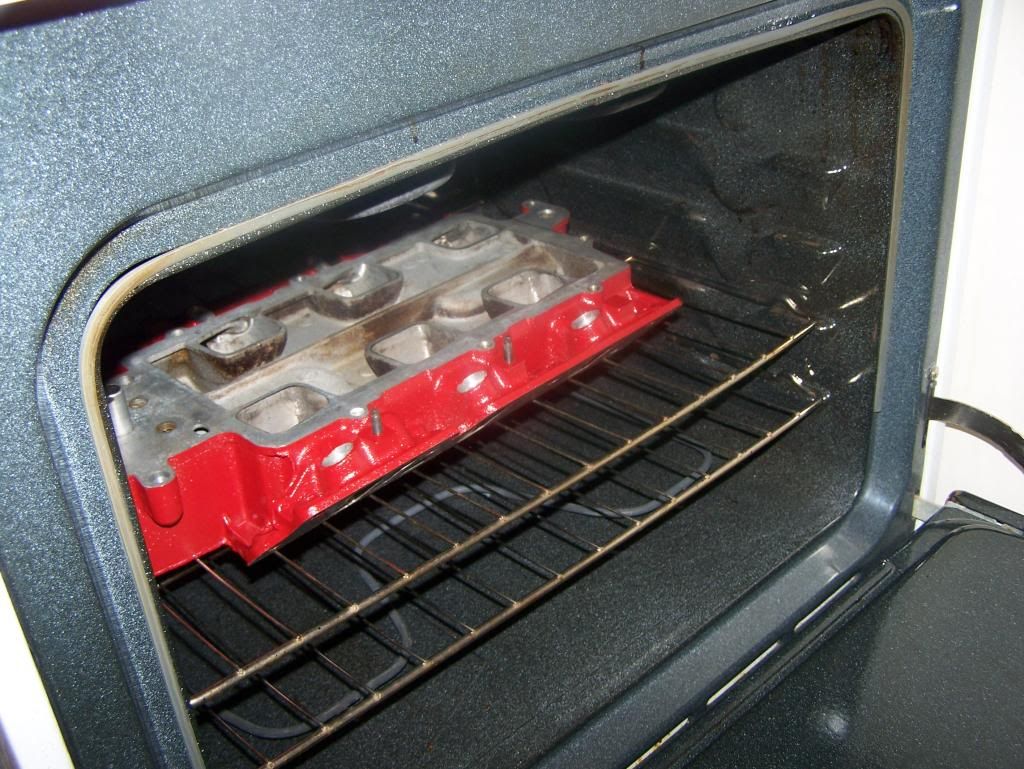
Perfect.

Hammer masking? Do tell...
OK. It only works on smooth machines surfaces, like the gasket surfaces of this manifold. start by laying the tap onto the surface leaving about a 1/2 inch overlap on all sides. Then grab yourself a small hammer like this one:
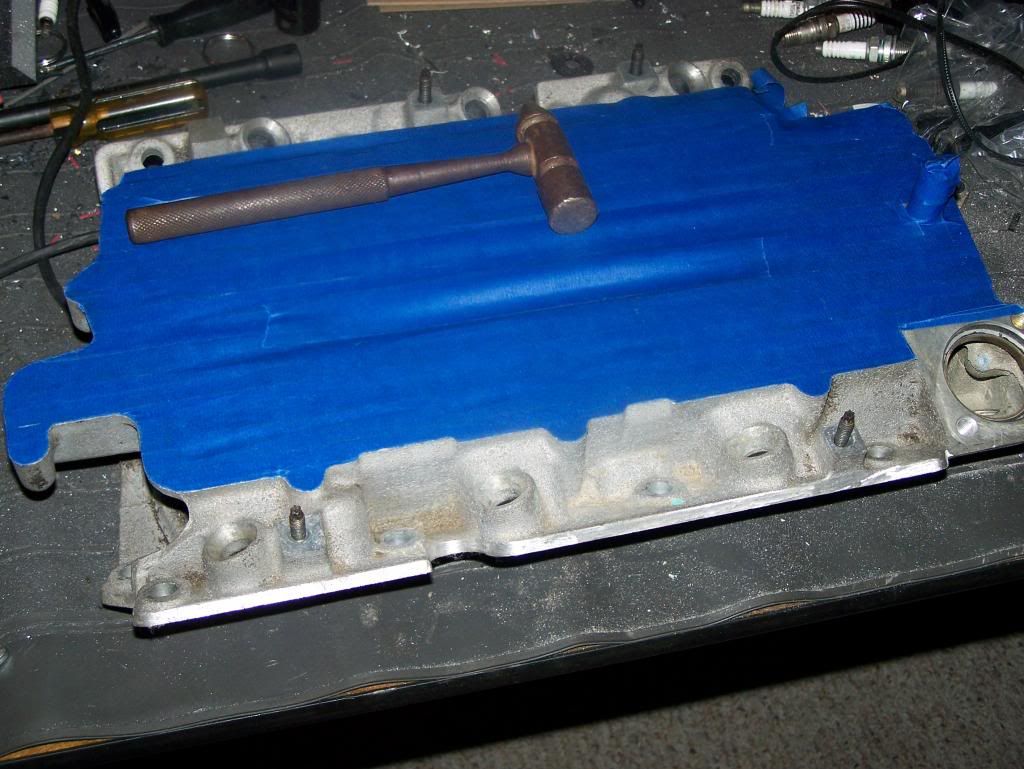
Gently tap on the edge of the machined surface whilst pulling the tape down. The edge of the surface will act as a blade and cut the tape perfectly to the shape of the surface.
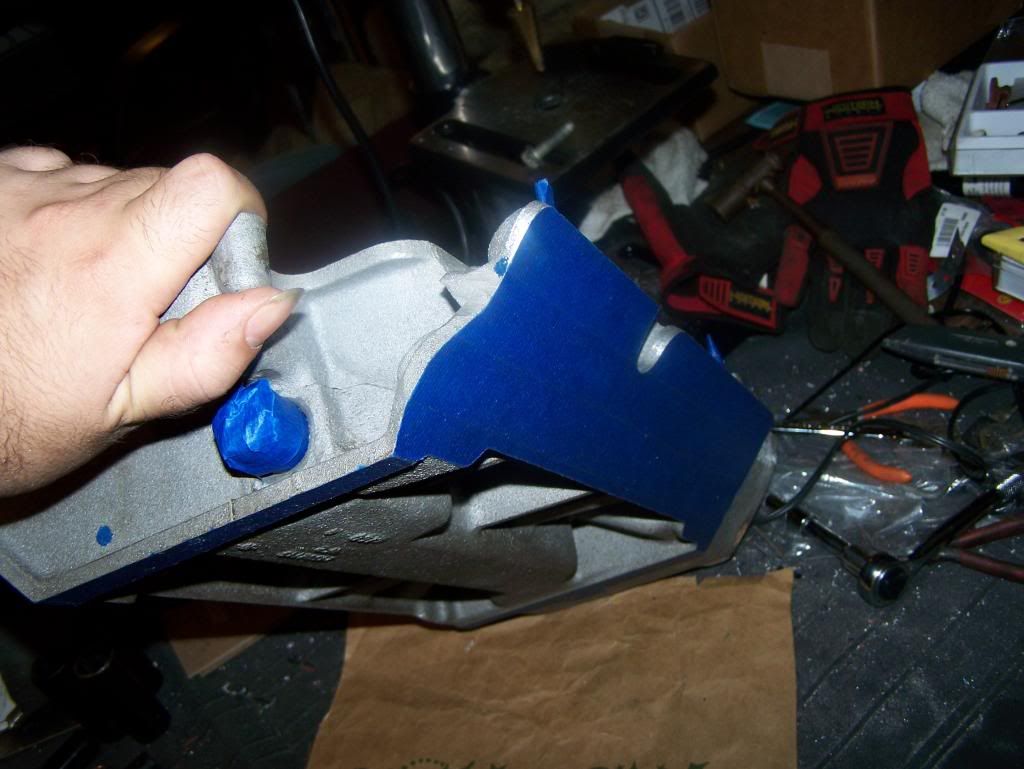
Perfect results every time, even on weird shapes...
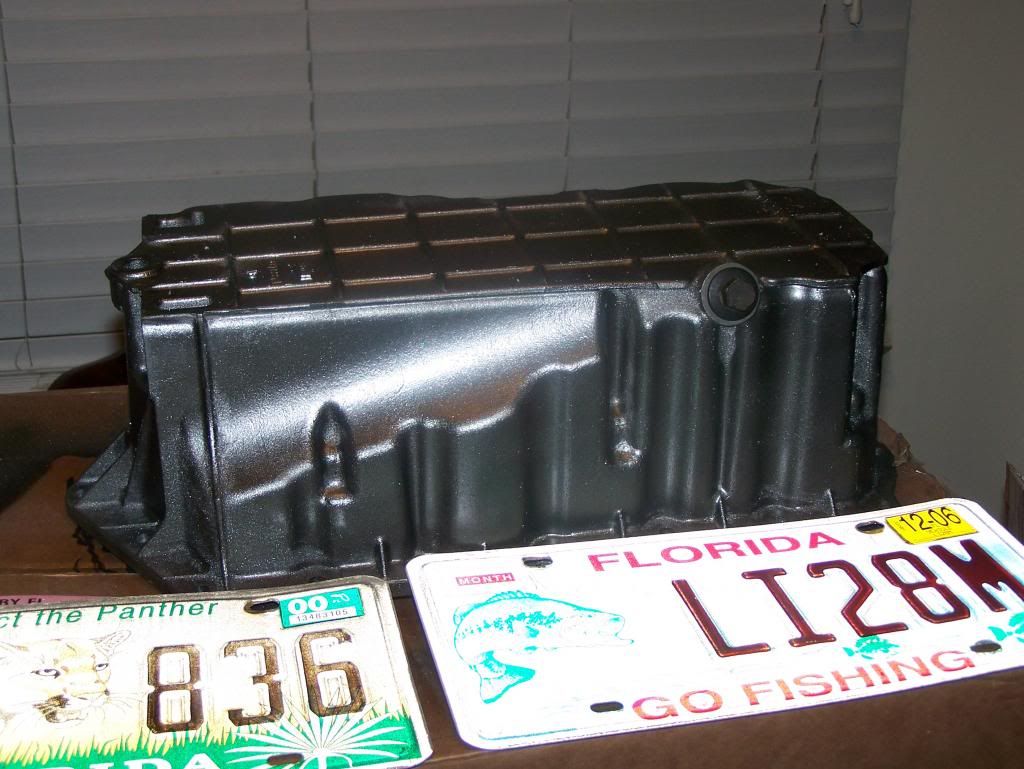
The timing chain cover got the same treatment as the manifold. The valve covers, accessory brackets and oil pan got coated in duplicolor's gunmetal wheel paint.
The junkyard valve covers looked like ass when I started. blasts with brake cleaner and degreaser didn't really seem to do much so I soaked sanding sponges in degreaser and went to town. Jackpot! before and after.
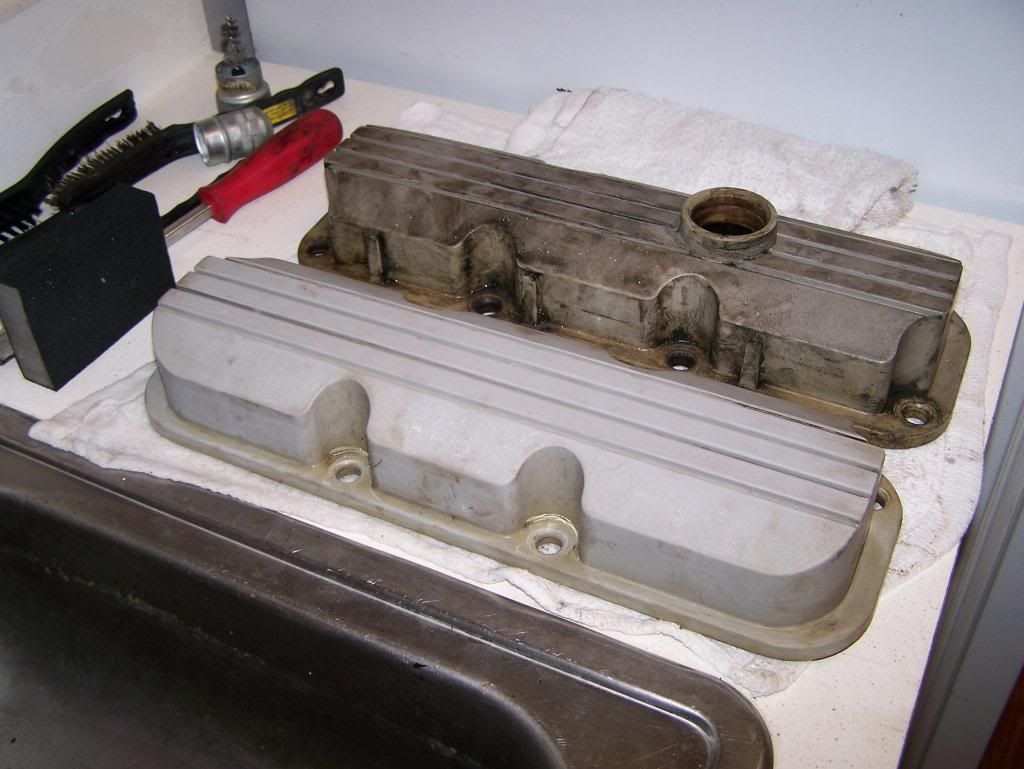
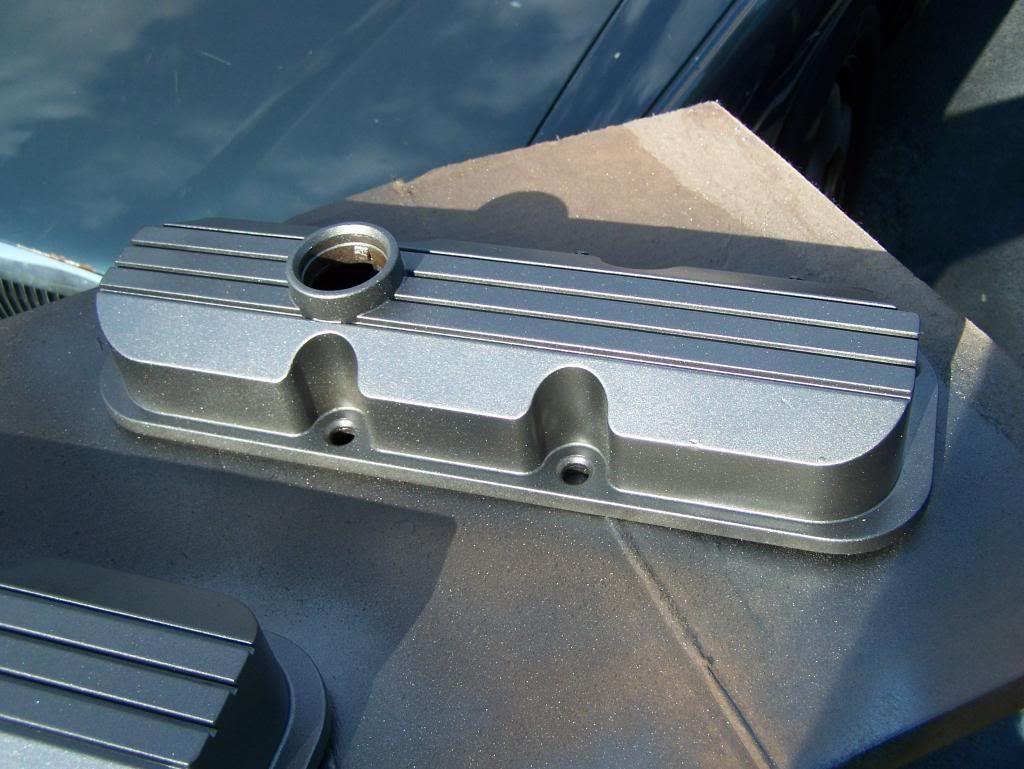
Then they got treated to a large number of light coats of gunmetal.
The oil pan got hit at this time as well.
Those plates were on their way to being turned into clocks, eager to do their part to make this race car a reality. One of them is already hanging in somebody's garage the other is still up for sale. ![]()
Getting back to the Valve covers I sat down and began to apply the accent stripes using Red dupli-color caliper paint. Overkill I know but I already had it so... It got used.
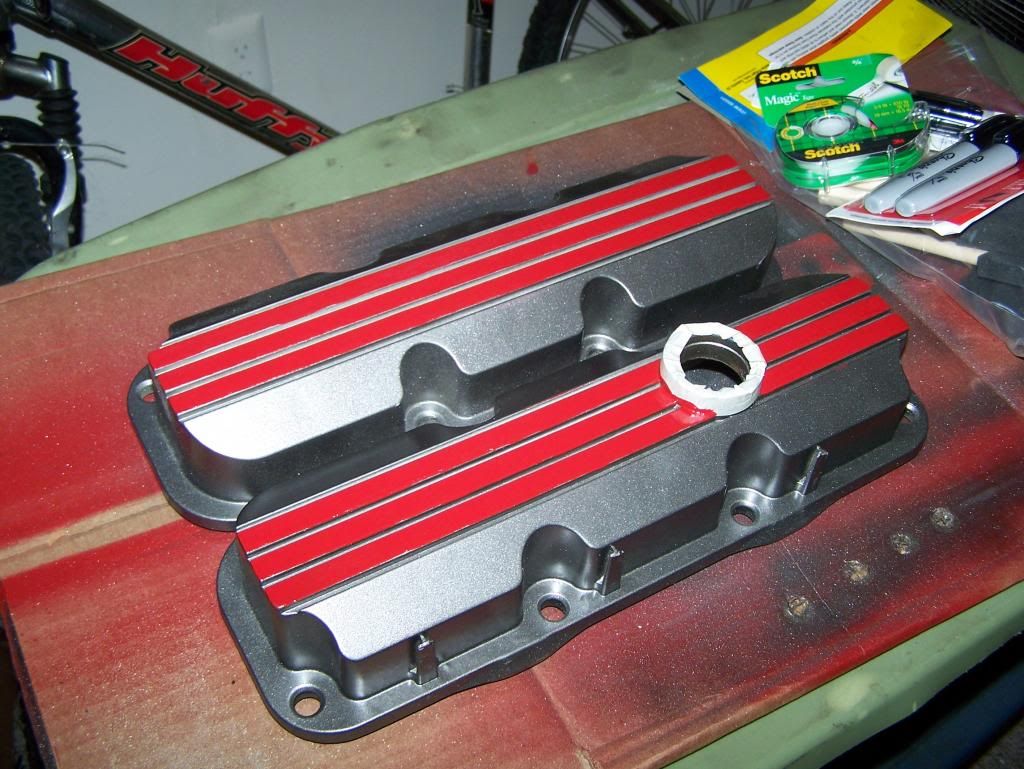
Perkele, It almost looks like I know what I'm doing.

3800 is a great engine. Regret not doing a little extra here and there when I had to rebuild the V6 in my Firebird. Continuing to watch with interest. ![]()

That is a really pretty motor.
The gunmetal/red combo really looks snappy
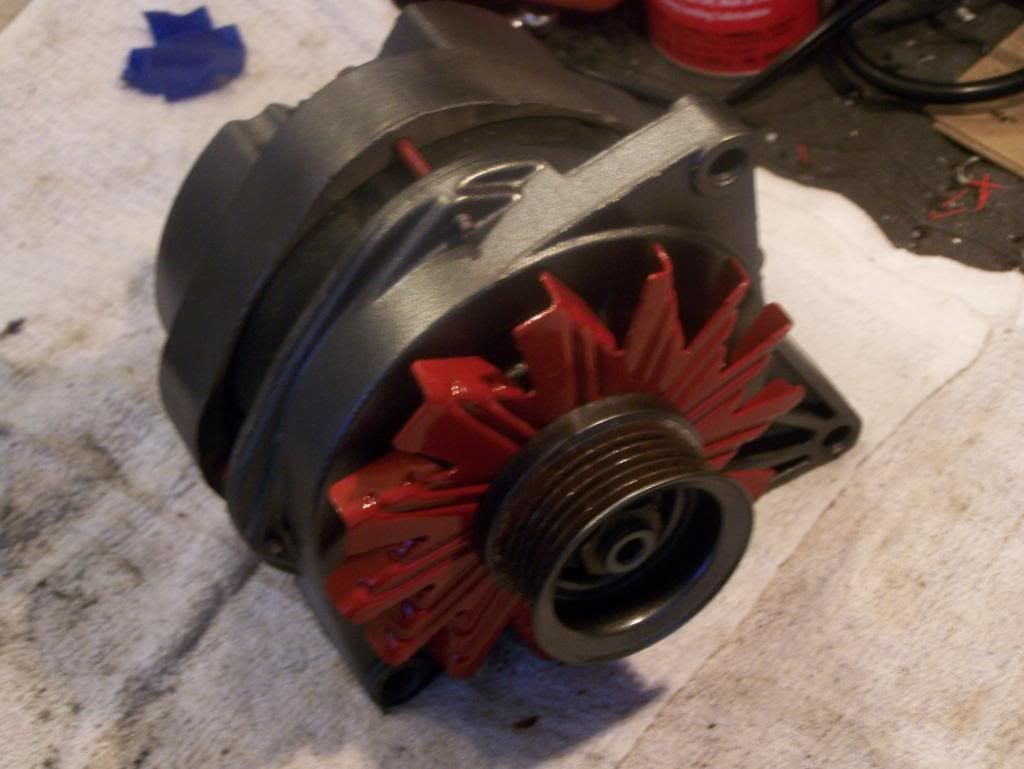
After painting the Valve covers i moved on to the alternator. I dissassebled it and painted the case gunmetal and the bolts and pulley red. I would not do this again. It was a giant pain in the arse.
The trouble with painting parts on a motor is a feckin' snowballs. Every nice clean part makes the unpainted one next to it look worse. so I cleaned up the filler neck and gunmetaled that...
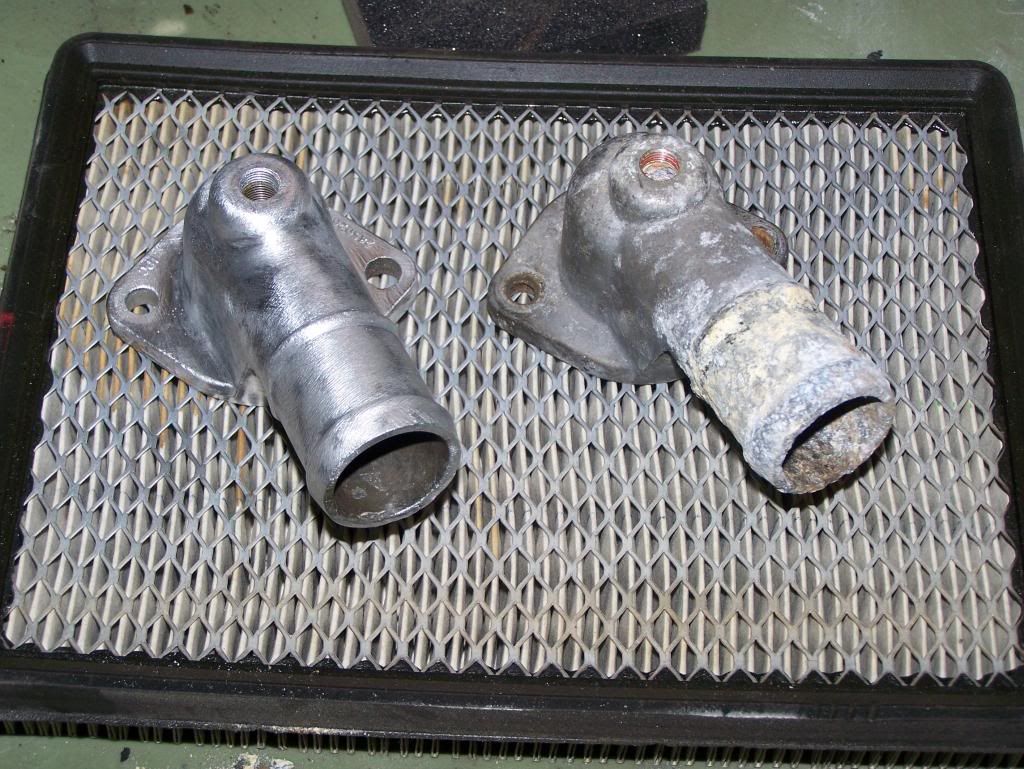
The one on the left came on the parts car and wasn't much better than the one on the right. I don't own a bench grinder but I do own quite a few drill presses. I mounted up a wire wheel in my press and used it like a grinder to clean up all the dexcool corrosion. Then I took a dremel and ground off the casting numbers and flash.
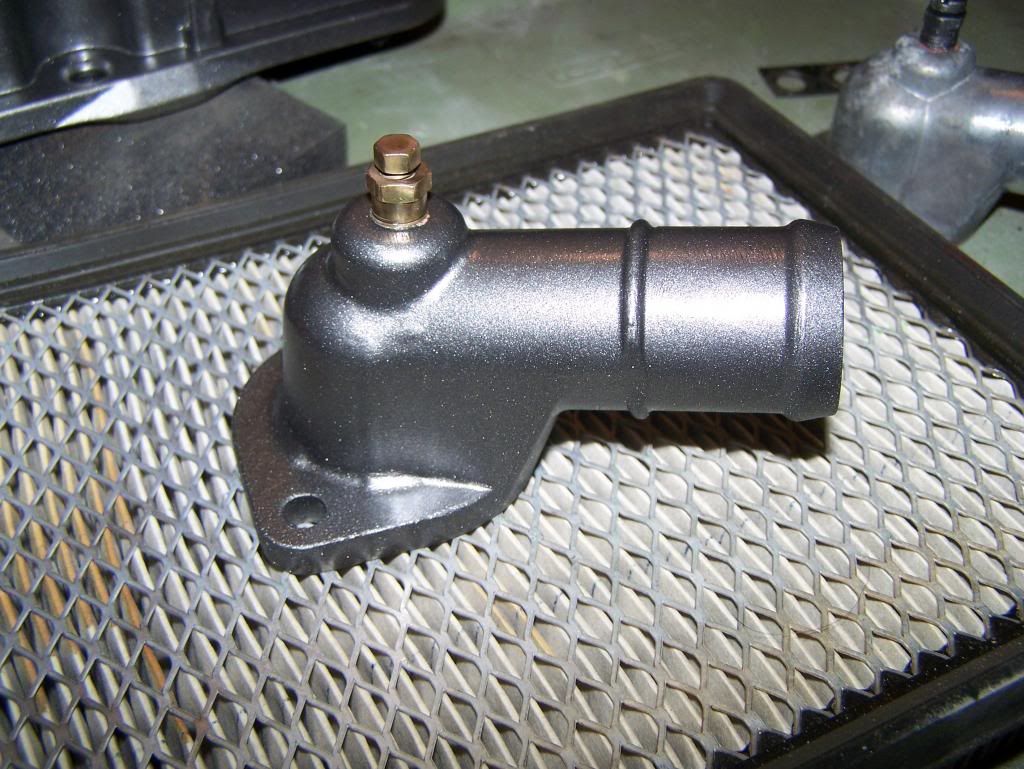
quick coats of paint and we're here. I mounted some small brass brushes in my dremel to put a polish on the bleeder screw. That worked so well it gave me an Idea...
We decided to use the '05 Buick fuel rail because It has an adjustable fuel pressure regulator, but the '05 injectors require a different harness connection, so we laid those aside, opting instead to reuse the '98 injectors. While I had the rail apart to swap injectors I went at it with the brass brushes again, taking off all the tarnish and leaving me with a respectable looking polish. I few quick coats of clear should keep it looking that way for a little while at least...
Now everything was ready for assembly.
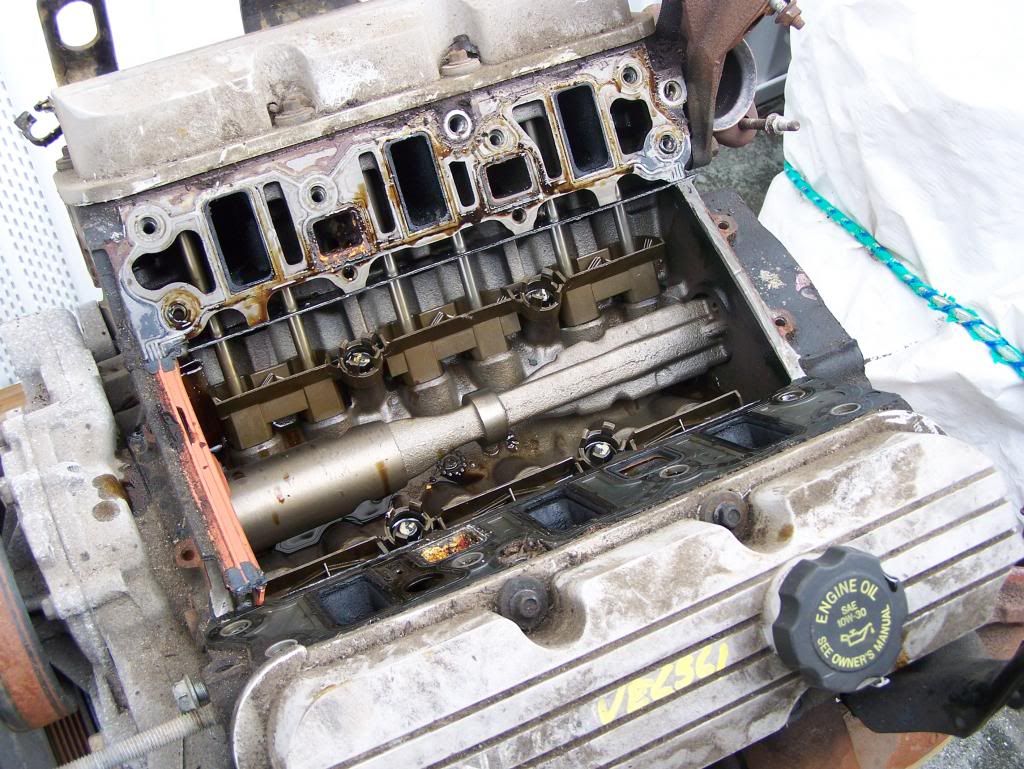
We started with the cam (hey that's that same picture from before!)
The timing chain was in great shape with almost no slack so it was re-used. we then fit the timing cover and the new AC Delco water pump. it didn't need it and now that this is a $2015 car I kind of wish we didn't... but It's much easier to replace these when they're out of the car...
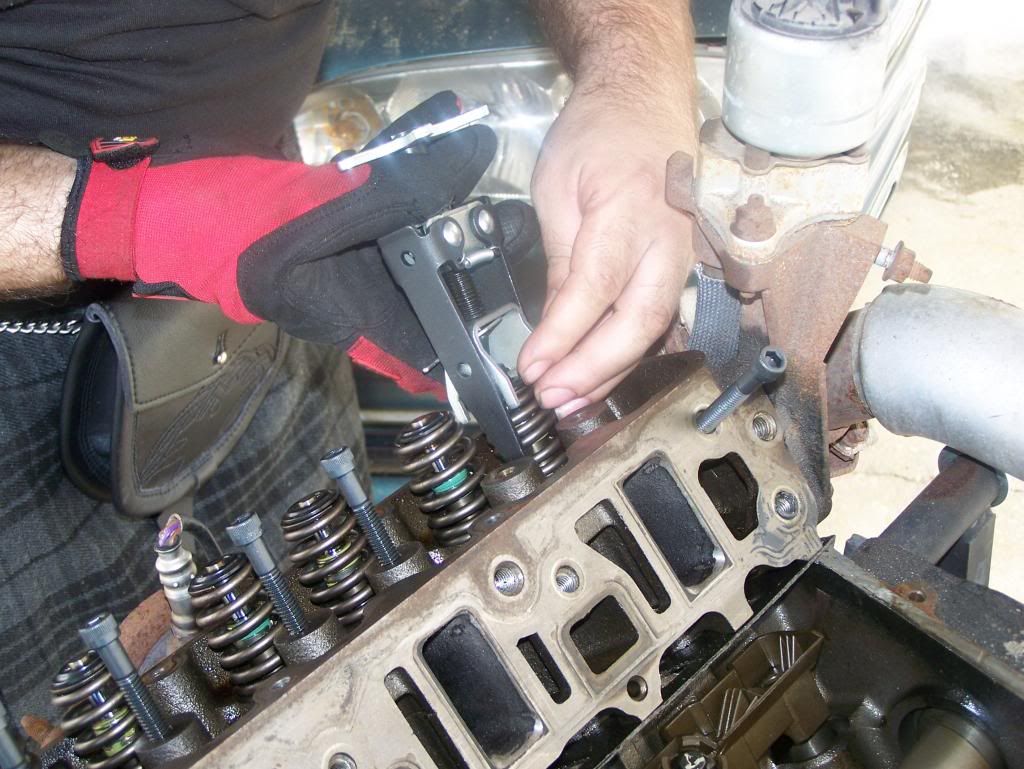
The Valve springs were the last "Internal" part that needed to be installed before buttoning everything up. A tedious but ultimately simple procedure.
Yup... I'm wearing a kilt. If you don't work on your car in a kilt, you're a wuss...
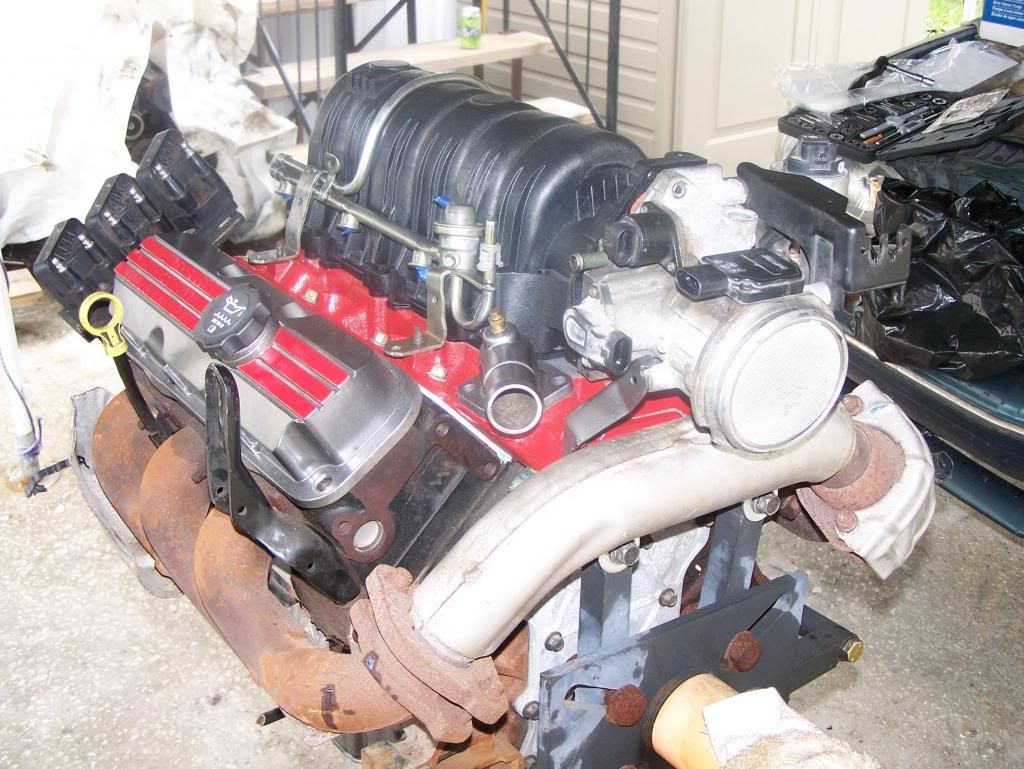
Ready to go:
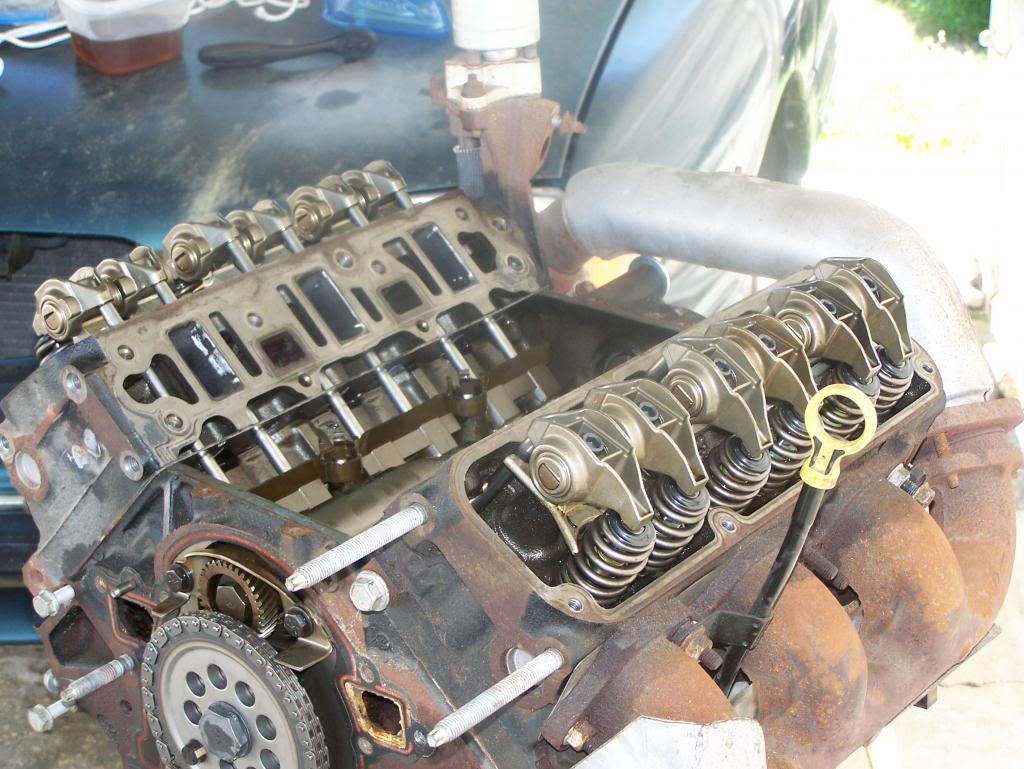
Time to drop the manifold in place using new aluminum gaskets. We won't be having a LIM failure in this motor...
Oil pan glued and bolted on.
and there she is:
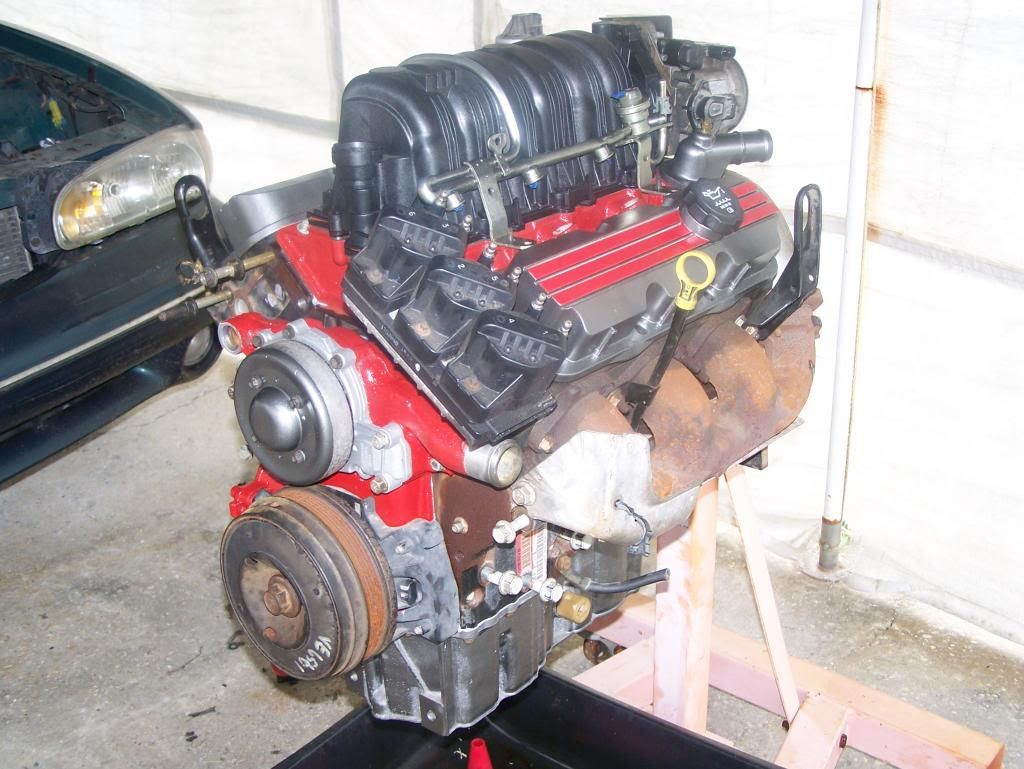
Lookin' good, but now that Throttle Body looks very out of place.
Have you experimented with higher ratio rockers on any 3800 motors?
I'm determining if it is worth the $300-$400
TIGMOTORSPORTS wrote: Have you experimented with higher ratio rockers on any 3800 motors? I'm determining if it is worth the $300-$400
I've got the Yella-Terras on my L27 Le Sabre and they certainly wake up the car, but they only add lift, not duration. For the L27 this is the only choice as there are no cams. The L36/67 have about half a dozen cams in that same price range. They are a great easy bolt on that you can do with the engine in the car but they are no substitute for a cam.
This motor may get a set of rockers in addition to the cam, but only if I can score a set cheap enough...
I brought the TB home to give it a once over. A deep cleaning. I started by removing everything that could be removed and soaking the thing in carb cleaner. It also did an hour or so in my ultrasonic cleaner...
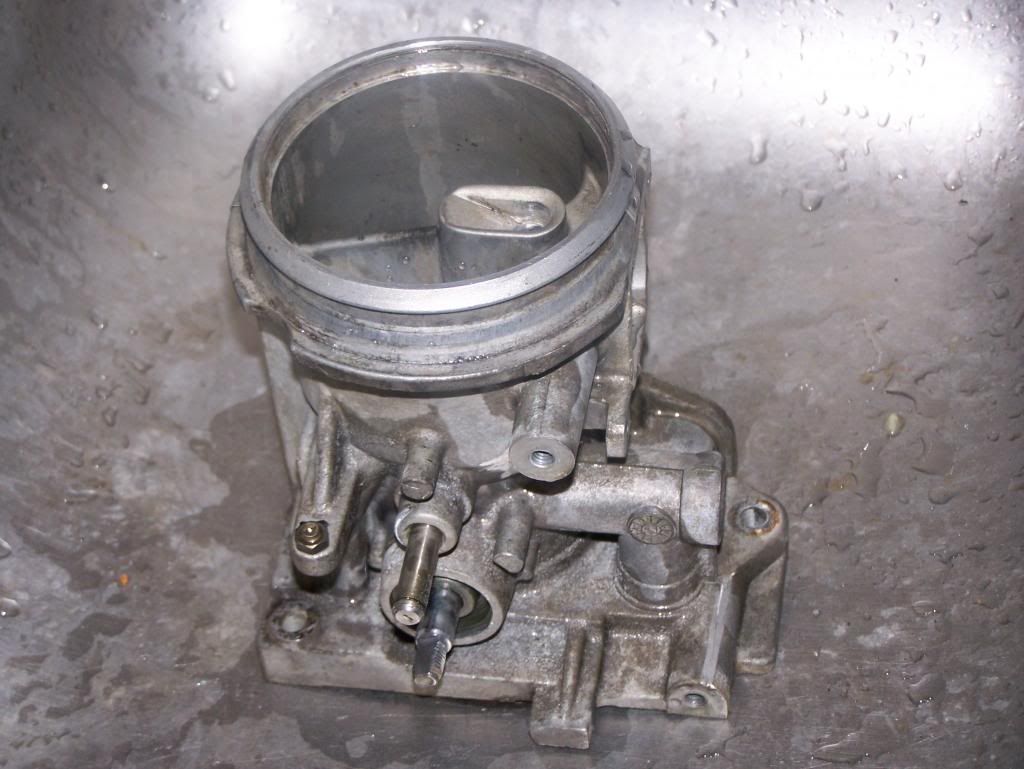
While it was apart i took a dremel to the edges to loose some of the casting marks
Another rinse and it was ready to go. all of the sensors got cleaned with MAF cleaner and set aside.
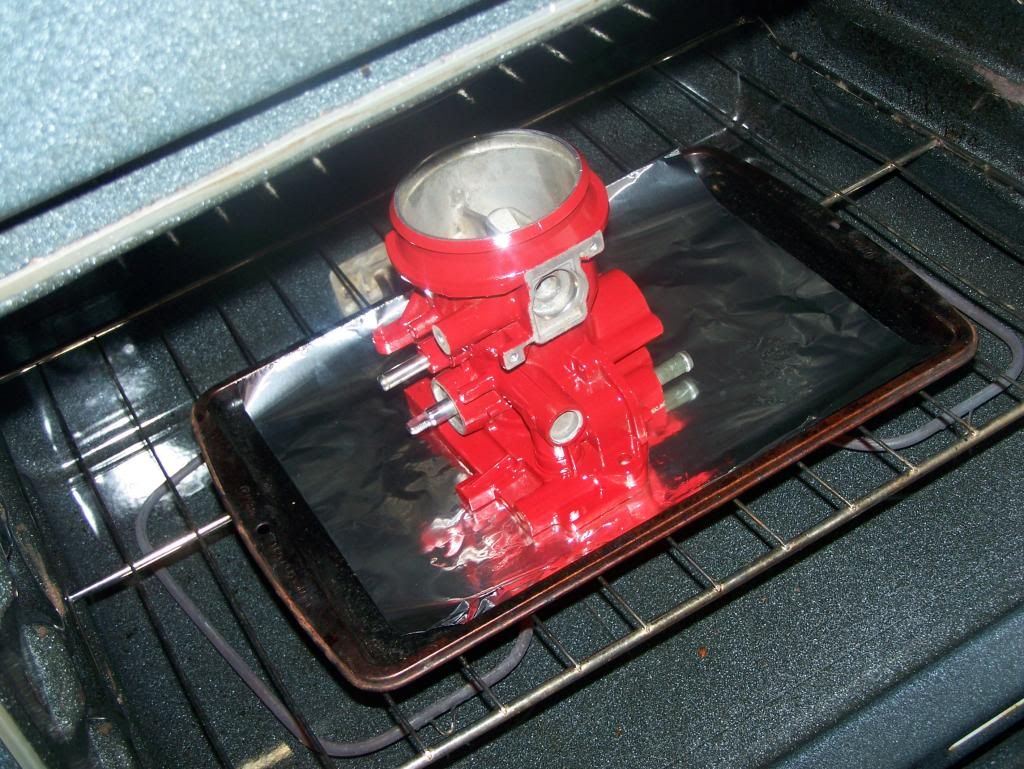
another good hour was spent carefully masking off all openings and then giving it a couple coats of high temp engine paint.
Then baking it a low temp for a couple hours. FL humidity can make things difficult so i find baking parts id usually the best way to get a solid finish.
You'll need to log in to post.


