


Budget:
previous total: 2457.70
Purchase price: 2250
Timing belt kit and lower radiator hoses: leftover from last car
Black paint: 15.37 from bowers implement
Pcv, hub nuts, oil filter: 27.50 oreillys
Belts, thermostat gasket, plugs: 45.19 advance
Front hubs, amazon: 44.80
Radio harness 4.50 amazon
Air filter 12.14 amazon
Thermostat 7.80 amazon
Upper radiator hose 11.60 amazon
NGK plug wires 29.98 amazon
Valve cover gasket 8.82 ebay
8 inch speakers, baffles, and headrest speakers from parts express: 37
Tweeters: 10.50 amazon
Sound deadening: free!!!
Tires, simpletire.com: 112
Left rear suspension and air guide and subframe brace: 205
Battery: 111
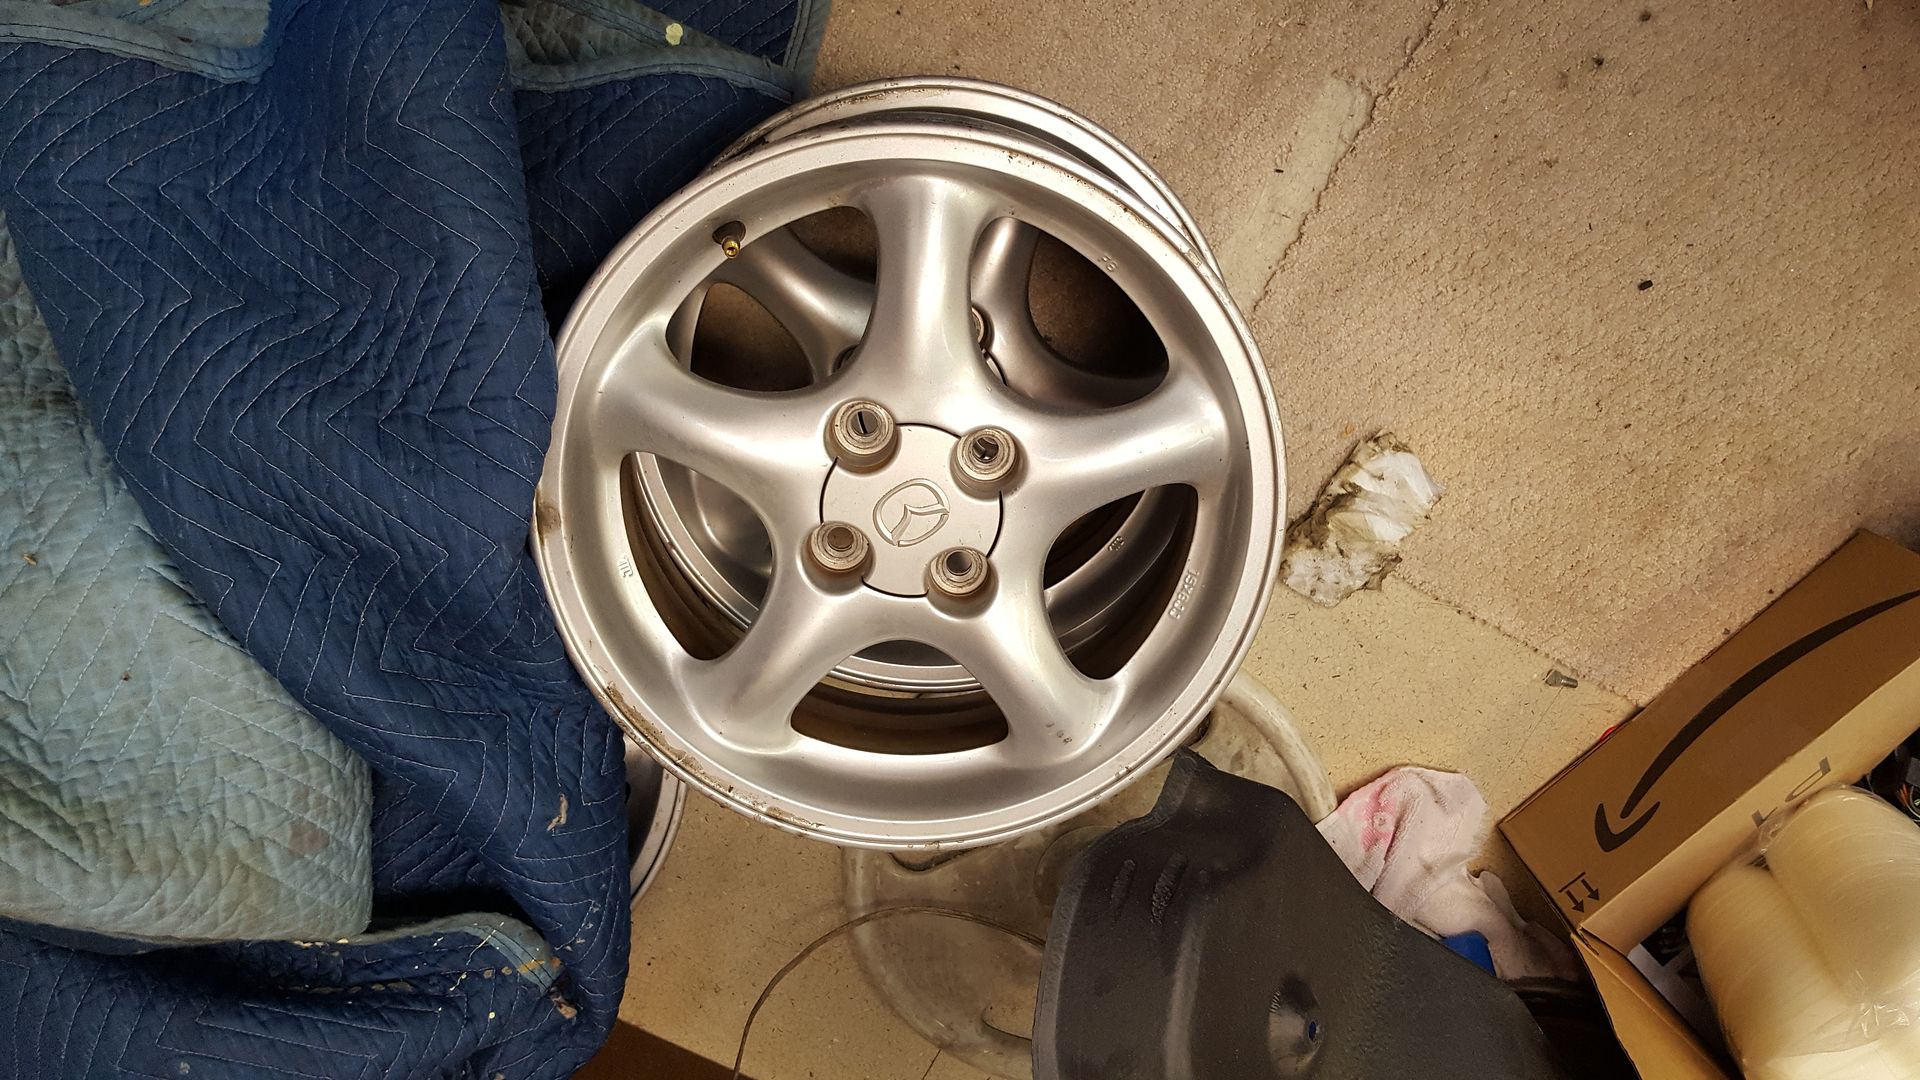
Gauge rings: 40.19
Brake pads, rockauto: 23.11
Tire mount and balance: 40
Project total: 3036.50
So, 500 miles later update!
First, I had a battery die. When I went to replace it, I found that the negative cable terminal was only there due to gravity. Completely broken. Looked around the shop, grabbed the closest thing I had. A;so, grabbed an interstate to replace what was in there. I didn't take a picture though. Negative cable is now a 2 gauge cable from the battery to the first body ground about 5 inches away. Severe overkill, but free!
Then, we worked on figuring out of the car is too bent to save. So I started at my buddy bills frame rack at the body shop. He couldn't see it, so he sent me to the alignment shop across town. They took a look at it and determined it was a bent subframe, but was only showing on the drivers side. In calling around to some spec miata racers, forum posts, and a hunch it wasn't a subframe, I kept thinking. I took the car to another miata specialty shop and had him look at it. He determined that the drivers side rear spindle was bent, as the long lower bolt was already recently replaced and various measurements he took. So I bought the whole drivers side rear suspension from him, as well as an air guide to replace my busted one. He also showed me how the subframe is pulled slightly out of kilter by the bent bracing back there and added the brace in on the pile. Subframe springs back when the bent brace was unbolted, and the new one lines up perfect.
[URL=http://s54.photobucket.com/user/dusterbd13/media/2000%20miata/20170326_164648_zpslmwsz873.jpg.html]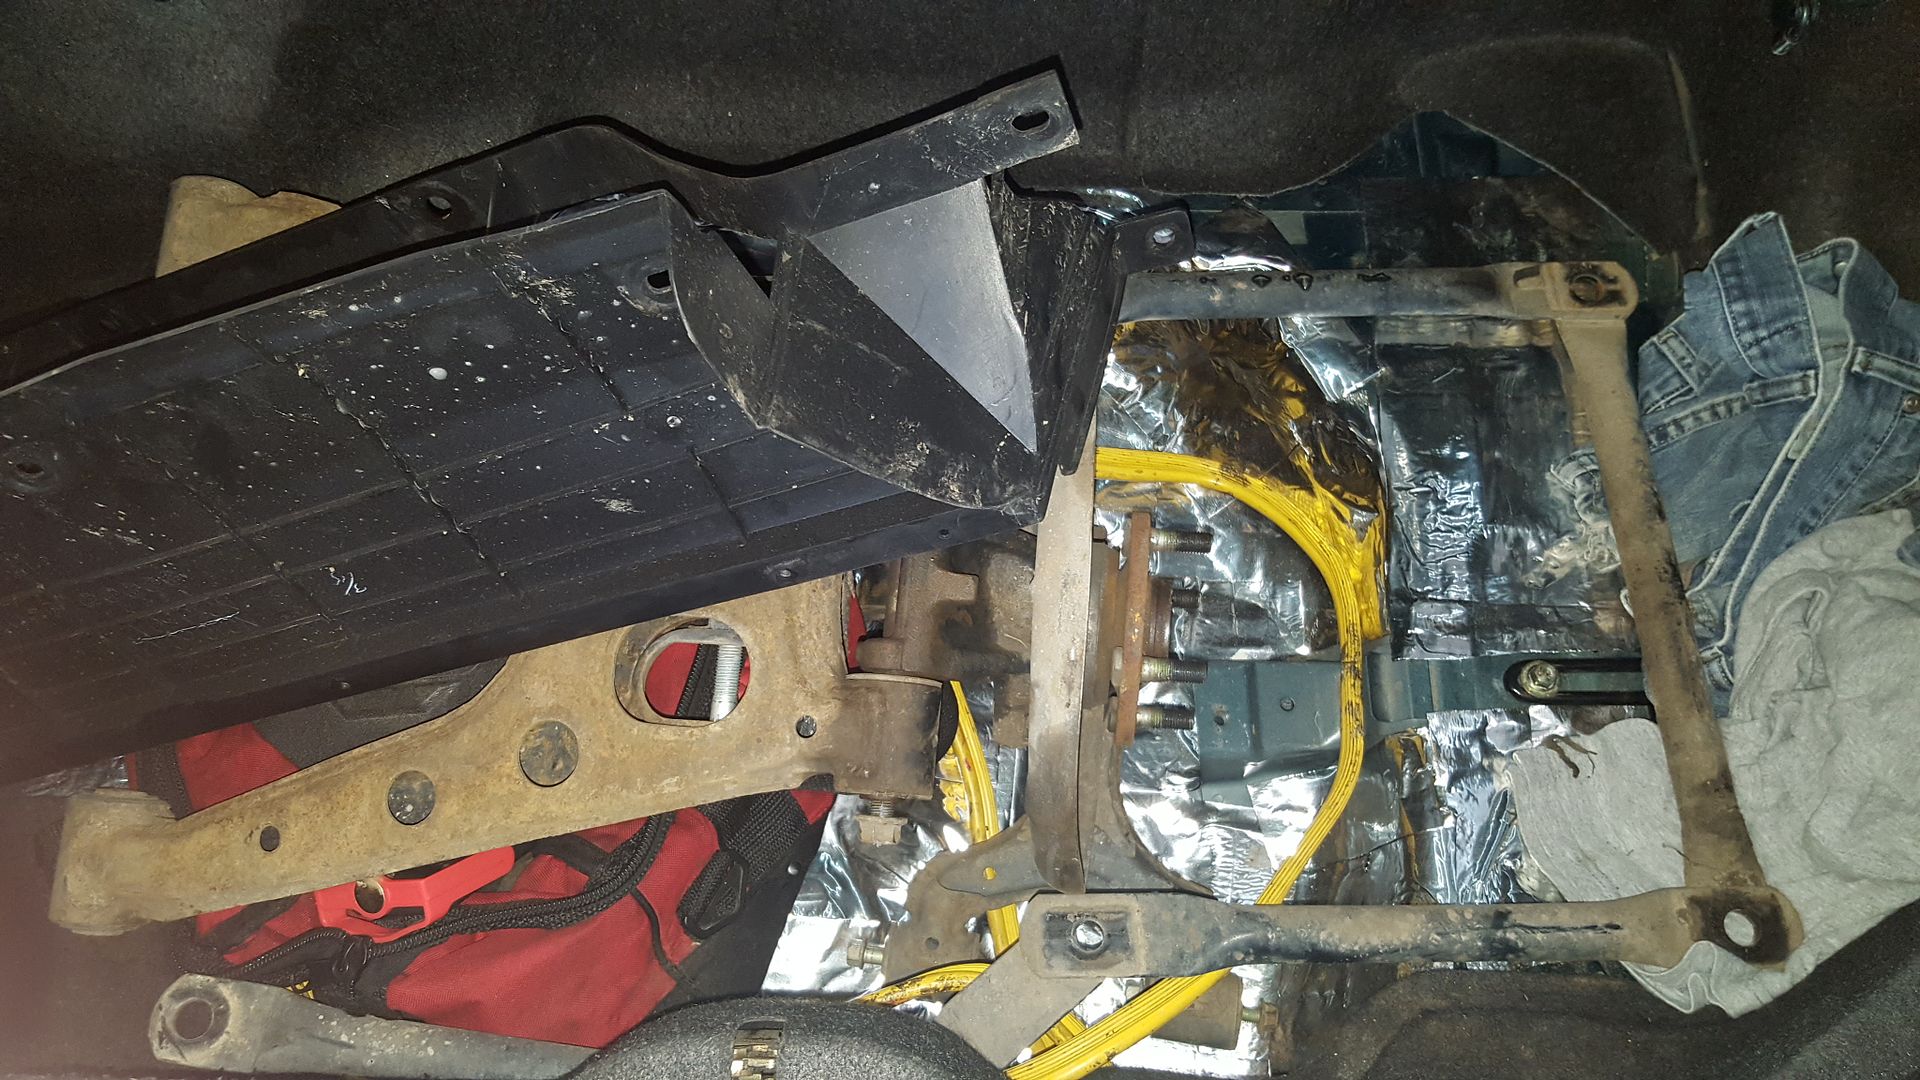 [/URL]
Now that I know the car isnt too bent to save, I went ahead and did the stereo.
I had started by putting in the pioneer head unit on the stock speakers. That lasted about 30 seconds before realizing they were blown. So I put in the infinity reference 6x8 I grabbed from the p5. These sounded great in that car, and my wife's mazda5. They SUCK in the miata. So, plan C, which is the nuclear option. Before plan c, I also tried some pioneer 6.5 component speakers that were given to me, some infinity 6.5, kenwood 6x9. Not what I was looking for anywhere.
I called parts express after receiving their most recent sale flier. Ordered two titan 8 inch woofers, 4 2.5 inch full range speakers, and 2 foam baffles for the 8s. All on closeout. Cheap. I also ordered some amazon tweeters. I had used these before in my wife's 5 as they fit the holes where the factory tweeters would have gone, and liked their sound quality and price point. So ordered them. I looked around the shop, grabbed an old half roll of peel and seal that was leftover from the wife's audio install, and sound deadened the doors.
[URL=http://s54.photobucket.com/user/dusterbd13/media/2000%20miata/20170324_193416_zpswk0mtyun.jpg.html]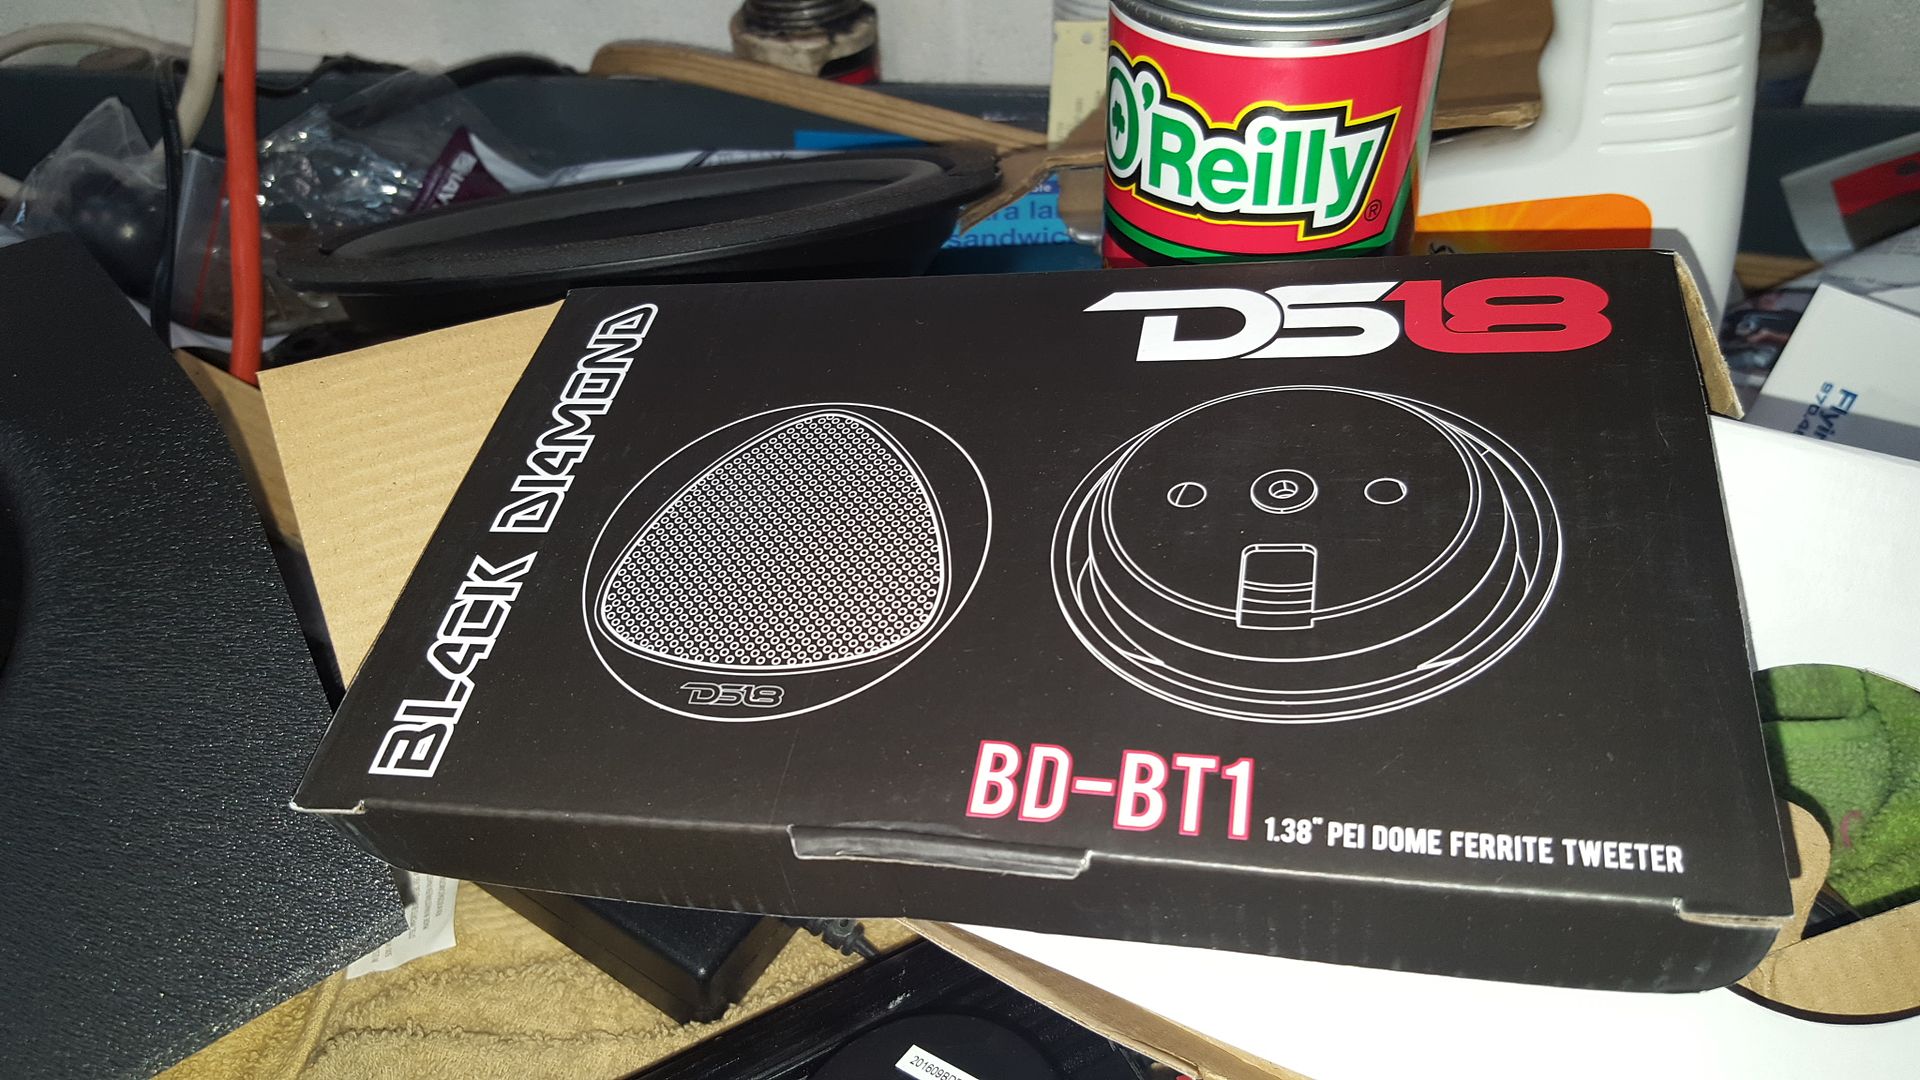 [/URL]
[URL=http://s54.photobucket.com/user/dusterbd13/media/2000%20miata/20170323_202836_zpscjpohtza.jpg.html]
[/URL]
[URL=http://s54.photobucket.com/user/dusterbd13/media/2000%20miata/20170323_202836_zpscjpohtza.jpg.html]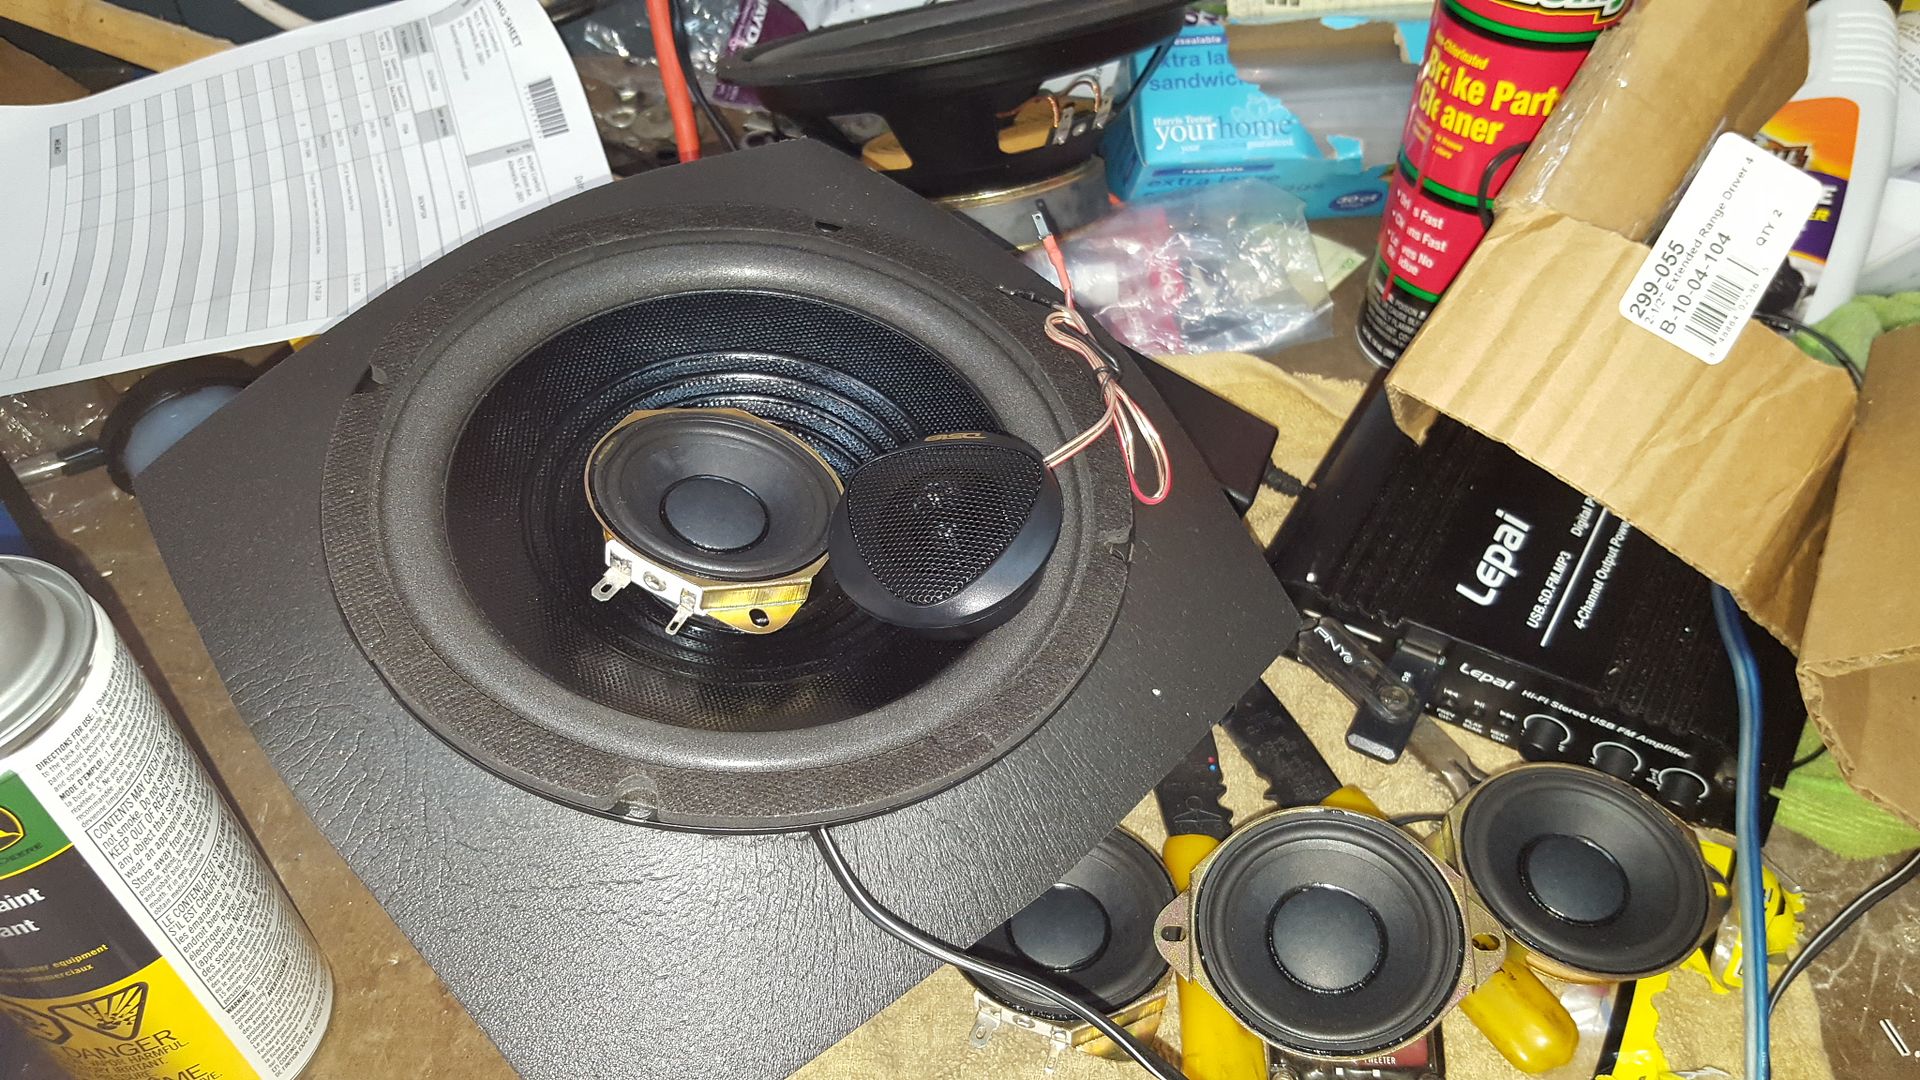 [/URL]
[URL=http://s54.photobucket.com/user/dusterbd13/media/2000%20miata/20170323_202848_zpsrf8drgmw.jpg.html]
[/URL]
[URL=http://s54.photobucket.com/user/dusterbd13/media/2000%20miata/20170323_202848_zpsrf8drgmw.jpg.html]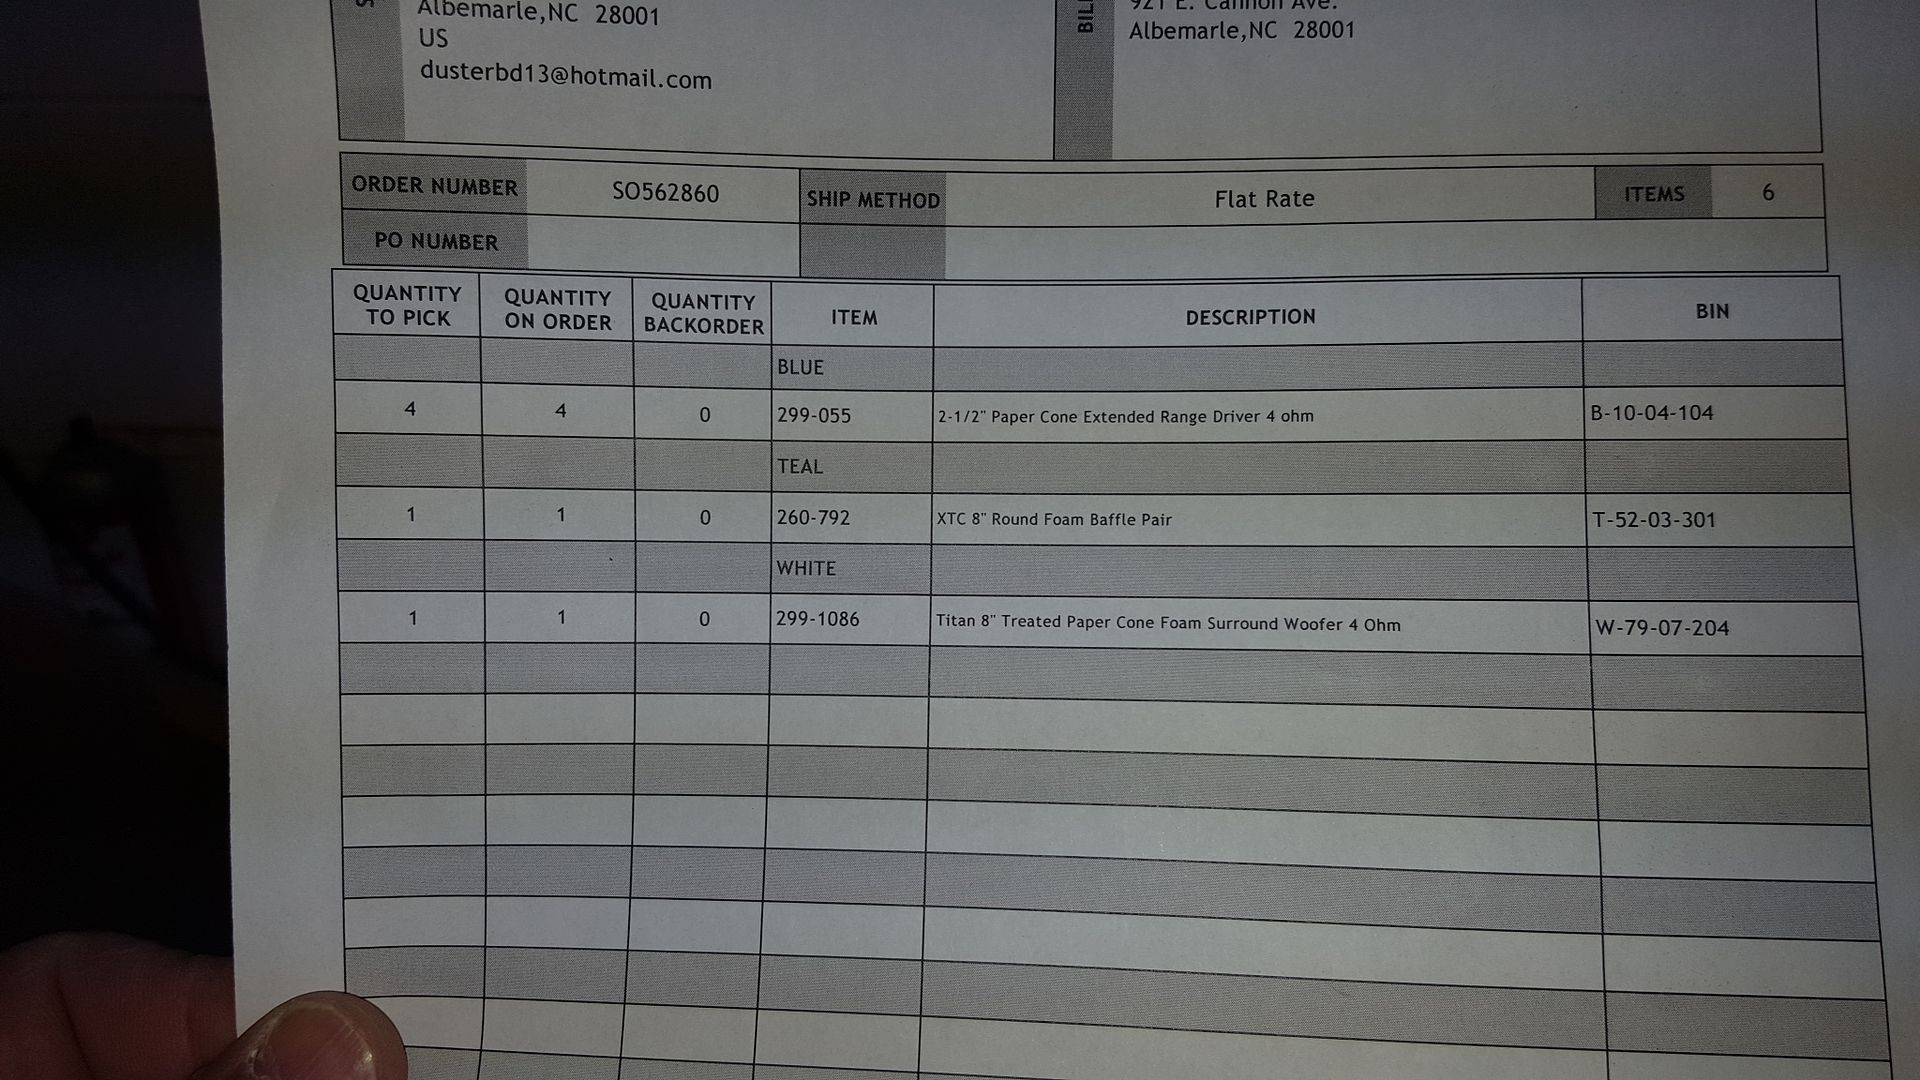 [/URL]
[URL=http://s54.photobucket.com/user/dusterbd13/media/2000%20miata/20170324_191942_zpslb1wyfmi.jpg.html]
[/URL]
[URL=http://s54.photobucket.com/user/dusterbd13/media/2000%20miata/20170324_191942_zpslb1wyfmi.jpg.html] [/URL]
Cannibalized the free junk pioneer setup for the crossovers, mounted the baffle with a hole in the bottom, screwed the 8 to the factory location, and duct taped the crossovers to the back of the baffles where they would be out of harm and waters way.
[URL=http://s54.photobucket.com/user/dusterbd13/media/2000%20miata/20170324_193749_zps5dxp63ze.jpg.html]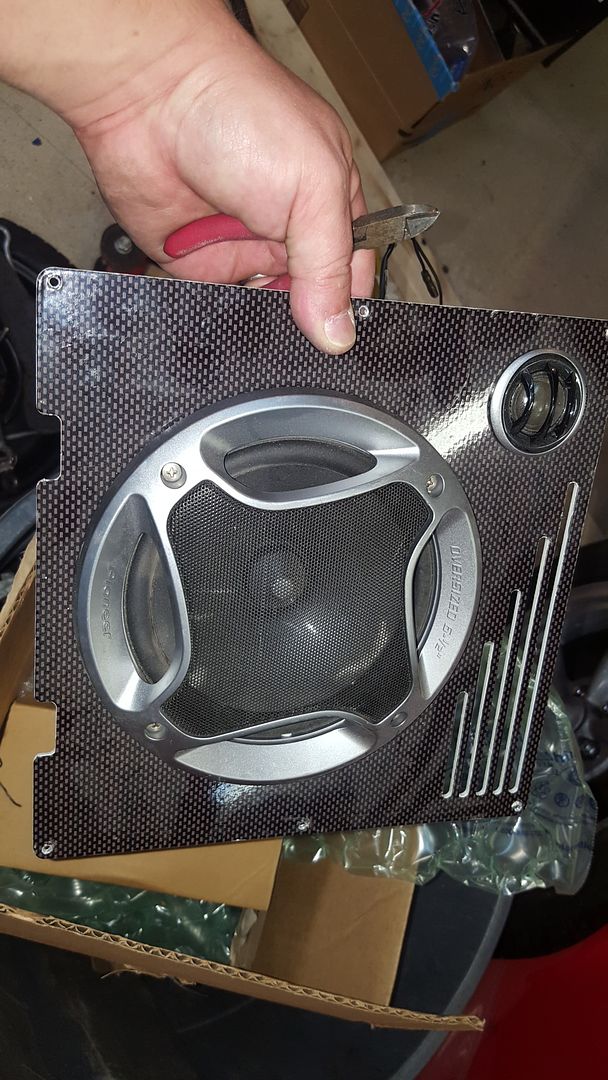 [/URL]
[URL=http://s54.photobucket.com/user/dusterbd13/media/2000%20miata/20170324_191936_zpskoxczifv.jpg.html]
[/URL]
[URL=http://s54.photobucket.com/user/dusterbd13/media/2000%20miata/20170324_191936_zpskoxczifv.jpg.html]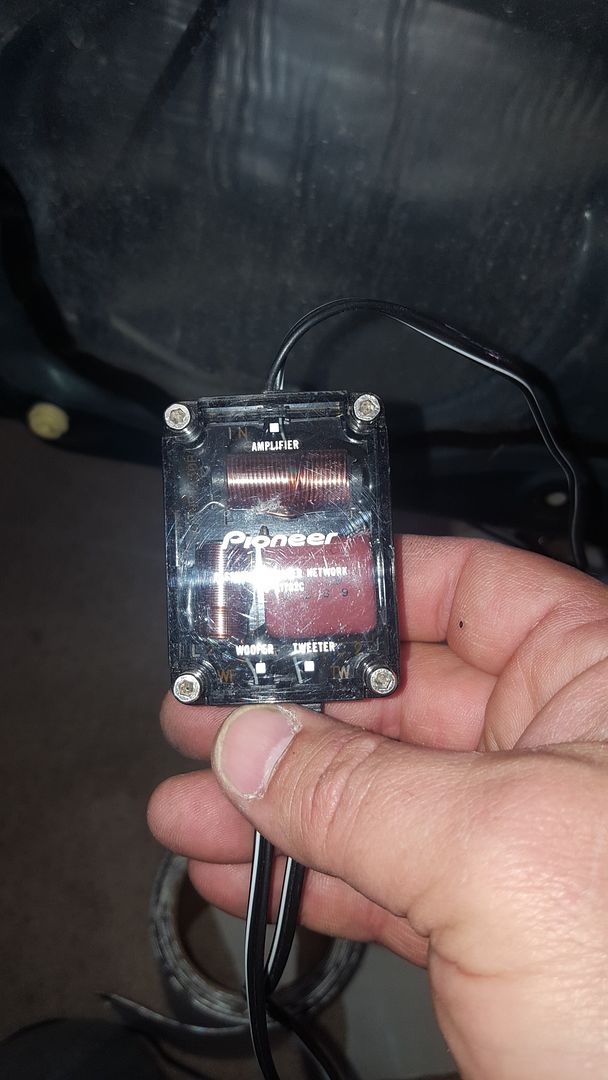 [/URL]
[URL=http://s54.photobucket.com/user/dusterbd13/media/2000%20miata/20170324_192854_zpszvj7r4hp.jpg.html]
[/URL]
[URL=http://s54.photobucket.com/user/dusterbd13/media/2000%20miata/20170324_192854_zpszvj7r4hp.jpg.html]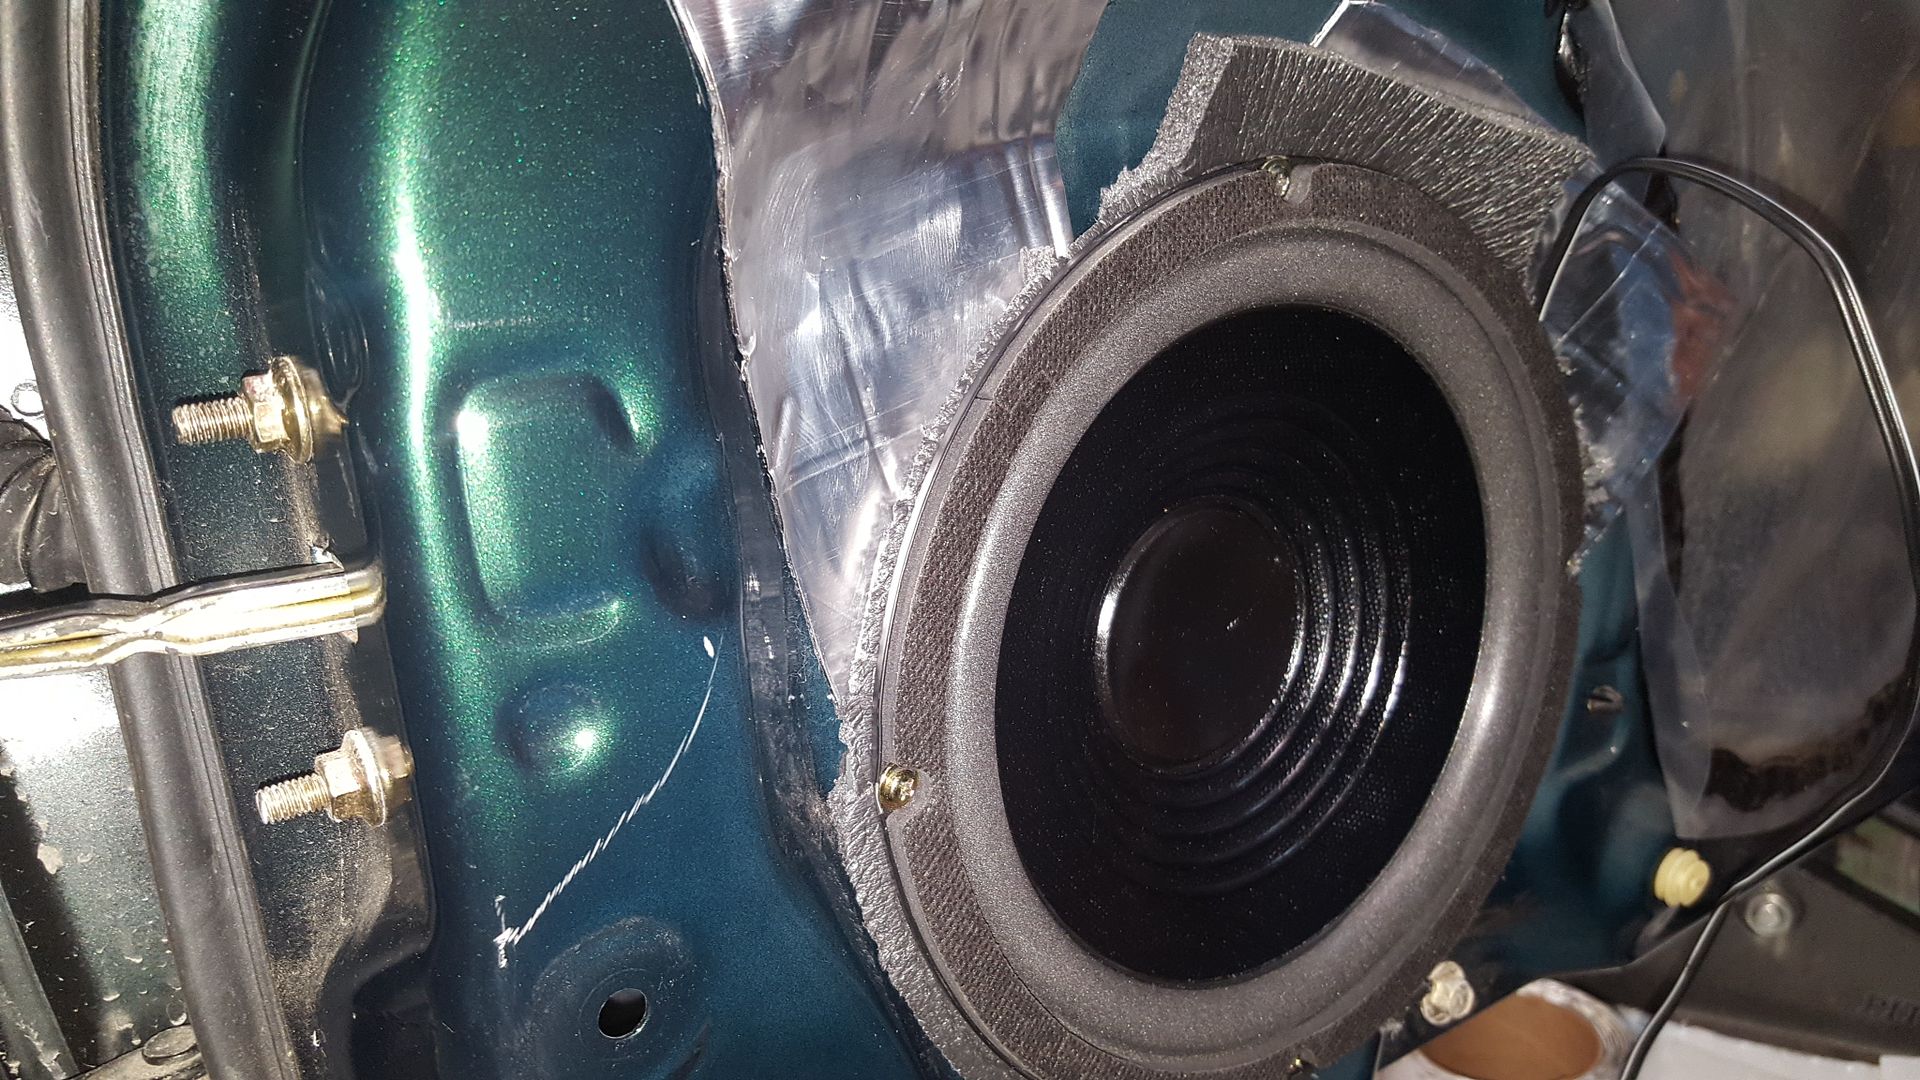 [/URL]
Proceeded to mount the tweeters in the stock location using the supplied hardware and a couple of screws from my harbor freight screw assortment.
[URL=http://s54.photobucket.com/user/dusterbd13/media/2000%20miata/20170324_194711_zpsg6k3ogha.jpg.html]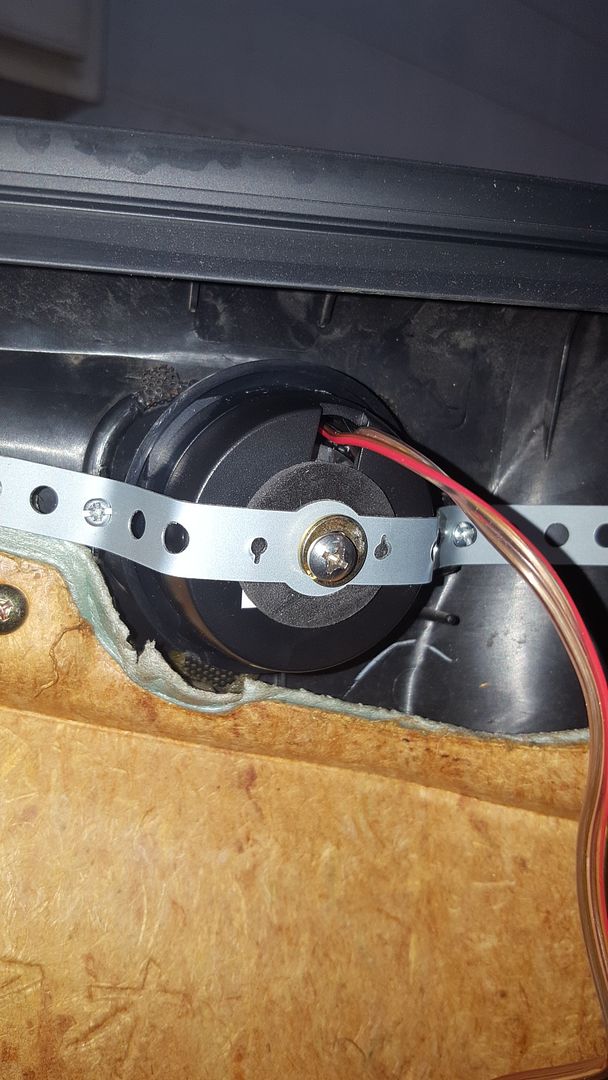 [/URL]
[URL=http://s54.photobucket.com/user/dusterbd13/media/2000%20miata/20170324_194729_zps9nuqayw2.jpg.html]
[/URL]
[URL=http://s54.photobucket.com/user/dusterbd13/media/2000%20miata/20170324_194729_zps9nuqayw2.jpg.html]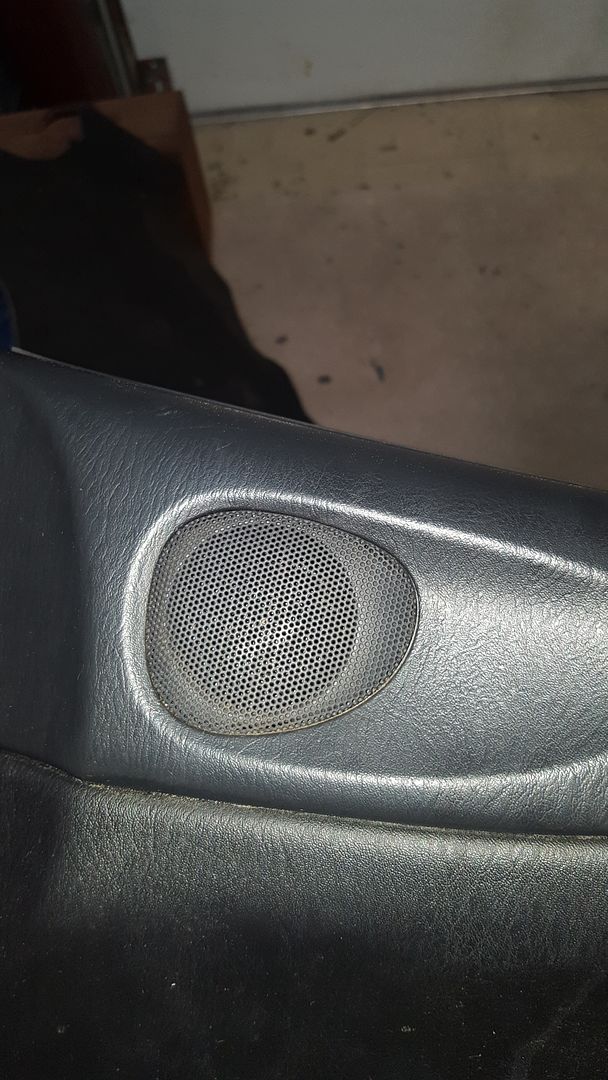 [/URL]
And the head unit that powers it all
[URL=http://s54.photobucket.com/user/dusterbd13/media/2000%20miata/20170324_211224_zpsuljwvla9.jpg.html]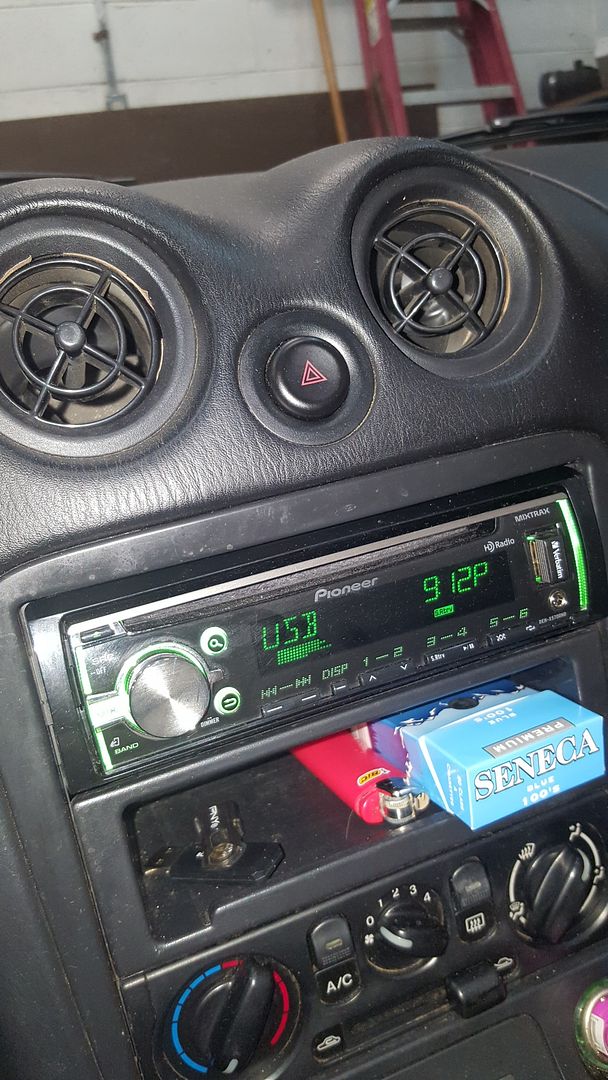 [/URL]
How does it sound? I used the same woofers on a hakuna install with bose in my last car. These blow it away completely. Oh my, does it ever sound good. One of the best ive done yet, in all honesty. Even blows away my stupid expensive, stupid high end setup in the duster. Just wow. And I dont even have the headrest speakers in yet.
Anyway, to round out the dash for now, I got the car some jewelry.
[URL=http://s54.photobucket.com/user/dusterbd13/media/2000%20miata/20170325_083945_zpsd7vtonv3.jpg.html]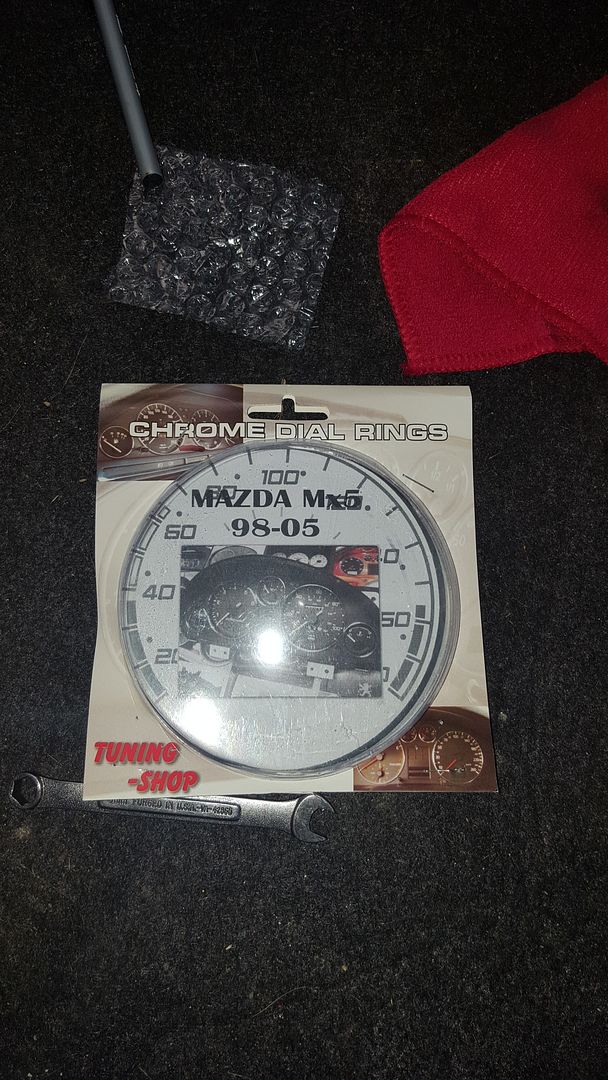 [/URL]
[URL=http://s54.photobucket.com/user/dusterbd13/media/2000%20miata/20170325_083950_zps9mbfo7om.jpg.html]
[/URL]
[URL=http://s54.photobucket.com/user/dusterbd13/media/2000%20miata/20170325_083950_zps9mbfo7om.jpg.html]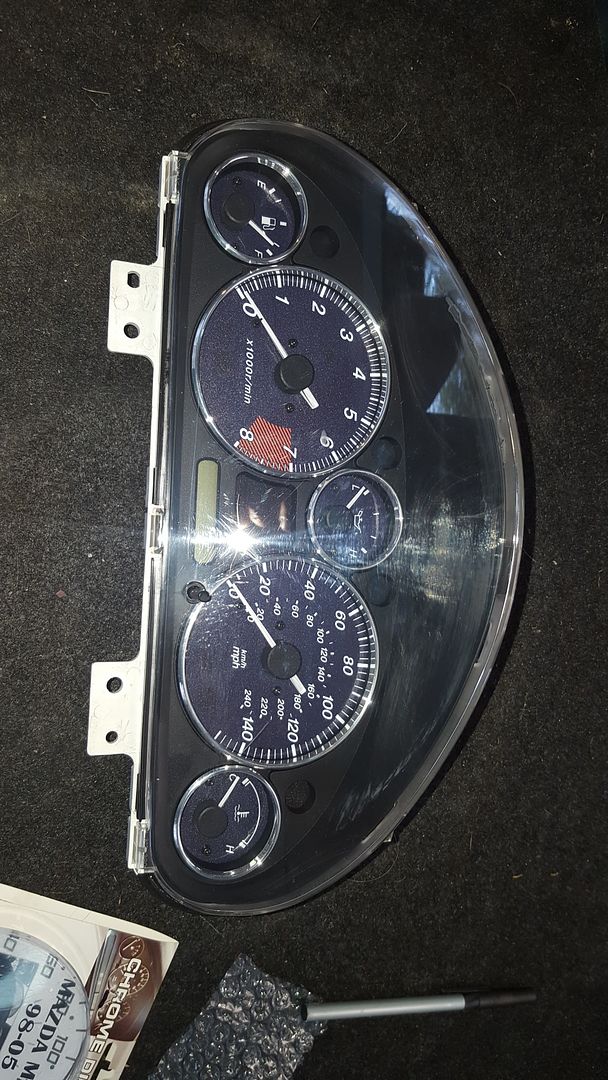 [/URL]
Love them. However, they don't fit. At least not like I would think they should. Wound up having to glue them into place. Oh well. Look great, and really brings the dash to a good look.
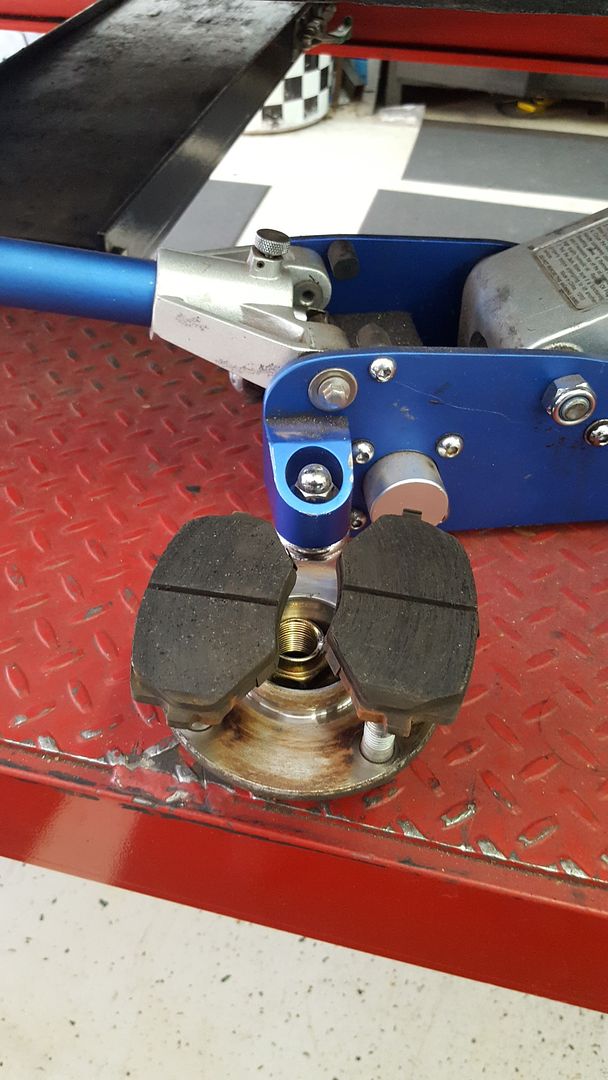
I also got shoes from a spam email. Accidently clicked instead of hit delete, and wound up buying 4 falken 312 in 18/60/14 for 112 shipped. Came from some place called simpletire.com. I honestly thought it may be a scam, so I used paypal to cover my ass. Tires showed up two days later. Date coded for the very end of 2014, but ride and handle good. (yes, they are on. No, I dont have a picture.) I also picked up some fresh centric ctek pads from rockauto on closeout.
[URL=http://s54.photobucket.com/user/dusterbd13/media/2000%20miata/20170326_164728_zpsn5onpy47.jpg.html]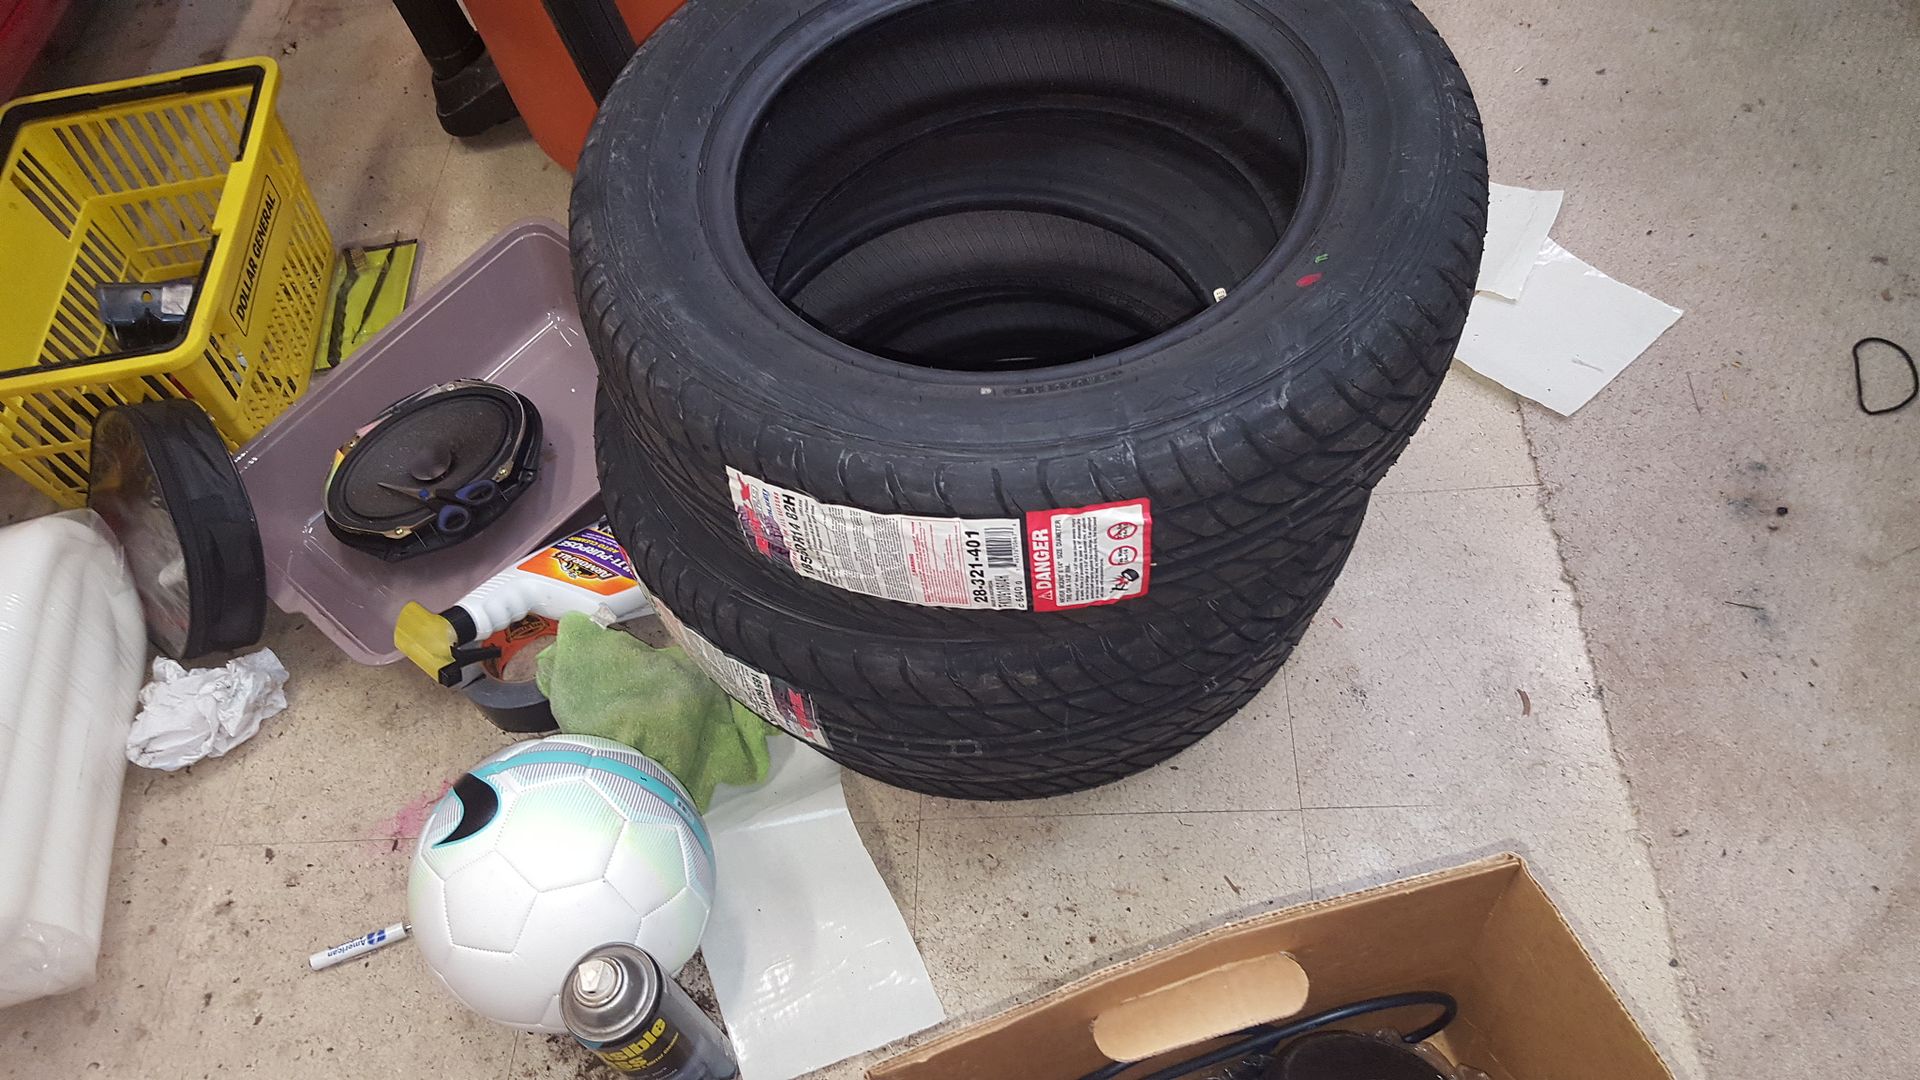 [/URL]
[URL=http://s54.photobucket.com/user/dusterbd13/media/2000%20miata/20170326_164734_zpsut1cjwmn.jpg.html]
[/URL]
[URL=http://s54.photobucket.com/user/dusterbd13/media/2000%20miata/20170326_164734_zpsut1cjwmn.jpg.html]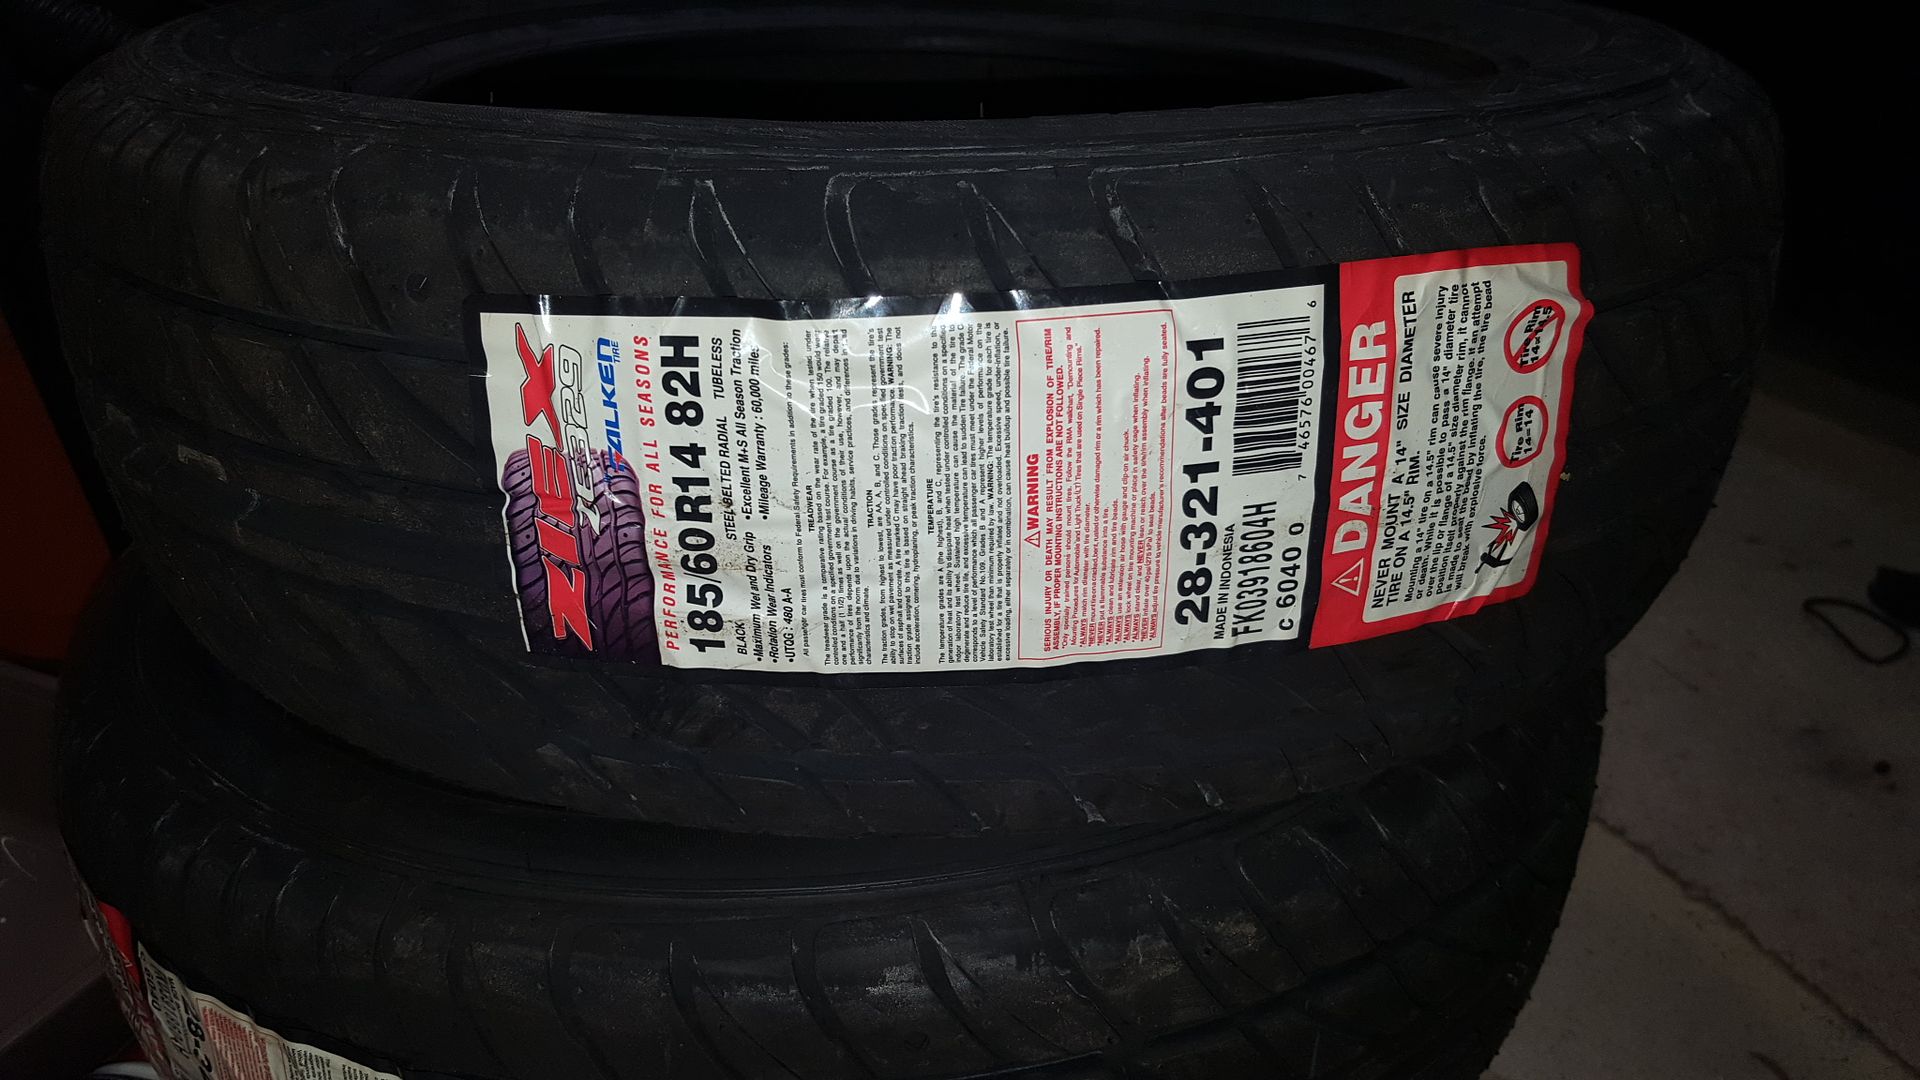 [/URL]
[URL=http://s54.photobucket.com/user/dusterbd13/media/2000%20miata/20170326_164753_zpsdgto3kuv.jpg.html]
[/URL]
[URL=http://s54.photobucket.com/user/dusterbd13/media/2000%20miata/20170326_164753_zpsdgto3kuv.jpg.html]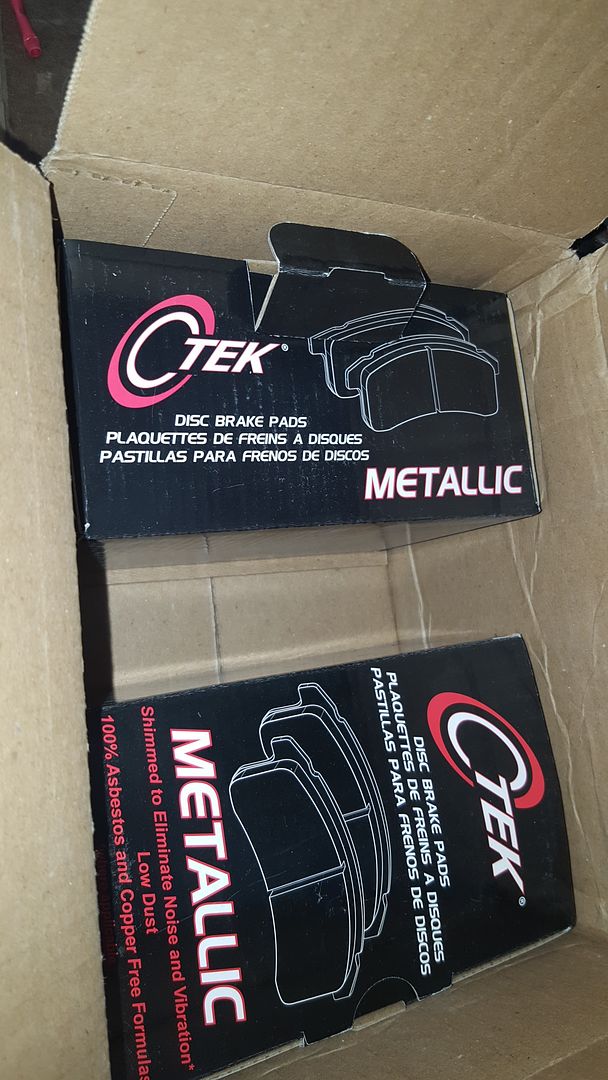 [/URL]
Until next time friends.
 [/URL]
 [/URL]
 [/URL]
[URL=http://s54.photobucket.com/user/dusterbd13/media/2000%20miata/20170402_171428_zpsq2yeiwne.jpg.html]
[/URL]
[URL=http://s54.photobucket.com/user/dusterbd13/media/2000%20miata/20170402_171428_zpsq2yeiwne.jpg.html] [/URL]
[URL=http://s54.photobucket.com/user/dusterbd13/media/2000%20miata/20170402_171434_zpsi4cjjhuz.jpg.html]
[/URL]
[URL=http://s54.photobucket.com/user/dusterbd13/media/2000%20miata/20170402_171434_zpsi4cjjhuz.jpg.html] [/URL]
[URL=http://s54.photobucket.com/user/dusterbd13/media/2000%20miata/20170402_182323_zpsiwar4d9h.jpg.html]
[/URL]
[URL=http://s54.photobucket.com/user/dusterbd13/media/2000%20miata/20170402_182323_zpsiwar4d9h.jpg.html] [/URL]
[URL=http://s54.photobucket.com/user/dusterbd13/media/2000%20miata/20170402_182315_zpsdodtekhl.jpg.html]
[/URL]
[URL=http://s54.photobucket.com/user/dusterbd13/media/2000%20miata/20170402_182315_zpsdodtekhl.jpg.html] [/URL]
[URL=http://s54.photobucket.com/user/dusterbd13/media/2000%20miata/20170402_182308_zpsy0ipciqy.jpg.html]
[/URL]
[URL=http://s54.photobucket.com/user/dusterbd13/media/2000%20miata/20170402_182308_zpsy0ipciqy.jpg.html]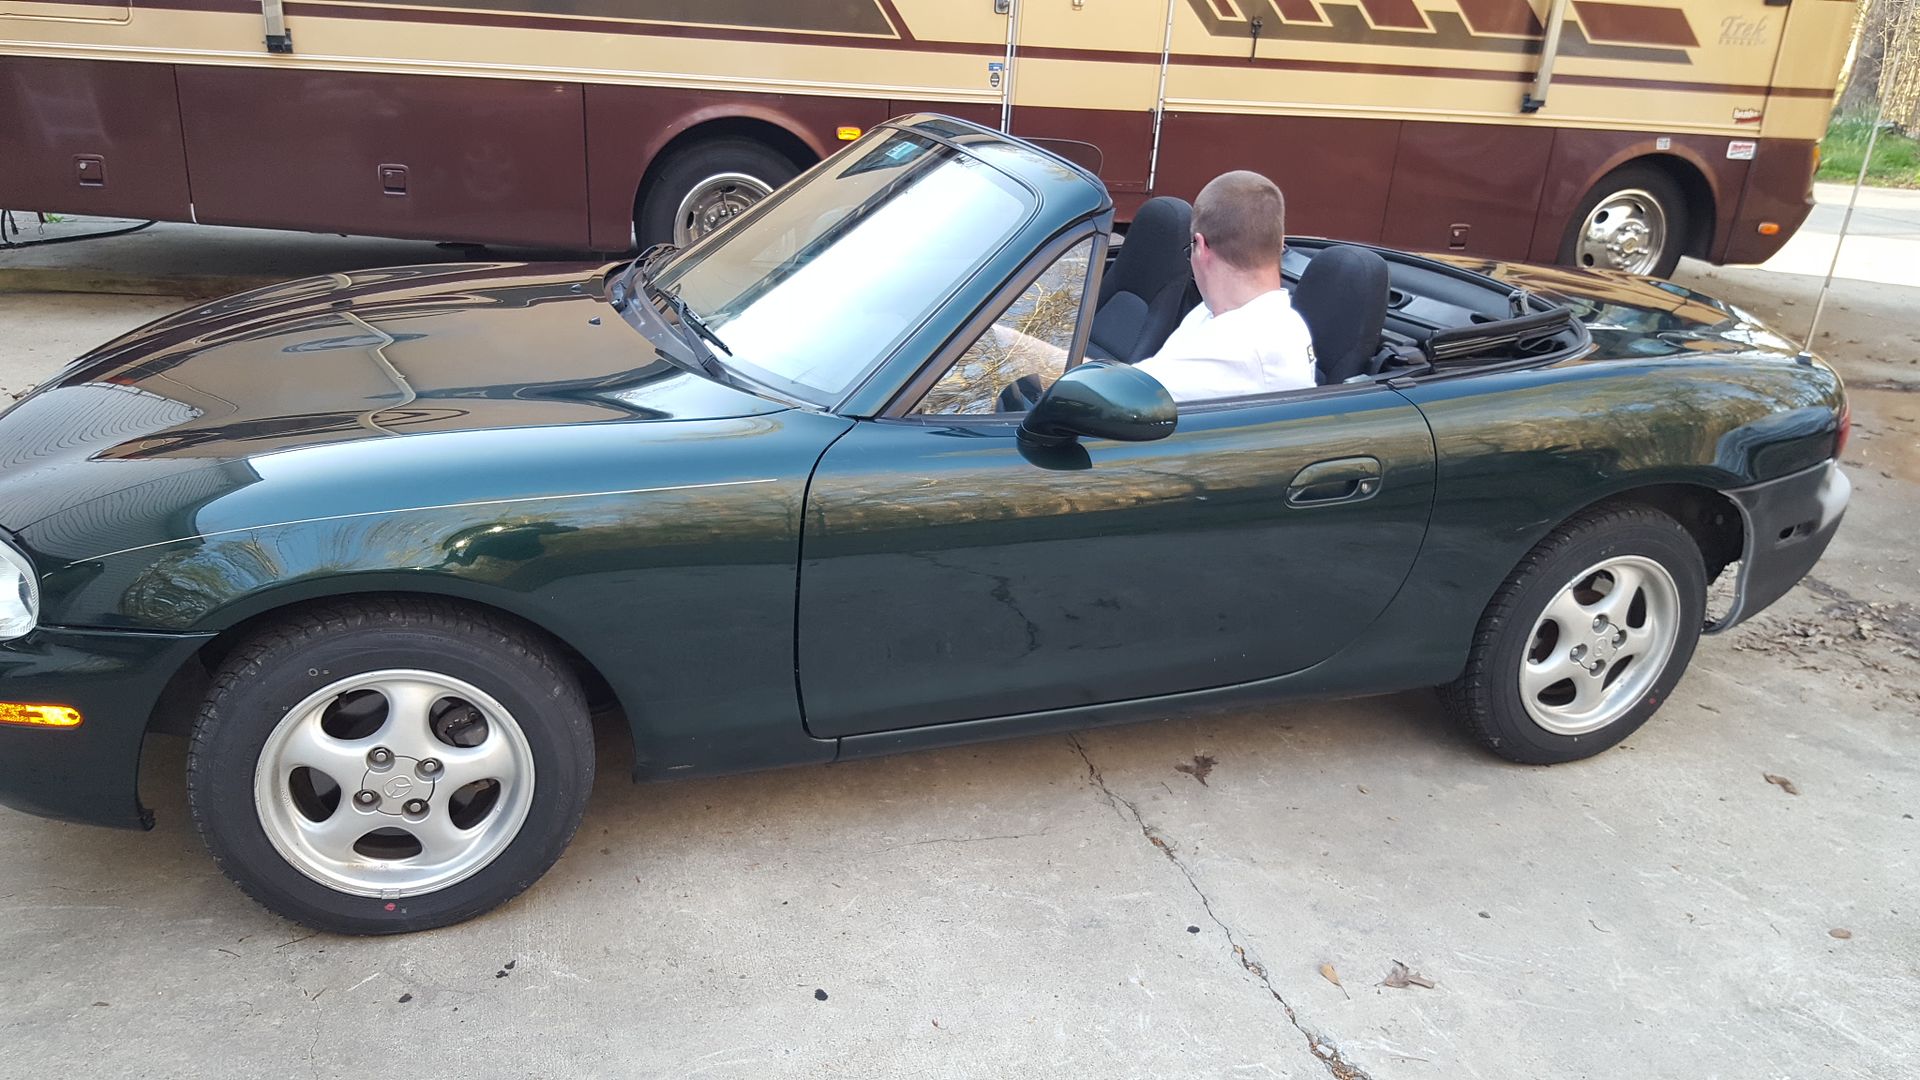 [/URL]


 [/URL]
 [/URL]
[URL=http://s54.photobucket.com/user/dusterbd13/media/2000%20miata/20170608_180909_zpshoqmuiao.jpg.html]
[/URL]
[URL=http://s54.photobucket.com/user/dusterbd13/media/2000%20miata/20170608_180909_zpshoqmuiao.jpg.html]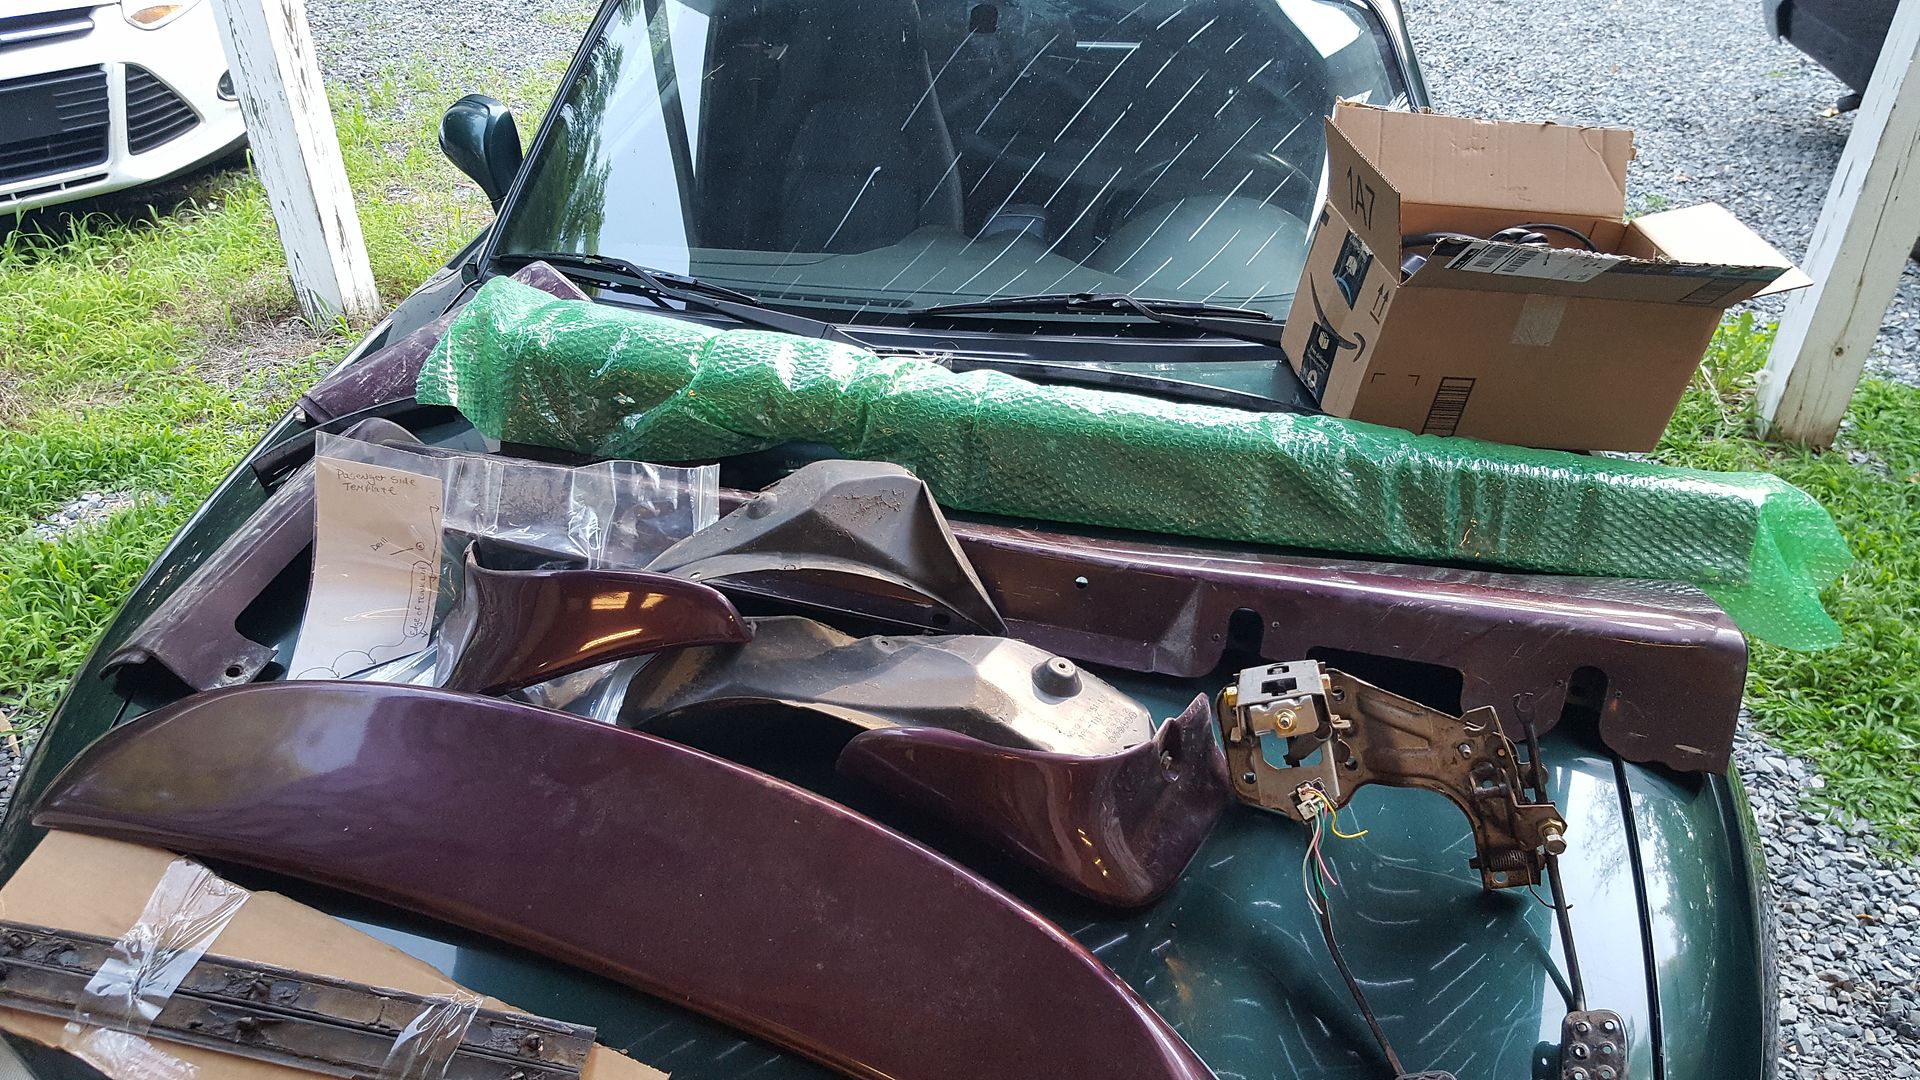 [/URL]
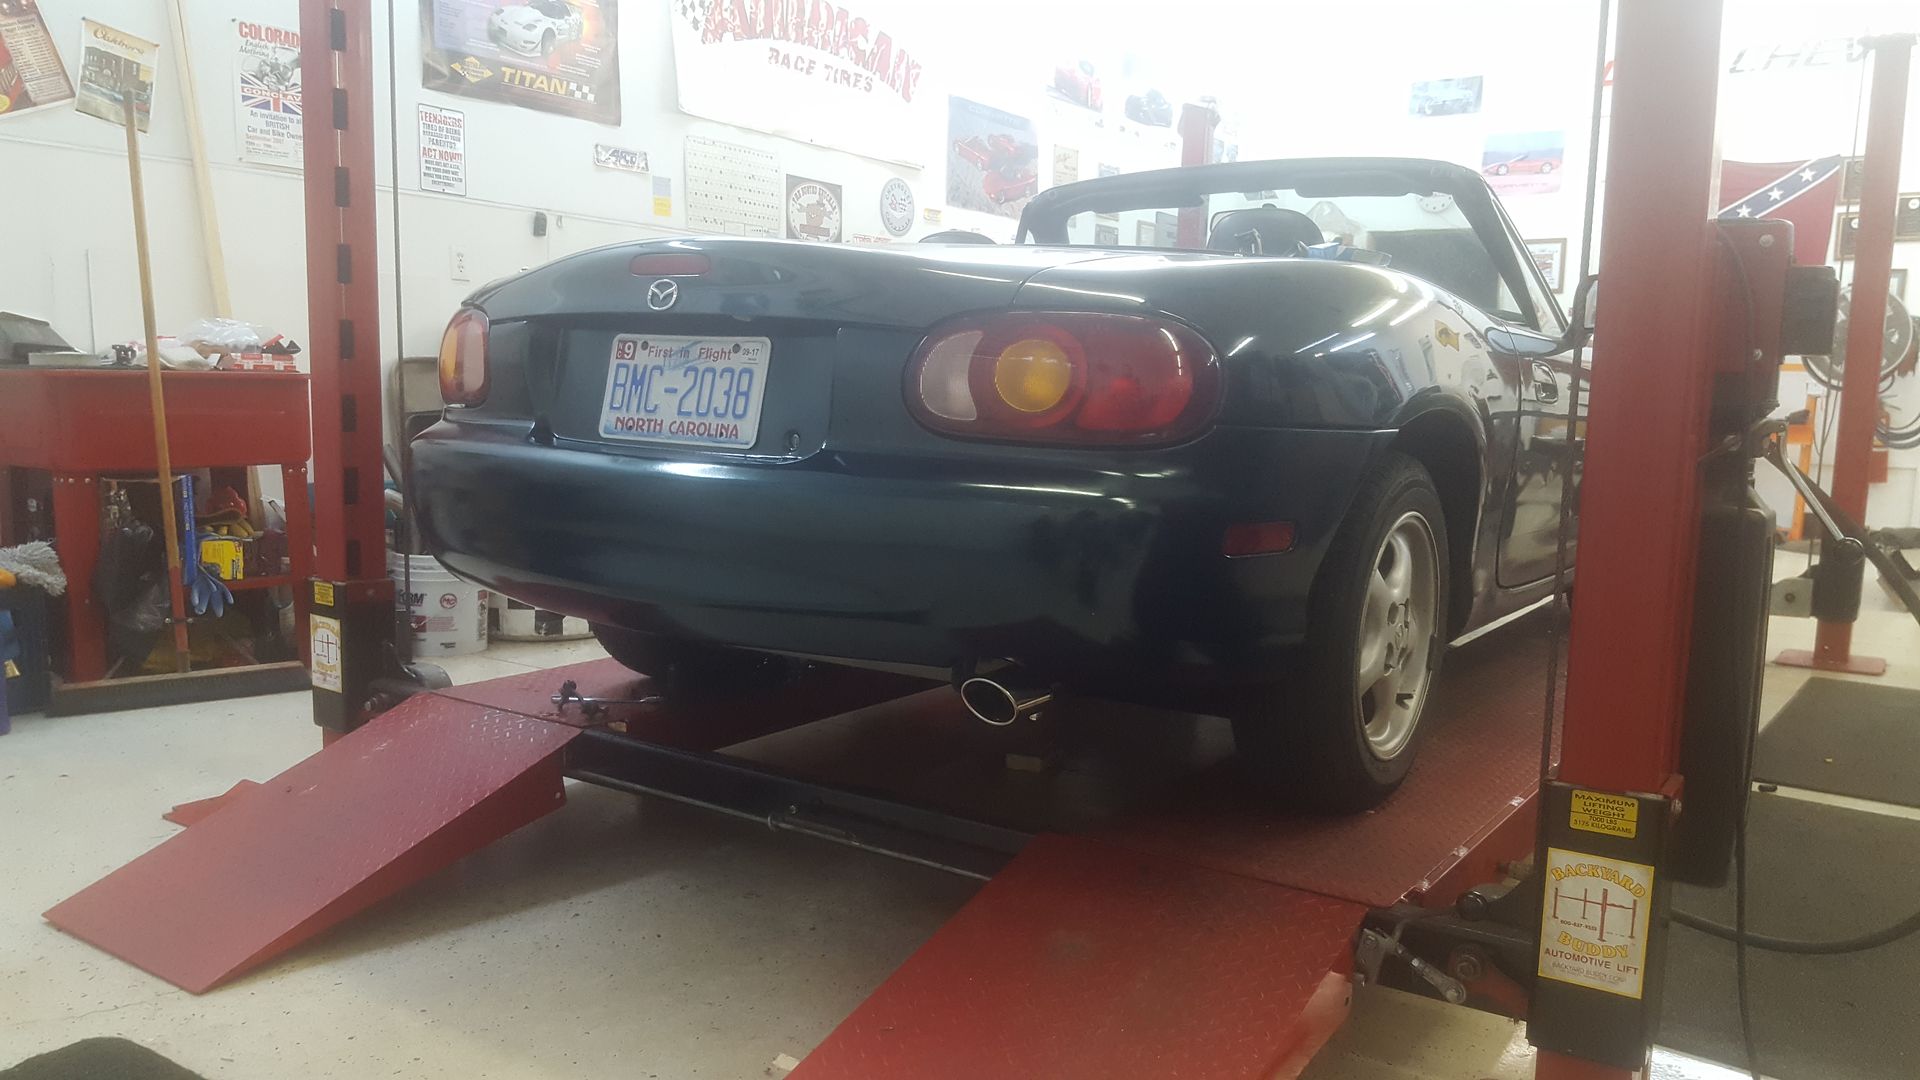 [/URL]
 [/URL]
 [/URL]
 [/URL]
 [/URL]
[URL=http://s54.photobucket.com/user/dusterbd13/media/2000%20miata/20170619_195419_zpsuvq8frqr.jpg.html]
[/URL]
[URL=http://s54.photobucket.com/user/dusterbd13/media/2000%20miata/20170619_195419_zpsuvq8frqr.jpg.html] [/URL]
 [/URL]
[URL=http://s54.photobucket.com/user/dusterbd13/media/2000%20miata/20170620_113828_zpsu0txk1kr.jpg.html]
[/URL]
[URL=http://s54.photobucket.com/user/dusterbd13/media/2000%20miata/20170620_113828_zpsu0txk1kr.jpg.html] [/URL]
 [/URL]
[URL=http://s54.photobucket.com/user/dusterbd13/media/2000%20miata/20170622_191110_zpsmwazbcvt.jpg.html]
[/URL]
[URL=http://s54.photobucket.com/user/dusterbd13/media/2000%20miata/20170622_191110_zpsmwazbcvt.jpg.html] [/URL]
 [/URL]
[URL=http://s54.photobucket.com/user/dusterbd13/media/2000%20miata/20170622_191125_zpsszrtphnc.jpg.html]
[/URL]
[URL=http://s54.photobucket.com/user/dusterbd13/media/2000%20miata/20170622_191125_zpsszrtphnc.jpg.html] [/URL]
[URL=http://s54.photobucket.com/user/dusterbd13/media/2000%20miata/20170622_194841_zpseos5rljx.jpg.html]
[/URL]
[URL=http://s54.photobucket.com/user/dusterbd13/media/2000%20miata/20170622_194841_zpseos5rljx.jpg.html]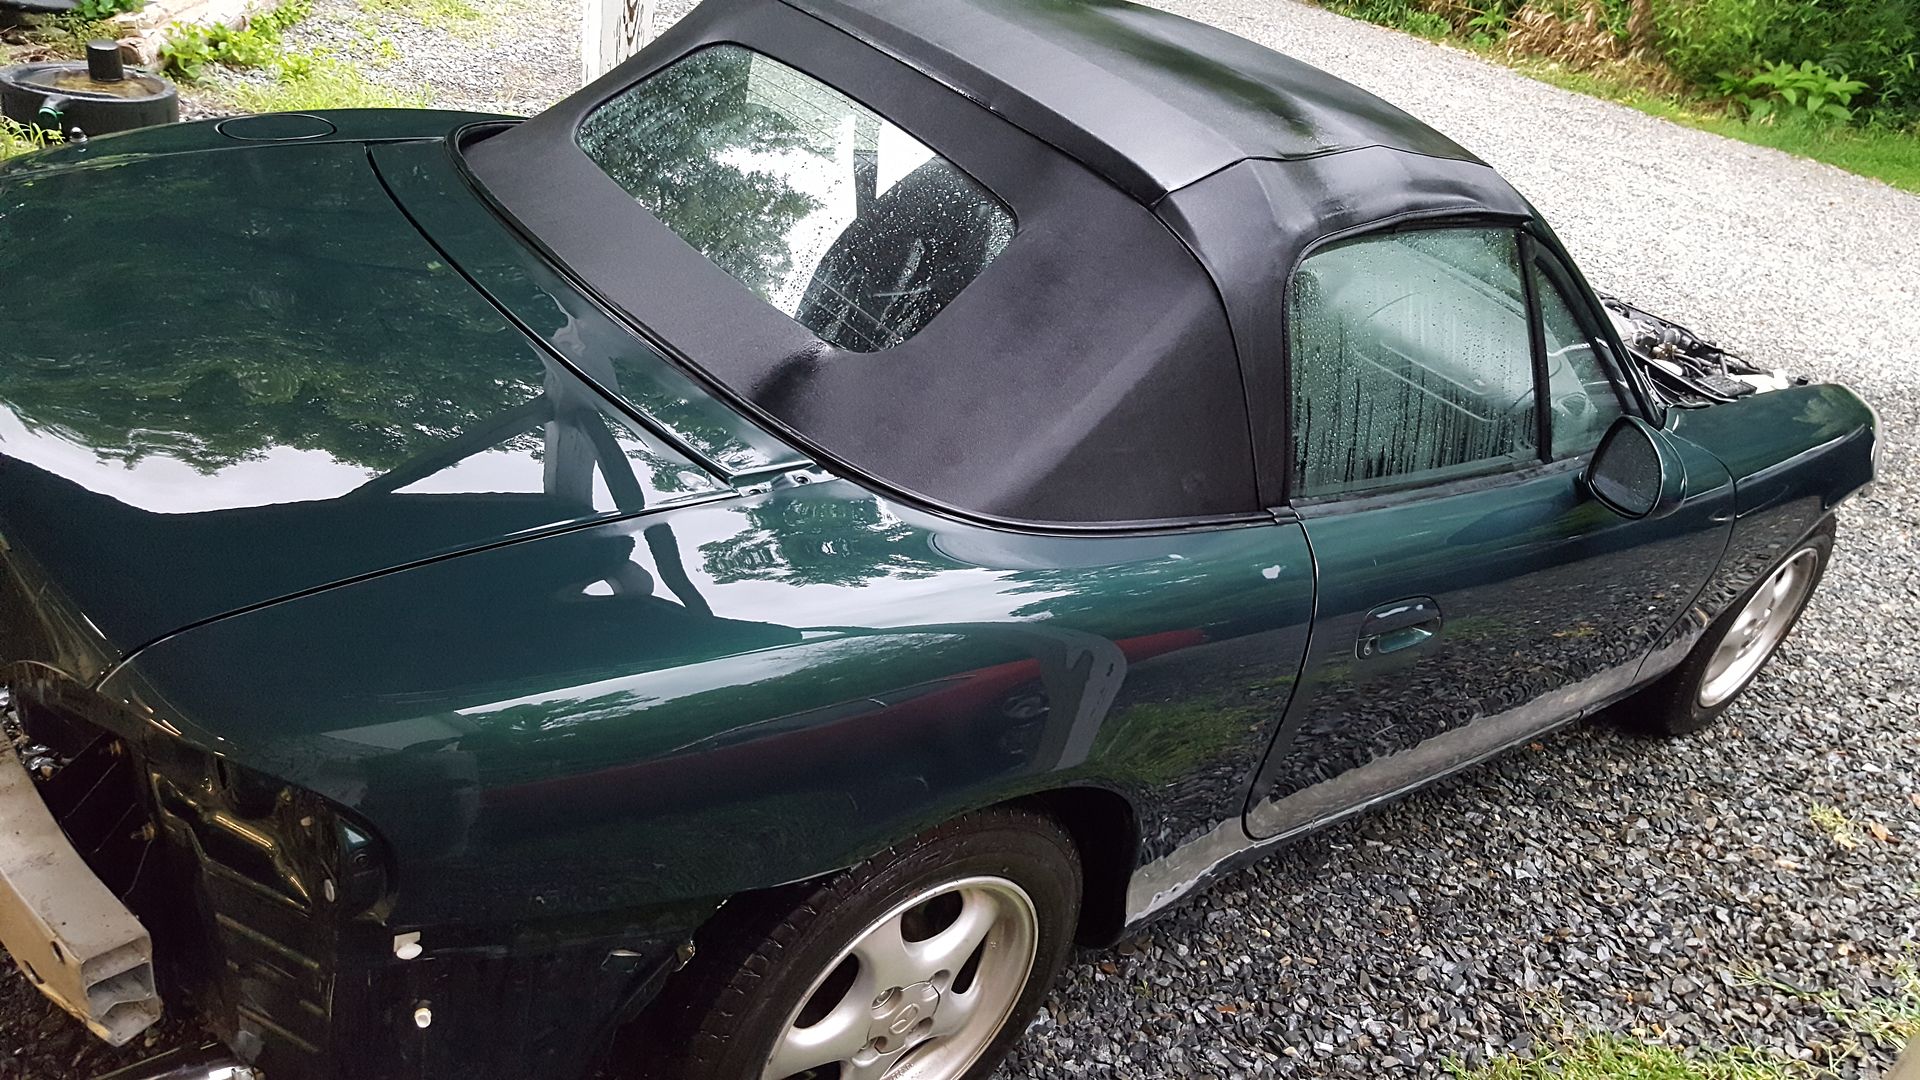 [/URL]
[URL=http://s54.photobucket.com/user/dusterbd13/media/2000%20miata/20170622_194851_zps1n2g5zqy.jpg.html]
[/URL]
[URL=http://s54.photobucket.com/user/dusterbd13/media/2000%20miata/20170622_194851_zps1n2g5zqy.jpg.html]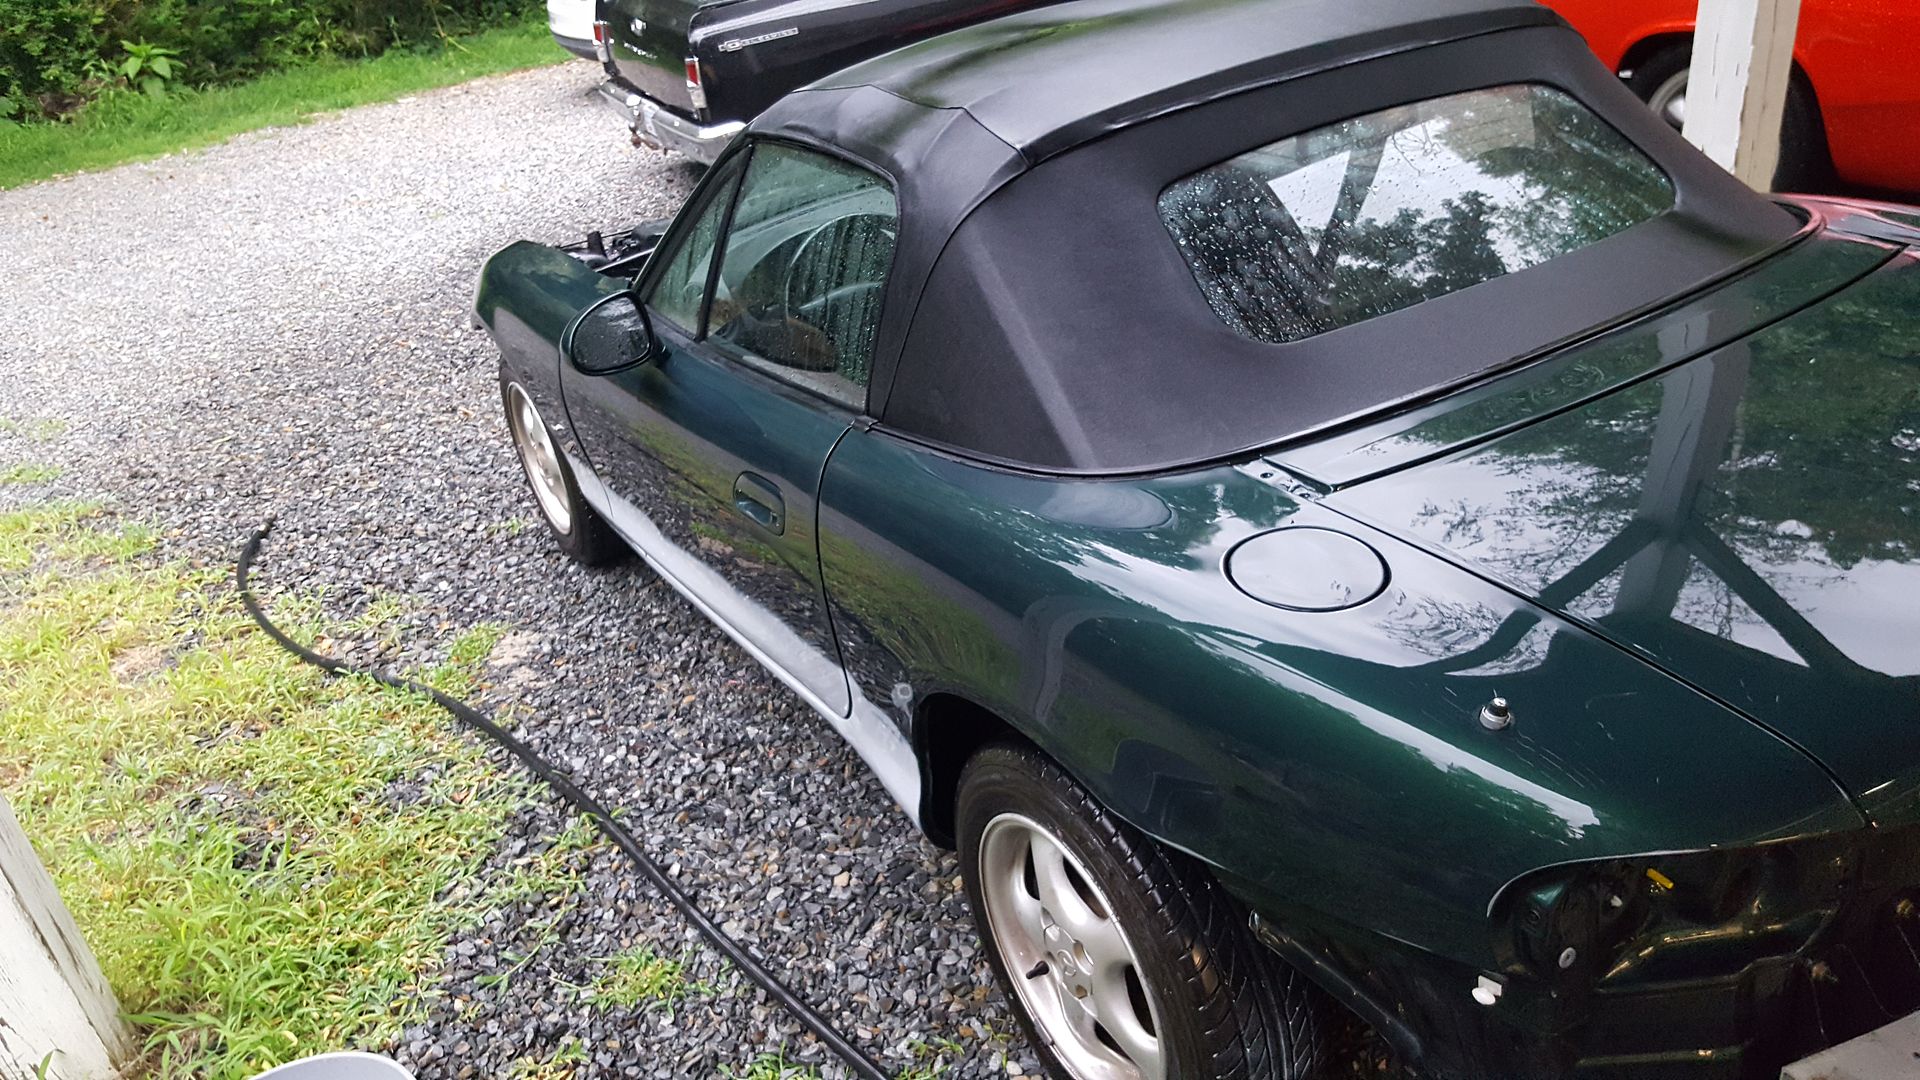 [/URL]
 [/URL]
 [/URL]
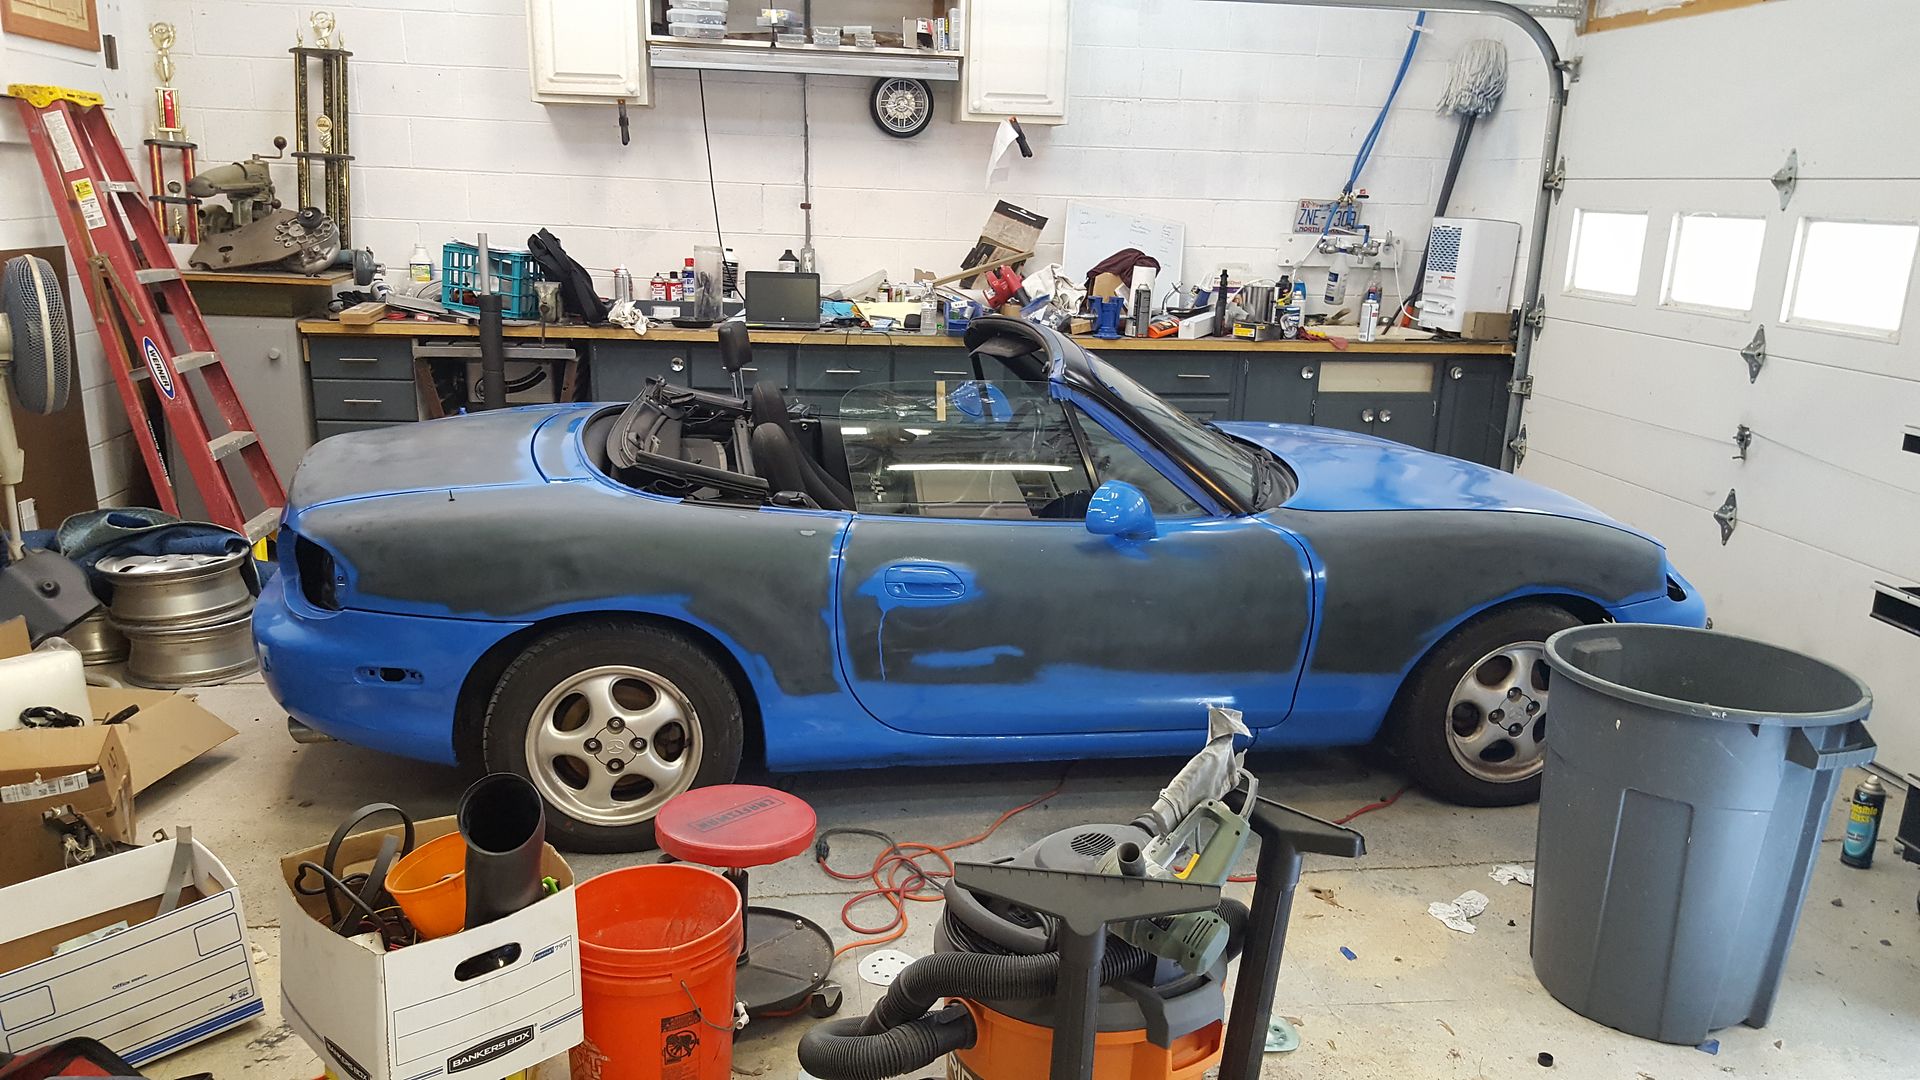 [/URL]
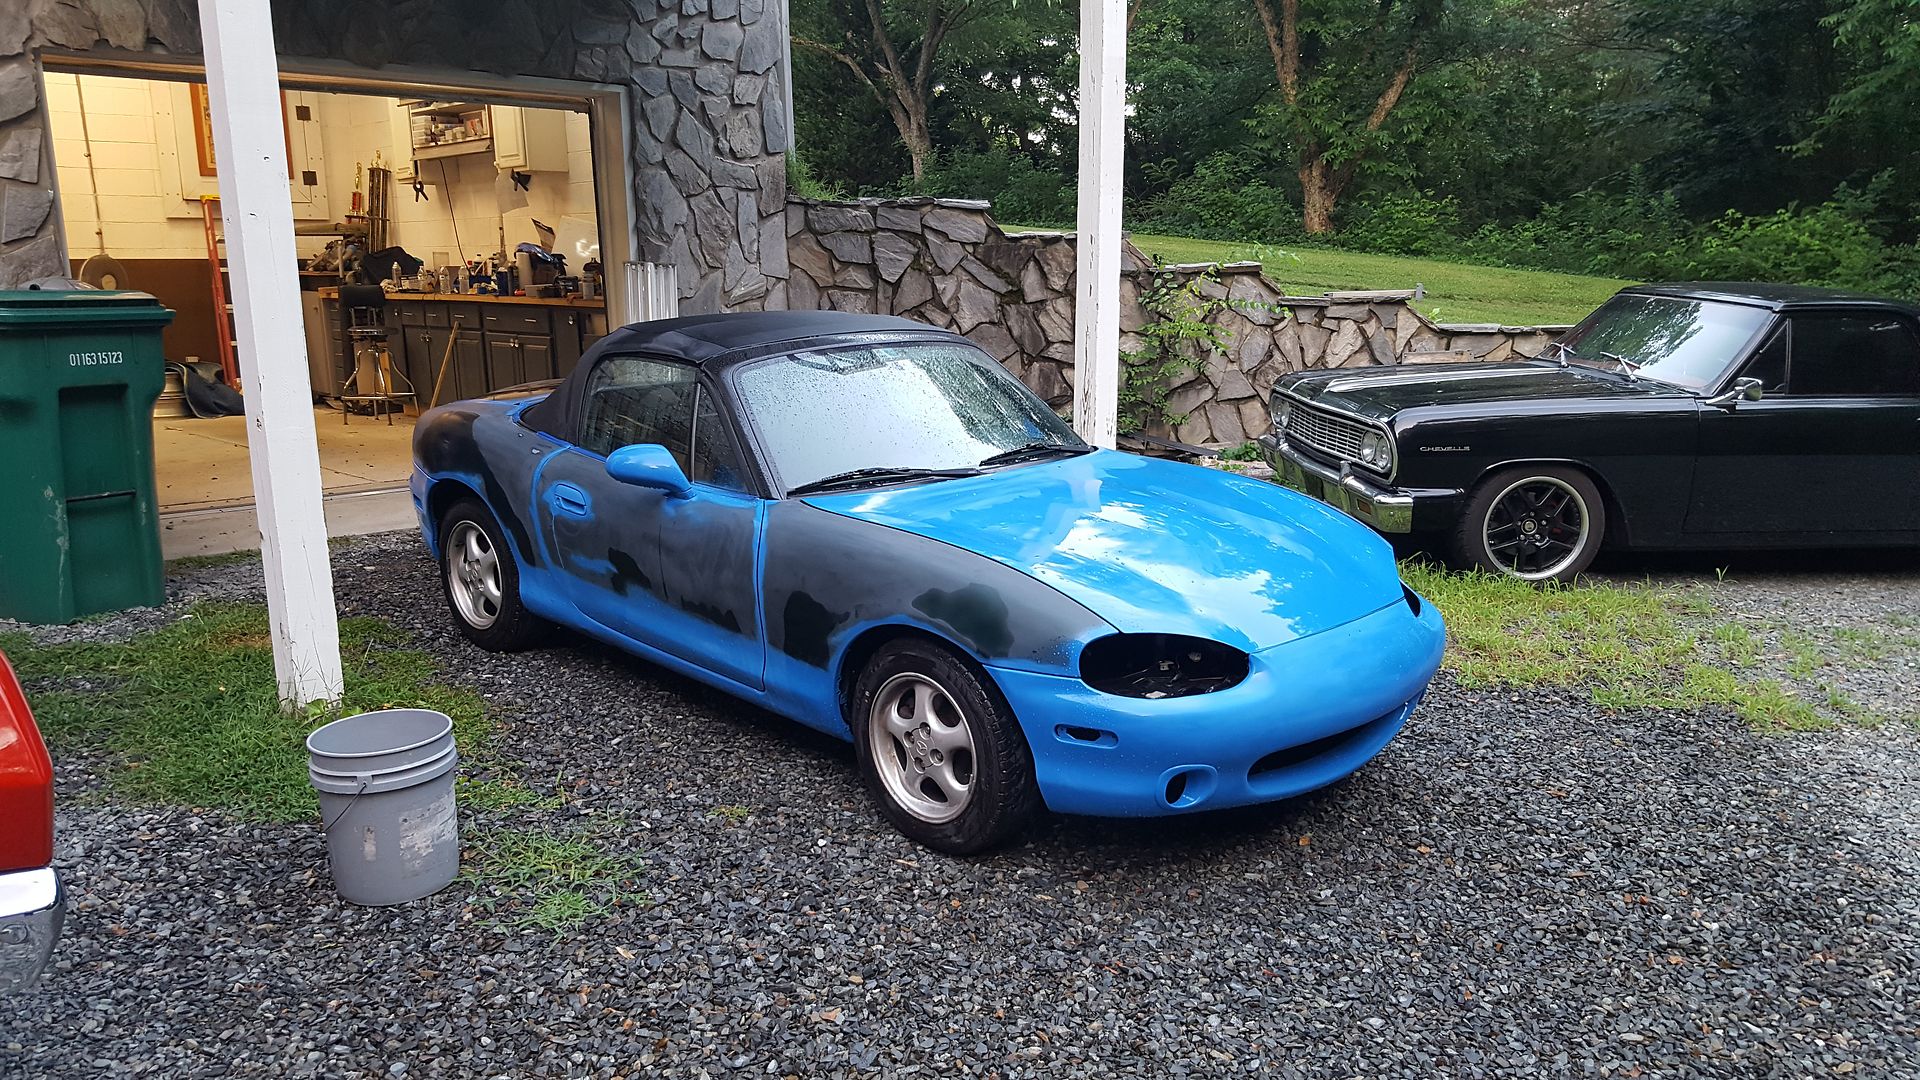 [/URL]
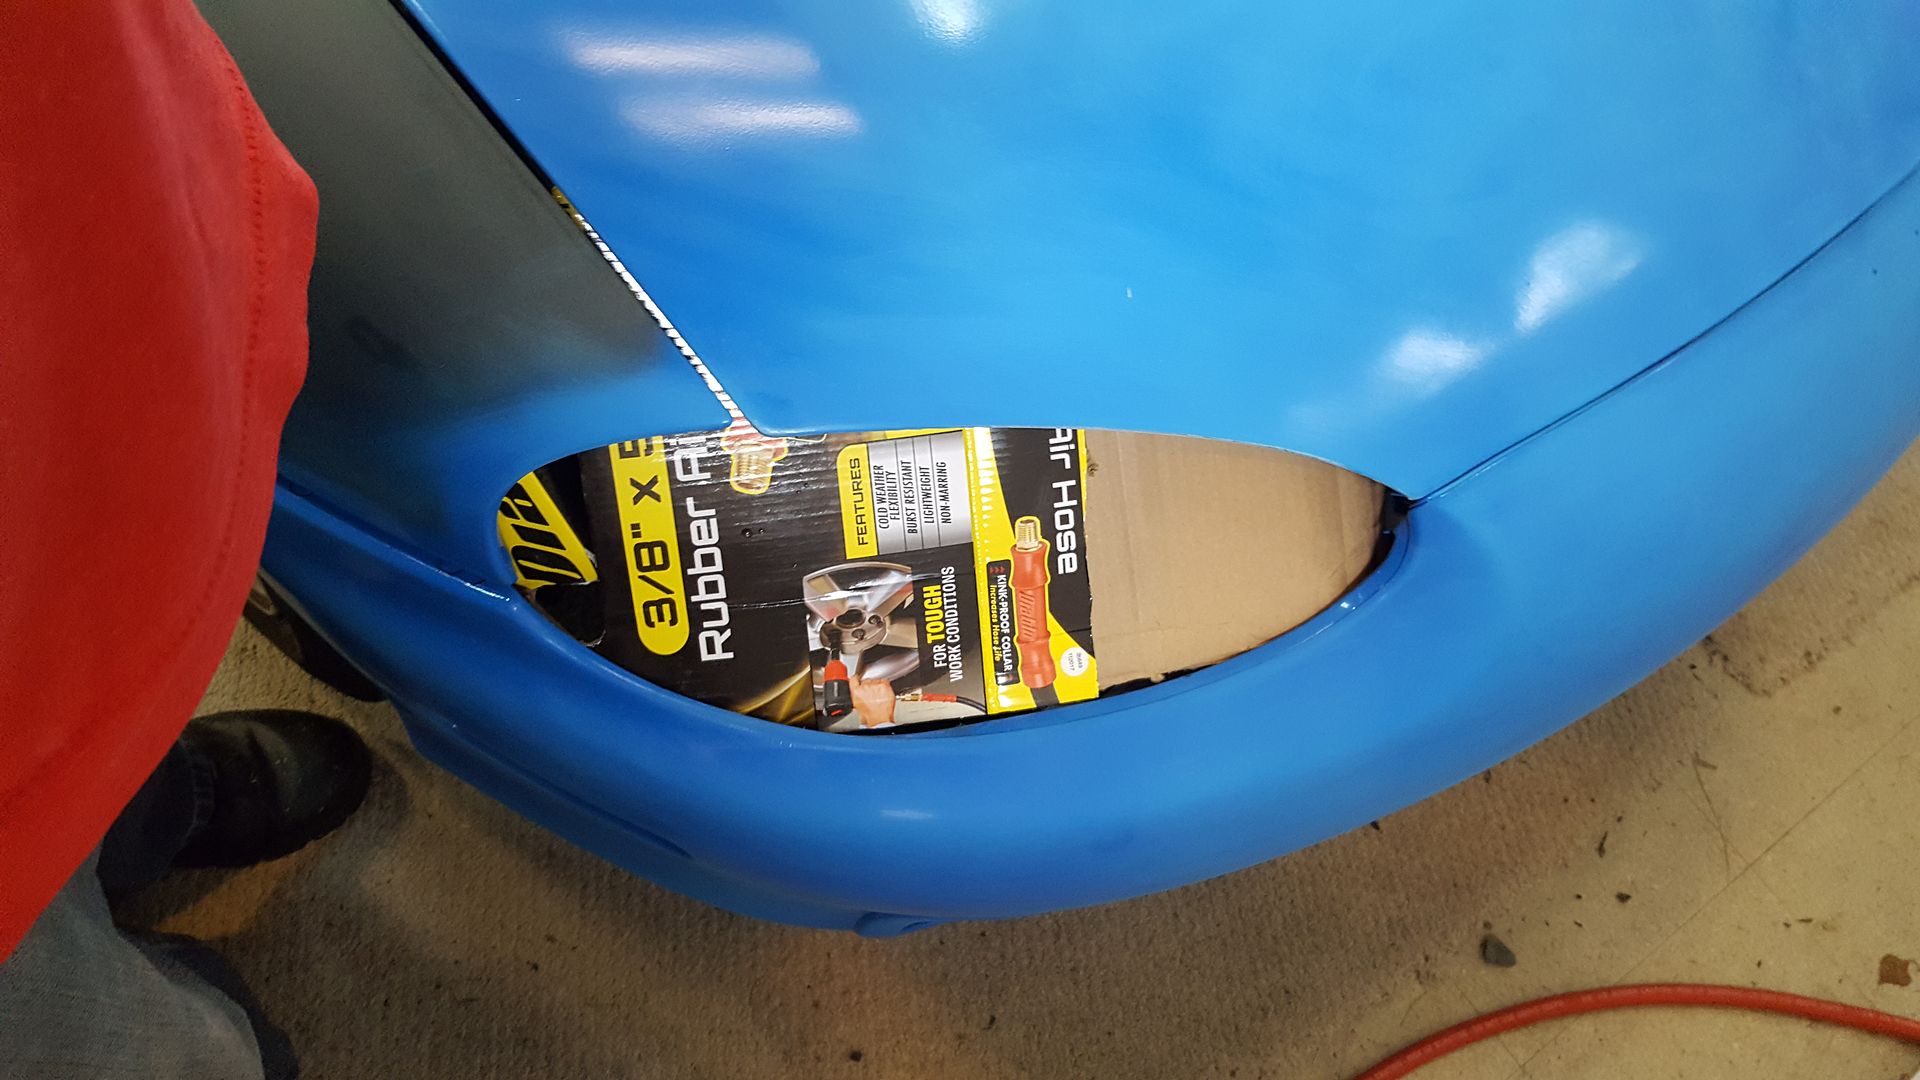 [/URL]
[URL=http://s54.photobucket.com/user/dusterbd13/media/2000%20miata/20170625_110616_1498418603912_zpskbbg7ssy.jpg.html]
[/URL]
[URL=http://s54.photobucket.com/user/dusterbd13/media/2000%20miata/20170625_110616_1498418603912_zpskbbg7ssy.jpg.html] [/URL]
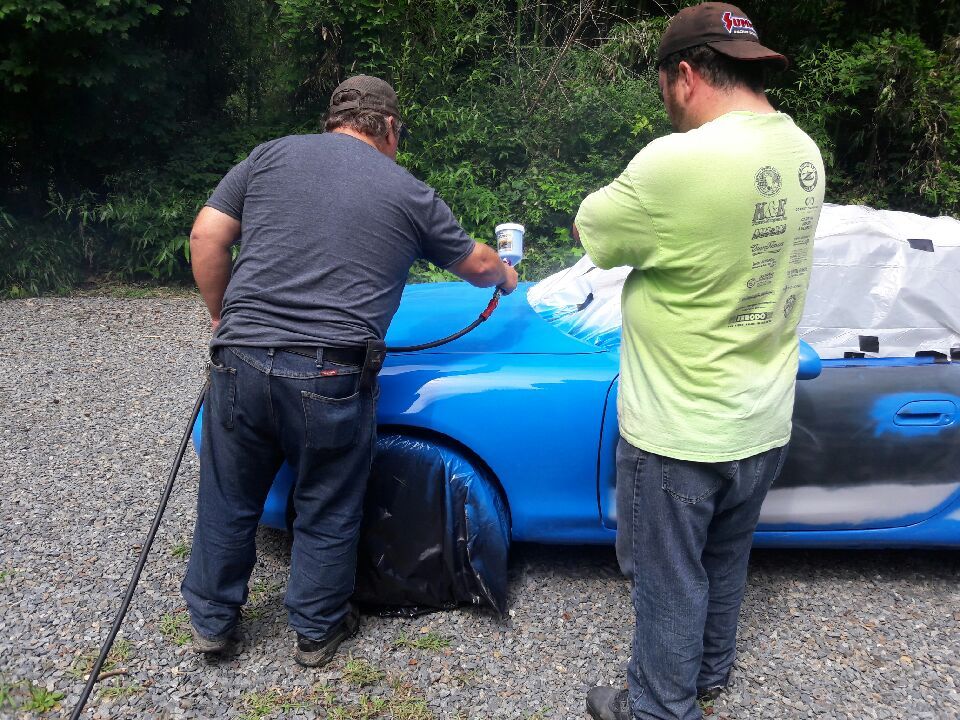 [/URL]
[URL=http://s54.photobucket.com/user/dusterbd13/media/2000%20miata/20170625_110216_1498418605831_zps6ytuv7cr.jpg.html]
[/URL]
[URL=http://s54.photobucket.com/user/dusterbd13/media/2000%20miata/20170625_110216_1498418605831_zps6ytuv7cr.jpg.html]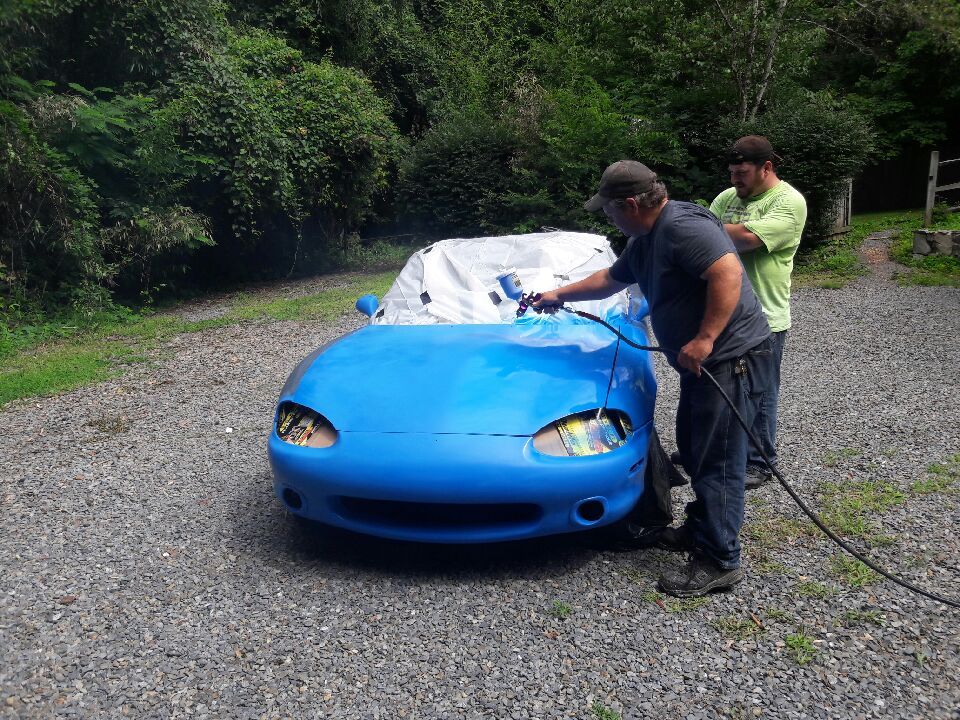 [/URL]
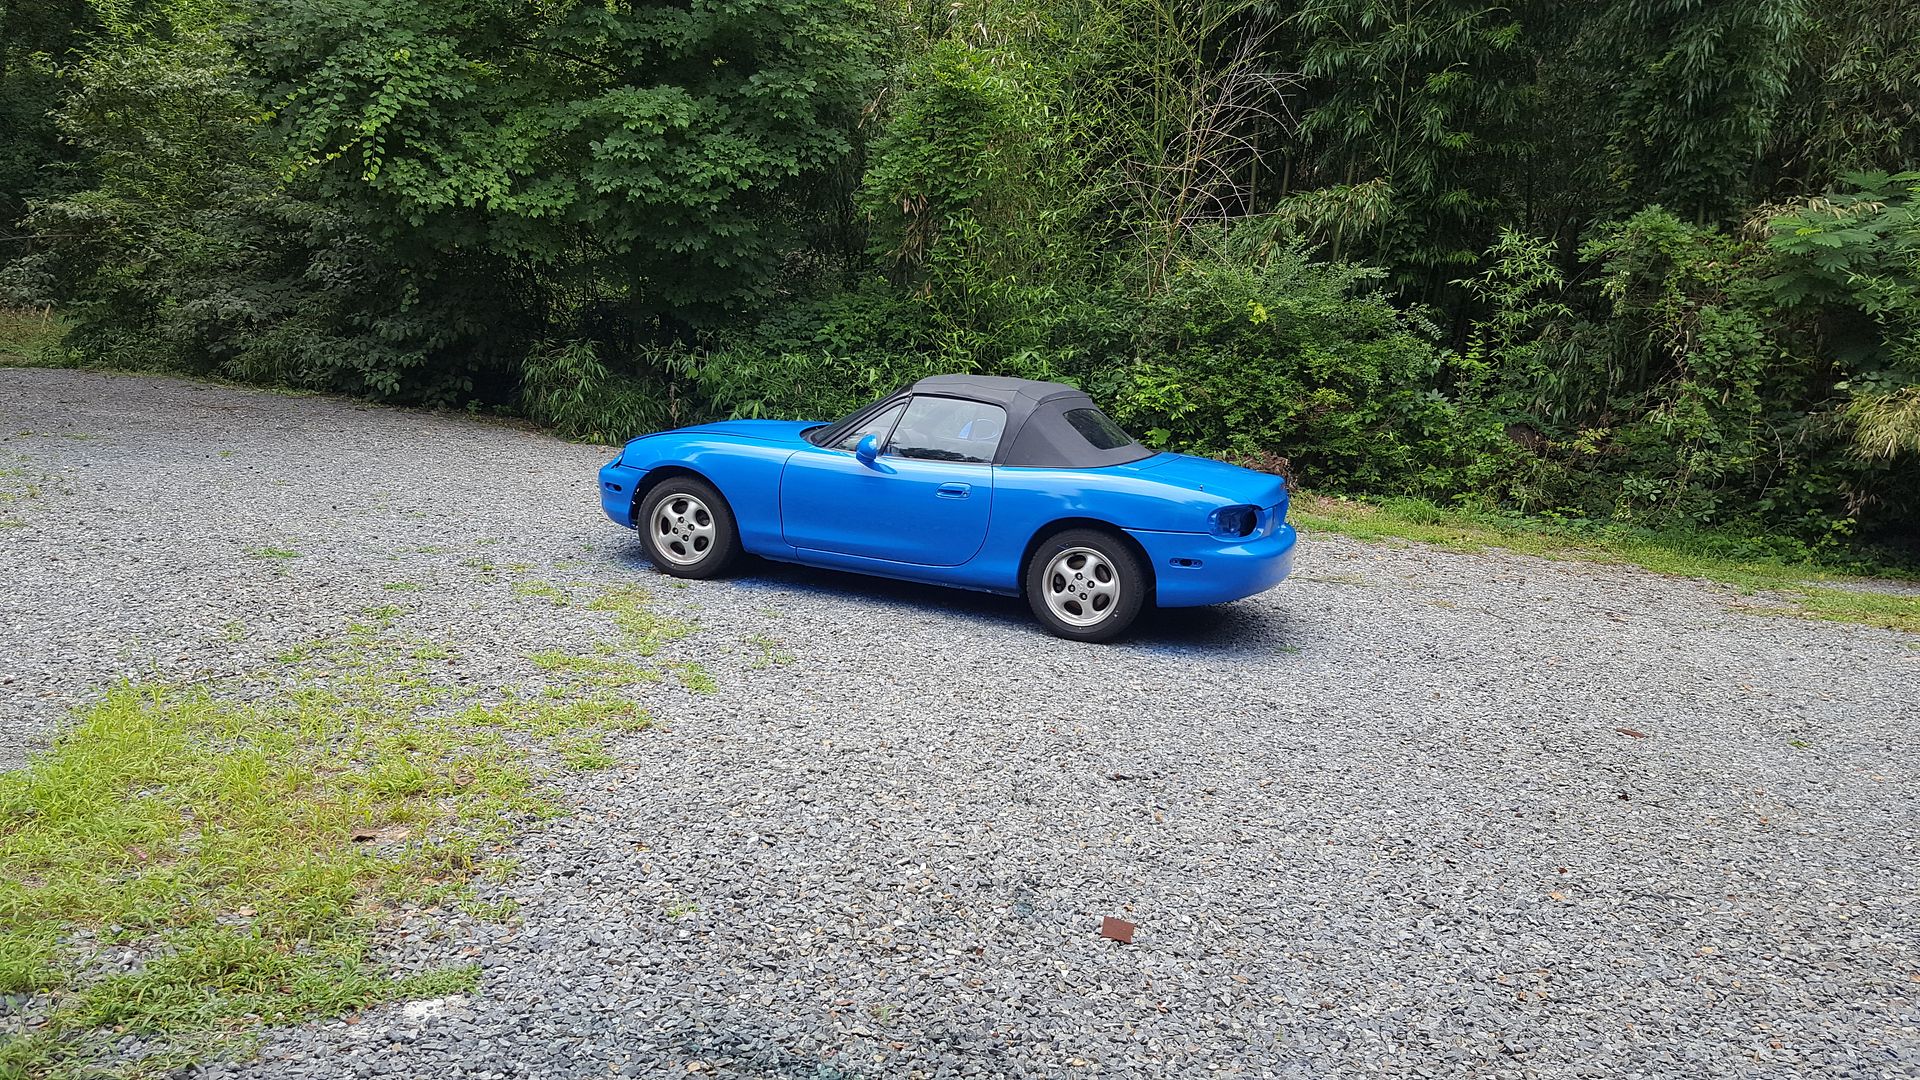 [/URL]
[URL=http://s54.photobucket.com/user/dusterbd13/media/2000%20miata/20170625_124755_zpsjumpypqy.jpg.html]
[/URL]
[URL=http://s54.photobucket.com/user/dusterbd13/media/2000%20miata/20170625_124755_zpsjumpypqy.jpg.html] [/URL]
[URL=http://s54.photobucket.com/user/dusterbd13/media/2000%20miata/20170625_124805_zpsqhzffcjy.jpg.html]
[/URL]
[URL=http://s54.photobucket.com/user/dusterbd13/media/2000%20miata/20170625_124805_zpsqhzffcjy.jpg.html] [/URL]
[URL=http://s54.photobucket.com/user/dusterbd13/media/2000%20miata/20170625_124832_zpsenbpcfzr.jpg.html]
[/URL]
[URL=http://s54.photobucket.com/user/dusterbd13/media/2000%20miata/20170625_124832_zpsenbpcfzr.jpg.html]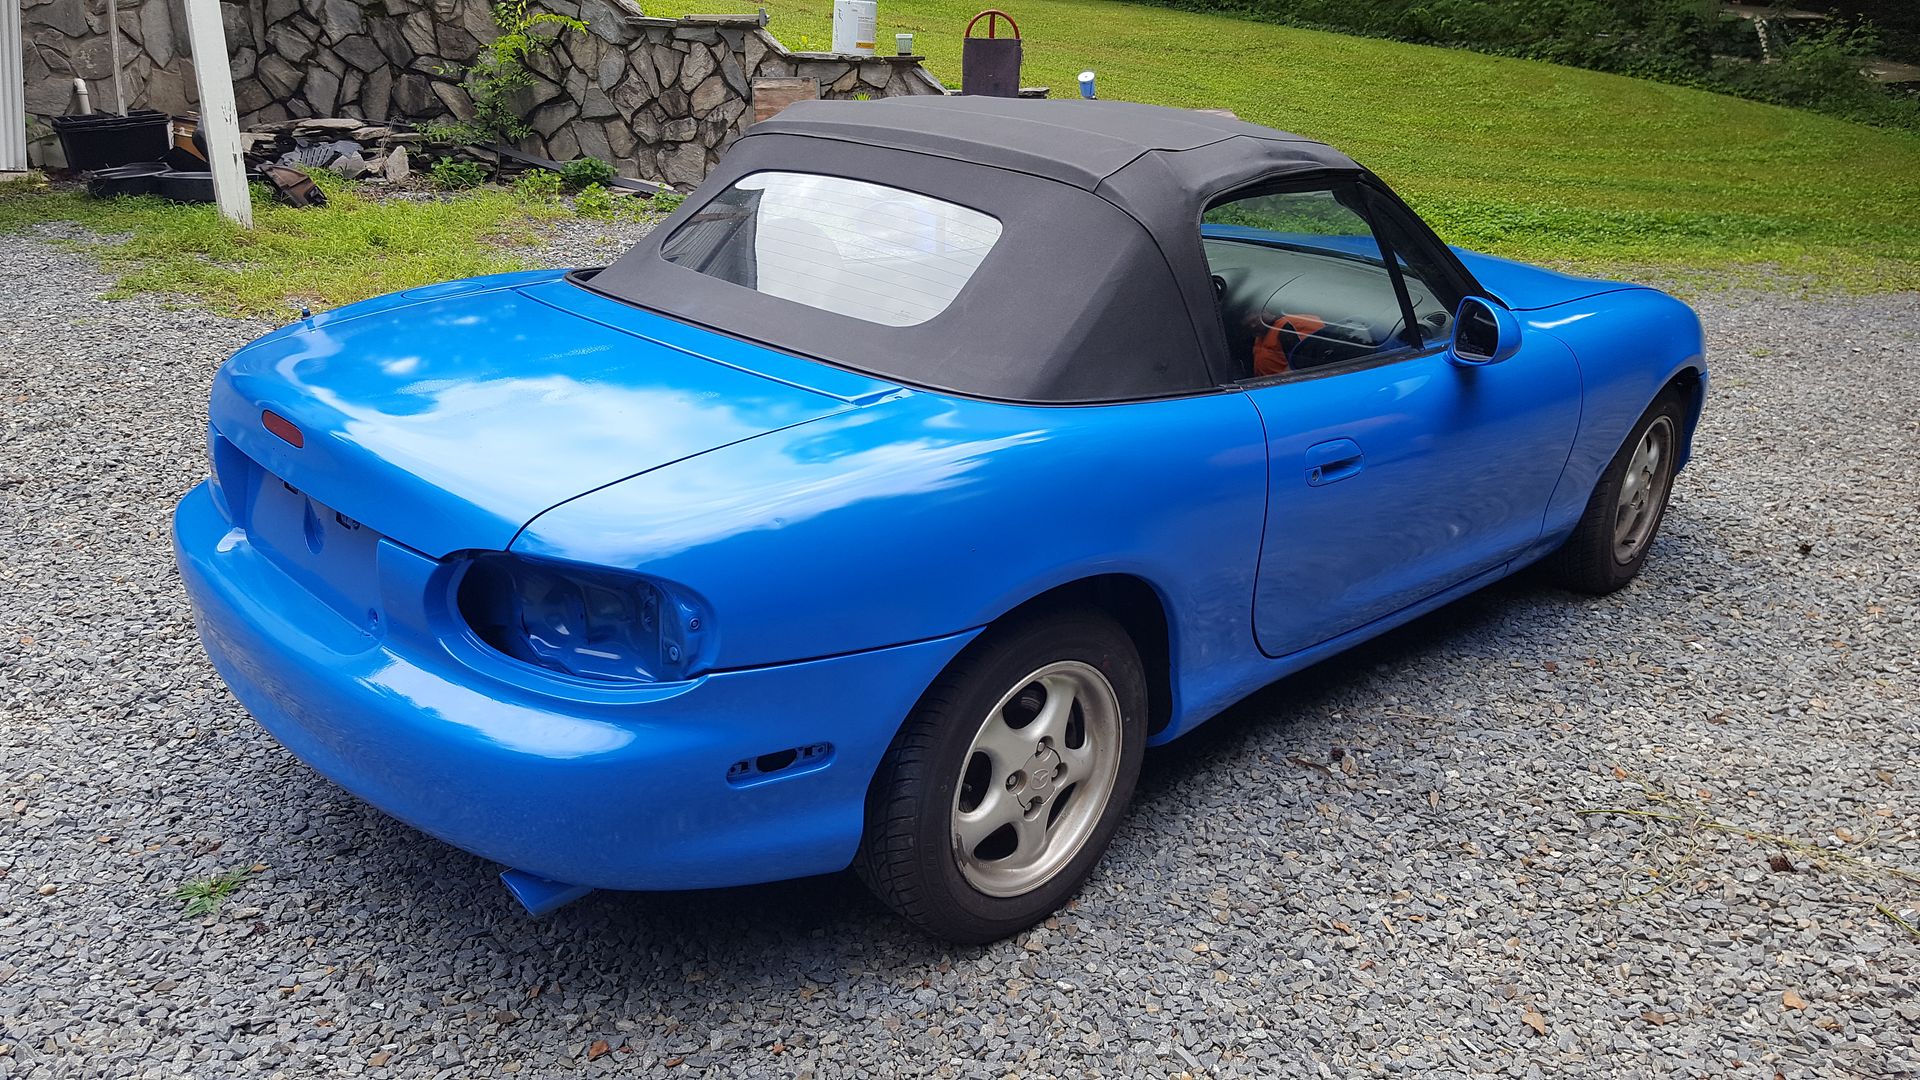 [/URL]
[URL=http://s54.photobucket.com/user/dusterbd13/media/2000%20miata/20170625_124840_zpsmxifk4dc.jpg.html]
[/URL]
[URL=http://s54.photobucket.com/user/dusterbd13/media/2000%20miata/20170625_124840_zpsmxifk4dc.jpg.html] [/URL]
 [/URL]


