1 2 3 4 5 6 7
s14blane
s14blane New Reader
5/9/13 11:30 p.m.

It's getting late and I'm from a day of tire smoke and drifting here at Road Atlanta watching some of our sponsored drivers rip it up.

I got a few pictures from my friend Luke who is painting the car back home. It's a shame I'm missing this go down.

Painting supplies:

And about an hour after I got these from Lucas he sent me these, which I was not expecting:

Word at the moment is the car should make it back to Holley on Sunday afternoon which is when I'll be returning. Time to apply DEI Reflect-A-Gold to firewall and trans tunnel and then install that the engine as carefully as possible.

Thanks for checking out the update!

Spoolpigeon
Spoolpigeon Dork
5/12/13 1:43 p.m.

The paint looks incredible Blane. It's going to be a beautiful car!

s14blane
s14blane New Reader
5/13/13 4:08 p.m.

Just got sent a couple of additional images to my phone of the paint progress.

I never knew how good a factory color could look. I'm really pleased and I haven't even seen it in person yet.

The car is getting delivered back to work tonight so I'll snap some SLR images. After going to Round 2 of Formula Drift this past weekend I'm motivated more than ever to get my car back together.

Luke tells me he'll have the trunk lid and bumpers to me at the end of next week. Good thing that doesn't mean I can't start putting everything else back together tonight!

s14blane
s14blane New Reader
5/15/13 9:58 a.m.

Update:

Since I got the car back I've done the following:

-Installed the Reflect-A-Gold on the largest portion of the firewall (still need to do trans-tunnel but will wait until the car is on the four post). Painted Sikky sway bar satin black (believe me, electric green would have clashed horribly). Painted brake booster satin black. Ordered brake booster gasket, new door hinges (which will have to go back to Luke for paint), sun visor clips (as mine have grown legs), Ordered A/C firewall grommet. -Removed roll bar, and completely cleaned all of the primer material/sanding dust that was all over the inside. -Installed clutch master cylinder to firewall and pedal. -Pulled all of the interior

Today I'll be working on getting grade eight bolts for the steering shaft U-joint (only have Advanced auto parts bolts holding that together right now....).

Still to do:

-Drill two holes in the plastic side interior covers for the rear roll bar pipes to go through and bolt into the car and install. -Install carpet, -Install rear seats. -Install roll bar. -Shorten driveshaft (taking to Glasgow Driveline this weekend most likely). -Install new rear seal in T-56 (have already just need to put in). -Install Recaros and Willans harnesses.

-Get car on four post and remove the entire front cradle with suspension intact. (this will allow for good installation of the engine and headers with little to no scratching up of the engine bay. -Feed wiring back through the firewall and route. -Purchase and fill engine with fluids.

-Verify all electronics are working as they were when I uninstalled them for paint.

Probably leaving some things out but that's all I can think of for now. I'll use this as a personal checklist to refer back to.

Will have pictures of the progress up soon.

s14blane
s14blane New Reader
5/22/13 5:16 p.m.

Pictures as promised.

Took the front end out of the car:

Sat the Engine on the crossmember and used a friend to help wheel the whole assembly back under the car while it was on a lift. Then started lowering it down.

Then I hooked up the engine hoist to it once it was nestled between the frame rails in order to pull the car and the drivetrain a little closer together and to allow for removal of the cart the engine and trans were sitting on while the car was being lowered.

And there we have it. A large portion of the work is complete. But that opens up a whole bunch of other items that need to be taken care of before I can leave reliably on a 2,500 + mile trip.

As with all projects I've been running back and forth to the Nissan parts store purchasing items I never thought I wouldh ave to worry about. I had to order new door hinges (four of them, not cheap), in order to rid myself of sagging doors. I wish people wouldn't hang on car doors....

I also had to procure replacement bumper mounting parts, as mine grew legs in the shuffle of this cars items from one home to another and from work and back during the project.

Since the last update Todd (the Hooker Headers engineer that developed the headers and swap kit for the GM LS engine into the S13 and S14 chassis) helped me install the rest of my interior with the roll bar going through the side interior panels. This took a lot of time but the end result is worth it.

Putting masking tape on the panels we shot a laser from the pipe that joins up with the back bars and got our starting circle. We then measured 3/8'' inward from all those points and got our actual hole to dremel out.

After reinstalling the carpet, the rear bars didn't want to line up with the holes that we originally drilled so I ended up solving that problem by cutting squares in the carpet around the roll bar mounting pads. Problem solved!

Here is the hold that I ended up with after drilling three holes together to form one large one and them dremeling to the outside edges of our intial drawing.

Installing these in conjunction with the side panels was going to be an absolute bear considering one person was going to have to hold the panels in place and hold a nut on the rear bar mounting pads while another person was going to have to thread bolts in from the wheel well of the car.

So we welded some nuts to the mounting pad and made it a lot easier to deal with.

End result compared to what I started with when it got back from paint:

I also got bored reinstalling some of the wiring the other last night and decided to paint the Q45 differential from my earlier posts and swap it out with the non-working LSD S13 differential I had dealt with up till now.

I accidentally left my phone in the car and it was on the lift so I don't have many photos of this but here is what I have:

An important thing to note is that this differential, while a direct bolt in to the S14 subframe, does not work with the OEM six bolt axles on the car. I had to scour the www.car-part.com for a set of '93-'94 Infiniti J30 five bolt axles in order to make this ensemble bolt up. Also, the Q45 differential has a larger rear pinion flange than the S14 R200 that you would typically be familiar with. Thankfully there is a centering ring in my driveshaft that slides in and self centers on the pinion flange so all I had to do was clamp it down solidly and center punch some holes, find the appropriate drill bit and then go to town with the Milwaukee.

As for installation of the axles Luke has my wheel lock key right now so I'll be installing the axles tomorrow. I'll try to remember to take more photos of the rest of the installation.

In preparation for the installation of the DEI heat tape, I went ahead and removed a good portion of the undercoating on the transmission tunnel. It was already lined with trans fluid (if you recall from earlier posting I said that I had a trans leak at the seal, which I have since replaced, with the folowing part # in the picture below).

Trans tunnel after removal of undercoating:

I started applying the Reflect-A-Gold heat tape on the firewall since that was the cleanest place to start and took no surface prep. The firewall on this car in particular is not very flat, with many recesses and grooves that were necessary to fit the old engine and the rest of the O.E.M. components. Anyone wanting to use this product on a flatter area will have a much easier go of it. I ended up having to do cut several strips and apply slowly and methodically in order to cover the entire firewall. The end result looks great. Things got much easier when I made it down under the firewall and into the trans tunnel where the surfaces got flatter with fewer curves and depressions in the chassis.

What I ended up with up top:

Working my way down:

End result:

The area that I removed underbody coating from but didn't install heat tape on I went ahead and recovered with Nason Underbody Coating out of an aerosol can. Works great and went on easily. I made sure to put on a couple of coats to ensure longevity and durability.

Since the engine was back in I've slowly been re installing/re-routing the wiring back in the dash and cleaning it up as much as possible. I'll be reinstalling the factory chassis electronic harness and fuse box into the engine bay, but not before I attempt to get some loom that will cover up the old original plastic covering. That will do wonders for making the engine bay look better.

More work to do on the inside but it's cleaning up nicely (wishing I had another viable location for the Dominator ECU).

That's all for now.

s14blane
s14blane New Reader
8/26/13 1:09 p.m.

Hey everyone, I realize I haven't had any updates in quite some time. To tide you over I thought I'd share these photos we took the other day of the car out in a more scenic location here in Bowling Green.

bgkast
bgkast GRM+ Memberand HalfDork
8/26/13 2:08 p.m.

very nice!!

600SX
600SX
9/29/13 10:10 a.m.

This car looks amazing.

chrismac302
chrismac302 None
10/22/13 4:41 p.m.

Can u use the sr radiater with the ls engine or do I need to go bigger?

s14blane
s14blane New Reader
11/11/13 3:00 p.m.
chrismac302 wrote: Can u use the sr radiater with the ls engine or do I need to go bigger?

Hey there Chris,

It's necessary to go to a dual pass radiator in order to make sure the LS engine is able to stay cool.

I also think the SR radiators inlet and outlet are in inconvenient locations when compared to the coolant necks on the LS engine. It makes it easier to get another radiator. I just saw an episode of Horsepower TV in which Mike Galley built a 550 + horsepower LS engine and stuck it in a Zenki S14 using our mounts. He utilized a ChaseBays radiator that takes gives you about six inches of additional clearance in the front of the engine for accessory drives. I do think it keeps you from being able to run the OEM A/C setup though. Check that out if you get a chance!

mndsm
mndsm UltimaDork
11/11/13 3:03 p.m.

It's VERY nice to see a 240 that isn't all beat to E36 M3 and still used properly. You guys are doin' it right.

s14blane
s14blane New Reader
12/18/13 2:16 p.m.

Goodness it's been a while. Cars been down for a couple of months due to a blown main fuse that I'm sensing is the result of an internal short in the alternator I have. Thought it was a GM alternator that doesn't mean it wasn't the cause of the failure.

In the meantime, I found a deal I couldn't pass up. For $170 bones, I scored a set of Euro spec Zenki fogs and reflectors that will be going on when it's warm enough for me to want to lay on the ground and install them.

Check'm out!

Looks like another alternator will run me abound $350 bones so I'll make sure to update everyone when the car is back on the road.

Happy holidays to everyone who reads this!

onehundredoctane
onehundredoctane New Reader
12/18/13 11:35 p.m.

I figured I would share that I only joined the forum because I kept referencing your build thread before ripping the KA24DE out of my 1997 S14.

Thanks for getting me motivated!

Cody_D
Cody_D New Reader
12/19/13 3:51 p.m.

Car and engine look amazing, I really like the wheel choice.

s14blane
s14blane New Reader
1/10/14 4:02 p.m.

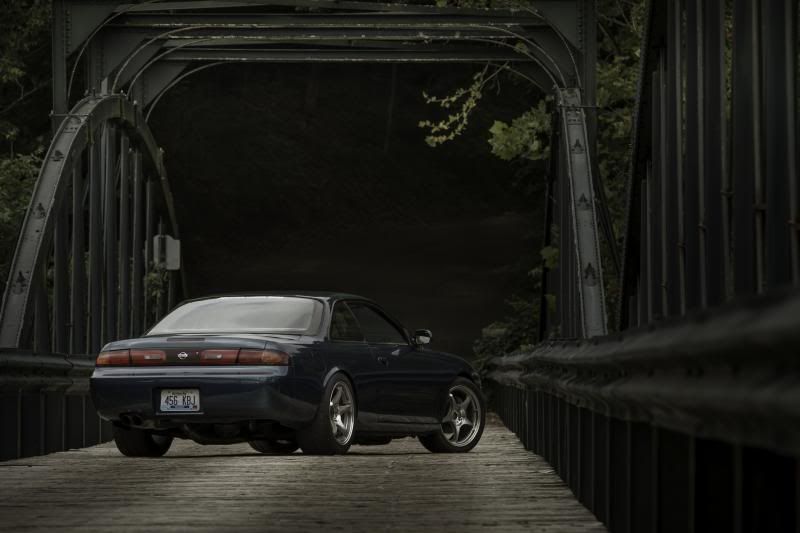
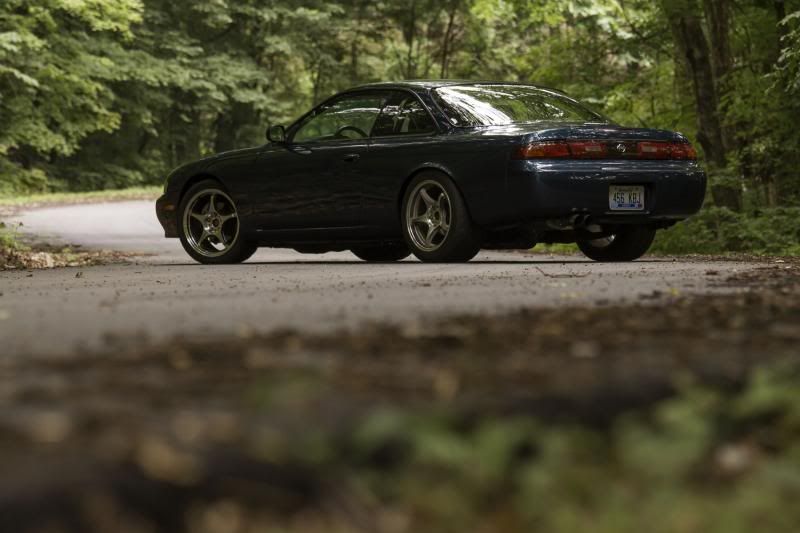
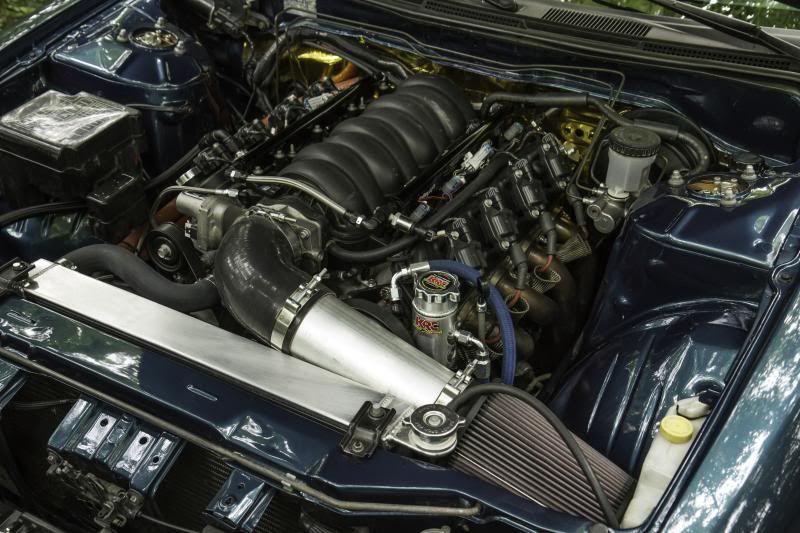
Over the last year, I've been getting used to the 6.0 LS2 that I've been running in my Nissan S14 for the last year. While the car is definitely no slouch with the stock engine and the intake, stainless Hooker Headers, and 3'' Hooker exhaust, it has been clear to me for some time that I have become comfortable with the car and was ready for the next step in power production.

Two weeks prior to LS Fest I bit the bullet and called up COMP Cams and ordered an off the shelf cam from their LSR series. This cam is a hydraulic roller and features the following specs:

Duration @.050 life: Intake: 231 Exhaust: 239 Valve Lift: Intake: 0.617 Exhaust: 0.617 LSA (Lobe Separation Angle): 113 degrees

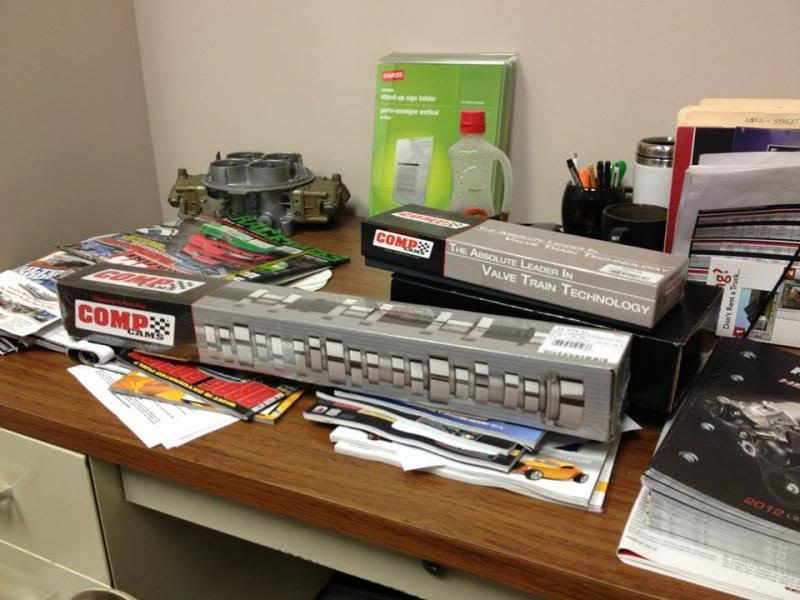
I've uploaded an image of the cam specs if anyone reading this is interested in more information about this particular Comp camshaft.

Having spoken with the Comp technical representative over the phone, I was confident in the rest of the ancillary products needed to make this cam swap go perfectly. Additionally, I ordred part #26926TS-KIT, which consists of the following parts:

26926-16 Street/Strip Dual Valve Springs 1779-16 Lightweight Tool Steel Retainers 623-16 7° Steel Valve Locks 511-16 Valve Seals 4695-16 Spring Seats

The only other part # required for the job was hardened pushrods, part # 7955-16.

I believe the parts came in on a Thursday afternoon. I love it when boxes of parts arrive.

In a brief phone call with my good friend Jesse Vaughn, owner of Level 7 Motorsports, I discovered he had a couple of tools that would make the cam change a breeze. Offering me a bed for the next night, a shop to work in, and the tools I needed, I was presented with an offer I couldn't refuse. I cleared my calendar for Friday, and left for Jesse's Thursday afternoon and headed 3 hours north to Level 7 Motorsports.

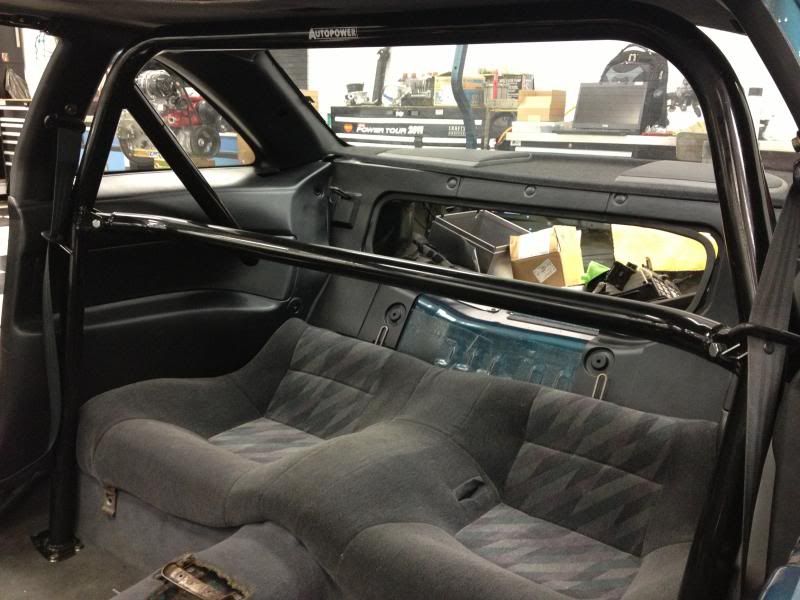
Level 7 Motorsports is a small town performance shop that deals in everything from modern muscle to vintage hot rods. It became quite apparent to me that they are capable of building whatever one's heart desires, as you can deduce from taking a look at the photos I've included of the other cars surrounding Project LS2 S14 during my brief stay.

En route to Level 7 Motorsports:

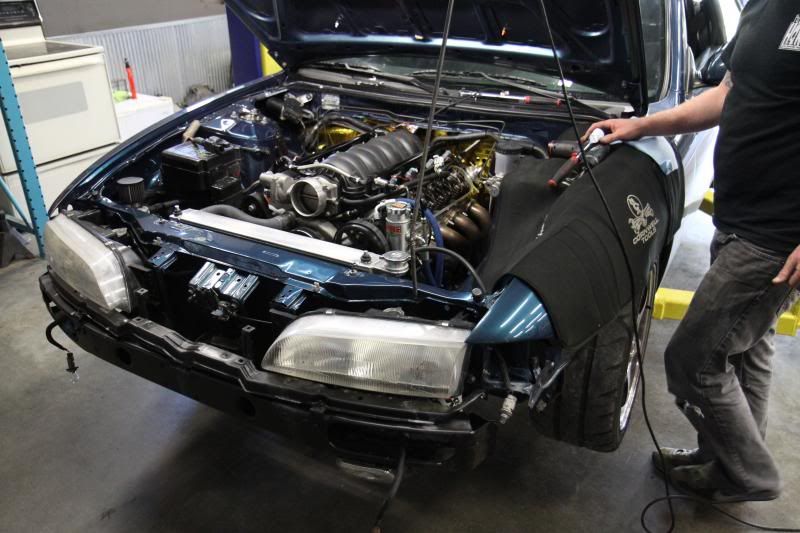
Starting early Friday morning Jesse, myself, and a couple of his employees starting prepping the car for its new bumpstick.

On the walk to the shop the next morning, Jesse's Terminator EFI powered BBC C10 was awaiting us. This thing is pretty stout and will break the tires loose all day long with the off idle torque on tap. Going to lunch on Friday was much more enjoyable in this truck. — in Marion, IL.

While one of us started pulling off the plug wires,valve covers, and spark plugs in order to access and remove the rockers (which would grant us access to the OEM valve springs, retainers, and valve stem seals), the rest of us got to work elsewhere.

IMG]http://i257.photobucket.com/albums/hh232/stockbee/Cam%20Install%20Photos/IMG_7255.jpg[/IMG]

Valve covers removed:

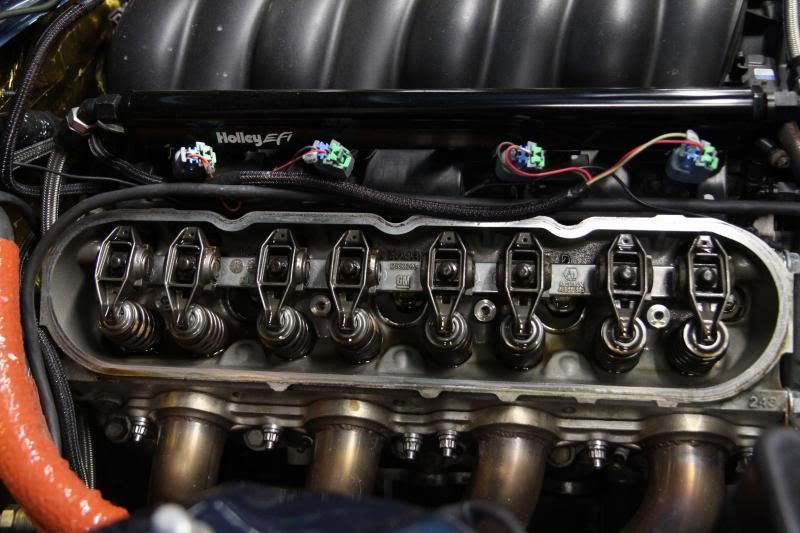
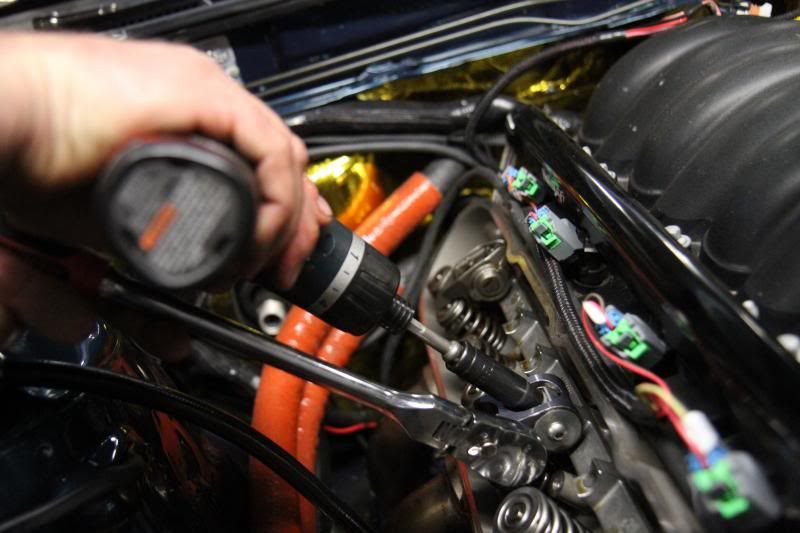
Here was one of the parts that made swapping the valve train components out such a breeze. This is the Lingenfelter Performance Engineering Valve Spring Compressor Removal Tool. It works on all LS series engines and is a must have for those who will be doing a cam swap or working on LS valve trains.

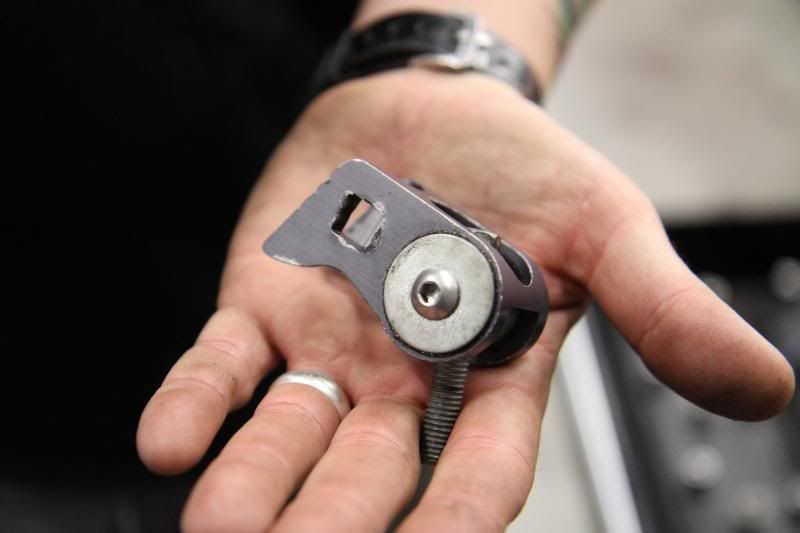
Link to company's product page for convenience: http://www.lingenfelter.com/mm5/merchant.mvc?Screen=PROD&Product_Code=L950025297&Category_Code=C96&Store_Code=LPE#.UleWrFDrwVw

Each spark plug was removed and one cylinder at a time, air was forced into the cylinder via the spark plug hole in order to keep the valve from falling while we removed the valve locks, valve springs, retainers, and old valve stem seals.

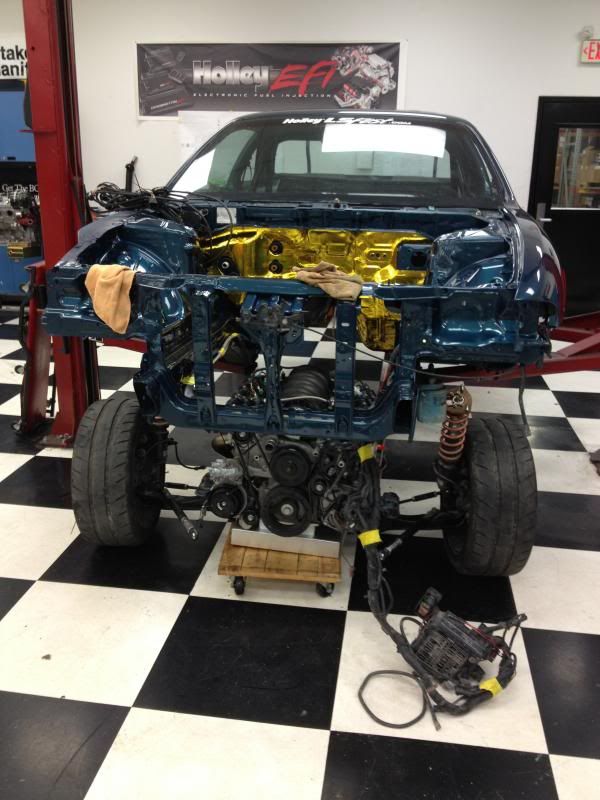
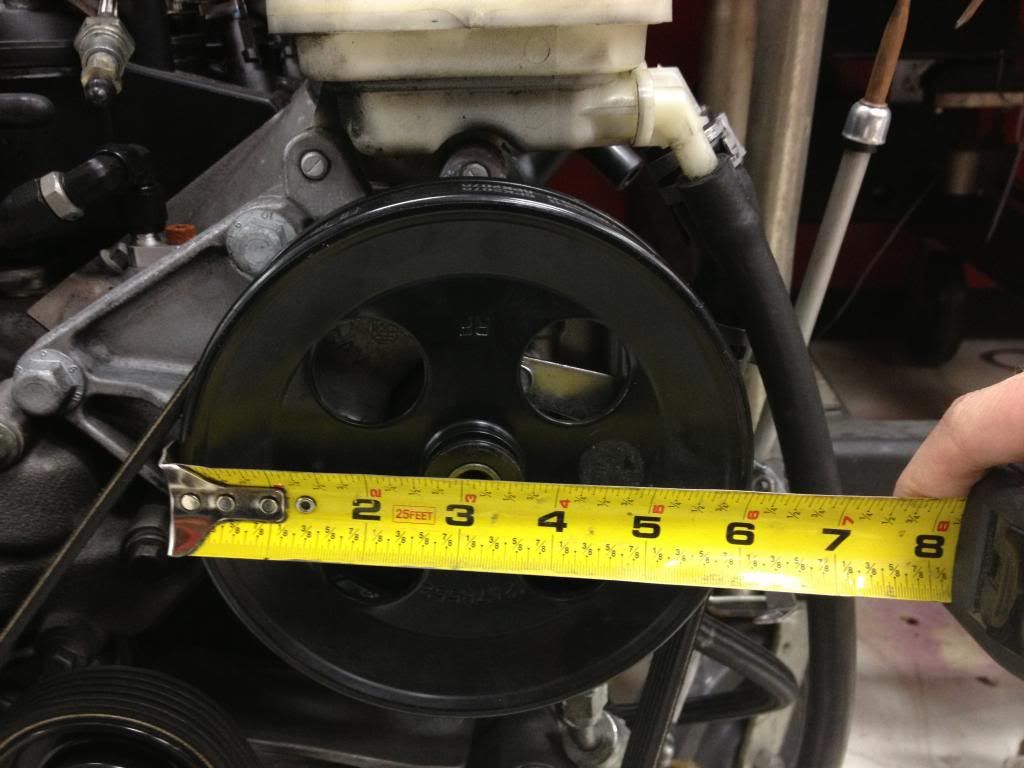
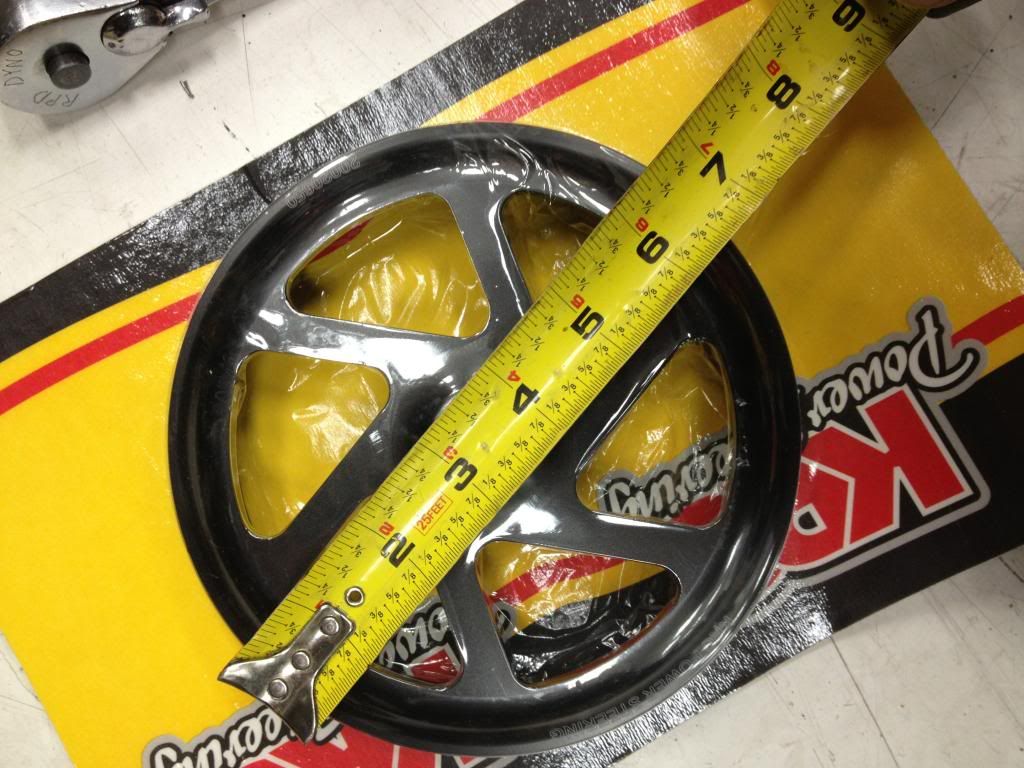
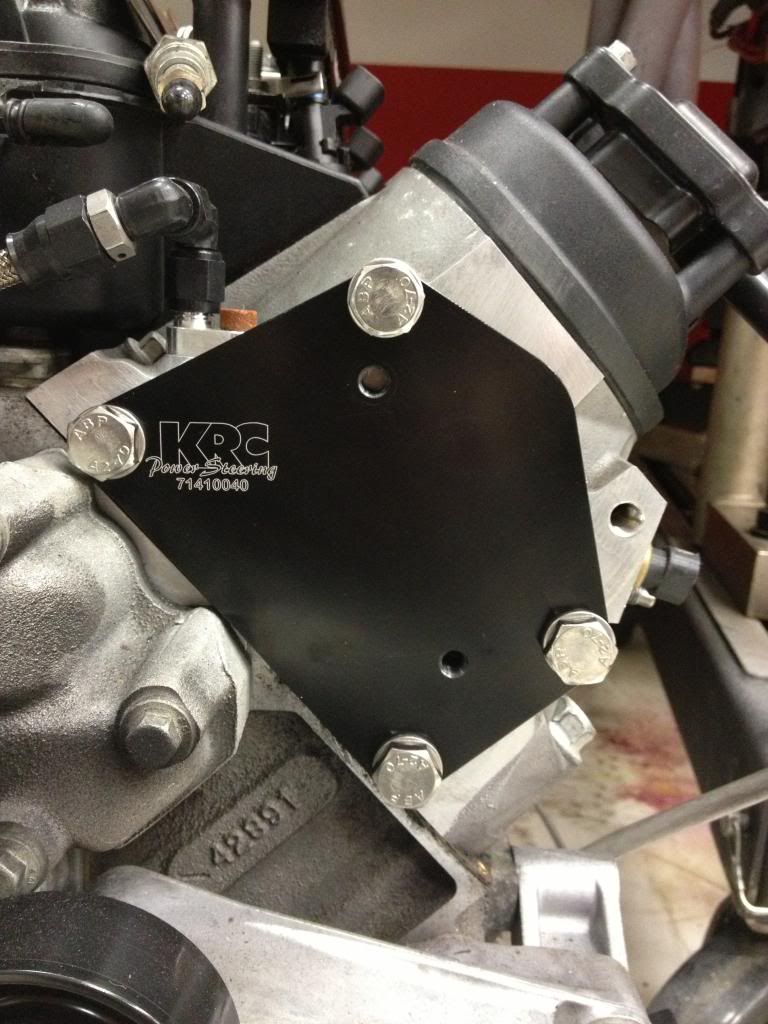
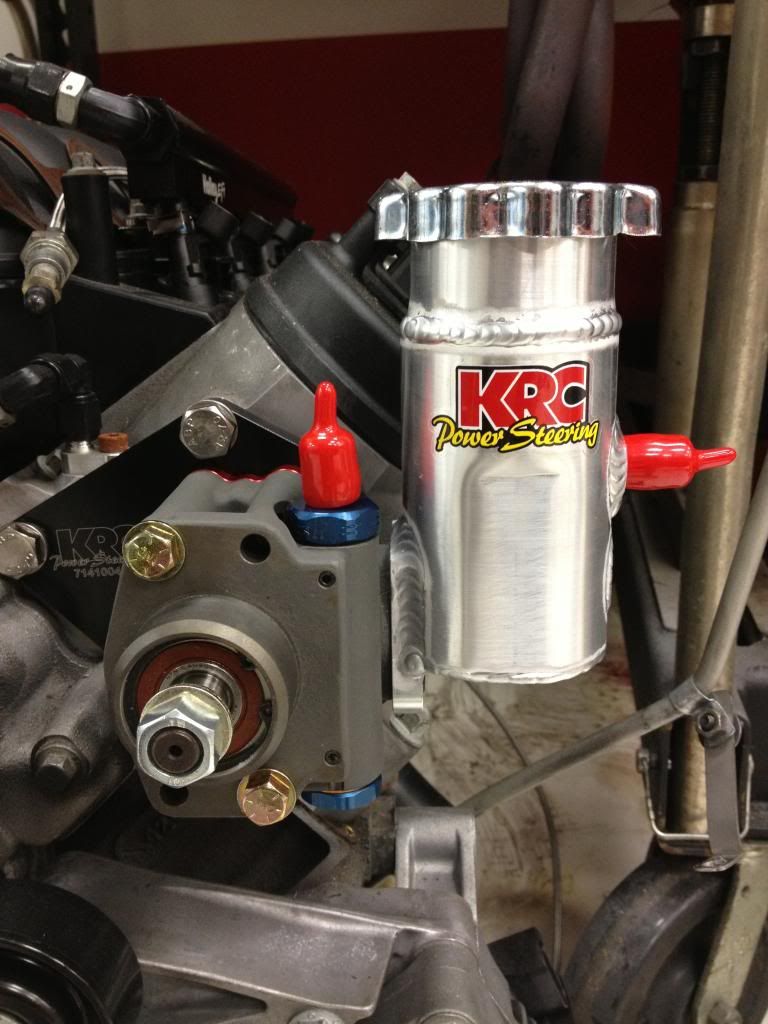
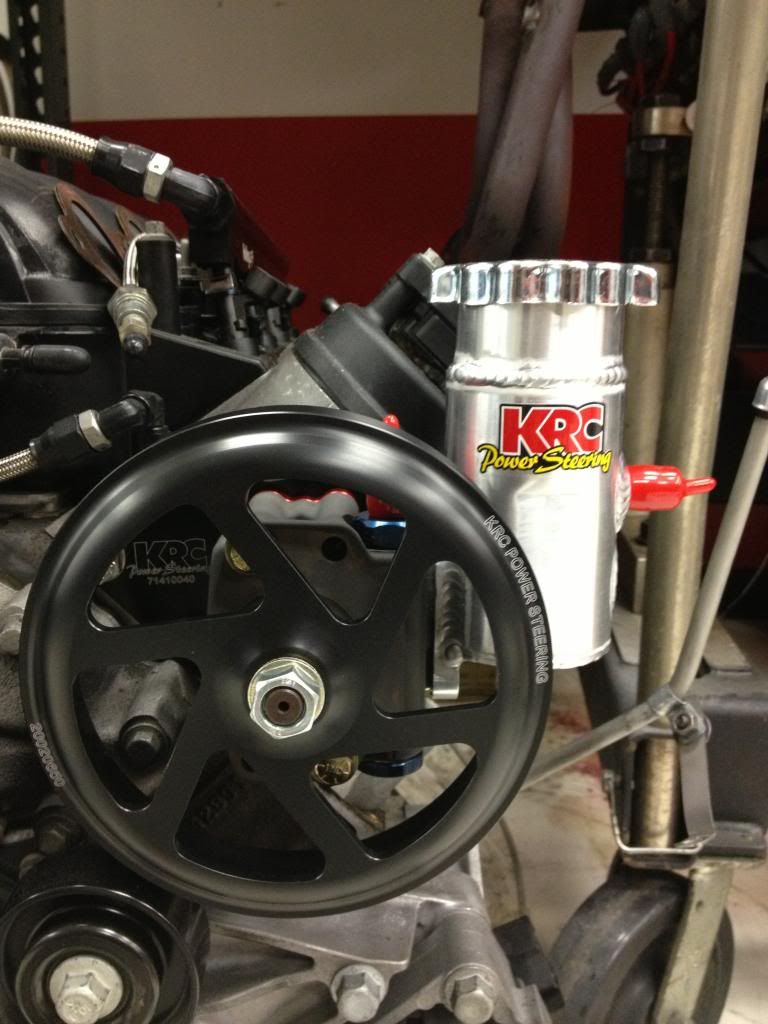
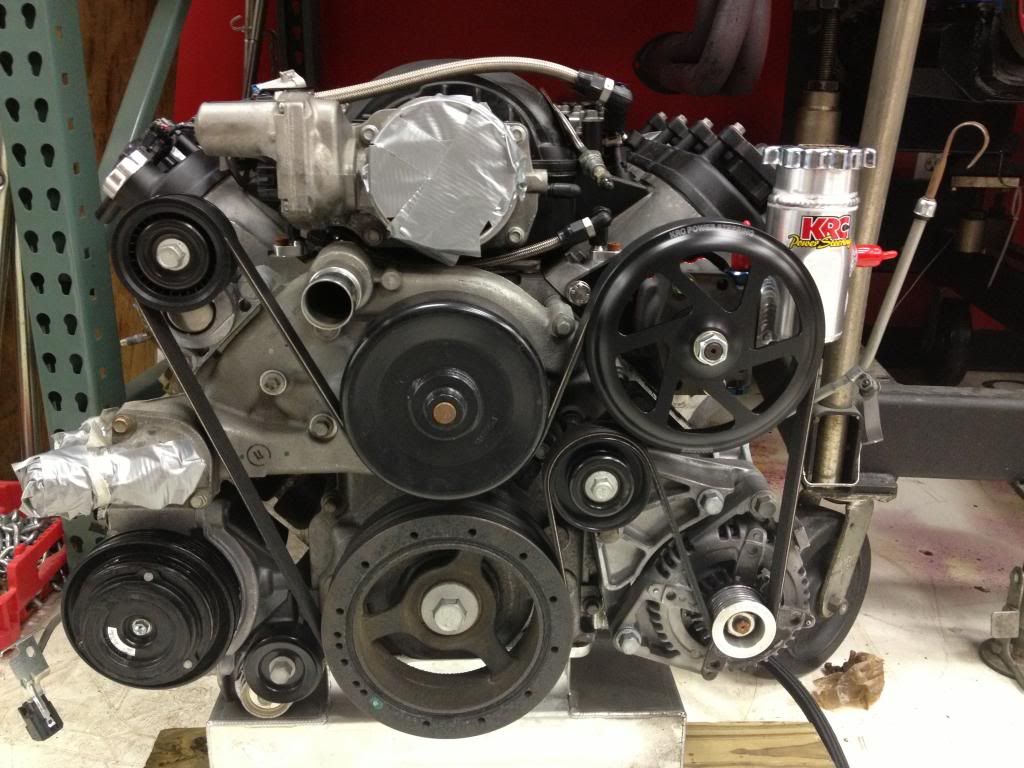
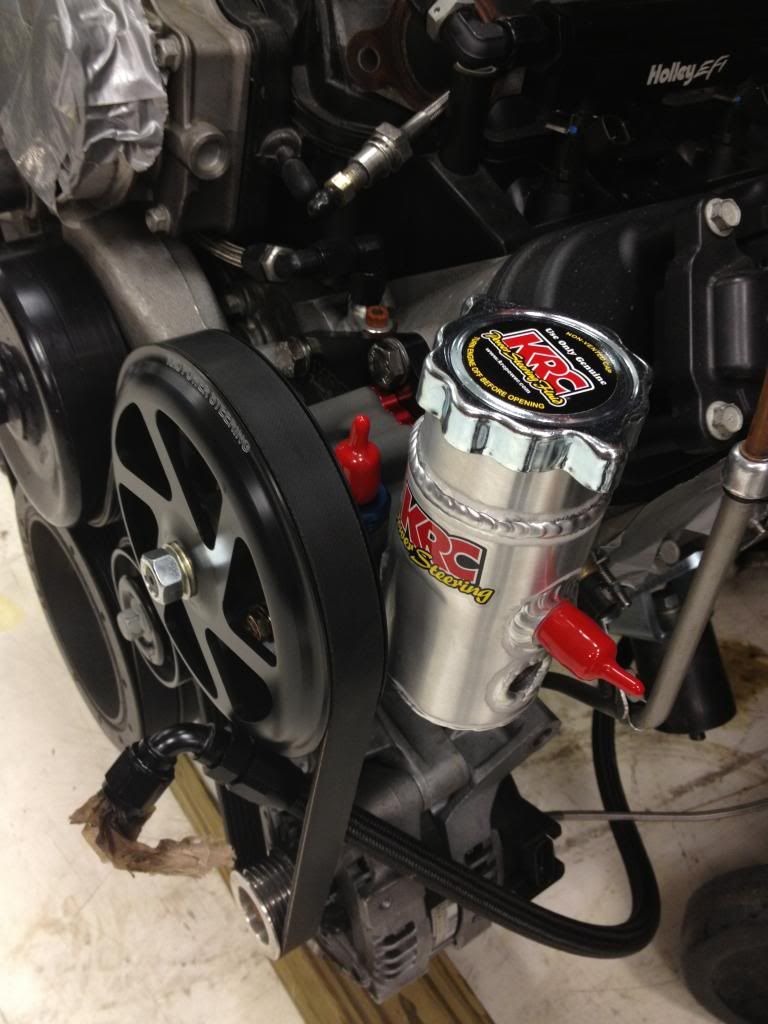
After the engine was set at TDC (top dead center), the coolant was drained, the radiator and front bumper cover removed, and we began removing the accessories from the front of the engine, specifically the harmonic balancer, water pump, and drive belt.

Radiator drained and front bumper cover off.

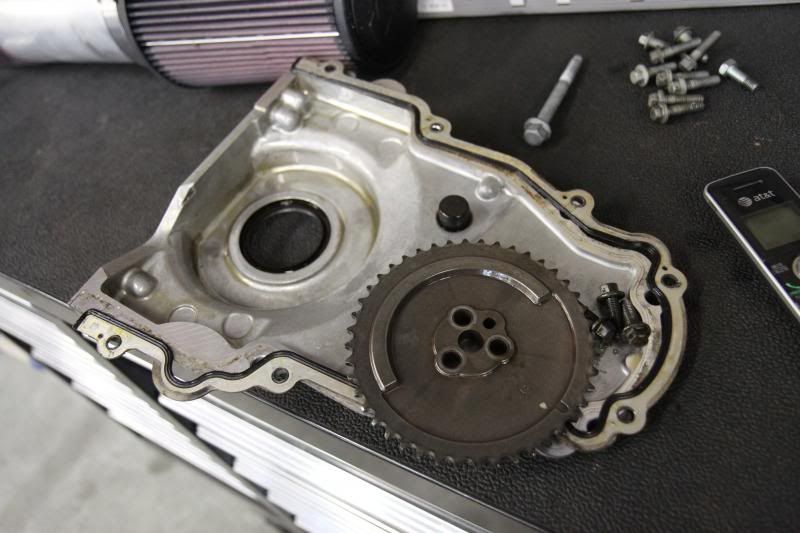
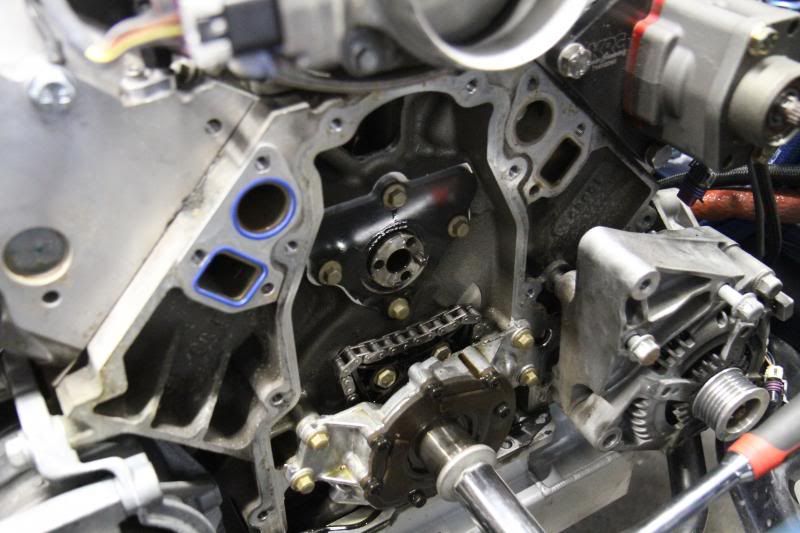
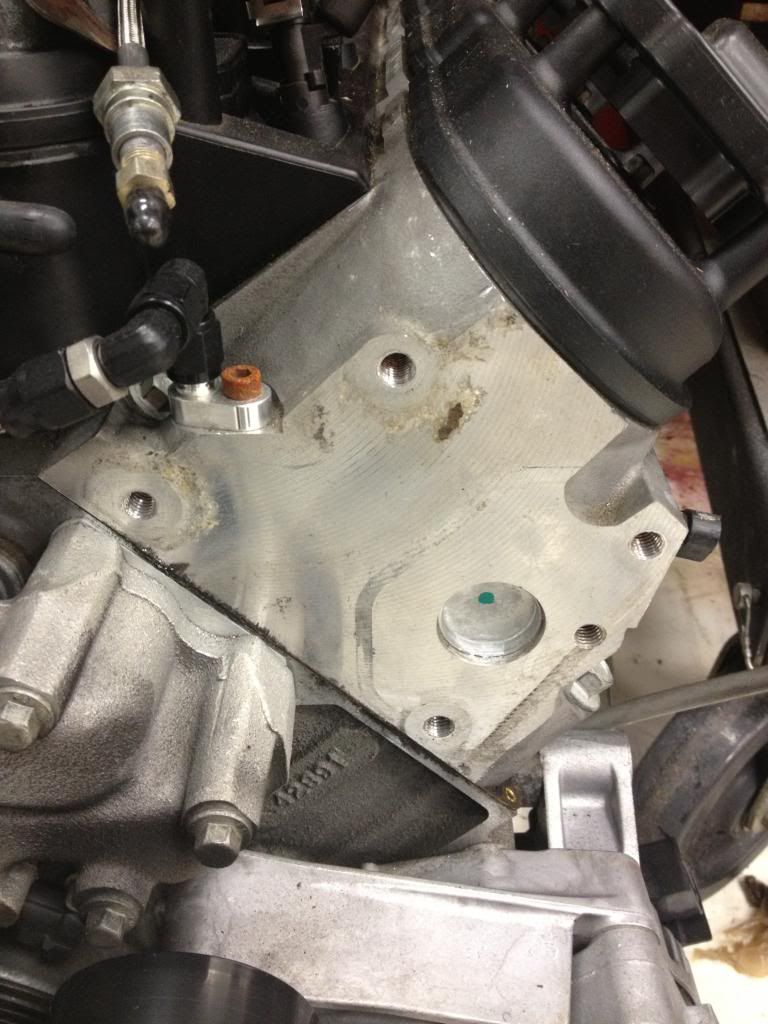
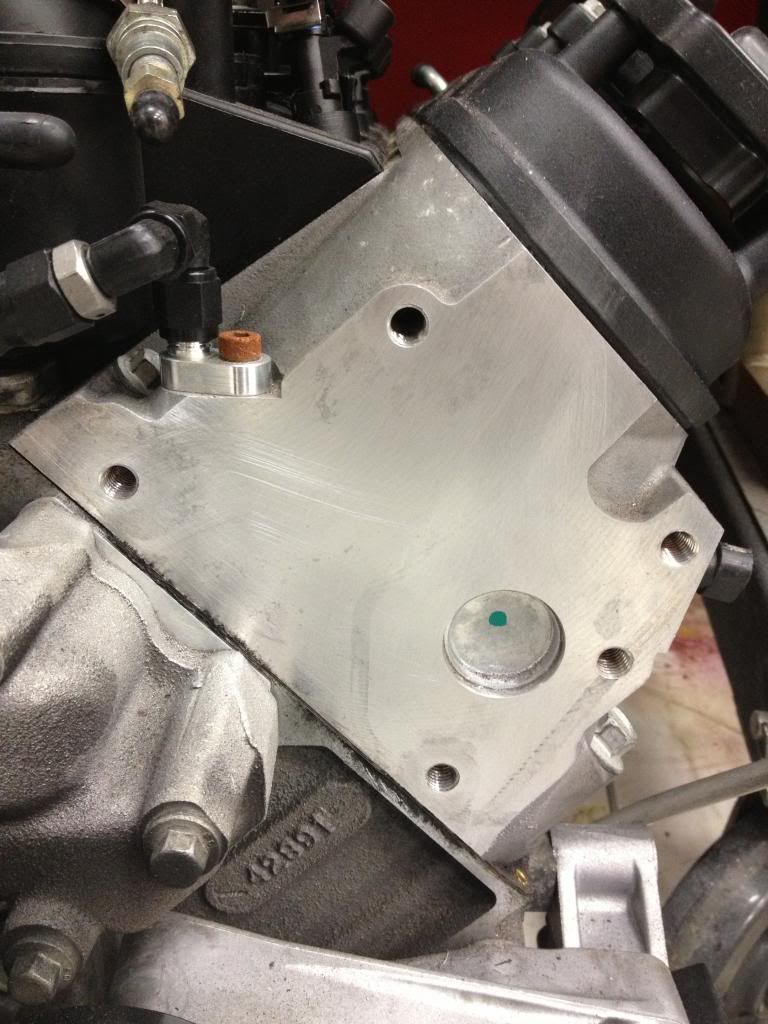
Factory front cover and cam sprocket/gear:

There was some initial concern over whether we would be able to remove the factory cam from the car due to the engines location in the engine bay with the Hooker Engine Swap Kit, but after unbolting the bottom bolt from the hood latch support and pulling out on it a few inches, the old cam came out with just enough room!

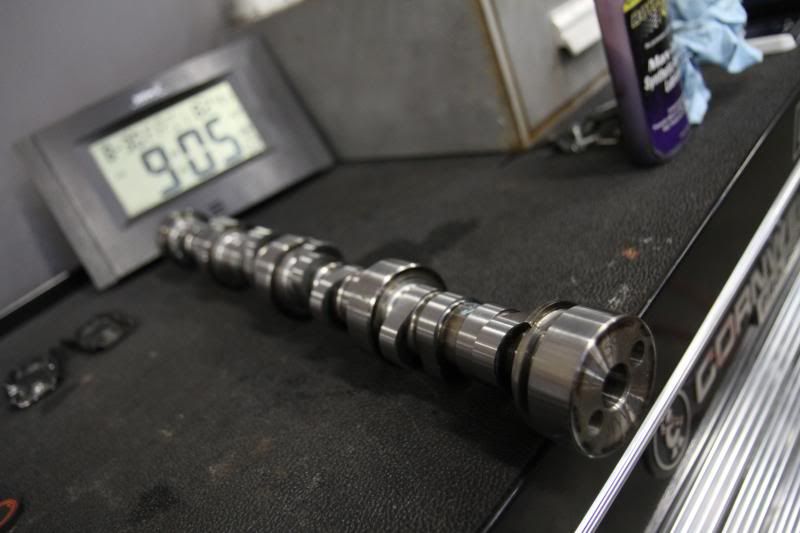
Old cam out. Our swift pace meant I forgot to take a picture of the new cam, but a cam is a cam people:

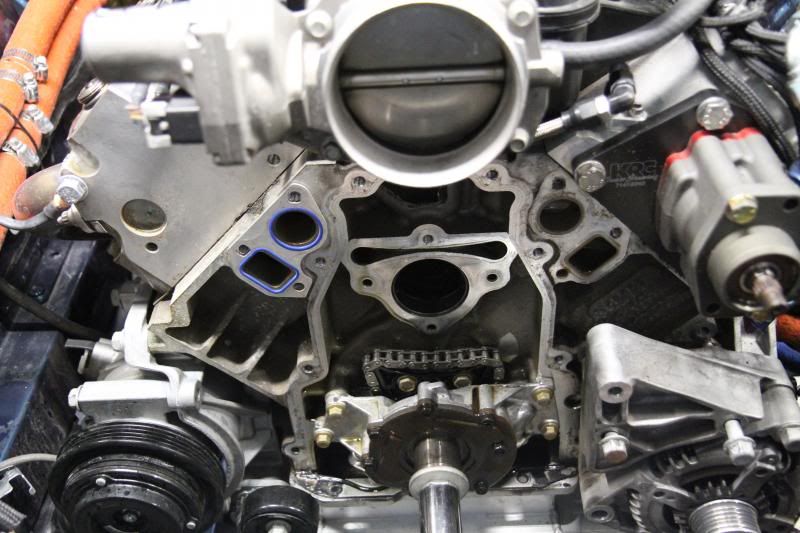
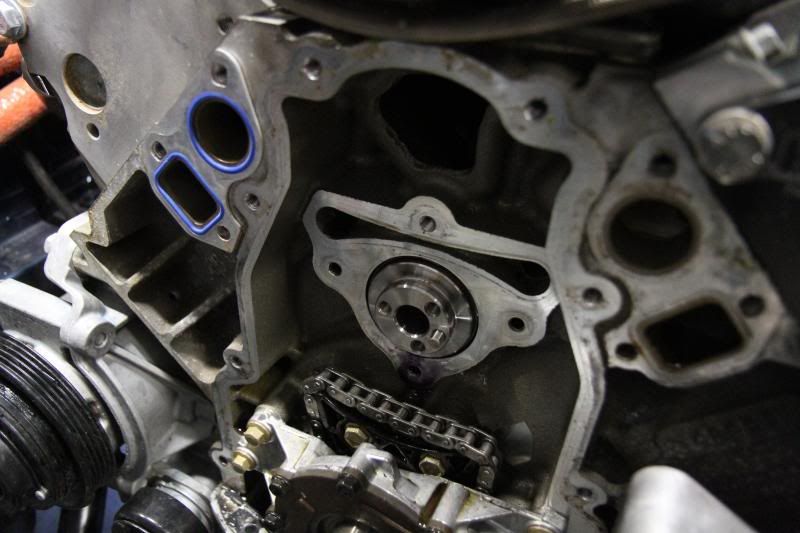
Close up view of LS2 front cover, timing chain uninstalled, and cam sprocket removed:

We made sure we cleaned the new camshaft off after removing it from its packaging, and then applied the appropriate amount of assembly lube before sliding it in.

After the camshaft was carefully slid into place, we re-installed the factory cam sprocket and timing chain. While my engine had lower miles, anyone else with high miles should always replace the timing set and also consider a new oil pump as well. Once the timing cover was buttoned up, Jesse and I tackled installing the rest of the Comp valvetrain.

LSR cam in!:

COMP Cams Push-rods. When sliding each push-rod into it's proper place in the head, make sure to push on the end as it bottoms out in order to push the lifter down appropriately. You'll feel it give, letting the push-rod slide down a bit further, and then you'll know you're good to move to the next one.

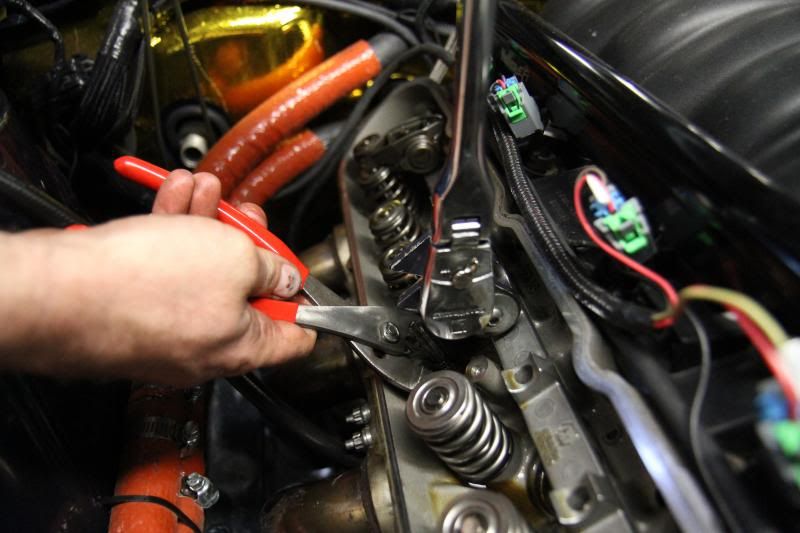
Removal of old valve springs/retainers/valve seals:

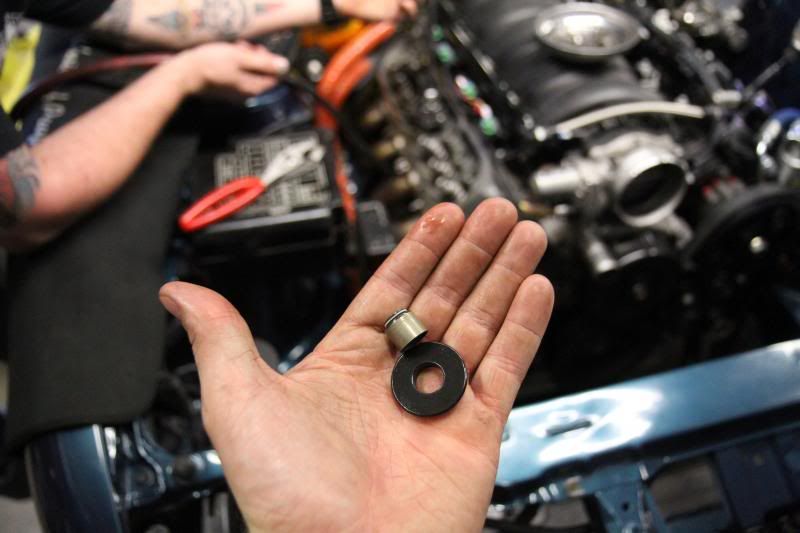
Factory valve spring seat and valve stem seal. These, along with rest of their friends are going in a box and will most likely never again see the light of day.

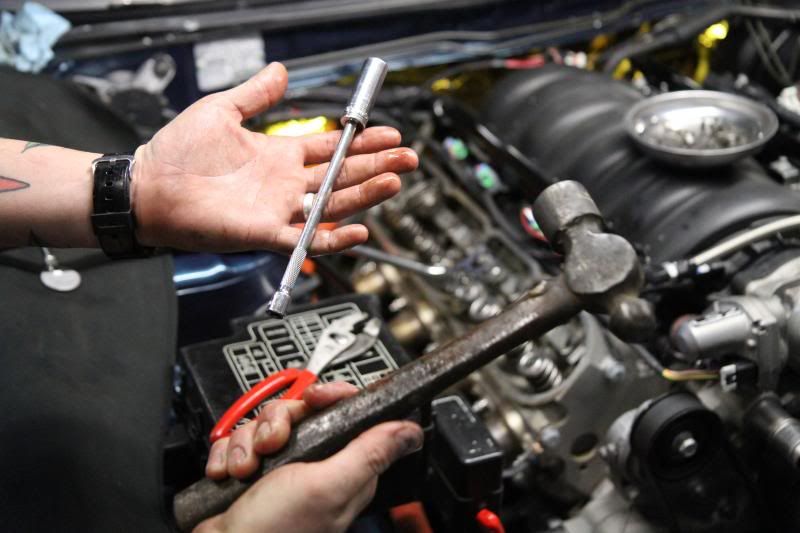
High tech tools used to reinstall the new valve stem seals:

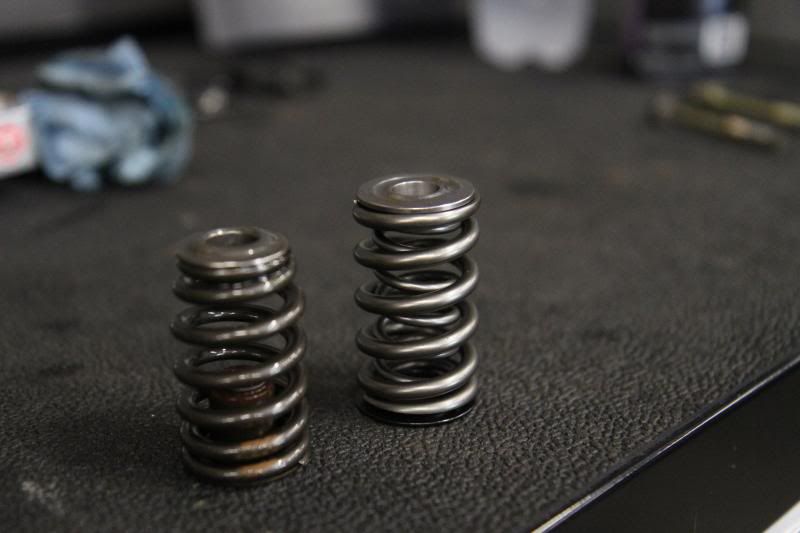
Here are the single valve spring and retainer combo compared to new dual valve spring units and titanium retainers from COMP Cams.

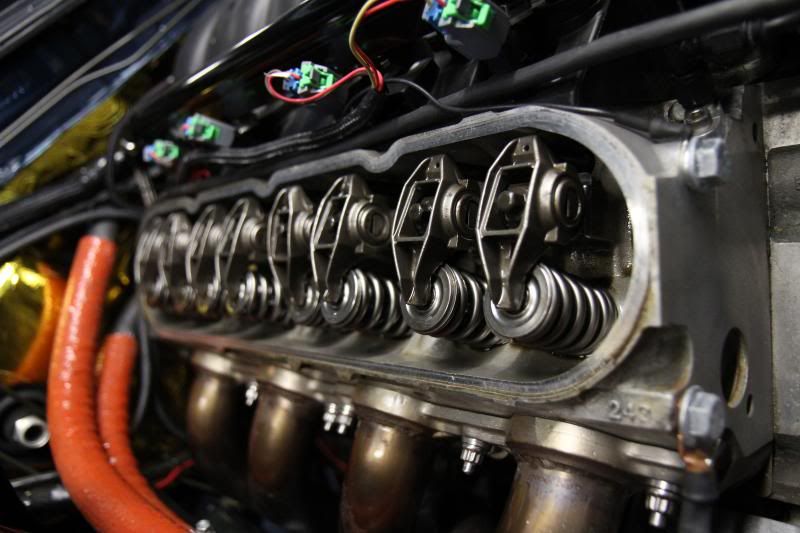
New valve-train installed:

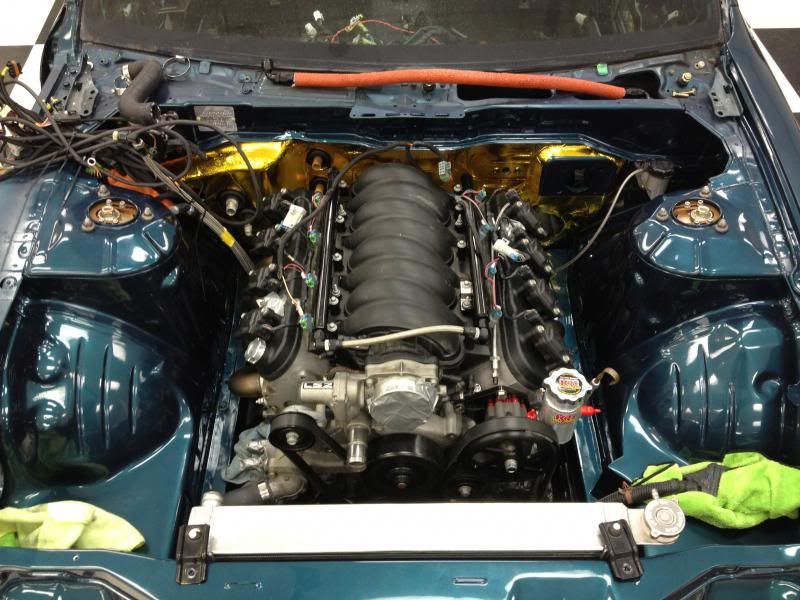
After getting everything bolted back onto the front of the engine and torqued to factory specs, we re-installed the valve covers, installed new spark plugs, re-installed plug wires, and started double checking our work. Refilling the radiator and burping the cooling system was the last step before firing the car to life for the first time with the LSR cam and Comp valvetrain in place. It was now time to see how quickly the Dominator EFI system from Holley would react to the new parts and compensate.

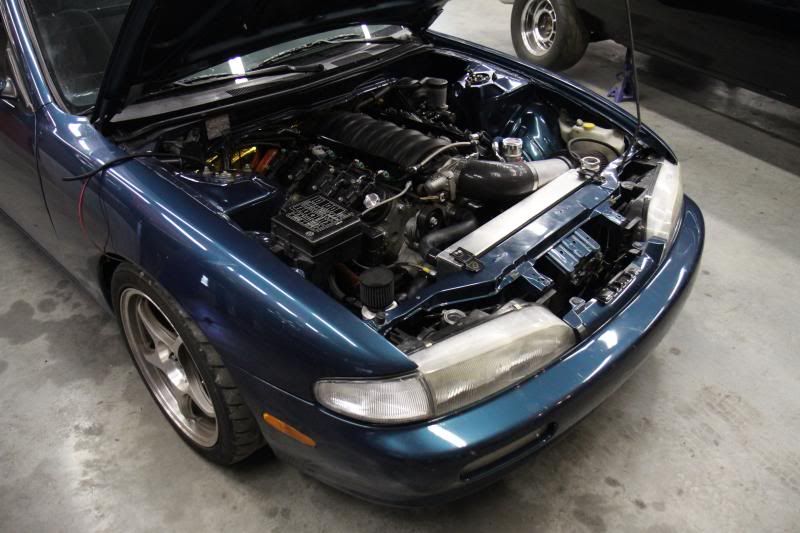
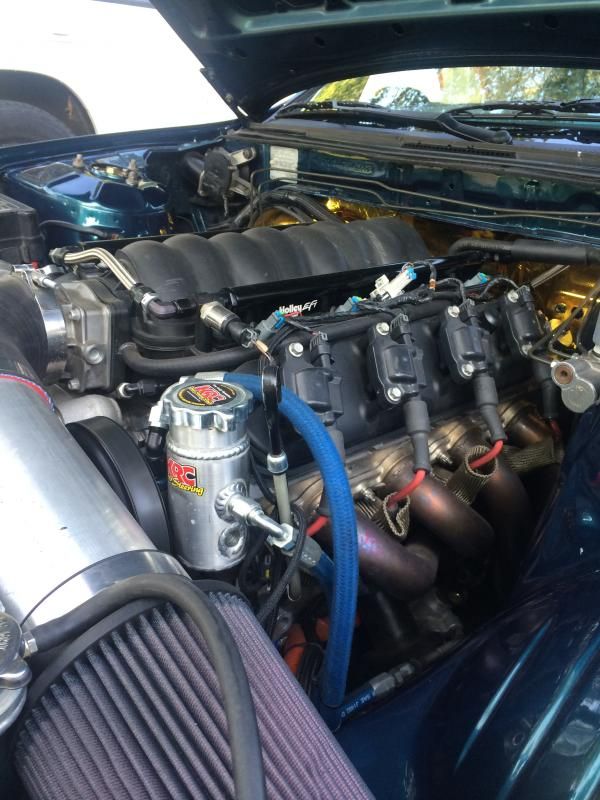
Ready to come back to life with a bit more of an attitude:

As expected the idle was quite rough as the Holley EFI system attempted to maintain the idle mixture that the old cam required for the engine. It died a couple of times and ultimately I kept it running above 1,500 rpm with the pedal for a couple of minutes as the engine got warmer. At the same time I grabbed the my laptop, brought up the Holley EFI software, and bumped the idle to around 850 rpm. Additionally I altered the desired AFR to 14.0 from the previous setting of 14.7 and the car's idle quickly changed from it's heavy breathing to a much more vibrant, evil lope. That was all the car really needed to stay for idle adjustments. It was time to take it out on the road and let the ECU learn the rest engine all over again through the rpm range.

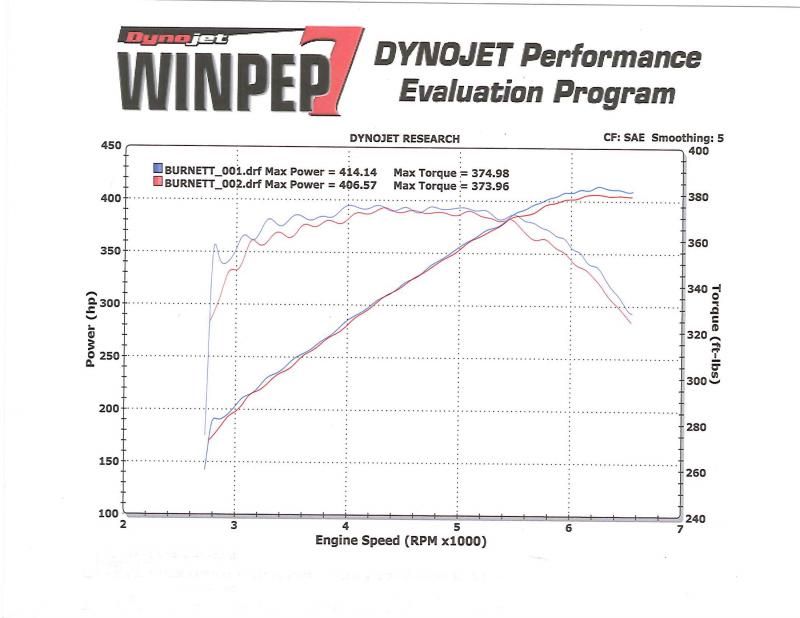
In a previous article I read from Justin Cesler of GMHTP magazine, this cam made 17 lb ft more torque down low in the rpm range, and made just about 50 more horsepower over stock on a similar engine to mine, pulling all the way up to 7000 rpm. I didn't take the car up that high, but the behavior of the car was noticeably different. Overburdening the already worn Nitto NT05's on the rear of the car was much easier and the car wanted to surge forward much harder in all of the forward gears in contrast to the much more sterile factory cam.

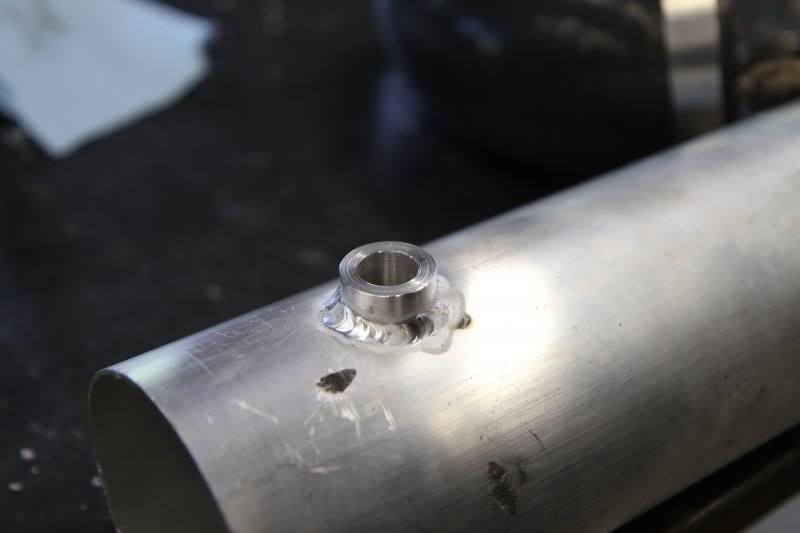
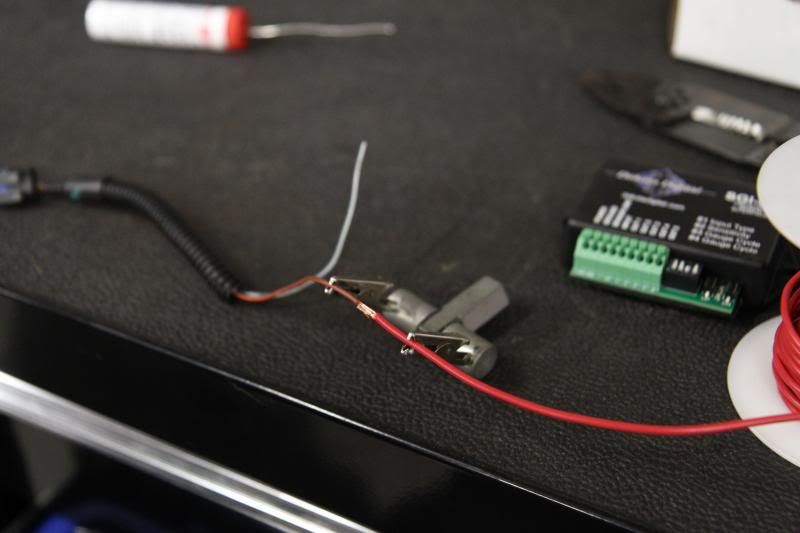
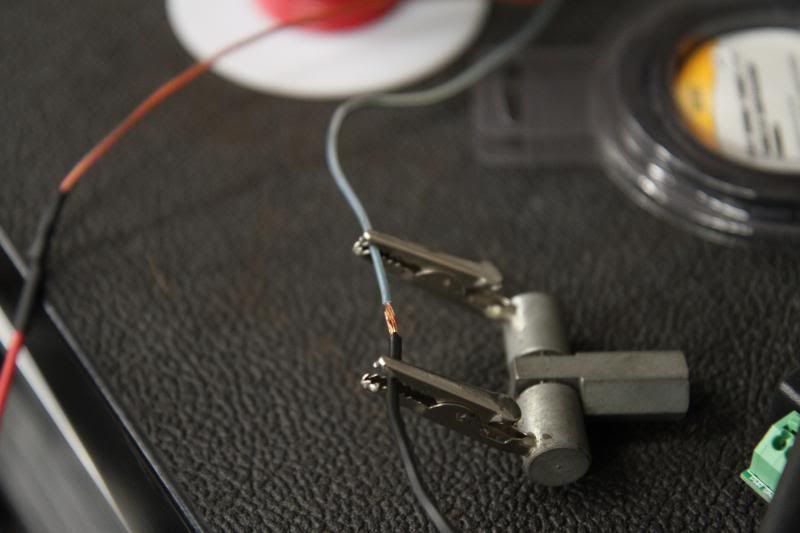
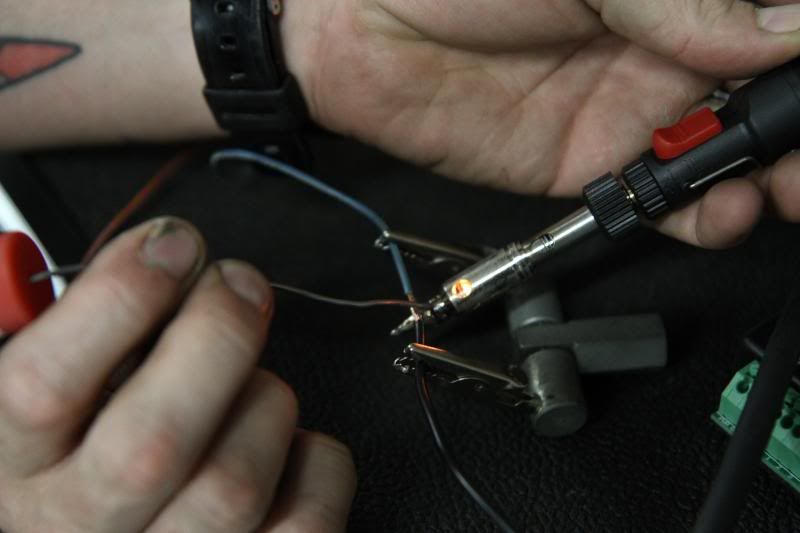
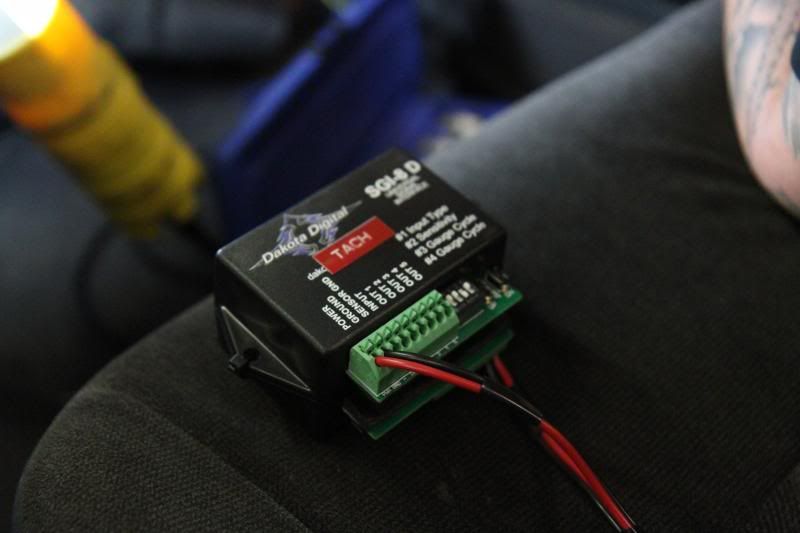
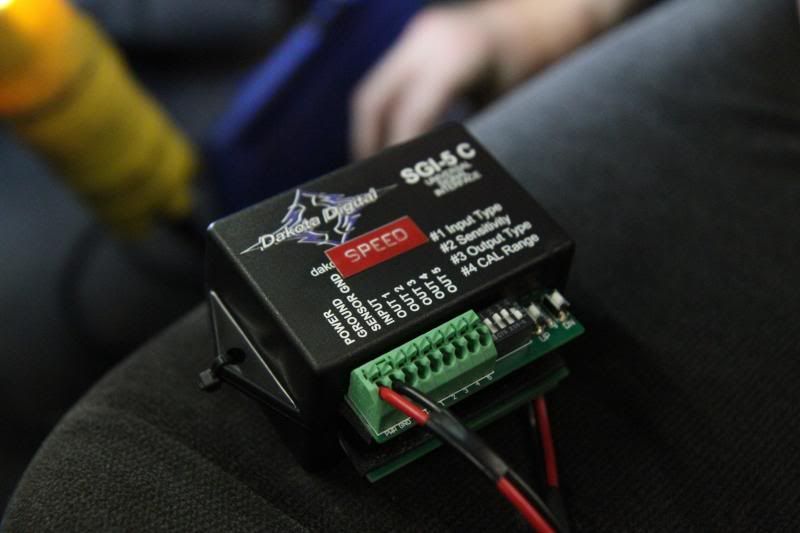
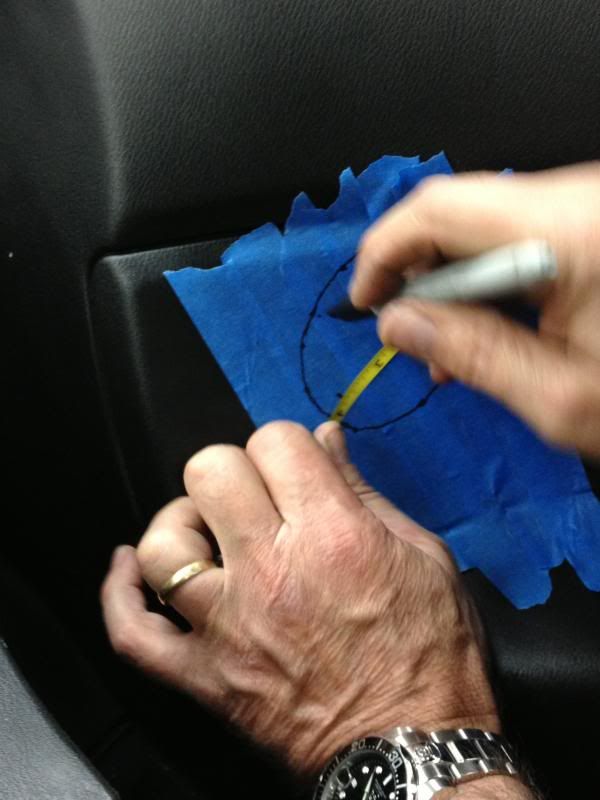
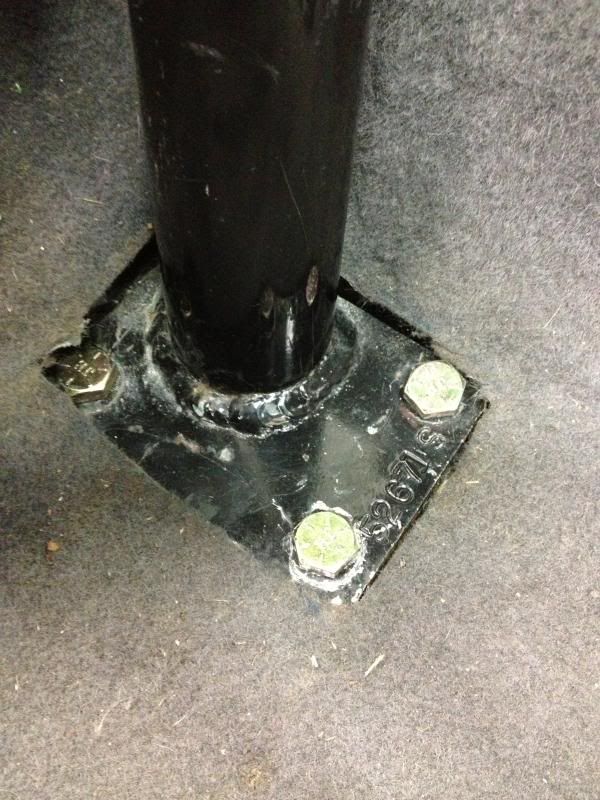
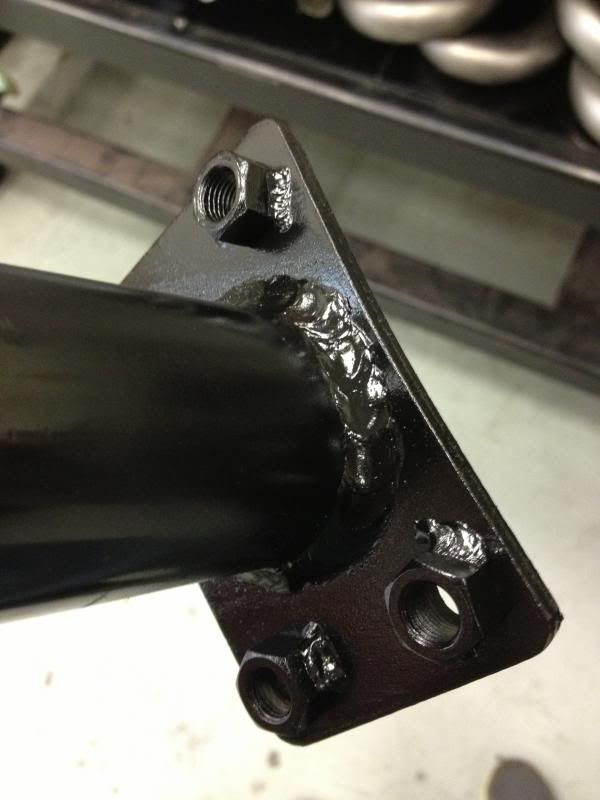
Friday night meant celebrating the success of the install over barbeque at a local joint in Marion. The next morning we installed the Dakota Digital speed and tach convertor boxes and double checked our install with a previous LS/Nissan project Jesse had installed the same boxes on. He also welded a bung onto the bottom of my intake for my I.A.T. sensor.

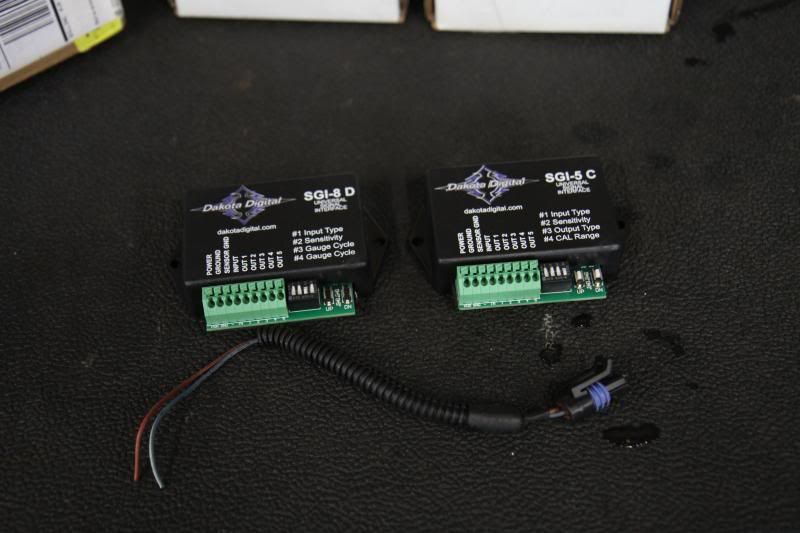
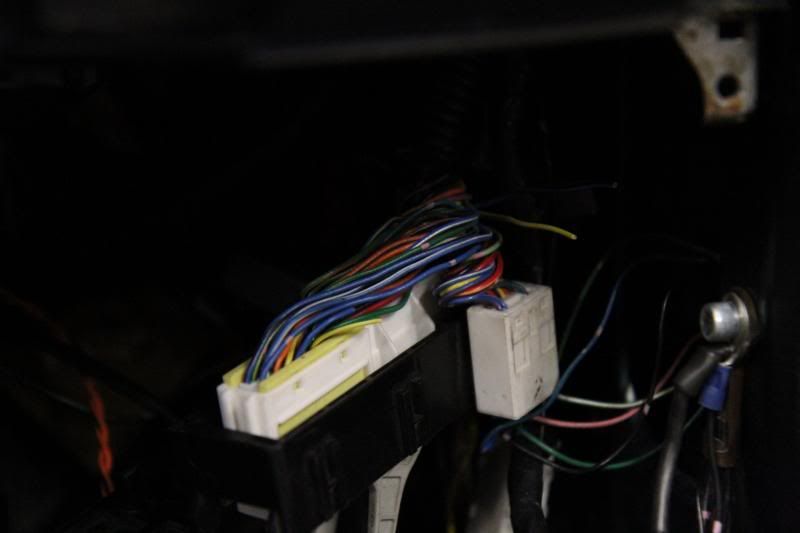
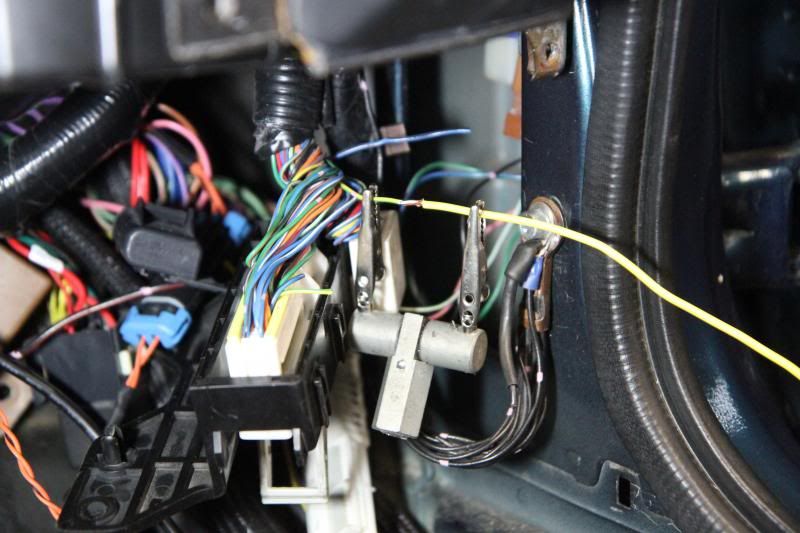
In all of his efforts we could not get the factory gauge cluster to operate correctly. Ultimately we came to the conclusion that the gauge cluster has shorted and I'm currently in the market for another one to try out. More on that later.

Project LS2 S14 was much more enjoyable to drive back to Bowling Green when the time came. Sitting at stoplights meant getting plenty of attention from drivers of every type. The exhaust note was noticeably louder, but not incredibly overbearing.

Spoolpigeon
Spoolpigeon SuperDork
1/11/14 6:45 p.m.

Can't wait to see this thing in person. I'm taking vacation this year just so I can go to LS-Fest! Haha

Datsun310Guy
Datsun310Guy PowerDork
1/11/14 7:37 p.m.

- Impressive work!

s14blane
s14blane New Reader
1/22/14 12:15 a.m.

Didn't realize I forgot to upload these to this thread. Here are some more in depth photos of the installation of the KRC power steering pump. I will admit that I spent a great deal of money on this particular pump as it was the only option I had to go with at the time. It was somewhere in between $900 and $1,000, but in retrospect it has been great so I have no qualms about it other than the price.

I'd also like to give a shout out/thank you to Norm from KRC for getting this pump to me in time to make LS Fest the previous year. If I hadn't gotten the stock pump to stop leaking due to my lacking initial setup, I would've been out of commission. Thanks Norm!

Picture of pump:

An option for those that are looking for a good power steering solution without the price should look at Turn One Power Steering.

Here is a link to one of their pumps for around $400 that would be comparable.

One of the reasons I am glad that I have the KRC is that it features the ability to alter the pumps flow pattern through the changing of the feed fitting to the pump. Not to mention it looks absolutely killer compared to the factory pump (always a nice added feature).

The following pictures are shown in order as I took the serpentine belt off of the LS2, removed the factory pump, installed the KRC pump and pulley and re-installed the serpentine.

I'm sorry if some of this seems elementary to those that are experienced in building cars, but from the outset, I wanted to make this build thread something that even the most inexperienced car enthusiast can refer to the thread and learn how to work on a similar project.

Close up of pump:

Measurement of factory LS2 GTO pump pulley:

Measurement of KRC pump pulley diameter. The reason the pulleys differ in diameter is because in my conversation with Norm, I mentioned that I would eventually be installing stiffer valve springs and retainers as well as a higher lift camshaft and spinning the engine an extra 500-750 rpms. With no reason to spin the pump faster, Norm's recommendation was to increase the size of the pulley to slow it down.

Old pump removed:

Cleaned off the front of the drivers side head where the billet KRC pump plate would bolt up. I used a Scotch Brite pad to do this.

Plate installed (forgive the rusted steam port bolts, I have since installed stainless replacements from the local fastener store):

Bolting the pump to the plate with the included hardware is a straightforward task.

Next the pulley had to be installed onto the pump:

Pulley installed to pump:

Serpentine belt re-installed:

Close up of the pump installed:

As always, thanks for reading!

4cylndrfury
4cylndrfury MegaDork
1/22/14 8:18 a.m.

I love this thread more and more each time I read it. Looks great!

dracer35
dracer35 None
2/9/14 3:21 a.m.

Hey Blane, just wanted to drop in and say I love what you've done with your car and I'm glad to see a company like Holley getting in the LS swap game for different vehicles.

I read through your build thread and you have done some nice work to the car. I've got a completed LS2 swap in my 98 240sx also and I just wanted to add a few things for anybody looking to do the swap themselves. If using a factory GM ecu (I used one from a 02' Camaro) you can hook the tach output from the ecu directly to the tack input wire behind the instrument cluster because the factory ecu outputs a 4 cylinder tach signal. It works perfect. I'm not sure if the same applies with an aftermarket ecu like what you are using.

Also, the factory Nissan high pressure line will bolt right up to a 2004 GTO power steering pump using the GM banjo bolt and some new copper washers. Then you can use your factory Nissan remote power steering reseviour for the low pressure side. Easy as pie and no special fitting or lines.

Hope the info can be helpful.

s14blane
s14blane New Reader
2/10/14 9:33 a.m.
dracer35 wrote: Hey Blane, just wanted to drop in and say I love what you've done with your car and I'm glad to see a company like Holley getting in the LS swap game for different vehicles. I read through your build thread and you have done some nice work to the car. I've got a completed LS2 swap in my 98 240sx also and I just wanted to add a few things for anybody looking to do the swap themselves. If using a factory GM ecu (I used one from a 02' Camaro) you can hook the tach output from the ecu directly to the tack input wire behind the instrument cluster because the factory ecu outputs a 4 cylinder tach signal. It works perfect. I'm not sure if the same applies with an aftermarket ecu like what you are using. Also, the factory Nissan high pressure line will bolt right up to a 2004 GTO power steering pump using the GM banjo bolt and some new copper washers. Then you can use your factory Nissan remote power steering reseviour for the low pressure side. Easy as pie and no special fitting or lines. Hope the info can be helpful.

That's great information to hear. I was aware of the tach signal with a factory ECU, but not about the power steering info. Thanks for sharing that "dracer35"!

s14blane
s14blane New Reader
8/27/14 4:44 p.m.

LS FEst is almost upon me once again, coming up September 5-7th. Progress on the S14 has pretty much been nil this year, so I've had a lot of time to make sure the car is ready for next weekend, but procrastination and work and a relationship has been taking up a good majority of my time. I've also been saving money, which is much easier to do when you're not spending $$$ on your car.

On another note, the grand opening of the NCM Motorsports Park here in Bowling Green, KY is taking place this weekend (weekend of the 28th of August, 2014). There are a lot of Vette's in town so I'm sure it'll be fun to take the S14 out and confuse people.

In preparation for LS Fest, I've ordered new tires and changed spark plugs.

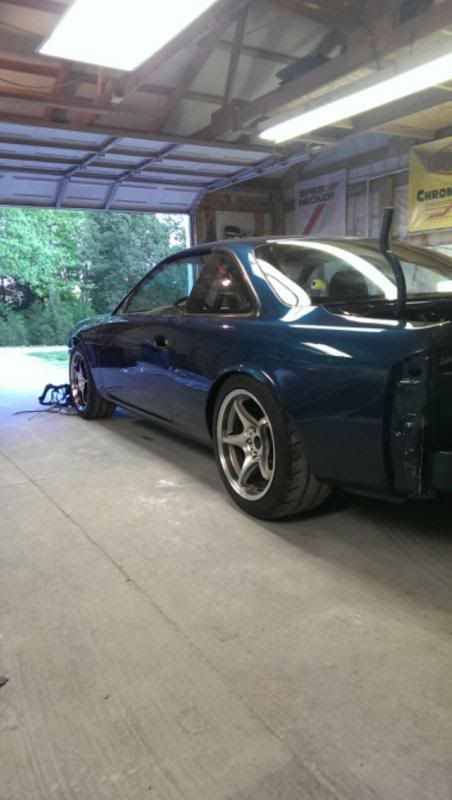
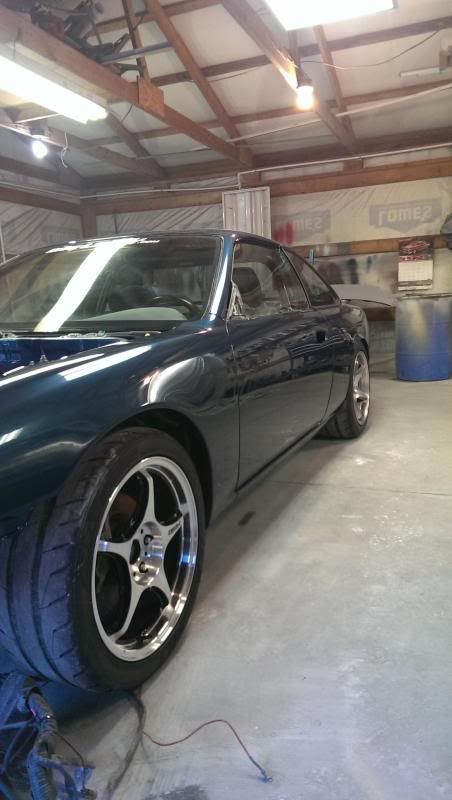
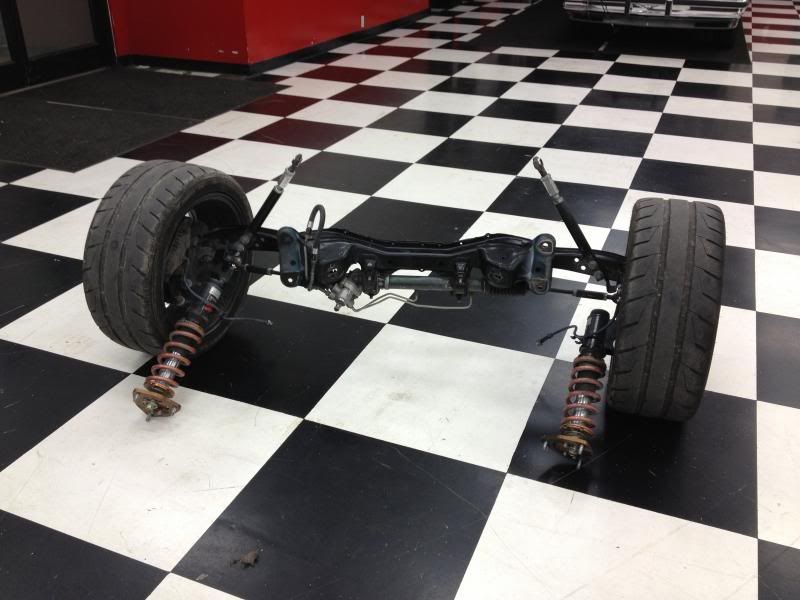
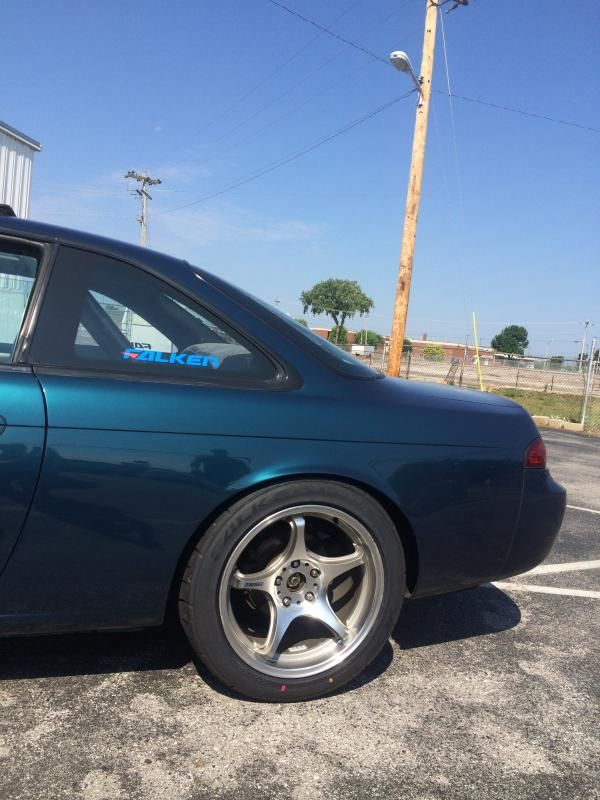
Since I've had the car up and running the car has been shod with Nitto NT05 rubber. They were 235/40/17 in the front and 275/40/17, respectively. I simply changed tire brands this time to see if I was missing out on any performance and so far, I'm greatly enjoying the Falken Azeni RT615K on the street. I'm definitely looking forward to getting some heat into them on the autocross and at the NCM park.

Other items I need to take care of are as follows:

Change oil Change rear brake pads (potentially rotors) Install strut tower brace a friend is up for giving me (good friends are worth their weight in gold). Purchase and install fire extinguisher to protect investment Install Go Pros from work at various angles so I can dissect what I'm doing after the fact and potentially improve.

After LS Fest, I'll be purchasing a set of Planted Seat brackets and Sparco Evo side mount fixed bucket seats in order to allow myself a better seating position and lighter weight in the center of the car. Looking forward to getting those in as that'll check another couple of items off the list of items I've needed for a long time. The Recaro that I purchased were taller than I wanted due to their bottom mount design and I didn't have room for my head much less a helmet, so they were sold (albeit reluctantly).

I'm sure I'm missing something but until then, I hope everyone on here that's followed this build is doing well.

jsquared
jsquared New Reader
8/28/14 9:57 a.m.

I just found this thread. Top-quality parts and top-quality work. Have you tracked the car yet? I've heard that LSxes can get ornery with oil supply under high sustained g-loadings.

Also, going with a 17x9 and a wider tire up front will certainly help the car's balance! And how do you like the Stance coilovers? I've always steered clear of them because... well, they cater to the stance crowd

OHSCrifle
OHSCrifle GRM+ Memberand Reader
8/28/14 7:16 p.m.

Hope you've been driving the E36 M3 out of this one

s14blane
s14blane New Reader
9/16/14 2:09 p.m.

So the fifth annual Holley LS Fest took place roughly two weekends ago now. Silvia/Project LS2 S14 was present for more shakedown runs this year as I am for the most part glued to a golfcart working the event.

I was happy to have the new RT615 Falken rubber on all four corners, which gave me more confidence around the autocross and took me to a sixth place finish for the weekend in the "autocross only" according to the stats that we've posted on the LS Fest event website. I was pleased with that although I wish I could've run the car more. As you all can understand, there always seems to be something that keeps you from having your cake and eating it too.

The culprit this year was either a leaking master cylinder cap and/or a master cylinder that is beginning to show signs of failing. After a couple of runs I popped the hood to check things out and noticed there was fluid underneath the brake booster and master. I got some water and, careful not to burn myself on the headers, wiped it off as best I could.

Thinking the reservoir was perhaps too full, I absorbed some of the fluid into a paper towel and then went for another run, only to find out the same thing was happening. I have yet to order a replacement cap or master since the event is over as the car doesn't seem to spray fluid during normal driving conditions and I've been busy with other things. I'll be ordering the cap first though to see if that takes care of it.

Since the car wasn't fit for more autocross or the 3SChallenge that takes place on Sunday, I decided to cross a couple of items I'd been wanting to take care of for some time off the list so to speak.

QA1 Motorsports had scales at their booth during the event and John and Eric were allowing event participants to weigh their vehicles and get cornerweights for no charge. I rolled Silvia up on the scales and was kind of blown away at the results.

Results with no driver and a little less than a half tank of gas:

Results with me inside the car and same amount of gas:

I couldn't believe the car was as balanced as it was! I also couldn't believe I only weighed in at 157 lbs, but the stress of helping put on an event of this magnitude will do that to you I suppose!
I didn't expect the weight bias to be as favorable as 55.66 and 44.34%. I had always heard these cars were more like 60/40 weight bias, so I'm not complaining there.

And concerning the corner weights, the right rear is clearly housing my battery. I should move that to the middle by the looks of things. Looking at the sheet with me in the car, it looks like I may need to adjust the driver's side rear by a bit in order to move some weight off the back and move it to the passenger side front, and I should be close to a well balanced car for what it is. Any thoughts on this from anyone more experienced than I?

After that I took the car over to the mobile dyno that we have at the event each year for participants to measure their horsepower and torque.

I had my fingers crossed for 430 horsepower at the tire. Here's a link to the dyno video: https://www.youtube.com/watch?v=uqoBCRk16oY&feature=youtu.be

I ran the car on dyno for two back to back runs and was somewhat disappointed with my findings:

I was surprised it didn't make more than 414 and that it dropped a whole 8 horsepower from run 1 to run 2.
I expected the torque to be where it was at due to the type of cam that I installed. Oh well, every engine is different. One of my friends and coworkers at Holley was there for the dyno run and he wanted to look over the tune of the Dominator EFI after the run. He came away with the conclusion that we should be able to lean the car out a bit and add a few horsepower that way so we will be doing that here shortly.

I'm going to be swapping the car over from Bosch Widebands over to higher quality NTK units and we'll be using the dyno here at work in order to get the car dialed in just right. I'll have those results for you fellas in what I hope to be a few days.

1 2 3 4 5 6 7

You'll need to log in to post.

Our Preferred Partners
FAViBXaPI2IZuBwjeKTGFeiQWpB105H4k8Wys0iTiL3de0OYpLLK0qdujccMkSKj