I appreciate the kind words. Sometimes I need to take that toke of reality.
My skills do not match up with the expectation and vision in my head, but I know I am gathering more and more skill. As I develop more skill, I am less afraid of taking on the next hurdle.
ShawnG: It would mean moving back there, and I would rather slit both my wrists with running, flaming chainsaws, than move back to the coast.

NOHOME
MegaDork
10/24/20 9:34 p.m.
In reply to solfly :
Hours add up REAL fast when doing this stuff to a high level. My ballpark to restore a car is 1000 hours. Cheapest shop I know is $50/hr
Serviced the shop furnace today, it's supposed to be the coldest October day in 100 years here. La Nina or something. Also ran the lawnmower out of gas, and moved the Jerry Can over to the snow blower. Reminds me, I need to change the oil on that. Also fixed a leaky fitting on the air compressor lines.
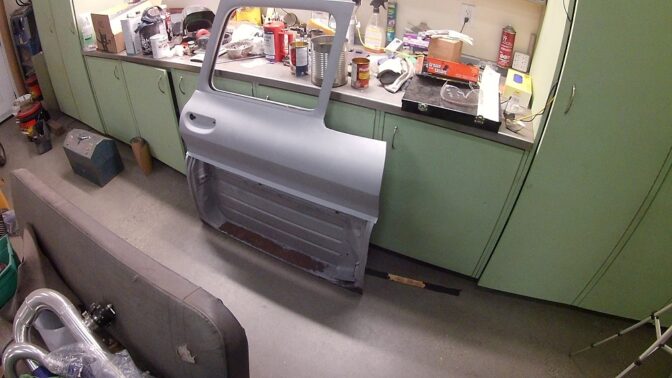
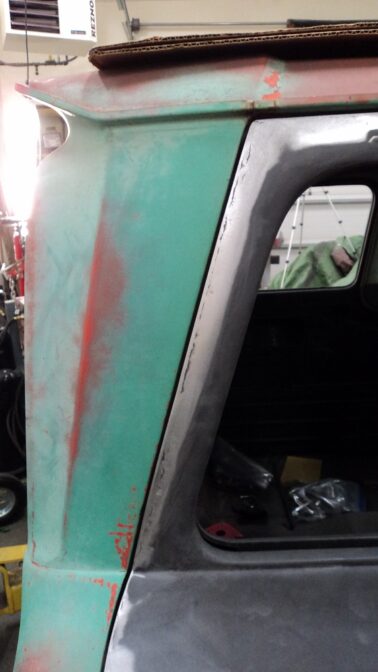
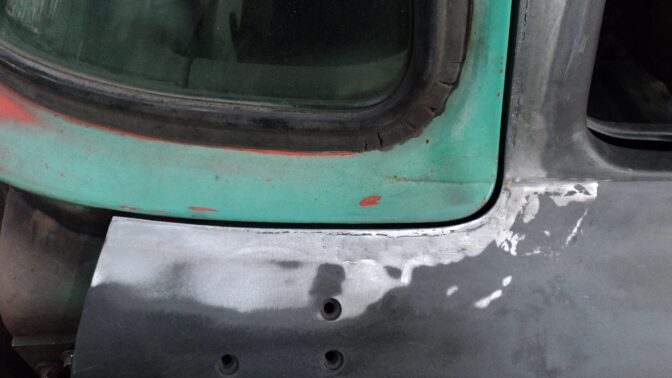
Filled the West Coast Mirror holes on the passenger door:
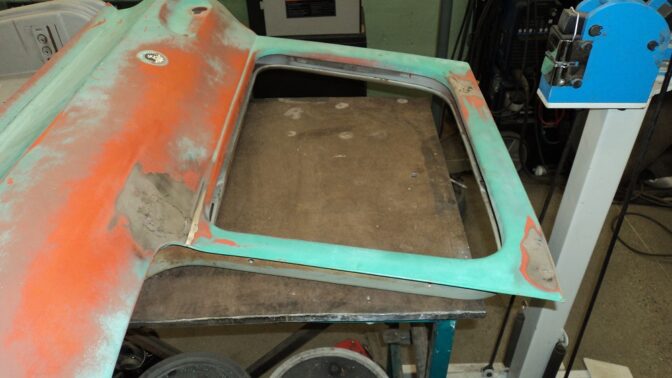
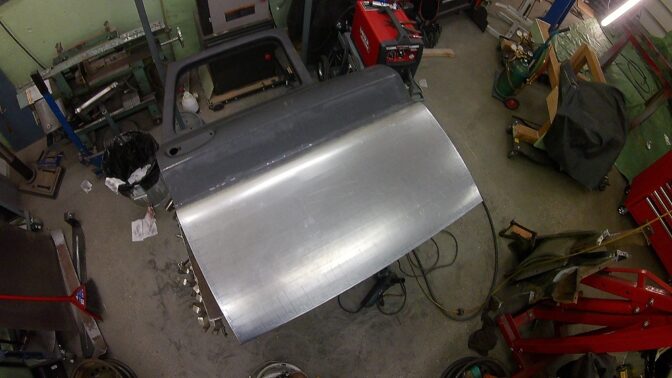
Prepped the next door skin for wheeling:
And gathered a plan on where to cut the door bottom out:
Six inches of snow yesterday, so I'm not going to do any more blasting for a while.
Passenger door skin formed and fitted. I felt good about my progress, so that was a good place to stop for the day.
We had a big dump of snow, which had finally melted and dried up for a nice clear sunny weekend, so I got the door blasted. Elapsed time: 4 hours. New bottom will be welded in, so I didn't worry about wasting time blasting that.
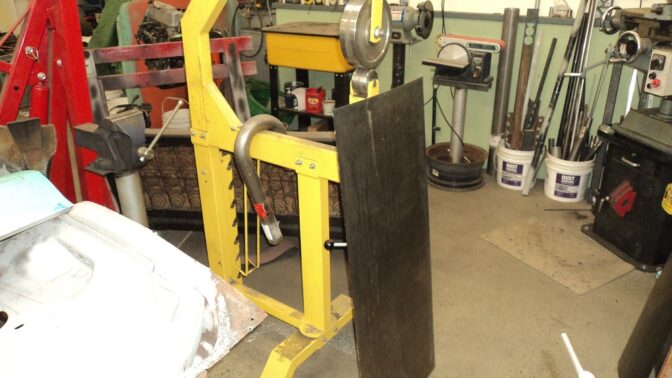
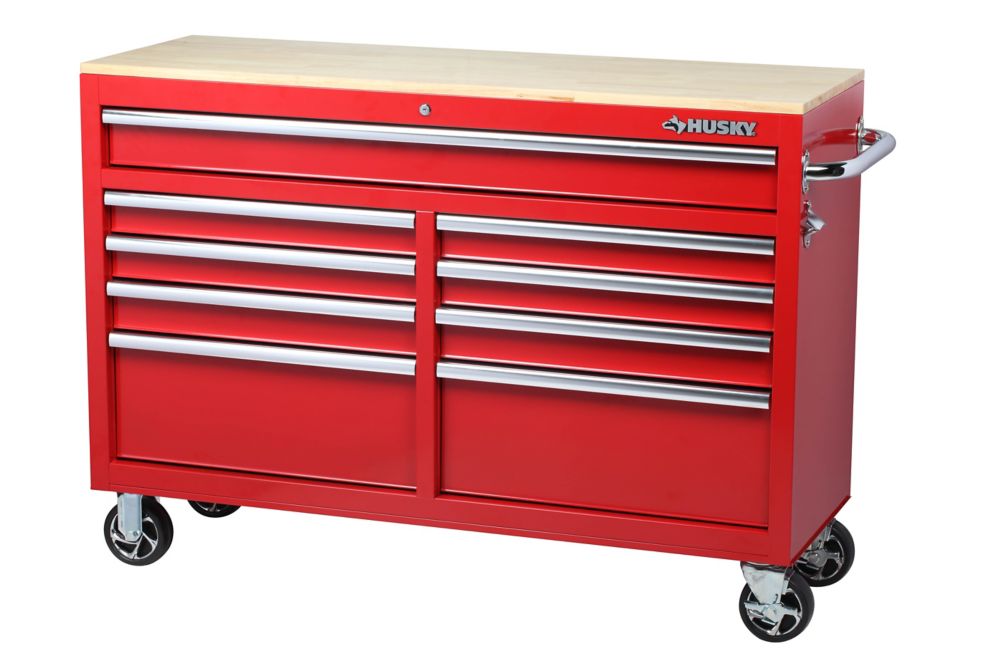
Brought this 52" jobbie home from Home Depot for $398 (about $300us) to better organize my autobody and metalwork tools. This should make my working environment better; everything actually has its place now.
Loaded it up tonight, and.............. it's full. Wow.
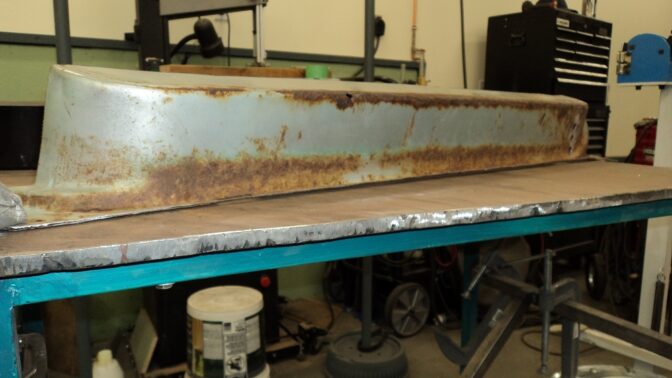
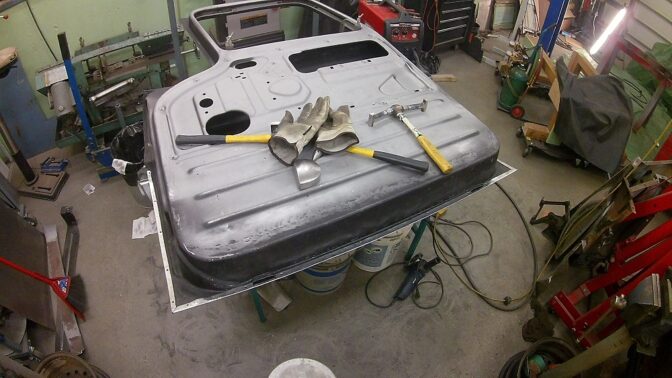
Working on the door bottom. In fitting the driver's door, I discovered just how badly the aftermarket door bottom was shaped, and had to slice and re-shape the door bottom in place. Today I'm re-shaping it before welding it in.
Comparing the replacement bottom with the old bottom, the new one is curved, it should be straight. The corners are junk.
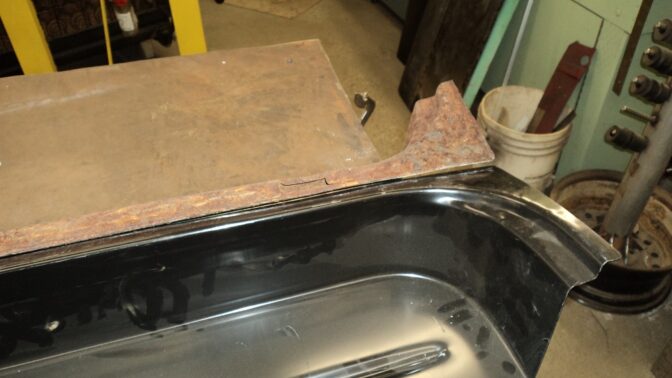
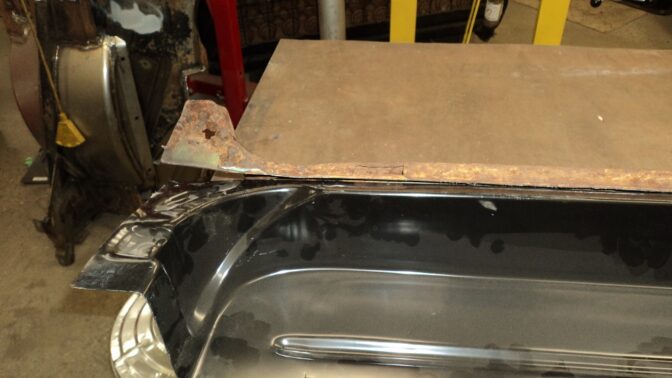
The flange should sit flat on the table like the original, but it doesn't (dunno if you can see it - I put a light behind):
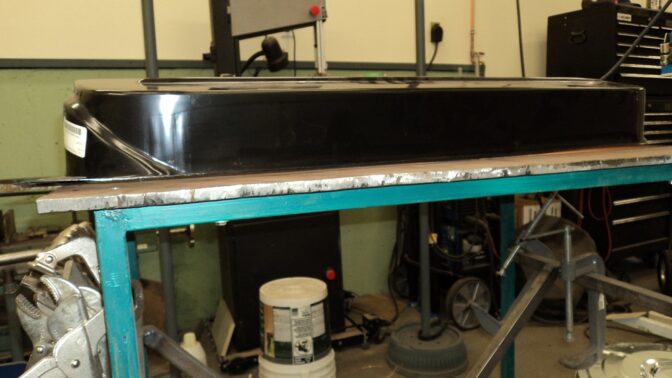
So I did a whole lot of slicing, and added about 1/4" of metal to get the flange flat again. Then sliced to fit it. A bit more fitting and it will be welded in.
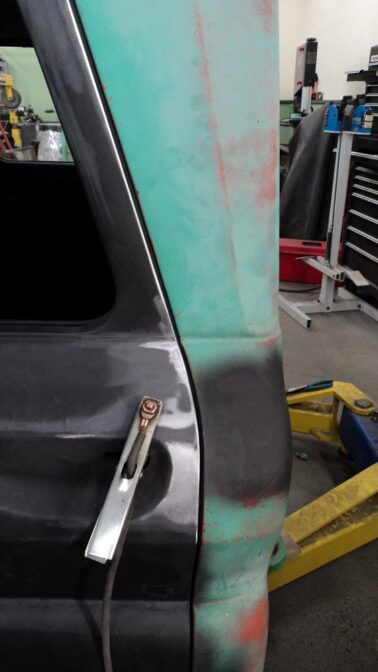
Tweaked a bit of the door bottom fit, and checked it with the door skin; I'm feeling confident enough to lay down some primer. Also coated the driver's door since the gun was out.
Also, tried this new sprayer for pre-paint cleaner, since my super cheap plastic one got a pre-paint cleaner enema of no return. Seems decent.

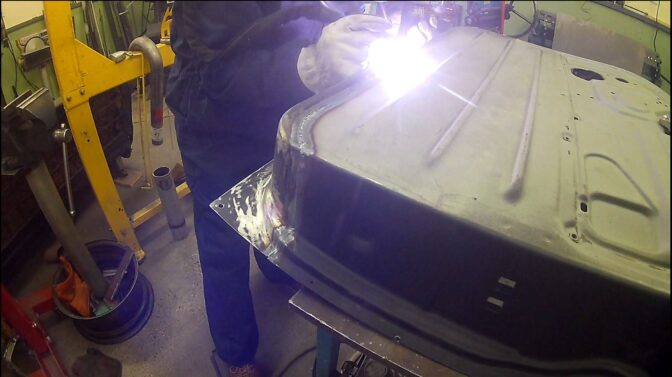
Once the primer had cured, I TIG-welded the door bottom (I was skeptical of doing oxy-acetylene again). There was still warping, but it was still easier to planish than MIG welds. I -think- I get less warp with MIG, but I might be fooling myself - there might just be more finishing with MIG than TIG, but I'm trying different approaches to see which one I like better.
Then a good scuff on the inside of the door bottom as well as the skin, and two coats of epoxy primer.
I have the same sprayer at work, has held up great for a couple years now. Rebuildable too.
The small filling hole and having to use an air chuck to pressurize it vs a built-in pump are the only negatives.
Truck looks great!
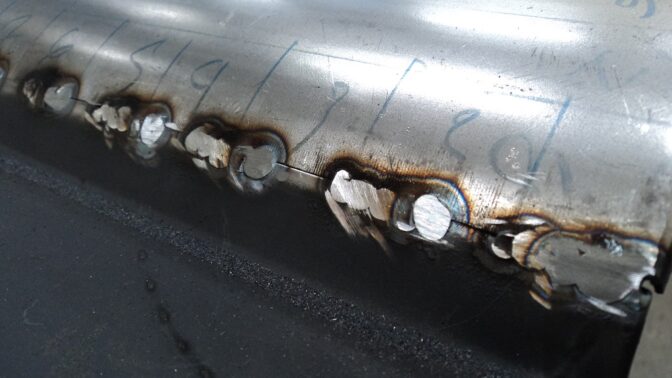
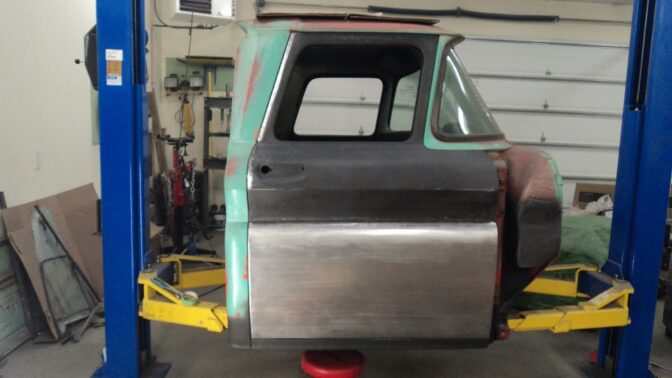
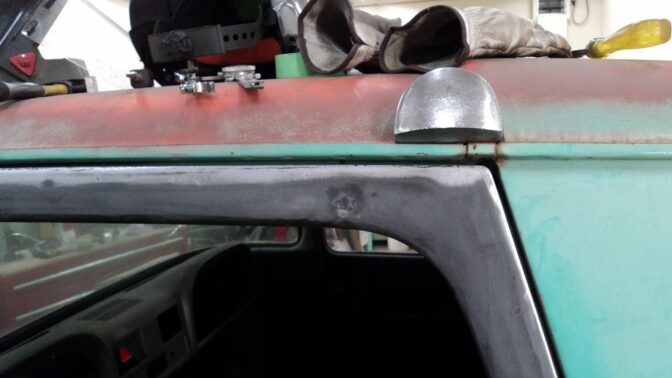
Skin welded and attached.
As you tack together, grind your tacks down before the next tack. This helps slow you down, so you minimize the heat put into the panel. A smart cookie would grind both sides down, and planish.
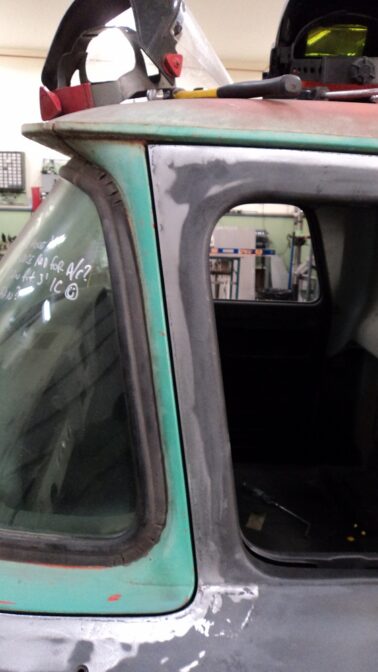
Door hung, and adjusting gaps:
Epoxy primer for the doors tomorrow.
These trucks aren't even -symmetrically- drunk.

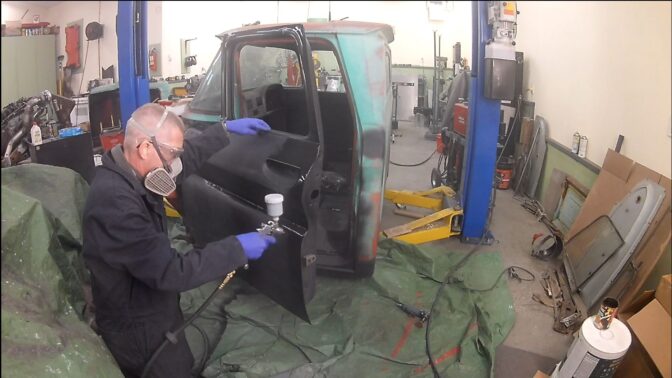
And primer. I do like the touch-up gun for minimal overspray, AND for spraying down the inside of the door.
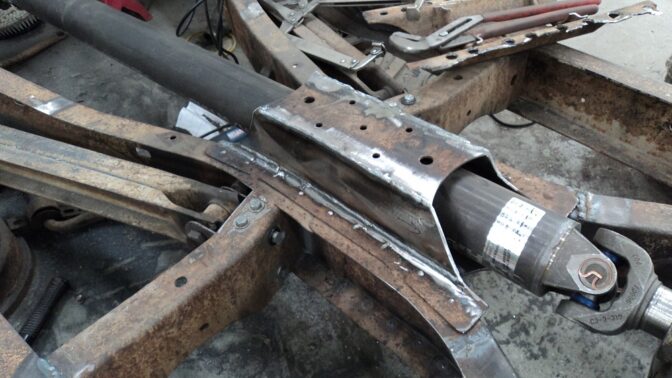
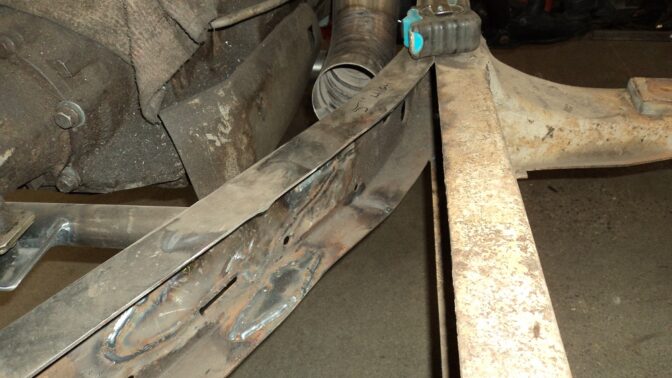
Before placing the cab back on the frame, I cut the top off the "X" in the frame to clear the driveshaft. I haven't decided if I will use part of the original "bottom of X", or fabricate a new piece to cover it.

I decided.
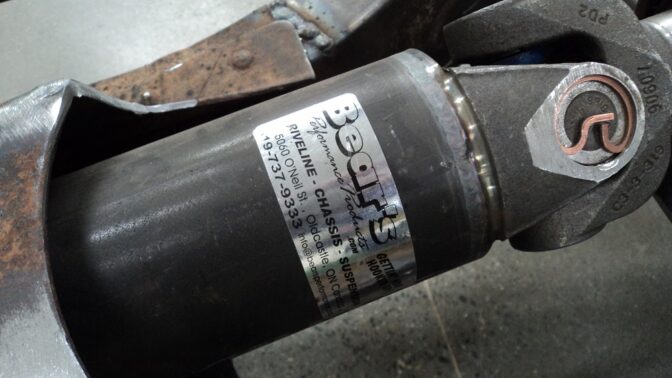
Sexy shot of the manufacturer's sticker:
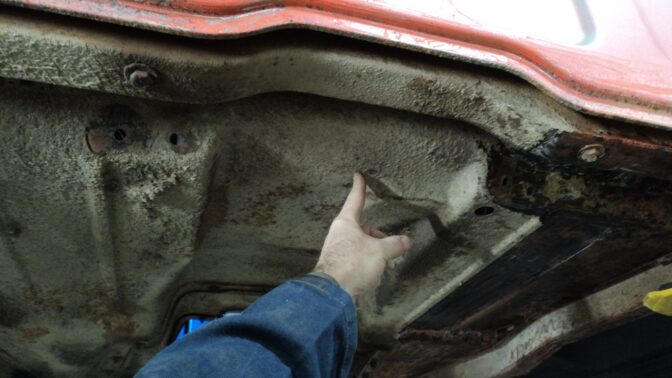
I have to raise this section of the floor. I don't think I have to raise the boxed section under the rear cab wall:
I'll need to cut a hole through the frame for exhaust exit:
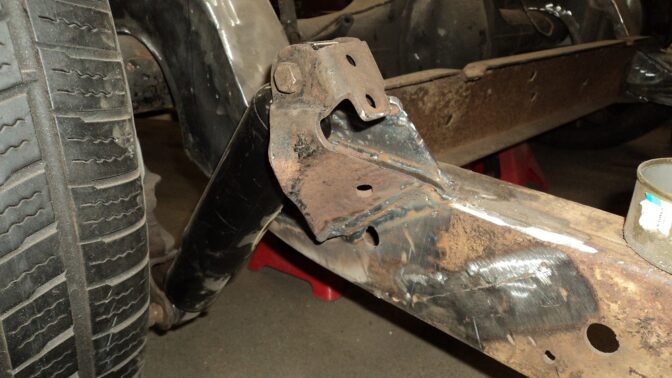
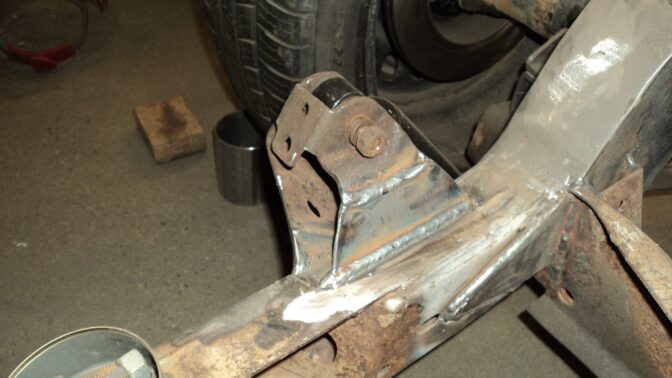
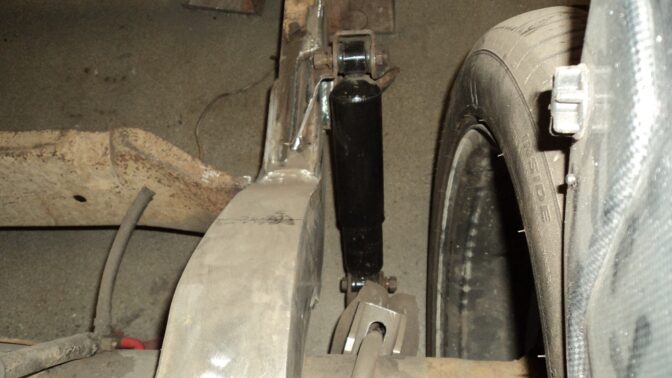
And I finalized the rear shock mounts. Modified and relocated stockers:
NOHOME
MegaDork
11/29/20 7:08 p.m.
I can tell you are not only a Teacher, but a Good Teacher.
I also live on the same plateau of metalwork finish: paint or putty, you gonna have plastic over the metal even if it was just the paint, so who cares if there is a skim of filler?
When doing repairs on some peoples cars, I have found over 1/4" of filler and nobody would have ever suspected it was there. So, unless you are putting the filler on a compromised substrate, I have become much less of a "filler is bad" person over the years.
As a perfectionist, I have to work within my skillset - which isn't perfect. I remember being pissed off at the age of 3 because I couldn't draw a VW Beetle as accurately as I saw it in my head.
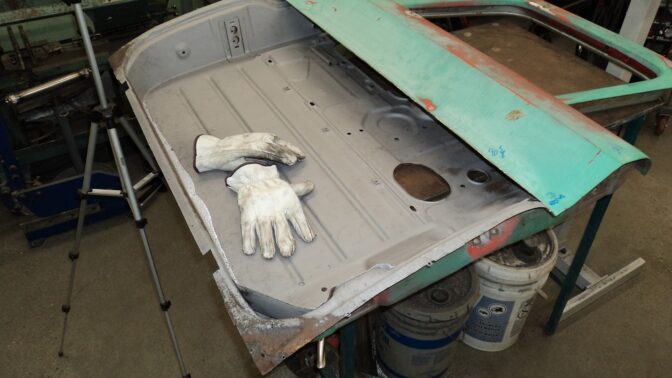
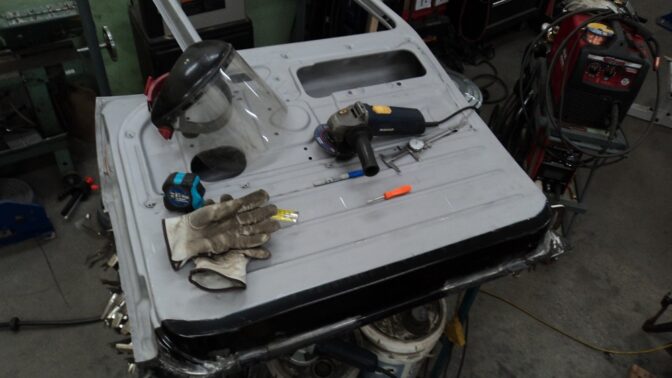
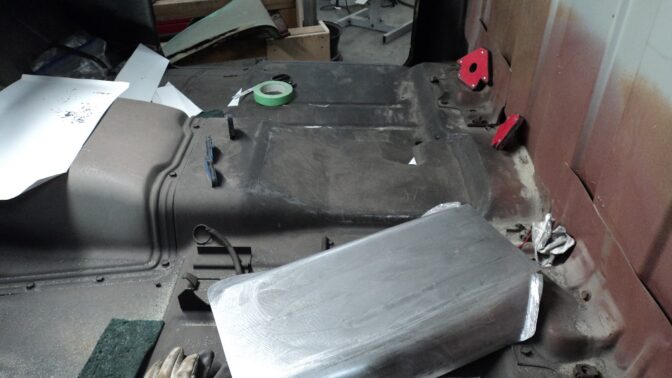
Today's work: With the raised "X," I need to clearance the floor. It -looks- like this will be an easy fix. I just need to cut the floor out. 5 hours in the shop, and I formed this new panel. It will be epoxy primered, and then spot welded into the floor. Spot welding significantly reduces the amount of warp I can introduce to the panel.
I also knew earlier that running your thumbs through the French Wheel hurts. Today I found that running your pinkie under the Tipping Die hurts too.
NOHOME said:
I also live on the same plateau of metalwork finish: paint or putty, you gonna have plastic over the metal even if it was just the paint, so who cares if there is a skim of filler?
Considering the ONLY filler in this truck is the filler I will be putting in it, I'm doing pretty good.
My daily driver squarebody has about 5/8" filler in the bed sides. I had a student chase some cracks with a surfacing disc to see where the cracks went. Then I mixed up a Surrey Size can of Bondo and just filled it back in.
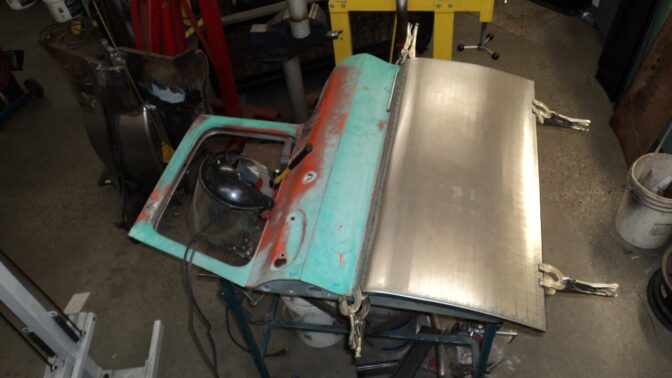
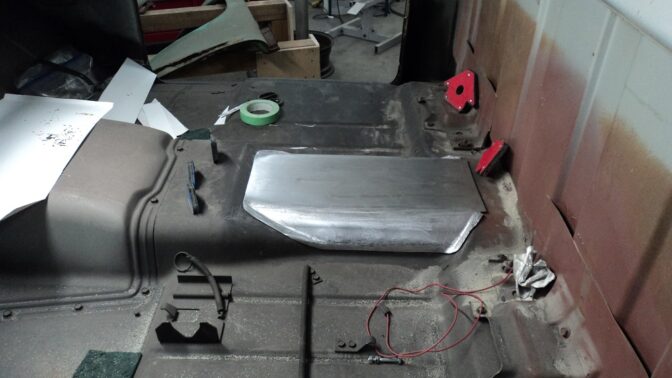
Center cut out, and spot-weld holes are drilled:
Intended to work in the shop today, but ripped a good chunk of skin off my finger fixing the kitchen sink, so I guess it's watching youtube videos tonight....
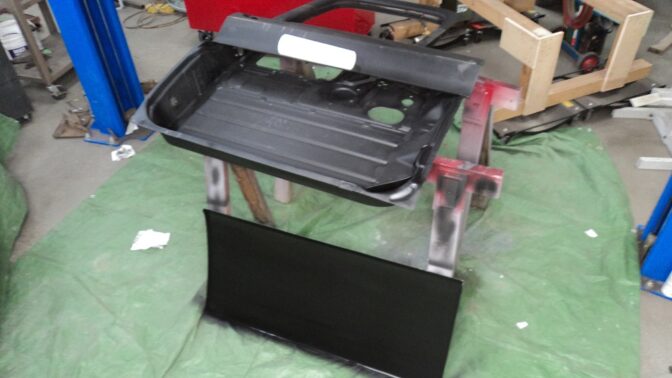
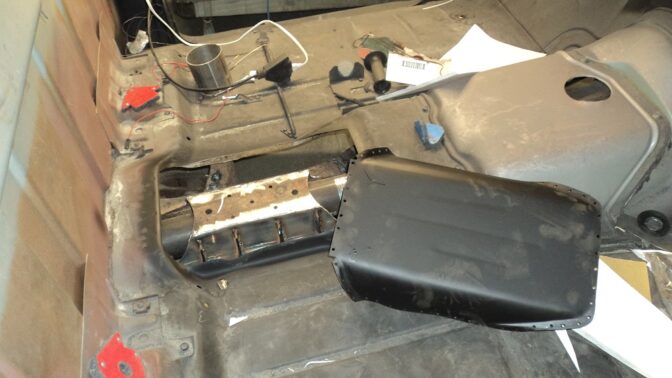
Got a coat of primer on the cover. Will weld in on the weekend.
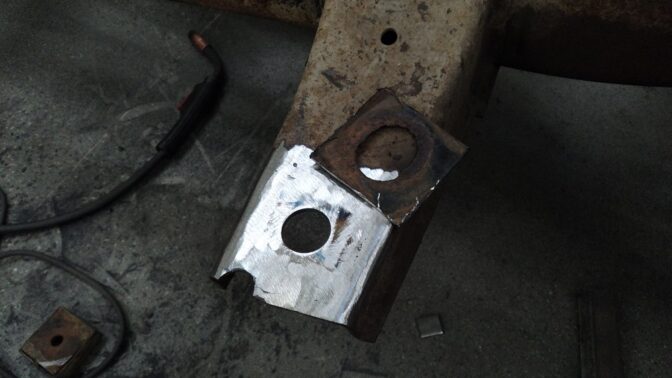
I needed to see if this all fit, but before I did, I repaired a badly corroded cab mount with 3/16" plate (a bit thicker than original).
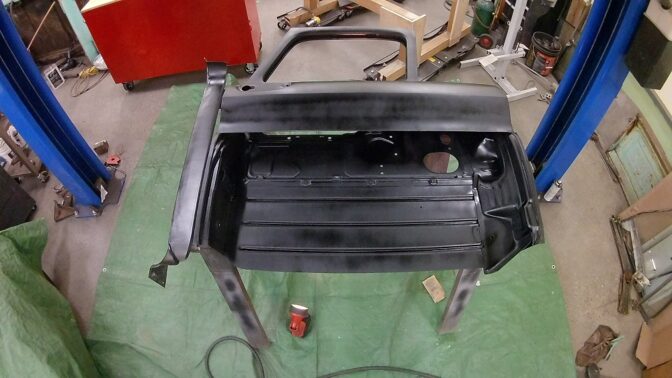
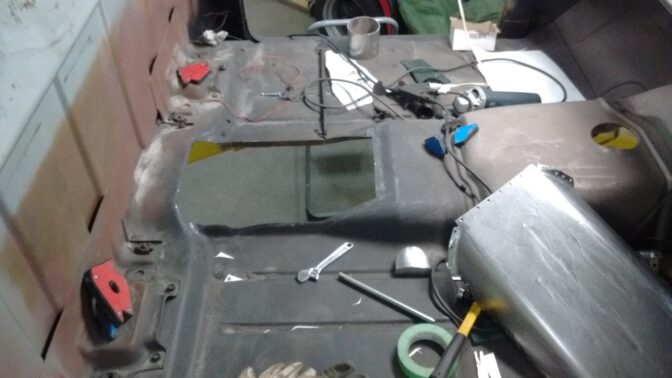
Cab went back on the frame to check for fit. I added some strengthening ribs on the passenger side of the raised "X" to strengthen the top, since due to the lateral angle of the driveshaft, it was no longer trapezoidal.
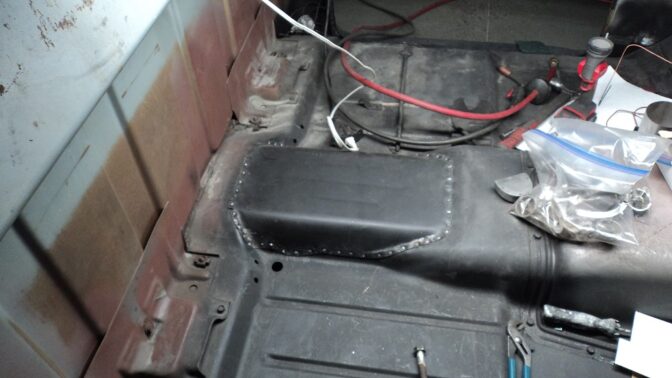
Welded on, and I am -very- pleased with the result. Driveshaft clears the back of the cab by 1/4".
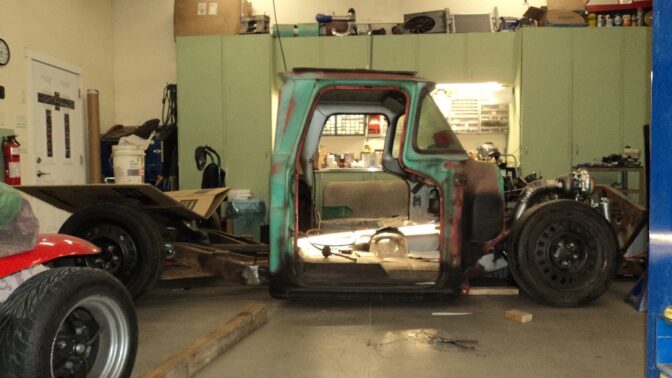
Glory shot, control arms on the ground:


![Run_Away [FS]](https://s3.us-east-2.amazonaws.com/prod.mm.com/cache/0c/2a/0c2a37ef69ebab6b7d7bd70276fb7b42.jpg)


