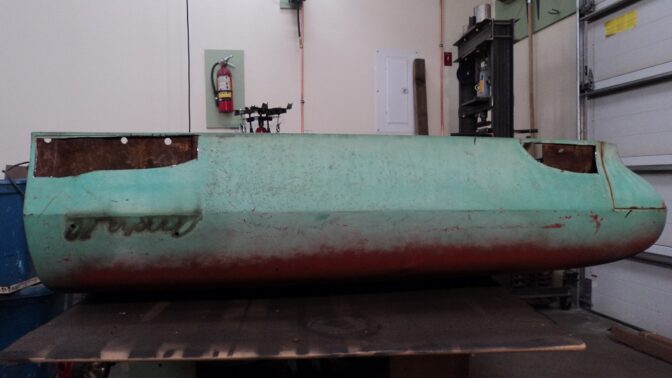
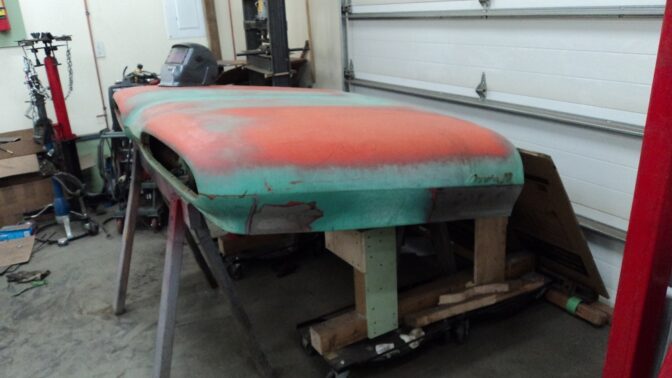
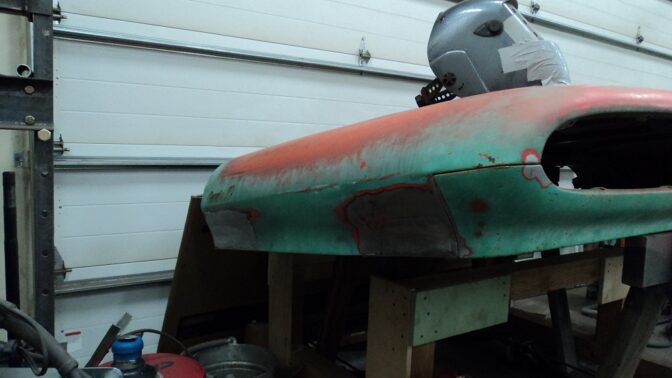
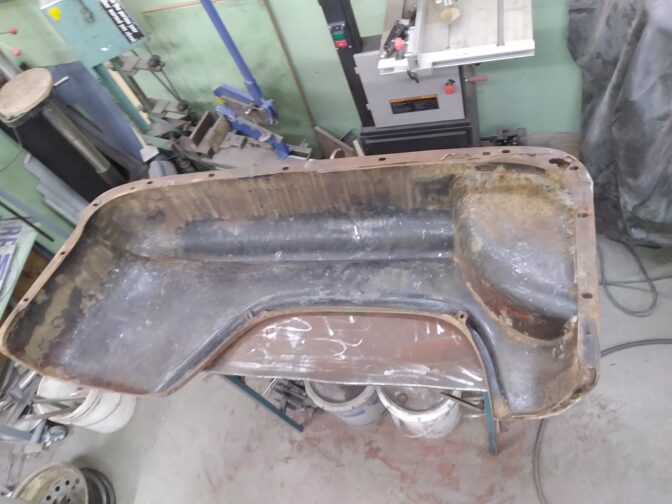
Finished scraping the hood, and crafting a plan to repair the rust:
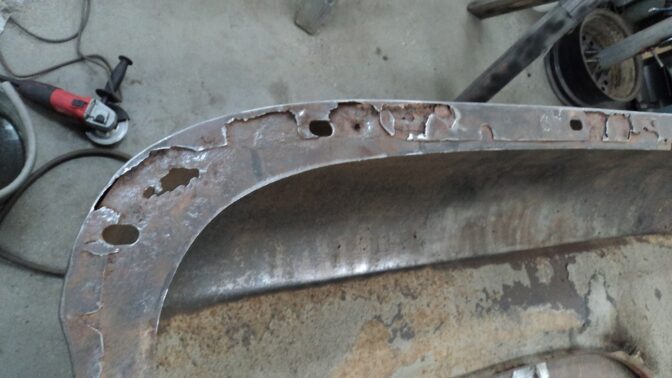
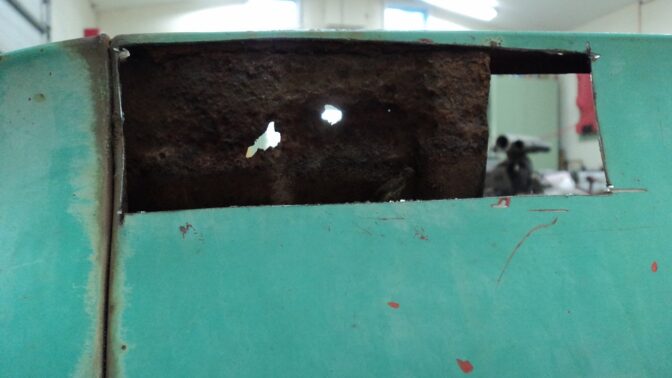
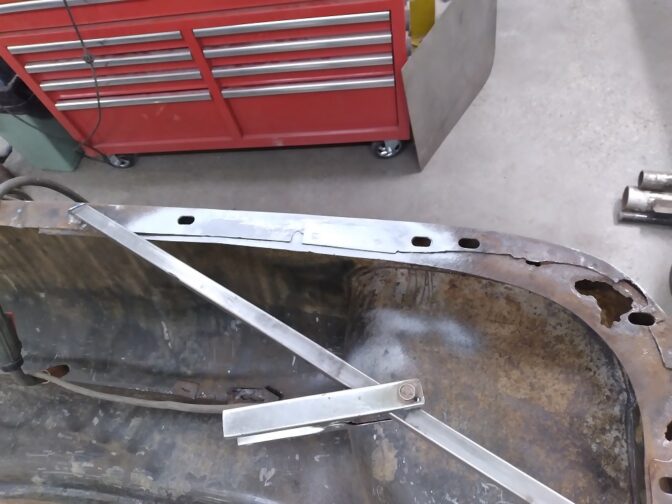
Crafted a plan for the fender flanges. I think I will repair the flange of the fender itself, using the reinforcement behind to help locate it, then remove what's left of the reinforcement and fabricate new ones. That way I can epoxy prime the join and reduce or at least slow down the return of the rust:
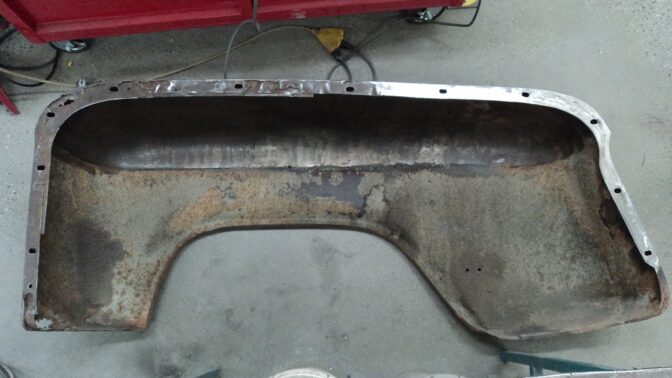
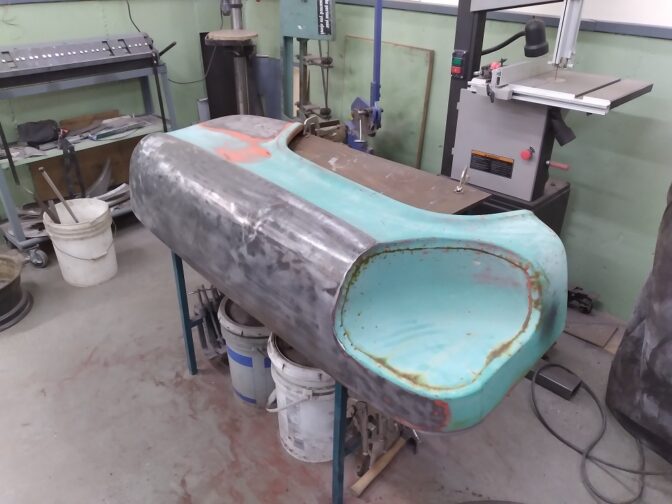
I should probably clean this up too:
Worked on hood patches. Blast tomorrow, epoxy prime, then fit the patches through the week.
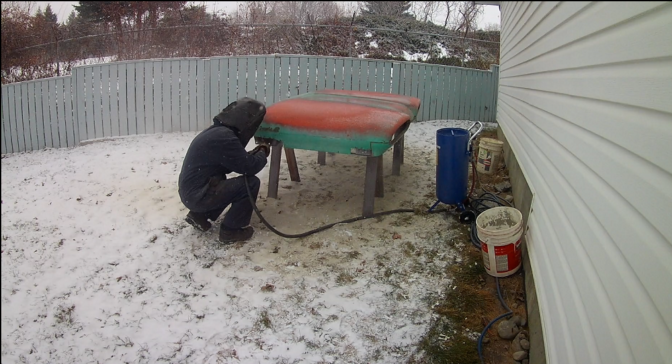
Blasted outside in the snow, patched, and epoxy primer:

Had one of those days in the shop where absolutely every single possible thing that could be annoying or go wrong, went so in spades. Hard to describe my enthusiasm without the use of expletives. Awful day.
Having said that...
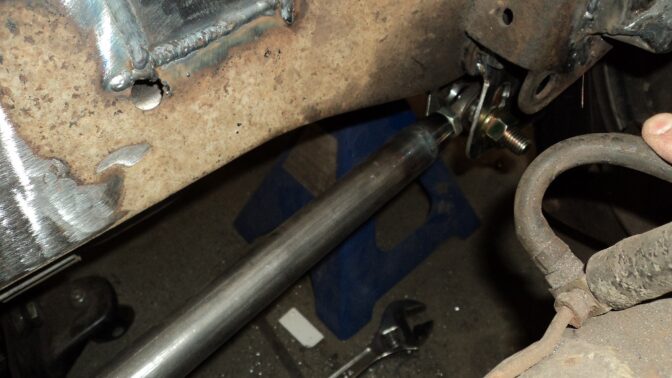
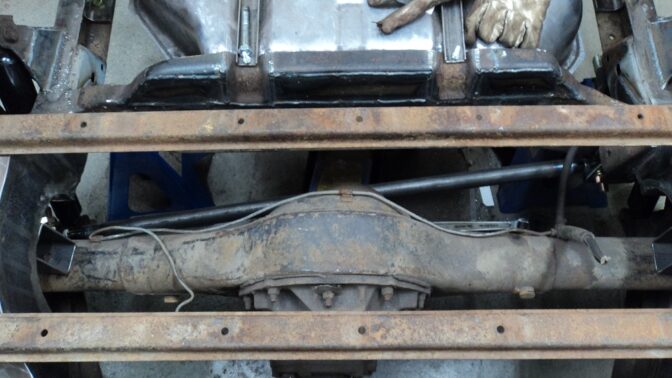
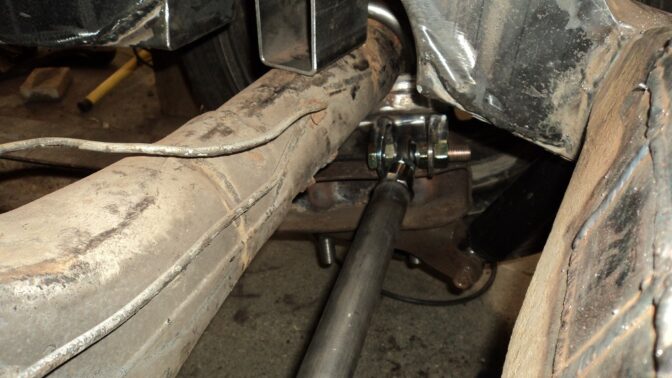
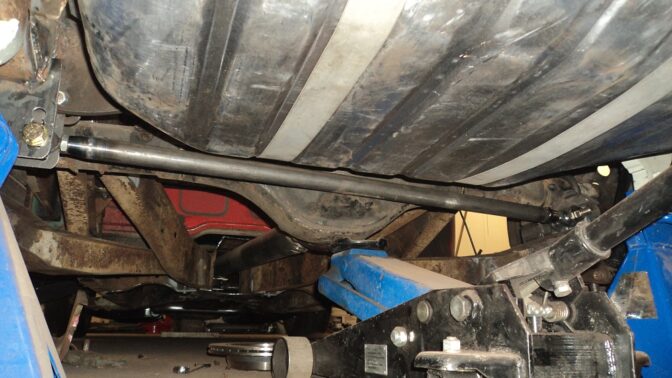
Back to the panhard, the rod ends, tube ends, and lock nuts came in:
SkinnyG (Forum Supporter) said:
Had one of those days in the shop where absolutely every single possible thing that could be annoying or go wrong, went so in spades. Hard to describe my enthusiasm without the use of expletives. Awful day.
Yeah I had a few of those, and they’re pretty sucky. All you can do really is power through it I guess...
That said, I’ve really been enjoying watching the project come along, so I appreciate your perseverance. The YT vids are enjoyable too, keep it up!
Enjoyed the video! thanks for posting
Not much done today. Familial responsibilities, then made some new 4° pinion shims for my '77 C10 daily out of steel, and tacked the last hood patch in before it was dinner.

Next patch tacked in place:

Dear Mr G, Thanks for keeping this thread going. You make the work look easy, and that gives me the courage to tackle things I've never done before. 100% truth.

I appreciate the kind words and encouragement.
Chatting with Mrs. Skinny about this today, and I had a couple of comments: 1) I hope I'm still into modified vehicles by the time this is done; I'd hate to finish it all, and then wish it was stock, 2) I'm not really loving the "restoration" aspect of this phase of the build. I'm getting a whole lot better at doing body work, but I'm really not excited about doing it again any time soon.
I have no formal training in any of this, I am totally learning this as I go. If -I- can do this, -you- can do this. There ain't no magic here.
I tack the rust patch panels in, then grind the bead down flush, then do the next tacks. This 1) forces me to slow down and let the panel cool, and 2) makes sure the next tack is actually penetrating the sheet metal (not getting the heat sucked into the adjacent bead).
Rust holes all patched, warping minimized and finished enough for an acceptable skim of filler. Next to do: hood dents. Don't mind the duct tape on my welding helmet - I dropped the truck bed on it a while back.
Fixed all the dents in the hood today. They weren't big dents, so they don't show up in pictures well. I have one "oil can" I need to get rid of tomorrow, and the hood will be ready for blasting and primer.
The fender patches are glaring at me.
Tackled the one remaining "oil can" dent.
Kicked my butt for hours.
The portion of the hood that it's on, is slightly crowned. I can make it match the crown, but it oil cans. I can shrink it to stop it oil caning, but then it's flat and not crowned. I put some crown in it, and it oil cans. I shrink the oil can out and it's flat. Rinse and repeat. Not winning.
After HOURS of arguing, I did some shrinking on the bottom side and I now have it mostly the right shape, and not oil caning. It definitely moves a little freer than the other side, but it will hold its shape.
Nothing on the truck this week - had to do some spring yard work.
But I did spend some time improving my blast cabinet.
Previously, I added four 100W LED bulbs, and a shop-vac-hookah-pot out of a 20L pail.
Today I tried to improve a common problem in the operation itself:
The cabinet has a tendency to blast in spurts. Blast... nothing... blast... nothing... I've found if you run a really large nozzle and run very fine abrasive, it's not too bad. But I followed a few videos on YouTube about improving the blast action.
A Floor Plate is attached to the bottom hinged trap door, add a 3" long 1" NPT nipple, a 1" Pipe T with one end capped (for drain), then reduce to 3/4" NPT into another Pipe T, which reduces to a small ball valve (I used 3/8") out the top, and reduced to a 1/2" Hose Barb to feed the gun.


ShawnG
UltimaDork
3/7/21 9:34 p.m.
In reply to SkinnyG (Forum Supporter) :
That's the way the pro-level cabinets are plumbed.
Our Manus Abrasives cabinet at work has a bespoke mixing valve but it does the same thing.
Where does the hose out the top of the ball valve go?
I -think- it just allows air to be drawn in to help siphon the sand to the gun.
I honestly have not tried it yet.
The cabinet is not pressured, though that would be fun....
ShawnG
UltimaDork
3/8/21 10:33 p.m.
In reply to SkinnyG (Forum Supporter) :
Yes, it should be open to allow a bit of air to mix with the sand as it's drawn up..
Air Ride kit arrived. Except the tank....
Back at it.
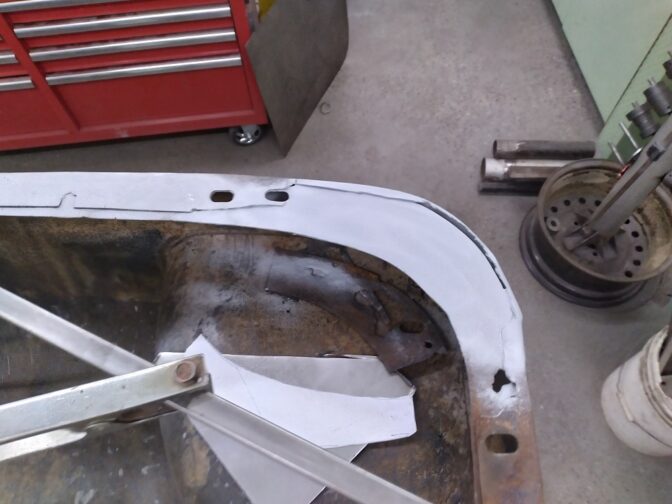
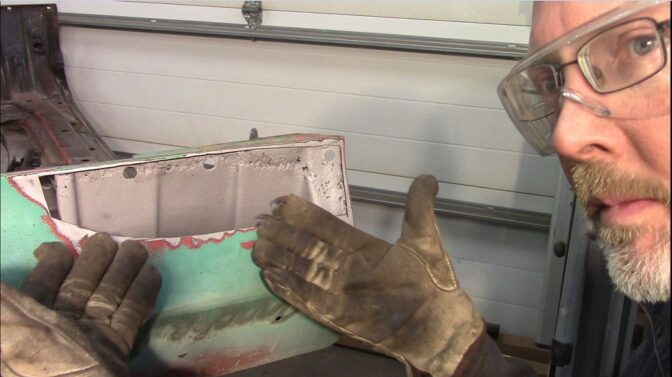
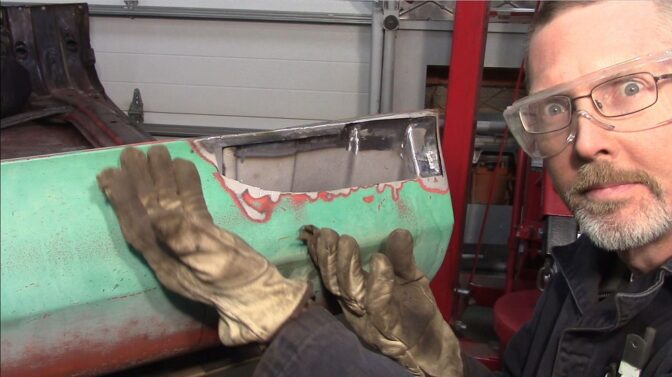
Replaced the entire fender flange, and repaired the fender's leading edge rust hole. Still need to fabricate the reinforcement flanges, which will be blasted, epoxied, then welded in:
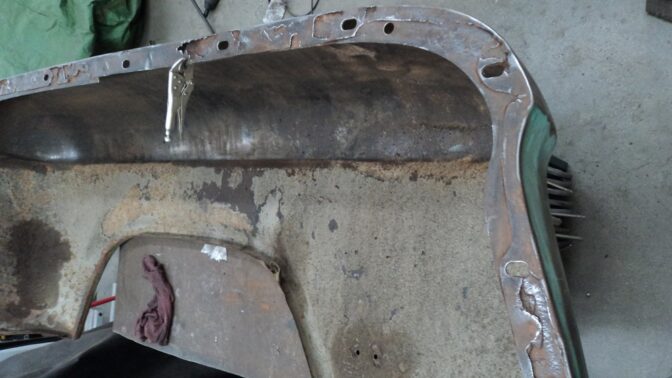
Rear section replaced:
Complete flange done:
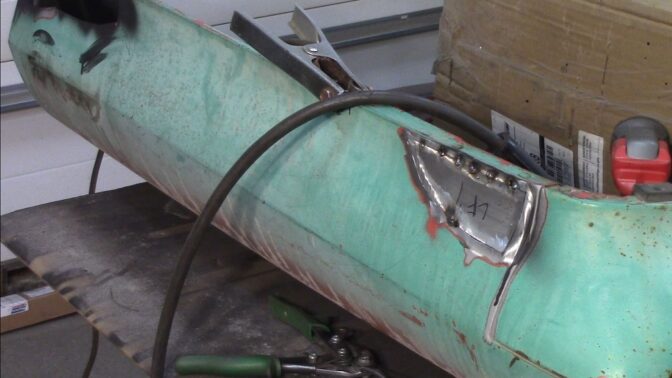
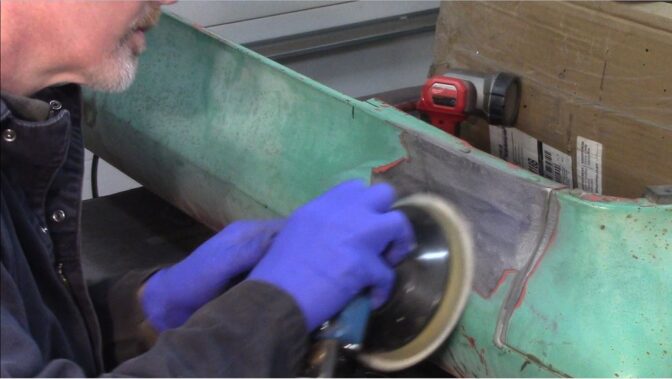
Repaired a rust hole, zero-filler TIG-welded:
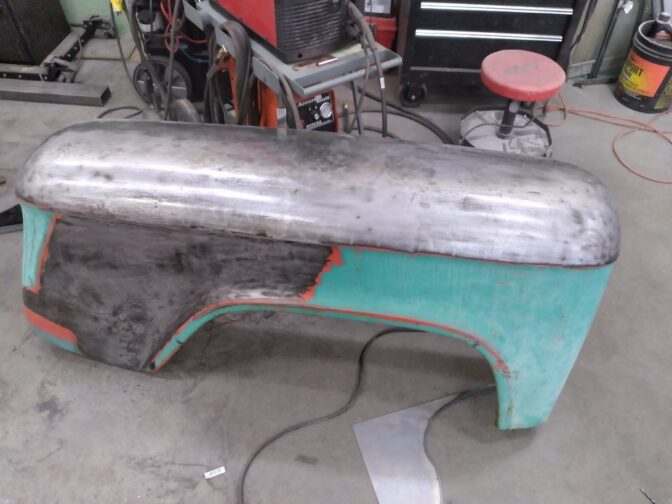
Got all the dents and creases taken out of the fender, with all my new-found "crushed-roof-adventure" metal-whispering skills. Also prepped the fender edge to re-attach the brace brackets - one had broken, and one has to be moved.
Fabricated the reinforcement flange for the fender mount, just some minor trimming and it will be ready to epoxy and attach.
Also welded up the step-bumper holes, and got rid of all the dents and oil-canning.
That fender looks pretty good from over here. Nice work.
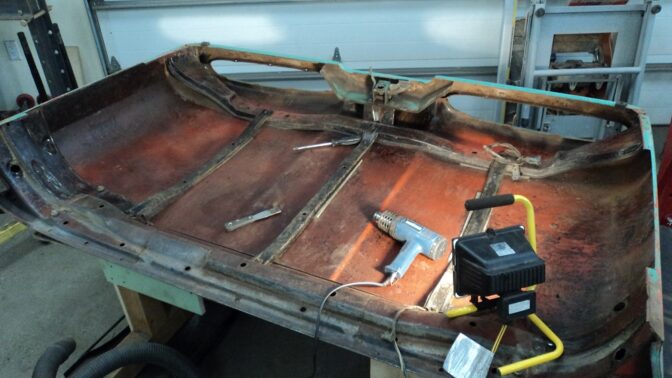
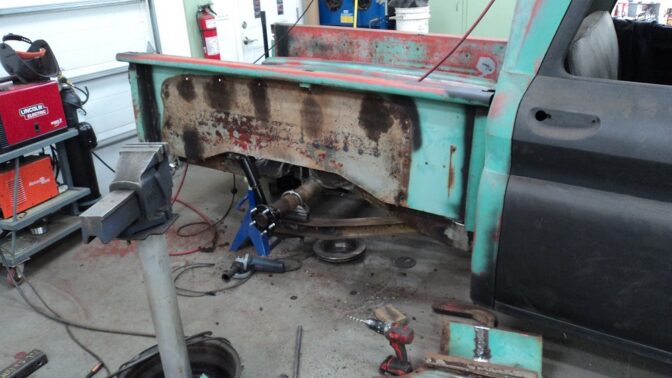
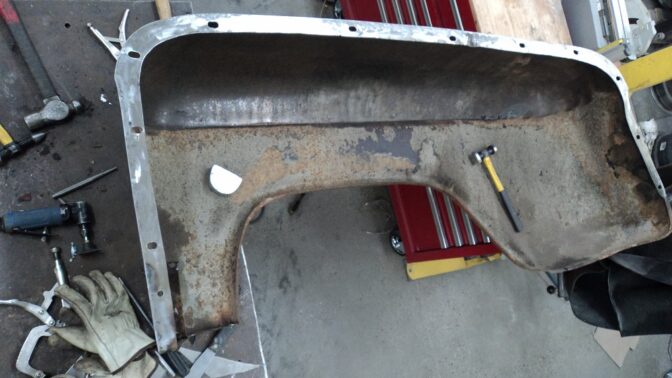
Spent today scraping undercoating and stripping paint off the driver's rear fender. Not as caved-in as the right side, but certainly repeatedly hammered.
Driver's side looks to be in better shape. I'll only have to repair the flange, not fabricate a whole new one. Interestingly, the right side of the whole truck is the rustiest.
I'm finding very inconsistent primer throughout the truck. In most places there IS primer, but in others there is clearly zero primer under the paint.
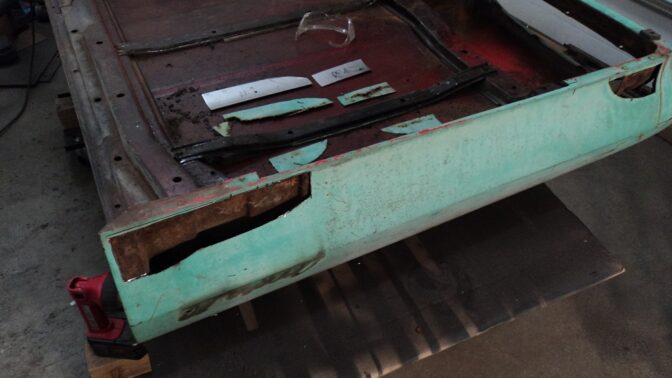
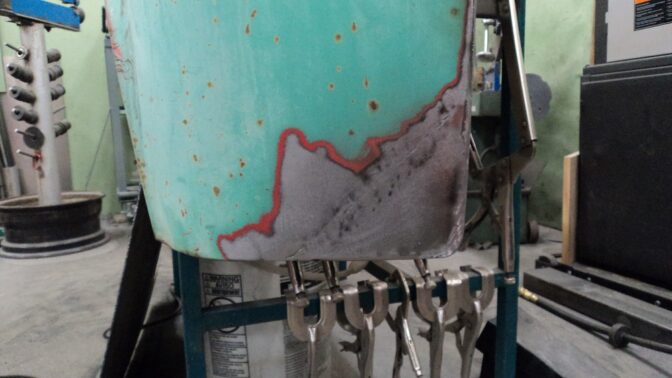
Because this fender is so much better, I'm just patching the defects. Notice the square tube brace to try and keep the fender from changing shape (I learned from the last one). Two spots patched (silver paint), the biggie in the corner next. I hammered the rust away with a needle-scaler attachment on my air hammer. All the rust came out of everywhere, and opened some holes. I'm trying to do -something- every day instead of saving it all for a time-spartan weekend.
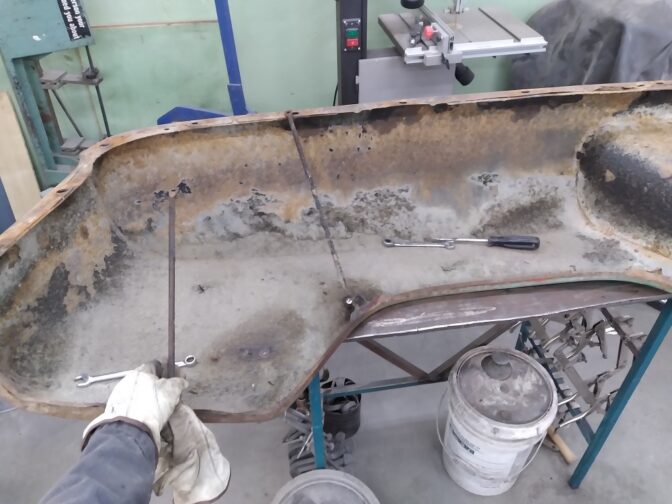
Piece by piece: the reinforcement is repaired: