What did he think of it?
Did he have to reduce it? Coverage?
In reply to Crackers :
He loves it so far. Good coverage. 4:1:1 mix ratio with all the stuff in the kit. Layed down smoooooth. Theres some trash in it, but we will wetsand and buff the whole truck after its painted.
I tried to take a better picture than the one art sent, but the lighting in his shop is horrible and my photography skills suck.
Looks like driveabeaterredsled is on the downhill slope. Keep up the good work., be driving it soon.
In reply to Dirtydog :
If my shop was a video game, would it be red sled redemption?
Couldn't resist....
Dusterbd13 said:In reply to Dirtydog :
If my shop was a video game, would it be red sled redemption?
Couldn't resist....
Let me see if I red it correctly. Yes..
Budget first:
previously was 1278.61
new money:
coil spacers from belltech: 42.32
bumpstops: 9.99
rear axle: 266.68 from city salvage
drum turning: 21.56
new total: 1619.16
well, that did not go according to plan.
I guess where things went pear shaped was when I found this:
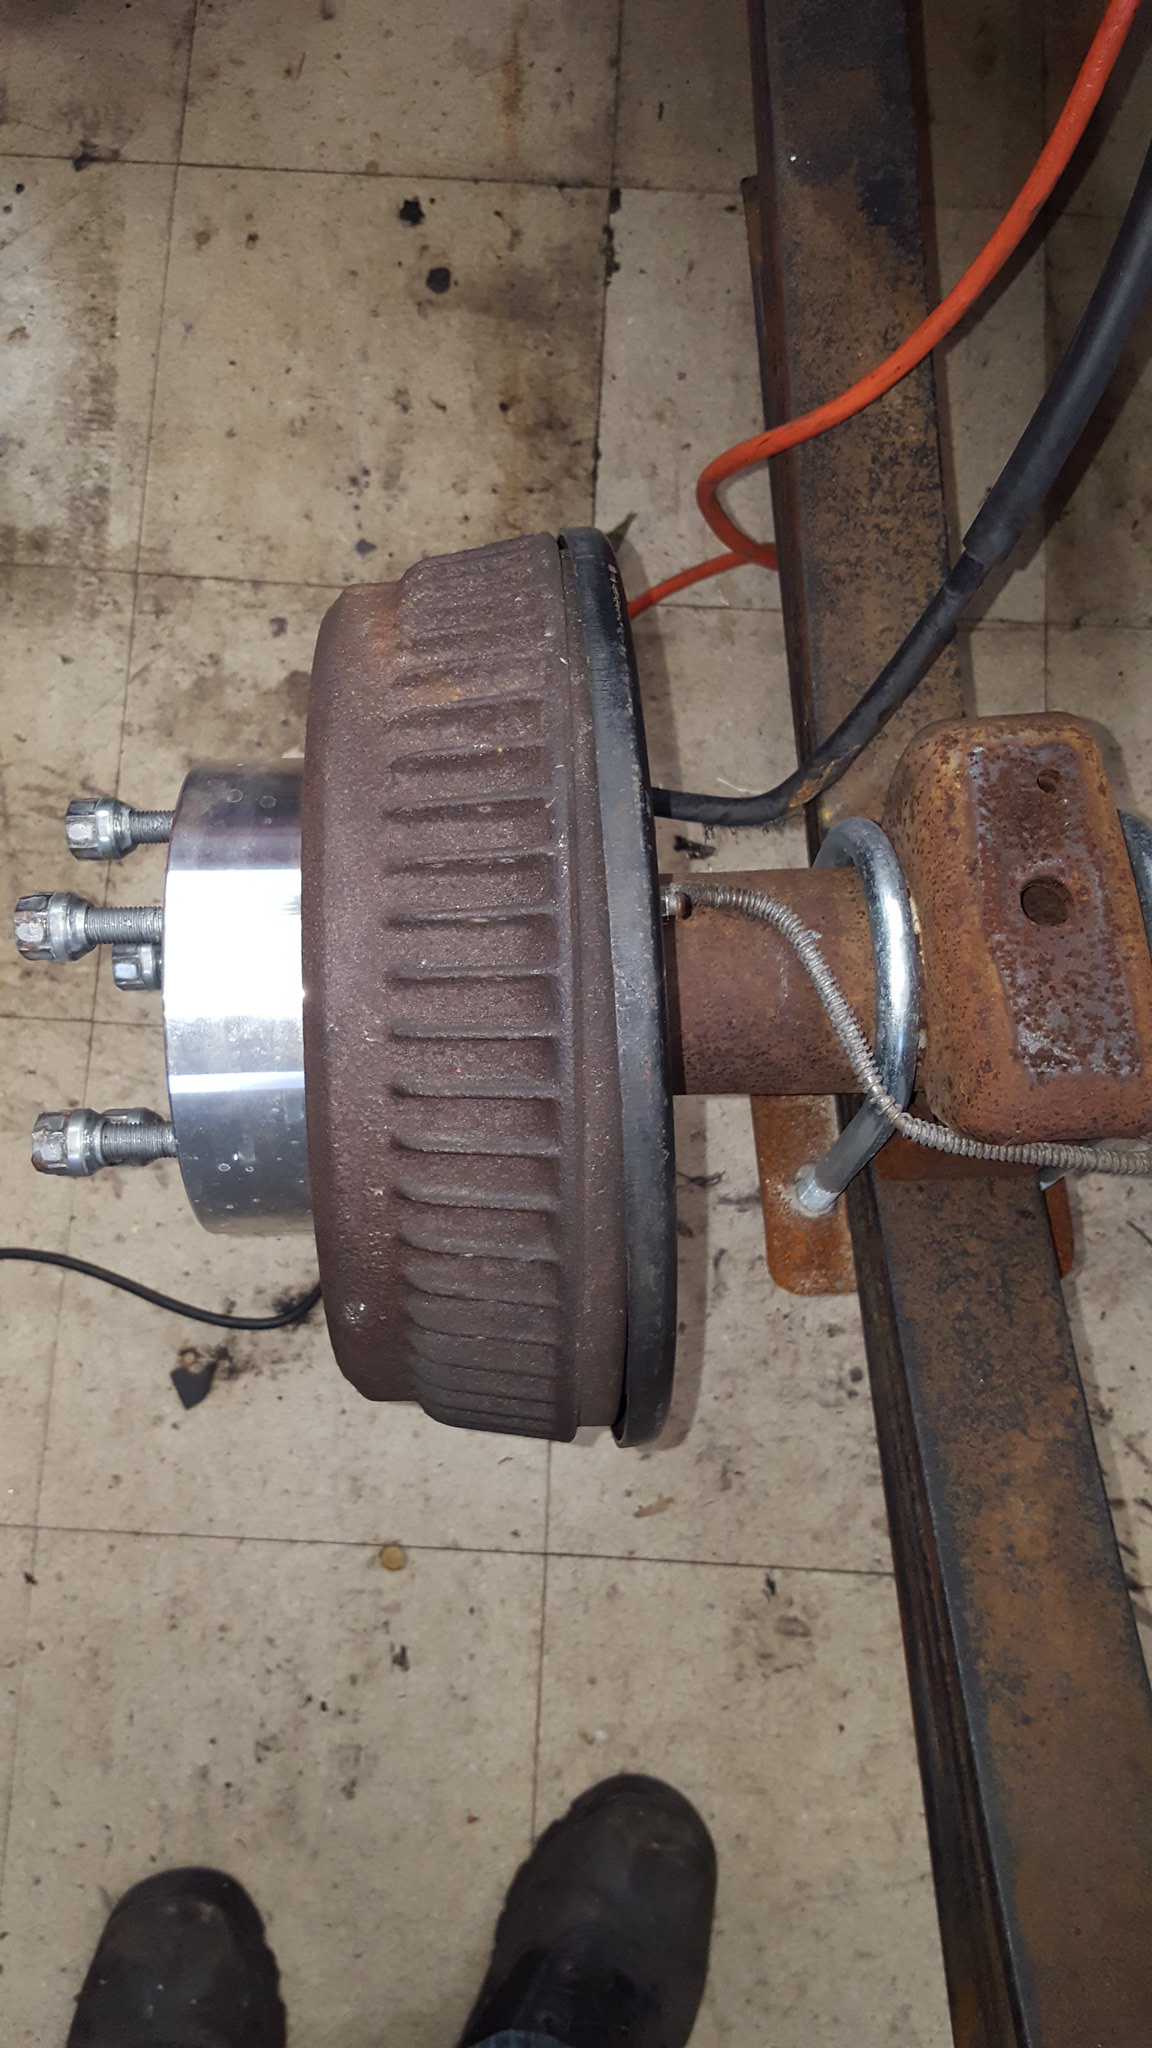 20180321_135249 by Michael Crawford, on Flickr
I had suspected the axle wasn't square in the chassis, but this made me question weather it was bent. After some thorough measuring, I found that it was. Severely. So, a call to my local salvage yard had another open 3.42 rear dropped off on my doorstep the next day before I got home from work. This was a very unexpected expense. Im also certain I could have done it cheaper, but the convenience of delivery and having it removed for me, with the added benefit of a warranty, made it worth the money. After all, I would have had to give up a day, and borrowed a truck, to hopefully find a rear with the same ratio that was good, pull it, bring it home, etc. to save about $100. money well spent.
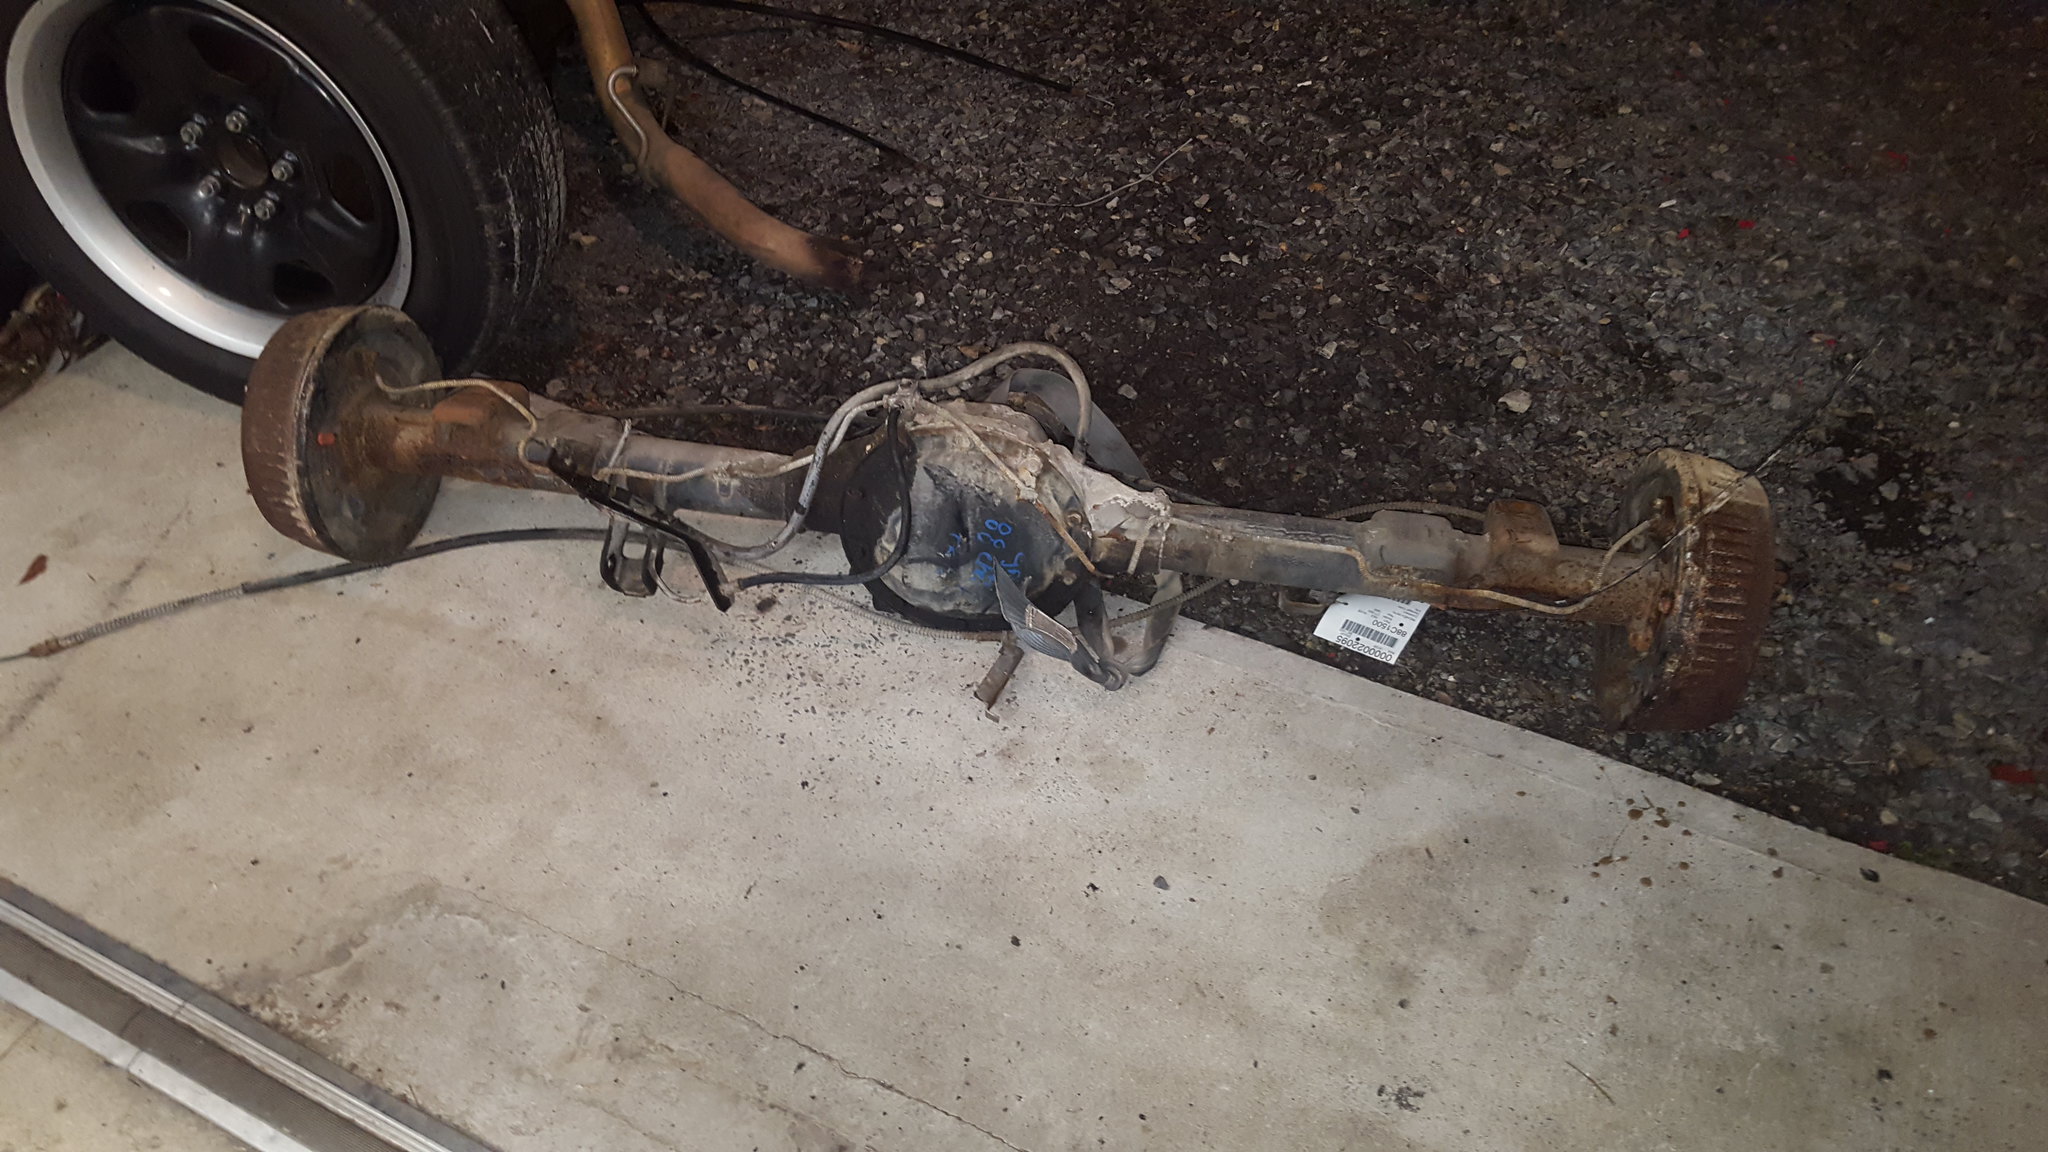 20180322_204724 by Michael Crawford, on Flickr
whats even better is that the emergency brake cables on this rear are in good shape. Mine were not, and I had to cut them anyway to get the rear out. So, there's the hundred bucks right there.
Anyway, while I was waiting on the rear to come in, I made the executive decision to redo the notch. I knew it would bug me forever if I didn't redo it. So, I pulled the bolts, ground through all the welds, and ripped the notches free. They are now in the scrap pile. Pulled the exhaust, etc from the back end as well. Stripped it all.
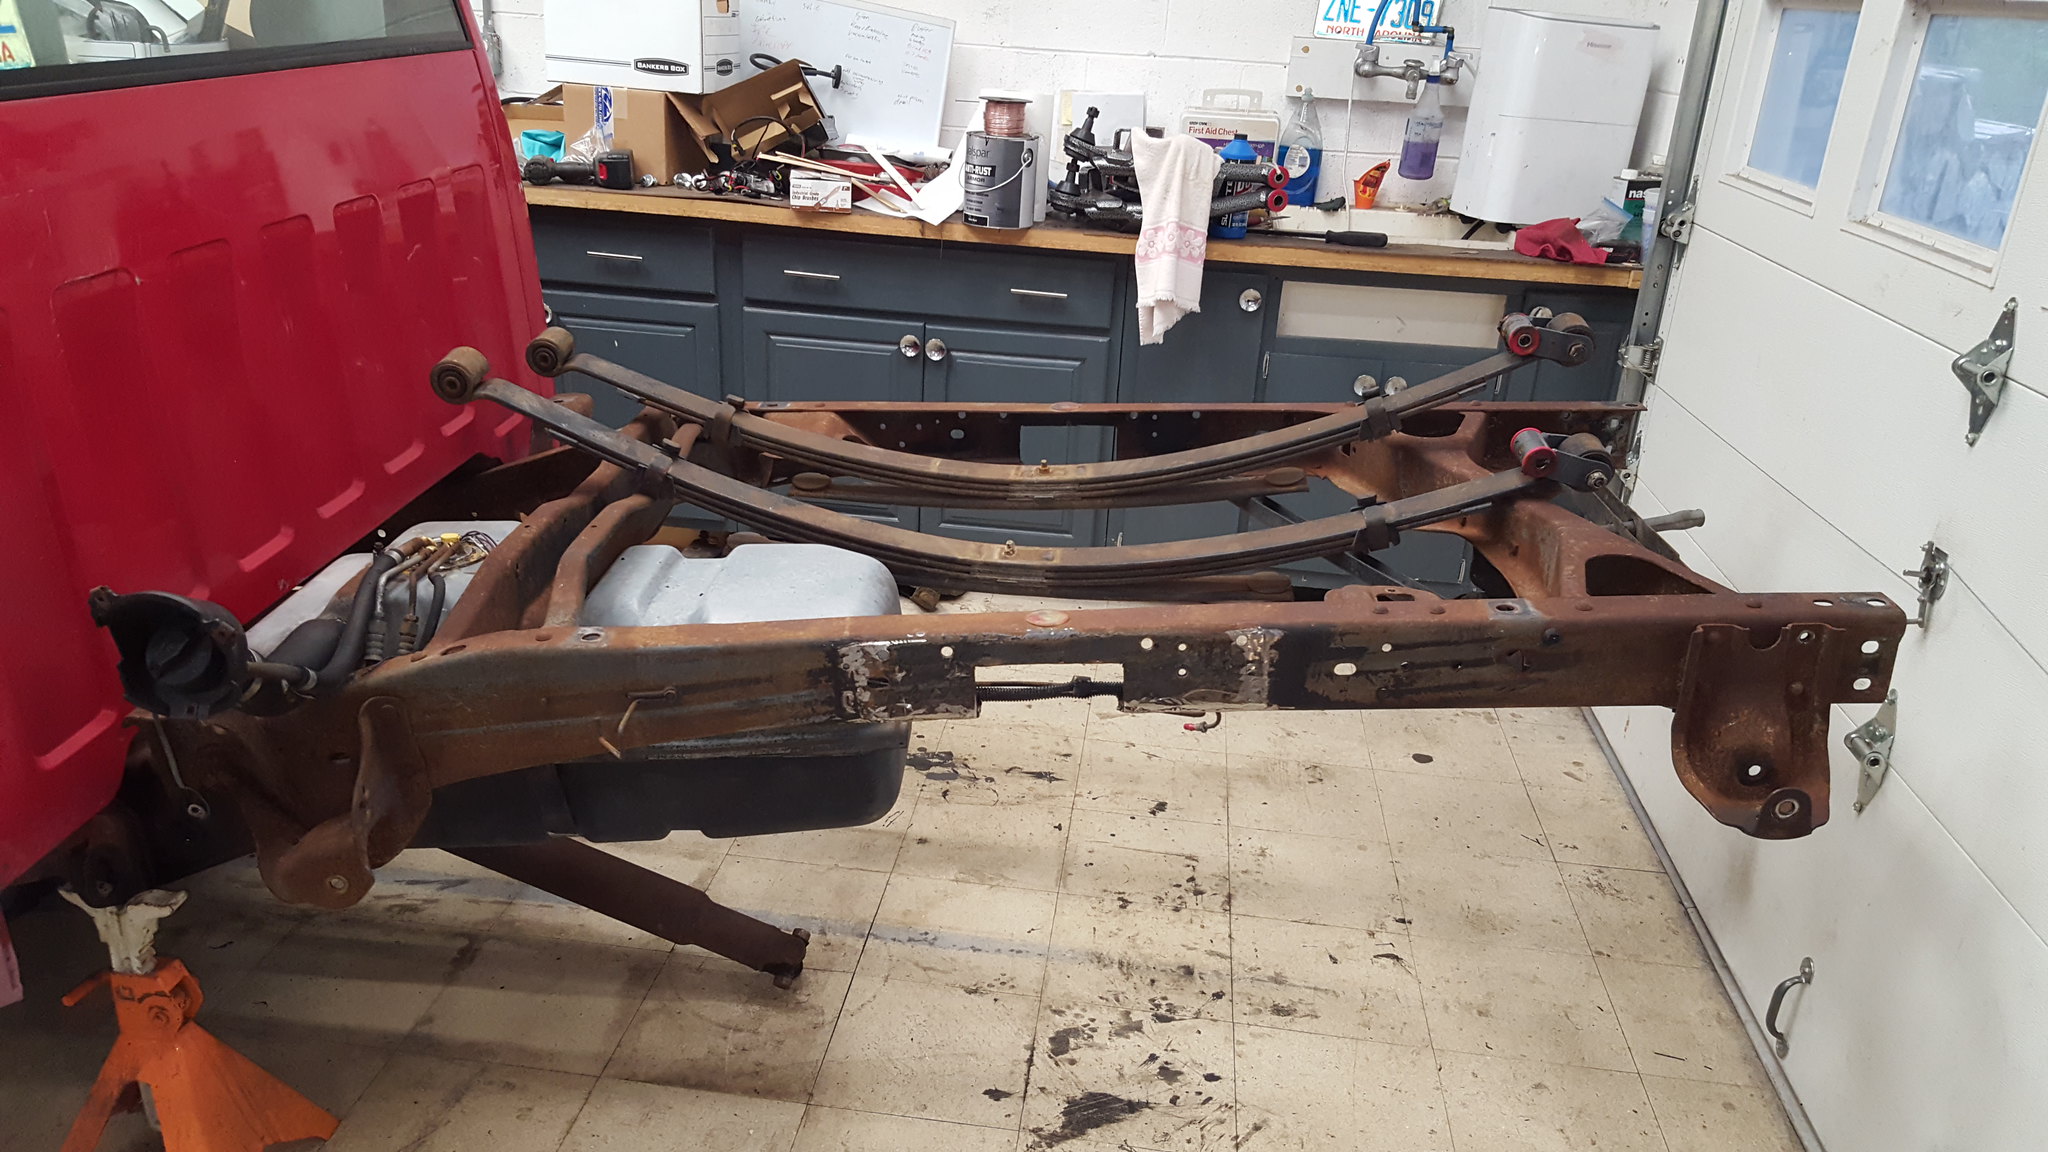 20180321_190505 by Michael Crawford, on Flickr
took the time to remove the overload leafs, pain and re-grease the leaf packs as well as make new centering pins, clean and paint the back of the frame, clean and paint the new axle, and clean and paint the front of the frame after I ripped all of the front suspension out.
 20180322_204701 by Michael Crawford, on Flickr
 20180325_141238 by Michael Crawford, on Flickr
 20180323_224551 by Michael Crawford, on Flickr
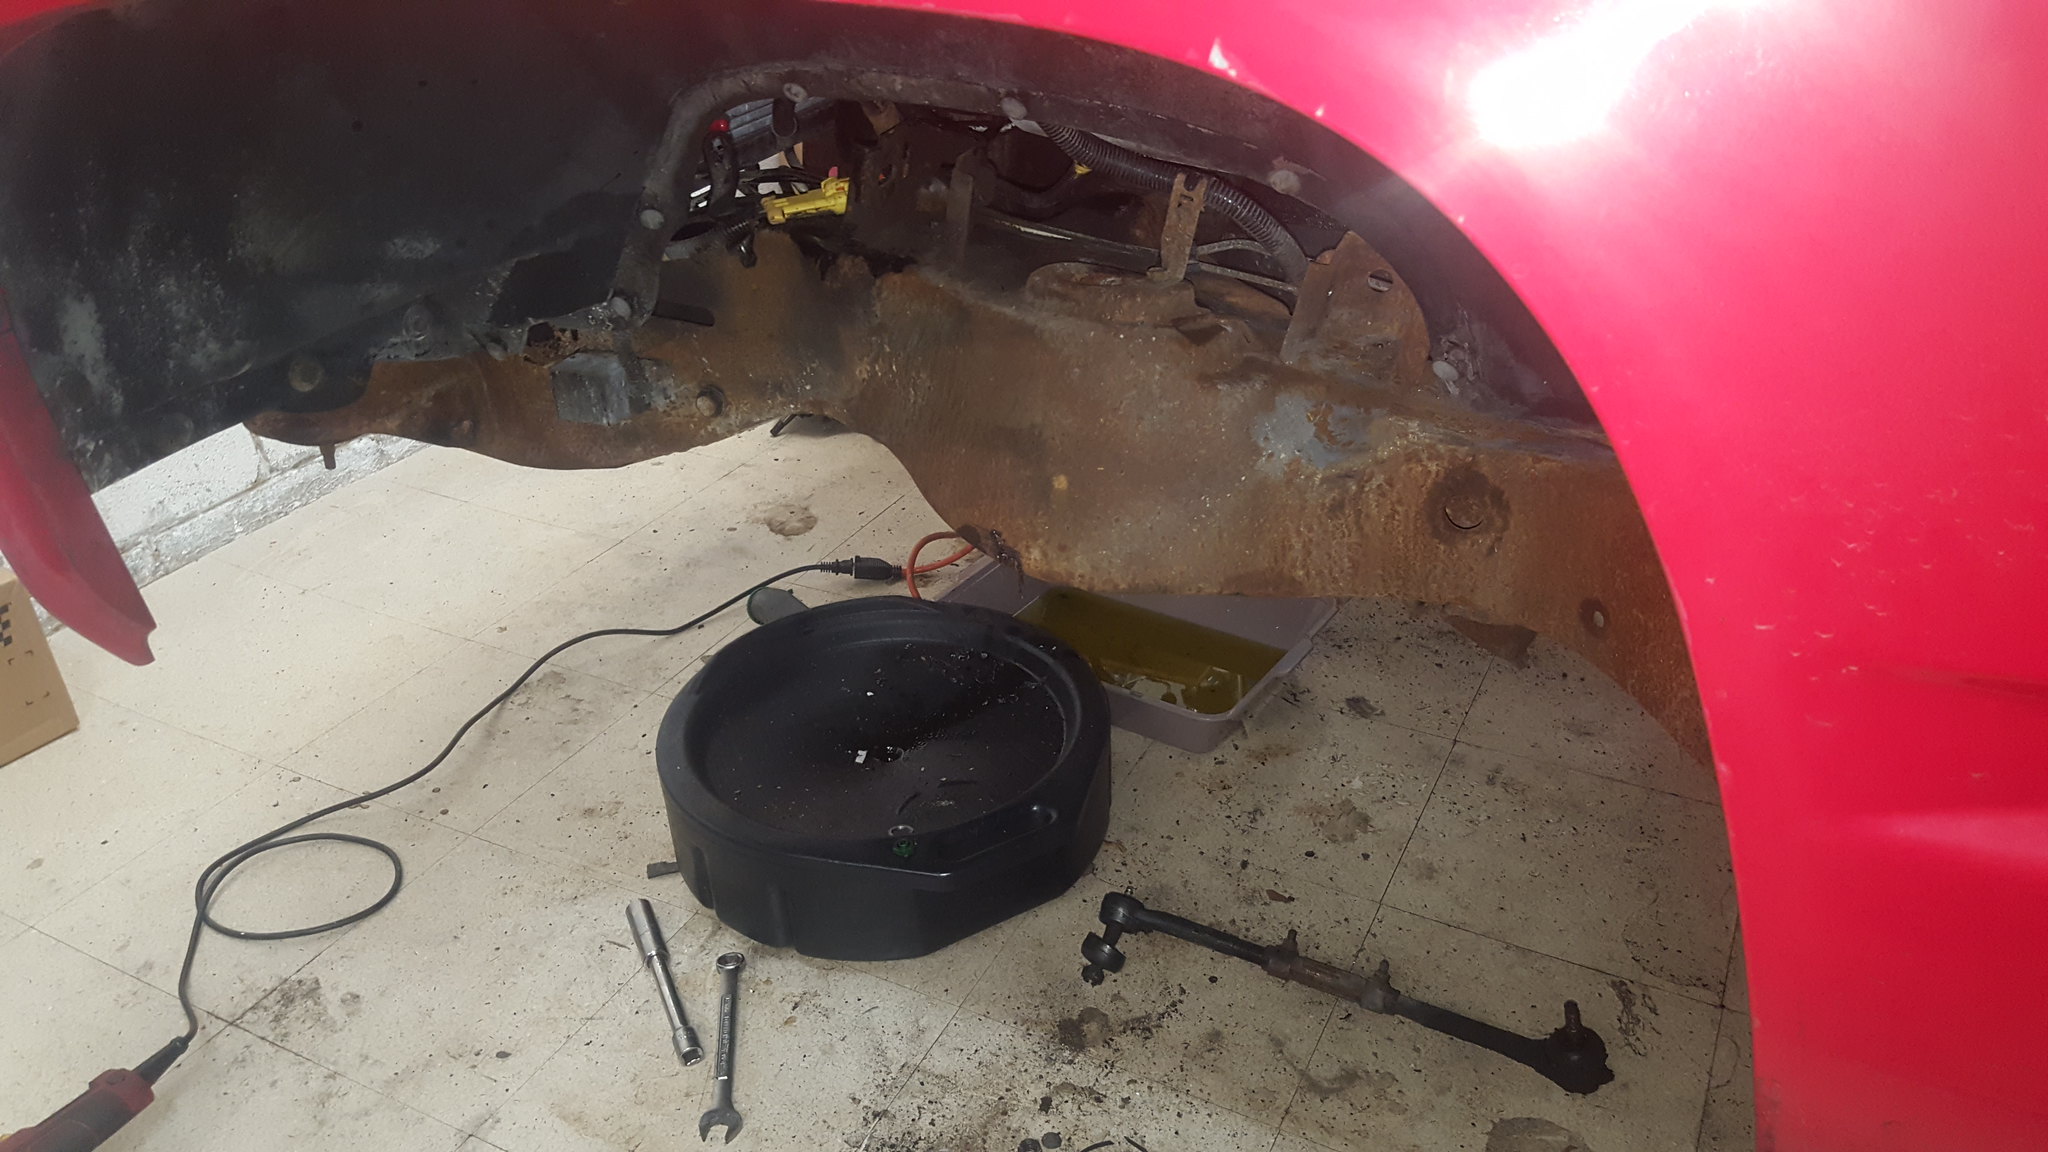 20180324_000515 by Michael Crawford, on Flickr
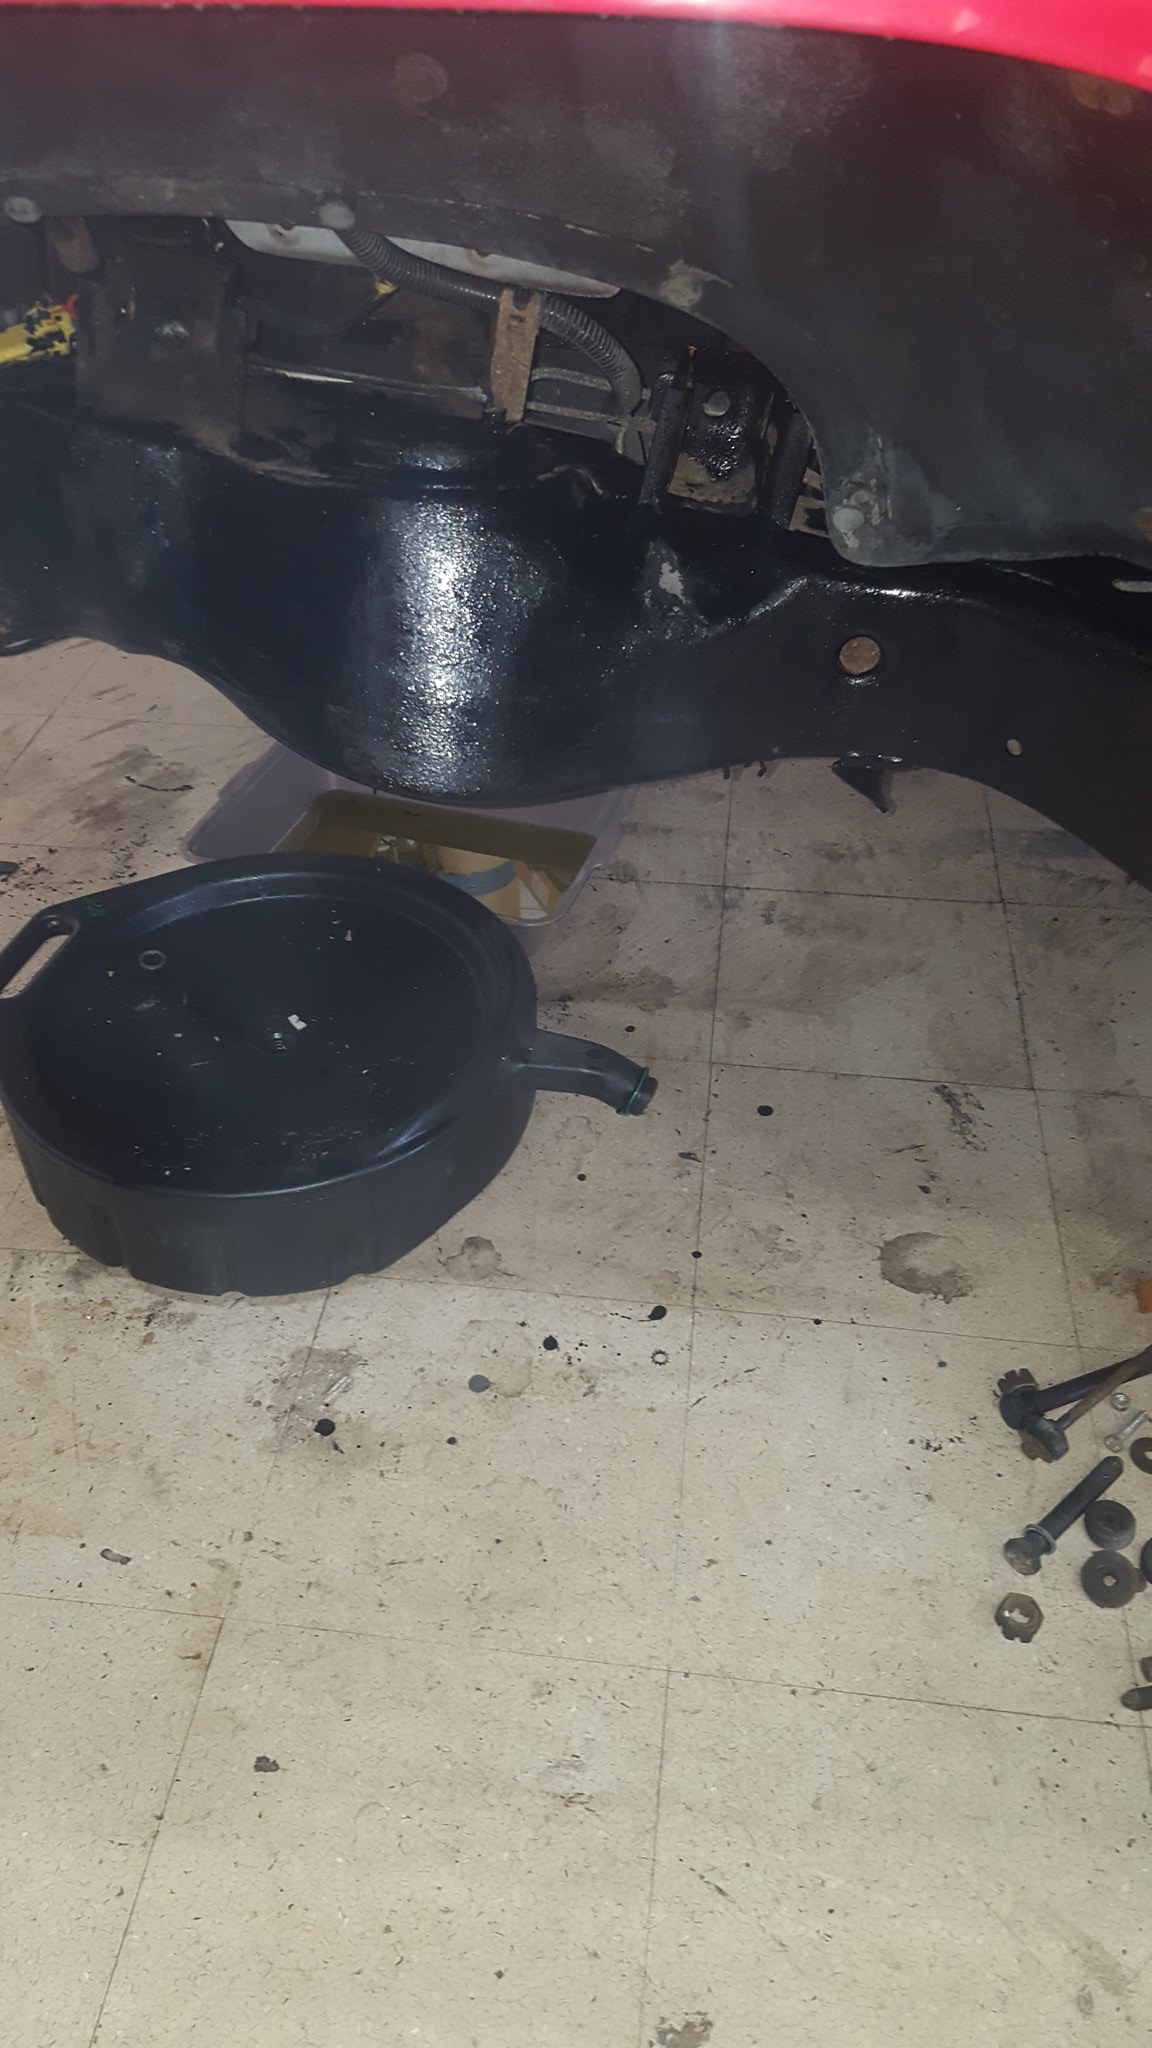 20180324_104047 by Michael Crawford, on Flickr
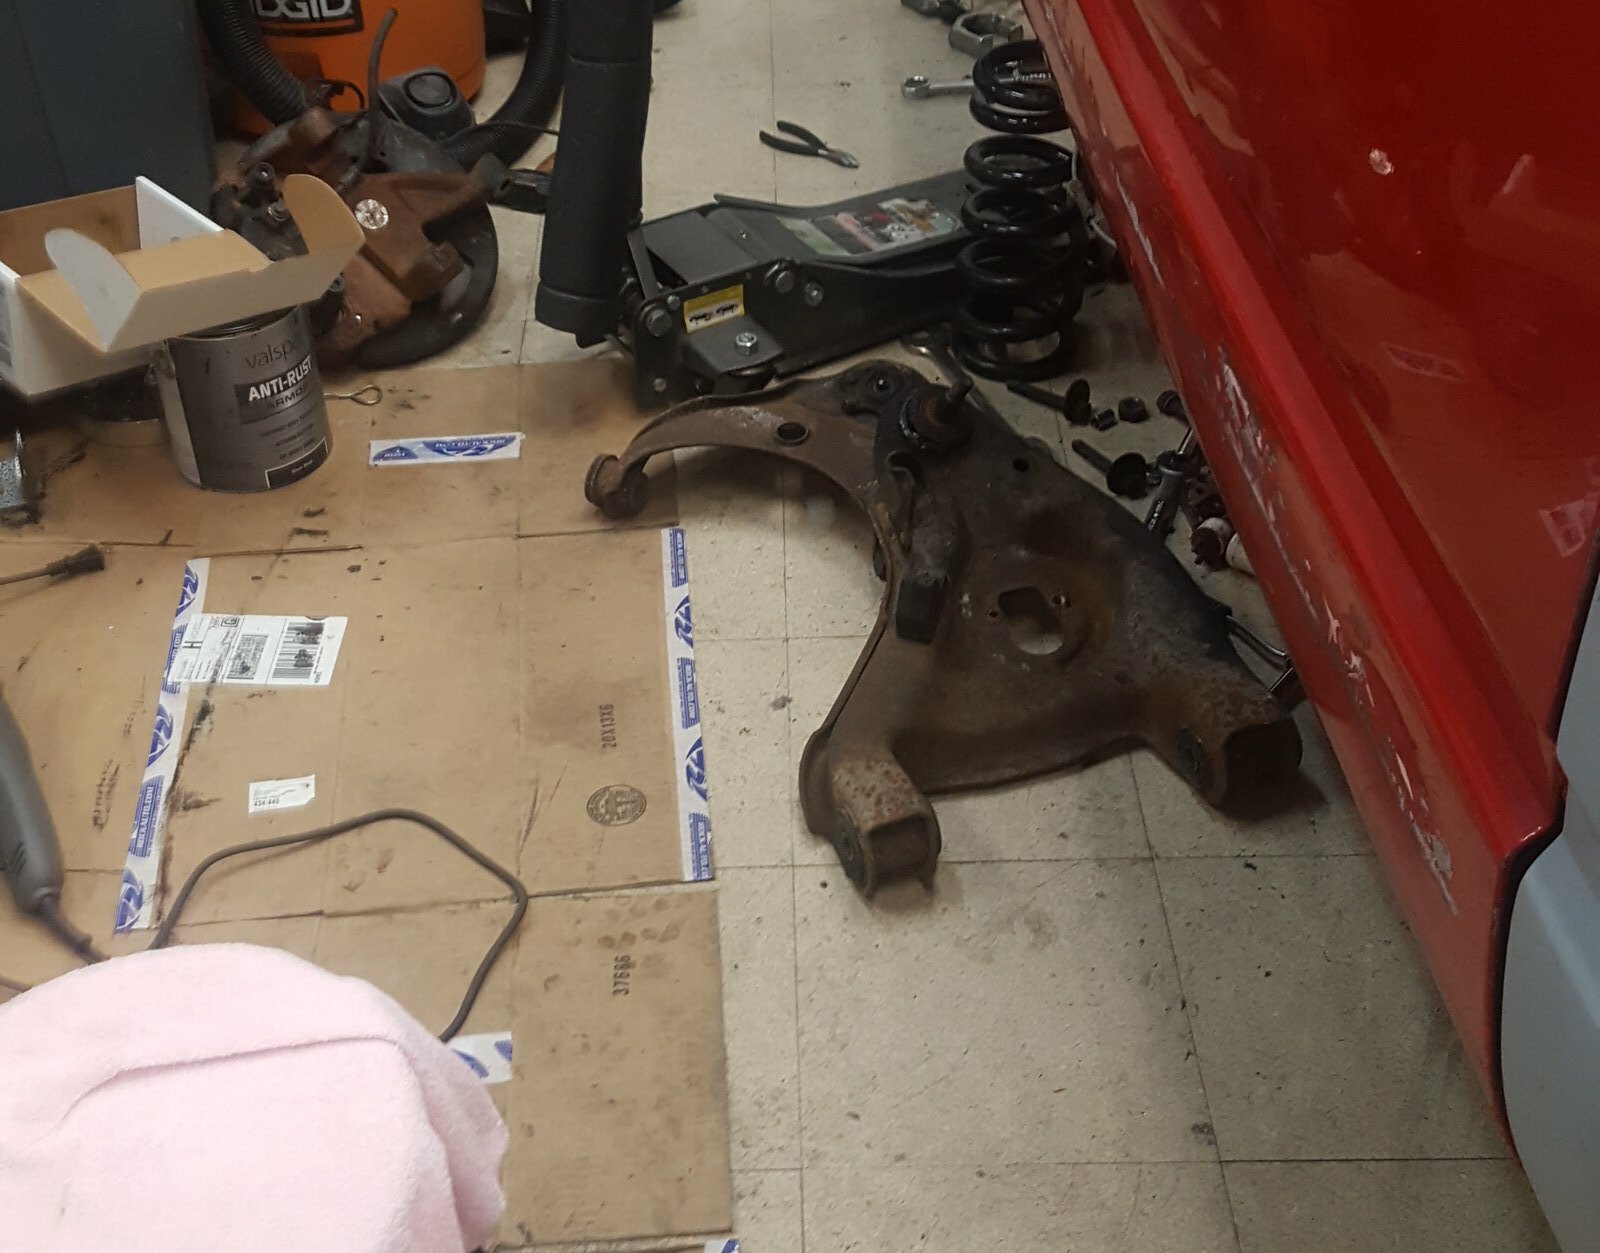
I went ahead at this point and drained the power steering system and tried the jeep grand Cherokee box. The mounting pattern is different, as well as the hardware size, it would work if I was willing to modify the frame, but I am not. So, the stock 200k box is staying for now. Im not super happy about it, but such is experimentation. I will go ahead and replace the lines that are still stamped with gm part numbers, as they stay damp. I also already have replacements, and the system is already drained. No better time.
So I went on to put new parts back in. first, a couple points of housekeeping. DJM specifically states that the drop LCA CANNOT be used with drop spindles. This is due to scrub line. On stock wheels, the pocket for the spring hangs well below the rim. Therefore, if you get a flat, the control arm hits the ground, and E36 M3 gets BAD. With that being said, this truck is on 18s, and will probably get 20s at some point. The 2 inch drop arms are a 3 / 4 inch above the wheel lip at the lowest point, and I know the consequences if things get really bad. I feel comfortable here. i probably wouldn't on 17s. The other note is about ride height. According to spindle height measurements, this truck really was 4-6 when I bough it. 2 inch springs, 2 inch spindles. Adding the 2 inch arms would make a 6 inch front drop, which would be just too damned low for a daily. But 5 wouldn't. So I picked up some belltech 1 inch coil spacers. I've used these before and like their design better than anyone but daystar lift spacers. But the daystar cant be found that short for this cheap (by me this past week at least). I used some duct tape to hold them to the coil to make install easier, as they can slip while you're trying to maneuver everything.
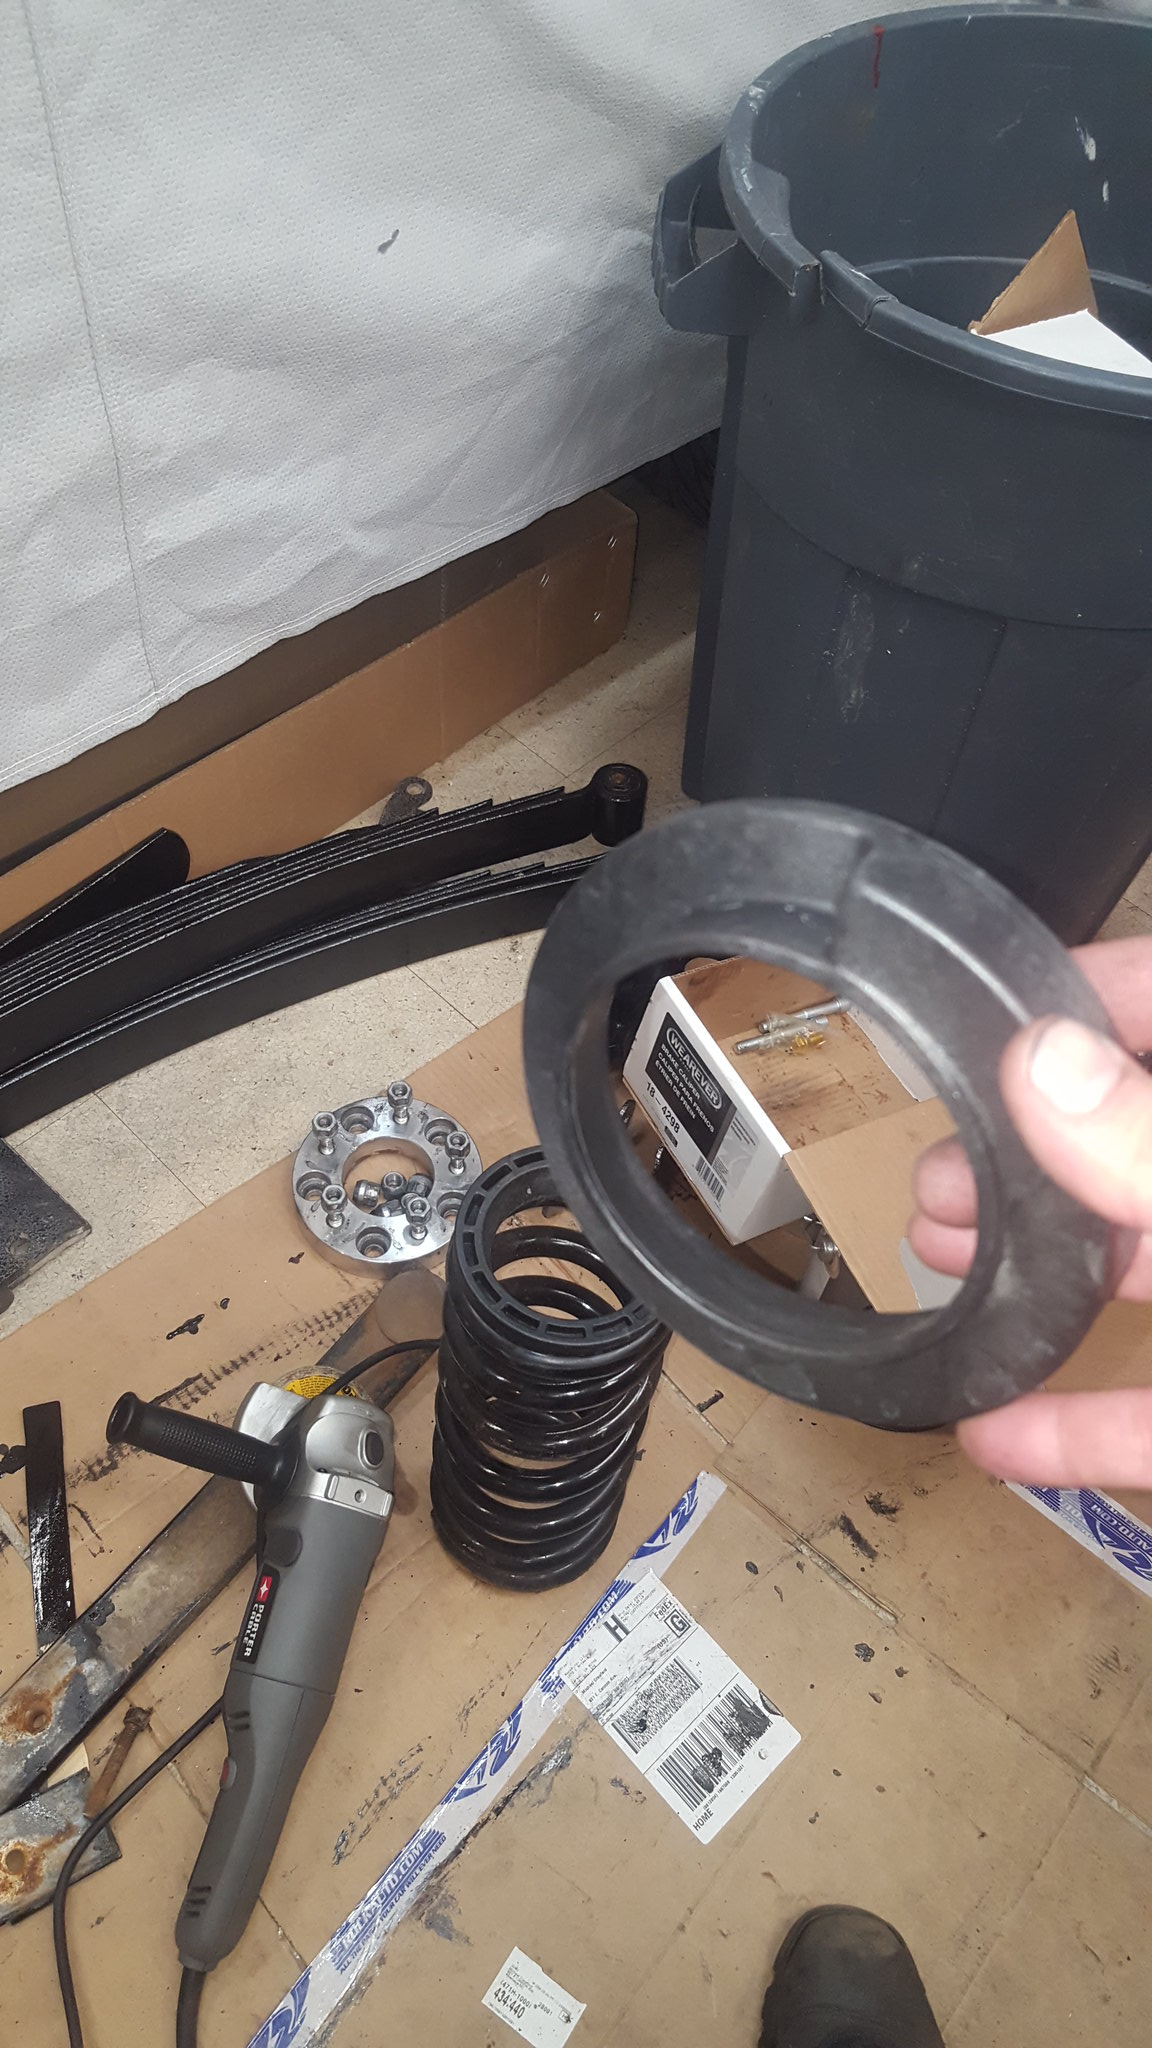 20180324_000508 by Michael Crawford, on Flickr
so then I went ahead and got the front end put back together. New upper and lower arms, spindles, springs, spacers, idler arm and bracket, brake hoses, cotter keys, cleaned up hardware, etc.
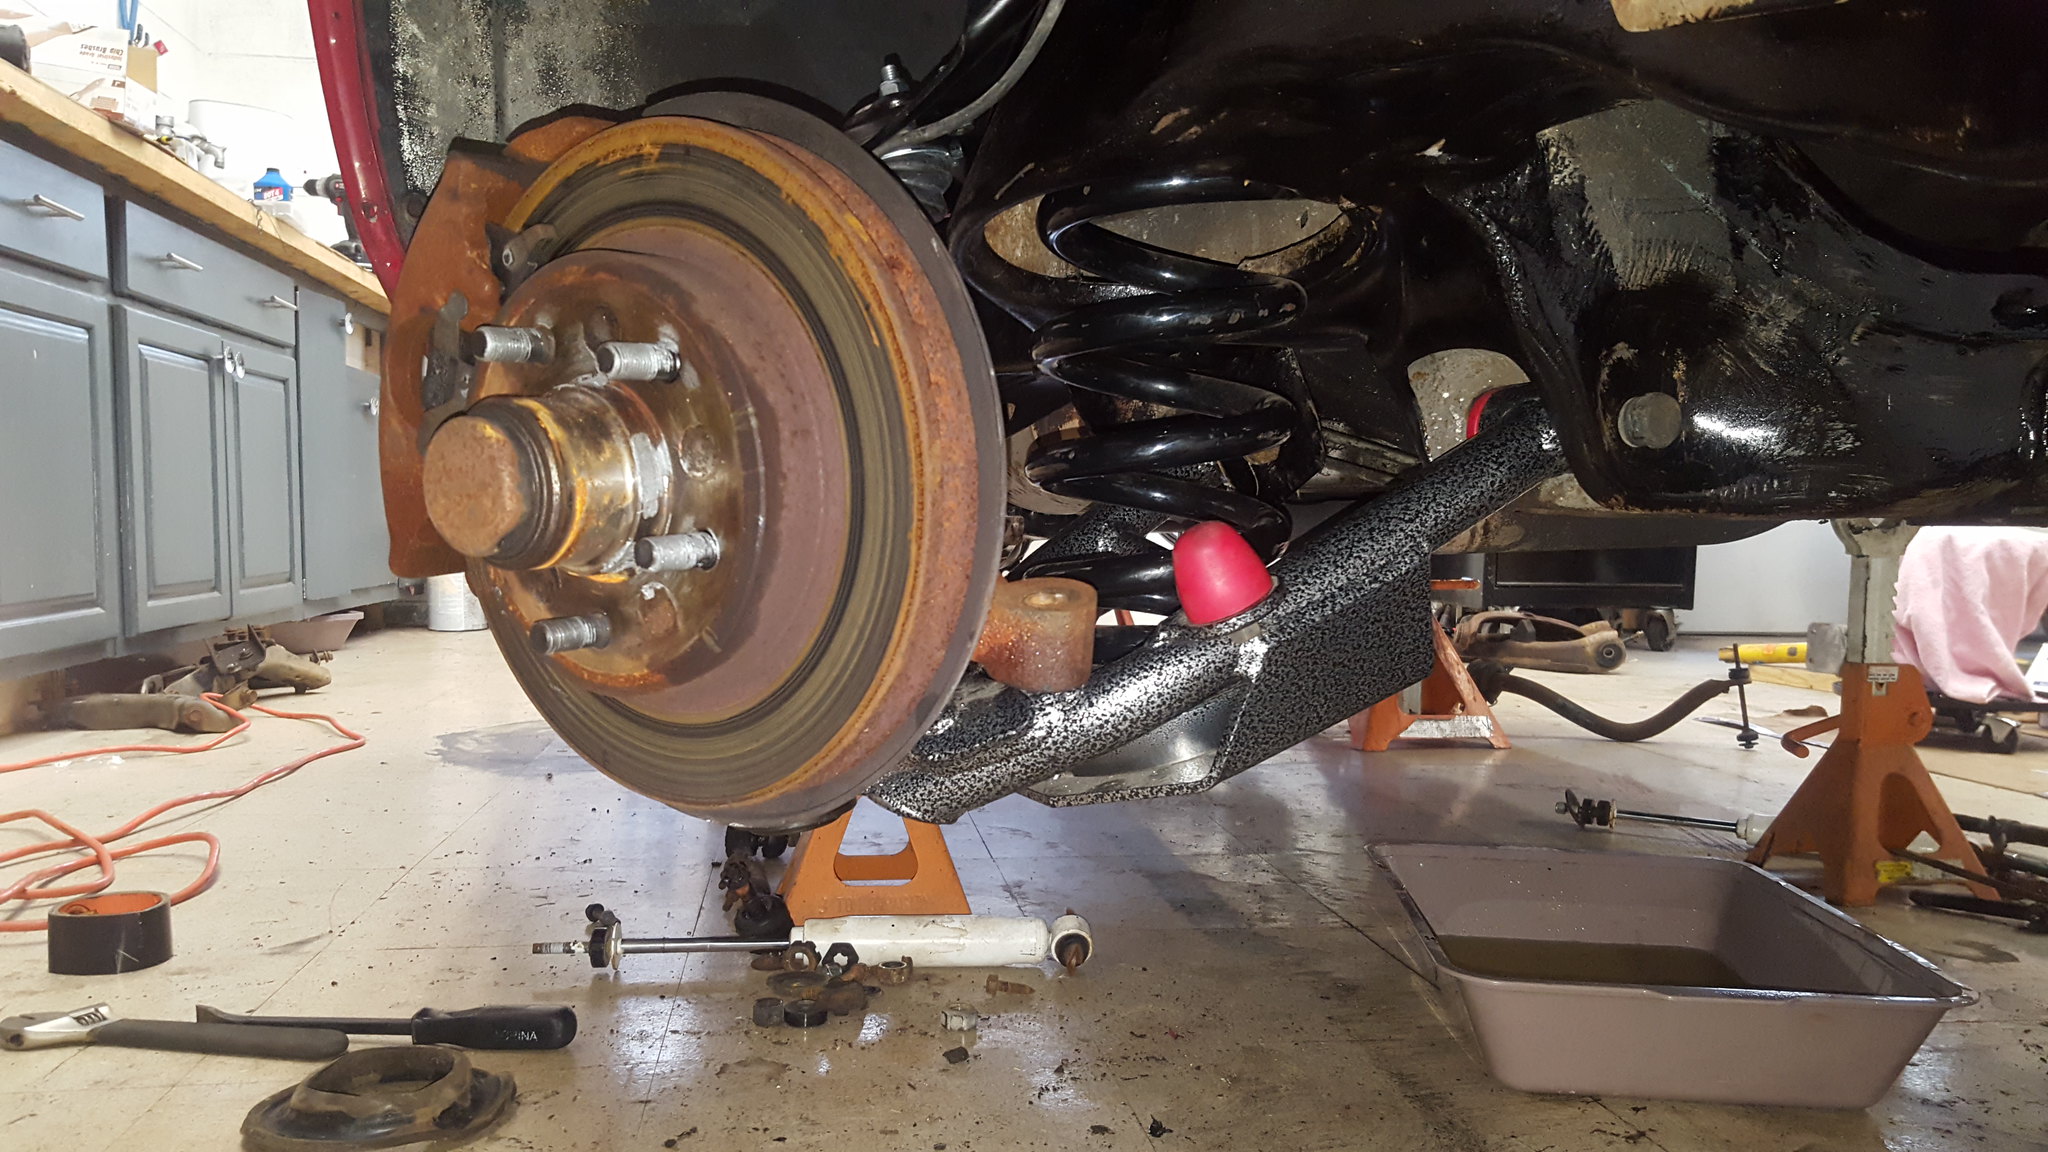 20180325_095025 by Michael Crawford, on Flickr
 20180325_141313 by Michael Crawford, on Flickr
since the front sway bar was out of the way and the steering linkage is still not doing anything but hanging off the pitman, I went ahead and put the under-drive pullies on. Never have more clearance than now.
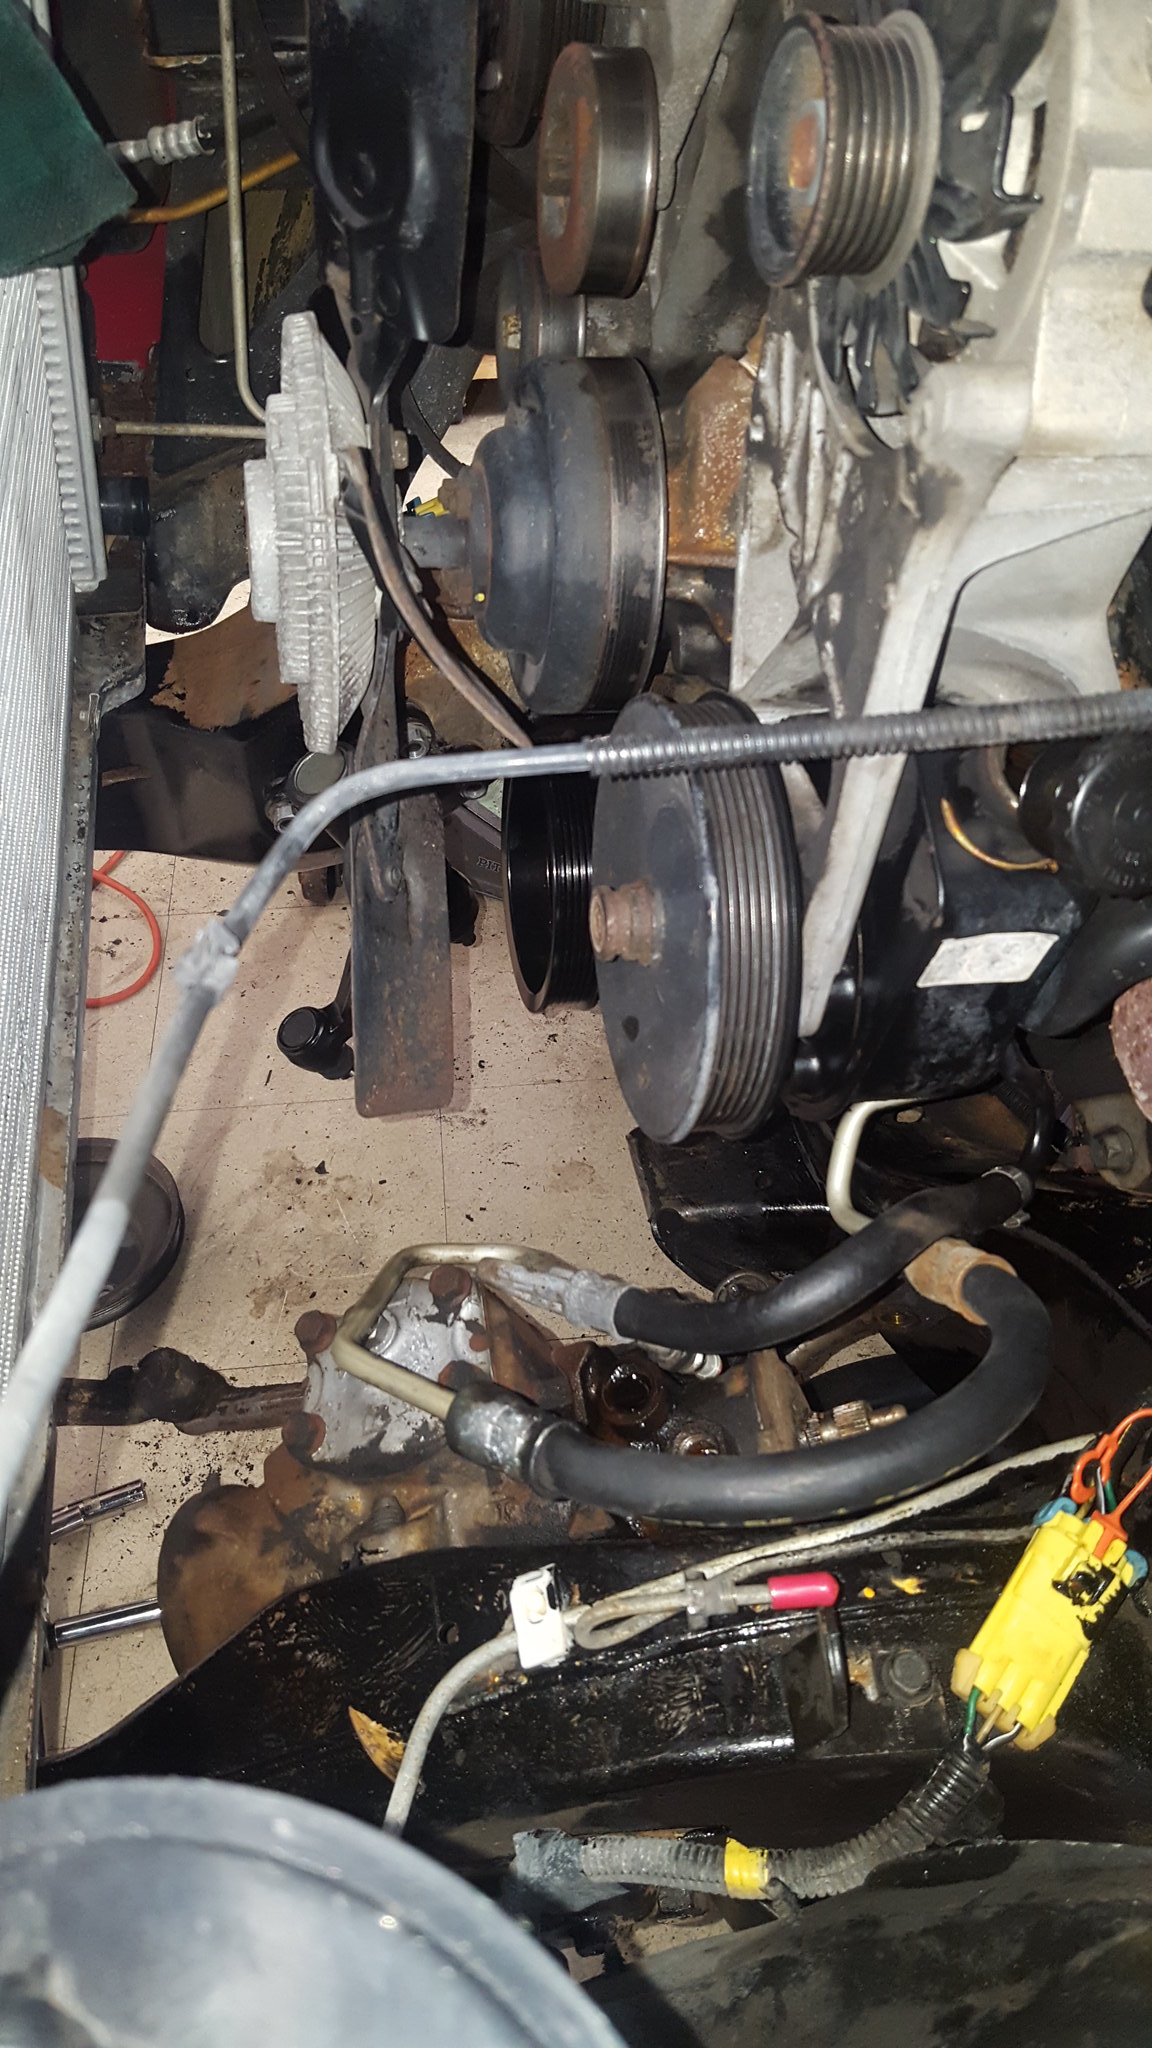 20180325_141250 by Michael Crawford, on Flickr
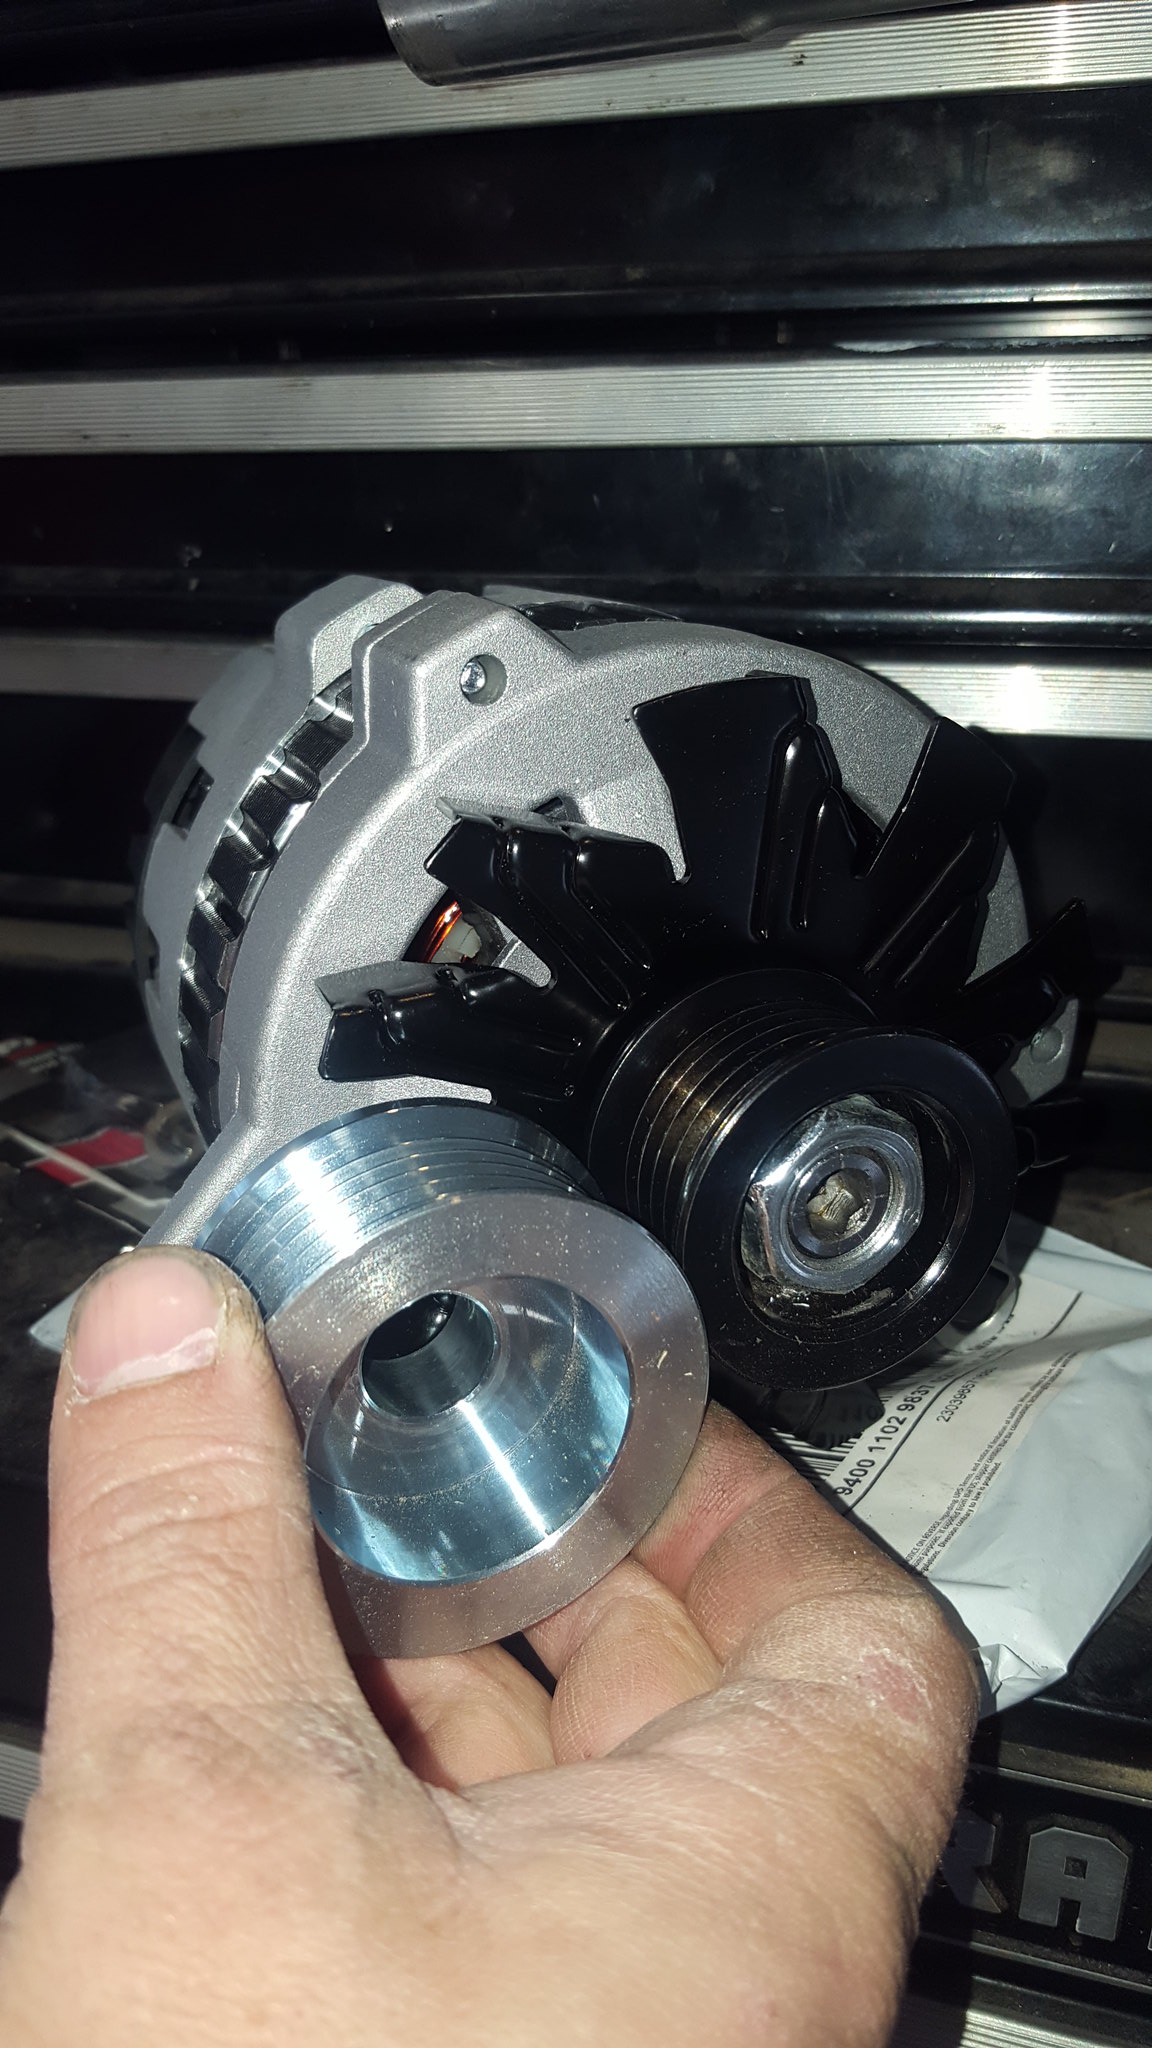 20180325_163723 by Michael Crawford, on Flickr
picked the drums up from being turned, and got my rear air bags in from Firestone.
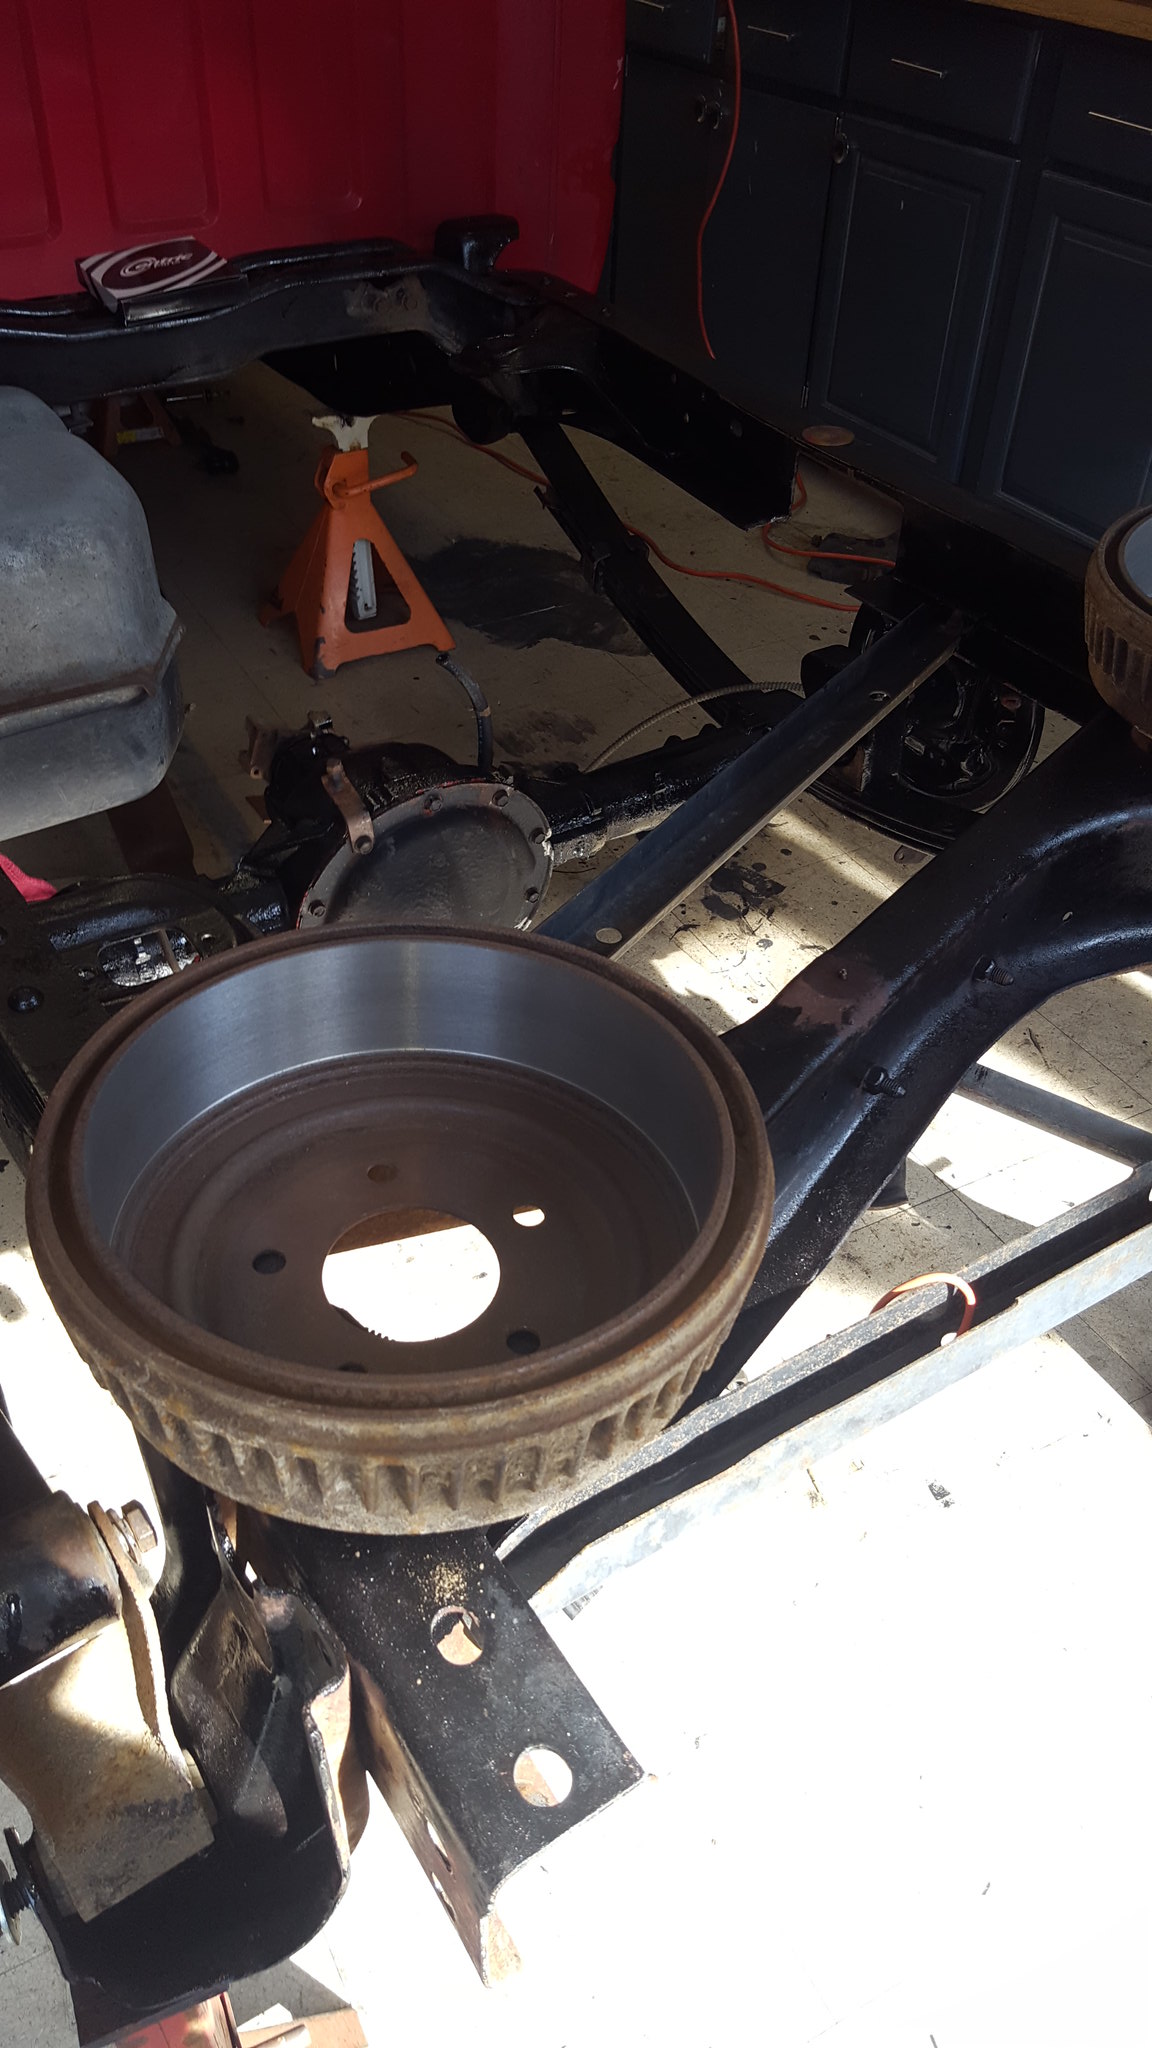 20180325_164104 by Michael Crawford, on Flickr
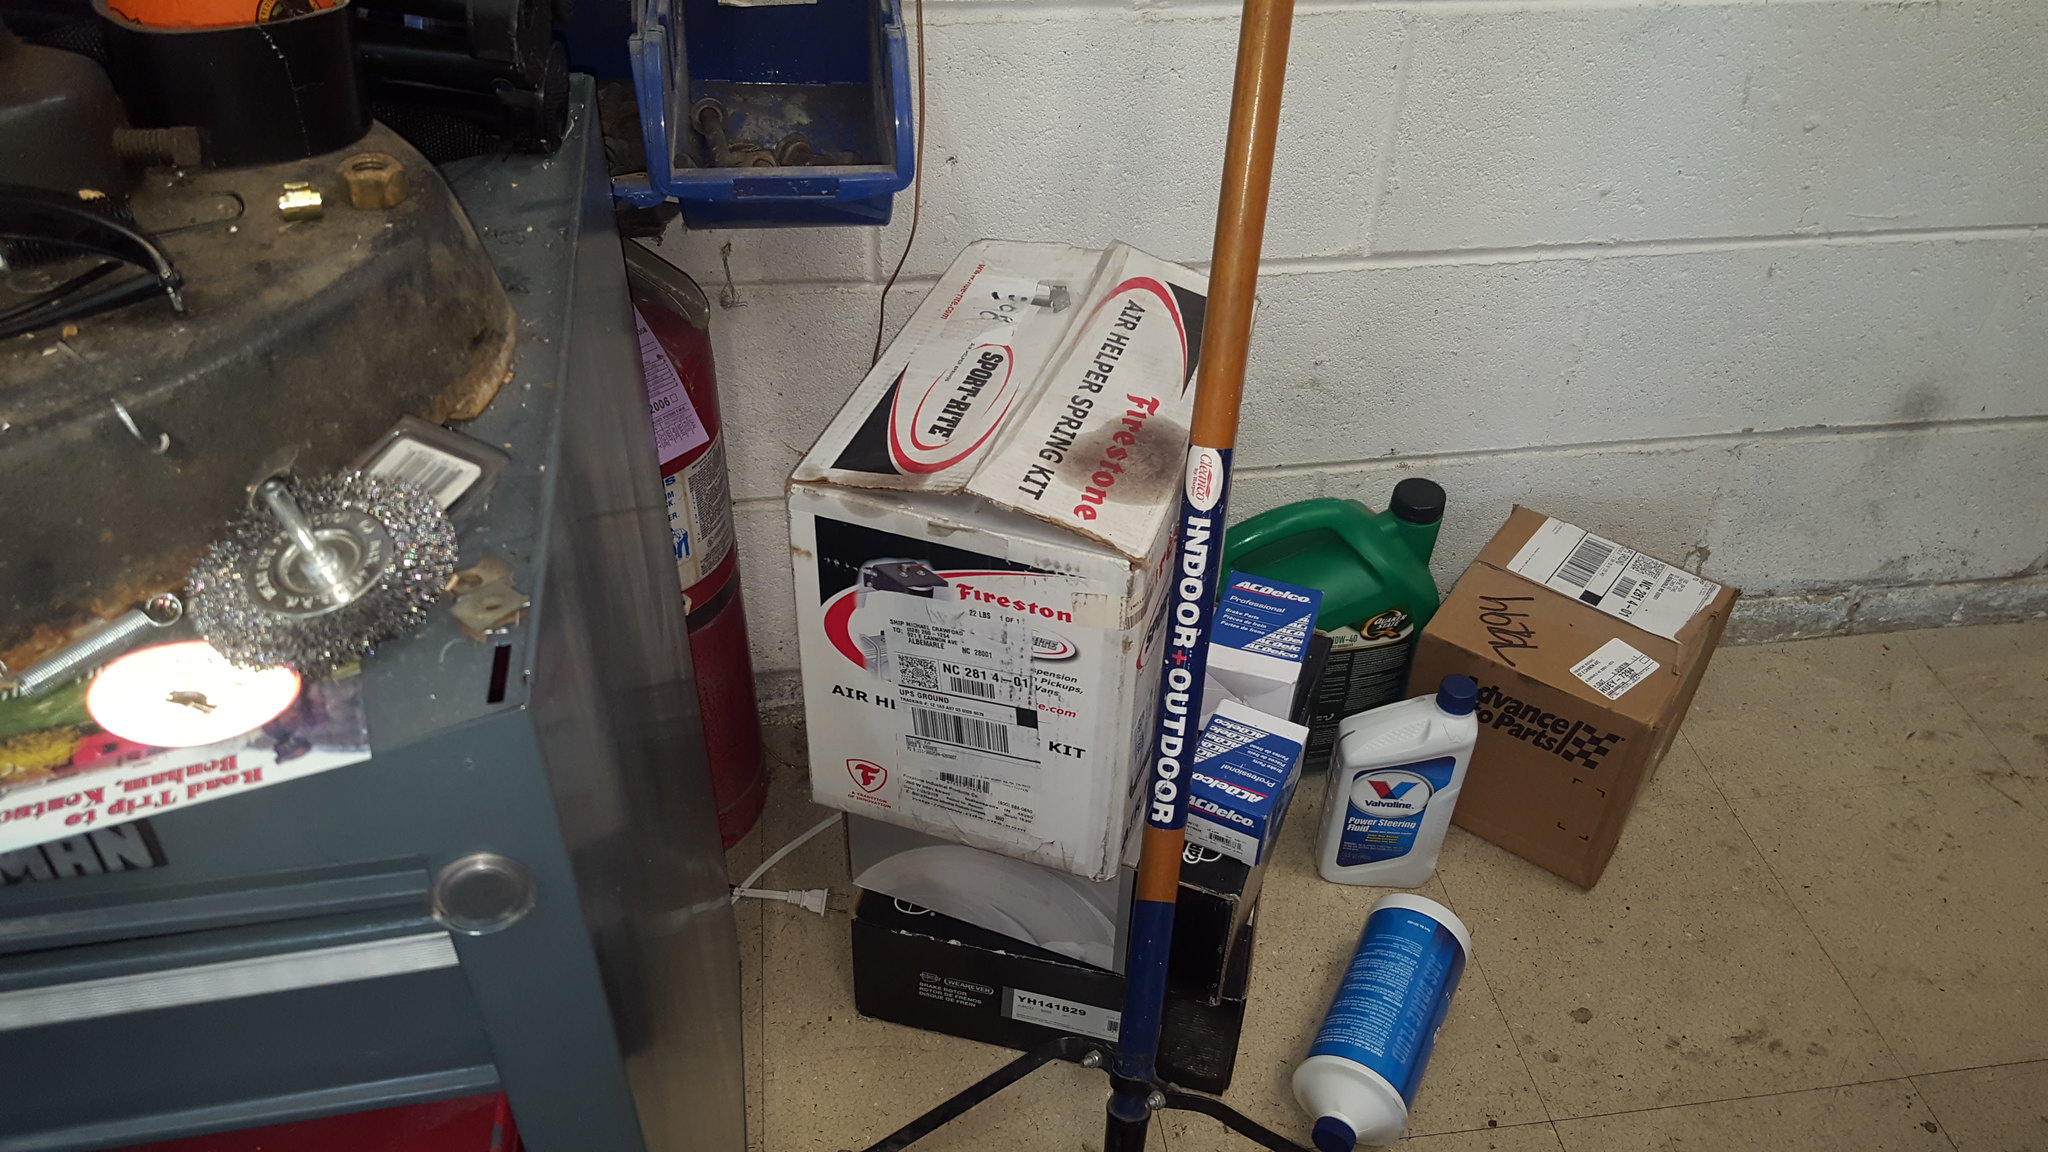 20180325_141318 by Michael Crawford, on Flickr
this is about where I had to call it quits. Doing this I re-injured my shoulder that hasn't been right since the elky was totaled. In addition, I have eaten something that didn't agree with me, so im on the couch with ice water, peptol bismol, and Tylenol. Watching kids movies with the family.
As a parting note, Art sent me a picture of the straightened and painted tailgate out in the sunlight. Im excited.
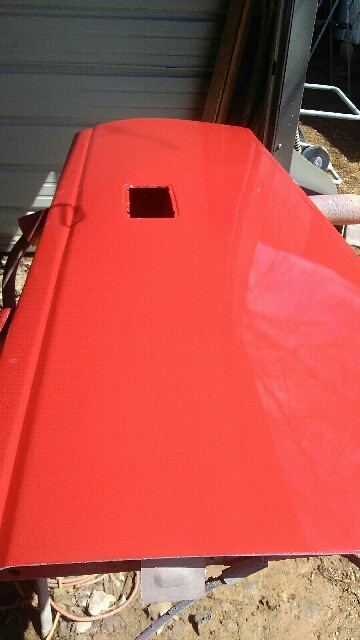 PART_1522002511968_PART_1522002510997_Image15220025109751 by Michael Crawford, on Flickr
That was a hell of a post, you have been busy. This thing is going to be awesome!
I am interested to hear your thoughts compared to your s10 handling prescription...
Im hoping that when everything is finished, it handles half as good, and rides 10 times better than the s10. If i get that, or just comparable to the elky, I'll be ecstatic.
Awesome! Tell me more about the underdrive pulleys, are they worth it? Any concerns about the reduced dampening?
If the advertising and internet are to be believed, they make a dramatic change. Lots better throttle response and more piwer with no real downsides other than idle air conditioning efficiency. However, I've never personally tried them before. I scored them for around 20 bucks for the elky, but then.....
The harmonic balancer does all the dampening on an sbc. Pullies have no effect on it.
In reply to untchabl :
Can't wait to see what it'll be like when it's done!
May take it back to the challenge for exhibition this year. As a chance at redemption. And because i seriously doubt that the miata will be done in time.
What diameter are the coil spacers? I want to cut the springs on the Accord but to get the increas in spring rate I want I'll need to bring it back up a bit.
The underdrive pullies require a shorter belt.
Someone recently put new wheel bearings in.
The bigger calipers are a bolt on.
The parking lot crew had the notches dead on for a non bent axle.
My 32mm socket has decided to leave me
Budget first:
previously was 1619.16
new money:
rear shoes: 19.99
drum hardware: 9.99
returned wheel cylinders: -17.66
serpentine belt: 39.99
power steering gearbox: 95.99
rear bumpstops: 9.99
heater hoses: had
Heater hose adapter 7.99
remove grand cherokee box from budget -40
new total: 1745.44
non picture heavy update. It was a LOT of work, but doesn't photograph well.
We finished up getting the rear suspension put together except for the notches. The DJM spring plates requires some machining for clearance of the new spring centering bolts. I went ahead and cut down the u bolts as well, as there was a good 5 inches extra hanging below the spring. Got the shock extenders bolted on, got my ass kicked by rebuilding the drums, and bolted it all back together except for the notches. Even went ahead and re-lubed the spare tire carrier and hung a donut spare from the elky up there, as I believe something (that fits) is better than nothing. And this is sure something....
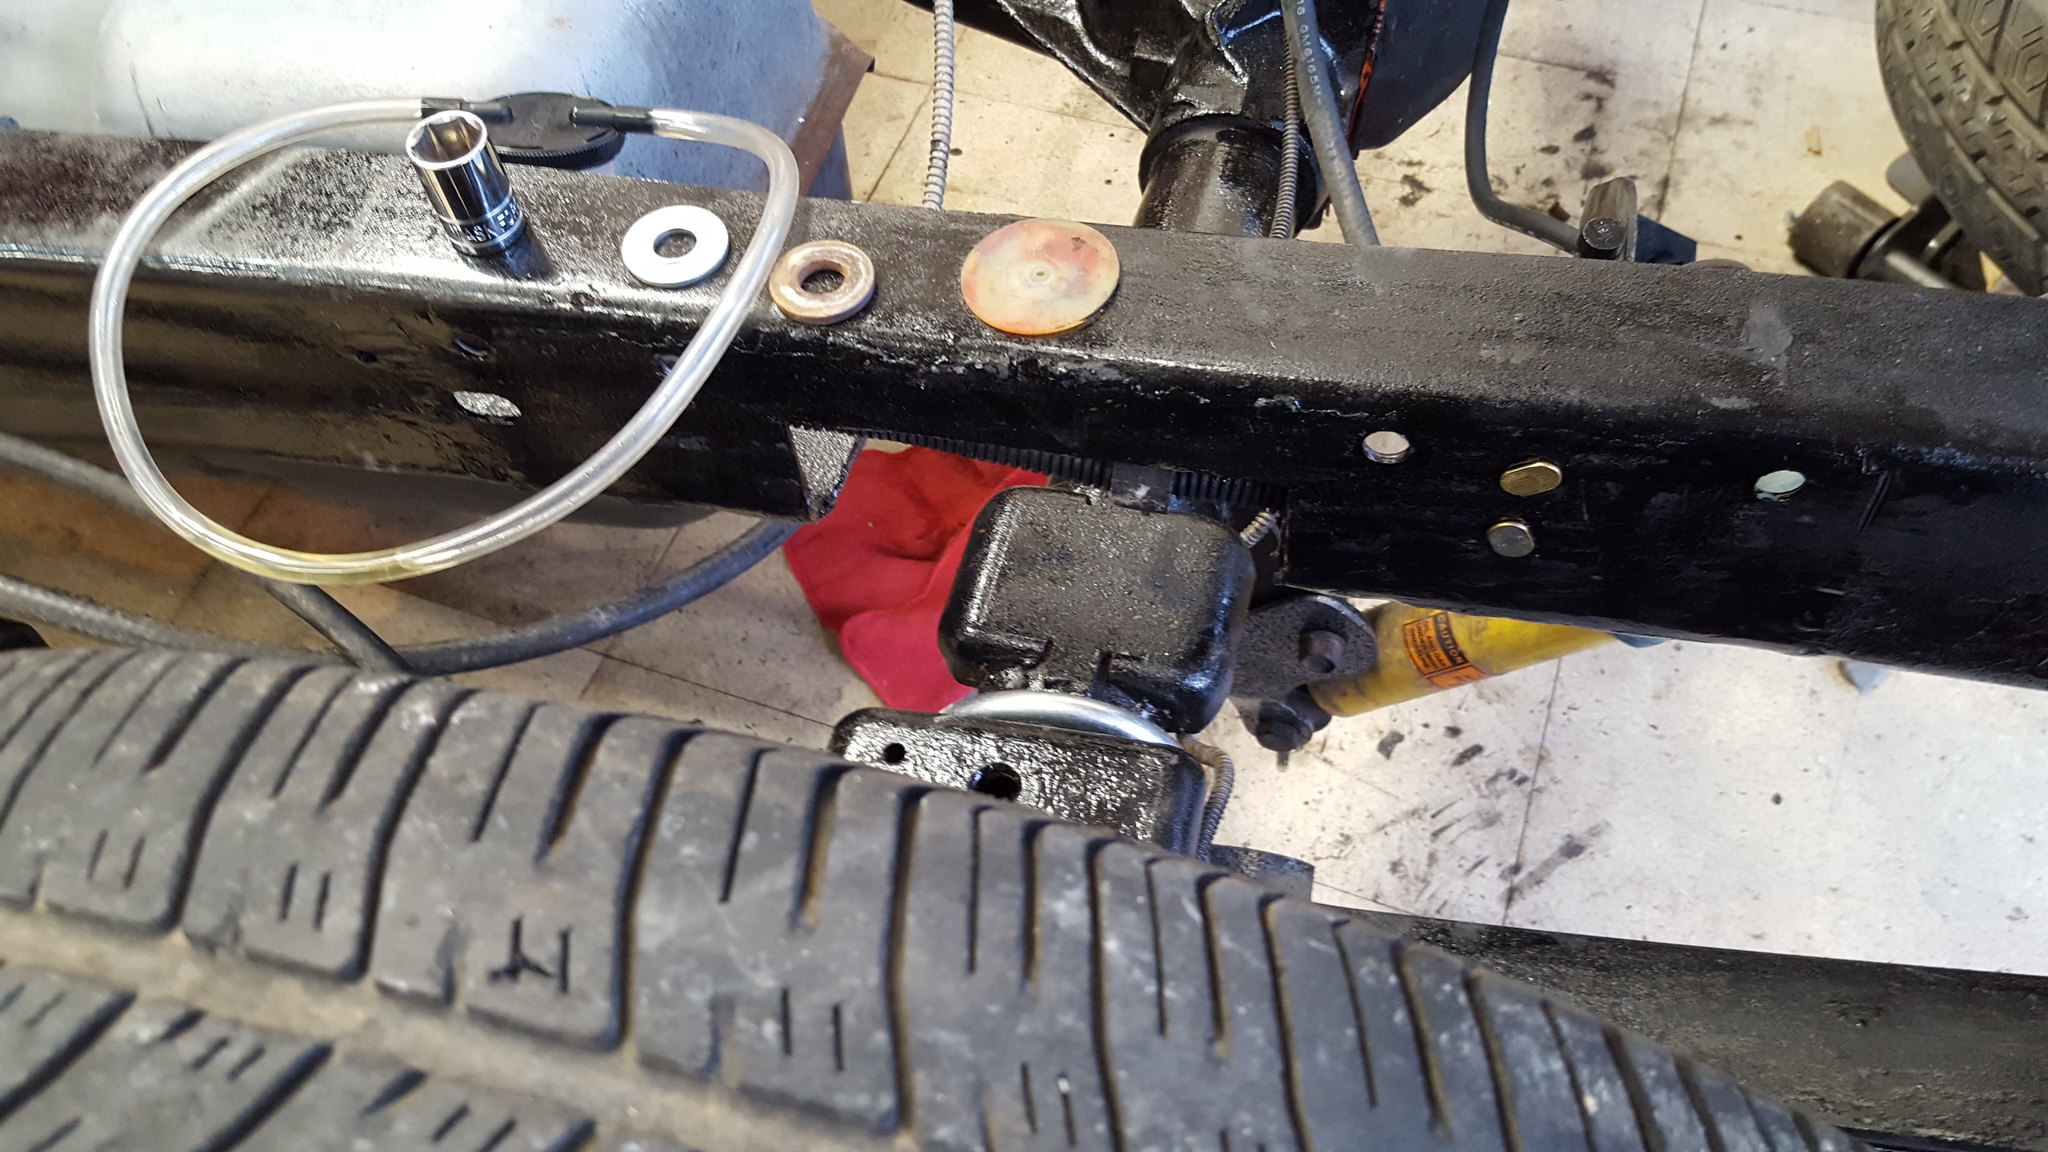 20180331_193237 by Michael Crawford, on Flickr
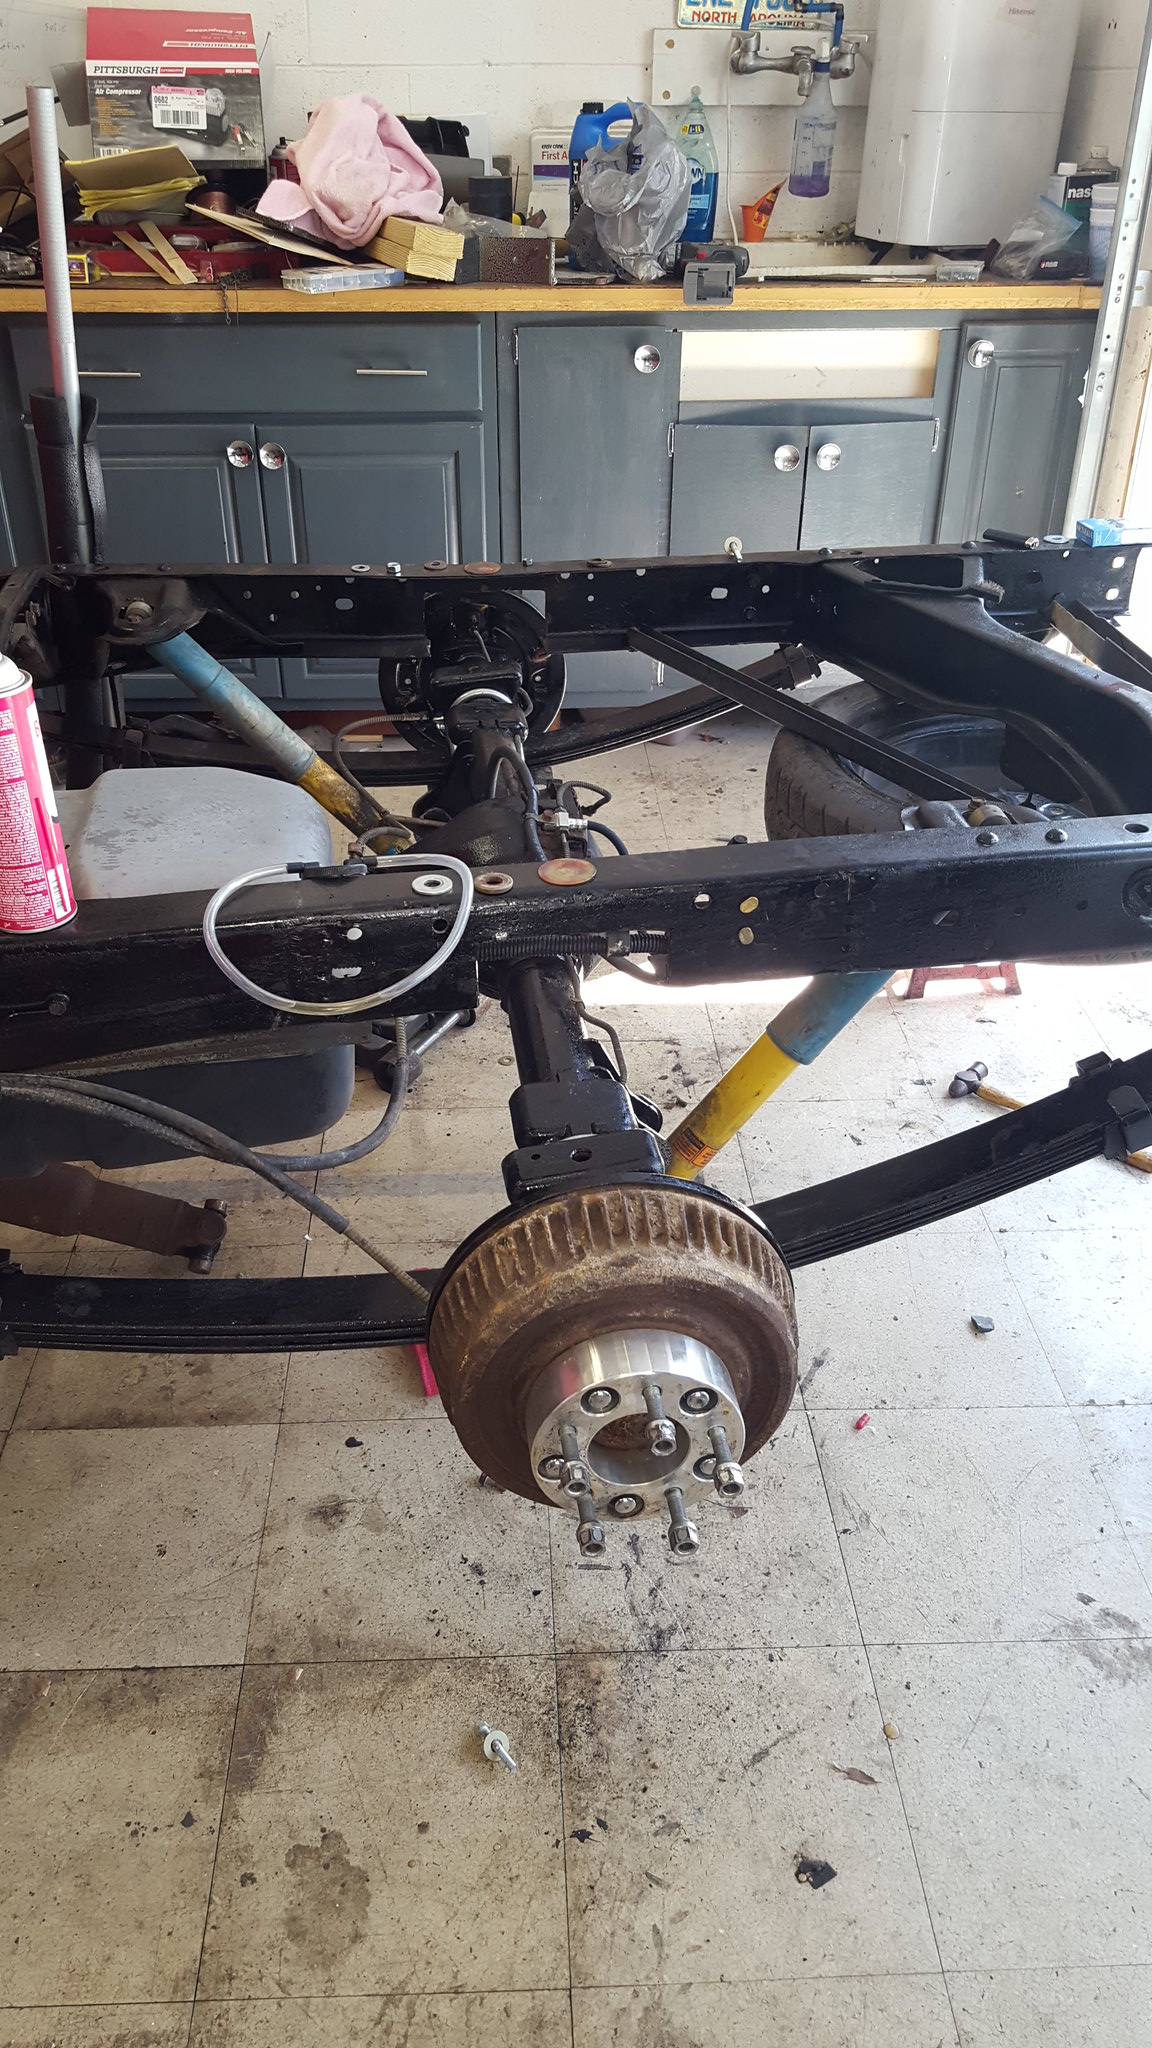 20180331_152334 by Michael Crawford, on Flickr
everything is finger tight right now, except the brakes, which are completely bled, and the driveshaft. I still need to positively locate the DJM notches and fit them, and need to squat the back end as much as possible to do so. Ill tighten when I get there.
Up front, lots of work. I shortened every tie rod ½ inch per DJM instructions, re packed the wheel bearings, installed the new hoses and calipers and rotors and tie rod ends, went to put the pitman on the steering box and found that the output shaft had LOTS of play. The grand cherokee box didn't work out, as the mounting pattern is different. I found that oriellys sells the 454SS box that its quicker ratio with a lifetime warranty for 105. they knocked it down to 95 with my commercial discount. Put new lines on it, and ran it home. Went and put the drop shocks that came with the truck back on it, as I struck out on junkyard bilsteins for now. Same with the delivered front sway bar. Didn't find anything bigger on my last run. I did learn, the hard way, that the DJM LCAs need something to limit down travel with lowering springs. I had one pop out, and it cost me two hours. I also learned that the camaro wheels barely fit on the old front rotors, and the new ones had a hub that was a few thousandths larger so I had to bore all 4 wheels (tire rotation will happen sometime). Regardless, the front end is together, with the control arm to frame bolts finger tight, and no steering shaft. Had to see how it sits, and needed to bring it down to be able to reach the engine bay to put some of the engine bay back together.
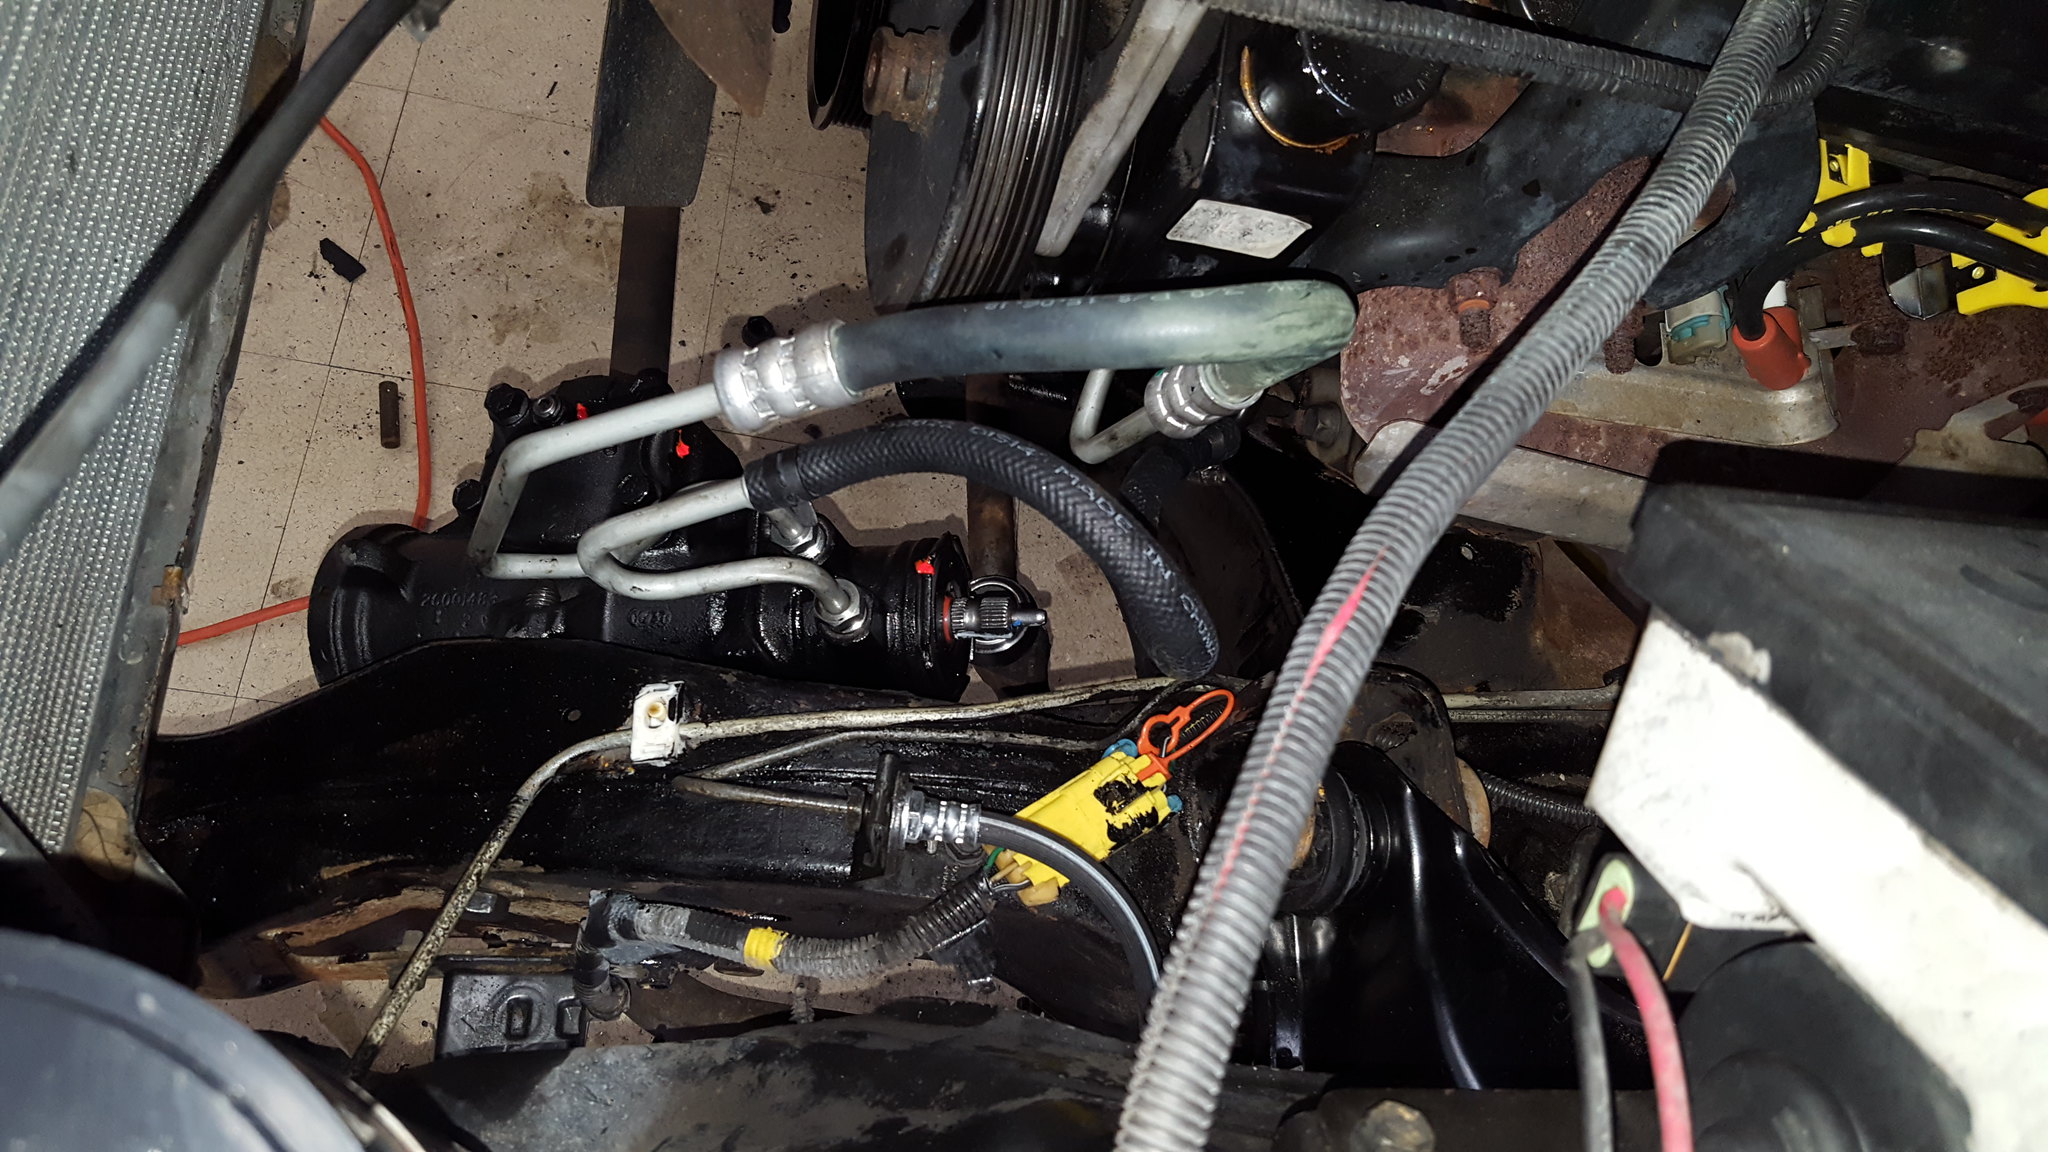 20180331_152355 by Michael Crawford, on Flickr
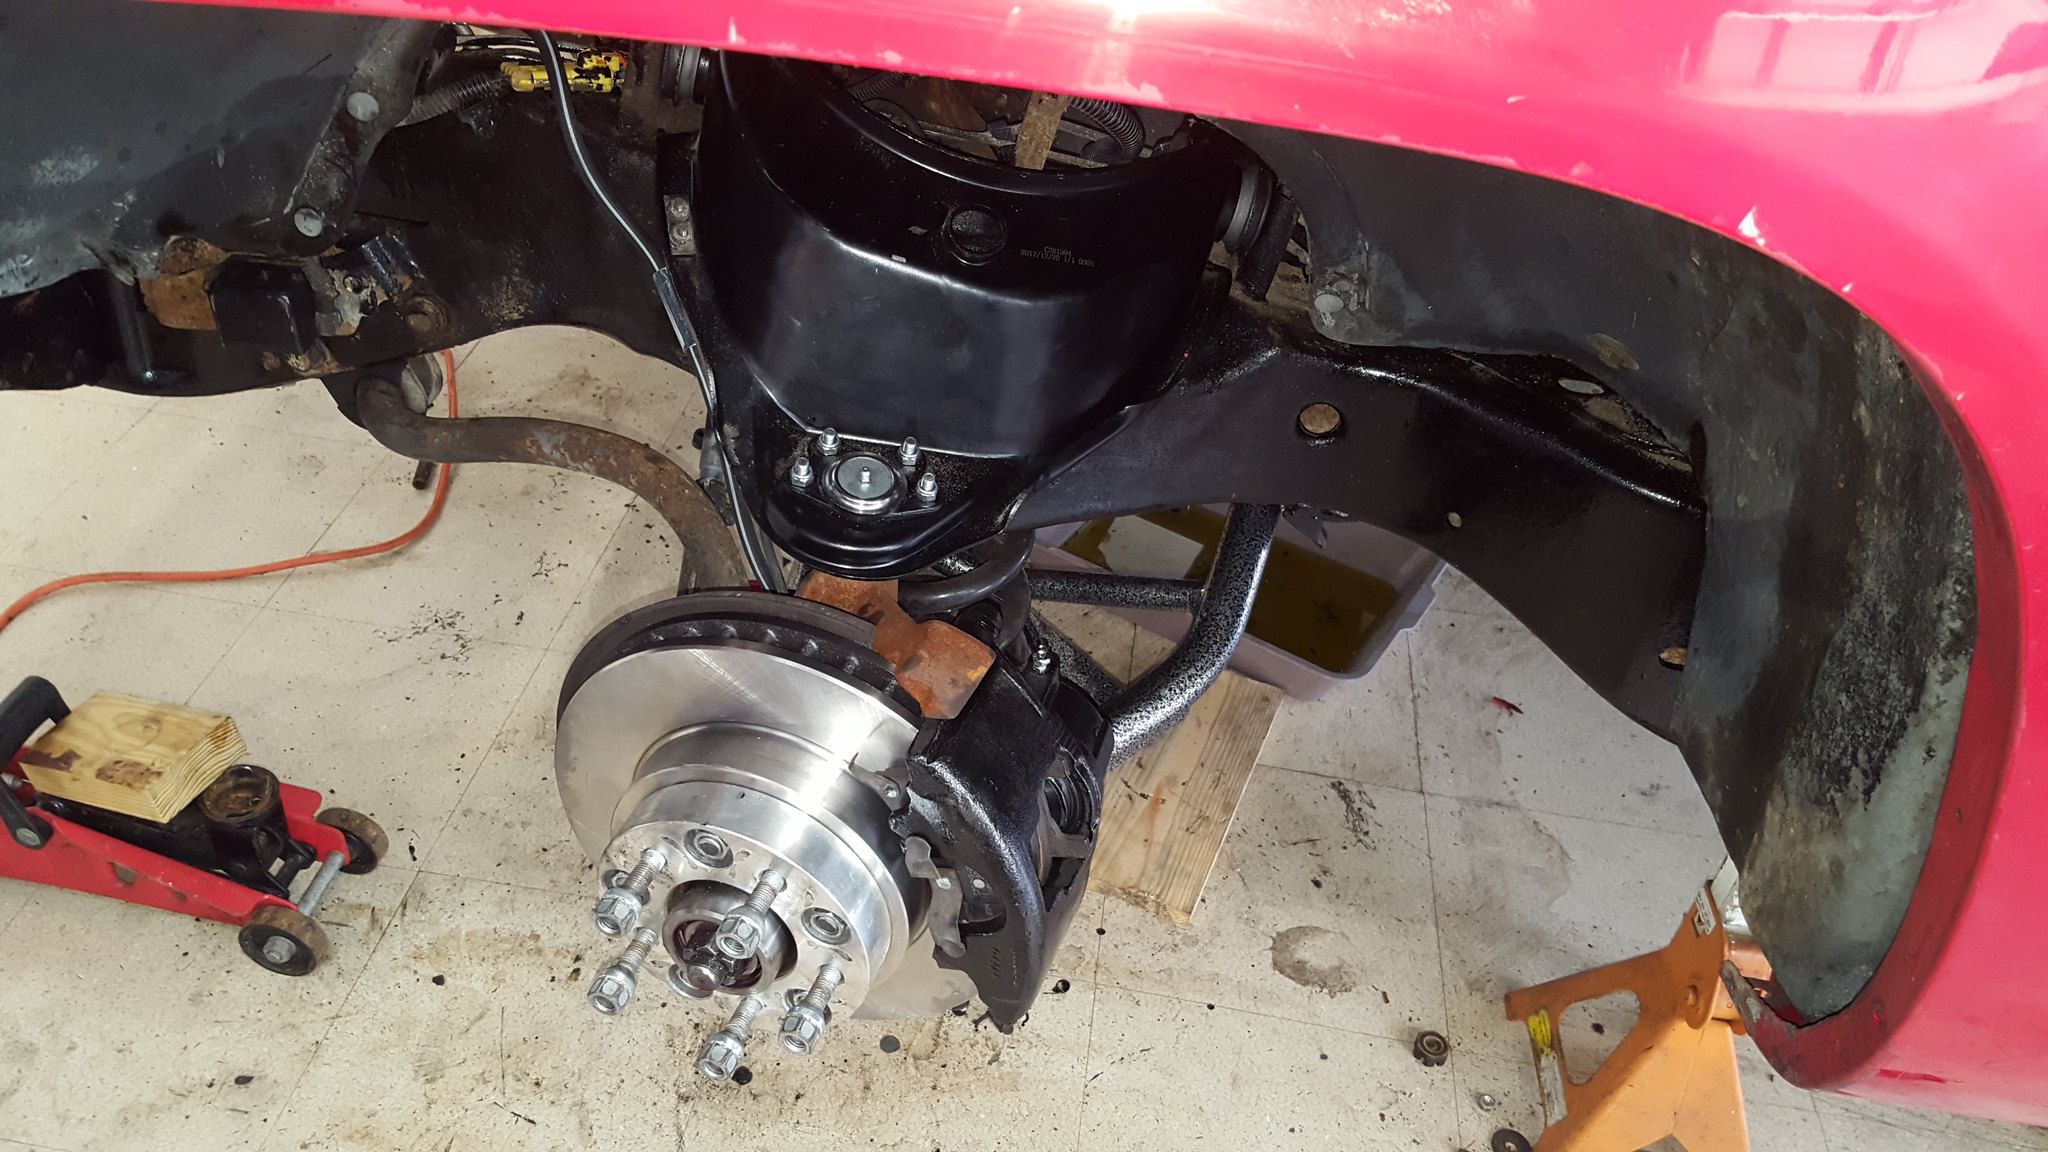 20180331_152349 by Michael Crawford, on Flickr
I NAILED my stance I was wanting. I wanted, on 245/55/18 tires, to have a fender lip height in the front of 28 inches. Im at 28 1/8 up front, and expect another half inch or so with all the weight on it and a properly settled suspension. Rear end is unknown, but looks right. Frame height is at 7 inches under the center of the cab, as judged with a 1x6 you can see in a couple of the pictures. The DJM LCA don't hang below the rim, and I feel comfortable with the scrub line. Additionally, I tried that “selfie” thing all the teenagers are doing. Purely as a reference point. Im 5'9, and the roof is at my nose. I freaking LOVE it. Im also uglier than homemade sin, so be warned.
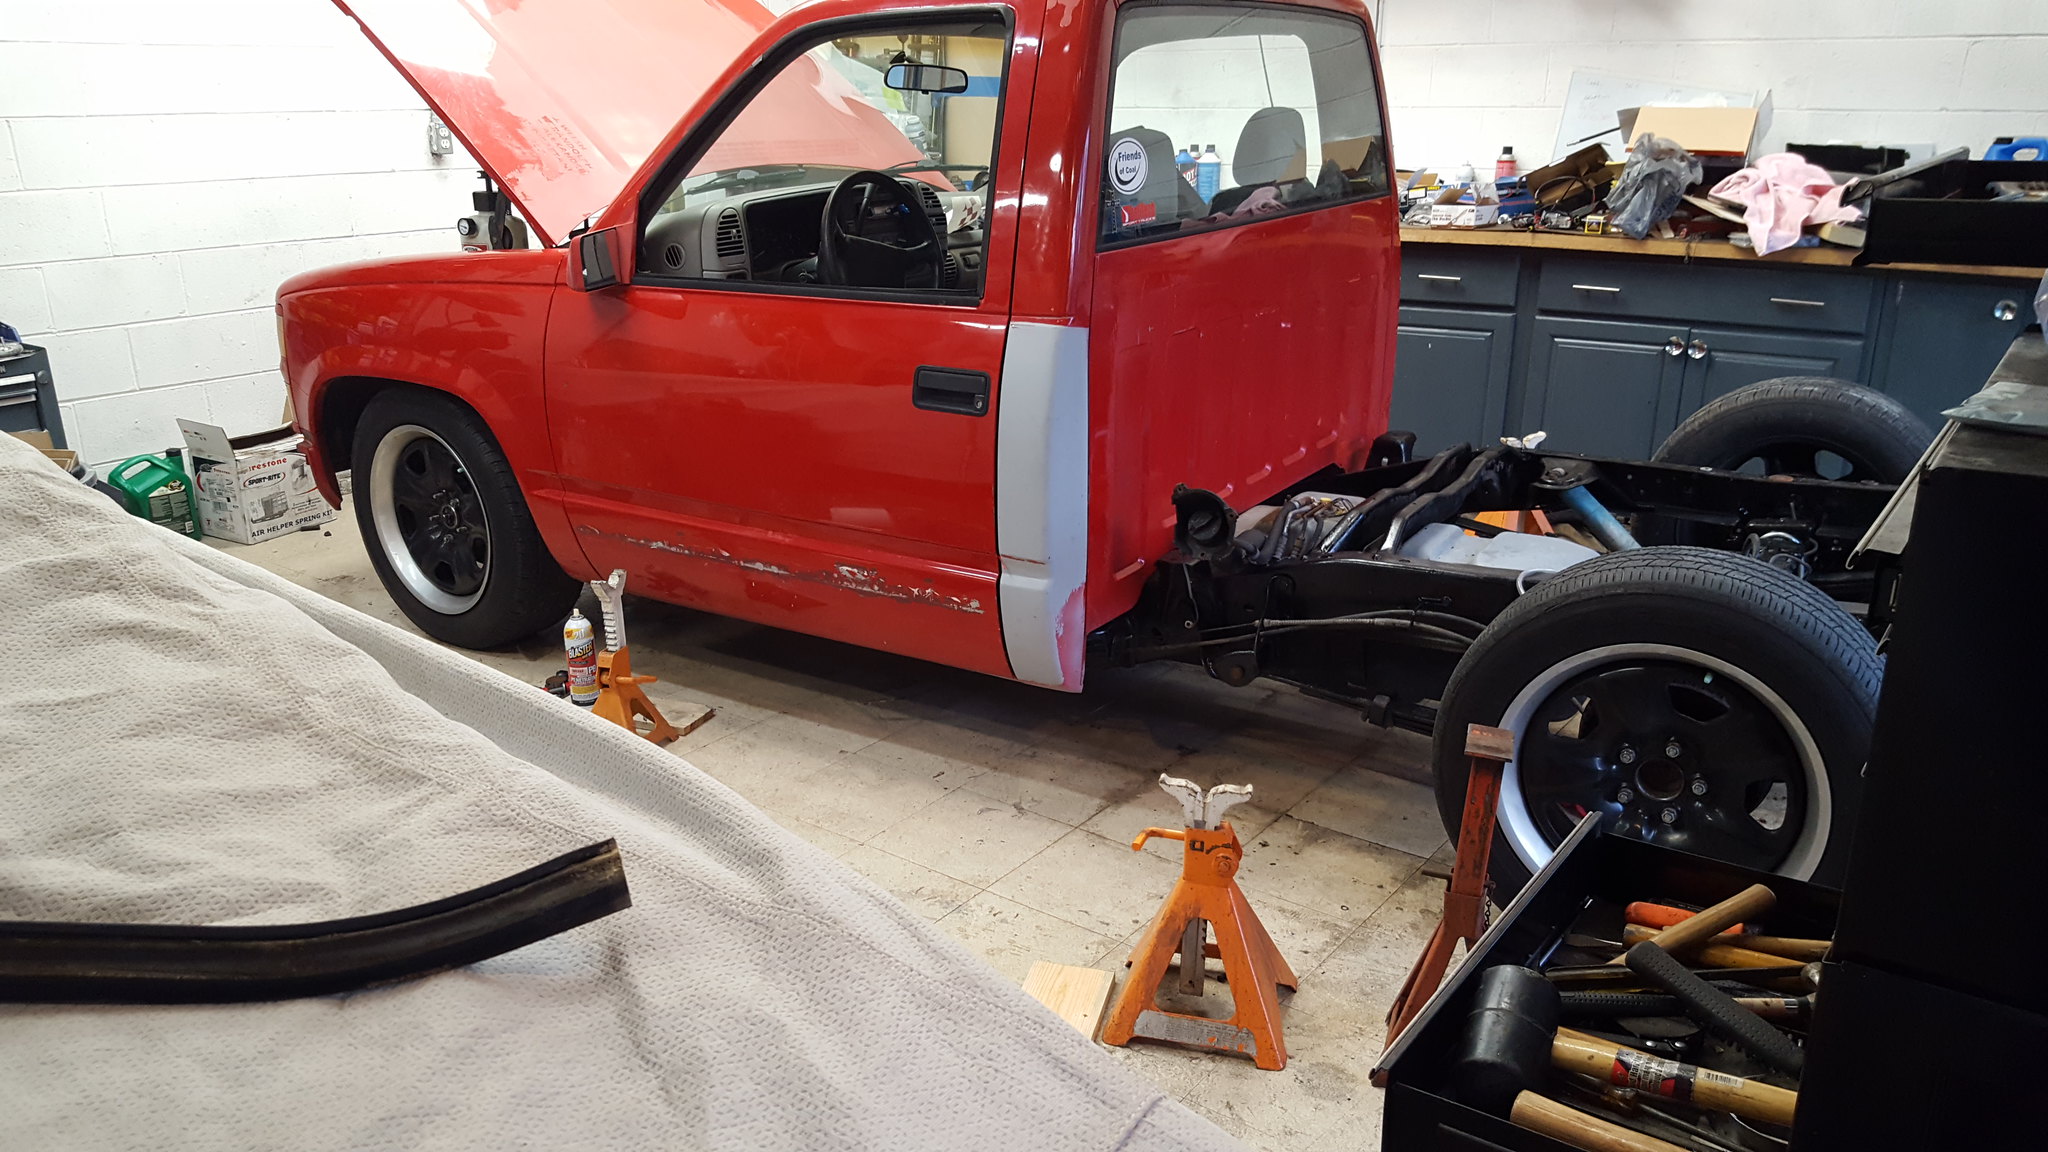 20180331_192410 by Michael Crawford, on Flickr
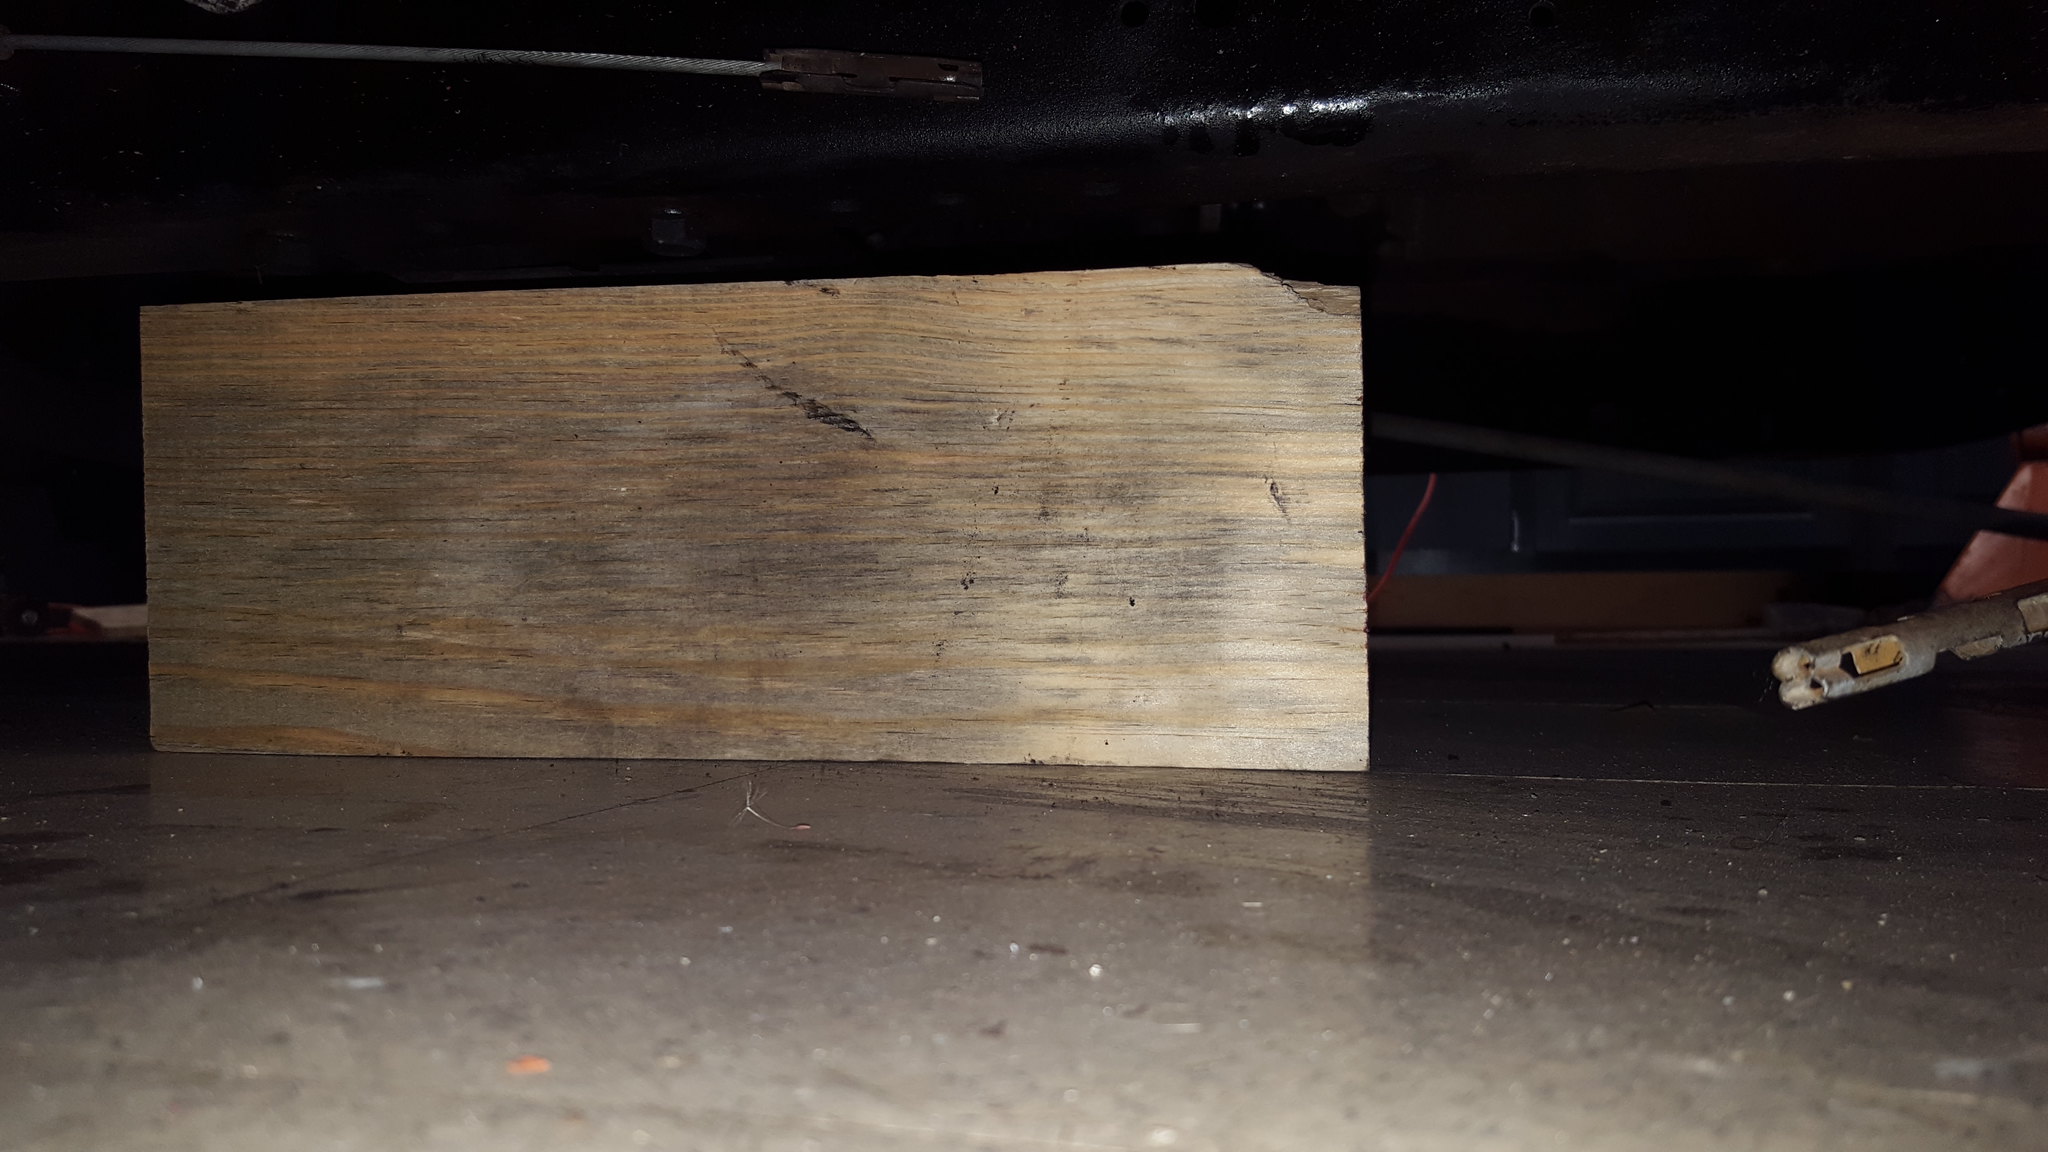 20180331_192521 by Michael Crawford, on Flickr
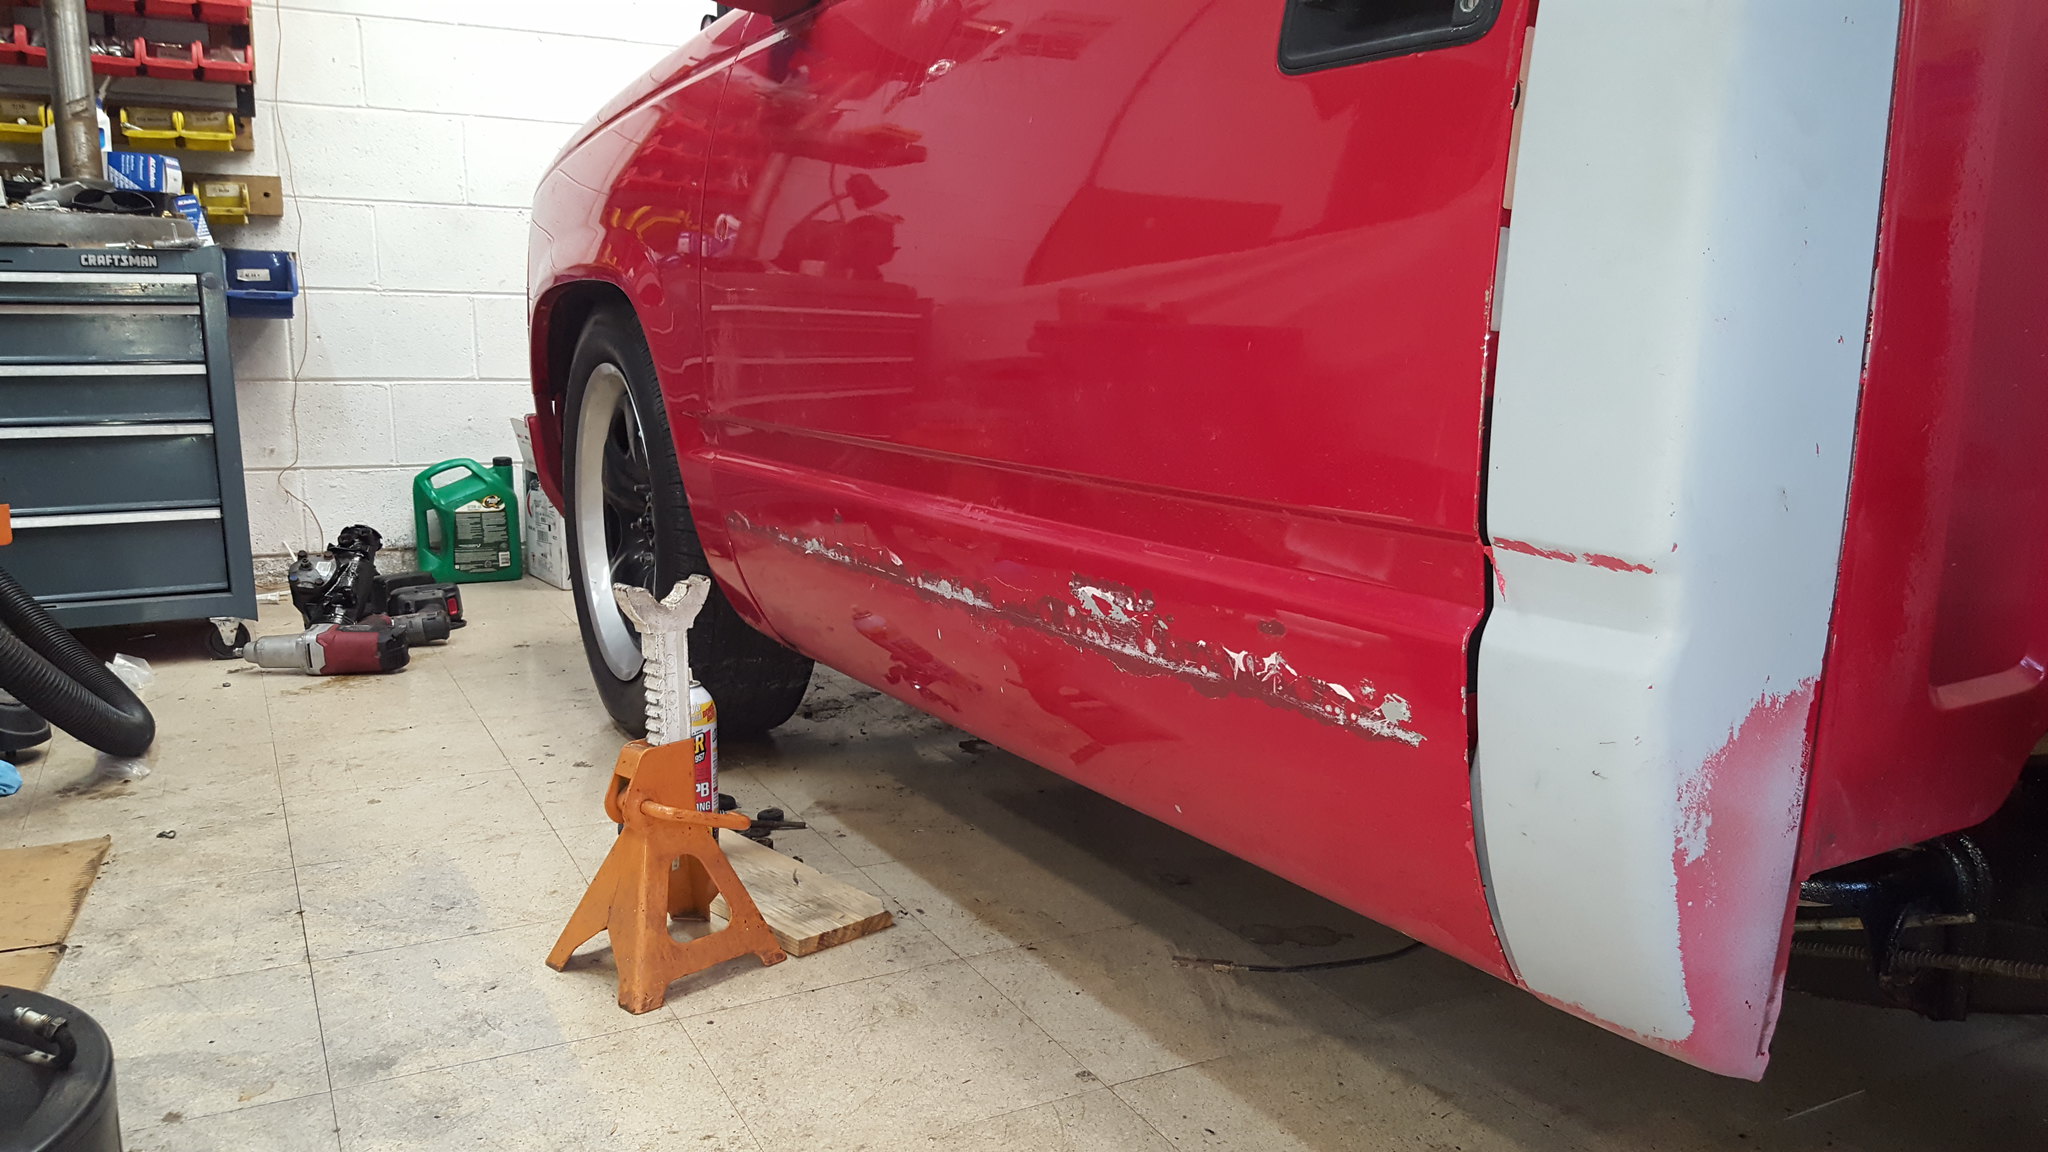 20180331_192441 by Michael Crawford, on Flickr
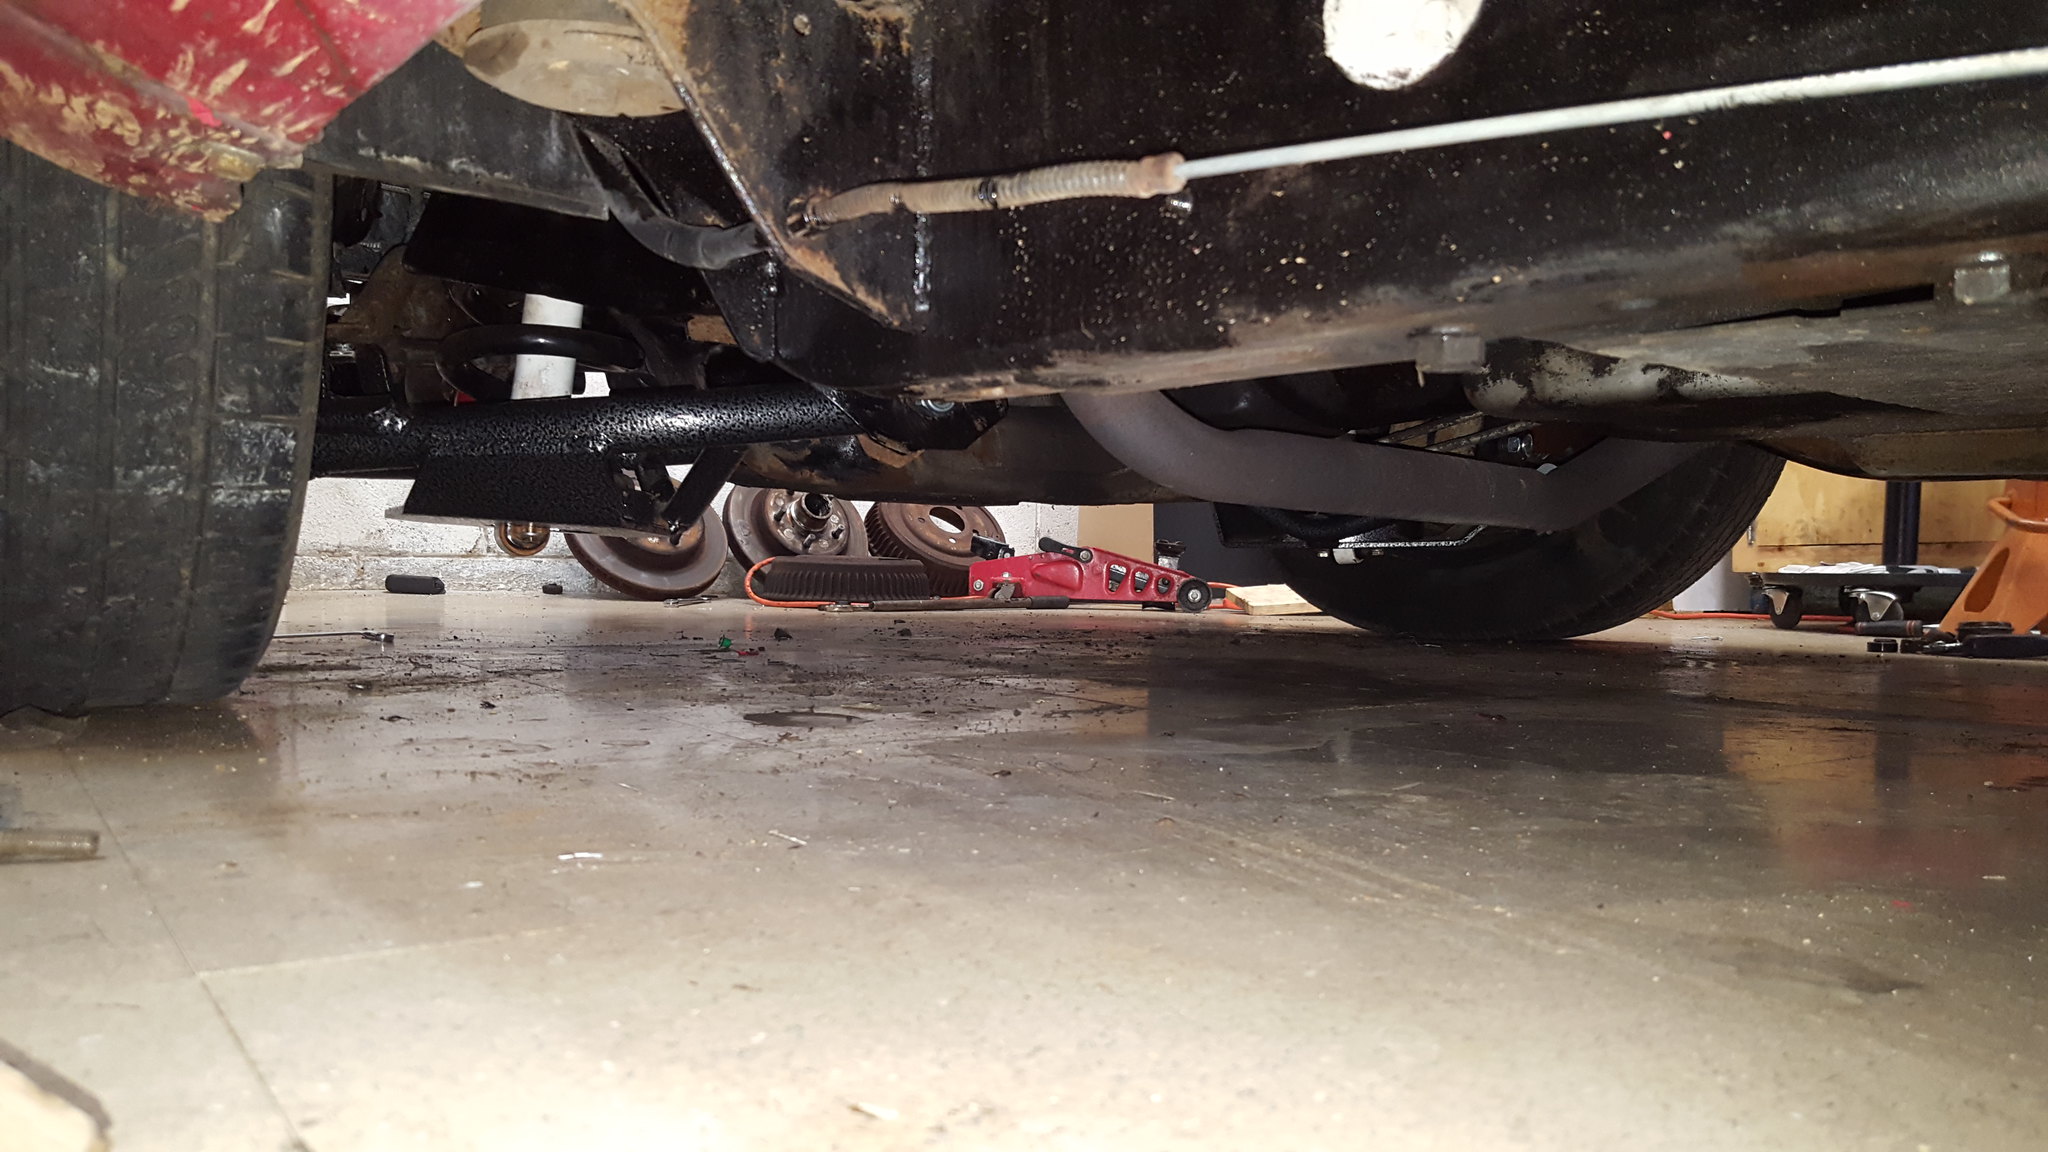 20180331_192449 by Michael Crawford, on Flickr
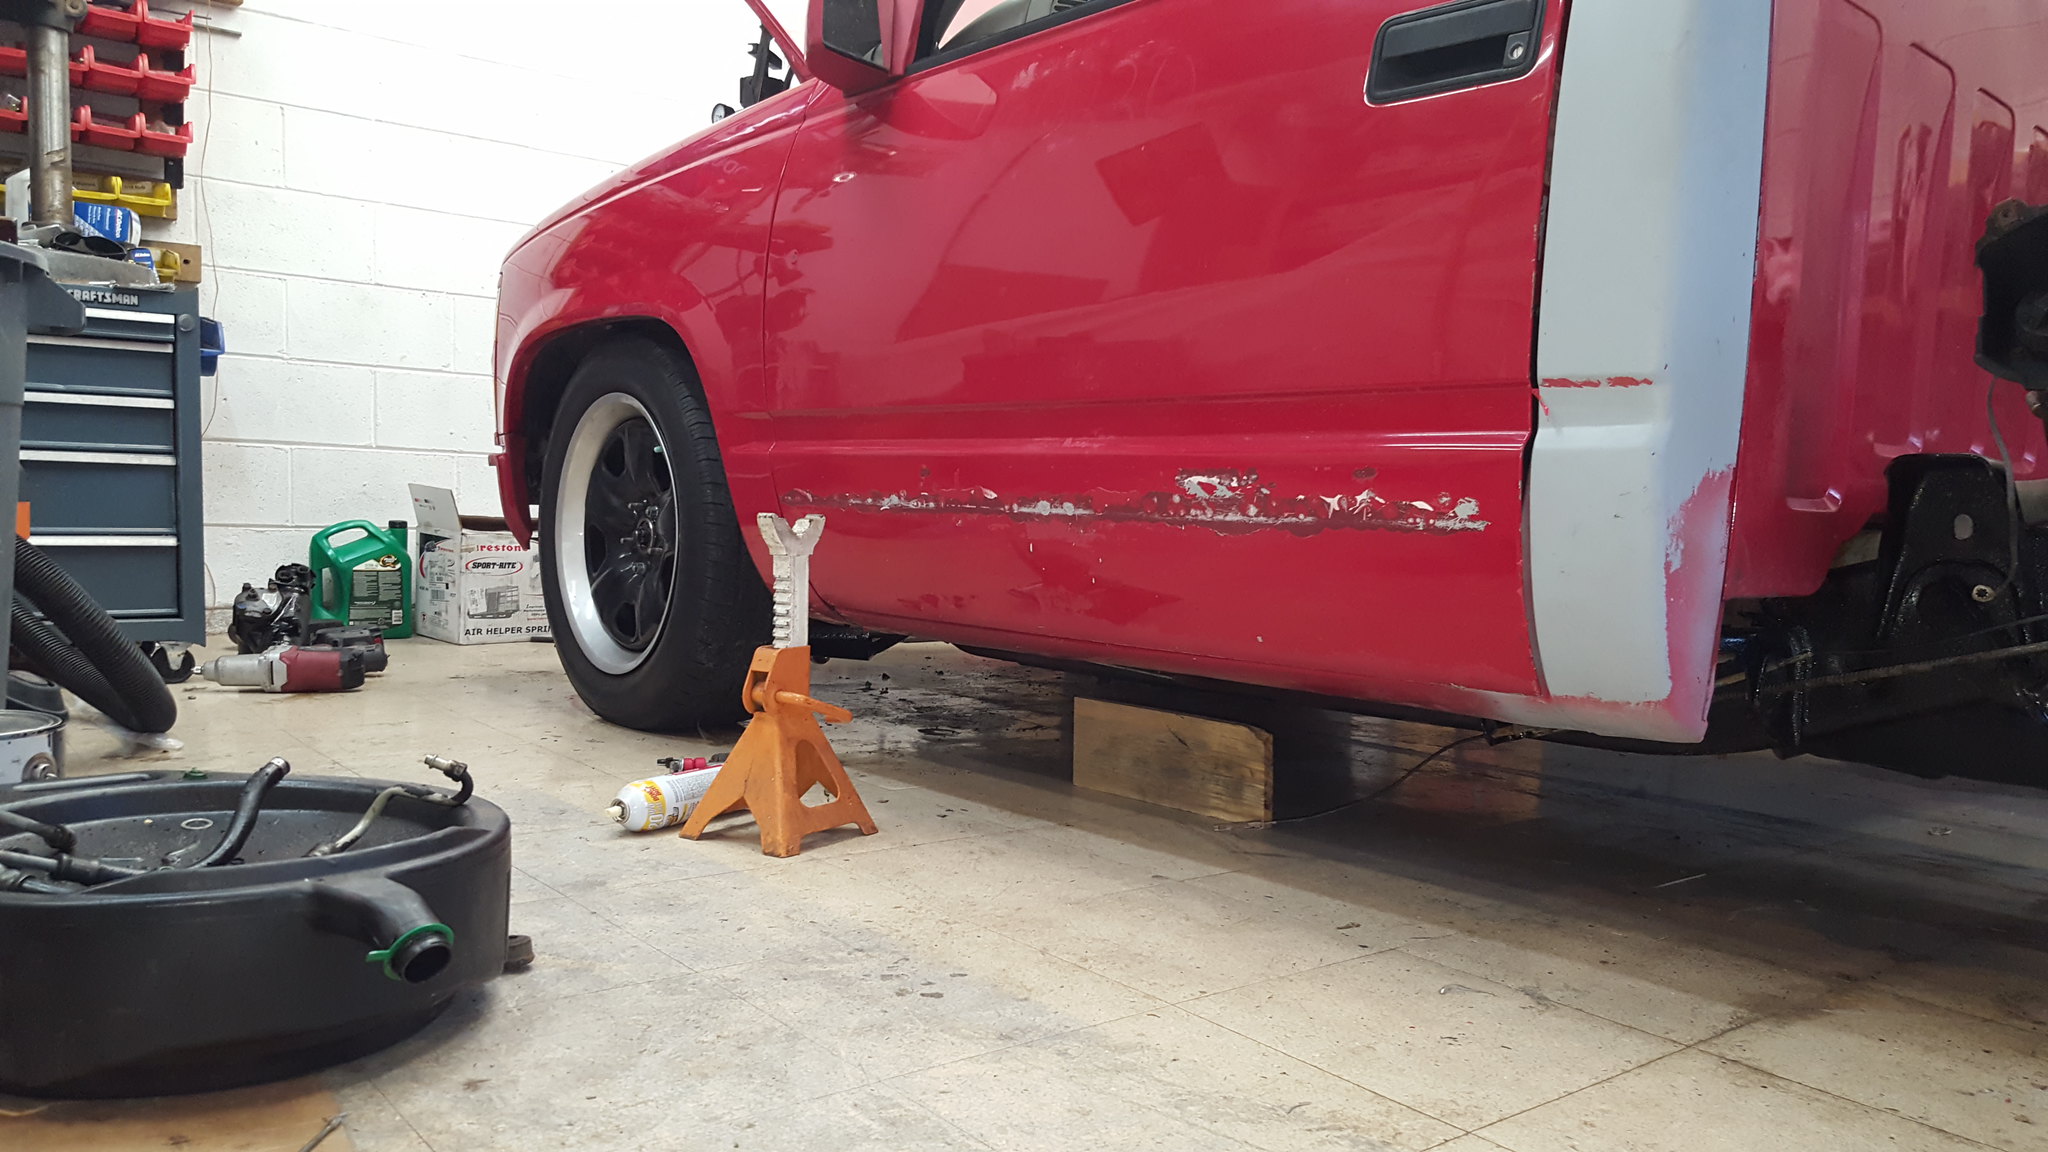 20180331_192753 by Michael Crawford, on Flickr
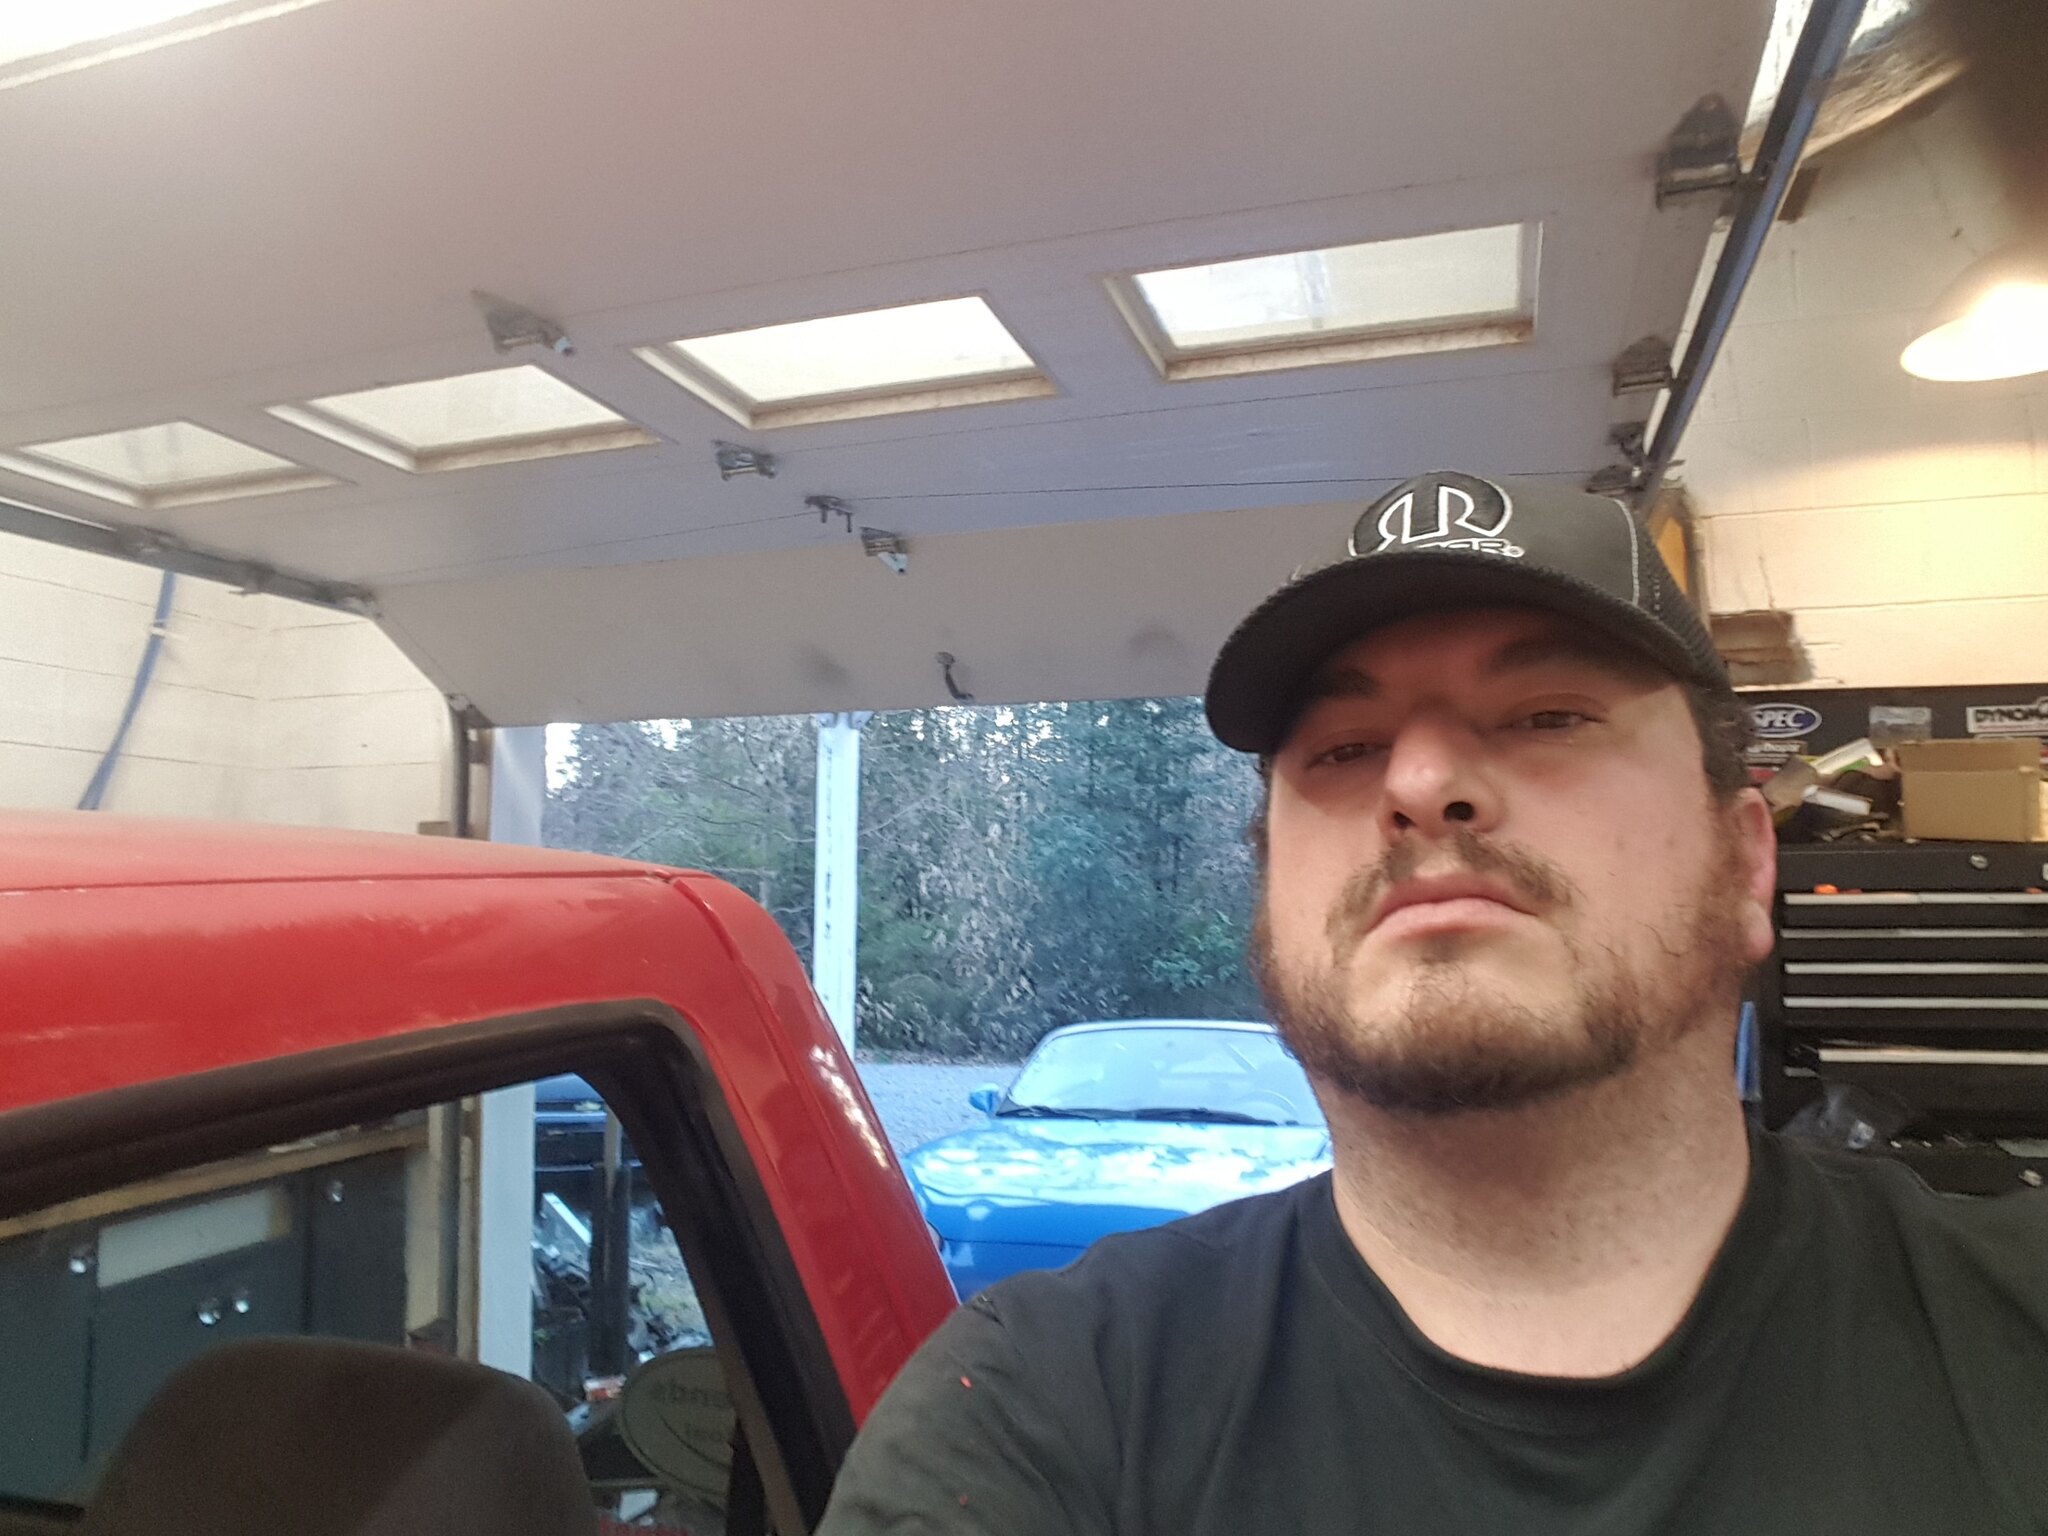 20180331_192605 by Michael Crawford, on Flickr
lastly, today after Easter festivities, I got the new belt on, lower radiator hose, and lower shroud in. also got the new thermostat and gasket in. old one was stuck open, so that should help. New belt wound up being 4 inches shorter than the old.
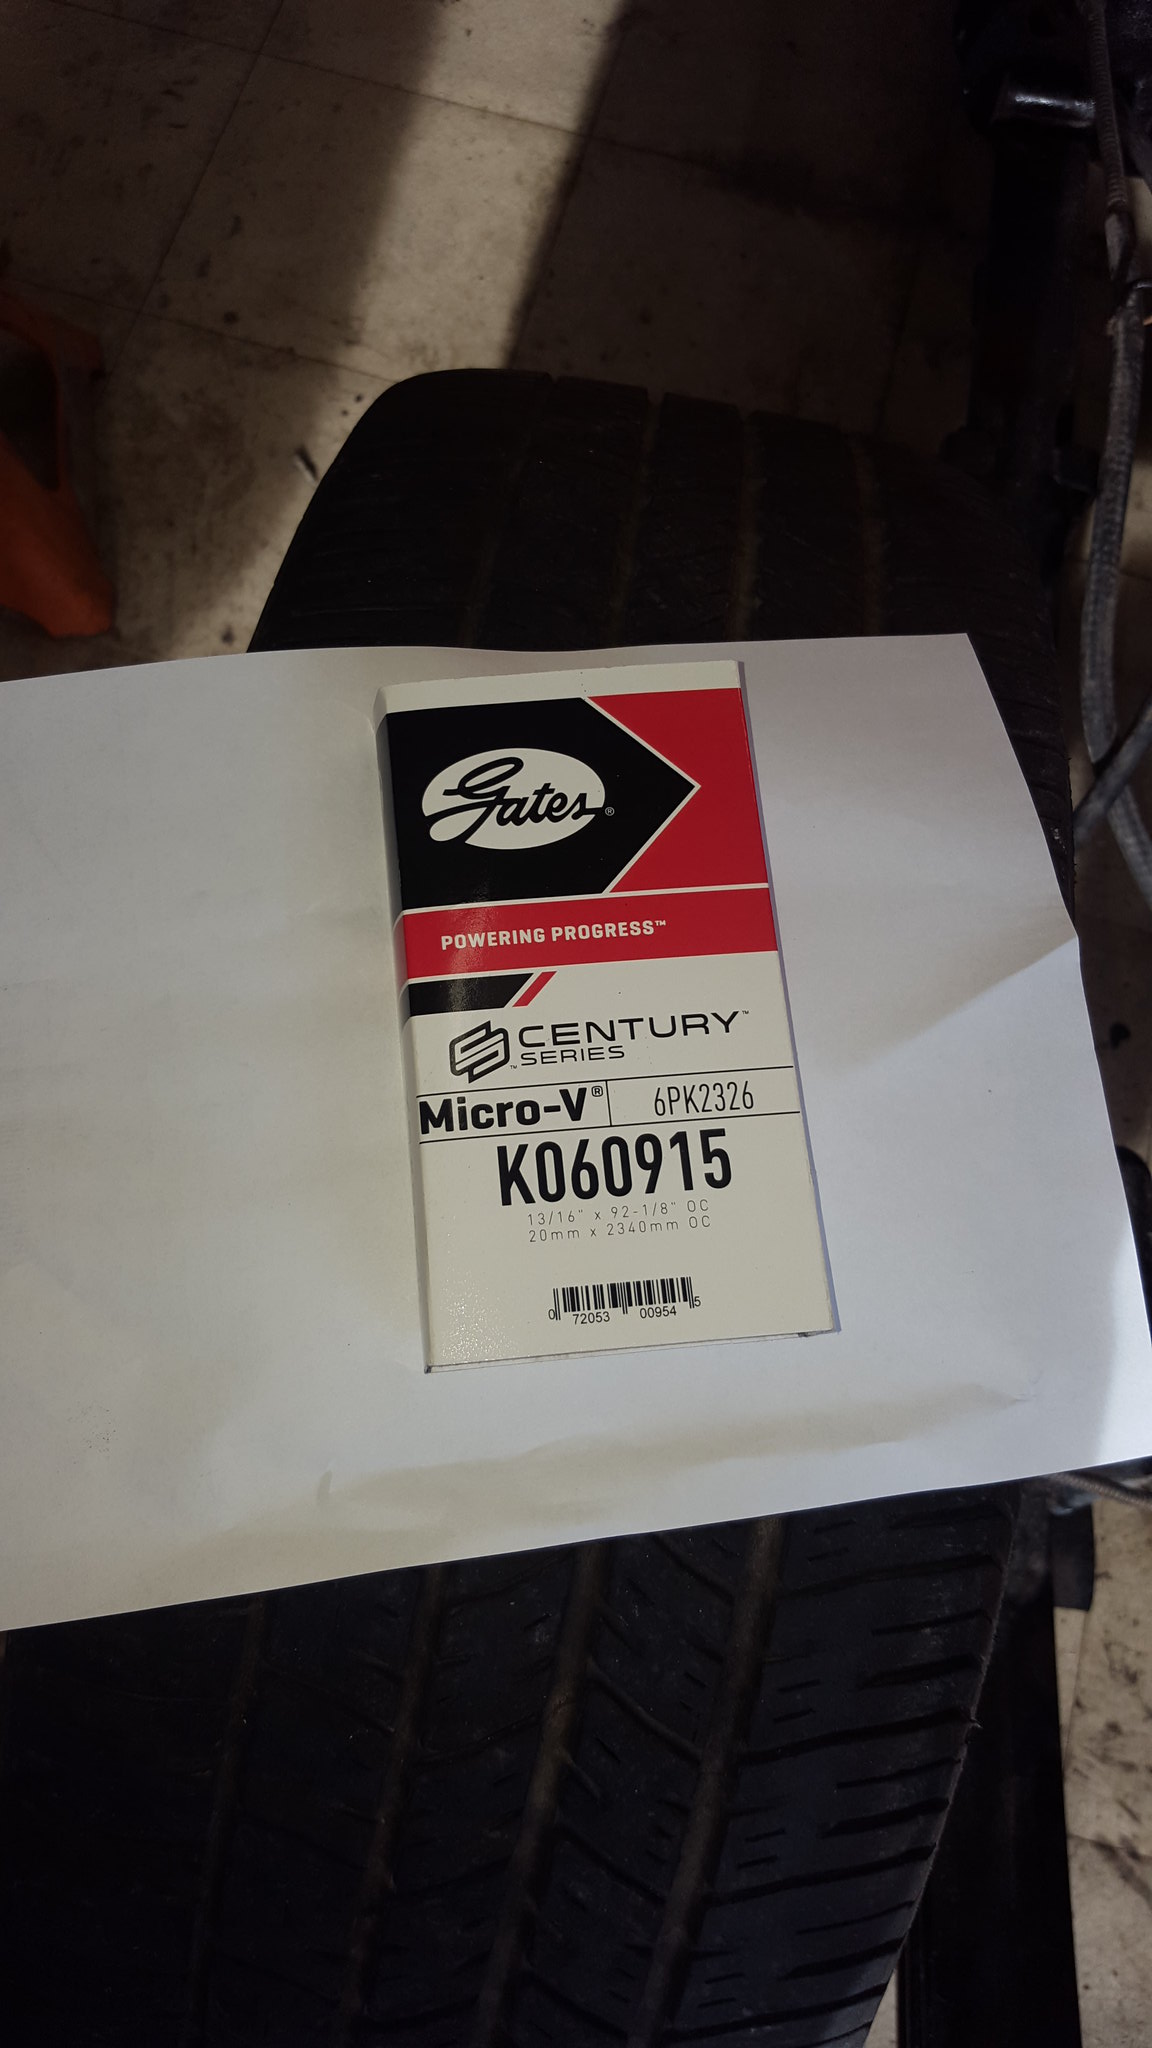 20180401_175619 by Michael Crawford, on Flickr
 20180401_175631 by Michael Crawford, on Flickr
until next time, y'all.
I really do like the way it sits. Having a similar truck I really DON'T want to do all that work to make the stance you have...but I sure do appreciate it on yours!
2 inch spindles, 3 inch springs, a flip kit, notch, and shacles would get you here cheaper, and quicker than this.
However, theres many variations of "right". That would be right. Tbis is also right.
You'll need to log in to post.