Hey everyone,
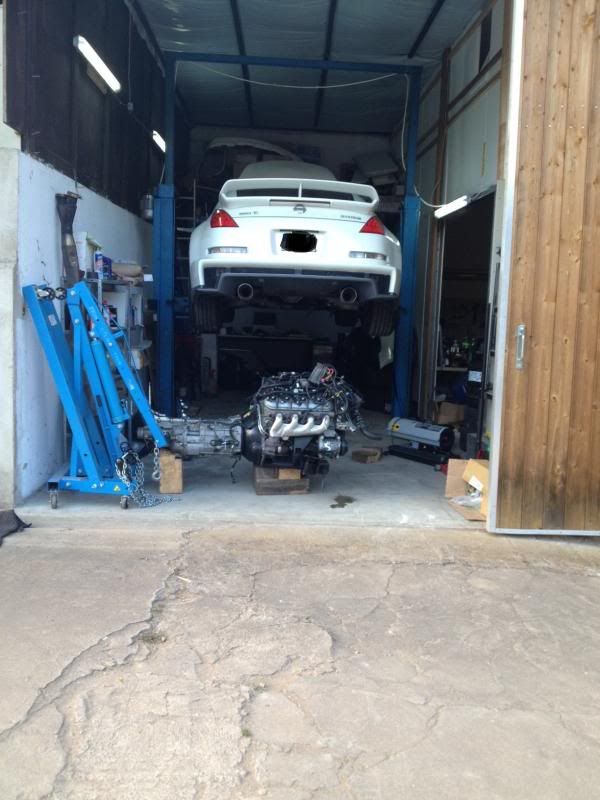
This will serve to be a pseudo introduction thread and I figured this would catch a bit of interest here. I recently had a failure of my clutch slave cylinder on my 350z and decided rather than replace the slave cylinder to kick it up a notch. Instead I'm swapping the VQ35HR out for a LS3, because it obviously makes sense.
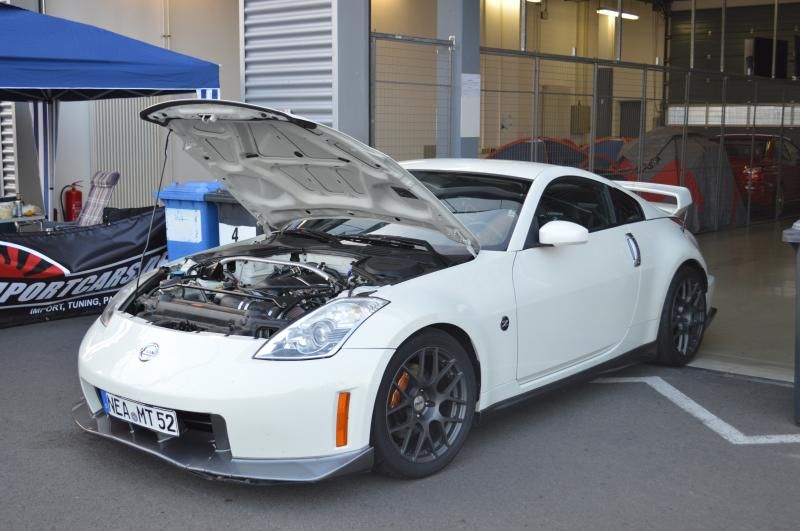
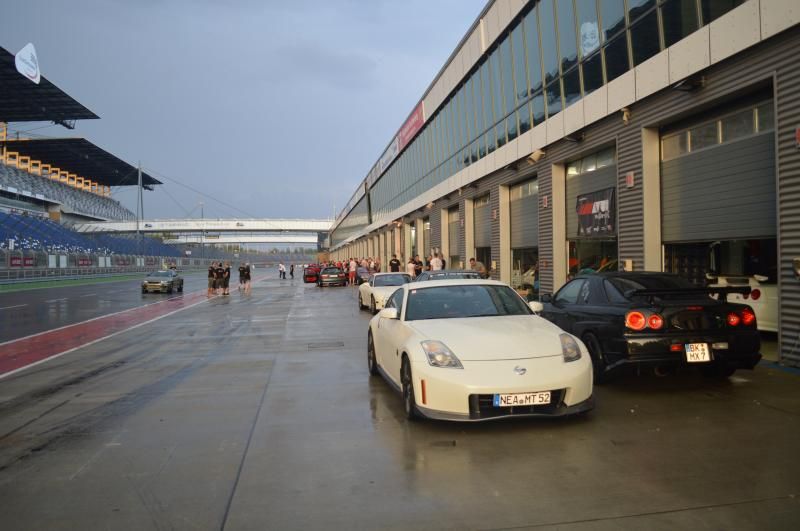
Here is the car I bought it a about 10 months ago. It was high miles and was a 5/10 wear wise on the interior plastics.
[URL=http://s46.photobucket.com/user/armt350z/media/635203703831707520_zps118ae861.jpg.html]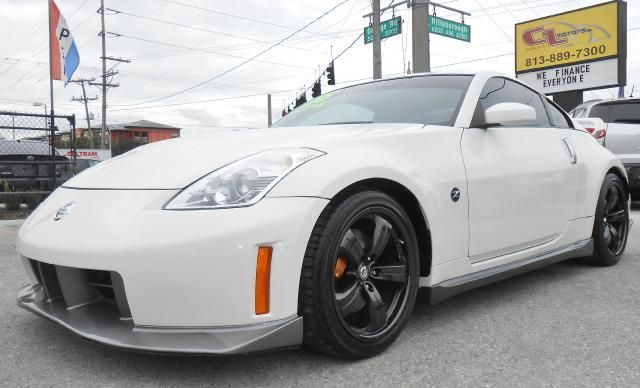 [/URL]
[URL=http://s46.photobucket.com/user/armt350z/media/635203703833270100_zps7b806be1.jpg.html]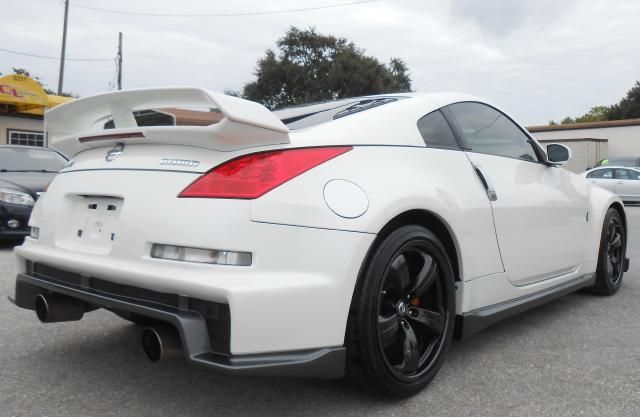 [/URL]
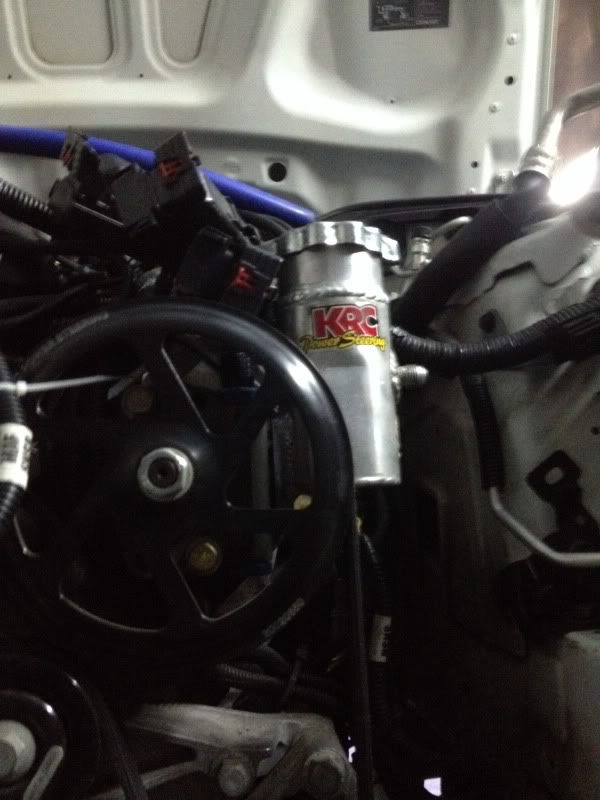
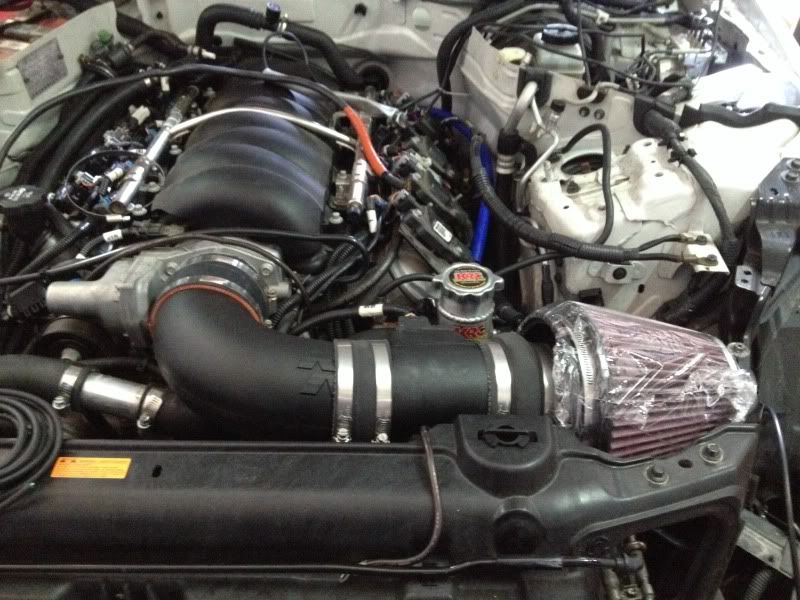
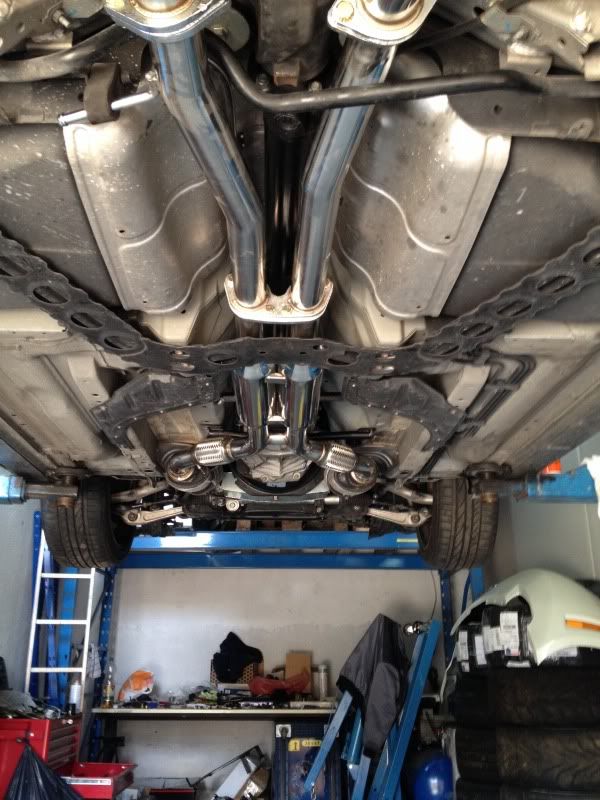
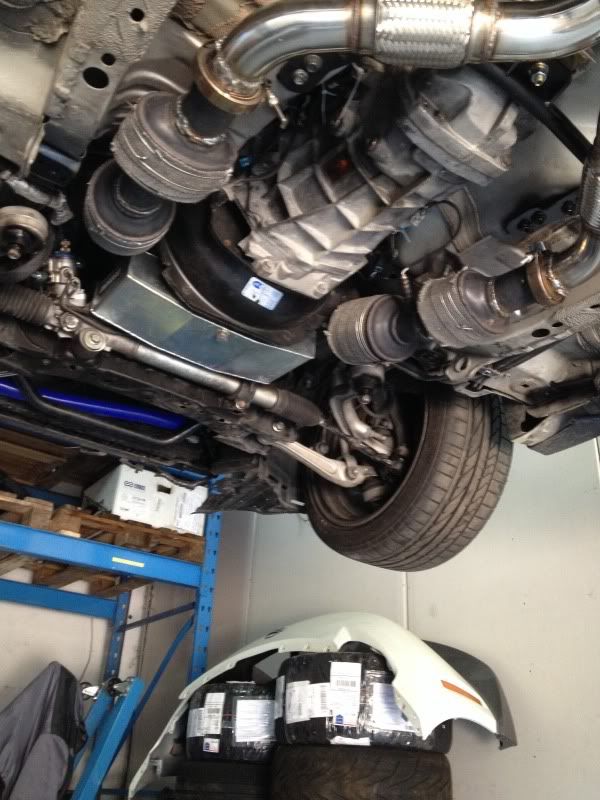
As of right now the build is focused around a 6.2L LS3 Motor out of a 2012 Camaro SS. I've put in a GMPP street cam in it for now but that may change later if I go forced induction or need more power. The intake is an off the shelf K&N unit. the exhaust will be a 2.5inch dual exhaust. I'll put the power down through a Tremec t-56(TR6060) Magnum Transmission with a Mcleod clutch and hydraulic throw out bearing. In the pumpkin, I'll put a Cusco 2 way locking diff. Whiteline bushings will be installed throughout the car.
For the interior i'm looking at Corbeau seats with a 6 point harness on planted seat mounts.
 [/URL]
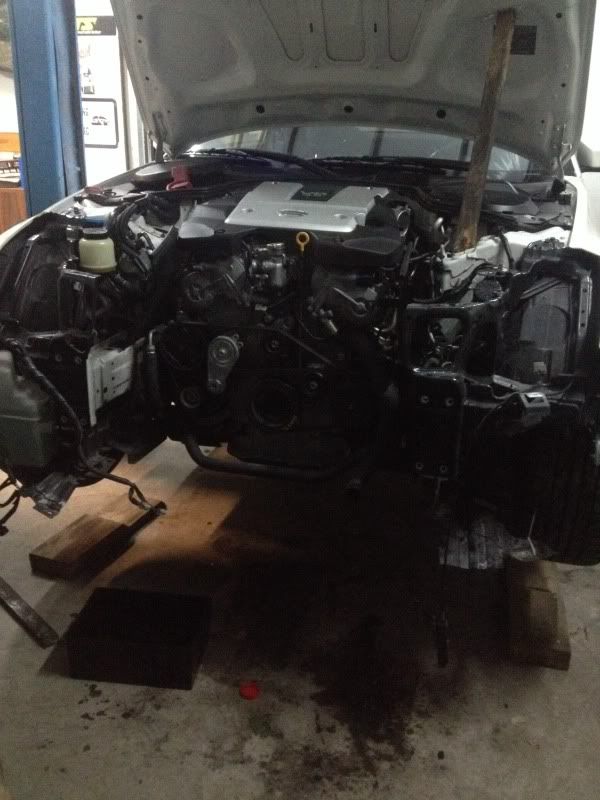 [/URL]
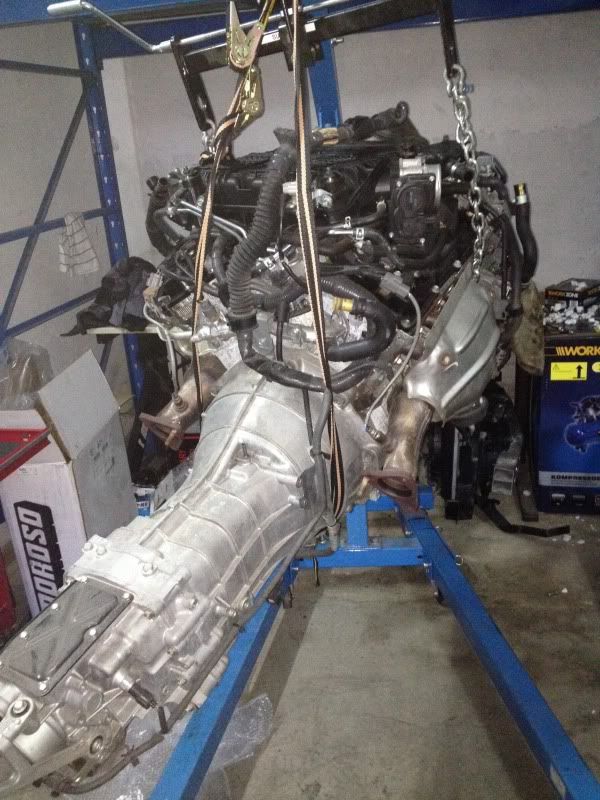 [/URL]
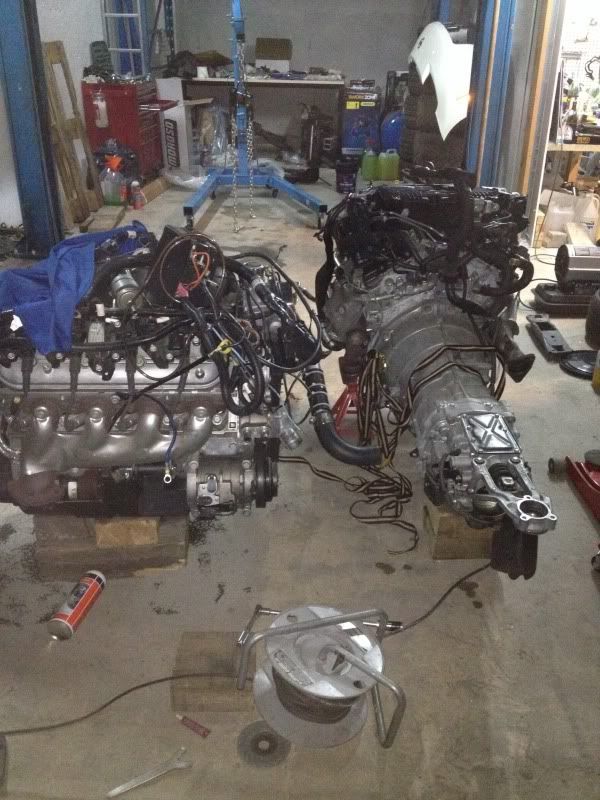 [/URL]
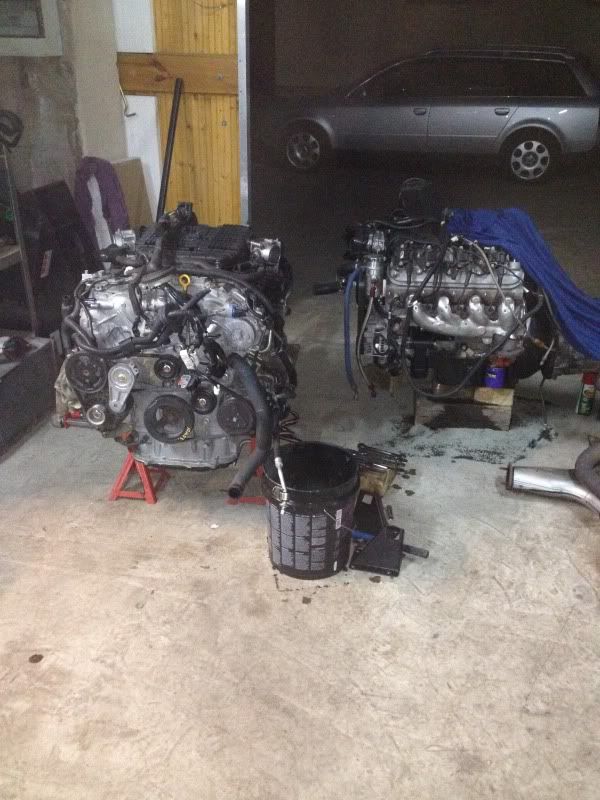 [/URL]
 [/URL]
 [/URL]
 [/URL]
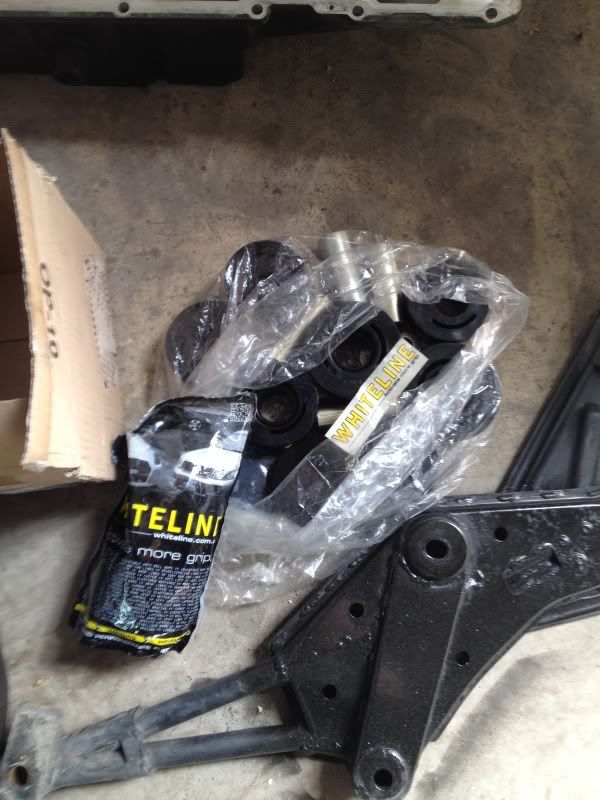 [/URL]
[URL=http://s46.photobucket.com/user/armt350z/media/4B9D66E0-DDF1-477D-9E5B-FE966DE328B7-145-000000049FFA614E_zps2cdd1a34.jpg.html]
[/URL]
[URL=http://s46.photobucket.com/user/armt350z/media/4B9D66E0-DDF1-477D-9E5B-FE966DE328B7-145-000000049FFA614E_zps2cdd1a34.jpg.html] [/URL]
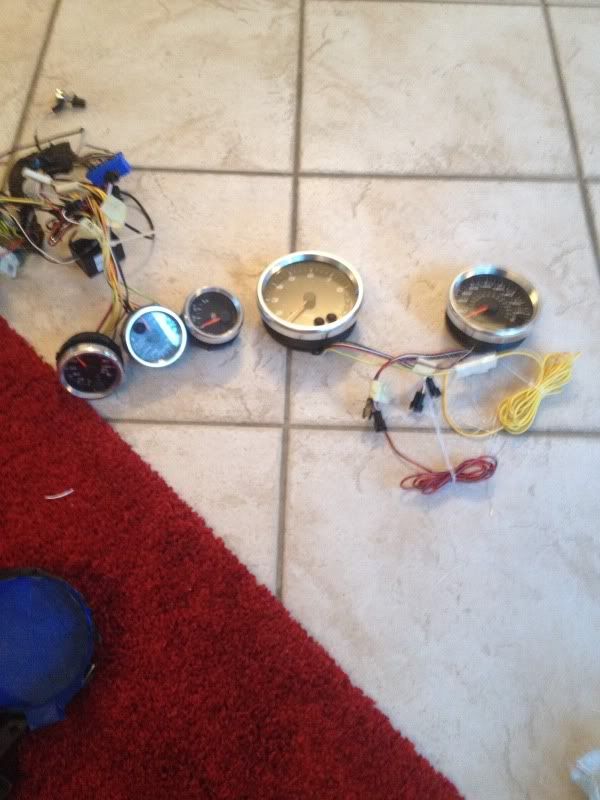 [/URL]
 [/URL]
 [/URL]
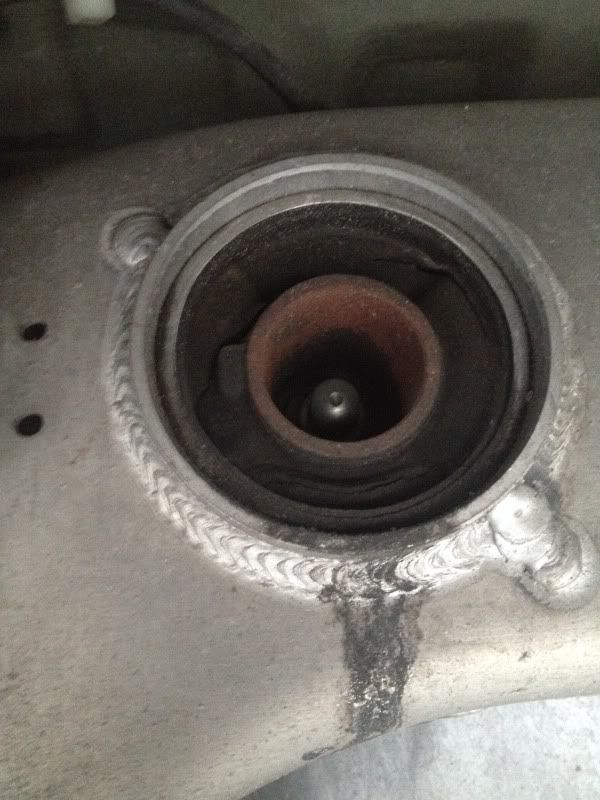 [/URL]
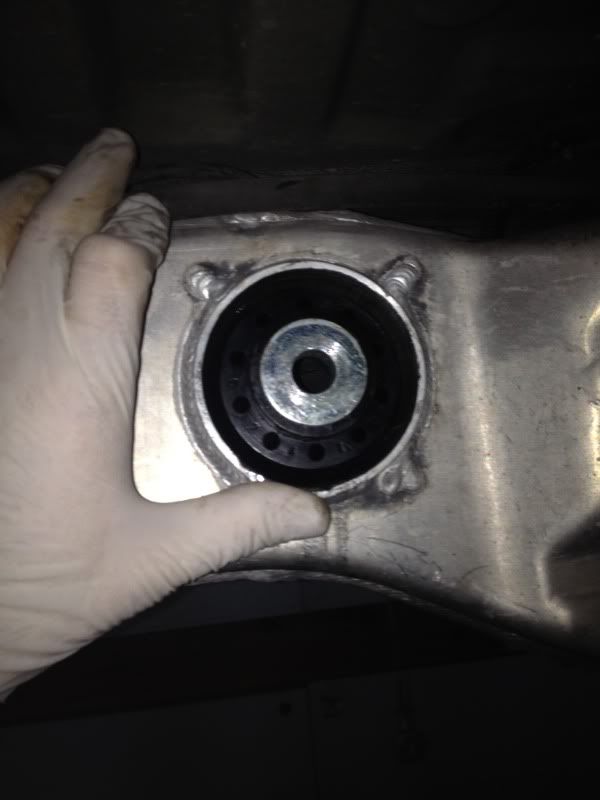 [/URL]
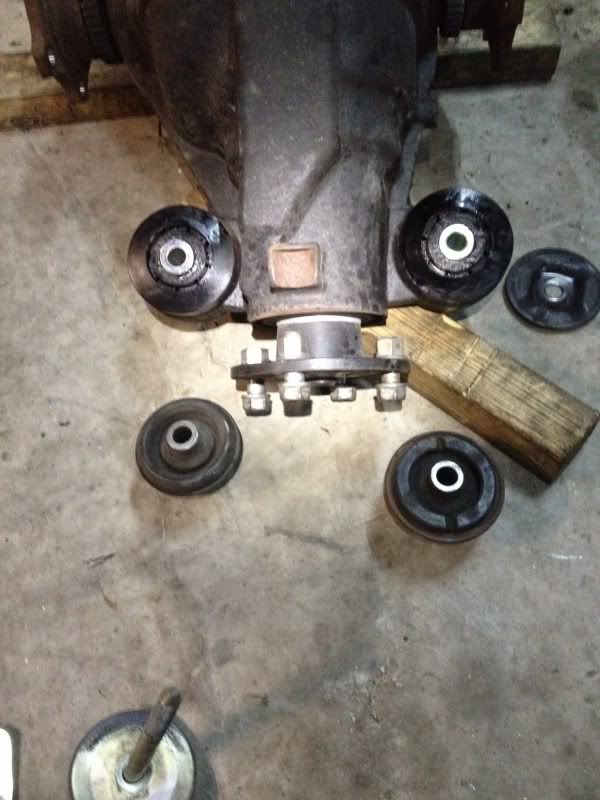 [/URL]
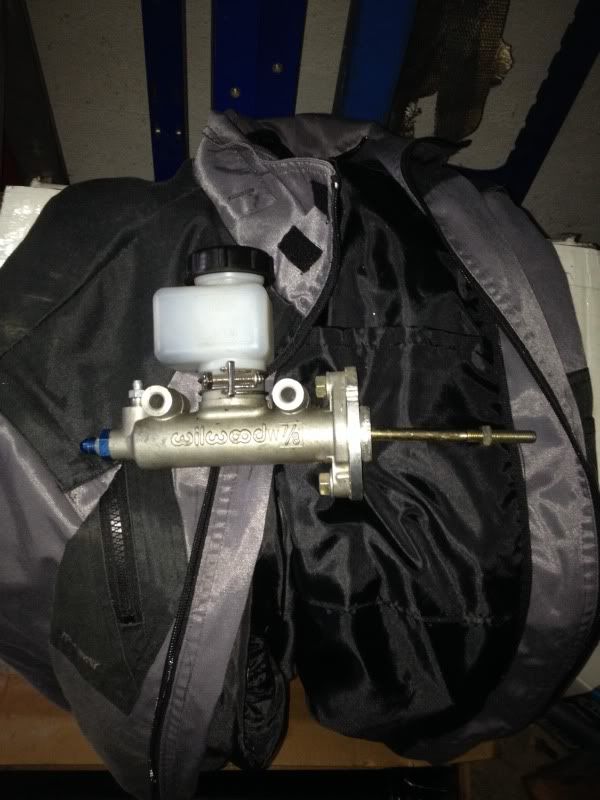 [/URL]
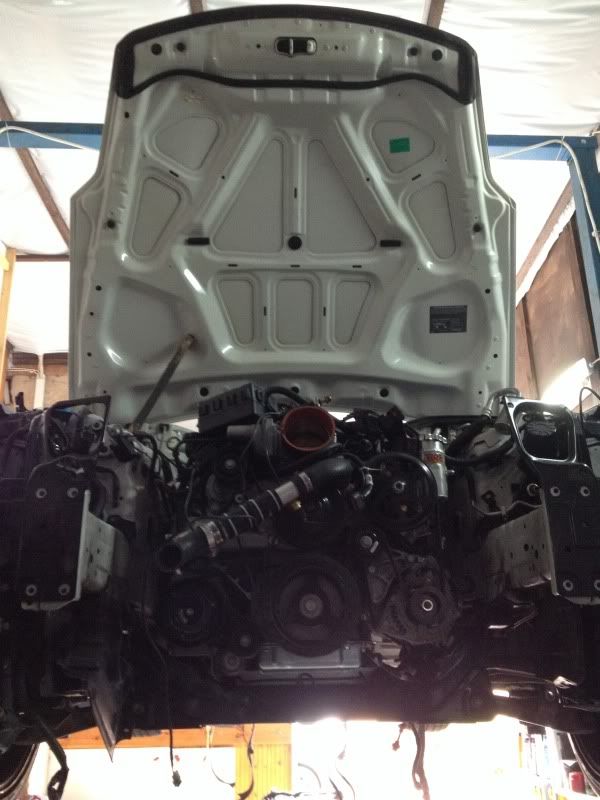 [/URL]
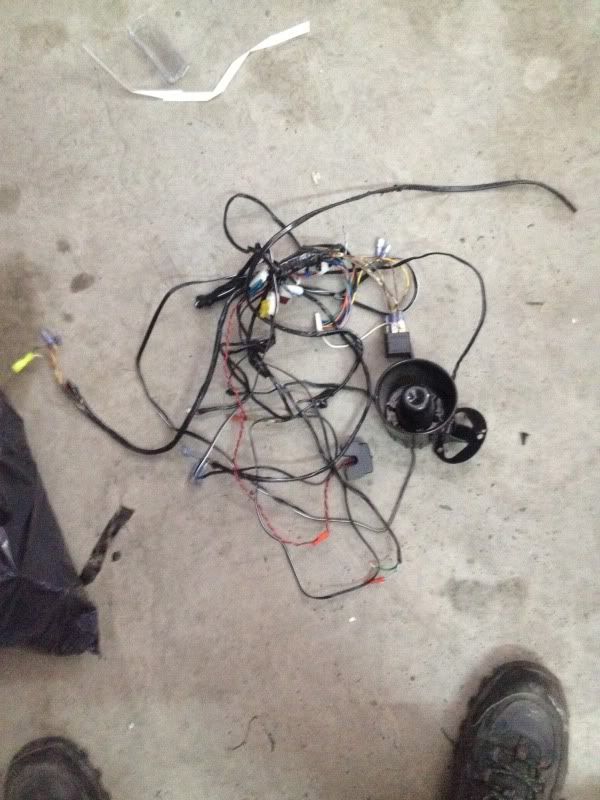
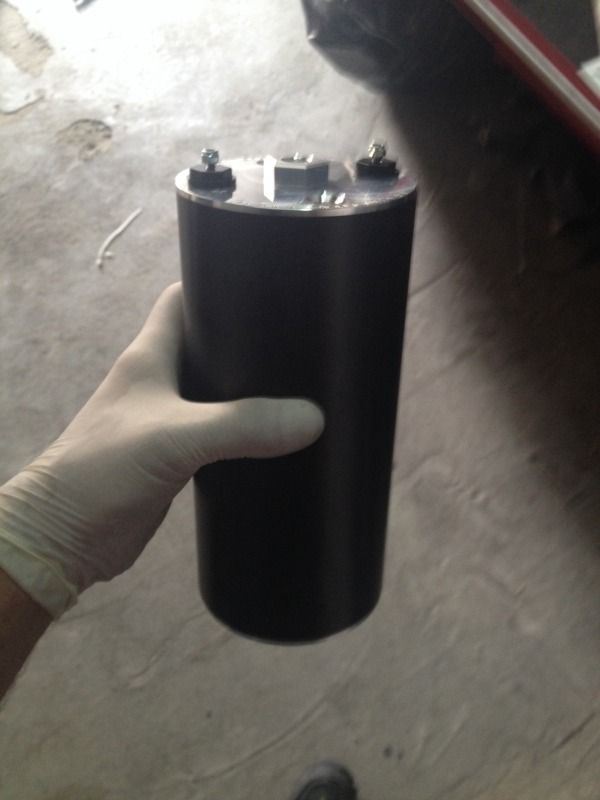
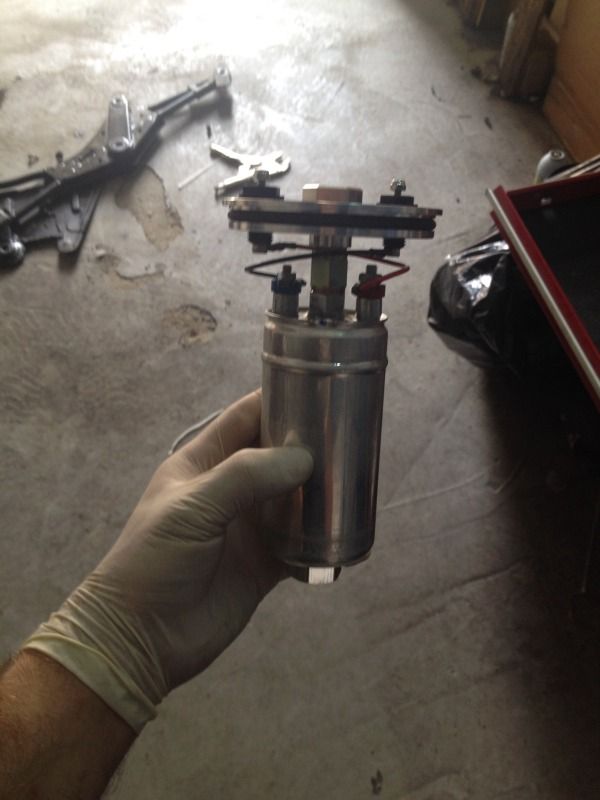 A bosch 044 pump submerged in a 1 liter catch tank fed by a DW300 in tank lifter pump. the DW pump would have likely sufficed for the 500 whp NA end goal I have, but I figured a slight overbuild here wouldn't be to bad.