


EDITED TO ADD FULL PARTS LIST WITH NUMBERS AND TOOLS NEEDED-
To do this- you will need-
M3 and M4 hex head drivers
Medium length narrow head phillips screwdriver. I used one I had from a PC repair kit.
Traxxas Rustler (obviously) Traxxas PN 3707L
STRC LCG Slash 2wd Kit or similar http://www.teamstrc.com/index.php?route=product/product&product_id=645 (I used STRC because it was pretty)
Bag o Traxxas hardware (for the inevitable stripped screws)
Traxxas Slash front and rear wheels/tires PN 5865 (F), 6876(R) or similar
Traxxas Camber links- PN 3737 or similar
RPM rear arms- (this can be done with OE, but it's pointless. Upgrade and do it right) RPM PN 80594
RPM front bumper- RPM PN 80955
RPM rear bumper- RPM PN 81005
These are the basic parts you need to make a working and fairly bulletproof slash from your old, unused Traxxas Rustler. I don't recommend doing this to a NEW Rustler, it's slightly cheaper to start with a new Slash if you're going to build an LCG and have no truck. The main benefits being that A- no one races stadium trucks as bashers anymore. They're all running short course scalers. This means hobbyist level RC clubs are popping up with these trucks everywhere, and they're fun and cheap to race and B- this already gives you a leg up on factory slashes by dropping the center of gravity almost 2" by moving the battery to a laydown centermount, and mounting the steering servo flat as well. So, RC threads pop up from time to time, with people always seeking advice to different cars and so on. I've weighed in on nearly every one- figure you guys might like some insight as to how I roll. (be kind, it's not even 7am but I need something to do to prevent me from murdering my child for getting up at this ungodly hour)
About two years ago, I purchased a used Traxxas Rustler from a friend of mine. I didn't really need another stadium truck, I've got a full CF Team Associated T4 for that. But it was a smokin' deal (running, full brushless, 100$) and it had already had a lot of the hard stuff done to it. Full RPM arms, metal trans, speed gearing, Velineon brushless and so on. Drove it for half a summer, rolled it during a speed run and blew the steering apart. Then I got ADD and bought a drift RC car (that's a whole nother mess) and it got mothballed while I focused on getting my slide on.
Last weekend, we were without power, so I packed the wife, kid, laptop, gopro, beer and my drift car into my ms3 and we went out to some friends that were unaffected by the recent storms. While we were out there, I started teaching my short person how to drive an RC. He's not quite two, and he gets the idea (pin it and hold on). I discovered however- an RC drifter with a custom chassis, lipos, and so on- NOT ideal for teaching said child to drive. That's next year. SO- I revisited the idea of the Rustler and decided it was time to get the pig running- which brings me to yesterday.
I wanted to build something that had more use than a training tool and basher status for my soon to be two-year-old. I started doing some research into what's called an LCG Slash. (LCG stands for Low Center of Gravity, you'll get it in a second). Turns out, the LCG conversion uses a Rustler pan, upper deck, and battery tie as part of the conversion. Hey- I have those things! A little further research tells me that the whole front end is identical to a Slash (steering arms, shocks, a-arms, etc) and the rear end is nearly identical with the a-arms and the tie rods (I think?) being different, as they're slightly narrower. GO TRAXXAS FOR PARTS BINNING! This means, I have nearly an entire brushless Traxxas Slash sitting in my "toy room" waiting to be used. Thus began the collection of parts.
[URL=http://smg.photobucket.com/user/mndsm/media/IMG_20130627_123418_zps834f1403.jpg.html] [/URL]
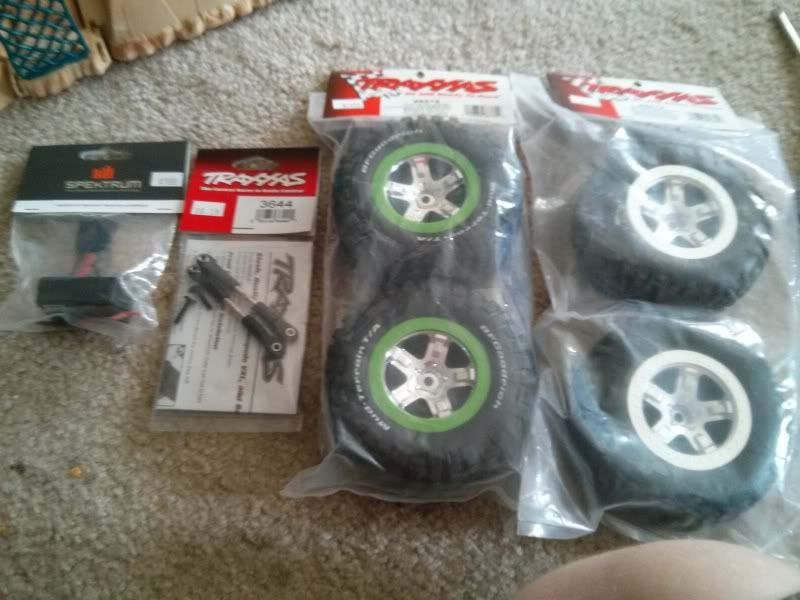
A quick trip to my local hobby store yielded this pile o' stuff. In addition to the rear arms, it was discovered I'd need Slash bumpers and Slash body mounts to complete the conversion, so you see those in there as well. I tend to build things like this ugly on purpose, because it's way funnier when I kick someone's ass racing by what looks like Playskools My First RC. It's entirely possible the body for this (when I buy a slash body to run indoor) will be pink with flowers and ponies and stuff all over it. I then ordered this-

from Amazon. was like 32$ shipped. This is the lynch pin to the Slash conversion- as it lengthens the Rustler wheelbase to the correct Slash proportions. I got it in red, because well, I've got blue bumpers and green rear arms. Of course I needed red as well.
Parts ordered/collected, it is time to start the process. Step one was to assess where we were at. PO had thoughtfully provided street tires and a wheelie bar when I purchased it. Additionally, there was an RPM motor bashguard- which was sweet because it's a lot stronger than the factory one, and made mounting the rear bumper a breeze.
[URL=http://smg.photobucket.com/user/mndsm/media/IMG_20130627_195539_zps62923648.jpg.html] [/URL]
Step 2, wanted to make a little progress, so I focused on assembly/repair. I knew this thing was not running tonight, as I still need a receiver for my radio (I've got a Spektrum DX3C that stores something like 25 models, each with their own throttle/steering trims, etc etc), wheels and tires and a body. BUT- I can get the rear end together, assemble the bumper, and get that mounted. I decided I wanted to put the bumper together first, because OOOOOH SHINY.
[URL=http://smg.photobucket.com/user/mndsm/media/IMG_20130627_205628_zps0a713c93.jpg.html] [/URL]
No assembly pics, but you can pretty much figure out what happened. The bash guard was attached to the uprights with 4 supplied hex screws, 4 additional provided hex screws will secure it to the motor guard on the truck.
Step 3- time to install the rear arms. This was a little more involved, as I had to remove a good portion of the rear end to get to it. Motor guard came off, wheels and tires came off.
[URL=http://smg.photobucket.com/user/mndsm/media/IMG_20130627_210755_zps68fab2ac.jpg.html] [/URL]
From there, it was 3 screws to each arm. One on the inboard side of the arm, one on the outside that holds the knuckle to the arm, and one to detach the shock. Piece of cake, really. I DID however learn that Traxxas had a really weird design logic when they built these things- the screws are only threaded about 5mm at the base, and the rest of the length is smooth, so it acts as a hinge pin and a screw all in one. That confounded me for a good 5-10min as I tried to figure out why the damn things weren't threading out any further. As usual, force solved the mystery.
[URL=http://smg.photobucket.com/user/mndsm/media/IMG_20130627_211138_zps074658aa.jpg.html]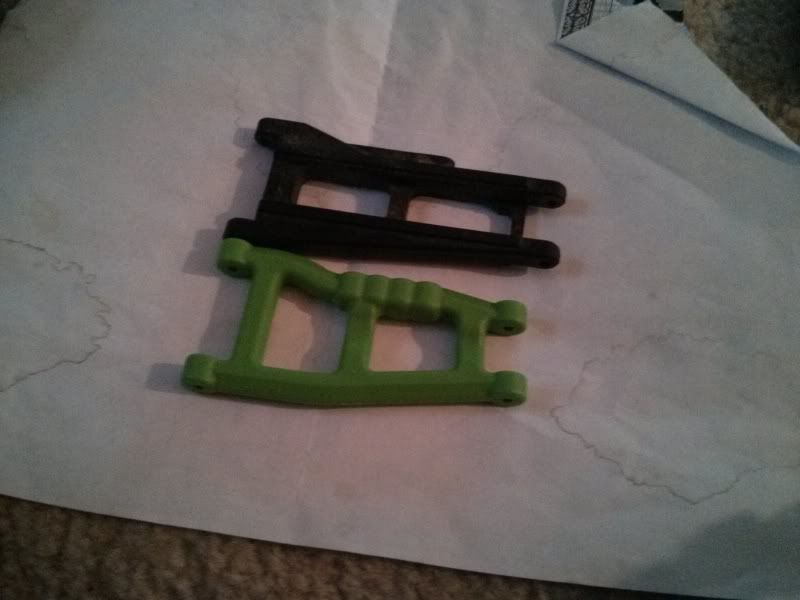 [/URL]
Arms removed, you can see the difference in size between the black (factory) and green (RPM, built for Slash). They're just a hair narrower and a whole helluva lot beefier. Install of the new ones was the reverse of what I'd done, so away we went. It was about this time, I noticed I might have made a mistake in my parts count.
[URL=http://smg.photobucket.com/user/mndsm/media/IMG_20130627_213030_zps253f2545.jpg.html]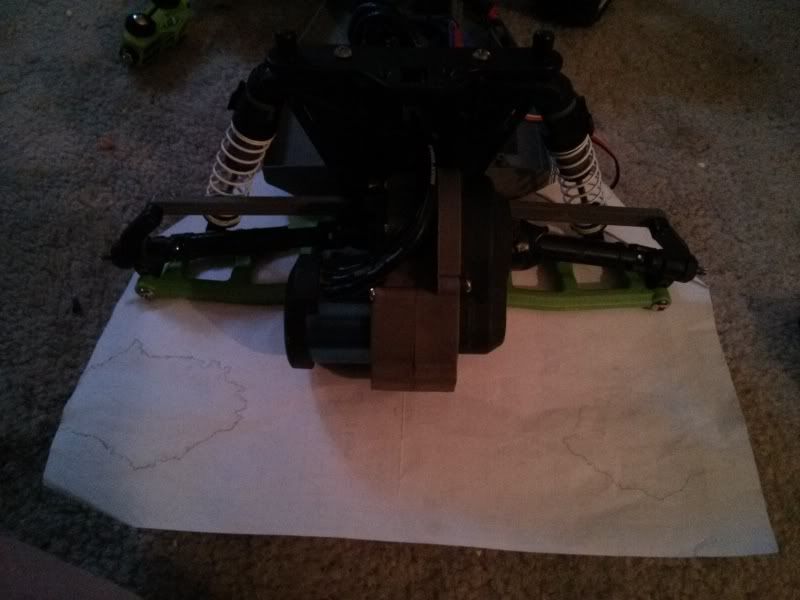 [/URL]
Knuckles look a little odd, huh? Maybe just a smidge of positive camber? Turns out, those upper "tie rods" I had mentioned? Yeah...completely forgot that when you shorten suspension laterally, and only do half, you run into dumb wheel angle problems. In the mood to get crap done, I decided to throw it all back on anyhow, since I can get to the tie rod screws without disassembling the whole shebang again.Plus I was tired. So- we threw the bumper back on, threw the tires back on and the gravity of my problem was fully realized.
[URL=http://smg.photobucket.com/user/mndsm/media/IMG_20130627_214520_zps26344471.jpg.html]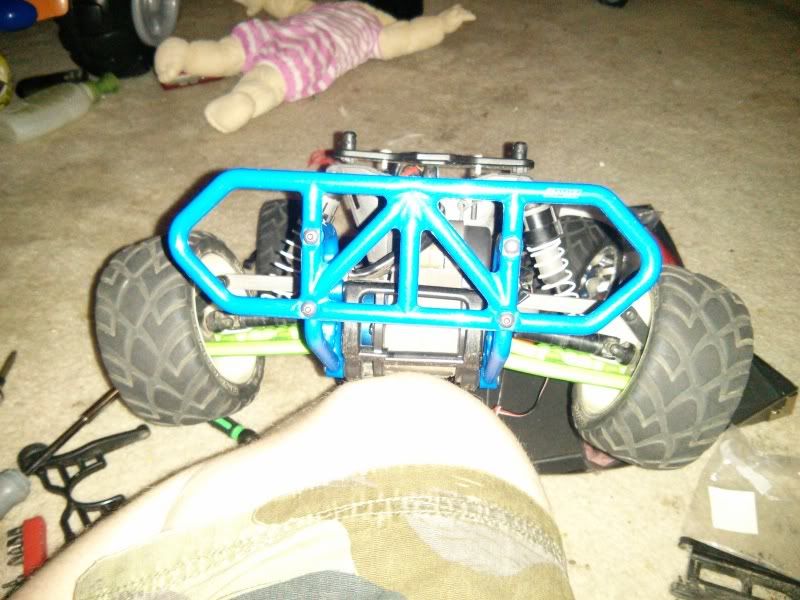 [/URL]
Yeah, that's not going to work. I need to get those parts in so it sits normal and not like a dog hunching to take a dooker.
Rear end fully assessed- it was time to move on to the thing that was actually broken. 4 screws allowed the top cover to come off and gave me full access to the steering box. One of the steering links had cracked, the screw came out, and the tie rod that goes to the front spindle had come loose. She's not gonna steer like that captain! I didn't take any pics, but the install was straightforward. One hex screw took the arm off, popped the bearing, replaced with new part, reassemble.
That brings me to where we are now. I still need to track wheels and tires down, and am waiting on that STRC kit before I can really move any further. In the meantime, I decided I was going to see what else would amuse me.
That lead to this.
[URL=http://smg.photobucket.com/user/mndsm/media/IMG_20130628_075200_zps41fda902.jpg.html] [/URL]
That is an HPI Honda Odyssey body, designed for on road cars. It's actually what originally lead to the build of my very first RC drifter. I saw the minivan body and had to have an RC that went under it- so the logical thing was to drop 300 bones on a whole new setup. Like I said, I like things that look strange, and there's nothing stranger than a drifting van... at least as far as RC goes. The wing is an HPI wing out of a Toyota Levin kit- I figured it needed more downforce and JDM street cred, plus I had a MUCH larger wing that went on the Levin. When I switched from a TT01D to a TB03D that was basically made entirely custom with an Eagle Racing chassis- most of my TT01 bodies became useless due to a small variance in wheelbase. Silly Japanese making my life harder.......
In any event, I've got several bodies painted and cut for a TT01 that are now effectively useless to me, so I decided....
[URL=http://smg.photobucket.com/user/mndsm/media/IMG_20130628_075253_zps1e410cfc.jpg.html]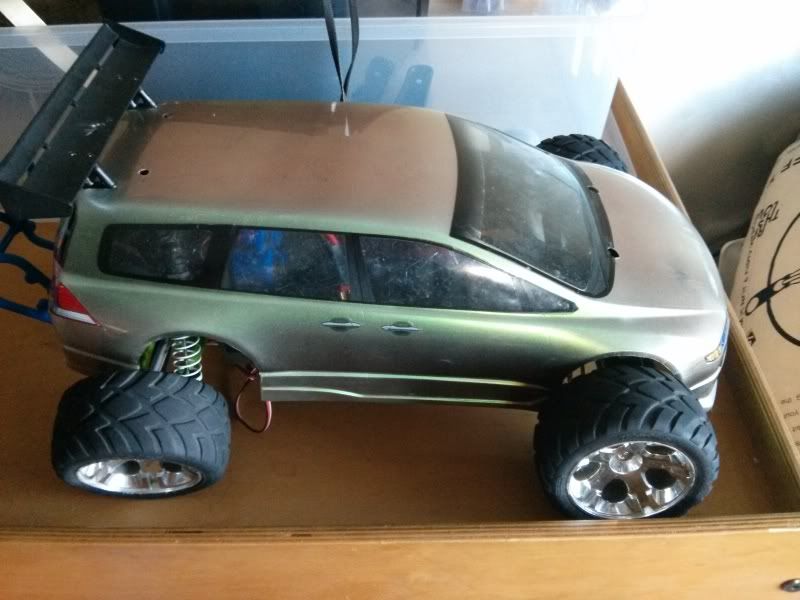 [/URL]
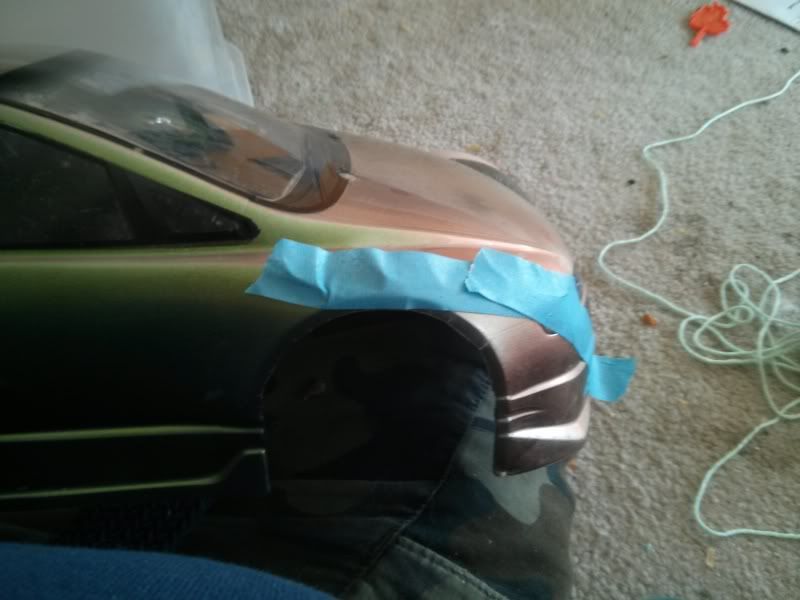
This. This is totally going to happen. It's going to take extensive redrilling/trimming to get it to fit- as you can see this was NOT designed to happen from the factory. But this is Grassroots, right? If someone can build a diesel Miata- I can build a baja set Honda minivan. Plus what the hell else am I going to do? I've got a body that's custom painted that is effectively worthless. No one runs TT01's anymore (that I know) so the body is worthless sitting.
[URL=http://smg.photobucket.com/user/mndsm/media/IMG_20130628_075321_zpsbd783978.jpg.html] [/URL][URL=http://smg.photobucket.com/user/mndsm/media/IMG_20130628_075404_zps7b94a9f6.jpg.html]
 [/URL][URL=http://smg.photobucket.com/user/mndsm/media/IMG_20130628_075351_zps5c7ab0fb.jpg.html]
 [/URL]
As you can see, I have a very excited small person who can't wait to get his mitts on this freakshow. He was trying to help me last night- which mostly involved him jamming screwdrivers into it wherever they fit. I imagine in another year or so, we'll be doing a fresh build on something for him- I need to find a kit that is suitably badass that won't break every time he slams it. I'm thinking a Monster Truck- he likes him some monster trucks.
All said and told, I should be into this for less than 200$, including the purchase of the truck. Seeing as a new Slash VXL is 300+, I can't really go wrong here, and it gives a lot of my dust covered spares something to do. I have to at this point mention- big ups to my dude Sam over at Scheer Bros Hobbies out of Libby Montana. http://www.scheerbros.com/ I've known Sam for a long time, and he recently opened this shop to share his love for the sport. He's a long way from me, BUT- he's always available to answer any questions, give me ideas, and he's a freakin' GURU when it comes to the aftermarket. He's built a few Slashes himself and he's been my go-to when it comes to any oddball questions I have. He's also set up a few of my drifter friends who are done with the local hobby shops (really- most of em here suck. I only use em when I need crap RIGHT NOW) and treated them quite well. Sure, shameless plug, but I'm getting squat out of it- and he really is a good dude. Check em out if you need RC things. He will hook you up.
At this point, I'm sort of sitting and waiting. Technically I could make this run TODAY- but I've got better things to do. Like go play pinball. So, the wait for parts begins. I HATE WAITING.


 [/URL]
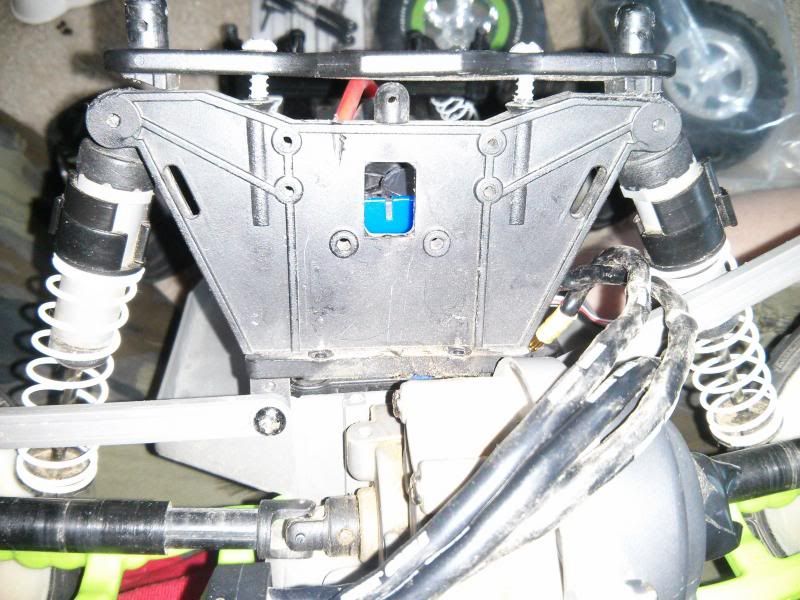 [/URL]
 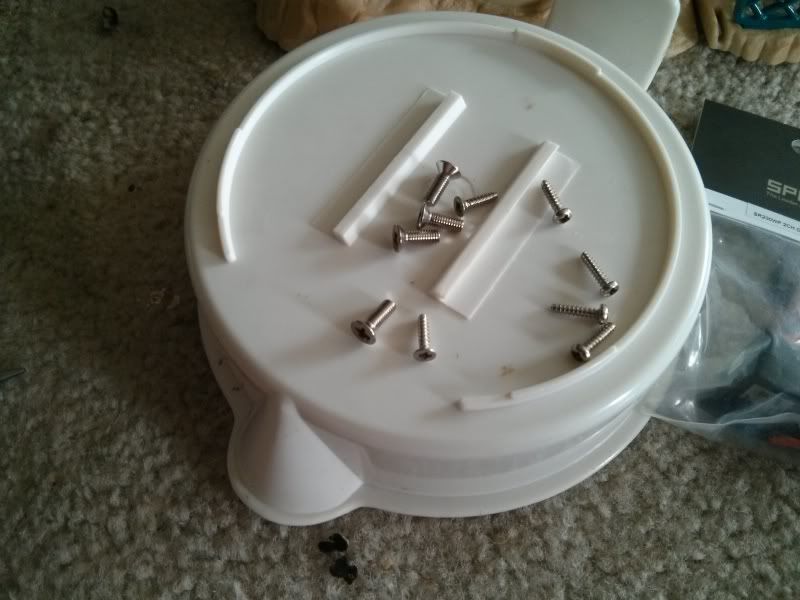 [/URL]
 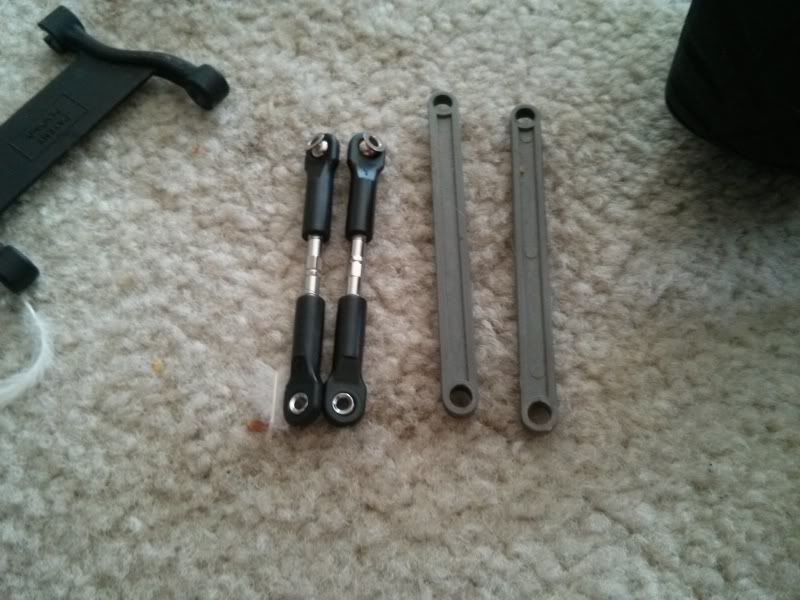 [/URL]
 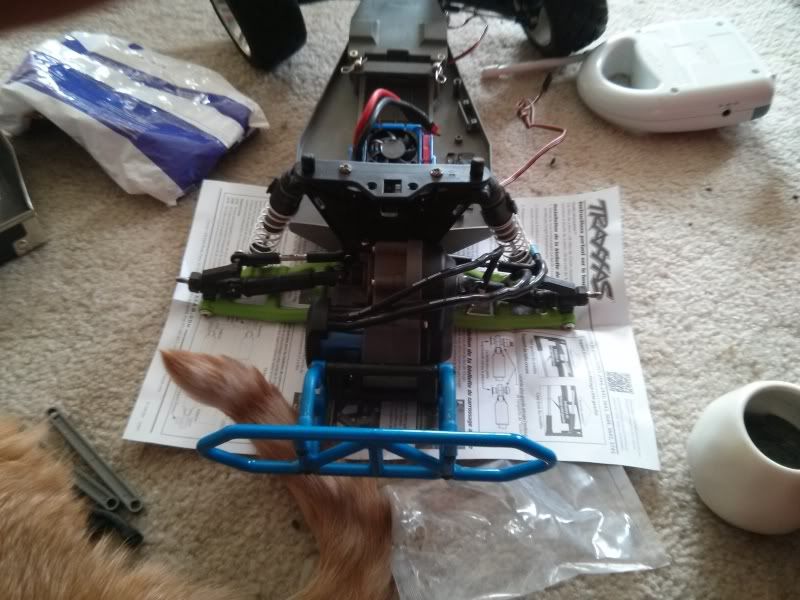 [/URL]
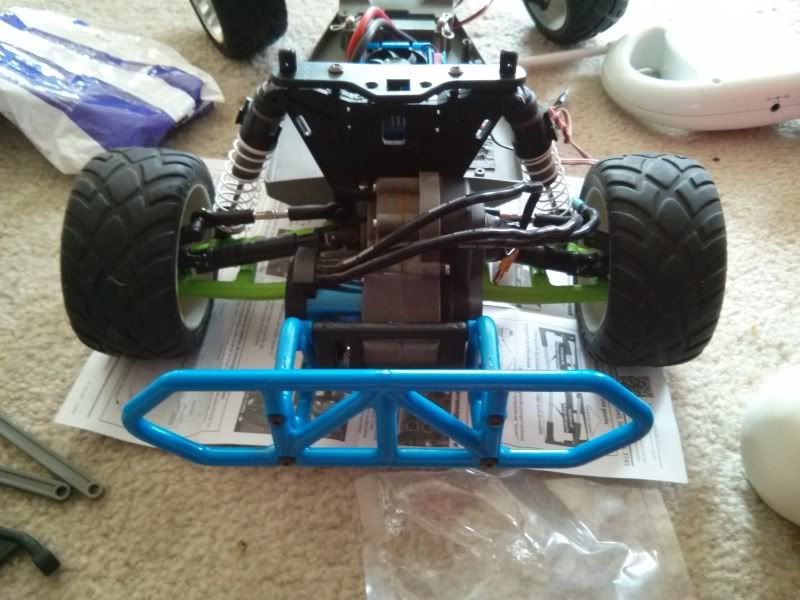 [/URL]
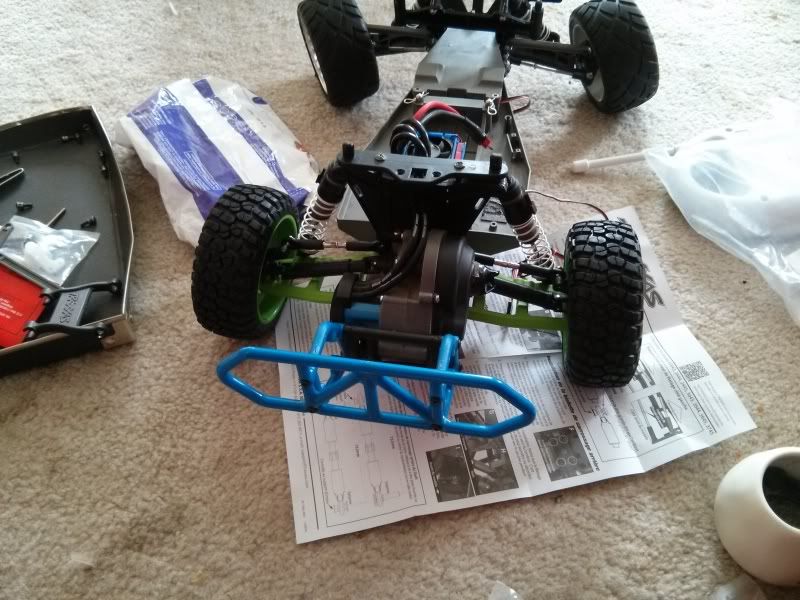 [/URL]
  [/URL]
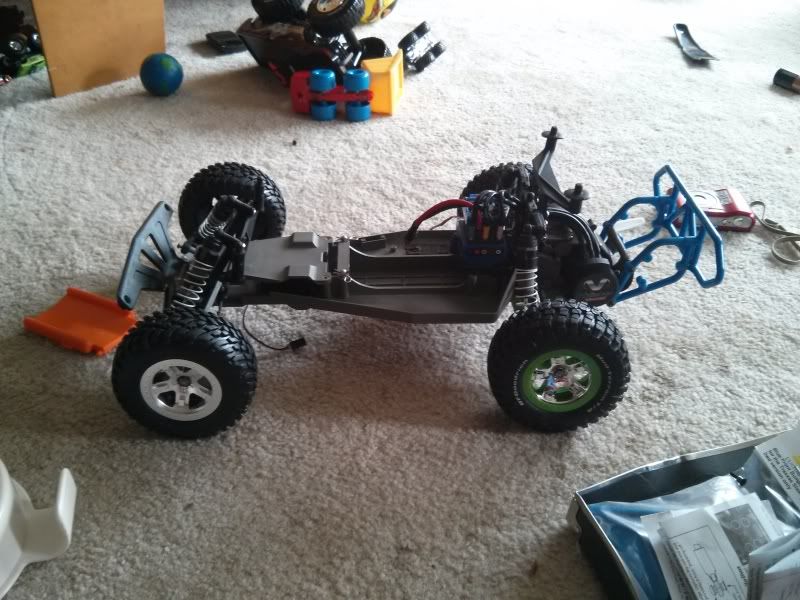 [/URL]
 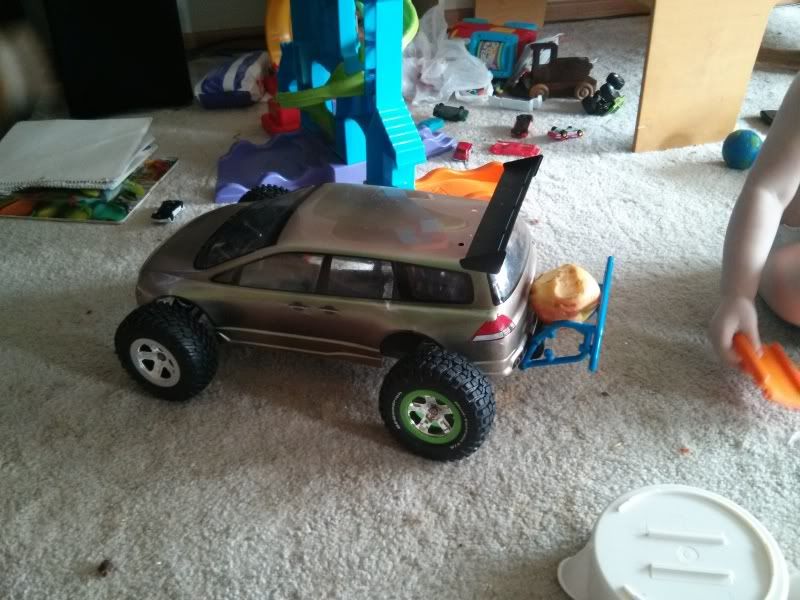 [/URL]
 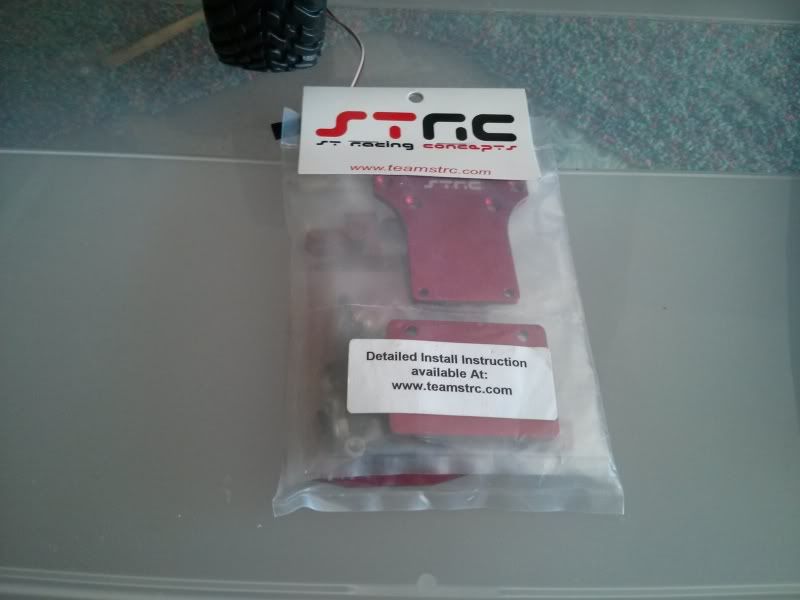 [/URL]
 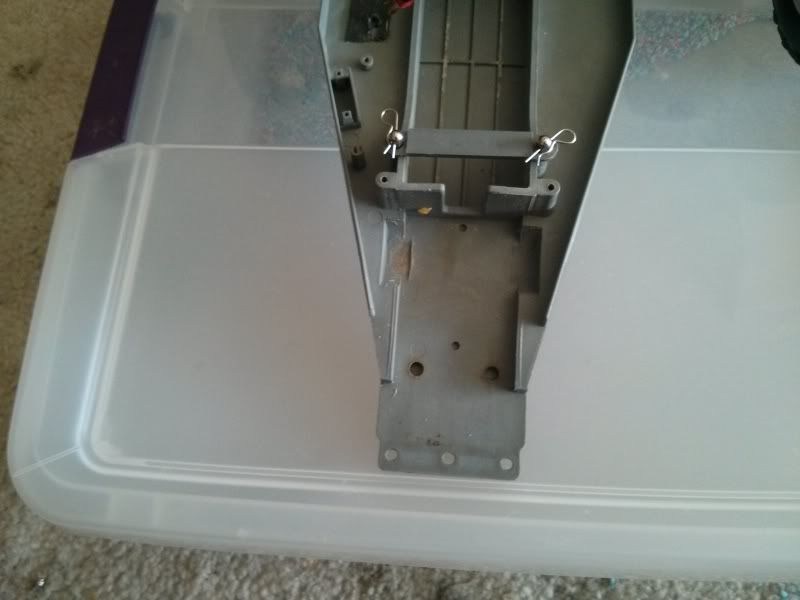 [/URL]
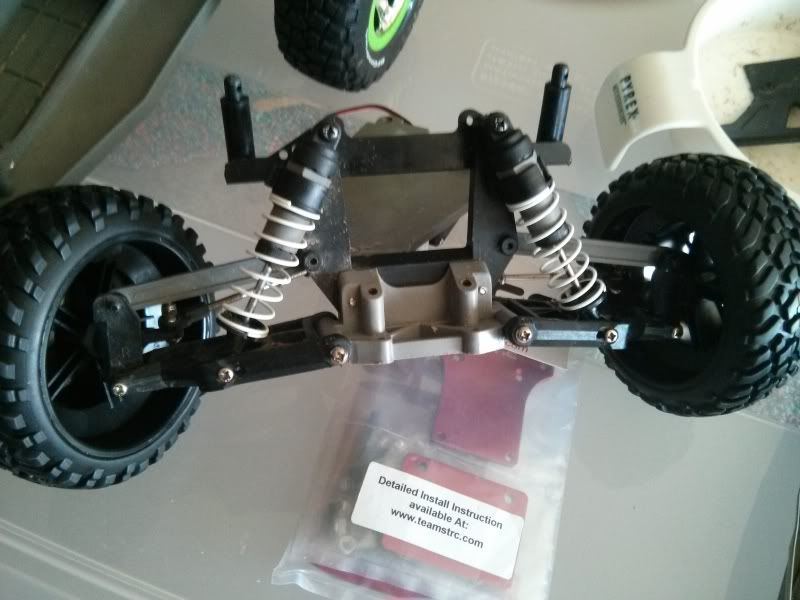 [/URL]
  [/URL]
 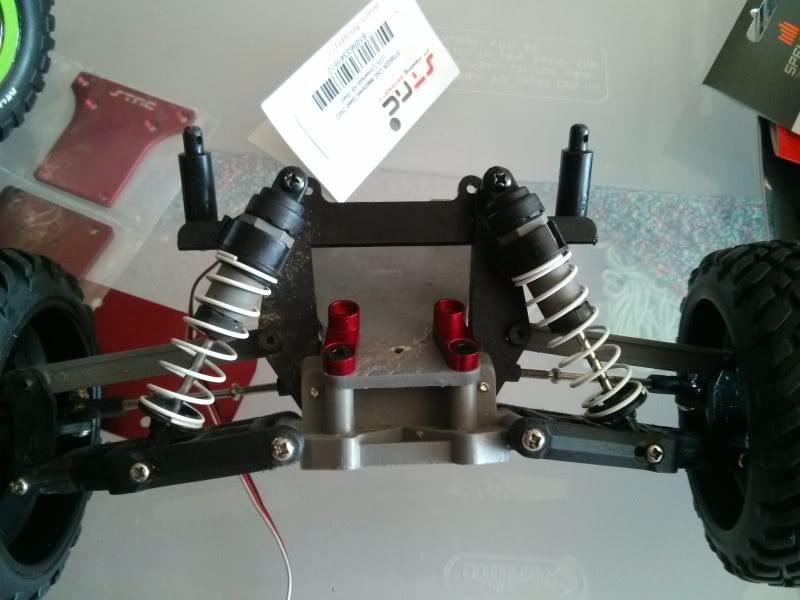 [/URL]
  [/URL]
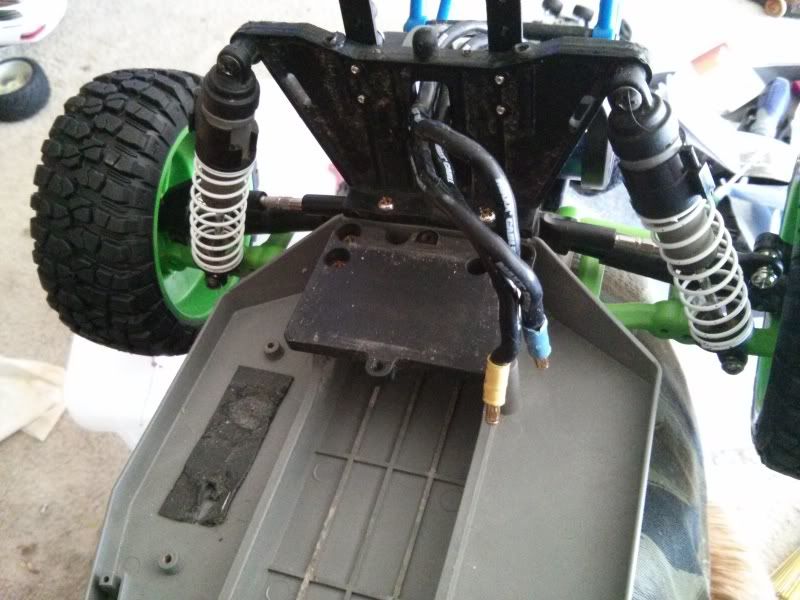 [/URL]
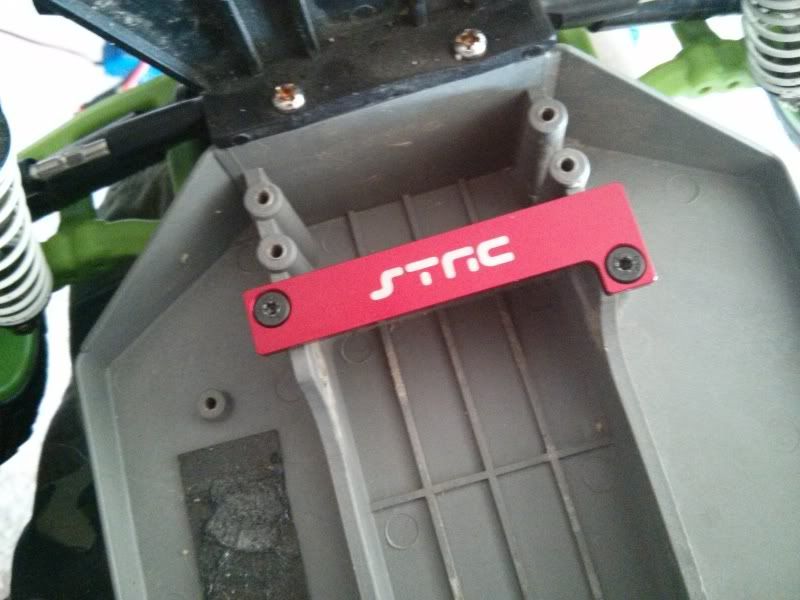 [/URL]
 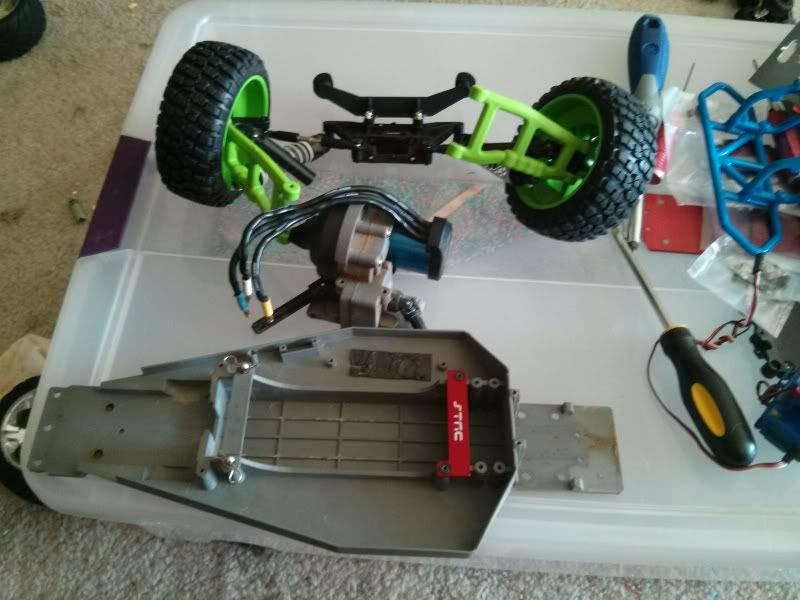 [/URL]
  [/URL]
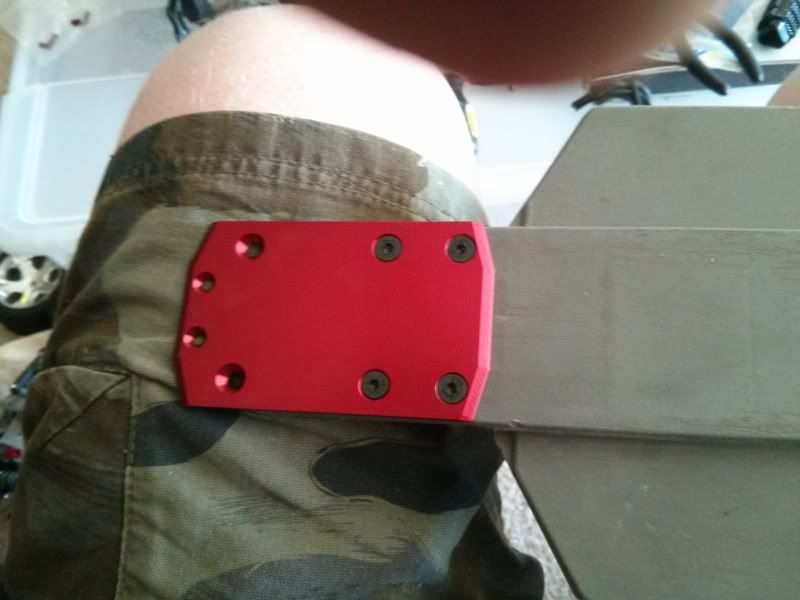 [/URL]
 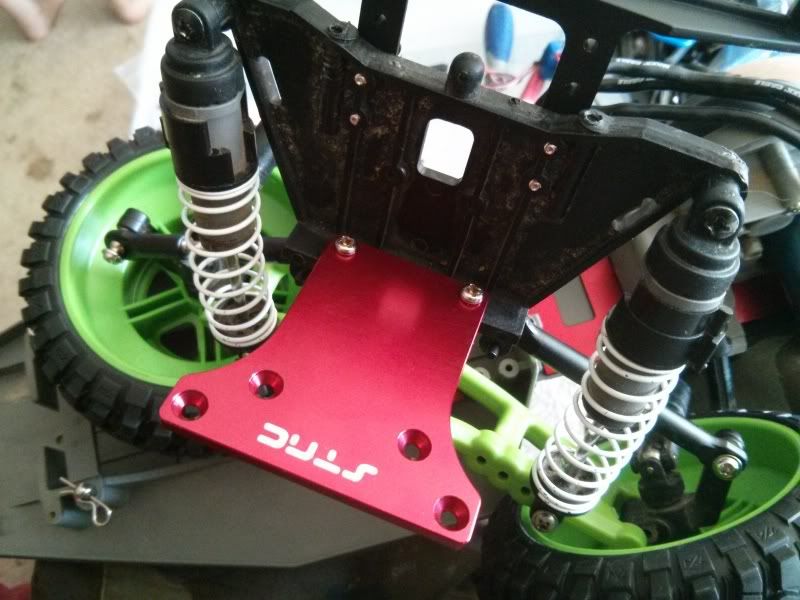 [/URL]
 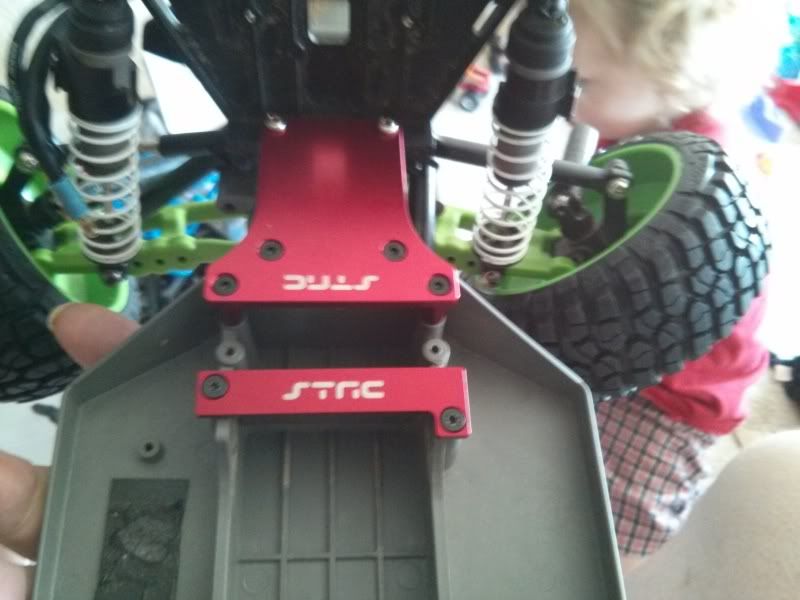 [/URL]
 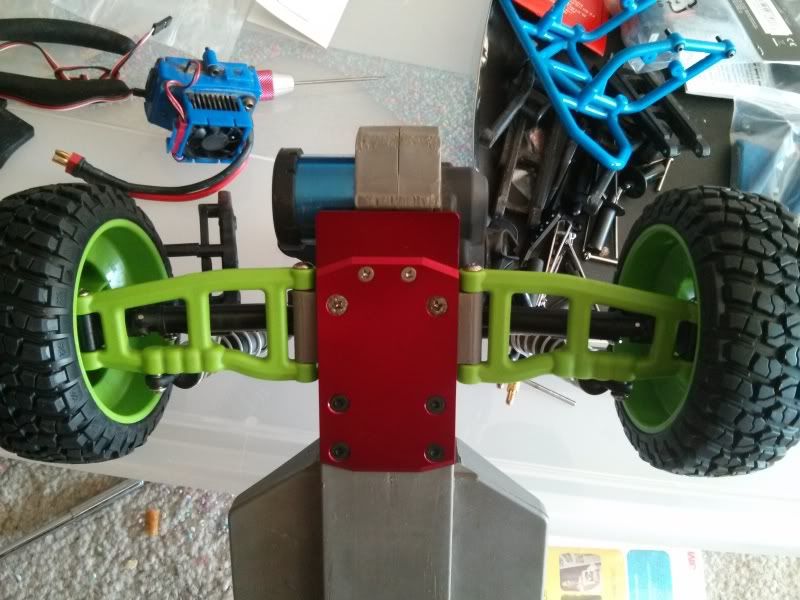 [/URL]
 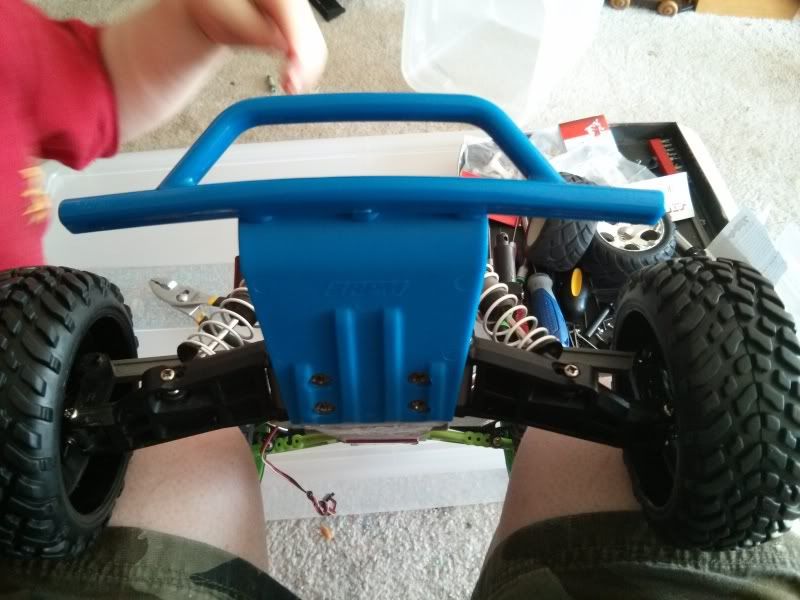 [/URL]
[URL=http://smg.photobucket.com/user/mndsm/media/IMG_20130702_162621_zps728d6c1c.jpg.html]
[/URL]
[URL=http://smg.photobucket.com/user/mndsm/media/IMG_20130702_162621_zps728d6c1c.jpg.html]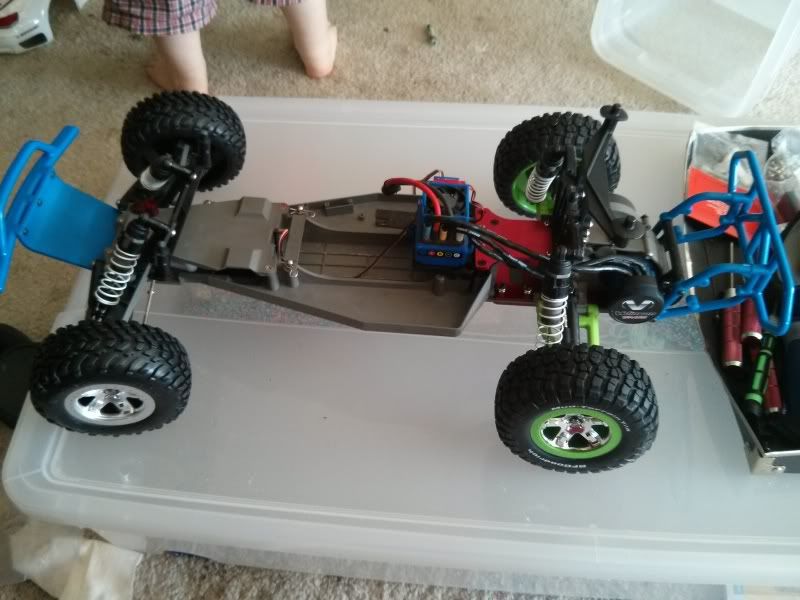 [/URL]
 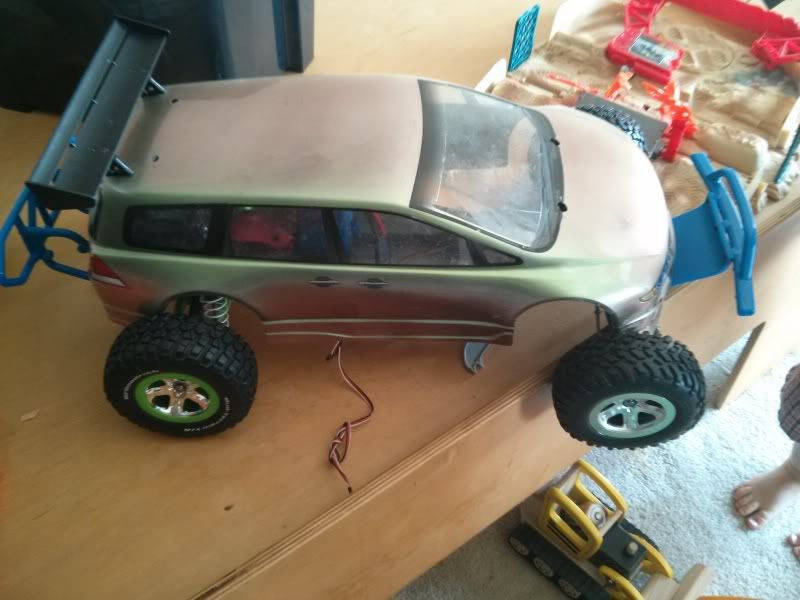 [/URL]
 [/URL]
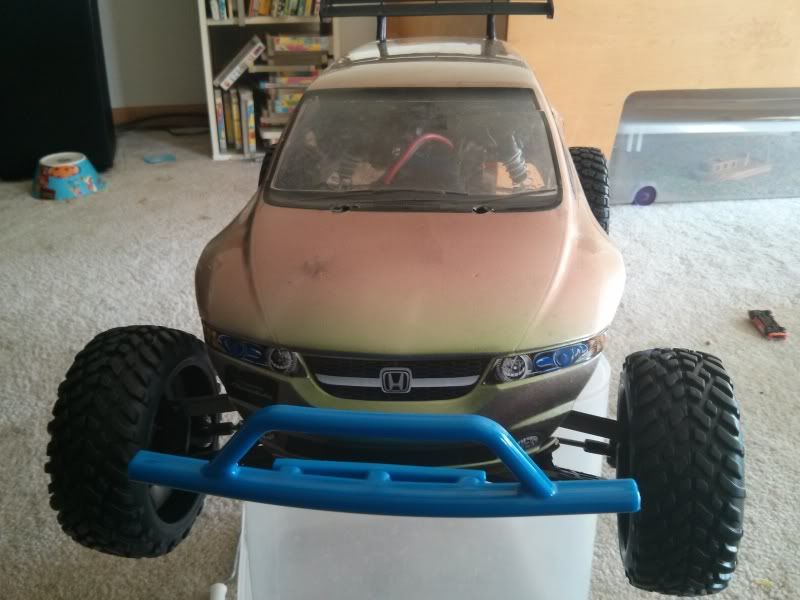 [/URL]
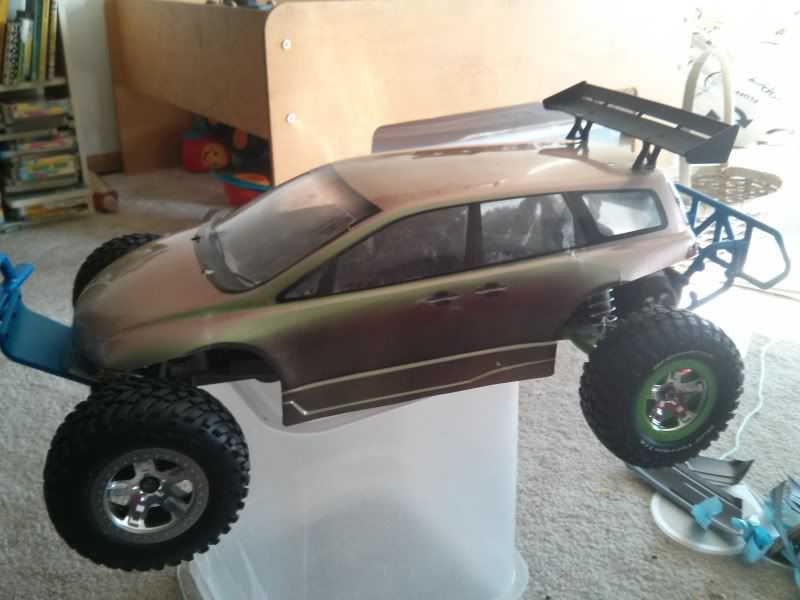 [/URL]
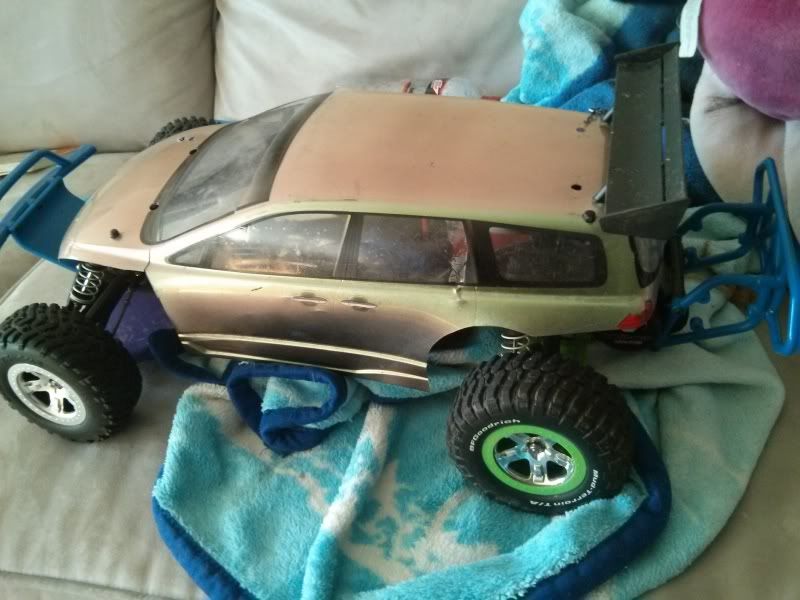 [/URL]


