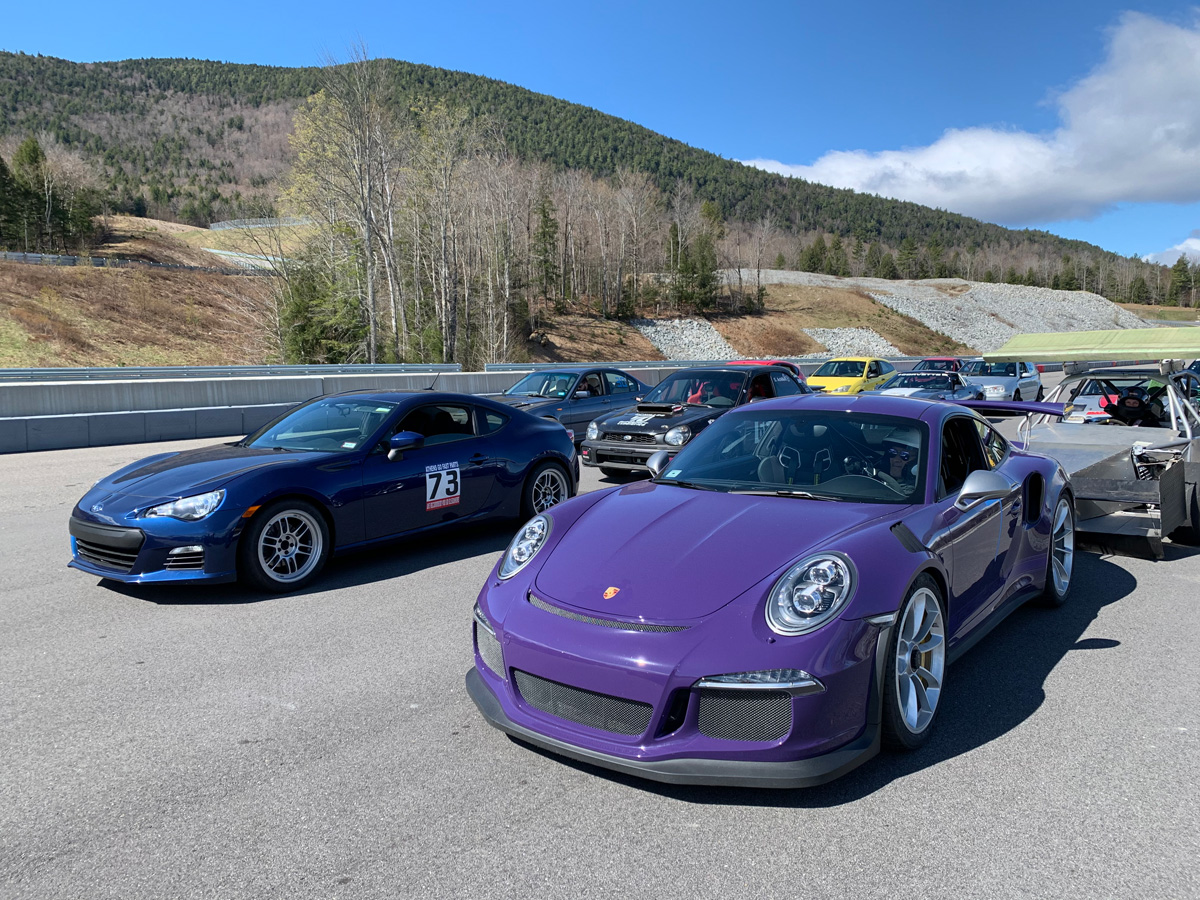
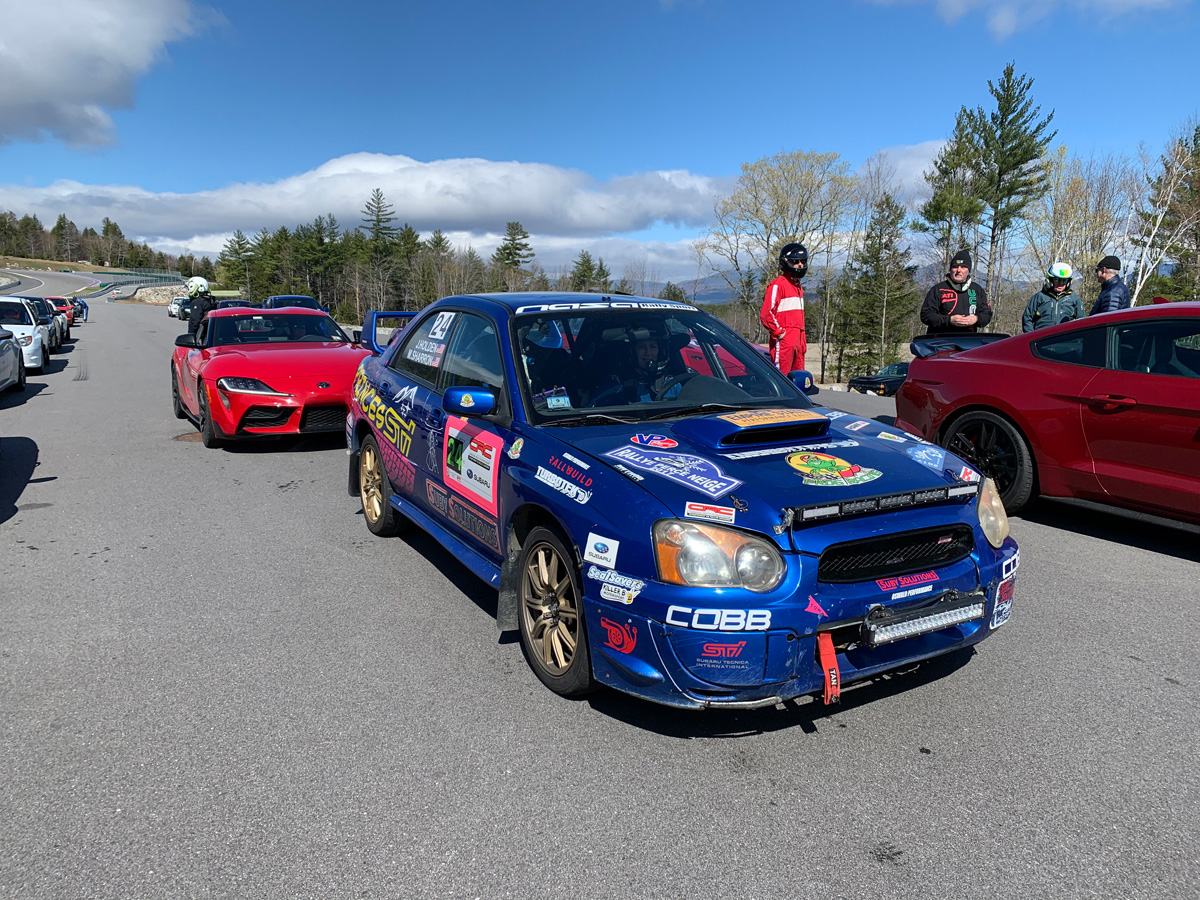
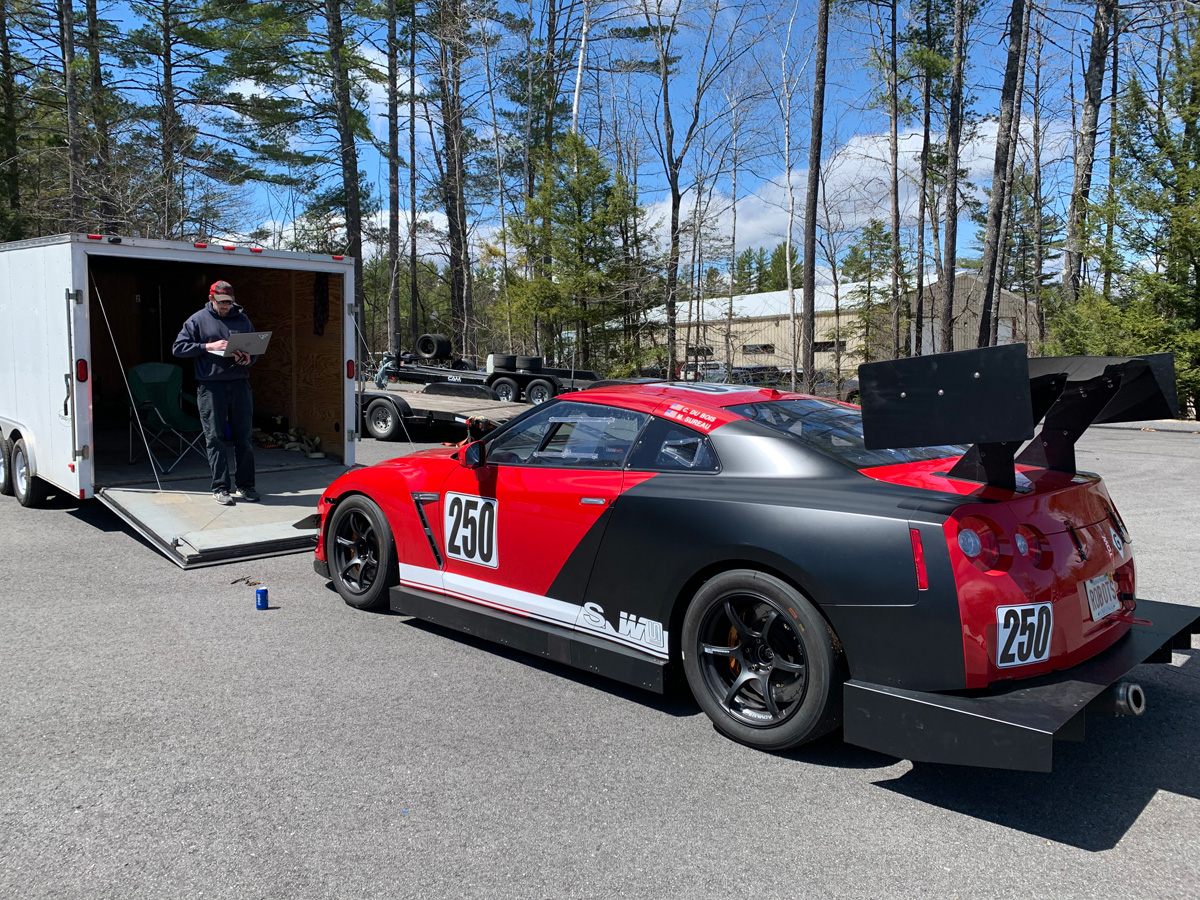
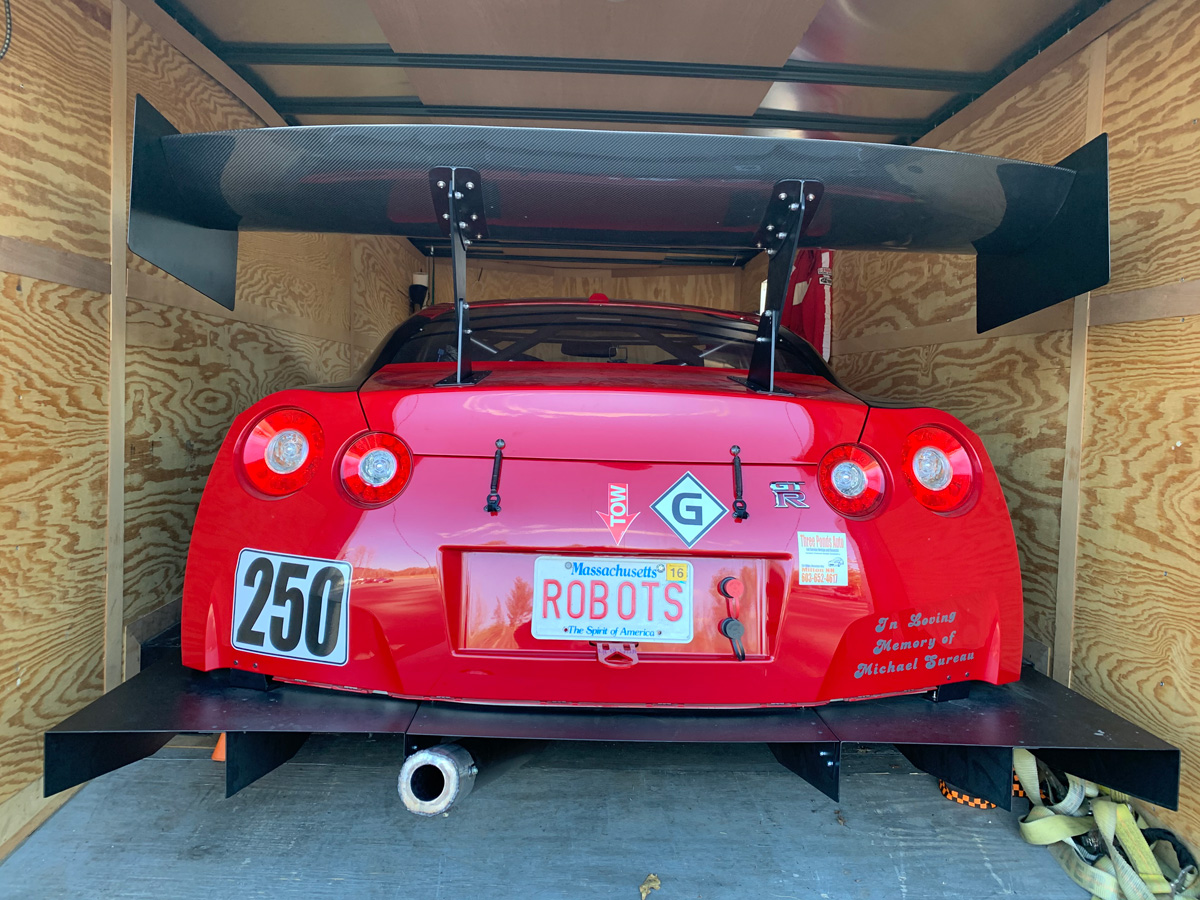
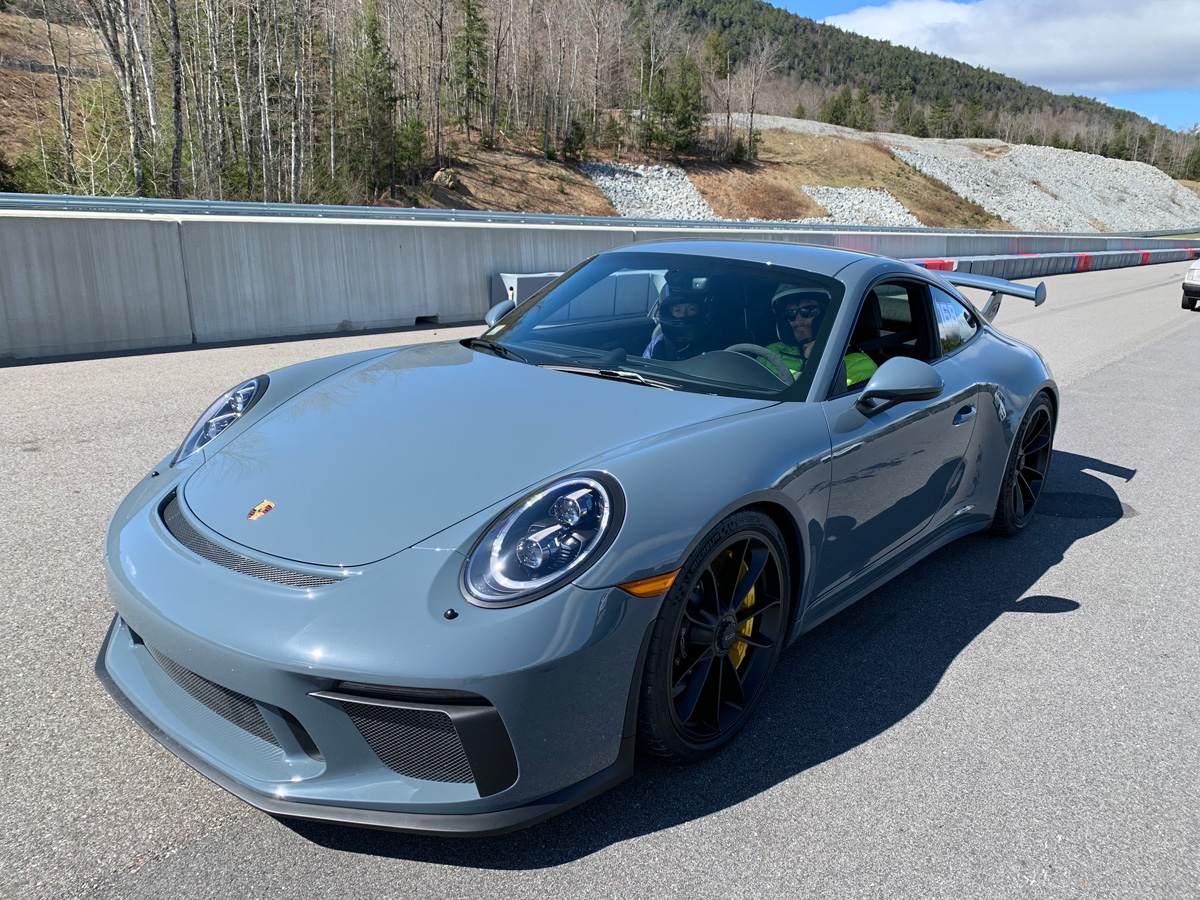
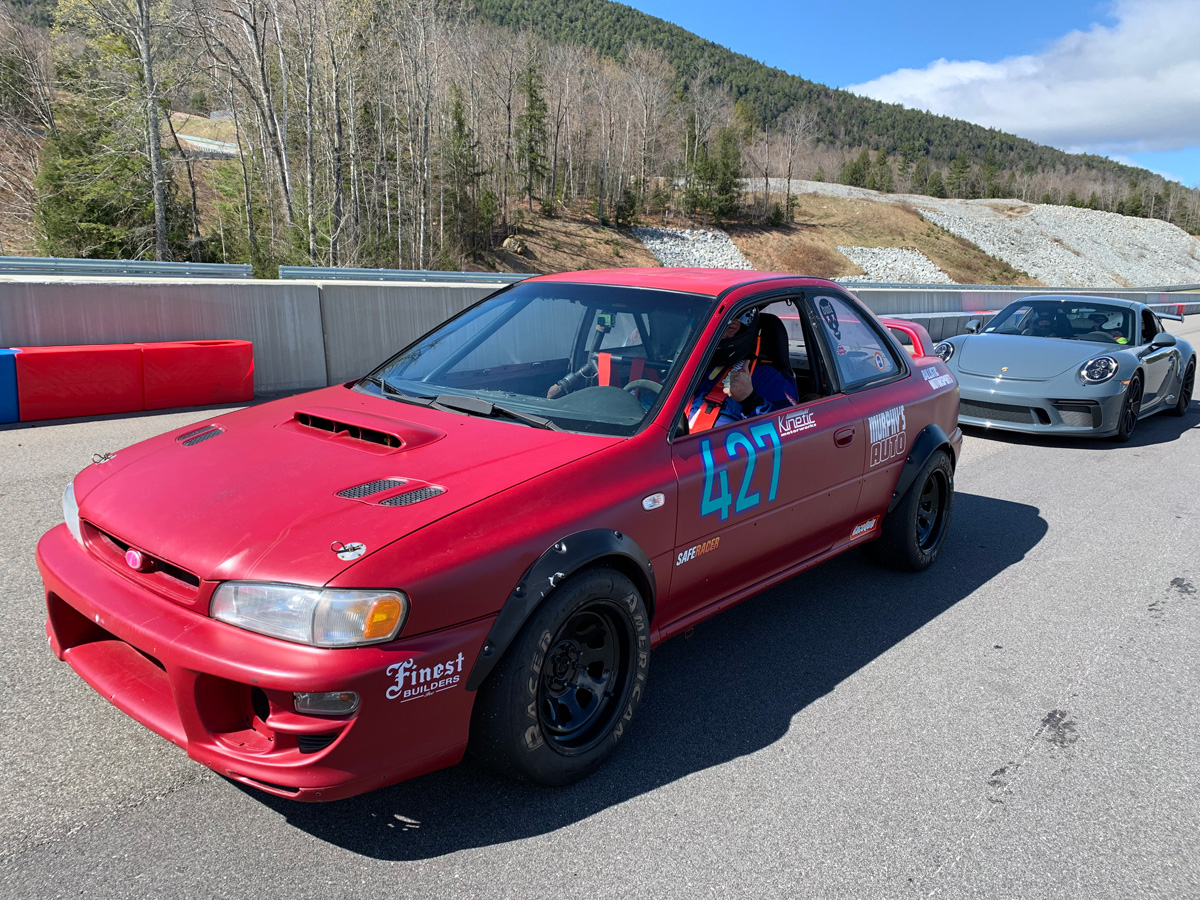
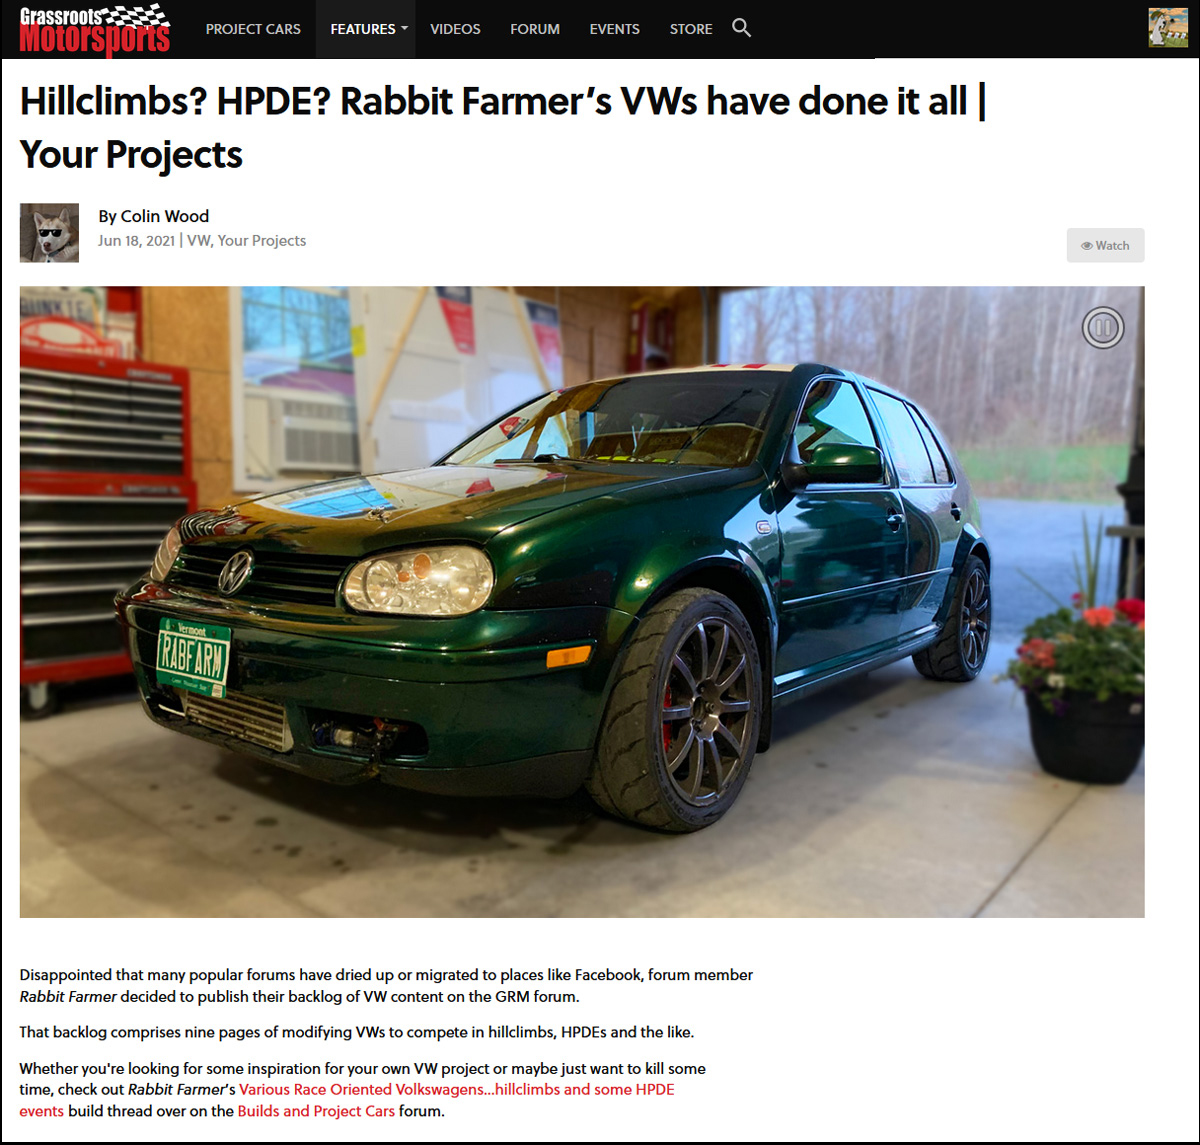
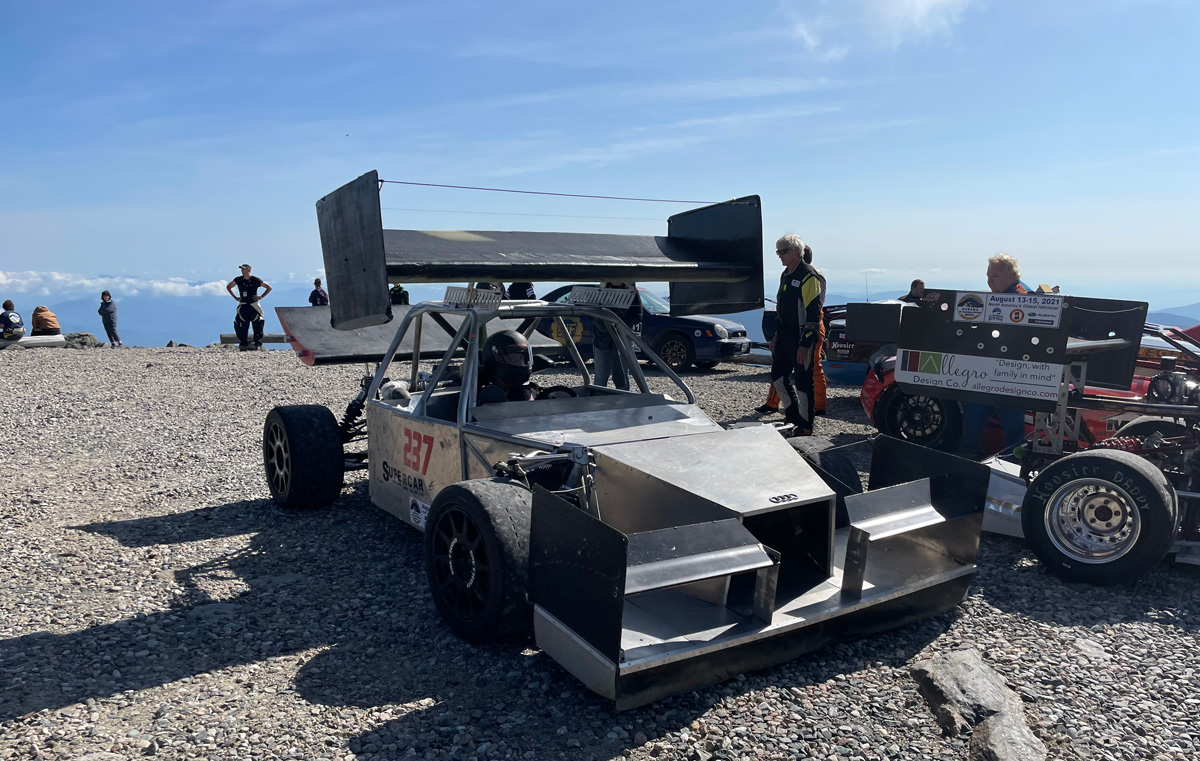
I can see this is a long read, so I’ll give you the short version and you can look at the pretty pictures if you don’t want the verbosity induced detailed version.
Short version:
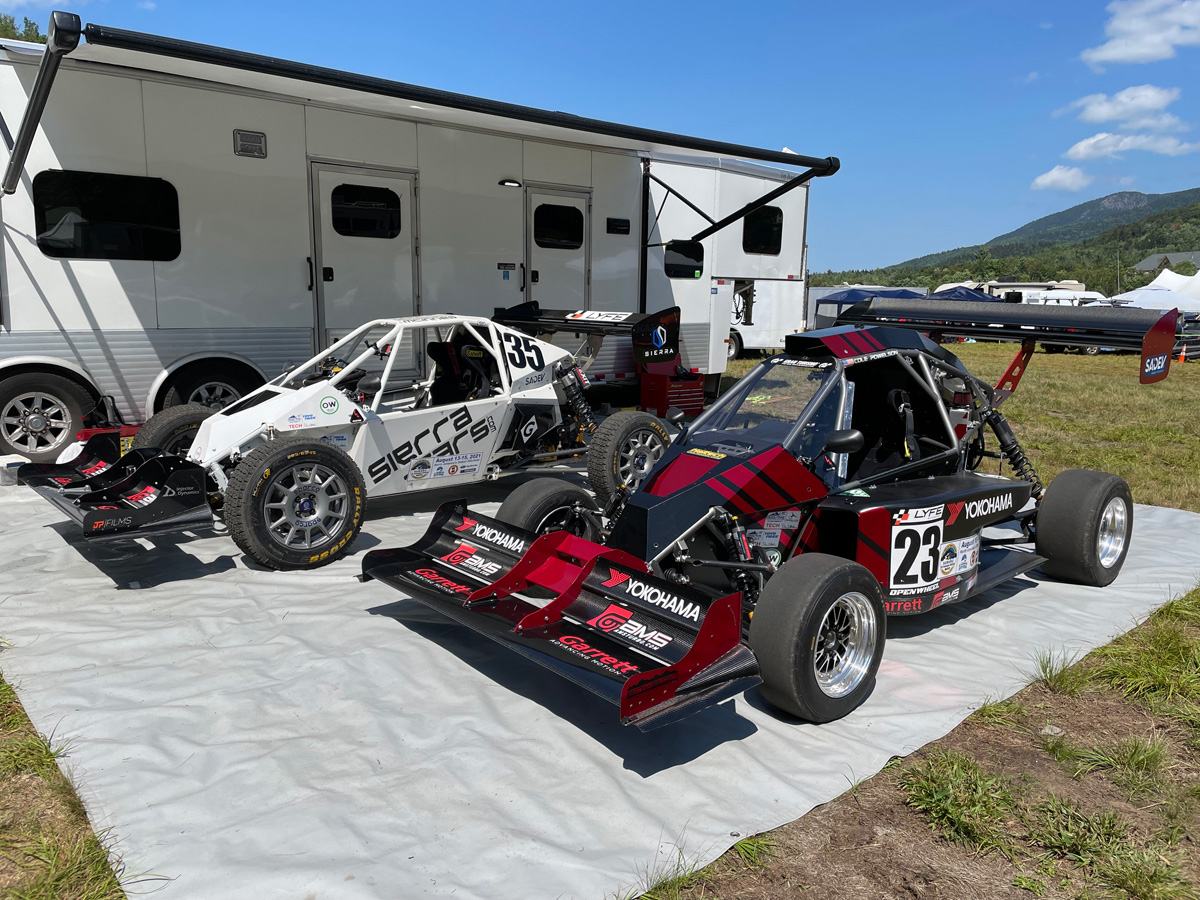
I went off at the Okemo hillclimb that caused damage to ego (I can no longer say I have been crash free since 1999 when I first started) and the front suspension and rims. Borrowed a cool Subaru to get a time run. Fixed the car for the Burke hillclimb. Drove the next hillclimb on rain tires that sucked in the hot dry weather. Ordered new front strut and two rims to bring it back to its pre-accident condition prior to the last hillclimb of the year. Did something fancy with Subaru license plate. Pictures of parts to fix the folding mirrors on my 2012 pick-em-up truck. Go look at the pictures and watch the video. Move along.
The long version:
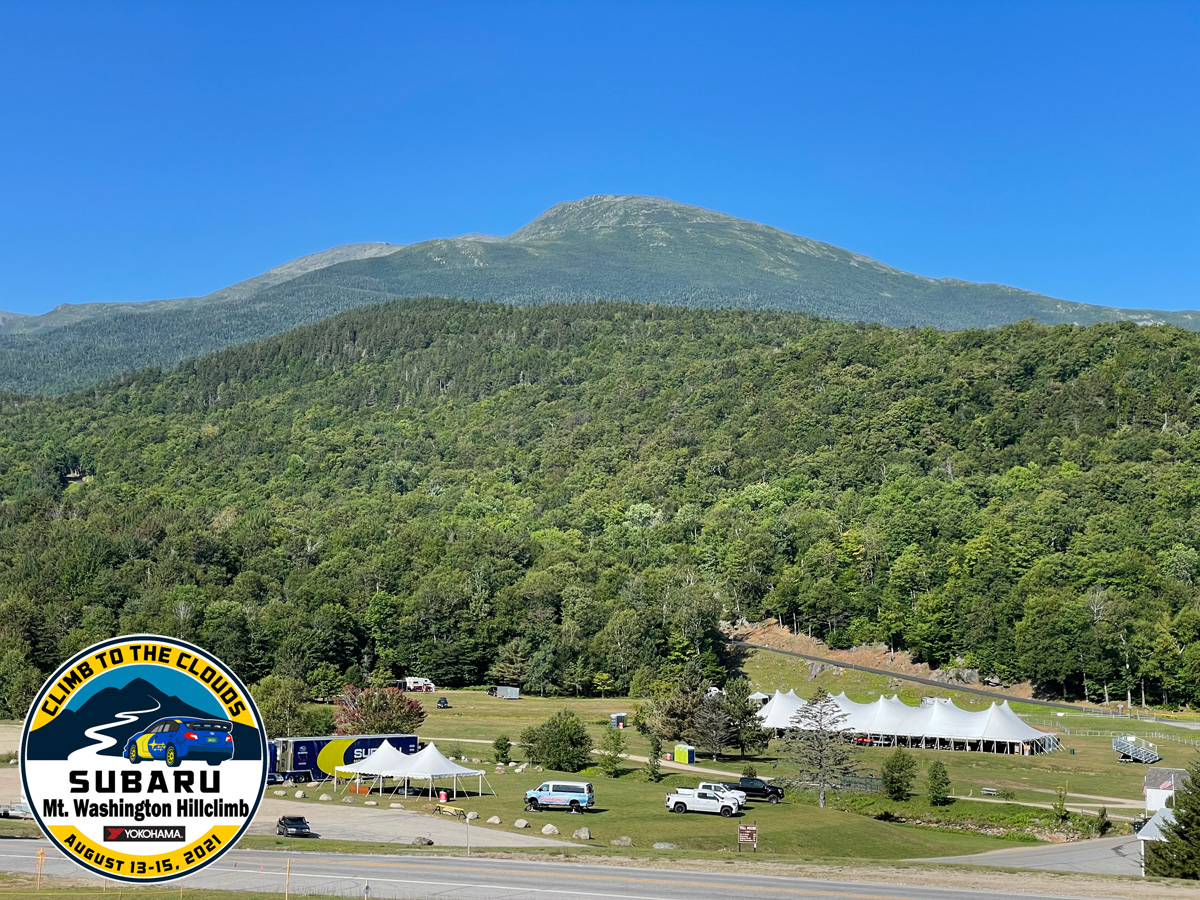
Mt. Okemo Hillclimb
First time leaving the road at NEHA hillclimb.... ever... since 1999. Yep, there was that “creative parking” incident at Mt Washington, but I was more stuck than “off”.
Something in the left front end failed which made the car go straight in a corner. Maybe...
No body damage or anything that there really wasn't an impact. Just lots of driving in a muddy ditch. There was a rock that had a fight with one of my rims... guess who won?
All on video. Gopro was mounted below front bumper and was not damaged.
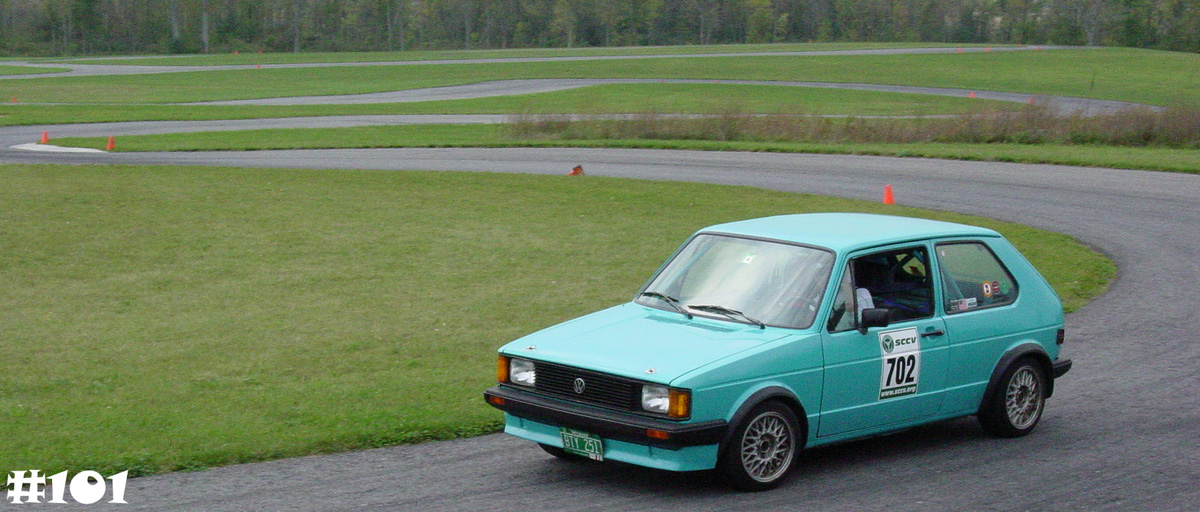
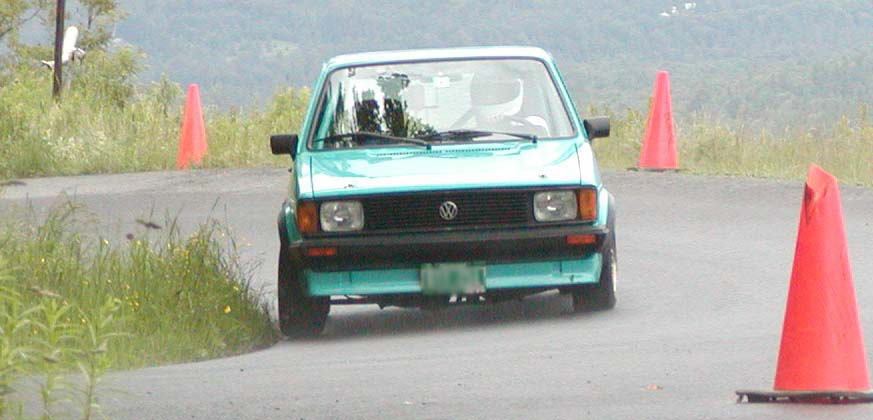
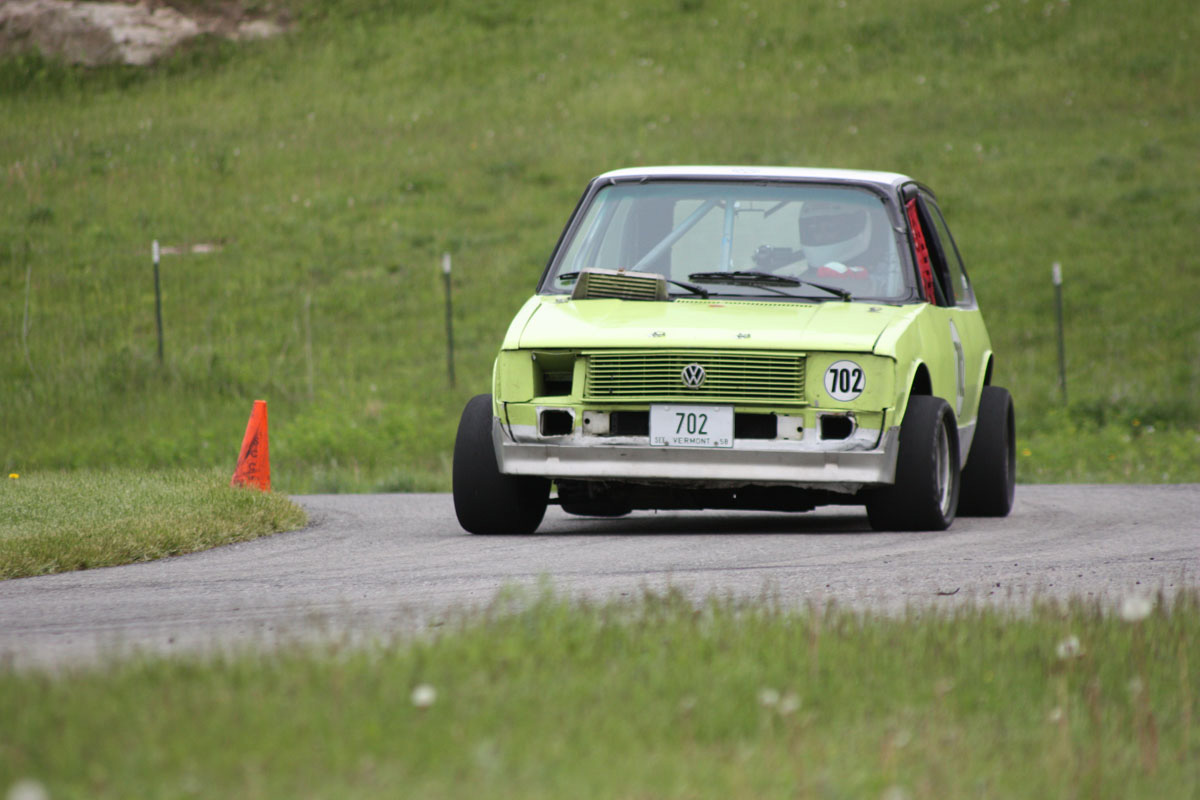
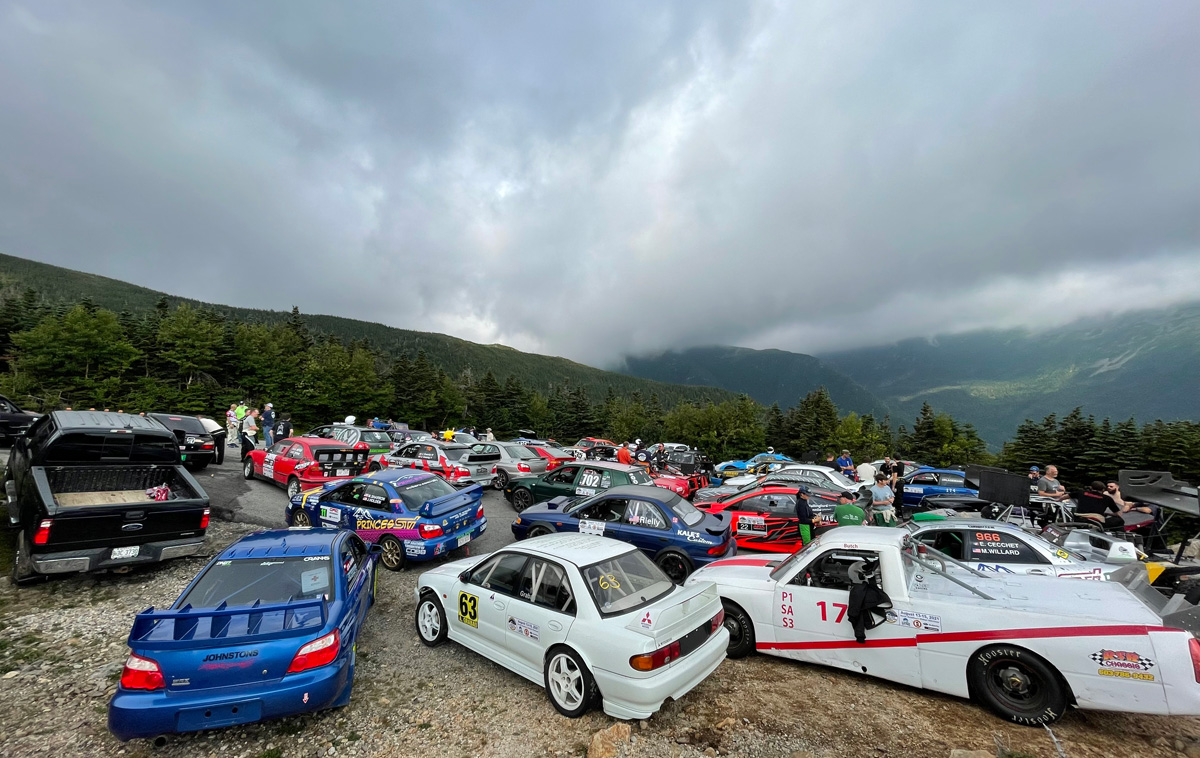
Here is the video of my run. I was not going fast as I was just trying to lay down an official timed run for the day. The road is very very very rough.
When going off, something felt strange in the steering wheel. In the video it looked like the car was turning in and then didn’t.
Did something break or was loose, was it the rough road/loose surface... It wasn’t a situation where I was overdriving the car and just ran out of talent. I was in control... until I wasn’t.
Originally I though the strut failed, but that isn’t the case as the left rim was only damaged in one section where it came in contact with the strut. This means the wheel was not rotating when the strut was damaged, therefore, thus, and hence... the wheel was already locked up and I had already left the road.
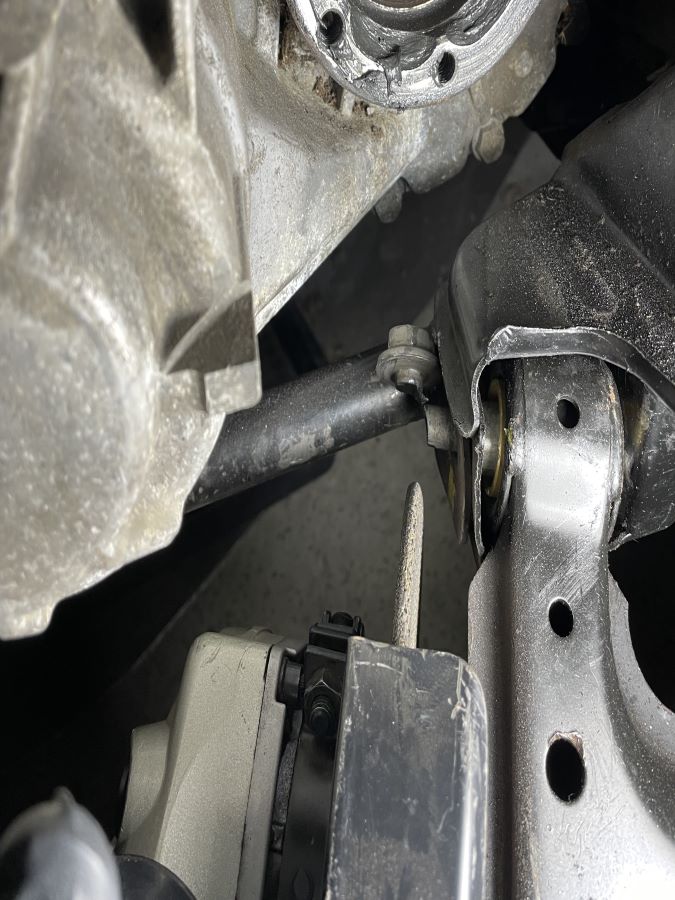
The only thing that was loose was the left front ball joint nut... I could turn the nut with my fingers. It is doubtful that the tapered ball joint left the knuckle and returned.
Here is the video... the “off” looks more exciting than it actually was. The GoPro just got a ride through grass and mud.
https://www.youtube.com/watch?v=I0sSA1Eqdto
In other news... I purchased a new computer this year, which means I no longer have Photoshop. I can’t find the CD and don’t want to purchase... nay... “rent” a new subscription based Photoshop, therefore, I’m stuck with the Windows 11 Microsoft Photos program that is clunky. I’m still looking at options to replace my Photoshop CS3 (yes... very old program, but did everything I needed).
One of my settings in Photoshop was to always save photos with lower case file extensions as my server is case sensitive. Not an option in MS Photos.
Back to the 1980’s Command prompt for some “ren *.JPG *.jpg” action.
Back to our regularly scheduled program...
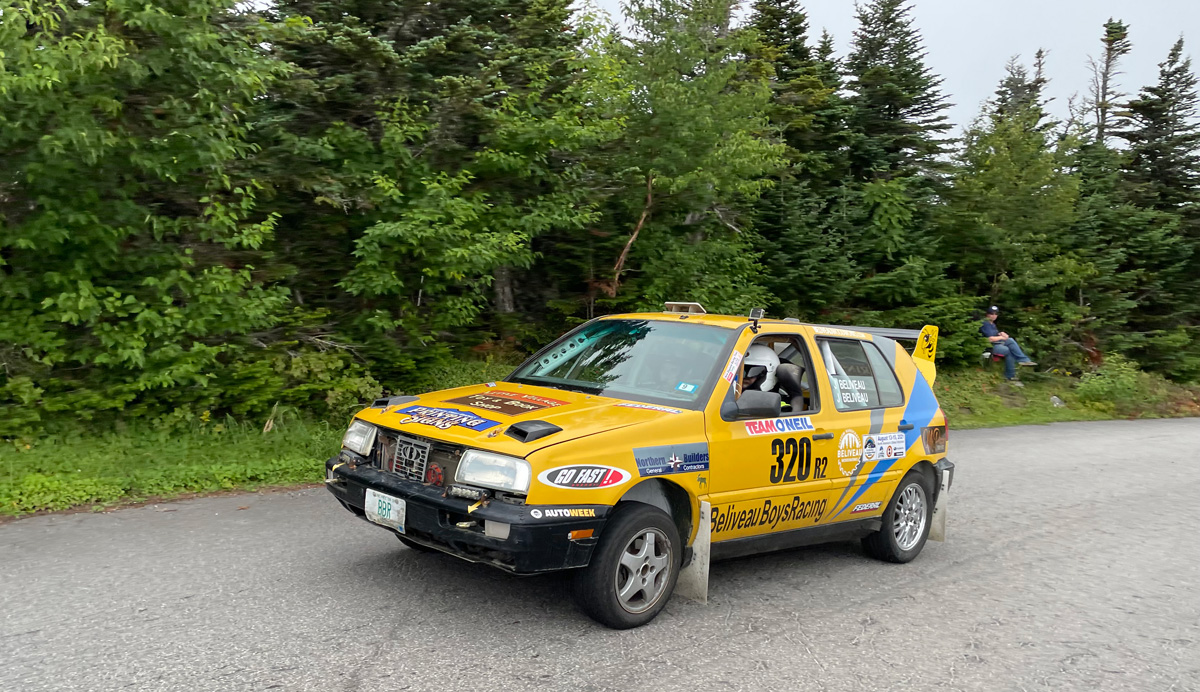
In a hole in the ditch.
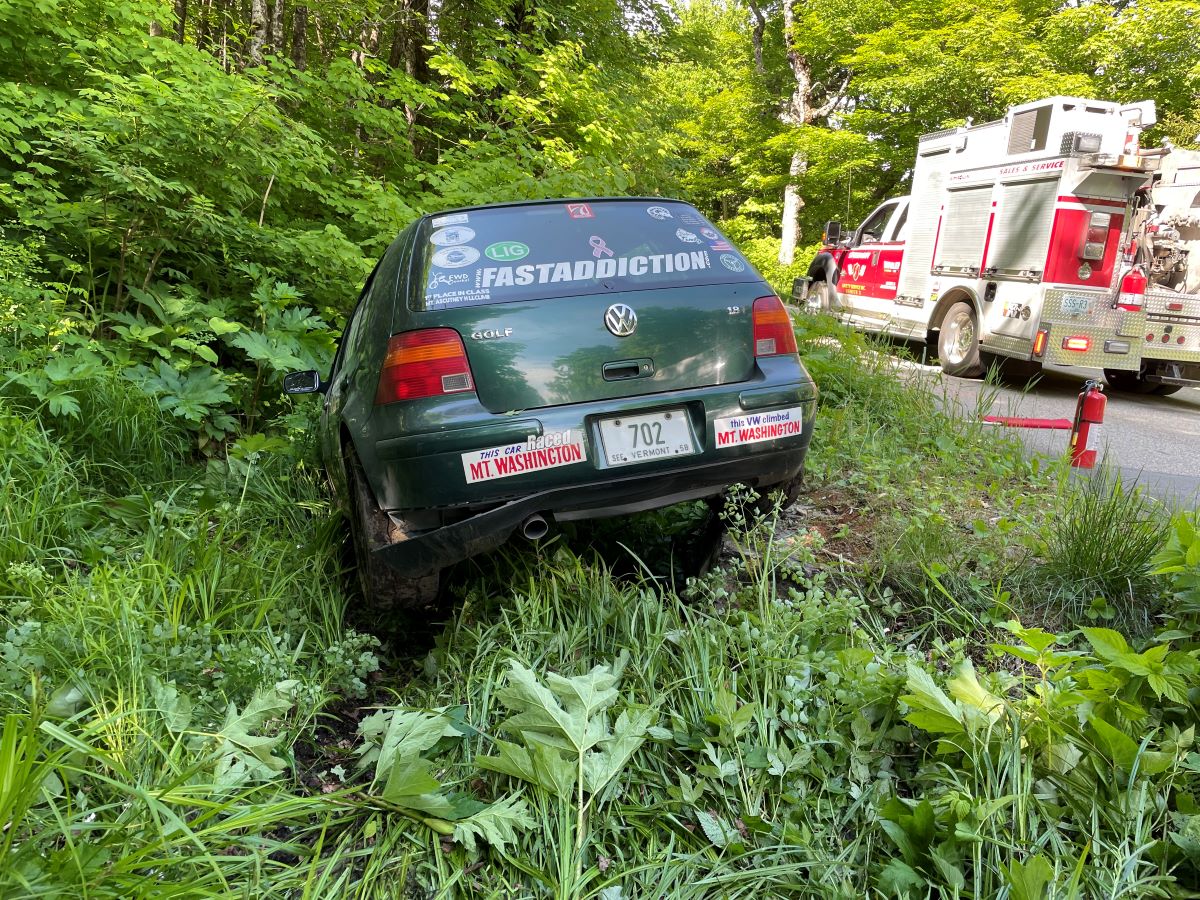
Left the road way back here, thankfully there was a ditch that kept me near the road instead of having a wooded adventure that would have broken a lot more that suspension parts and wheels. I consider myself lucky.
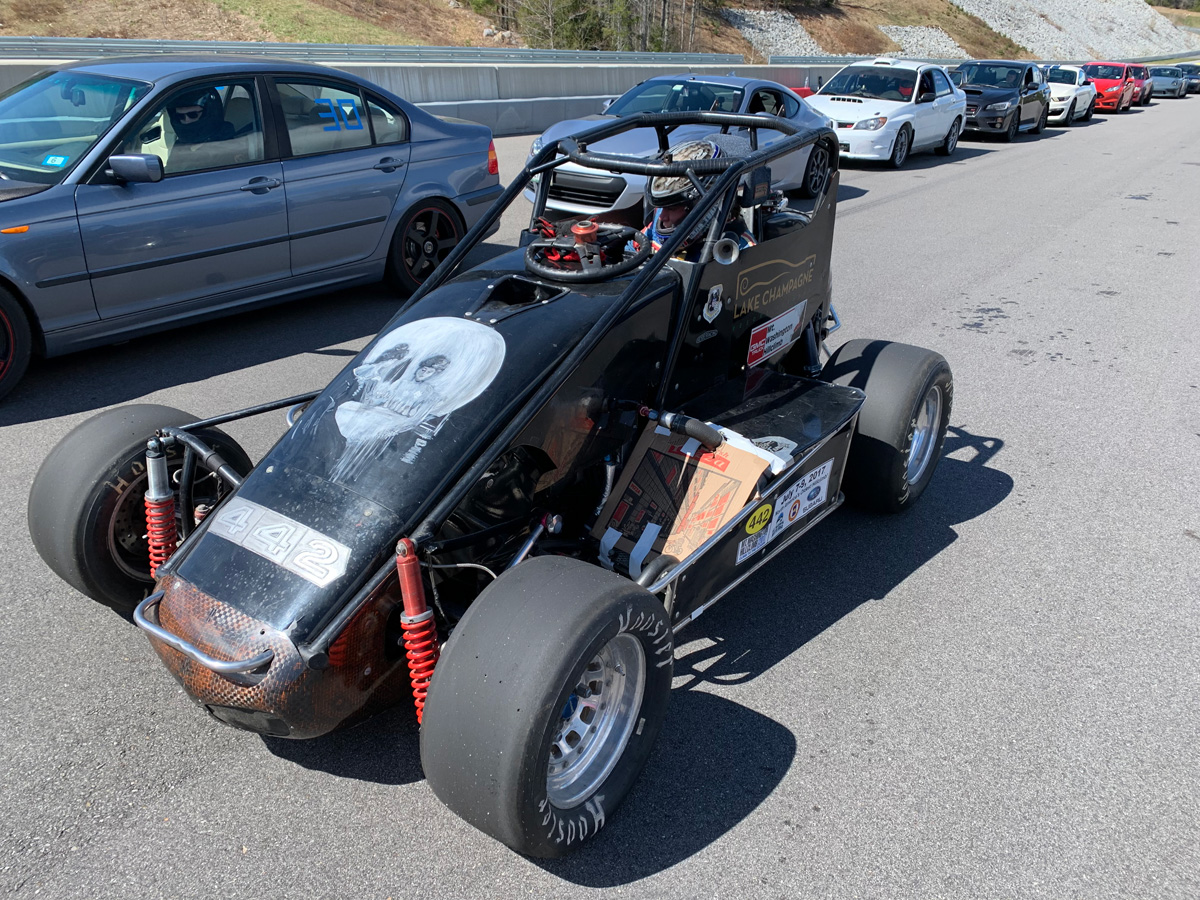
This was in corner 29... the corner 30 sign was directly in front of the car when it finally stopped (seems I didn’t have good tires to stop in the mud)... and corner 30 is the final corner prior to the finish line. So close.
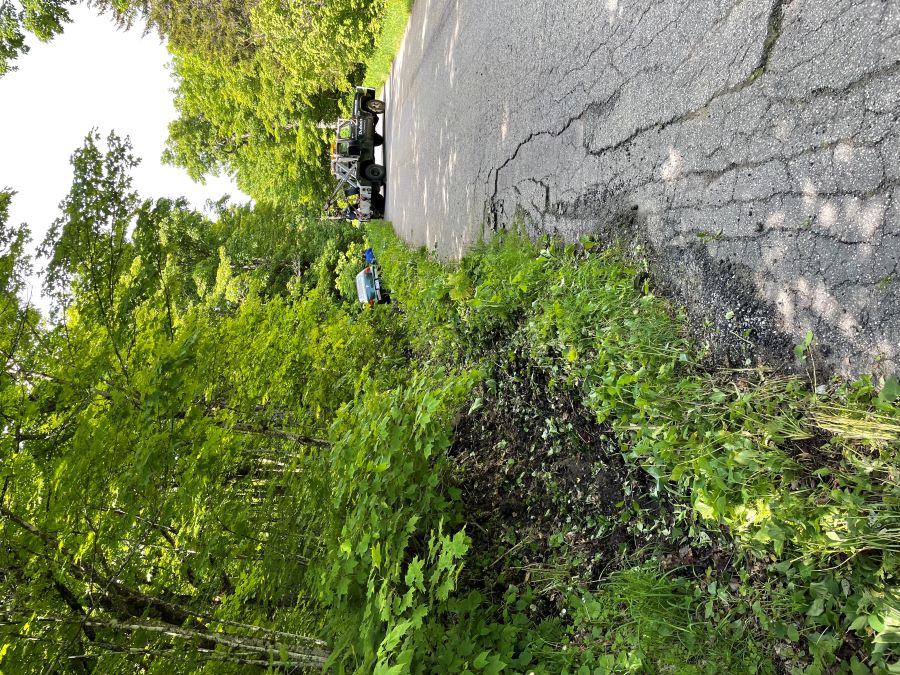
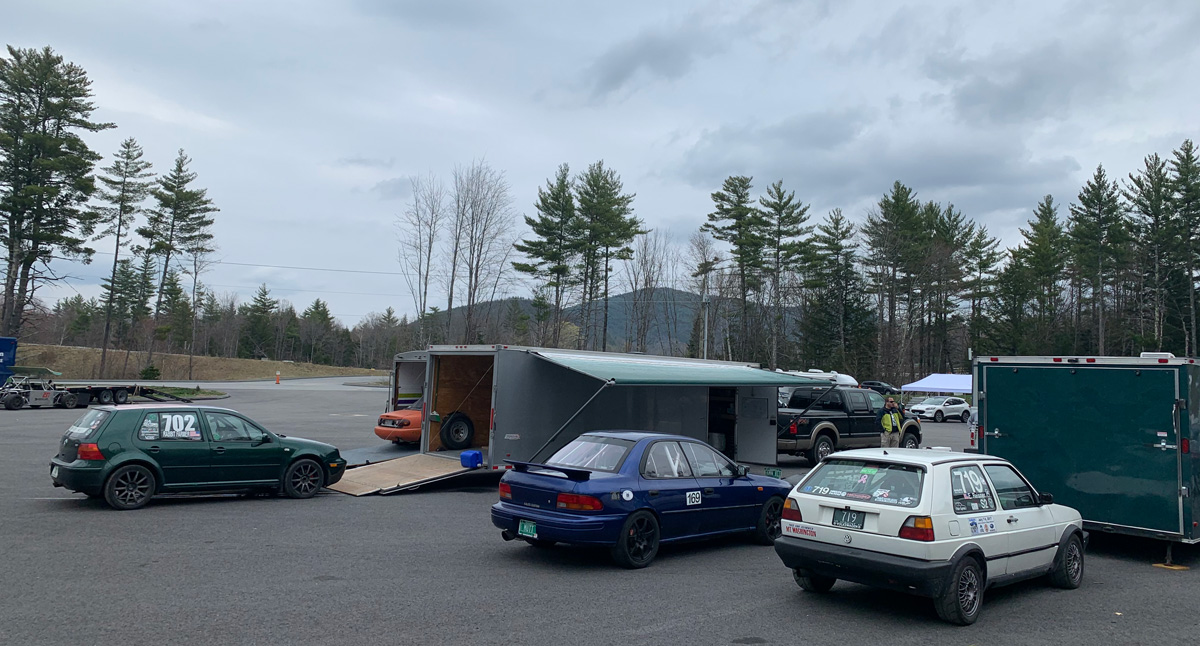
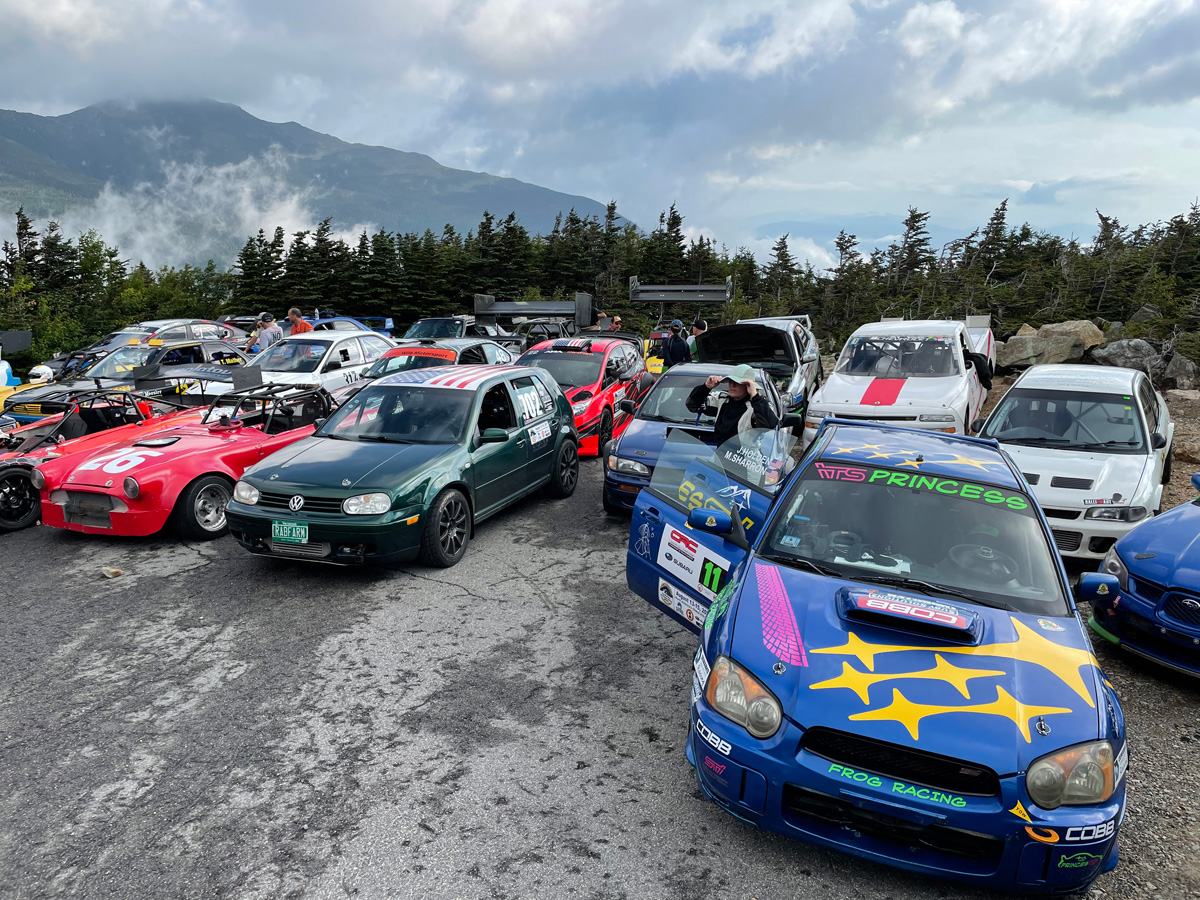
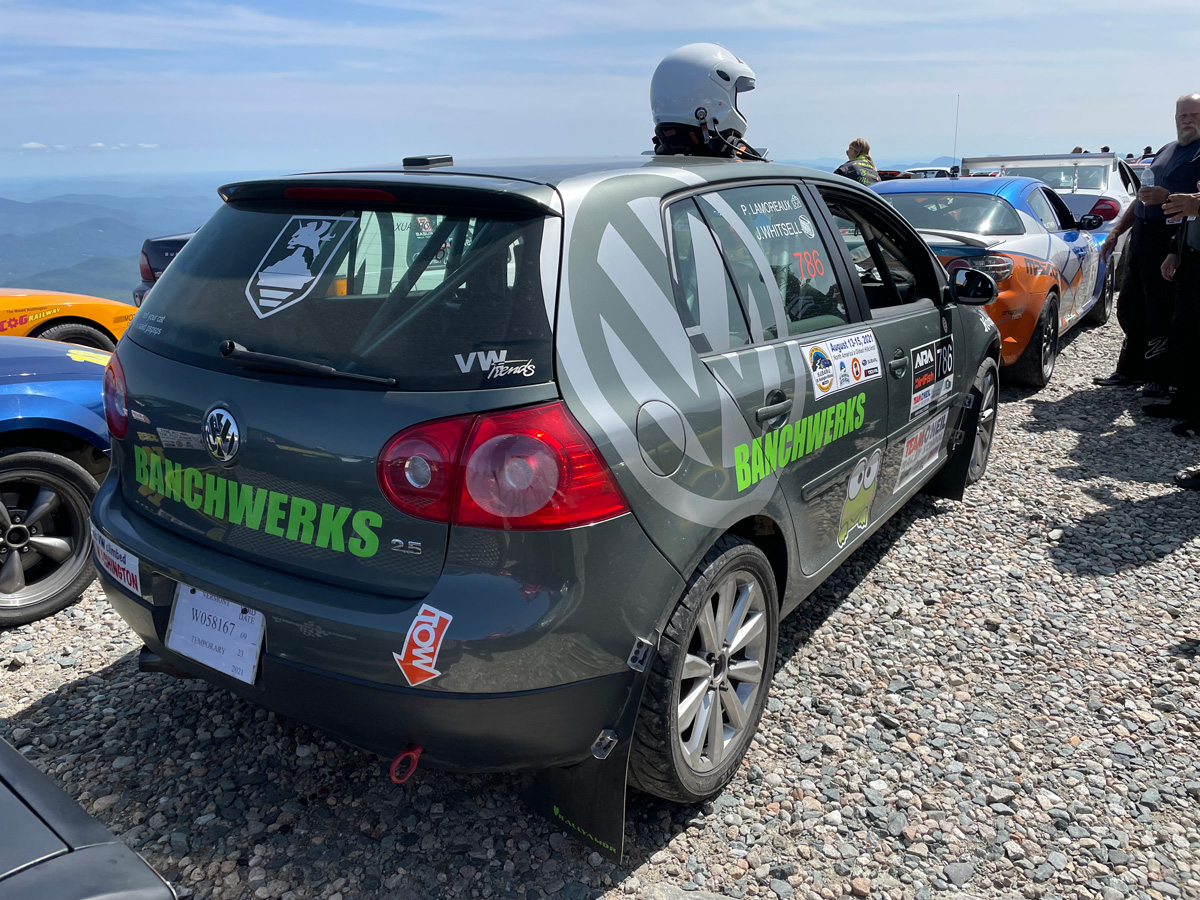
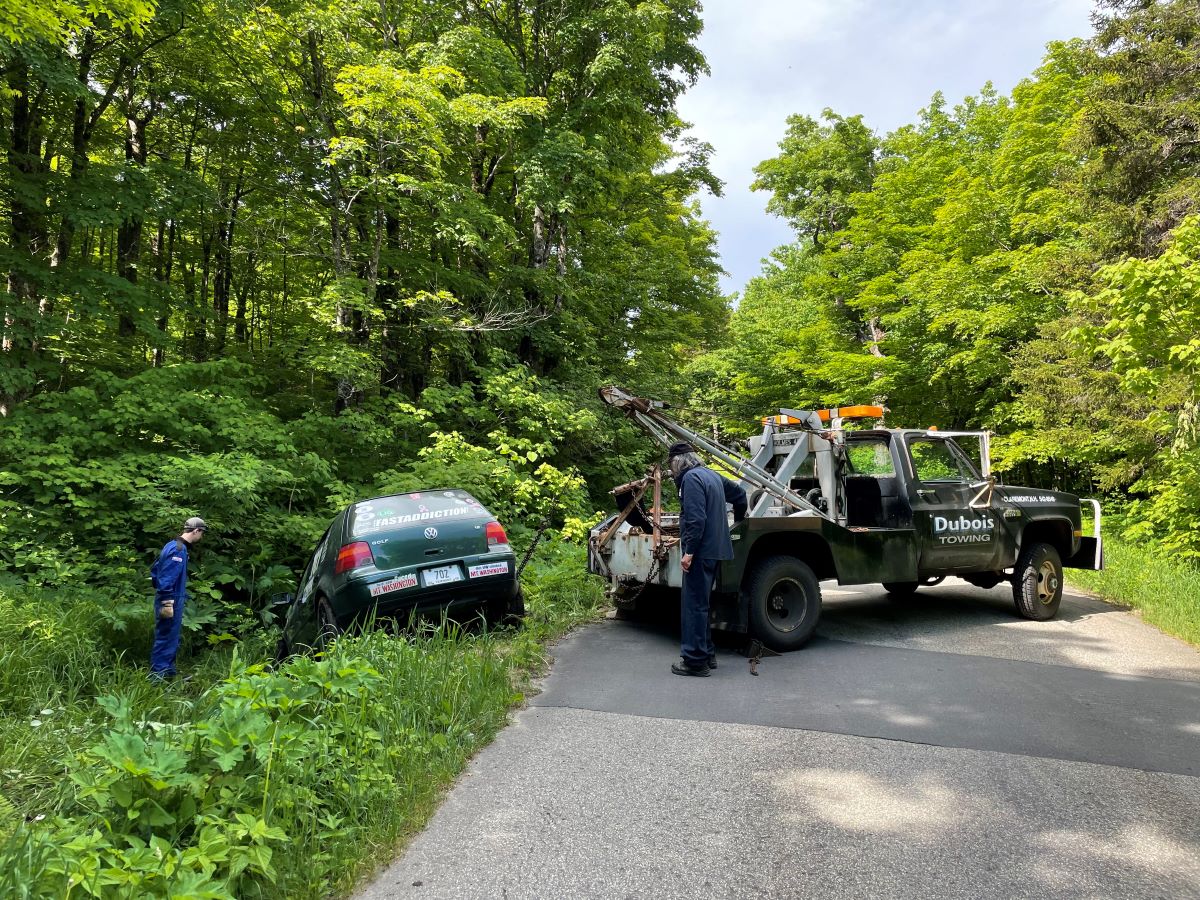
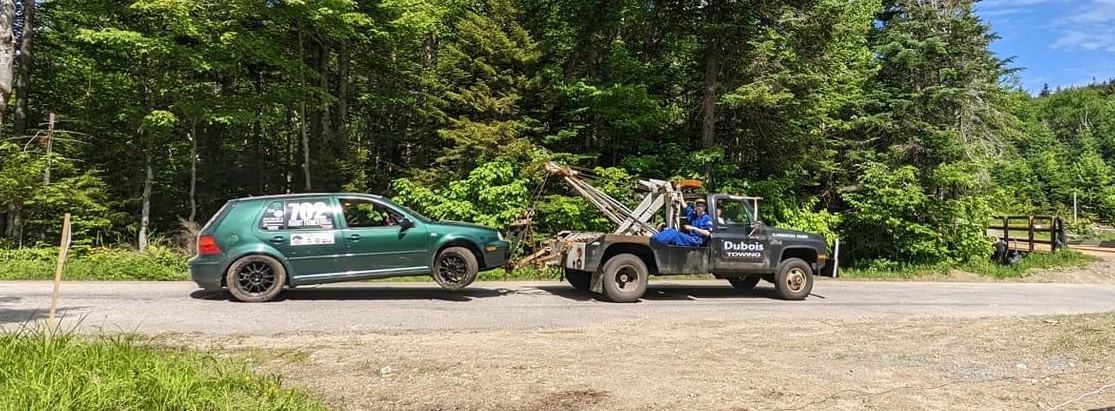
Don and Patrick (his first recovery) returning the Golf to the road and a picture from checkpoint 6 (thanks Manu of Frog Racing) of the Golf finally “on the hook”.
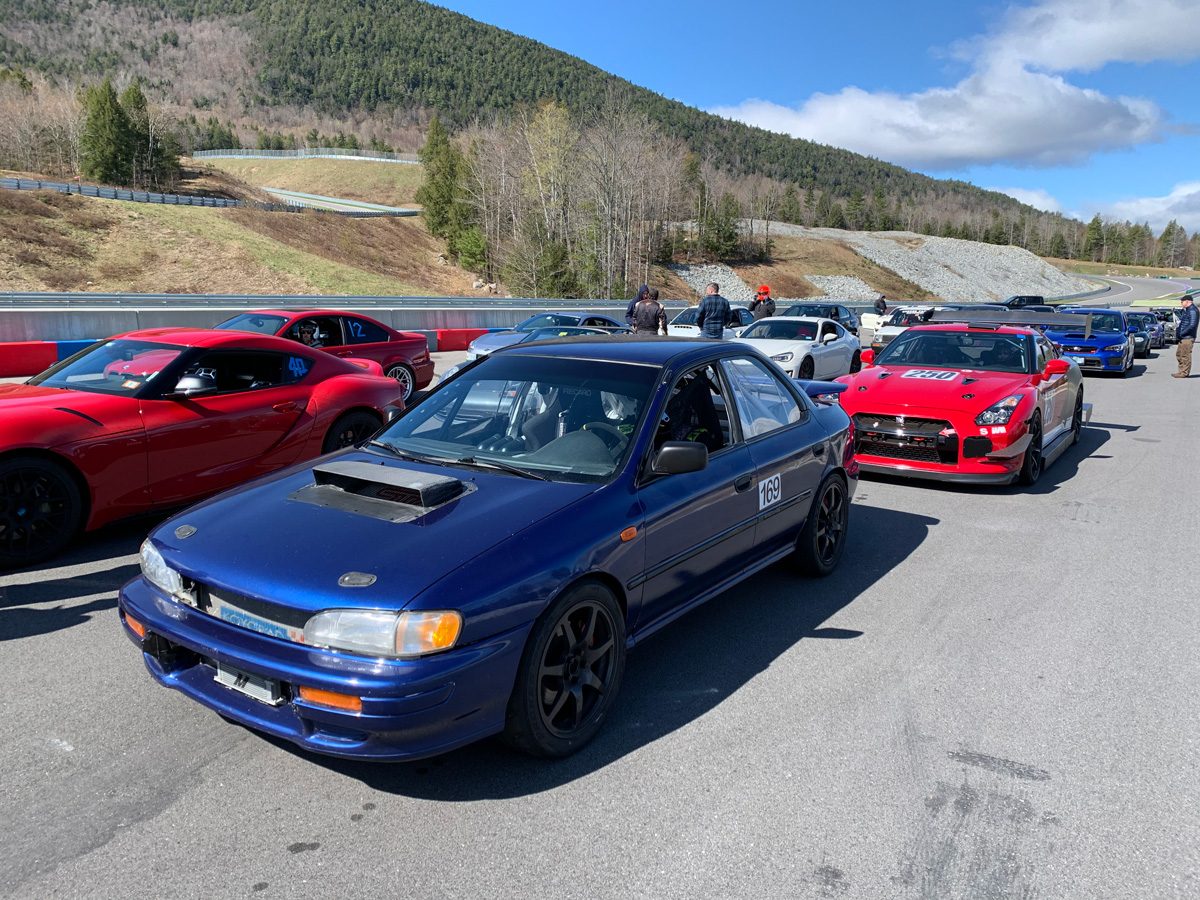
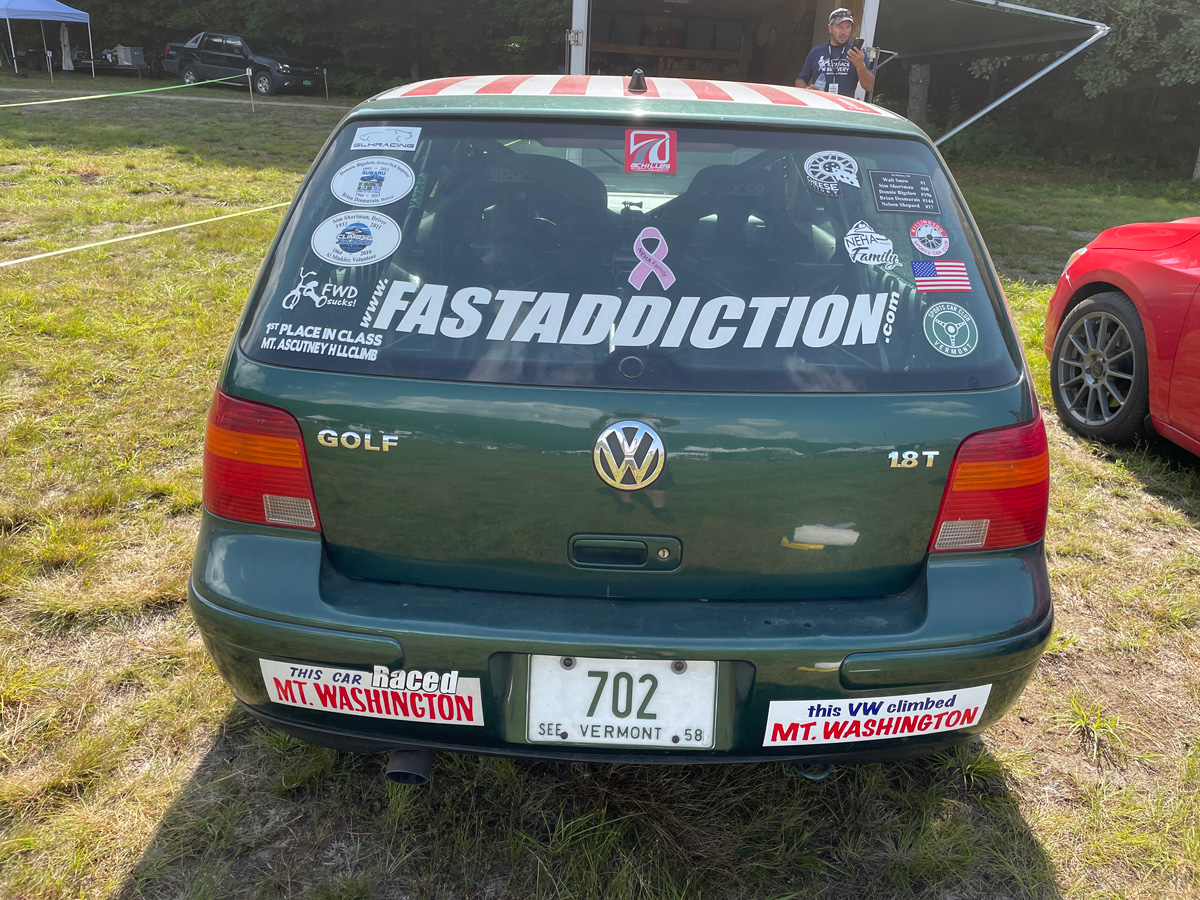
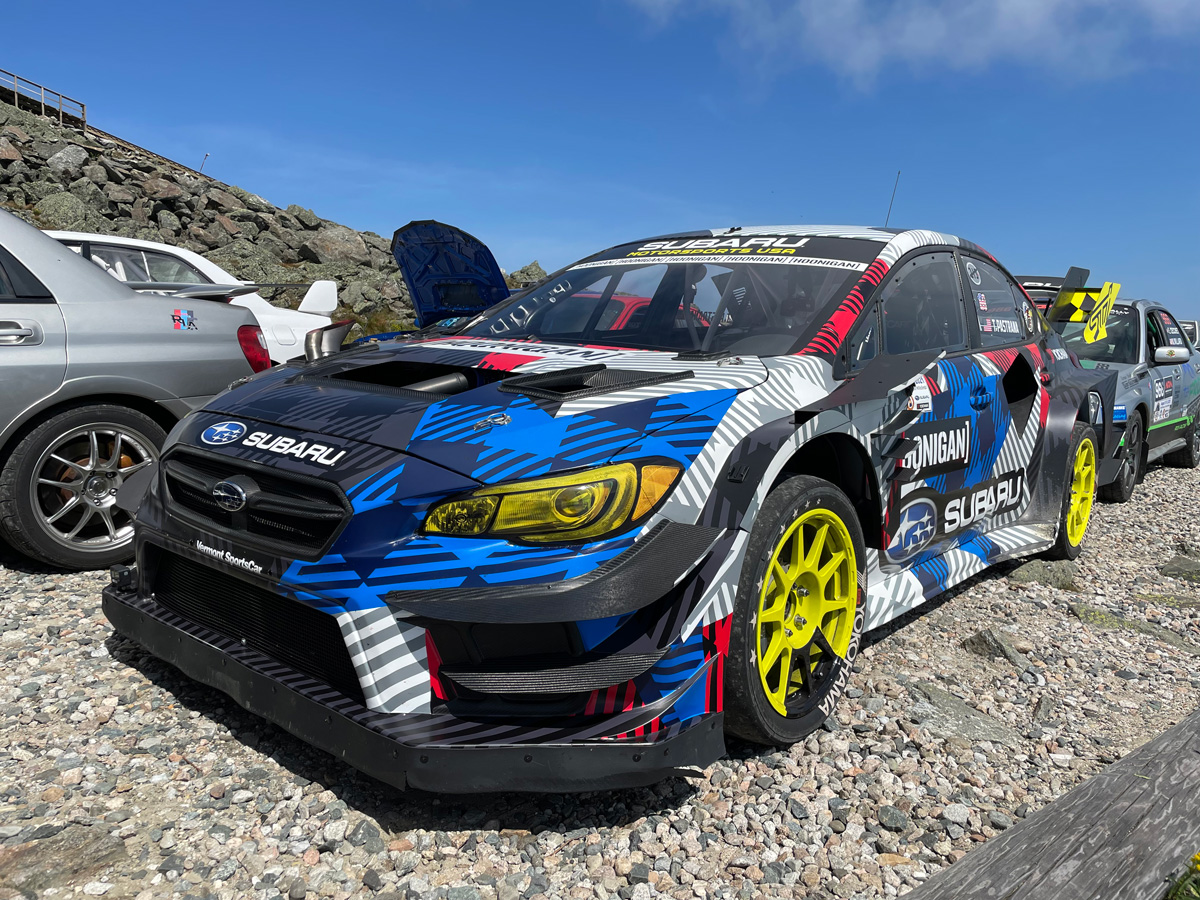
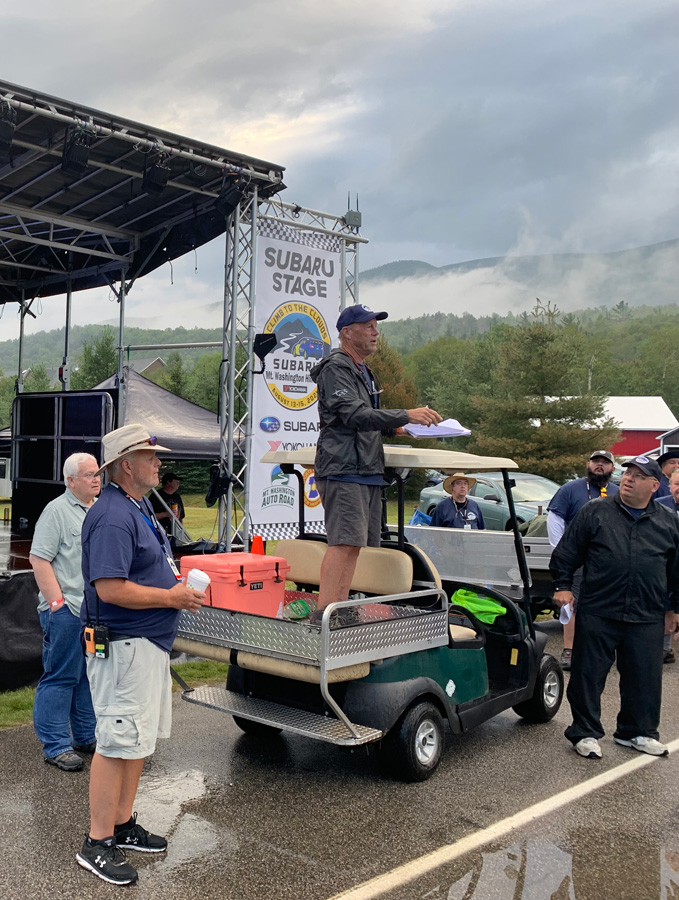
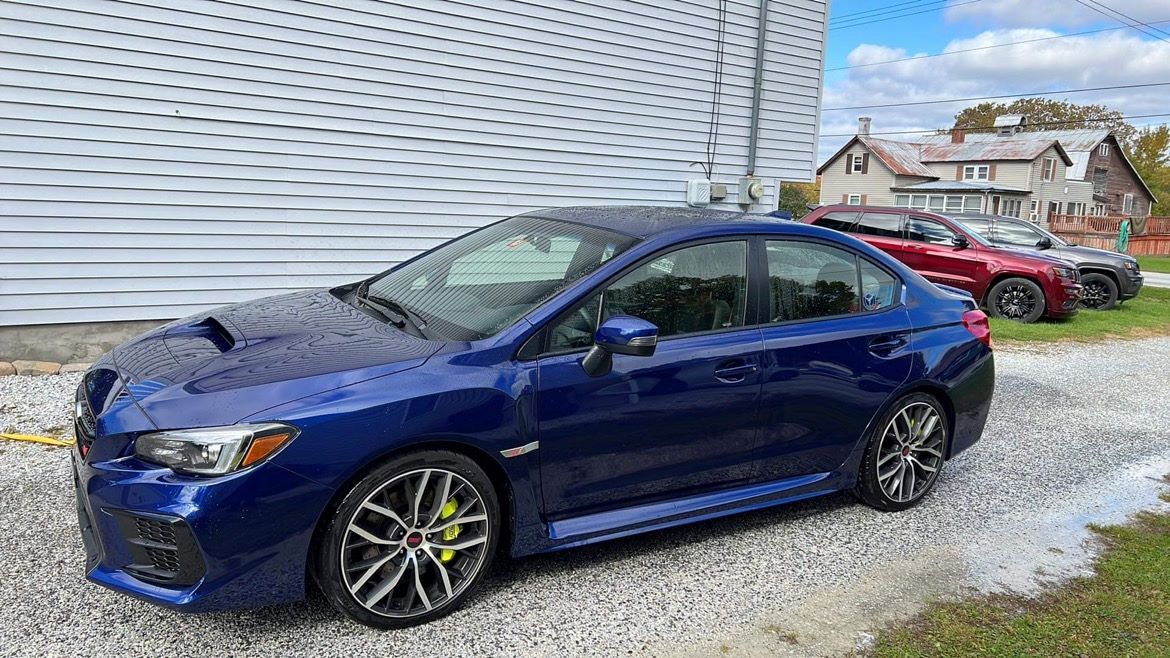
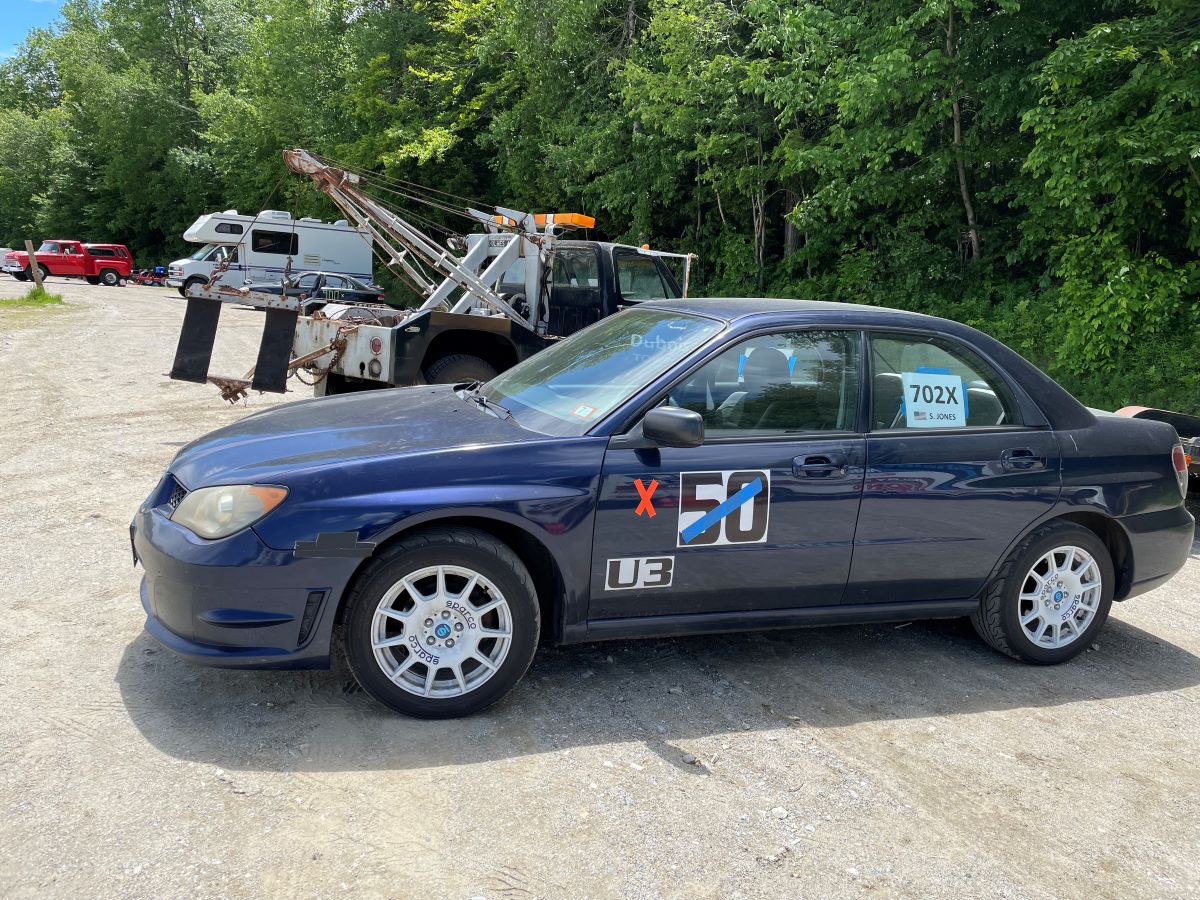
Since I didn’t have a timed run for this event (important for series points), Bob Lyle trusted me to take a run in his pretty sweet Subaru. I went very very slow just to get a time. For reference, my time on Saturday in the Golf was 2:33.87 and my intentionally slow time in the Subaru was 4:25.48.
It was a very nice car to drive... good low end power, crackled/popped when getting off the throttle (sounded cool), and handled great. Love the car. Not that he will see this... but, Thank you Bob!
An apology to the other drivers for holding up the event for an hour while extracting my car, “thank you” to Don and Patrick for extracting the car without causing more damage, and “thank you” to those who checked out the car after the event trying to determine what was broken and helped to push the car into the trailer. Gotta love the local hillclimb family!
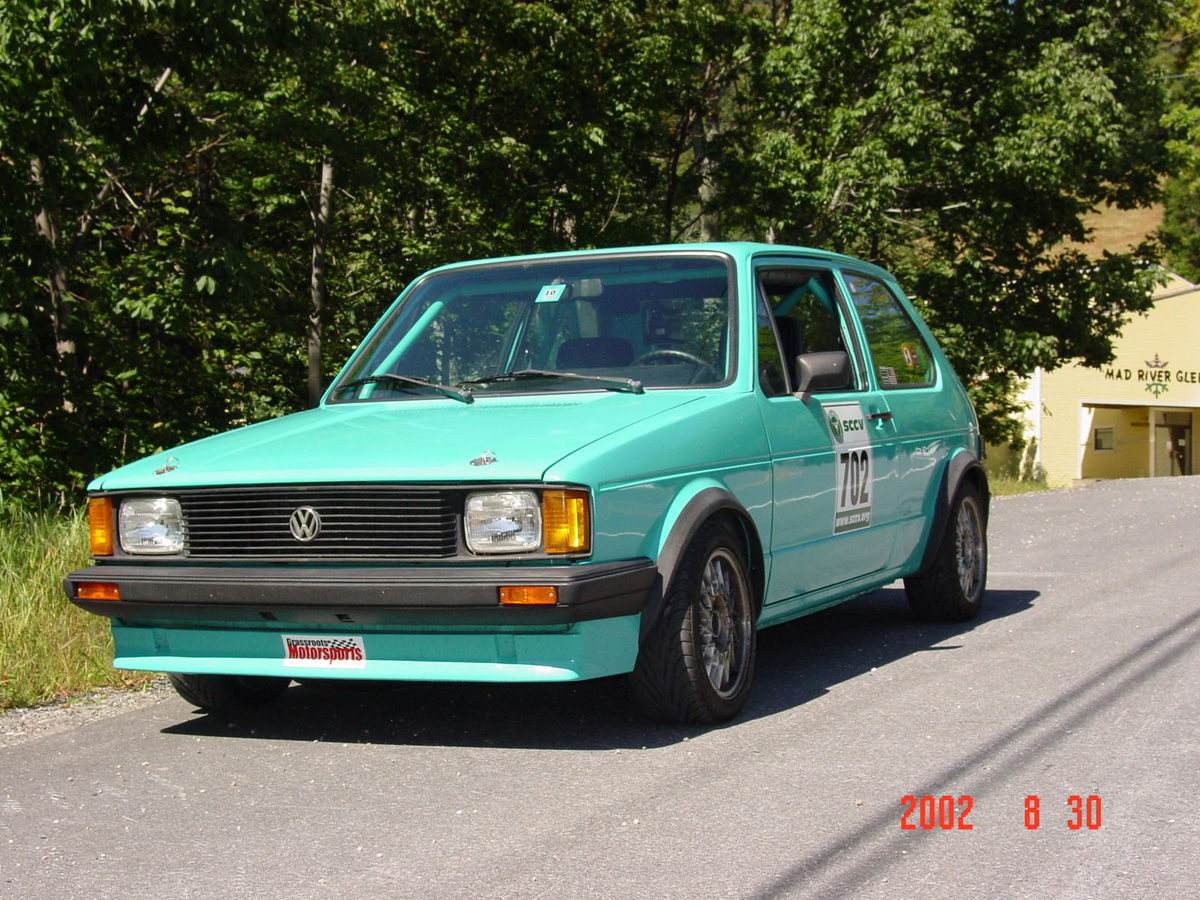
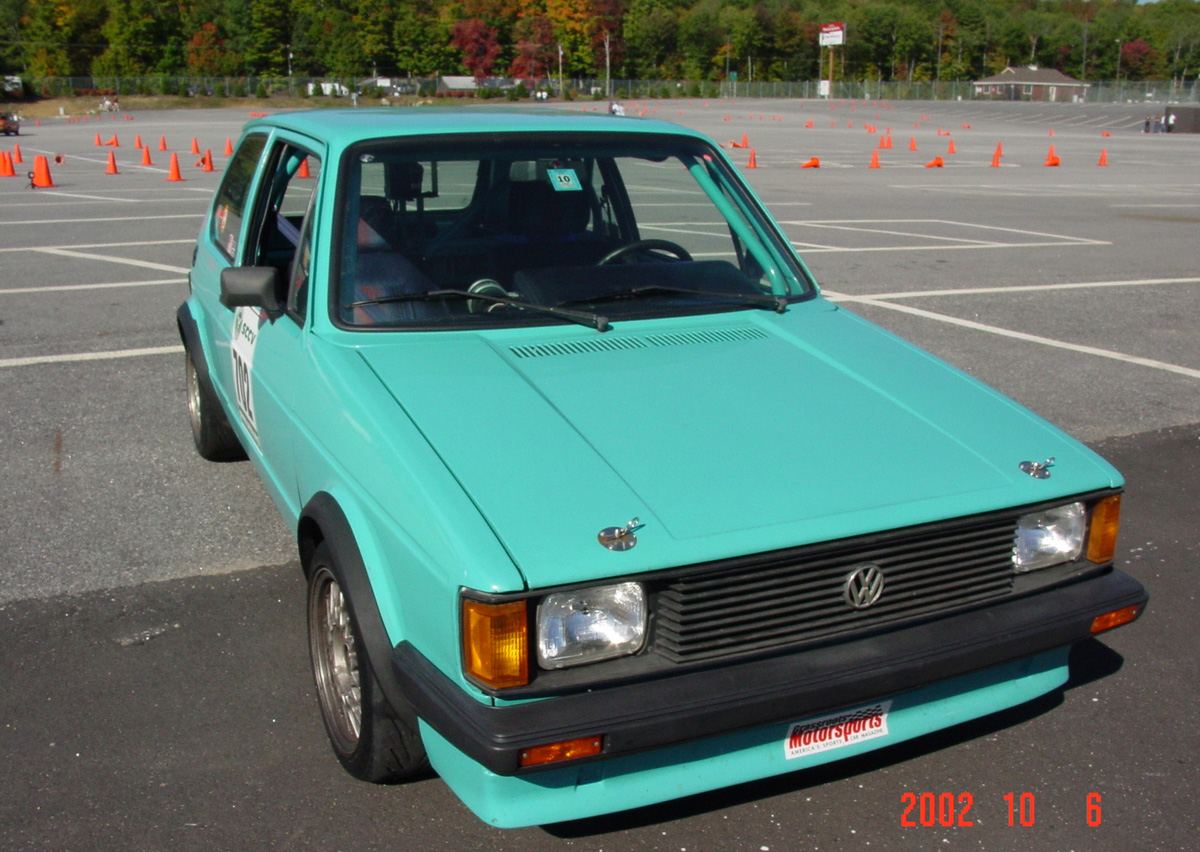
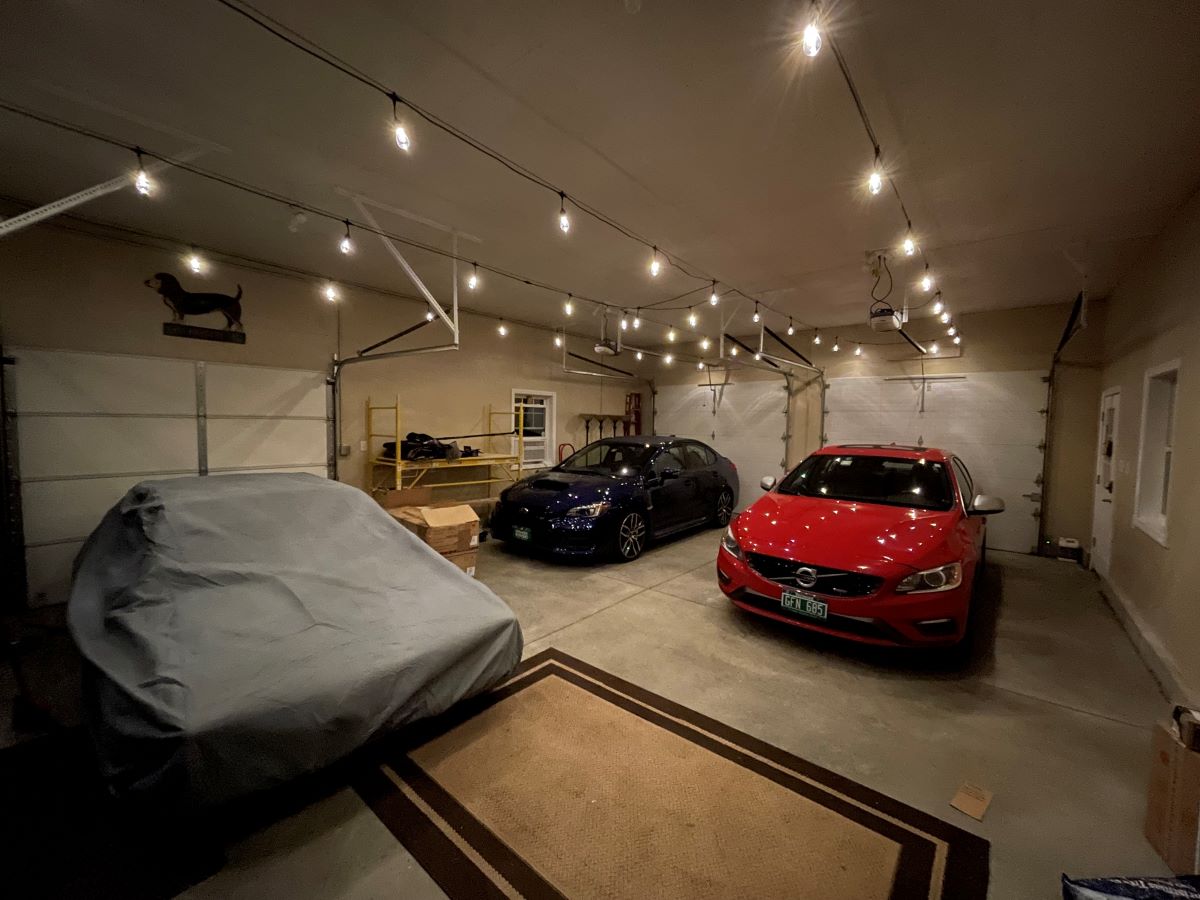
2021 Subaru STI intermission....
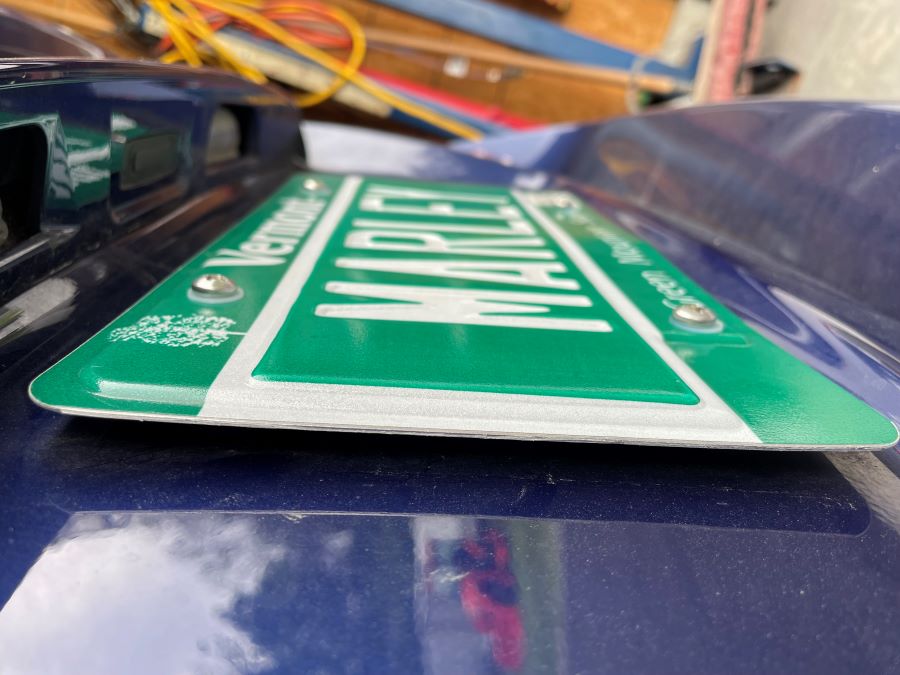
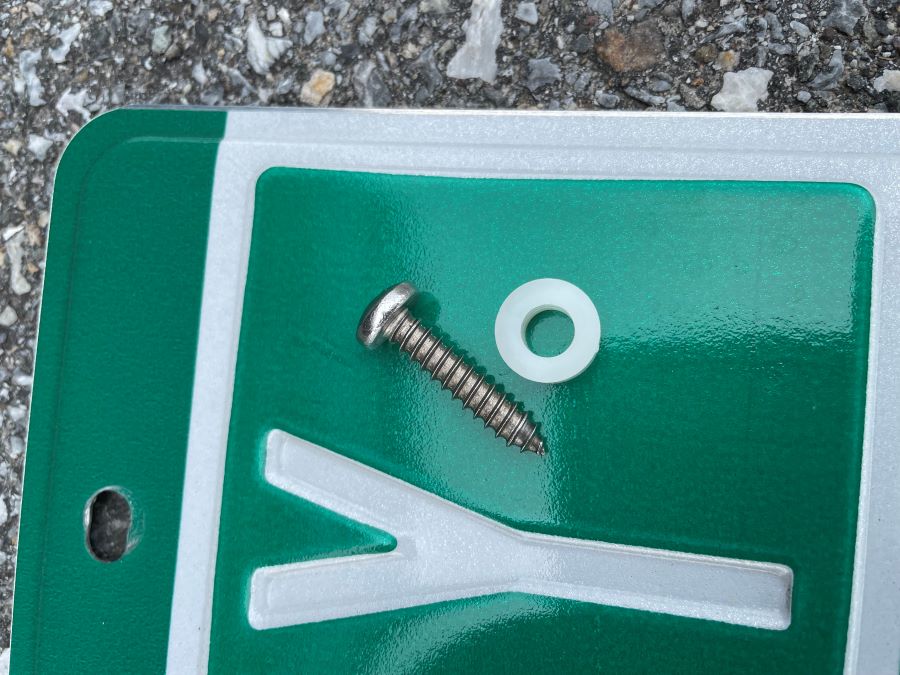
On the 2009 Subaru WRX that I sold, when removing the rear license plate, I noticed that the plate damaged the body of the car. The rusty damage was caused by the plate making contact with the body for many years. To avoid this, I added some 1/4" nylon spacers to the backside of the plate, nylon washer to the front, used 1” long stainless steel screws (slightly longer than stock to account for the spacer), and mounted it with four screws instead of just the two on the top.
I think the result will do three things... keep the plate off the body to avoid damage/rust, allow water behind the plate to keep the body clean, and allow some air flow in back of the plate so not to trap water.
Meanwhile, back at the ranch...
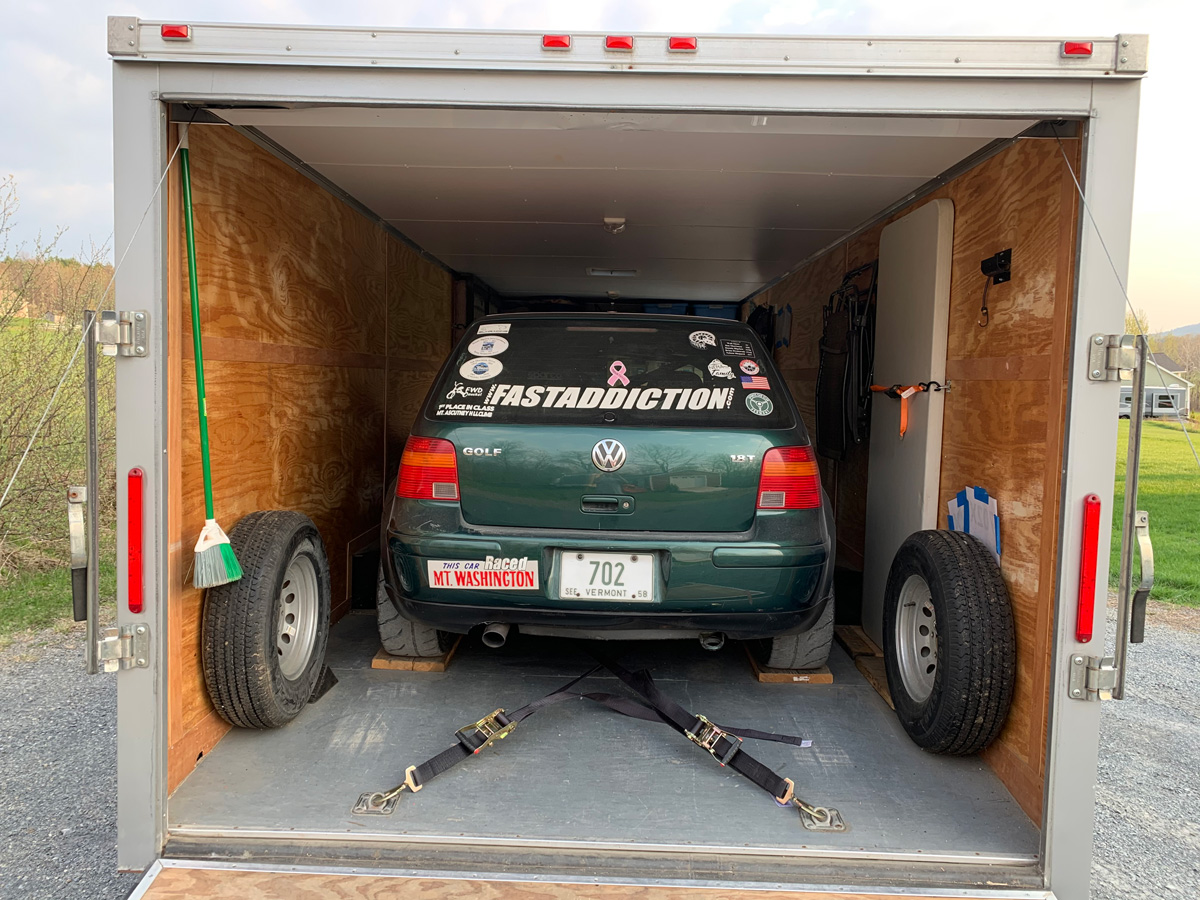
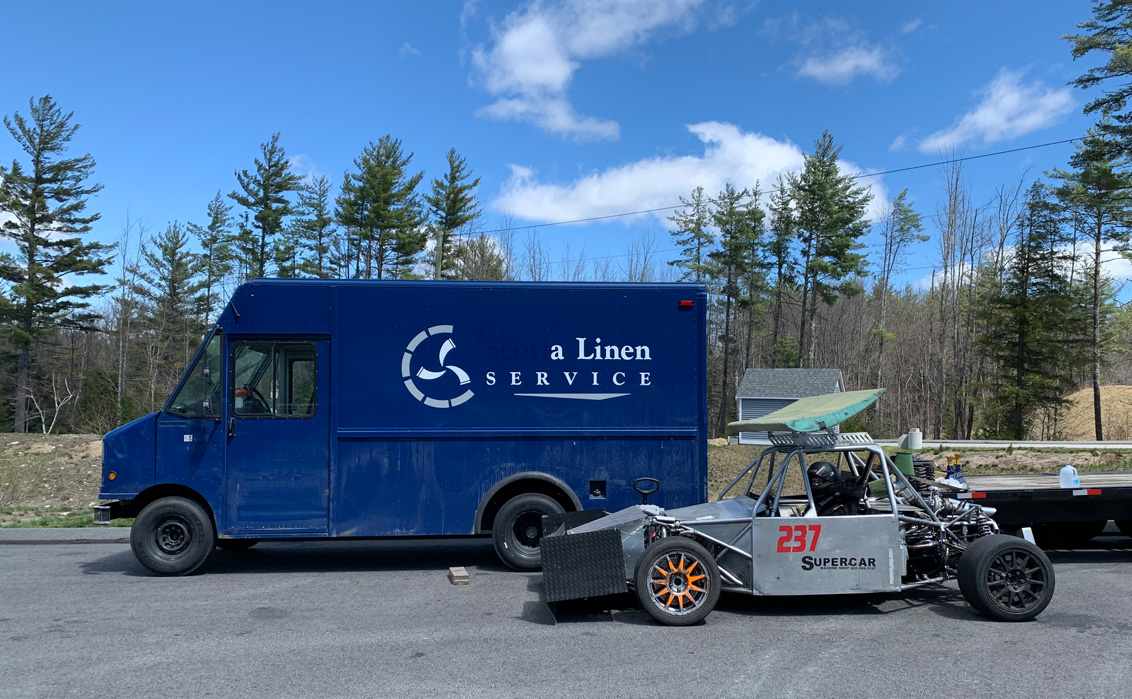
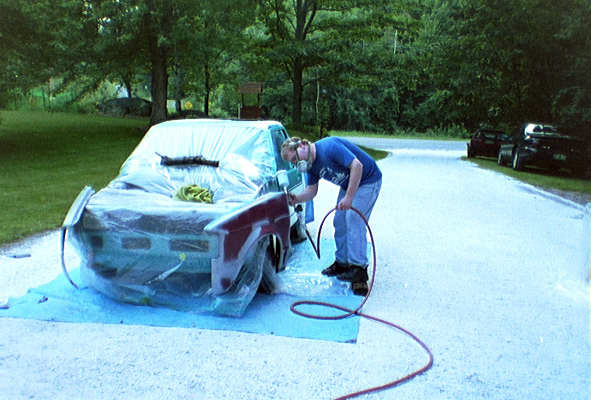
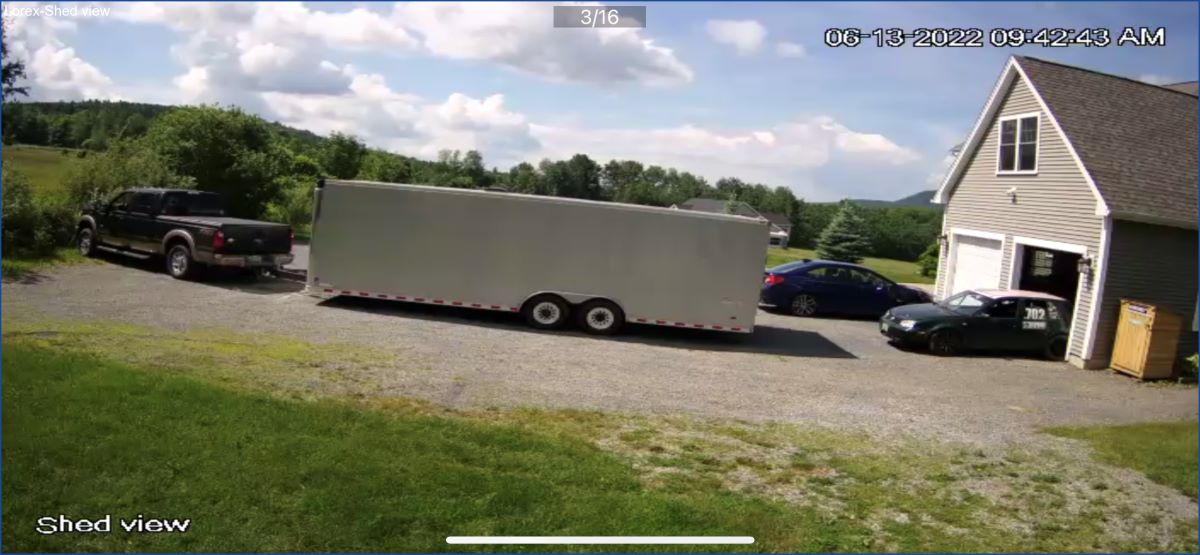
I backed the trailer up to the garage to allow me to unload the car in the driveway as I had some serious cleaning to do to remove the mud prior to putting the car in the garage. Surprising all the spots that the mud was hiding... even after all the cleaning, I was still dealing with dried mud while working on the car in the garage.
After unloading, I had to get the truck/trailer out of the way. To help me back up without hitting stuff, I found a good use for the home video system. Out of body experience backup camera system (patent pending).
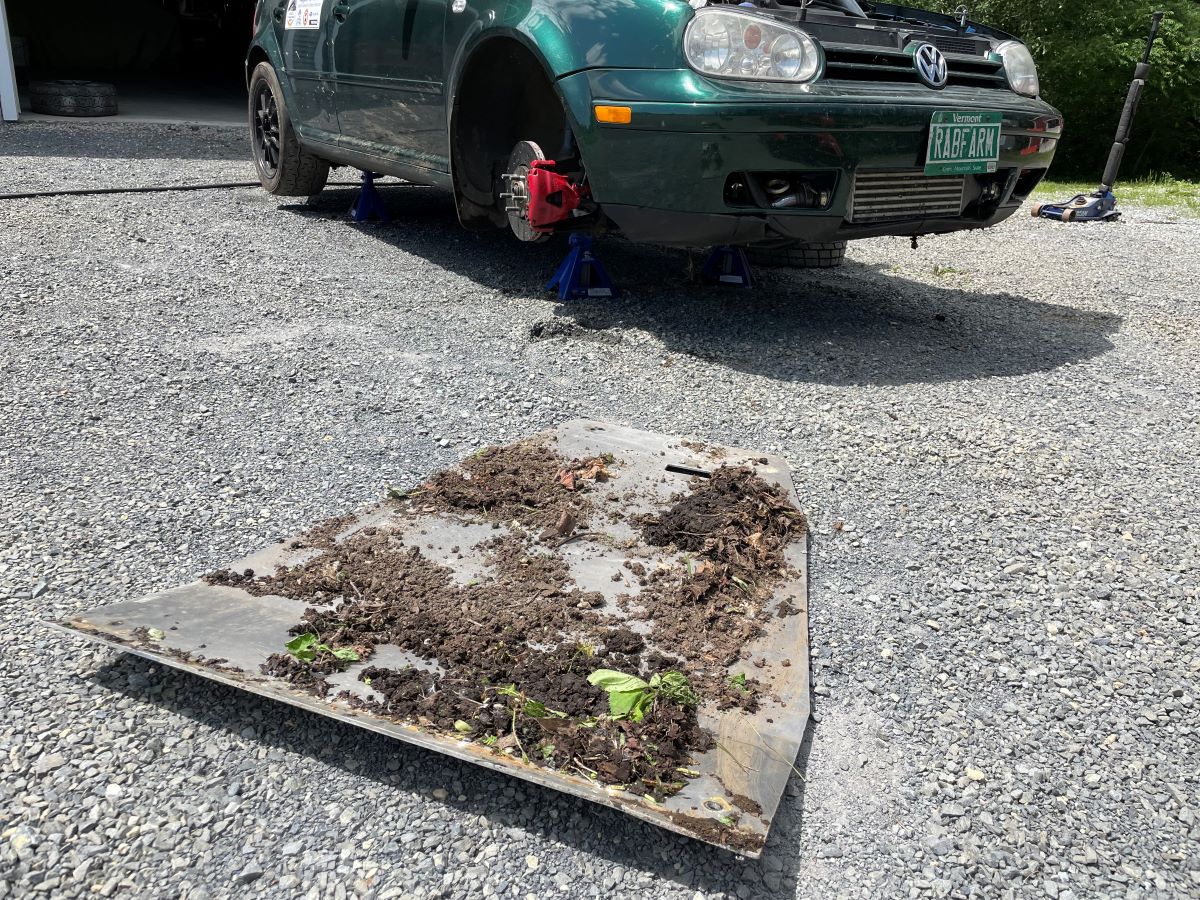
On jackstands, all four wheels off, skid plate off... enter a hose for an hour to clean as much mud as possible off the car.
I think the mud on the skid plate was from the extraction process.
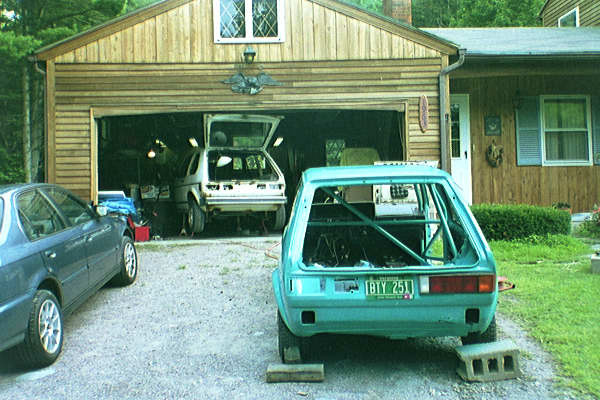
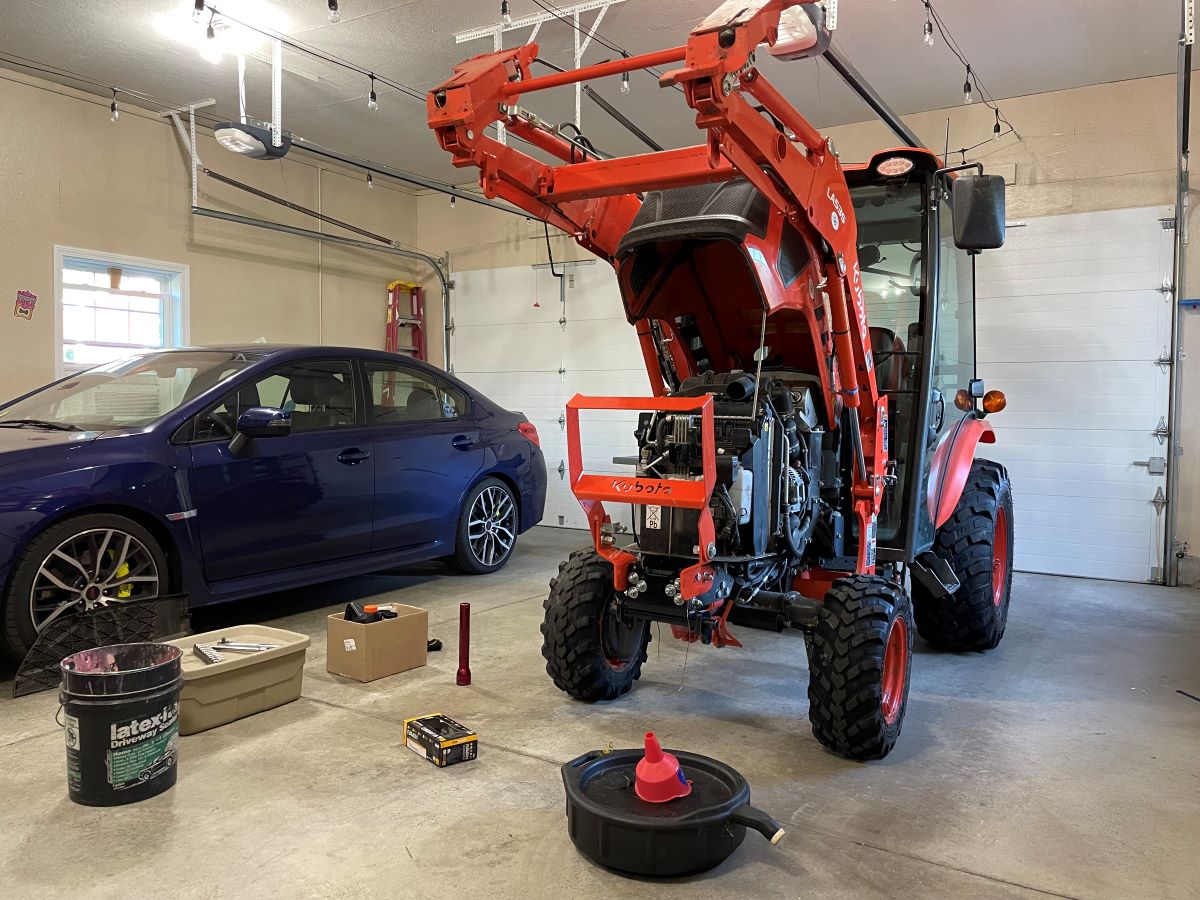
Using the medium size Kabota tractor with fork lift attachment to move the car into the garage. The loader lift capacity is only 800 pounds, but it did help lighten the front end of the car a little to help with the wheels pointing different directions while pushing it into the garage.
Might have been a little easier using my friend/neighbor’s larger tracker with 2400 pound lift capacity. Anyway... it worked.
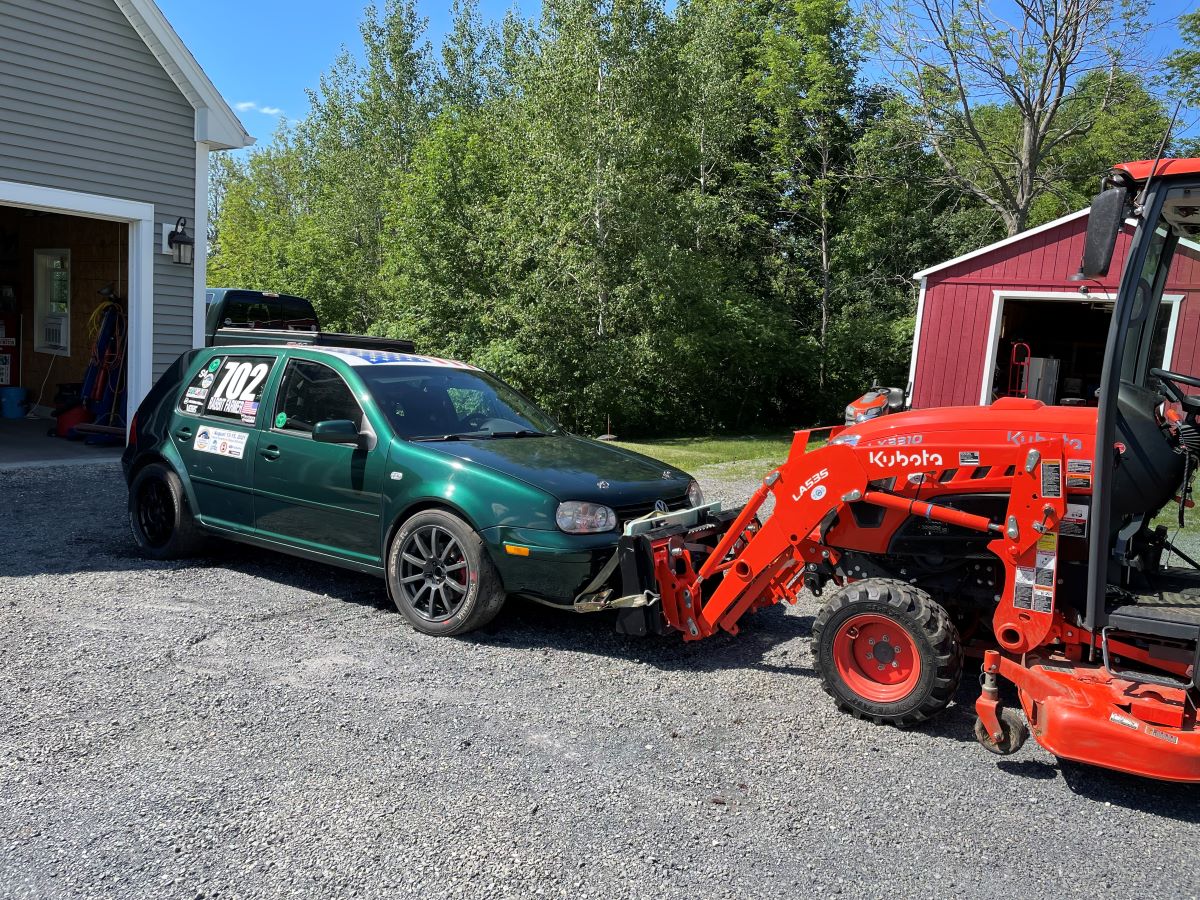
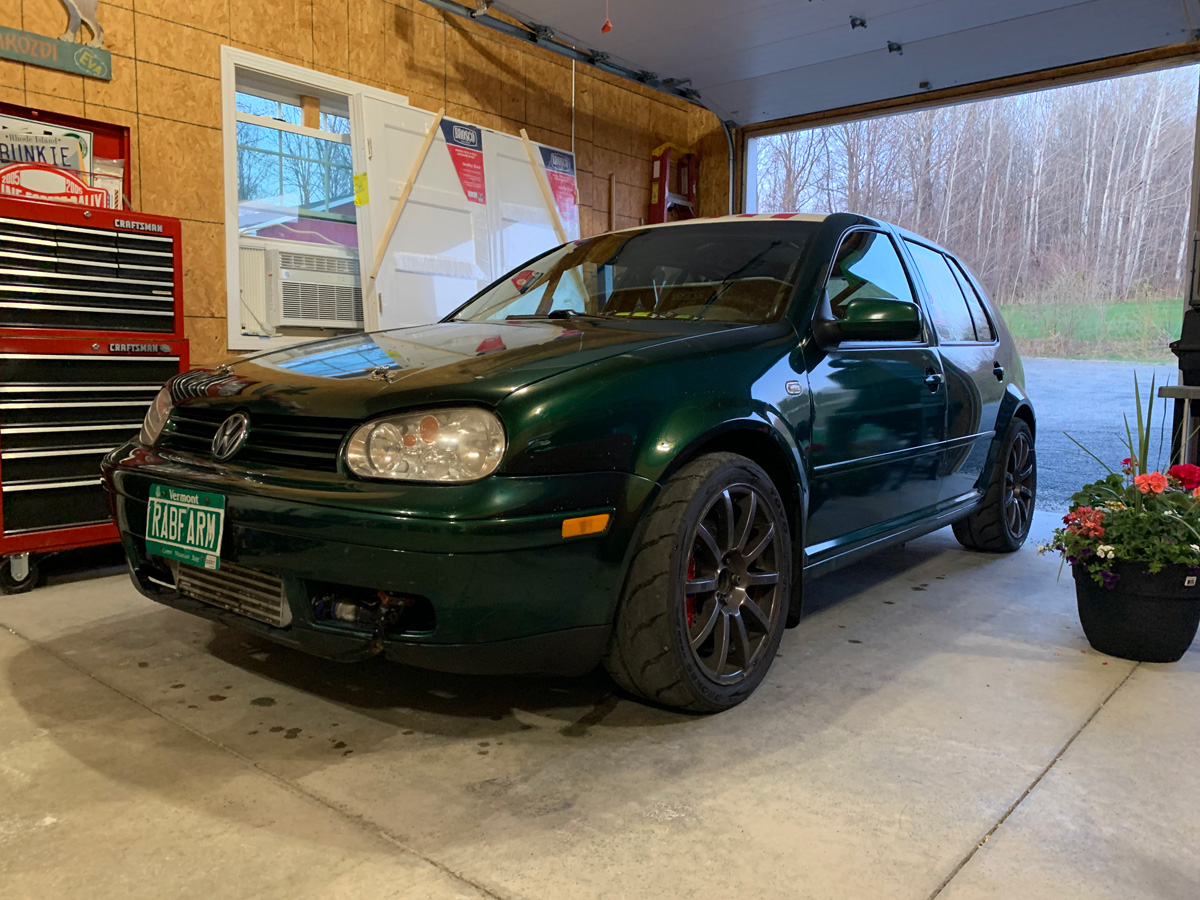
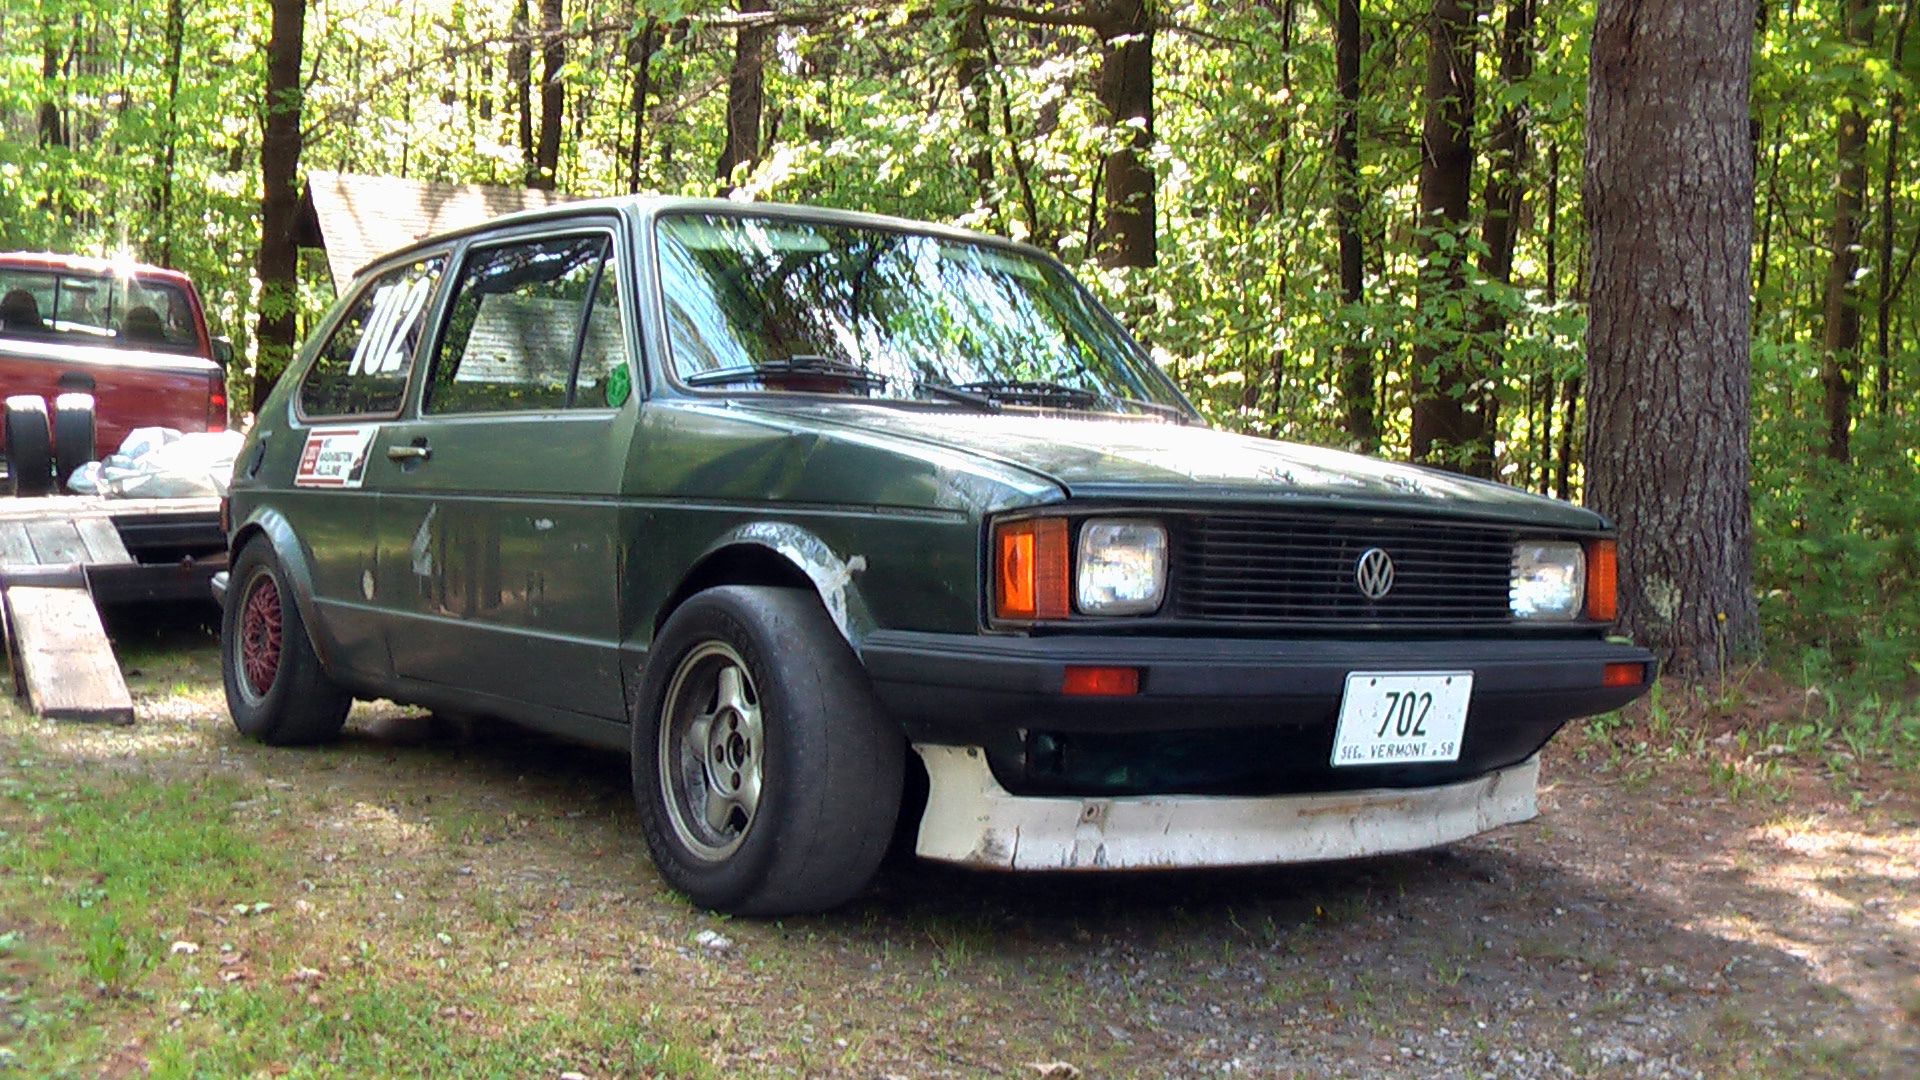
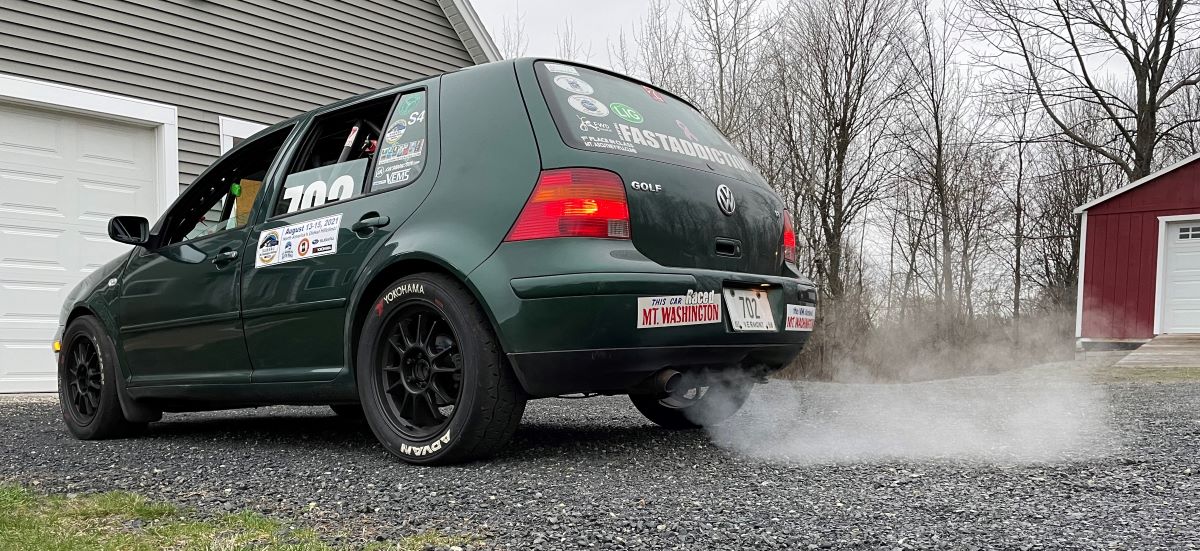
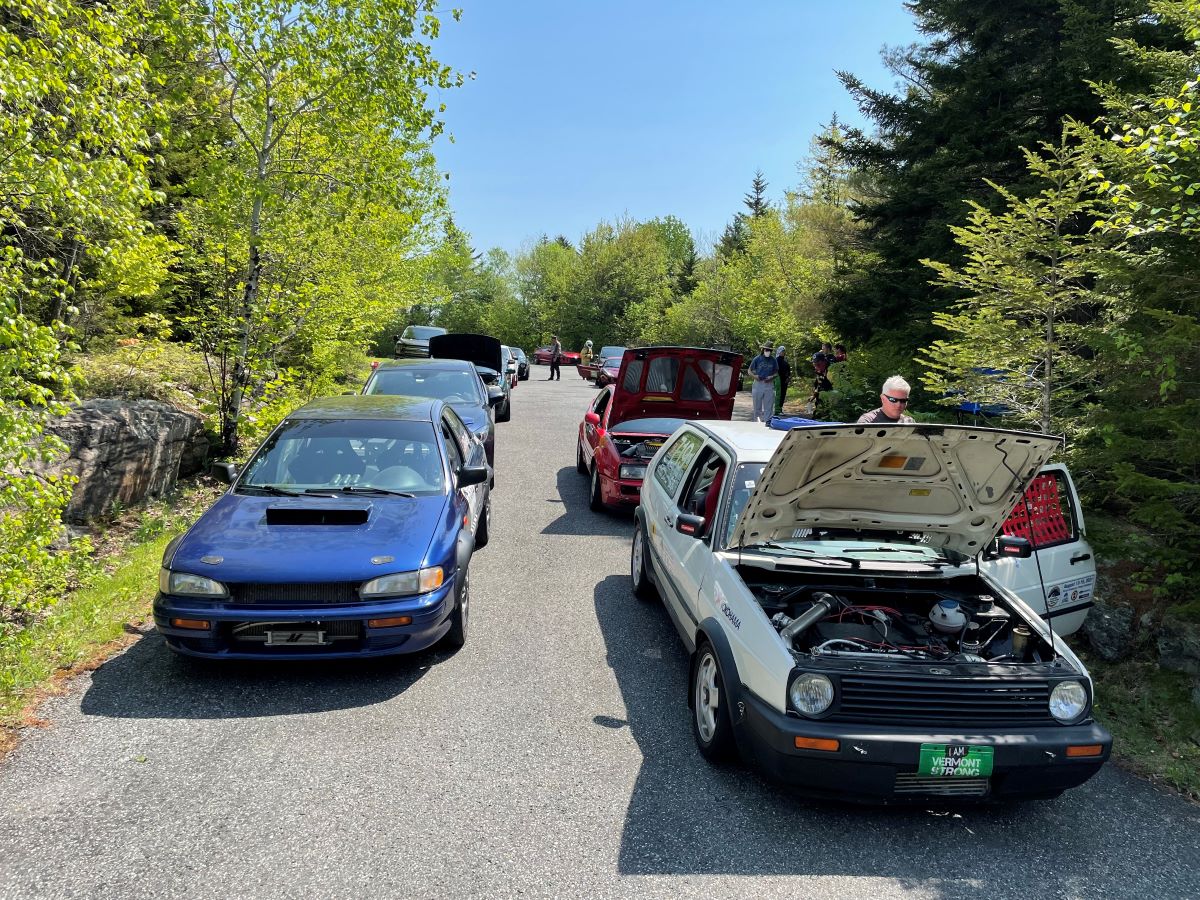
Going for the stanced look.
At the hillclimb, I was going to drive the car on the trailer (yep, even with the wheels pointing different directions), but we noticed a fuel leak.
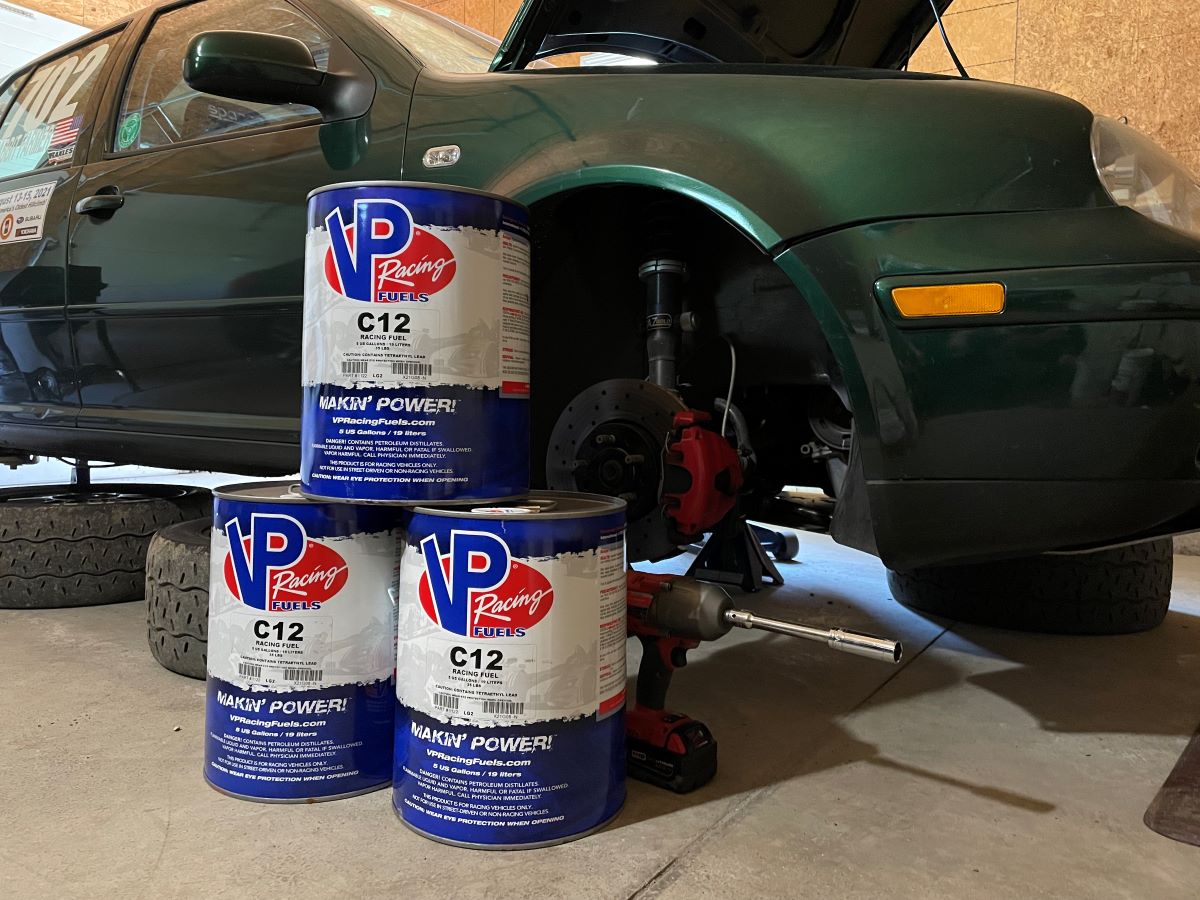
I have a jiggler fuel transfer tube... a hose with a one way valve at one end where you move the tube up and down quickly to file the tube to start the siphoning process (much better than sucking on a hose filled with C12 leaded race fuel)... but it didn’t work for getting the fuel out of the fuel pump access inside the car because there wasn’t enough downhill to keep the flow going.
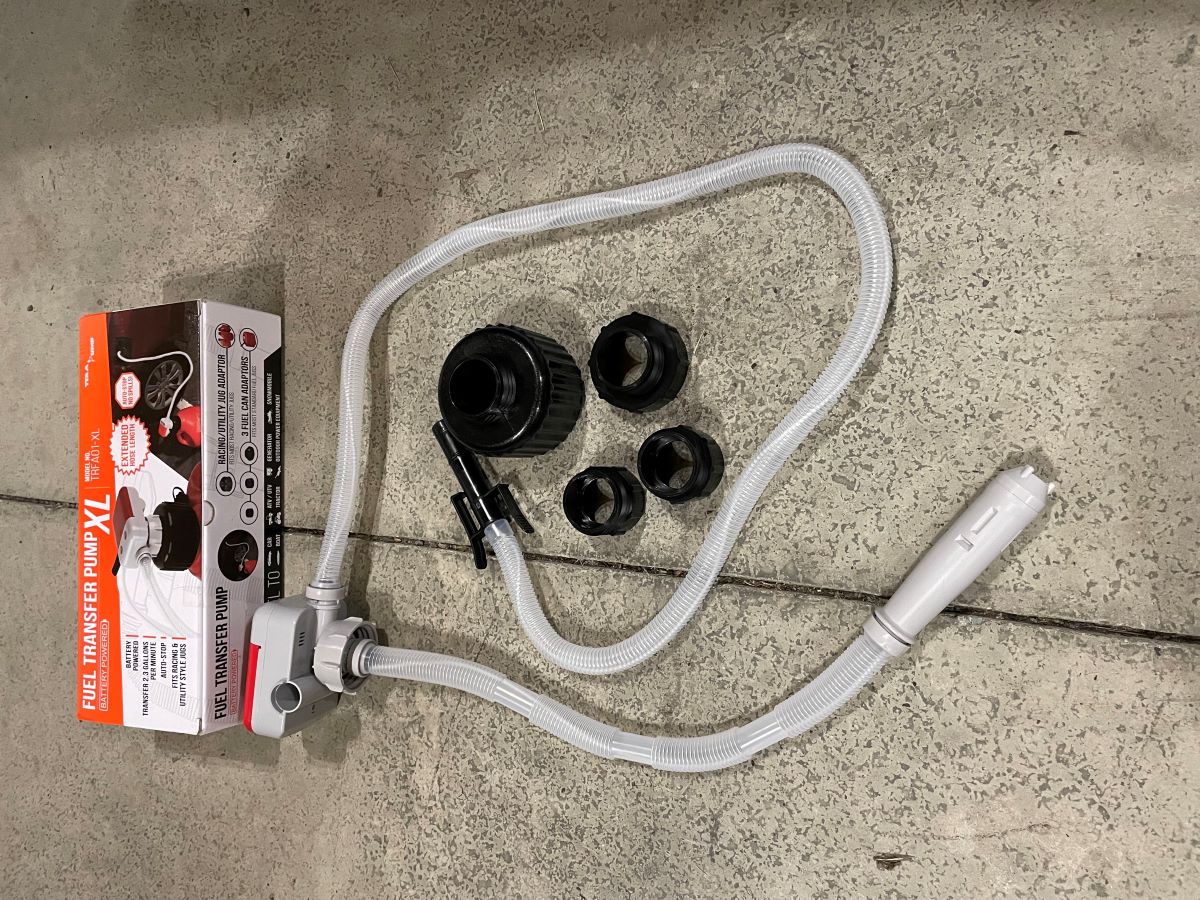
I borrowed an electric fuel transfer pump to make things a lot easier.
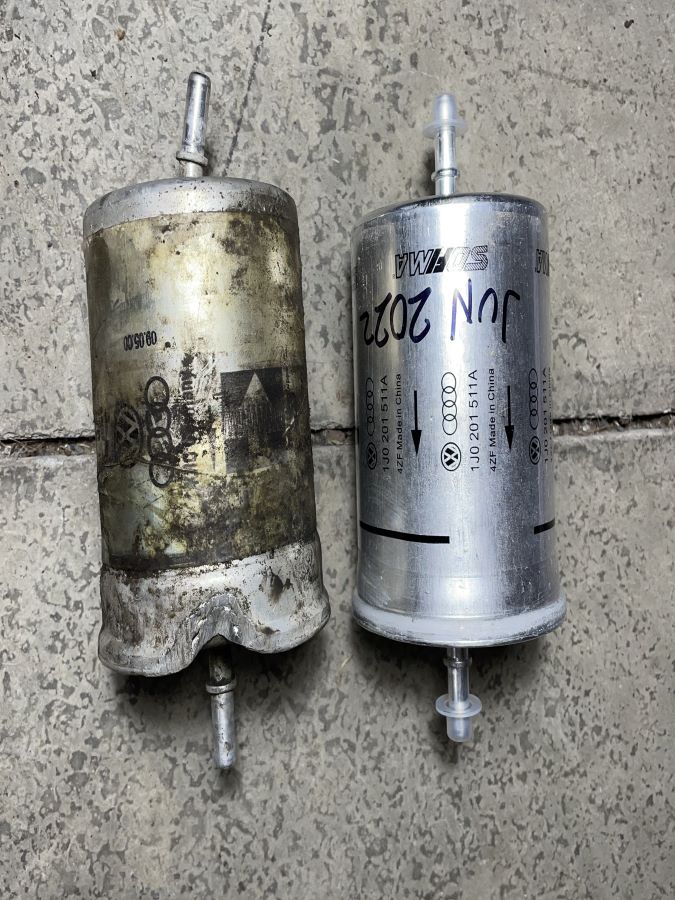
A rocked hit the fuel filter and ground a hole in the leading edge... the source of the leak.
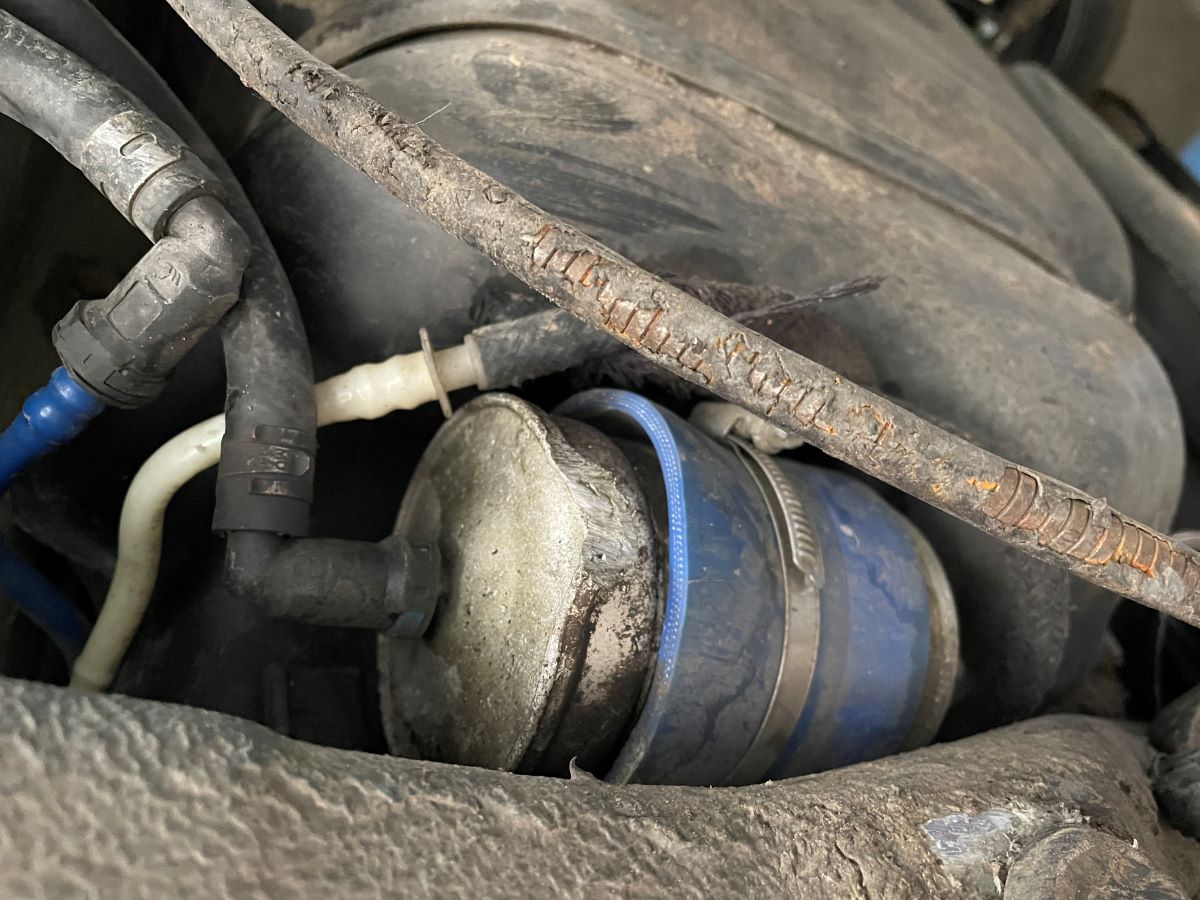
Out with the old and in with the new. One thing I learned from a fell racer about 25 years ago... it is good to write on stuff to tell you when you did something. The sharpie has been used on fuel filters, oil filters, fly wheels, etc. etc. so that I remember what and when I did things.
I was so impressed with the electric fuel transfer pump that I purchased one when I got home.
It was different fuel can caps (including VP racing fuel jugs) to attach the intake hose to fuel cans. The purpose of the pump is to transfer fuel from a fuel jug to your car... hence the different caps.
Runs on four AA batteries (and will function on two if needed), pumps 2.3 gallons per minute, and has an auto shut off.
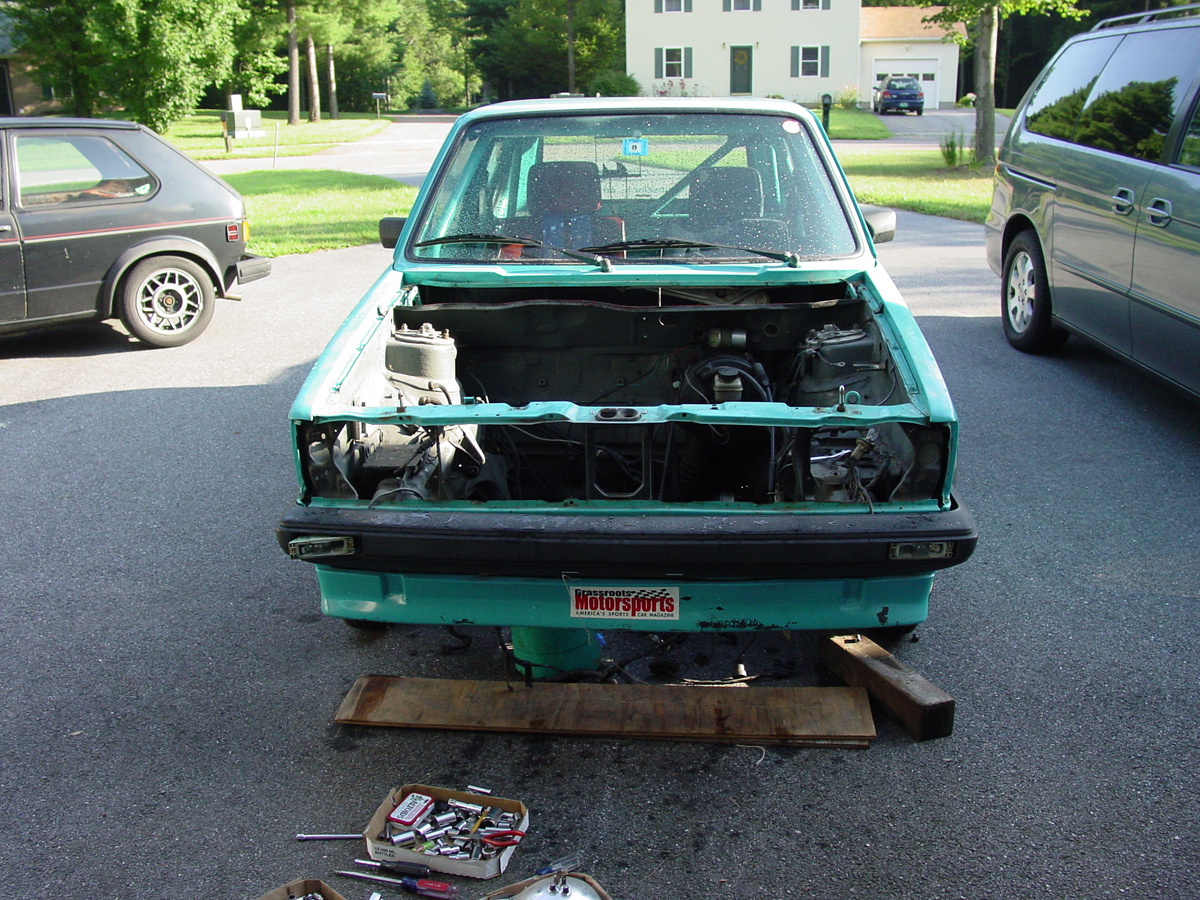
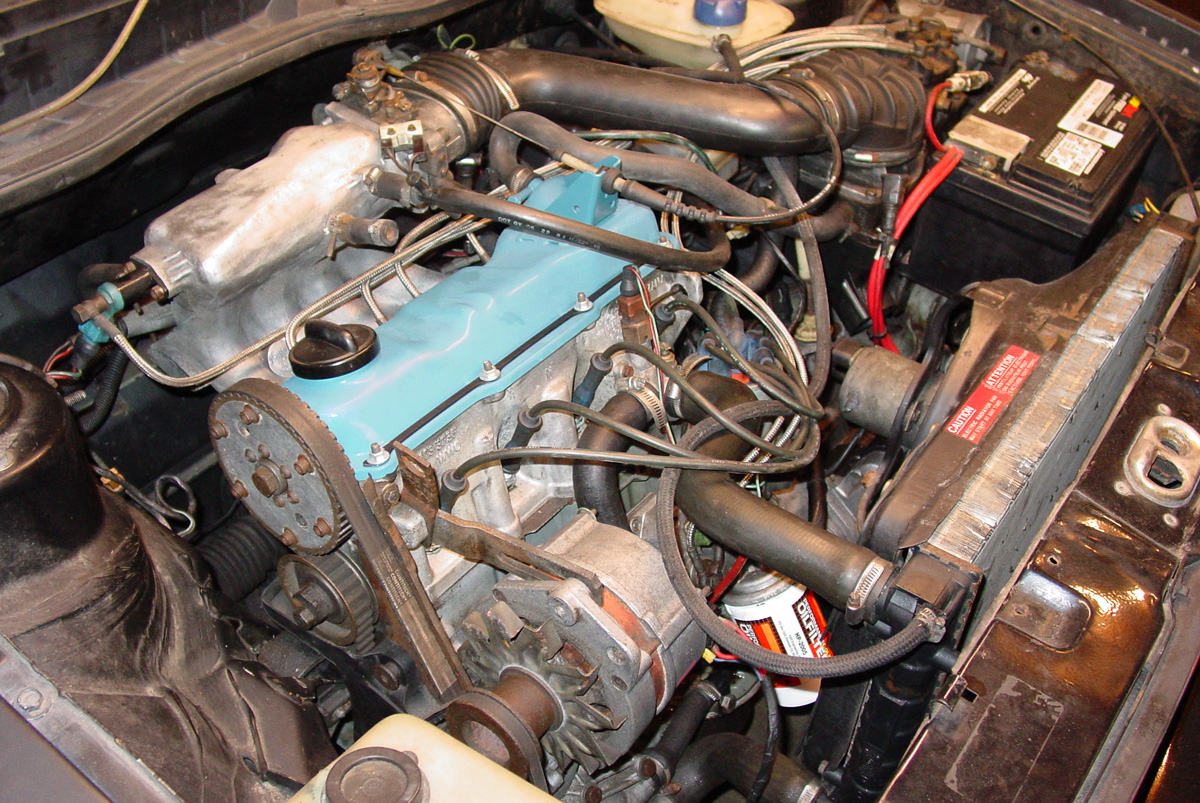
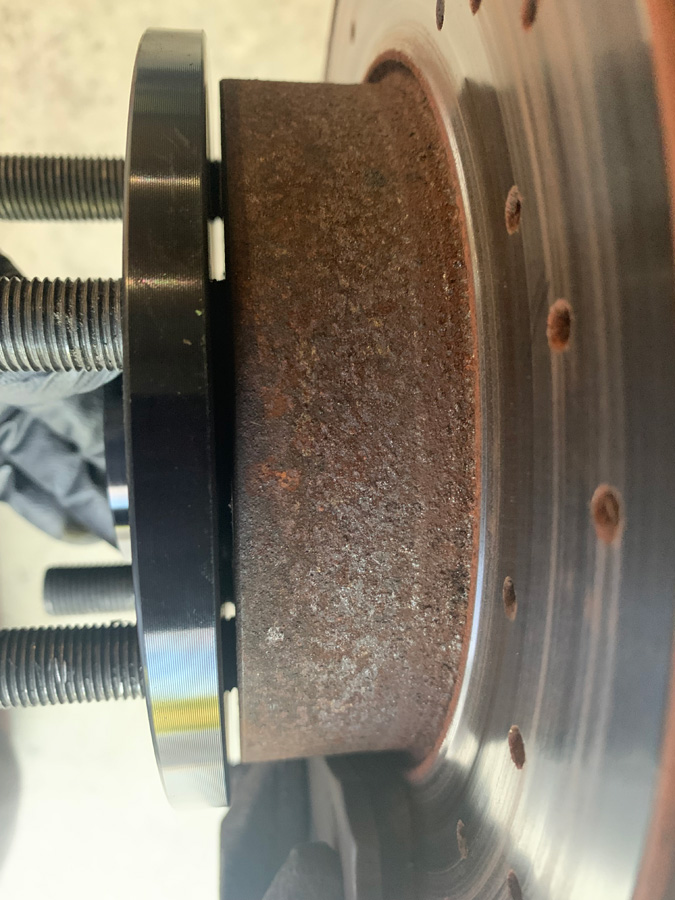
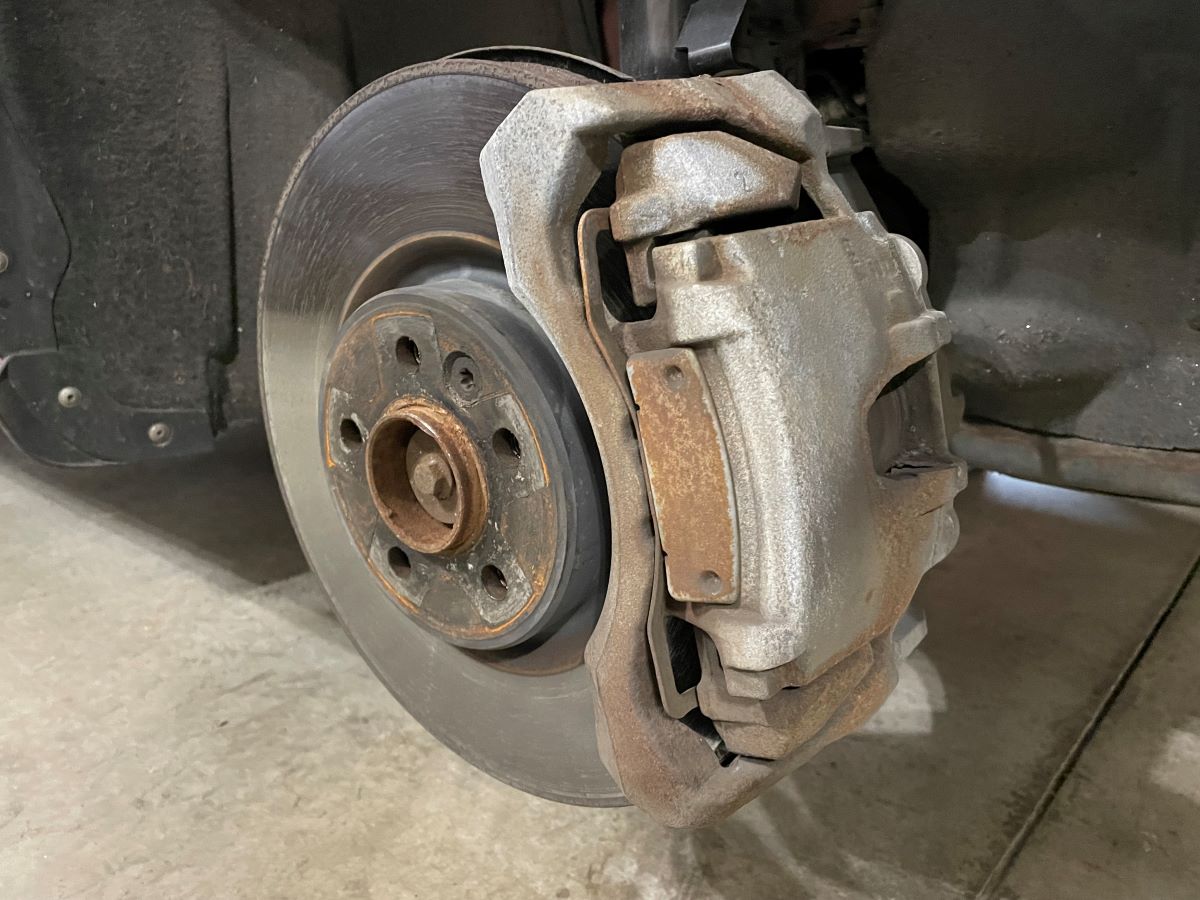
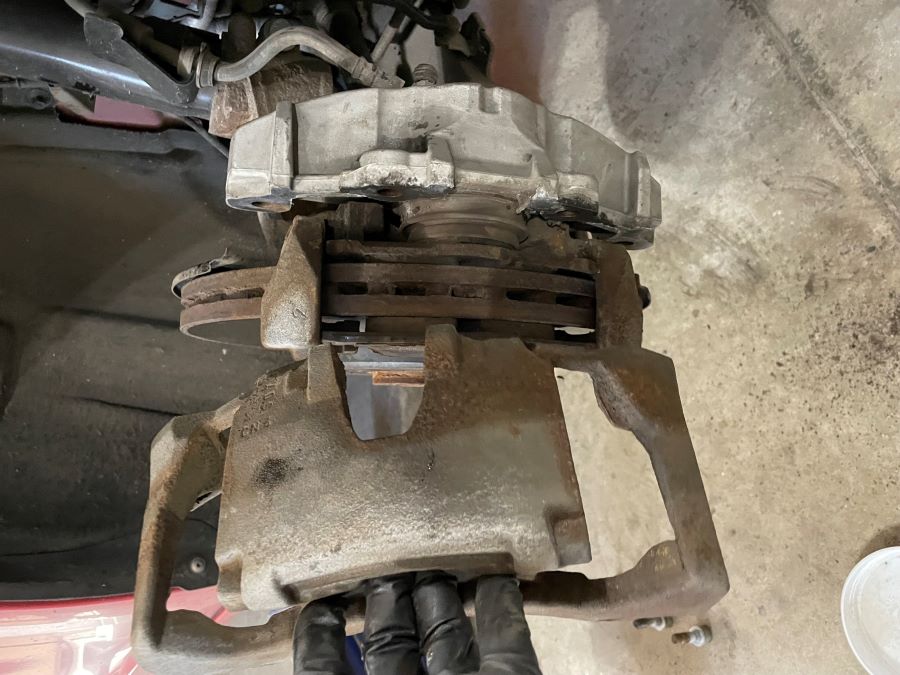
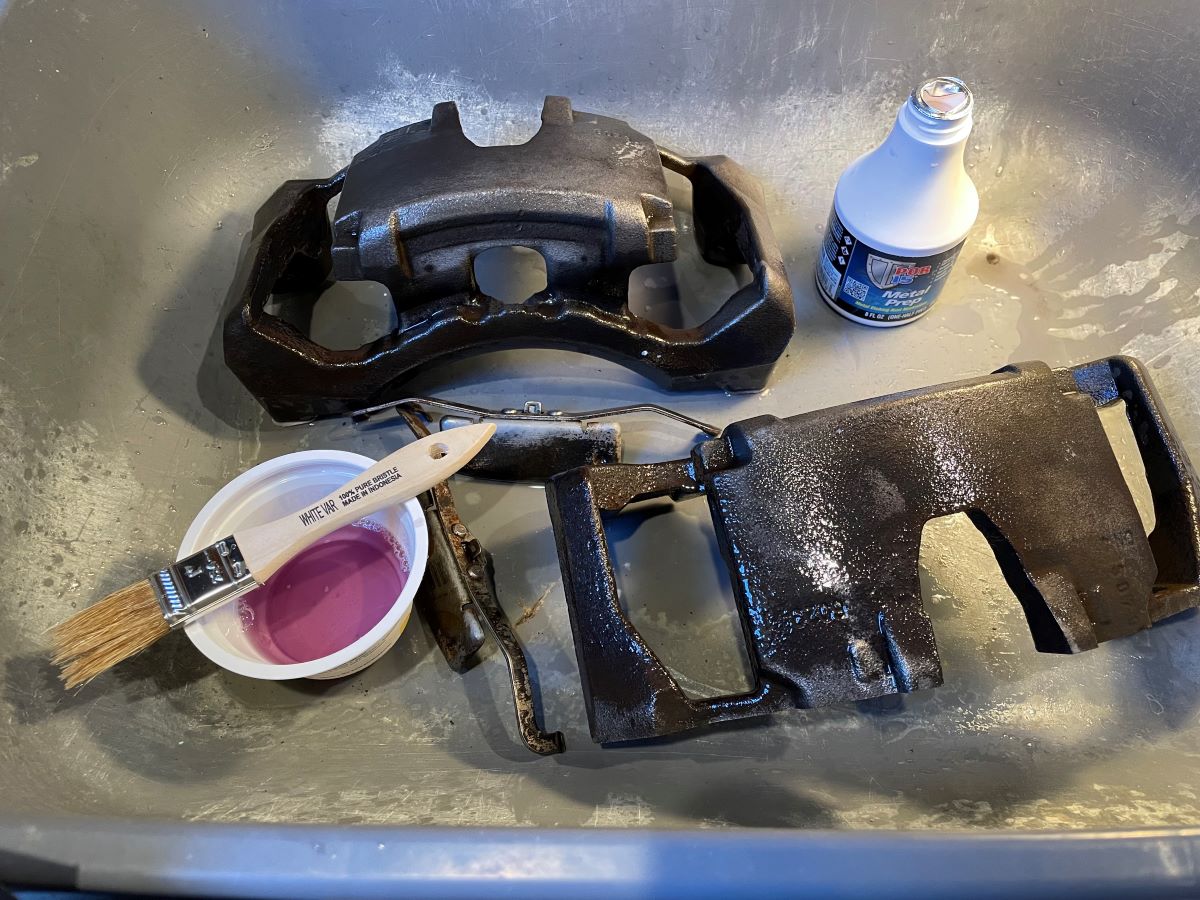
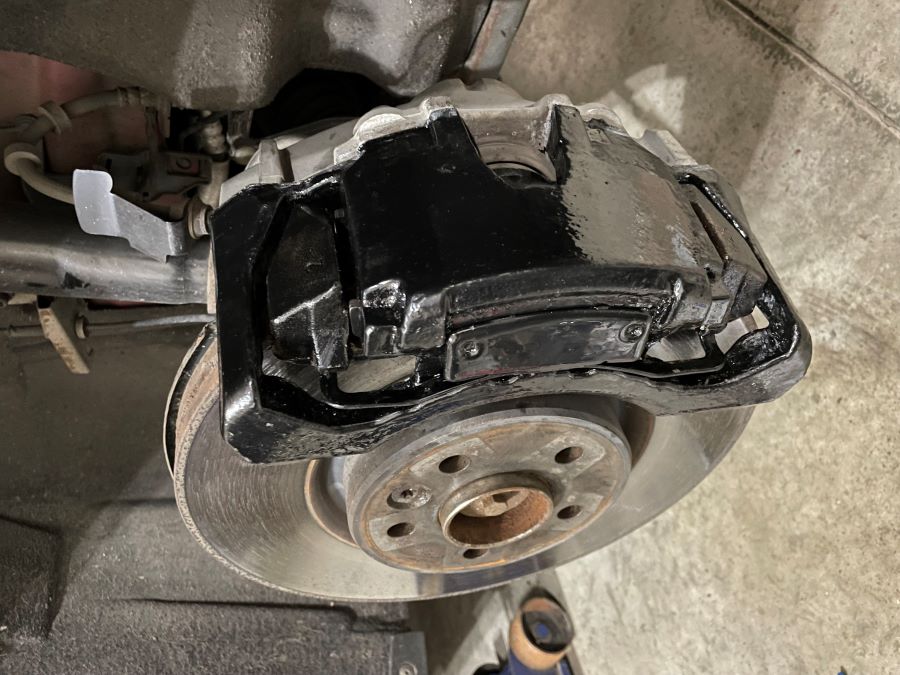
The left front strut that broke after leaving the road.
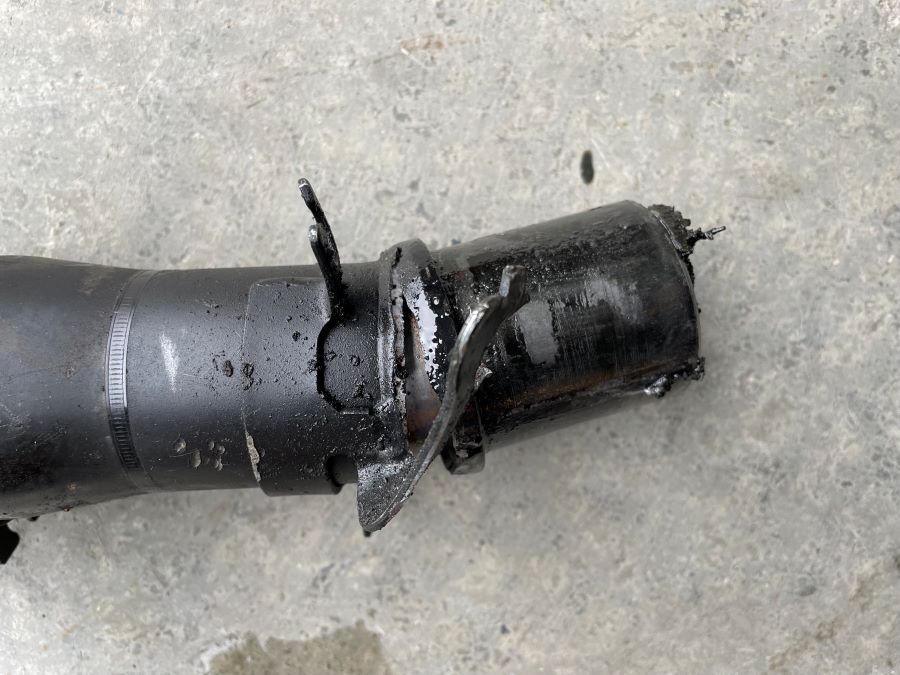
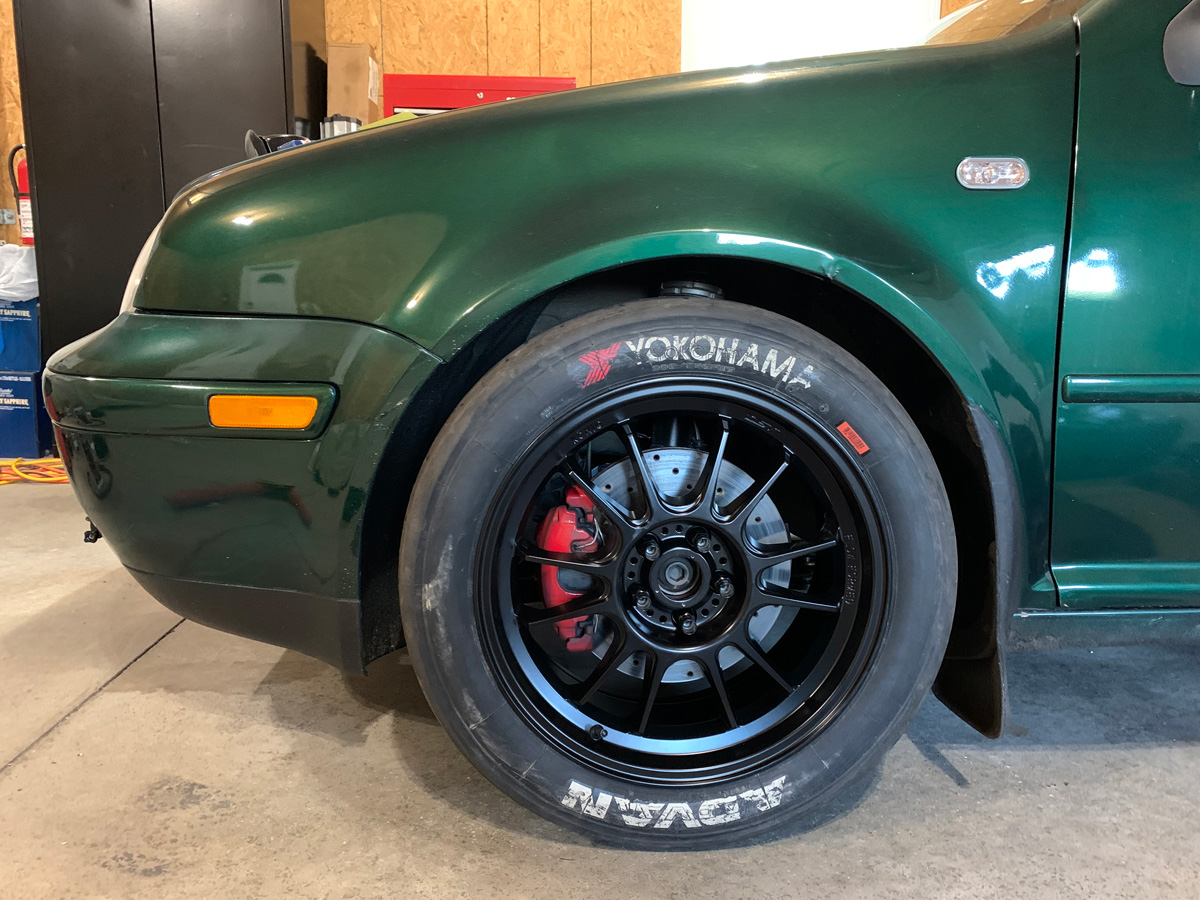
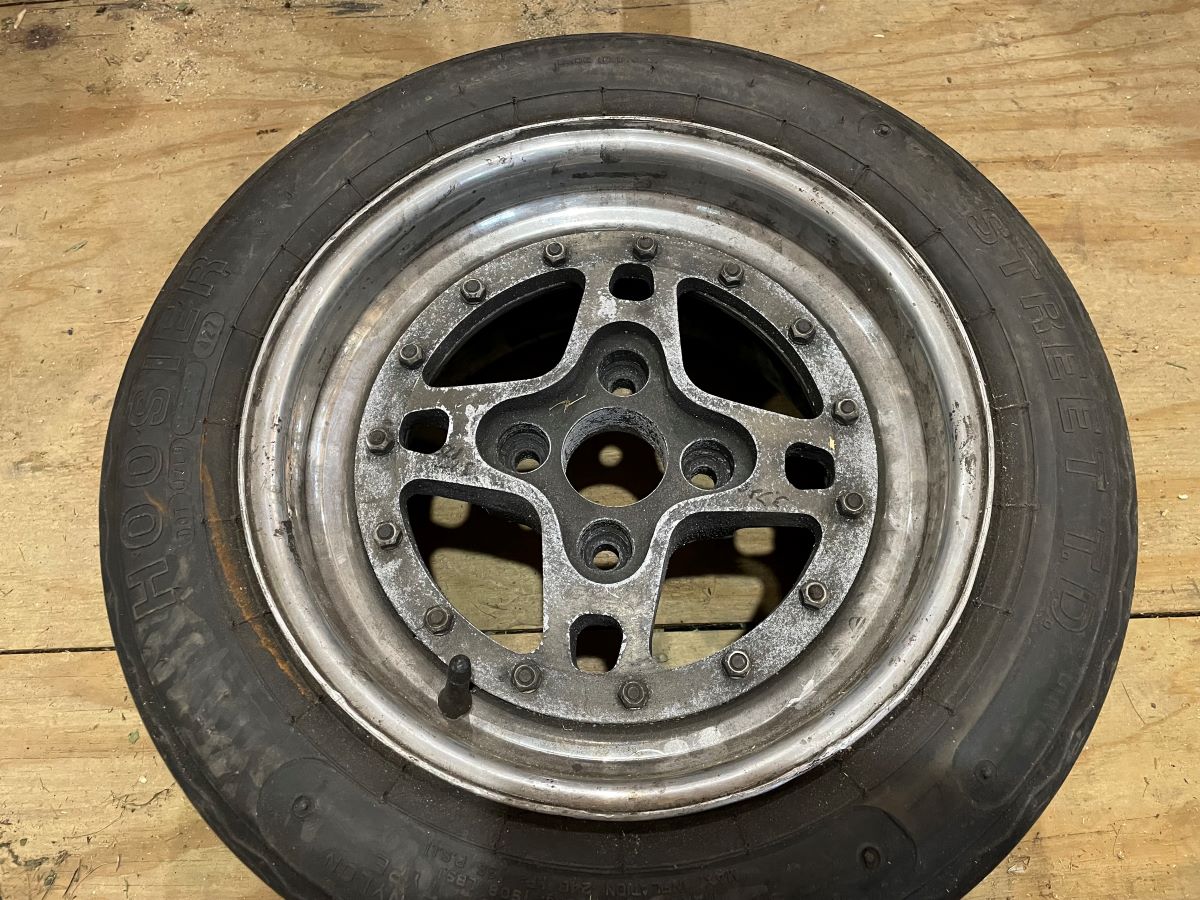
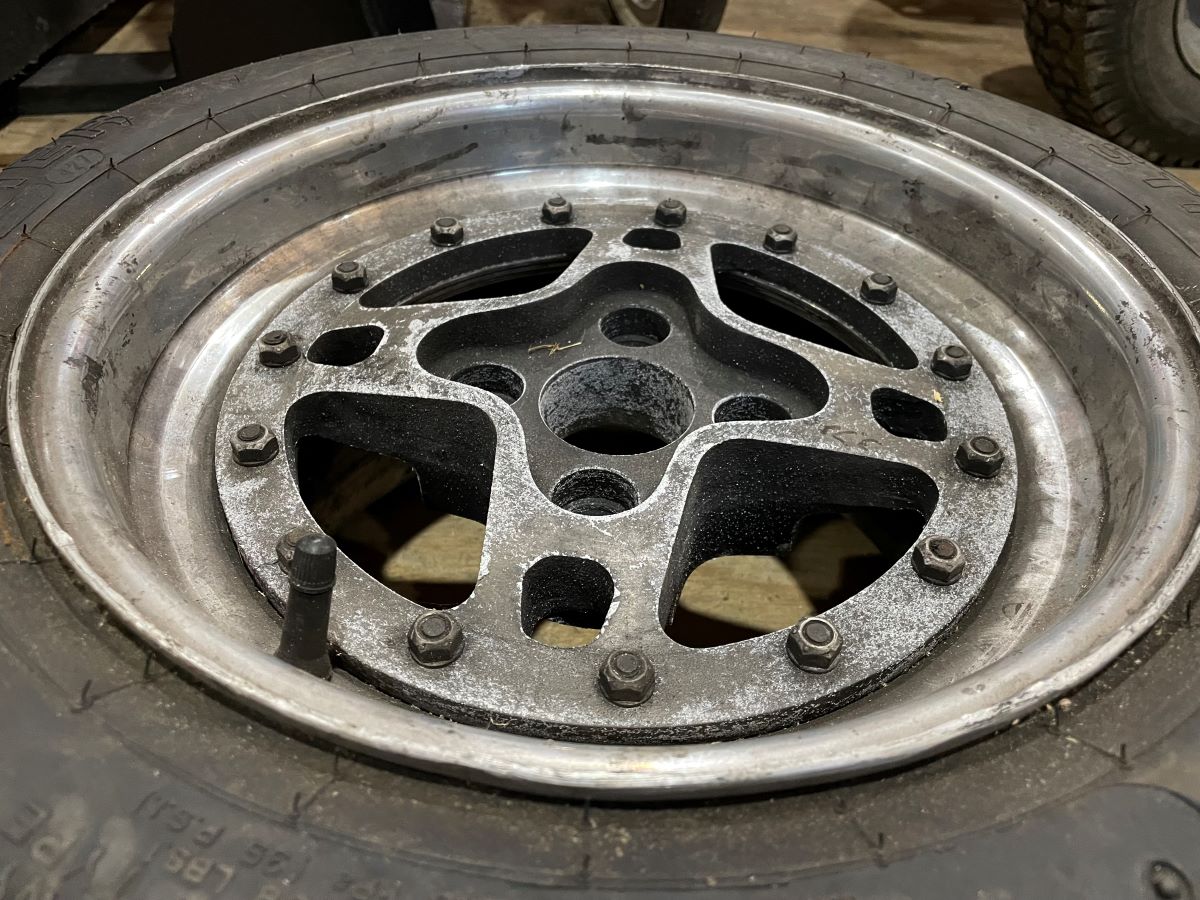
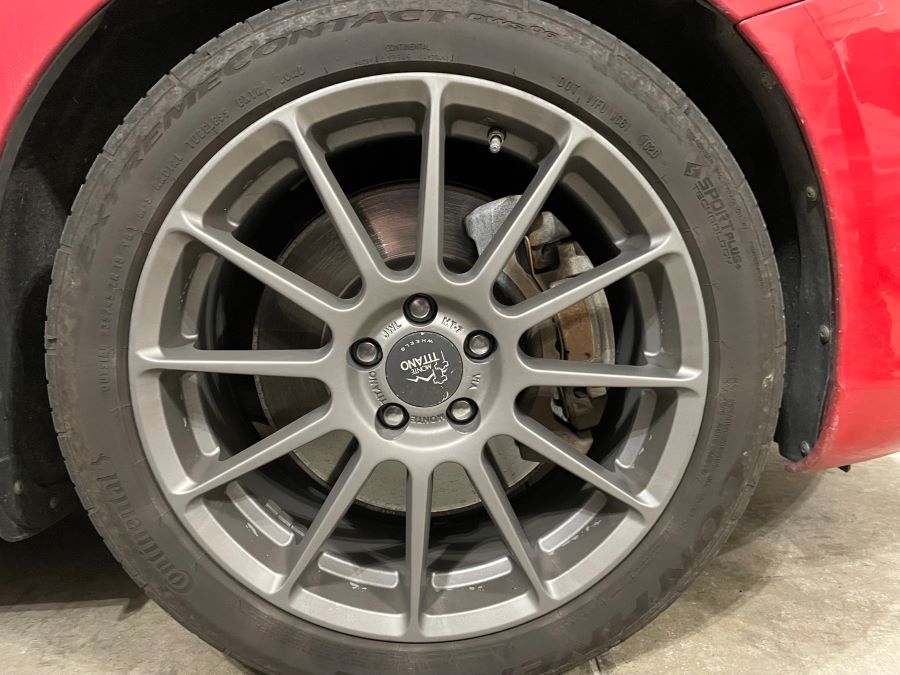
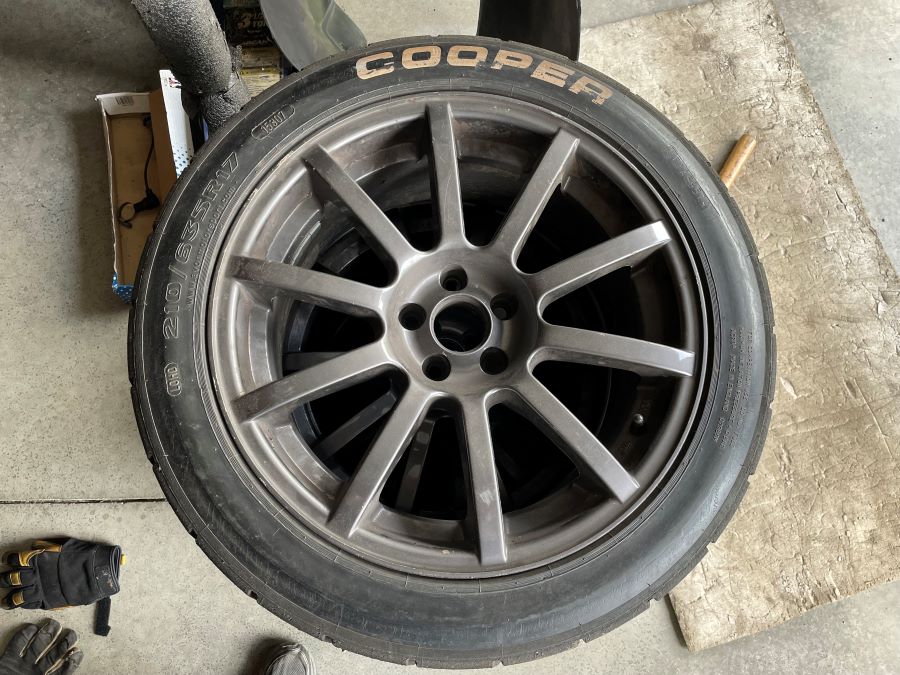
The left front wheel... the only damage on the rim is from where it made contact with the strut. Because the damage was only in a small section, this tells me the wheel was already locked up prior to the strut breaking upon impact with the ditch.
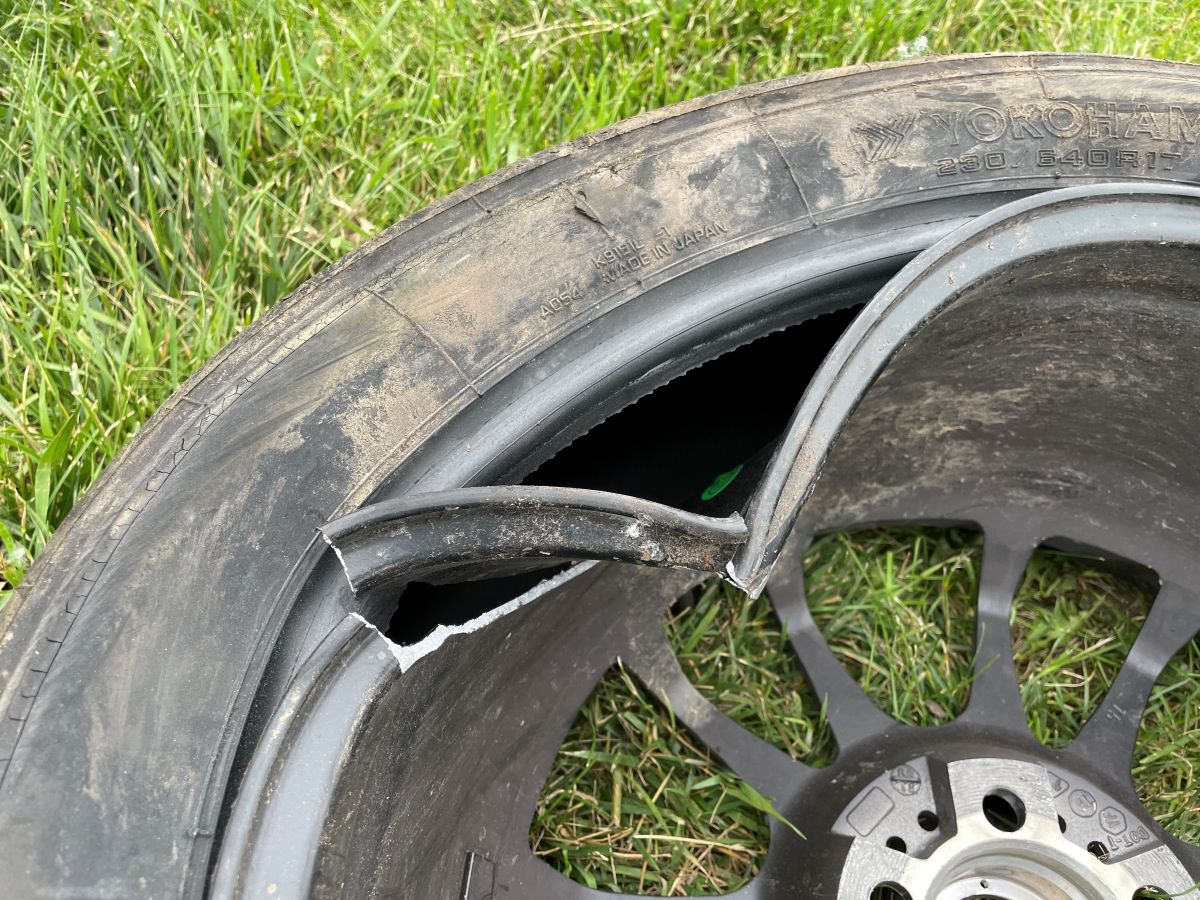
I also noticed both front tires had cracking on the sidewall... I guess they were getting old.
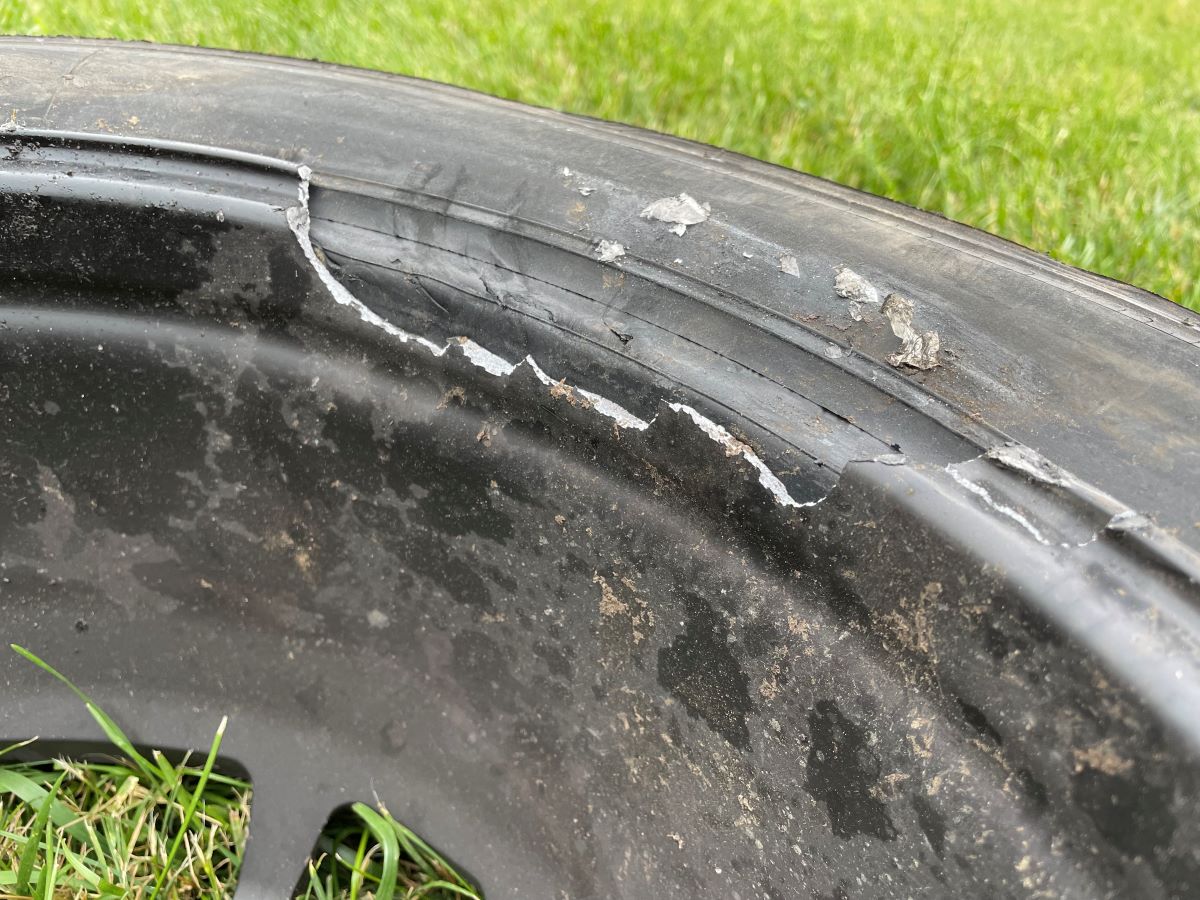
The right front rim was damaged because it lost a fight with a very large rock. If I navigated a little more left (further away from the road), I would have landed in a softer location that didn’t have that big rock. But... I wasn’t exactly trying to turn the wheel left to get further off the road... turning right was my goal.
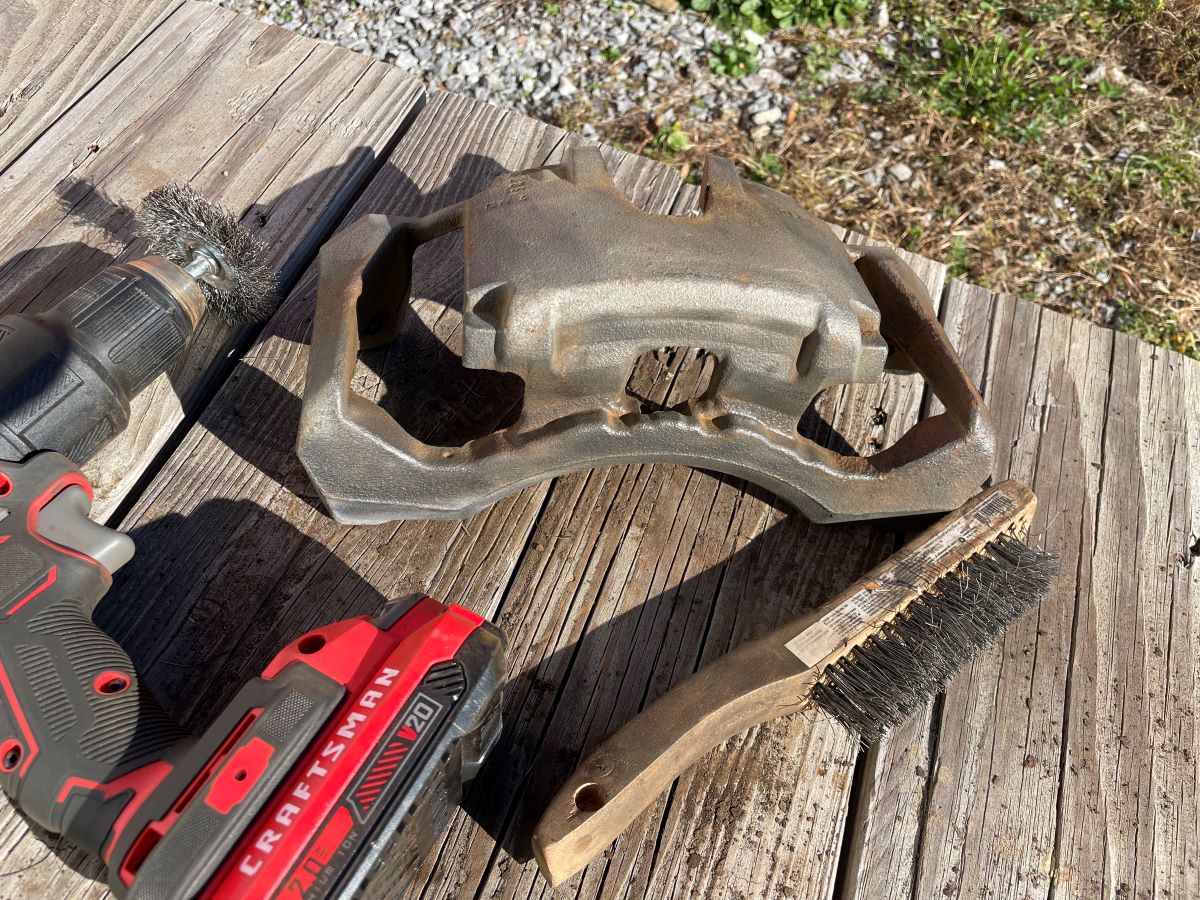
The skid plate support bar in front of car did take an impact. The bar does across the front of the car under the intercooler and is welded to the front bumper beam. From the front bar, there are two smaller removable support bars that bolt to the front of the subframe using the control arm bolts. The smaller support bars give the skid plate rigidity.
It wasn’t until I started talking apart the car that I discovered the front support bar impact... this means that once again the Joey Kale fabricated skid plate protected my engine and transmission from expensive damage.
How did I notice? I could not remove the front control arm bolts. I didn’t know why yet.
The bolt would come out most of the way and then just spin. I thought it was an issue with the captured nut inside the subframe, but I was able to retighten the bolt (to test the nut) and could see inside the subframe with my borescope to see the nut was still captured.
I tried all the tricks to get the bolt out... no luck.
Because I was able to get the bolt out of the backside of the subframe, the plan was to cut the front of the bolt off, tap it in a little to clear the front of the subframe, and remove the control arm.
The plan was good, but execution was clunky.
The blade on the dremel wasn’t big enough to be able to cut the shaft of the bolt as the head was in the way. I got out my small angle grinder, but that didn’t have any cutting wheels.
My large angle grinder does have a cutting wheel, but I have no idea where the tool was to remove the grinding wheel. So... I used the grinder to cut off the top of the bolt and the dremel to cut the shaft as close as I could get to the subframe.
Took me an hour+ to identify the issue with the bolt, work through the various solutions, and finally remove it. Steep learning curve on the other side of the car... 5 minutes to remove that bolt.
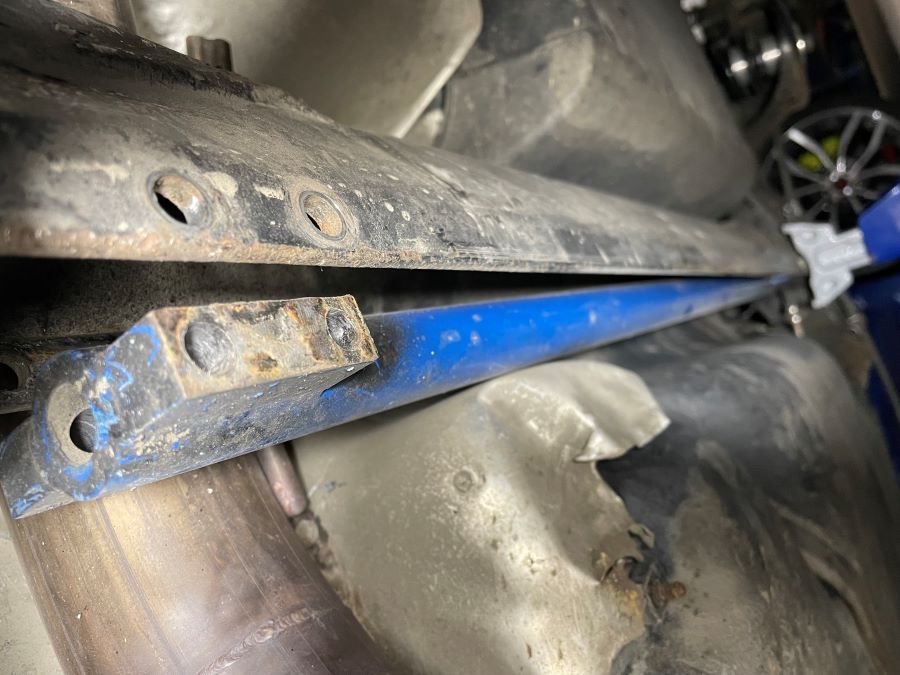
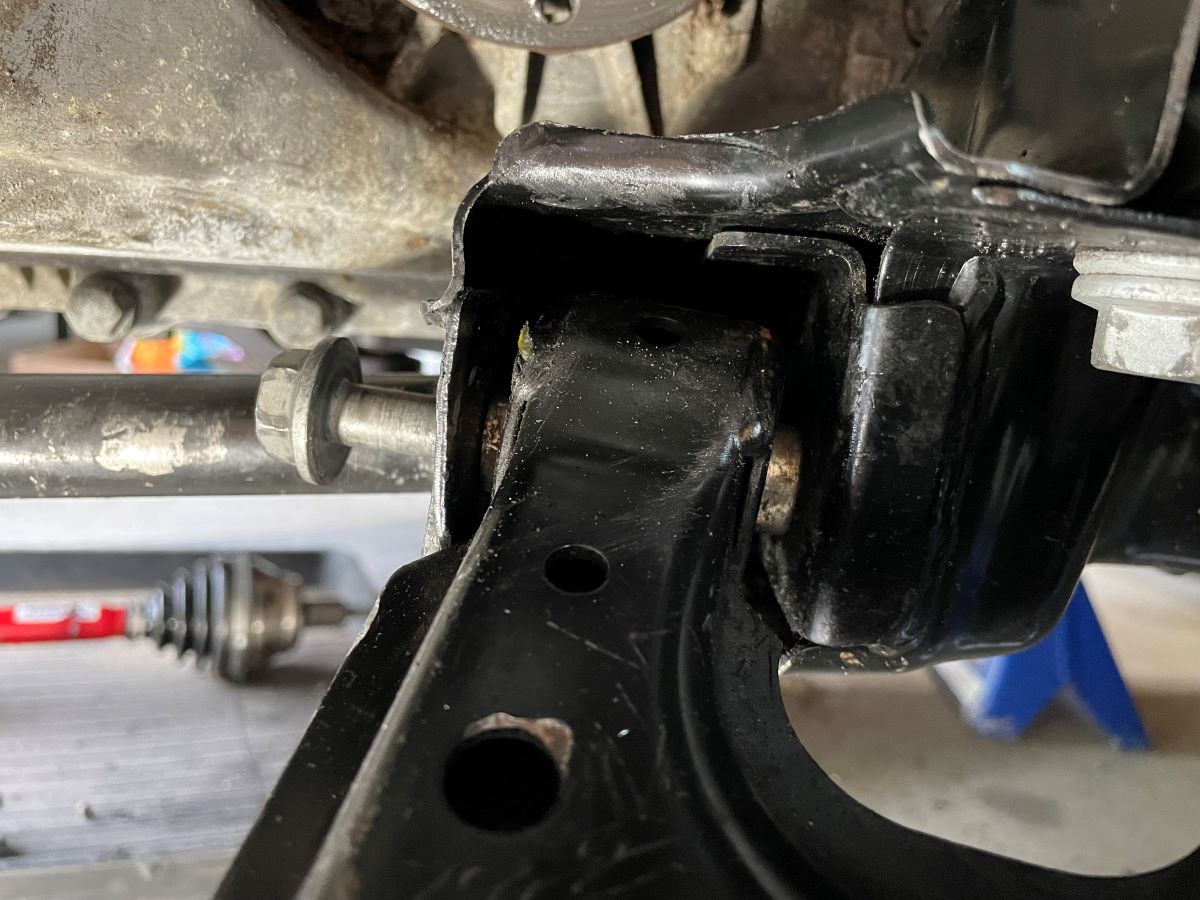
This is how I determined the skid plate front bar took a hit. Because the smaller support bars are mounted to the front of the subframe, the impact compressed the area where the control arm mounts causing the machined spacers to mushroom. This is why I could not remove the bolt as the threads couldn’t get through the mushroomed part.
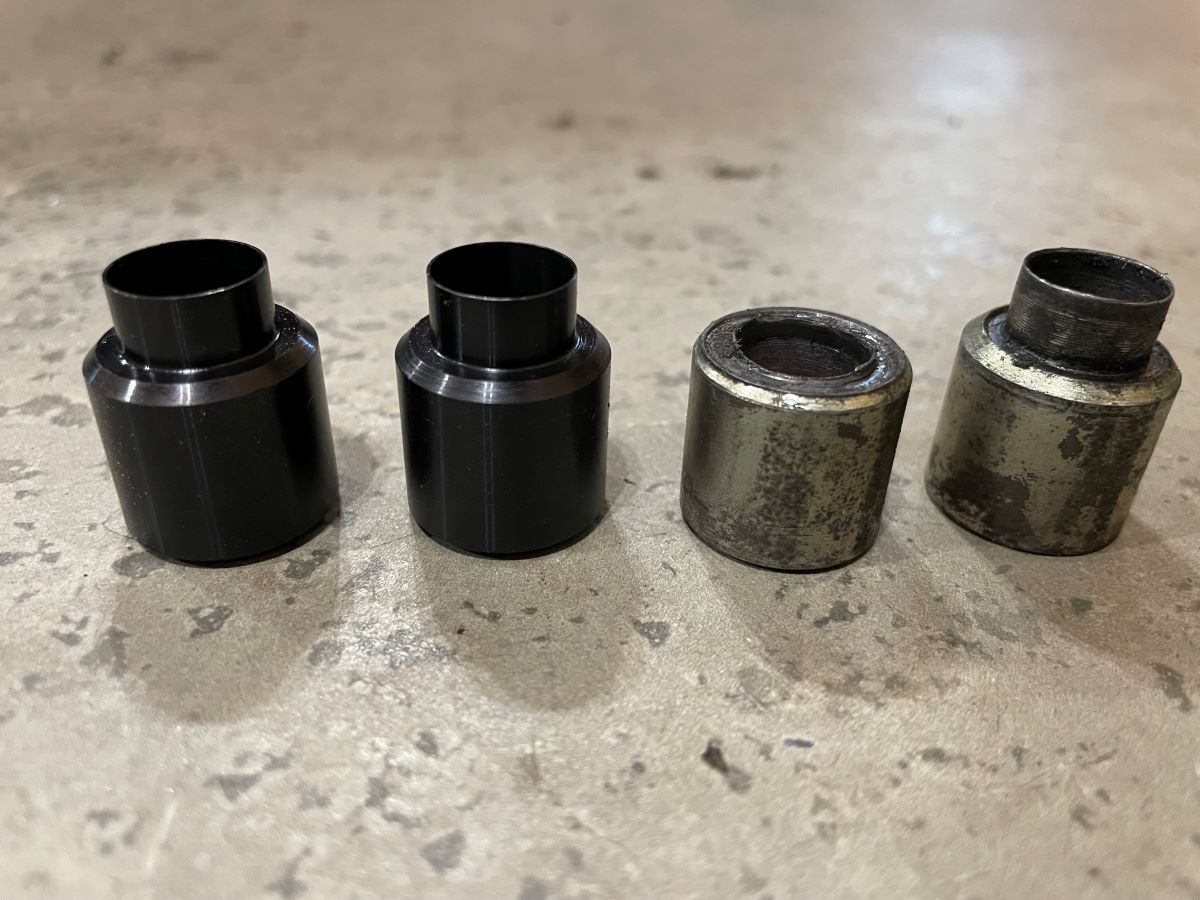
There are two halves... mushroomed on the left and good one on the right.
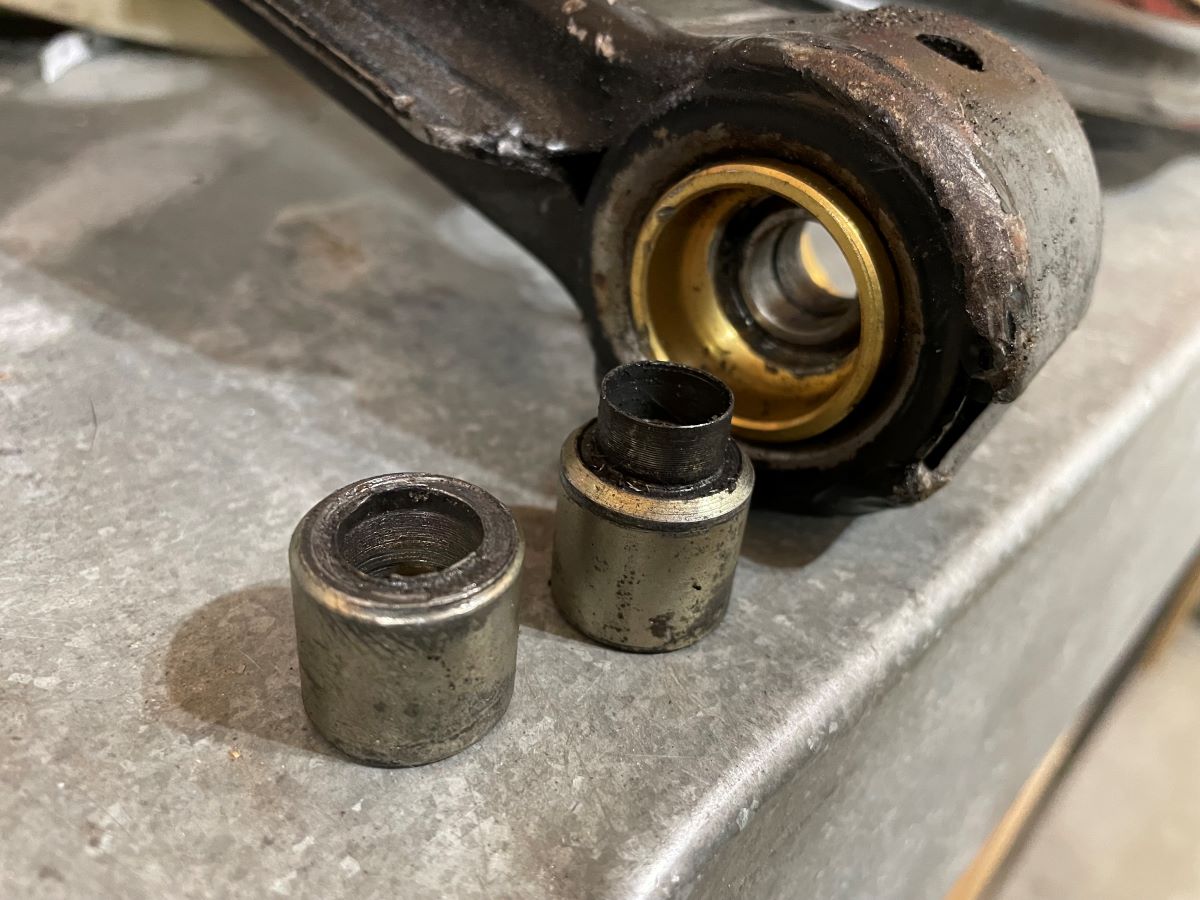
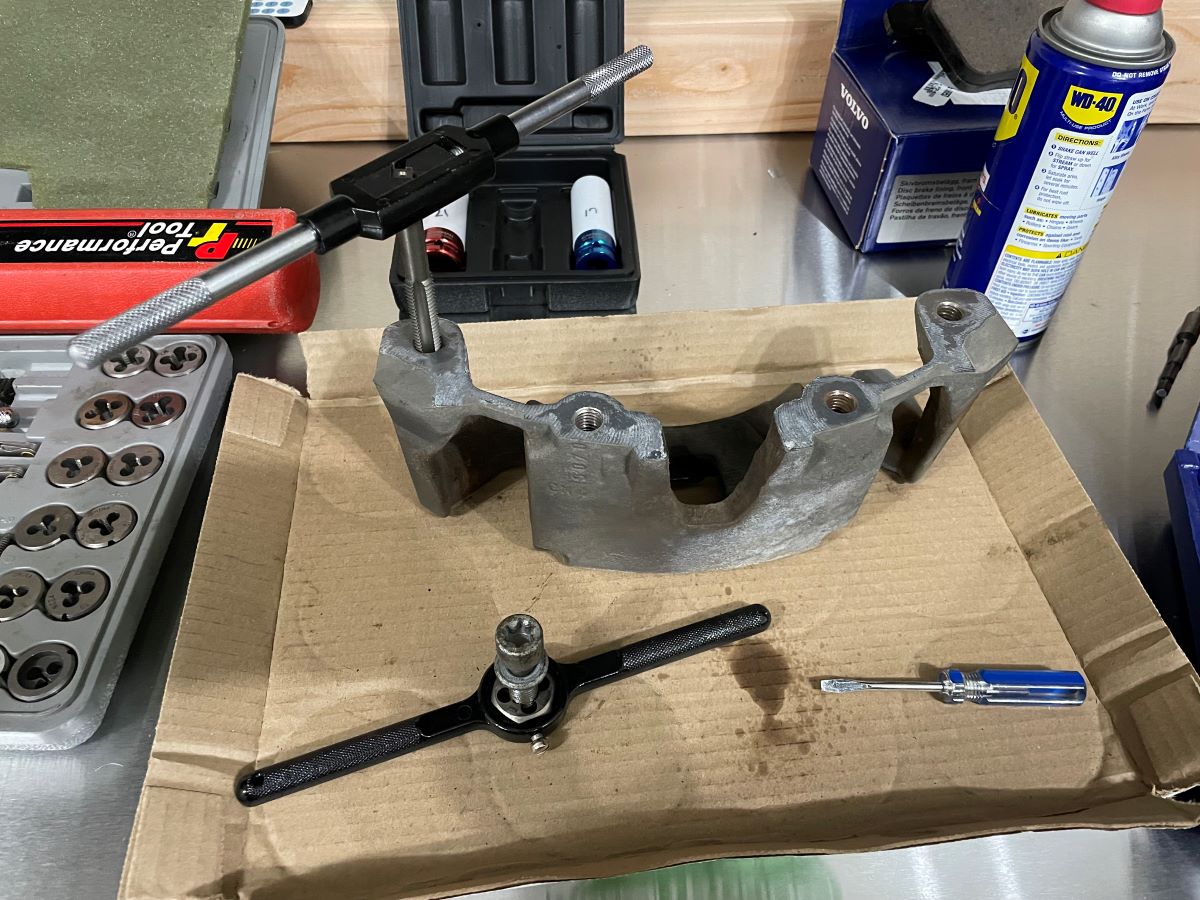
I went to the Southern California Cylinder Heads website (www.scch-heads.com) that I thought made the control arm bearings to look for replacement parts. I purchase the bearings from https://performancemrp.com/ in New Hampshire, but figured they just resell the parts created by SCCH.
I went to the Contact page on SCCH’s site and saw “All inquiries are forwarded to Jacob at Innovative Motorsport Solutions.” Great... don’t know who that is... yet.
I received a response from the SCCH message submission from a company called Performance MRP. Wait... that is the company I purchased the original bearings. MRP told me to contact Jacob who makes those parts.
Ok... I emailed Jacob and he said he could mail the parts to me or... he could meet at the Sports Car Club of New Hampshire (SCCNH) Cannan track event in two weeks (I’ve driven there!) and most of the SCCNH NHMS (Loudon, NH) autocross events... I’ve been there also. Wait... that is a local club that I am very familiar with as they host the Ascutney hillclimb and I have driven autocross events with them over the years.
Small world!
Look at those lovely new machined parts. :)
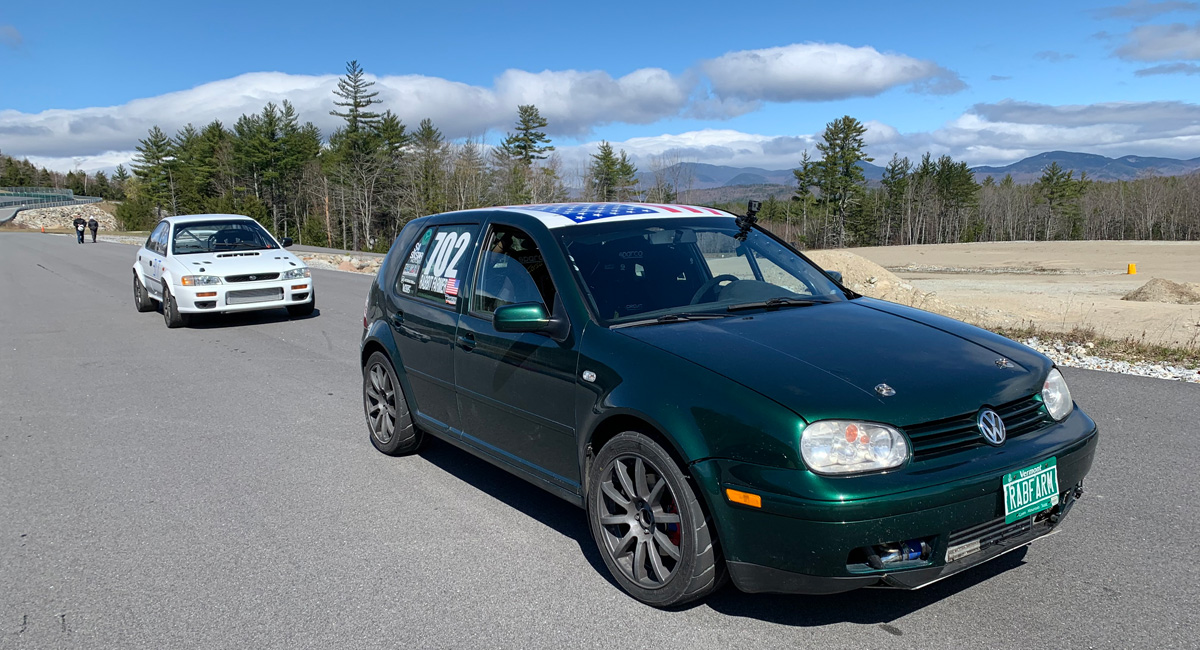
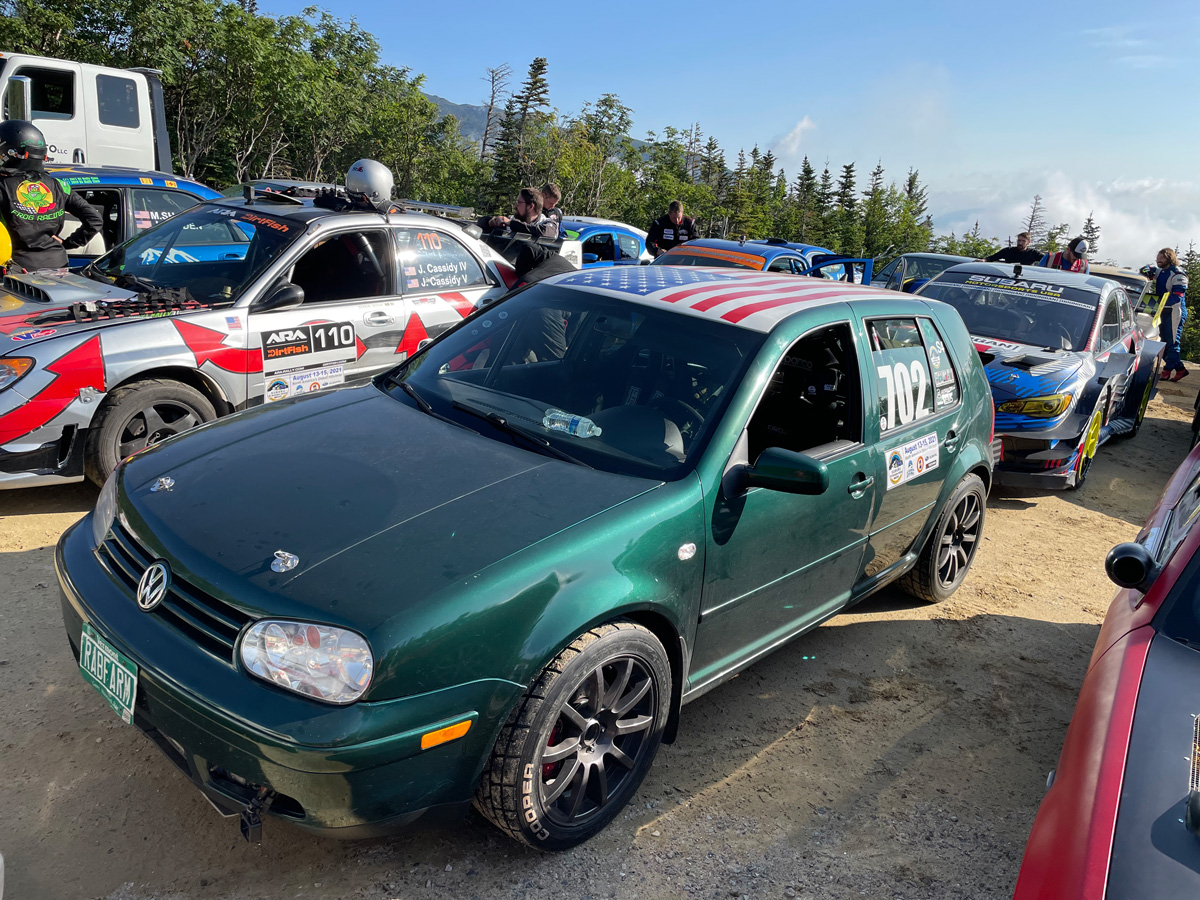
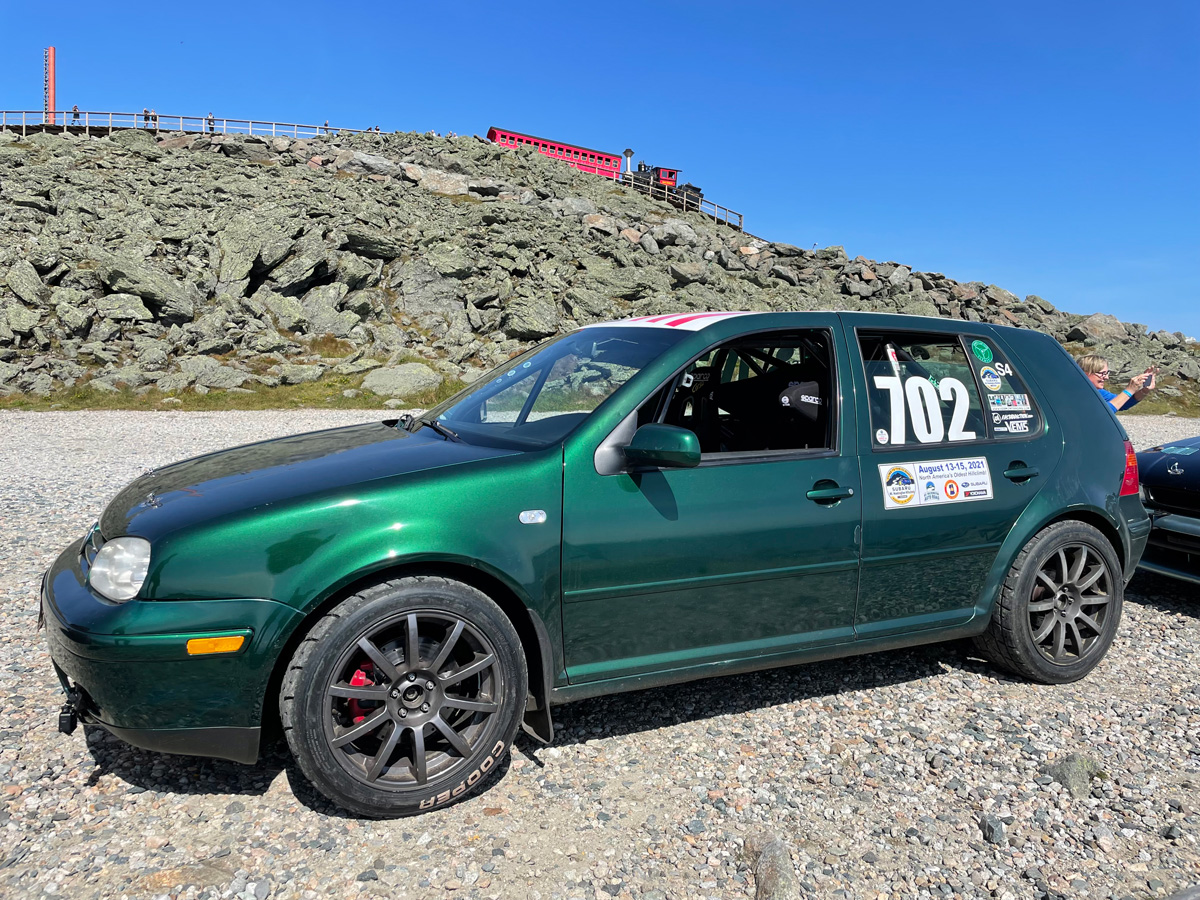
Of course, since some dumbass drove off the road, I had to use a special Volkswagen tool (part number 702... it happens to be my race number also... what a coincidence) to expand the control arm mounting point in the control arm.

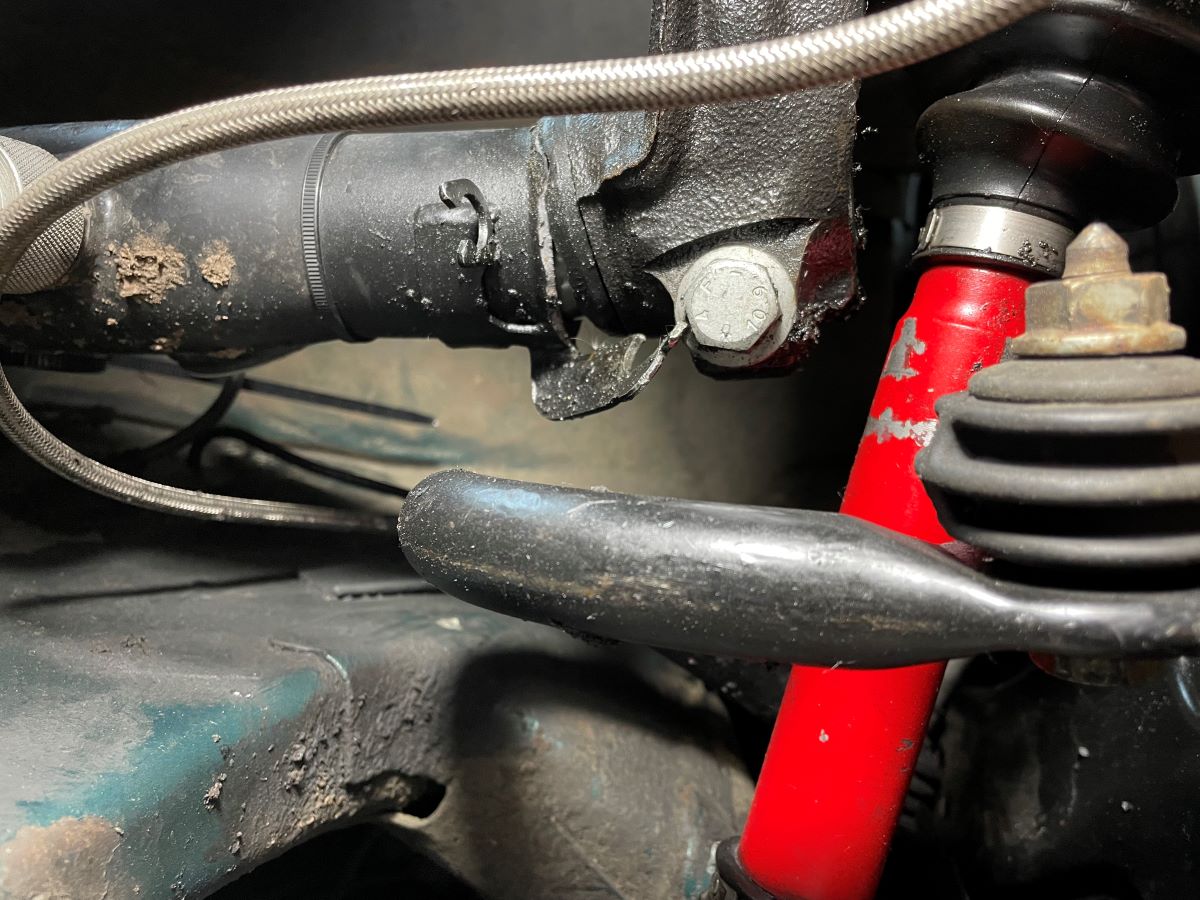
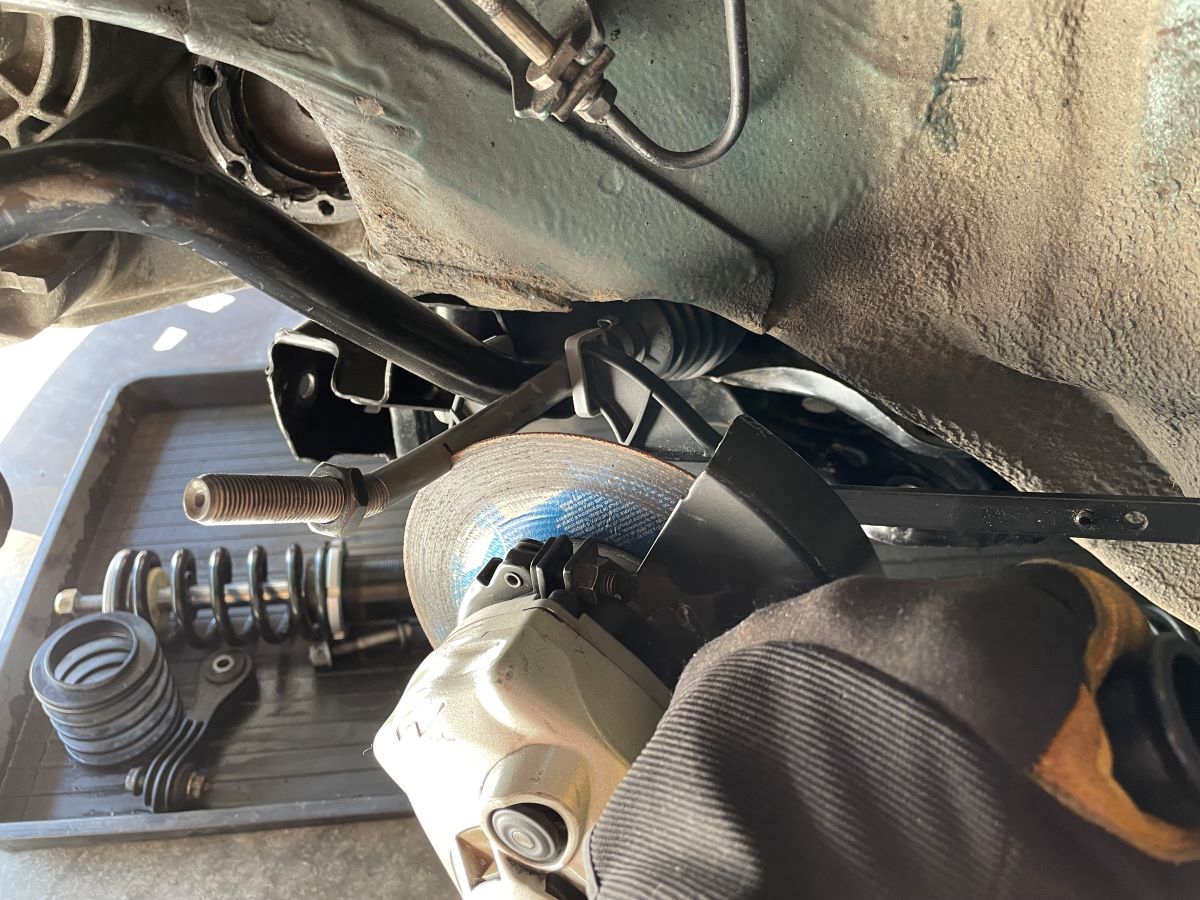
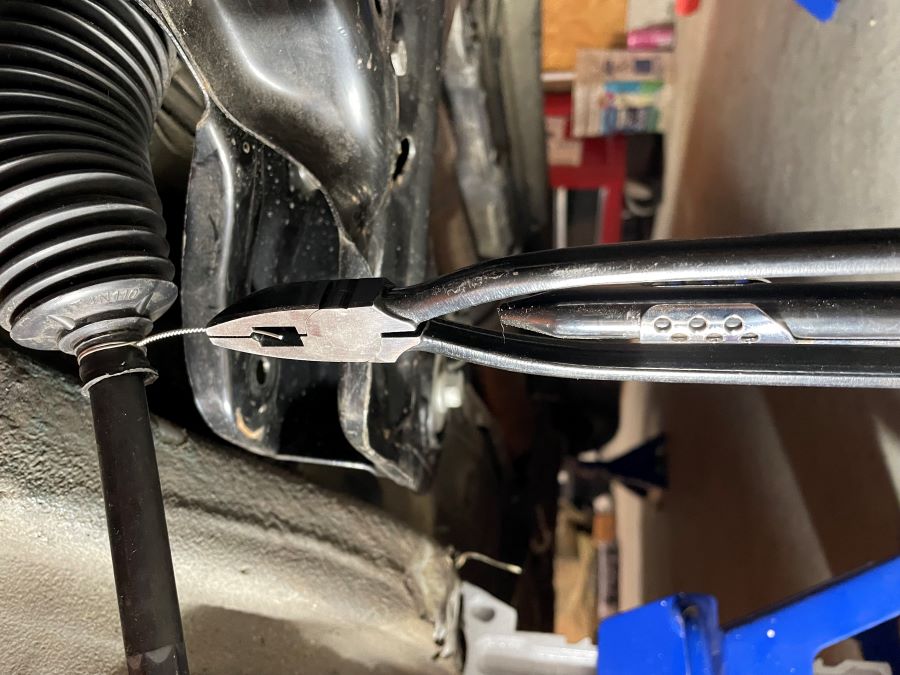
Since I had to cut the inner tie rod off to remove it, I made a crappy tool out of wood, two allen wrenches, and some screws to remove the grinder wheel to install a real cutting wheel.
Removing the bent tie rod end.
When I installed the inner tie rods on the new rack last year, it was on my workbench where I was able to use an adjustable wrench.
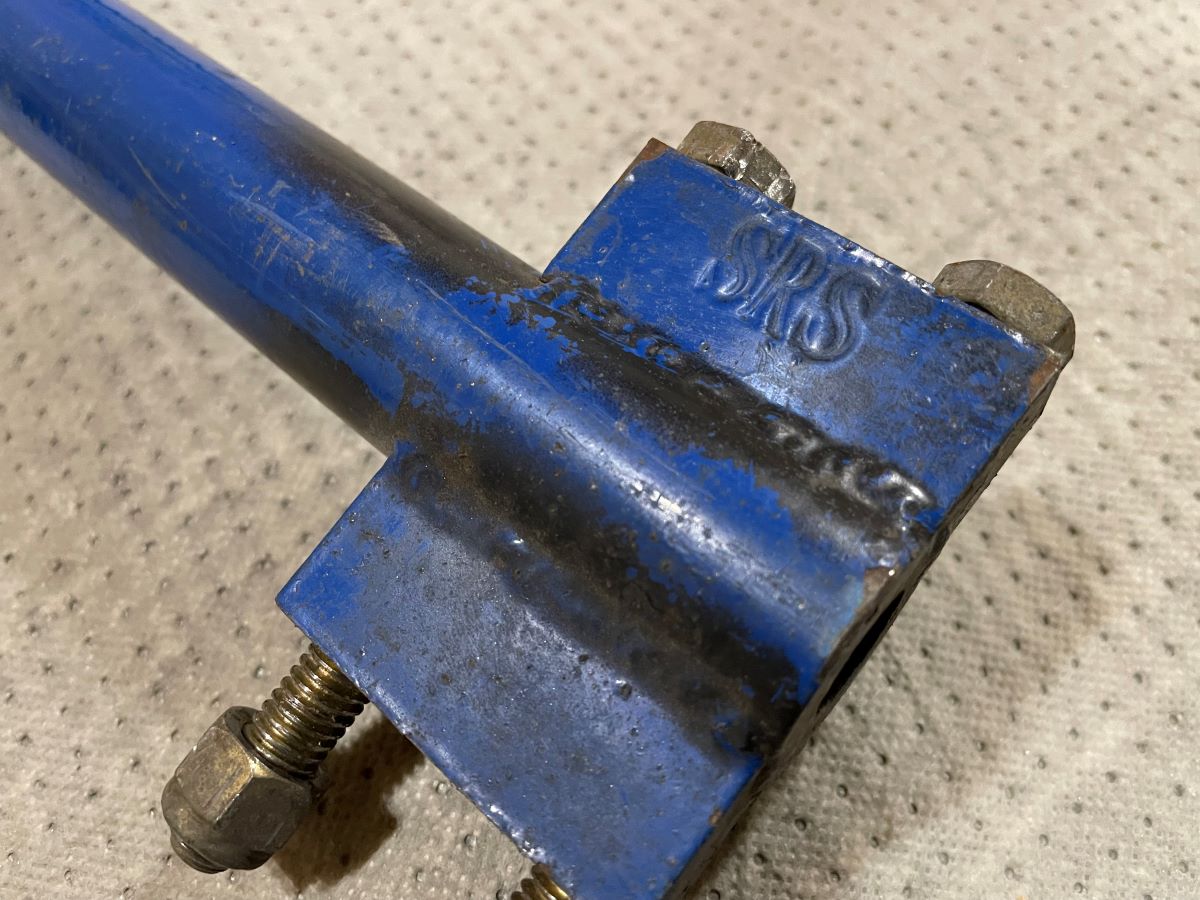
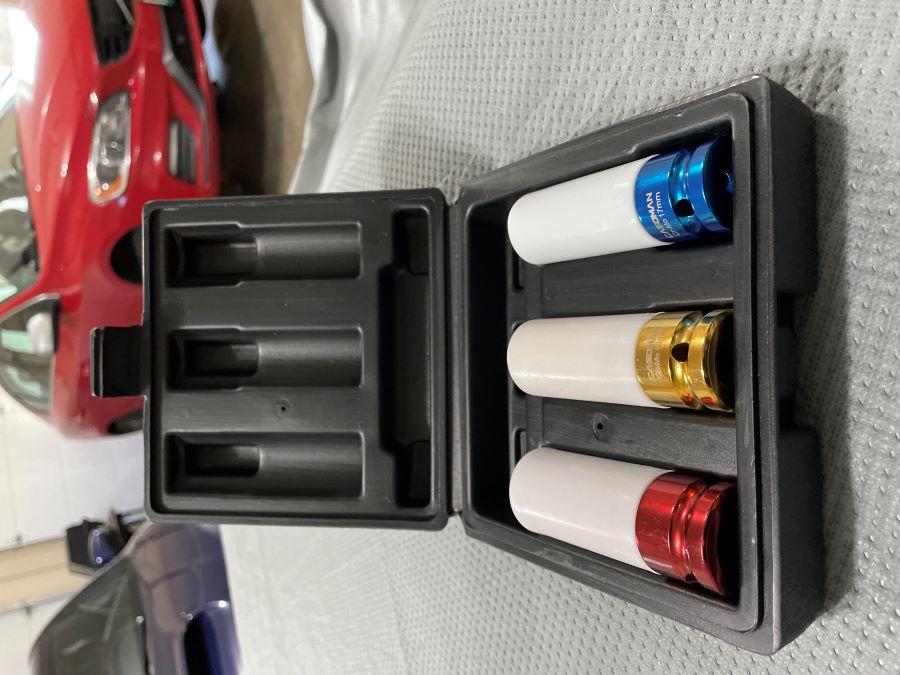
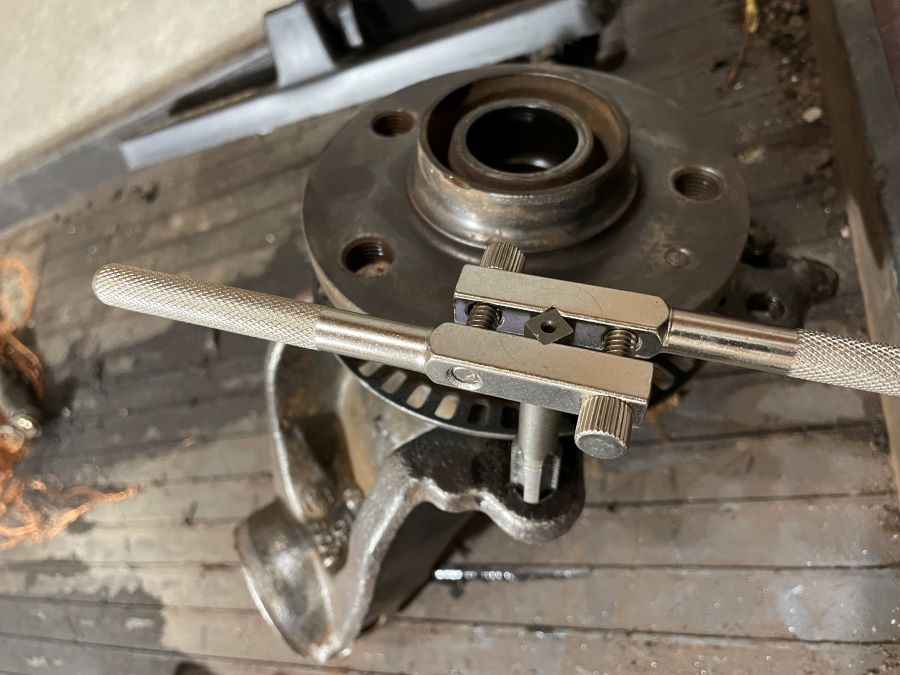
This year I purchased an Inner Tie Rod Removal tool that has 7 different size inserts.
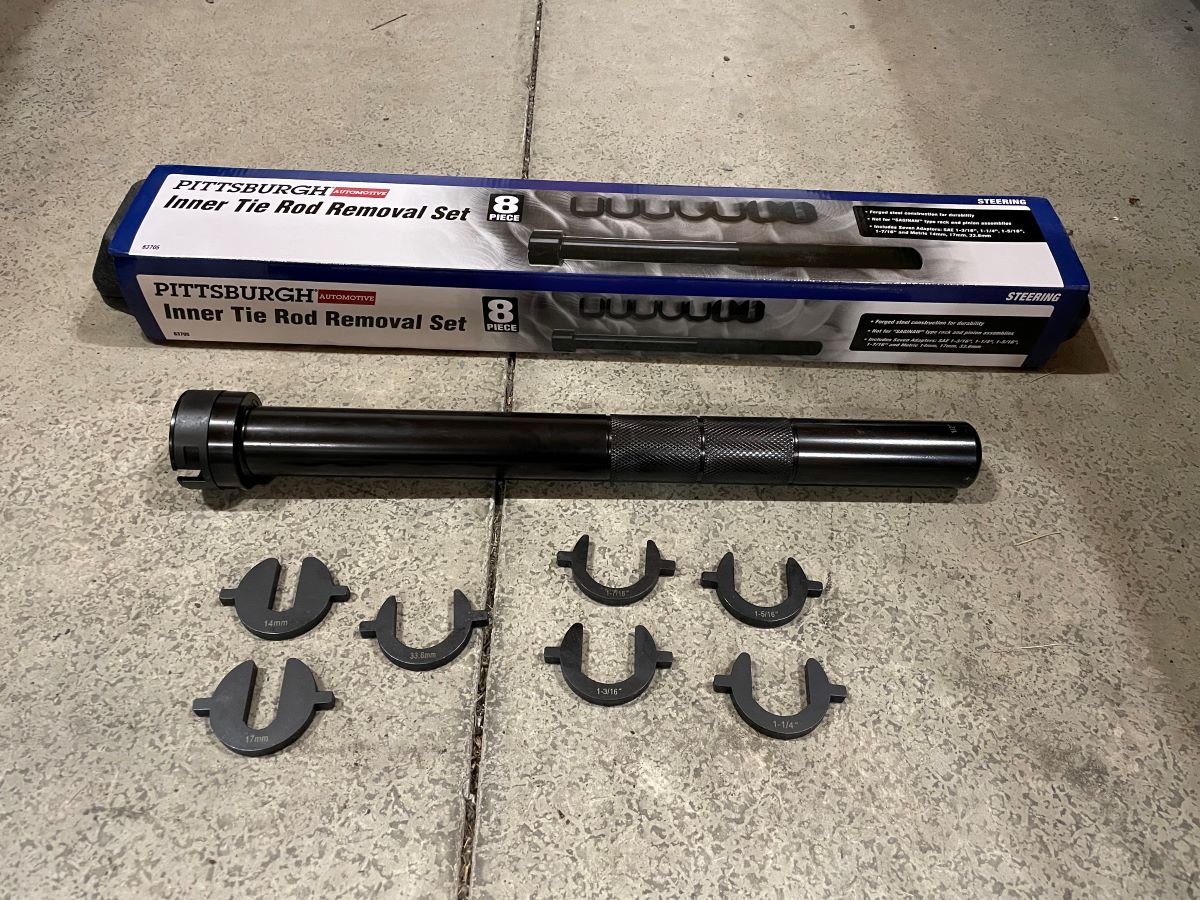
1-1/4" installed to show how it works.
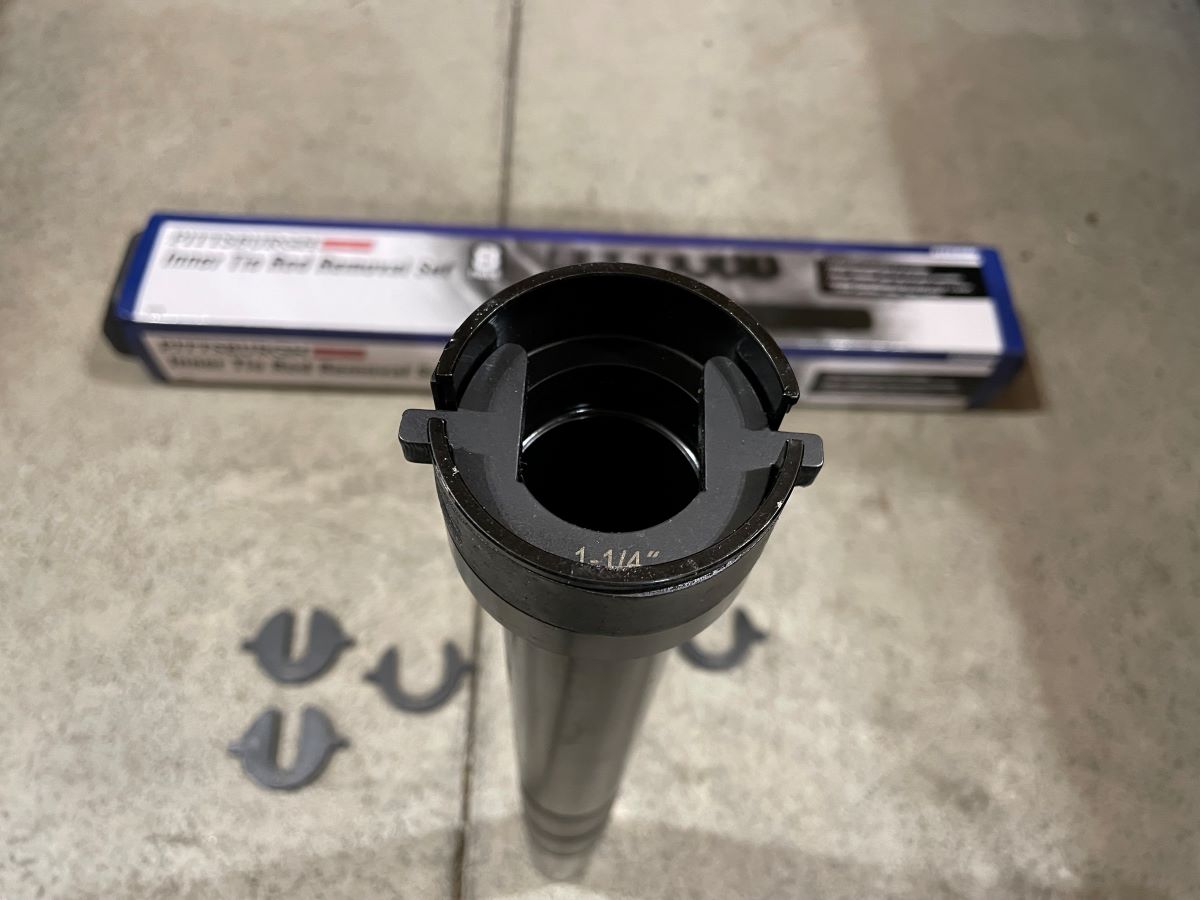
The size that worked on my inner tie rod bolts was 33.6mm
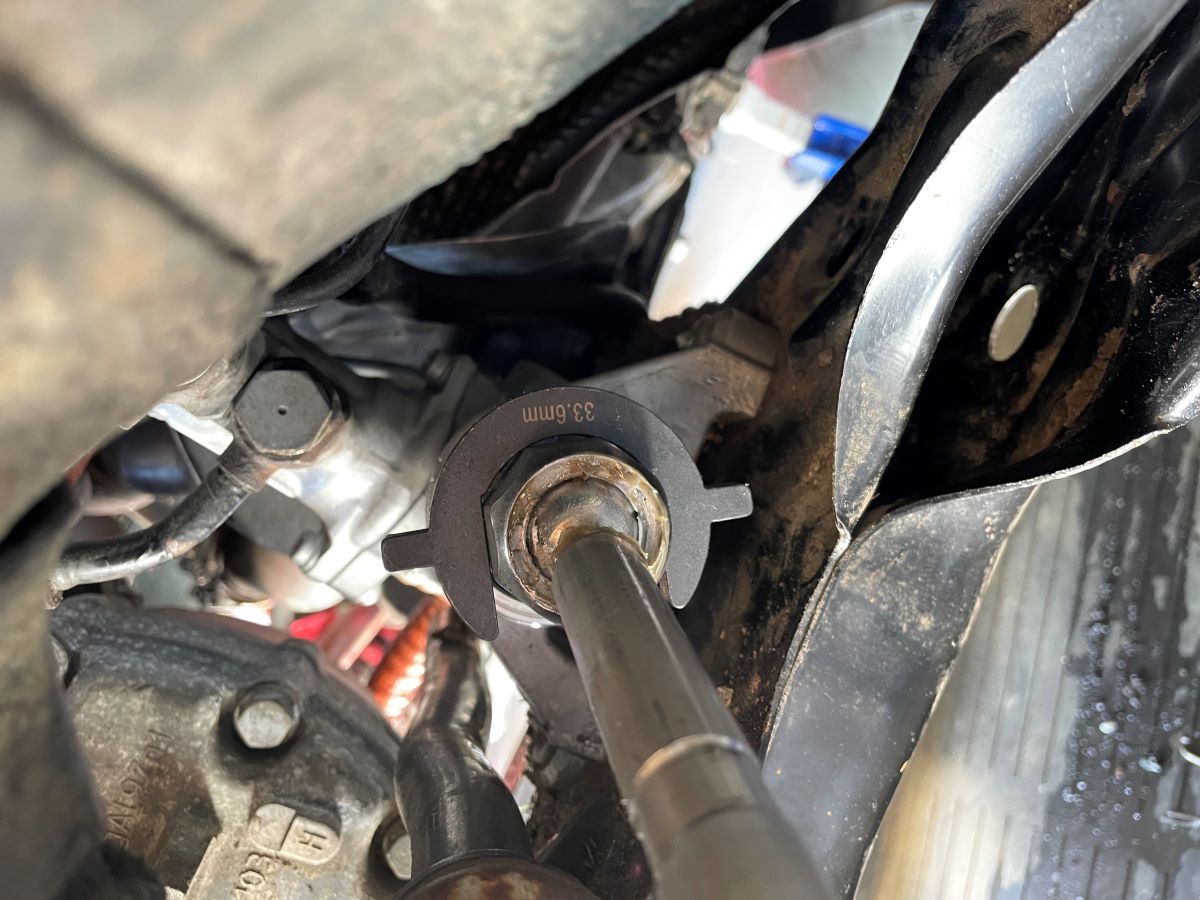
The tool made it sooooo easy to remove the nut and made install very easy... especially since I could actually tighten the nut to the proper torque spec.
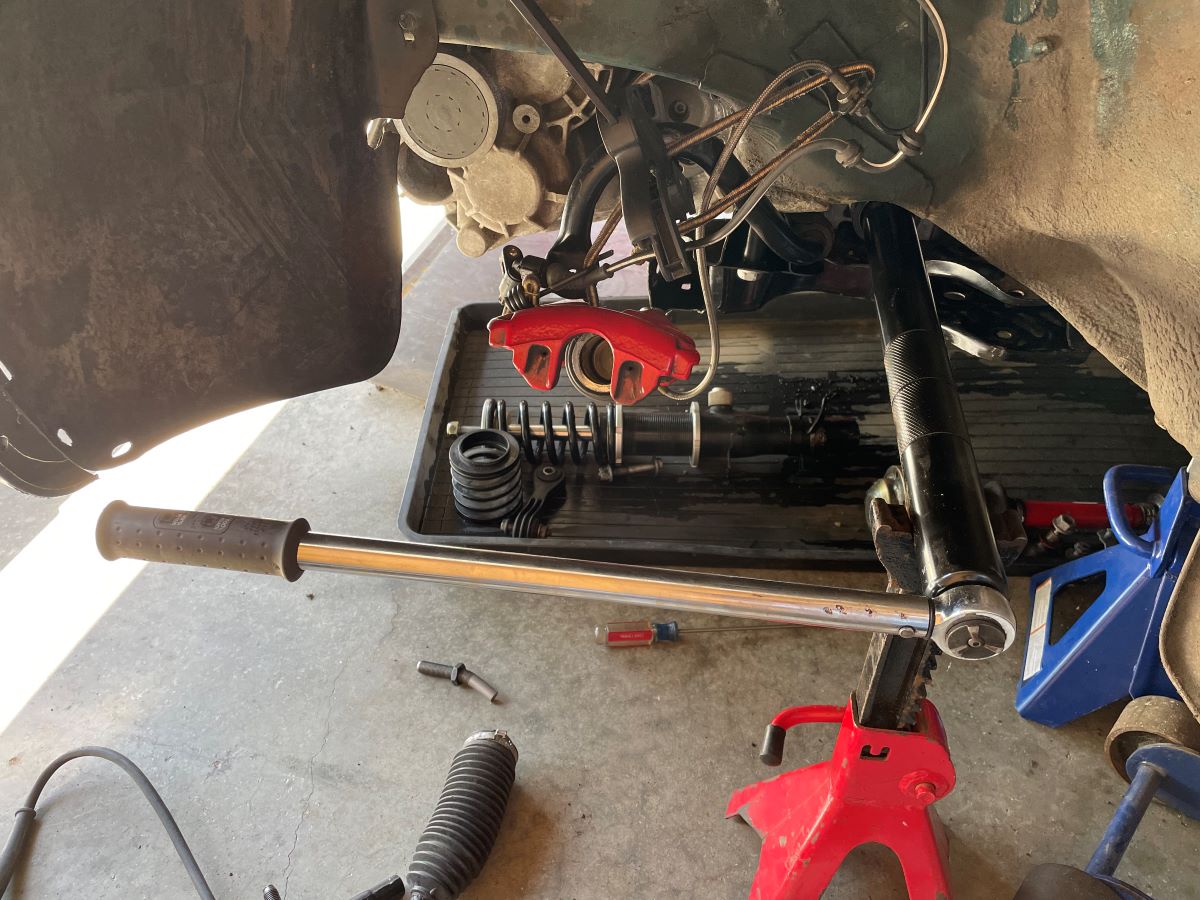
Another challenge with the rack in the car is that the tool I had to install the clamps around the tie rod boot only worked with the rack out of the car. There wasn’t enough space to use the tool with the rack on the car. . There are offset tools that work from the side, but I couldn’t find one locally. A friend of mine who used to race circle track said they always use safety wire on the boots for easy install and removal.
It was still hard to use the safety wire tool in the tight space (especially the inboard side of the boot), but it worked. Next time... zipties.
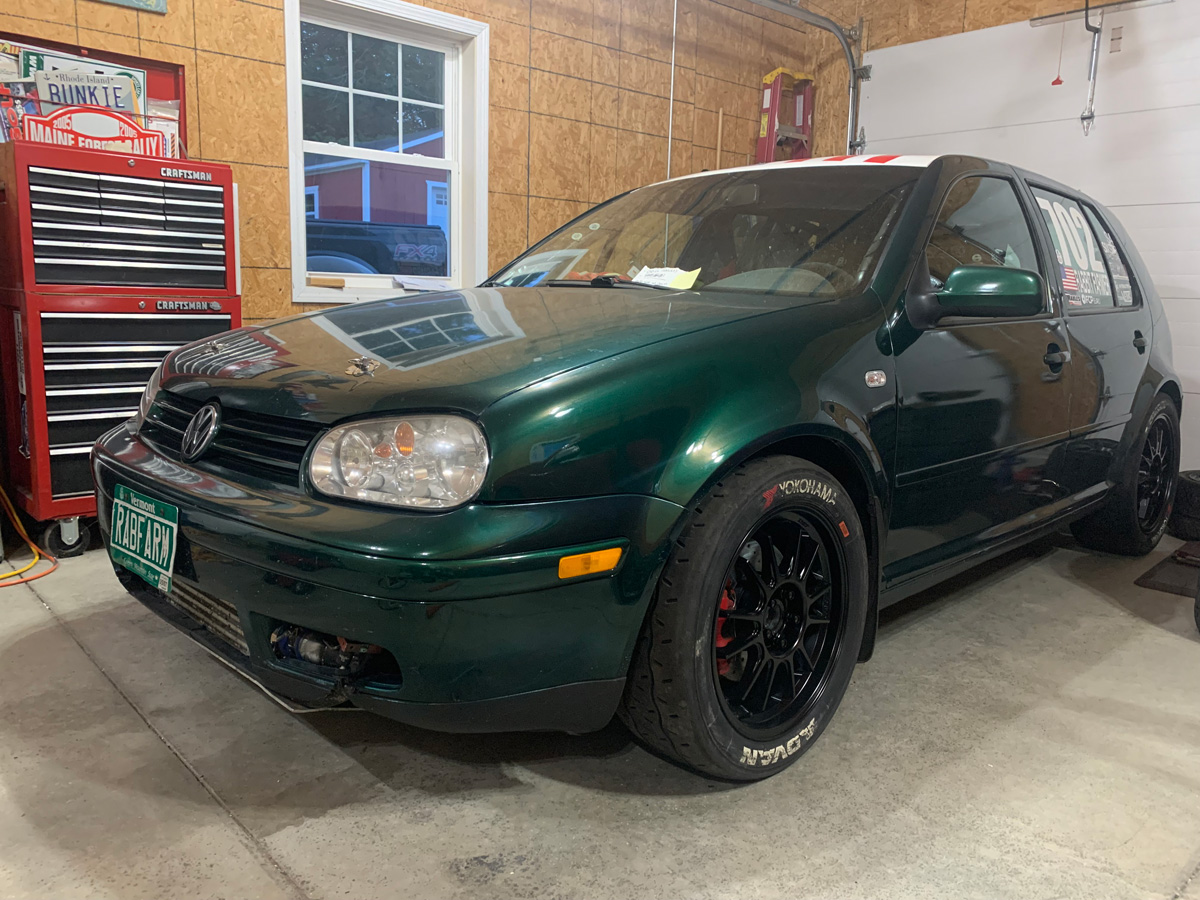
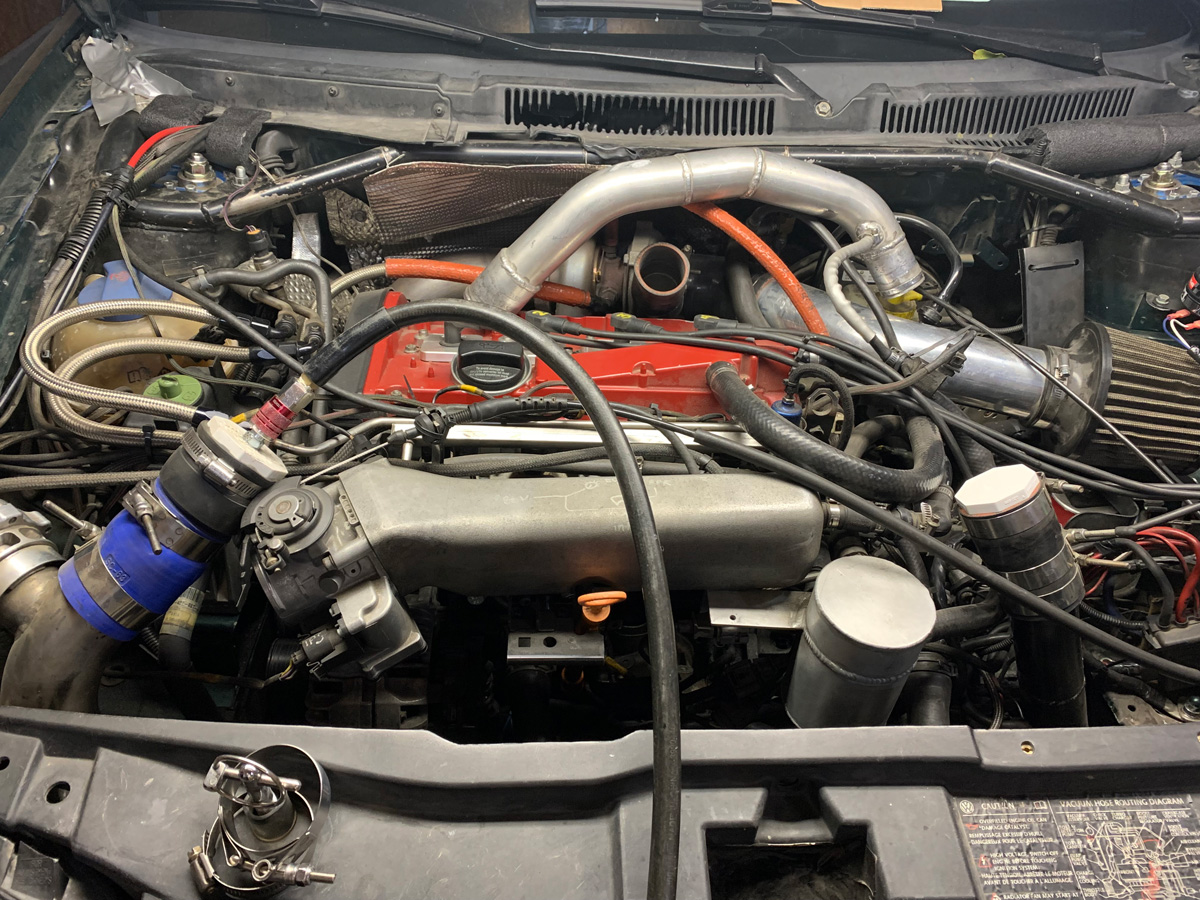
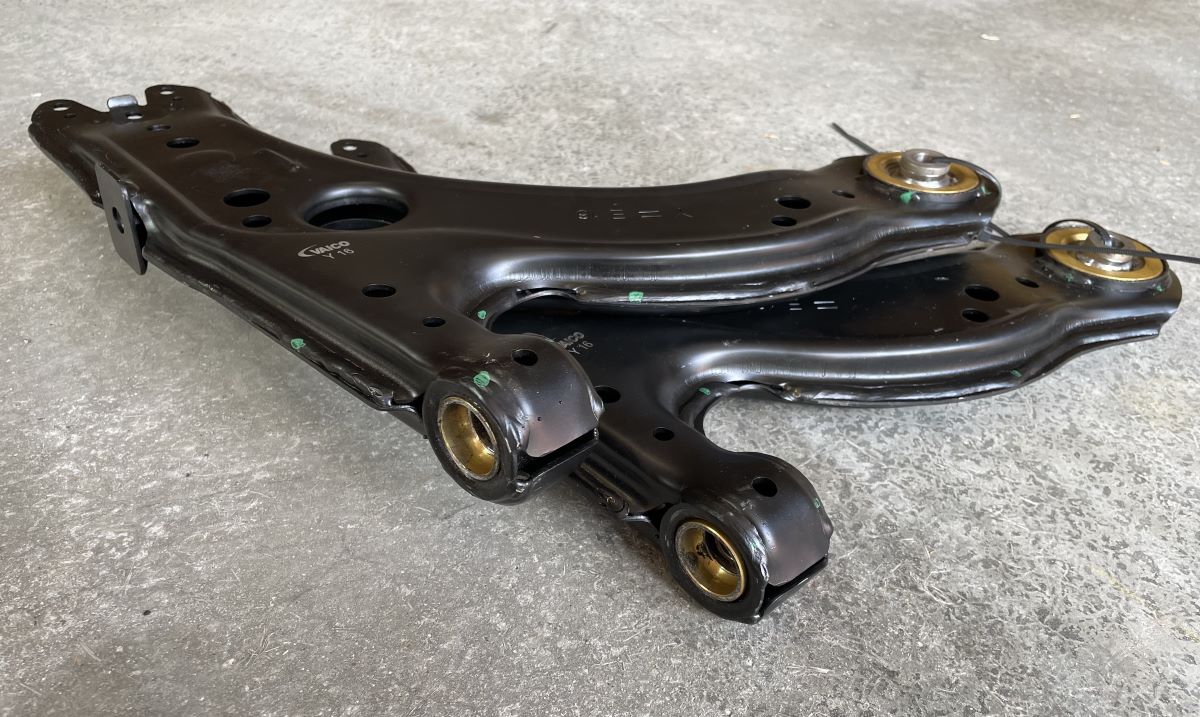
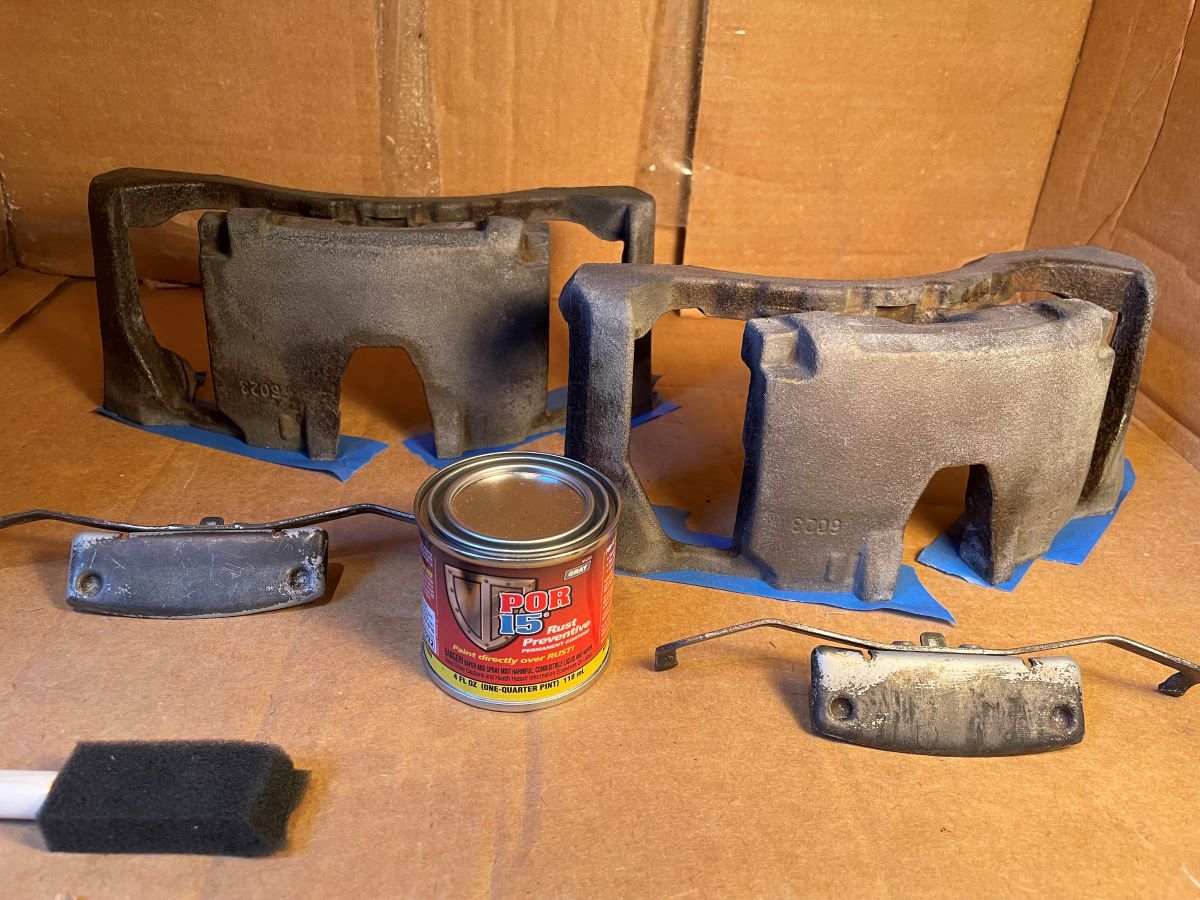
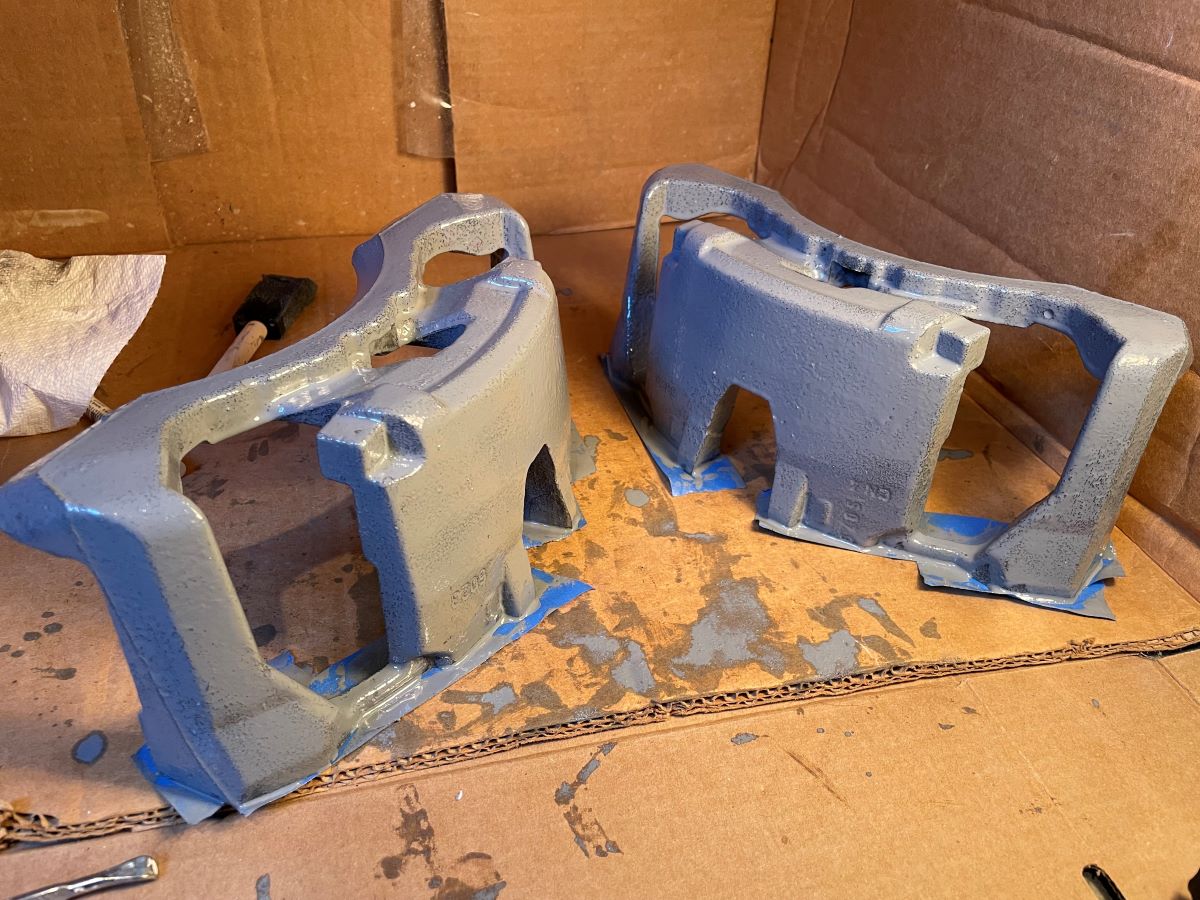
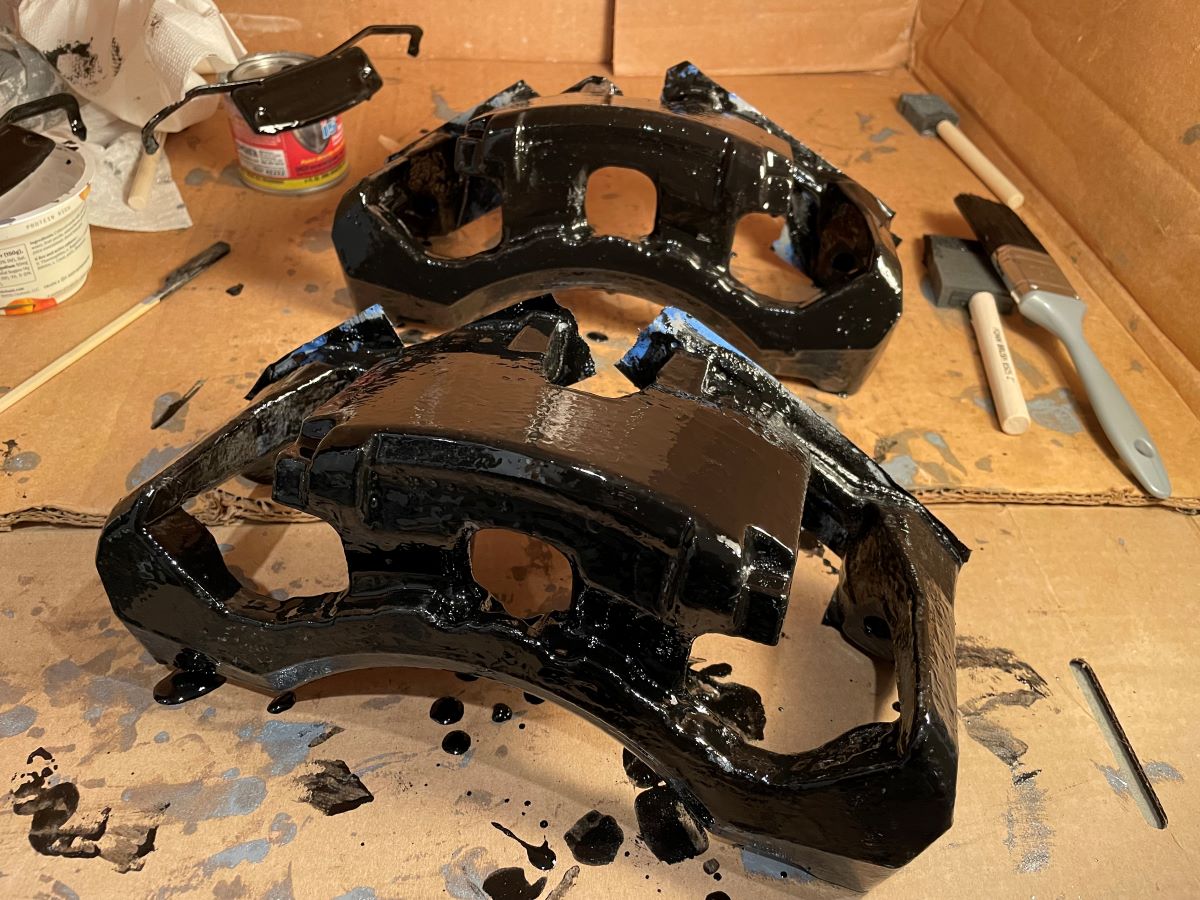
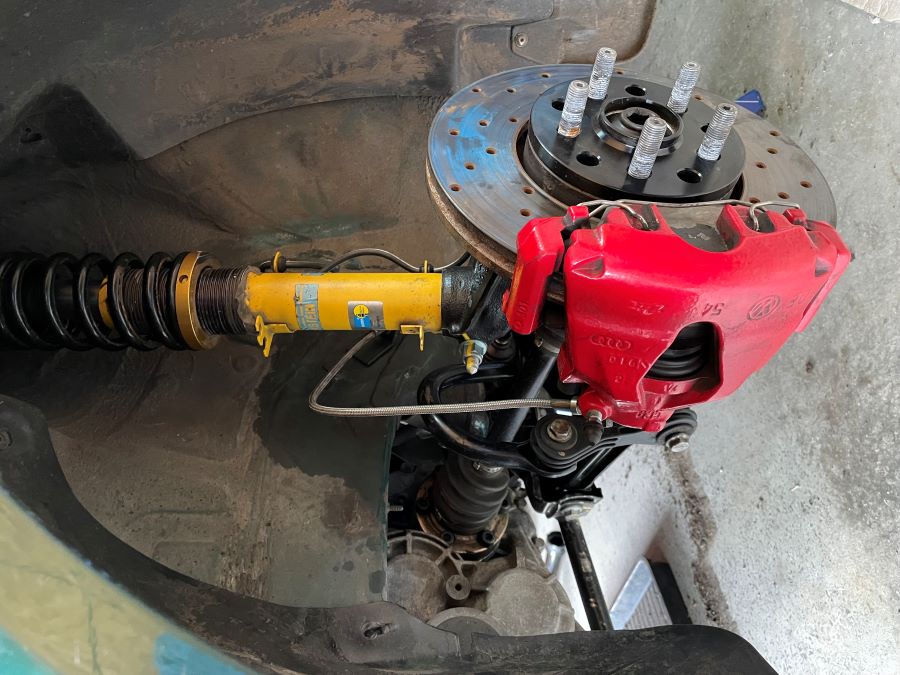
Left front assembled with everything replaced. I just assumed that everything could have been damaged, so it got replaced. Didn’t need to cut any corners to save a few dollars on important parts.
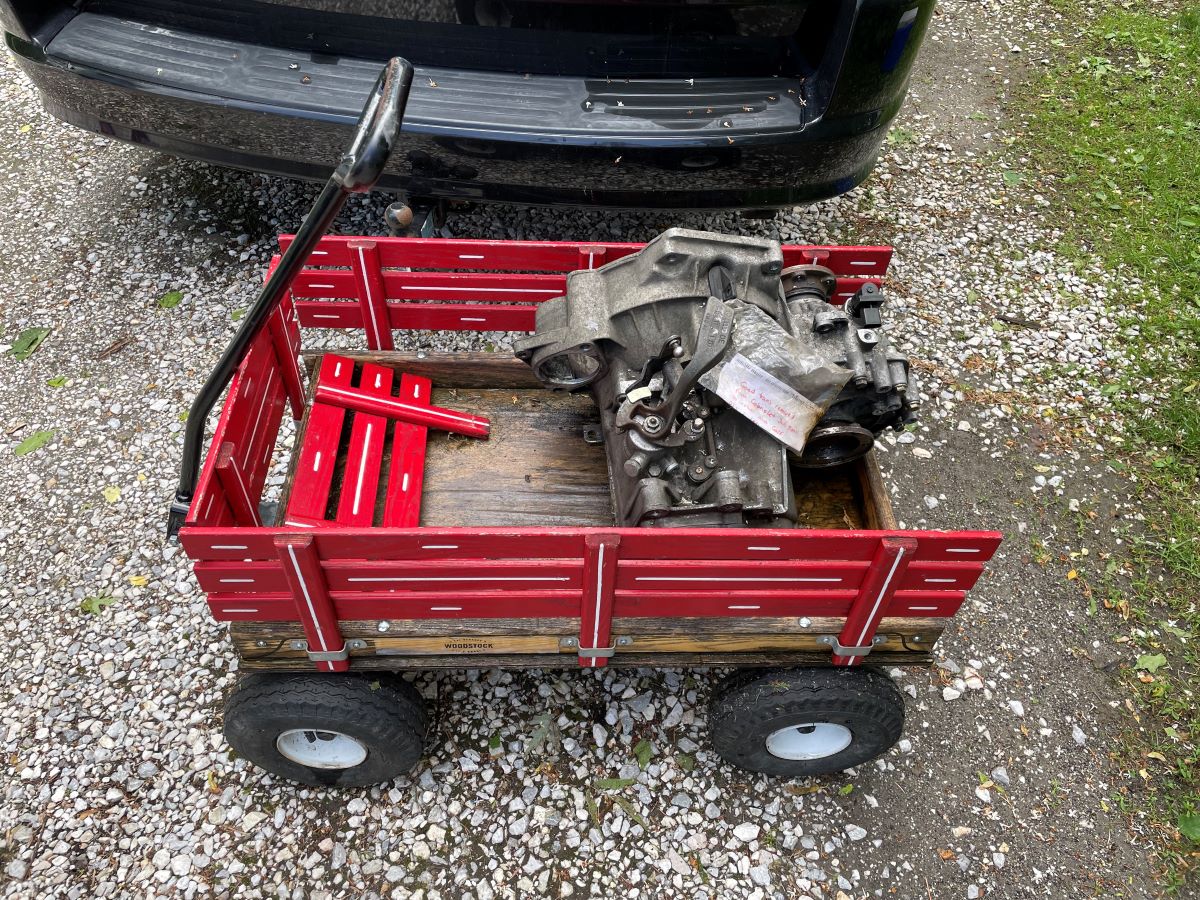
I used a new fully loaded control arm plus an older control arm with red poly bushing that used to be on the car. I am working on moving the metal bushings/bearings to a new set of control arms prior to the last hillclimb of the season (Asctuney).
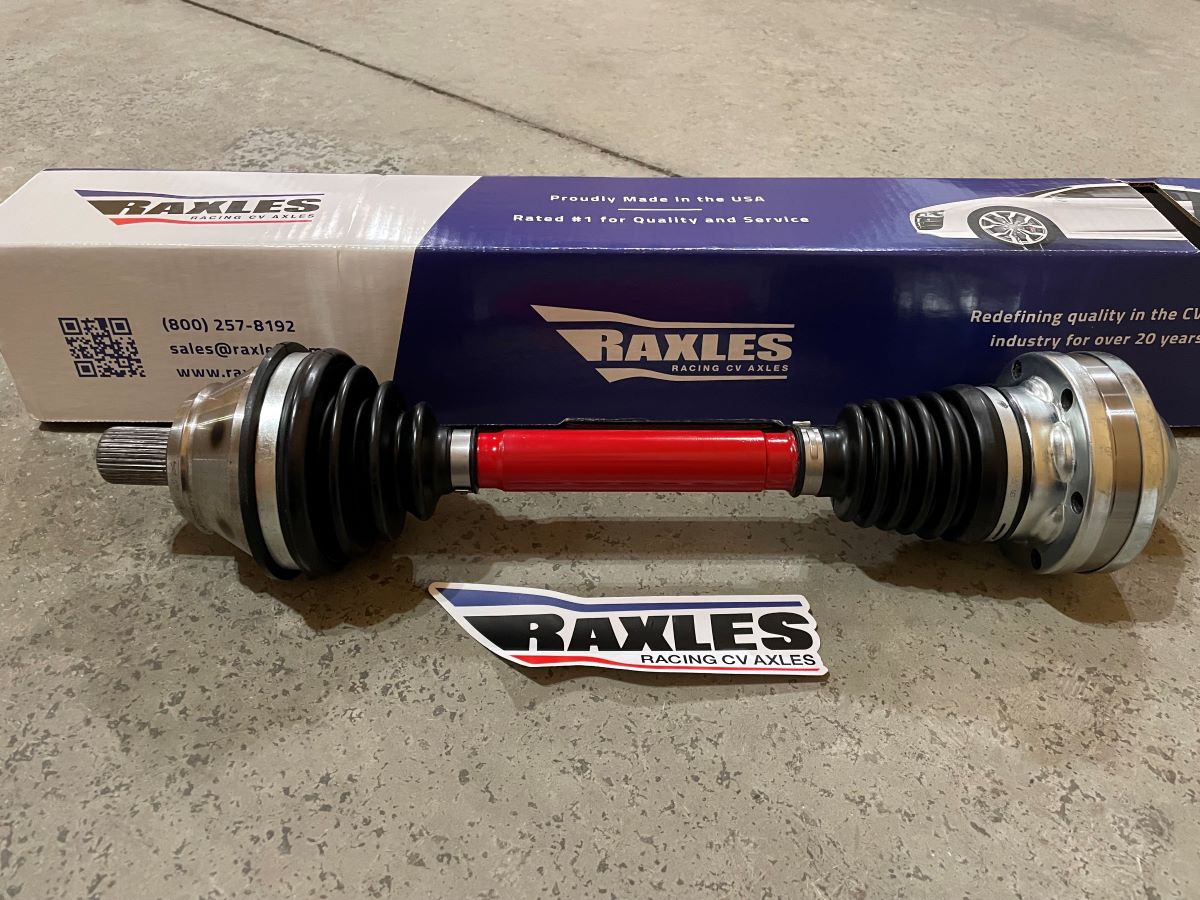
New inner tie rods, tie rod ends, ball joints, use a new driver’s side axle just in case (sent the removed axle to Raxles for inspection), and all new bolts on control arms and strut.
I had to use my old (much stiffer) Bilstein Sport struts, but used the softer springs to match the front and rear of the car.
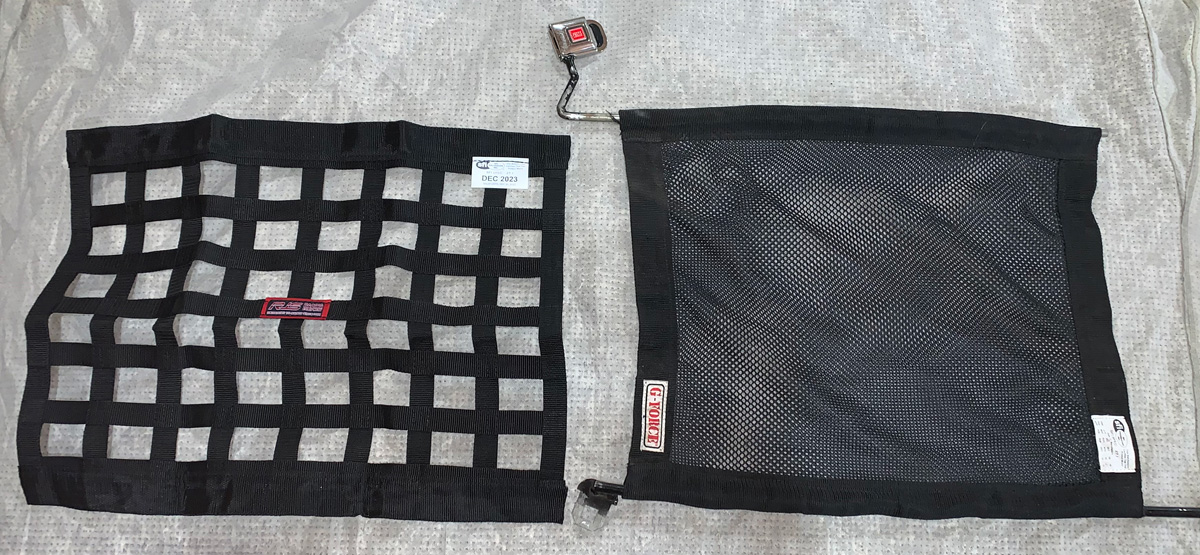
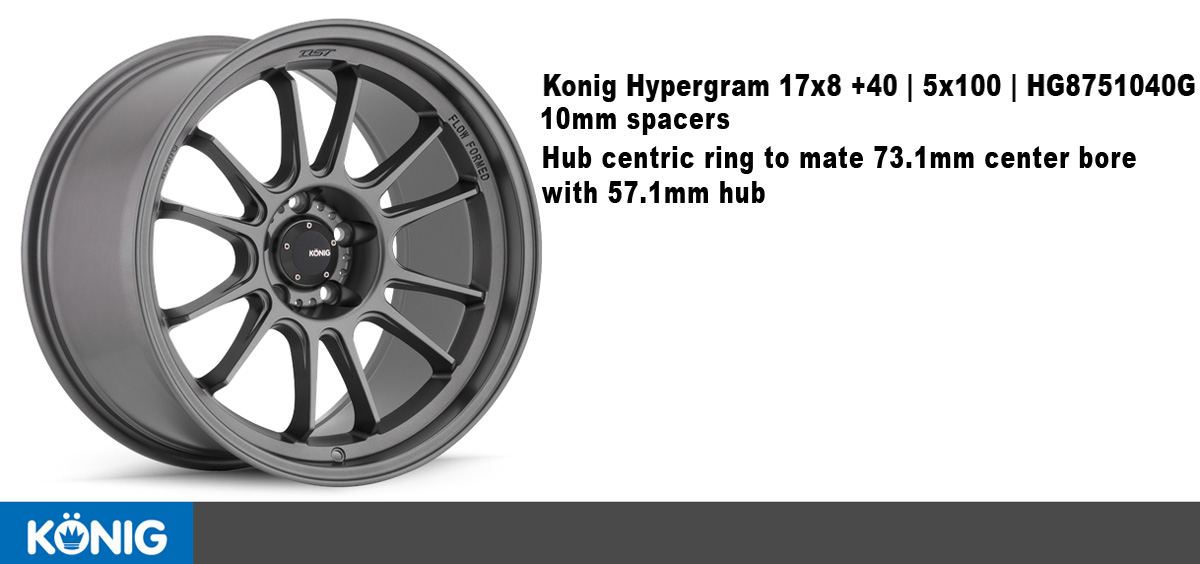
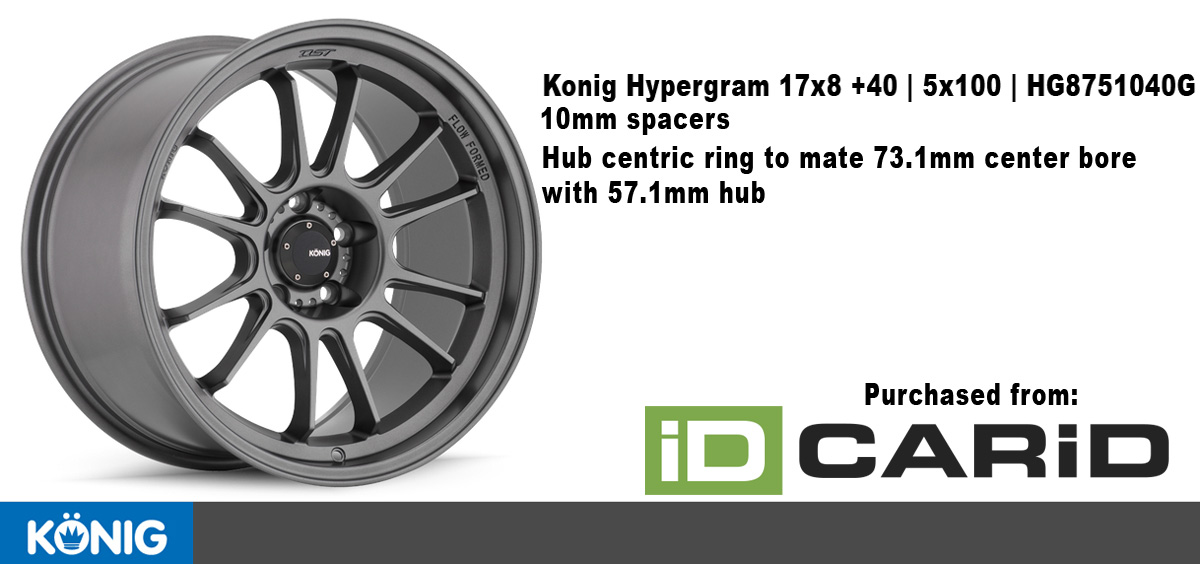
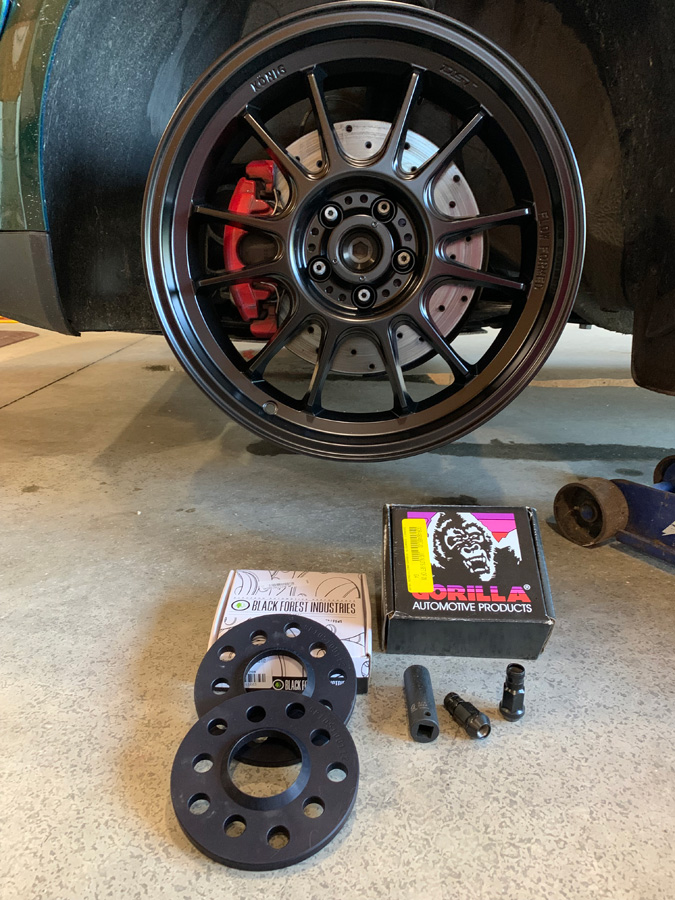
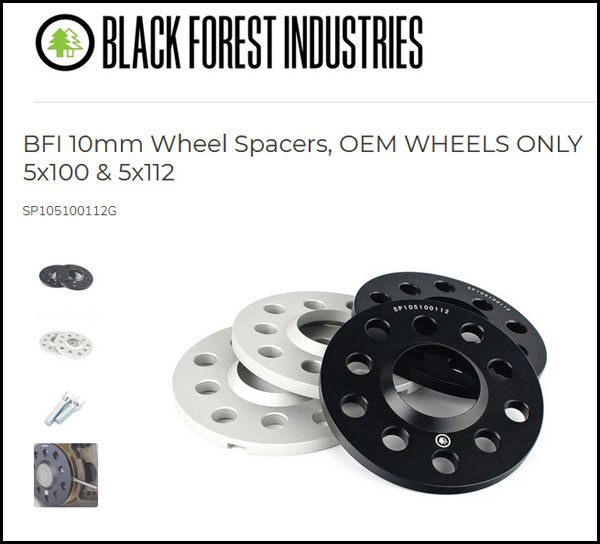
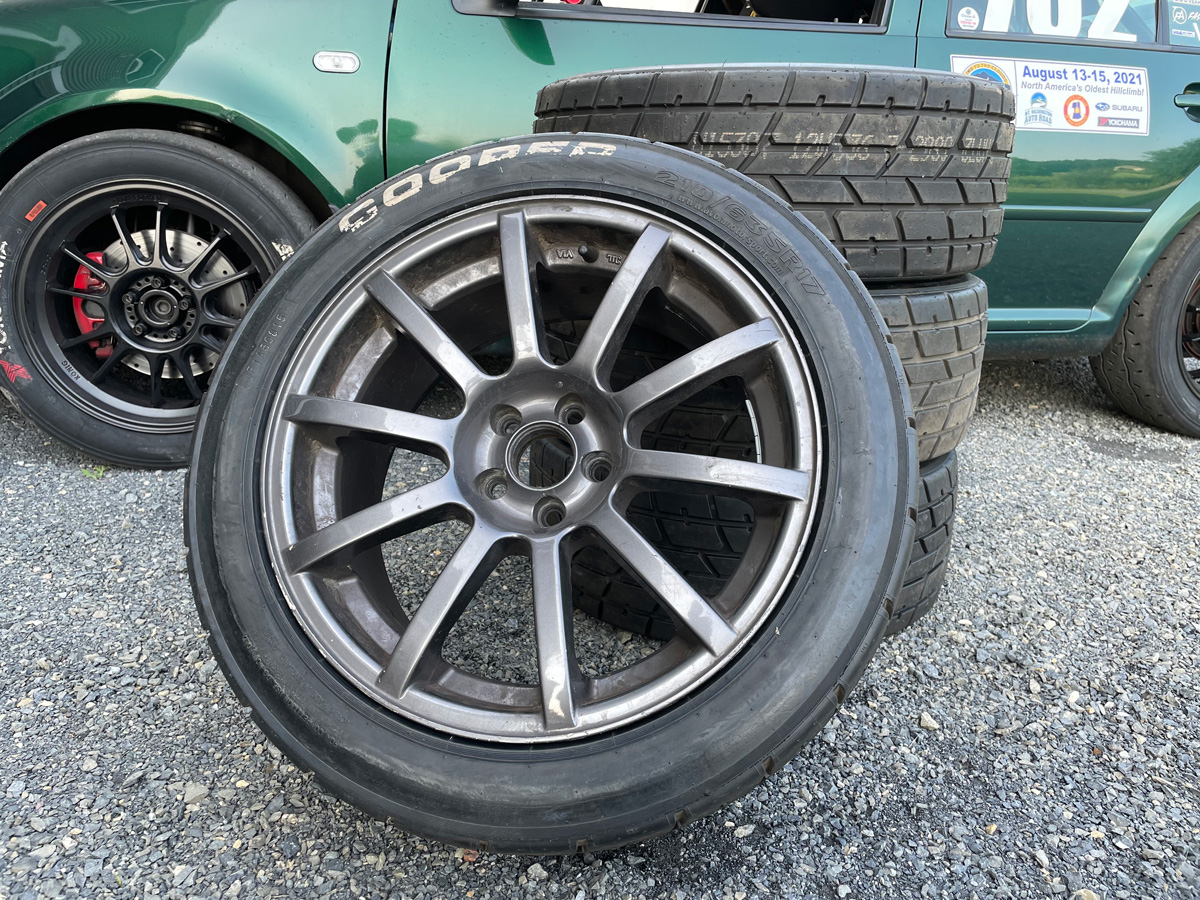
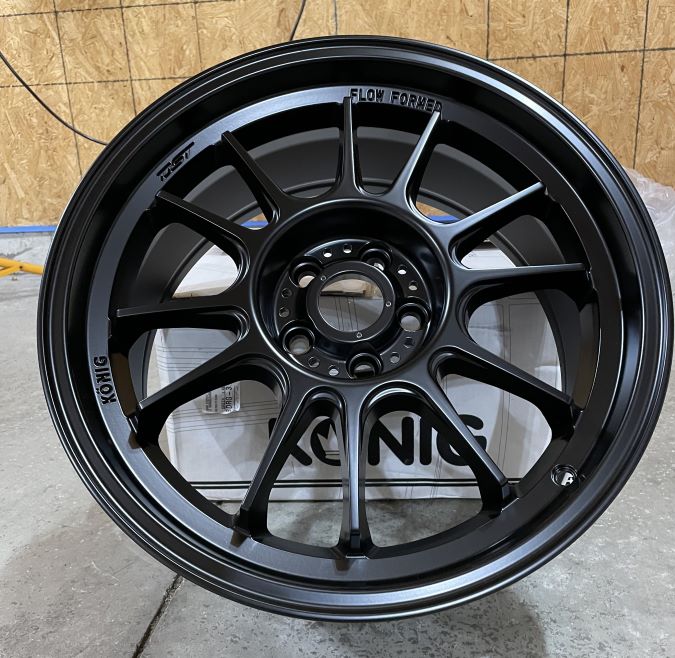
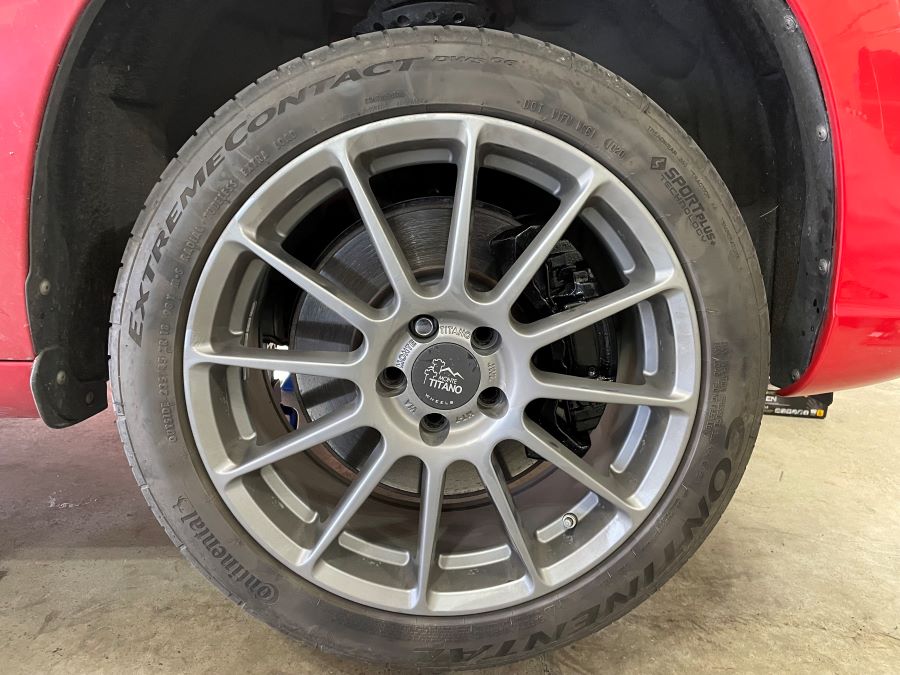
I ordered a new left strut, two new rims, and working on replacement tires.
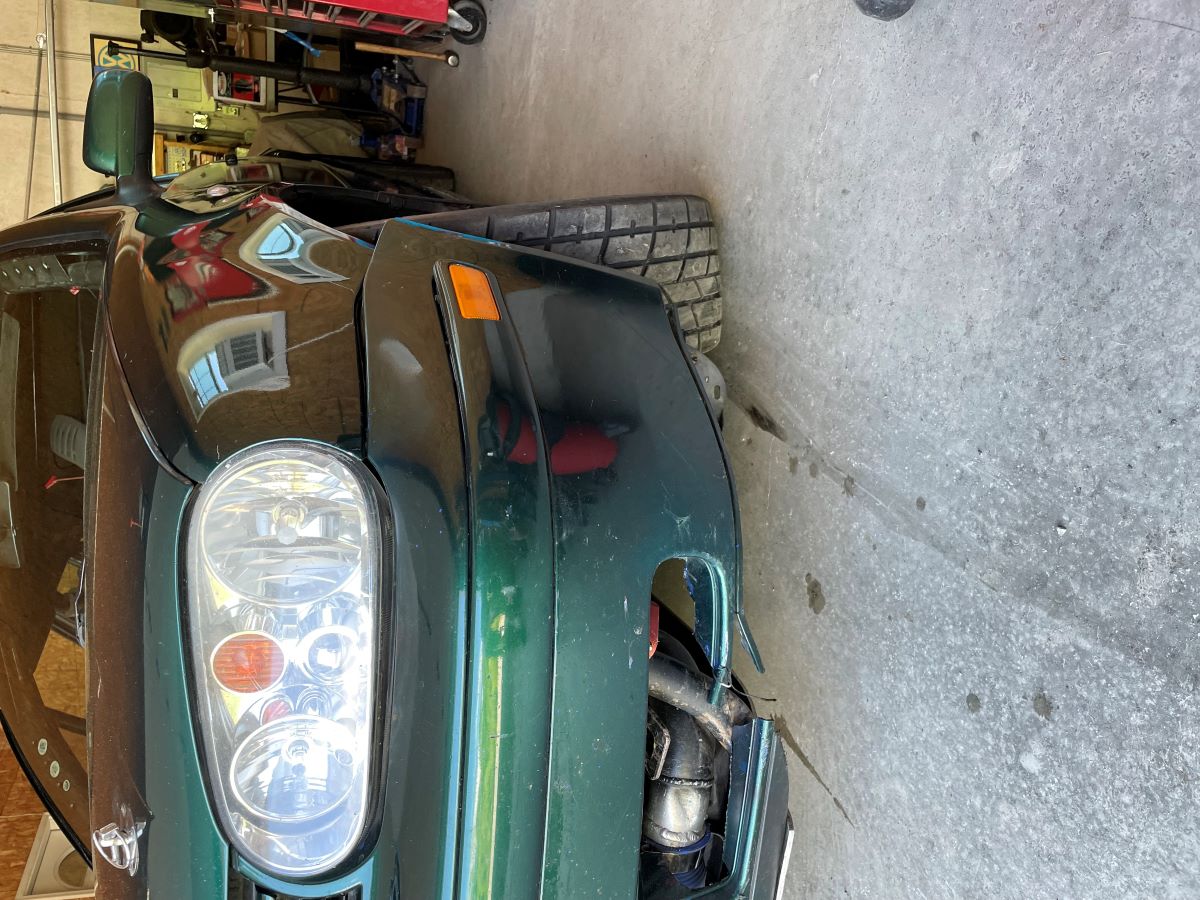
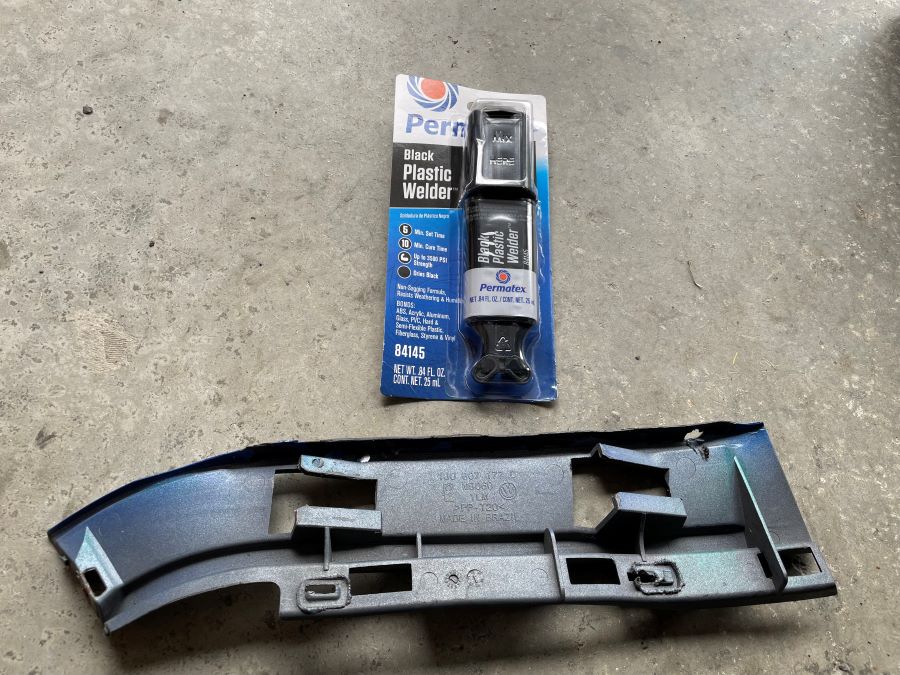
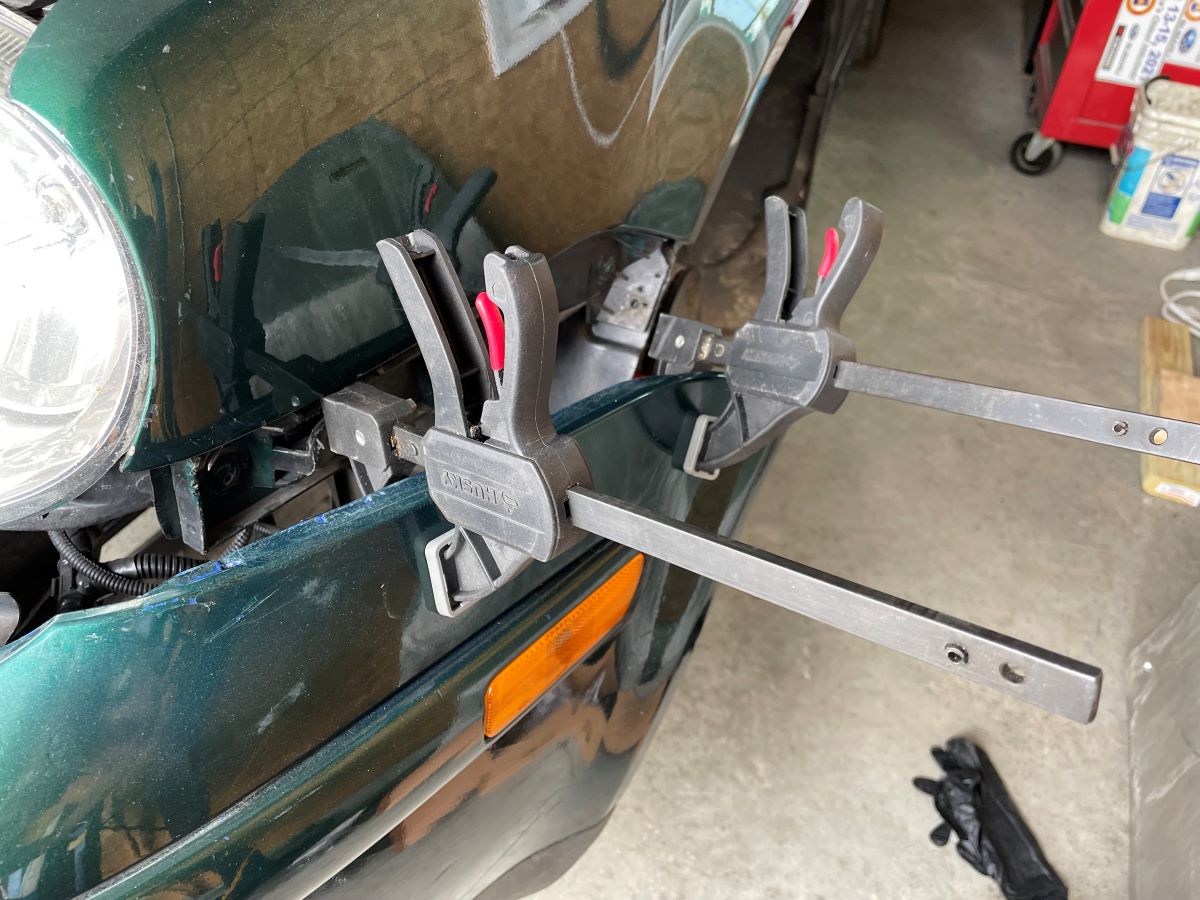
For body damage, the plastic mounting piece on the front bumper was no longer attached to the bumper skin as the two tiny plastic tabs sheared off. Not a great design.
I used black plastic welder to attach the plastic piece to the bumper skin. Pretty easy.
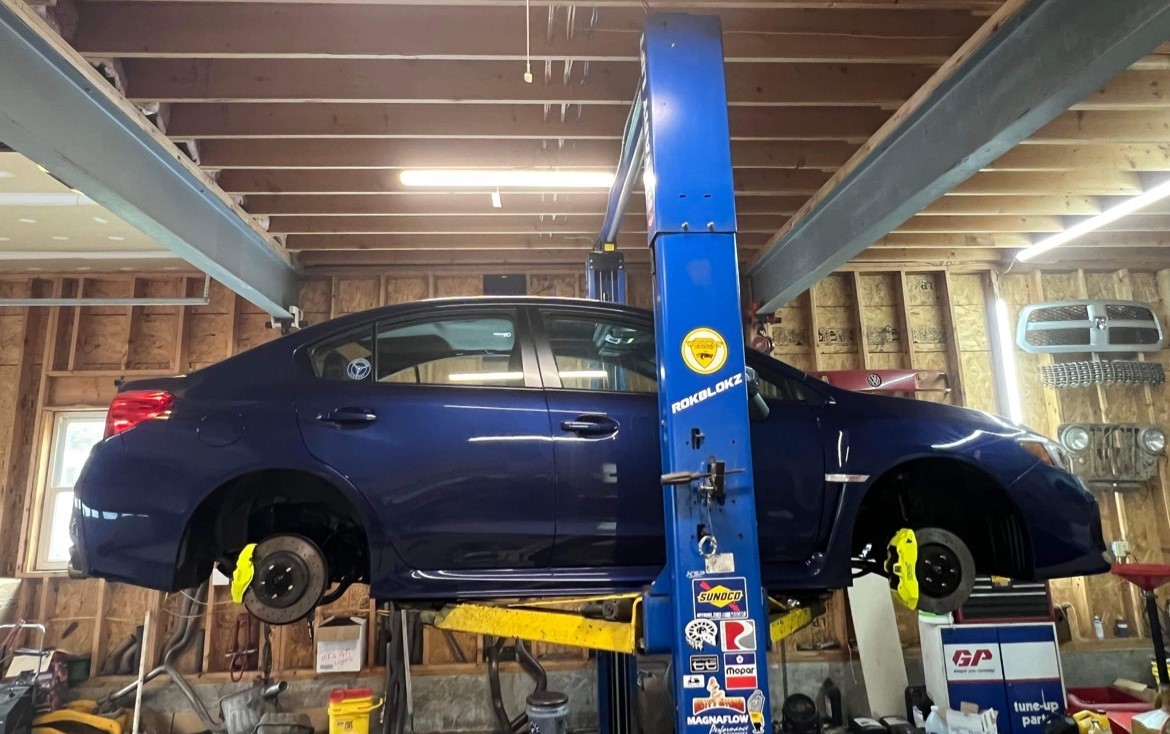
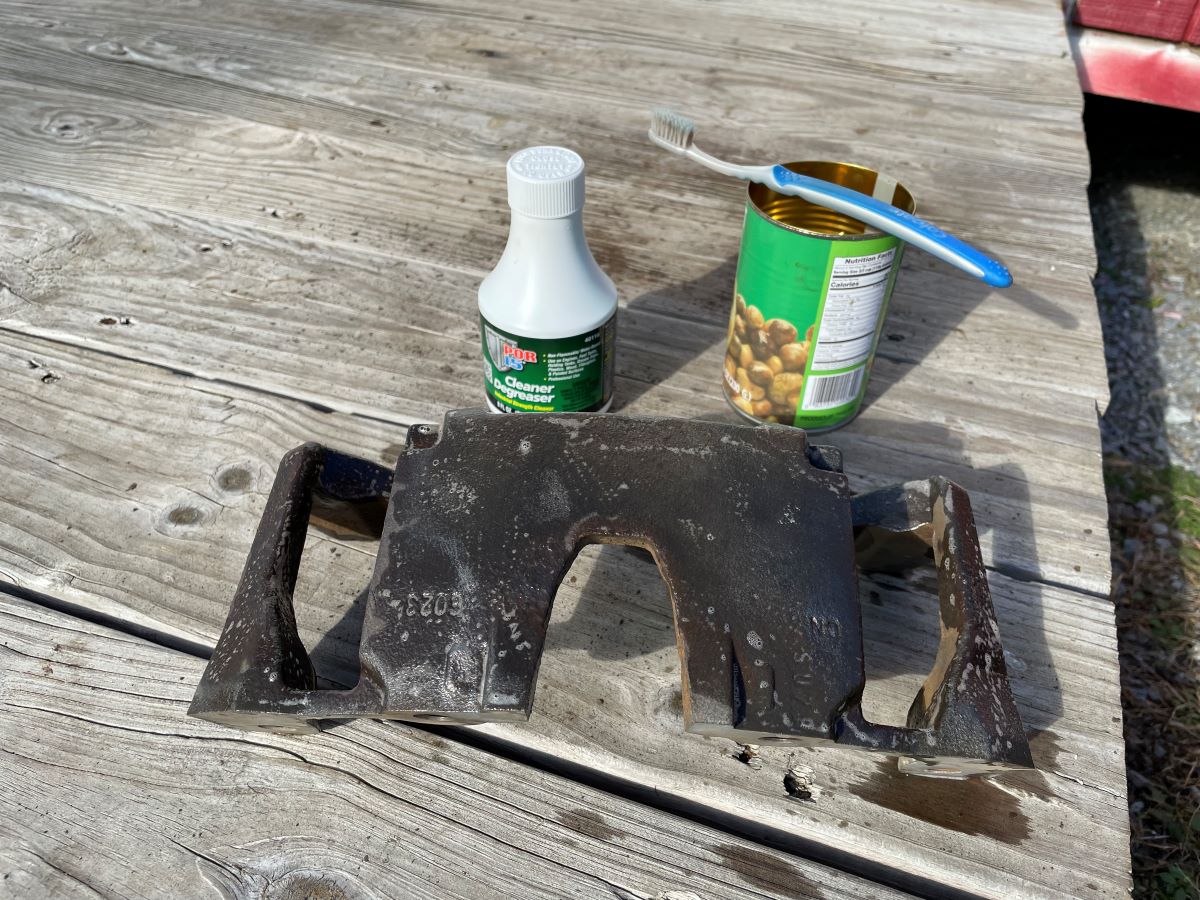
When torqueing everything, I noticed there was a lot of play in the left front wheel. Darn it... wasn’t sure if it was hub or bearing. I grabbed a replacement knuckle, spend many hours until 1am cleaning the surface rust and chasing (using a tap... don’t have thread chasers) all the threads.
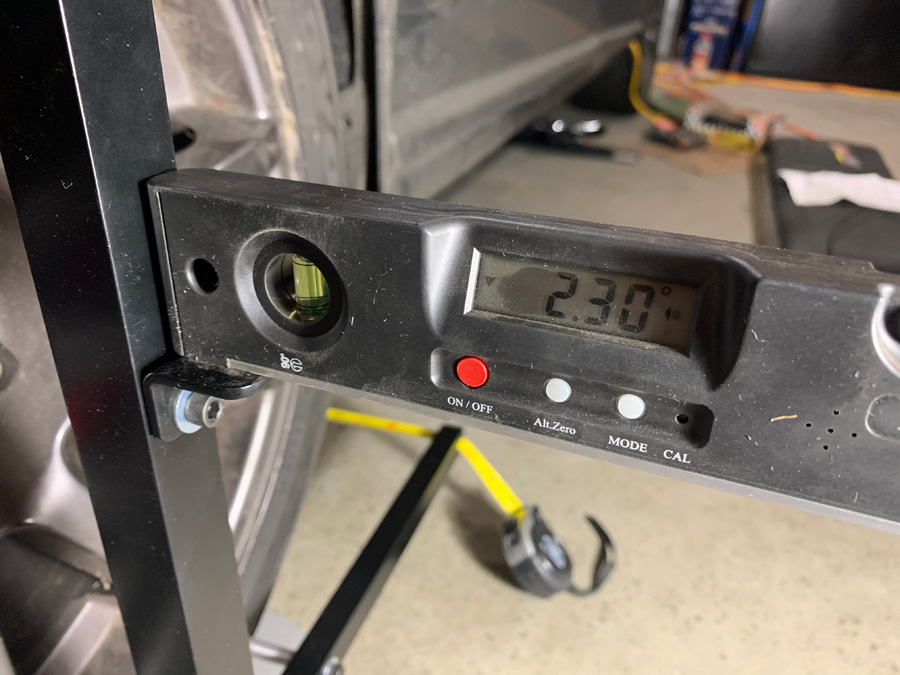
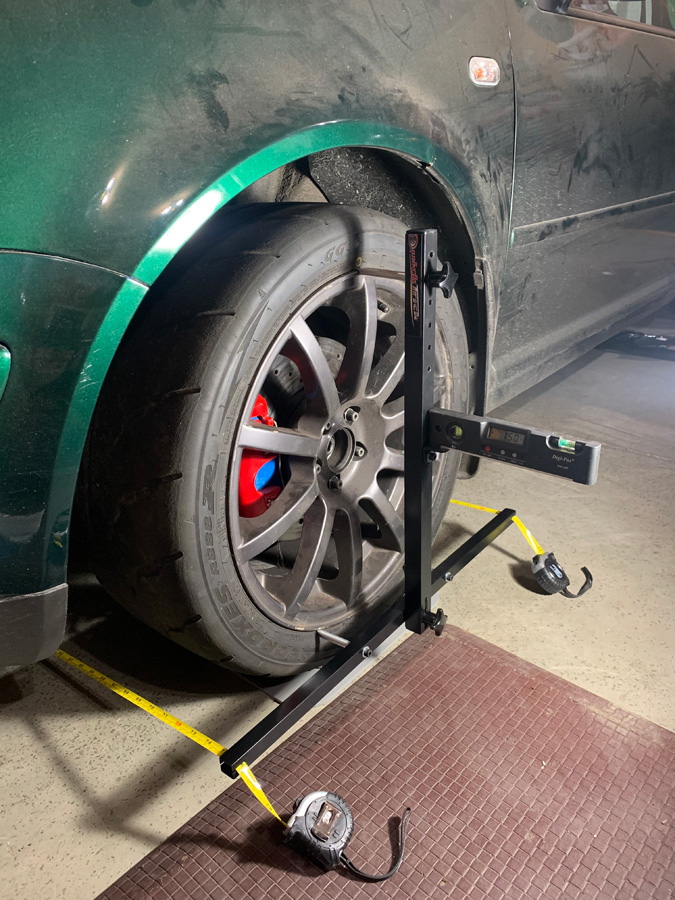
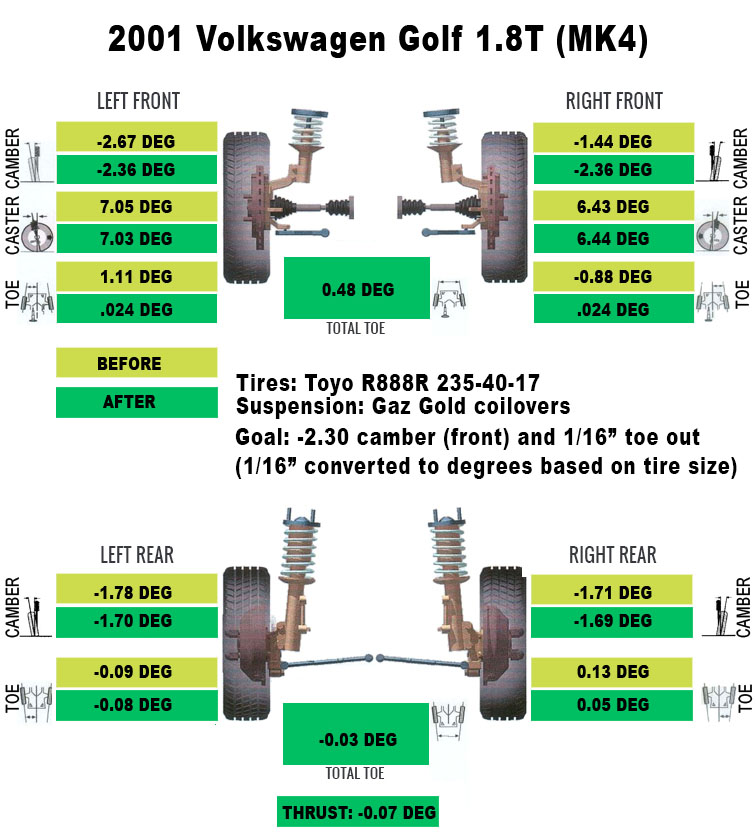
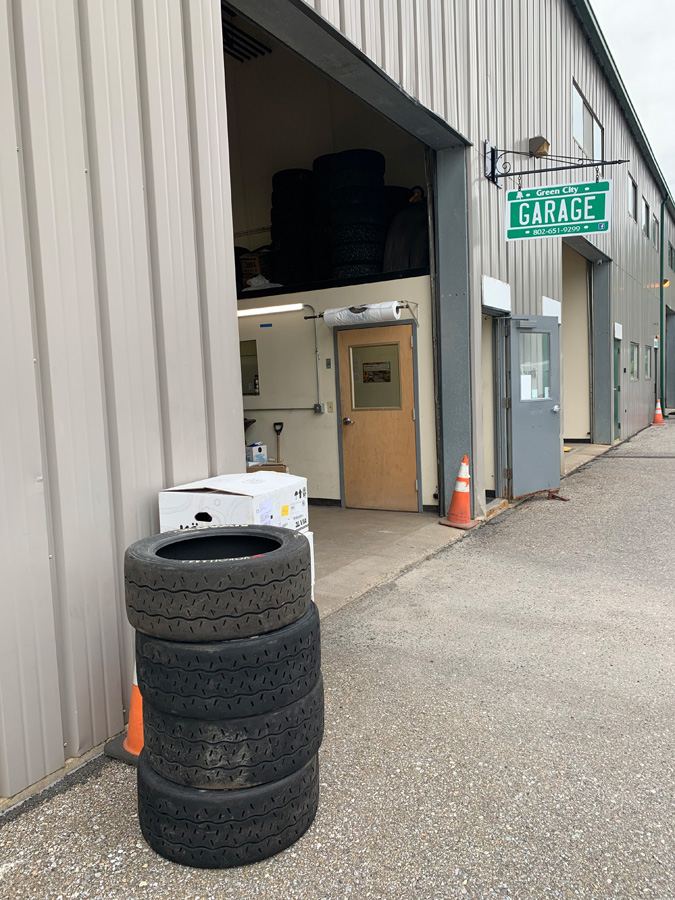
I had an alignment appointment at Green City Garage the next day... the day before I had to drive to the Burke hillclimb.
Unfortunately, I did not have two replacement tires to match what I had on the rear of the car... I had one.
My only option was to use the Cooper rain tires. My experience at Mt. Washington in 2021 (the only time I used these tires) is that they need wet and cooler conditions to work. I was hoping for rain at Burke (bite your tongue!) that weekend.
The car at Green City Garage at 8am on Thursday.
I brought the extra knuckle with me just in case the knuckle on the car had issues. I had one spare wheel bearing to have Chris at Green City press into the old knuckle, but did not have a replacement hub. I wasn’t sure if he had the tool to replace the wheel bearing while it was on the car or had to use a press... this is why I didn’t install the replacement knuckle on the car before the appointment.
Chris did a great job swapping out the knuckle and doing the alignment to my simple specs (-2.3 degrees negative camber and 1/16” tow out).

Friday... Welcome to the Burke hillclimb
It didn’t rain and was very hot. Two things that just don’t work with rain tires. I took very few runs as the tires suuuuccccckkkkeeeddd in these conditions. Took a few much slower than normal runs as I didn’t like how the tires felt in the fast corners. They were pretty useless with the tight corners and acceleration... tire spin and effective acceleration are not even distance cousins. I took two runs on Sunday (official timed runs) and put it in the trailer at lunch. The hot weather and those tires did not make for fun driving.
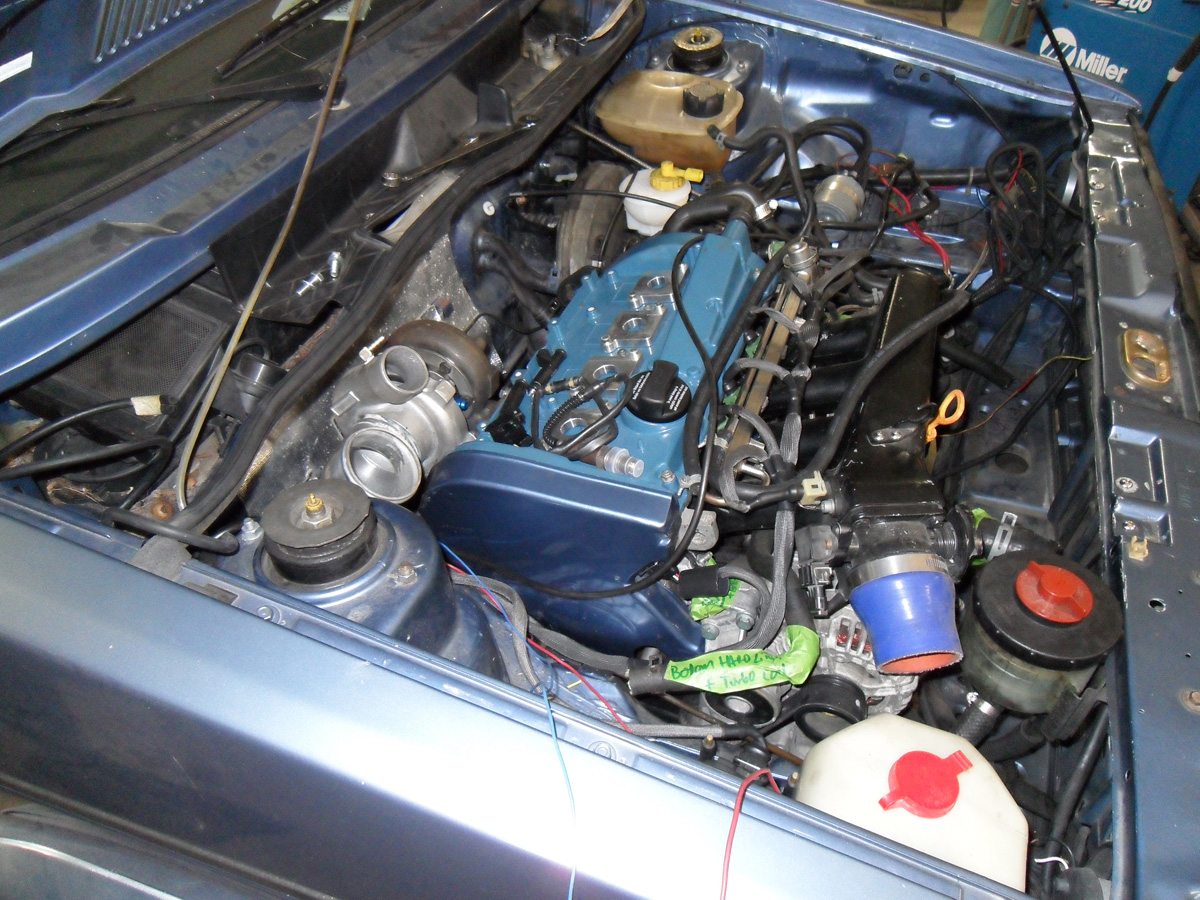
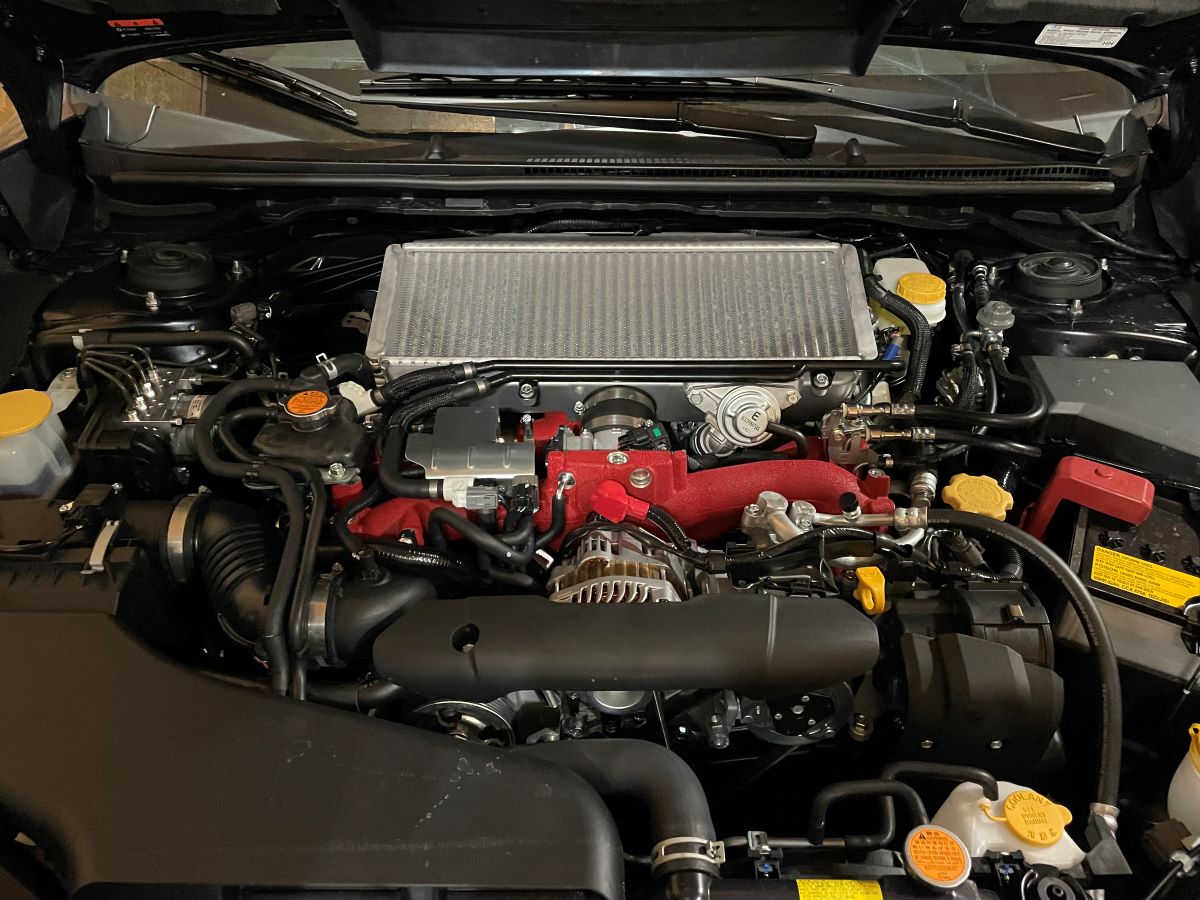
I still have to address a starter issue... the intercooler tubing is pressing against the starter wire... either the contact or heat is causing issues with the wire. Joey Kale is going to see if he can route the tube somewhere else in the engine bay so that it isn’t near the starter... will also make working on the car easier in the future with less clutter in that area.
I was having issues with getting the car to shift into third ever since the first hillclimb of the season. My plan was to swap out the transmission between Burke and the Ascutney since there was a two month break. At Burke, I was having the same issue, but notice that it wasn’t a grinding issue (I thought it was the third gear synchro) it was more a hunt and peck situation.
I ordered a shifter rebuilt kit from Diesel Geek and will install soon.
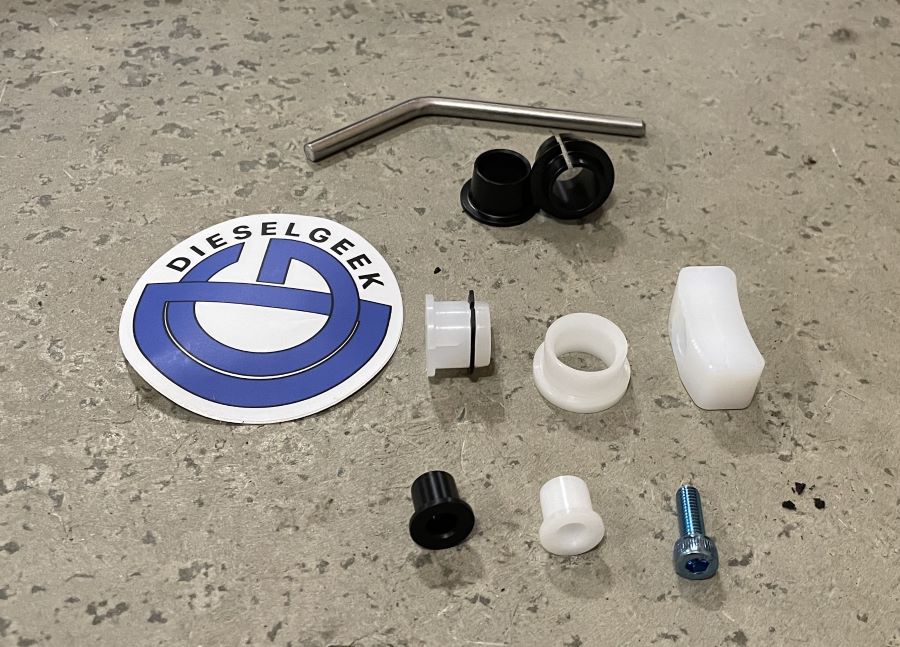
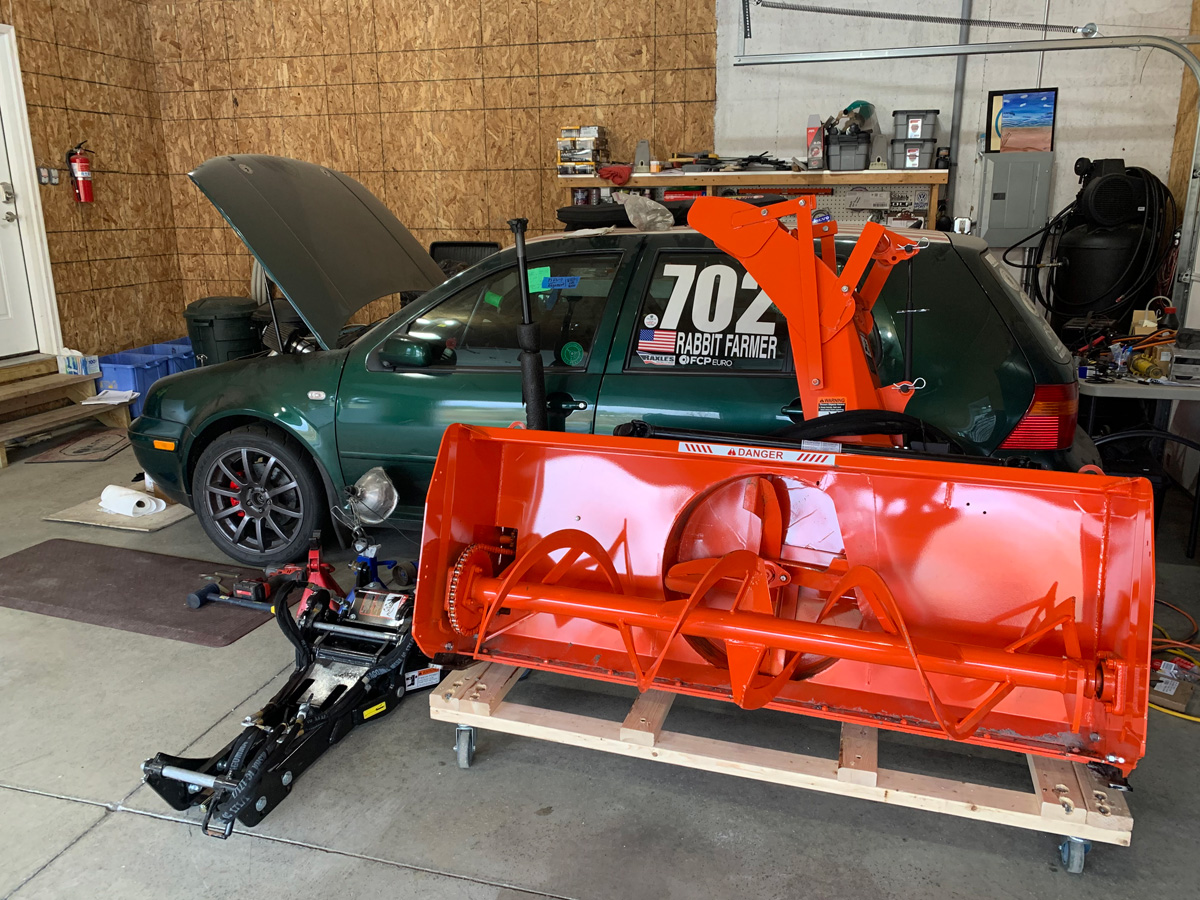
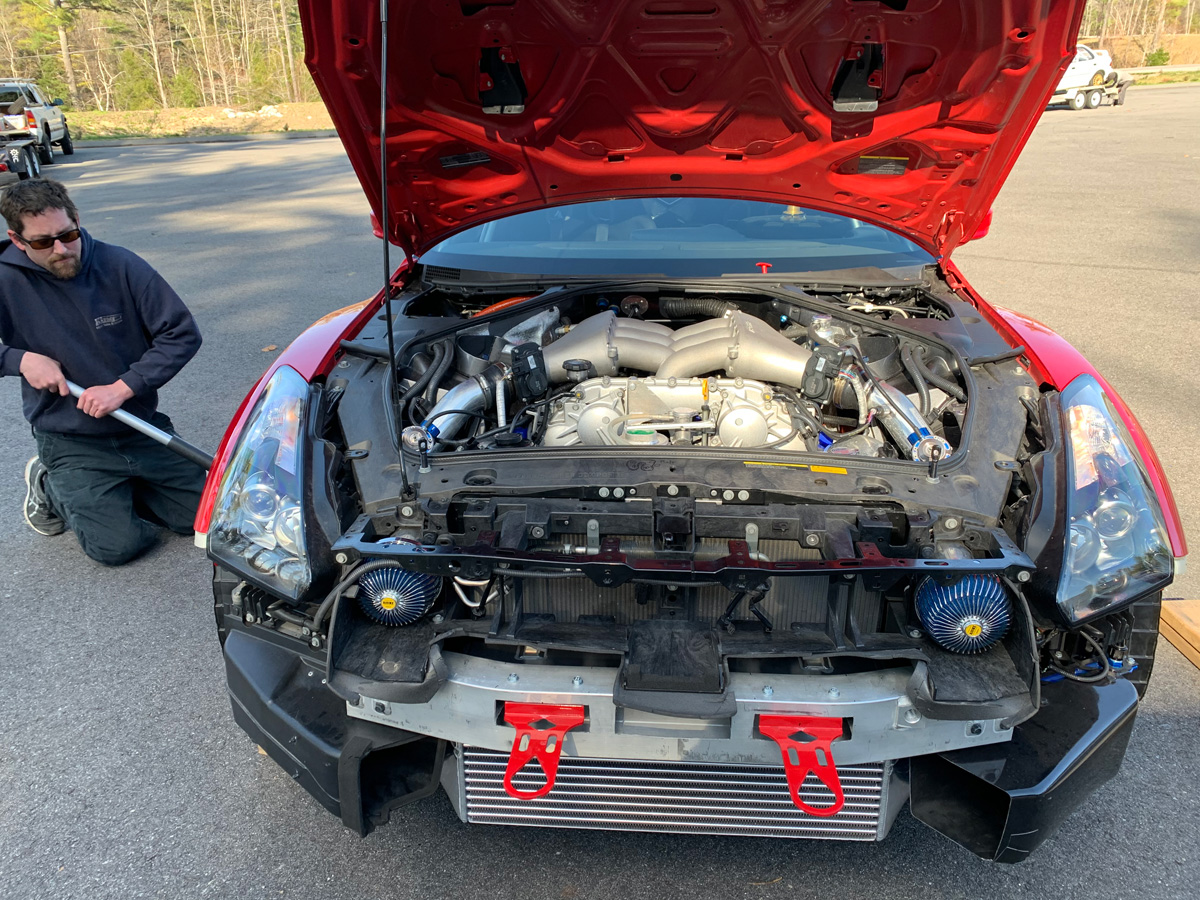
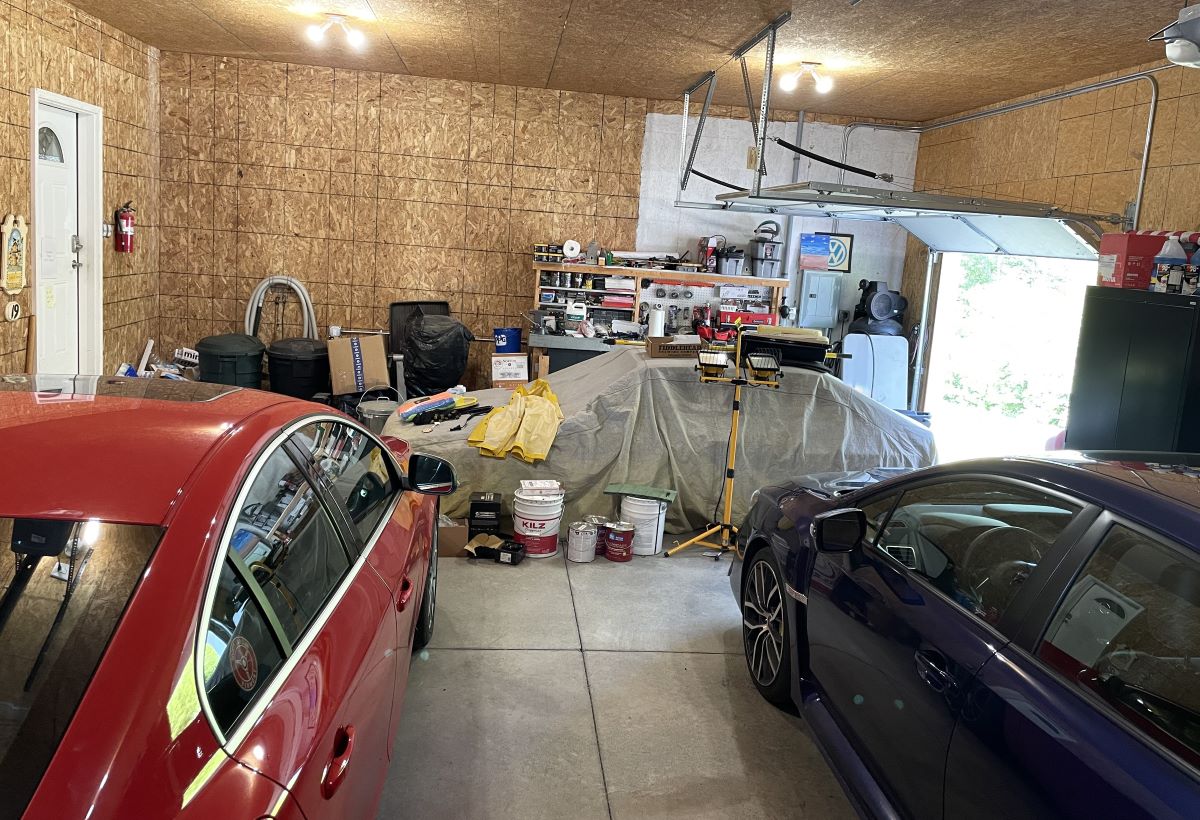
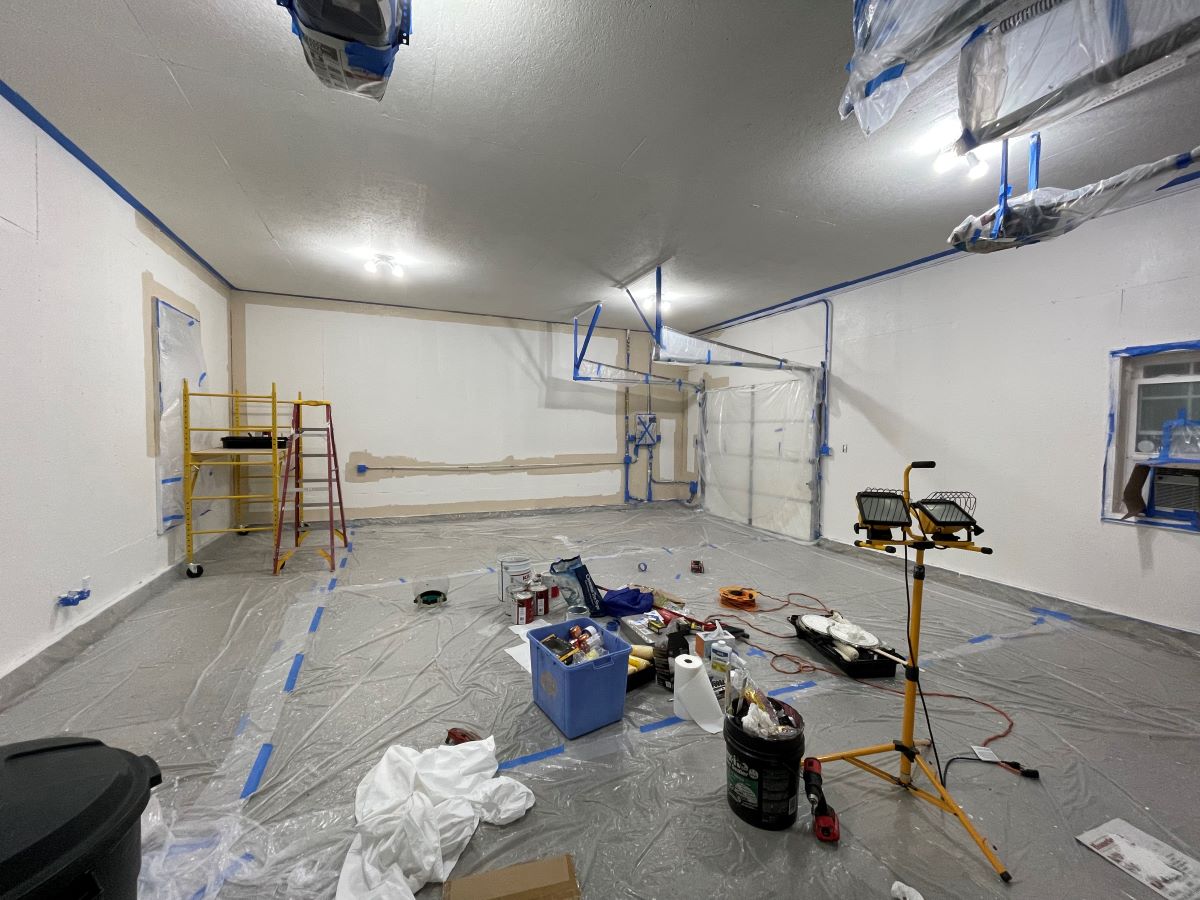
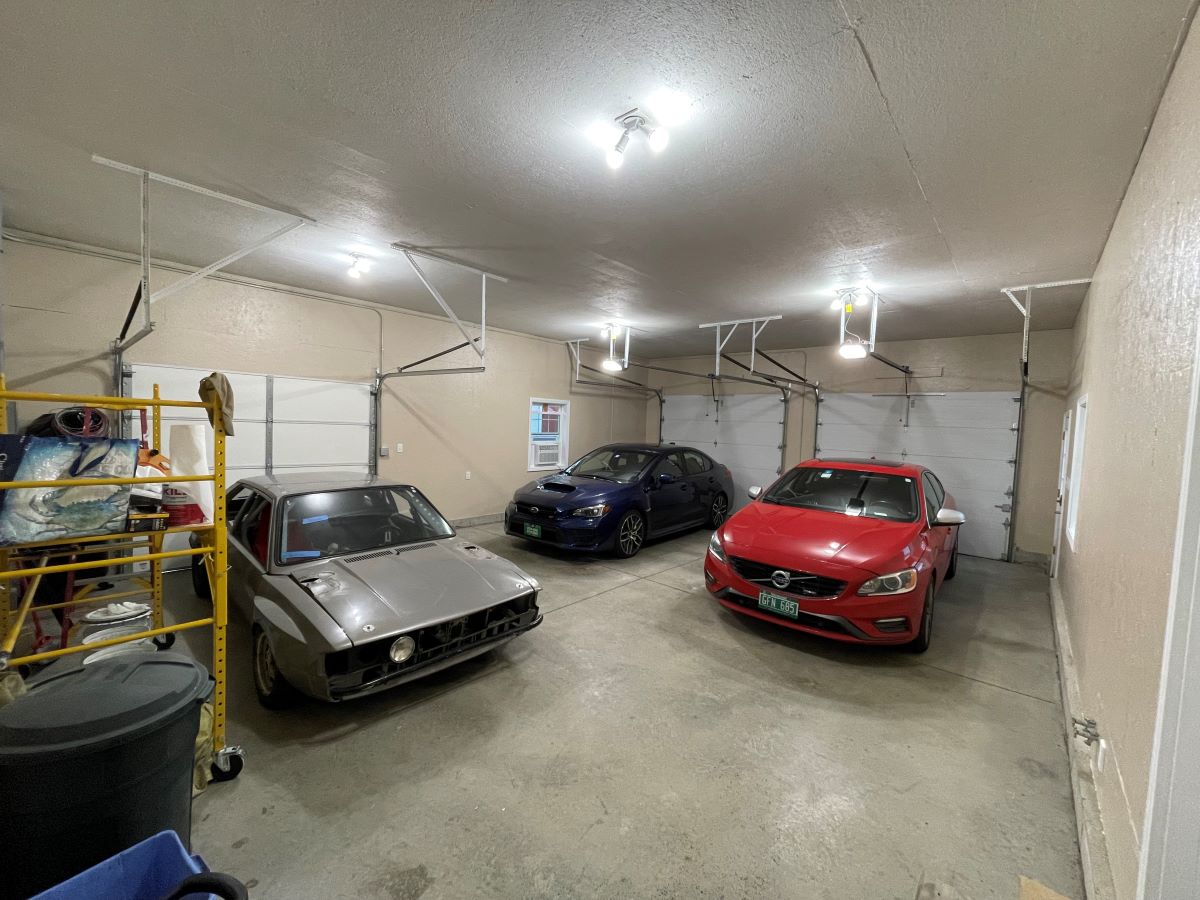
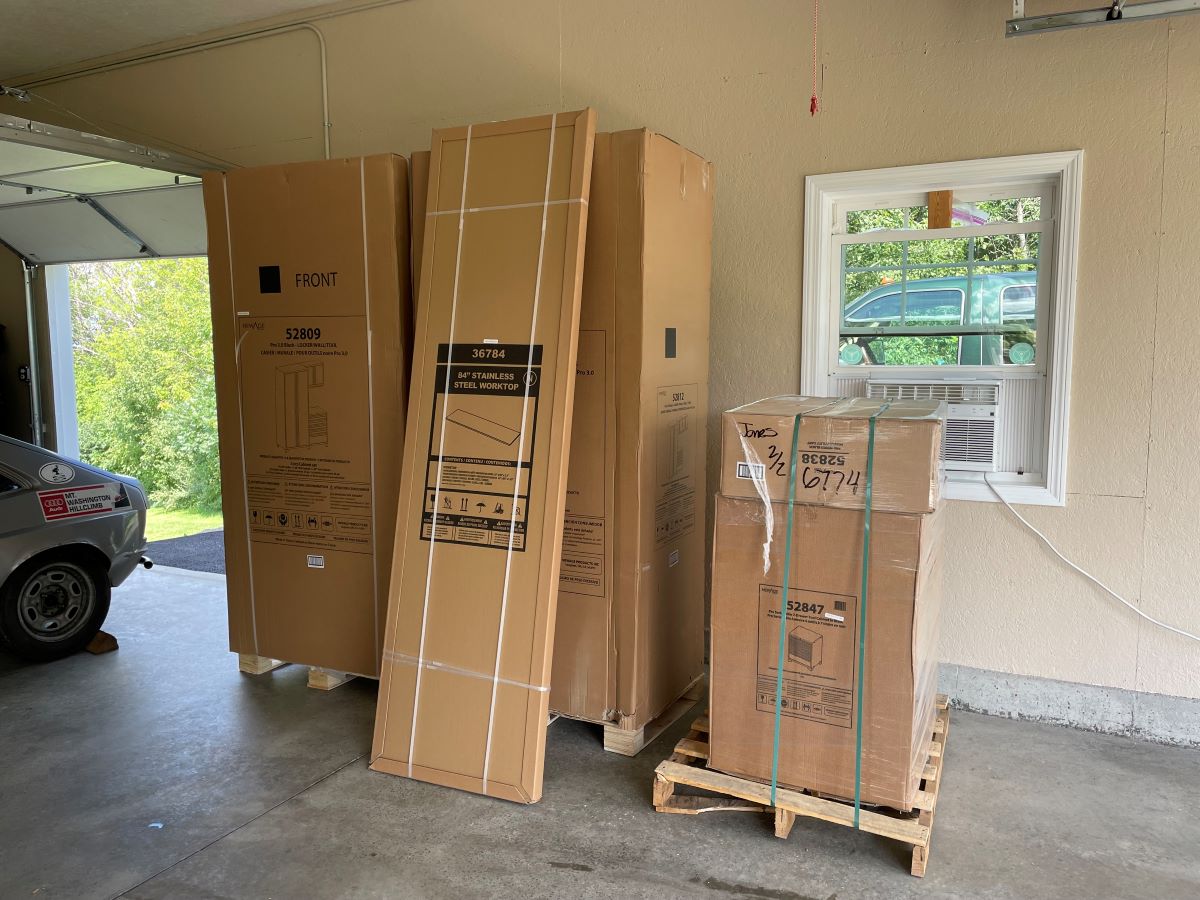
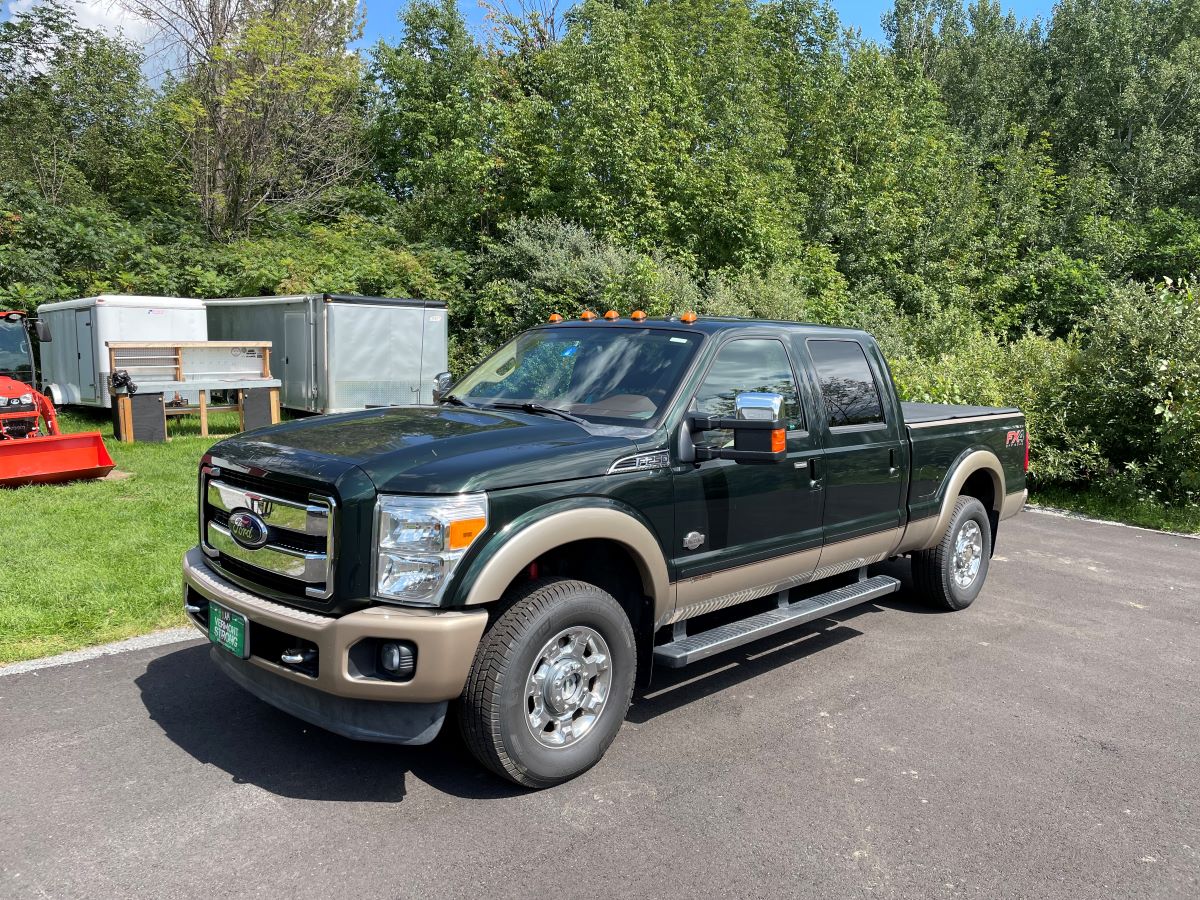
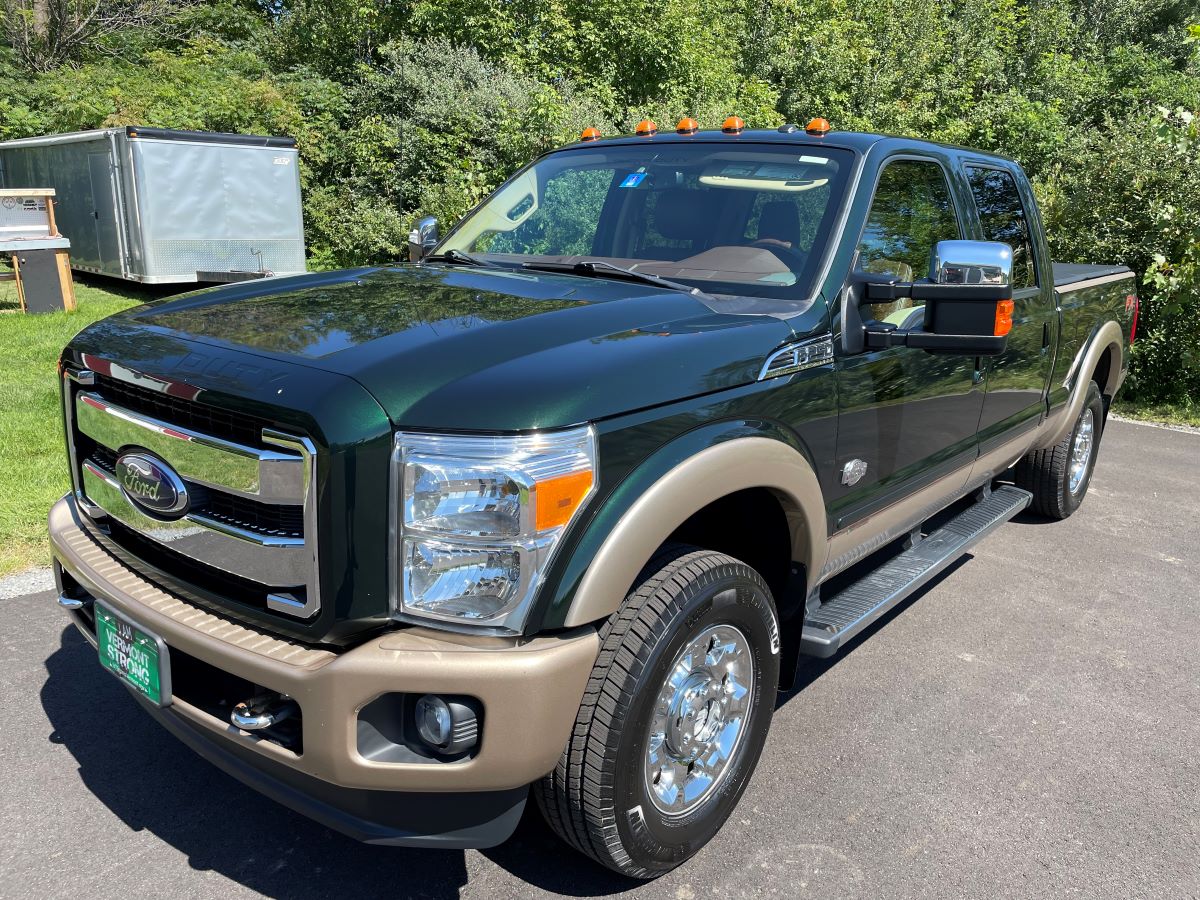
Next two projects... paint the garage (and purchase NewAge cabinets for more functional and better looking organization) and fix the folding mirrors on the 2012 F250 truck.
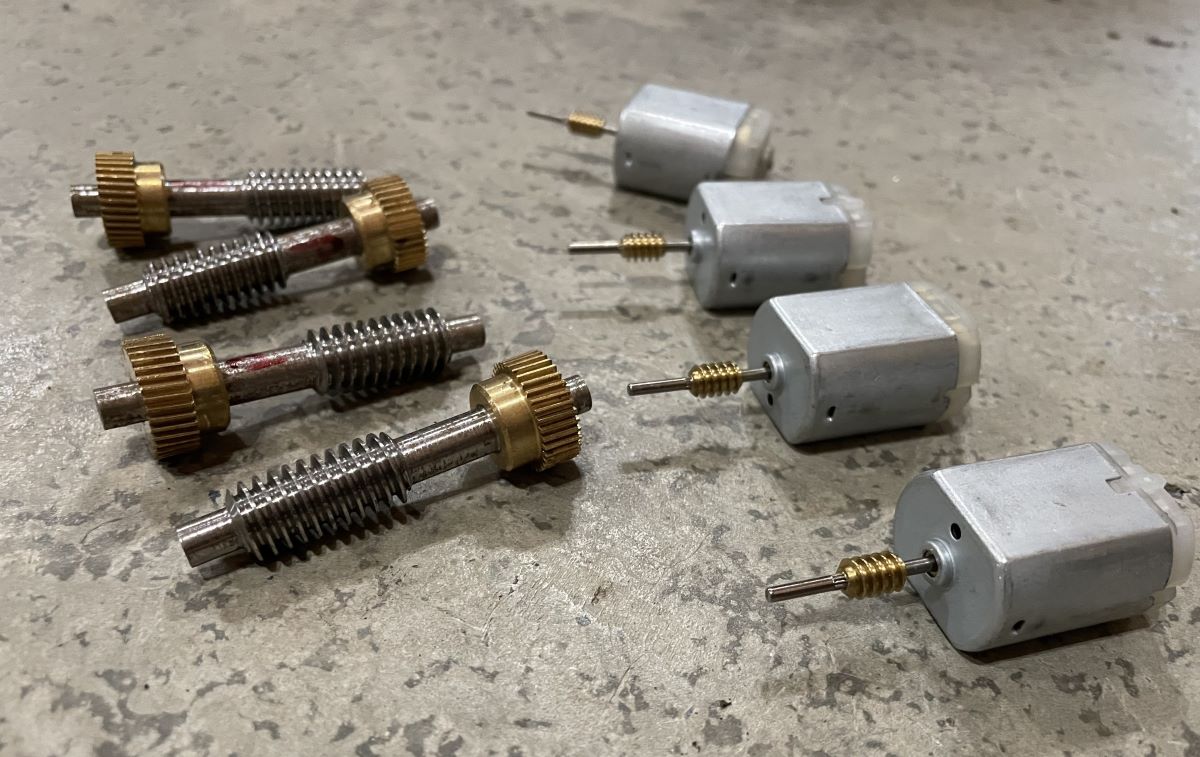
The design on the folding mirrors has a flaw... it uses plastic parts that don’t hold up.
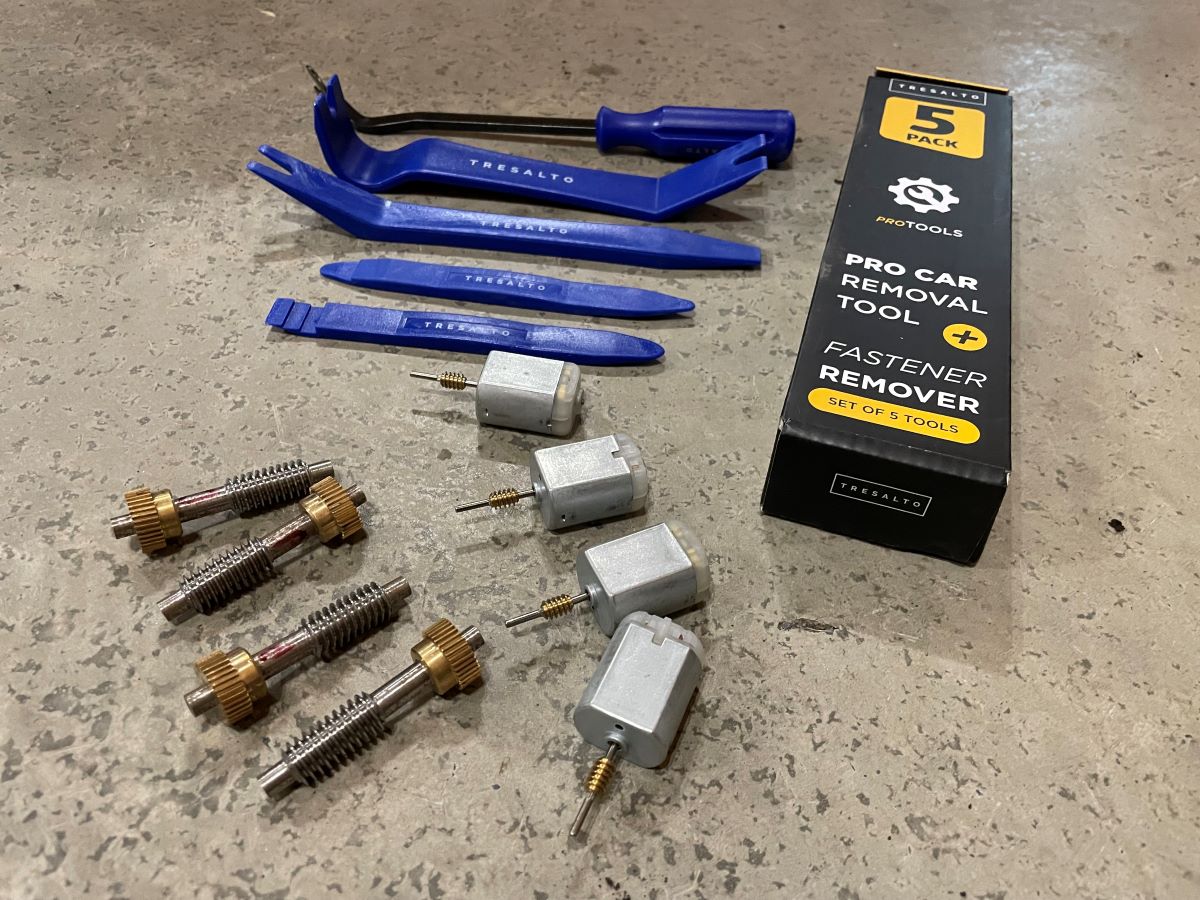
I ordered replacement gears and stronger motors from Gruvenparts in July... um, July of last year. Talk about a waste of a winter... I could have gotten so much more done.
https://www.gruvenparts.com/towing-mirror-gears-ford-trucks/
I also ordered some interior tools to make this project easier.
But... before the mirrors, I have to get the truck fixed. First time ever, I got an engine warning on the dash. Seems related to the DEF pump so I got to drive home (towing a fully loaded enclosed trailer with my car and supplies in it) under reduced power. It wasn’t limp mode, but I had far from the 800 ft/lb of TQ at my command. Dropping it off at the 4x4 Center (great shop!) this week.