I could still take out a touch more weight. I've looked at some of the details on Nelson cars.....things like lighter hinges, swiss cheese the remaining door interior sheet metal, remove the door latch....all for a few more ounces, which all adds up.
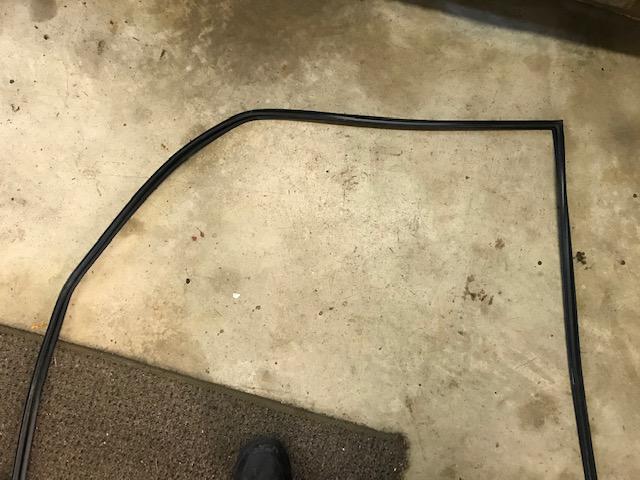
I made a junkyard run today for a few odds and ends. I'm using an aluminum radiator intended for a Mustang and I had no rubber isolators for it , and I want to make the door windows out of Lexan and have them removable. The door seal/track rubbers were largely missing and what was there was rather brittle. So, for the grand sum of $9.35 I got this stuff. Only one window seal is pictured, but I got two from a Suzuki Sidekick ($2.97 for both).
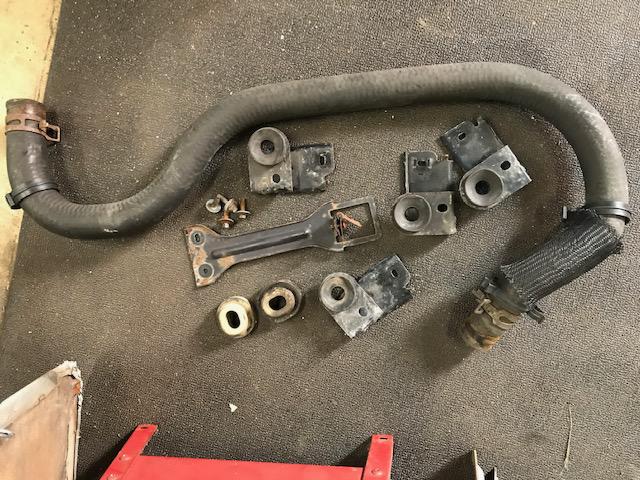
Radiator hose from a Chevy pickup ($1.39) , 5 brackets for a Mustang rad ( $1.00 each) and two rubber isolators (no charge)
So, what's the chances that a window seal from a Suzuki Sidekick can be made to fit the window frame of a 1970s Corolla? Fits like it was made for the Toyota, aside from having to shorten the ends a bit....
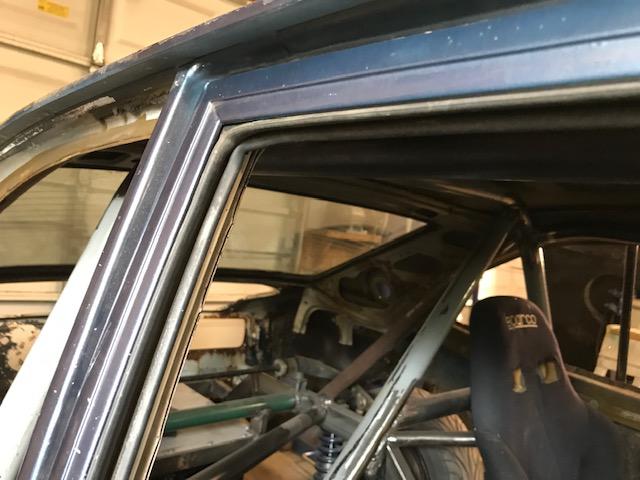
Now all I have to do is cut the Lexan using the window glass as a template and create a simple bolt in holder to keep the Lexan in the "Up" position......easy-peasy.

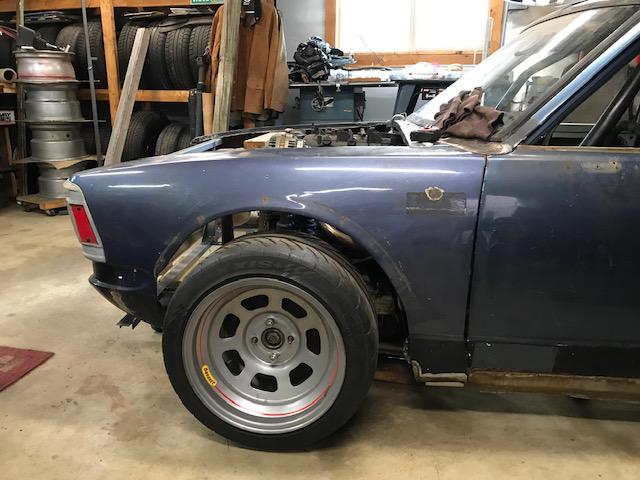
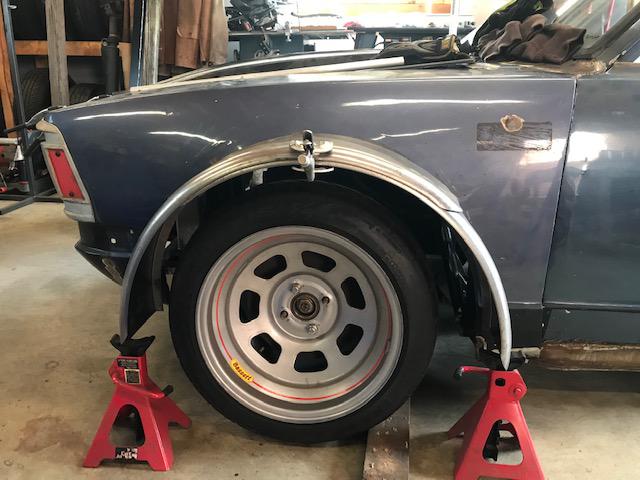
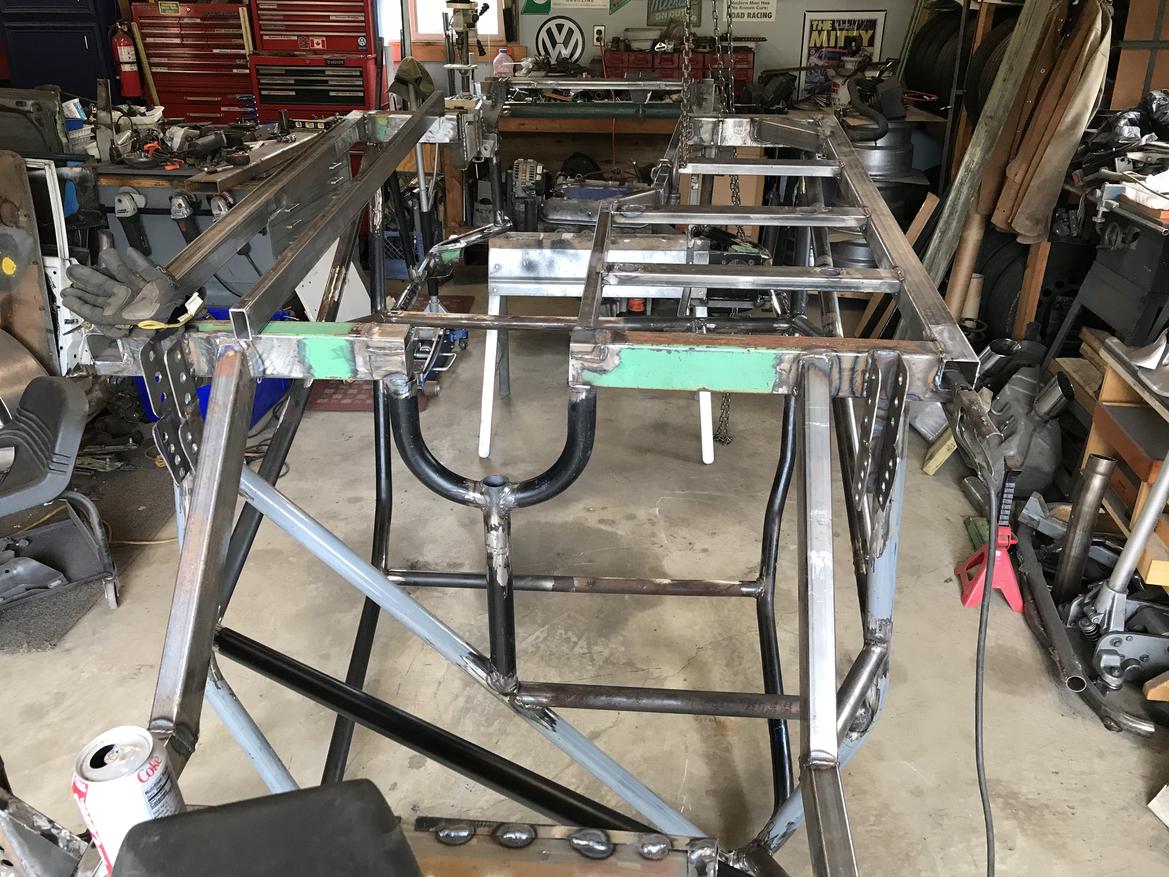
Door #2 lightened and temporarily hung, along with the fenders and valance so I can figure out how to support all the front end, including the radiator.
I had already welded up a radiator support, which I'll need to modify a bit, but it should work.
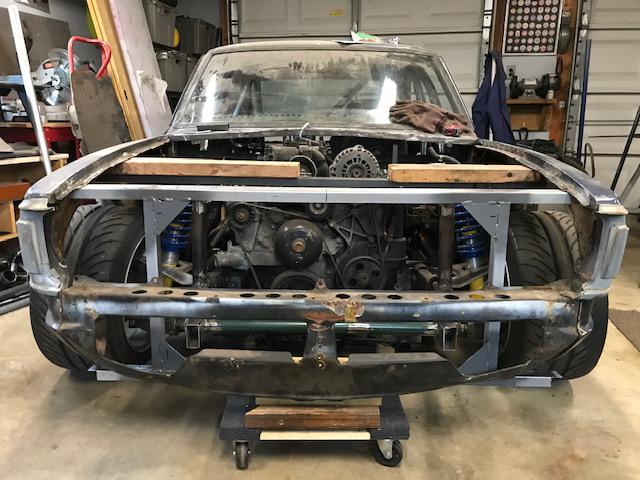
I'll need to construct some chassis extensions to fill the gap between the rad support and the front end of the 1.5x3 chassis rails. I've mocked up all the sheet metal so I can set the fenders at the right height , which will dictate the top edge of the support.
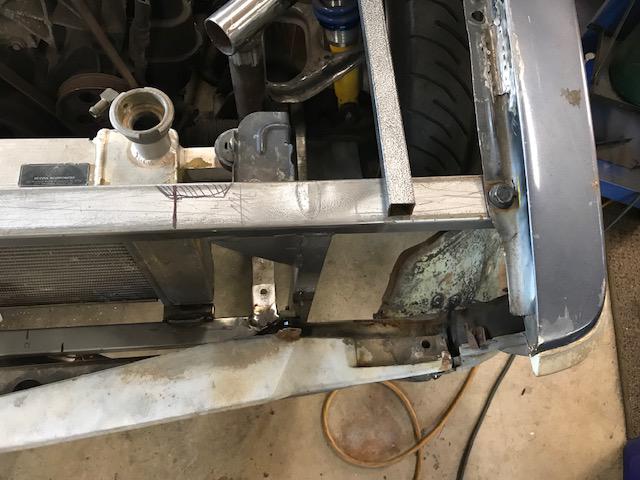
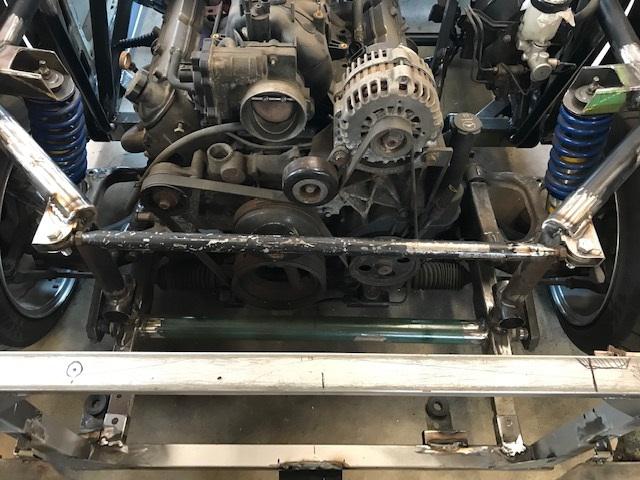
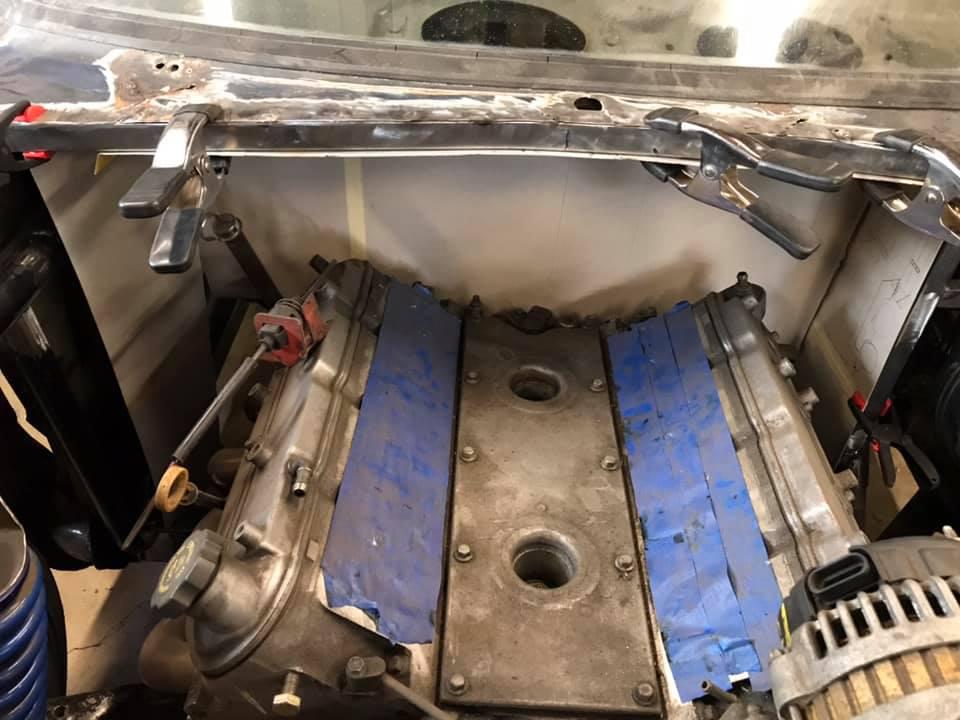
Here's where the radiator will live. I'll have to tip it forward slightly because the lower coolant barb is partially blocked by the frame member containing the sway bar.
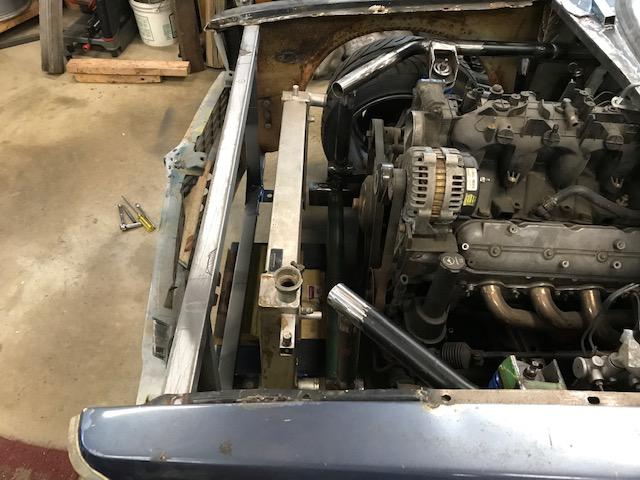
....and then figure out the simplest way to use the junkyard rad mounts to hold it in place and have something between the radiator support and the tubular suspension mounts. As always, I stare at it for quite awhile to be sure I can remove parts after all this pile of crap gets permanently welded. I would like to have the whole radiator bracket bolted in place so that the entire front of the car can be removed for engine changes in the future.
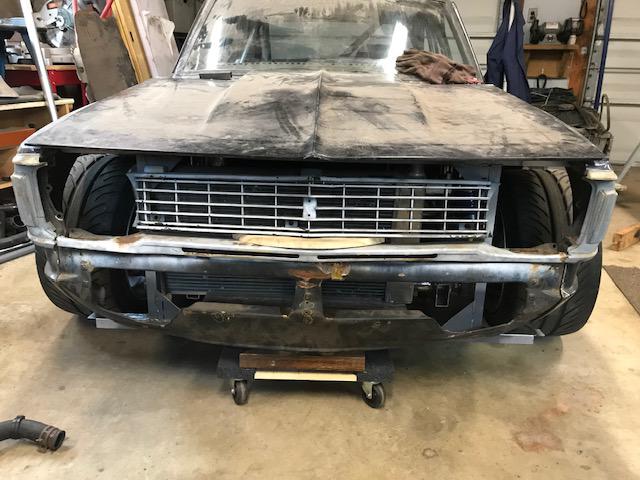
And just to make me feel like I'm making progress, I threw the Camaro hood on for giggles....

wvumtnbkr said:
This is soooo awesome!
Thank you, but it's funny, I look at so many details and think I could do much better.
Got the rad support almost done....added the Mustang rubber insulators and hold down brackets.....added tabs to attach the front valance.....bolted the front of the fenders in place......
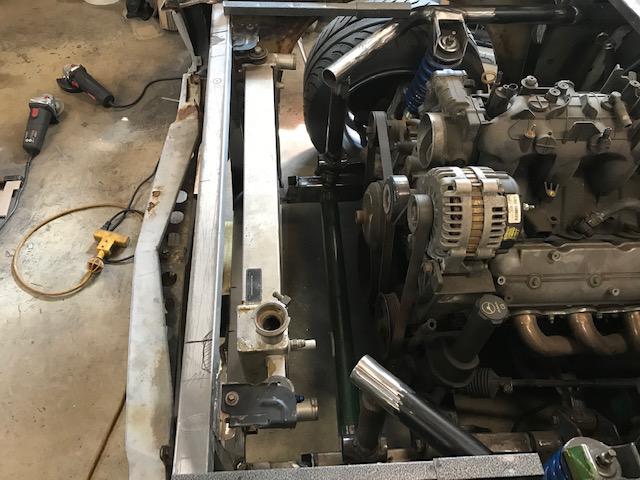
The square tubes are going to be a bolt-in to connect the rad support to the chassis. There are two more bolts beneath the radiator and it will allow me to remove the entire support and rad to do engine work.
It's slow going between the heat, my age, and having to do all the cutting and shaping of bits and pieces with angle grinders. But I'm making progress and that's what counts.
DeadSkunk (Warren) said:
I'm making progress and that's what counts.
Cheers to that, and looking good!!
Today was one of those days where my back is killing me so I spent more time staring at the car than actually working on it. I did get the rad support all finished, just need to drill a couple of holes once I pull the rad out. But I had another idea.......
What if I were to weld a couple of these trailer fenders together and use the resulting piece as a mold to make four fiberglass flares? I could trace the curve on all four fenders of the car and cut out the wheel openings and add a flange. Contouring the edge of the fiberglass to match the fenders would be easy enough, although itchy work, and then I could pop rivet the flares to the steel flanges, leaving the rivets showing.....race car, ya know....
I suppose I should price up the materials before I get too far ahead of myself.
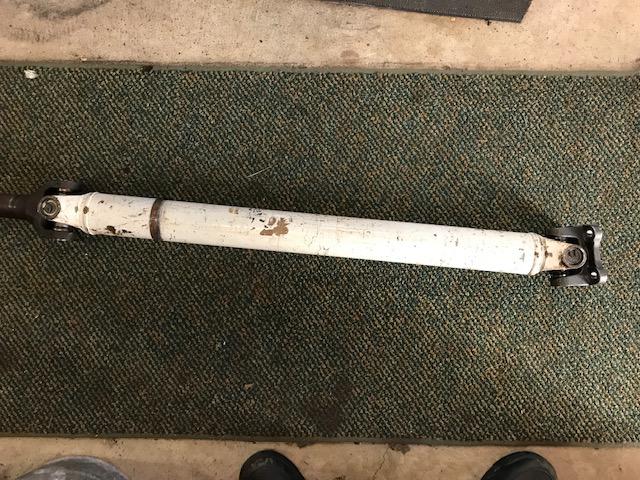
This morning I worked on putting together the various components to get a usable drive shaft. A 30.5" shaft (2.5"dia.) from a local dirt modified car owner, a Ford pinion flange (the smaller one) and a yoke for a GM TH350 transmission. The U-joints in the shaft were 1310s, which work with the Ford flange but not the GM yoke, so it was off to the parts store to get a hybrid U-joint, which he just happened to have in stock. All told the cost of the assembly is $64.63, which doesn't sound bad at all, but is over 3% of the budget.......pennies count!
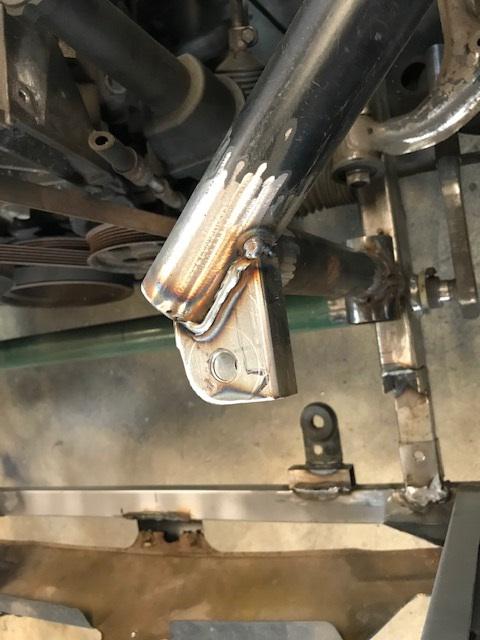
This is the kind of stuff that I find so time consuming, but it's necessary and the time invested doesn't show. The car came with a bar linking the tops of the front struts and I want to use it to link the front ends of the two tubes that support the coilovers. I used a couple of scrap slugs from drilling holes in frame tubes to close off the ends of the open tubes, then I had to create a bracket for each side to fit the Heim joints on the bar. The time part comes from having to do it with meager tools, in this case a couple of HF angle grinders, one with a flap disc and the other a 4" cutting disc.
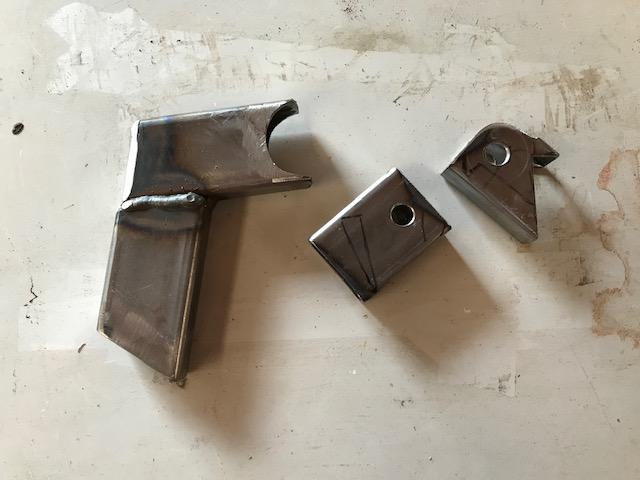
From the left....a piece of scrap from an early attempt at at transmission cross member bracket......a piece cut from it's mate.....the final bracket, ready to be welded to the chassis........and I only took the skin off one knuckle doing it (actually, that's the first injury I've had and I've used these angle grinders a lot in this build.)
So here's the bracket welded in place...
The bracket and the rad support from my previous post shown together. You can see where I'll be able to unbolt the rad support to have clear access for engine removal in the future....
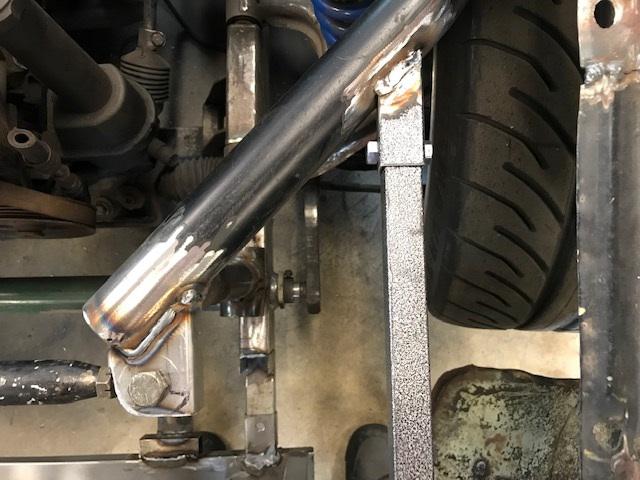
.....and the final install with the cross bar in place. I had to shorten the bar by about an inch and a half, but that was fairly easy. I just cut in beside the weld holding the threaded insert to the tube and it almost fell out out......
Shorten the tube ,bevel the edges , put the insert back in and lay a bead around it......done.....
On to the next order of business.......which I think is probably going to be figuring out the firewall. or stripping the car down to the chassis and getting all the underside welding done.
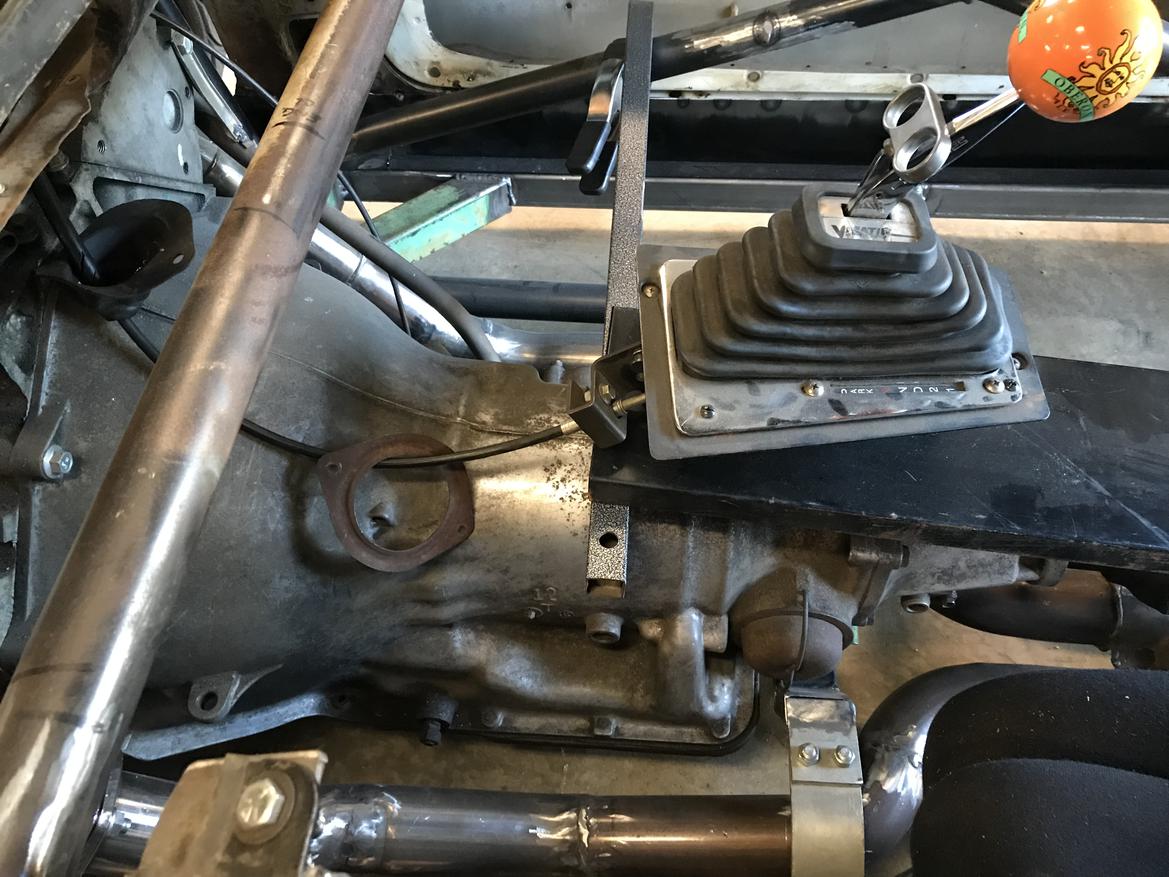
Now I have another space problem.....getting the shifter located for proper ergonomics during auto cross and drag strip passes while routing the cable to the shaft on the transmission. The cable is about 2 feet long,which is about as short as you can get, but still too long to make a simple "S" bend, while avoiding the exhaust pipe.
Rube Goldberg, where are you when I need you? I'll see if I can make him proud.
Had you told me that I would spend my retirement making square holes in round plates, I would have told you that you were berkelying nuts........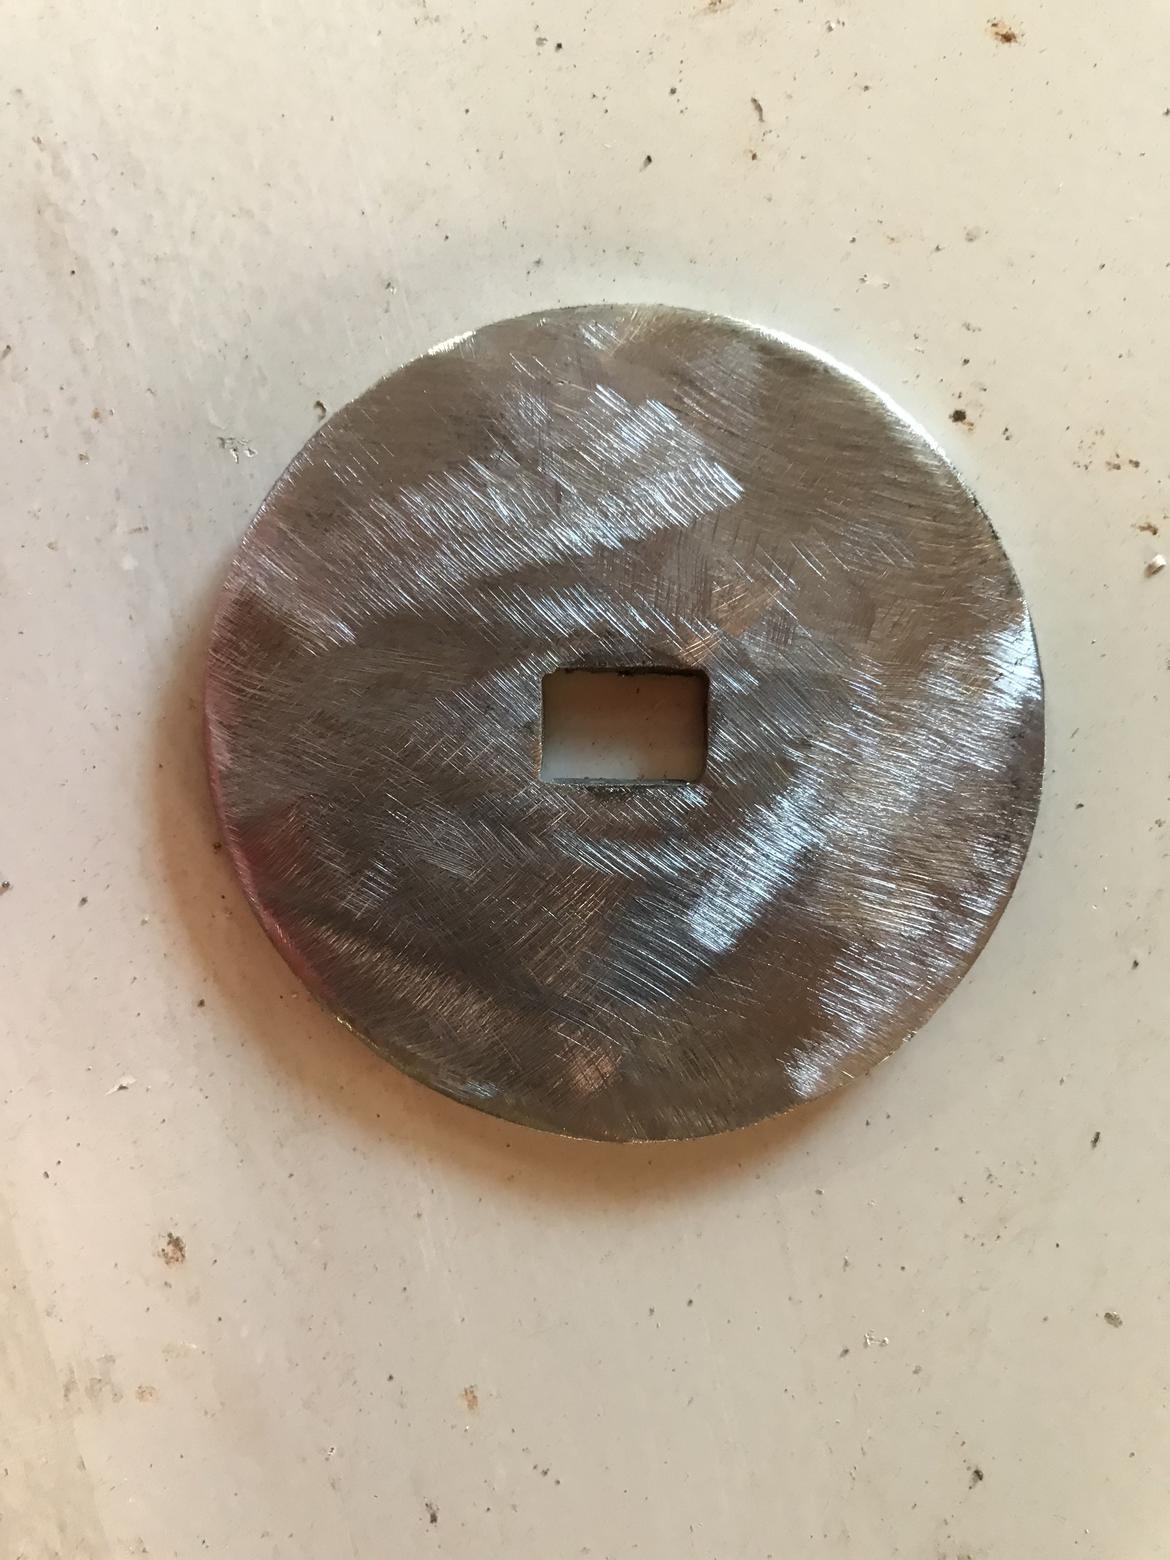
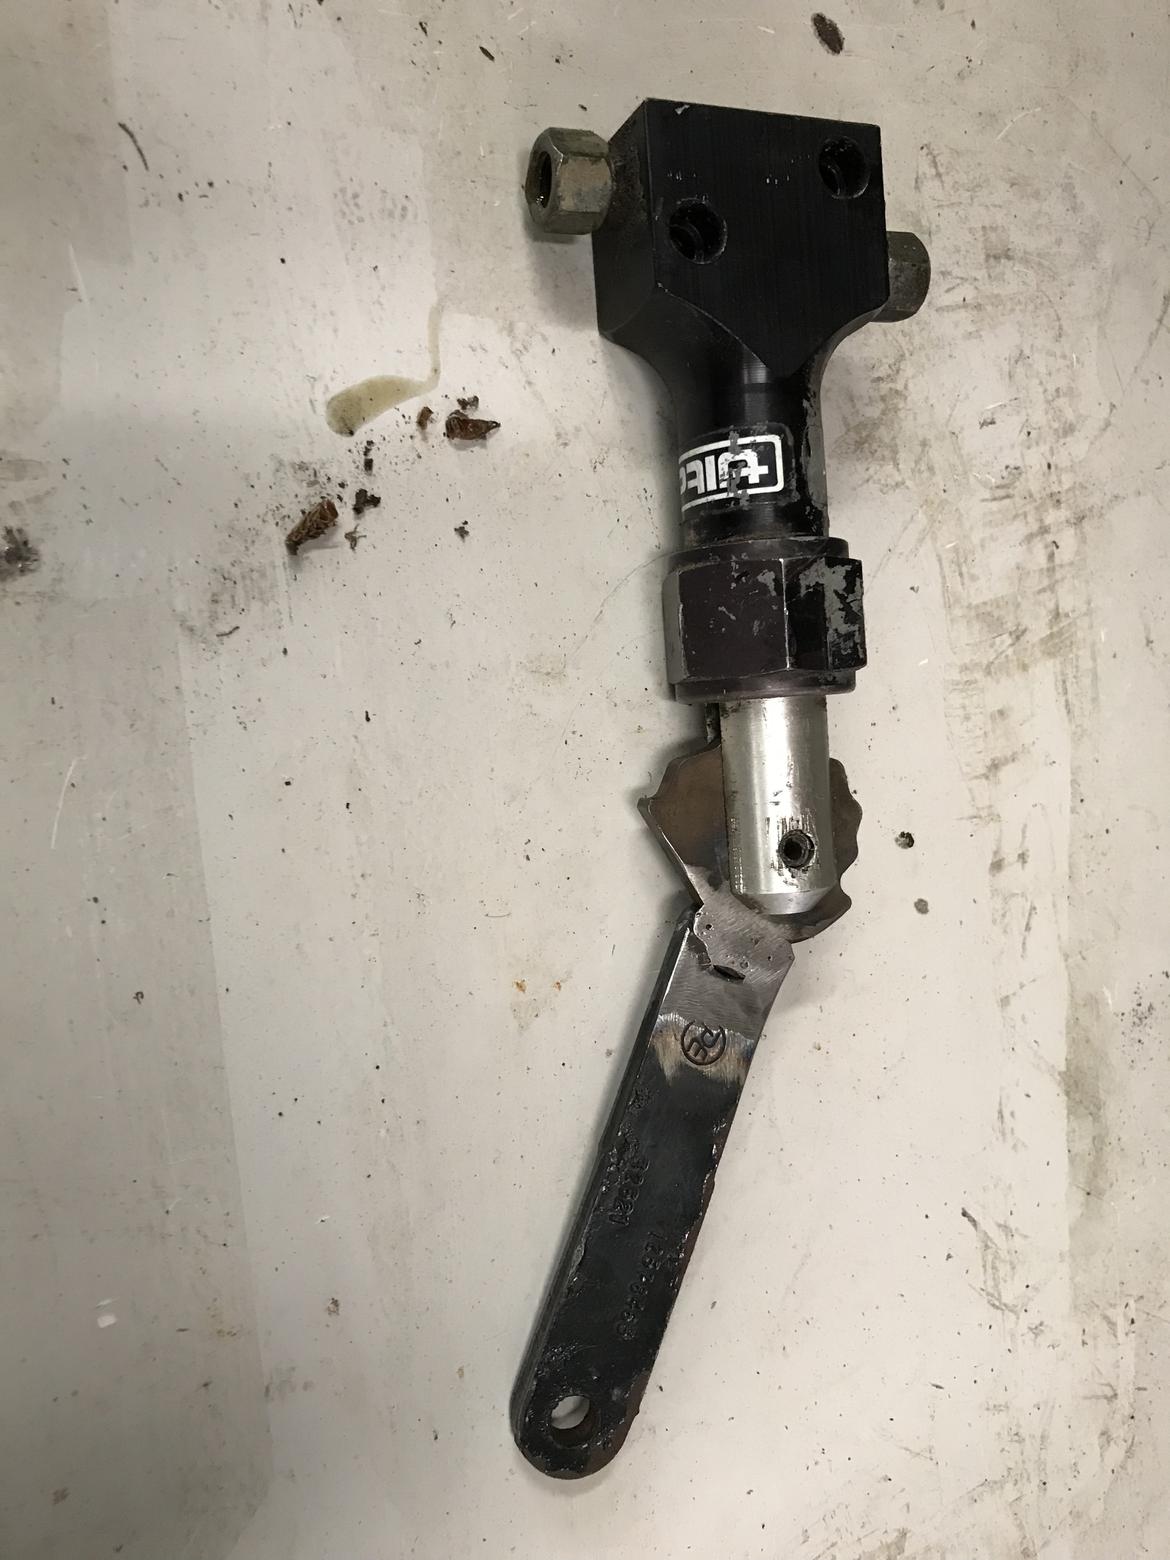
Welded a new lever on the brake bias adjuster and took the unit apart to free up the little plunger. I think I'll need this with Miata front brakes and master, but Mustang drums on the back.
We have entered the CAD phase of vehicle design.........
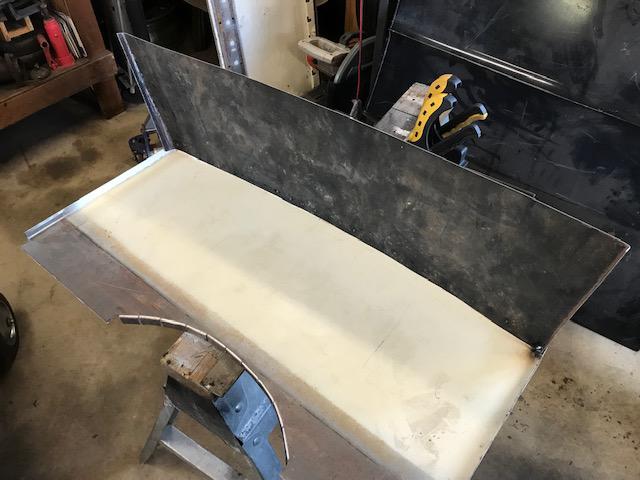
Turning cardboard and a file cabinet into a firewall.....
This will eventually be a 30" wide X 8" deep inset box in the firewall. The main wall will be touching the back side of the dashboard inside the car. With the chunk I cut from the cowl area the overall firewall setback is 11"....
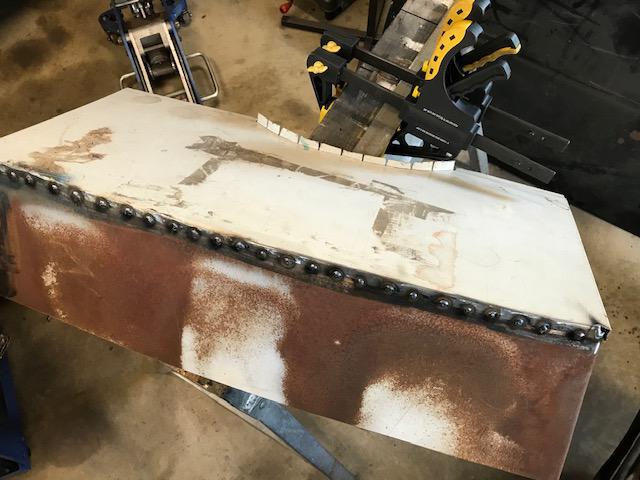
The time consuming part is getting the templates made and then forming the resulting steel pieces. Cutting the flat blanks is easy with one of those HF electric shears. I don't have a brake so I have to fold the edges with a hammer and dolly. I start the bends by using a 3" wide masonry chisel, a big hammer and a rubber mat. A few careful whacks with the hammer and chisel, then finish with a smaller hammer and dolly. I find the overlap joints easier to weld and they leave a handy place to lay seam sealer later. I want to make the driver's compartment as weather tight as I can for transporting the car or autocrossing in wet weather.
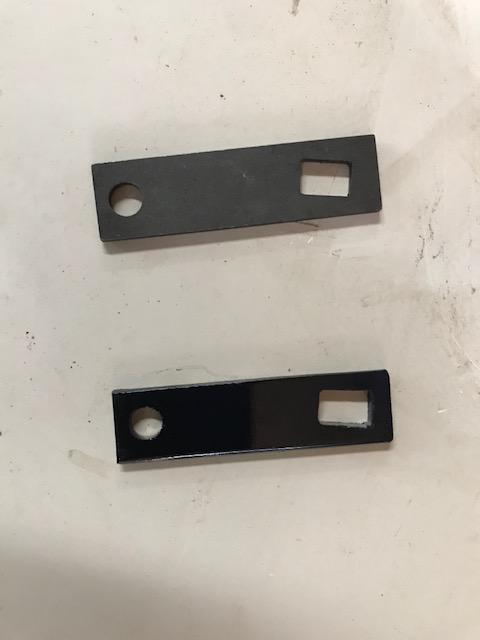
I need a shift selector lever for the TH350 transmission, but finding dimensions has proved problematic. So, you buy the part from Hurst for $24.50 without any intention of it ever actually being on the car, and you copy it using a piece of scrap and about 40 minutes of labour.......
DeadSkunk (Warren) said:
I need a shift selector lever for the TH350 transmission, but finding dimensions has proved problematic. So, you buy the part from Hurst for $24.50 without any intention of it ever actually being on the car, and you copy it using a piece of scrap and about 40 minutes of labour.......
I think is fits the idea of the challenge perfectly 
 More light work today. Just cutting up cereal boxes to make firewall panels to weld in later. The main inset box has been partially welded, but it's not attached to the body or chassis yet. I'll do that after I've stripped the car down to the chassis and finished welding all the tubing.
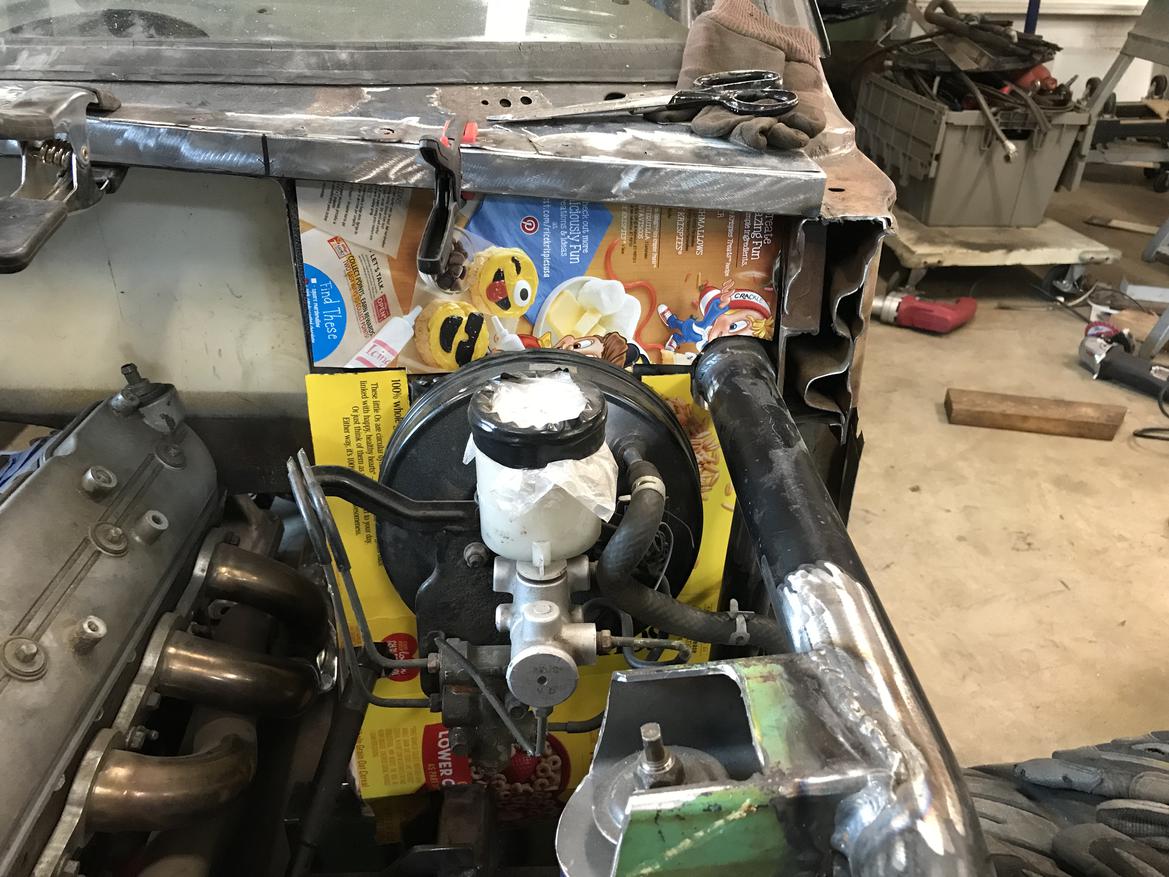
I don't know why ,but putting the VIN plate back on this thing makes me giggle......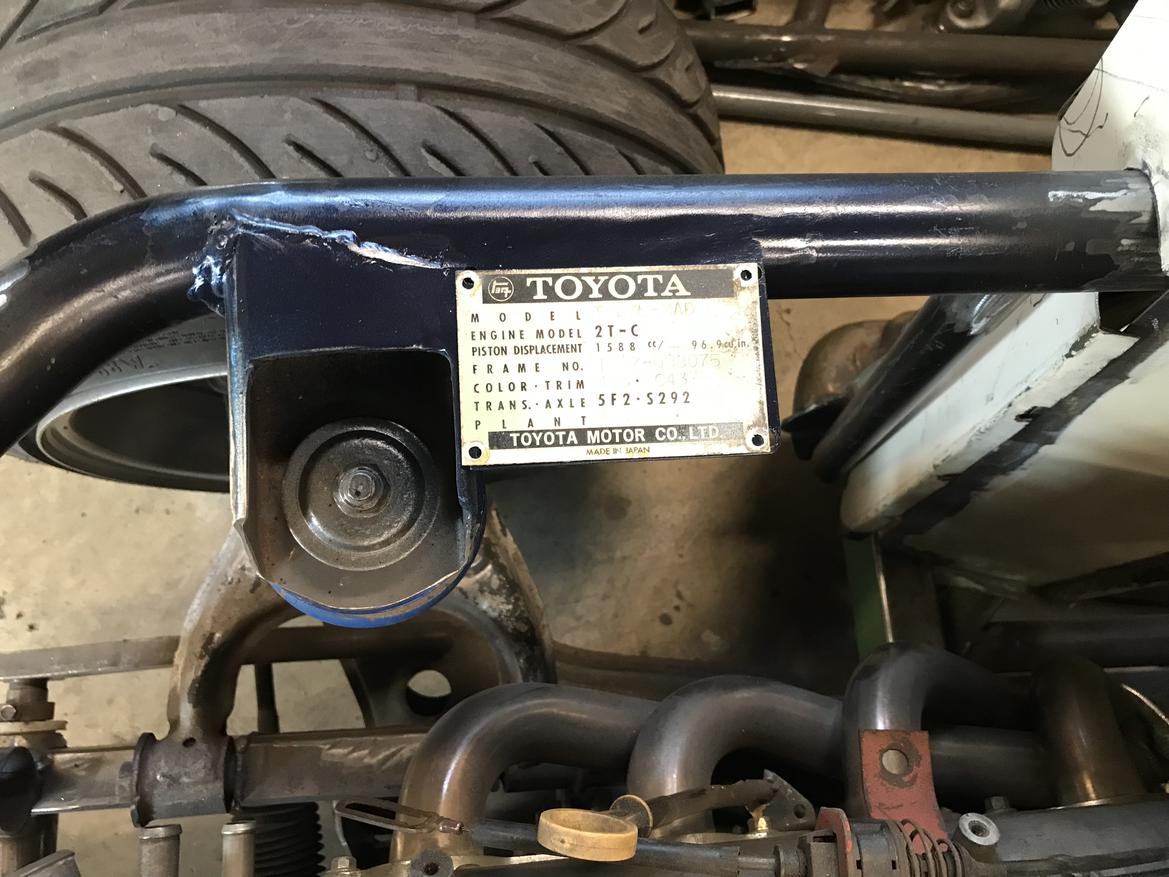

Ebay $17 steering quick release coupler, I think the first brand new part on the car. The electrical bits have been removed because they weren't needed and were pretty chintzy anyway. The mechanical parts seem strong enough, no flex or sloppiness.

GM > MG
New Reader
8/5/21 5:42 p.m.
Great job, very cool. Love the 70's Corolla.
This also proves an Internet Myth. A LS Motor CAN be put in anything...
Since flipping your Challenge car and exposing its bottom seems to be in vogue these days, I'll do it too. It's easier for me to construct the floor and get at the underside of all the other tubes.
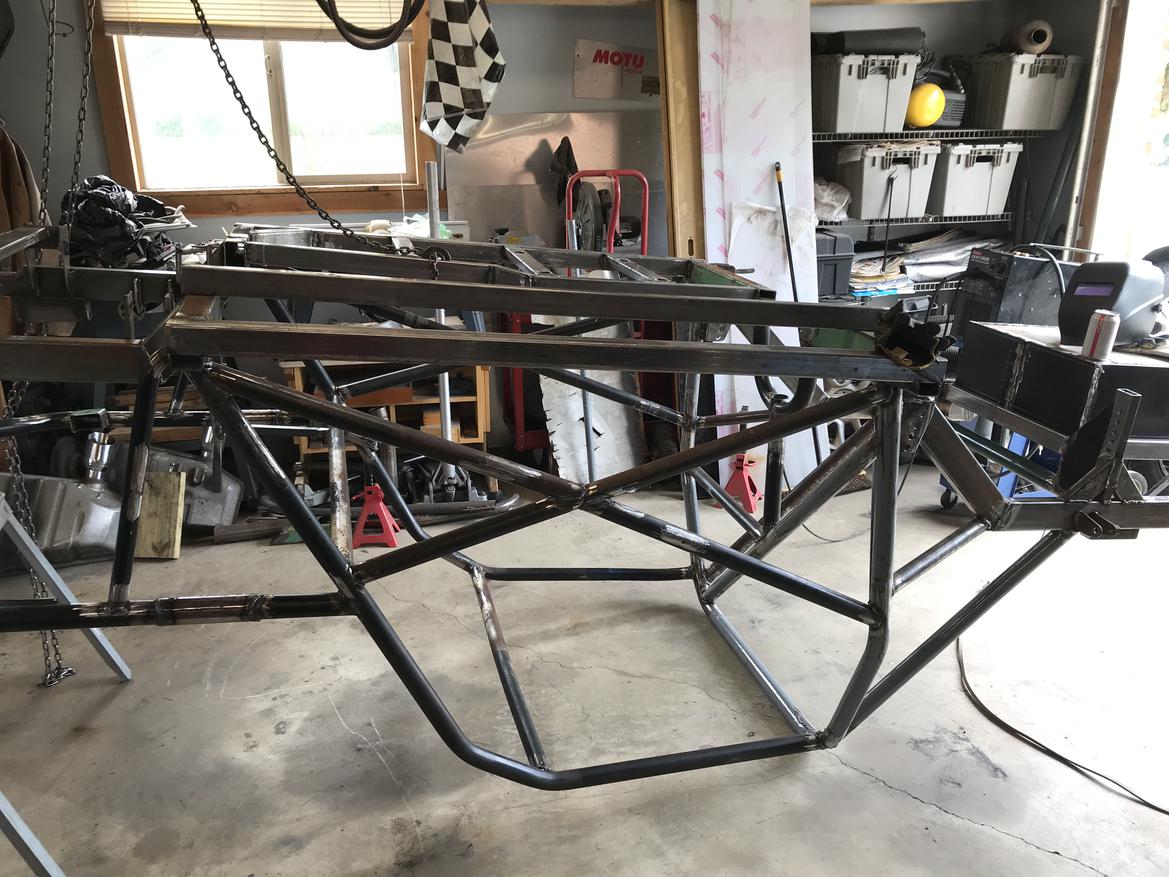
Oh yeah, upside down race cars for everyone!


