


Wow, a kart, this thread just keeps getting better!
David

Wow, a kart, this thread just keeps getting better!
David

Make sure you have the special "drywall filter" for your shopvac (if the shiny happy people didn't steal it too) before cleaning up the drywall mess.
I learned that lesson the hard way.![]() Did you know a shopvac can sound just like a dieing waterpump on a car?
Did you know a shopvac can sound just like a dieing waterpump on a car?![]()

They did take the vac at the house but I had a couple at my store up north I brought down when I closed it. Good tip about the vacs and I do have the bags. When I sand joint compound I hold the shopvac hose right under where I'm sanding to suck most of the dust in before it floats around. Works pretty good to keep the rest of the house from getting a thick dusting but you've gotta bag the filter.
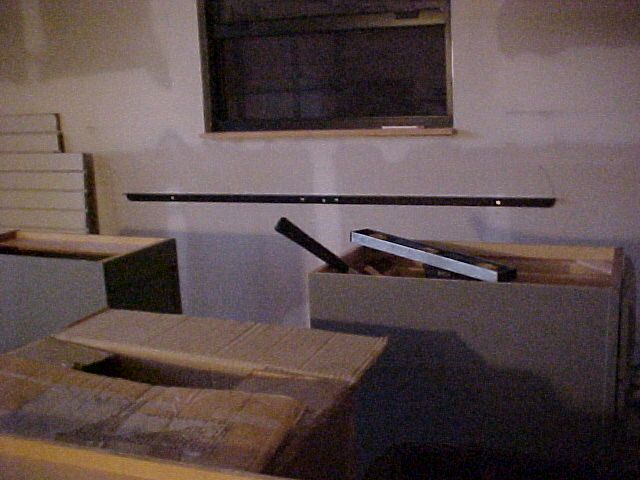
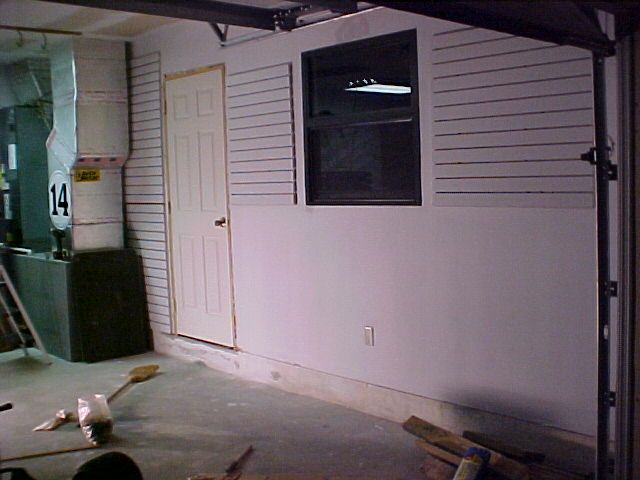
Had a lot to do today but late tonight I had a couple hours so I put up the sheetrock and taped around the inside of the doorway. Searched for some corner bead to use around the window and found a couple pieces I'd saved when cleaning up after the destruction crew was done. Not quite enough to do the 3 sides that'll have sheetrock corners but I know I had a piece of that cheesey plastic kind around somewhere so I'll keep looking..
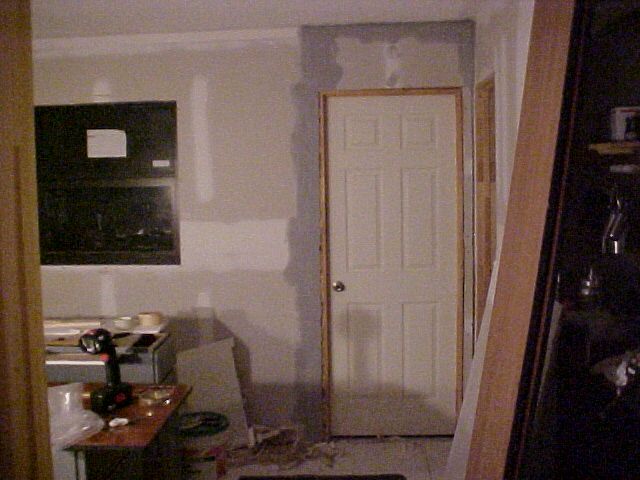
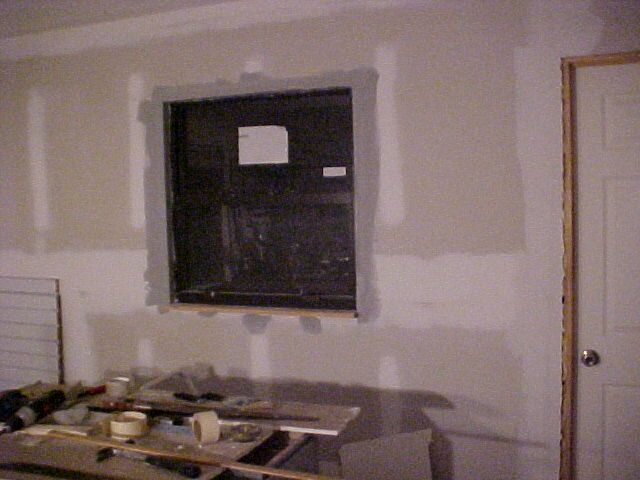
Had a little time this evening before I had to go deck blocks at the machine shop so I made a window sill out of a scrap of Pine I had that is wide enough to place a fan on and sheetrocked/taped the window opening. Only had enough corner bead to do two sides out of the 3 so I did the sides where they might get bumped and just made the corner at the top using folded tape. It'll never get hit so it won't matter. As a consolation prize for not being able to find another piece of corner bead I did find the screen for the window tucked behind the AC ductwork in the garage while looking for the bead. I knew I put the screen somewhere it wouldn't get damaged but couldn't remember where! LOL

Hey Rad_Capz, where are you located? Just curious. I'd love to see the shop.

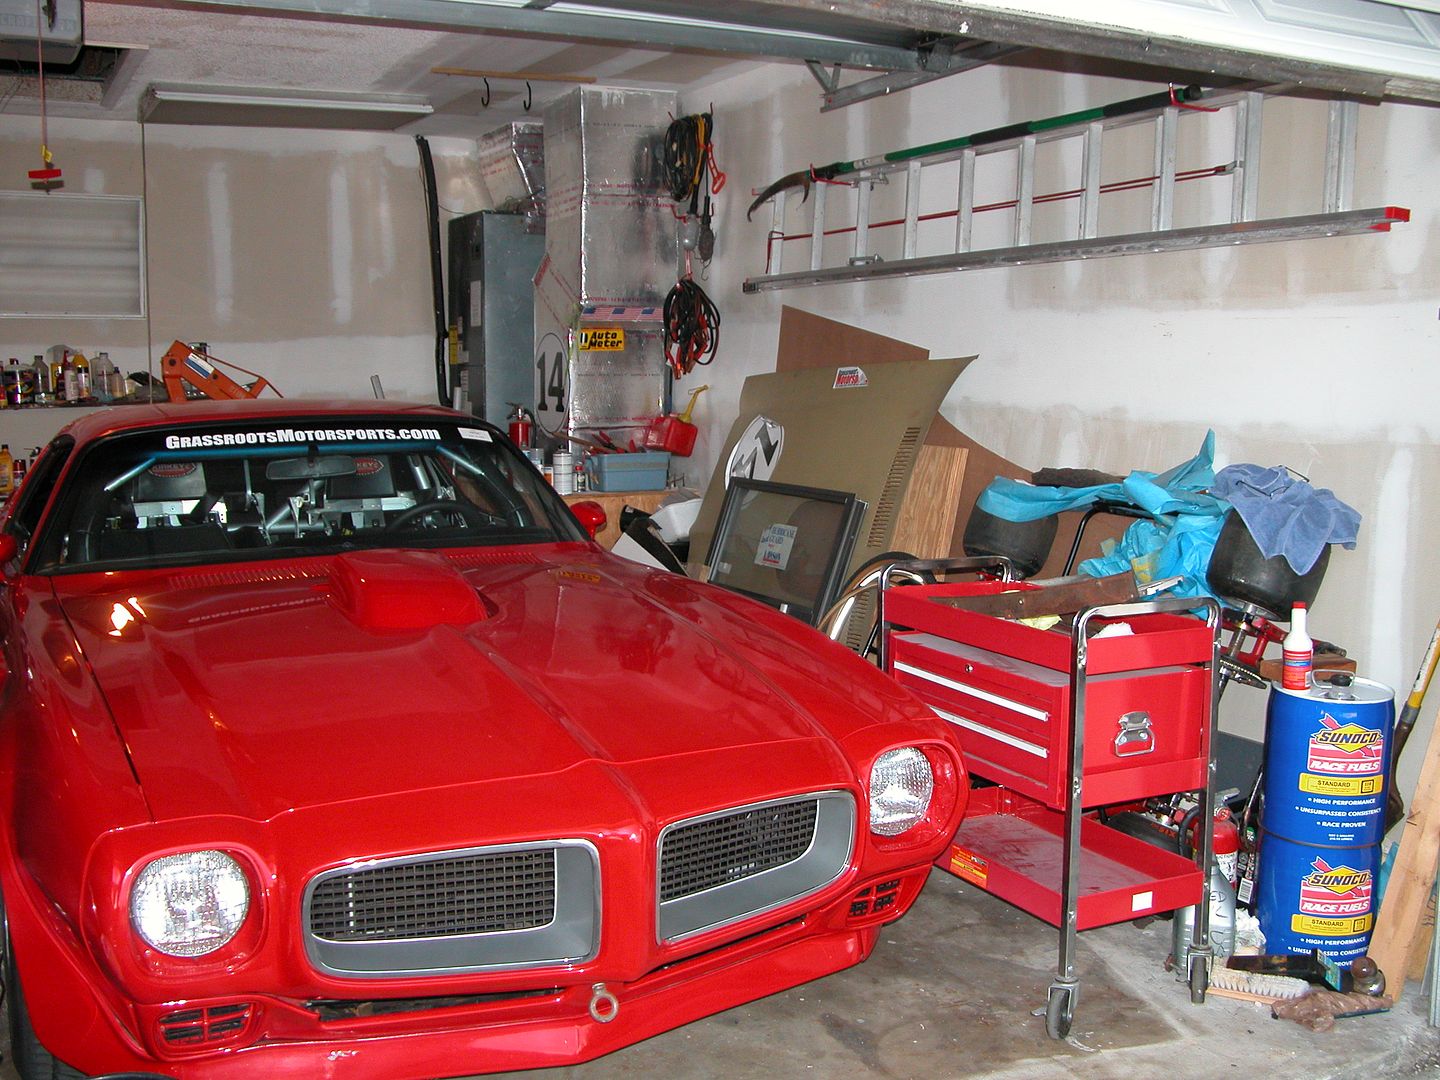
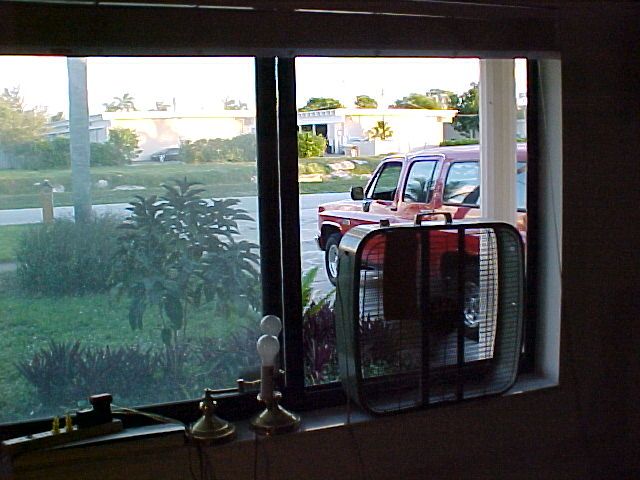
I..MUST..HAVE..THIS...RED..VEHICLE...

Next time try sanding the drywall/tape joints with a damp sponge first. It softens the compound and knocks down the high spots and fills in the low spots at the same time. Then a light sanding and done with very little dust.

plz tell me you've already addressed the icky wet problem? :(
I'd hate to think you and all your work is still at risk of contamination...
madmallard wrote: plz tell me you've already addressed the icky wet problem? :( I'd hate to think you and all your work is still at risk of contamination...
Yes, I dried the house when I found the theft/flood. Bailed the house then bought big dehumidifiers and ran them for weeks. If the insurance co. would have released the money for the flood damage to me directly then I would have used it to do the demolition and mold remediation myself and then still had enough left fix the rest of the damage to the house if I did it all myself. I worked in home construction as a young man so I could have done it.

It's not just not getting married again, do you ever plan on having sex again and NOT paying for it? ![]()
Keep up the good work.
J

Jeff wrote: It's not just not getting married again, do you ever plan on having sex again and NOT paying for it?Keep up the good work. J
HAHAHA that's the funniest thing I've heard because whether you're married or not, you always pay for it!
Jeff wrote: It's not just not getting married again, do you ever plan on having sex again and NOT paying for it?
Luckily, I've never had a problem finding ladies. AND Raze is correct, somehow you WILL pay! LOL If and that's a really big "IF" I do end up keeping the house, I'll remodel the other end of the house to be a master suite.
Today I tackled the big mess making sanding job. Had a big fan blowing out the window to suck the floating dust out and wore a mask of course. My mind wandered while sanding and I thought "Wouldn't it be nice if all the dust got sucked out?" which led to "Hmmm the leaf blower might work? It might be faster than vacuuming?"
So when the sanding was completed I swept up the piles of dust at the base of the wall, sealed off the gaps under the doors to the garage and bathroom, and got the blower..... Then like a kid doing something in the house they weren't supposed to do, I chuckled excited like a kid and gave a hearty "Arrr Arrr Arrr" with a Tim The Tool Man pirate voice and fired it up! Man, what a great idea! Kept the door to the rest of the house slightly ajar to provide an air source and created a huge dust storm/venturi using the window fan and the blower.
Had everything almost dust free in about 10 minutes! Repeated after letting everything settle 15 minutes. Soooo much quicker than slowly vacuuming everything! And fun, because there was a lot of noise/dust/wind indoors and somehow it just seems wrong. If you asked your mom if you could do it, she'd just say "NO!".
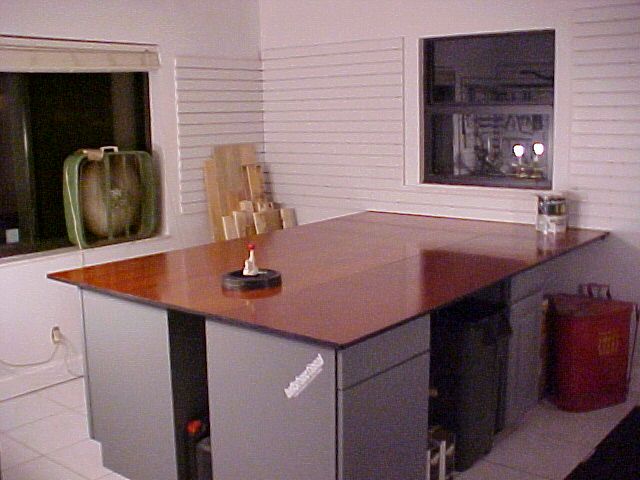
Every shop needs stickers. Put the first one up yesterday when it arrived. Hellafunctional is sort of poking a little fun at the hellaflush movement and I bought a couple stickers for 2 of my cars. Had an extra soooo....It got stuck! Oh, if you don't know what hellaflush is, check the "stance" thread I guess. I have nothing against flushers and in fact think some look kinda cool, just wouldn't want one myself. To me the sticker says performance first, looks second, which is what I'm about.

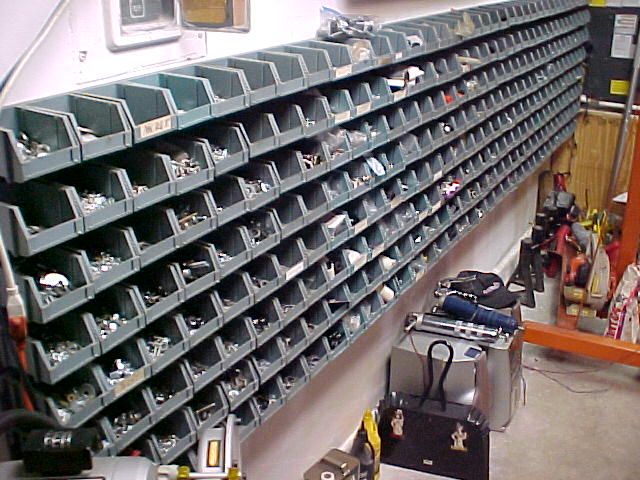
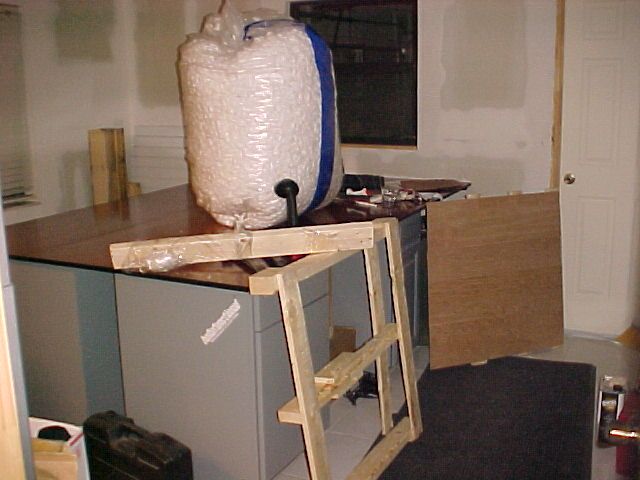
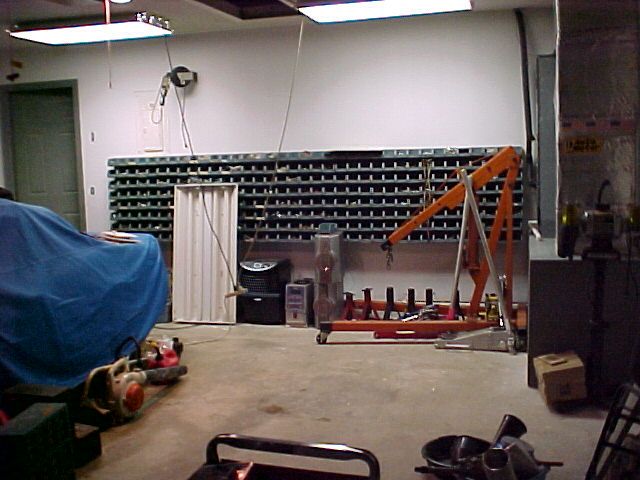
I need some lag bolts to hold the steel support for the bench to the wall and thought for sure I have some somewhere in the nuts bolts parts bins I hadn't unpacked. So I finished putting up my nuts, bolts, small parts bins in the hopes that I would find lag bolts but was disappointed. However the bin sytem is now installed and the boxes of bins (already filled)are unpacked and up on the supports!
volvoclearinghouse wrote: Hey Rad_Capz, where are you located? Just curious. I'd love to see the shop.
South Florida, East coast
bravenrace wrote: I..MUST..HAVE..THIS...RED..VEHICLE...
Thank you! .... I think..... I've had enough theft problems already. Been a yearly thing for waaaaaay to many years!
Determined to locate lag bolts I started looking again today. Found some 5/1/6" X 2 1/2" bolts in 2 minutes! LOL So, with bolts in hand I made quick work of drilling and mounting the right angle steel siderail from the roll-a-way bed to the wall for bench support. A couple days ago I'd given it a quick scuff and used up the the end of an old can of spray paint on it.
While drilling the rail I looked out the window and saw a guy putting a box out by the dumpsters at the businesses across the canal from my house. (There were nice trees blocking the view of the commercial buildings that were cut right after I bought the house !) Looks like wood! And I need some 1/2" plywood! Sooo, because I can't really see that far I use the camera zoom to confirm. Yes it's wood (and yes, thats an Iguana on the rock LOL).
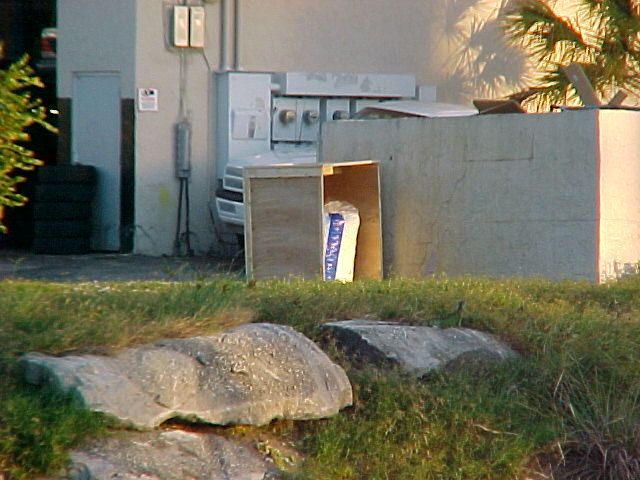
I jumped in my truck and headed over after setting the table back in position. Scored some 2 X 4's I need and although the plywood was too thin I got a big ole bag of shipping popcorn. I ship daily so that was a bonus!
Wowzers! Man, you just go wild with the whole lemons and lemonaide thing, don'cha?
Seriously, this is just what lots of us need to see! Thanks!
![]()
Mikey52_1 wrote: Wowzers! Man, you just go wild with the whole lemons and lemonaide thing, don'cha? Seriously, this is just what lots of us need to see! Thanks!
Thanks! I got a lot of lemons the past 10 years, but, I'm still alive and havin fun living!
Well some friends visited, we had a holiday, other projects, and getting money for those damn bills slowed me down a bit but I'm back on the shop build. I put up some more slatwall I had hangng around and some trim. When the house was being partially repaired the contractor bought the trim but never put it up. So I've been stepping over the pile for 2 years now every time I went into the bedroom (now shop)and figured the pile would be a little shorter if I used some of the trim in the shop around the new door and put some baseboard in LOL. I had some old leftover finish nails and a miter box so up it went. Before the house was wrecked I'd bought paint for the garage so I used that and now have a coat of primer up.
So I'm at the turning point to the home stretch! Like when you fire the engine after a rebuild or lay primer on a body job! You know the worst part is over and soon you'll be able to enjoy the results! A coat of regular paint, some finishing touches, and the shop will be ready to set up! I've got some ideas for some cool finishing touches I'm going to work on the next couple days.
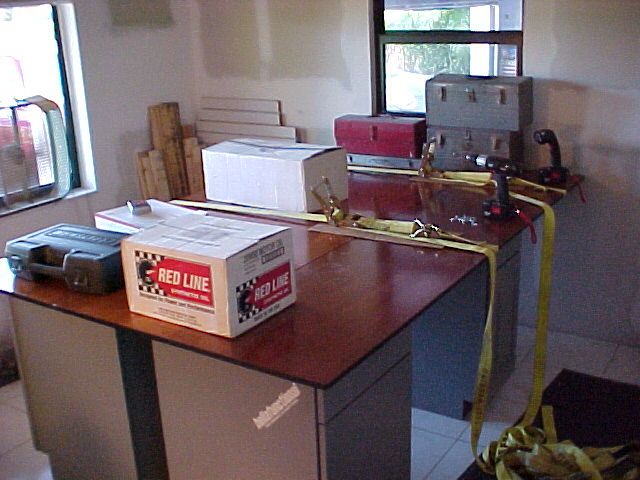
I strapped the bench sections together and then screwed some brackets I had hanging around underneath to hold the sections and keep them level. I'll shim everything last to level the surface.
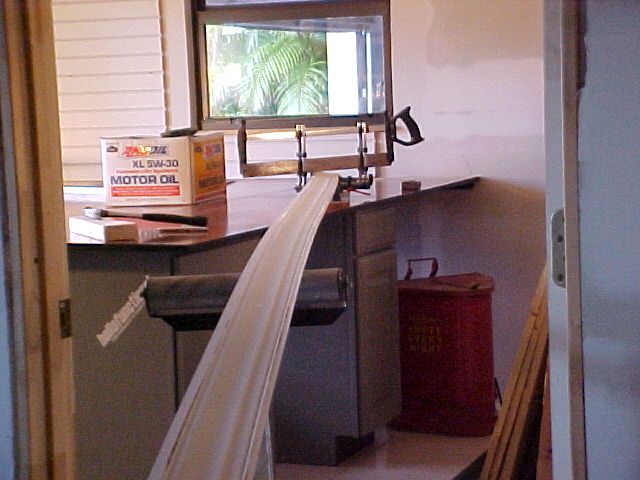
Cutting trim with an old fashioned miter box. Time consuming but functional. I'm out of practice but it's "good enough" considering I'll probably let the bank have the house.
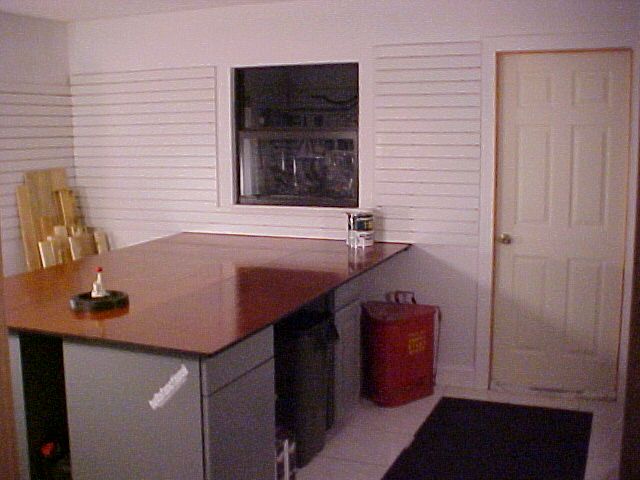
A coat of primer, some cleanup, and it's starting to look functional! Still deciding on vice placement and lighting. I've got ideas!
I'm sofa-king jealous. I have none of the skills necessary to cut and nail two pieces of wood together correctly. Amazing build. ![]()
Moving right along, the painting's done, and I'm starting to get some tools up and out of the way! Still collecting wood, found some 1/2" plywood I need. Some has aluminum foil on one side? Guess I won't need my hat in the shop, I'll be protected by the shielded plywood!
mk2mer wrote: I'm sofa-king jealous. I have none of the skills necessary to cut and nail two pieces of wood together correctly. Amazing build.
Then this post is perfect for you! Like most things taking apart (or smashing) is the way to get started!
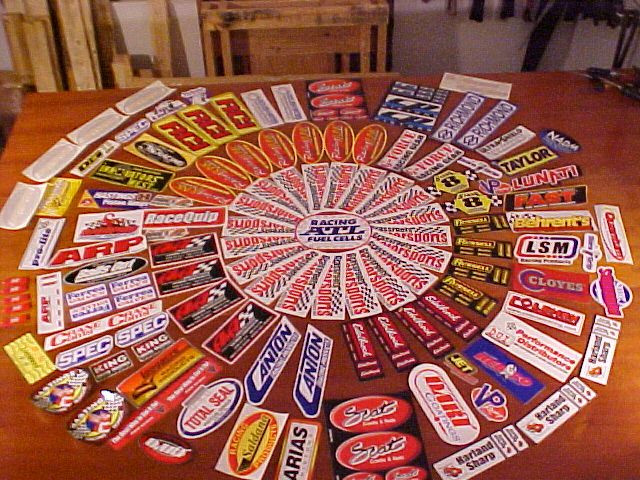
I went to the PRI (Performance Racing Industry) trade show last week so I made it a double mission by attempting to collect a big pile of stickers to "decorate" with AHAHAHA Mission accomplished!
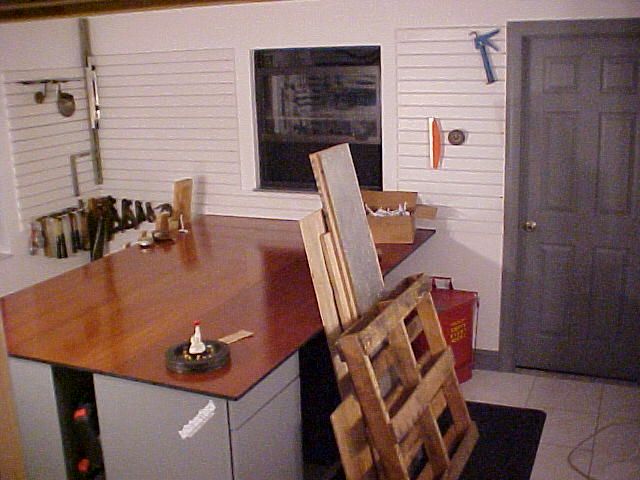
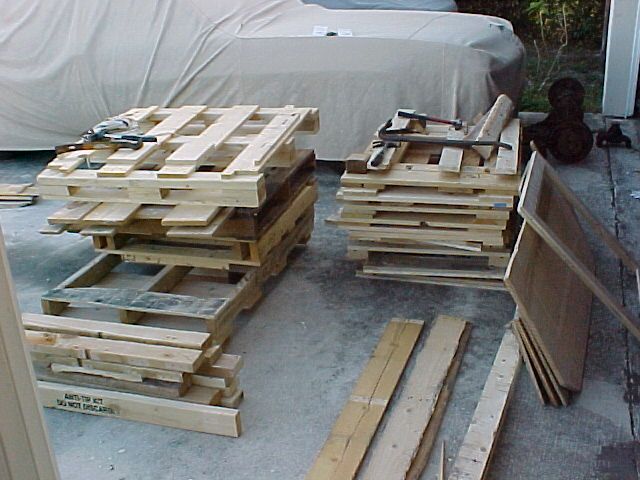
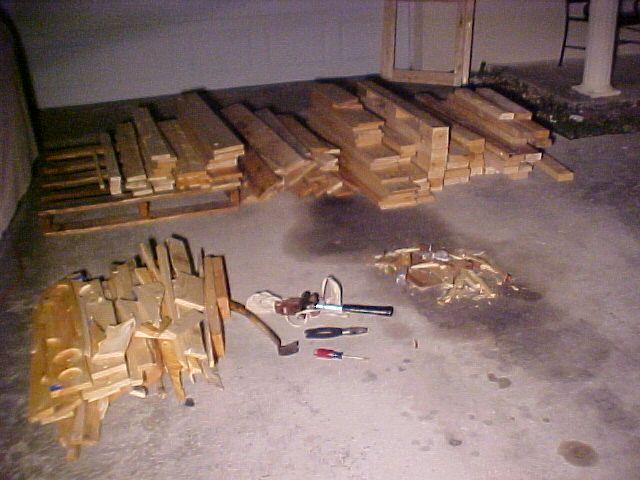
Meanwhile I've been doing little stuff to finish the shop and I've been stopping by my favorite appliance store daily collecting wood for some things for the shop I'm going to build. This is only about 1/2 of the wood I actually got, the rest of the skids went to the machine shop for some expansion we're working on.
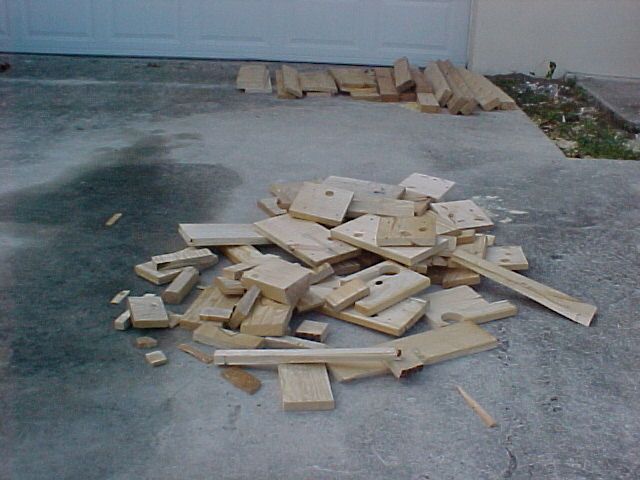
So I got out a flat bar and hammer and broke down all my skids and shipping frames today. As a bonus, quite a few of the appliances are bolted to the frames using the same T nuts I need to mount the vices so now I've got plenty of T nuts!
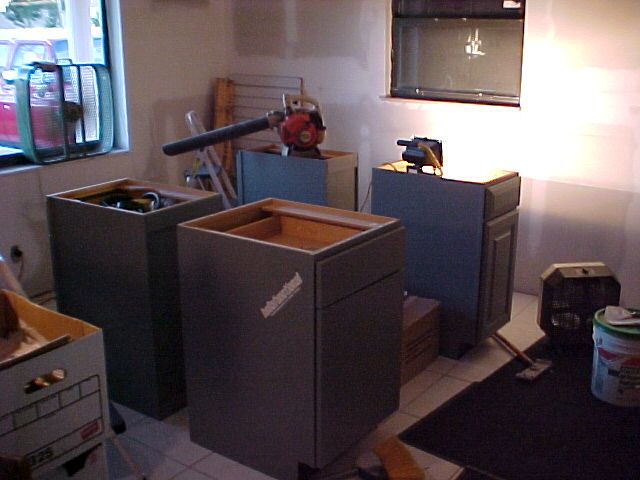
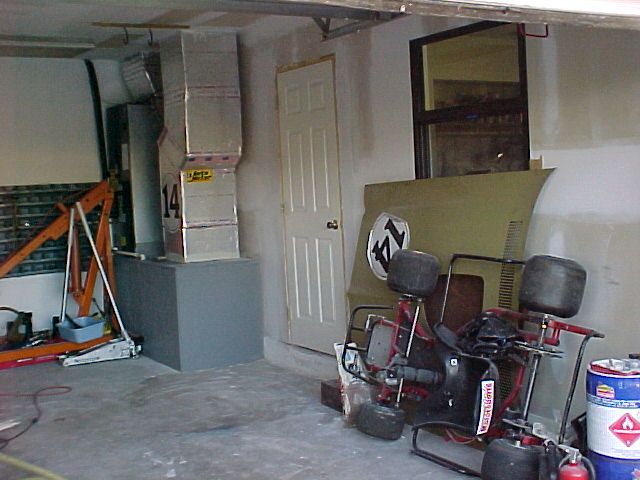
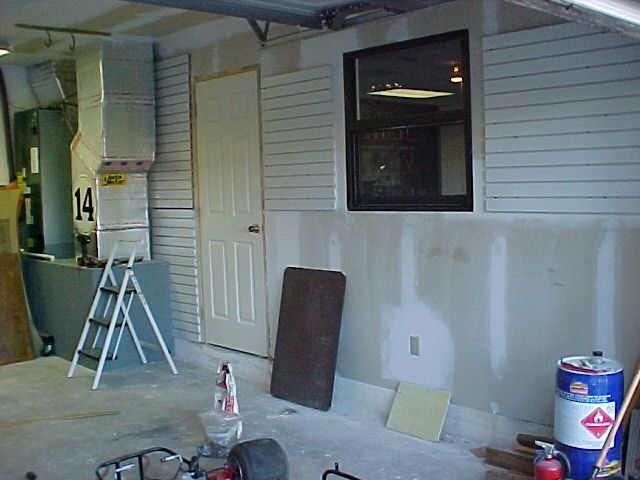
I'll get back to what the wood is for pretty soon, need a few more pieces. Meanwhile I got straight to work on the garage. Clean, bright, and functional is what I'm after with minimal investment. I finished up the joint compound work and started painting. Using the grey paint to match the shop for trim since I bought a gallon and still have a lot left. Walls are now primed, and I put up the rest of the slatwall pieces I had left. Need to find some trim for the new door that matches the trim on the other doors in the garage. I've been keeping an eye out but haven't found any for free yet. LOL

Man have I got a case of binwall/slatwall/window into the garage envy![]() . Very impressed!
. Very impressed!
4cylndrfury wrote: Man have I got a case of binwall/slatwall/window into the garage envy. Very impressed!
Thanks! Still have more bins to go!

I've got nice big work table in the new shop along with a couple other benches. But thats a clean work area and sometimes you just have a dirty nasty job thats got to be done. Scraping rusty old parts, beating the U joints out of driveshafts, welding, etc. aren't things I really want to do in the house. So I need an outside bench and since I'm in FL it's something I can use year round! I chose a spot in the shade where the summer breeze off the ocean blows around the house daily so even if it's 90 it'll still be comfortable, I checked it out during the summer knowing I wanted a bench somewhere.
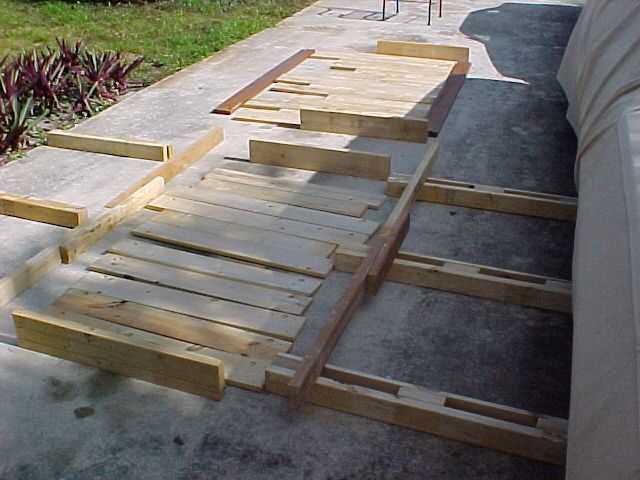
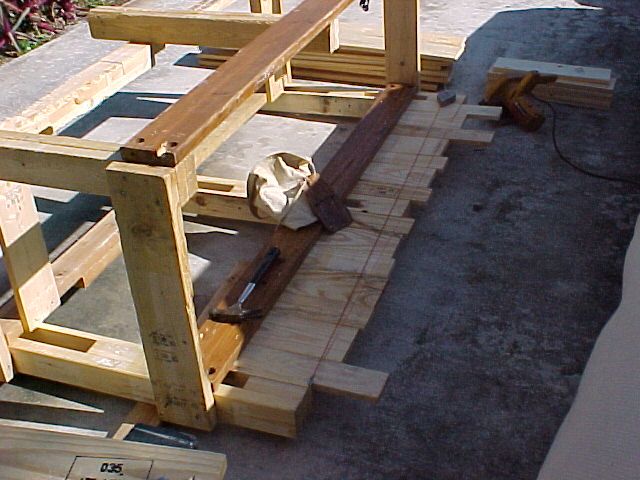
I'd been looking for some longer boards to use for the length of the work surface and a neighbor was throwing out an old bedframe. It just happened to be one of those Pine deals that look like they're made out of 2 X4s and 2 X 6s so I grabbed the long 2 X 6 looking side rails. I laid all the wood from the skids out along with the bedrails and figured out some dimensions that would require the least cutting and allow the biggest bench.
When I was a kid learning the construction trades, my boss demanded that if you missed a nail slightly and bent it, sending it shooting off that it be retrieved, straightened and used. Likewise if a mistake was made framing a wall or whaver the boards were carefully taken apart, the nails and wood reused. So out of habbit I'd saved all the nails, staples, screws, etc. I could when disassembling the skids. No need to buy nails! This is about 1/2 of them.

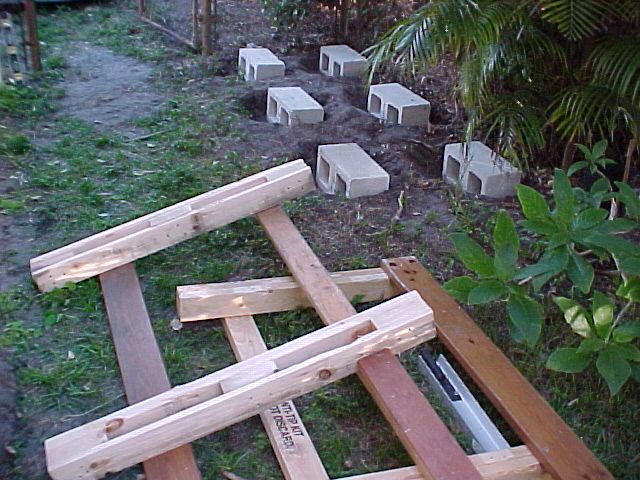
After I got the long sections assembled I took them to the area where the bench will be along with a piece of the benchtop to figure out where the concrete blocks for the legs would go. Measuring would be close but because of roots etc. some blocks wouldn't end up centered under the posts. In the early pics of this thread you may have seen some crappy shelves in the back of the garage made with cement blocks and pine. They were left by the previous owner and while the wood was junk the blocks were great and FREE as far as I'm concerned, since I didn't expect them to be left when I bought the house.
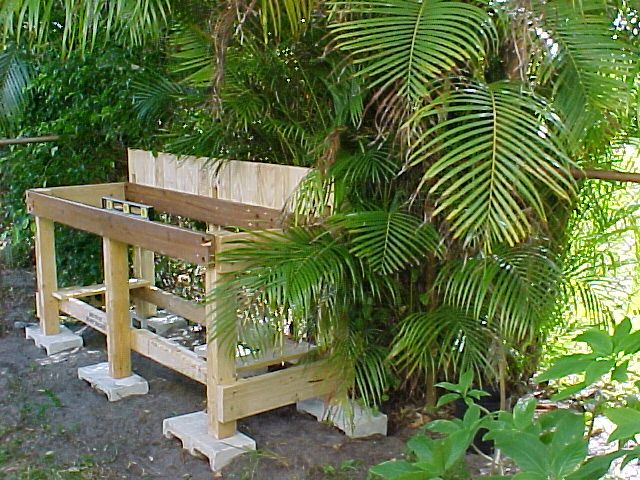
With the blocks positioned I started assembling the framework . For you carpenter types, yes I squared everything up.
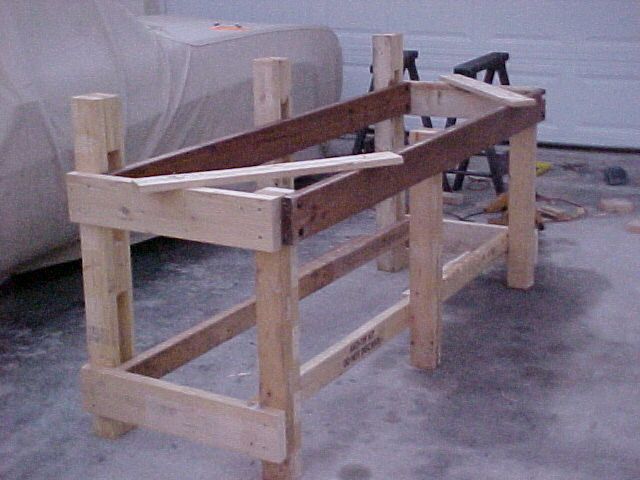
With the frame assembled and straight it's time to put a backstop on so stuff won't fall/roll off the back of the bench where I wouldn't be able to reach it.
Next it's time to cut all the boards for the shelf on the bottom. Since I wouldn't be able to get in the frame and carry it with the shelf in place I waited till I got the frame on the block and did a little adjusting to have the bench solid and level.
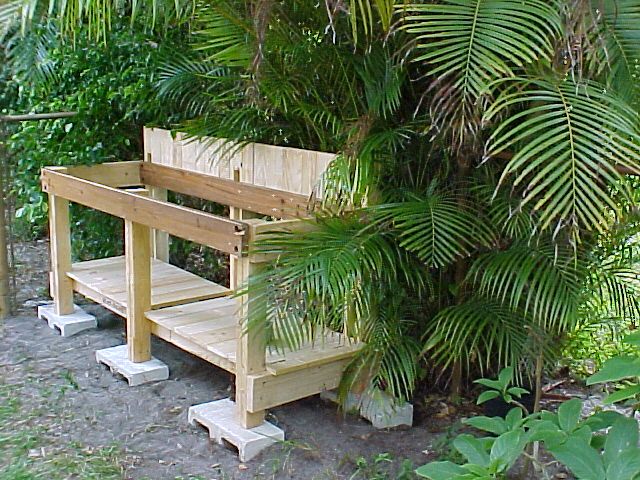
Once the shelf pieces were in and nailed down I lined up and nailed the benchtop pieces in place and cut the front even, used a block plane to knock off the sharp corners and I'm DONE! It took total of about 10 hours to collect skids, disassemble, and then build the bench. Total cost ZERO!
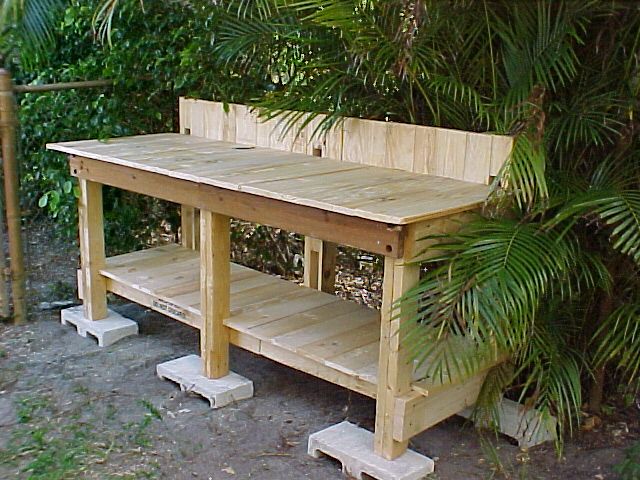

This was a very "green" project. No wildlife was endangered, skids that would have gone to the dump were reused and nothing new was used to build the bench. Although I used power saws, the bench could have just as easily been made without them, and I'd guess that would add about 2 hours time to the build. The only scraps being thrown out are pieces that are small and unusable. The other pieces left will be used on the next wood project later on in this thread.
You'll need to log in to post.


