WonkoTheSane said:
John - That looks amazing! What'd you do to repair it?
I do plastic repairs (interior & exterior) fairly regularly so I have a bunch of different tools and products most people wouldn't keep on hand because of cost. Started doing more plastic fabrication so I recently got a resistance heater so I can bend pieces up to 4' wide and eventually want to get a nitrogen welder. I typically work on 60's-80's cars so the plastic is old and interior pieces have often been gouged, cracked, screwed, and burned up by the sun causing chalking. Additionally some have "screw tabs" that need to be repaired or replaced so they have to be made from scratch sort of.
Before doing anything with any type of plastic,vinyl, endura etc. it's very important to clean it thoroughly to remove any traces of wax, dirt, grease, tar, almorall or other types of contaminants that could prevent adhesion of repair or paint materials. Lacquer thinner, wax & grease remover, dish soap, and other things can be used depending on the material the piece is made of. I use wax & grease remover last before any abrasives or repairs are done . Put it on with a small very wet rag and use a dry one to remove it.
Materials, tools, and techniques used vary depending on the particular piece & damage. Other than typical hand tools a heat gun and a hot stapler are often used. For off the shelf materials I frequently use panel bond, 3M soft plastic repair, 3M hard plastic repair, various SEM textures in spray cans, adhesion promoter, PPG K36 with toner used as a sealer, PPG DP48L epoxy primer, PPG K38 primer, PPG Omni primer, and every once in a while I use a Eastwood vinyl repair kit that comes with about a dozen different sheets of various grains to match certain vinyl textures. Here's a few pics of stuff
Hot stapler which can be used with several different sizes, thickness, and shape staples. I also use it when making new screw tabs for bumper covers etc. Second pic shows staples used to stich a civic bumper cover where reinforcement bar end ripped through, heat gun also required to reshape damaged area prior to stapling. After stapling 3M flexible repair material then prime, paint.
[URL=http://s240.photobucket.com/user/NOTATA/media/Plastics/004_zps2ef7da4b.jpg.html] [/URL]
[URL=http://s240.photobucket.com/user/NOTATA/media/Plastics/005_zps9b01f578.jpg.html]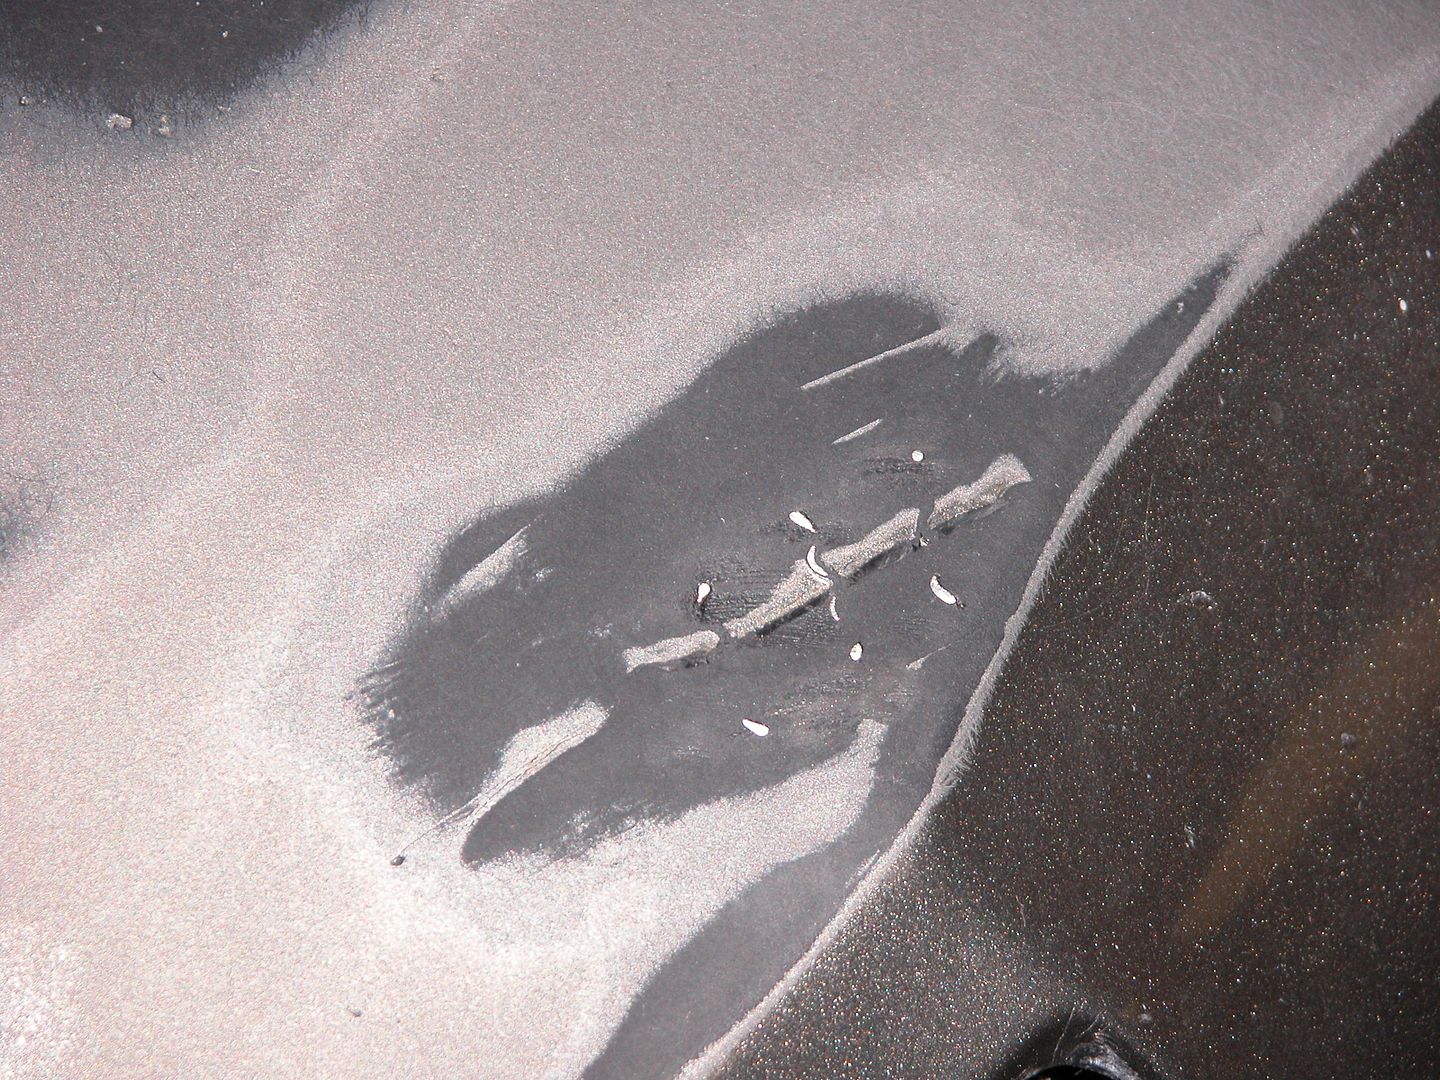 [/URL]
[URL=http://s240.photobucket.com/user/NOTATA/media/Plastics/006_zps2ed047de.jpg.html]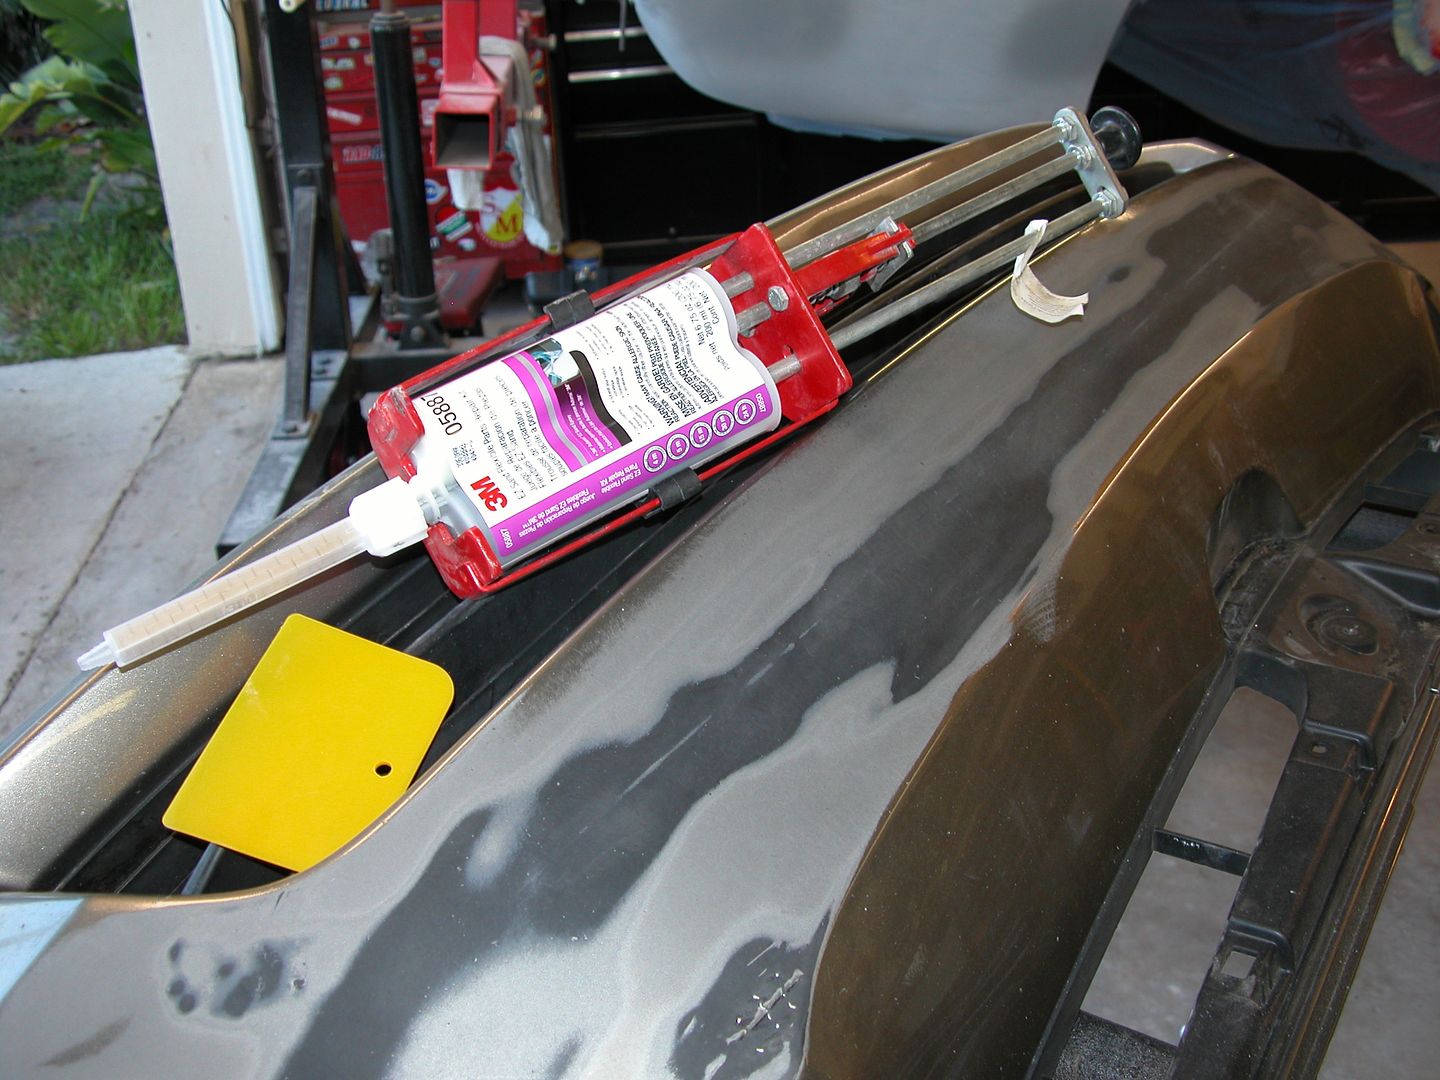 [/URL]
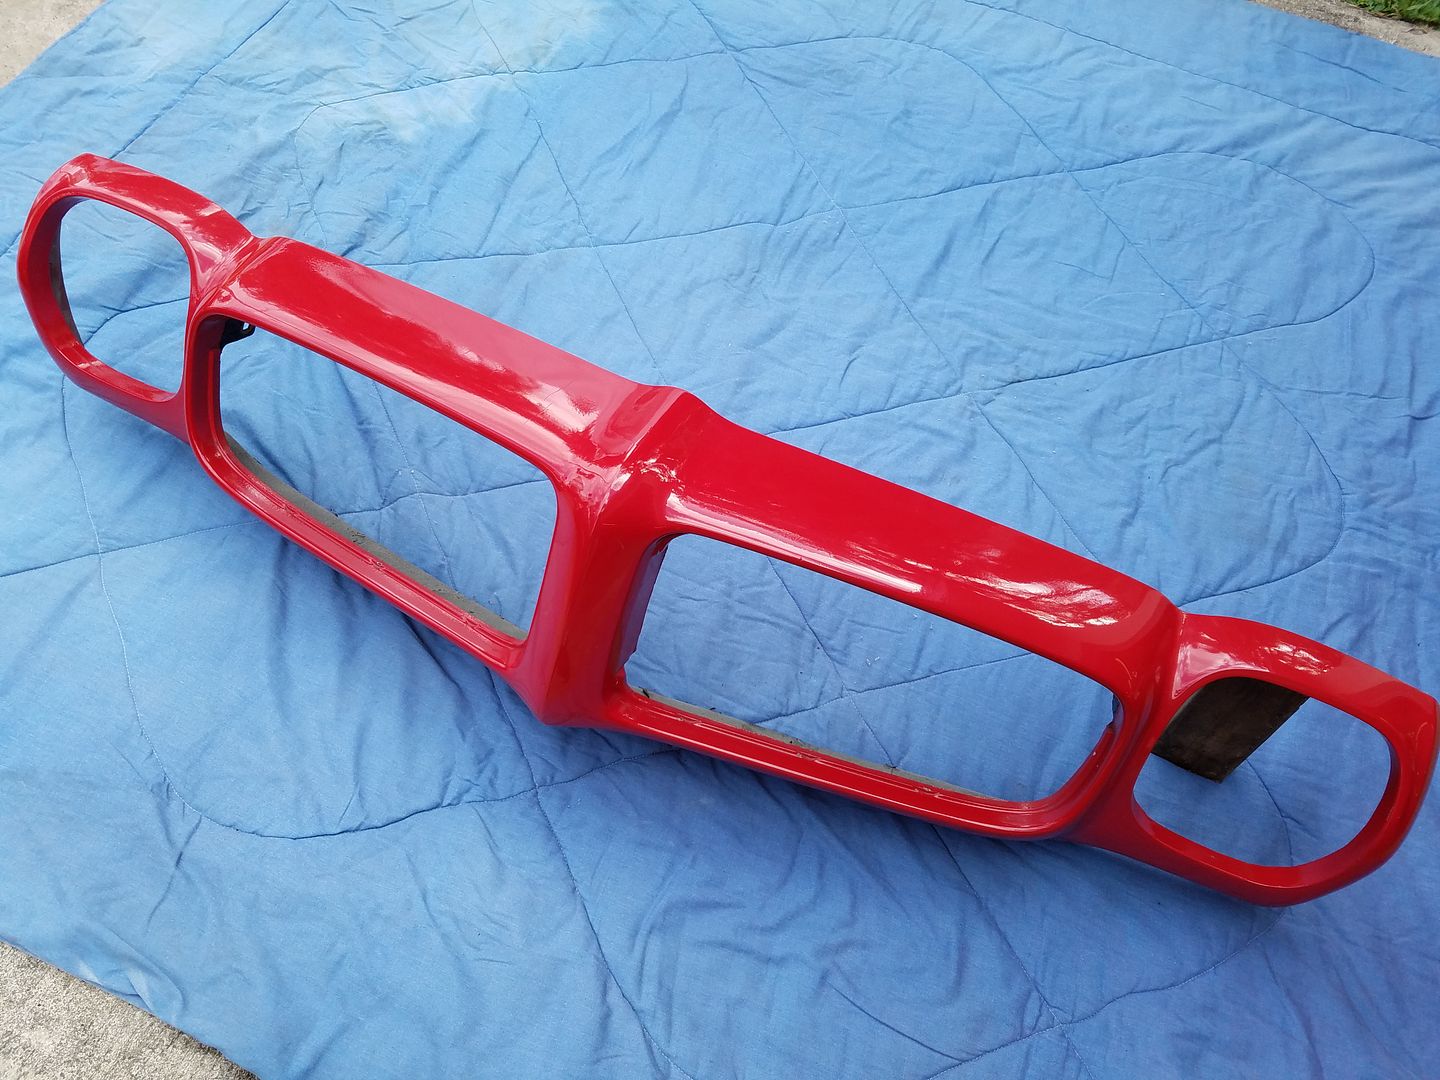
I took a bunch of pics of a job I did repairing wheel flares (hard plastic) spoiler (soft plastic) and a Endura (rubber) bumper for someone so here's some pics from it. I didn't have the car, the parts were shipped to me so I had the guys at the local paint suply shoot a piece with their camera for color match. Customers wife took a pic of them when he was installing them to show me the color match looked nice. Interior panels can be repaired the same way but use thinner hot staples.
Hard plastic repairs of wheel flares.
[URL=http://s240.photobucket.com/user/NOTATA/media/spoilers%20flares%2070%20TA%20repairs%20and%20paint/20161205_155304_zps5osug8nn.jpg.html]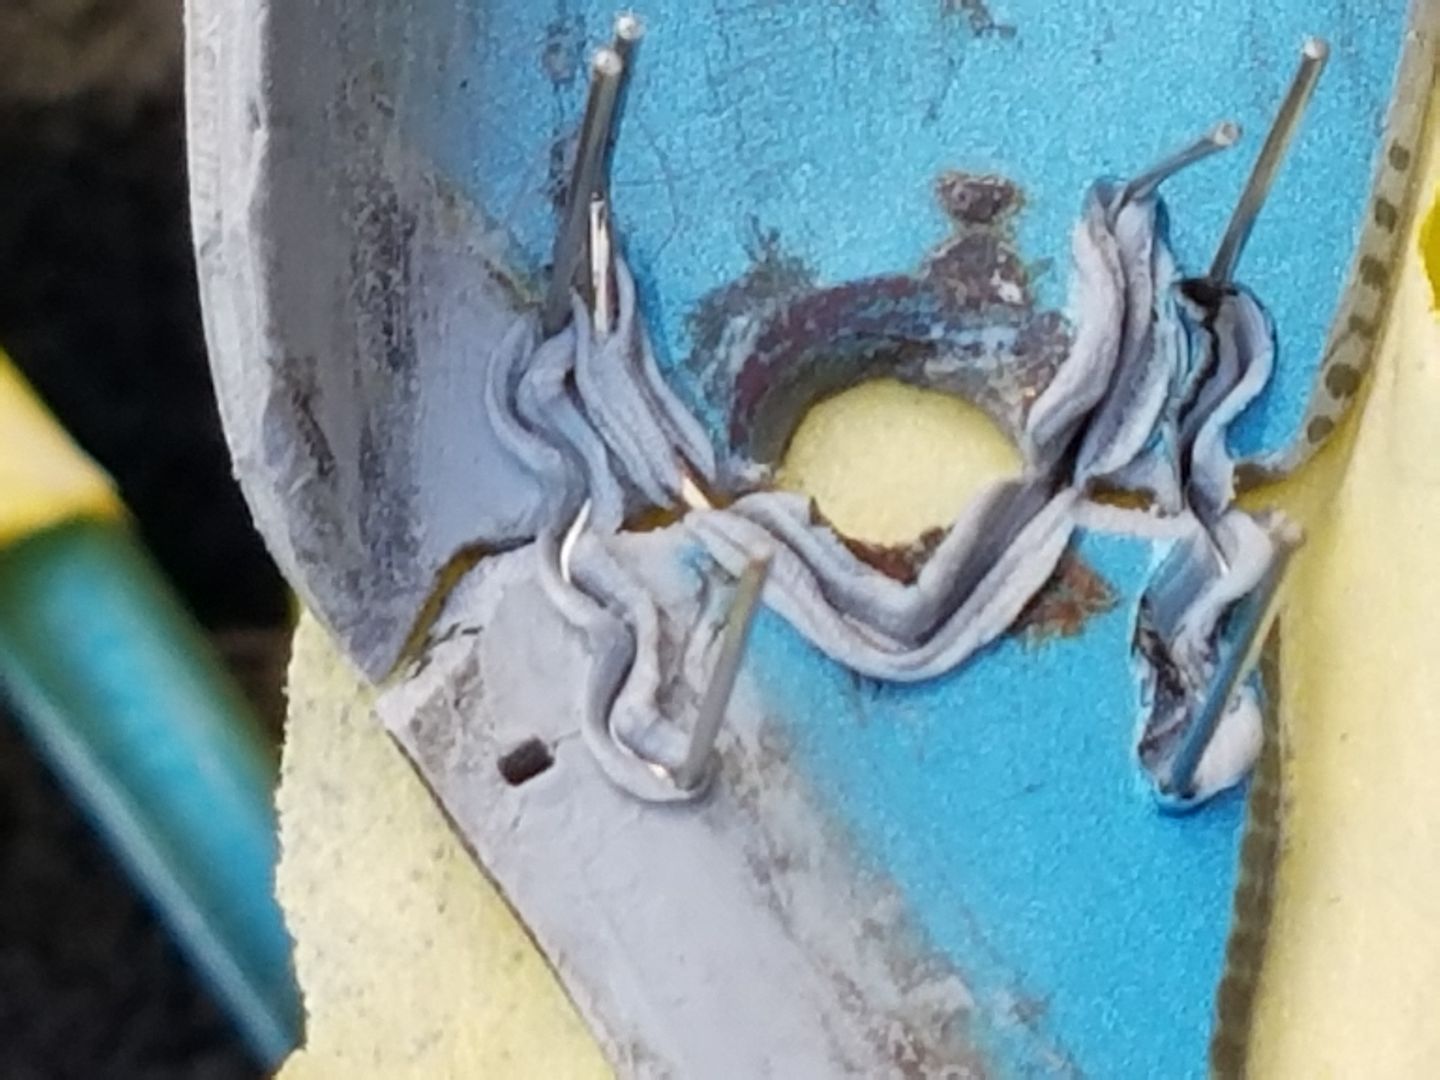 [/URL]
[URL=http://s240.photobucket.com/user/NOTATA/media/spoilers%20flares%2070%20TA%20repairs%20and%20paint/20161206_131415_zpsfd5qtg6d.jpg.html]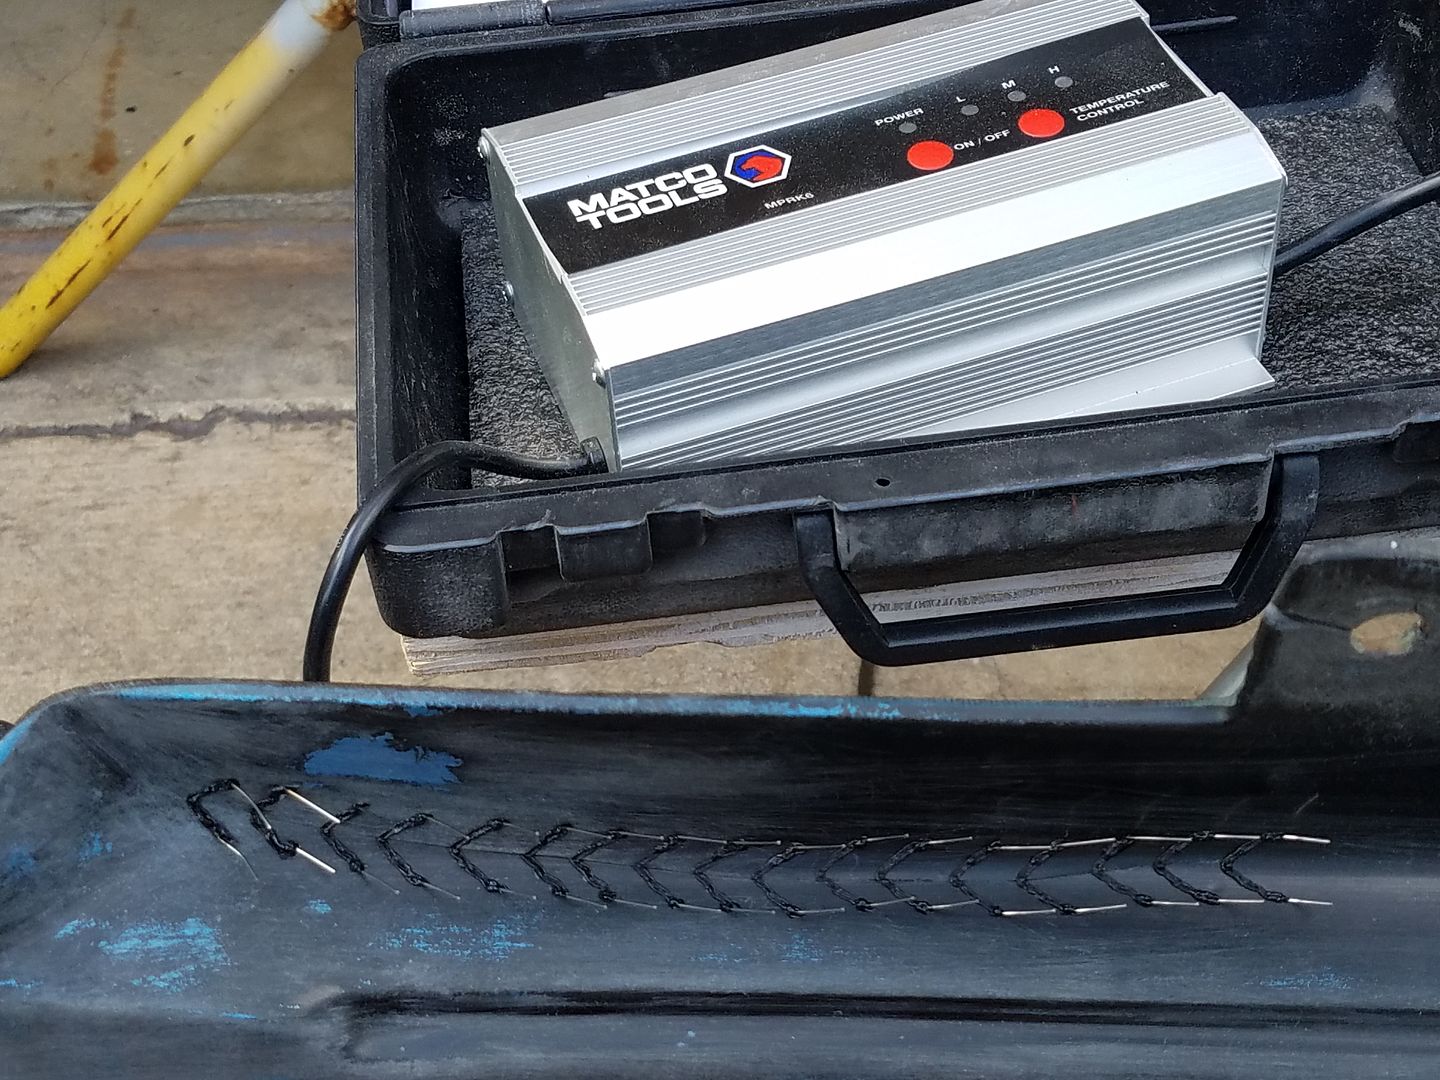 [/URL]
[URL=http://s240.photobucket.com/user/NOTATA/media/spoilers%20flares%2070%20TA%20repairs%20and%20paint/20161206_165658_zpsfkypbcak.jpg.html] [/URL]
[URL=http://s240.photobucket.com/user/NOTATA/media/spoilers%20flares%2070%20TA%20repairs%20and%20paint/20161206_162851_zpsswjvuyuk.jpg.html]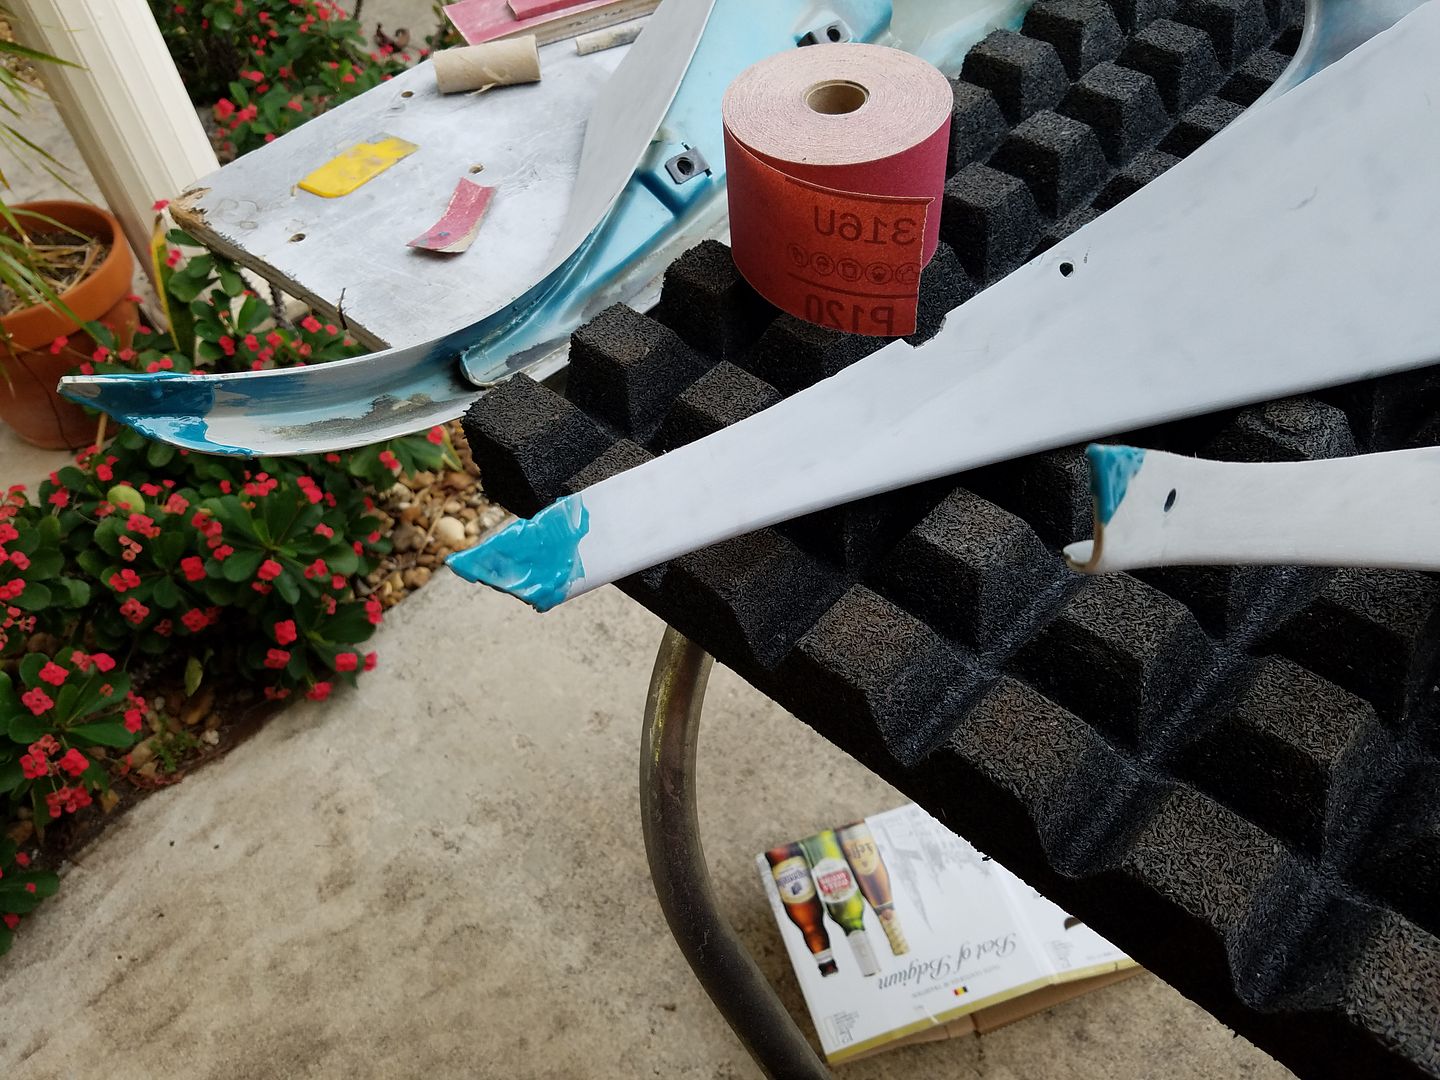 [/URL]
[URL=http://s240.photobucket.com/user/NOTATA/media/spoilers%20flares%2070%20TA%20repairs%20and%20paint/20161120_154134_zpszzqz4sui.jpg.html]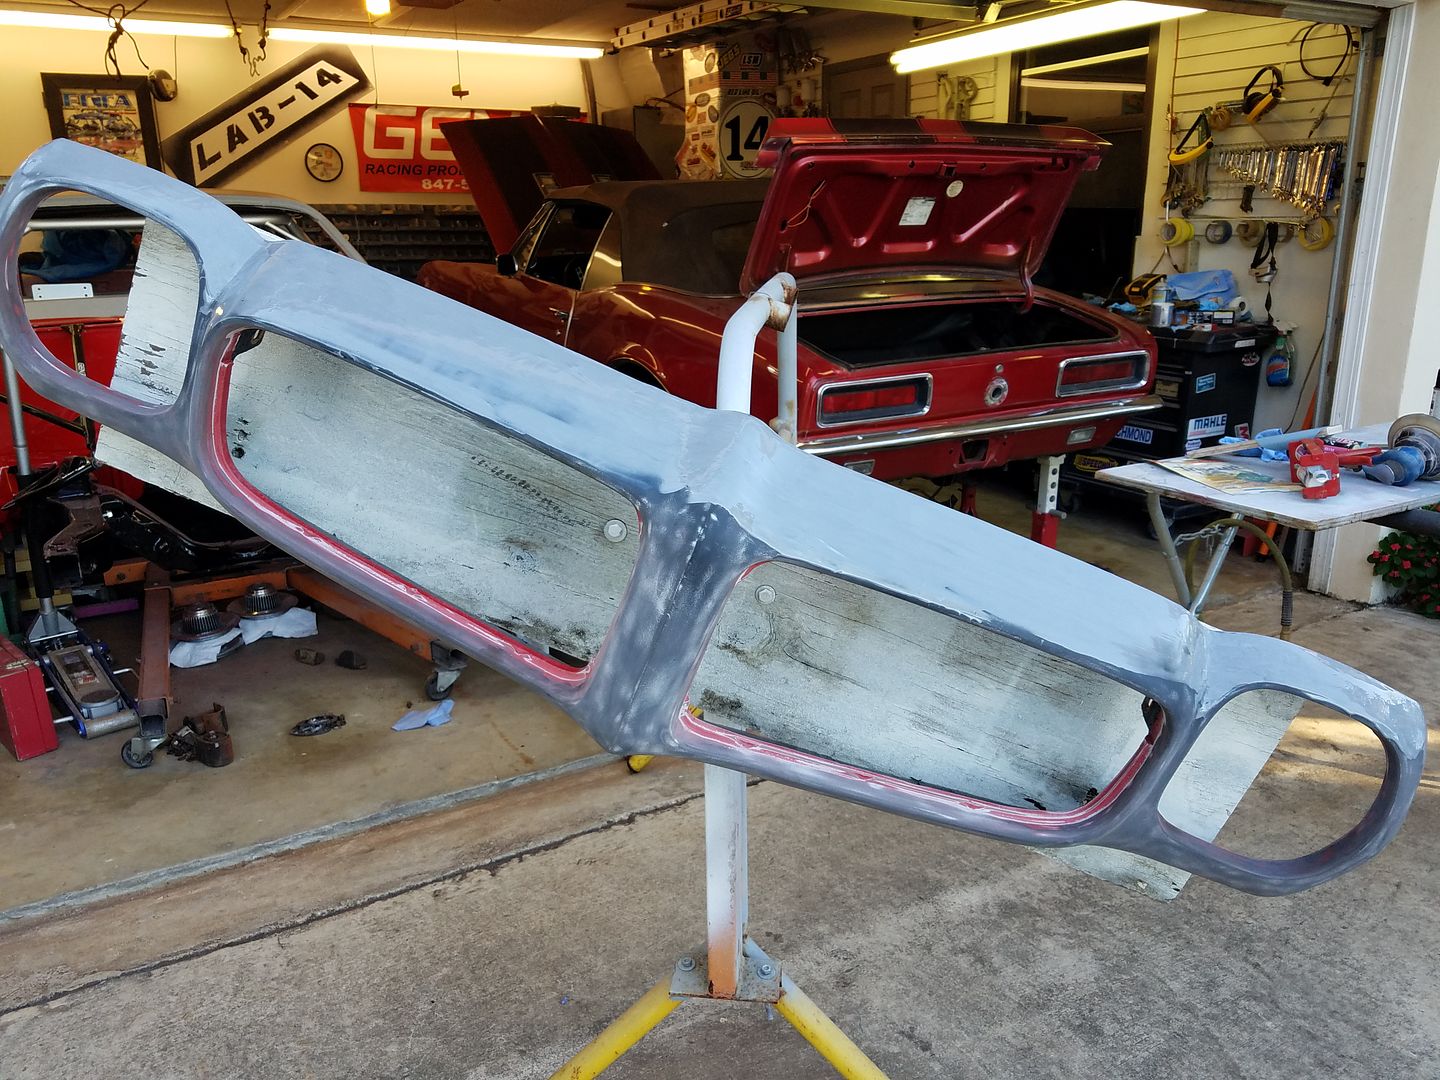 [/URL]
[URL=http://s240.photobucket.com/user/NOTATA/media/spoilers%20flares%2070%20TA%20repairs%20and%20paint/20161205_121655_zps3auqrcse.jpg.html]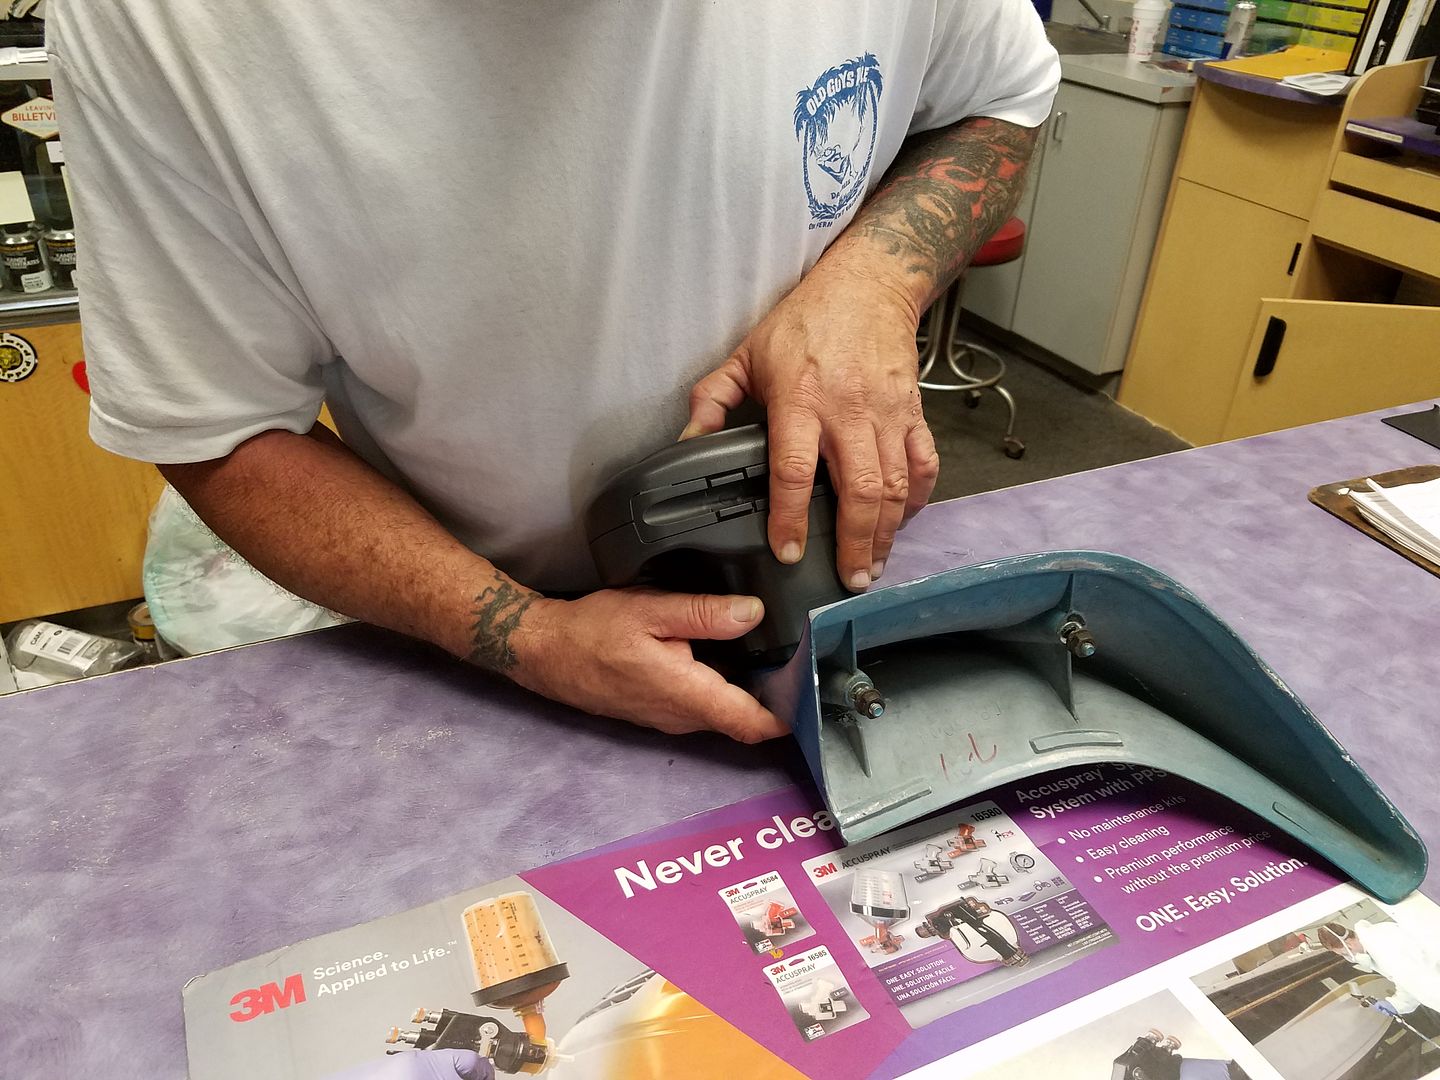 [/URL]
[URL=http://s240.photobucket.com/user/NOTATA/media/spoilers%20flares%2070%20TA%20repairs%20and%20paint/20170122_134632_zpsmiefgsls.jpg.html]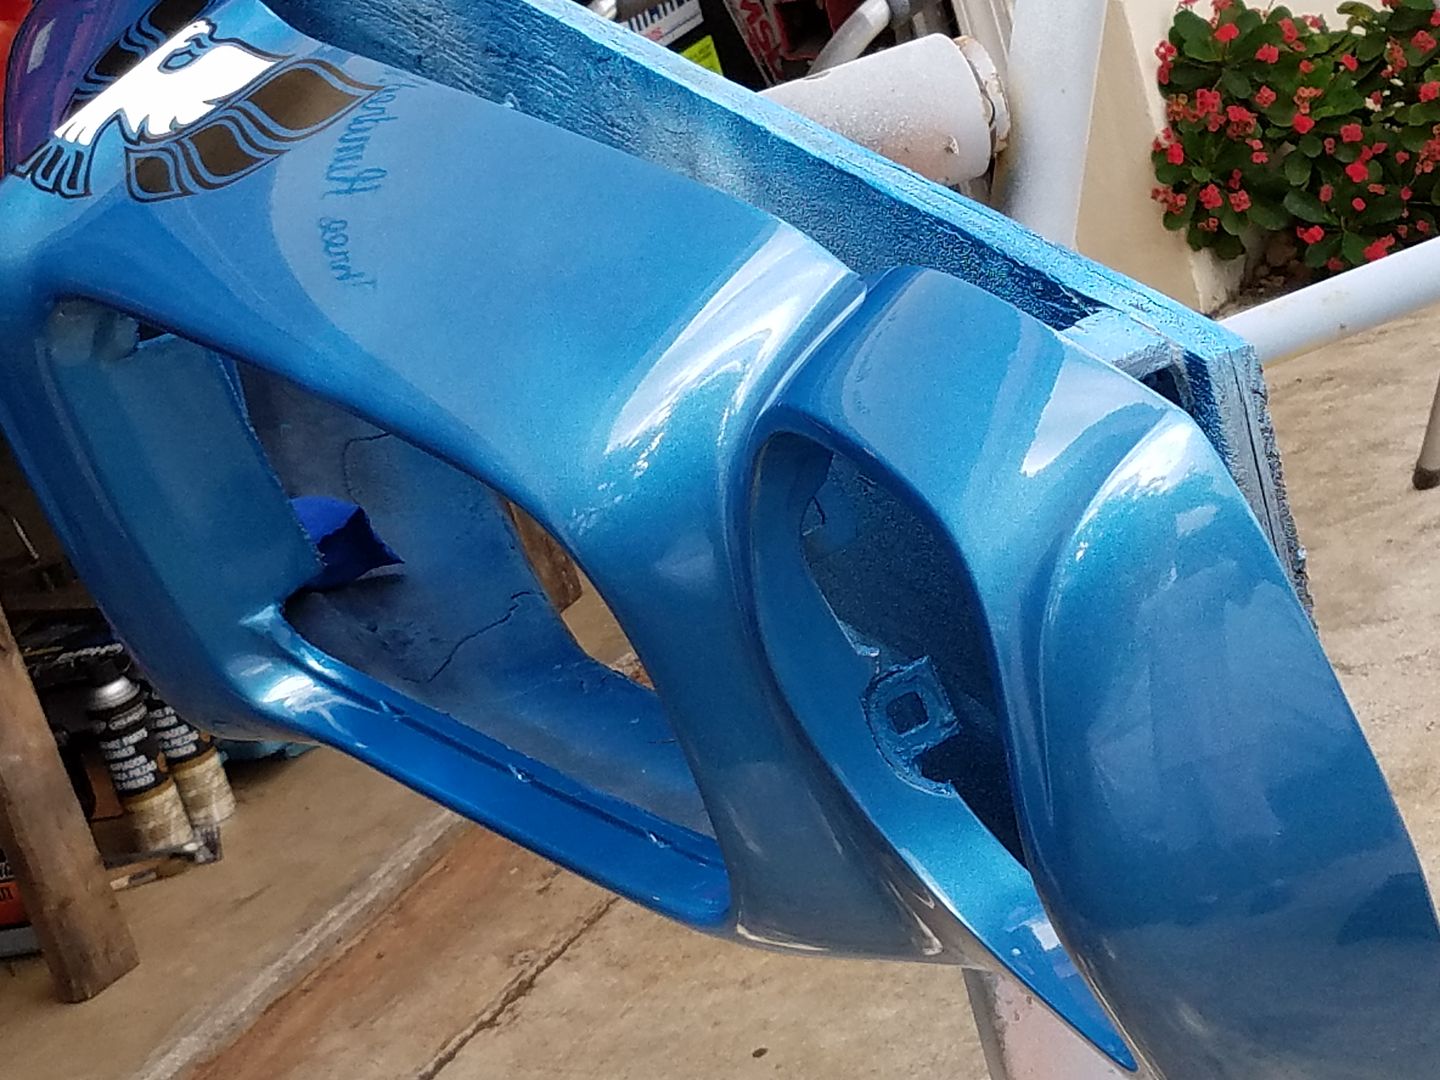 [/URL]
[URL=http://s240.photobucket.com/user/NOTATA/media/spoilers%20flares%2070%20TA%20repairs%20and%20paint/20170122_141212_zpspvkehza3.jpg.html]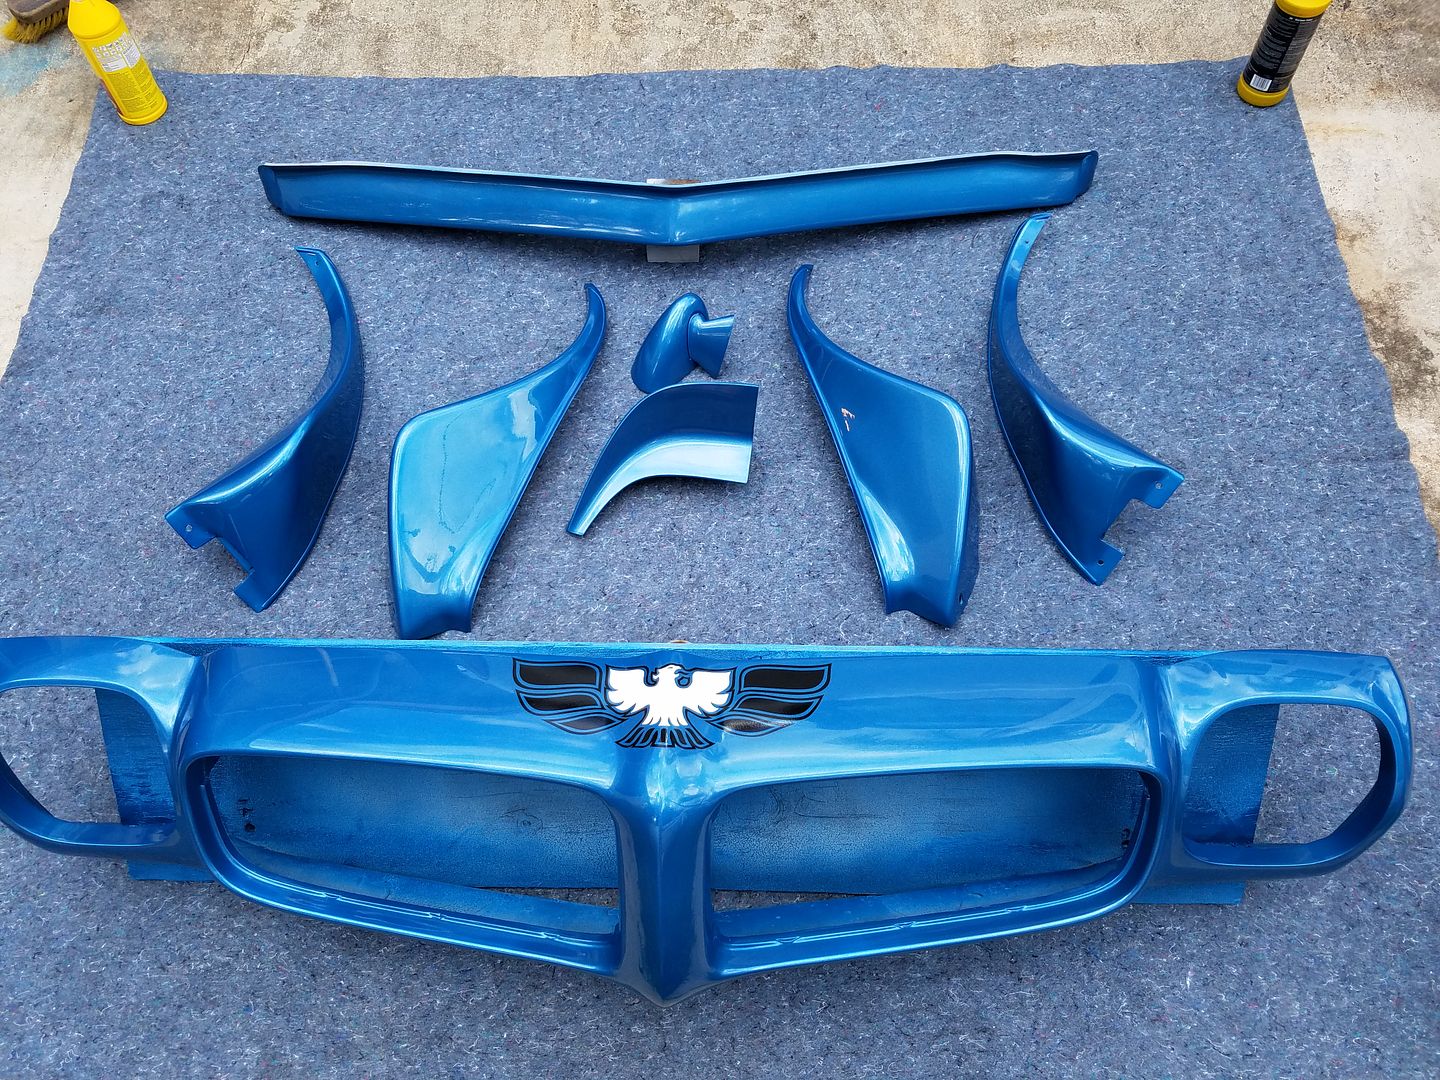 [/URL]
[URL=http://s240.photobucket.com/user/NOTATA/media/spoilers%20flares%2070%20TA%20repairs%20and%20paint/IMG_3905.1_zpswqjxrax0.jpg.html]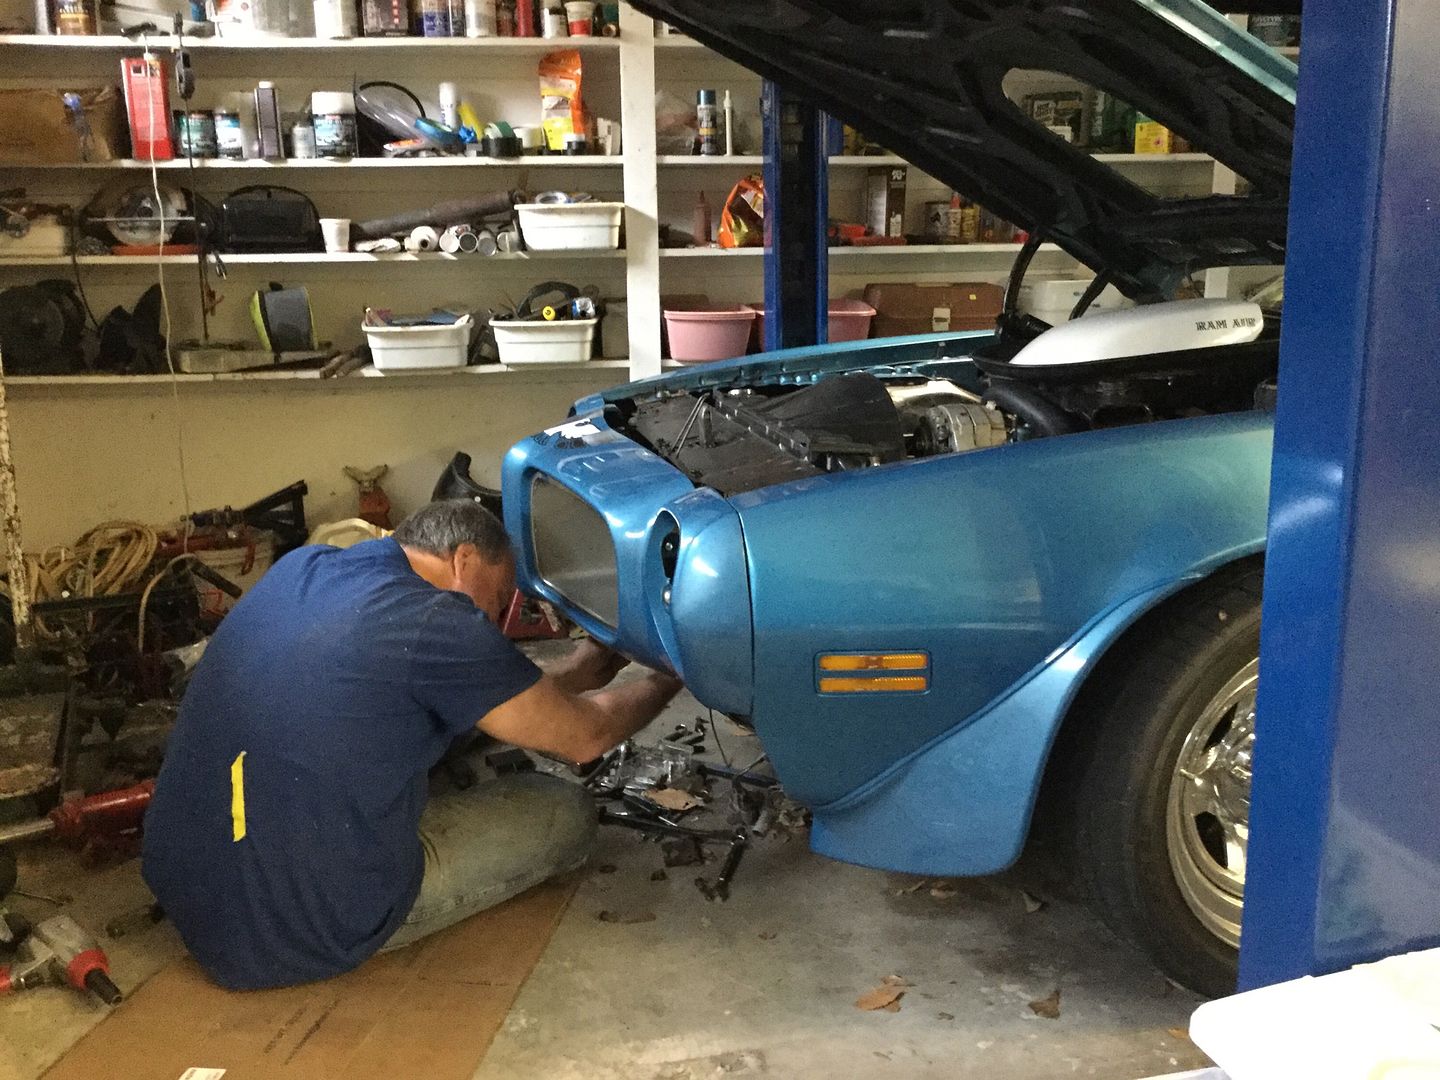 [/URL]


 [/URL]
 [/URL]
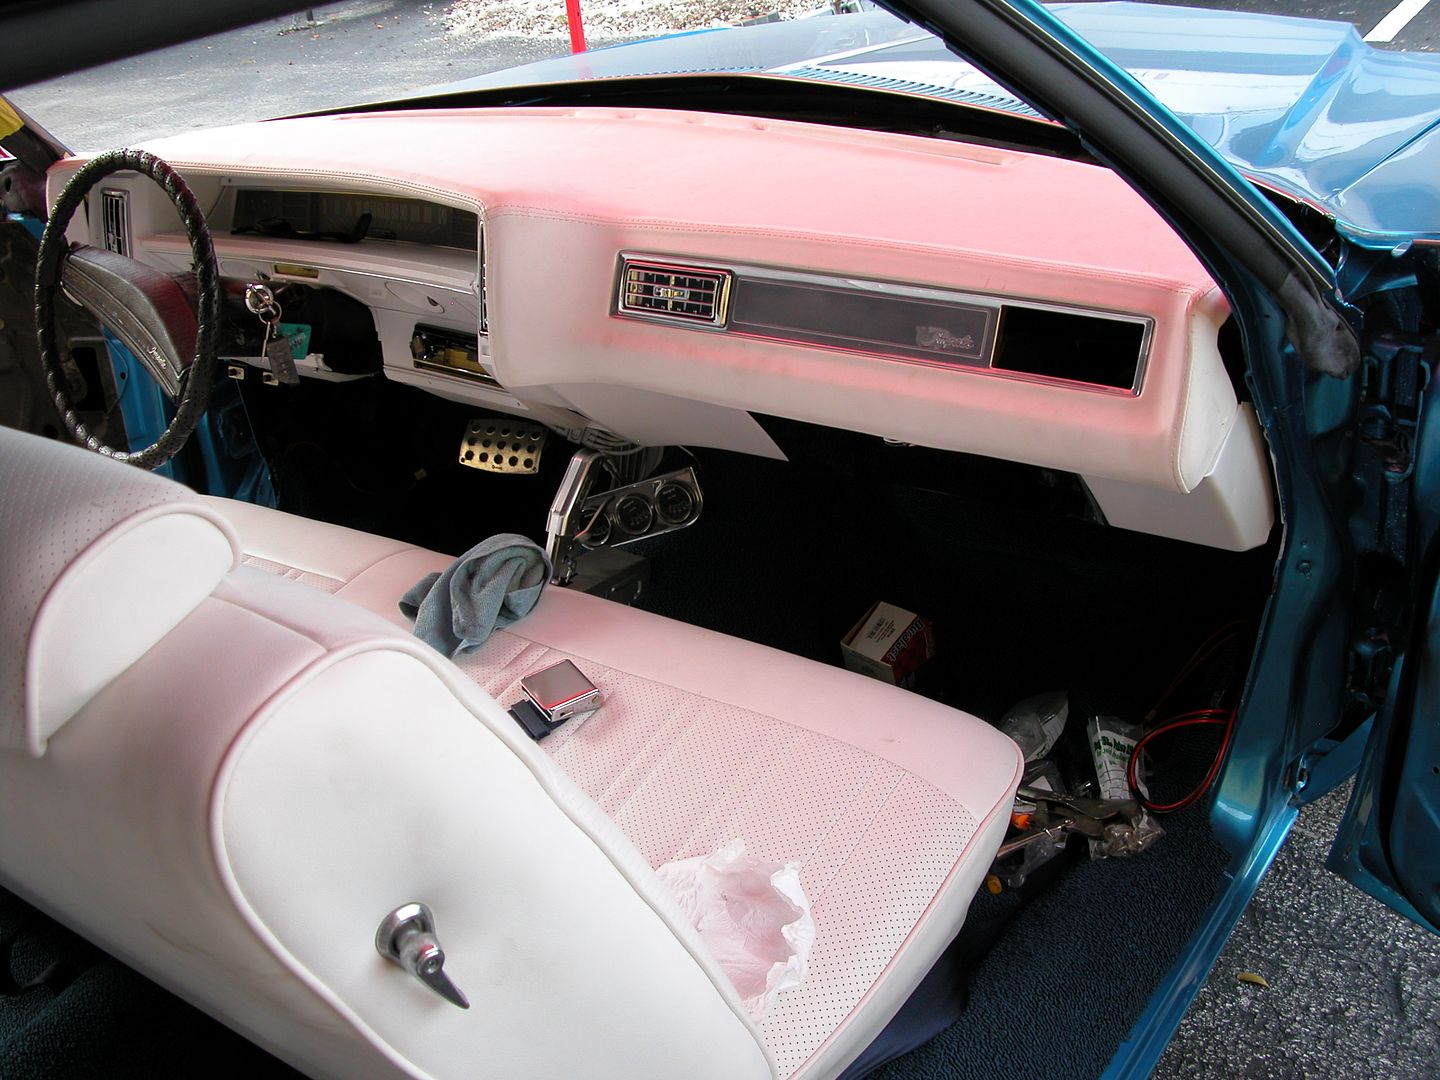 [/URL]
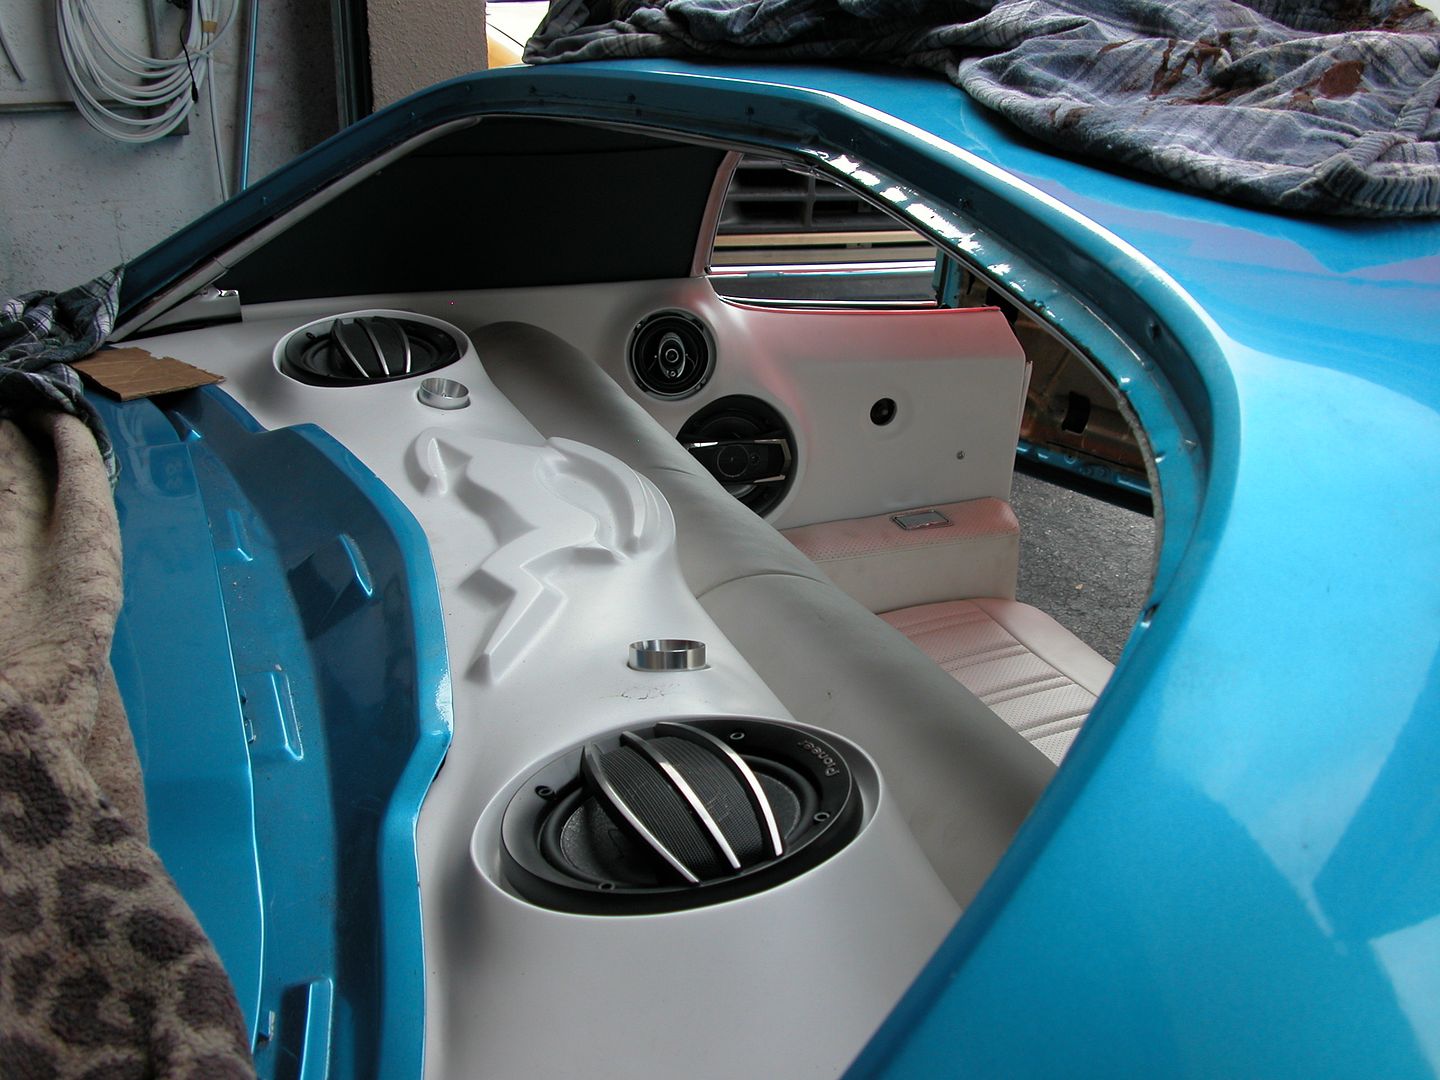 [/URL]
 [/URL]
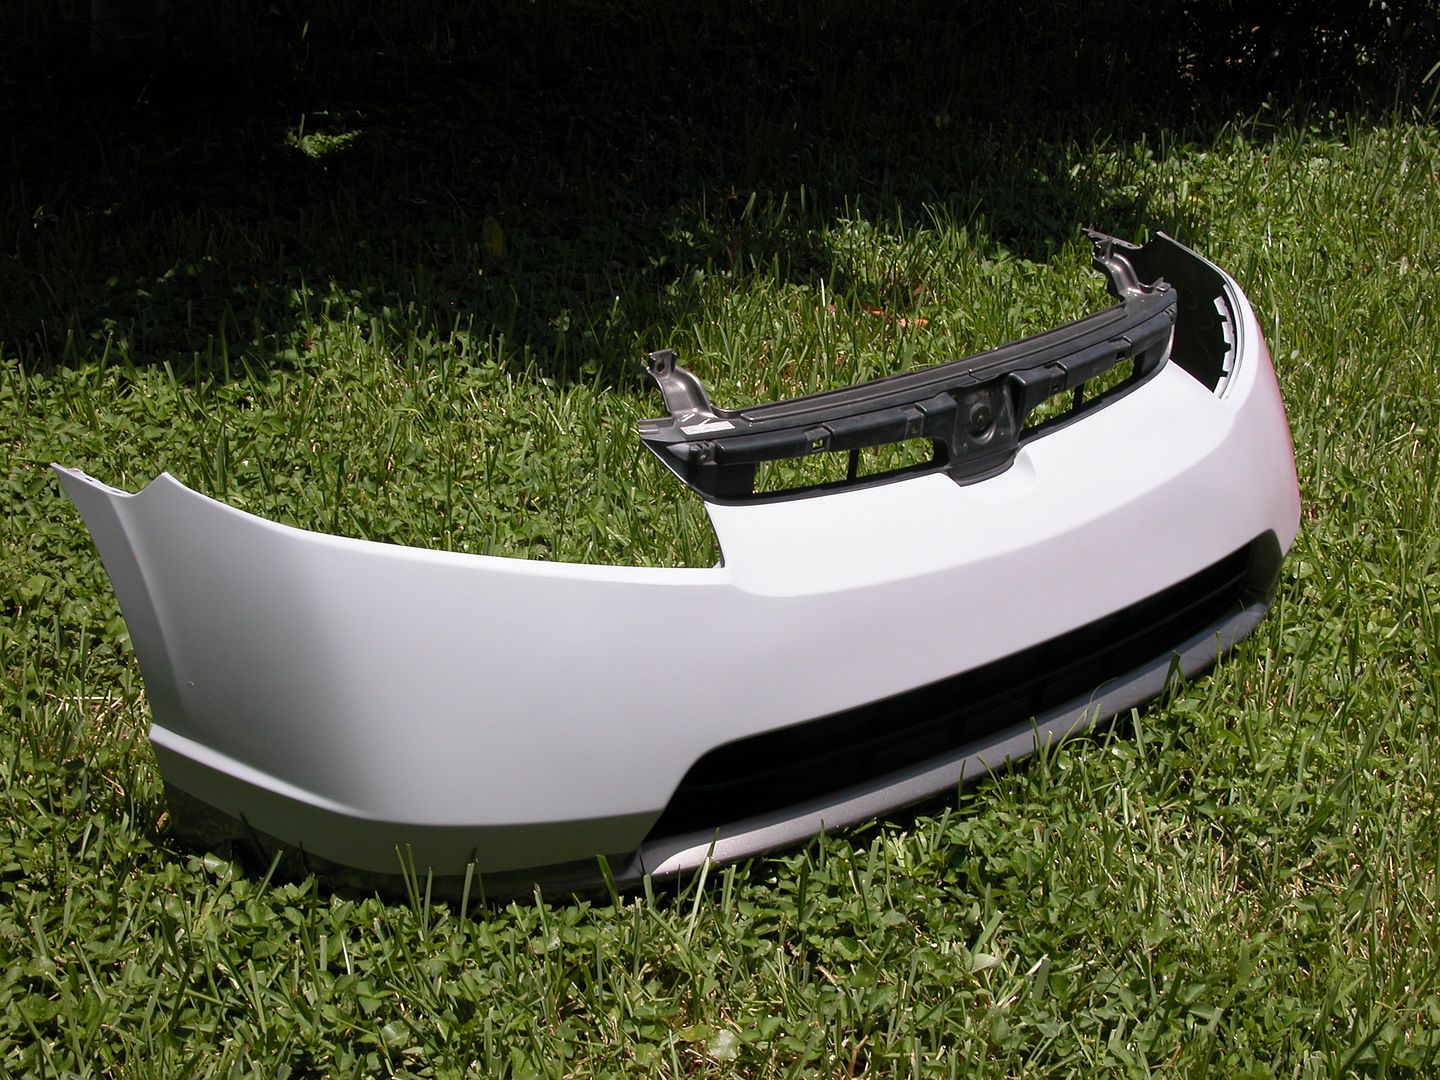 [/URL]


