1 2 3
Keith Tanner
Keith Tanner GRM+ Memberand MegaDork
3/18/20 4:53 p.m.

Note: This started off as a request for advice, but after about 6 weeks turned into a build thread. If you want to see lots of pictures of a car guy sticking wood together and playing with a tractor, scroll down and ignore the next few posts of conversation as I get things very wrong.

-----------------------

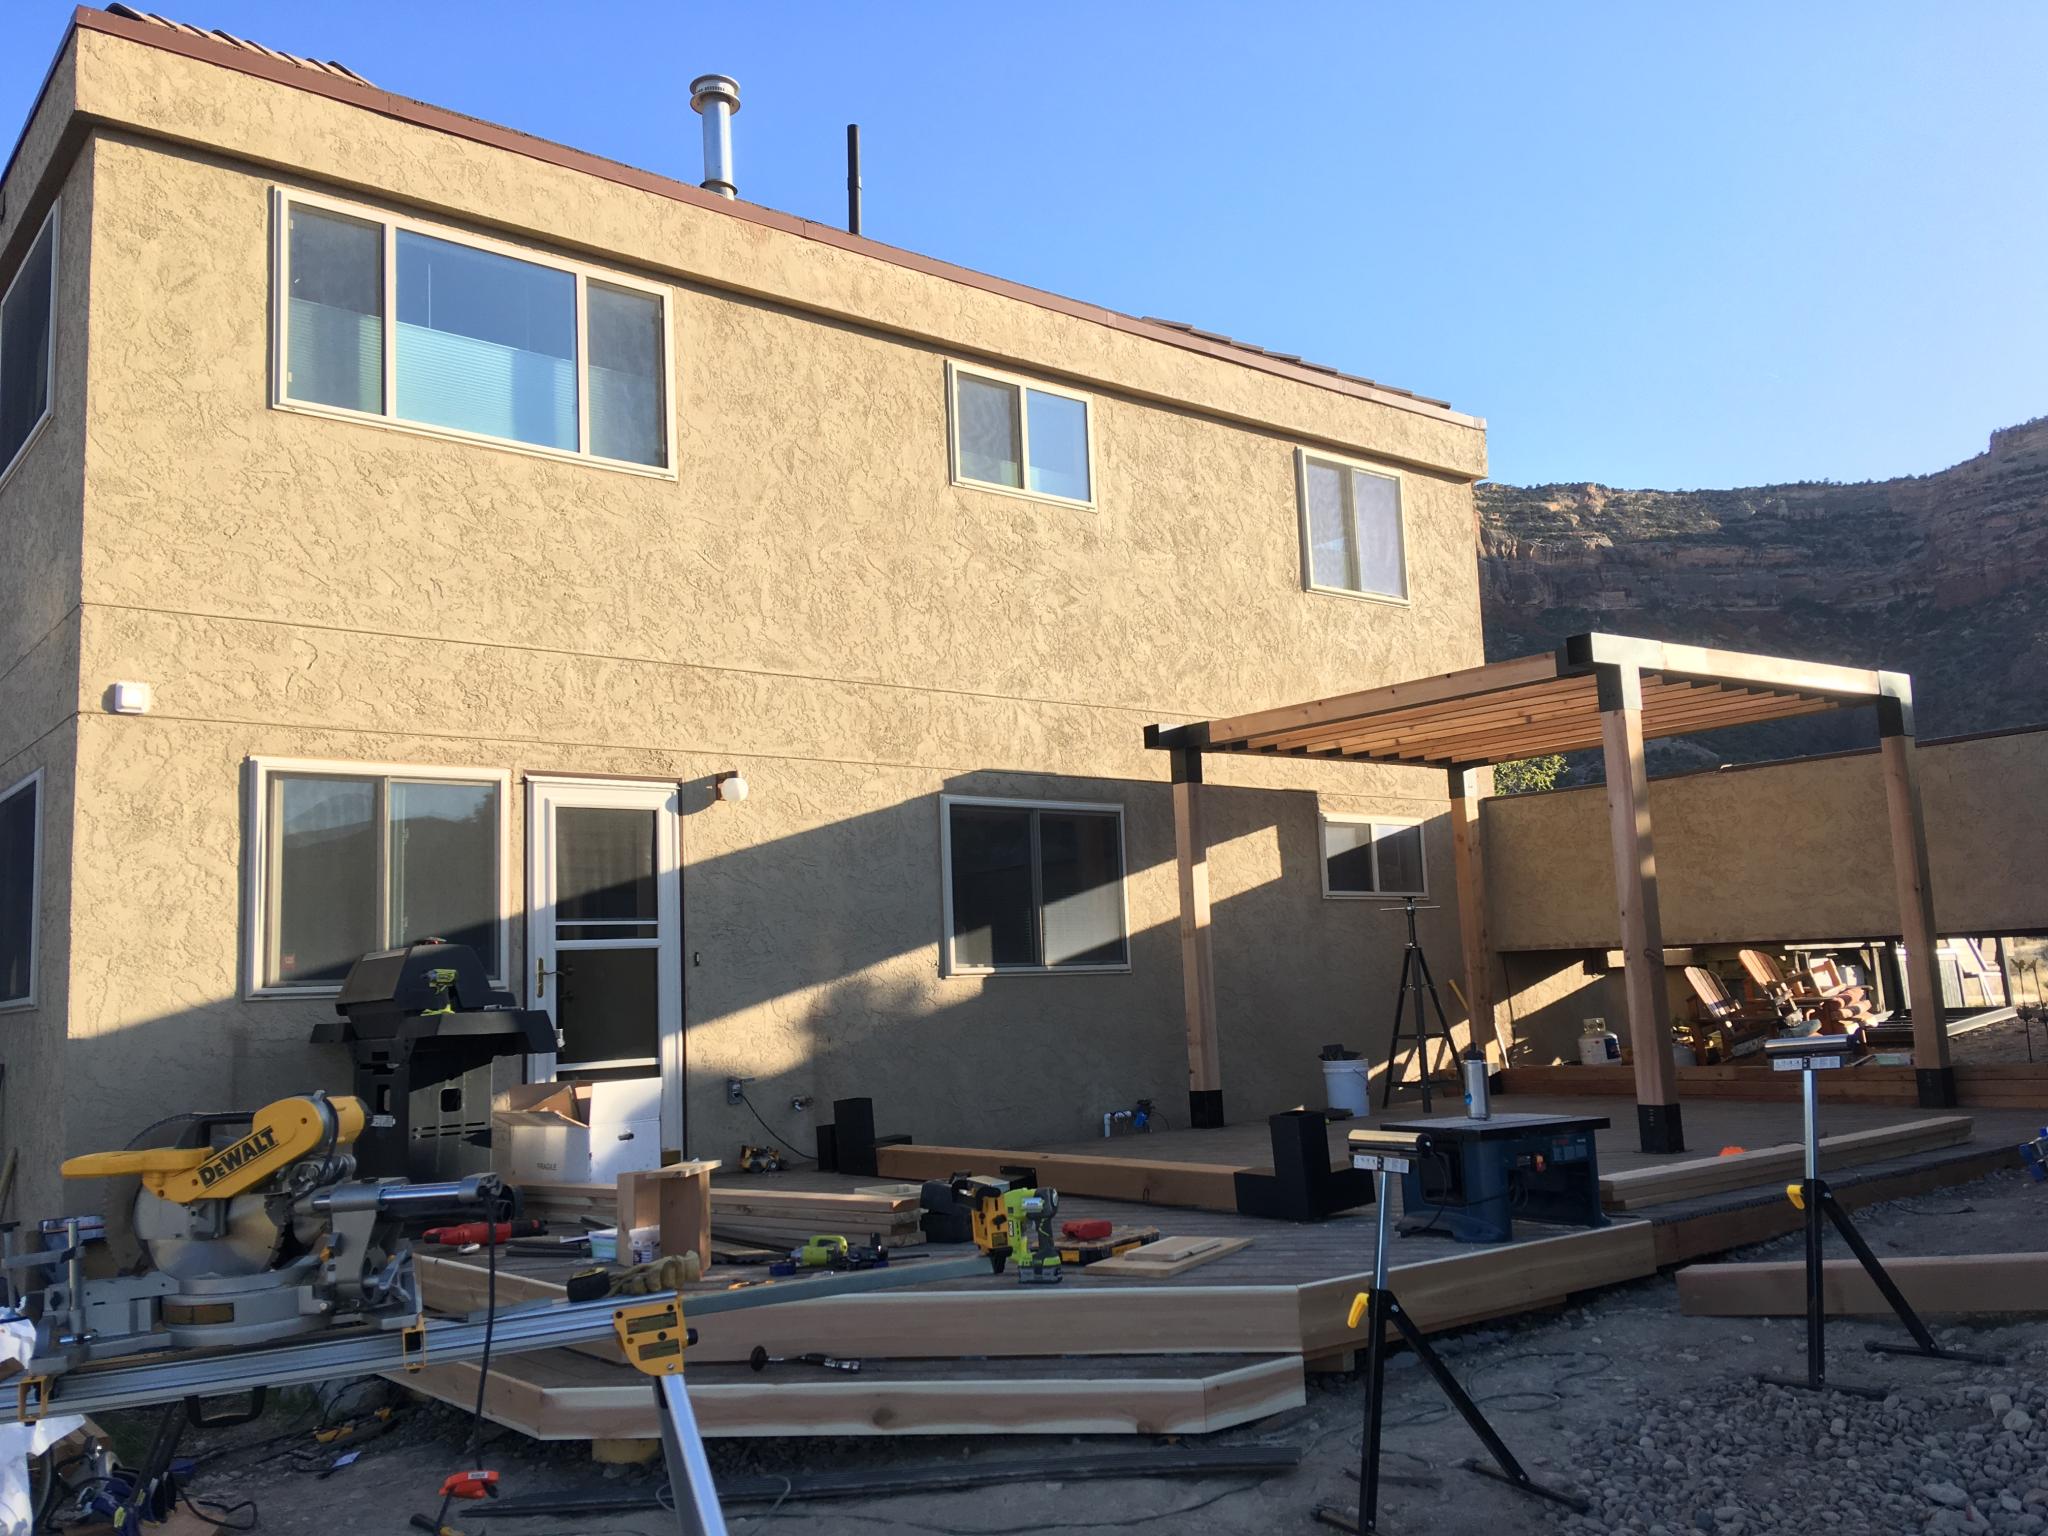
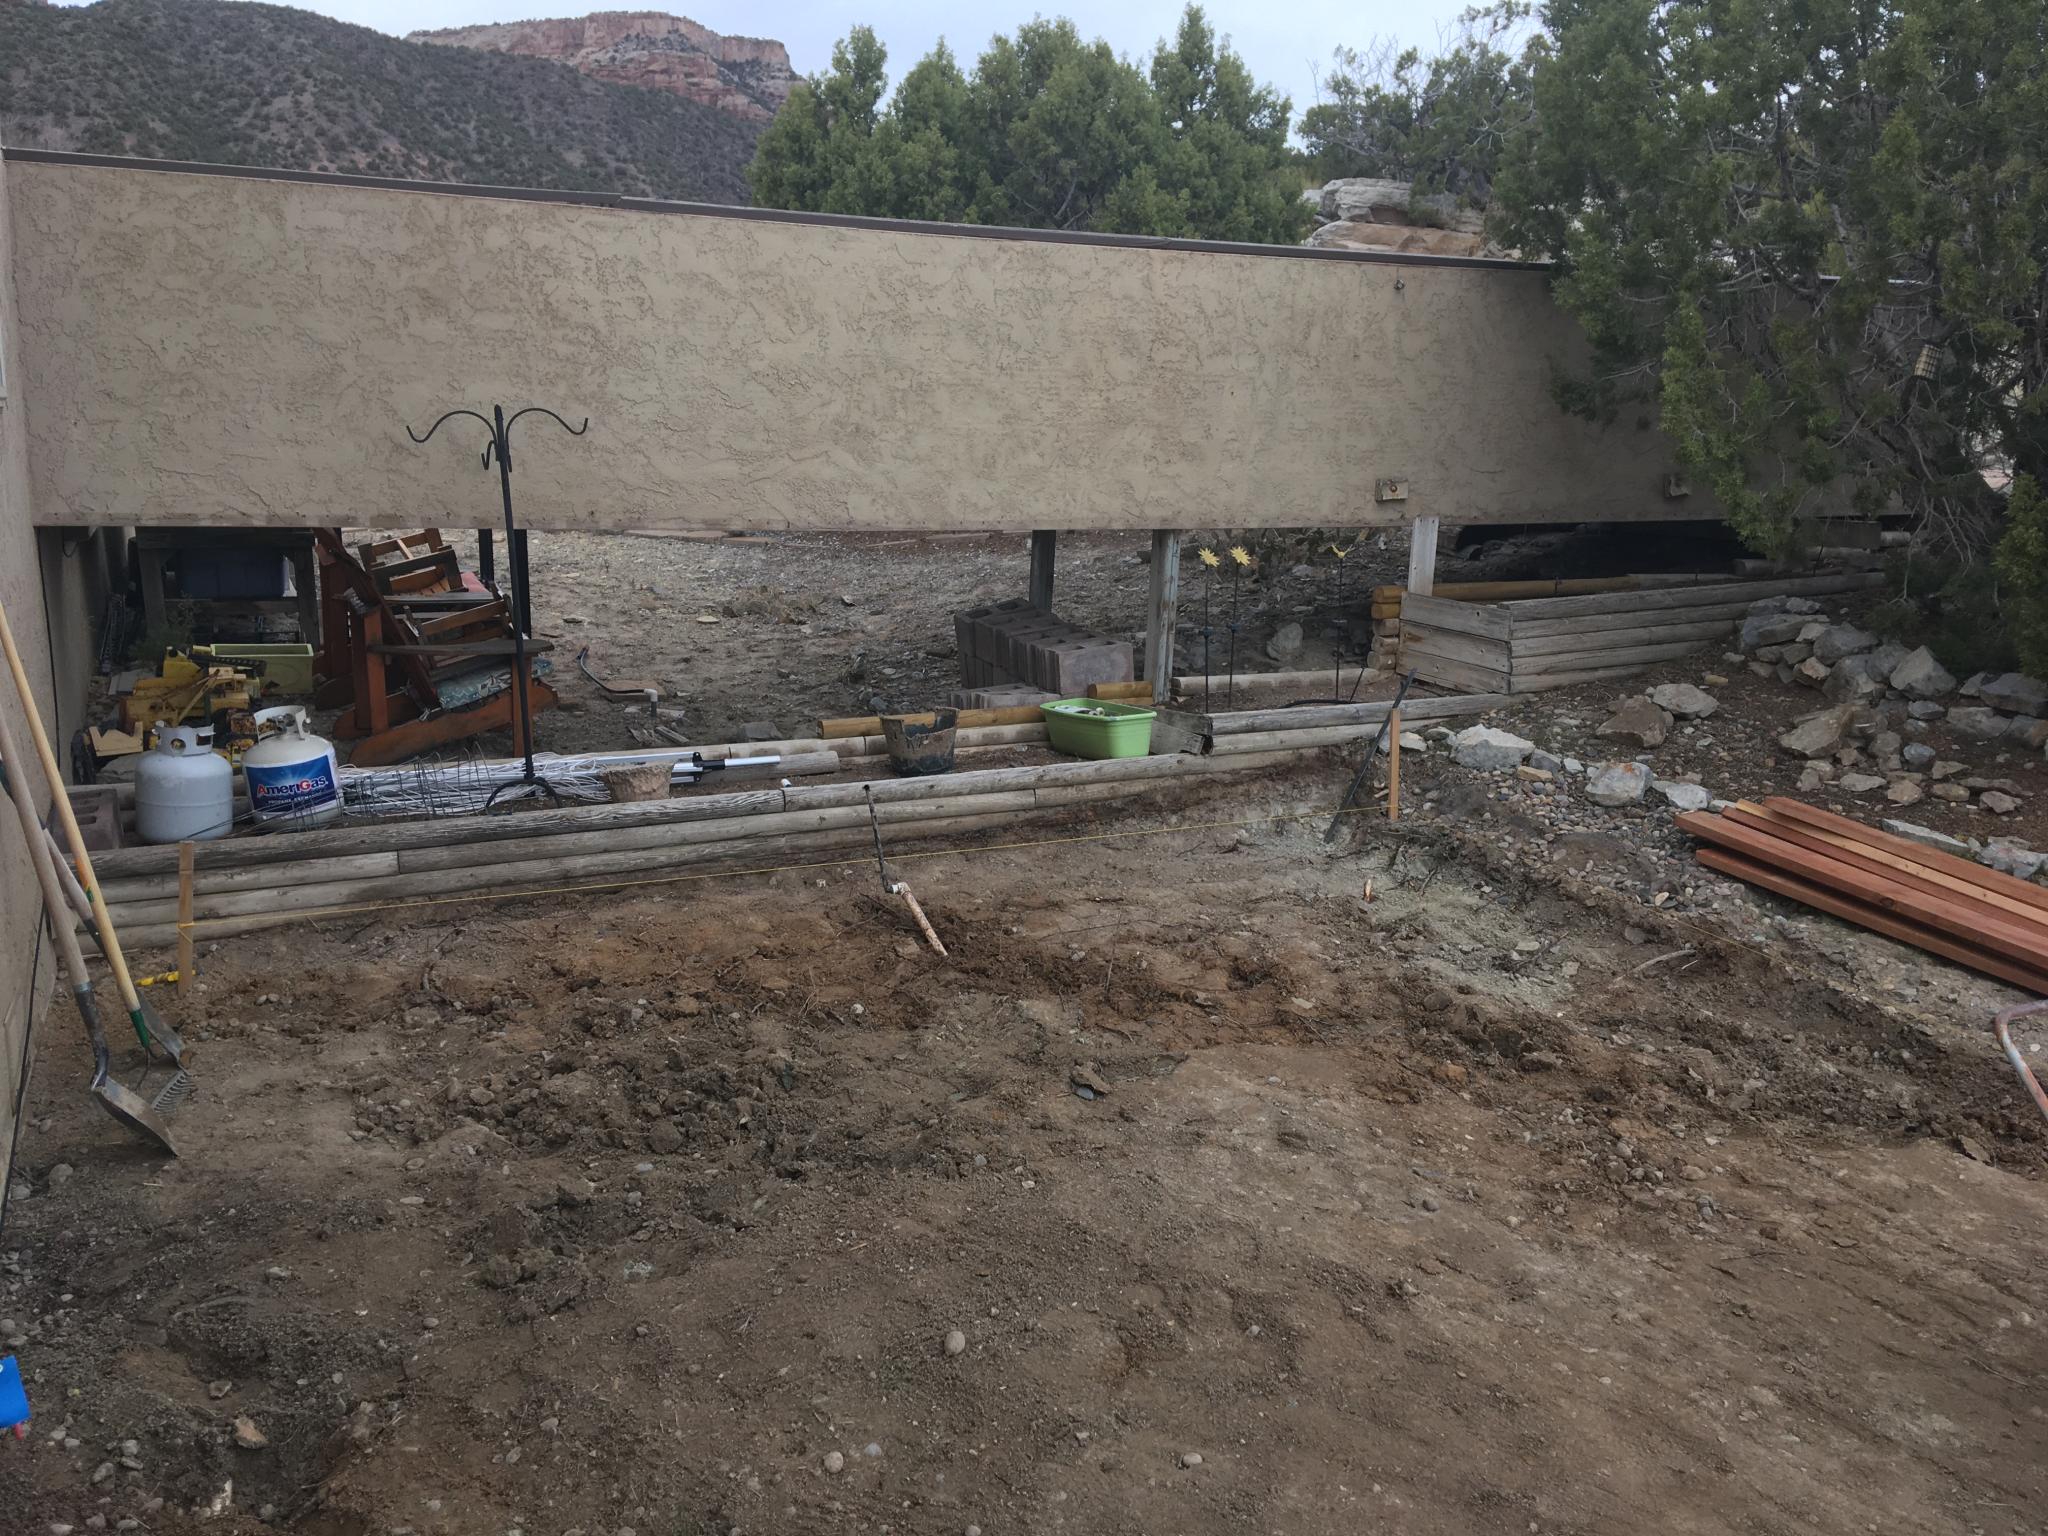
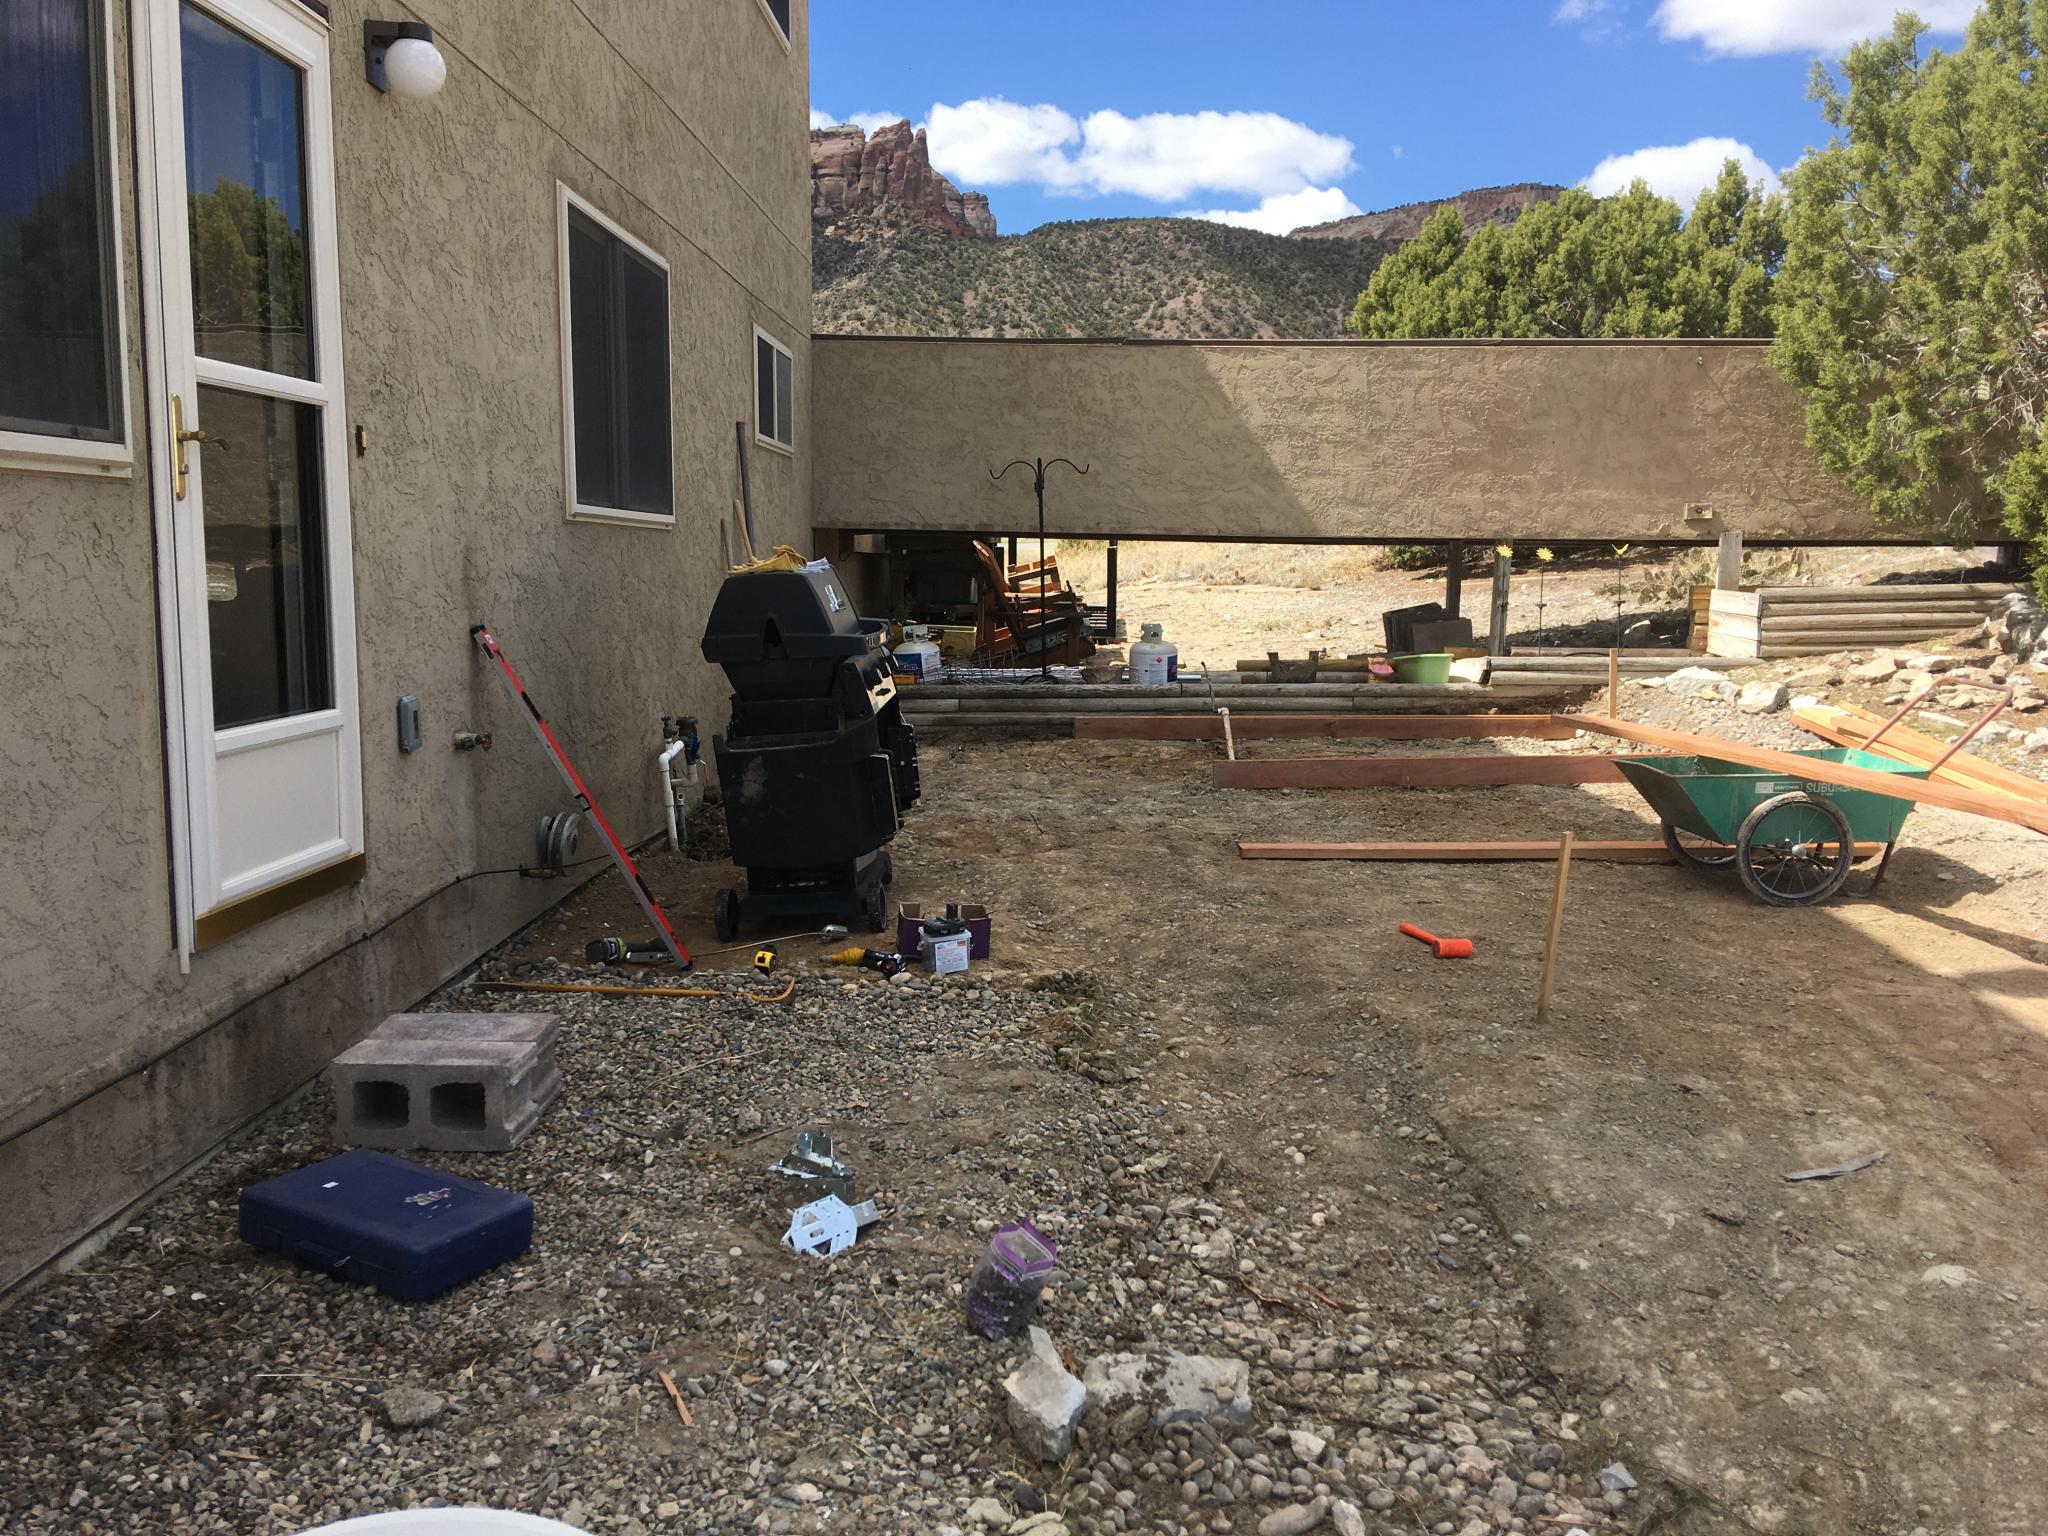
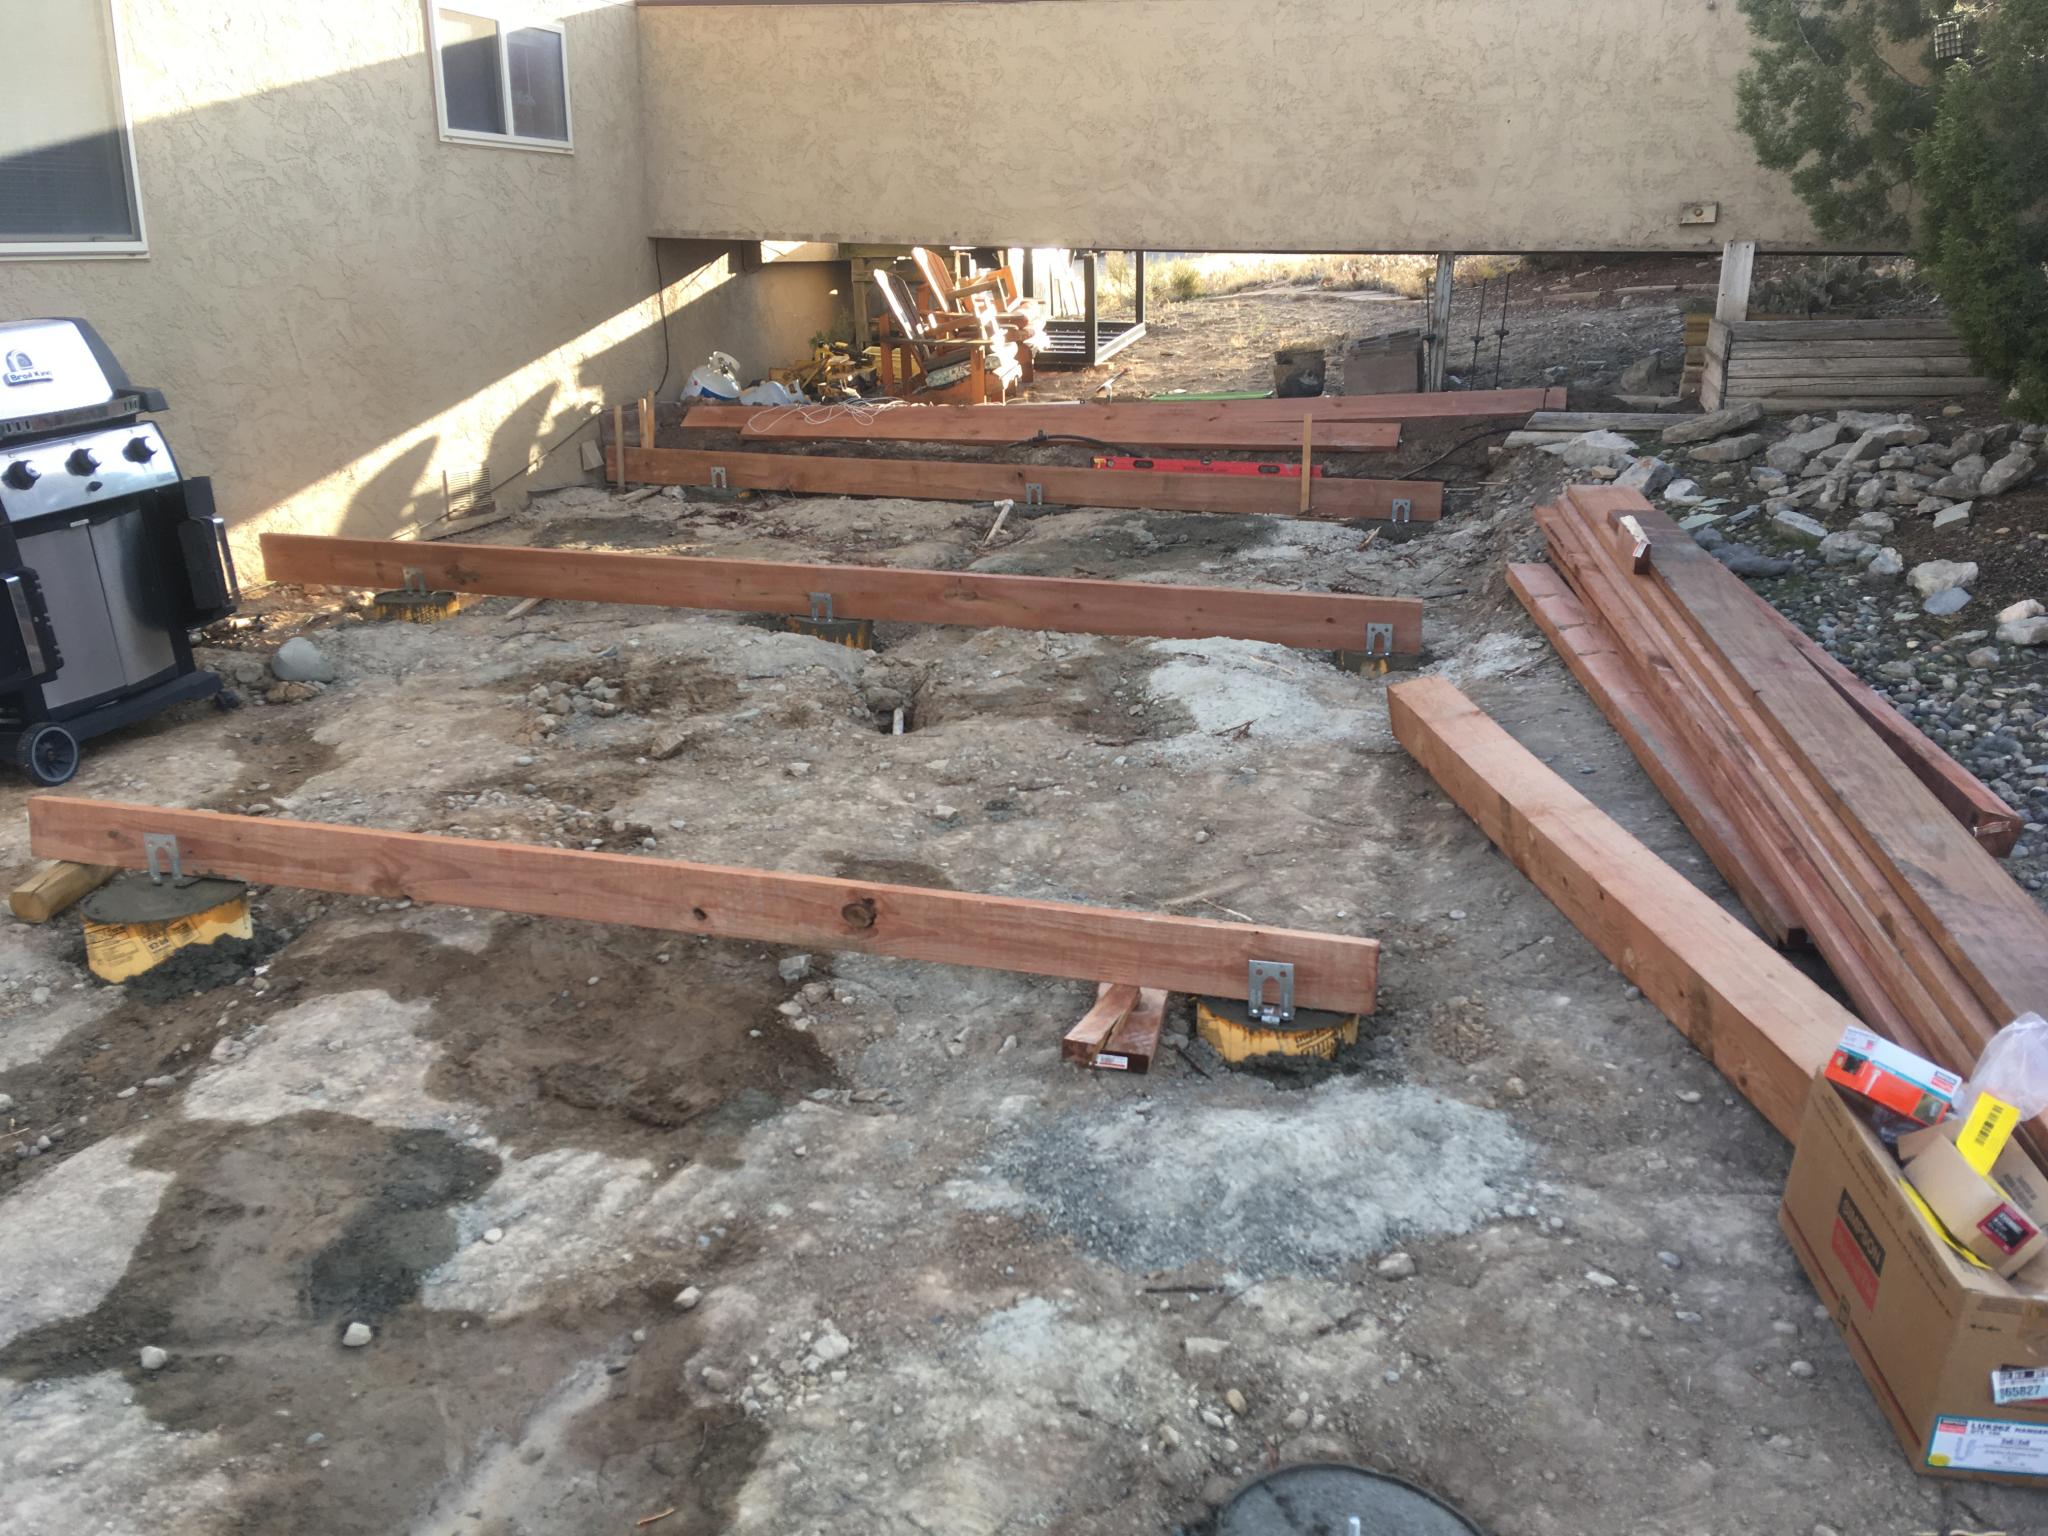
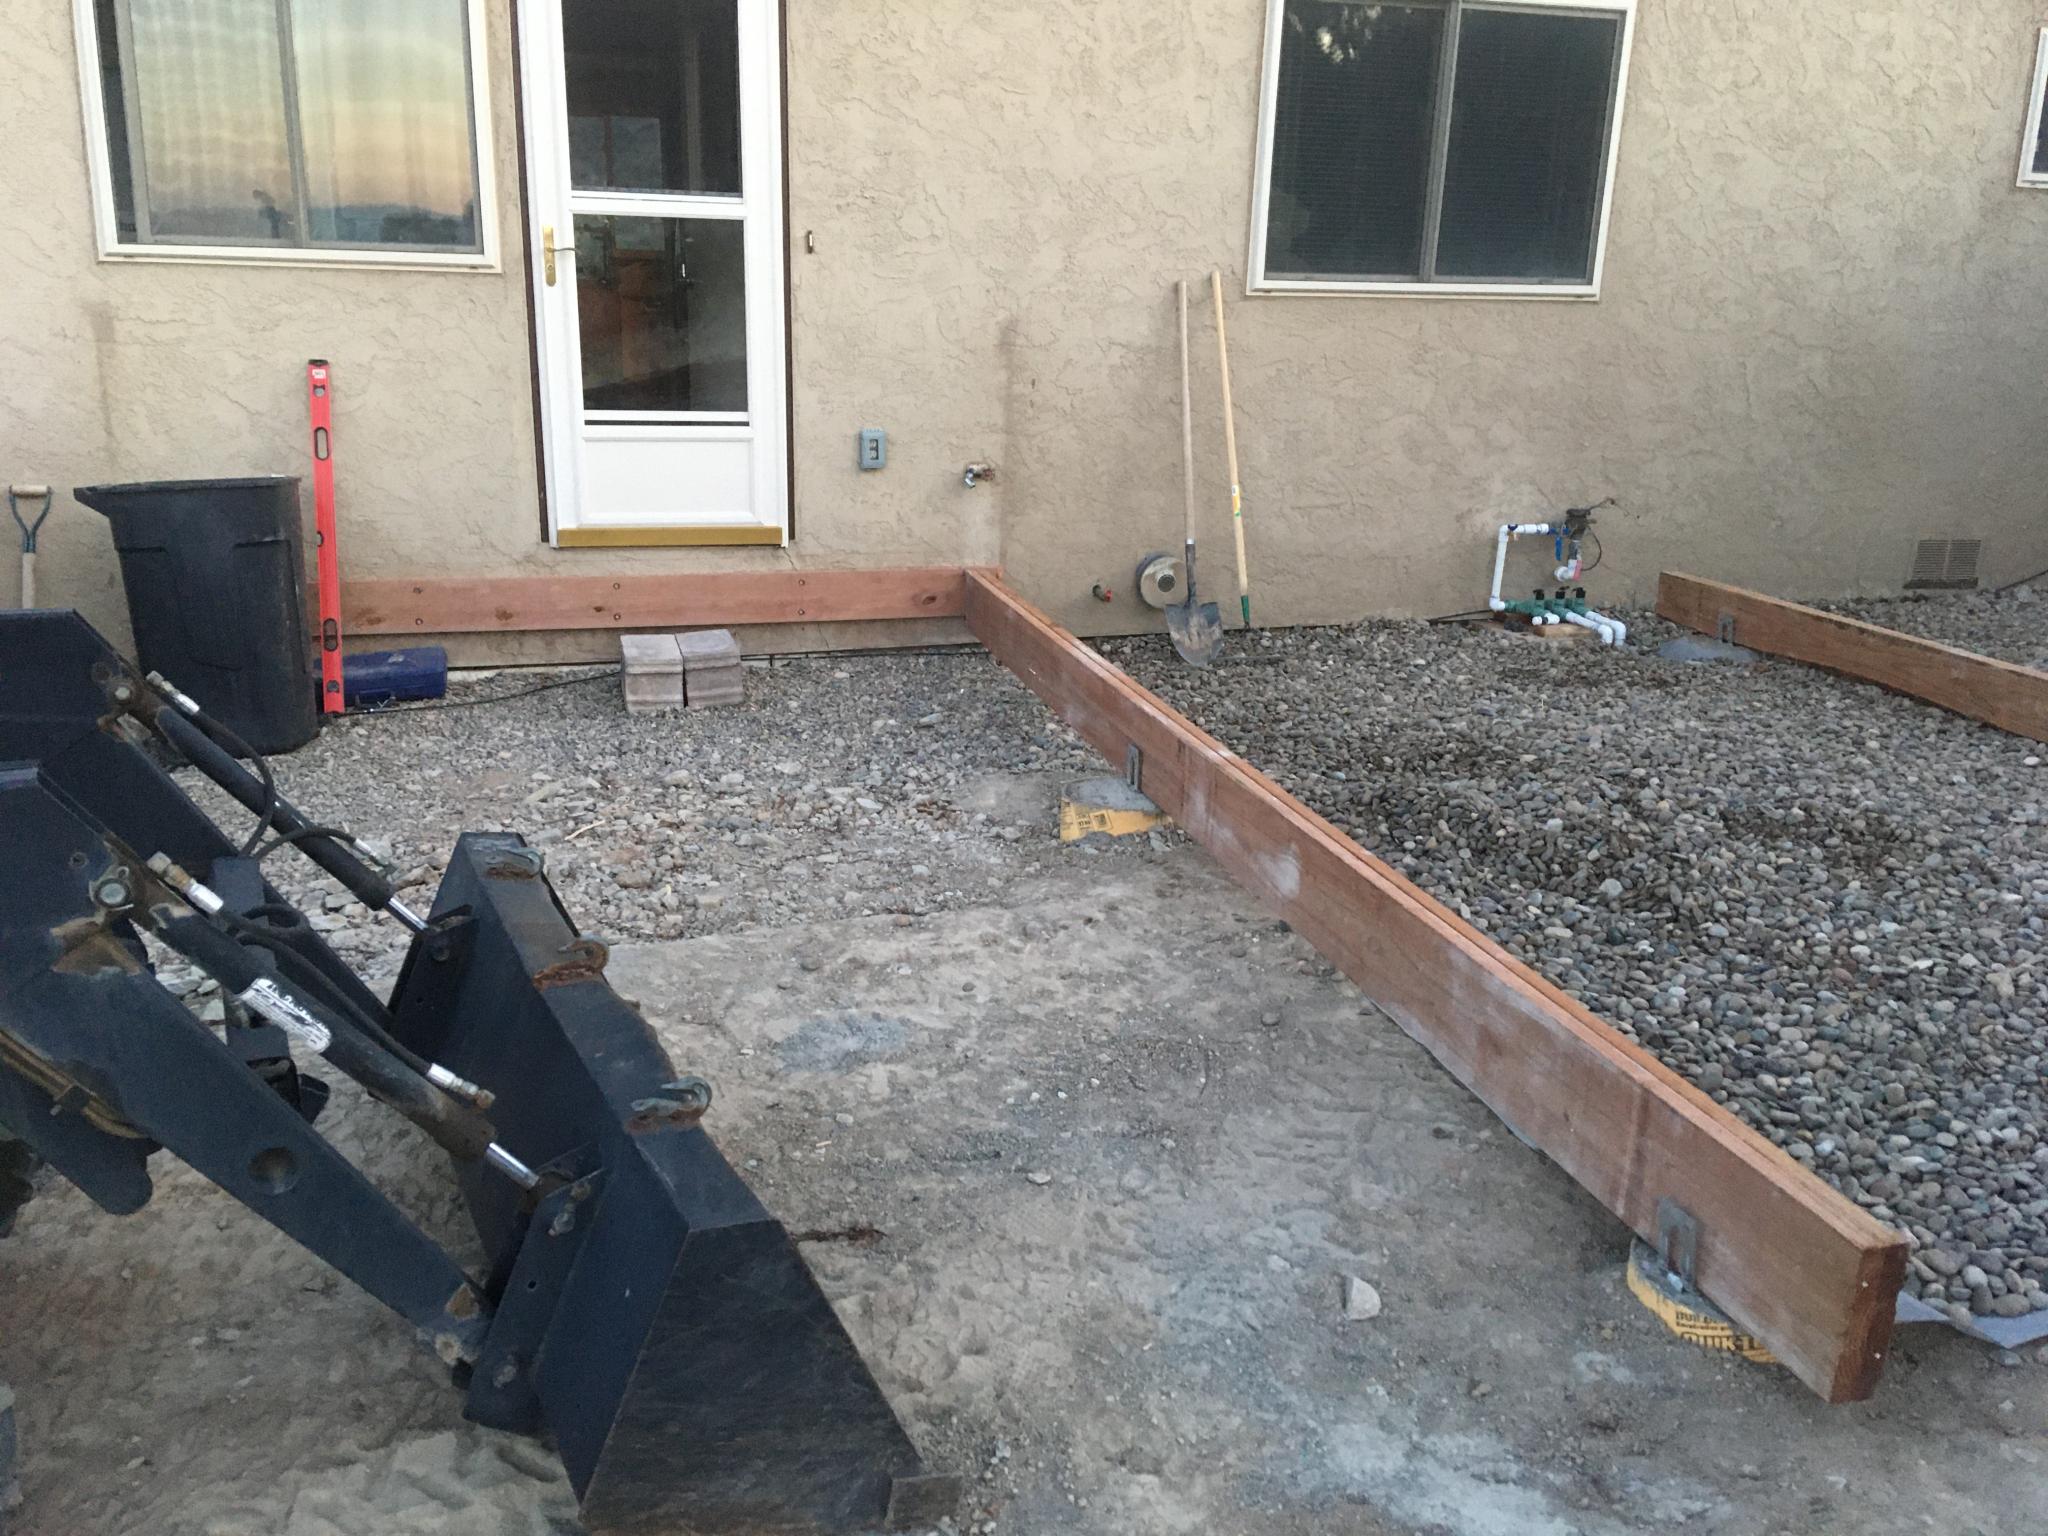
Since I'm not going to be going on any road trips anytime soon, my plan to build a deck off the back of the house has popped the priority list. Ideally, I'll grab all the supplies I need in the next couple of days so I can work through.

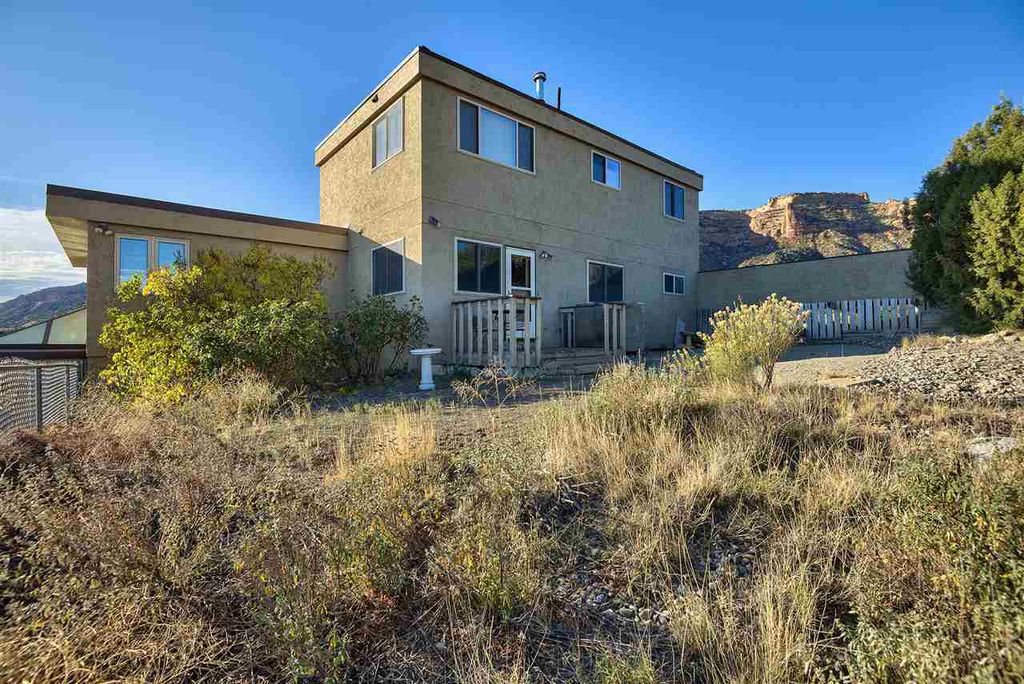
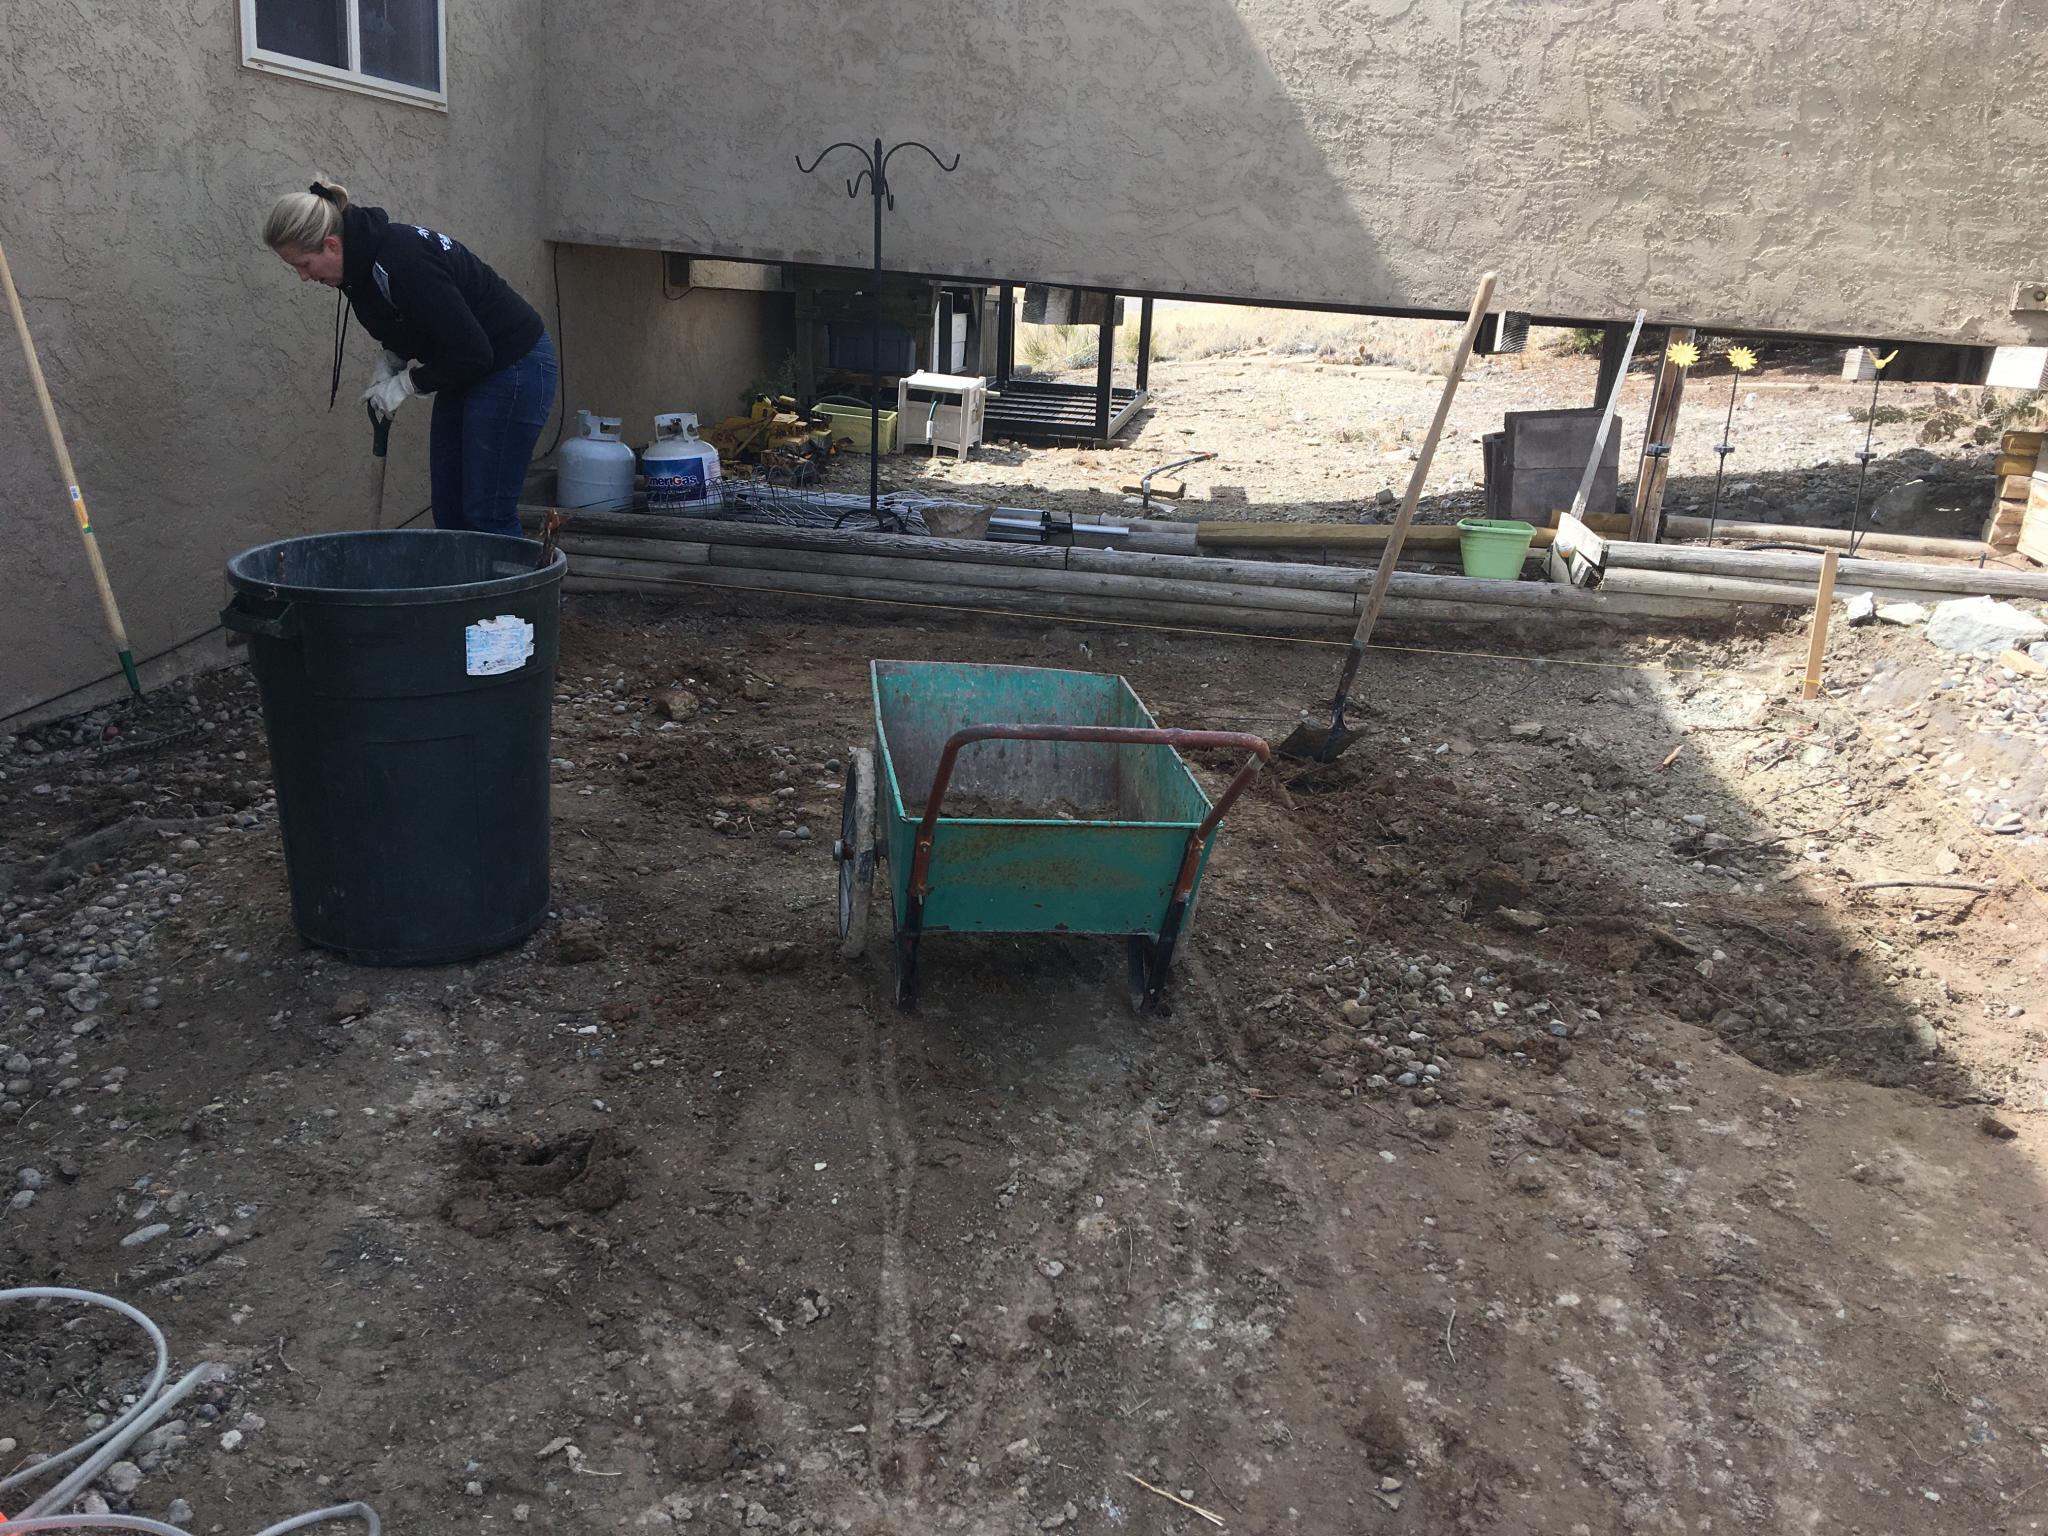
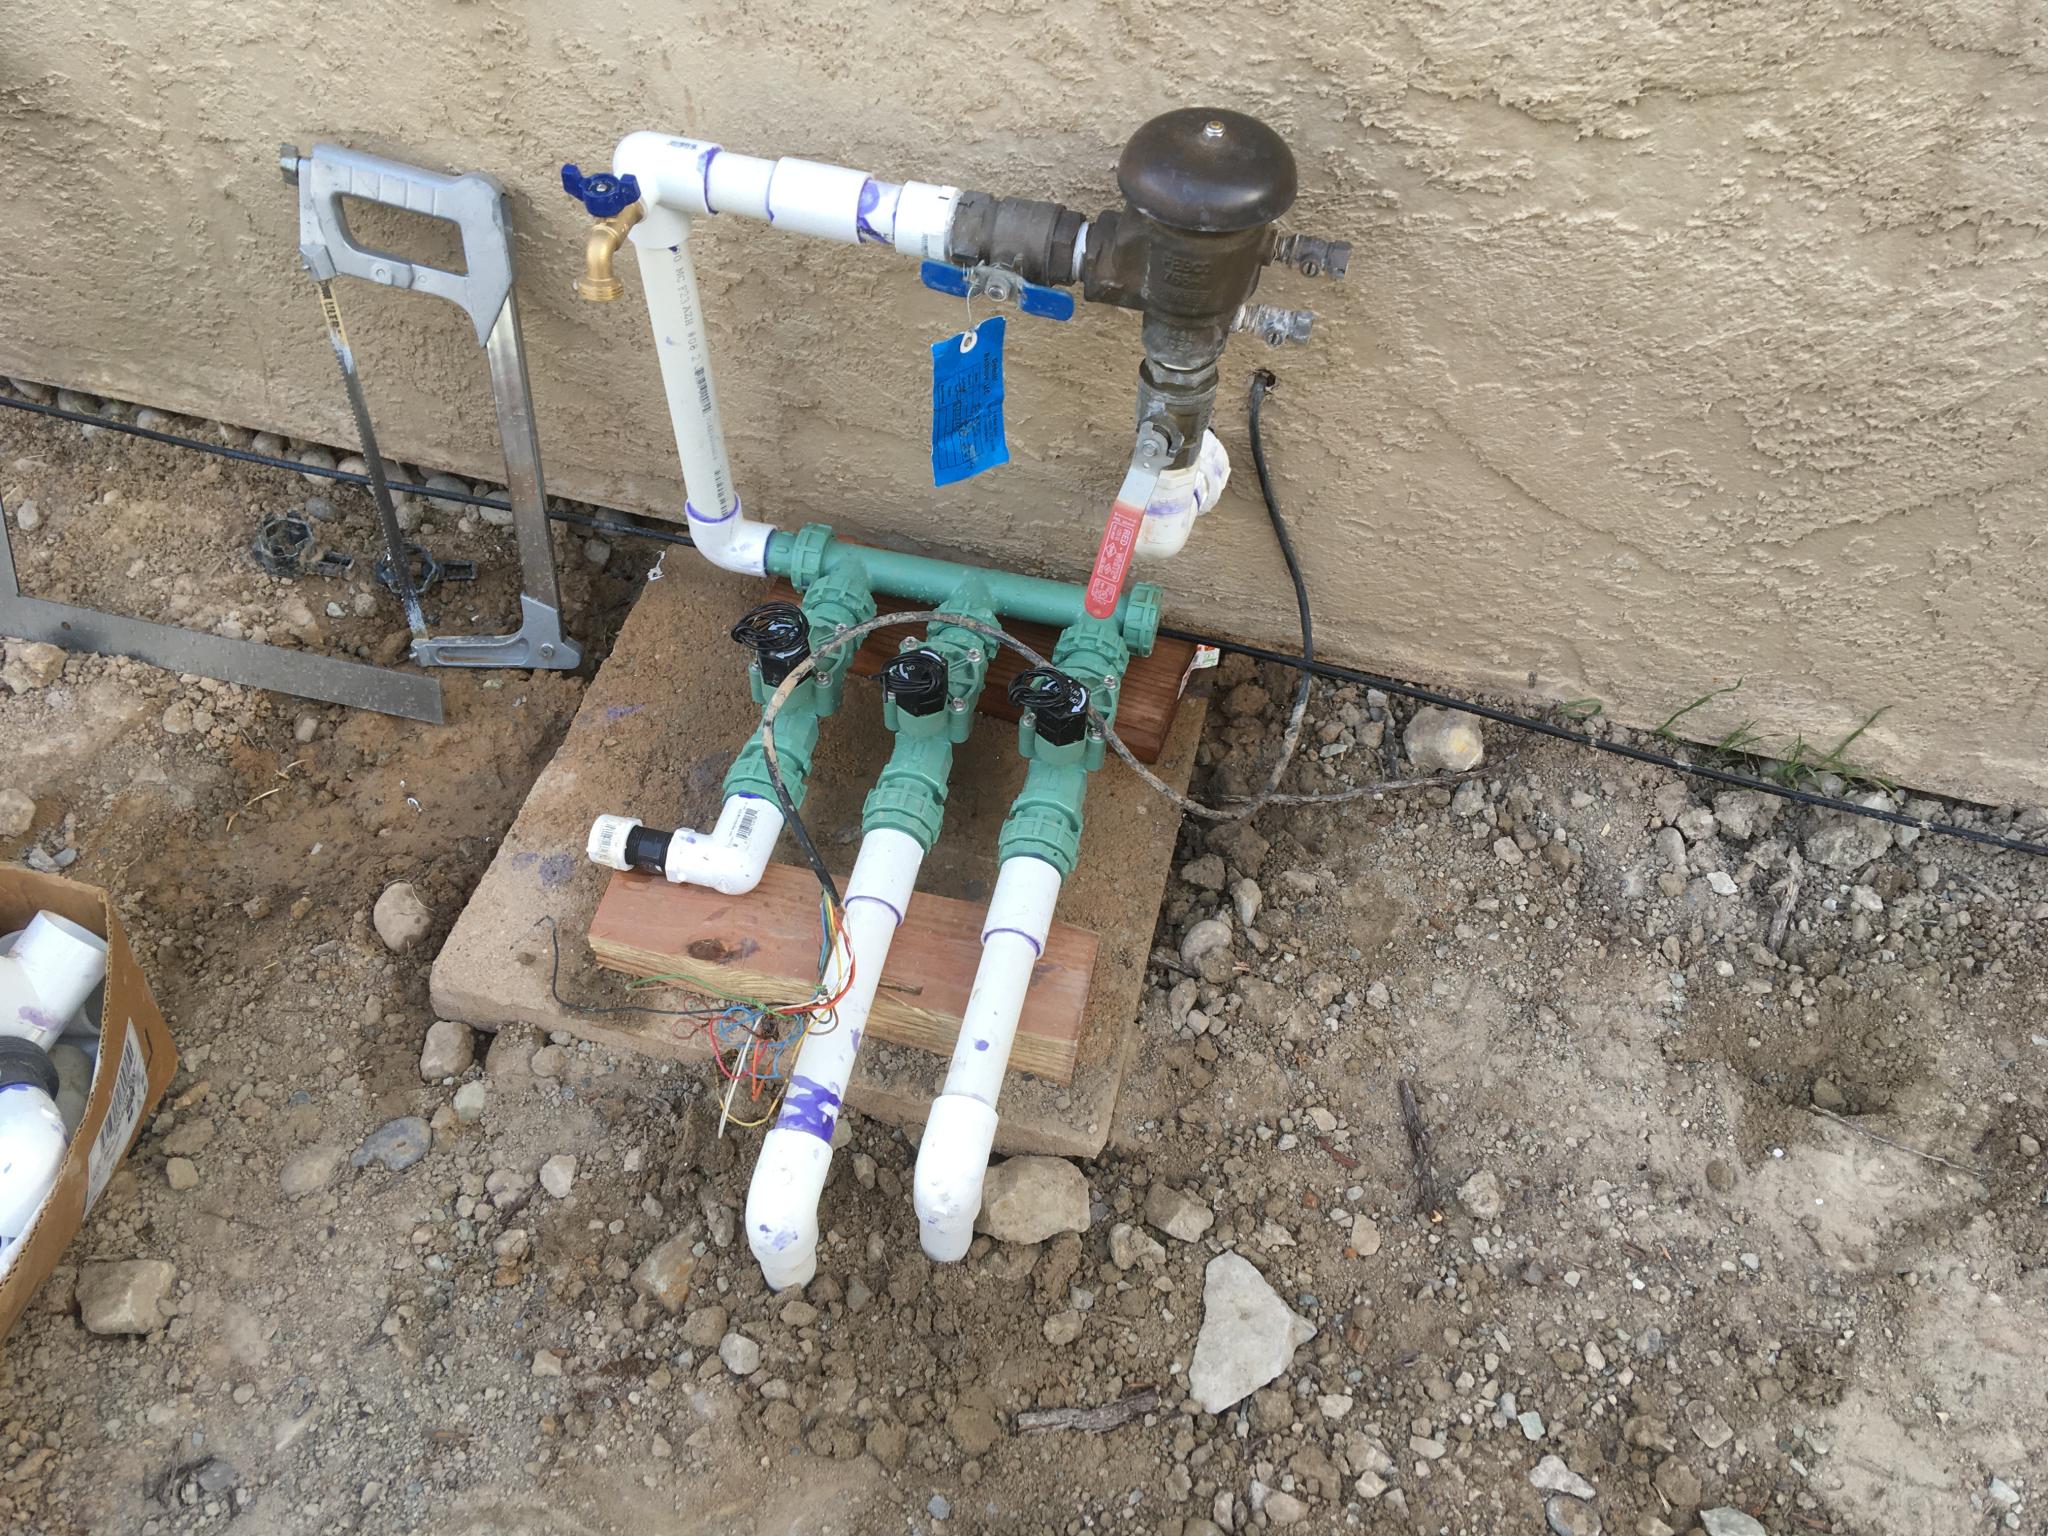
The goal is to replace a small piece of grass that is effectively a putting green. It hasn't been watered in a decade so is very dead and is non-native. I have no desire to care for some monoculture just so I can have to mow it :) It has already been removed and the irrigation system destroyed, so we are committed.

I've done this before, but I know we have some experts and I'm interested in hearing best practices.

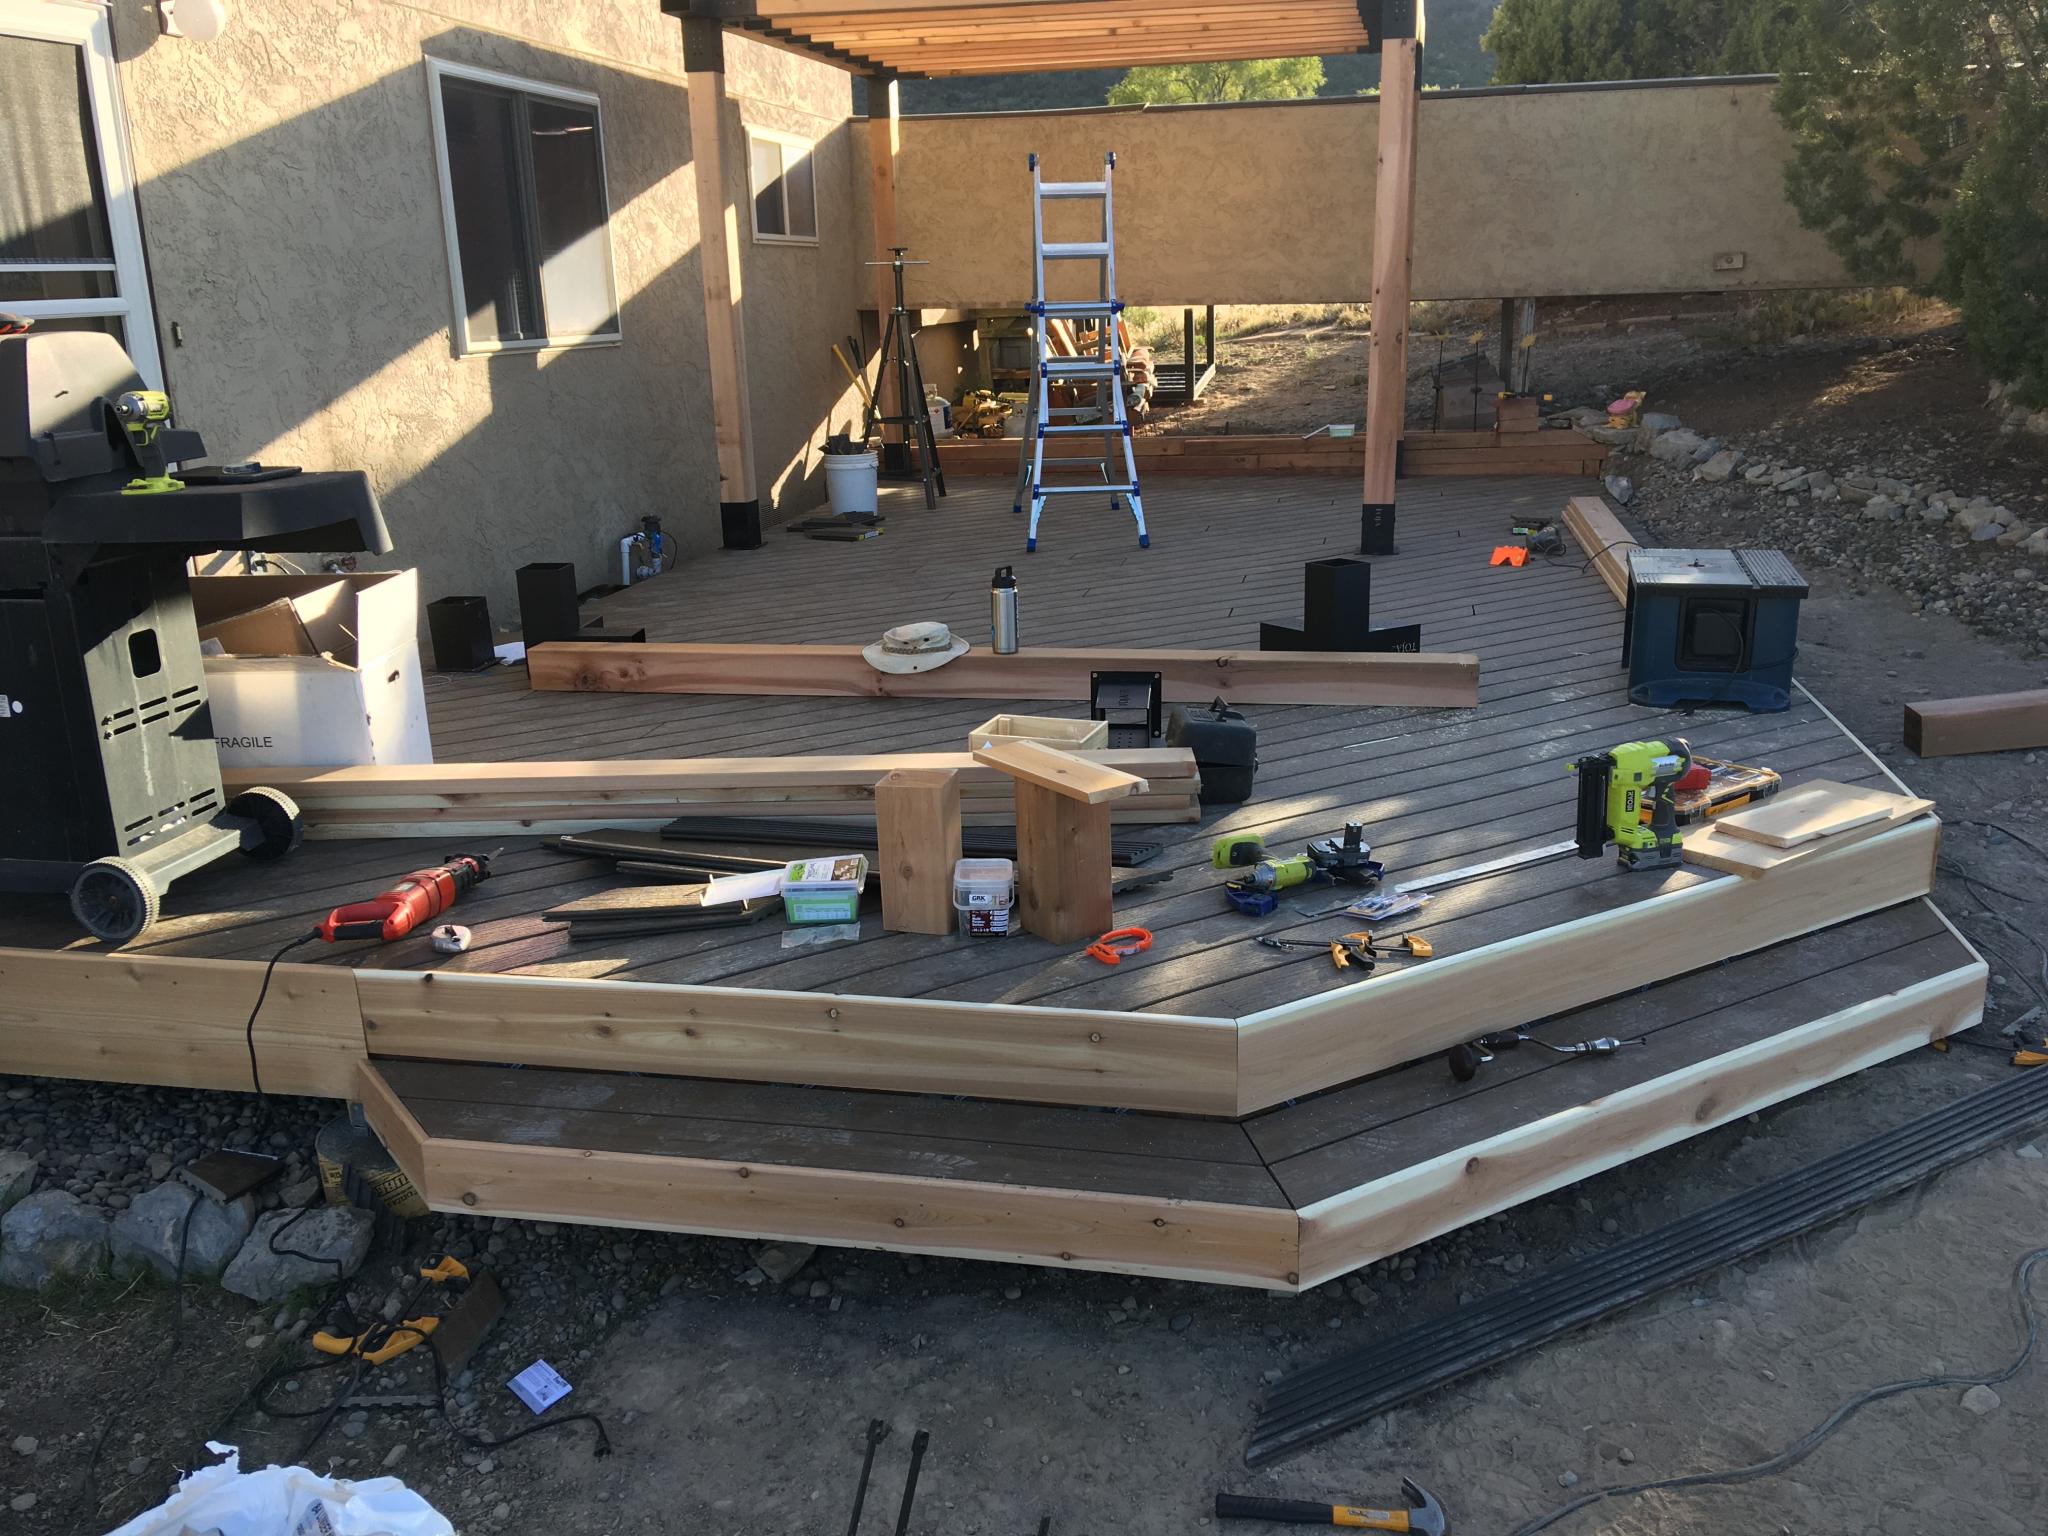
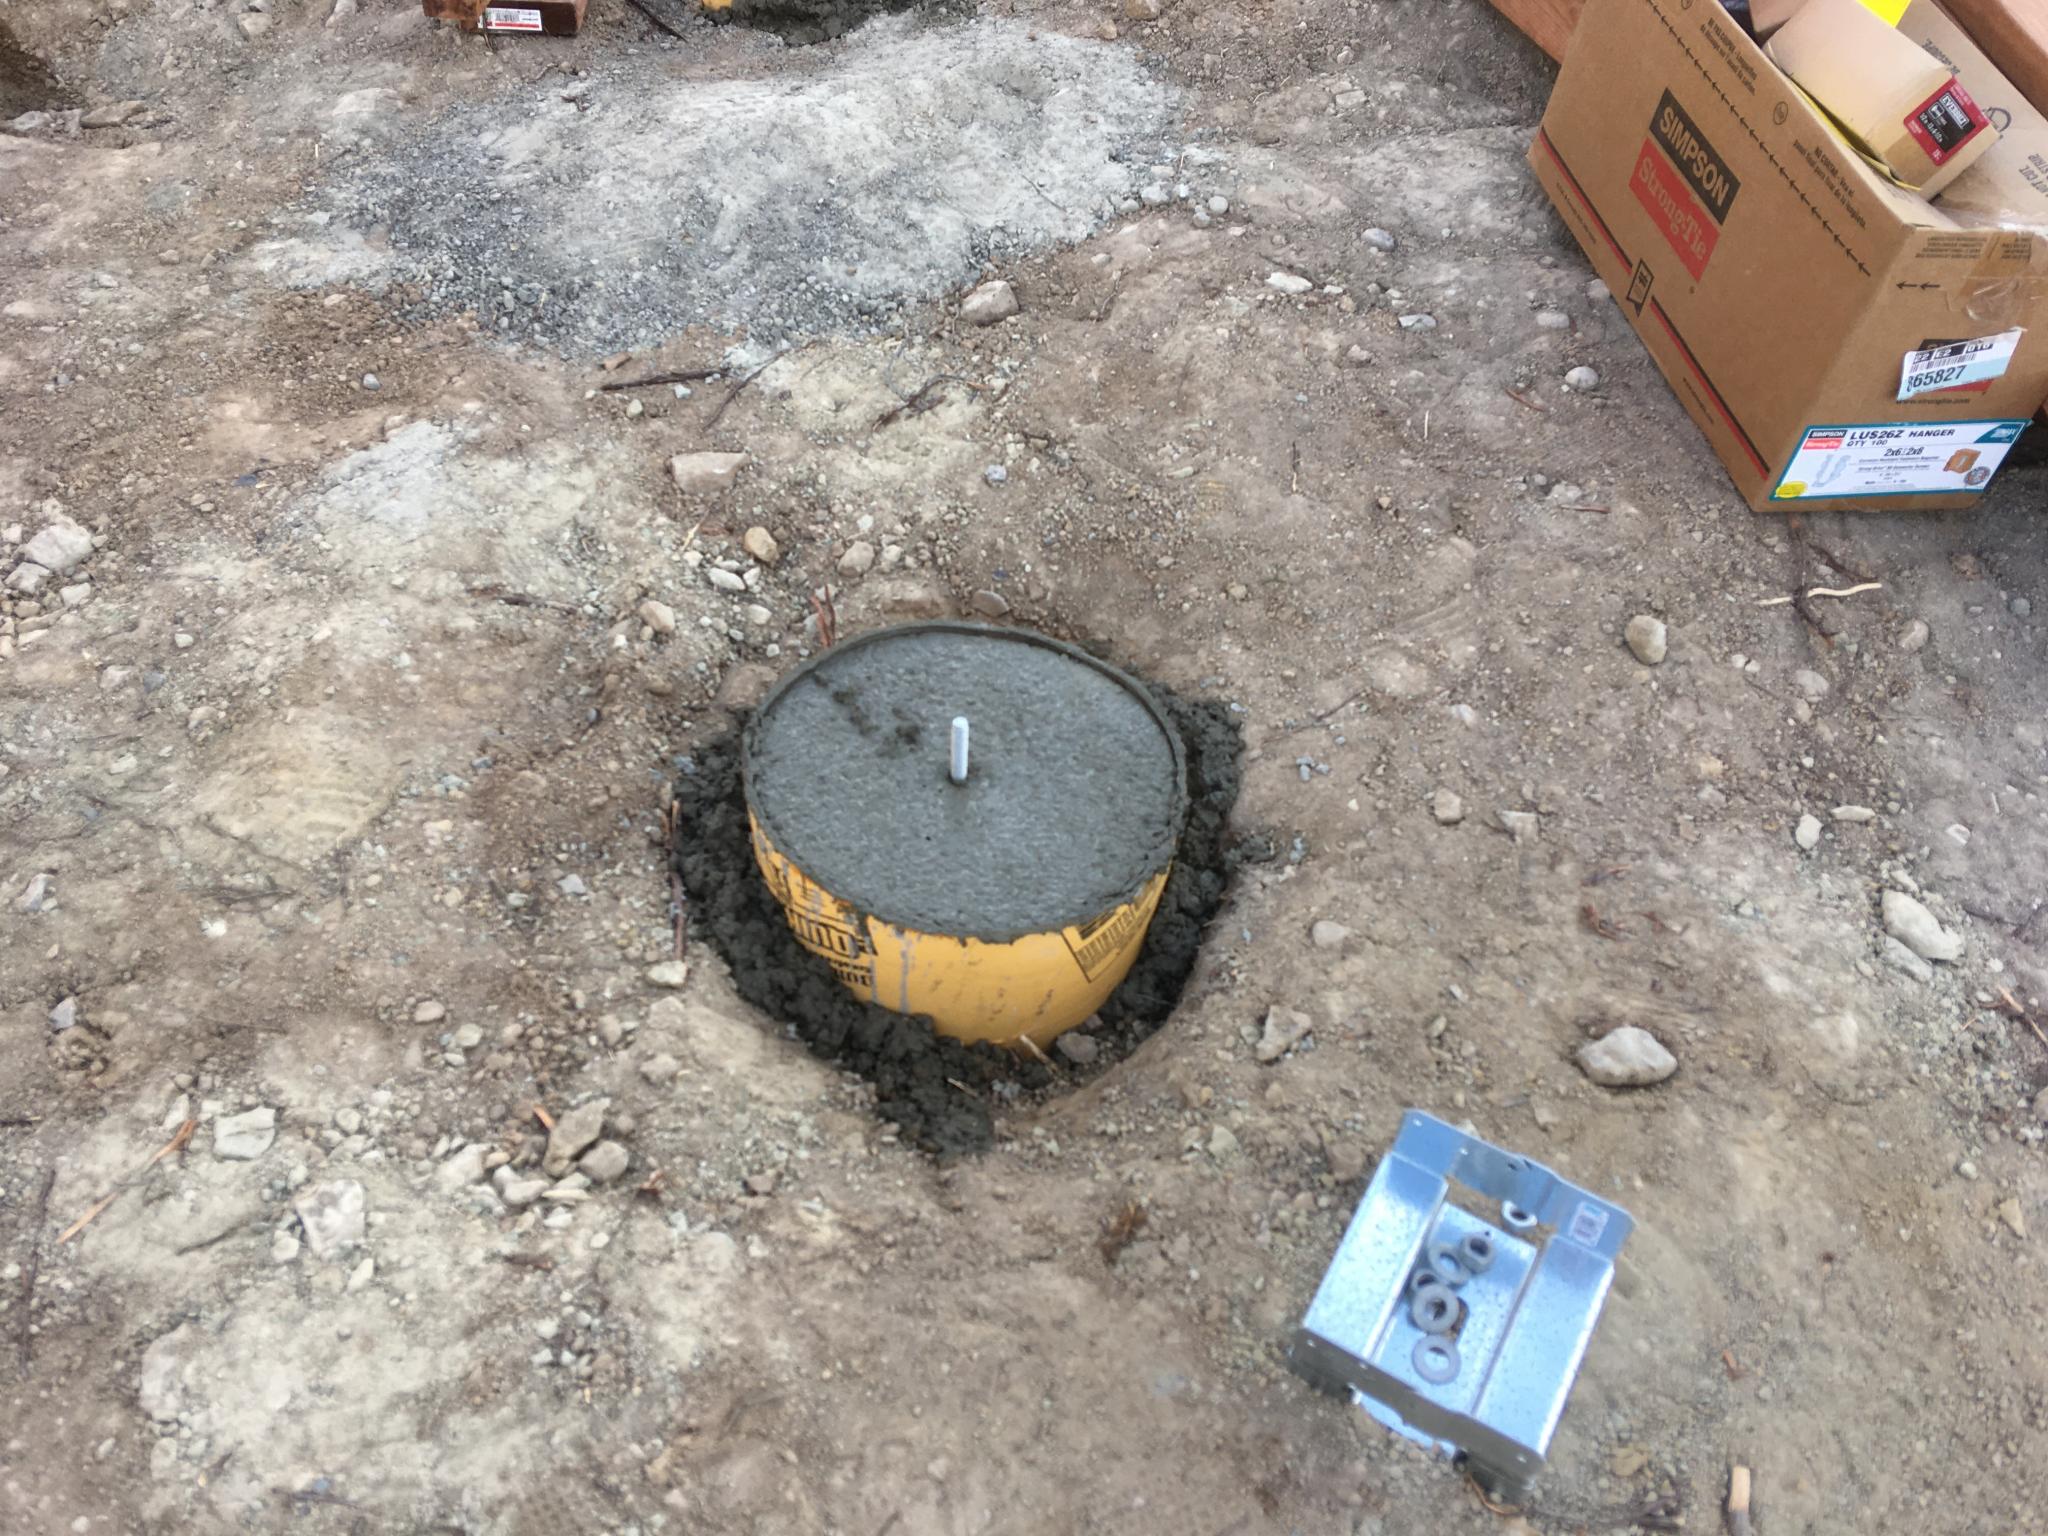
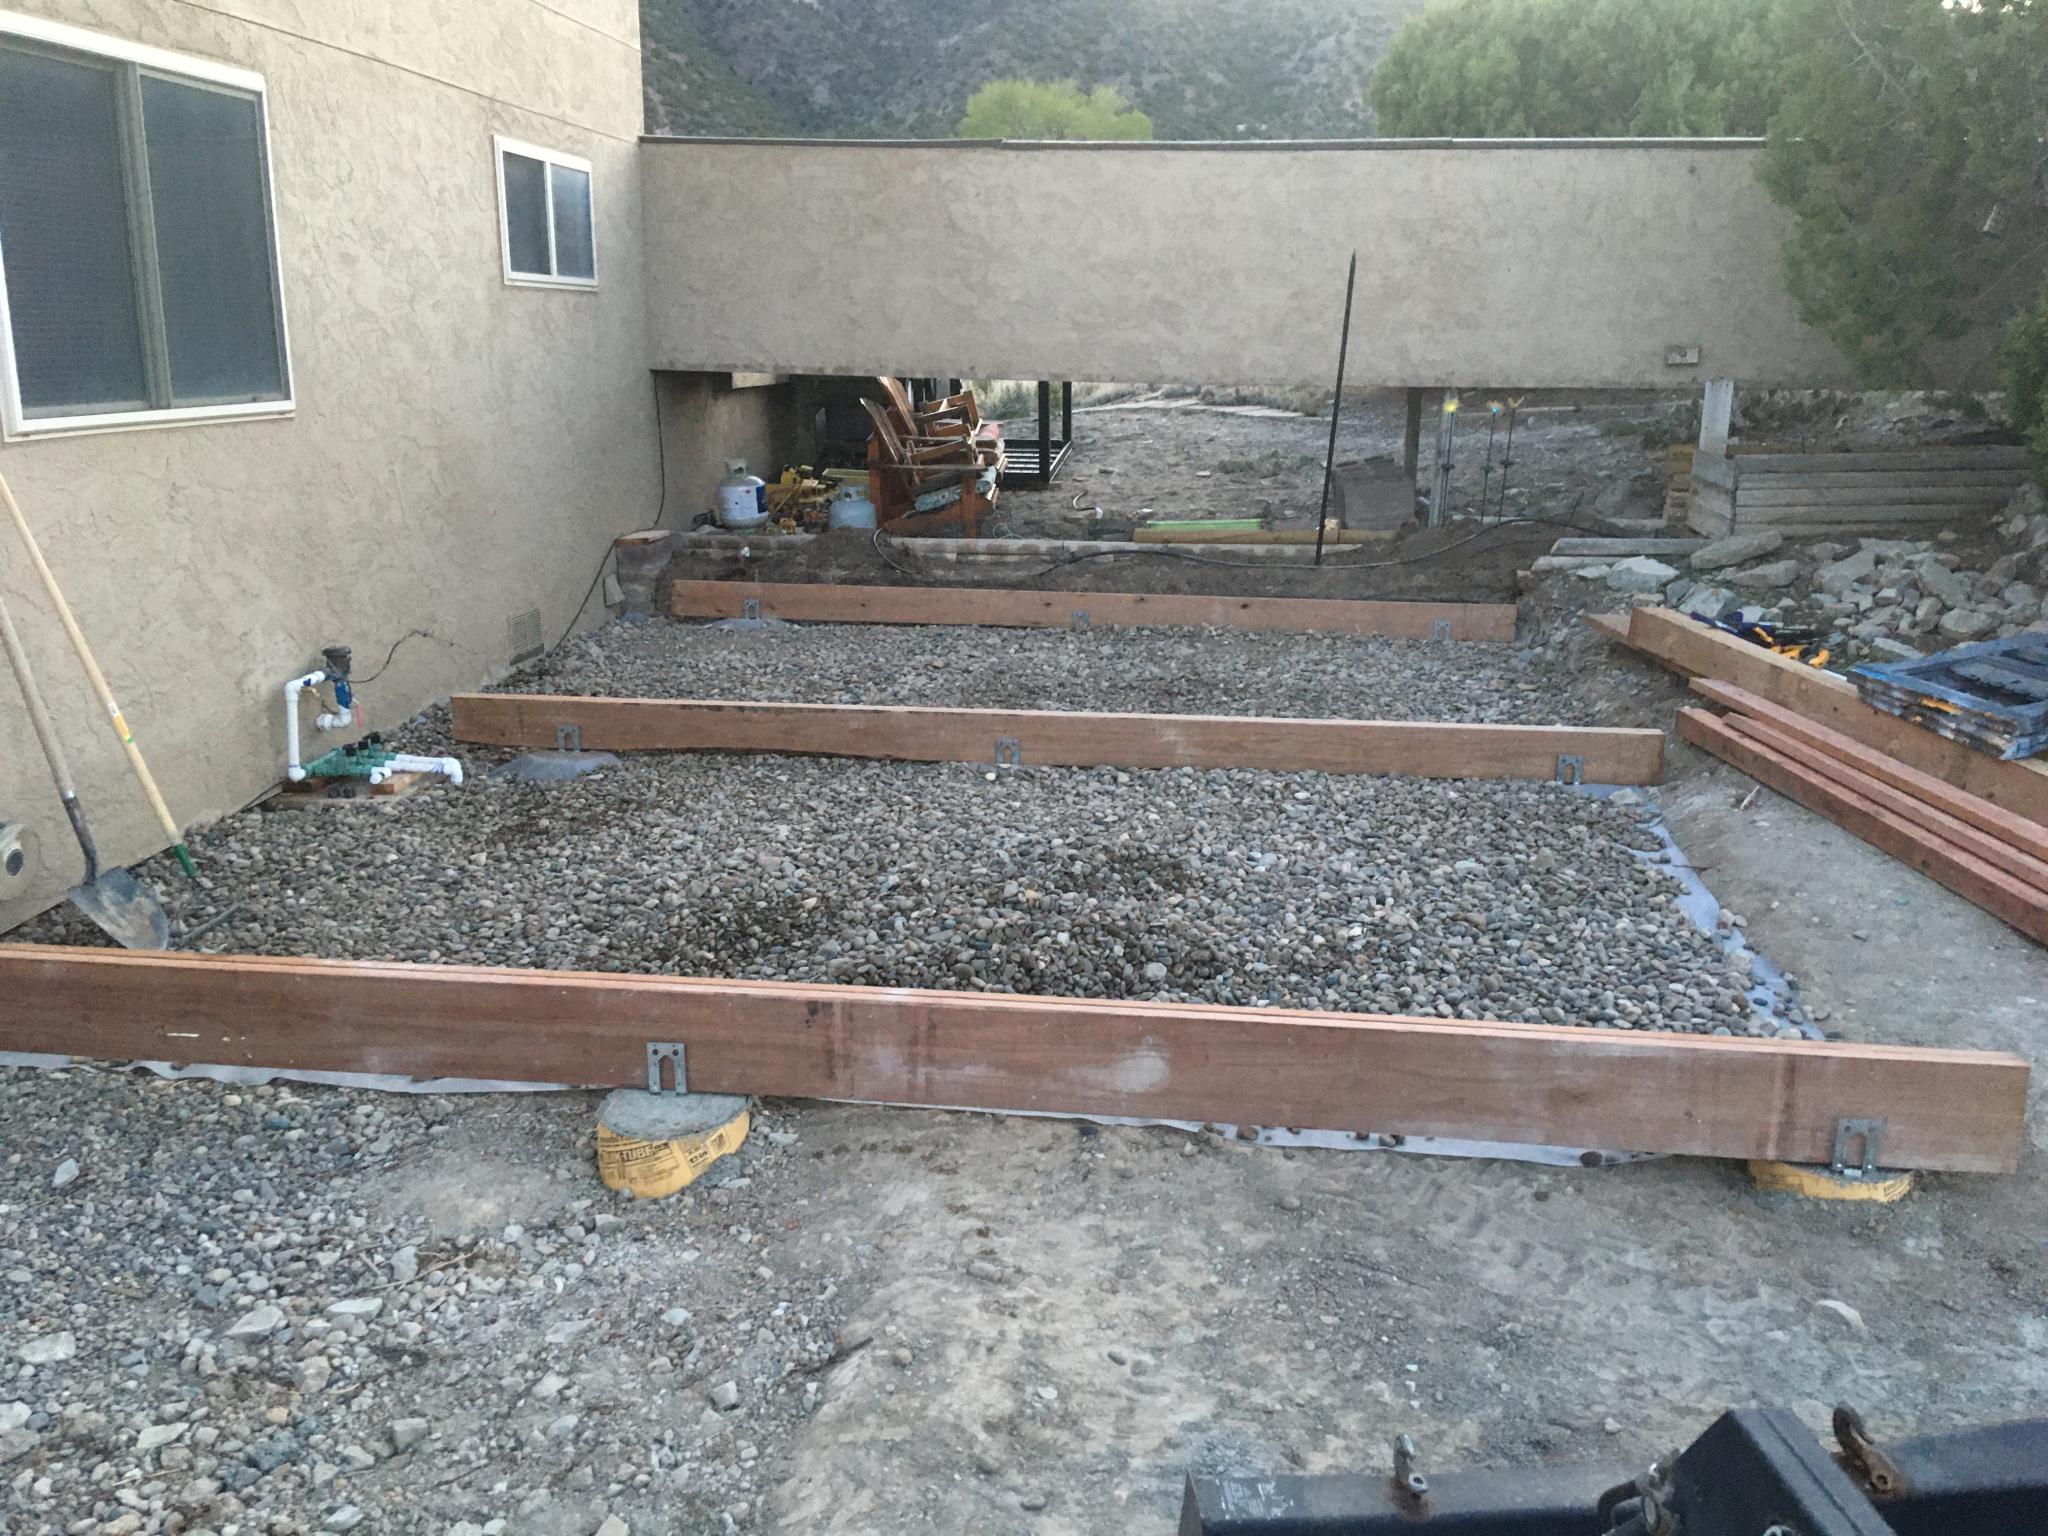
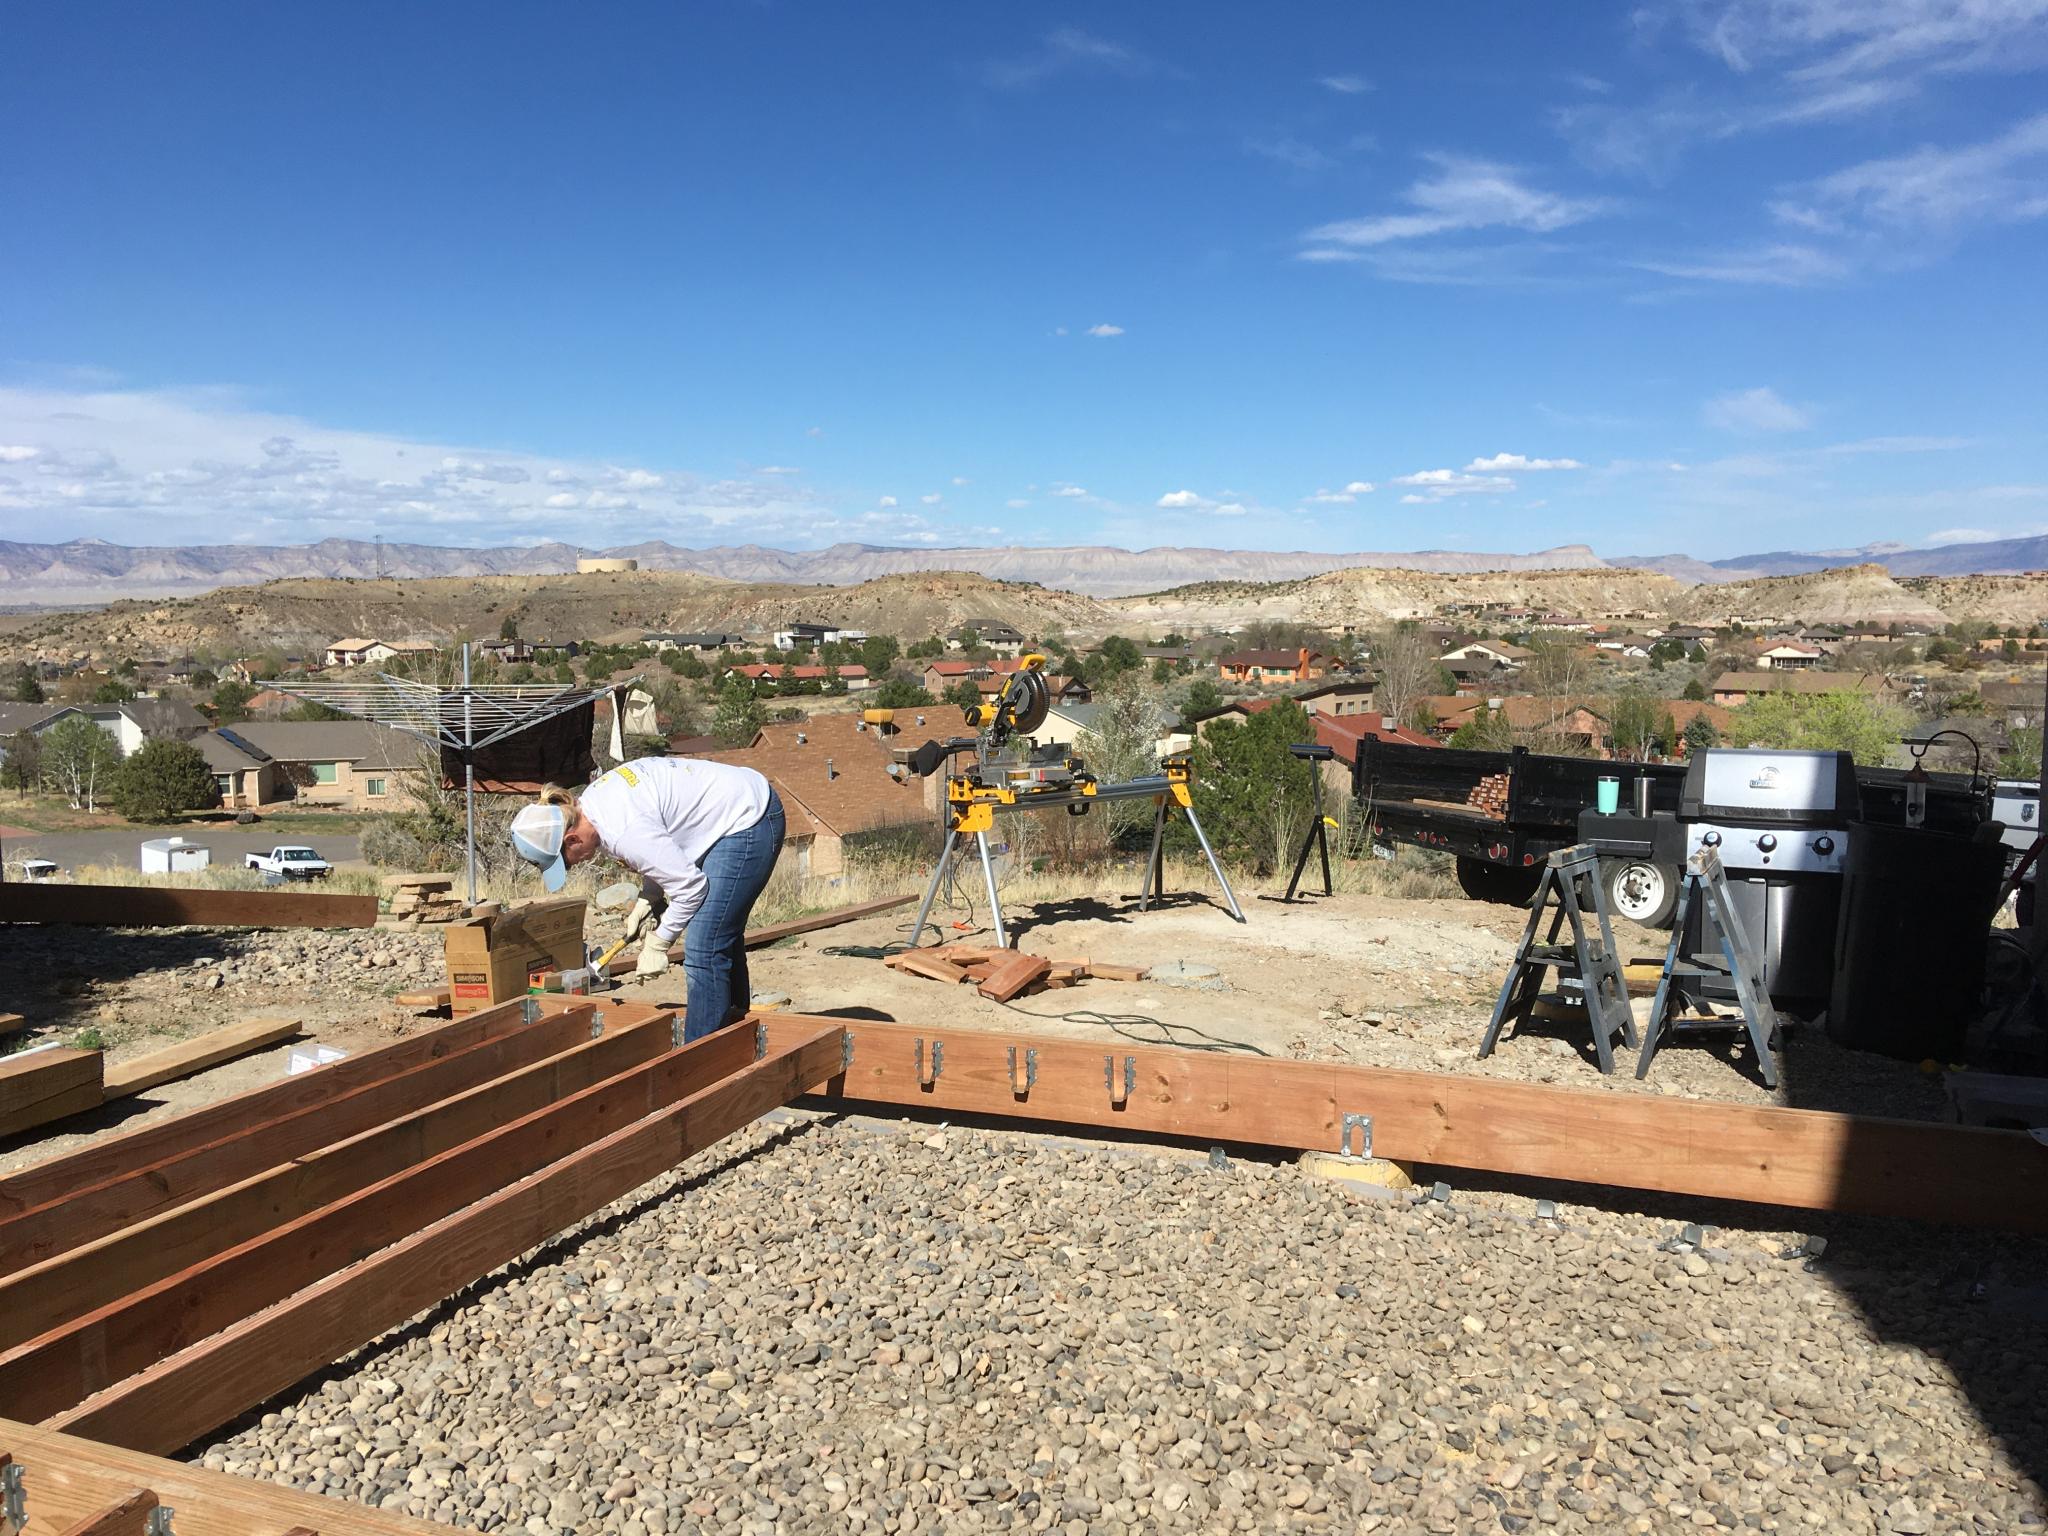
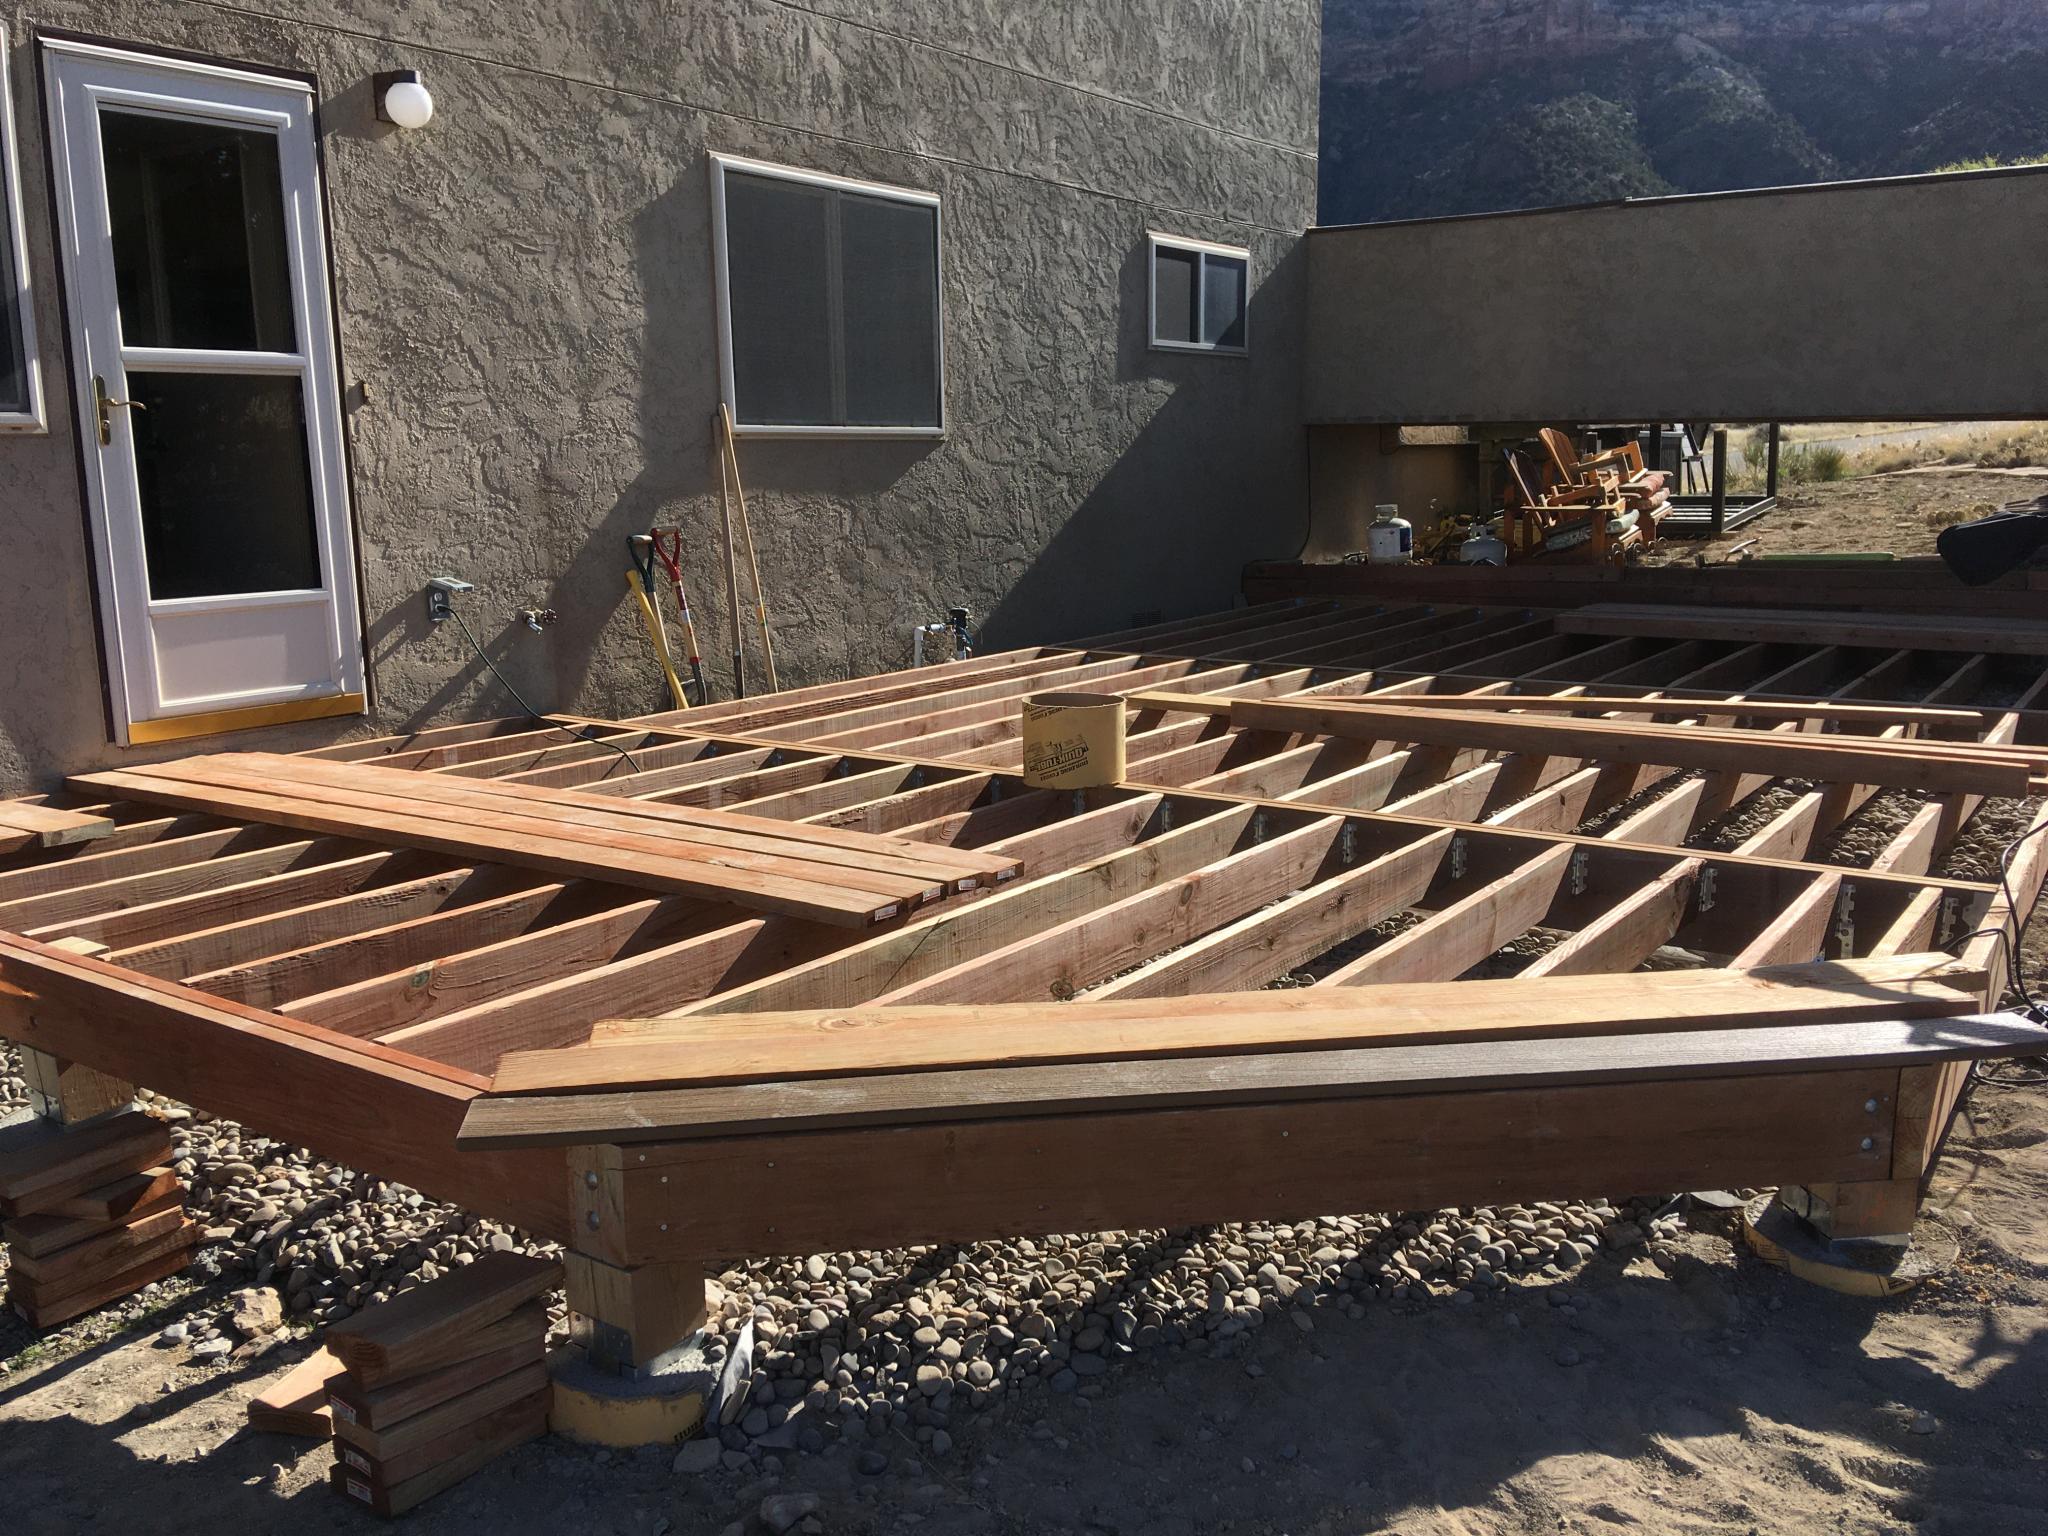
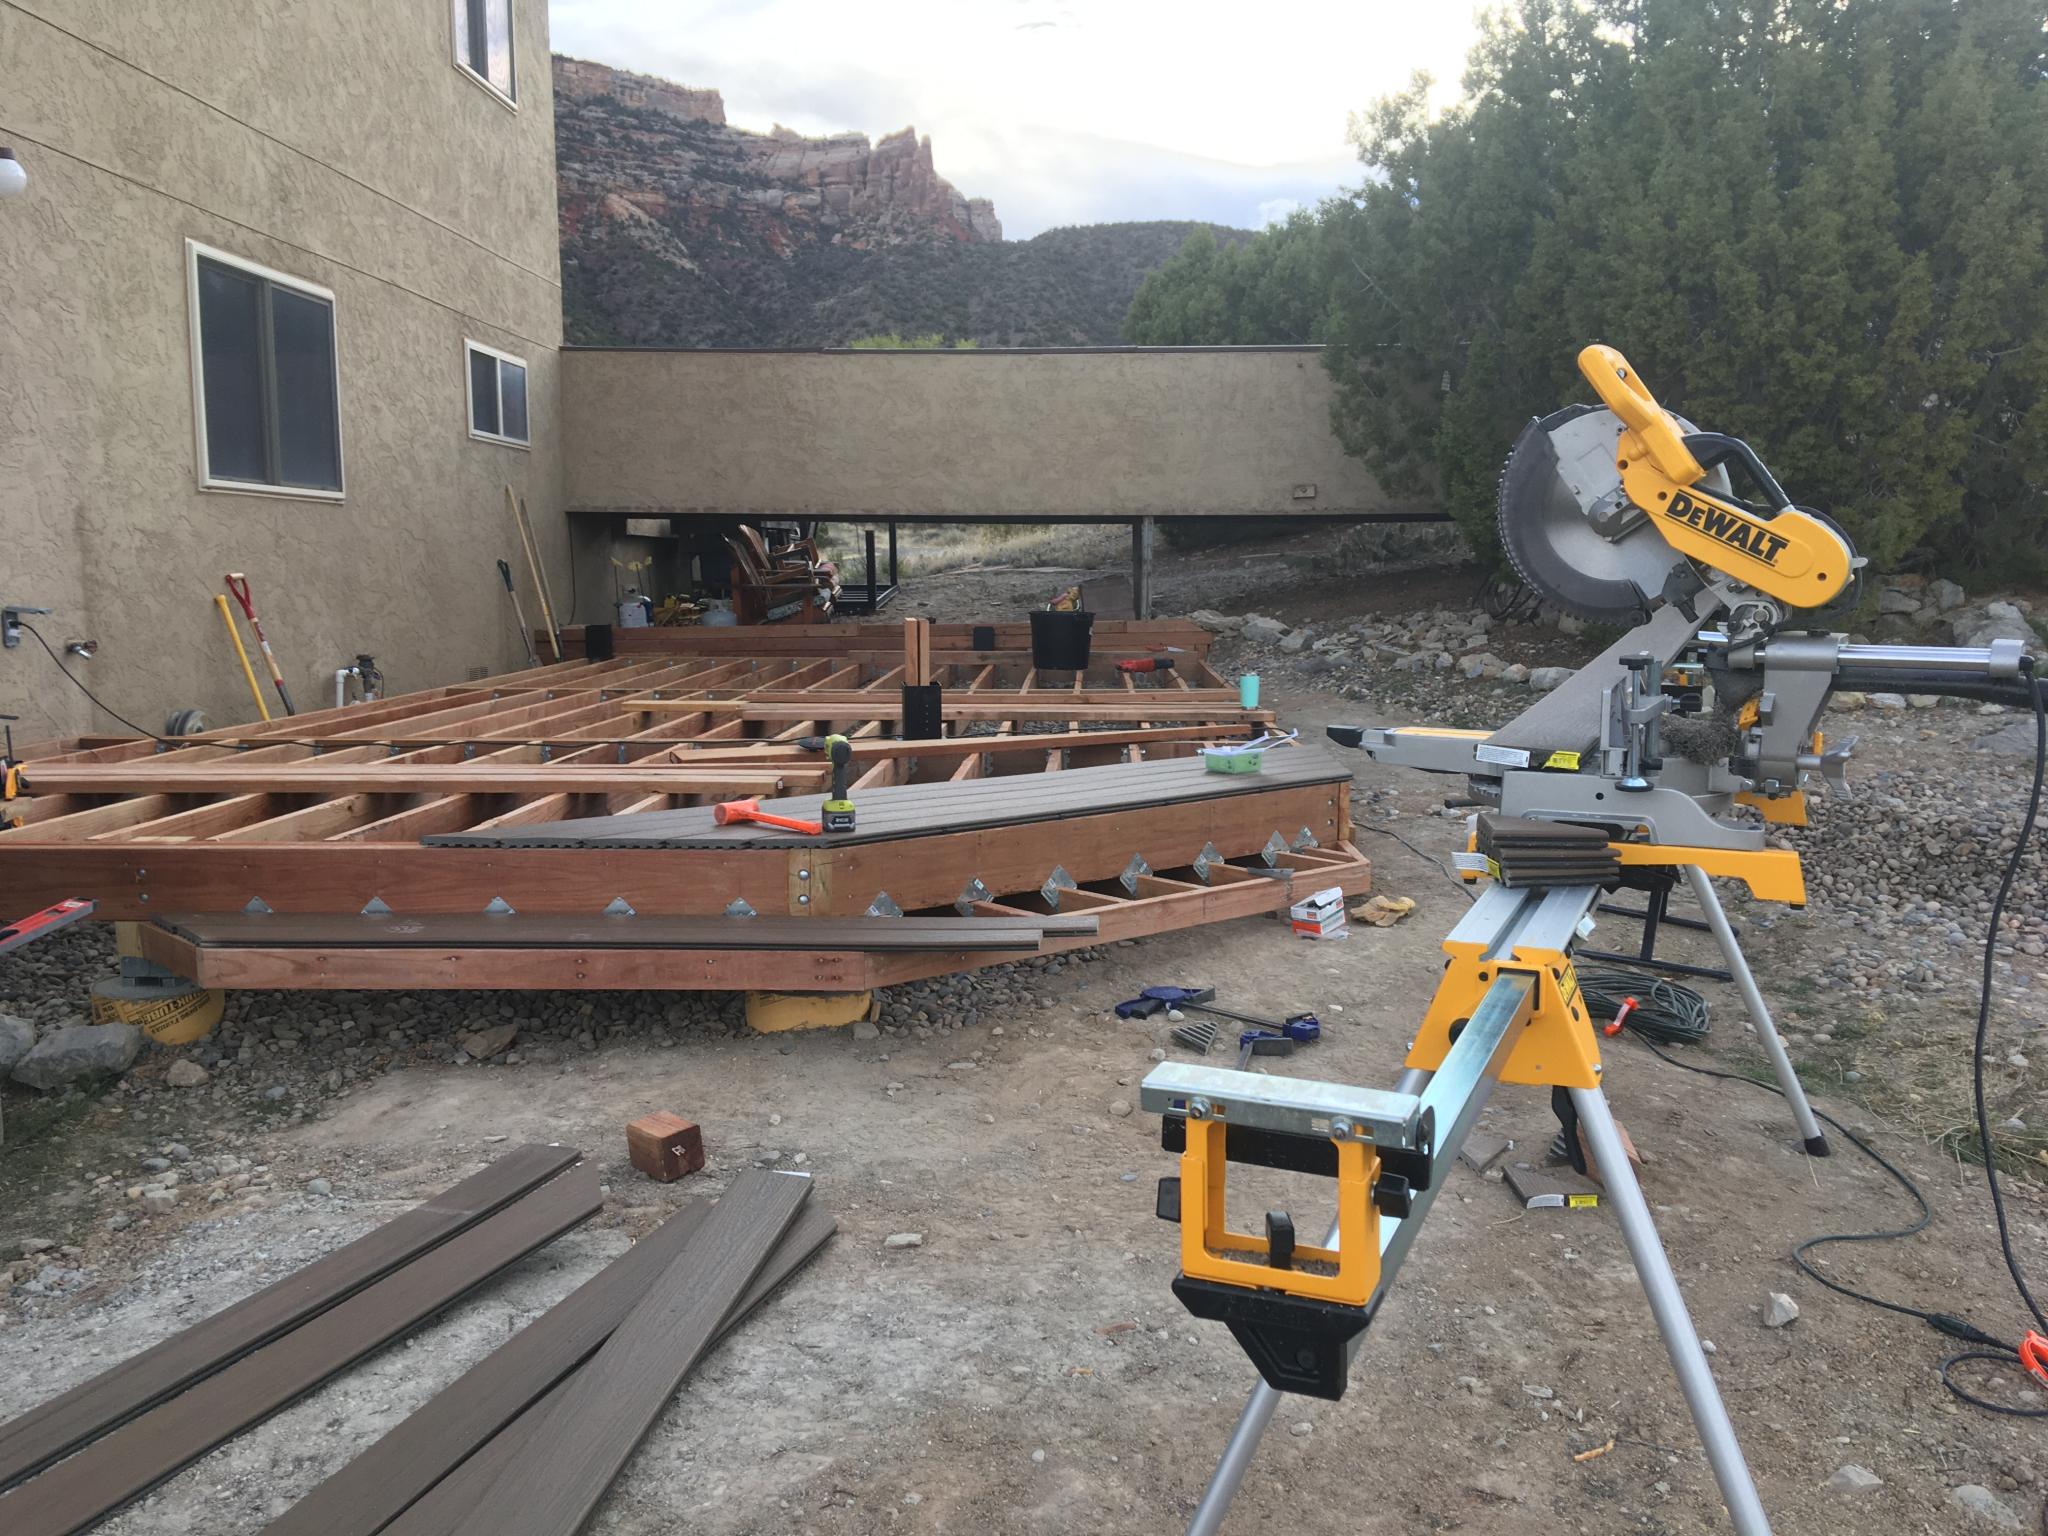
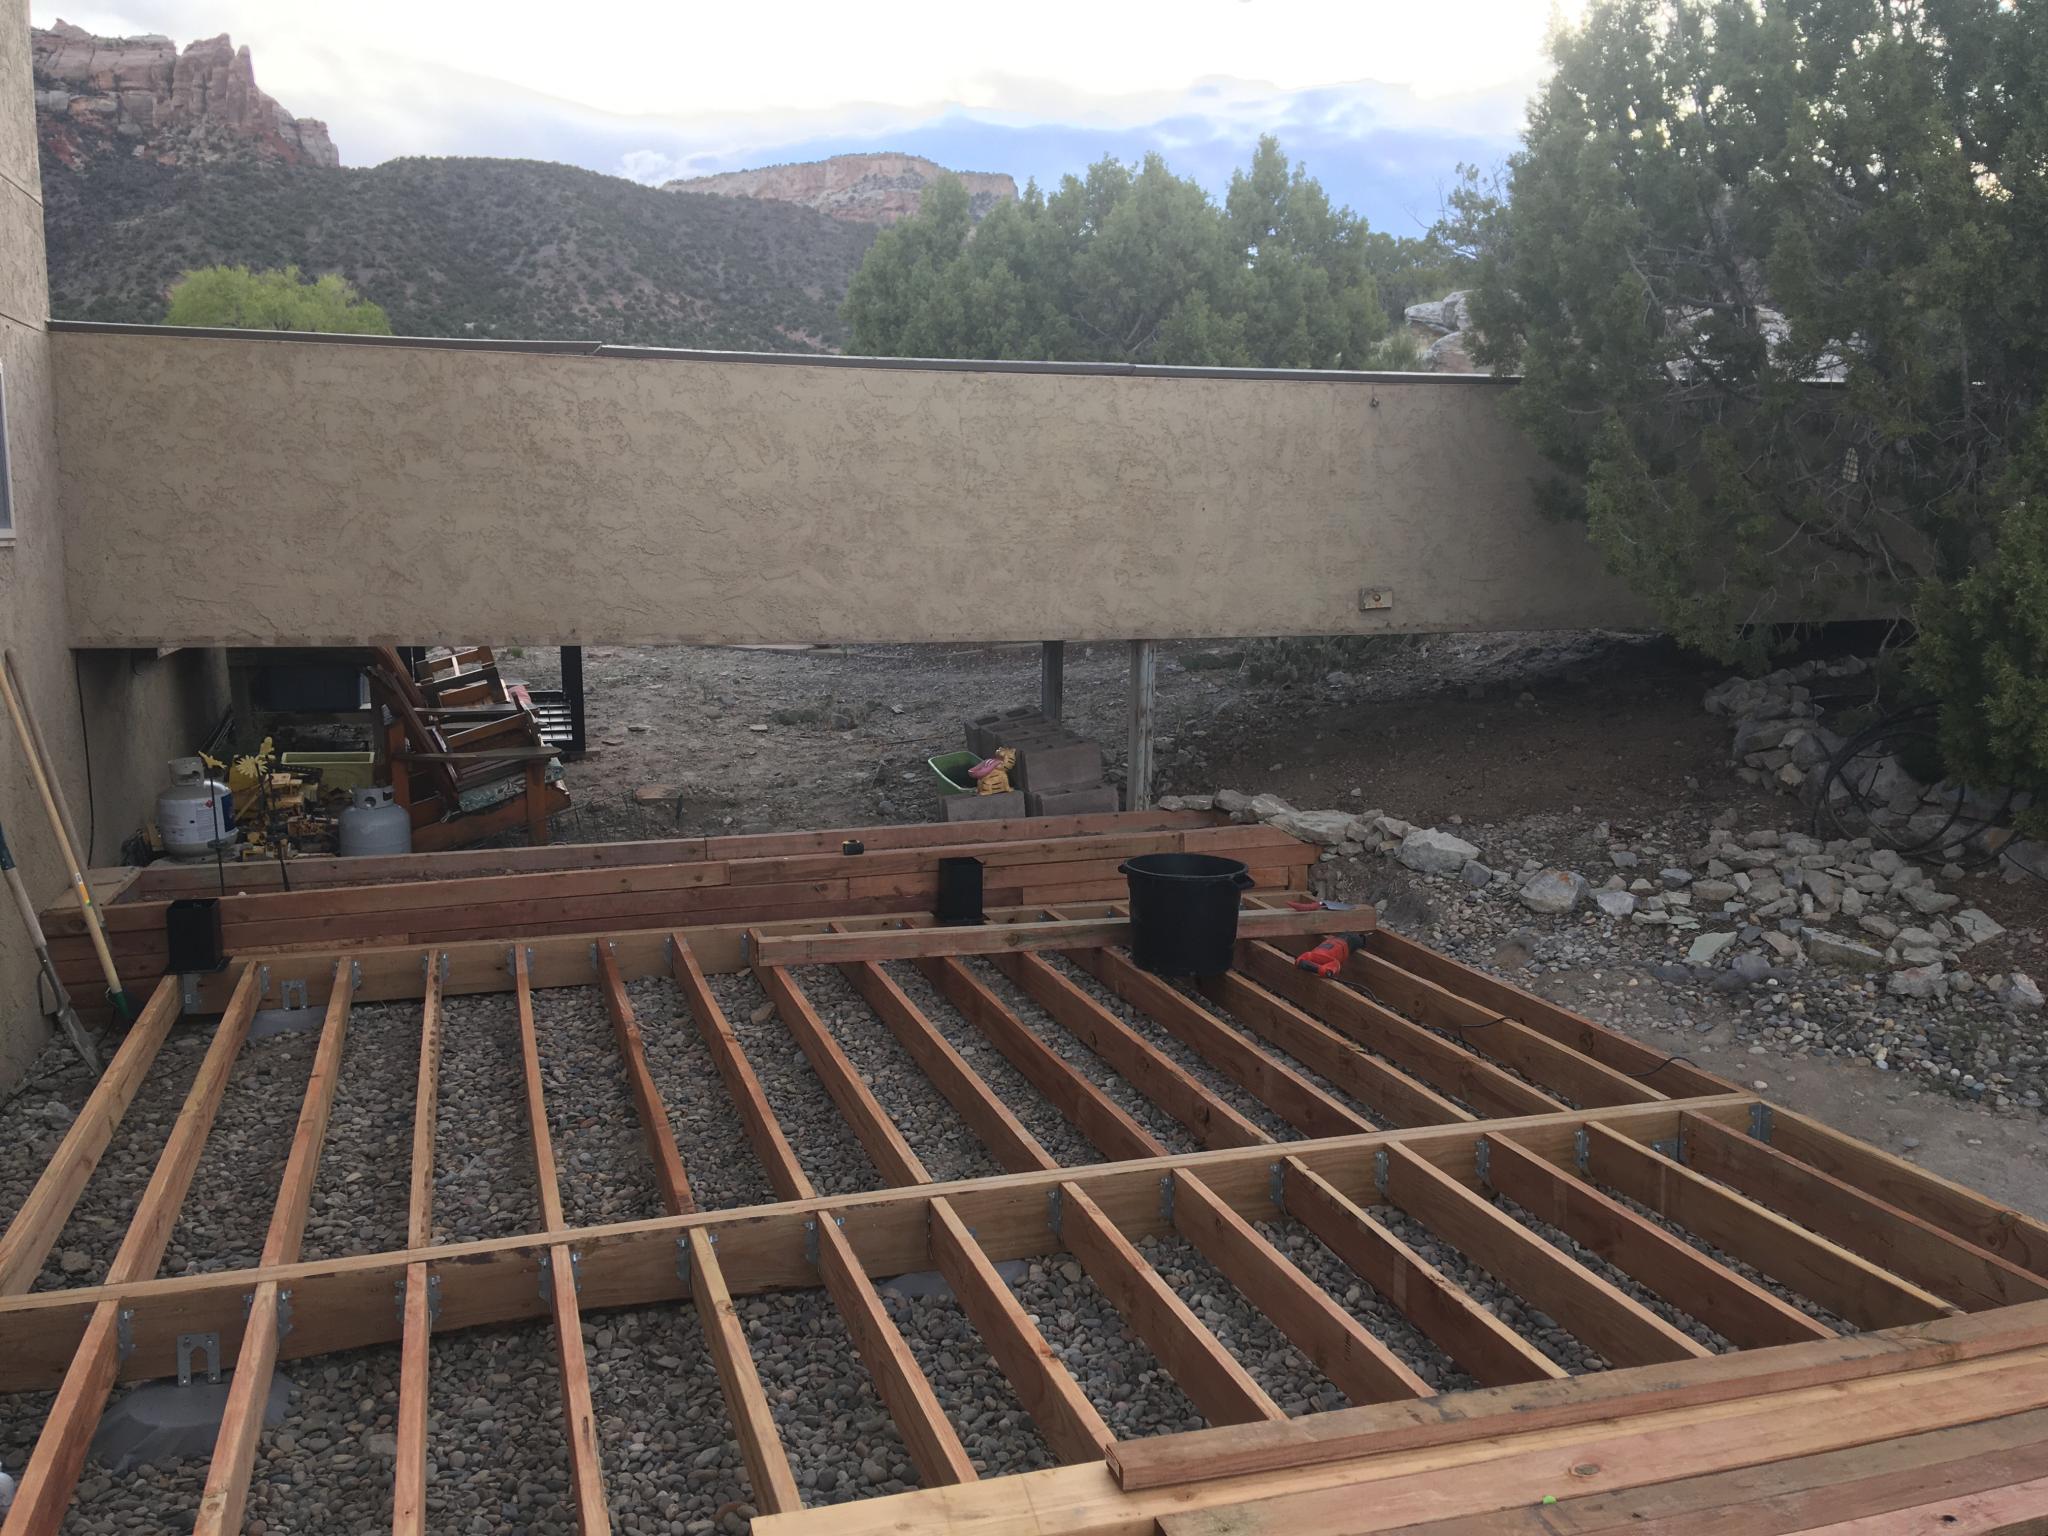
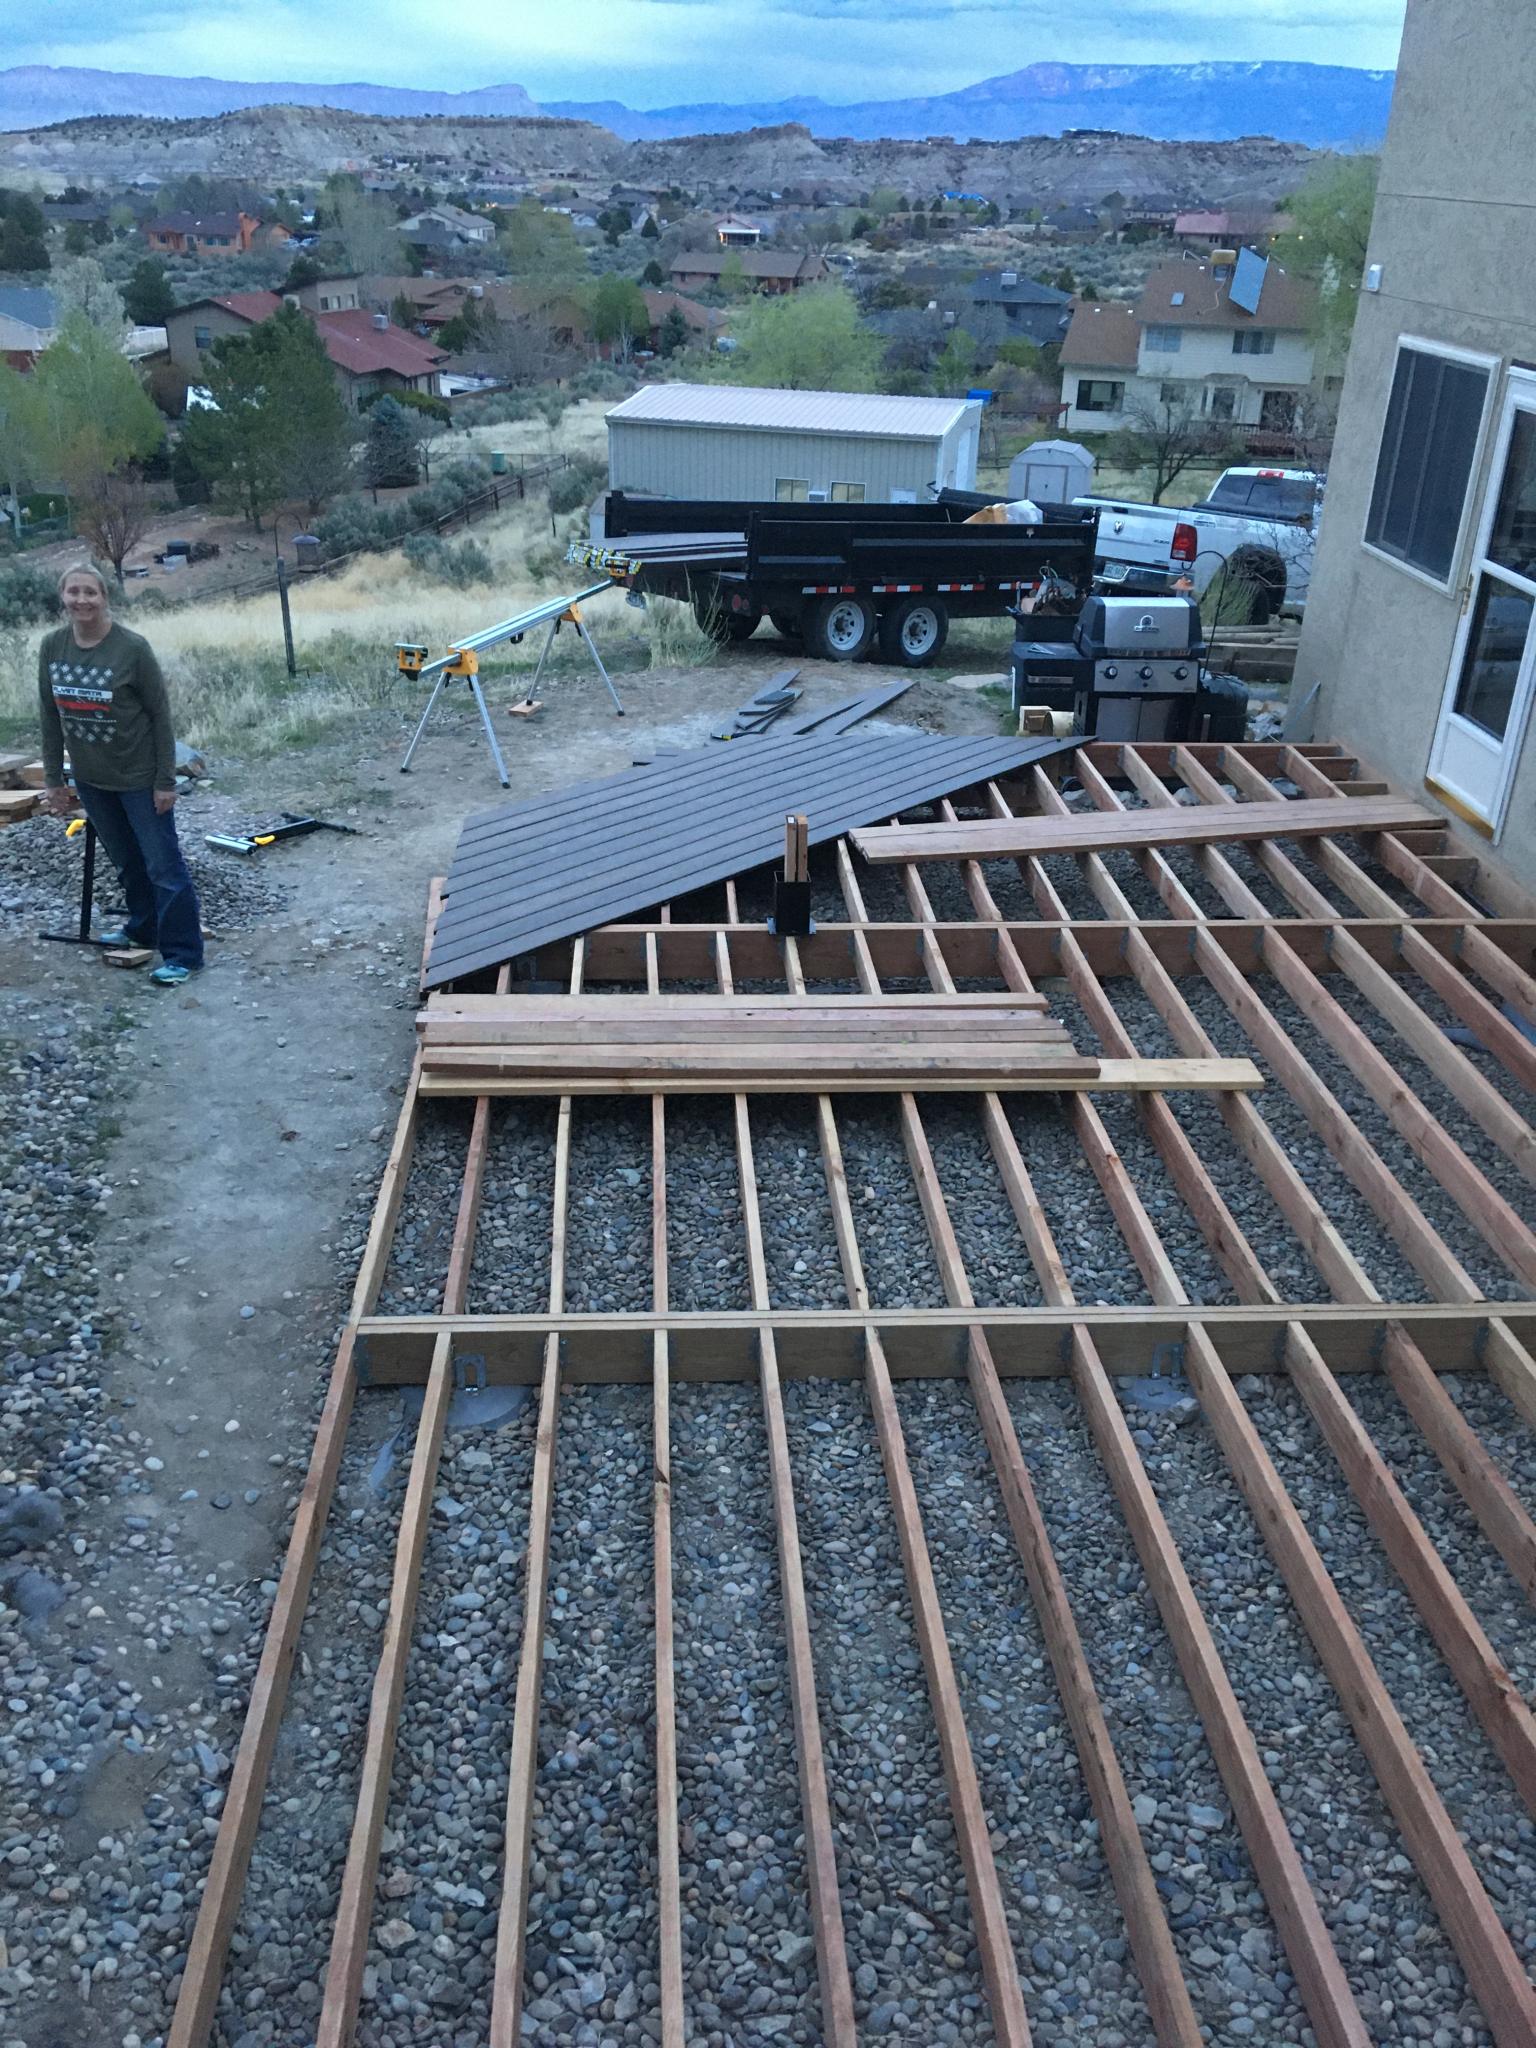
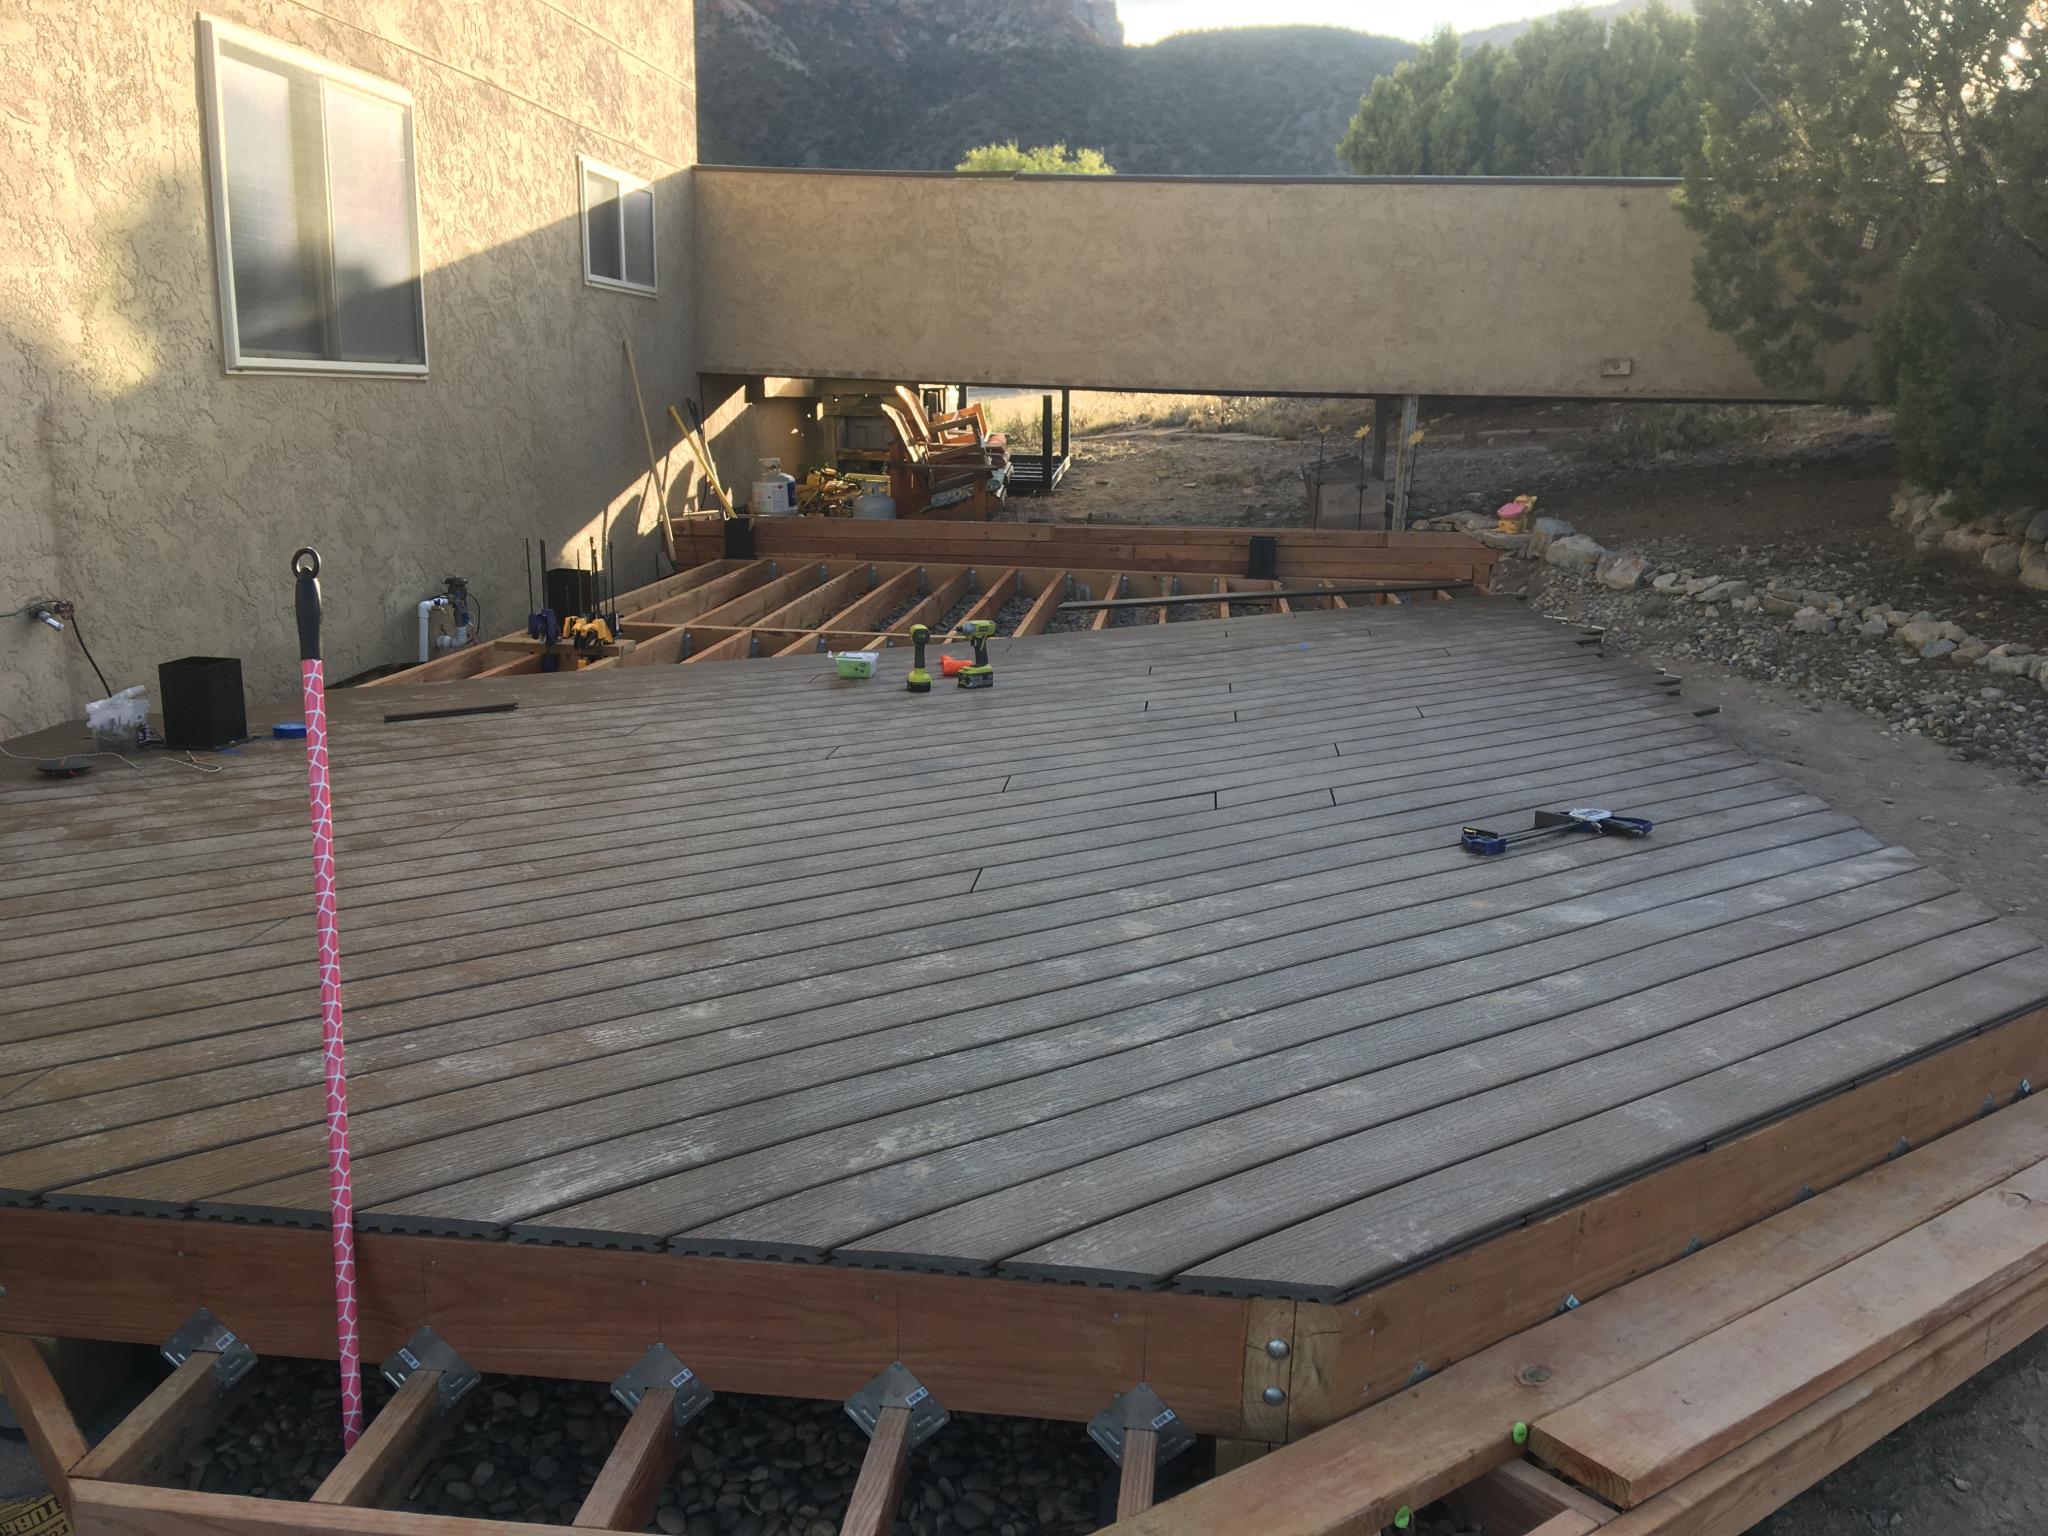
The deck itself is right around 750 square feet and is on two levels. No stairs, just a step from one level to the next. It's going to be as close to the ground as I can make it. Framing is planned to be doubled 2x6s on footings that are 8' apart, and joists are 2x6 on 24" centers with an 8' span.  

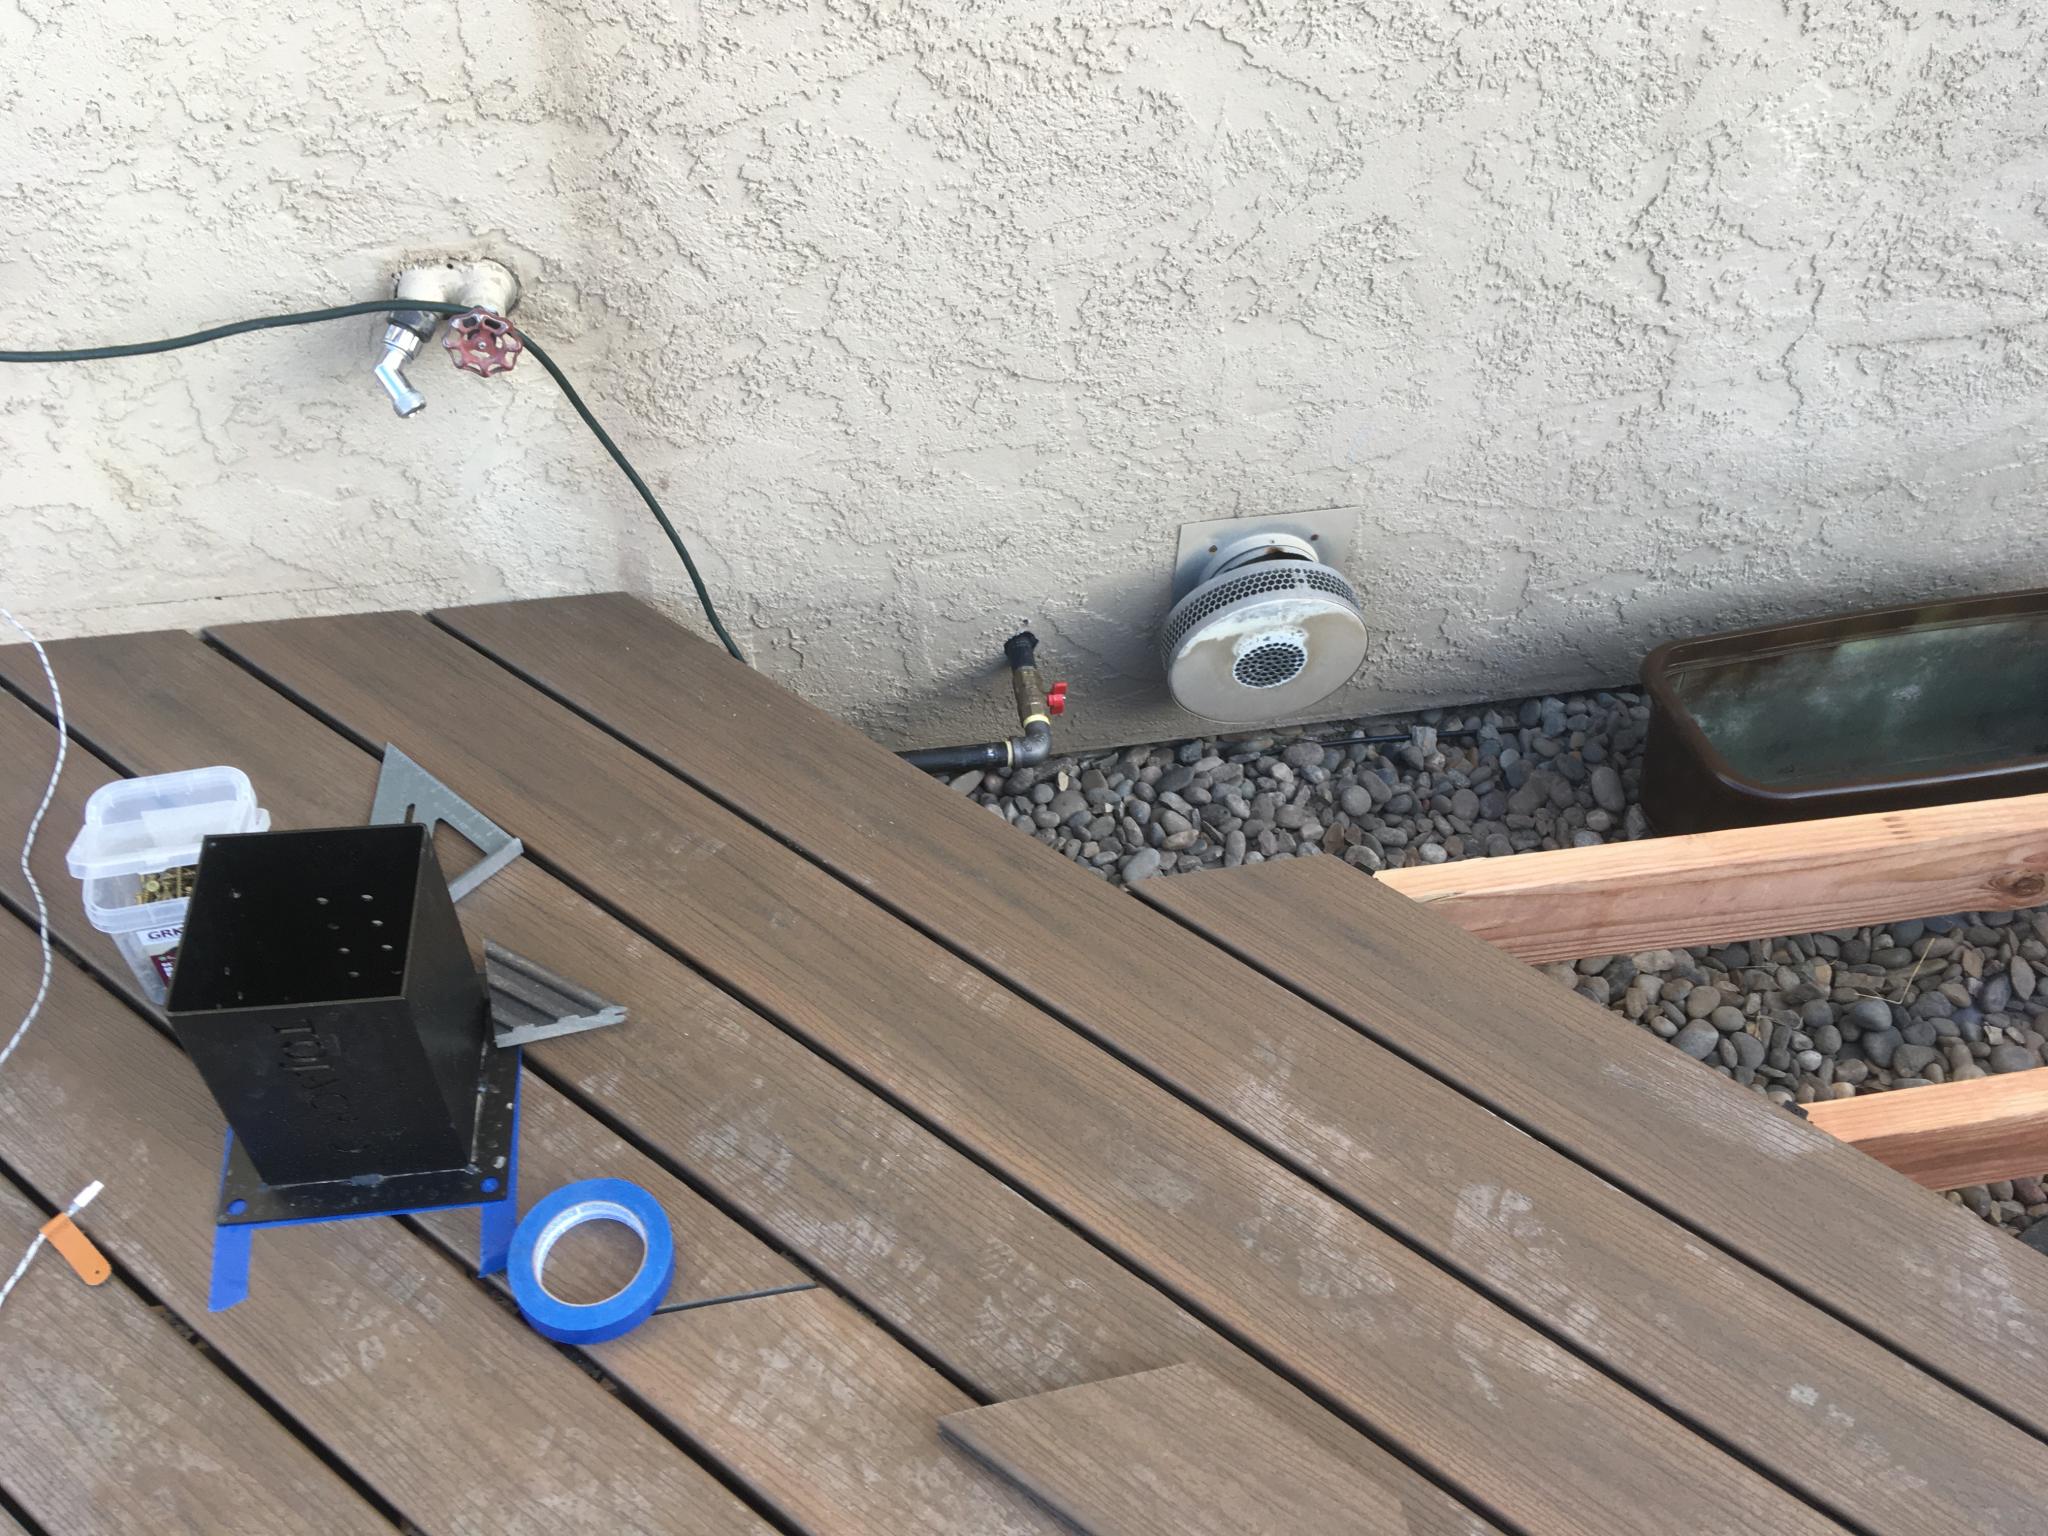
The deck will be separated from the house by a foot to make room for various vents/inlets/irrigation fittings so it's effectively free standing. 

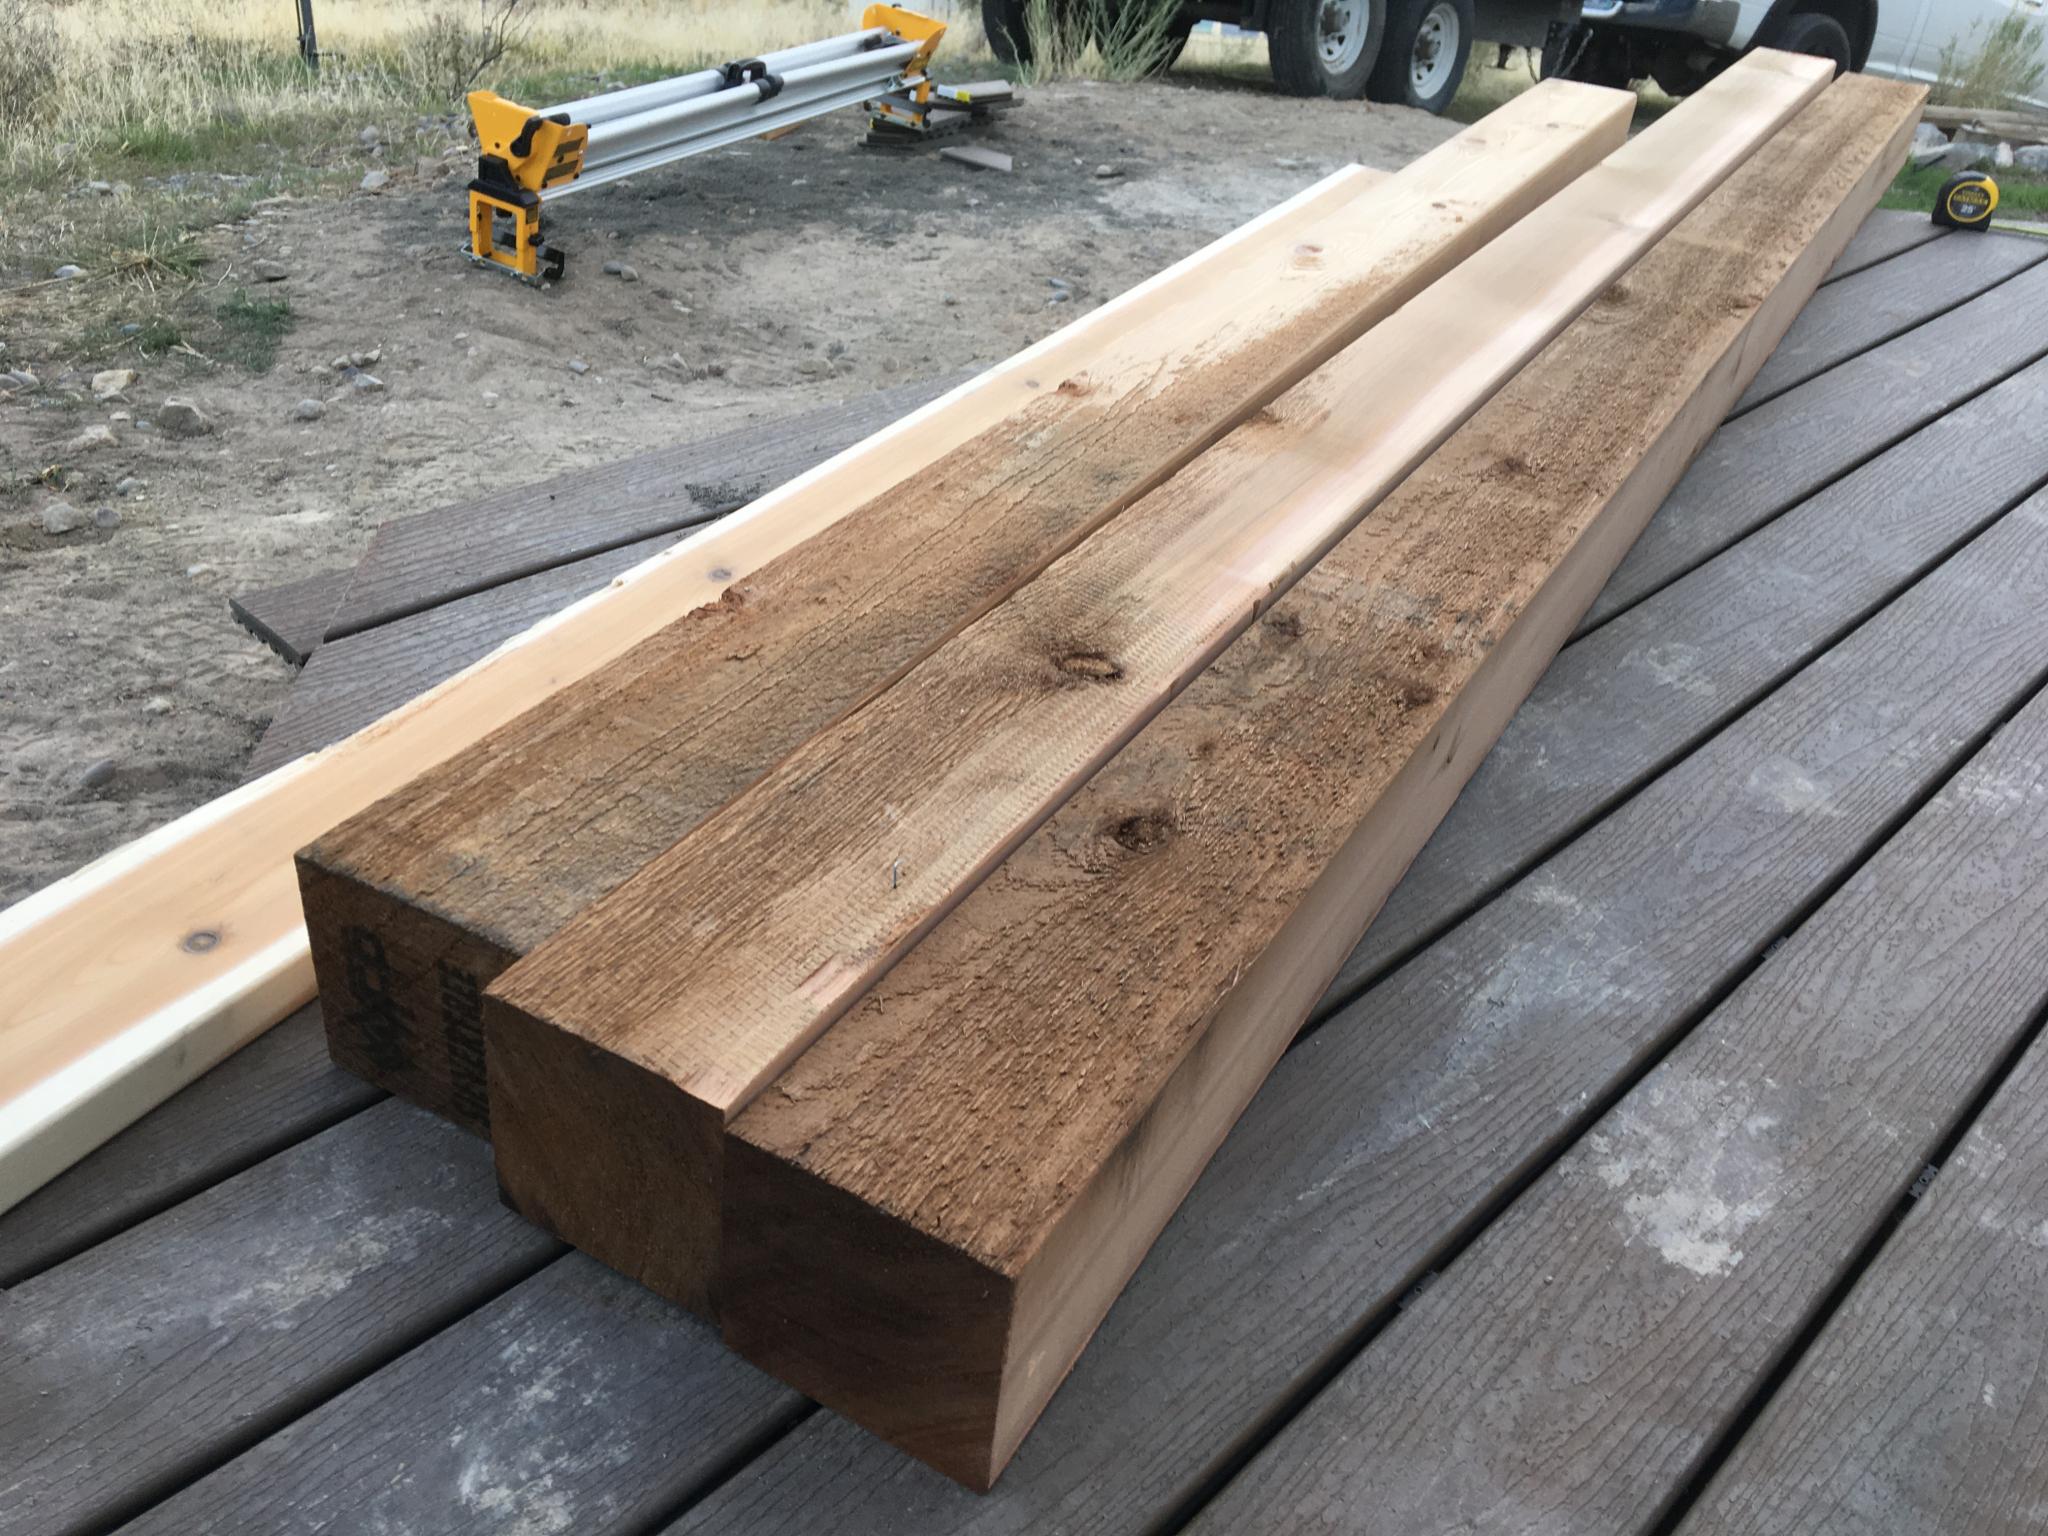
Sourcing lumber around here is difficult, you're either industrial or you're dealing with Home Depot. I'll probably have to suck it up and do the latter. Finding a massive tree and having it sawn up isn't really in the cards, especially as I'll be dealing with ground contact.

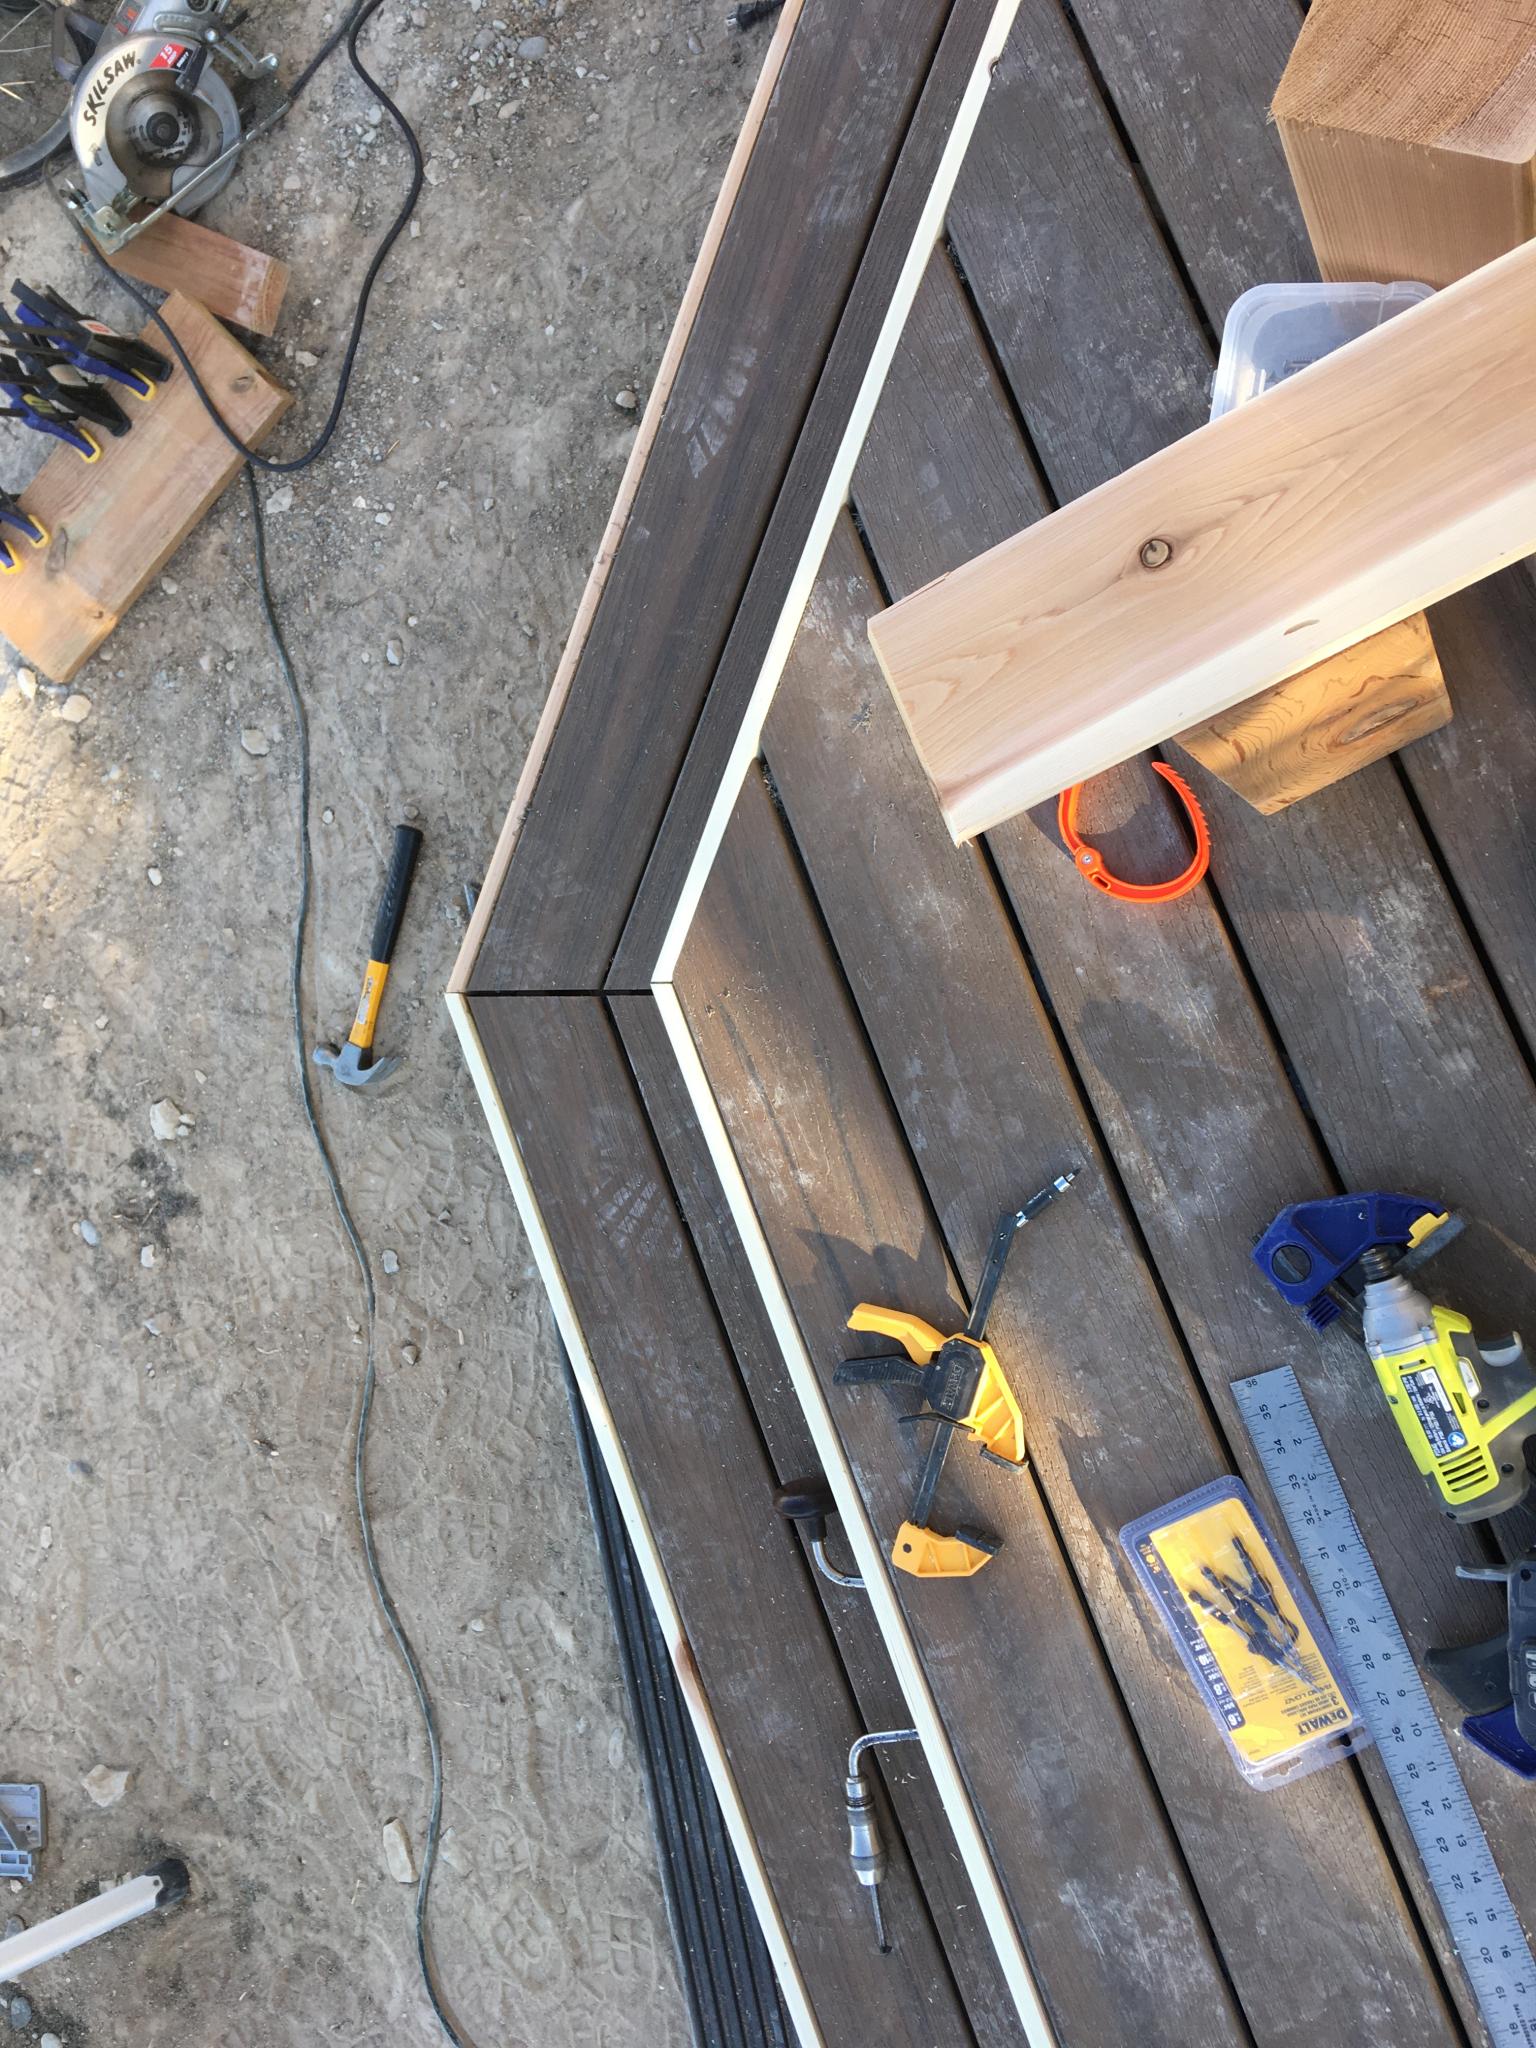
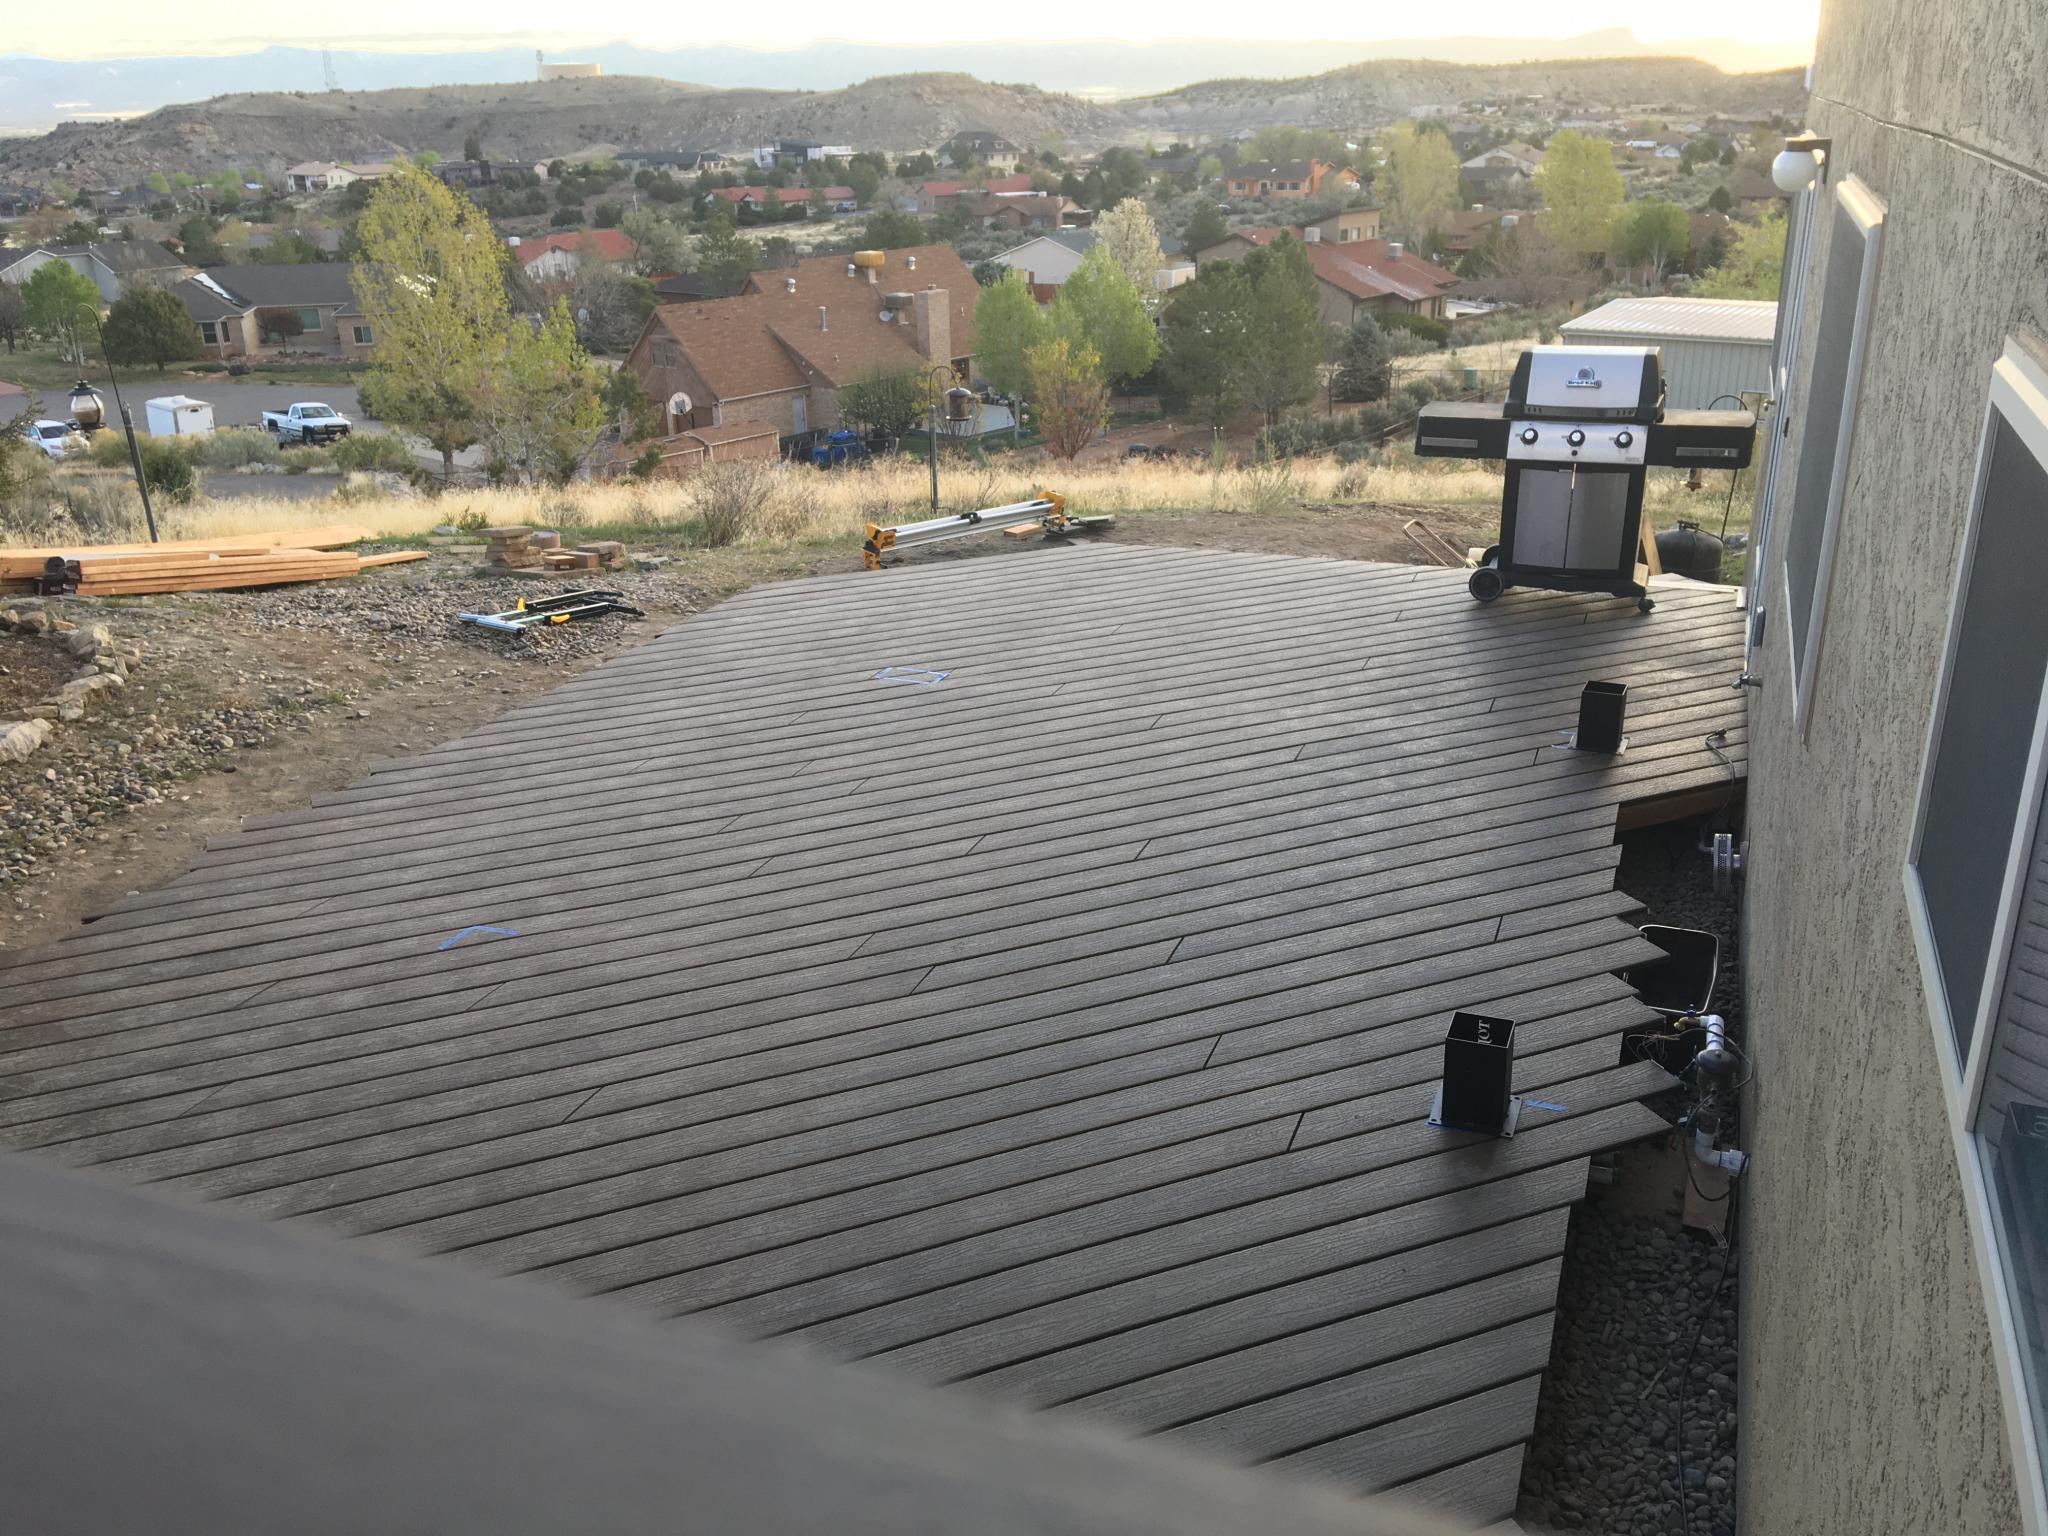
The actual decking will likely be composite. I used it last time and while it can get slick with a frost, that's not a common problem around here. The goal is low maintenance.

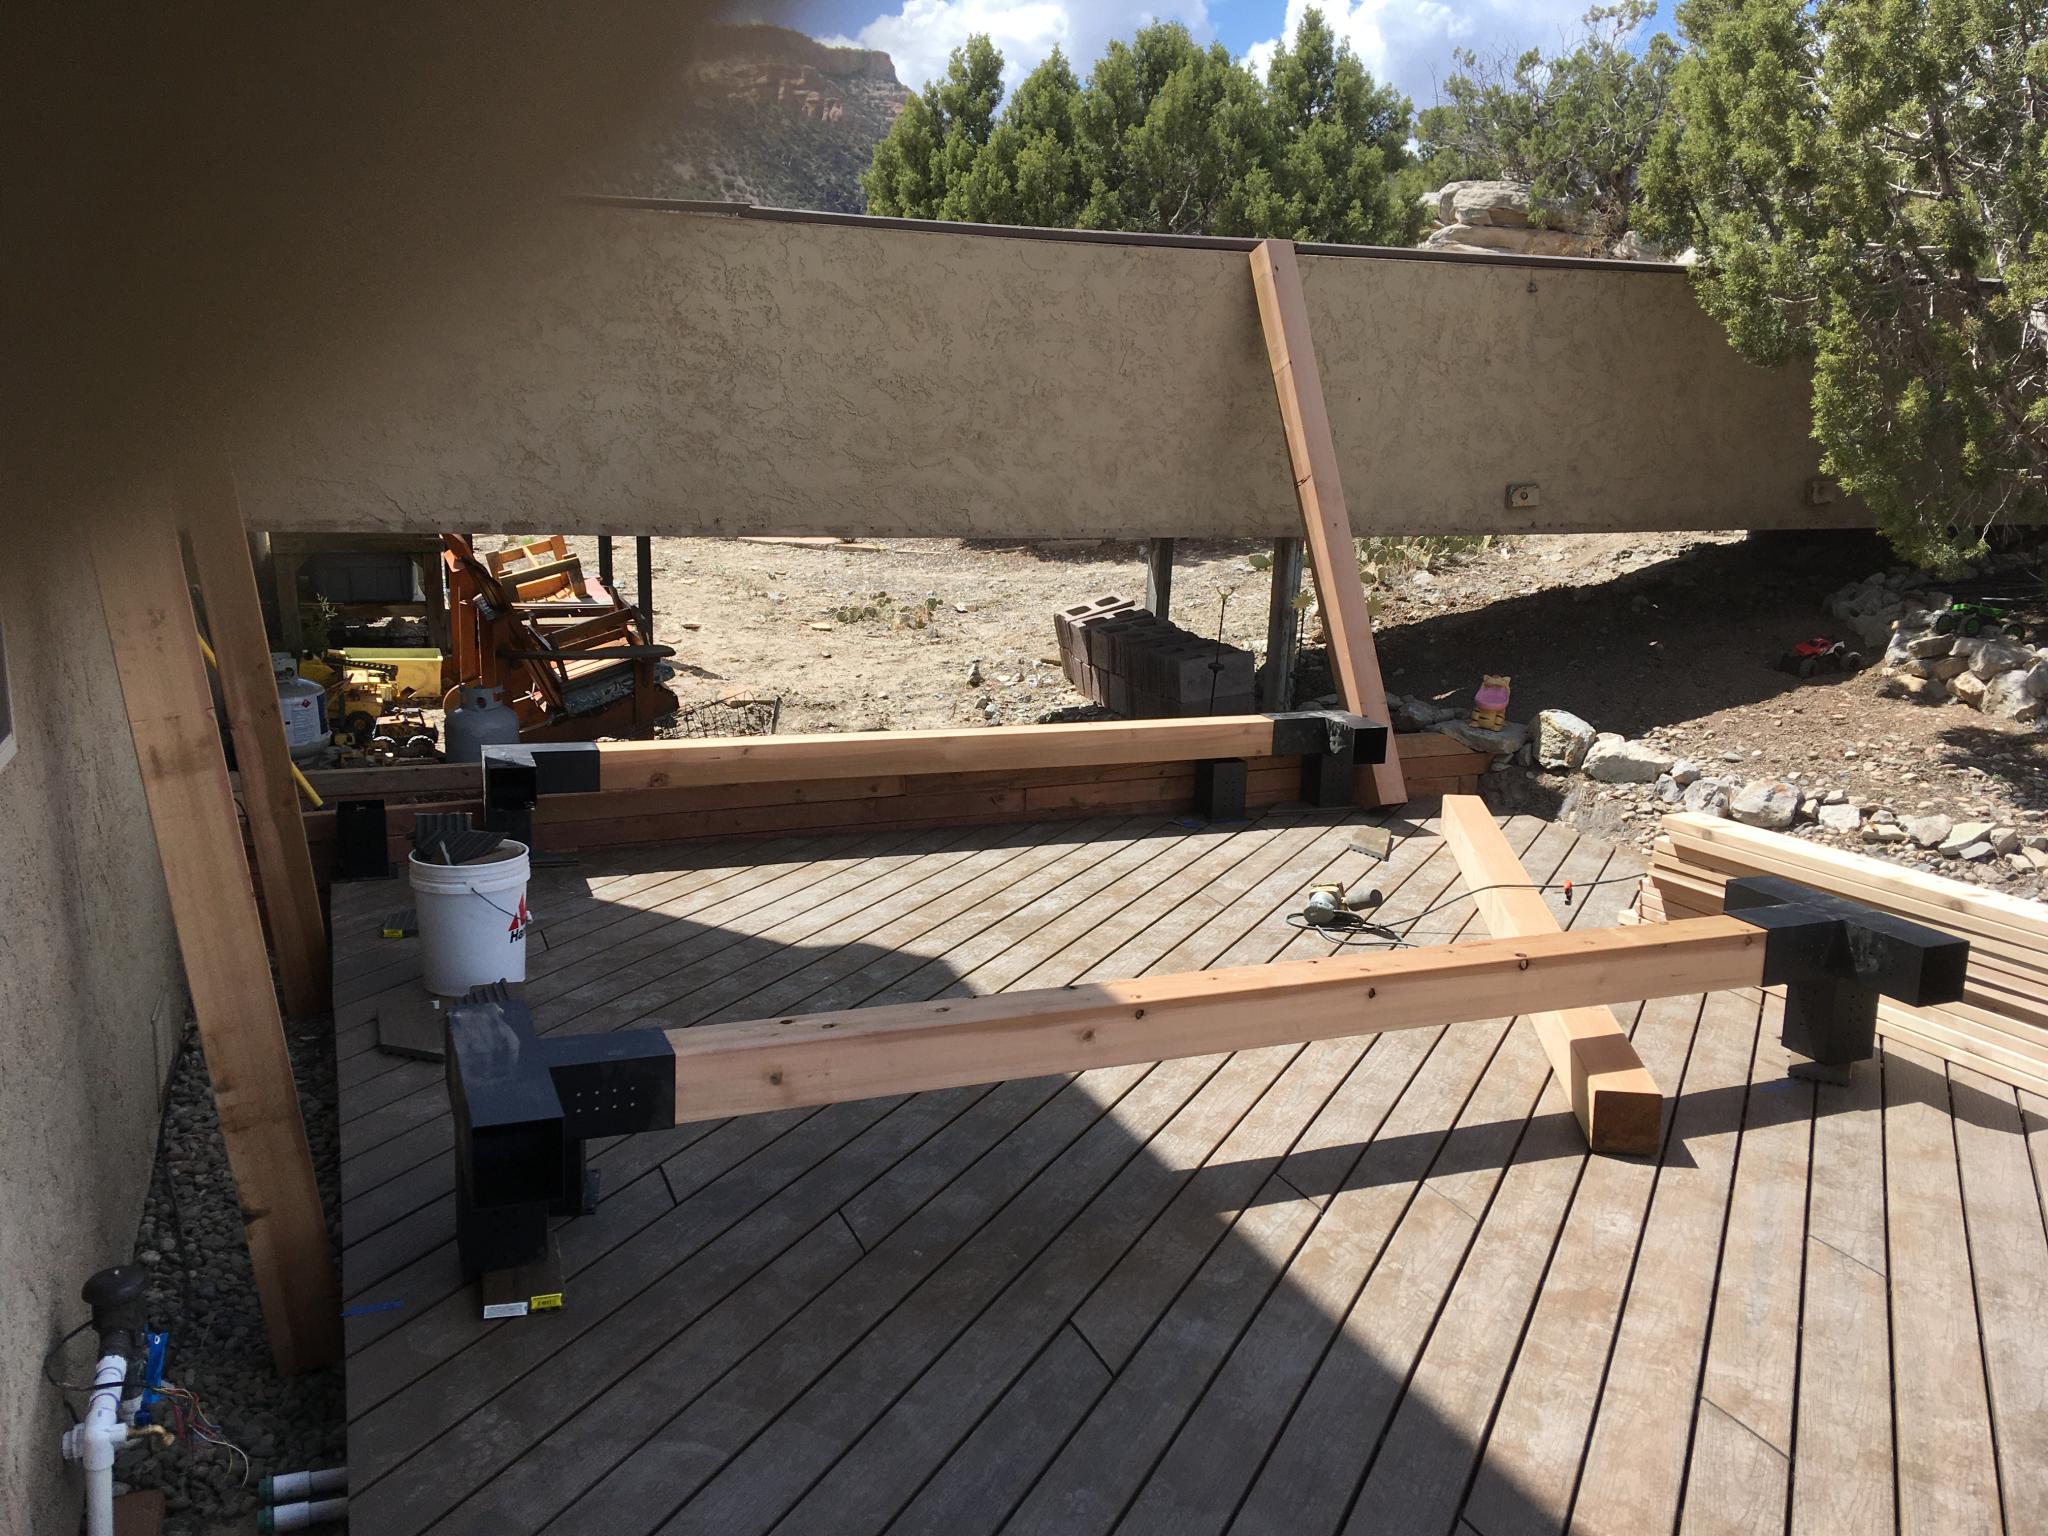
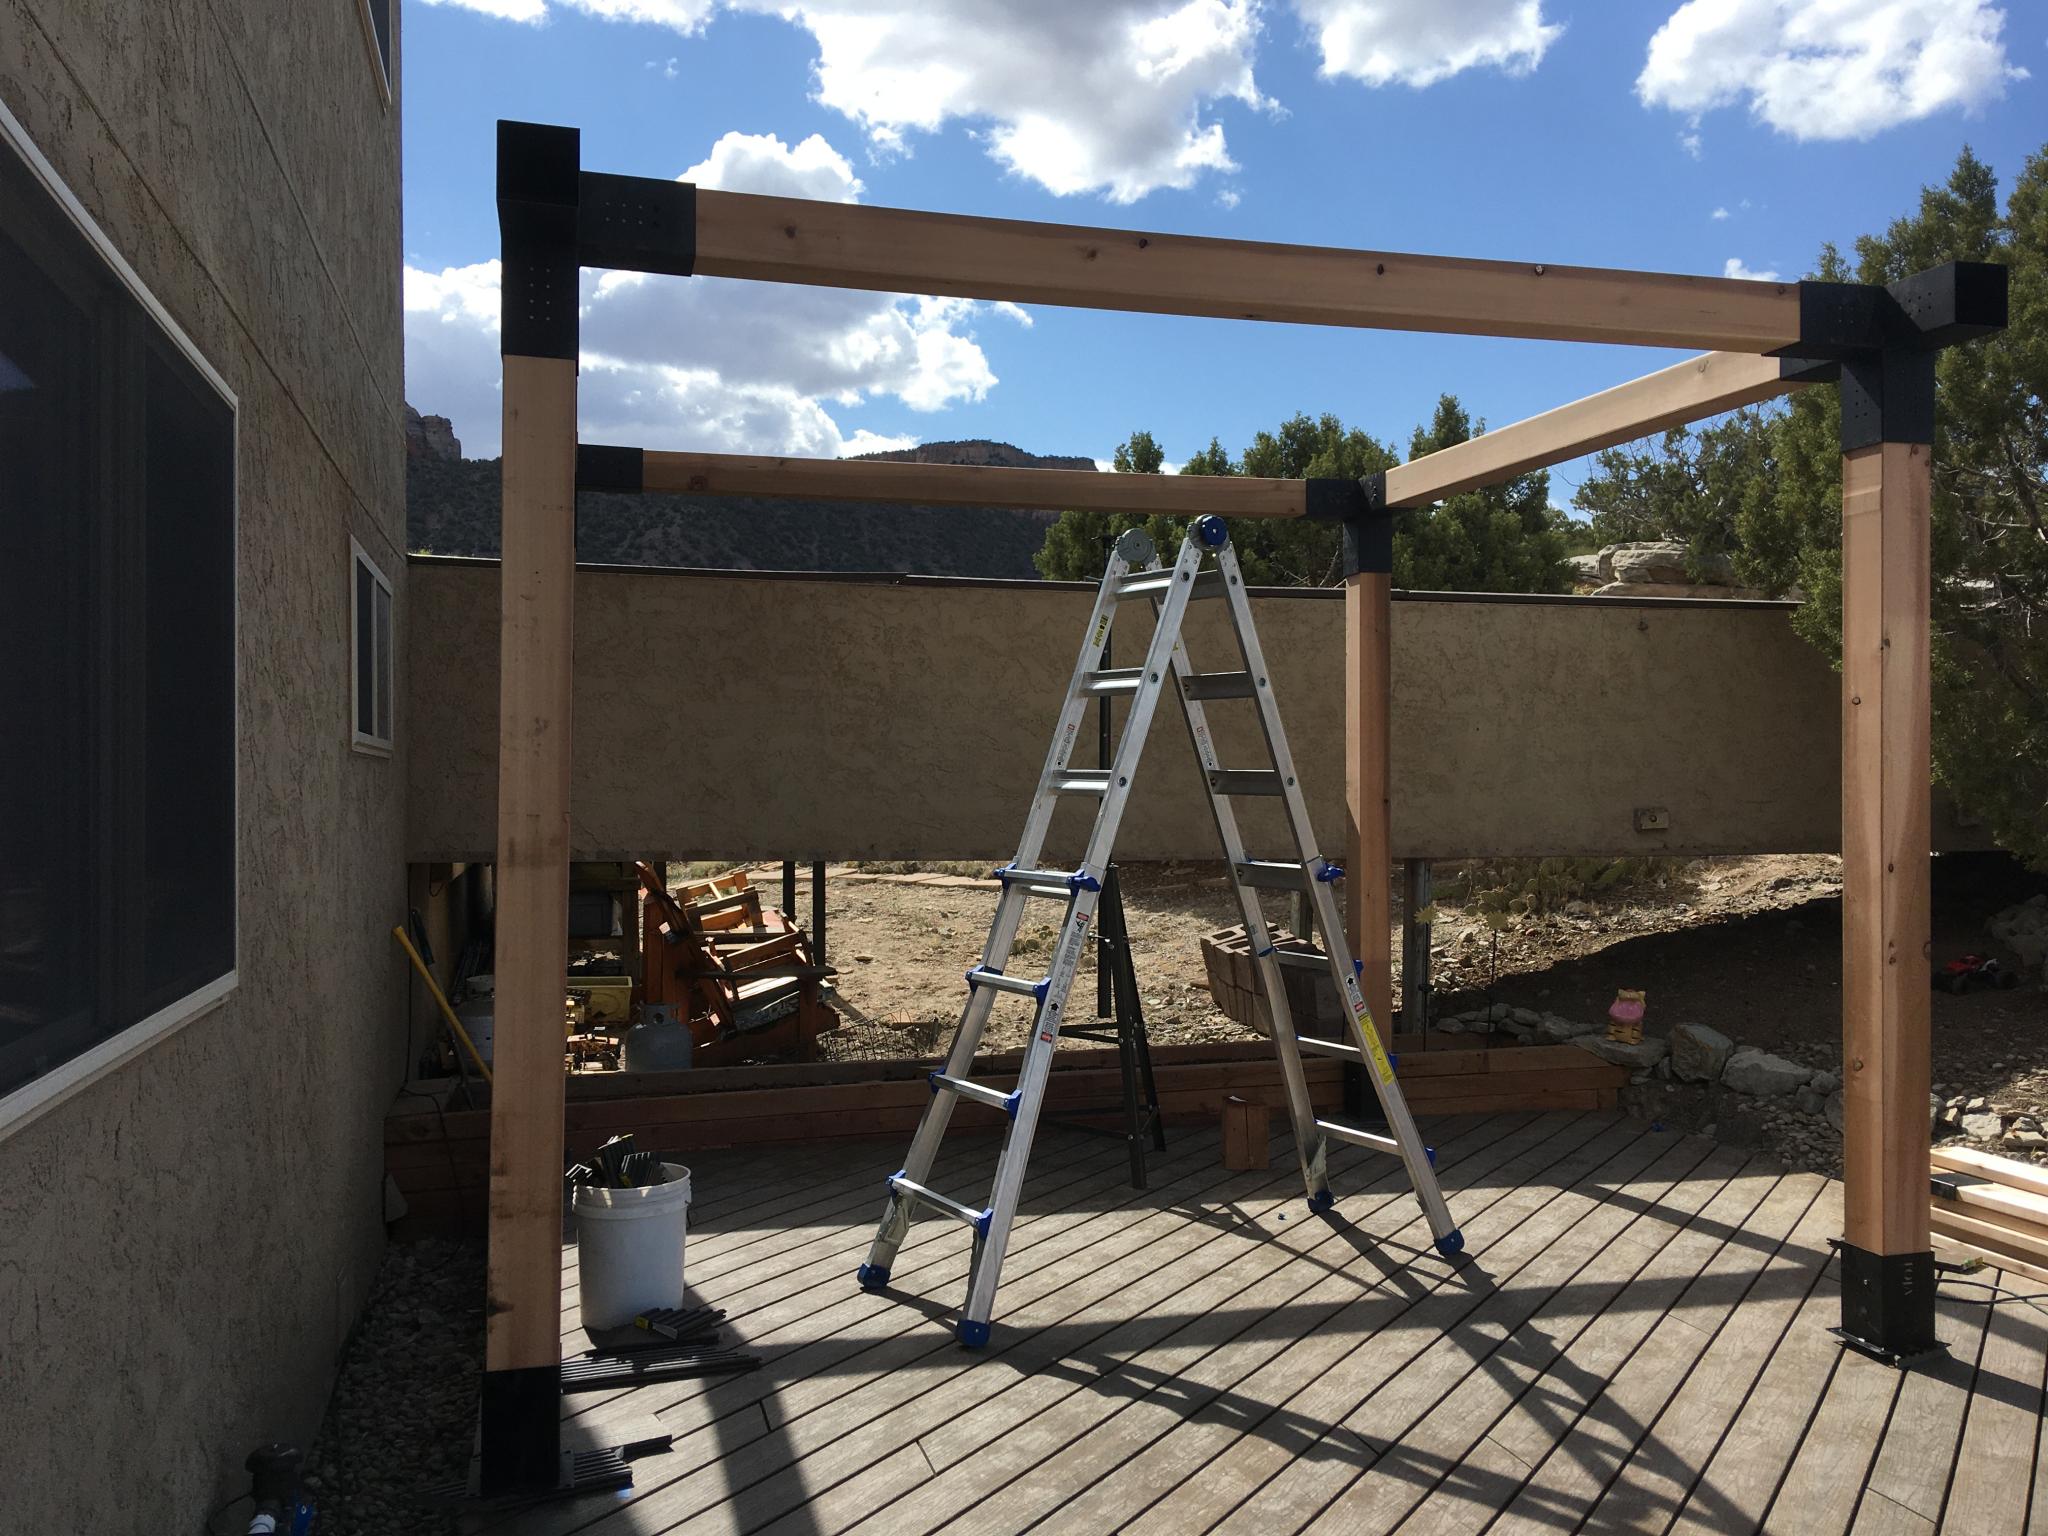
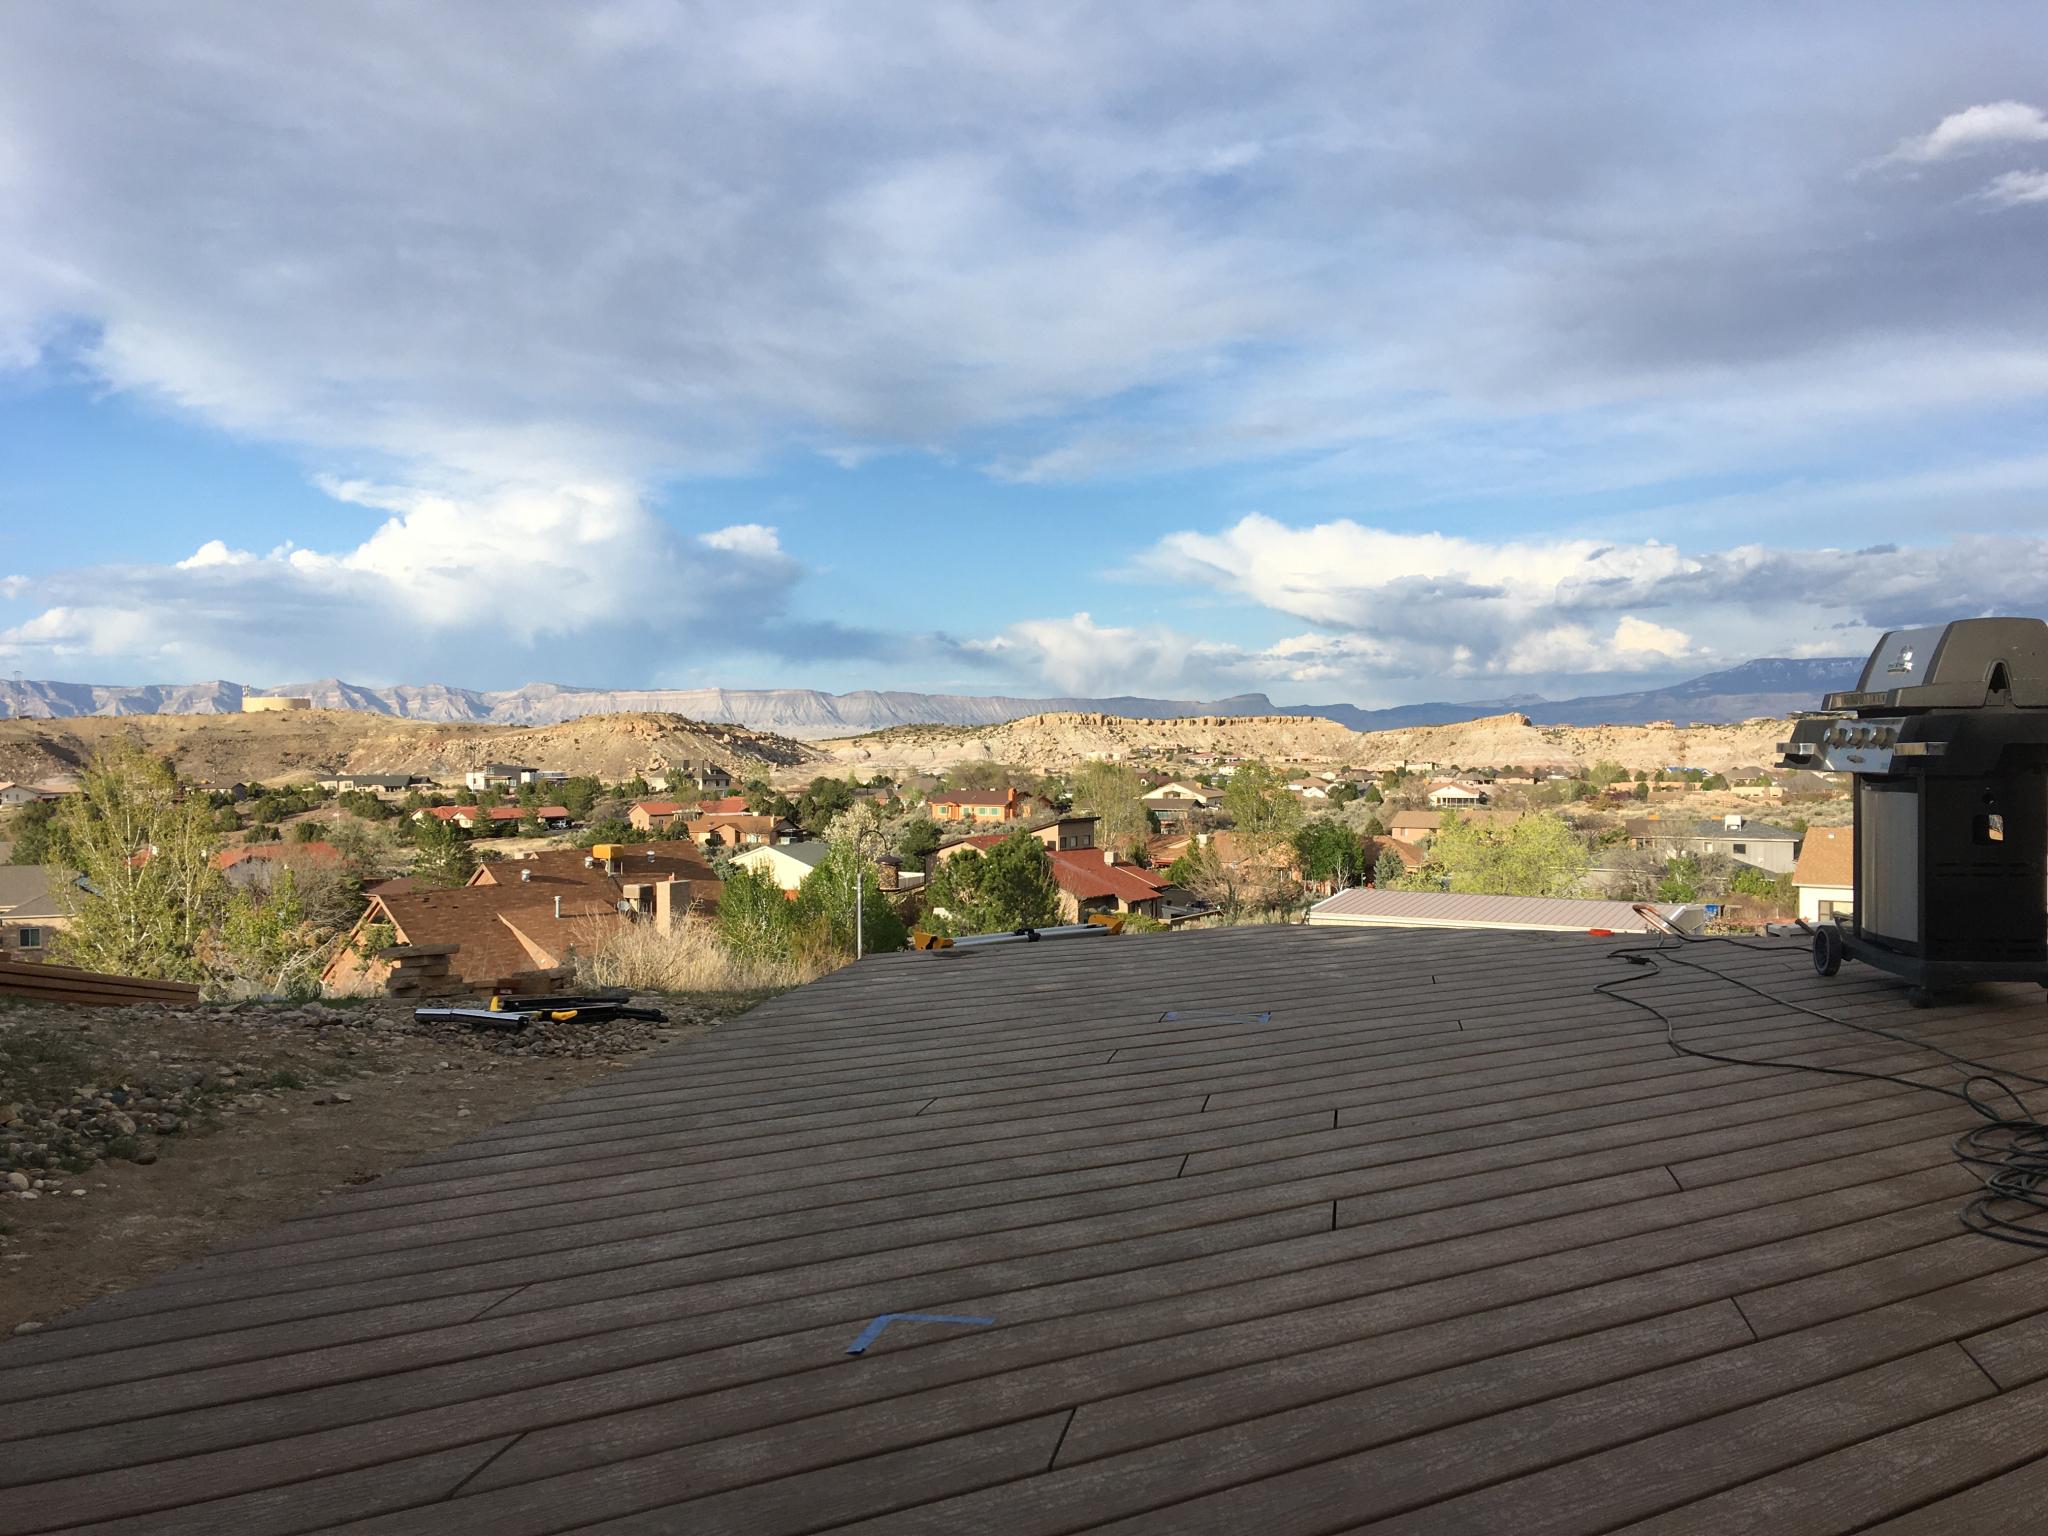
Future plans include plumbing the BBQ in to run on natural gas as well as a gas fire pit. The gas outlet on the side of the house is in place already. I'm also going to add a pergola for shade, I think that may be a later addition but I'll plan for it now in terms of structure. I shall have questions about that later!

Any generalized advice from hardened veterans of the trade?

SVreX
SVreX MegaDork
3/18/20 5:38 p.m.

2x6 girders spanning 8' between piers are too small. You need 2x8 (or even 2x10)

24" oc is too widely spaced for standard 5/4" deck boards. Go to 16"

If it's gonna be free-standing, you are gonna have to put some effort into lateral stability- lots of bracing, or support posts deeply set in concrete.

Decks take significantly more load than people realize- much more than house floors. The problem is that we all have cookouts, drink beer, and play music. A dozen people who all sway the same direction at the same time in rythym with the music weigh more than a car.

SVreX
SVreX MegaDork
3/18/20 5:38 p.m.

Composite deck boards definitely need support every 16". 

SVreX
SVreX MegaDork
3/18/20 5:42 p.m.

In reply to Keith Tanner :

You need to work on that MG before you do another project...  I need a trans! cheekycheeky

ProDarwin
ProDarwin UltimaDork
3/18/20 5:44 p.m.

Not a hardened veteran, but I have helped build a few.  What I could tell you is what *not* to do on your deck :)  Someone took some shortcuts on my deck that seem totally obvious.  An extra hour or two of work would improve quality by 100%.  Its unlikely you would make these mistakes (poor decisions?) but here are the 2 big offenders:

1) do not carry the ballisters down to the face of the deck

2) make sure the railing uprights are boxed in

BoostedBrandon
BoostedBrandon SuperDork
3/18/20 5:51 p.m.

I wish my deck was bigger, but my wife says it's big enough for her.

Keith Tanner
Keith Tanner GRM+ Memberand MegaDork
3/18/20 5:52 p.m.

Thanks SVreX, I was hoping for your input. I'll go back to where I found those framing calculations and double-check them. Note that the 2x6 girders are doubled, so effectively they're 4x6. I was going that way because I was trying to keep this as low as possible to avoid interference with a door in the house.

Sway will not be a problem, this thing won't be on posts. It's ground level, the beams bolted right to concrete pads. I might need a couple of posts at one end but they'll be short ones.

Keith Tanner
Keith Tanner GRM+ Memberand MegaDork
3/18/20 6:00 p.m.

Also, the MG engine is in, I just need to do the bolting/wiring/plumbing bit. It was supposed to happen today but I had a plumber at the house instead.

Just downloaded the Prescriptive Residential Wood Deck Construction Guide from the AWC so I can be sure to get the numbers right. I can see my first error already - used joist numbers for beams. Looks like I'll probably be okay if I double the number of footings, but I'm still working on it...

Looks like 5'8" on the footer spacing. 

SVreX
SVreX MegaDork
3/18/20 7:04 p.m.

In reply to Keith Tanner :

Girders are almost always doubled- I assumed you meant that. 2x6 is too small.
 

You can build it much lower if you run the joists into the side of the girder, instead of resting on top of it.

That can usually buy 8 or 10 inches. 

Keith Tanner
Keith Tanner GRM+ Memberand MegaDork
3/18/20 7:13 p.m.

I need to go back and see if that was my plan. I've been going back and forth on that. I need to spend some time with the laser level as there's a very slight slope on the land (thus the second level) and I have a door constraint that limits my height. The current deck/porch is 5" beneath the door level, which seems wrong.

2 2x6 with 8' joist span and 5'8" beam span is listed as acceptable in the AWC guide. I'll tighten that up a bit, and if there's enough vertical room I'll look at bumping up to 2x8. I'll post my rough plans when they're updated.

SVreX
SVreX MegaDork
3/18/20 7:22 p.m.

Your joist span is only 8', but the deck is 750 SF?

That would make it 94' long. 

Keith Tanner
Keith Tanner GRM+ Memberand MegaDork
3/18/20 7:29 p.m.

More than one set of beams :) There's one in the middle.

The main platform is 30x16. I also have a 15% overrun in the deck size for calculating decking lumber requirements. I'm probably way off there. Actual area is 650 square feet.

lotusseven7
lotusseven7 Reader
3/18/20 9:21 p.m.

We have a 38' x 16' deck and used Fiberon composite decking. Joists are 2x12's and 16" o.c. There is a noticeable "bounce" when walking around on it. It quite noticeable and annoying especially when it's very warm out. Had I known this was going to be an issue when building it, I would have gone 12" o.c. instead. I plan to finish the area underneath the deck this summer and before closing in the underside, I will be adding additional bracing.

Robbie
Robbie GRM+ Memberand MegaDork
3/19/20 7:28 a.m.

If you can figure out how many boards comes in a pallet or bundle to home Depot, order just less than that. When I did my deck last summer, I (mis) calculated* the number of boards I would need.  But I ordered like 76 boards for delivery.

I'm pretty sure the delivery guys were lazy and sent me the bundle from the factory of 80 boards. They didn't unband them or anything. 

Which was very lucky, because I think I ended up using 79 boards....

*I miscalculated the waste because I wasted a lot more than I thought because of a large angled section of our deck. The problem is, you have to waste nearly 16 inches extra on each board end because you need the boards to start and end on a joist. Rookie mistake oh well.

Keith Tanner
Keith Tanner GRM+ Memberand MegaDork
5/2/20 6:46 p.m.

This started poorly. I had done some research...somewhere and come up with a set of plans. Those got set aside for a while and when I pulled them out, I was lucky/smart enough to ask here and Paul pointed out they were way wrong. I went to the AWC guide and the end result was very different.

So, let's start over.

With the AWC guide in hand, I started planning. I actually made a 3D model of the deck to help Janel visualize it, but her part in this is as captain. "Make me a deck, and the details are not my problem". As part of measuring and remeasuring and stringing and sketching, one of the layers of the deck disappeared. So now I present to you How I Spent My April. Unlike some others, I'm lucky enough to be working full time so this is an evening and weekend job.

Let's see, let's start with a before shot. I only have one, this was not an attractive enough backyard to memorialize. This is the ugliest view of the house by far.

By the time our story begins, we have already removed the chain link fence. That thing protruding from the house on the right is a bridge, a fairly strong architectural element that the original owners immediately ruined by nailing boards to it to keep their dog inside. Those are also gone when we start.

Keith Tanner
Keith Tanner GRM+ Memberand MegaDork
5/2/20 6:52 p.m.

One problem is that the house is built into a hill, and this land is not level. I am constrained by that back door - it looks a long way off the ground, but there's a corner of the yard that is about level with it. So the first step in the deck construction was much digging.

I started by using a small tractor to dig out the grass and irrigation system and some general crap. It couldn't break through the shale-ish material, so we went to shovels.

Using nothing but the latest in dirt-moving technology.

At this point, we're pretty close. Note the retaining walls under the bridge. And yes, the bridge needs structural repair. 

I brought in some 2x8s to act as test beams so I could so some extra measuring and figuring and confirm the plans. The deck is effectively 16' wide and about 28' long. It doesn't go straight up to the house for much of the length because there are various...things...sticking out. 

Keith Tanner
Keith Tanner GRM+ Memberand MegaDork
5/2/20 6:58 p.m.

With that figured out, it was time for more physical labor. We enlisted Janel's brother Jason, who is a beast of an army farm boy. He is both ridiculously strong and has an unstoppable work ethic. The problem with bringing in Jason is that you have to keep up with him.

I figured I needed 12" piles for this thing to sit on, and we planned to go 3' deep if possible. We rented a one-man auger (came with its own trailer!)  and started drilling. Turns out we just couldn't get down below a certain level even digging with 40 lb tank bars, so we decided that the ground strength at that point was sufficient. This work did not make the back yard look better.

No pictures of the auger operation, as both Jason and I were working on it.

Janel was in charge of feeding the mixer. Who needs a gym?

And done. Because of the low nature of this construction, most of the beams are resting directly on the concrete pads. We leveled them and used them to support the beam brackets while the concrete dried.

One of the beams did need posts for future stair clearance and because it was just high enough off the ground. I used 6x6 because strong.

Keith Tanner
Keith Tanner GRM+ Memberand MegaDork
5/2/20 7:10 p.m.

With the digging done, I rebuilt the irrigation setup. The previous design had two sets of sprinkers to keep a lawn alive, we have destroyed all that and will only be doing drip irrigation of various flowerbeds. So I just started from scratch instead of trusting 30 year old random pipe that may have been drilled through with an auger. Plus the previous plumbing was aesthetically unpleasing and not serviceable.

Beams in place. The back two are doubled 2x6, the one in the foreground is a double 2x8. That one attaches to the house so it has a longer span on it. Beams are glued and nailed. We also put down landscape fabric and a bunch of river rock. Why river rock? Because this whole backyard is awash in it and we have a big pile sitting down by the driveway. We are rich in river rock.

New ledger board on the house. I found dissenting opinions on how to attach this to stucco. The previous two porches had not really bothered, the ledger board was attached with a couple of drywall screws. I drilled through the stucco into the structure of the house and bolted that sucker on there. It's solid.

There used to be a 7" step down from that door on to the porch. This deck will be much closer to the door height, mostly driven by that one corner that I had to dig down.

How you get bucketloads of river rock up the hill. 4WD, diesel and small enough to operate in close quarters. I love this thing.

Keith Tanner
Keith Tanner GRM+ Memberand MegaDork
5/2/20 7:14 p.m.

Time for joists. 2x6 on 12" centers.

So many joists. So many nails. My job was to attach the hangers and cut the joists, Janel followed me around and did the angle nailing to attach the joists.

First day of joisting complete. And no, the deck is not shaped like a taco. That's some sort of lens aberration.

Time to put the last set of beams on their posts. 

Hammer hammer hammer.

Keith Tanner
Keith Tanner GRM+ Memberand MegaDork
5/2/20 7:21 p.m.

Time for steps. I built a deck at my last house that had the stairs suspended off the bottom of the deck so they just floated, and I wanted to do that again. It was a little more difficult with this structure.

The 2x4s (on 12" centers) are attached to a 2x6 that's slung below the joists about a foot behind the beam. 

Made for some complex design work at the 45* cut, but it worked. I can jump up and down on one of the 2x4s. And check it out, no visible support!

Framing done. Time to start with decking.

irish44j (Forum Supporter)
irish44j (Forum Supporter) MegaDork
5/2/20 7:22 p.m.
SVreX said:

Composite deck boards definitely need support every 16". 

that stuff is heavy AF....our main decks are all Trex.

FWIW our main deck joists are on 12" centers (composite decking), which is what I used on my little ground-level one as well. I actually think that might be code here in Va. for overhead decks, though not positive. 


Keith, deck looks great. Now I feel like my recent one is a little bit sad lol...

Keith Tanner
Keith Tanner GRM+ Memberand MegaDork
5/2/20 7:29 p.m.

The decision to run the deck boards diagonally was a late one, but oh so right. Luckily, that 12" joist spacing was correct. 

While I was cutting boards and screwing them down, Janel amputated some of the old retaining walls and flowerbeds under the bridge. All of a sudden, the slope on the other side appeared and the bridge turned from a wall to a, well, a bridge for the first time since it was built. It made a massive difference to how the yard feels, like it's sitting in nature instead of closing it off.  You can see it in the picture above as well.

So many boards.

Because we were running the decking diagonally, it looked weird to have this corner at a right angle. Janel wanted it at 45* and she was right. I built a little support underneath and it looks cool. That's the gas line that will feed the fire pit and the BBQ sneaking under the deck. It's been supported every 12" with a 2x6, it's solid.

The decking grows...

And grows...

Keith Tanner
Keith Tanner GRM+ Memberand MegaDork
5/2/20 7:32 p.m.

irish44j, this thing is of a different scale than yours! And I definitely did not do it in a day. I sure hope you didn't pay what I did in materials, either...

By this point, we can sorta use the deck. And it was like it had always been there. It just felt right. We're going to use this a LOT, I'm already hanging out on it in the evening and having breakfast there. The morning sun comes in right over the Grand Mesa and the afternoon sun - well, you'll see that in a moment.

The view off this deck does not suck. That's about 7:30 pm.

Keith Tanner
Keith Tanner GRM+ Memberand MegaDork
5/2/20 7:58 p.m.

So, pergola. The high altitude sun here is very strong, and I am a child of the north who cannot deal with the heat and the UV. So I wanted some shade. But the thing is, most pergolas are a little...fussy in their design. Our house is not. It's very geometric and blocky, and the usual pergola design just wasn't going to cut it. I spent a lot of time looking at pictures and trying to find something I liked, and came across Toja Grid. It's modular, you just plug boards into the ends and it comes out square and straight. It's also all hard edges and streamlined, which is what I want.

It's not cheap, but I looked at what it would cost to duplicate their stuff and decided my money and time was better spent elsewhere. So I sent a bunch of money to Toronto and stuff like this showed up.

We decided to go with 6x6 beams on it because we didn't want the pergola to look weedy against our house, and I have concerns about the ability of 4x4s to stay straight. It will not look weedy.

Here's where it gets difficult and really expensive. These things are made for dimensional lumber. So it's not a 6x6, it's a 5.5x5.5. And I wanted cedar. It's gorgeous, it doesn't mind the outdoors, it doesn't warp and it's fairly light. And I simply couldn't find that in town. So I had to special order it. 6 8' 6x6x, 7 10' ones and 16 10' 2x6. The total came to about the same as my CRX. Cedar's literally one quarter the price in Toronto. But what the hell. I'm not spending any money on gas, and I'm planning to live here the rest of my life. This pergola will cost as much as the whole deck.

The truck came in, I picked up my pallet of lumber and...nuts. Three of the 6x6 and one of the 2x6 are not acceptable. I called the yard, they agreed, my replacements would be on the truck. The truck comes in once a week. 

Sigh.

Still, I had enough to build half the pergola! And just look at that wood. Oh, yum.

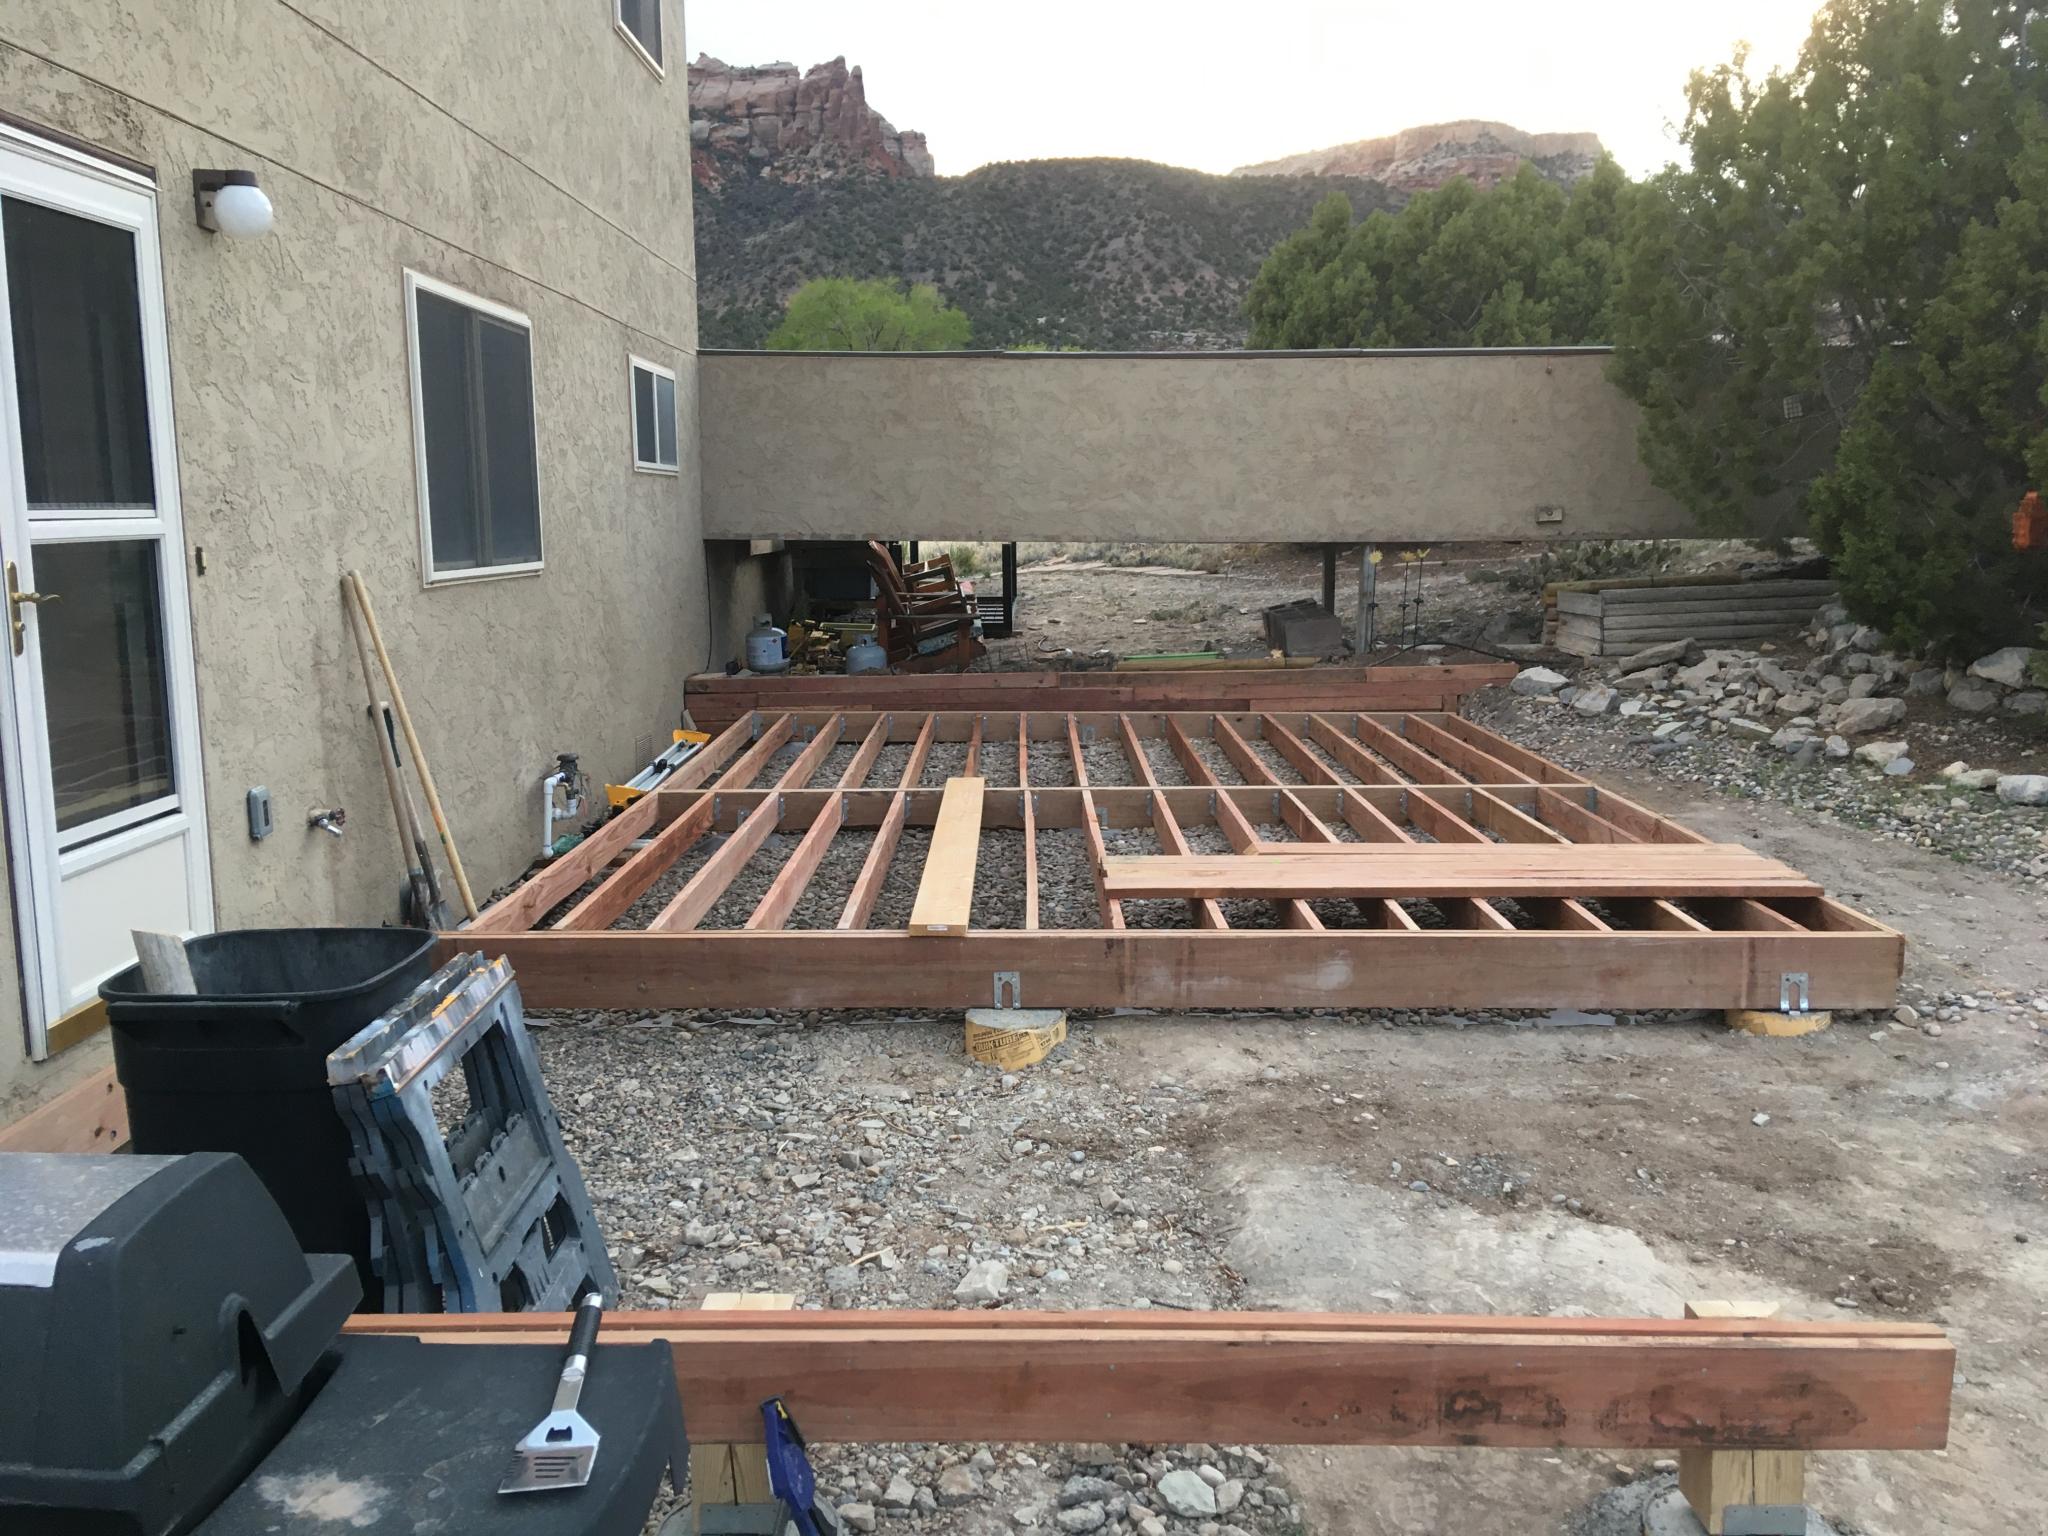
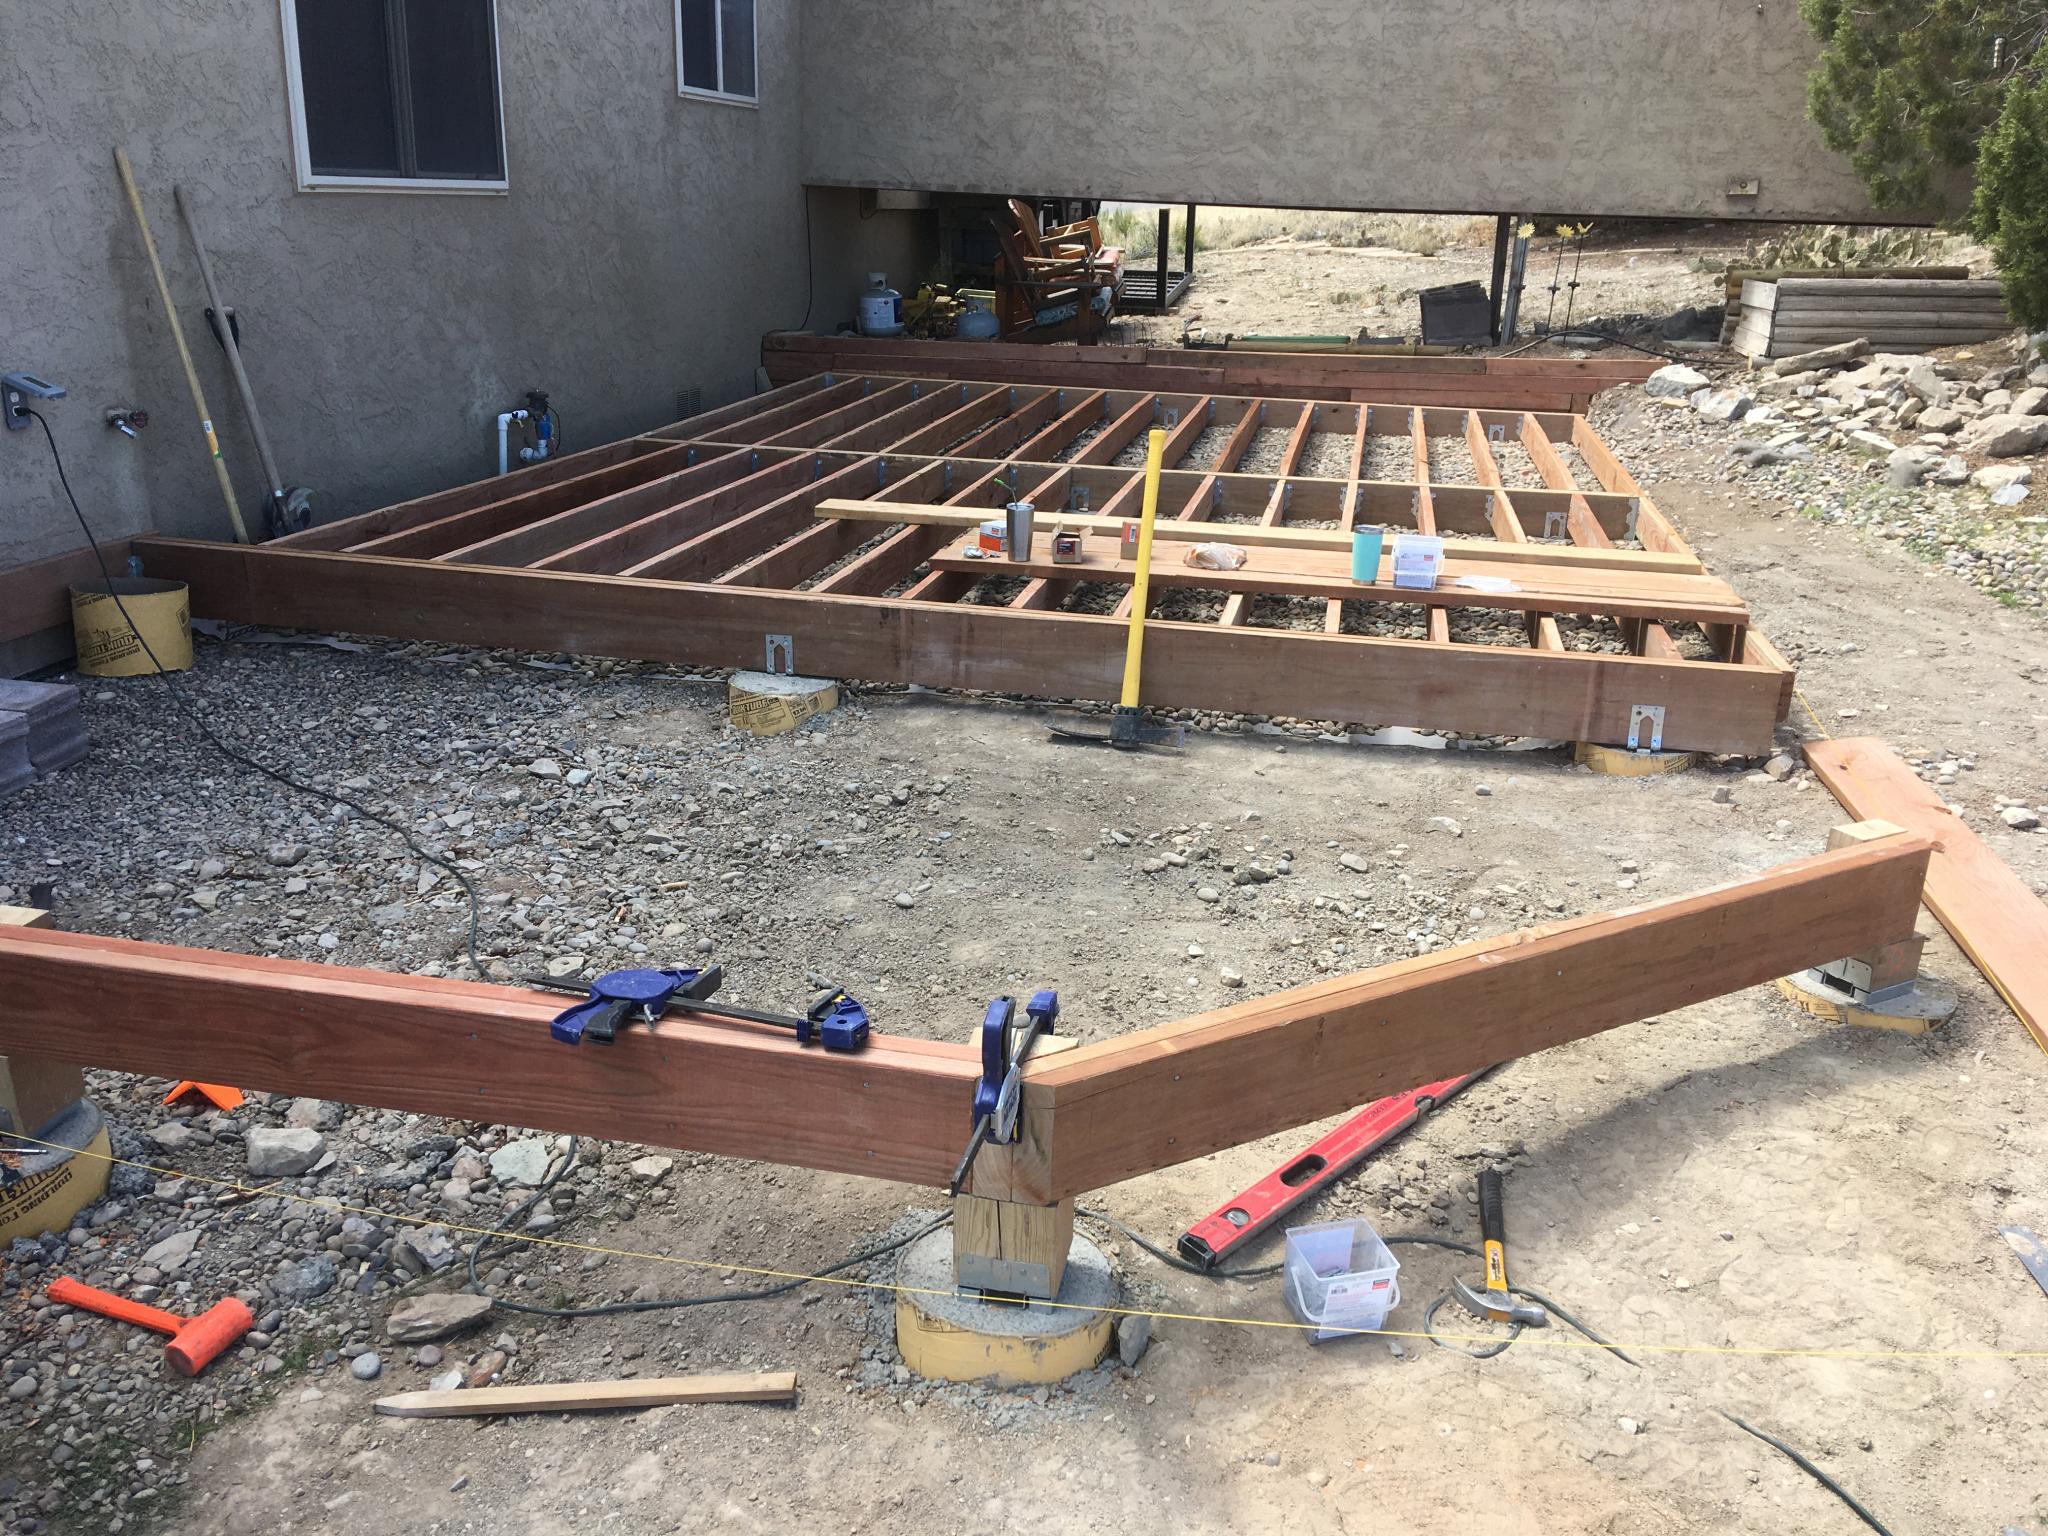
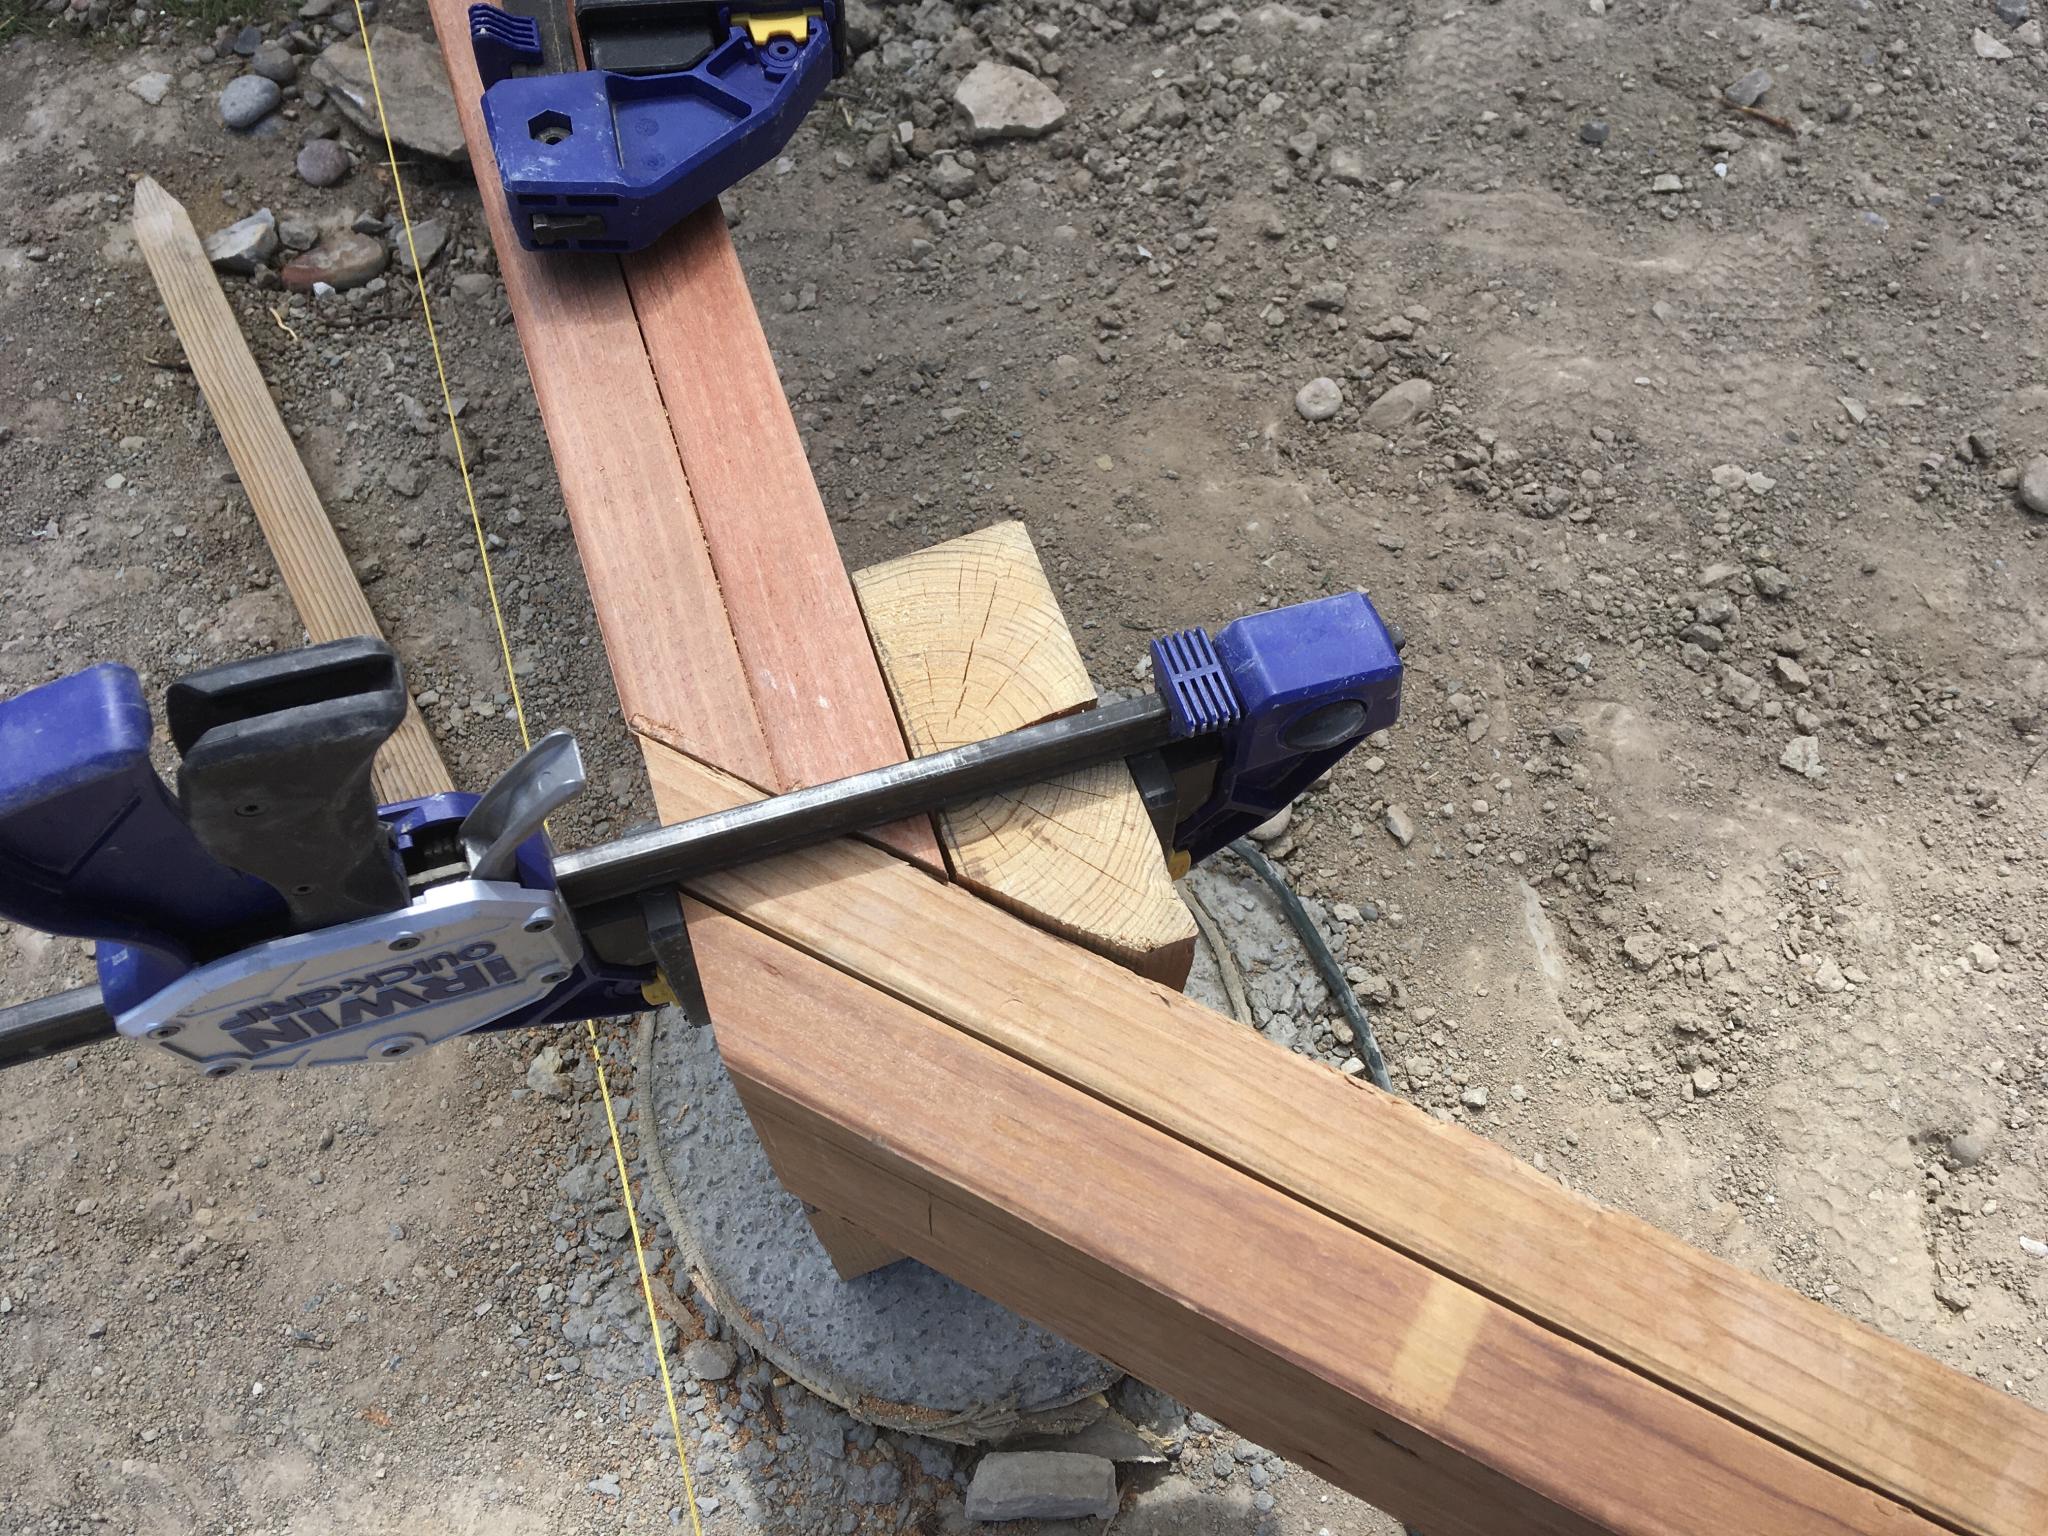
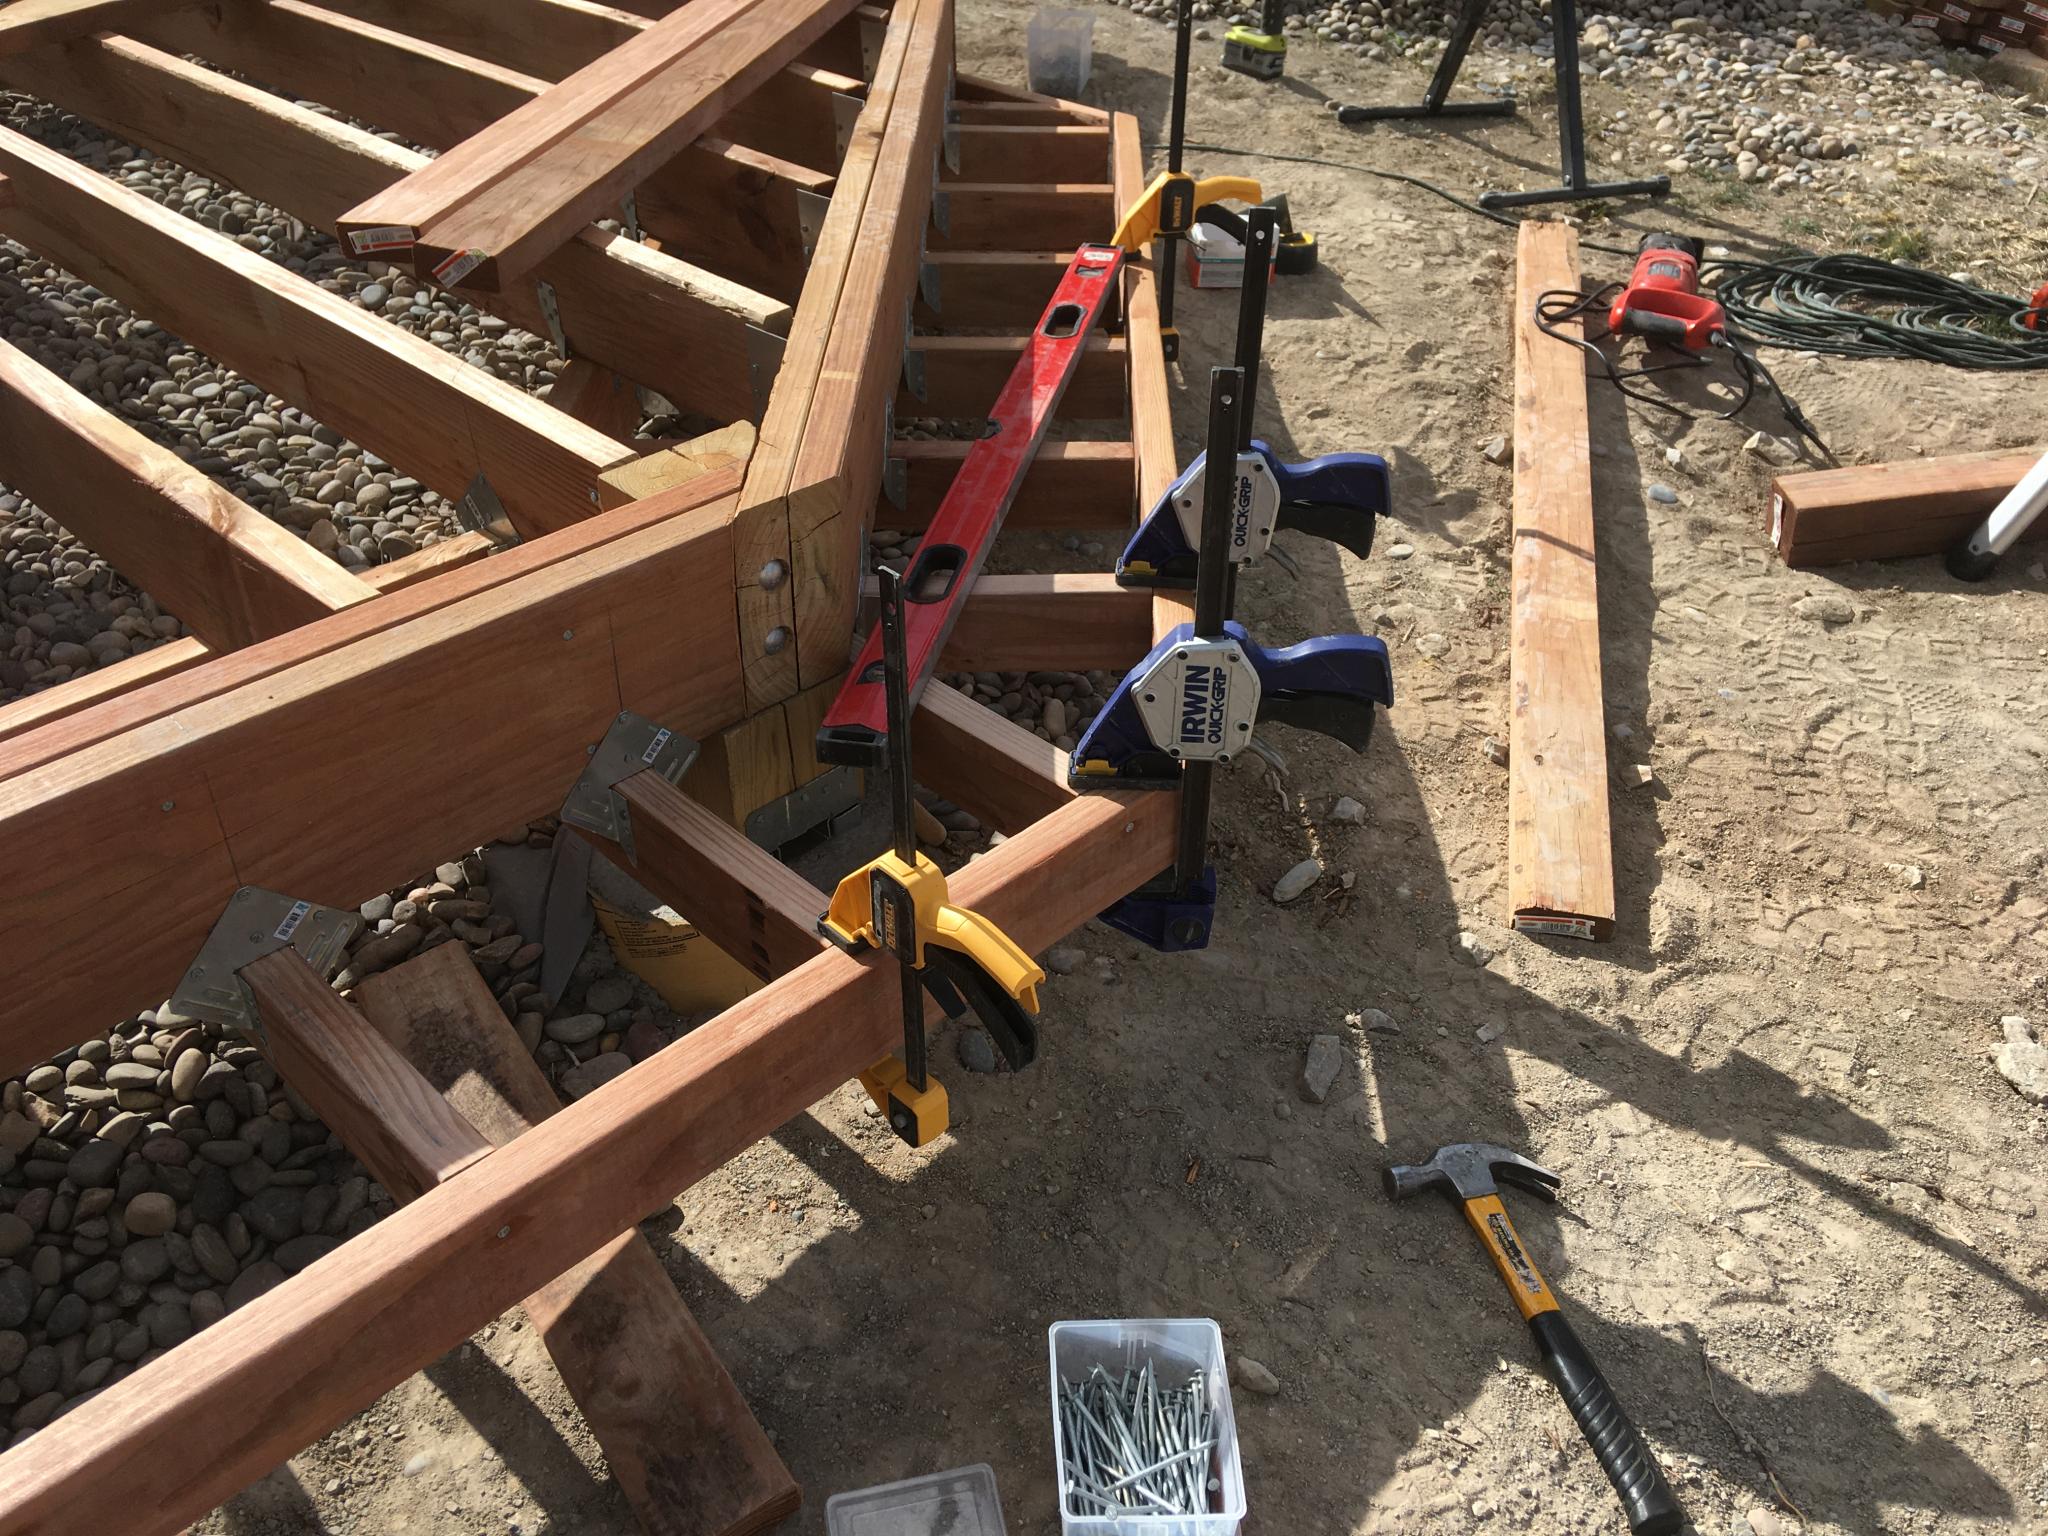
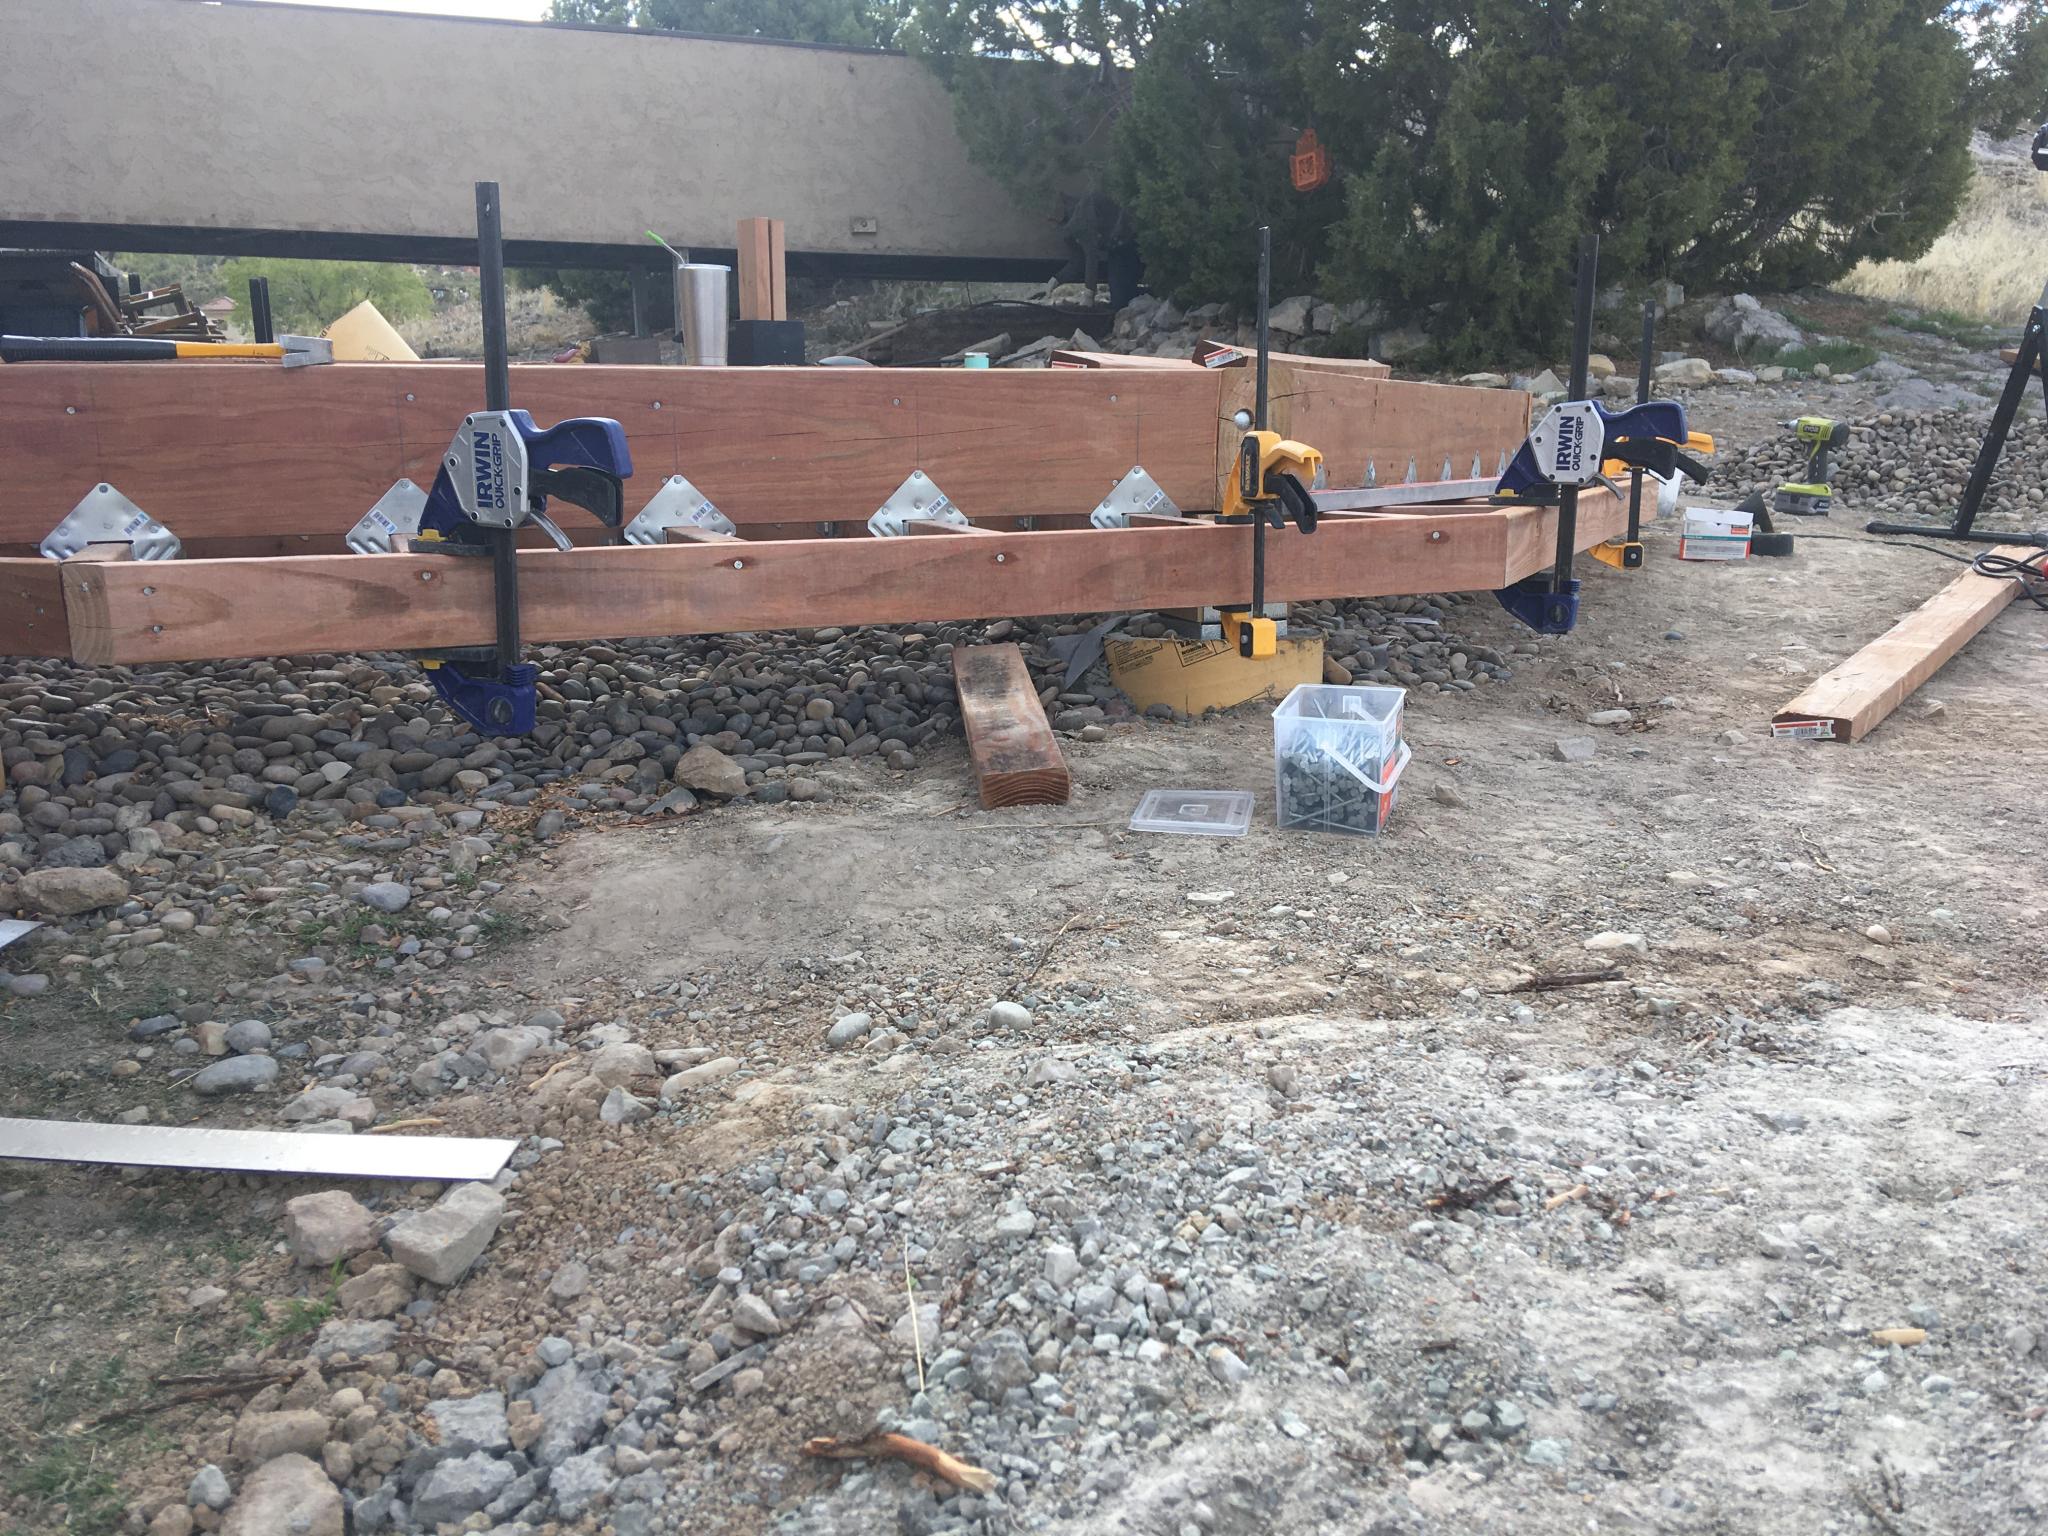
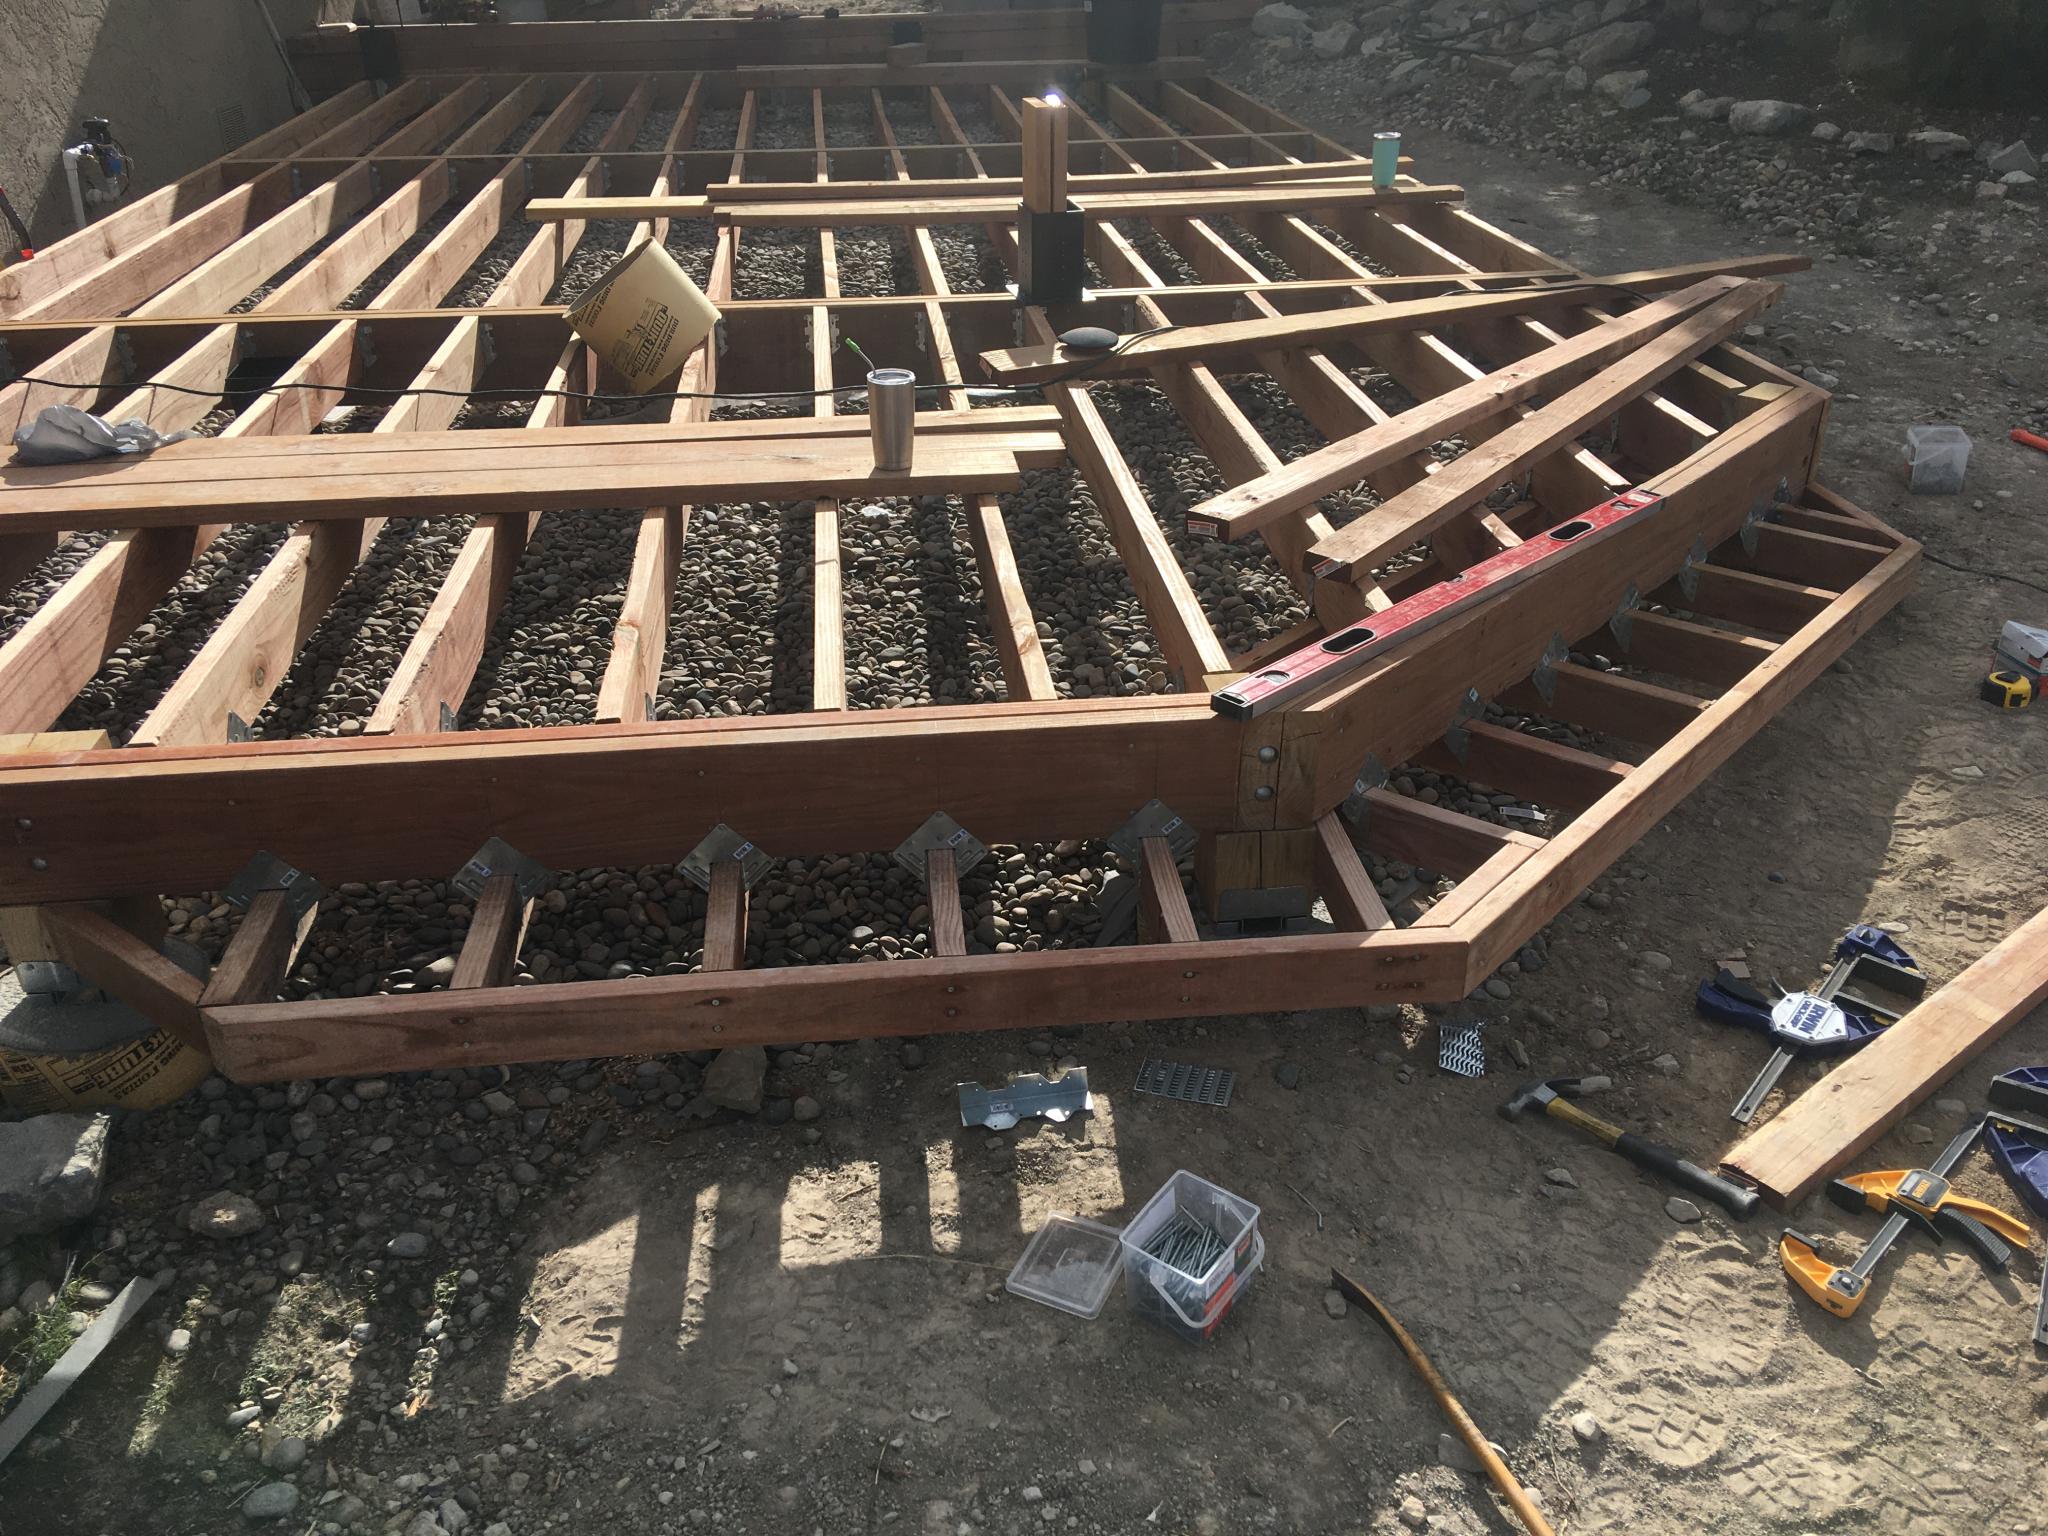
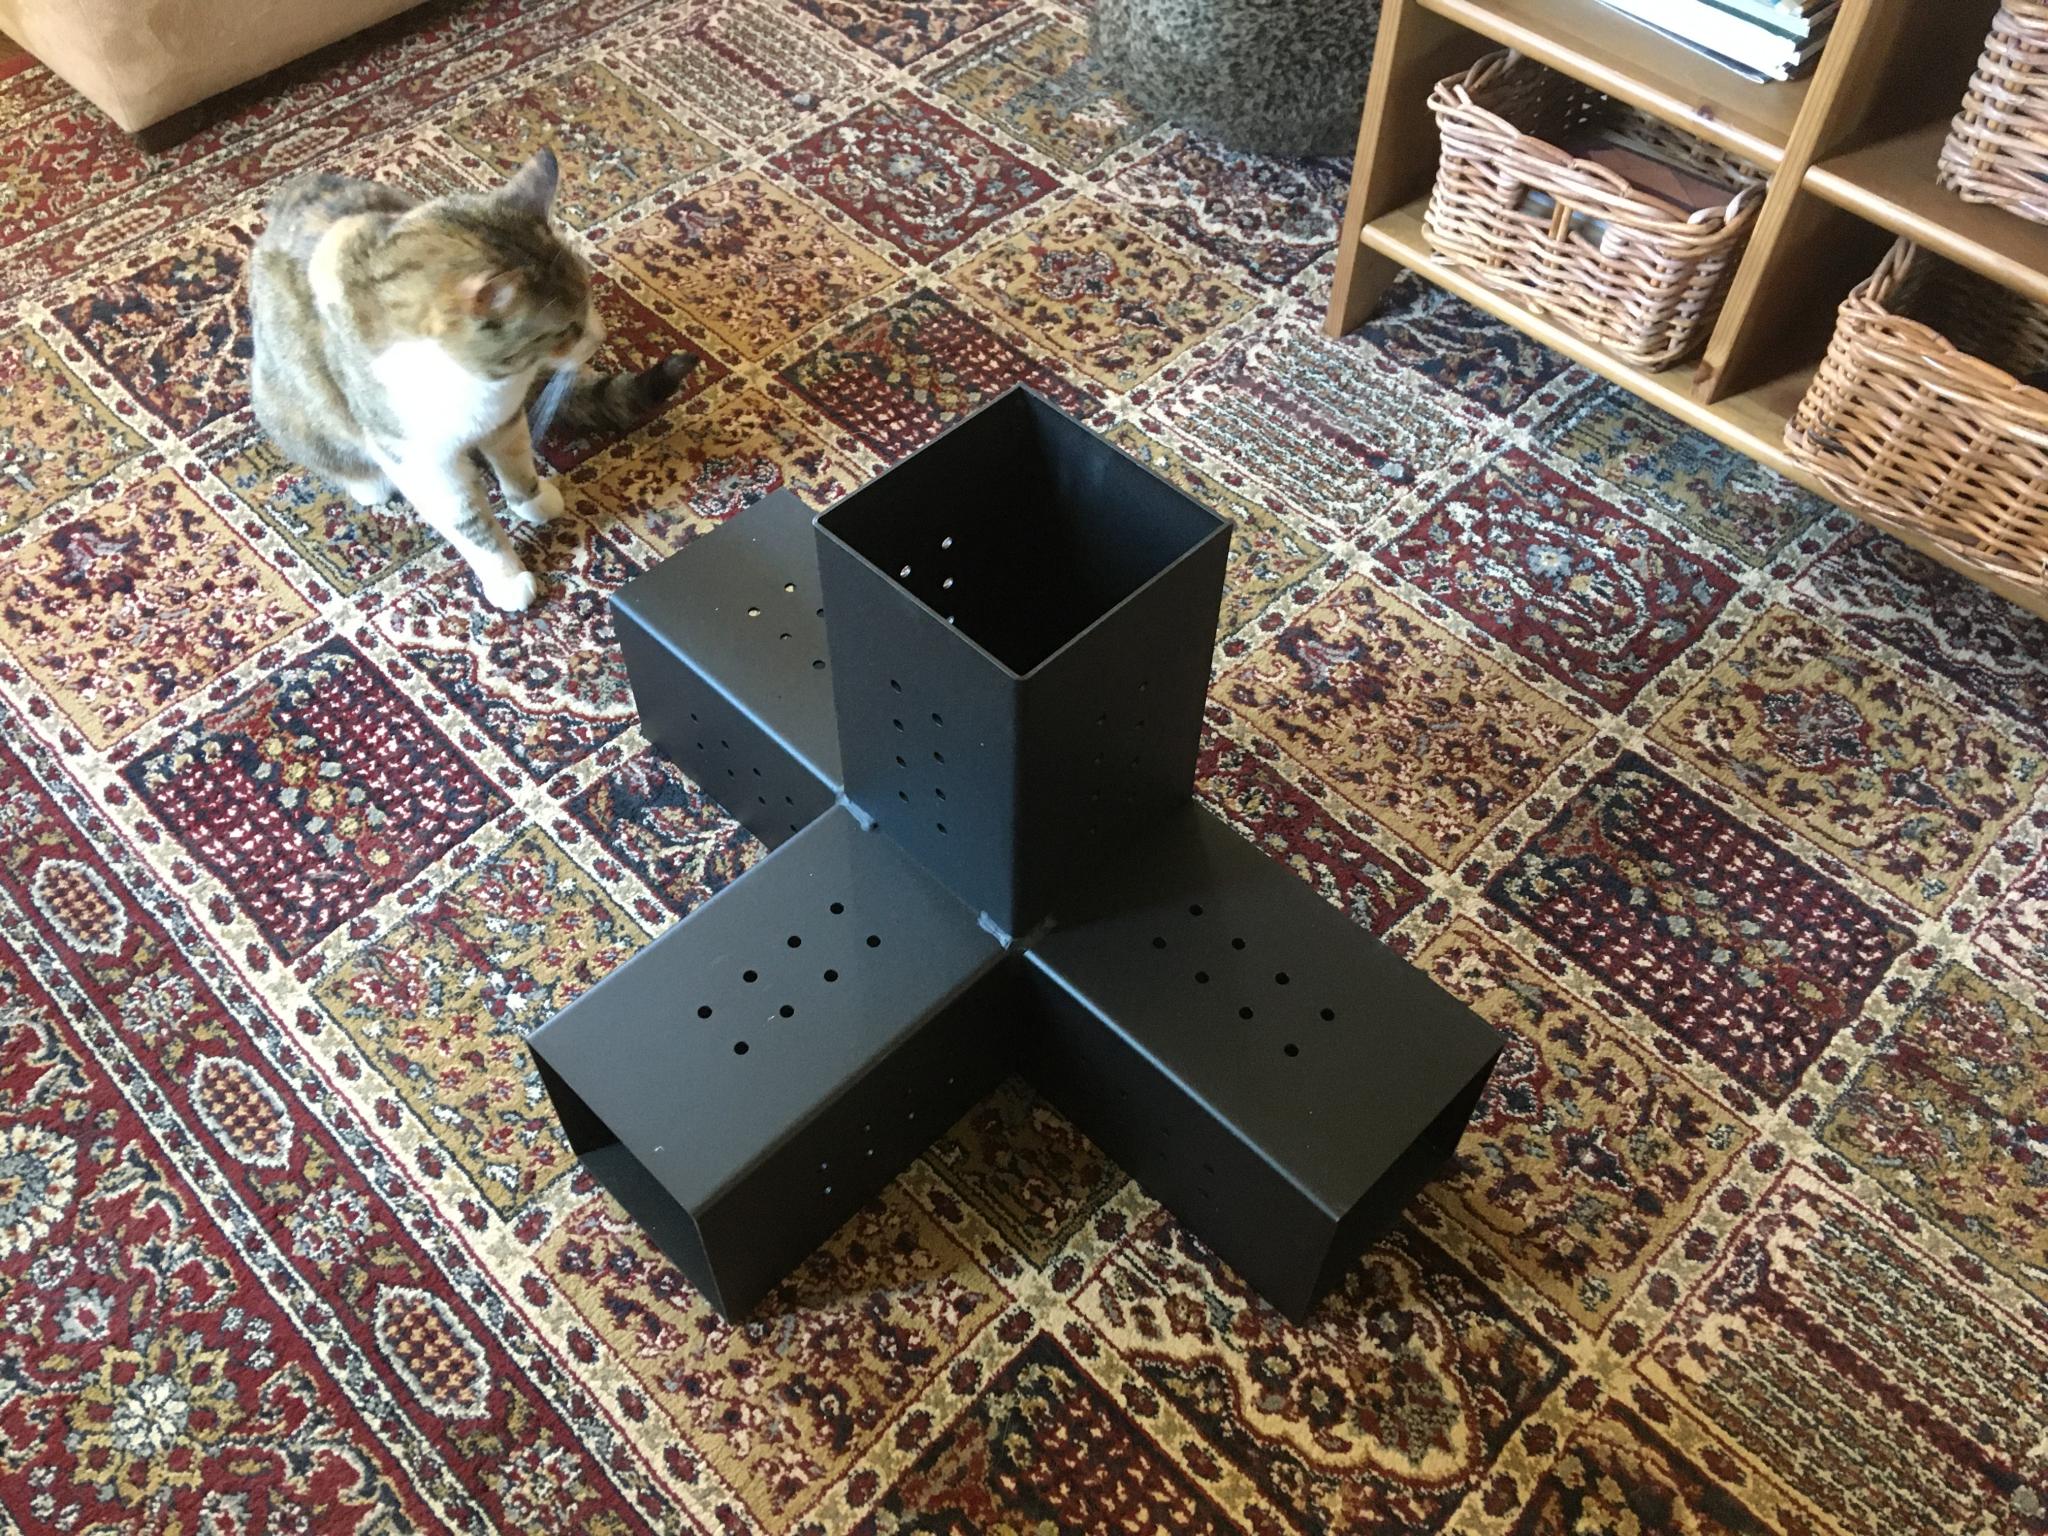
Here's how it goes. First, you build the "halo". I put one screw in each connector so everything would stay put.

Then you lift up one end, plug in two legs. No picture, this was a bit sketchy looking.

Then you lift of the other end and plug in two legs. This was very sketchy looking. It would have been easier with three people and two ladders instead of two people, one ladder and a transmission support. Still, I was able to apply brute force and bloody-minded perseverance and we got it done. THEN I took a picture.

The rafters plug into some nicely designed black hangers that look very much at home with the rest of the aesthetic. And there we go, half of the pergola. Those 6x6s do not look weedy.

We moved the table in underneath, added a couple of outdoor decorations and all of a sudden we have a happy place.

Keith Tanner
Keith Tanner GRM+ Memberand MegaDork
5/2/20 8:04 p.m.

Monday came, and the replacement boards for the bad boards were bad. Seriously. I should have really bought rough cut lumber and just planed it myself. Buying finished lumber was a mistake. At least I bought them locally so I can refuse/return them easily, if I'd had them shipped here this would not have been an option.

By the way, the feet of the pergola are sitting directly on the beams for the deck and there's some extra bracing in place there. It's not as heavy as it looks (cedar!) but it's not going anywhere. It will be bolted down into the deck structure as well.

So I moved on. I put some cedar facing boards on the edge joists to hide the edge of the decking and to tie the various bits together. Routed the top edge to have a rounded edge so it's less likely to trip and less likely to take damage.

This had the accidental side effect of making the edge of the deck very high visibility. I will stain this slightly to protect it, but it's going to show off pretty proudly.

And yes, I was standing off center. Those seams line up.

I'm pretty happy with how the pergola looks against the house. This has taken away the soviet apartment block styling of this viewpoint.

1 2 3

You'll need to log in to post.

Our Preferred Partners
drJOIkHHCuRncfCXSTercB7U9hbYkixIZcrh7d7AiwFrEePfxTFjdWi7Gr69l50B