1 2 3
Keith Tanner
Keith Tanner GRM+ Memberand MegaDork
5/7/20 8:22 p.m.

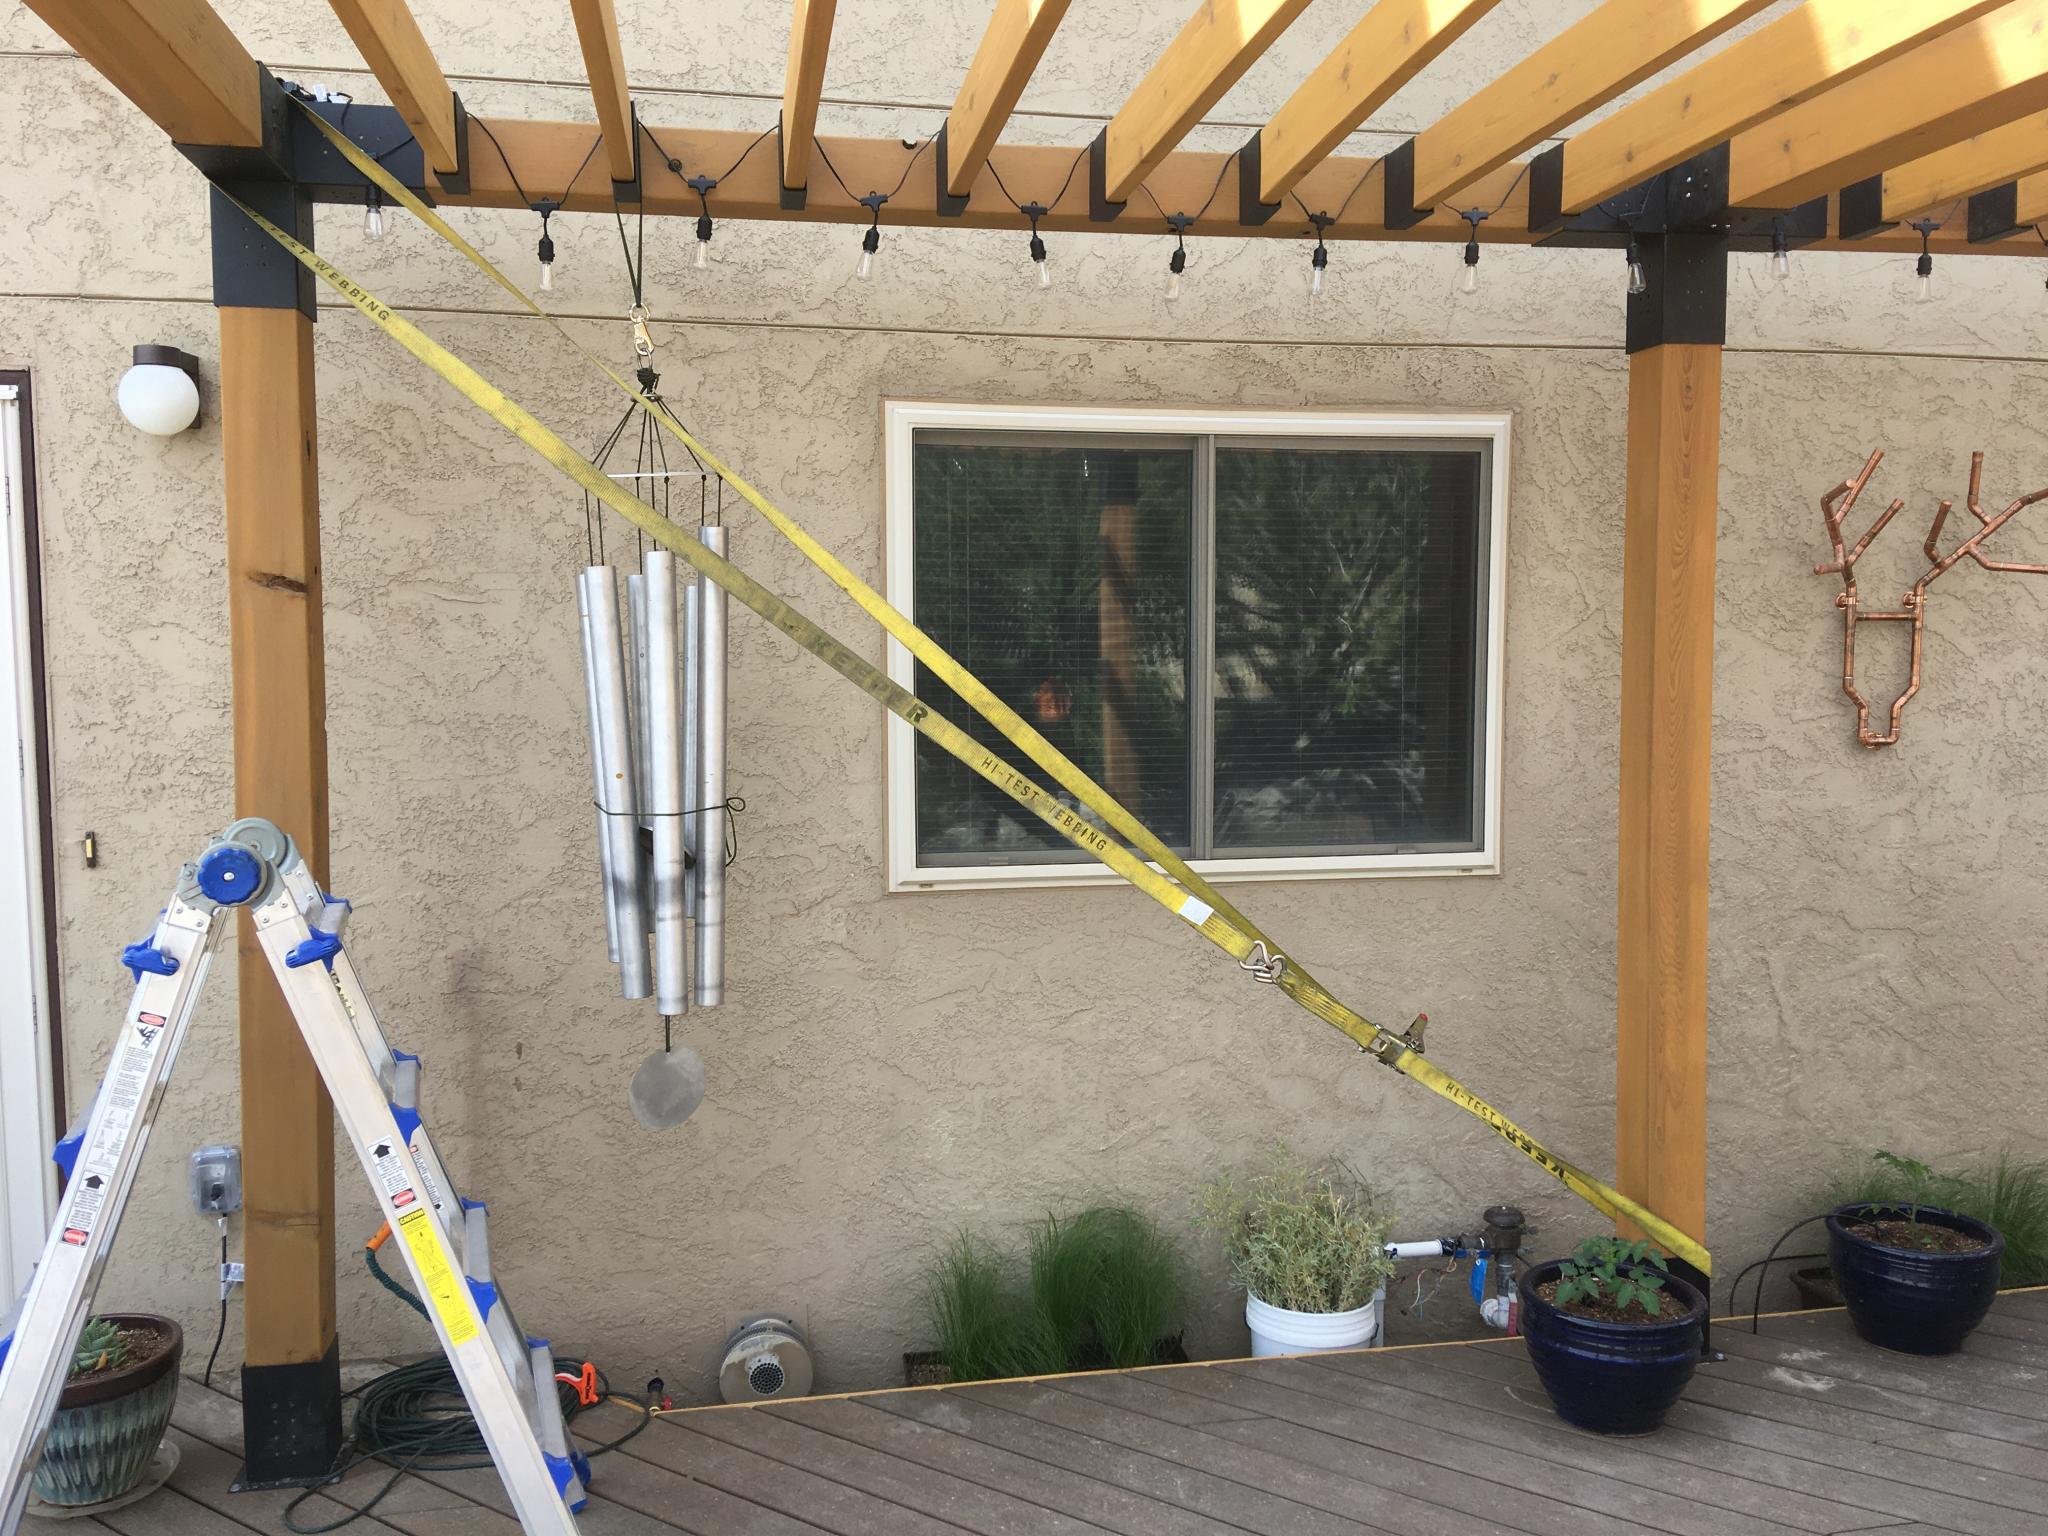
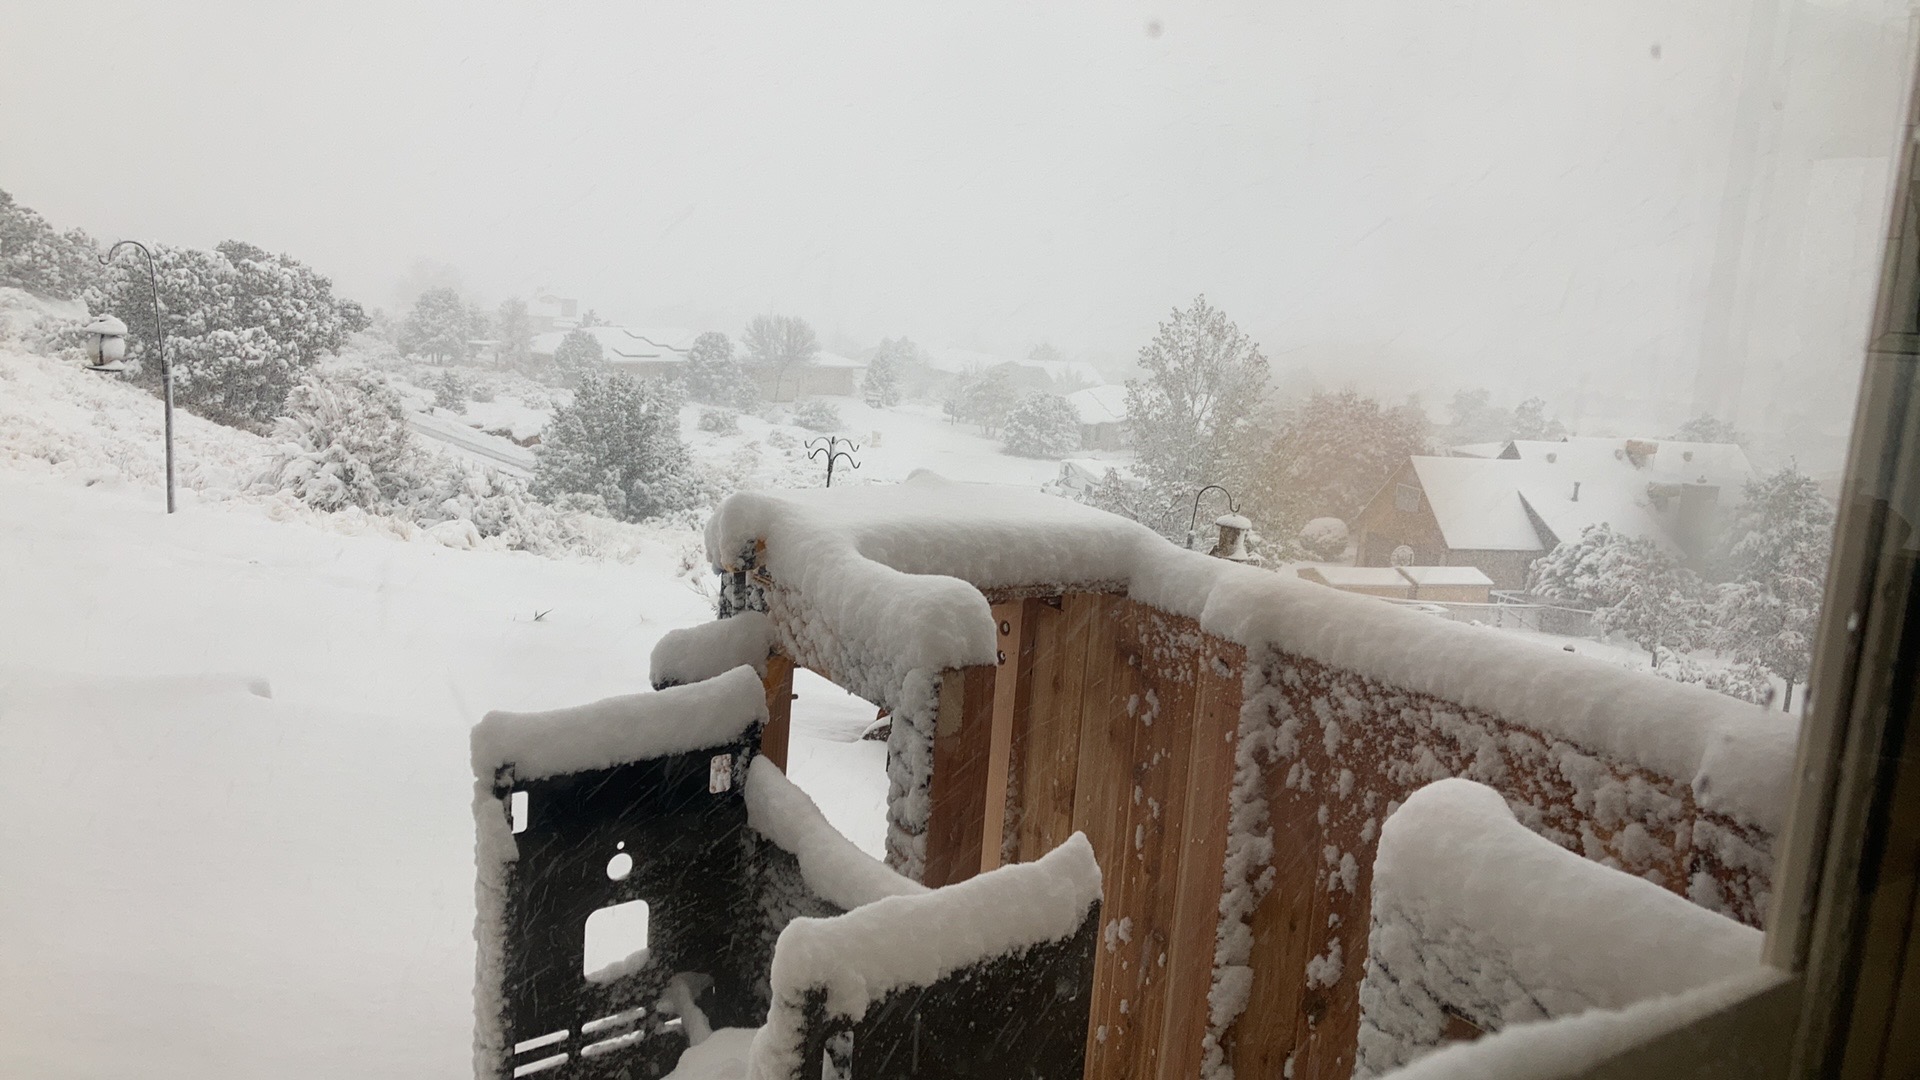
Too much wind for staining tonight, so no progress.

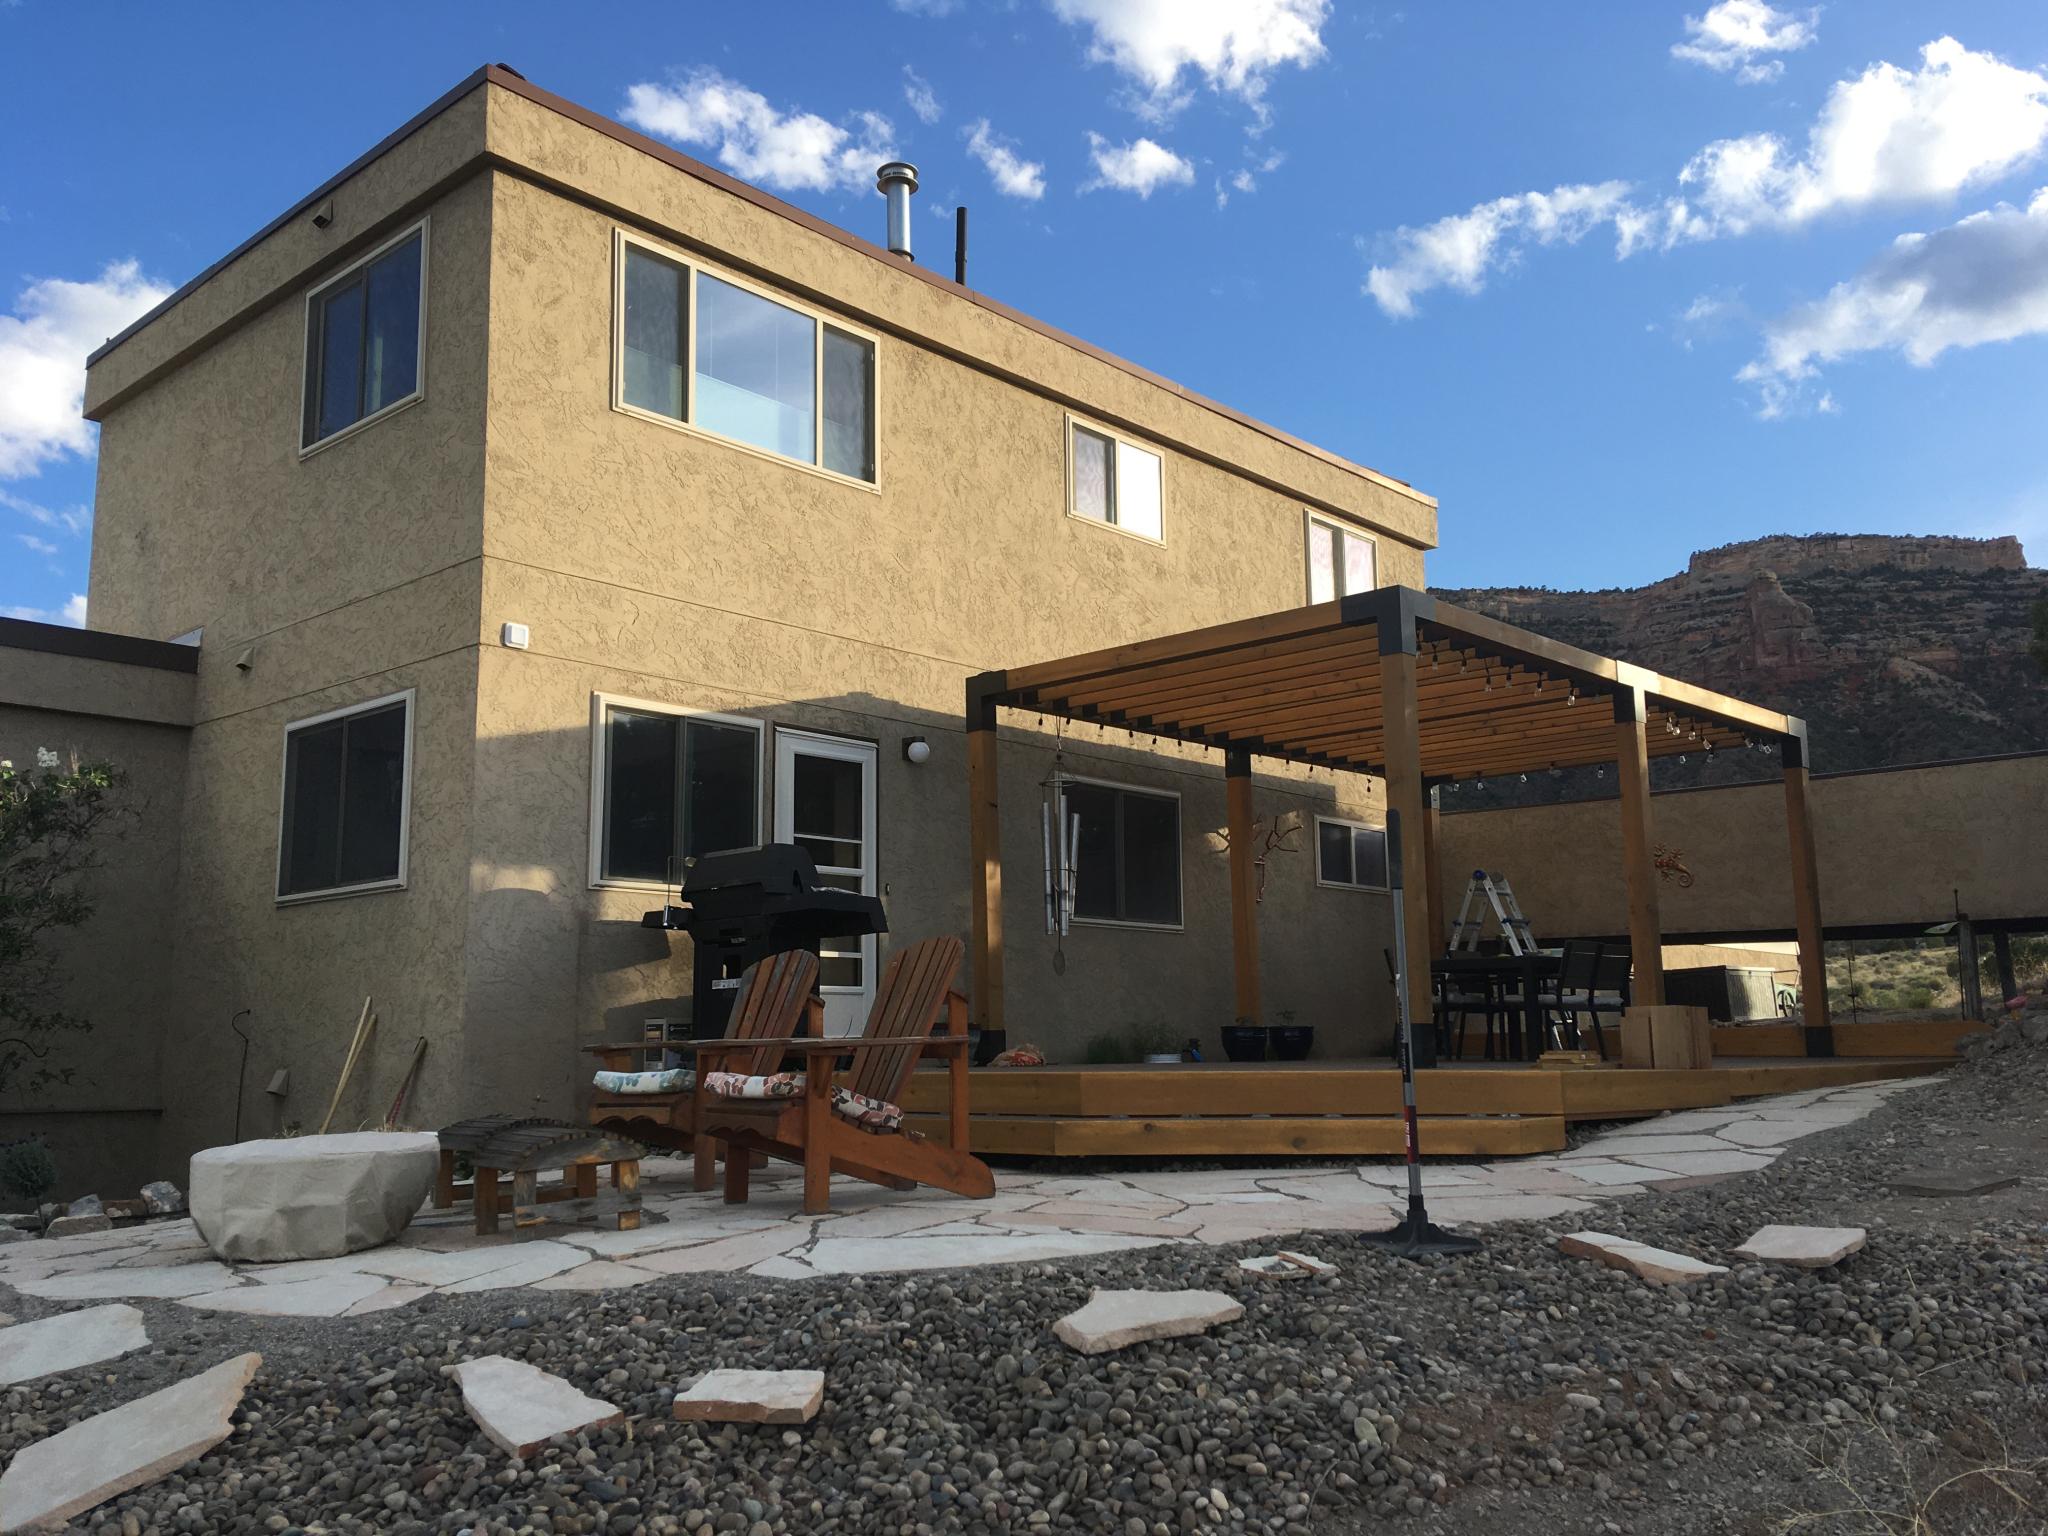
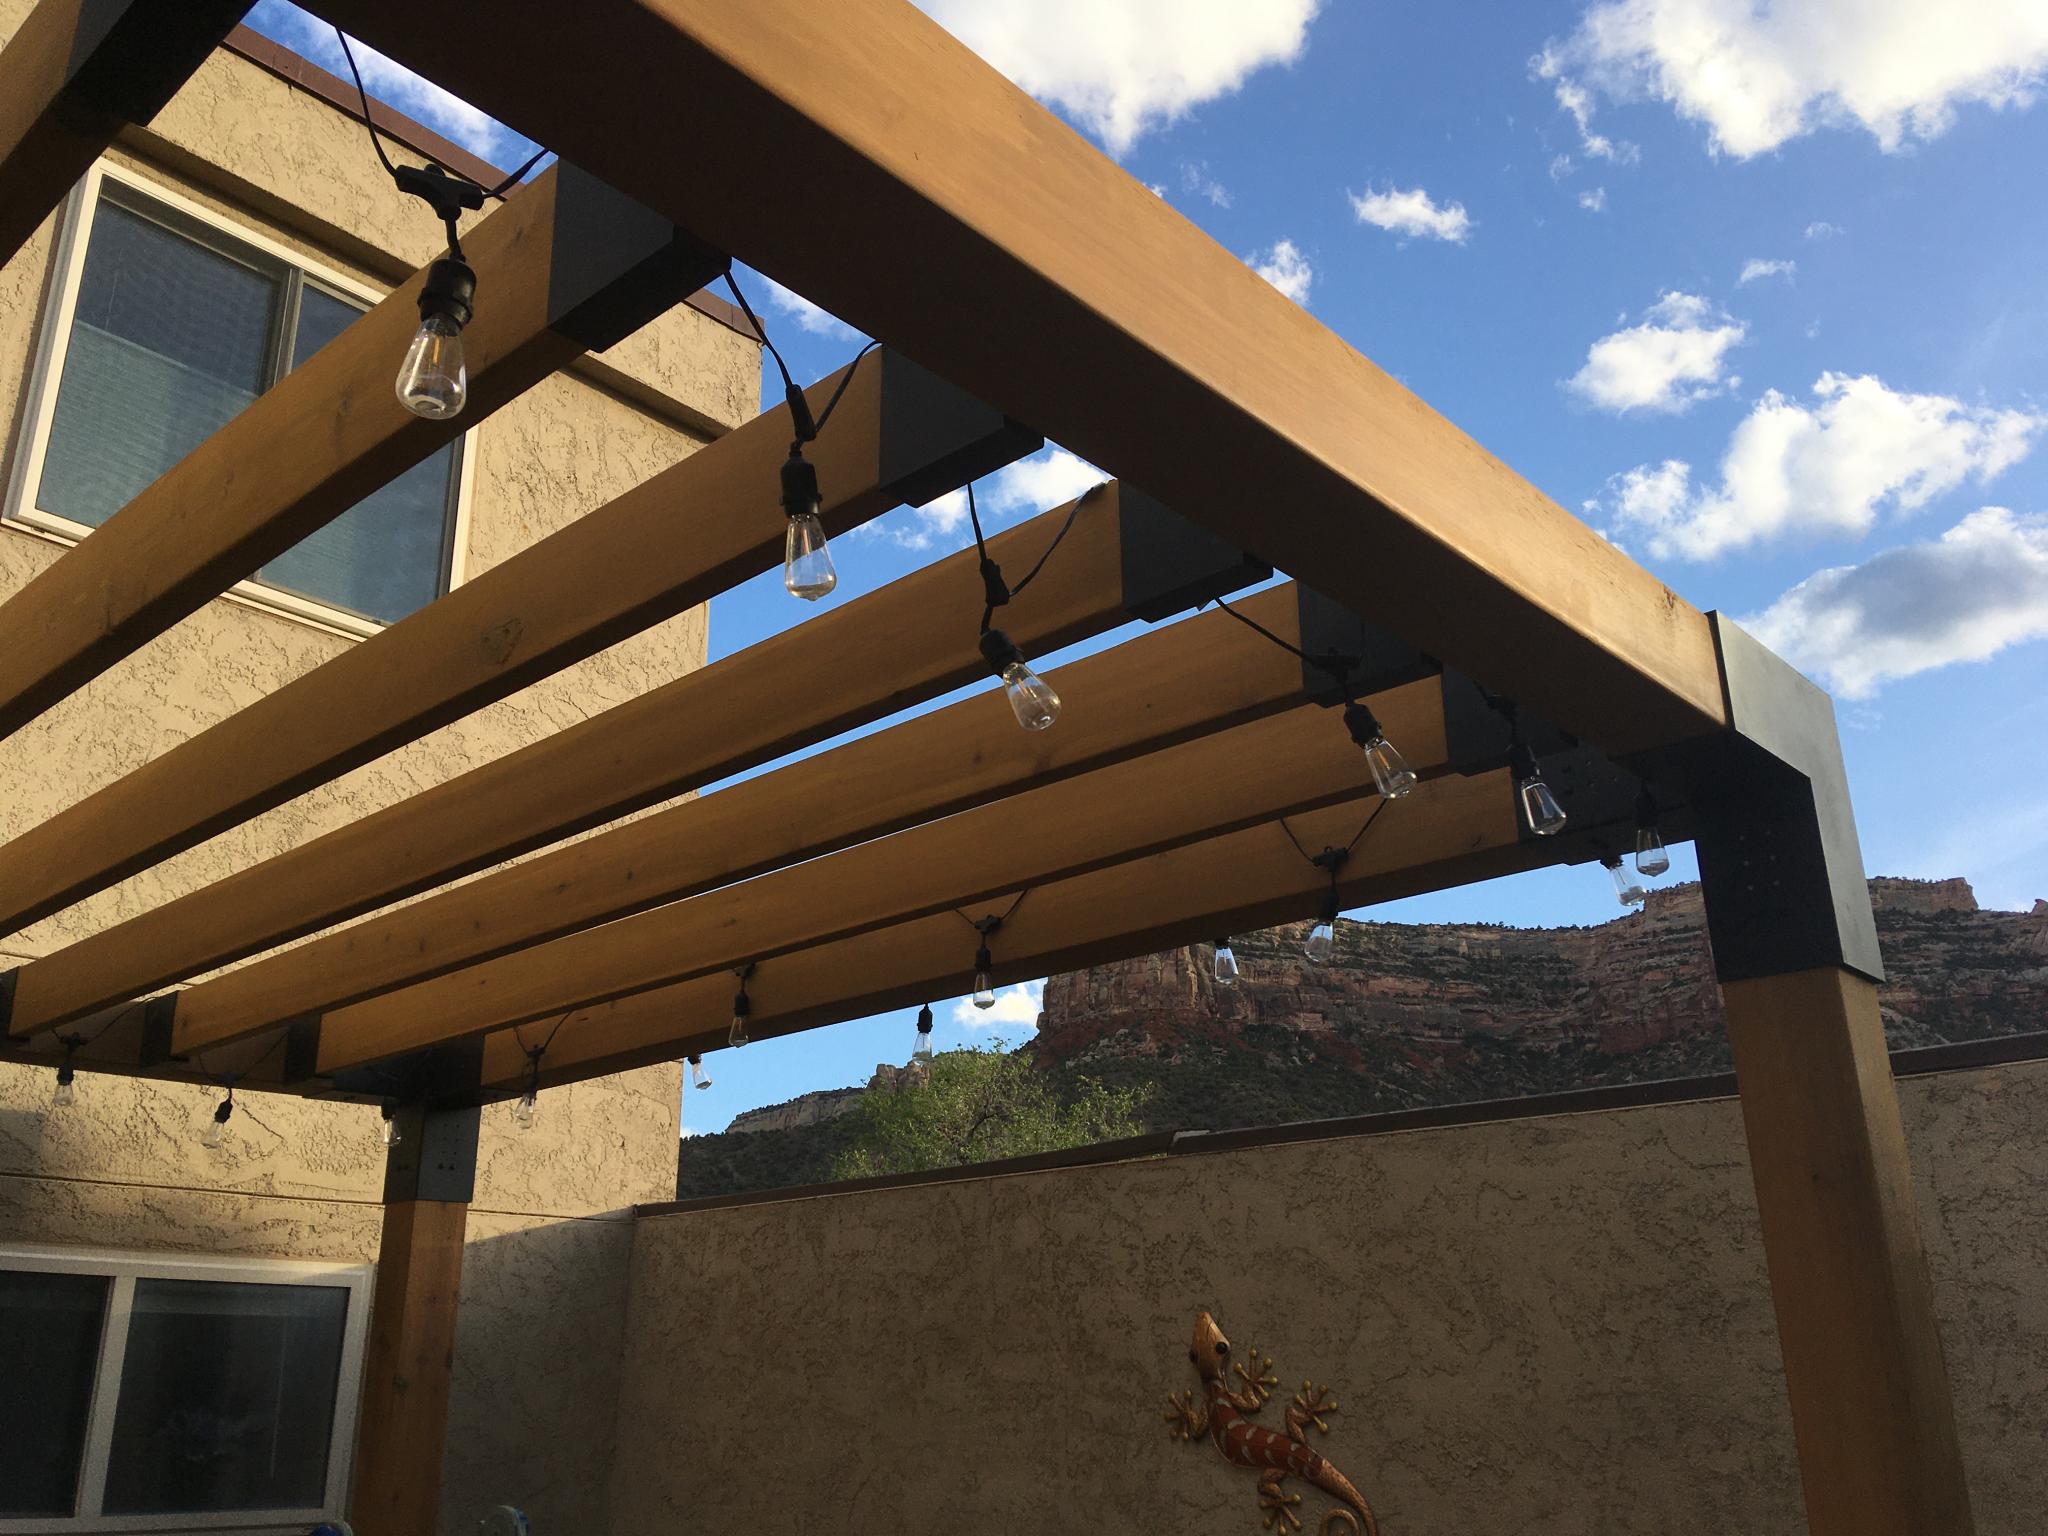
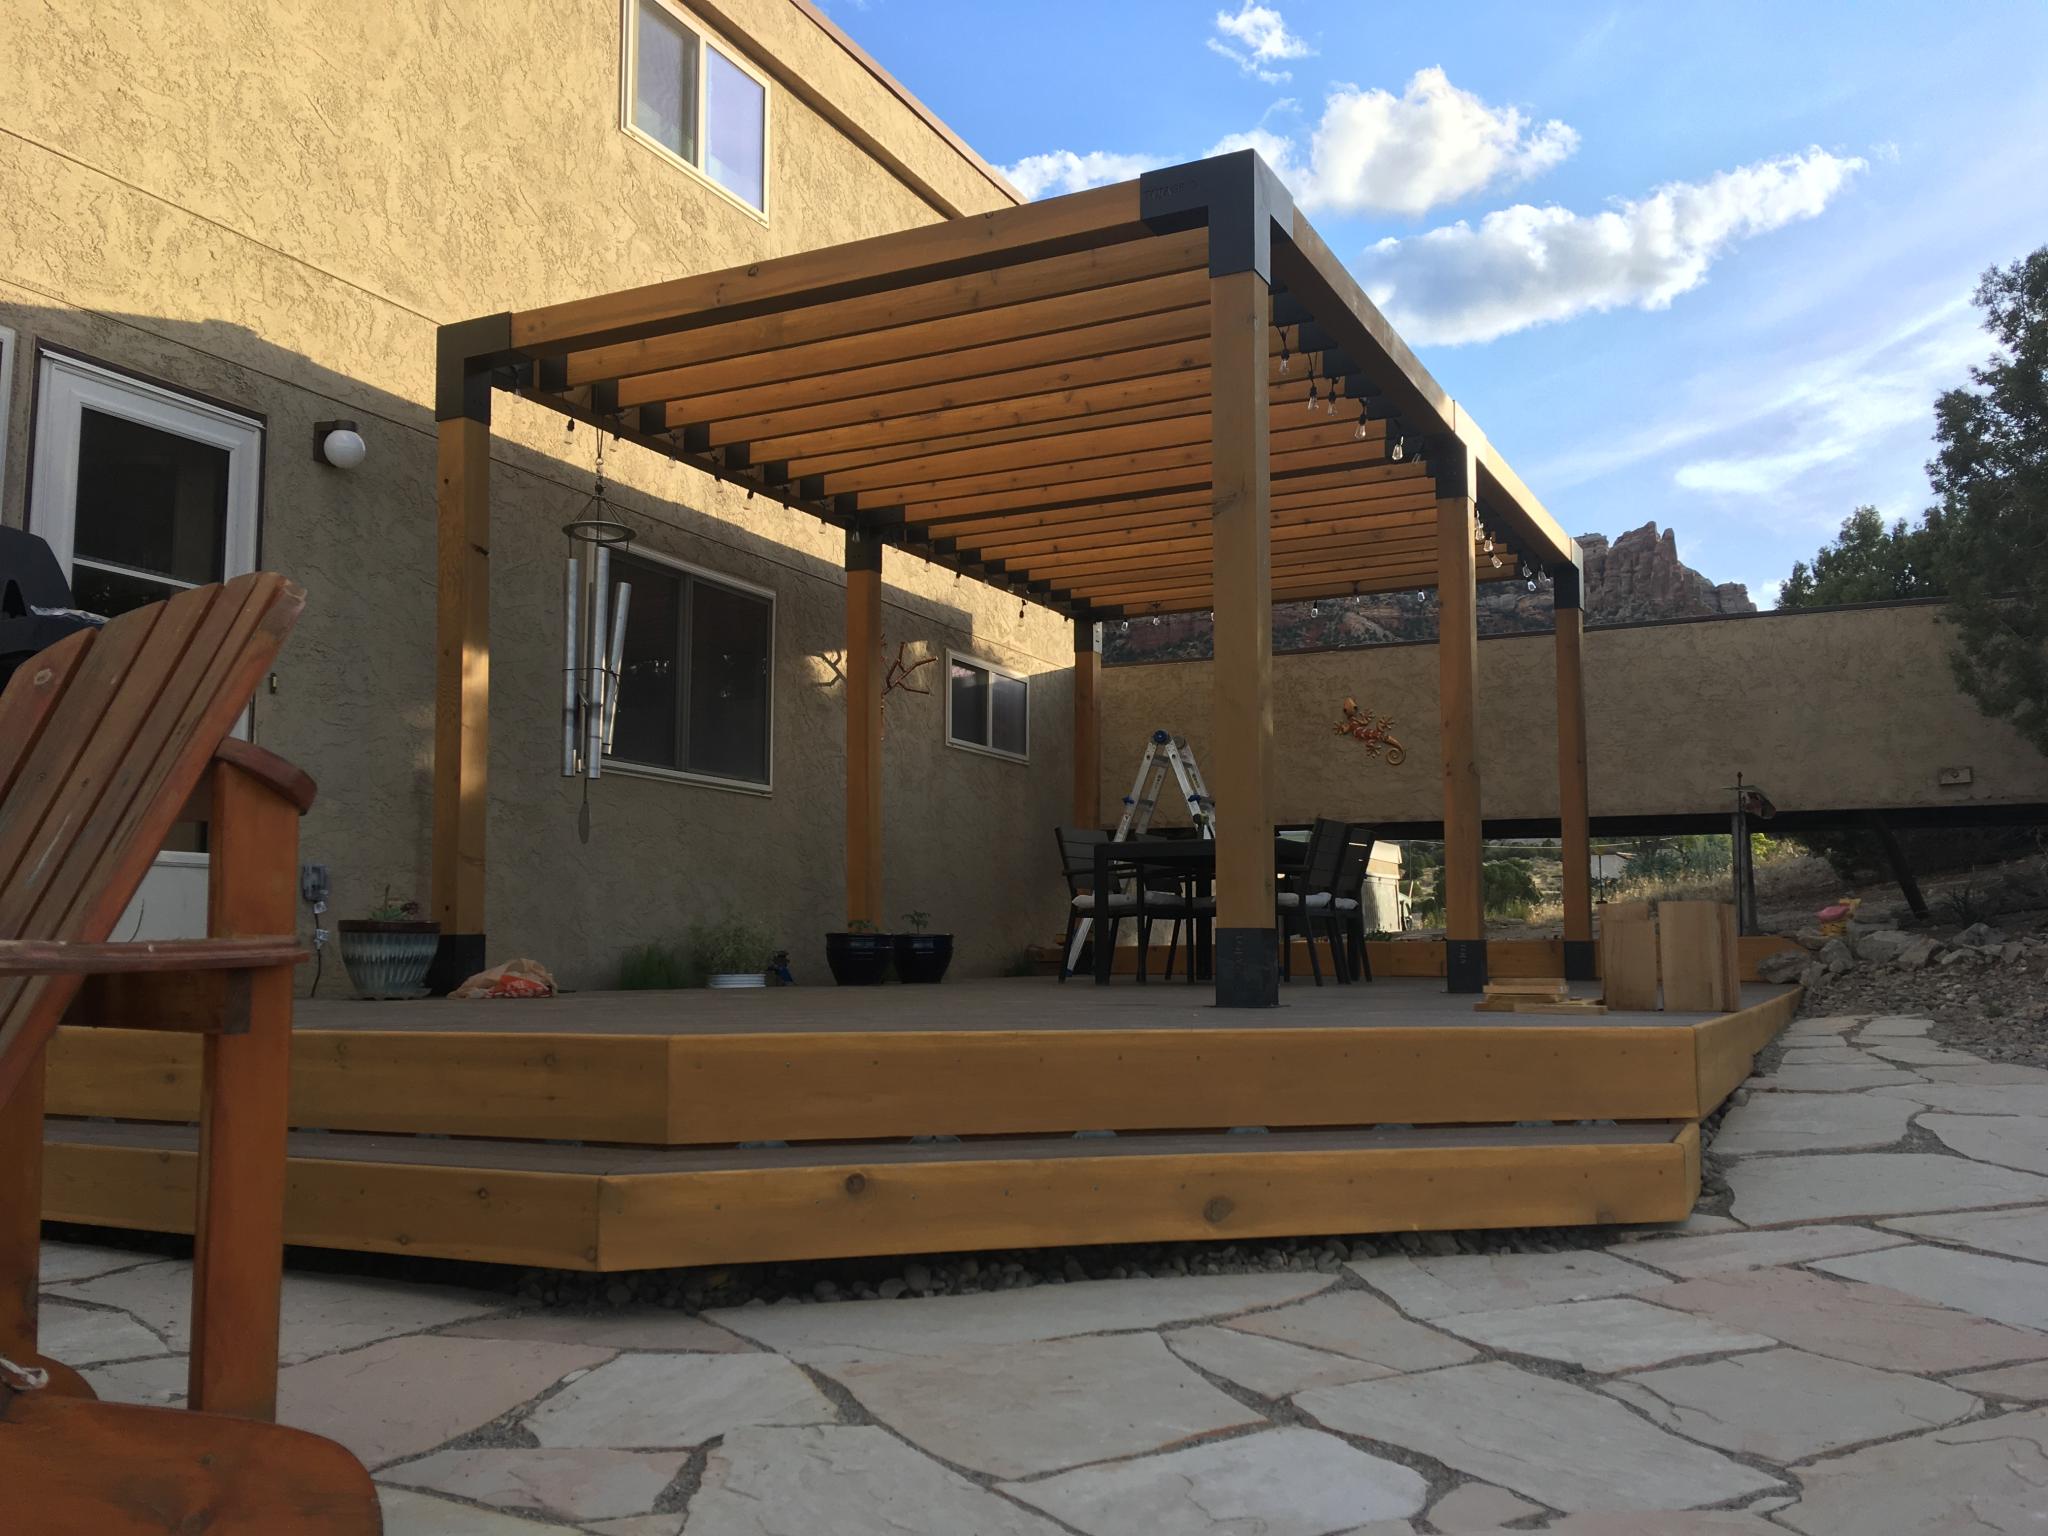
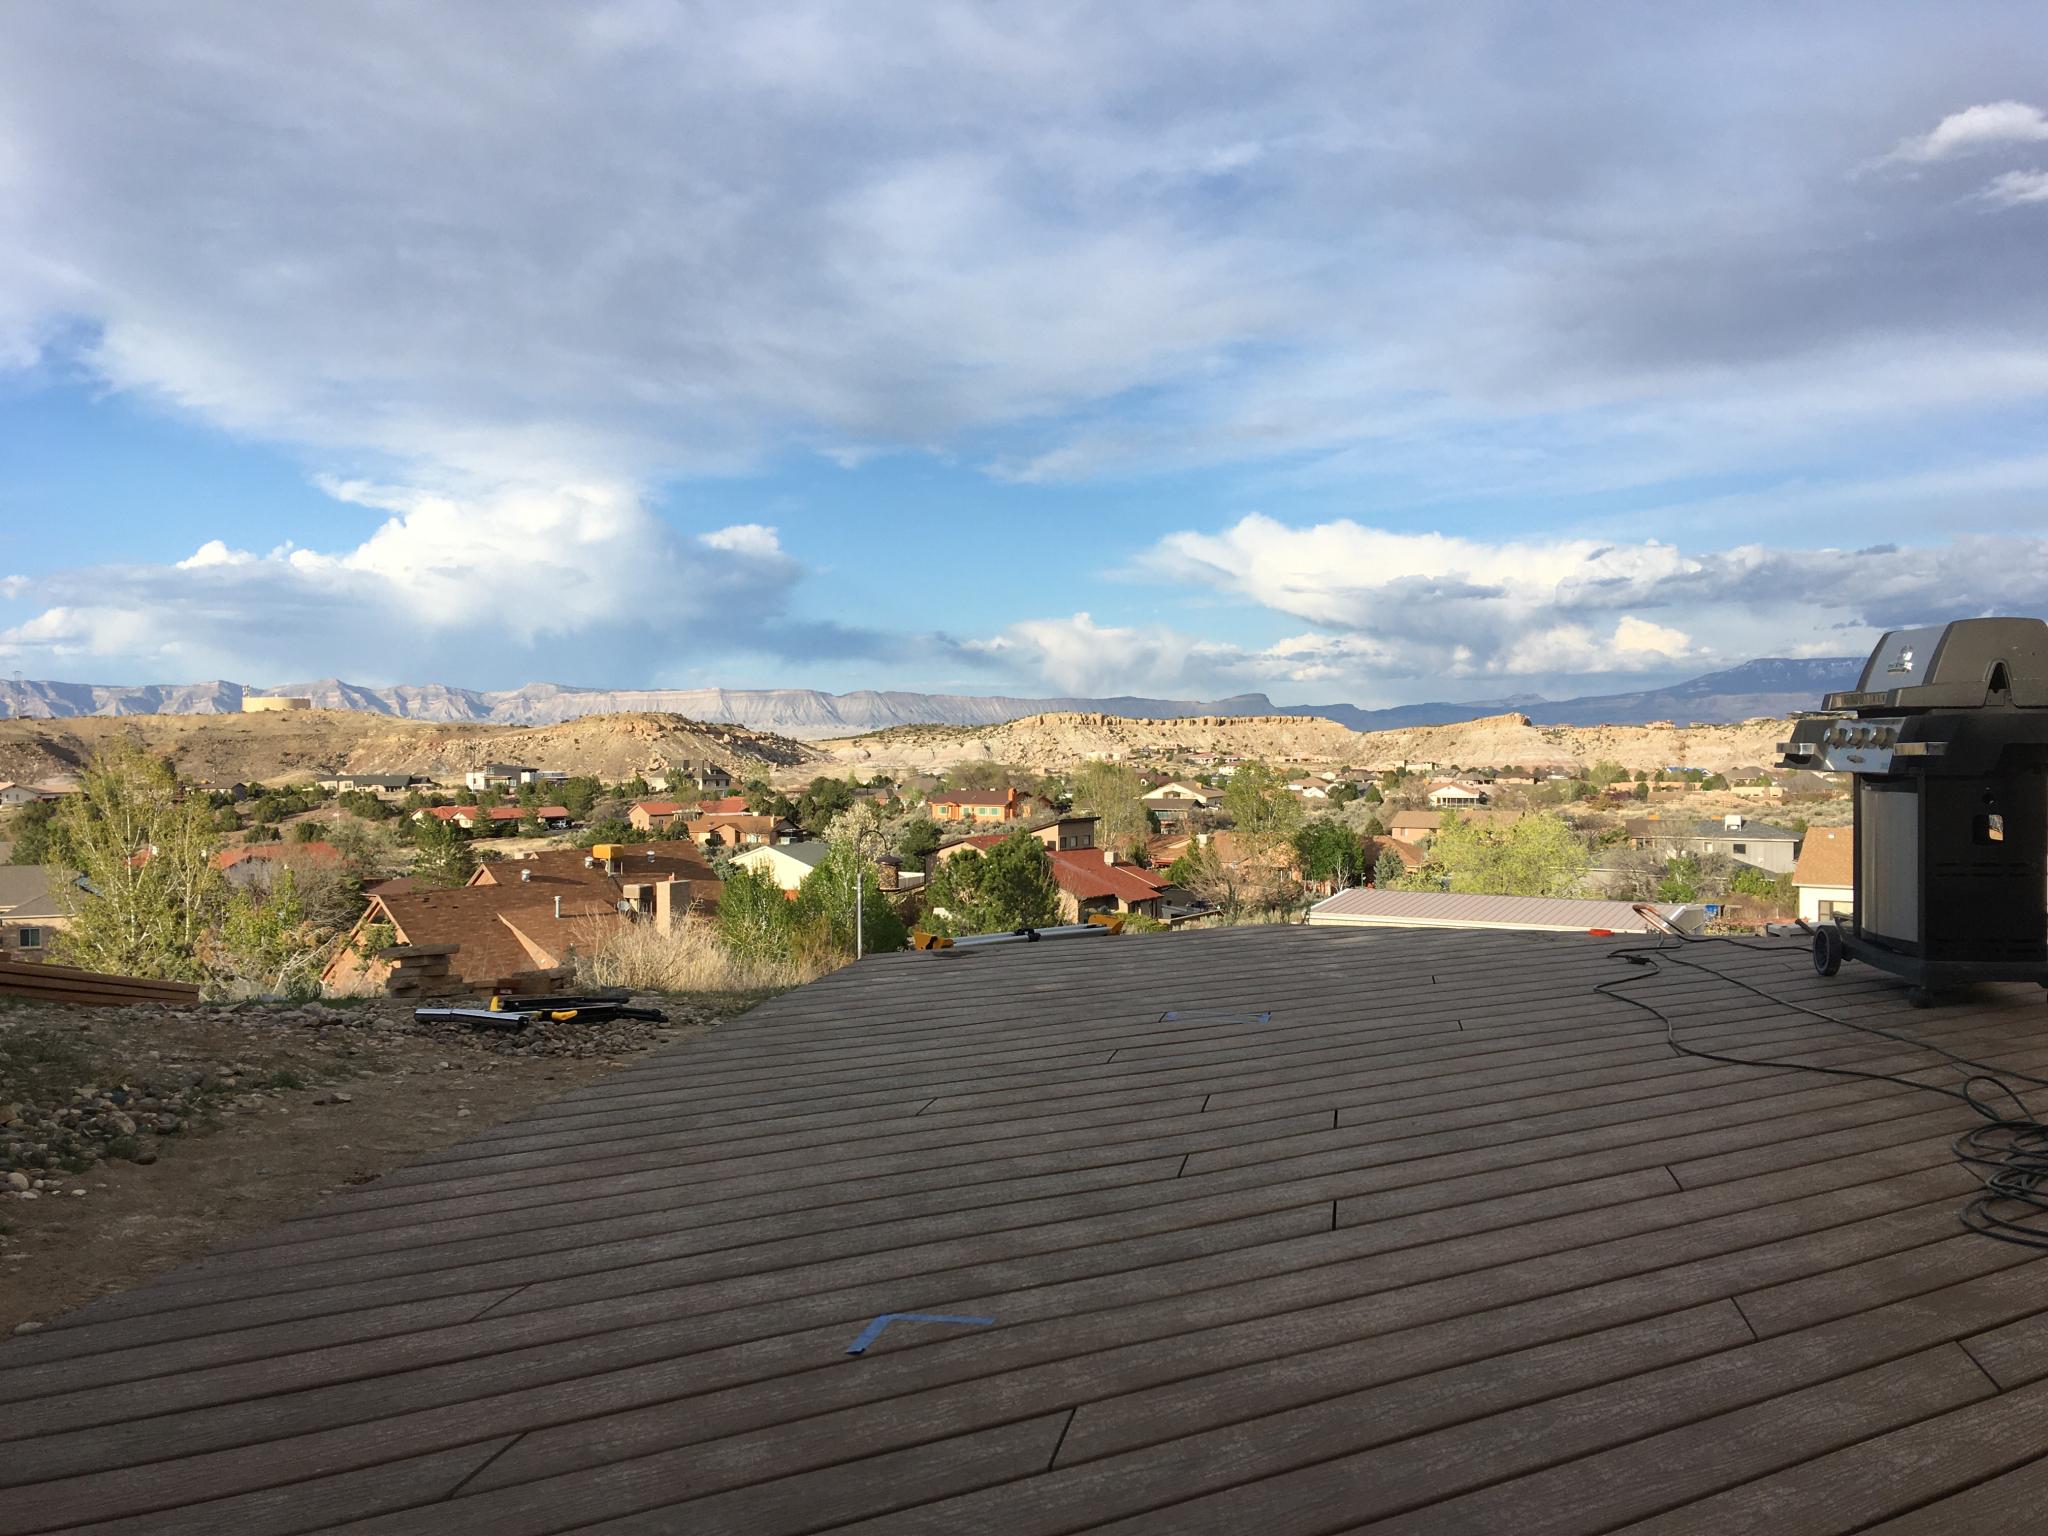
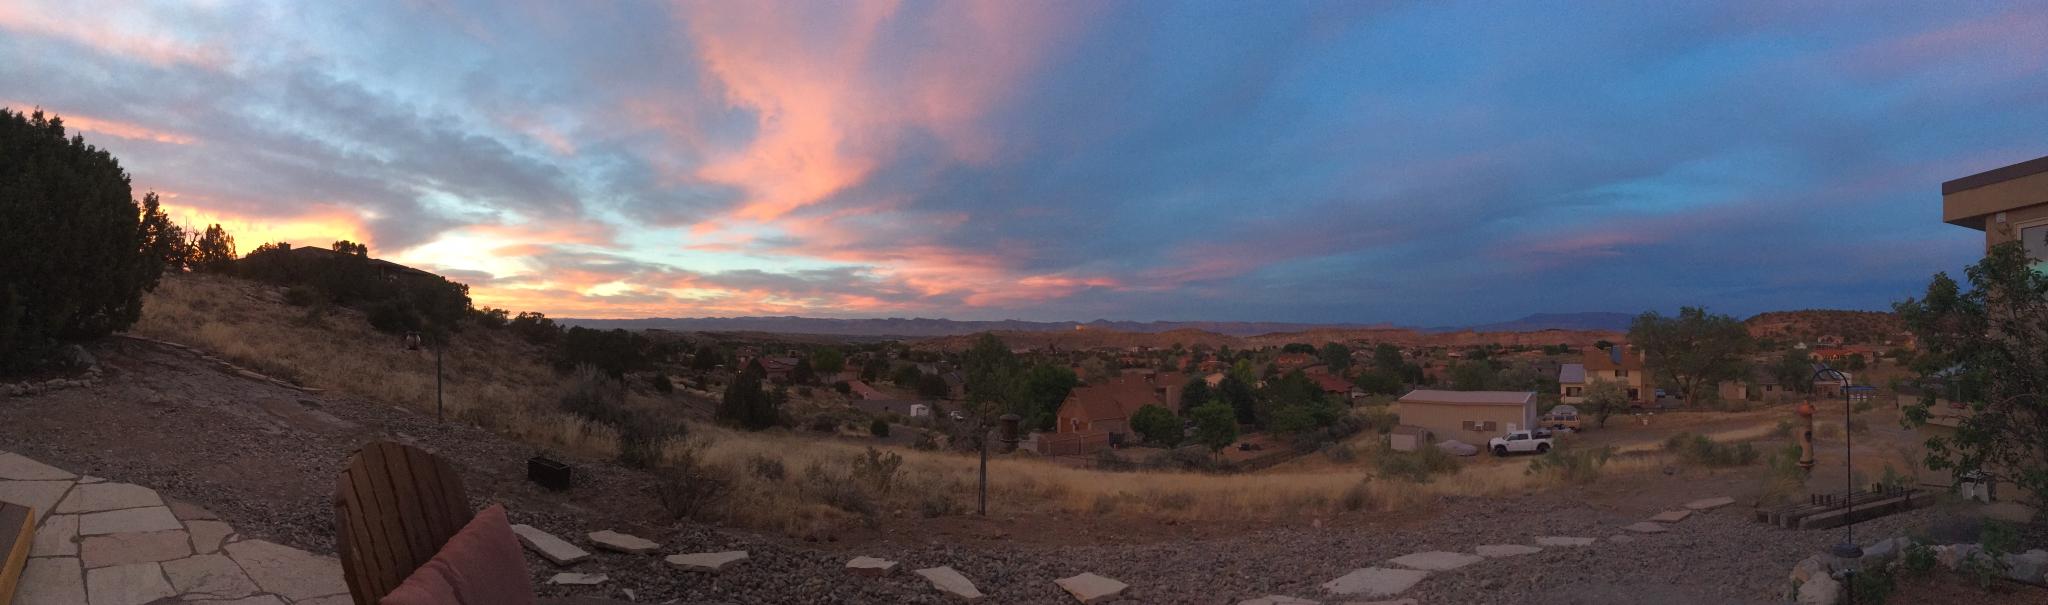
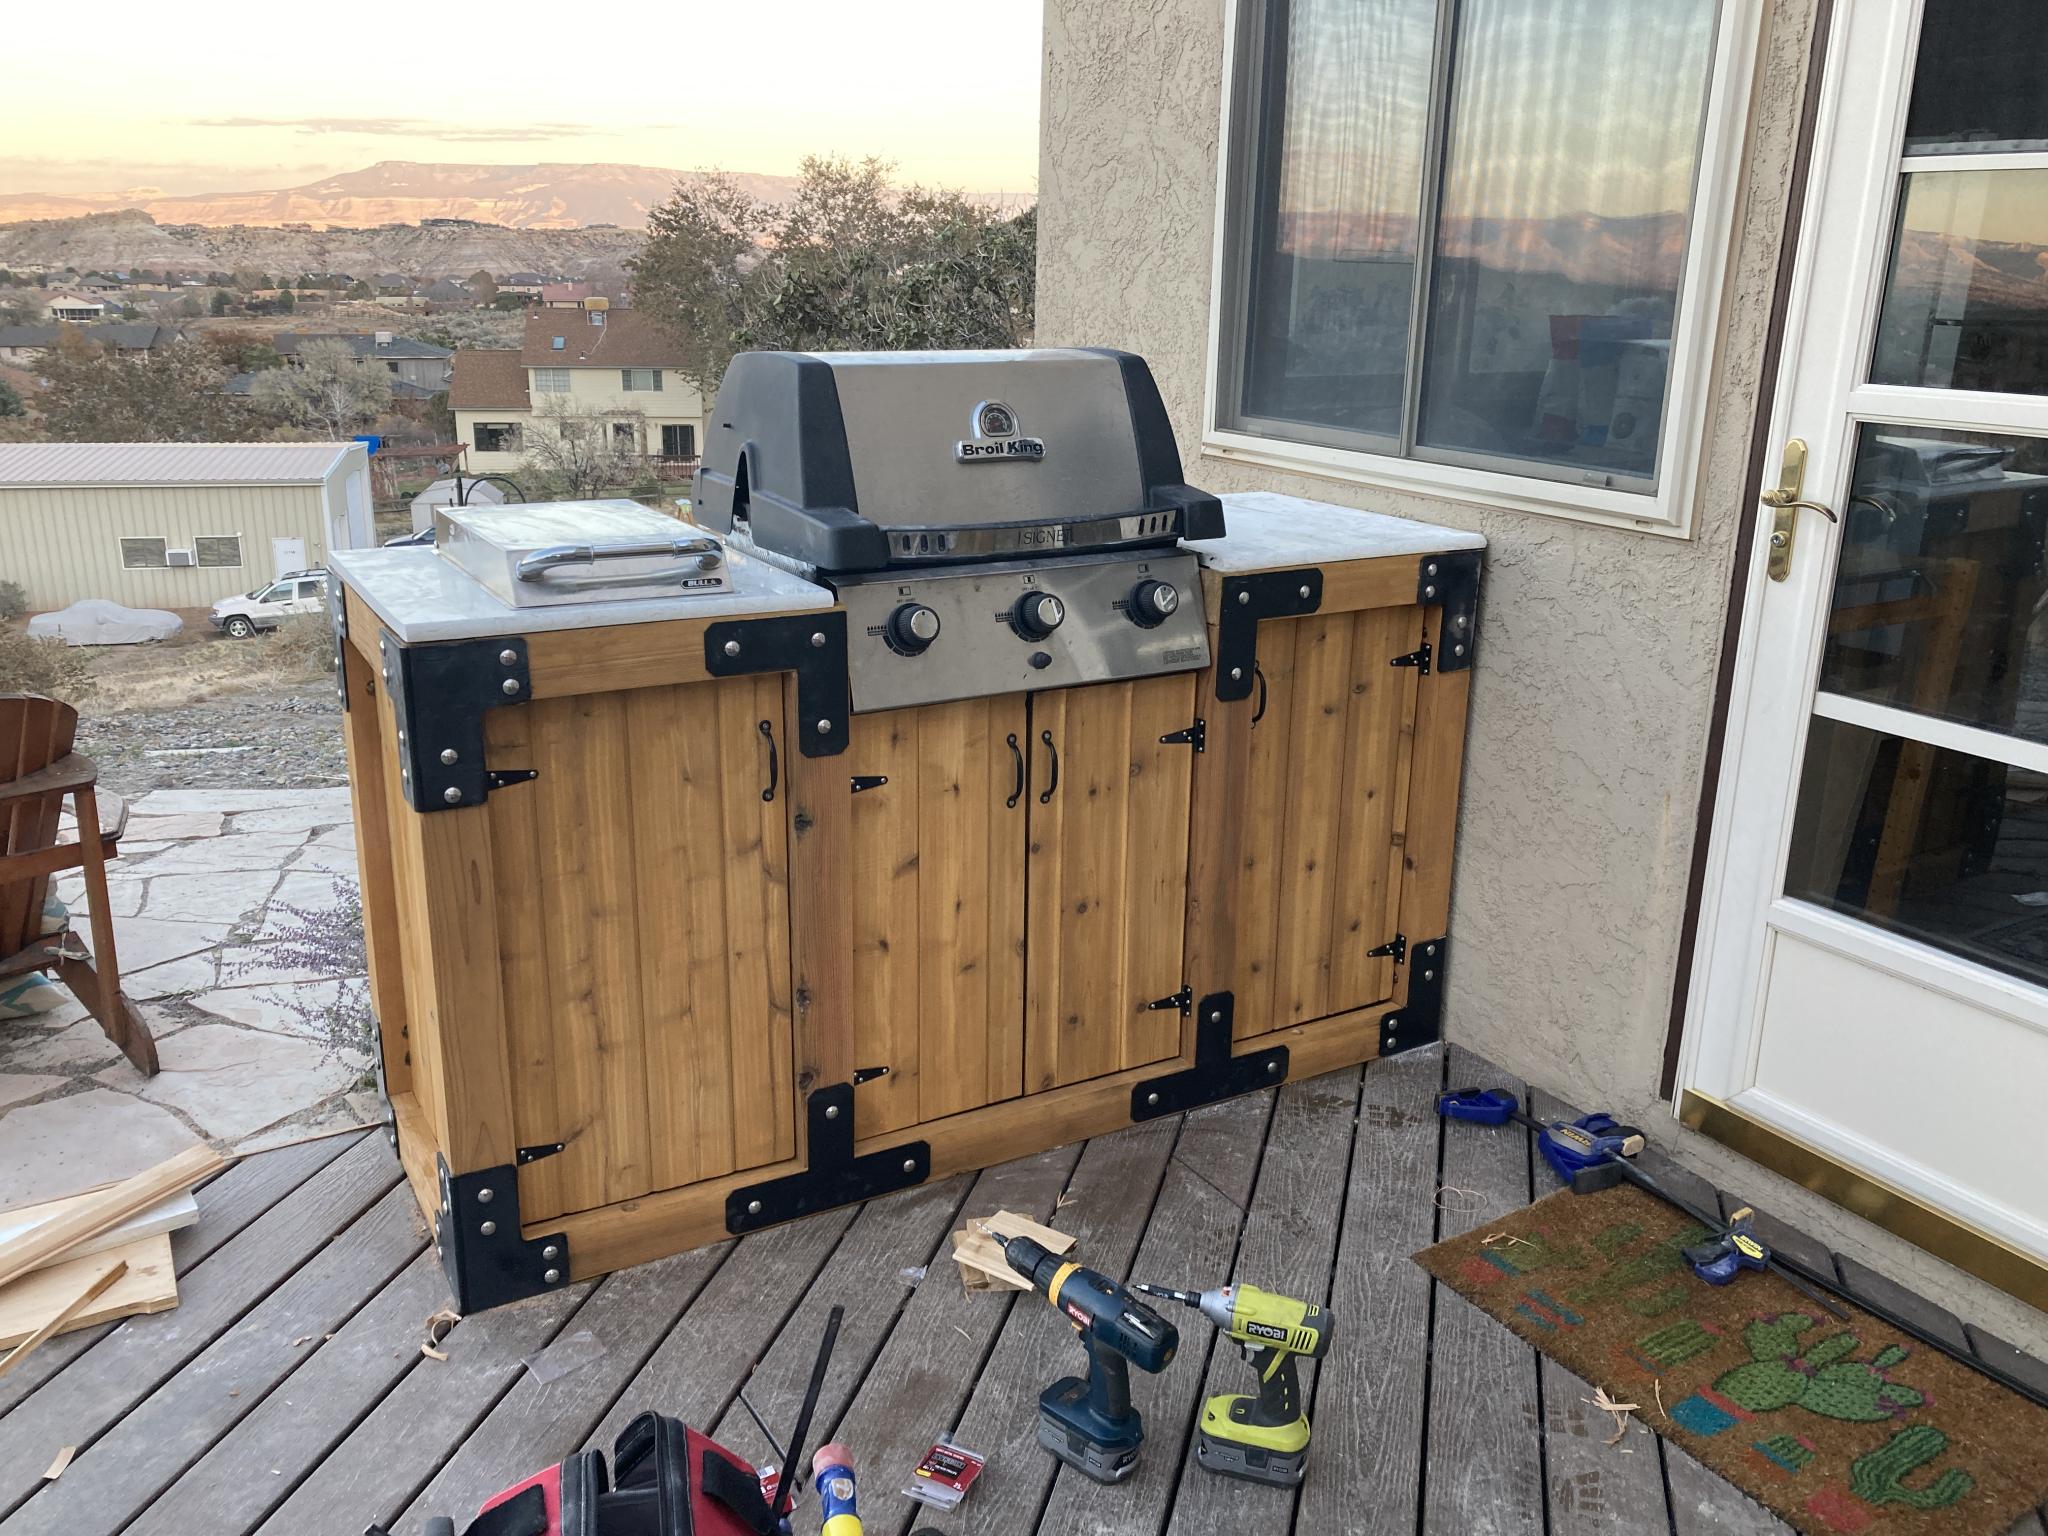
But I was showing a coworker around today, and he like many others commented on the fact that you can see down into every house in the neighborhood. That's true. We're on top of a hill with a commanding view of the whole valley. The house also backs up (or close to it) to the Colorado National Monument, which is the big red wall of red rock you can see in the most recent picture. Weirdly, our house almost turns its back to the Monument while most construction in the area faces it. I didn't realize why until I remembered that it's one of the first houses in the area.

That valley we overlook would have been almost empty when our house was built in the 80's. Our house is built for the light, the way it moves across the landscape, and is nestled into the contours of the lot. Pretty well done, actually. I kinda feel bad for the original owners, who would have seen their valley view fill up with decades of non-stop construction. It was a custom home that they lived in until he died and she went into a care facility, and they got to watch humanity march right up to their fence line and then fill in all the gaps. Luckily, we're in the middle of two acres so they shouldn't get much closer.

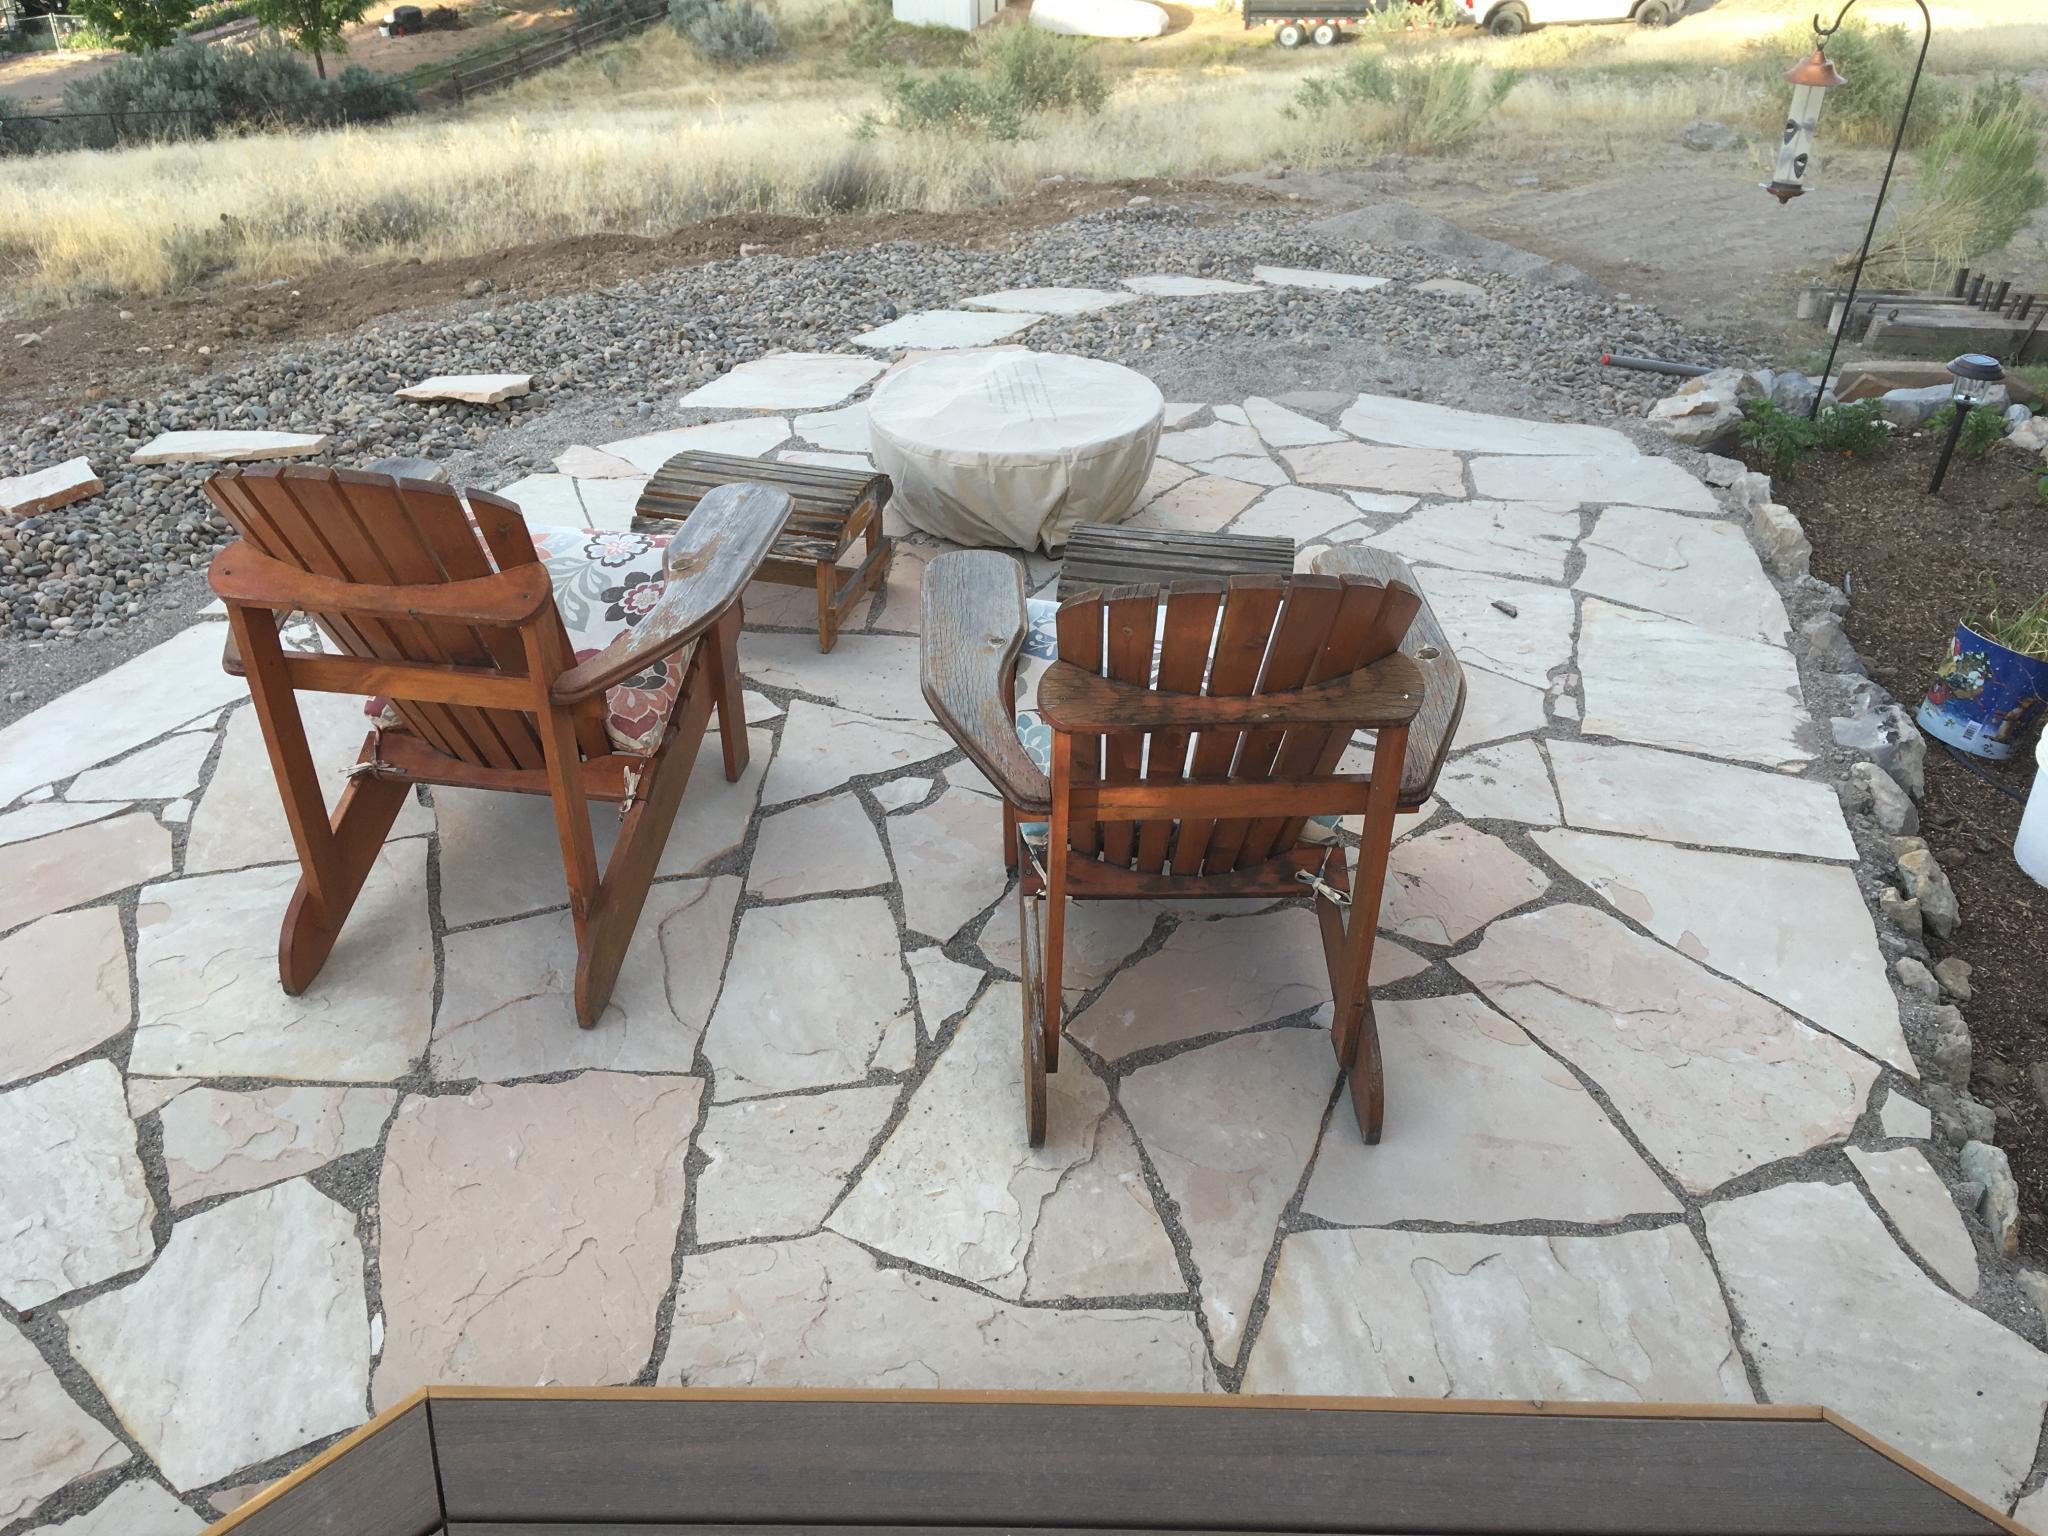
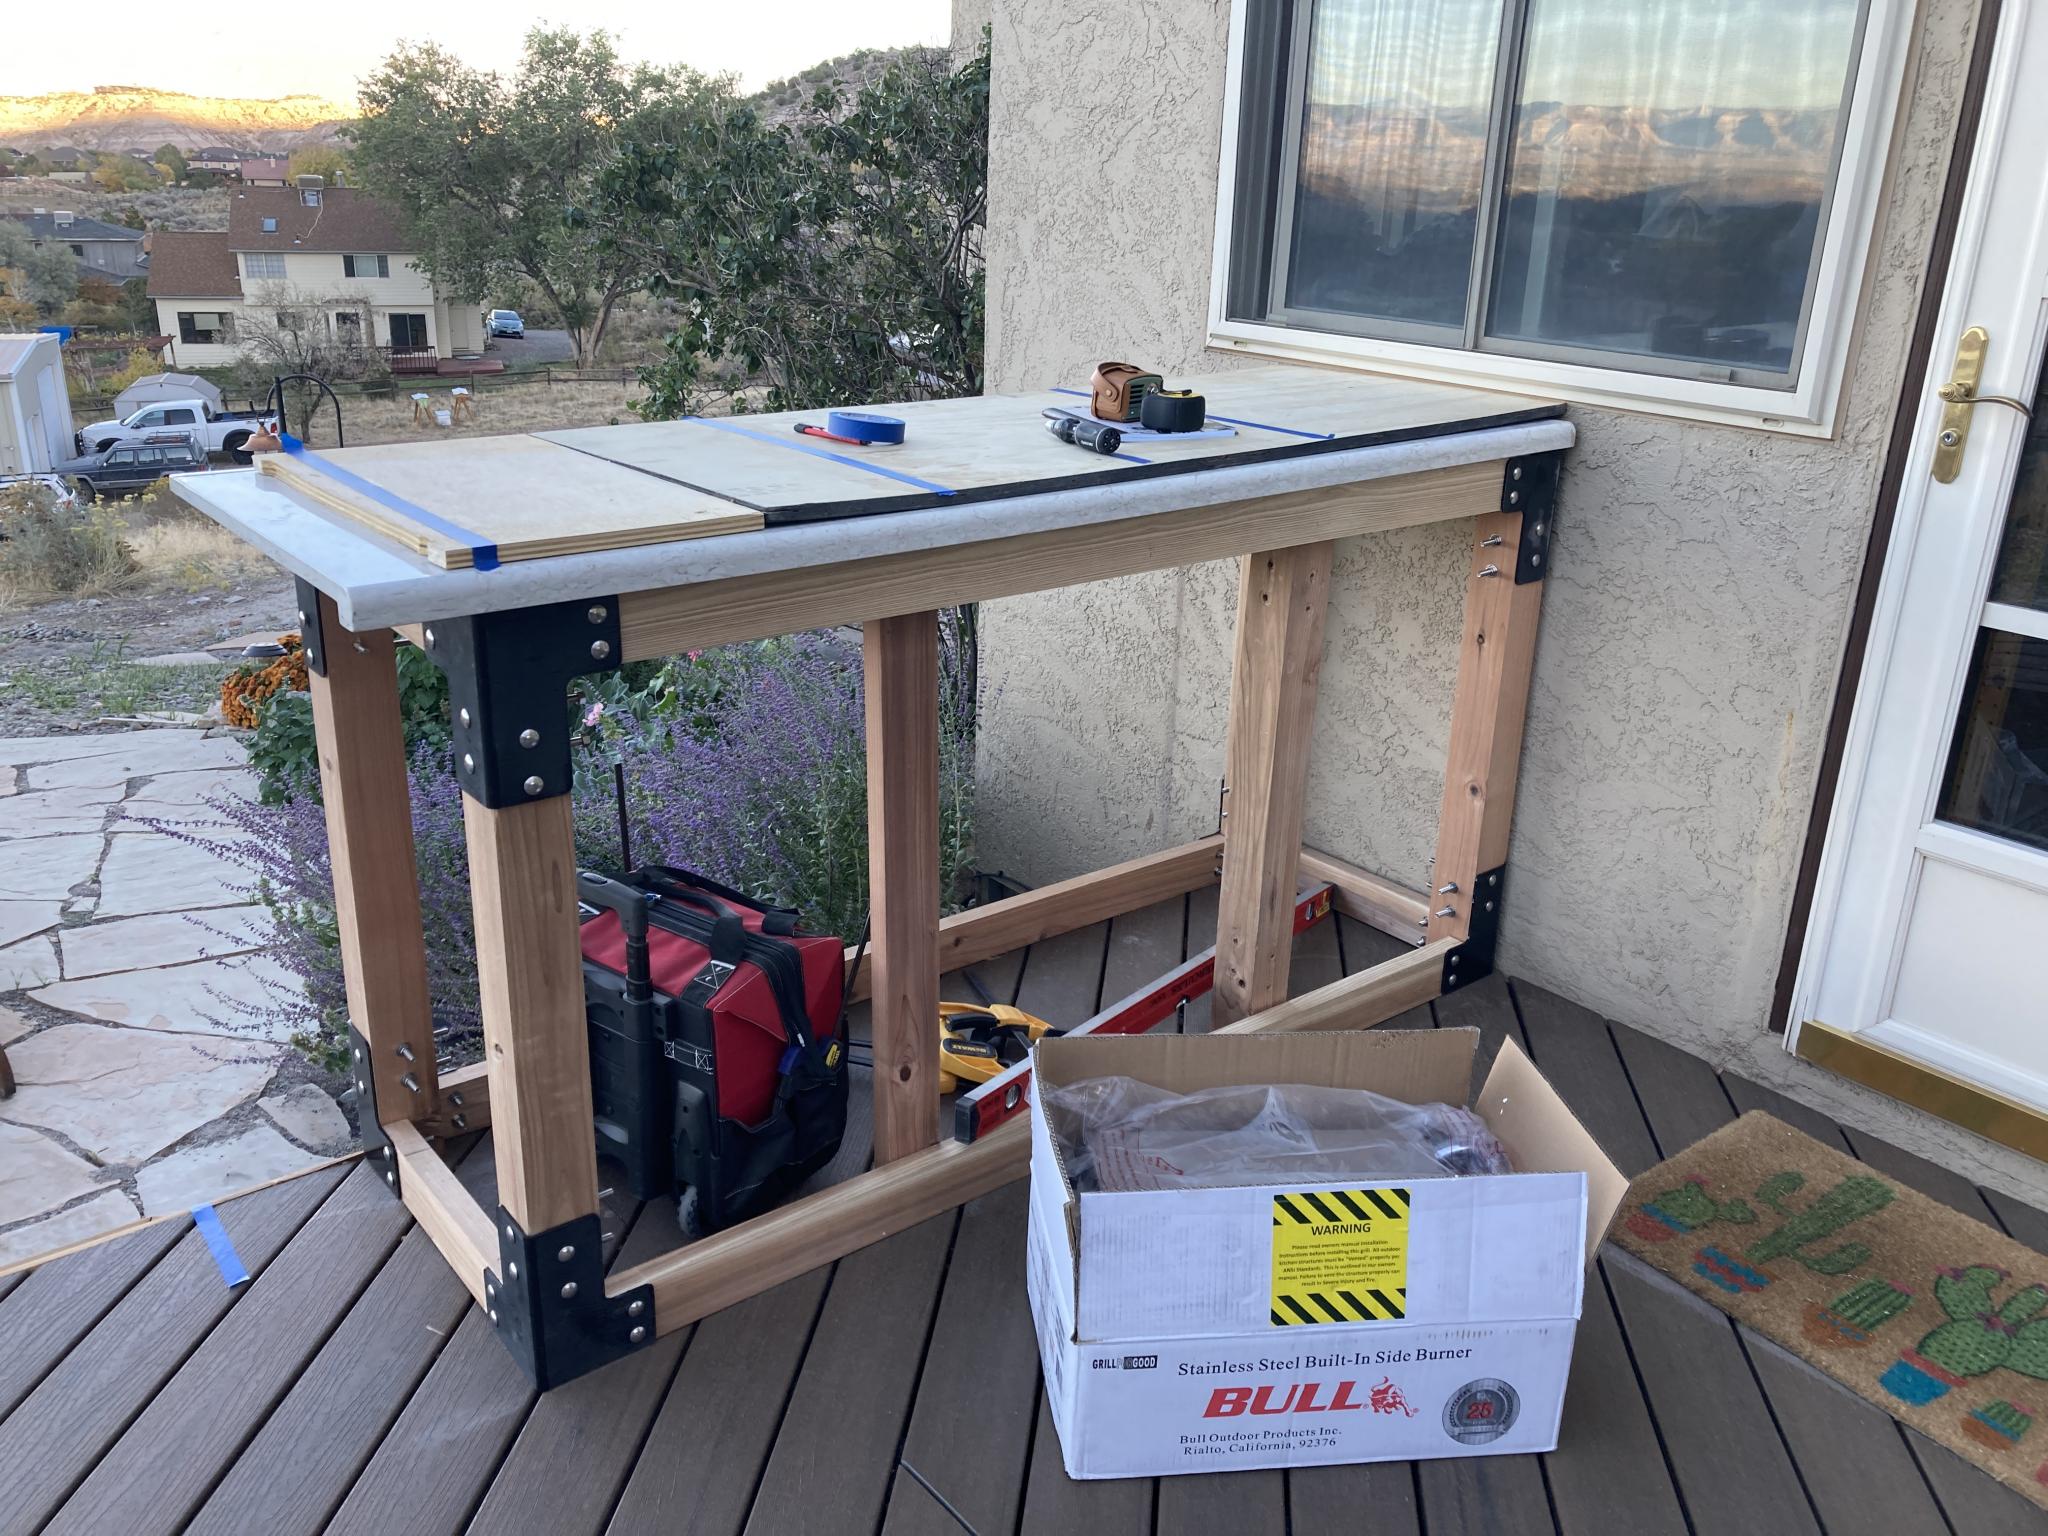
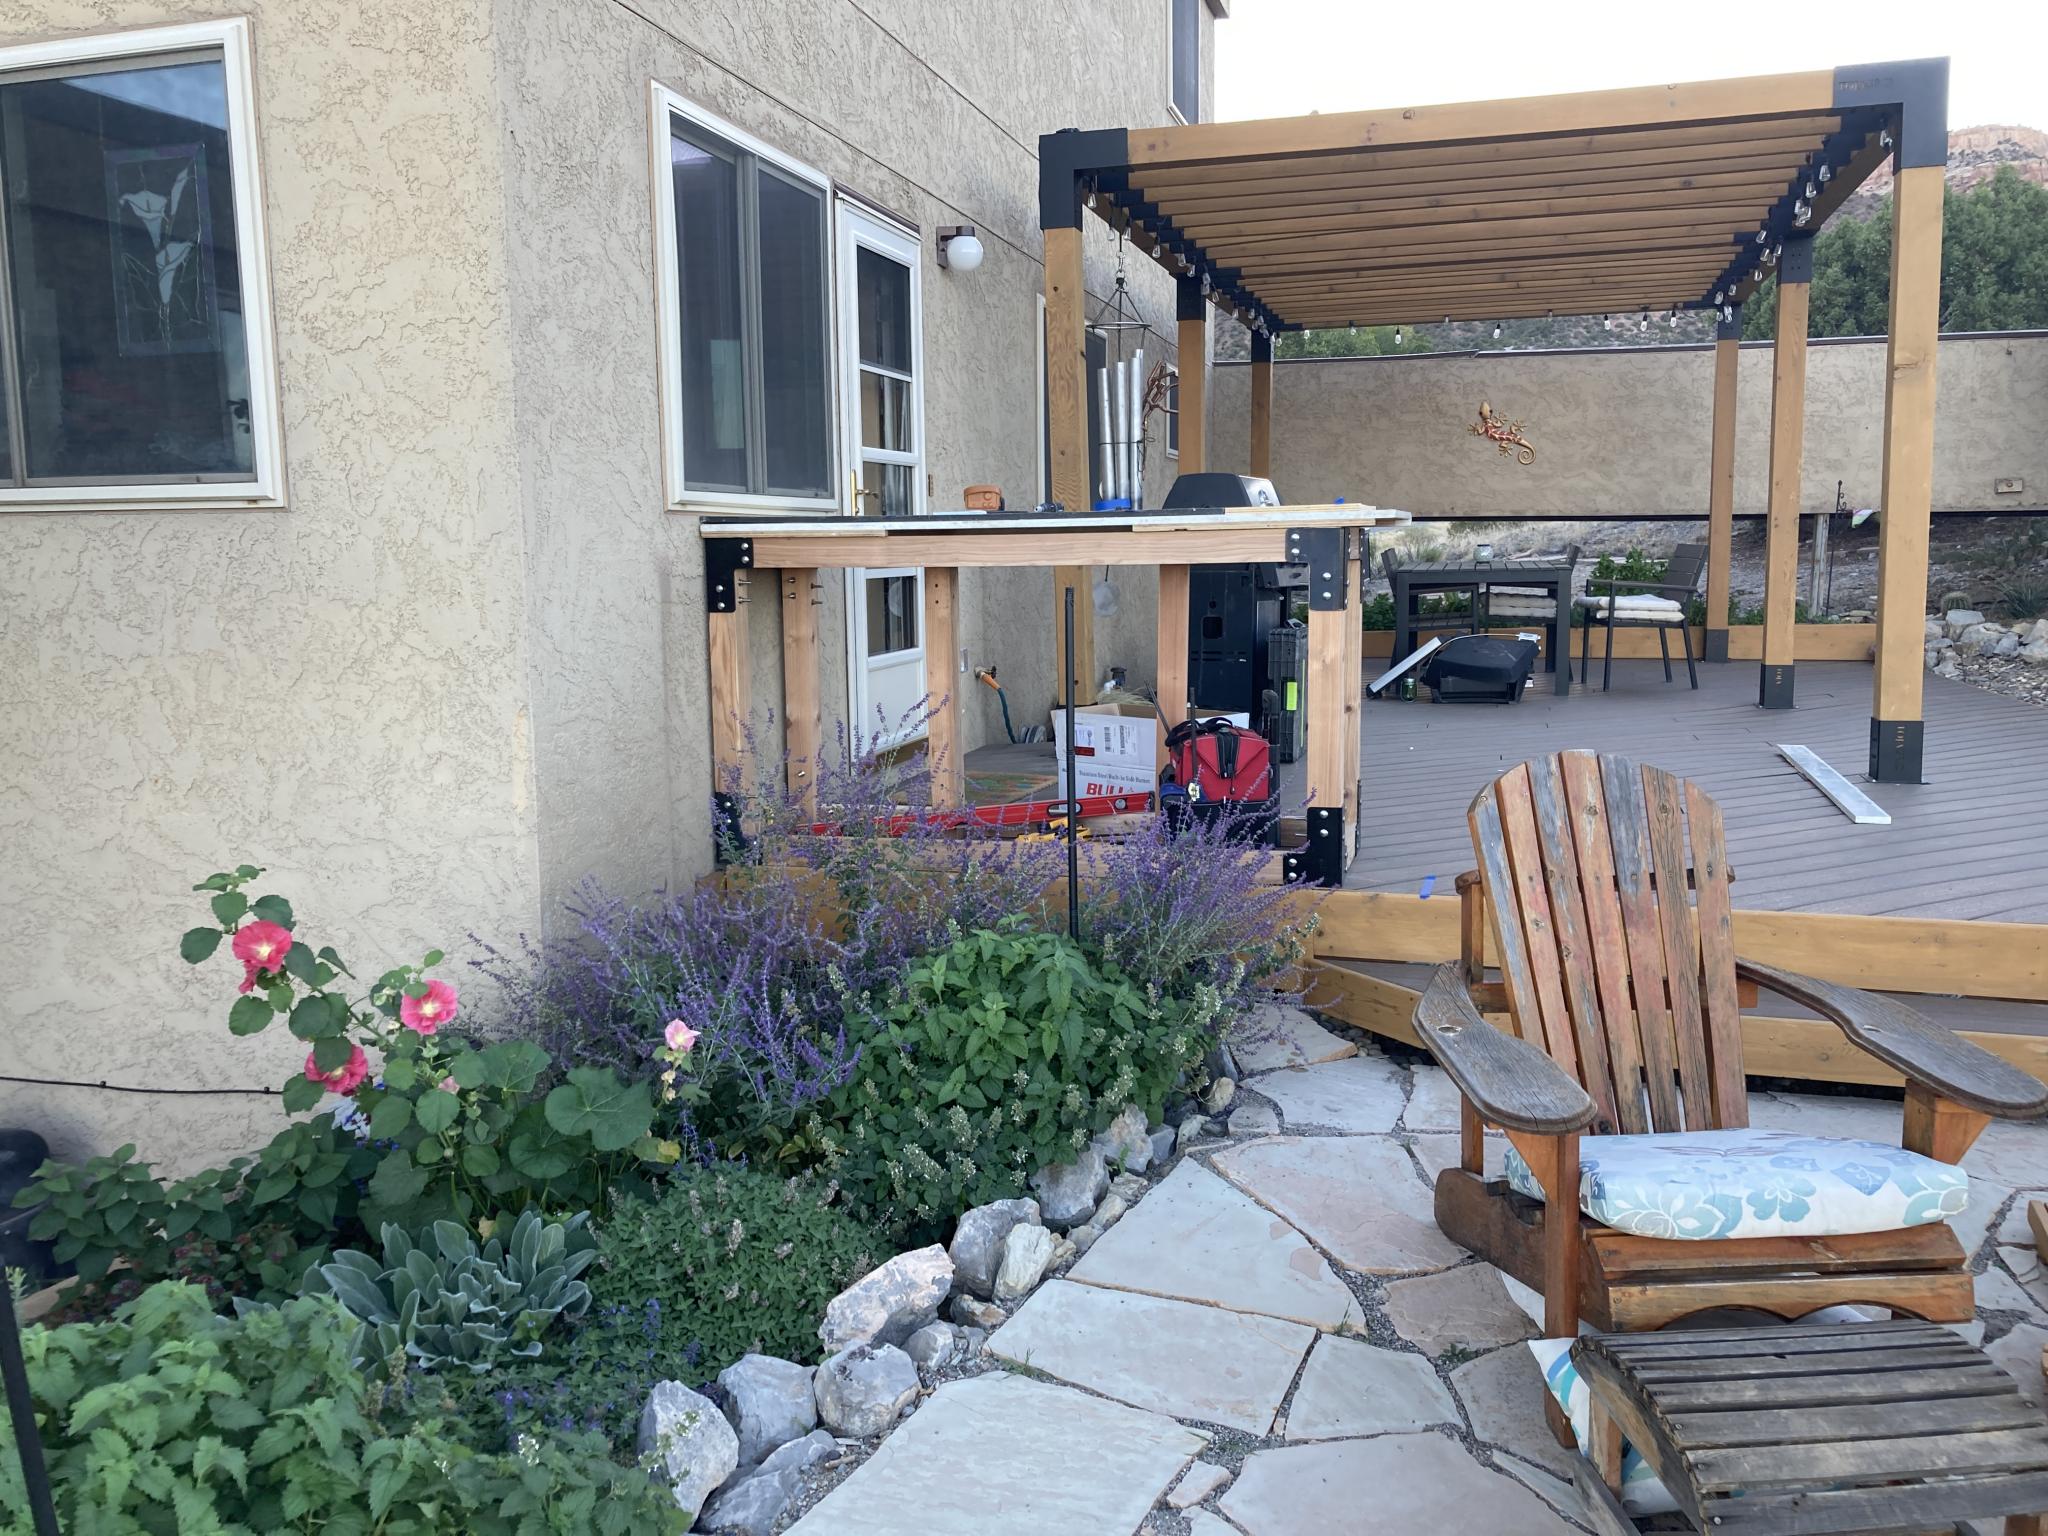
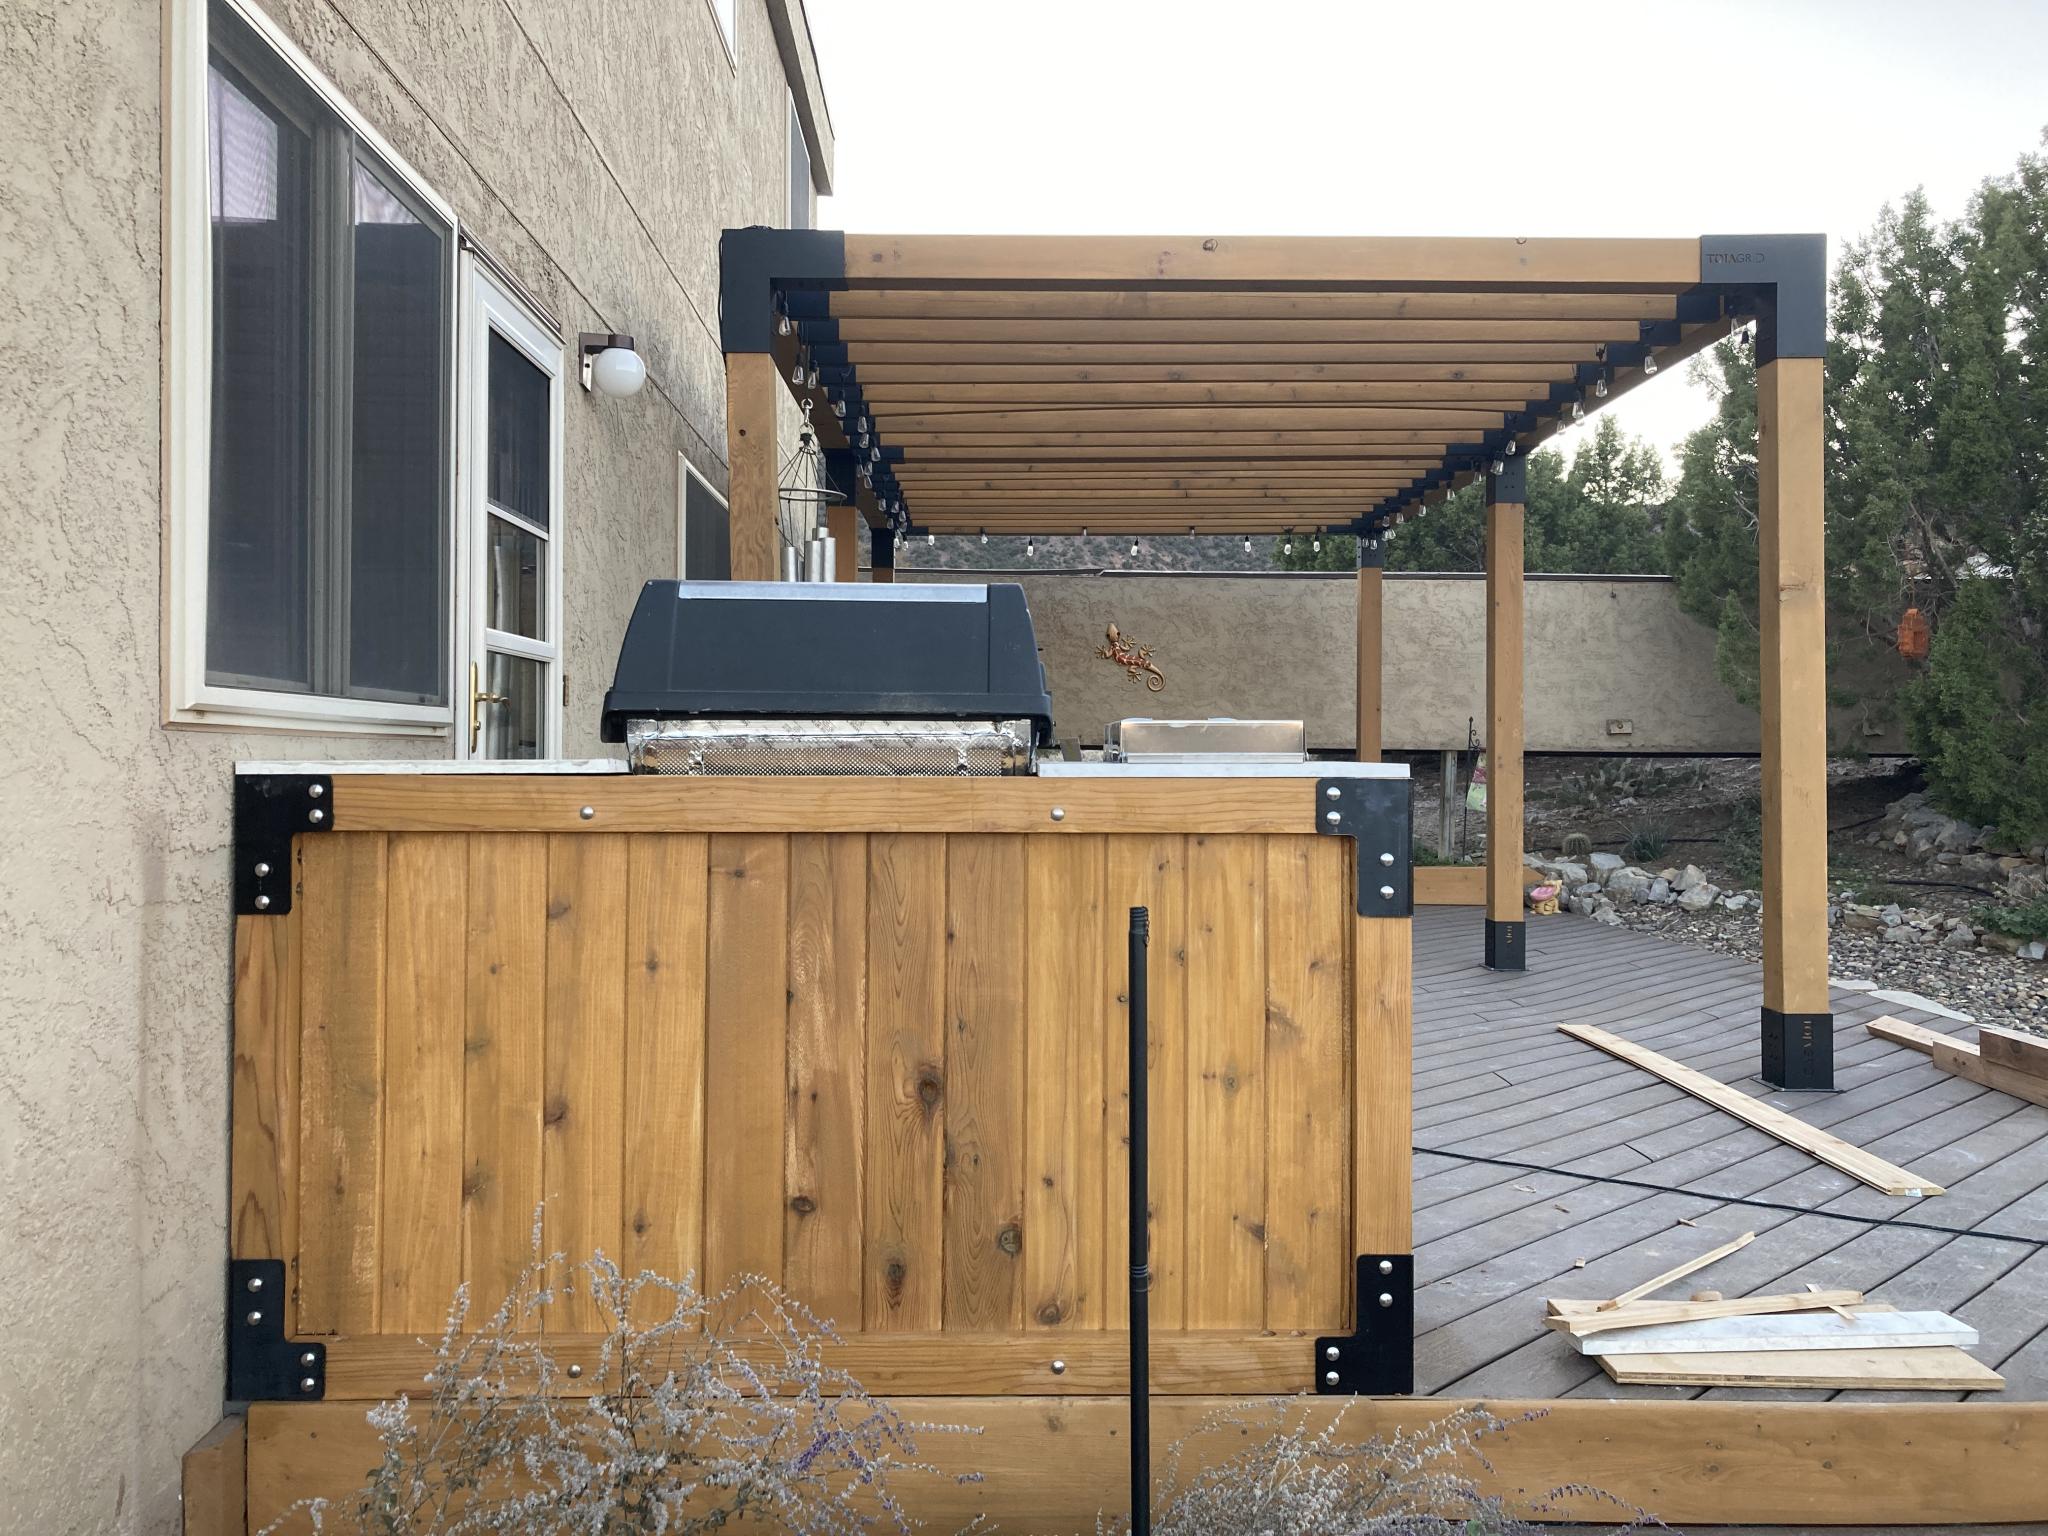
Our new deck is putting us in that back yard more often, and we're sitting just a little bit higher or closer to the crest than we would have before so the encroachment is more obvious. That's why people are mentioning it now, because before this was junk land that you didn't bother to visit.

Not a build diary entry. Just musings.

Keith Tanner
Keith Tanner GRM+ Memberand MegaDork
5/14/20 12:33 p.m.

A bunch of work last weekend and we're in a good place. Brought in a trailer load of dirt, then moved a bunch of road base, sand and river rock to build out the pad around the flagstone section. I still have to finish the flagstone path that will head down around the house, but this is basically it.

Future plans will involve building a cook station where the BBQ sits. Not a full on outdoor kitchen with a sink and all, but I'll build a cabinet to hold the BBQ and potentially a flat cooktop or something else. No more than 6' long. I left a natural gas outlet under that spot so I can feed it all off the house gas.  

Overall view.


Also, I've added lights because you have to have lights on a pergola :) Also because the only light in the back yard is a choice between a single globe by the door or spotlights around the entire house. Makes for a very pleasant place to sit in the evening.  They're LEDs with a fairly warm temperature, attached to a dimmer so we can adjust to suit. I don't think we've had them over 50% yet. The picture was taken before I fully had them in place.

I added cedar along the face of Janel's raised flowerbed to hide the treated 4x4s, and even edged the part along the side of the house. Janel has been filling everything with plants.

The facing boards on the steps hang a little under the step itself, so the "floating" aspect disappeared. I could trim them about an inch shorter but I'm not sure it's worth the effort.

It's also quite clear that this deck is for our own consumption and not anyone else - we even had a neighbor visit for the first time in a couple of years just to find out what the hell we'd been working on so hard. All you can see from other properties is the pergola.

So that's basically it until I jam through a few other things, then I'll come back and build that cooking spot. It's been a tough 5-6 weeks, but we ended up building what I'd planned and it worked out even better than expected. So yay!

914Driver
914Driver MegaDork
5/14/20 12:40 p.m.

I love the way the new deck material bolts down, no screw heads through the material.

Brushing stone dust between the stones; would that sand-polymer stuff that turns into silicone work in that application?

Keith Tanner
Keith Tanner GRM+ Memberand MegaDork
5/14/20 1:22 p.m.

The fastener system is the Trex hidden design. It would actually let me pull out a board or two without too much trouble, and was very easy to use. Last time, I went with the Camo system and wasn't happy with the results. The Trex setup isn't cheap but you only pay it once. I have done my best to stimulate the construction supply portion of the economy over the last month!

I used polymeric sand on my last patio and it worked well. Those were a concrete flagstone emulation, irregular blocks designed to give the impression of random rock. Nice consistent thickness but it wasn't random enough for anything but a small area. Given the nature of natural rock, however, I think the stones are more likely to move a bit and that would lead to cracking of the sand. I'll see how it works over the next few months. I can always sweep the sand out and put down polymeric later if I want.

ultraclyde (Forum Supporter)
ultraclyde (Forum Supporter) UltimaDork
5/14/20 1:57 p.m.

Houses in the valley or not, that view is amazing. I can totally see sitting there all afternoon watching the cloud shadows crawl across the hills as the light paints everything different shades. Lotta bit jealous of that.

It looks great! When the plantings grow in it's going to be tour of homes level nice.

914Driver
914Driver MegaDork
5/14/20 2:24 p.m.

My goal this summer is to redo at least one of the three sidewalks I have and recover the deck with Trex like material.  I've got two pallets of 6X9 and 6X6 patio blocks.  Yet another deck thread coming soon ....

Keith Tanner
Keith Tanner GRM+ Memberand MegaDork
5/14/20 4:39 p.m.

Maybe we need a subsection of the build thread forum for decks :)

84FSP
84FSP SuperDork
5/15/20 9:00 p.m.

That is looking awesome!


Keith Tanner
Keith Tanner GRM+ Memberand MegaDork
5/18/20 10:12 p.m.

Did you think it was done? It's not done!

The pergola was bothering me. It wasn't quite vertical. The whole thing had basically sagged slightly to one side and I couldn't figure out how. Well, it was back to that lumber. The Toja Grid stuff is designed for dimensional 6x6, which is 5.5x5.5. But my lumber was slightly less - maybe 1/8". That's enough to let a post sit just slightly off inside the socket, and over 8' that was noticeable. Putting screws in should put everything at perfect squares as it pulls the beams in against the sides of the socket, but it was obviously not working.

Janel was tired of hearing me complain about the lack of vertical and I was frustrated that my very visible geometric statement was not up to snuff. So I gave myself the day to fix it yesterday. First, I pulled out all the screws in the bases and beams. And this happened. 

Yes, that's a car tie down.

Pulled the sucker back into square using my 48" level. The screws go in on two planes, so I put in the screws that are perpendicular to the plane in question first. This locked in the angles. Then the ones at 90 degrees. I also doubled up on all the screws - the instructions show what I did the first time, but there was more than enough hardware supplied so I think the last step was left out :) That's a lot of screws and I had to move one base by 1" to get it perfect, but it was the adjustment I needed.

The end result is a nice square pergola with perfect verticals. Yay! It just needed that final adjustment. Next time, I'll plane the lumber myself to a press fit and I'll leave just one screw in every connector while we're erecting the pergola, then it'll be Square Time.

The rest of the day was spent on small finish work, like the last couple of wheelbarrow loads of gravel and wiring up the sprinkler valves. Janel also did some remediation work on the hillside after all those tractor and truck/trailer trips. Our desert landscape does not recover quickly from those insults, but we moved a couple of little sagebrush and raked out the tire marks. There are still a couple of flagstones that need to go down the hill. Eventually. I am happy to report that I have  had s'mores the last three nights as I watch the valley go to sleep. 


Keith Tanner
Keith Tanner GRM+ Memberand MegaDork
11/19/20 3:18 p.m.

Anyone want an update?

It was a really hot and windy summer, the deck didn't get as much use as I'd hoped. Obviously we weren't having dinner parties, although we did eat out there. But it feels like it's always been there. One of the joists warped on me so there's a low spot, at some point I'm going to have to pull up some decking and replace it. That's annoying. 

But this update is about the cooking spot. Took me forever to get around to this. First I needed to get the NG conversion kit for the BBQ. Then I had to get the design right. The goal was to make it tie in aesthetically to the pergola, and the usual "pile o' stone" design just didn't work for me. I wanted a wood frame with the same sort of corner connectors, and ordering a 4x4 Toja kit was just too expensive.

Then Eastwood sent me an ad for their workbench "kit" that is basically eight brackets. Perfect. The idea started to gel a bit. A 4x4 frame with some inset panels.

Here's the Eastwood kit bolted together with some 4x4s. Cedar again, but this time I bought rough 4x4s from Lowes and planed them down myself. Should have done that from the start with the pergola. This picture looks a bit like a Escher painting because I have a couple of uprights stuck in there to show the approximate location of the BBQ.

The general idea. As you can see, Janel's garden really took off.

I dismounted the BBQ from the cart it lives in and cut a slot for it in the middle of the box. I used some Simpson T and L brackets to attach some uprights but also make it look right. There was a lot of thinking and planning here to avoid exposed fasteners. Then, umm...

Keith Tanner
Keith Tanner GRM+ Memberand MegaDork
11/19/20 3:31 p.m.

While the snow was in the way, I built some steel brackets to hold up the BBQ. They run front-to-back in the frame and not only hold up the BBQ box, but also provide some extra strength. There's a vertical 4x4 at each end. The BBQ never comes in contact with the wood and there's a decent airspace to minimize heat transfer. I also wrapped the outside of the burner box in DEI Floor And Tunnel insulation :) There's a steel plate on the inner wall of the back of the cabinet to make sure the wood is protected. I've found that with the BBQ going, I can put my hand on the insulated box. So I think the odds of inadvertent combustion (cedar lights off at about 500F) are minimal.

The panels are tongue-in-groove cedar planking mounted to the inside of the horizontal 2x4s, which means that the external frame sits about 1.75" proud of the panels. Enough to make the frame obvious. All of the fasteners are stainless to prevent reaction with the cedar.

All three front panels are hinged and work as doors, and there's a shelf inside so I have lots of storage. They're secured with magnets so they don't self-close when I'm rooting around inside the box, and the magnets are strong enough to deal with some pretty strong winds based on unplanned tests.

The countertop is quartz that was saved from a kitchen remodel. It was new when we bought the house a couple of years ago but attached to a terrible counter design, so I pulled it and saved it. 

No pictures of in-progress because I'm not smart.

The four carriage bolt heads you see on the back mount the 4x4 supports for the BBQ to the main frame. They are my only exposed fasteners that are not exposed by design. And yes, one of the cedar rafters in the pergola also warped on me. I'll replace it soon.

The side burner is a 15,000 BTU unit that will be used for things like corn and for canning - canning season is still pretty warm around here and the kitchen gets hot. You can see the DEI insulation on the BBQ box in this and the previous shot. This picture (and the others) was taken before the countertop was fully leveled and installed. I glued it to some removable boards so I can pull it off if required.

The piece that was cut out for the side burner got turned into a cheese tray :)

So that's it, I'm going to call it done. The BBQ has picked up some real power with the NG conversion, I'm having to relearn my settings. Haven't had a reason to use the side burner yet but it's ready and waiting. Tonight, we're cooking some jerk chicken.

11GTCS
11GTCS HalfDork
11/19/20 5:45 p.m.

In reply to Keith Tanner :

Great job on the deck /pergola/ fire pit/ landscaping.   That view is absurd in the best way possible, enjoy!


RossD
RossD MegaDork
11/19/20 7:59 p.m.

Nice work.

Greg Smith (Forum Supporter)
Greg Smith (Forum Supporter) Dork
11/19/20 9:30 p.m.
Keith Tanner said:

...

...

That. Is. AWESOME. Amazing execution! :)

Keith Tanner
Keith Tanner GRM+ Memberand MegaDork
11/20/20 9:17 a.m.

Thanks for the kind words. I spent a lot of time mulling over how to make this look just right. Lots of dead ends and different ideas. I didn't start cutting and drilling until I had it figured out. Working out how to make the doors just right took forever. I am not an experienced cabinetmaker by any measure, so I was mostly trying to avoid too much redneck.

The cabinet is also bolted to the deck. We get some serious winds through here and the BBQ has blown off the deck in the past. So this kitchen thing is both strong and immobile. I can definitely recommend the Eastwood "kit", those brackets are made of some seriously hefty steel. The Simpson units (the ones around the BBQ) are significantly thinner. The center vertical 4x4s are notched so they tie in to both the horizontal 2x4s and sit on the deck itself. It's a little overbuilt.

One thing I forgot to mention - in this picture, you can see the carriage bolts protruding through the 4x4 uprights. I realized after assembly that this was going to interfere with the inset panels, so I replaced them all with 3.5" bolts and countersunk the nuts. So now I have a very large number of surplus 4.5" stainless carriage bolts :) Go to McMaster Carr for this stuff, BTW. Don't even think about big box stores. And if you haven't worked with cedar, it's a surprisingly fussy wood when it comes to fasteners. It will react with zinc which means that zinc plated and galvanized fasteners are out.

759NRNG (Forum Partidario)
759NRNG (Forum Partidario) UltraDork
11/20/20 6:07 p.m.

Very well done.....did you do any of this(hammers saws screwdrivers etc ) with your father as a child growing up ? I have my own trex deck in progress but my view is by no means as spectacular as your and Janel's .  I've been trying to place your hacienda using Gmaps in relation to the CNM rock structure but to no avail....


Keith Tanner
Keith Tanner GRM+ Memberand MegaDork
11/20/20 6:37 p.m.

Stalker alert! We're in the South Camp area, an older part that has bigger lots. Close to but not bordering the Monument. That's all you're going to get :)

My parents bought an old rooming house when I was 7 and we spent the next decade renovating it around us. So the smell of plaster dust is the smell of my childhood. I didn't learn much in the way of construction skills -I mostly did demo - but I certainly learned what could be done to a house. I was also encouraged to play around with stuff. And of course, I won the Industrial Arts proficiency award in grade 8 for building an awesome knife block. But I tended to lean towards mechanical stuff at that time. Meanwhile, my grandfather was a wood turner and a radio ham that built his own circuit boards. Mostly, I learned a way of thinking. It's called making now. I learned that building and fixing and tweaking things was normal.

Then I learned by doing on my own projects. The deck, for example, was the first time I'd done a structure like this from scratch. Lots of reading of specifications to see what best practices and requirements are. And (hopefully) the willingness to ask questions and listen to answers.

I don't know what people do with themselves if they're not creating something. 

1 2 3

You'll need to log in to post.

Our Preferred Partners
sQyIbvvRyrHYW5oo0MfLoJ7qVywxY8RomaLRm7HW7KgmHm4nb6oPmSlXHtC8RUhM