The hiatus is over; done with classes for the summer. I also just got a schwag co-op making real money!
I previously tested a number of low-budget DIY zinc plating methods found on the internet, all with less than stellar results. After beating around the bush, I dropped $70 on the Eastwood Zinc-tin electroplating kit. It came with everything needed to plate: containers, battery holder w/ leads, gloves, goggles, etc. The zinc-tin plating polish similar to chrome, and is more durable than plain zinc plating.
The entire is painless and extremely simple. It is a bit time consuming, but not at all strenuous. Set everything up, set the egg timer, and come back when its done.
My Howto Guide to Zinc-Tin Plating:
1) Remove hardware from vehicle and put in the vibratory tumbler w/ green rust cutting resin and run for 6-12 hours. Make sure the threads on the bolts are clean, I later found this out the hard way.
2) Mix up a solution of sulfuric acid; I used muriatic acid (available at Lowes) and water in a ratio of about 1:5 (acid to water). Immerse parts into the acid solution until the chemical reaction is complete (stops bubbling). The acid will remove any remaining rust from the parts and will etch the metal for plating.
3) Remove parts from the acid solution and rinse them with tap water.
4) Connect the NEGATIVE lead to the part. I connected the part to a copper wire, so I could easily remove it from the plating tank. Immerse the part in the plating electrolyte and watch the reaction happen. You must quickly perform step 4, otherwise surface rust will appear very rapidly (within a couple minutes) and you will have to etch the part again.
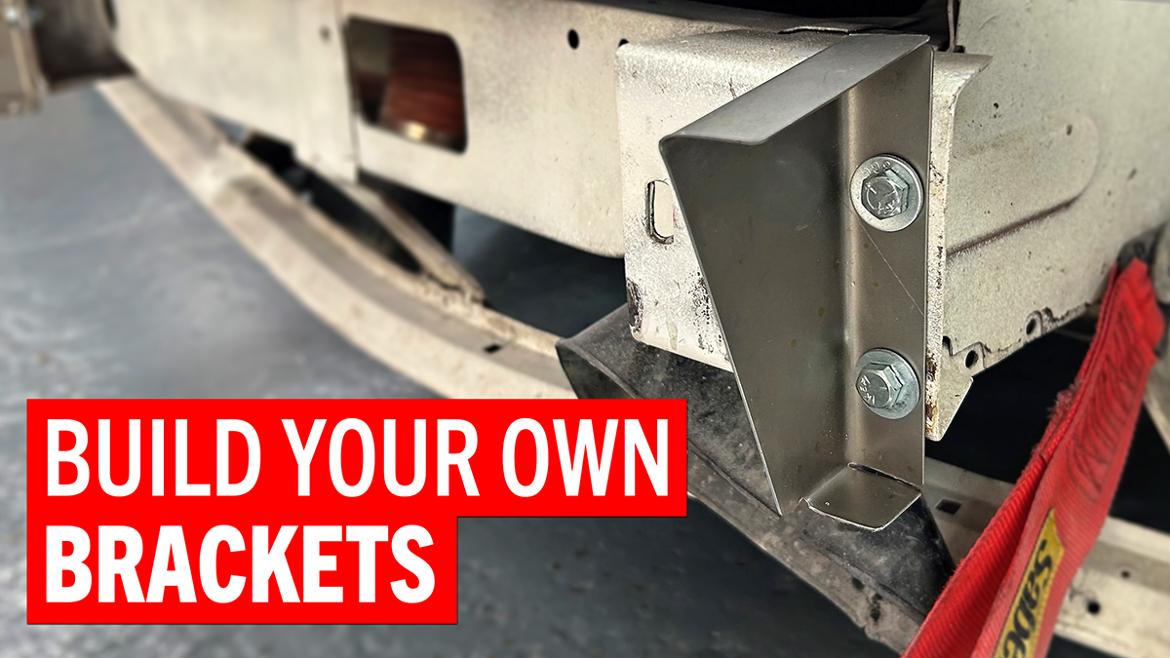
5) Check the part every couple minutes. I tested a few different thicknesses and I recommend borderline excessive rather than not sure if its enough. I noticed that the part had sufficient plating when the surface just started to appear uneven (the excess plating will be polished off soon enough). An average bolt took about 5-7 minutes; the sway bar end link brackets took about 12-15 minutes.
6) Purchase a bag of ground corn cob at Walmart in the bird food section. I bought a 9# bag for under $5; its exponentially higher for the “vibratory specific” media online. Put the parts and some corn cob in the vibratory tumbler along with some metal polish. Let it run for 30 minutes and you are done. Parts look brand new.
I’ve gotta do the rest of the front suspension and engine bay hardware, then I can put everything back together.