1 2
jere
jere HalfDork
12/29/15 10:20 p.m.

In reply to WOW Really Paul?:

Kyb/agx from a b13 will work up front and are pretty common. Im not sure the what the weight differences are between the motors between the CA motor and the 3.2 but front 350/250 rear spring rates do pretty well on the heavier b13 chassis. Higher rates get less " streetable" and more "racecar".

Its been a while since I have looked into brake swaps but I think you need the smaller of the 2 z aluminum calipers. But not much documentation was around for this route.

Any sentra,nx2000,200sx (91 to 99, and maybe a couple years later) front caliper options for calipers should swap over.

I bet that torque steer gets fun at least

jere
jere HalfDork
12/30/15 5:38 p.m.

Fixed a few problems this week, my 2 kid was born the day after xmas so free time has been spent getting ready for him mostly.

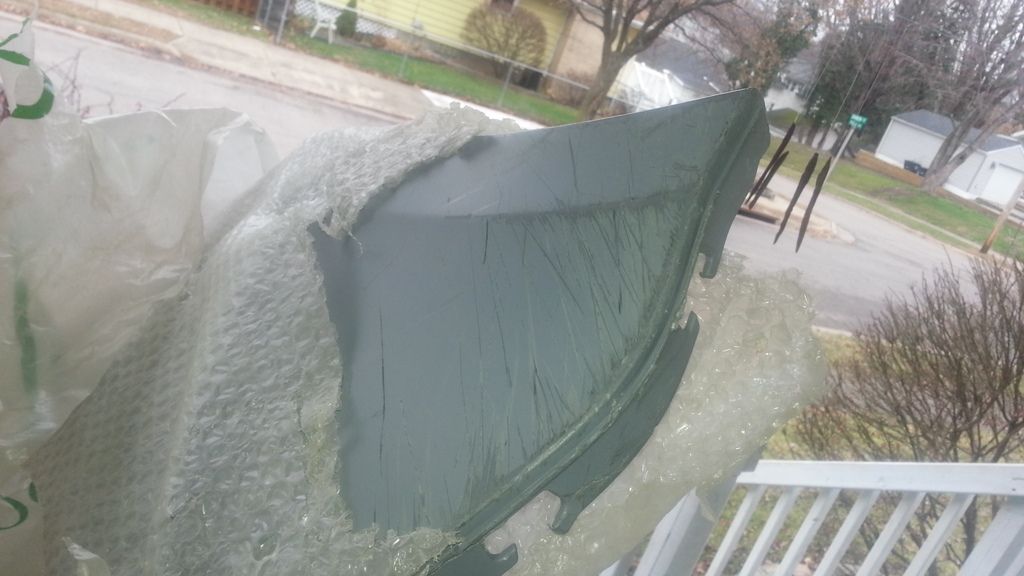
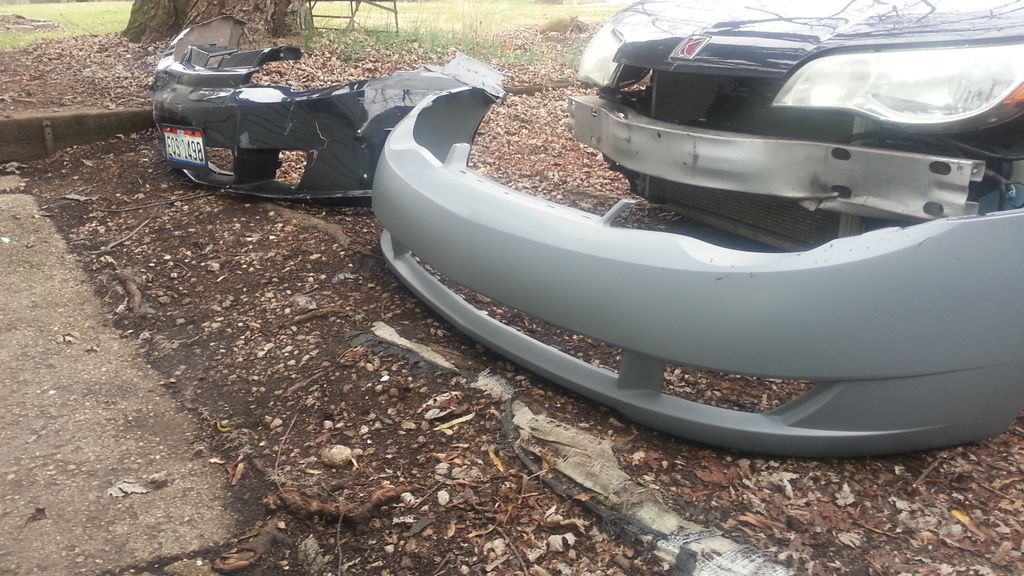
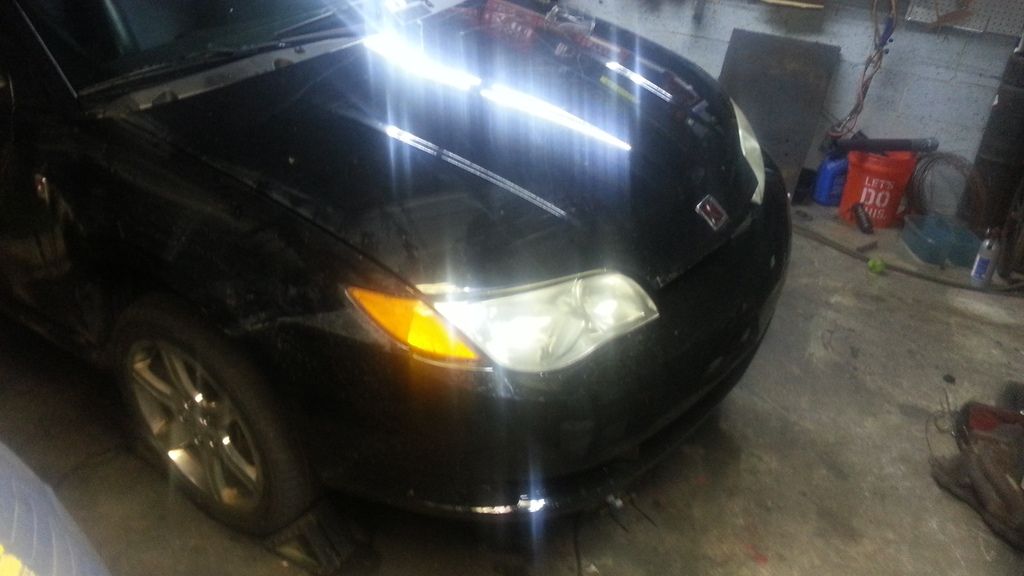
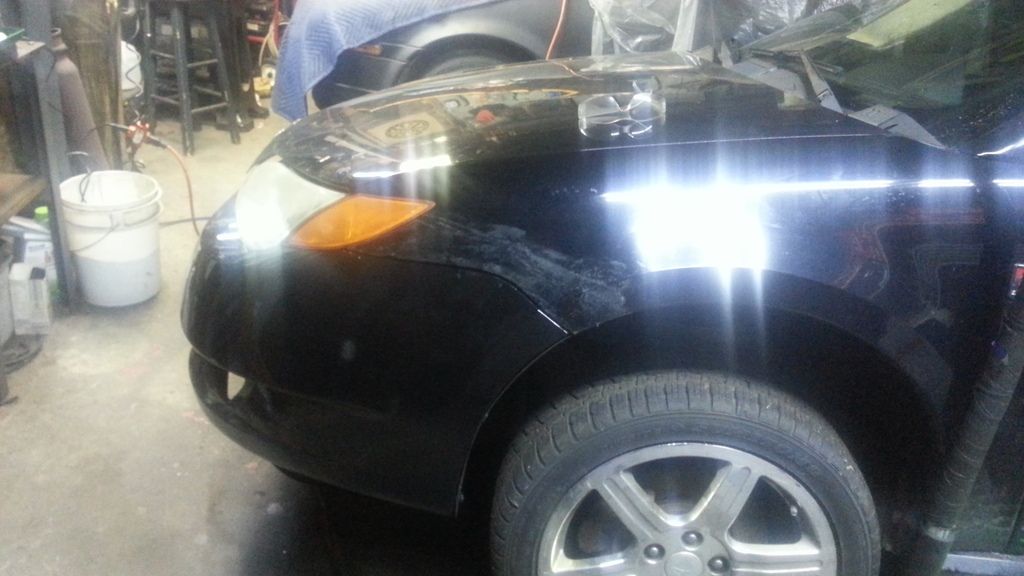
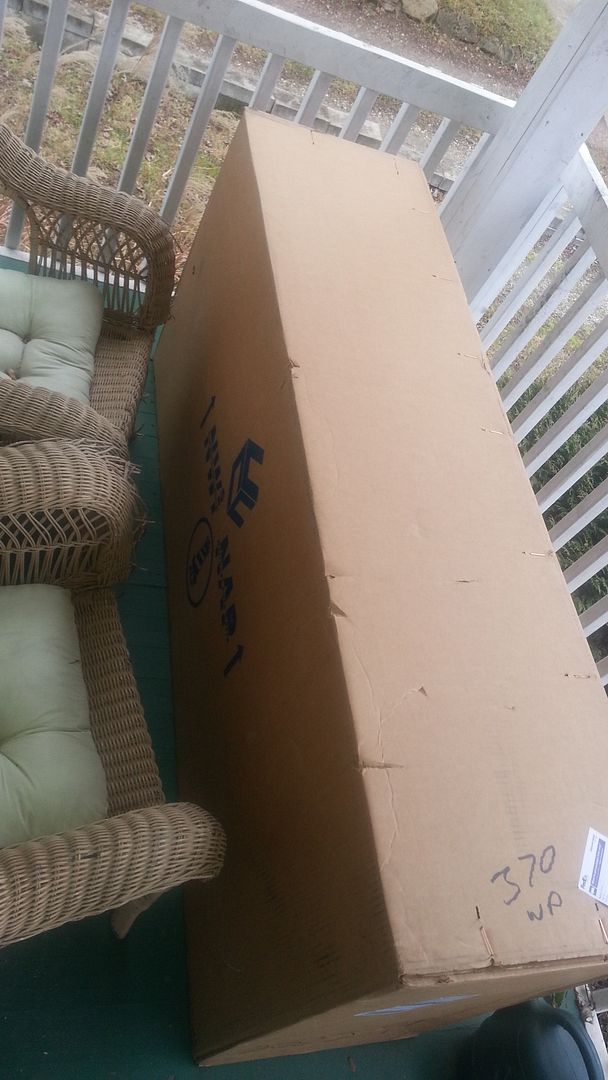
The regular coupe bumper came in the mail. The mailman must have filled up the entire cargo space of his caravan with this box The bumper was scratched so the ebay seller knocked off %40 or ($74! For the non mathy folks). I just used the rustoleum as a primer as it was so cheap and sprayed over the scratches. The enamel rustoleum is self leveling so a couple of coats filled in the scratches with no sanding. It has been on the cold and humid side here lately so the paint is slow to dry. I mounted the bumper cover (with the junkyard sedans foam bumper, fender wells, and headlight mounts ) even though it could still use a sanding and another coat. The paint is a pretty good match for $25. Its a little off as there is no clear coat but from a couple feet away the average person wont catch the differences. Looks about like whatever the single stage paint the collision repair shops use.
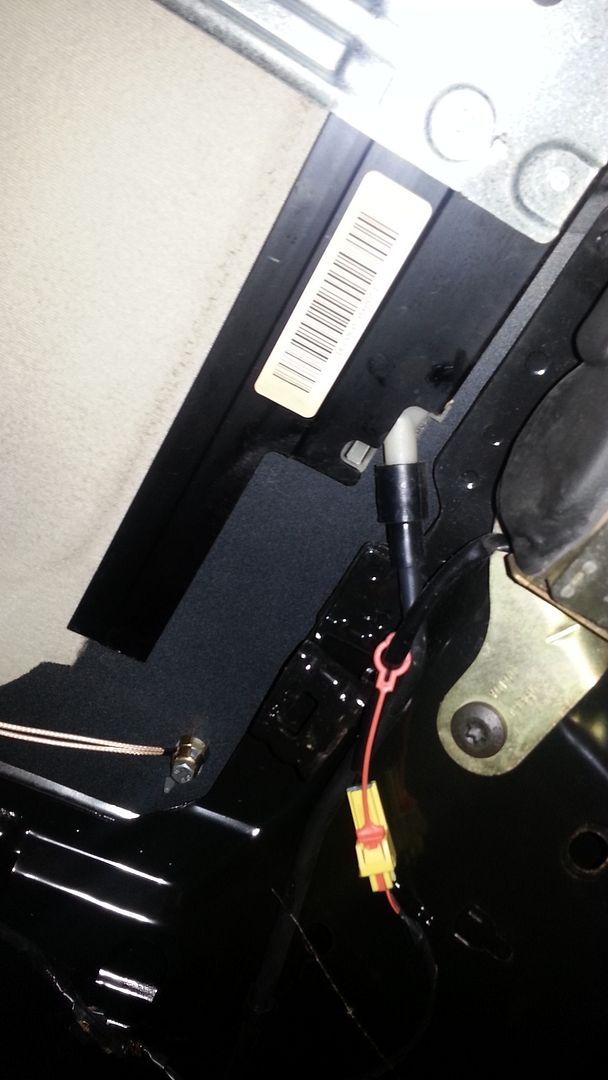
I have been tracking down leaks with all the rain lately. Most of all leaks have come from the clogged sunroof drains, all 4 of them. I pulled the headliner and blew compressed air through the drain lines and all kinds of water and crud blasted out on the garage floor... After of course the water (a lot!) in the sunroof poured on me as I pulled the drain tubes.
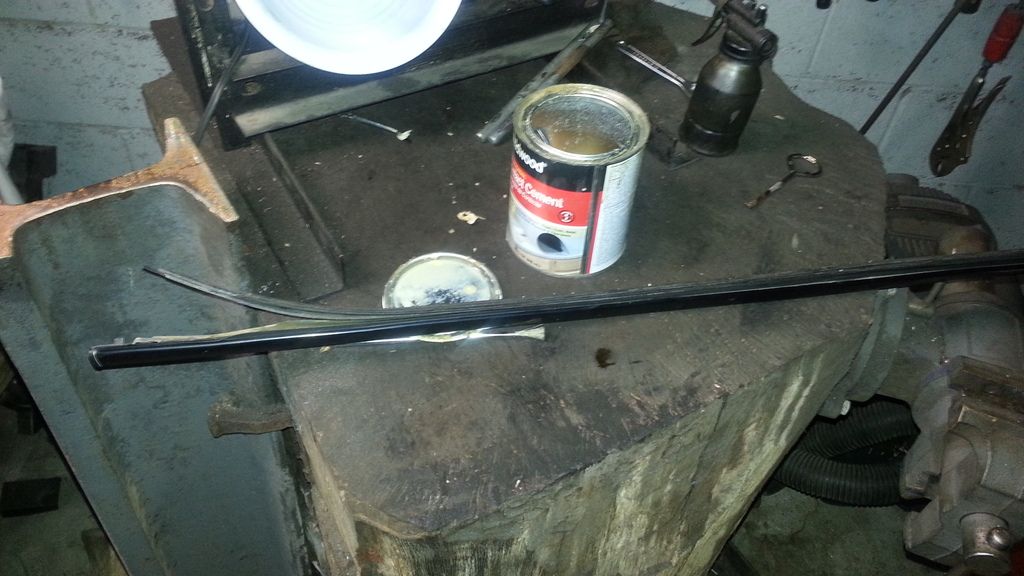
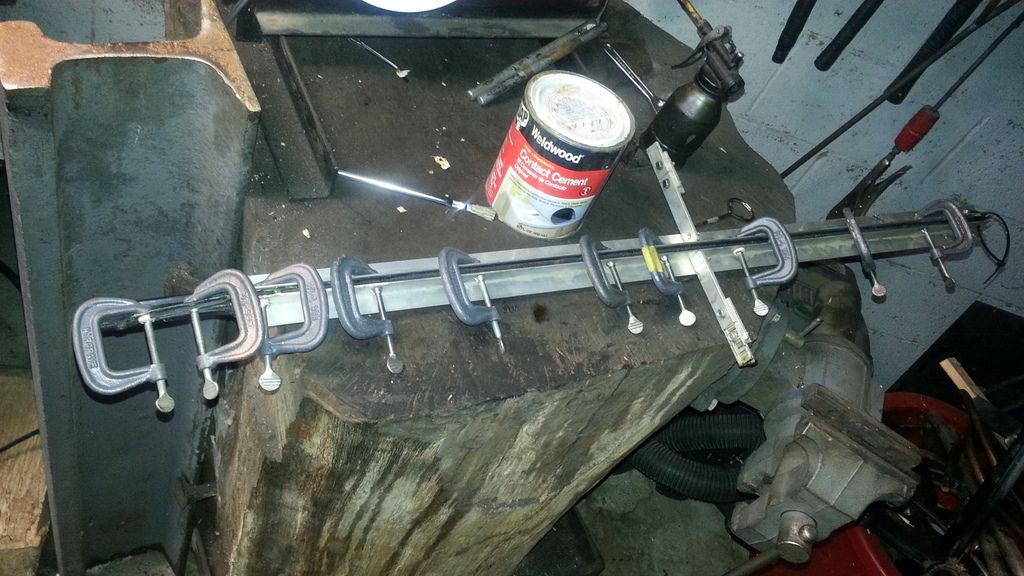
I also loosened, slightly moved and re-tightened the door latches to get a better seal around the doors and a tighter shut. Slathered some white petroleum jelly along the weather striping (to somewhat renew the old weatherstrip seals). And reglued the trim strips that run along the retractable windows. They had rubber separating from the aluminum in a few spots and were letting water into the doors.
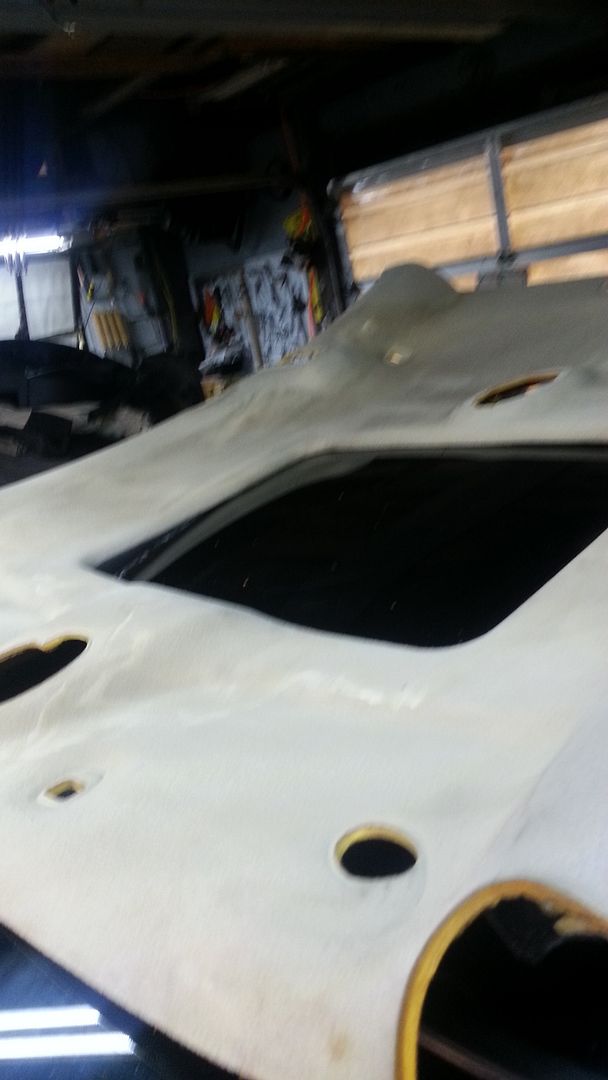
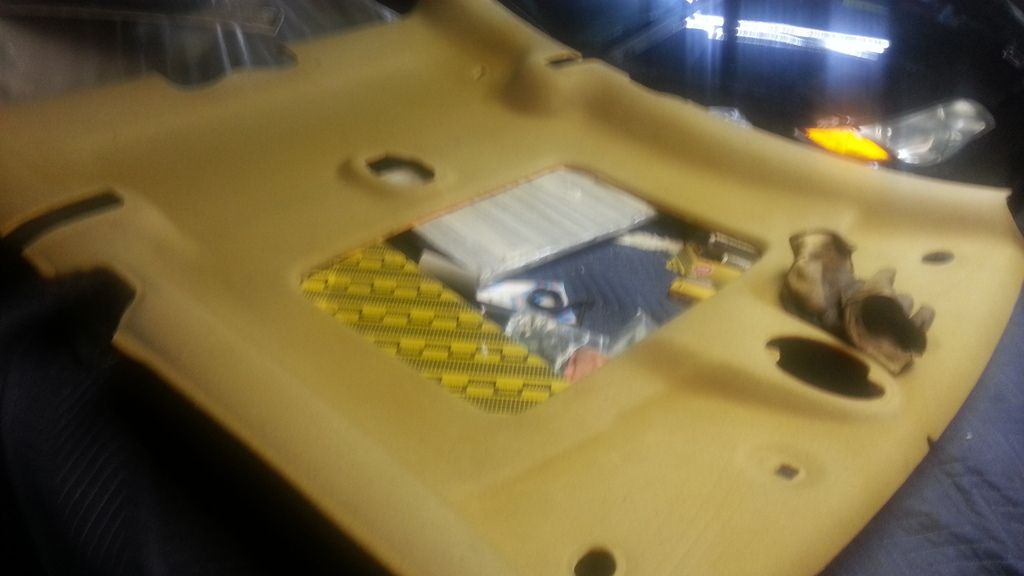
I am currently looking for a good replacement fabric for the headliner. The old waterstained tan stuff is pulled from the headliner and I am playing around with some higher end artist canvas. I am thinking about using fabric dye and a water based paint to stain the tan canvas. I might have to see what the craft stores have to offer or start cutting up some curtains or something....
The shift ball and the boot came in the mail too. The old saab style knob was glued on with some serious stuff. I had to peel off the rubber coating and turn old blue loose on the metal underneath. After copious amounts of smoke the old crusty knob slide right off.
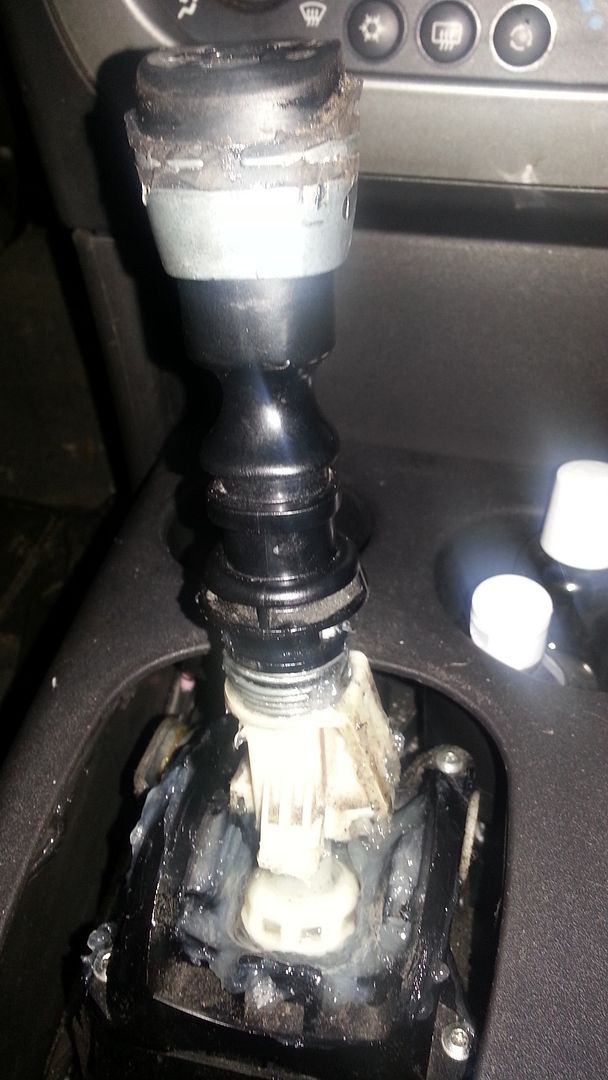
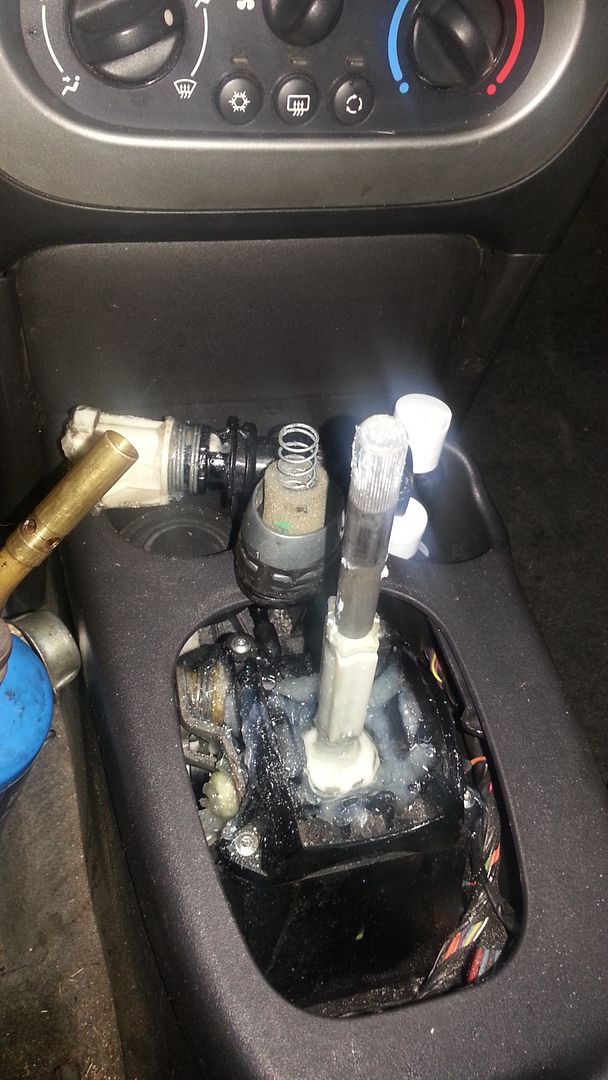
The new honda aluminium knob was threaded instead of splined. To get it to fit I just drilled out the ball a hair tighter than the splines. Then used epoxy as extra security. There was a reverse lockout mechanism, to keep drivers from shifting 5th gear into reverse. The mechanism was annoying and getting in the way of the boot swap so it was discarded. I have missed a few 4-5th gear changes without the guard but it was worth it.
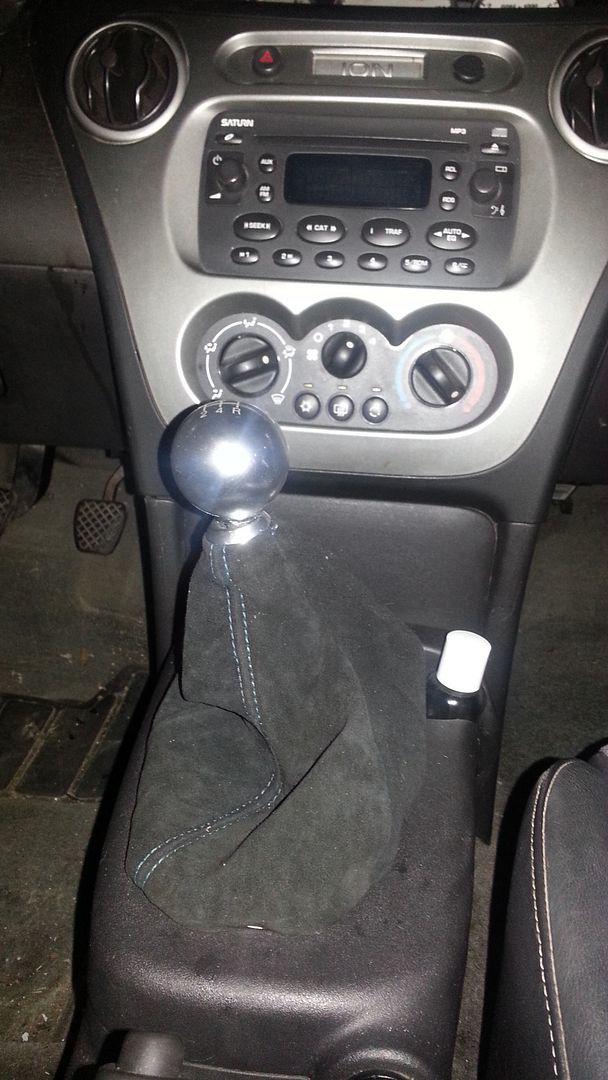
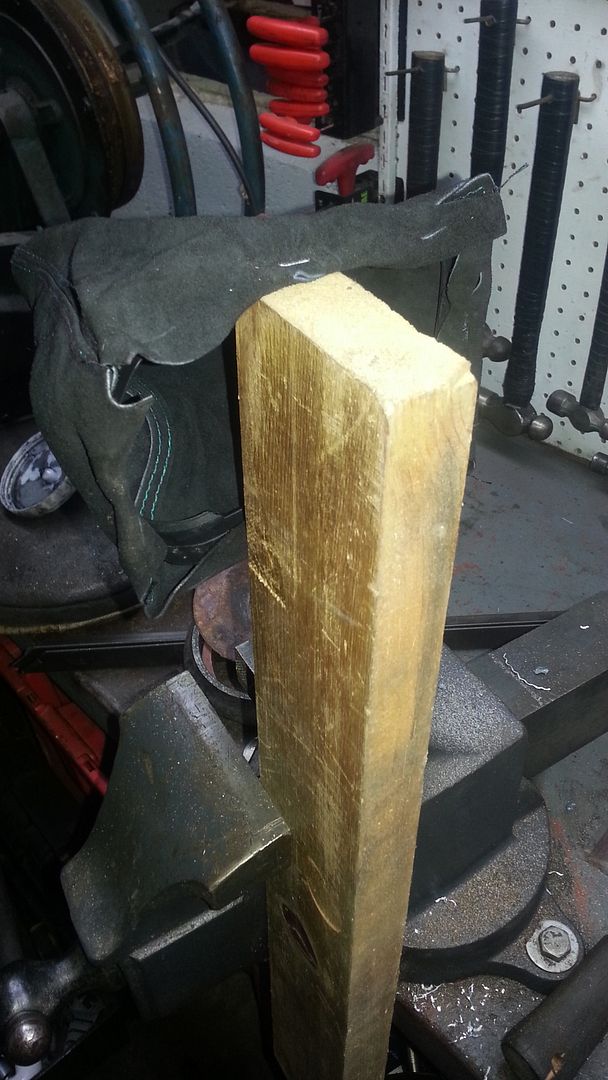
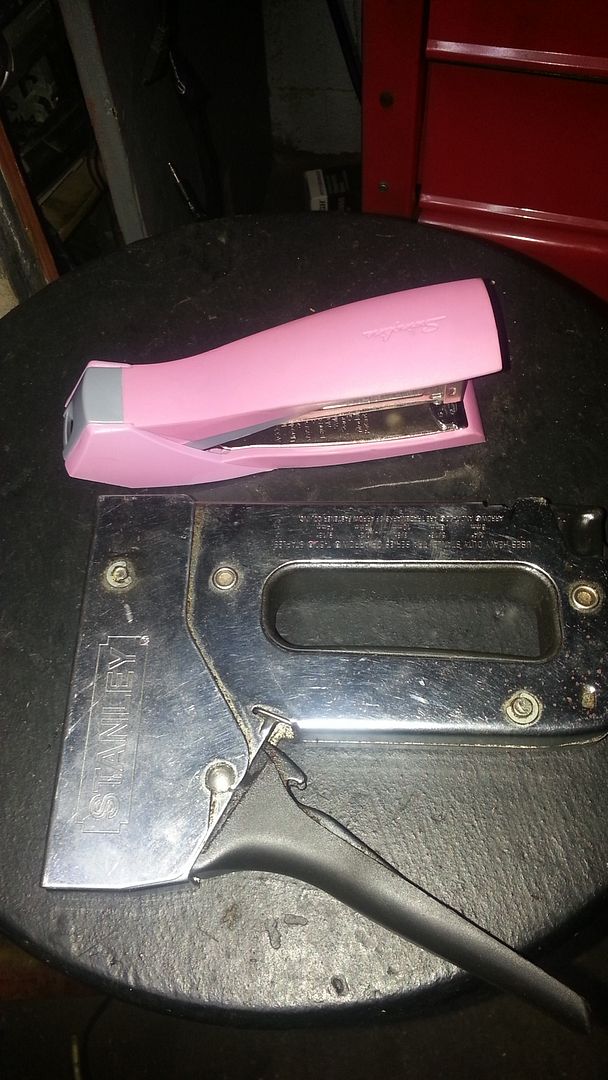
The shift boot was straight forward, it just needed stapled to a plastic frame and was hand pressed into place. The staples had to be hand bent with pliers to close. I tried a swingline style stapler but it was too weak. Then switched to a t50 stapler and bent the staple ends in with pliers. I used the end of a soft wood board as backing to the stapler.
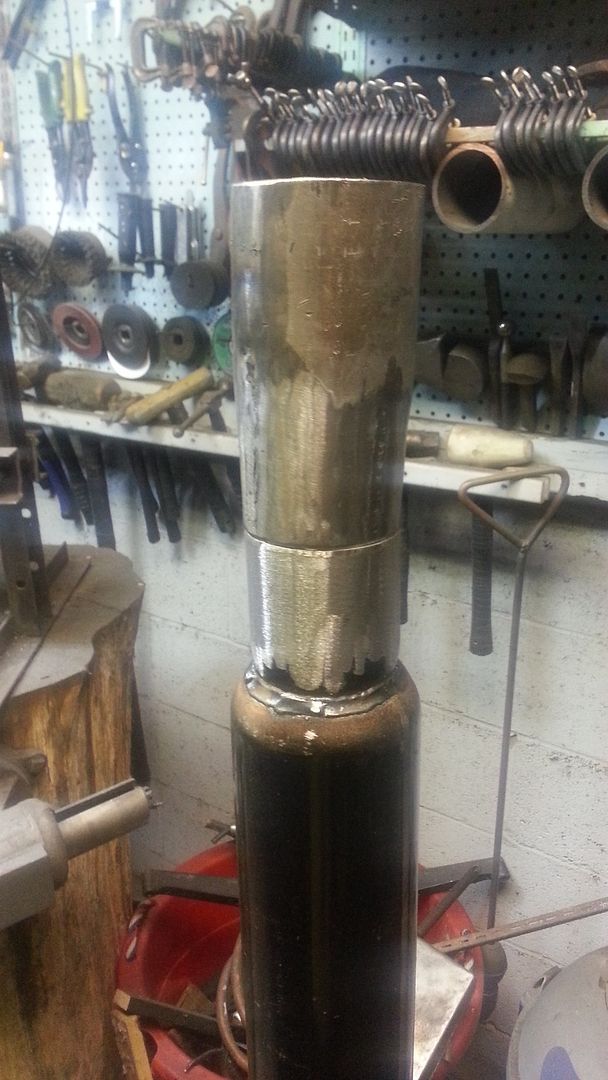
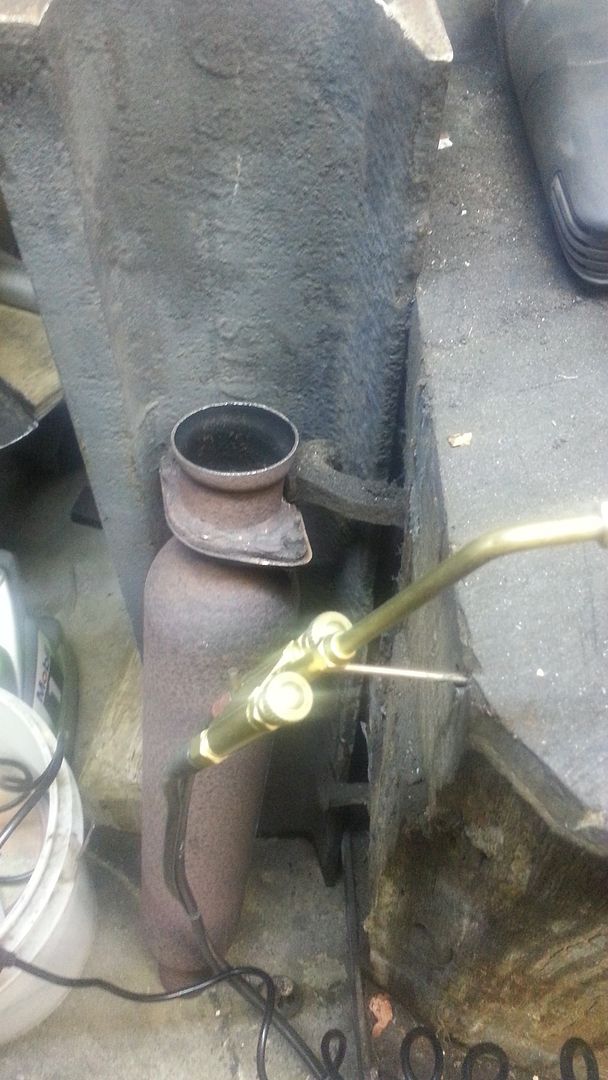
Cut out the old resonator as well as installed the new muffler in its place. The old flange bolts were rusted into spikes. So two cuts with the saws-all and I was hoping to slip fit the new muffler in place... Wasnt that lucky. The tube diameter changed from 2.5 inch to some other larger size just before the flange. The 2.5 inch muffler needed an adaptor. I had some 3 inch tube left from another cars exhaust. So I made an adapter sector from the 3 inch stuff. First I cut about an ⅛ inch section long ways from the tube and welded it up. Then I cut four v shaped slots longways on half of the tube segment and bent/welded the "v" s so they necked down to the 2.5 inch tube.
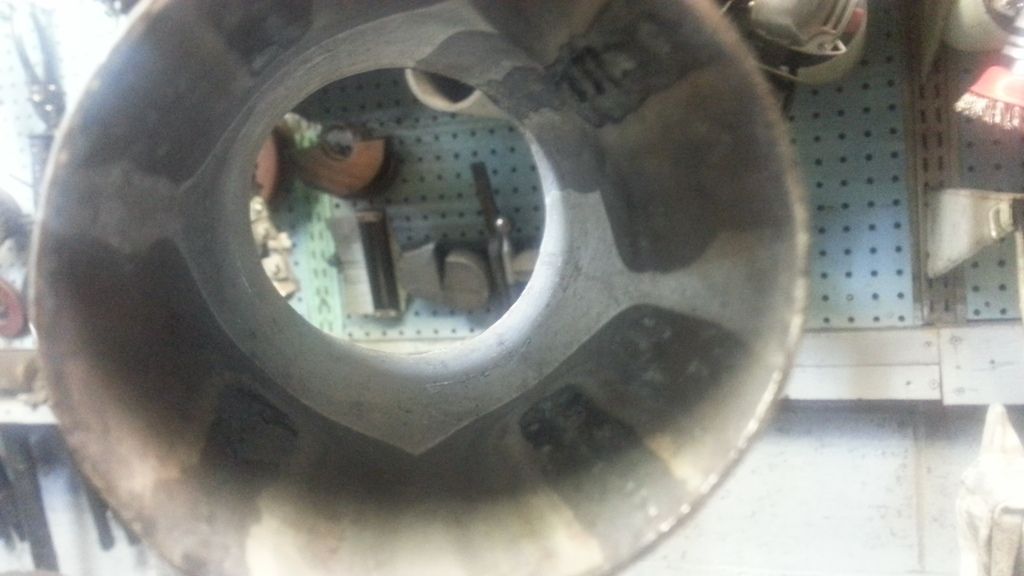
The muffler helped bring the tone down but also helped to find leak in the exhaust in the top of the factory muffler

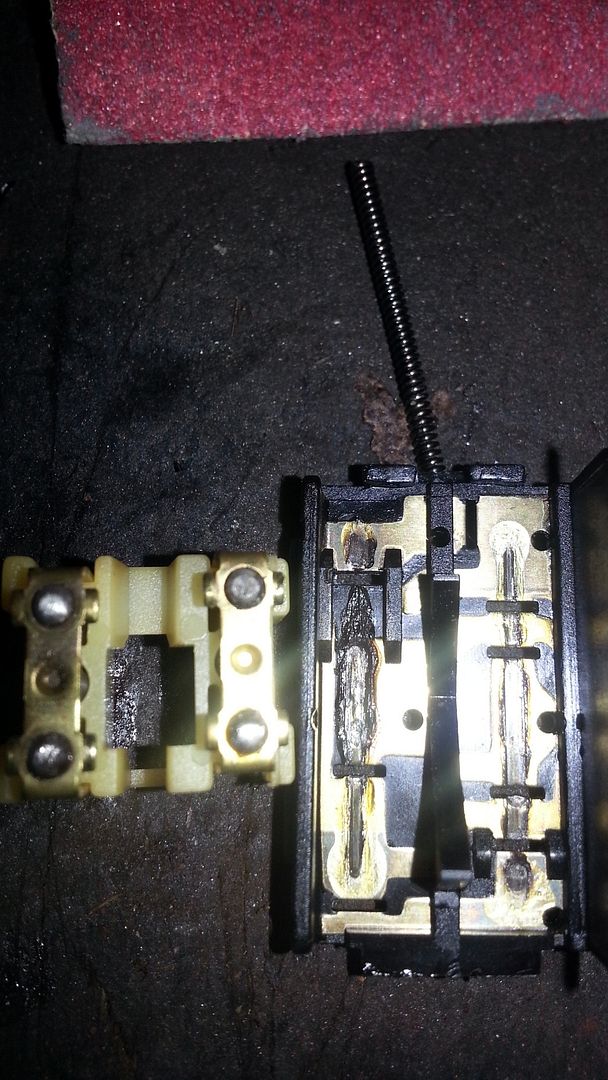
Last I started taking apart a few switches and cleaning the contact points with sandpaper. The power mirrors and sunroof are now operational again

WOW Really Paul?
WOW Really Paul? MegaDork
1/5/16 10:32 a.m.

In reply to jere:

Get the grey foam backed fabric from you local craft store and a can of 3m hi-strength 90 for the headliner. Mine leaked too and was a PITA.

java230
java230 Reader
1/5/16 10:49 a.m.

Congrats on the kiddo!

Looks like your making good progress on all the little stuff. Thats the things that drive me nuts....

WOW Really Paul?
WOW Really Paul? MegaDork
1/5/16 10:51 a.m.

In reply to jere:

Probably around 400lb or so dressed as this one is since it has PS & AC deleted.

XLR99
XLR99 GRM+ Memberand HalfDork
1/5/16 5:21 p.m.

Congrats on the bambino!

We're gonna need some clarification on some of the accessories in your shop, such as this:

You have a stump with a railroad tie and a vise on it? Coolness factor of a million!

jere
jere HalfDork
1/6/16 11:09 a.m.
WOW Really Paul? wrote: In reply to jere: Get the grey foam backed fabric from you local craft store and a can of 3m hi-strength 90 for the headliner. Mine leaked too and was a PITA.

Thanks for the tip about the fabric/headliner/glue! I found a few videos of folks recovering headliners. I had to question their methods when they used old bed sheets and handkerchiefs

The more I hear about that nx the more I am impressed. With everything sorted it should be a riot.

jere
jere HalfDork
1/6/16 11:20 a.m.
java230 wrote: Congrats on the kiddo! Looks like your making good progress on all the little stuff. Thats the things that drive me nuts....

Thanks for the congrats

I am the same way with small problems, especially when there are all kinds of flimsy plastic retainers involved.

jere
jere HalfDork
1/6/16 12:10 p.m.
XLR99 wrote: Congrats on the bambino! We're gonna need some clarification on some of the accessories in your shop, such as this: You have a stump with a railroad tie and a vise on it? Coolness factor of a million!

Thanks the little guy has been pretty laid back so far. He sleeps 20 hours a day unlike the first one...

You got it with the stump and rr track. I picked (it was not light btw ) the track up from the side of the road stuffed it in the camry and cut it down. It has the benefit of being safe to hammer against cold, traditional anvils need hot metal or risk damage. Turned on longways it is as solid as a 500lbs english anvil or something like that.

The stump is a chunk of spalted black oak, that a friend cut down so he could build onto his house. It is a hammer forming station that doubles as a welding and grinding station. The stump damps the rr anvil's vibrations. Stumps have been used to form sheet metal for ages (think knights armour). A few old school car restoration guys use only stumps to form new sheet metal panels.

The swivel vise gets un bolted as needed and relocated to hold whatever at various angles. Its a pretty wimpy vise but a decent versital clamp.

I really want to try building a rear engine locost at some point. I have pretty much no budget so I am putting together all the cheap/free/grassroots buikders ideas I can find rather than buy pricey fancy machines

WOW Really Paul?
WOW Really Paul? MegaDork
1/12/16 11:50 a.m.
jere wrote:
WOW Really Paul? wrote: In reply to jere: Get the grey foam backed fabric from you local craft store and a can of 3m hi-strength 90 for the headliner. Mine leaked too and was a PITA.
Thanks for the tip about the fabric/headliner/glue! I found a few videos of folks recovering headliners. I had to question their methods when they used old bed sheets and handkerchiefs The more I hear about that nx the more I am impressed. With everything sorted it should be a riot.

Yea, I've never seen a sunroof car that didn't leak up there....kinda sucks really

jere
jere HalfDork
1/27/16 11:09 a.m.

In reply to WOW Really Paul?:

If the leaks come back anytime soon I think the sunroof will get the polycarb skylight only mod. It would be nice to get some more headroom, by stripping out the drain pan and motor... But it looks like the leaks have stopped for now.

There was a lingering mildew smell, that seemingly was coming from the passenger side carpet. I poured a bottle of hydrogen peroxide over and under the carpet. It has completely eliminated the smell.

jere
jere HalfDork
1/27/16 11:59 a.m.

Not much progress recently due to the low temperatures lately. ( and the sheet of ice covering the floor from spilling the coolant flush mixture )

I did re install the laminova cores after swapping the orings with the new hft versions and some petroleum jelly. I flushed the coolant systems ( intercooler and radiator) with vinegar and then baking soda water, to get rid of the gm only coolant. The car has run of the mill cheap $9 walmert green coolant.

I said goodbye to the spoiler via a craiglist sale. I had the spoiler listed at $100 and happily sold it at $80. In the process got to met another very knowledgeable 04 redline (also a black car) owner in the area with stage 2 upgrade.

The loud rusted out factory exhaust was getting pretty loud. I made an attempt to quiet it down some by adding a second $20 summit racing resonator, and then using the factory bends...to do a minimum weld side exhaust. It is less loud (80 db outside the car at idle and 65db inside at idle ) but not what the wife was expecting The holes in the top of the muffler Need a better shot of this but the car ion seemed to be made for side exhausts. I just added one hanger,and lengthened a segment of exhaust and chopped off a bend. It is the segment in front of the fuel tank. Tons of clearance as the car sits now.

Once I pick up another acetylene tank (torqued off the brass valve to open the tanks pressure on a mostly full cylinder) and pick up some u bends, I will fix it. My plan is to make a 3 inch (madrel bend) cat back, reducing into a 2.5 inch resonator/muffler. From what I remember of the book maximum boost, 2.5 inch exhaust is large enough until around the 300hp mark. So the 3 inch will be mostly for noise/resonance reduction and to help flow up and around the rear suspension linkage. If it works out right I wont have to buy a traditional restrictive muffler. The increased tube length and diameter is supposed to tone the embarrassing ricey fart-can noises that come with smallish displacement motors.

Oh and finally went to the dealership for some of the recalls primarily the ignition cylinder recall. They told me it would be an hour and a half... 3½ hours later they sent me home needing to order more parts ... I dont even feel bad about having to go back or the wait. I am just glad it is someone else that has to deal with that stuff for a change

Ill update this post with some more photos when the photopucket ap starts working right...

WOW Really Paul?
WOW Really Paul? MegaDork
1/29/16 11:32 a.m.

Does this car still have the antenna in the vertical position? My buddy Tibbett pioneered the antenna hide on these cars when he was E36 M3faced drunk at a meet....lol You would lose AM channels, and longer distance FM, but it really improved the appearance.

jere
jere HalfDork
1/29/16 5:50 p.m.

In reply to WOW Really Paul?:

Ha no thats the first Ive heard of that one. I really like that idea. I unscrewed the antenna after the thing was in the way more than a few times.

WOW Really Paul?
WOW Really Paul? MegaDork
1/29/16 7:13 p.m.

In reply to jere:

Unbolt the top of the front fender, pull it out slighty(make sure it isn't cold when you do this), rotate the bracket with the entire antenna assembly into the front fender. You can then plug the hole in the cowling with a plastic plug available from any hardware store for about $1. I think all you'll need is a wrench and torx driver.

The community calls in the "Tibbett/MrPhoto Antenna Mod" Tibbett randomly invented it, MrPhoto uploaded a how to with pictures.

Edit: I was generic in memory, but here is the thread. Tibbett/MrPhoto Antenna mod

jere
jere HalfDork
1/30/16 12:39 a.m.

In reply to WOW Really Paul?:

I love it cheap, simple, and easy all at the same time! Good story to go with it all too ha.

jere
jere HalfDork
1/31/16 11:57 p.m.

So I have my fisrt really annoying GM electrical issue. P0449, I am starting to look fondy upon passing prius

I have stripped the seats and carpet working through the possible circuit... No blatantly obvious issues yet. I am looking at pulling the dash or dropping the mostly full fuel tank next both soleniods in connection with the hose to the charcoal can click with voltage. I now have a suspicion even with the poorly insulated wiring harness the problem is up under the fuel tank.

Along the way however I did have a little fun to offset the monotony of poking through the in cabin wiring loom. Found some really water logged carpet padding that smelled like a mildewy fish bowl ( in a different area than the hydrogen peroxide). It probably weighed 15-20 lbs and was helping to rust the floor out. Perfect timing for trash day tomorrow morning.

I figured the timing was right for something else I have been thinking about doing for months... Paint the seat fabric! I know I am still thinking the same thing. The factory seats had a good amount of stains and fading, plus the were blue in a primarily black/gray car. So now they are all black and motivation to look for the live evil circuit issue has somewhat returned just to see the seats back in the ion.

I used about $10 of matte acrylic flat black apple barrel craft paint from walmert. Initial application of the paint was very thick and liberal. Next step was to rub the paint deep into the seat carcass with a mirco fiber rag. This was under the brightest lights in the garage to make sure every thread was murdered out. Any excess paint was rubbed out or into the seat foam to keep from puddling like a silk screened t shirts letters. With the idea to get the paint rubbed in like a some spilled house paint on an un tarped carpet

From my experience with spilled paint on other surfaces I think this should hold up extremely well. The seats that have dried have a slightly stiffer texture but not "paint like"

Here is the test seat

WOW Really Paul?
WOW Really Paul? MegaDork
2/1/16 2:24 p.m.

In reply to jere:

Yea, 04-5 had blue inserts, 06 had grey, and 07 didn't even get the recaro's.

WOW Really Paul?
WOW Really Paul? MegaDork
2/1/16 3:13 p.m.

In reply to jere:

I replied over on RLF as well, Have you tried disconnecting the battery for awhile and seeing if the code comes right back? They've proven to be intermittent.

jere
jere HalfDork
2/1/16 3:39 p.m.

In reply to WOW Really Paul?:

Thanks yeah the code immediately comes back. The dash light takes a couple of starts to show up but the break in the circuit/code pending is immediate.

WOW Really Paul?
WOW Really Paul? MegaDork
2/2/16 12:54 p.m.

In reply to jere:

Hmm, I'd hazard a guess at it being something else other than wiring then. Im not sure where to start however.

jere
jere HalfDork
2/3/16 1:55 p.m.

I thought I was out of the woods, the other day. I found out I was looking at the completely wrong soleniod. There are two in the evap system,one vent and one purge. When I started trouble shooting, I went to autozone and asked specifically the vent noid. They gave the purge instead, I made the mistake of assuming it was the right part. Swapped it out and thought it would fix it... Then when it didnt proceeded to track the wrong circuit entirely.

I did swap the vent soleniod in troubleshooting while still barking up the wrong tree. Still had the vent circuit error anyway.

I also found a segment of the vent circuit that was missing some insulation. I thought that was the answer at the time...

So now codes for both brand new solenoid circuits are showing up...

I going to backtrack but I think you might be on to something.

1 2

You'll need to log in to post.

Our Preferred Partners
TbpzP88juU1ZOPwBVT2emKO78bhaEXDJk8okqOEYbnAQ2IUFJy6FN1ywcpaJ96AU