My 14-year-old son came to me with an idea for a project. He wanted to put one of those Chinese motor kits on a tandem bike we'd purchased awhile back at a swap meet. My wife just hates motorcycles and we knew this would be close enough to get some very disapproving looks and protests. Then we thought of old biplanes. A lot of them have air cooled motors, make a lot of smoke, like a two-stroke, and they're driven from the back seat.
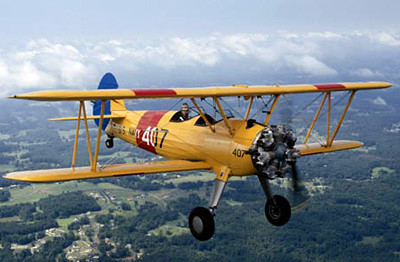
So we told her we'd make it safe: The back rider (me) would control the throttle while the front rider (Chris) would control the steering. Both riders can control the coaster brake and both riders will have an engine kill switch. I'll admit we've both been thinking it may be fun to make it steer from the back as well. We'll see how far we get.
Here's the bike (the front handlebars will be replaced):
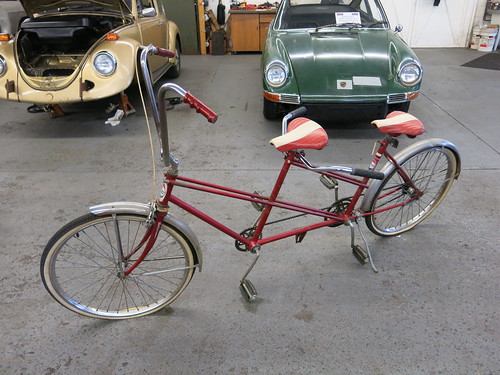
We went to Amazon to find myriad motor kits, starting at about $100 for 49ccs. We bought this 80cc deluxe kit with speedo for about $160.
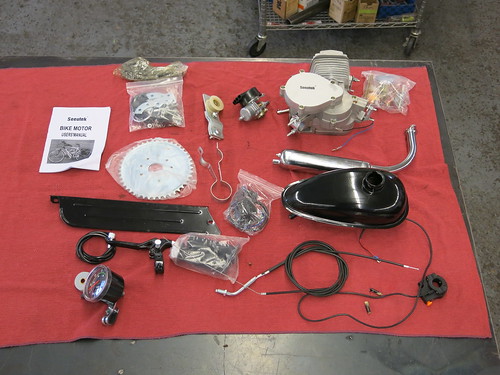
This is terrifying and I love it.
We started with the gear on the back wheel. We pulled the rear wheel off and serviced the coaster brake first.
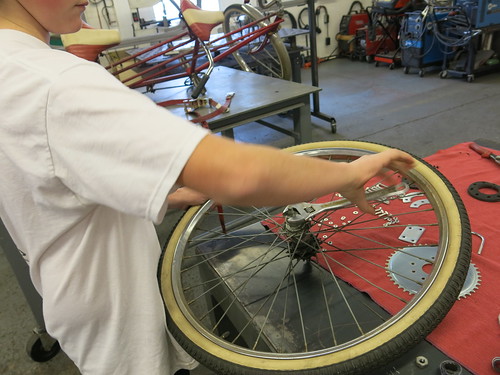
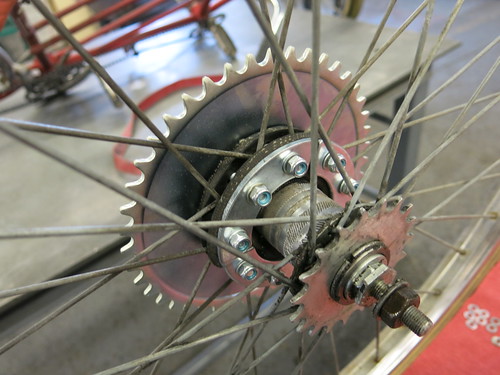
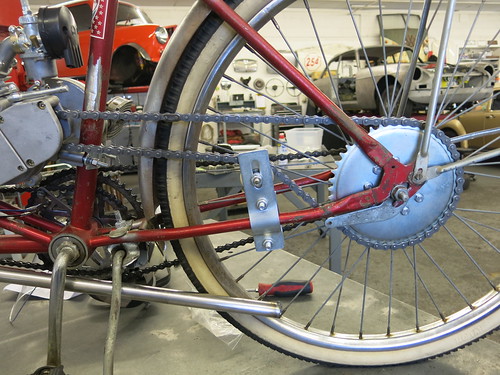
The kit comes with a 2nd gear that mounts by compressing the spokes between two pieces of rubber. We bolted it together loosely, centered the gear, then tightened it up.
In reply to mazdeuce:
The most terrifying part will be if our other son is riding with Chris. We may need a remote kill switch. They already took the bike off sweet jumps together before the motor project.

Rufledt
UberDork
1/21/17 11:20 a.m.
remote kill switch is a great idea. Also a great idea, this entire build. i want to see more!!!
Our first test-fit showed our first problem. This old hardware-store bike had twin support tubes that were in the way.
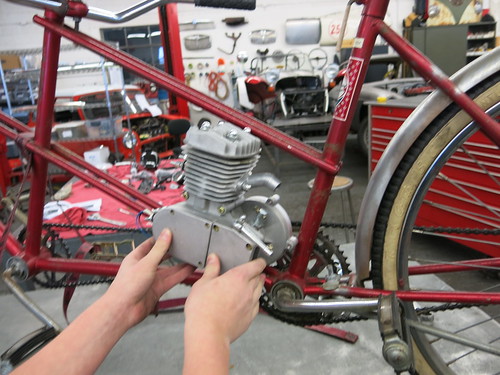
Chris cut them off with a die grinder. We'll put some structure back in later.
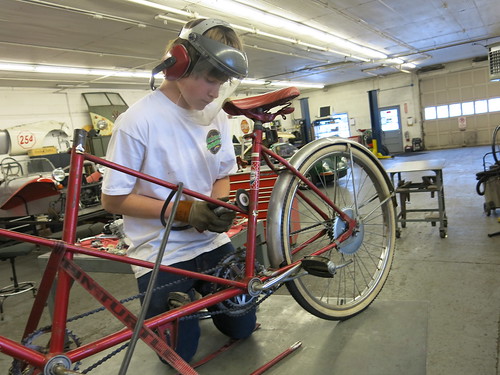
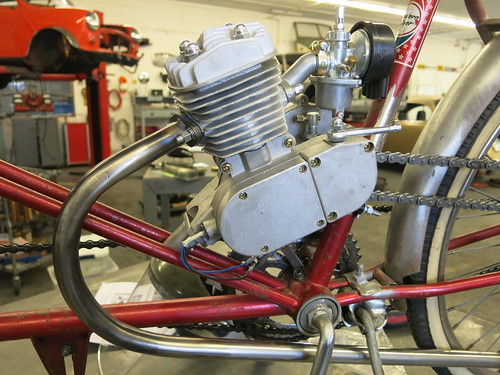
The motor has comes with two straps that normally mount to the back tube and the front tube. Since we had a non-conventional front tube, we made this little bracket for the front mount and mocked it into position.
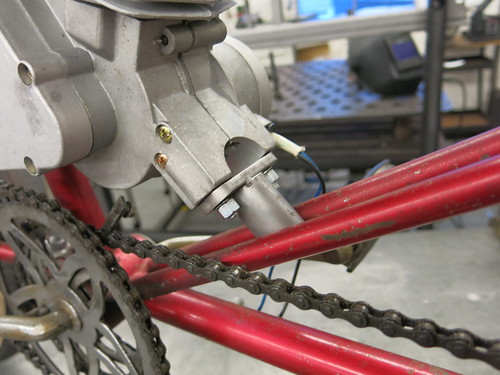
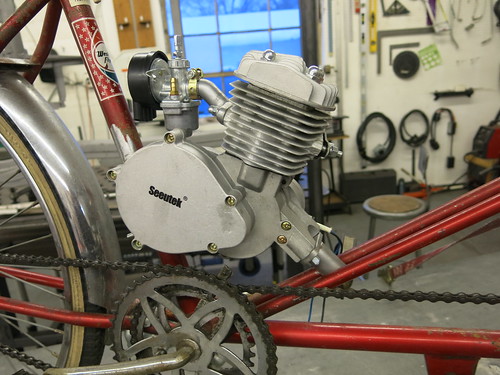
With the motor mocked into position, we went on to making sure the chain would work. First, a picture with some perspective from the foot-chain side.
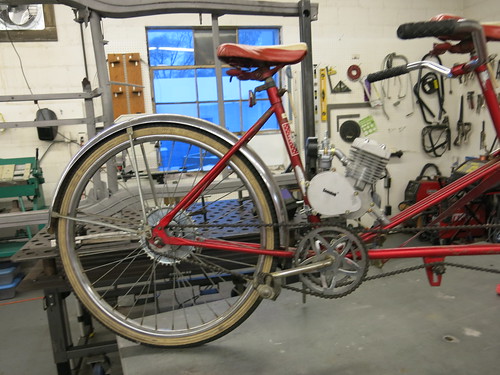
The kit comes with an extra-long chain that we shortened to fit our bike with a little slack. The kit also comes with this creepy clamp-on tensioner. We installed it for mock-up, but don't want to use it long-term. If it comes just a little loose, it could end up in the spokes, proving my wife right about safety. We'll make something a little nicer and weld it in later.
Carl Heideman wrote:
In reply to mazdeuce:
The most terrifying part will be if our other son is riding with Chris. We may need a remote kill switch. They already took the bike off sweet jumps together before the motor project.
At least you know the frame is strong. Or was strong. Two of the three bones I've broken came from bicycles. Helmets? Please say yes.
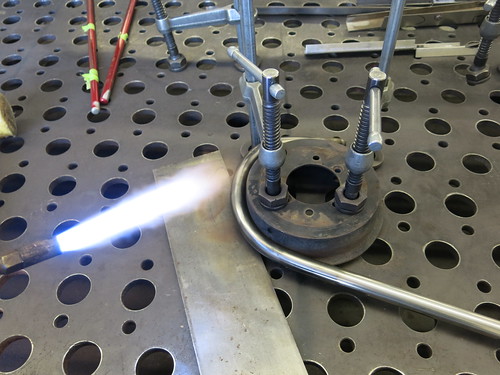
The exhaust that came with the kit wouldn't fit the tandem's front tube setup either, so we're making a custom exhaust. We grabbed some 3/4" tube and filled it with sand so we could bend it without kinks. We used a piece of welding wire to make a pattern, then heated the tube with a rosebud tip. We formed it around an MG Midget brake drum, which had about the right radius for us.
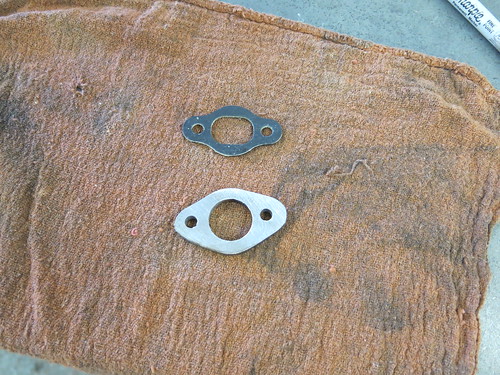
Next we needed a front flange, so we copied the holes from the gasket provided in the kit onto a piece of 1/4" scrap steel.
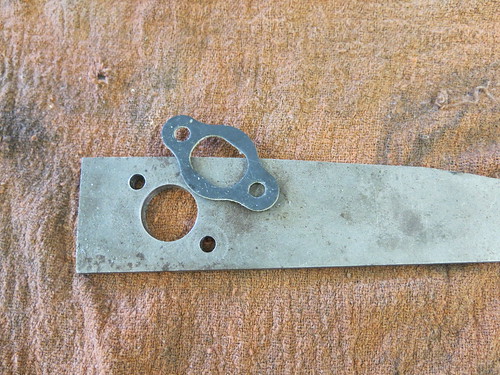
A little time with a cutoff wheel and a sander finished the flange.
We welded the flange to the pipe and fitted it up. We're happy with it until it gets down to the pedal bearing assembly. We plan to have it parallel to the lower frame, but haven't decided whether to have it above the pedal bearing assembly instead of just below...stay tuned.
In reply to mazdeuce:
Absolutely helmets. And adult supervision (aka my wife). I'm honestly not a fan of motorcycles either. Also, I think I've had more friends break bones on pedal bikes than anything else. I'm hoping this bike will be a big lesson in fabrication AND safety best practices.
We're planning to put a conventional "boy's bike" upper tube in to replace the ones we cut out. In addition to getting our strength back, it will hold the gas tank.
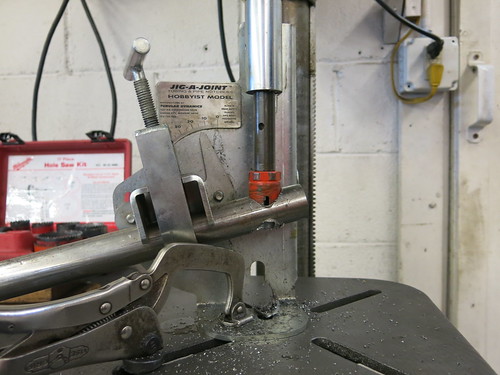
We started putting the structure back in the bike today by fitting an upper tube to the back half. This tube will also hold the gas tank. A little work with a level and angle finder told us the tube needed to be at a 76 degree angle to the upright post, so we put it in our Jig-A-Joint at 14 degrees to notch it to fit.
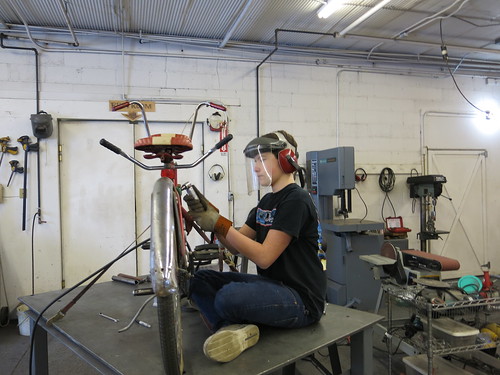
Chris got in a good yoga position to clean the paint off the bike where the tube was going to get welded.
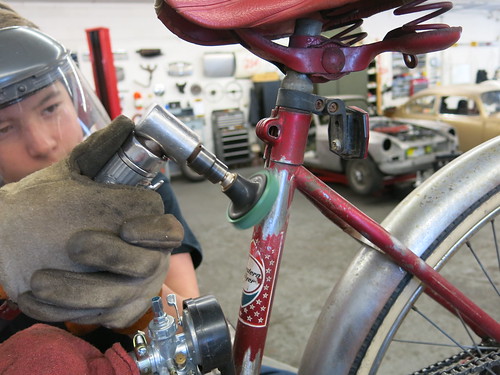
We like these bristle disks for cleaning paint.
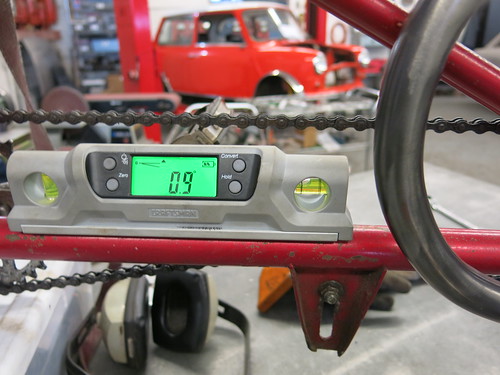
We put our angle finder on the bottom tube to see its position--as you can see, it didn't make the noise at 0.9 degrees--but we planned on using that reading to make the top bar parallel.
However, when we stood back and looked at the bike, the top bar looked better with a little upward slope to it, ending up at 2.5 degrees. Must be some kind of illusion due to the seats and other angles. We figured we'd rather have it look right than be dead-nuts parallel, so that's where we tacked it into position.
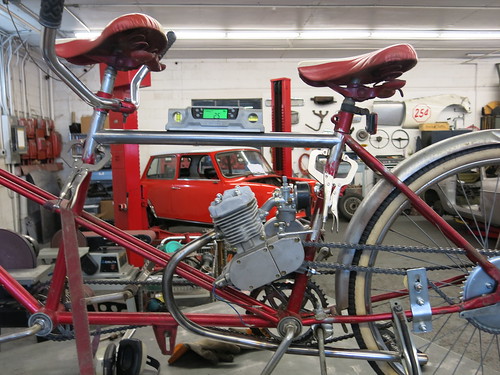
The gas tank clamps on to the upper tube. The clamps, like a lot of the other bits from the kit, are a little wimpy and will probably come loose pretty quickly. We'll beef them up after a few shakedown rides.
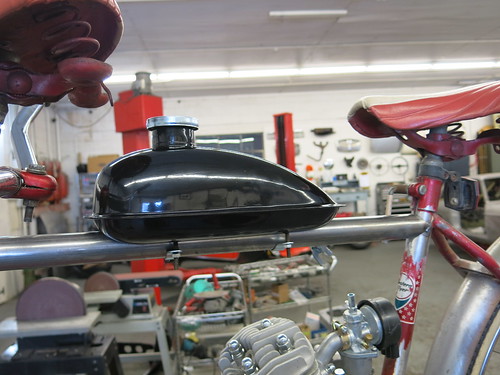
With the tank on, we thought it would be good to get it back on the ground to stand back and make sure it looks good in perspective.
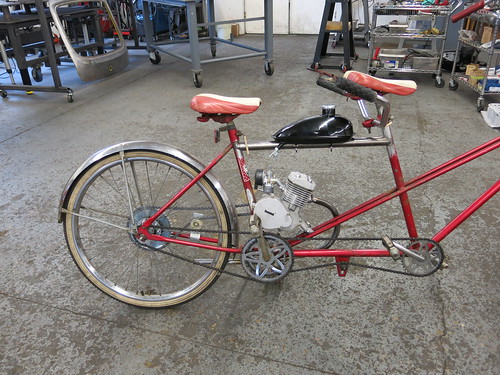
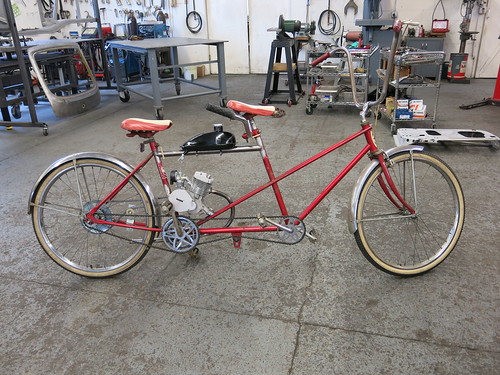
And of course we had to see how it would look being driven from the back seat.
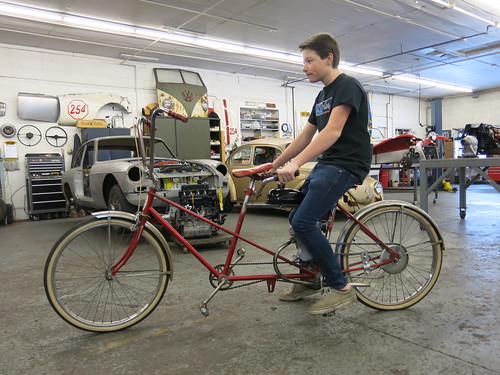
Jack was back from college for the weekend and he's a better TIG welder than me, so he did the finish welding on the new upper bar.
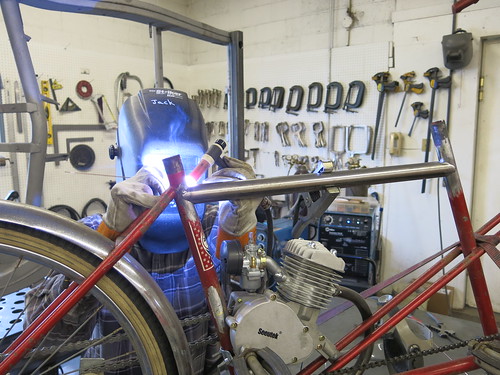
The bike's original tubes were brazed together, which caused a slight issue of brass contaminating the TIG weld in one spot. A little work with a grinder took care of it, but the weld didn't look quite as nice.
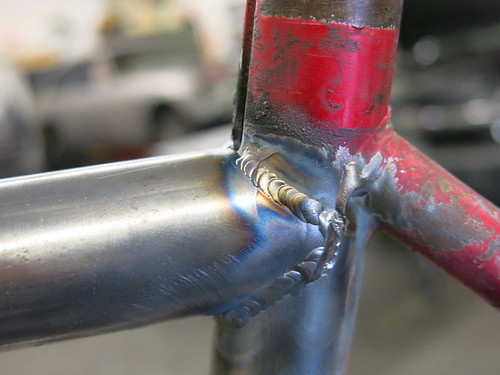
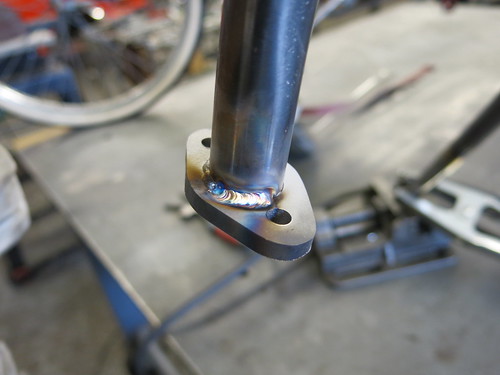
After that, he finished the exhaust flange.
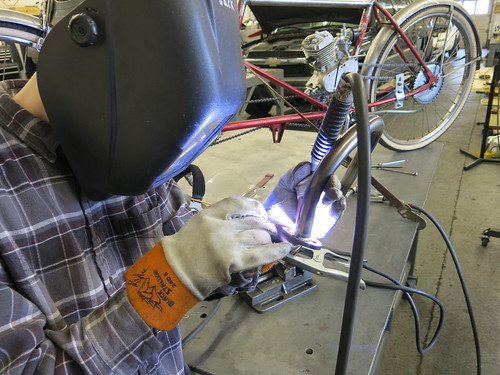
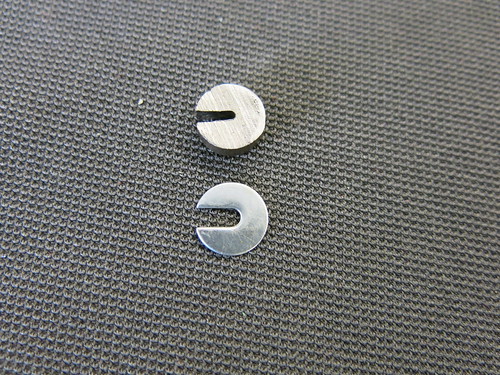
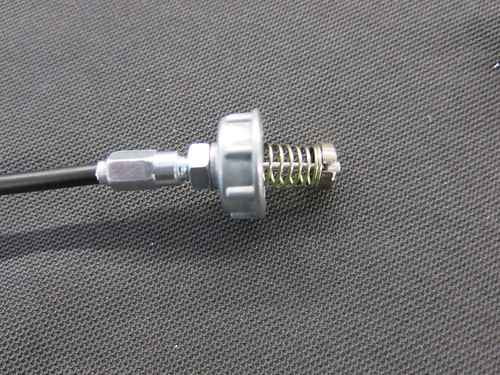
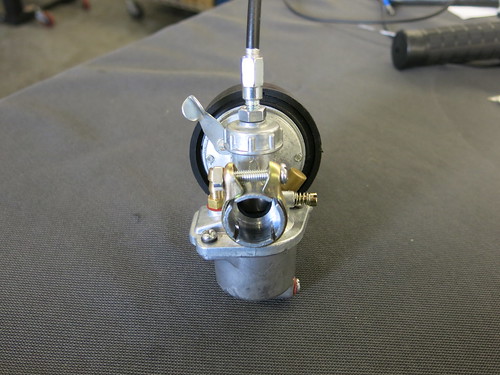
We started working on the throttle linkage. The carb looks like a tiny Mikuni and requires hooking the throttle cable to the variable venturi piston. Of course the instructions completely ignored this part, probably because of the unusable cable holder in the carb. We made up another one with a slot that would actually hold the cable and got it together pretty quickly after that.

Dammit
New Reader
2/12/17 4:43 p.m.
The chain tensioner they'e given you is (in cycling terms) giving you a fully-wrapped sprocket, which is a good thing in that it hugely reduces the odds of the chain climbing the teeth and therefore slipping. This is more likely when the sprocket is (relatively) loosely anchored and can deflect under torque (rubber sandwhich mount).
However, as you've correctly identified, it's not in a fantastic position vis-a-vis wheel rotation and potential spoke/tensioner contact.
I'd TIG in a nicely curved 4130 tube between chainstay and seatstay that has a tensioning sprocket attached to it over which the chain can run.
One thing to keep an eye on would be the exhaust heat causing the grease (that remains in) the rear bottom bracket to make a spirited bid for freedom via dripping out over said exhaust. That might be me being very over-cautious however.
Overall this looks fantastic.
In reply to Dammit:
Thanks for the tips...didn't think about the heat and grease issue. I suspect we'll be far enough away, but we'll watch for that very closely on the first ride. We're also pretty likely going to reroute the exhaust above the crankset.
I built one of these back in the day

Get a spare rear wheel now because it WILL destroy it eventually.
Cool! How long did it hold up? What were the weak points beside the wheel?

We got some good used handlebars from a friend and installed them so we could get the controls on the bike.
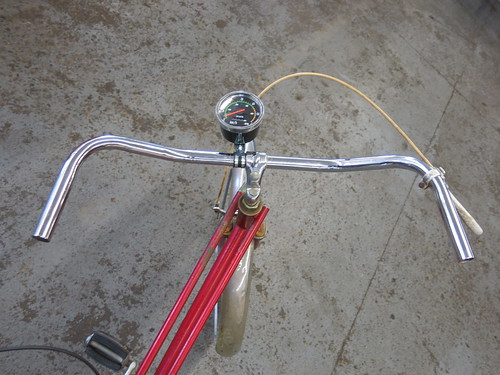
We put the speedo on the front.
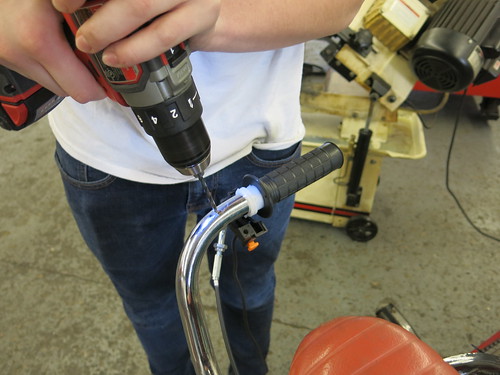
And the throttle and clutch on the back. We had to drill a little hole for an alignment pin in the throttle control.
Then we were ready to route the fuel lines and wiring. We didn't trim down any wires or cables for the shakedown ride. We'll go back and clean this all up later after we've sorted out the inevitable issues that will arise.
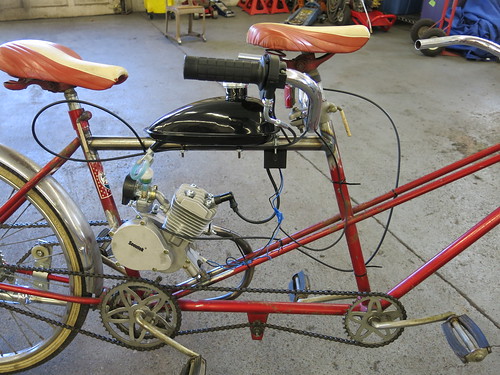
With that done, we put some fuel and 2 stroke oil in the gas tank and went out for the first ride. It started pretty quickly, but wouldn't keep running. We found out that the carb cable wasn't in right, so we fussed with it until we got it to work. With that, we took our first good ride. We'll try to figure out how to upload the video as it made a great noise with its open pipe--it sputtered to life much like a biplane after someone spins the prop.
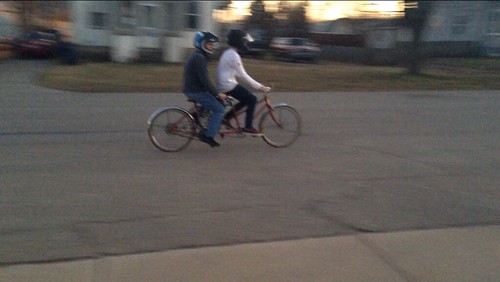
We got off just before dark and then giggled all night--it was quite a thrill. By the way, we live in Michigan and it was 59 degrees when we rode yesterday. That doesn't happen very often up here!
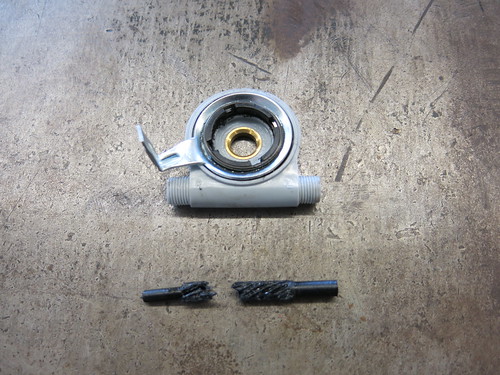
We did some more riding and sorting today. The first problem was the speedo setup. The gear that goes on the front wheel shredded itself and spun around. Who'd expect a Chinese plastic speedo drive to last?
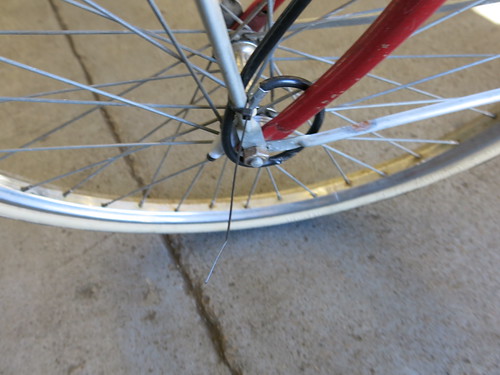
We also had to adjust the chain tensioner a few times. We'll be throwing that away soon and starting over. Then, even though the bike was making a great noise, we decided it was too much noise. So we welded the kit's muffler to our custom front pipe.
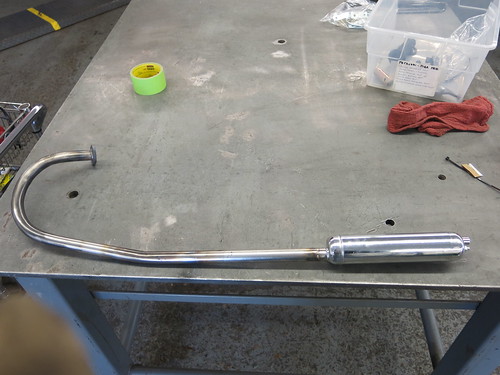
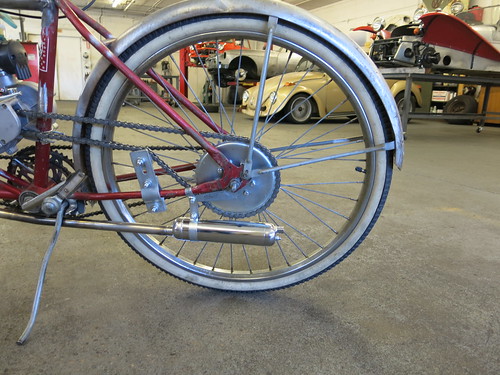
We're going to keep playing with the exhaust. We're thinking a cutout might make sense so we can have noise when we want it and quiet when we need it.
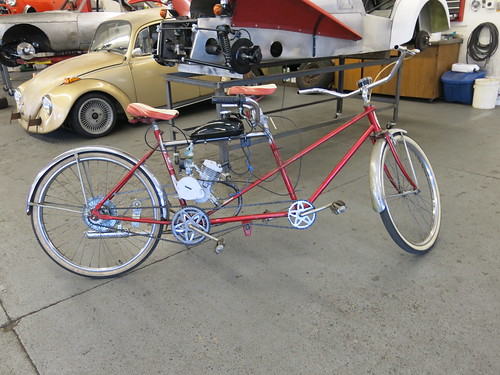
We went on a much longer ride with the muffler on and it's pretty quiet now. If the weather holds up, we'll keep riding a bit more to find any more weak links that exist.
That looks like a blast. I've never seen those kits before but my dad has a few old Schwinns in his garage. I think he, my brother and I and going to be getting a few of those motors to play with.

java230
SuperDork
2/20/17 3:51 p.m.
Wow I dont know how i missed this! So awesome.
Seeing the kids tig weld is great too, something I still want to learn to do.
I didn't know what to expect when I came into this thread. 

In reply to Wall-e:
I've got to say that we're getting more than $160 worth of fun out of this motor kit. You should get those Schwinns out and try it.


