
Piguin
Reader
11/5/24 6:13 p.m.
This is one of the builds that deserve way more attention and engagement than it is getting, with me being part of the problem.
I think it is down to two factors:
1) The first couple of pages do nothing to even hint at the glorious fabrication quality and methods used that are truly YouTube fame worthy. One needs to get at least to page 4 with the turbo inlet fabrication to realize what is waiting for them. If you get distracted by something before that point, which is what happened to me more than once, you miss the most interesting part. Maybe an edit of the first post with a few snapshots? Shifty should be one.
2) Lack of opportunities to offer input or opinions about possible solutions. The quality of fabrication is, again, amazing which makes people like me just stare in awe. I don't have anything to offer but a lot to learn. And most issues seem to be in the same posts as the either already fabricated, ordered or planned fix.
Thank you for sharing this journey with us, can't wait to see the video of it running. (YouTube!)
Piguin,
Thank you for the encouraging words! This is my first build and I am doing my best to Fabricobble all my theories etc into one little creation !
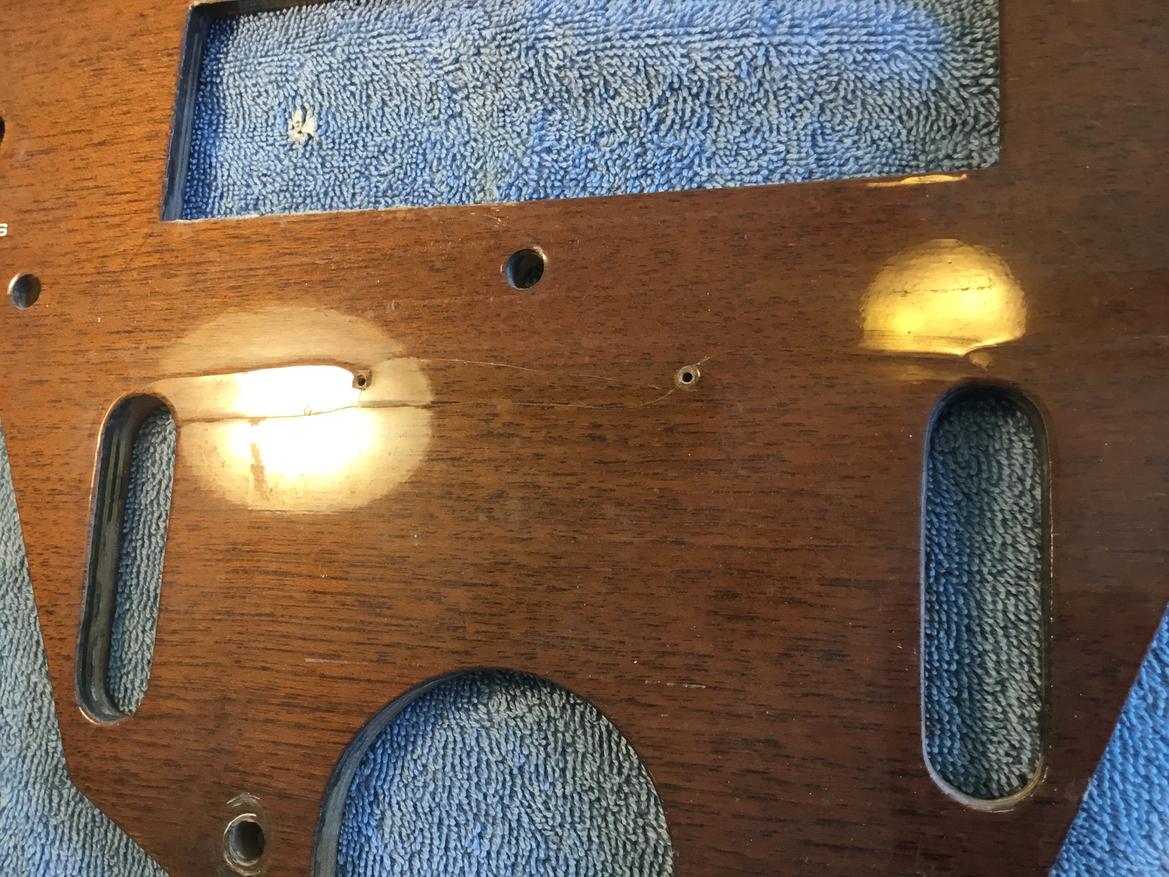
Finished gluing down raised outer edges of dash with diluted Titebond II with an adhesive syringe. Grafted in piece of veneer from the old dash at right lower chassis mount area.
Glued down raised middle areas by making sure edges did not overlap and there was a hairline gap by running Exacto blade along cracks. This allowed room for the glue to get in and get squeezed out. Glued down with thin superglue and clamped for a couple of minutes.Used wax paper between wood block and dash when clamped so glue wouldn't stick to it. Then sanded with 1000 grit. Ready for clear.
Painted back and edges to seal.


Nice work on the dash - and everything else too 👍

johndej
UltraDork
11/9/24 5:12 p.m.
Always love lotus content!
3 coats of Helmsman UV resistant clear satin Spar Urethane.

In reply to TurboFource :
Shiny!!!
Another piece of the puzzle showed up :)

damn, how did I miss this build? Friday afternoon work read has been found!
golfduke said:
damn, how did I miss this build? Friday afternoon work read has been found!
Self-quoting- Just read all 19 pages. your attention to detail and persistence is awe-inspiring!!! I can't wait to see this thing ripping around soon!!!
In reply to golfduke : Thanks! I can hardly wait to rip around in it too!
golfduke said:
golfduke said:
damn, how did I miss this build? Friday afternoon work read has been found!
Self-quoting- Just read all 19 pages. your attention to detail and persistence is awe-inspiring!!! I can't wait to see this thing ripping around soon!!!
Couldn't have said it any better myself.
Epoxied some minor rust spots in heater box and painted it, ready for reassembly. Worked on new lower dash trim. Removed speedo and tach with binnacle, darned “ignition” light socket was rusted in its plastic holder and a bugger to get out with out break anything. Binnacle is flimsy junk like the center console  The back of gauges are rusty of course but I think the fronts will clean up decently.


I got the fiddly 6 sides of the heater box together with new foam. This may have been amusing when new but quite aggravating with 50 year old rusted, distorted sheet metal! Worked some more on lower dash trim and started cleaning up the speedo and tach.


Saw this at the Dollar Store today ... somehow it caught my eye and of course I felt compelled to buy it!

Maybe not today ….  .... I say again .... maybe Santa will bring a better garage heater ...
Inside temp ….

I drew these gauge sun shields to make my various gauges the same “OD” and and “depth” so they would blend in together better. My son printed them out for Christmas for me on his Bambu Lab 3D printer.


Removed the oil pressure and water temp gauges from the wiring harness. Of course the knurled thumb nuts were rusted tight and would nut come loose even after soaking with penetrating oil. I resorted to heat using my jewelers torch to just heat the nuts then reapplying penetrating oil and then repeat a couple of times. This is usually effective and worked this time 
How can I bench check the temp gauge?
Still trying to decide if I want to take the glass off the gauges for further detailing ….


TurboFource said:
How can I bench check the temp gauge?
Still trying to decide if I want to take the glass off the gauges for further detailing ….
Find a 12V DC power source and mock up the wiring between the temp sending unit and the gauge. Drop the sending unit and a candy thermometer into a pan of water on the stove. Turn on the burner and compare the reading on the gauge to the candy thermometer as the water heats up.
Popping those gauges apart for detailing should be a pretty easy task, and probably very worthwhile.
In reply to DarkMonohue : Thanks Dark'
I decided to take the glass off the gauges to clean them and to paint the rusty trim pieces in the tach and speedo.
I first tested the temp and fuel level gauges by just using my 6 volt trickle charger and they both moved so they should be good. I already know the tach and oil pressure gauge work from first run. I will check the speedo with my drill.
The small gauges were much more challenging to get apart than the tach and speedo! I removed the gauge to dash gasket with an exacto blade. I then carefully worried the bezel loose with a flat blade screwdriver, I also applied WD40 to bezel gaps on the small gauges with a model paint brush. I bought a strap wrench but it was useless and used a work glove with a grippy material on it to get the bezels loose. On the small gauges the original bezel to glass sealant turned into some kind of mystery gritty material 
Now to clean, touch up, paint and reassemble…..


Your atttention to detail is making me envious!
In reply to golfduke : I knew every time I looked at the gauges I would ask myself why I didn't clean them up while they were out !


