Previous total: 3013.92
new parts:
hoses from flaps: 17
order of o-rings, gaskets, etc from FCP euro: 70
two more rolls of trim tape: 9.98
window tint: 38.97
seat parts from pullapart: around 7 (lost receipt, so not entirely sure, but close enough)
current total: 3156.87
on the last update, I was fighting misfires and such. So, after much research and dithering, I decided to throw money at the problem. I replaced every gasket and vacuum line from the head out.
Started with an order from FCP euro,who made a repeat customer out of me. They even included a list of part numbers corresponding with location!
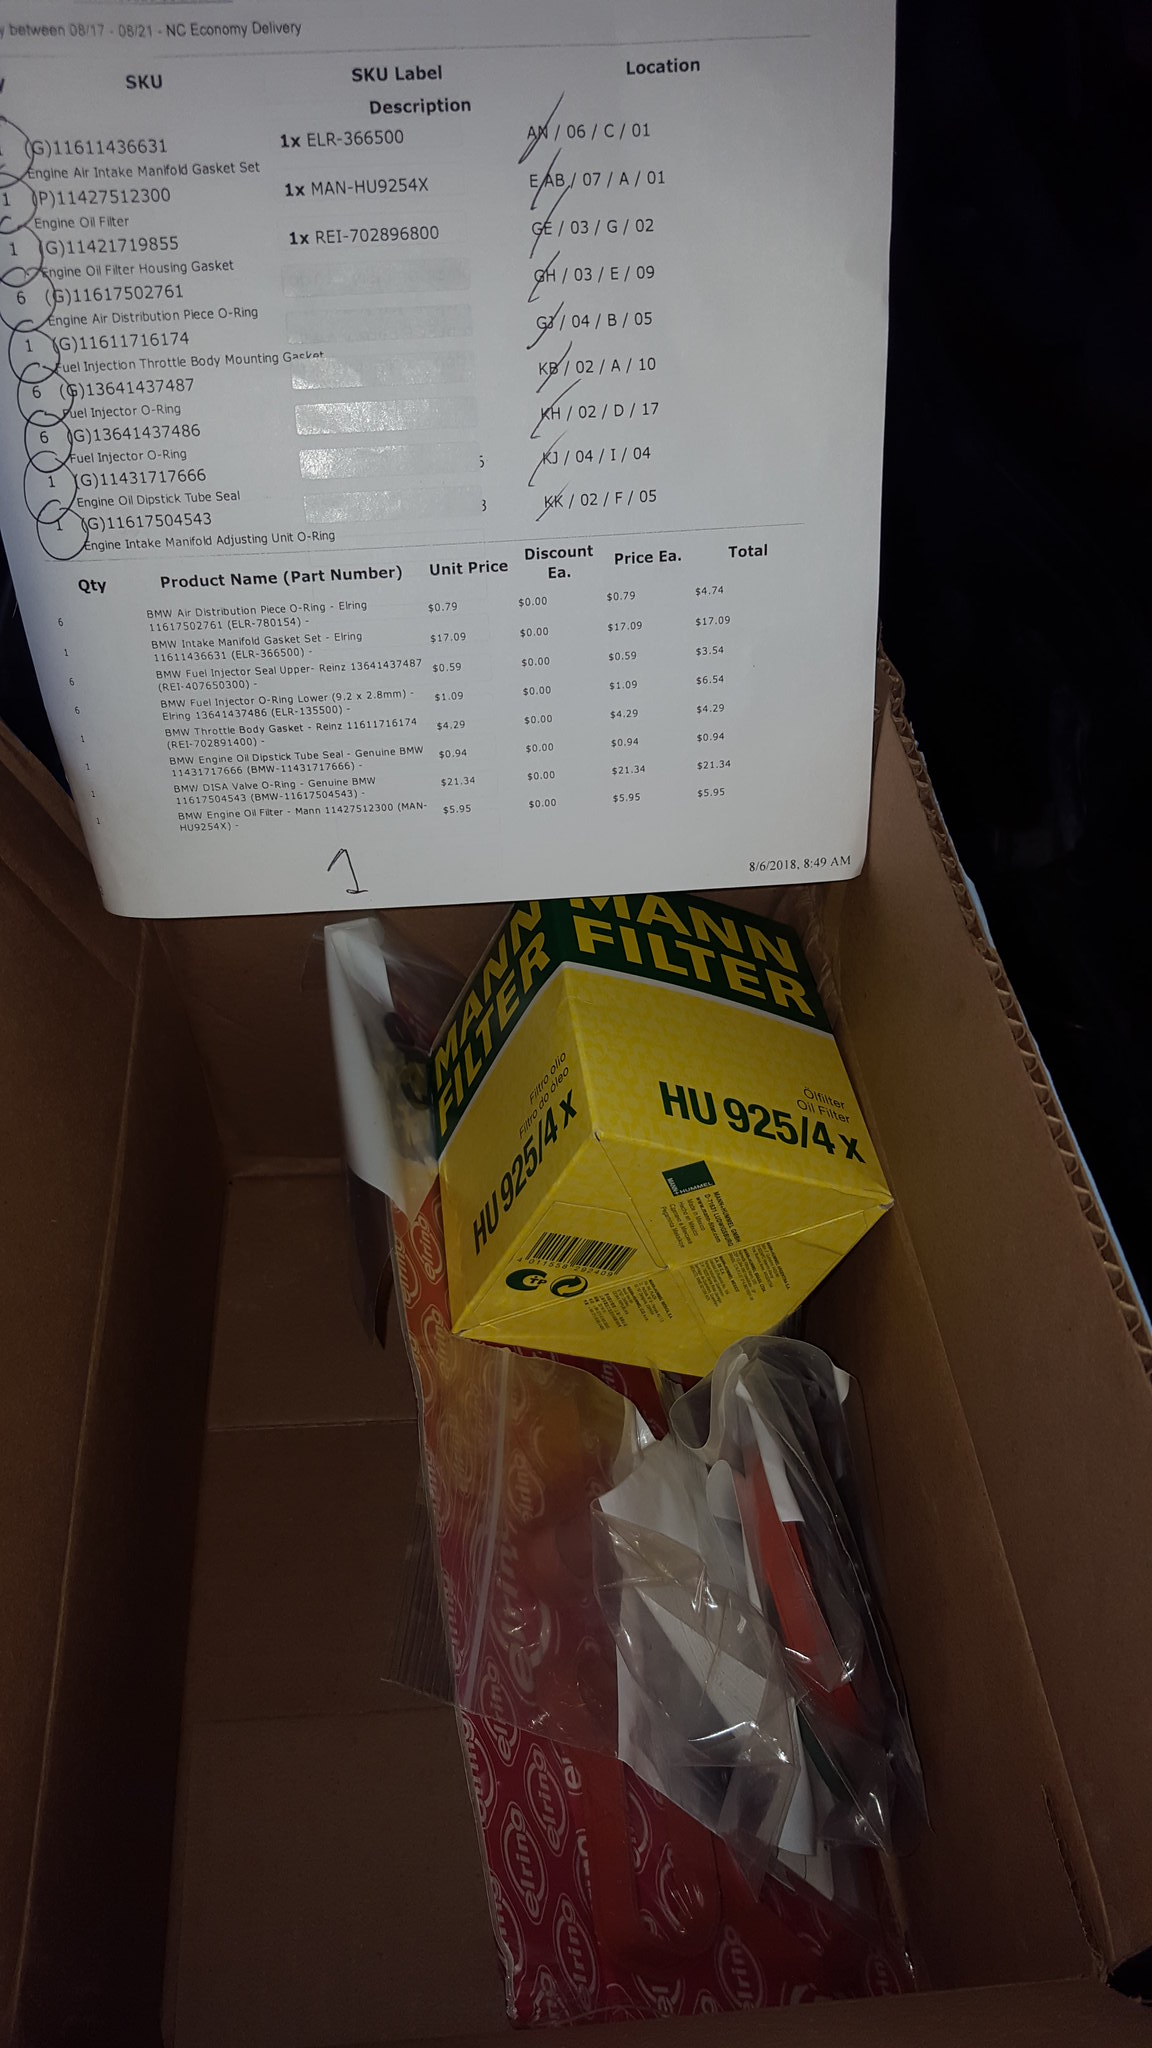 20180808_163407 by Michael Crawford, on Flickr
so, parts in hand, it was time to dive deep. I must admit, I was pretty intimidated. Never tore this deep into a non gm late model. But....
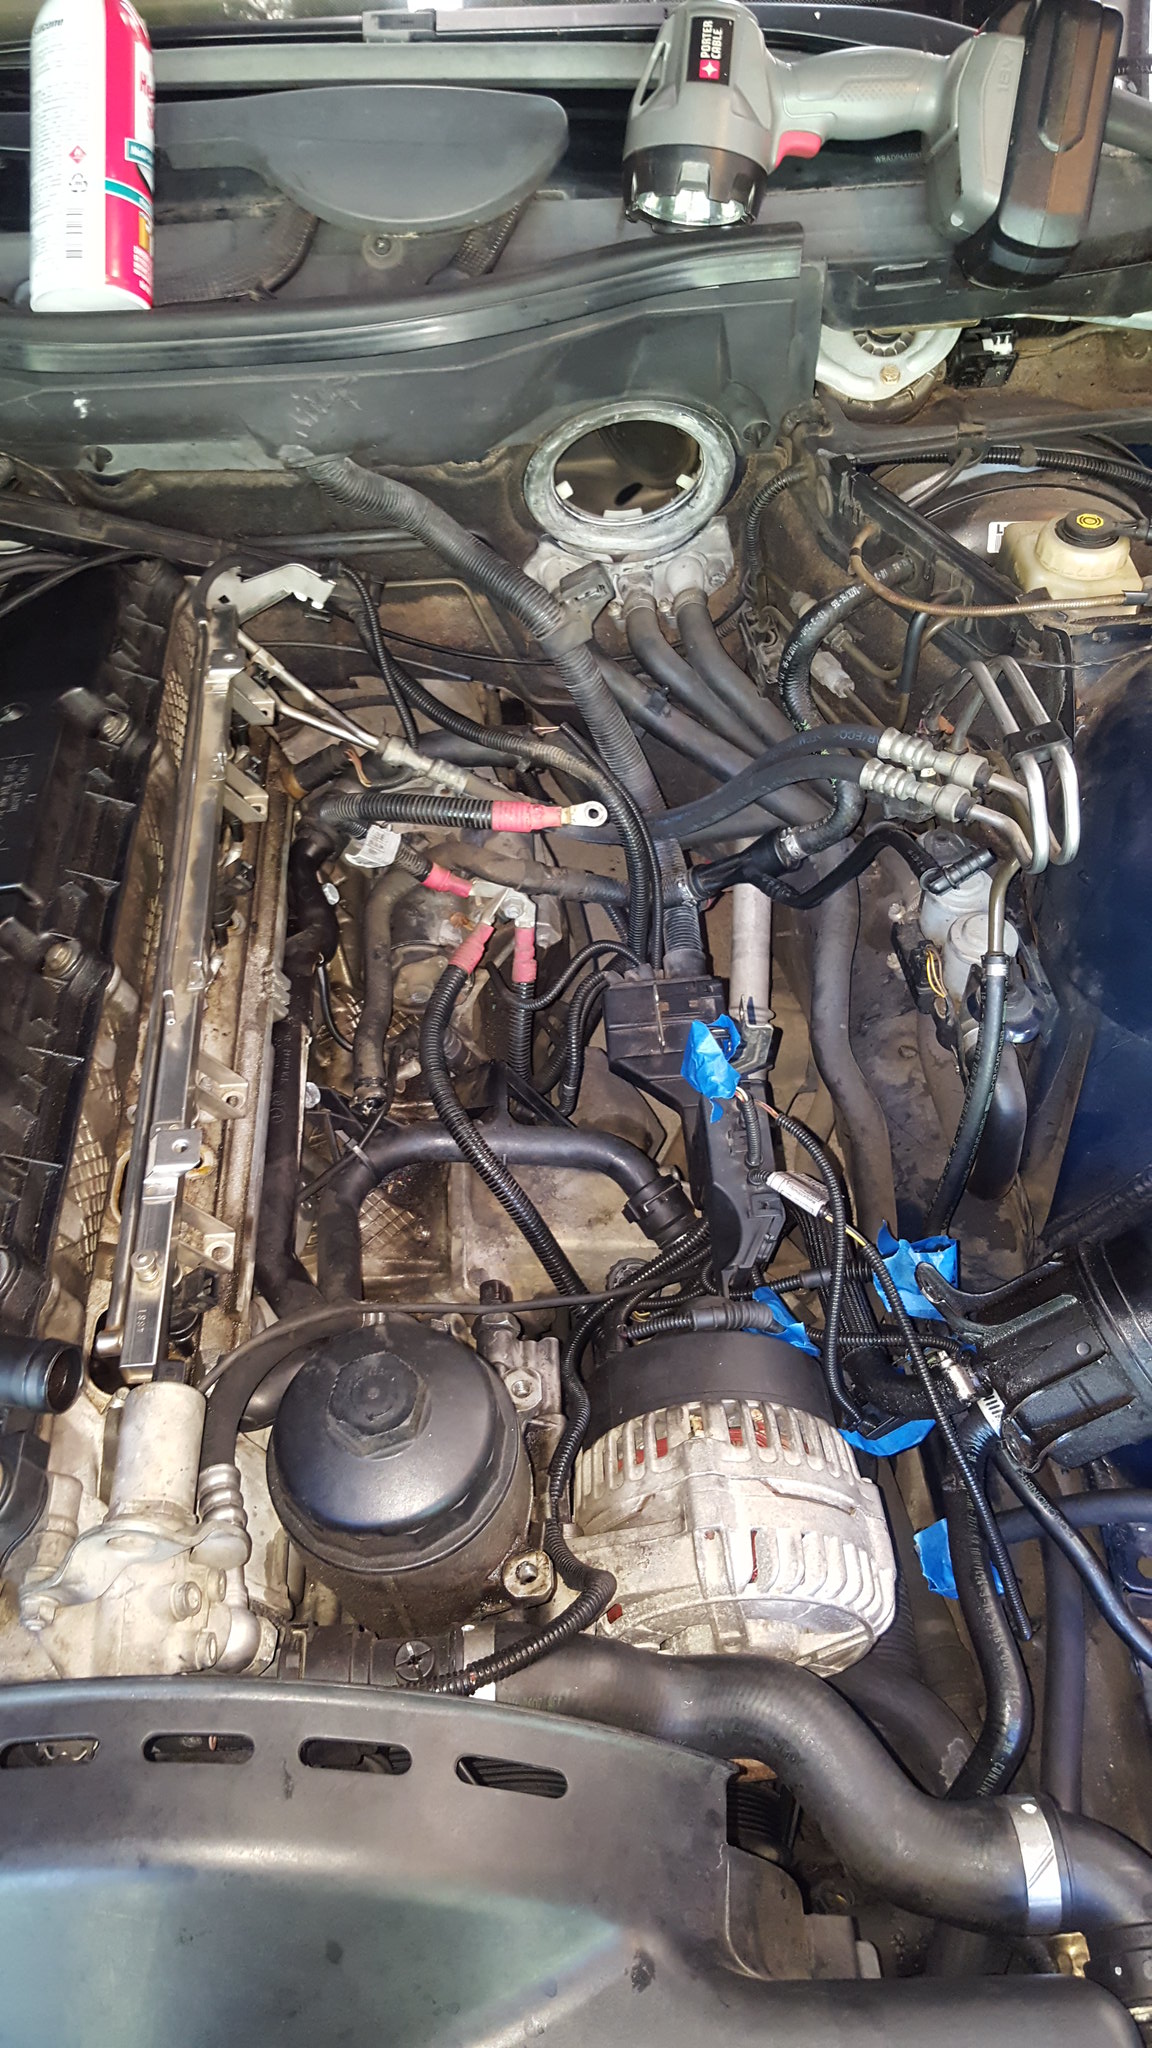 20180809_095746 by Michael Crawford, on Flickr
took the time to inspect all of it prior to replacement. Bunch of dried or cut o-rings, and the evap hose we knew about. The other vacuum lines were dry rotted, including the brake booster line. Additionally I found missing and loose manifold hardware and some flat GONE o rings. So, glad I bought more than I realistically thought id need.
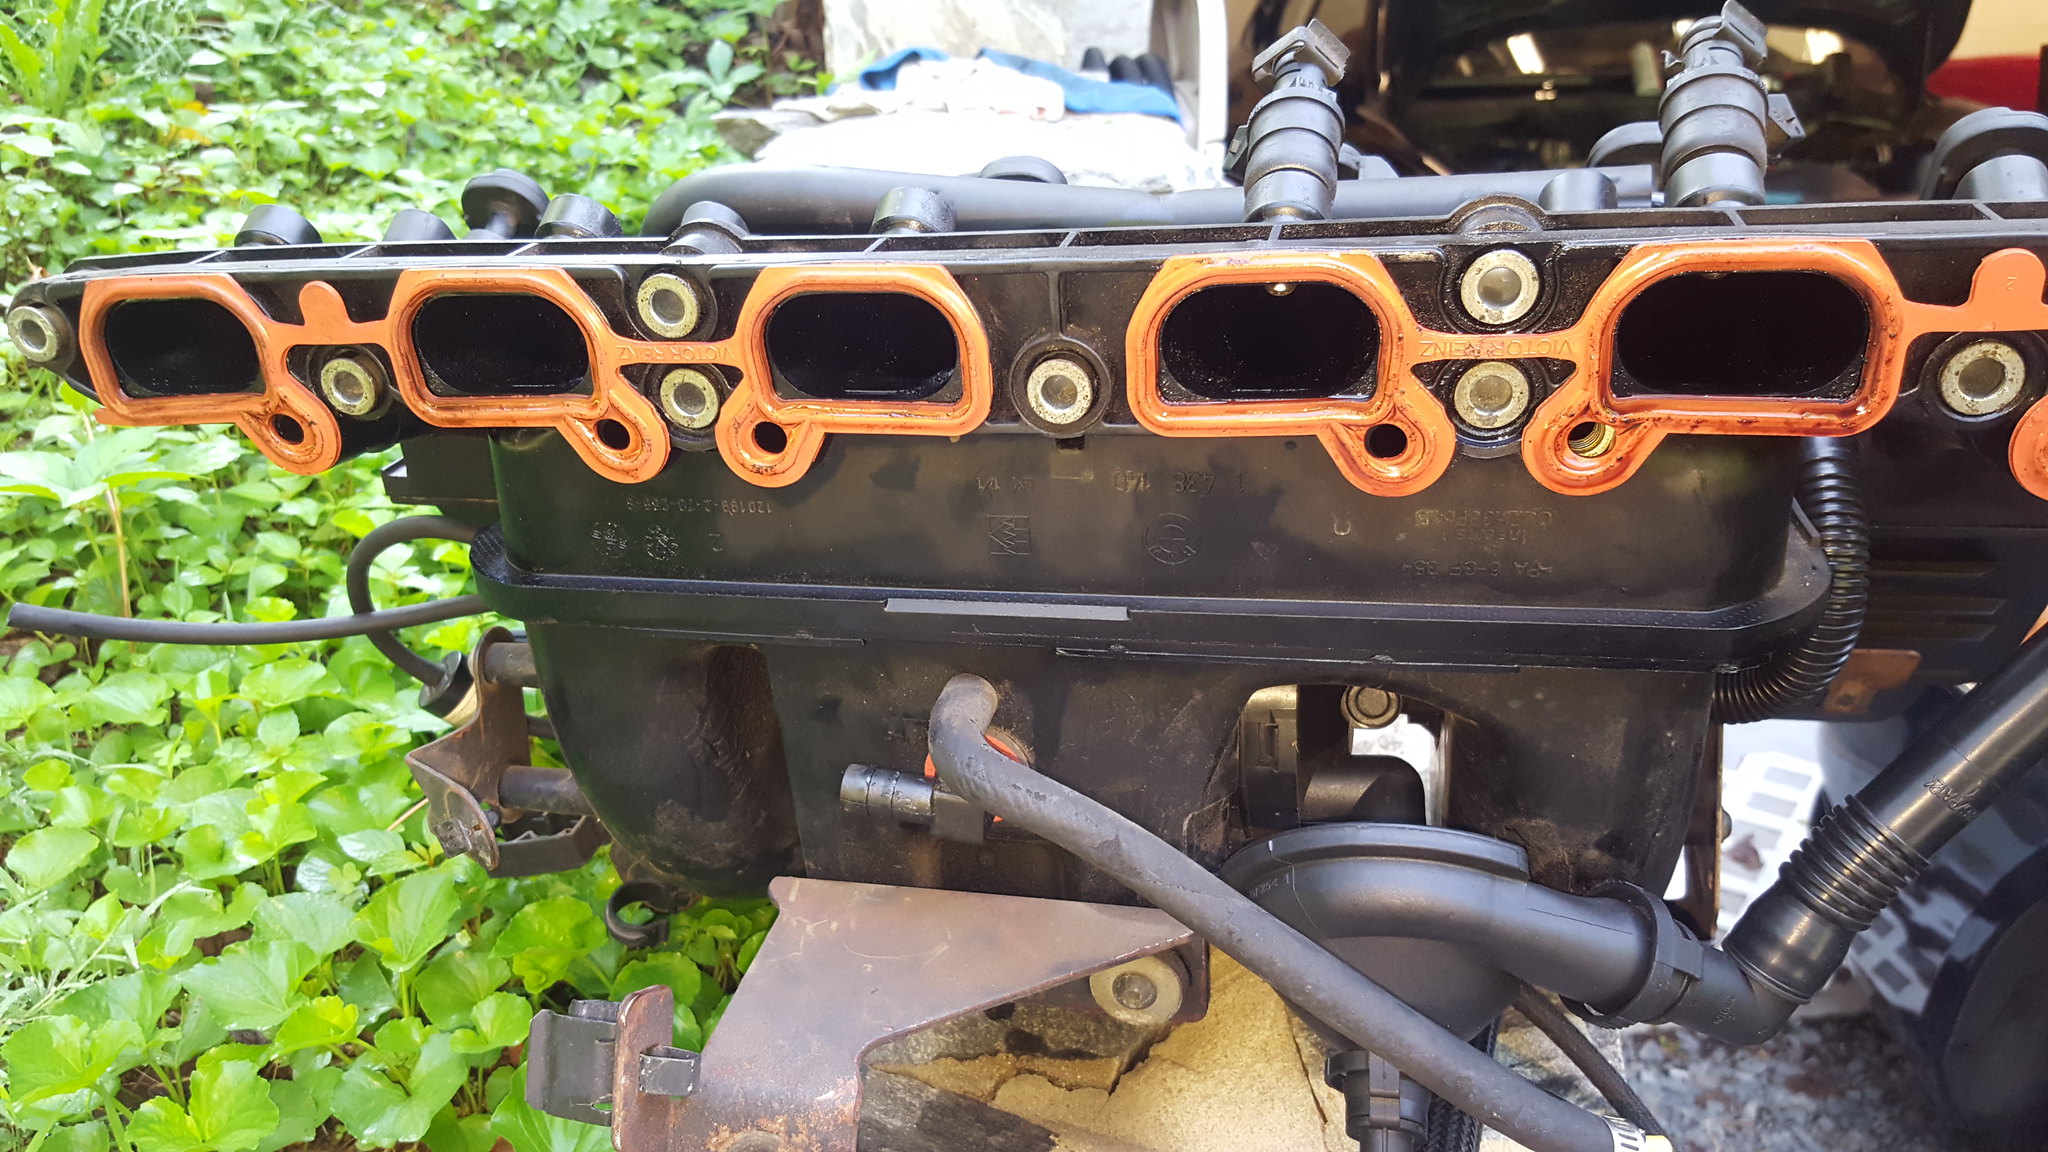 20180809_095909 by Michael Crawford, on Flickr
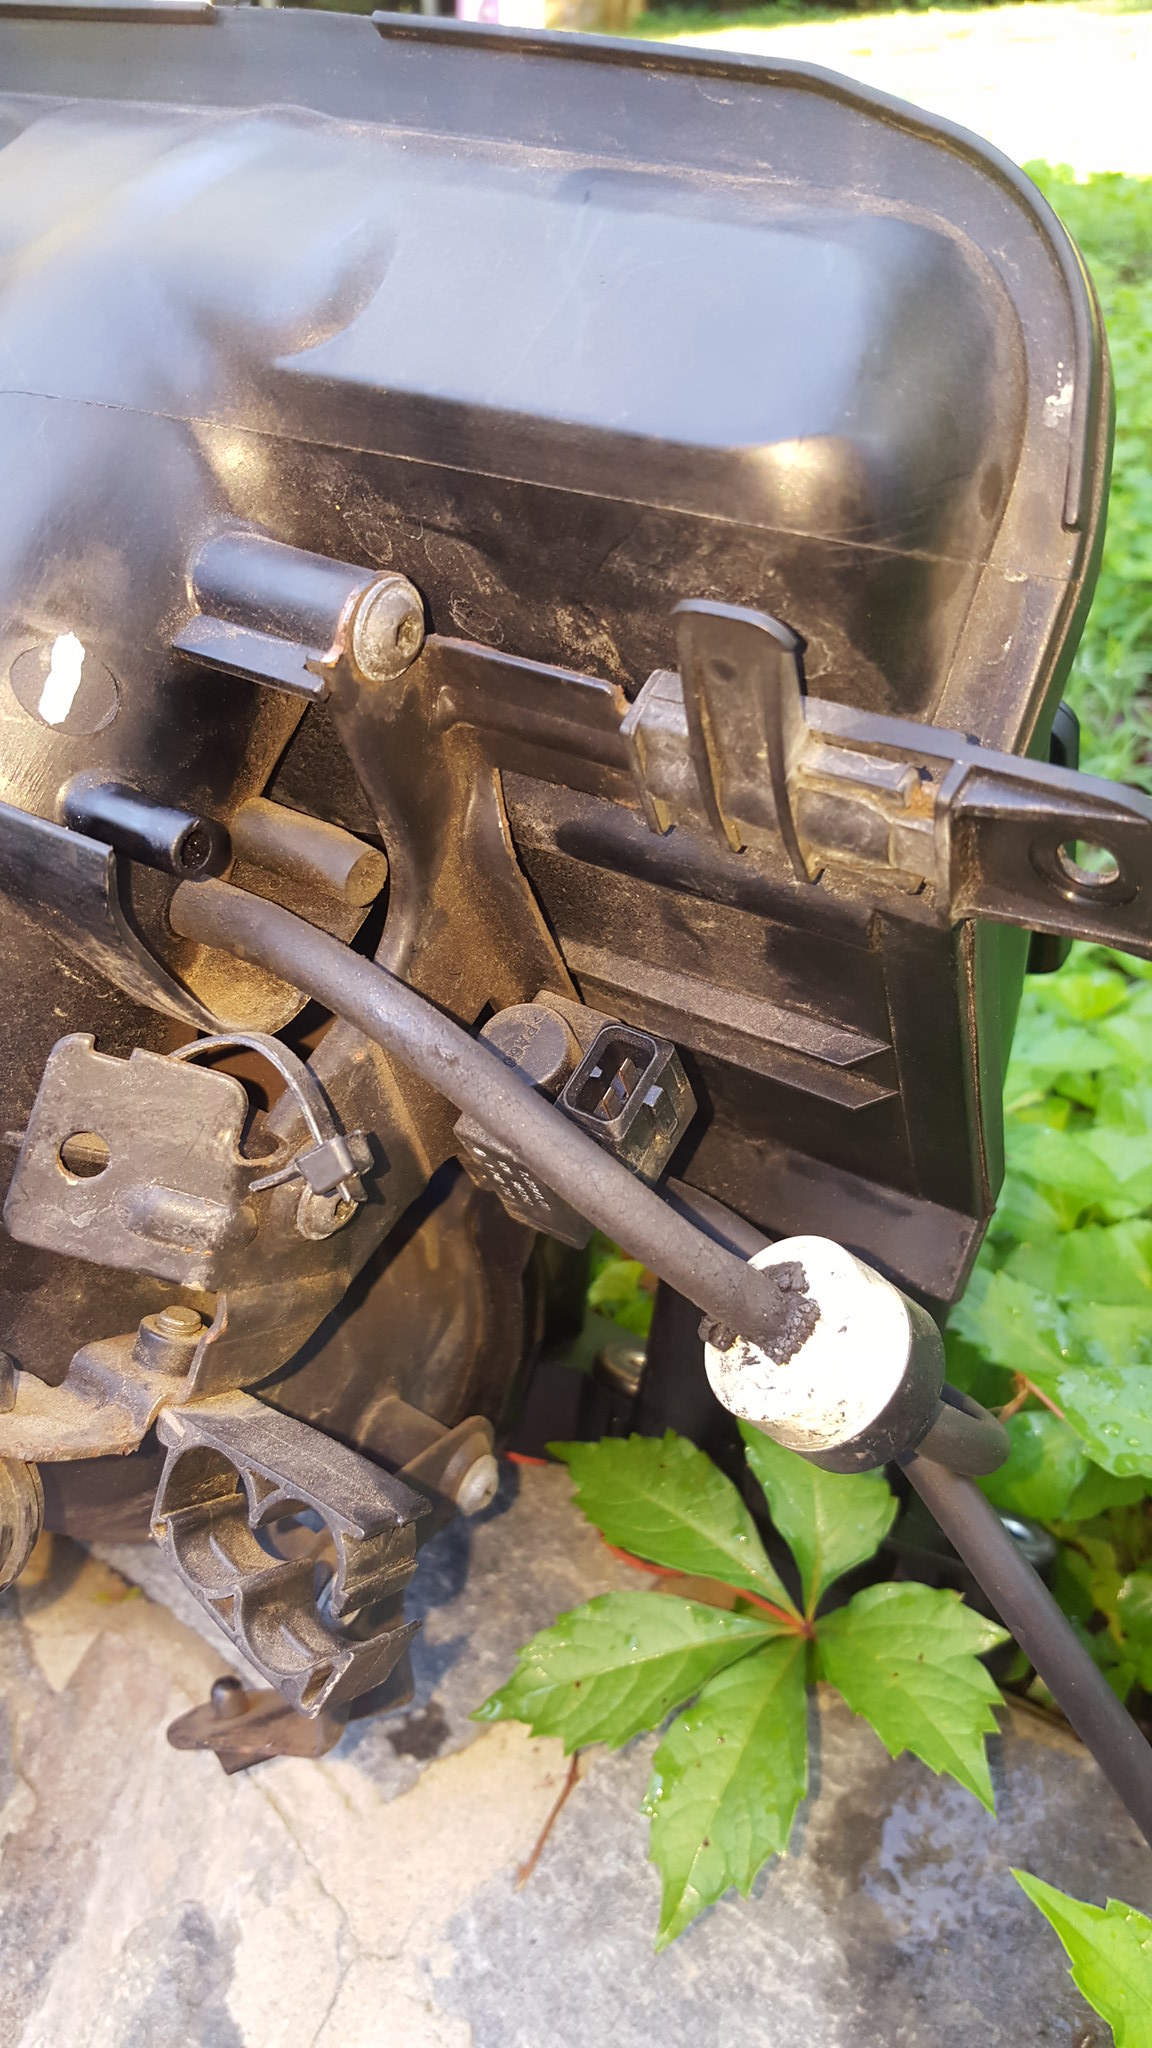 20180809_095821 by Michael Crawford, on Flickr
I then did a 167 mile test drive. Only the 02 codes came back. Son of a....
anyway, on my test drive I was notified that another e39 hit the winston salem pull a part. So I went and got new seat switched, and the burned up module. The buttons on the side of the drivers seat don't operate the same way as the passengers seat. Im thinking ive got something crossed on the harness to modules for functions. But, anther day.
I also stopped by my buddy brads house. Brad used to do window tint for a living, and helps me when im struggling on a tint job. Ive never gotten the knack for seriously curved glass, so while I was trying to diagnose his truck, we did the rear window, rear side windows, and the small window on the rear doors. I had tried the front before, and kept creasing tint working around the inner weatherstripping. Brad had the same problem. So I guess ill be pulling windows....
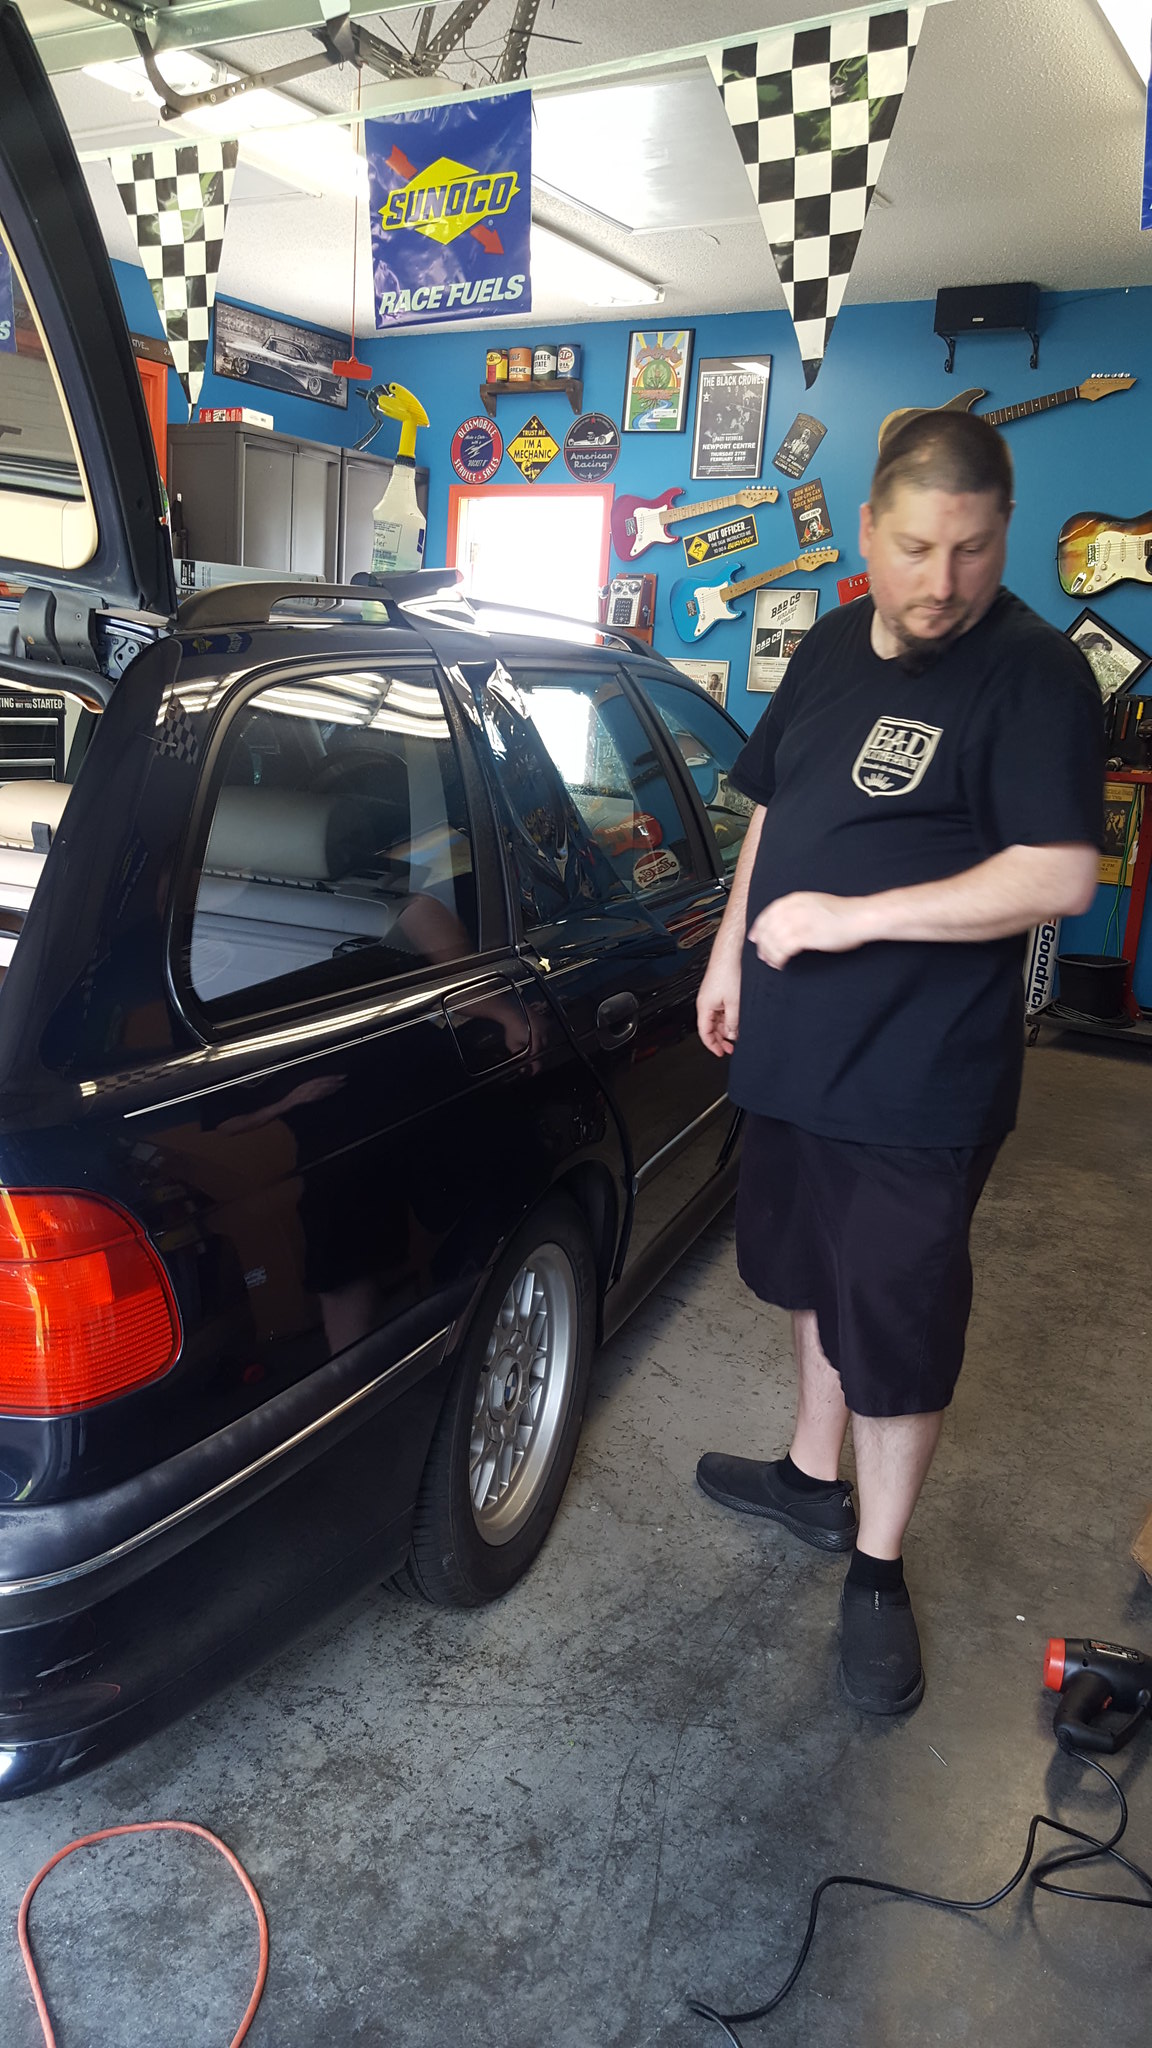 20180811_140333 by Michael Crawford, on Flickr
 20180812_090508 by Michael Crawford, on Flickr
Dusterbd13 said:
17x10 z06 motorsports wheel, 275/40/17, 1.5 spacer.
It clears.
Aren't they slightly different bolt patterns?
In reply to Dirtydog :
I'm waiting for the new computer to come in tomorrow and then we'll find out. I've got a whole update to do I just ain't done it.
And im still nursing the broke rib. Otherwise feeling great again finally.
In reply to wvumtnbkr :
Yes by some fraction of a decimal. When and if these wheels go on to stay I will use wobble bolts to take up that slight wheel pattern difference to the adapters
Previous total: 3156.87
new parts:
2 more rolls of tint: 28
headlight adjusters, ebay: 12.95
heat wrap: 2.56 ft ebay, used 2 feet: 5.12
replacement programmed DME 130
oxygen sensor harness and plugs: 6 pull a part
stereo install kit, ebay: 15.96
3 25 foot RCA cables ebay: 17.25
amplified roof antenna (had)
antenna extension cable 25ft amazon: 7.99
Kenwood HD radio/bluetooth: had
bluetooth mic: 8.99
adapter machining: traded some wiring work
z06 wheels and tires: had
sacrificial panel: 5
10 inch sub: traded the included 12 for it.
Door panel clips: 9.99
usb charge port, red lighting ebay: 8.87
current total: 3412.99
so, almost a month with no update. But good reason for that, as ive been busier then a one legged man in an ass kicking contest. However, that's due to losing two weeks of my life to the neurovirus, and im still moving slow due to being so sick I broke a rib. (yes, I always those people that claimed that were full of crap. Apparently I was wrong. Im still slow, but back at it now.) I then had to catch up on HPDE tech inspections, work for mental health, wiring job on a supercharged 68 cuda, fixing a couple of truck electrical gremlins, mowing the grass, etc.
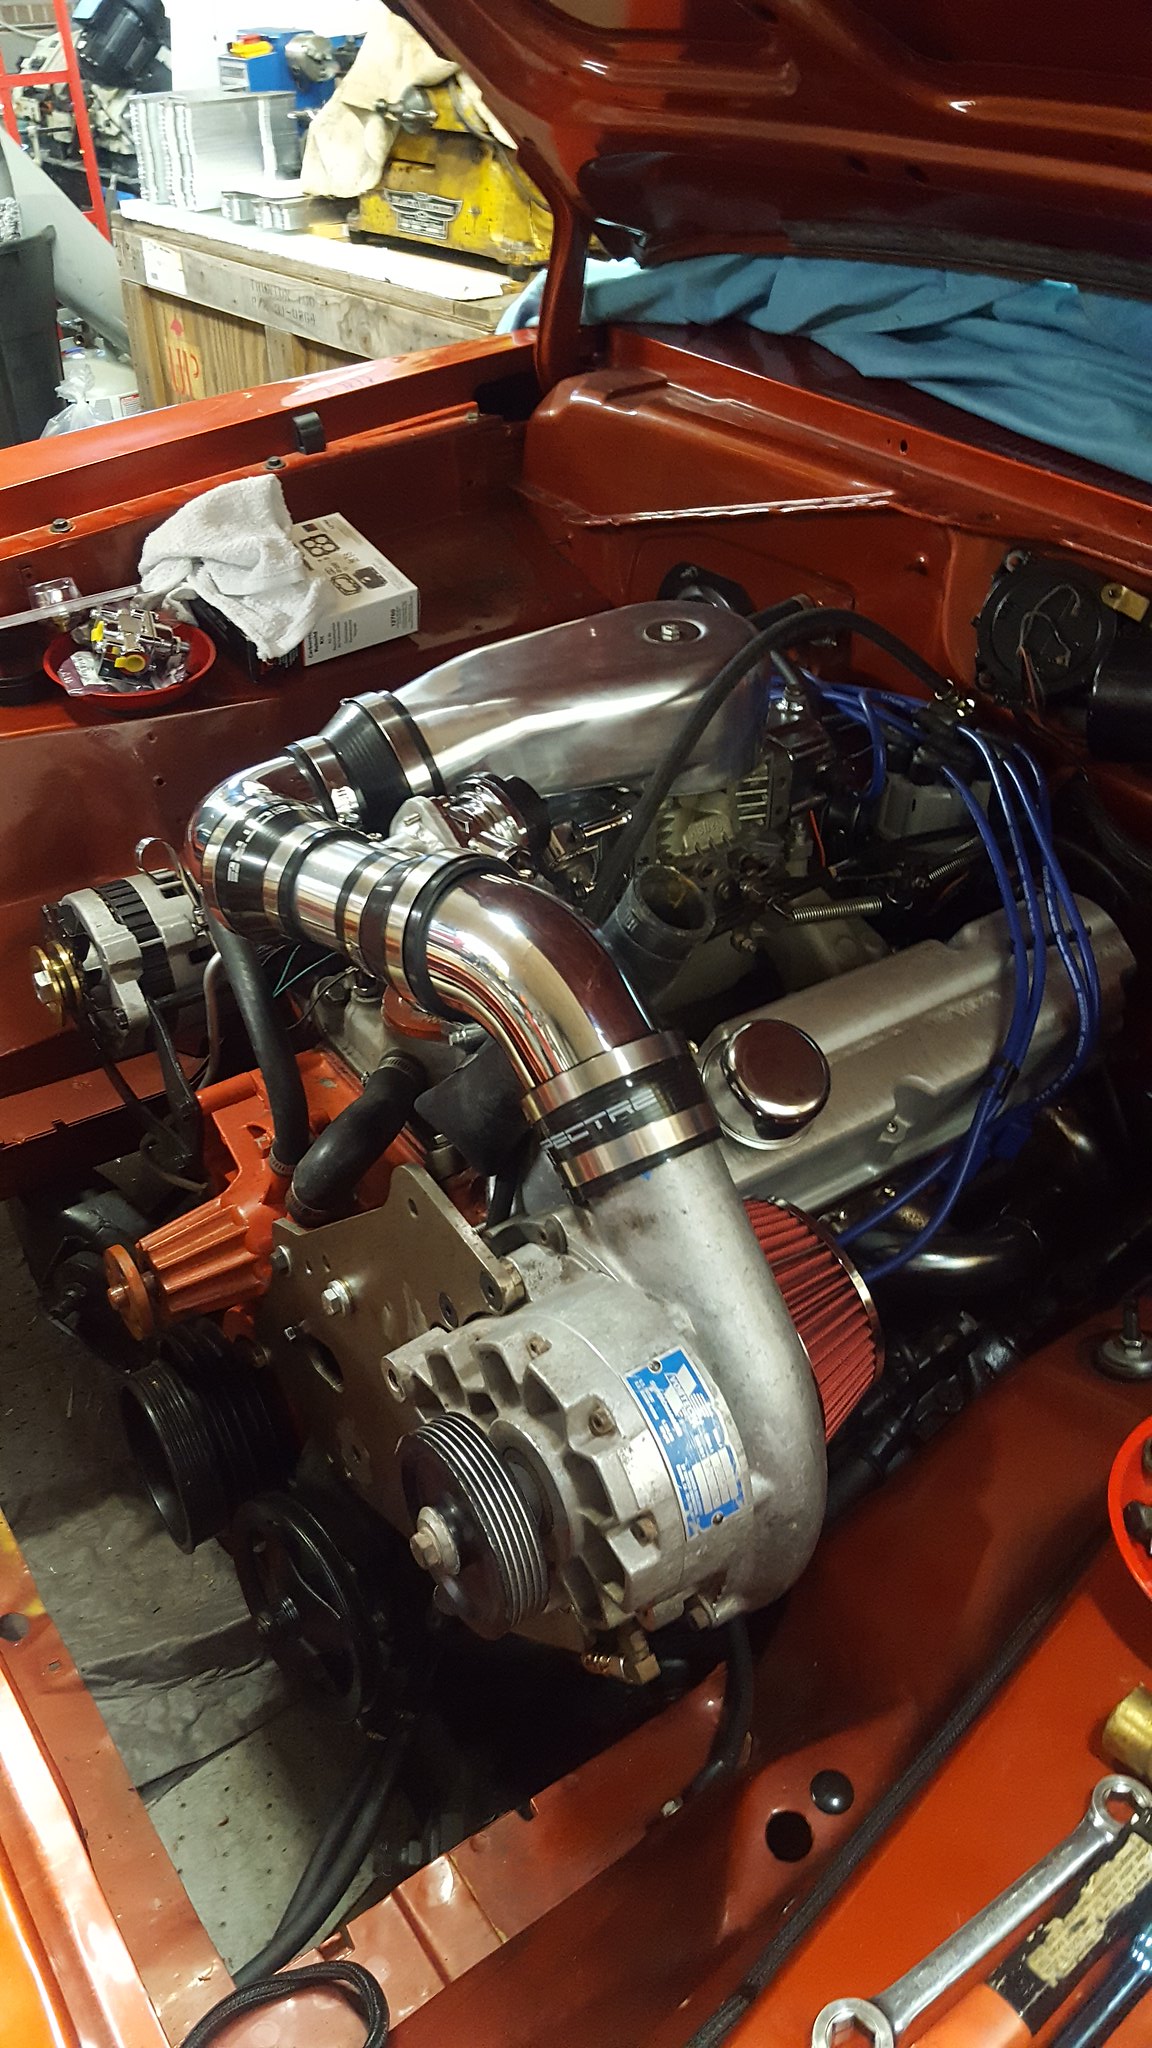 20180902_113950 by Michael Crawford, on Flickr
but this is a thread about a broken BMW. When we left off, it was kicking my ass, and doing things that it just couldn't do. No good reasons. So we started the diagnostic chain. A very long chain. Full of links and missing links.
The first was the o2 sensors. I swapped the sensors around on the leads, and got two unresponsive signals. So that meant I had a dead sensor AND wiring faults. Yay.
So I started chasing things between the sensor and DME with a multimeter. When I found that all wires to B2S1 had continuity between them, I opened the harness up. It was nuked.
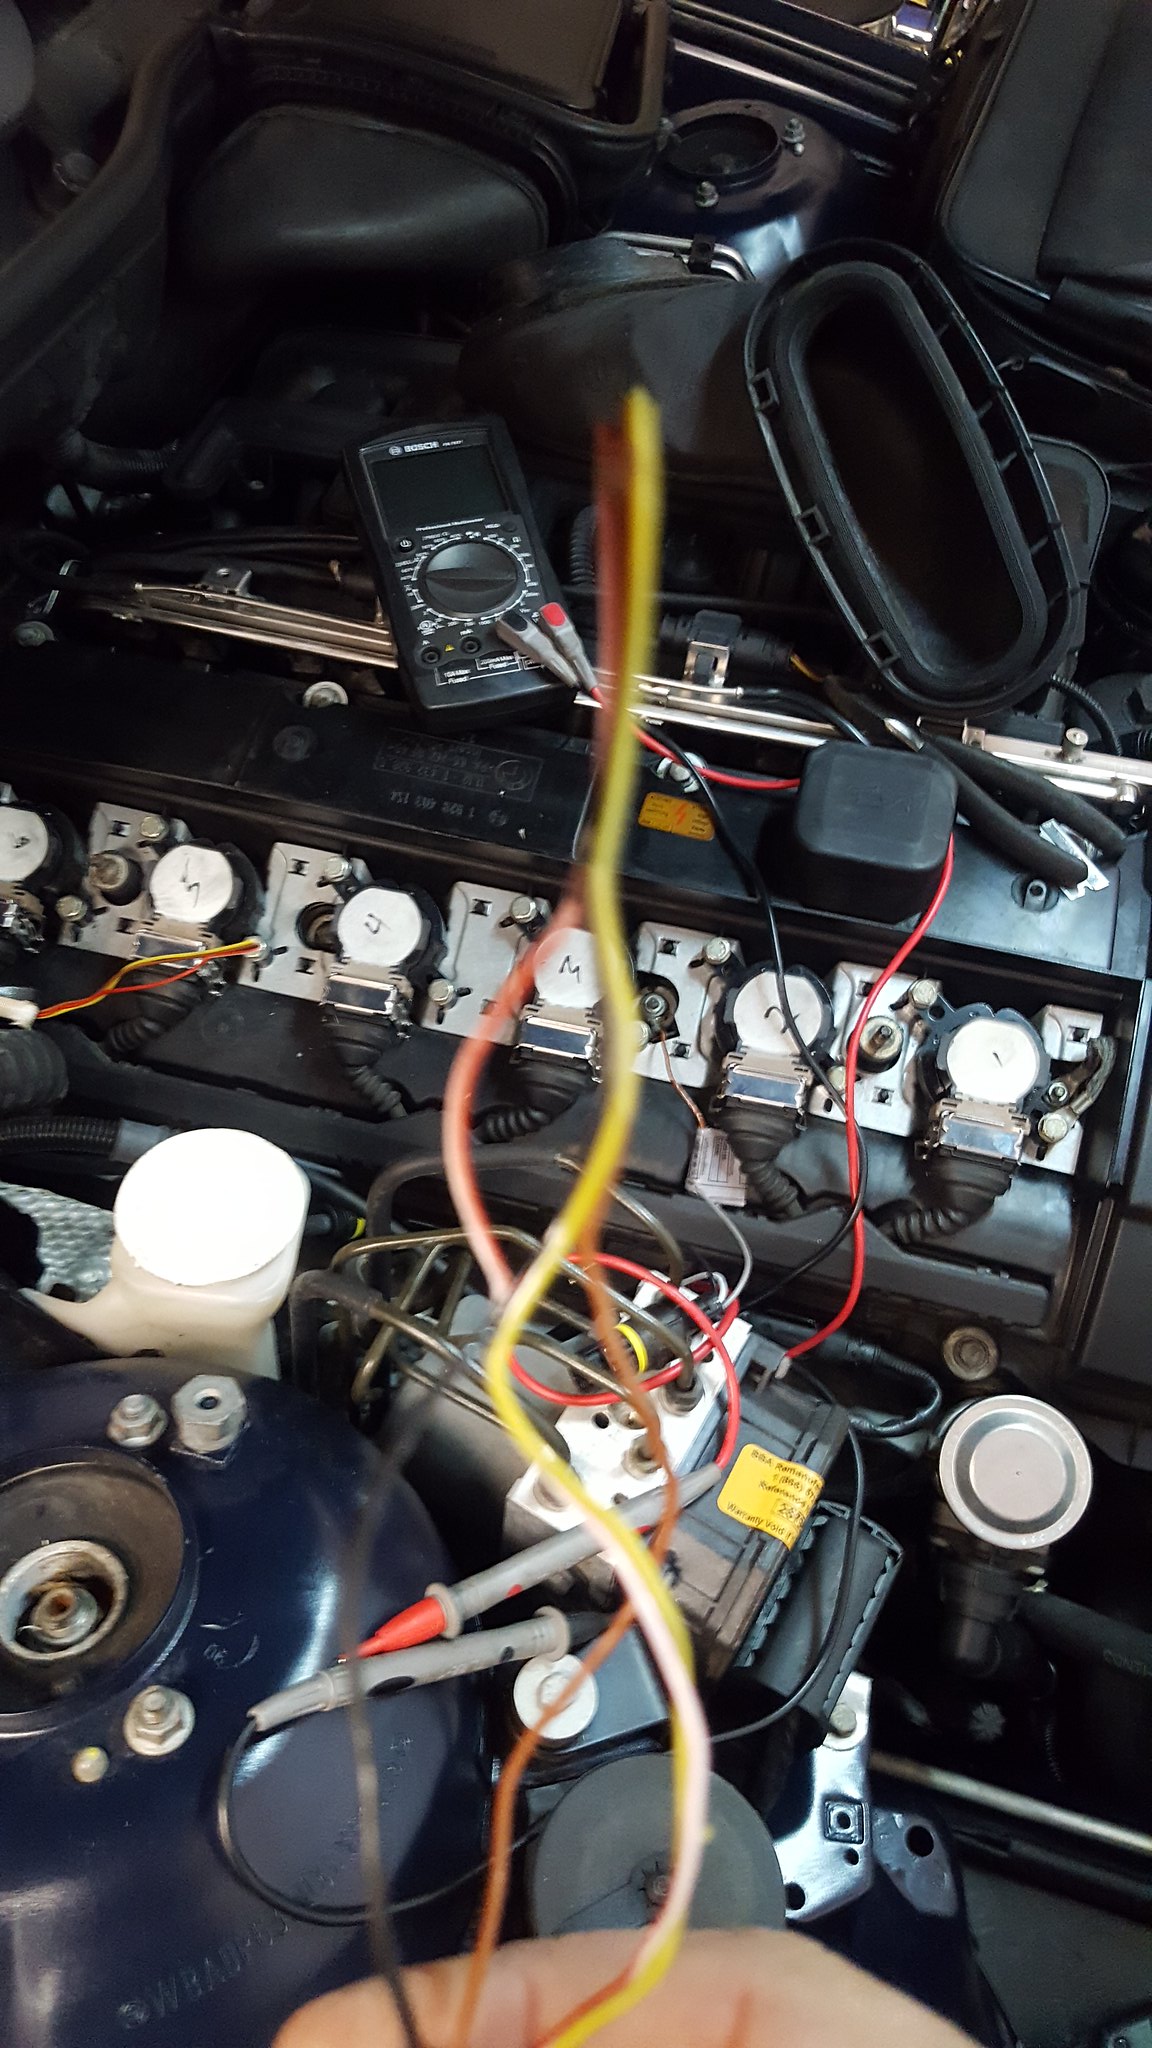 20180826_103651 by Michael Crawford, on Flickr
so I rewired the obviously nuked portion. And still had crossover.
Son of a....
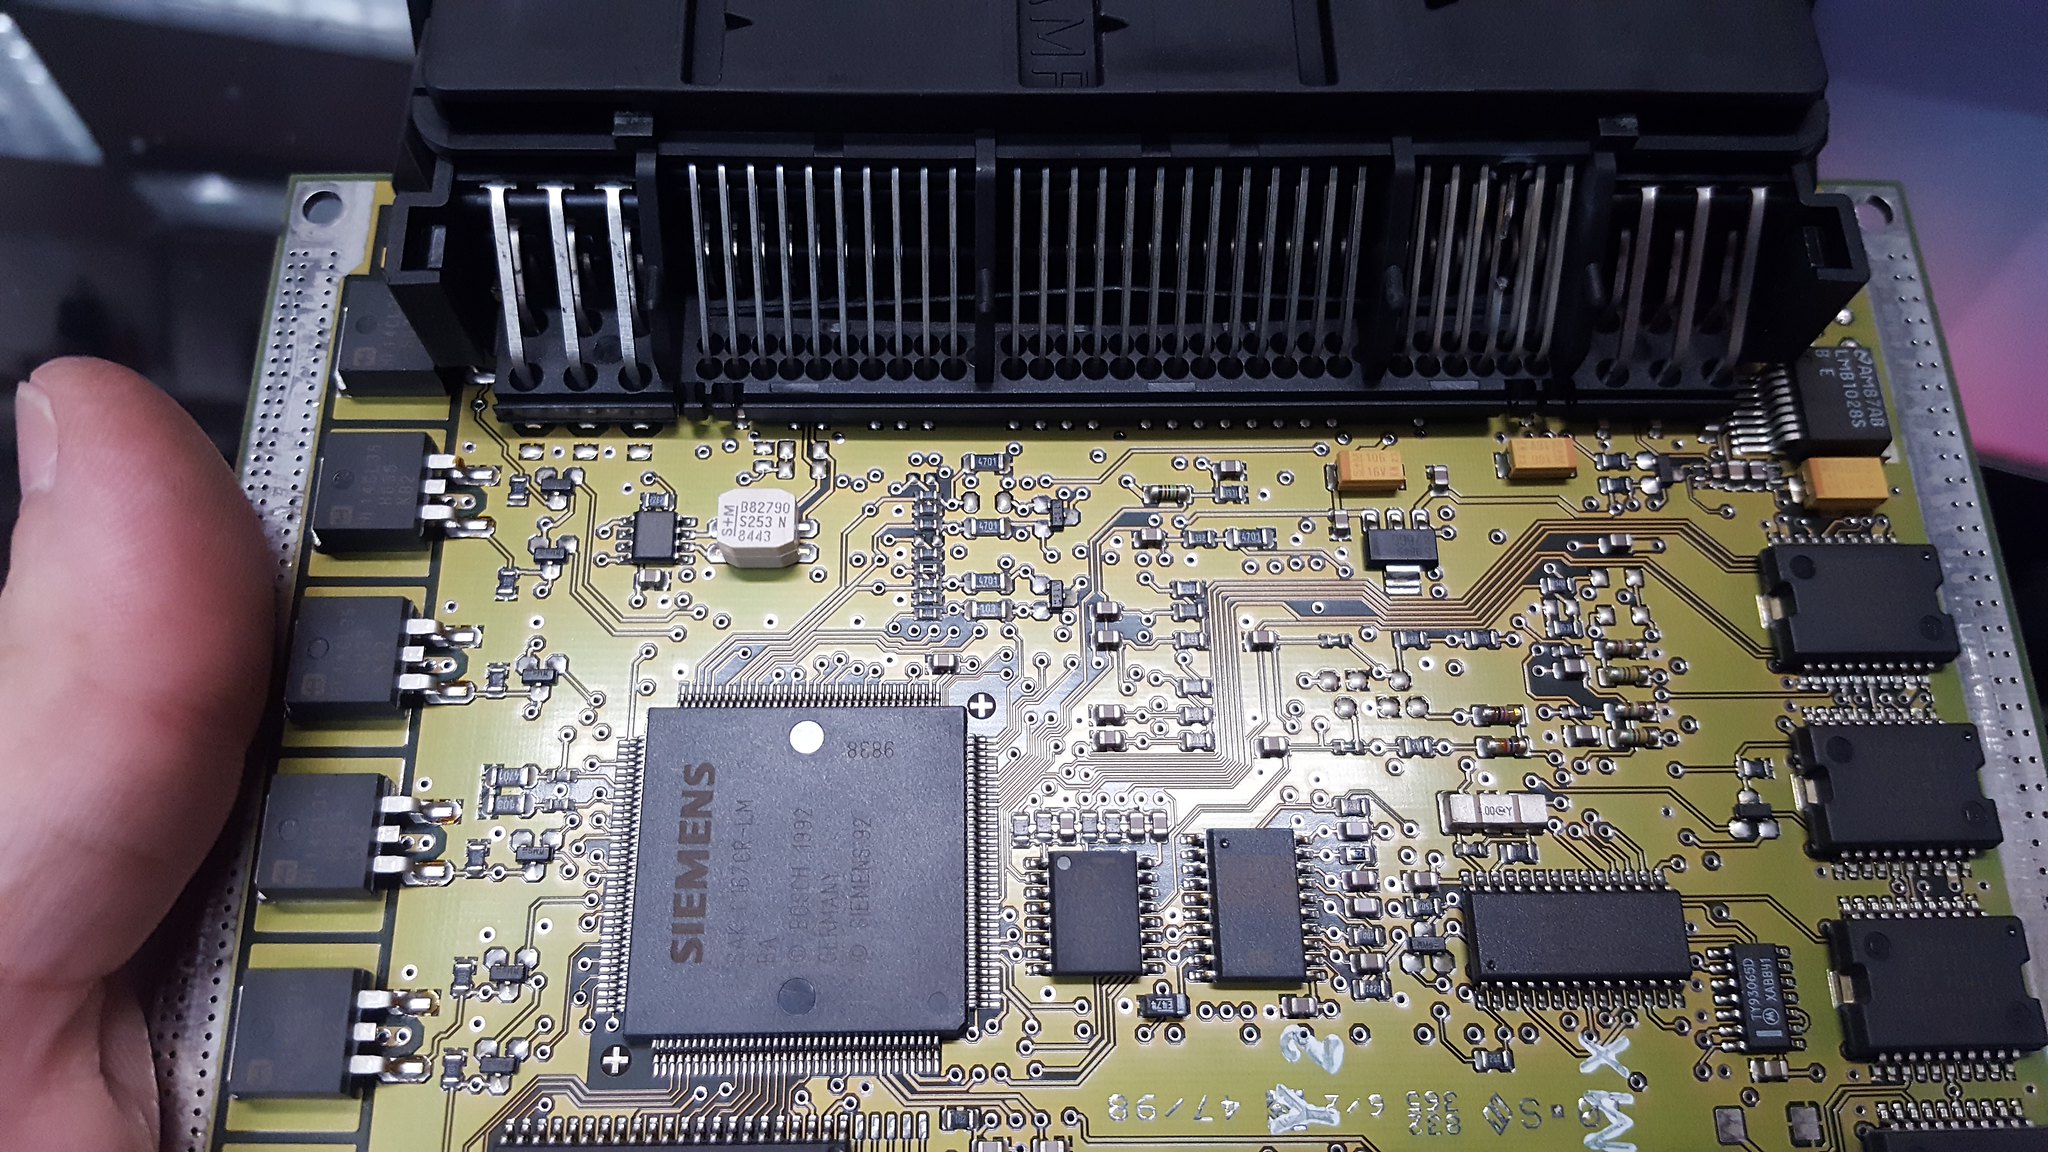
so I pulled a DME. No external signs of damage. But just like a hot and crazy chick, you cant tell whats inside by whats outside.....
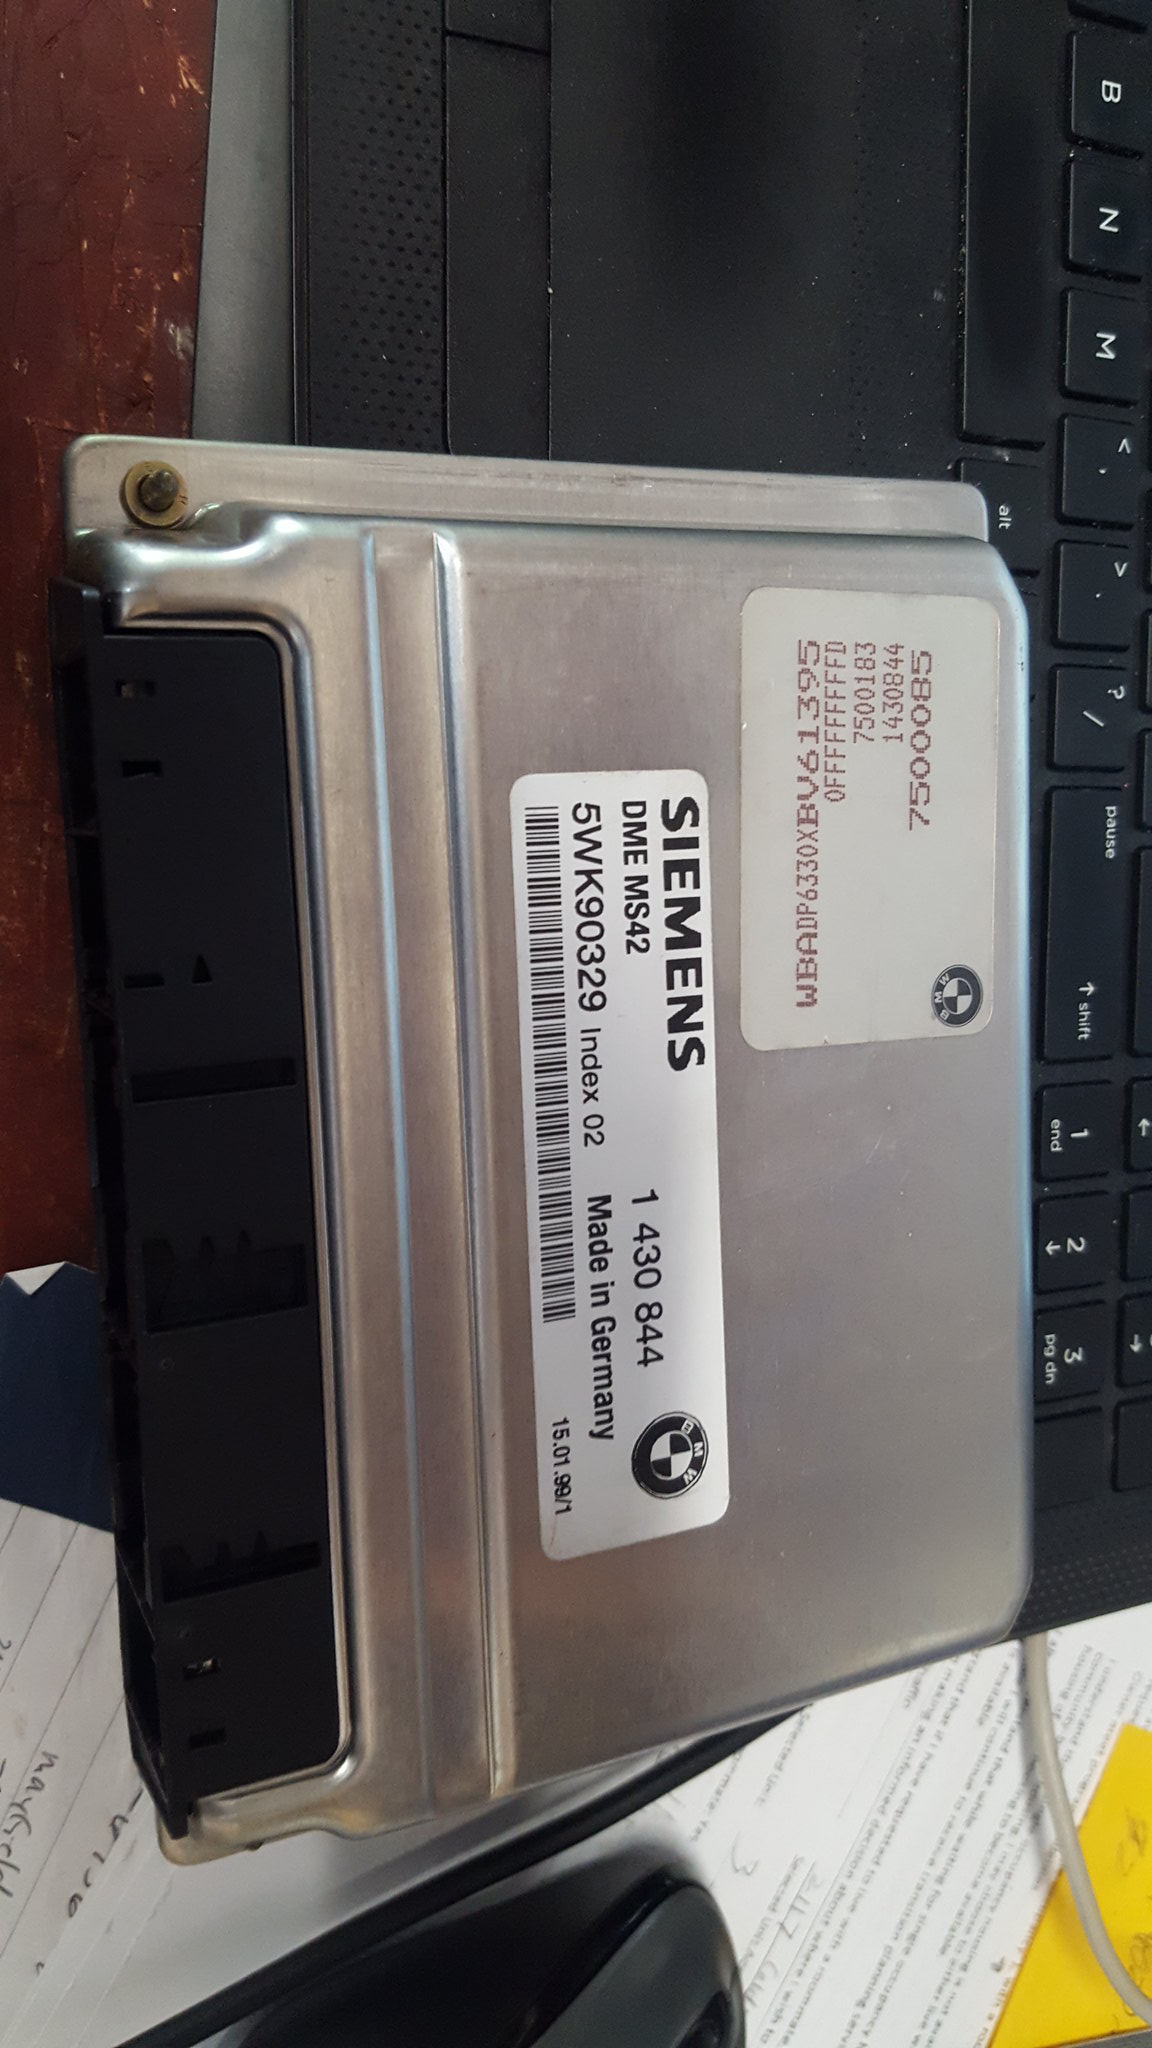 20180826_114852 by Michael Crawford, on Flickr
 20180826_115231 by Michael Crawford, on Flickr
well, thats not good. So, 328power04 was contacted, and he agreed to take what was left of my DME and clone it into a good one. It should be back tomorrow.
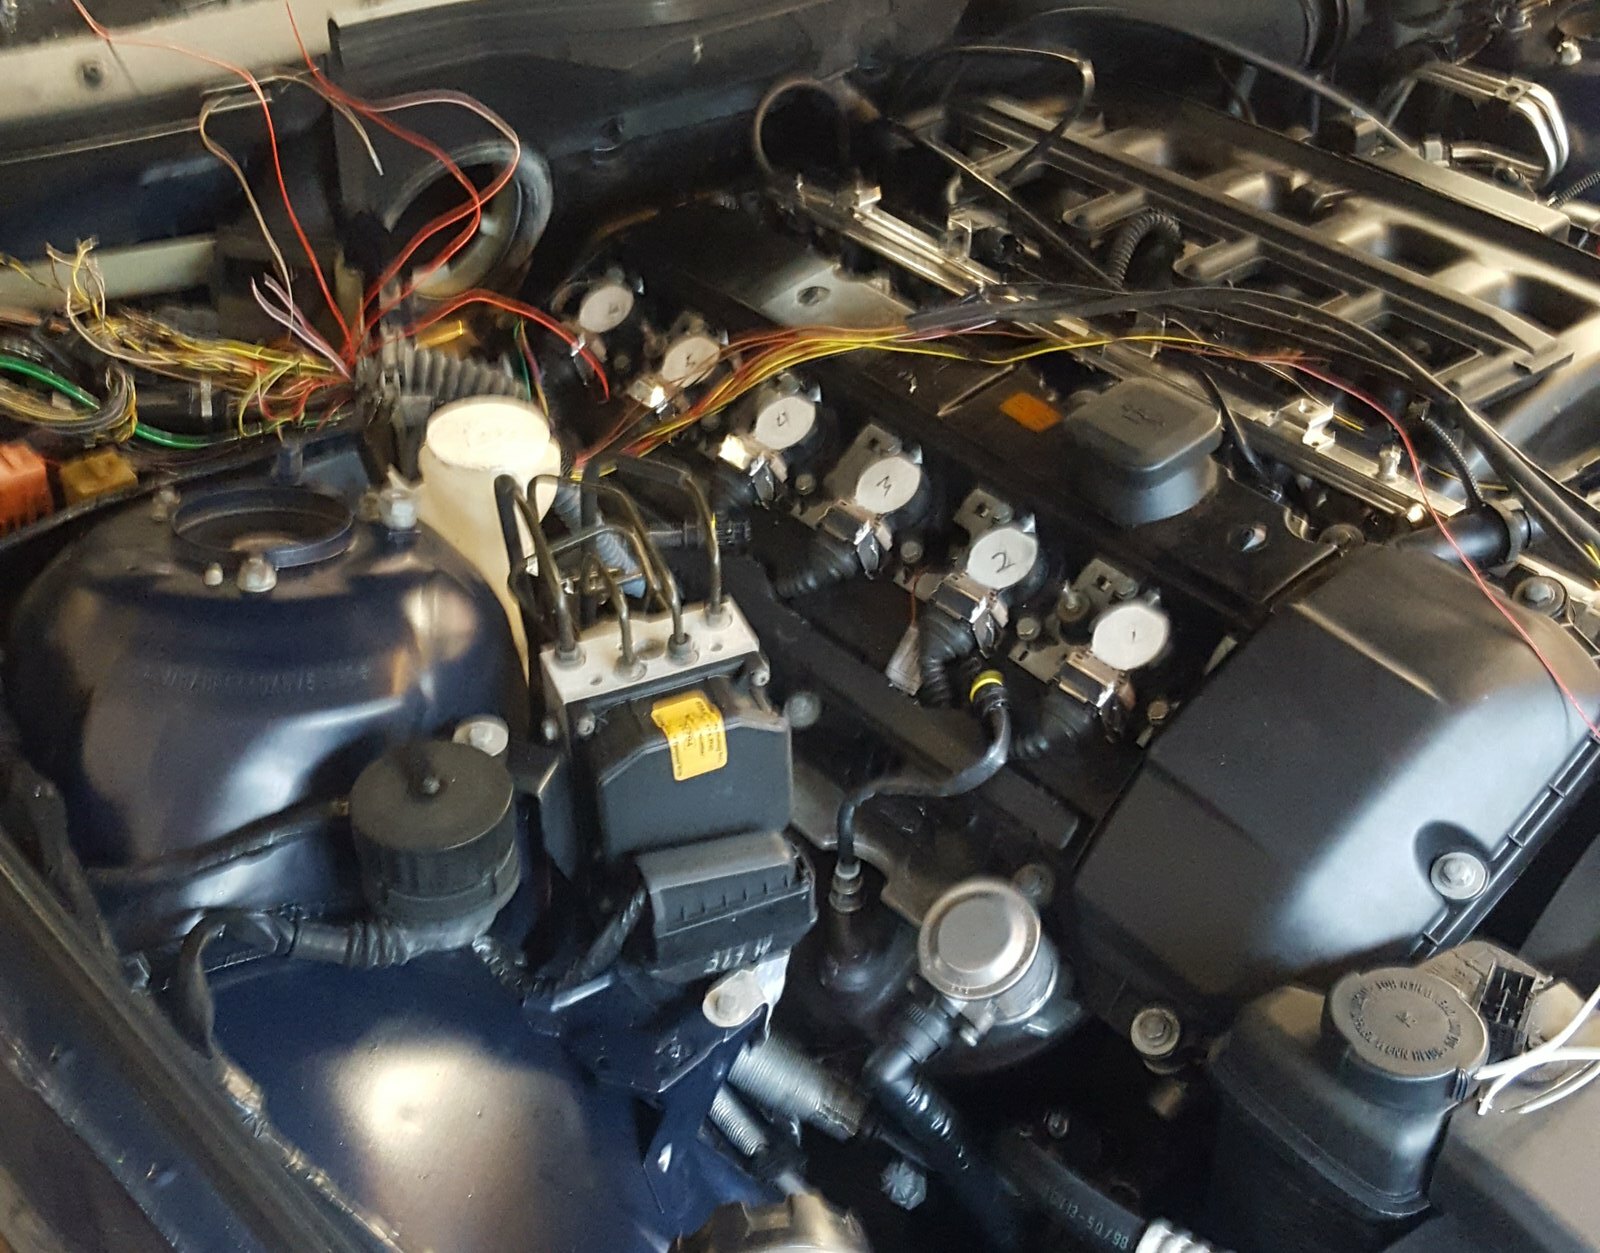
In the meantime, I looked more at the wiring. Once I figured out how to disassemble the offending DME plug, I found it was melted between a few pins. I went to pull a part in Winston in a 5/7 static dropped silverado with a broken rib and road construction a full half of the way. Needless to say, that hurt. But I was able to get a touring rear battery cover, and the needed plug and all oxygen sensor leads.
 20180828_171039 by Michael Crawford, on Flickr
I depinned the needed leads for the wires that weren't oxygen sensors from the original DME plug, spliced the power wires, and tested everything with a multimeter. Success!
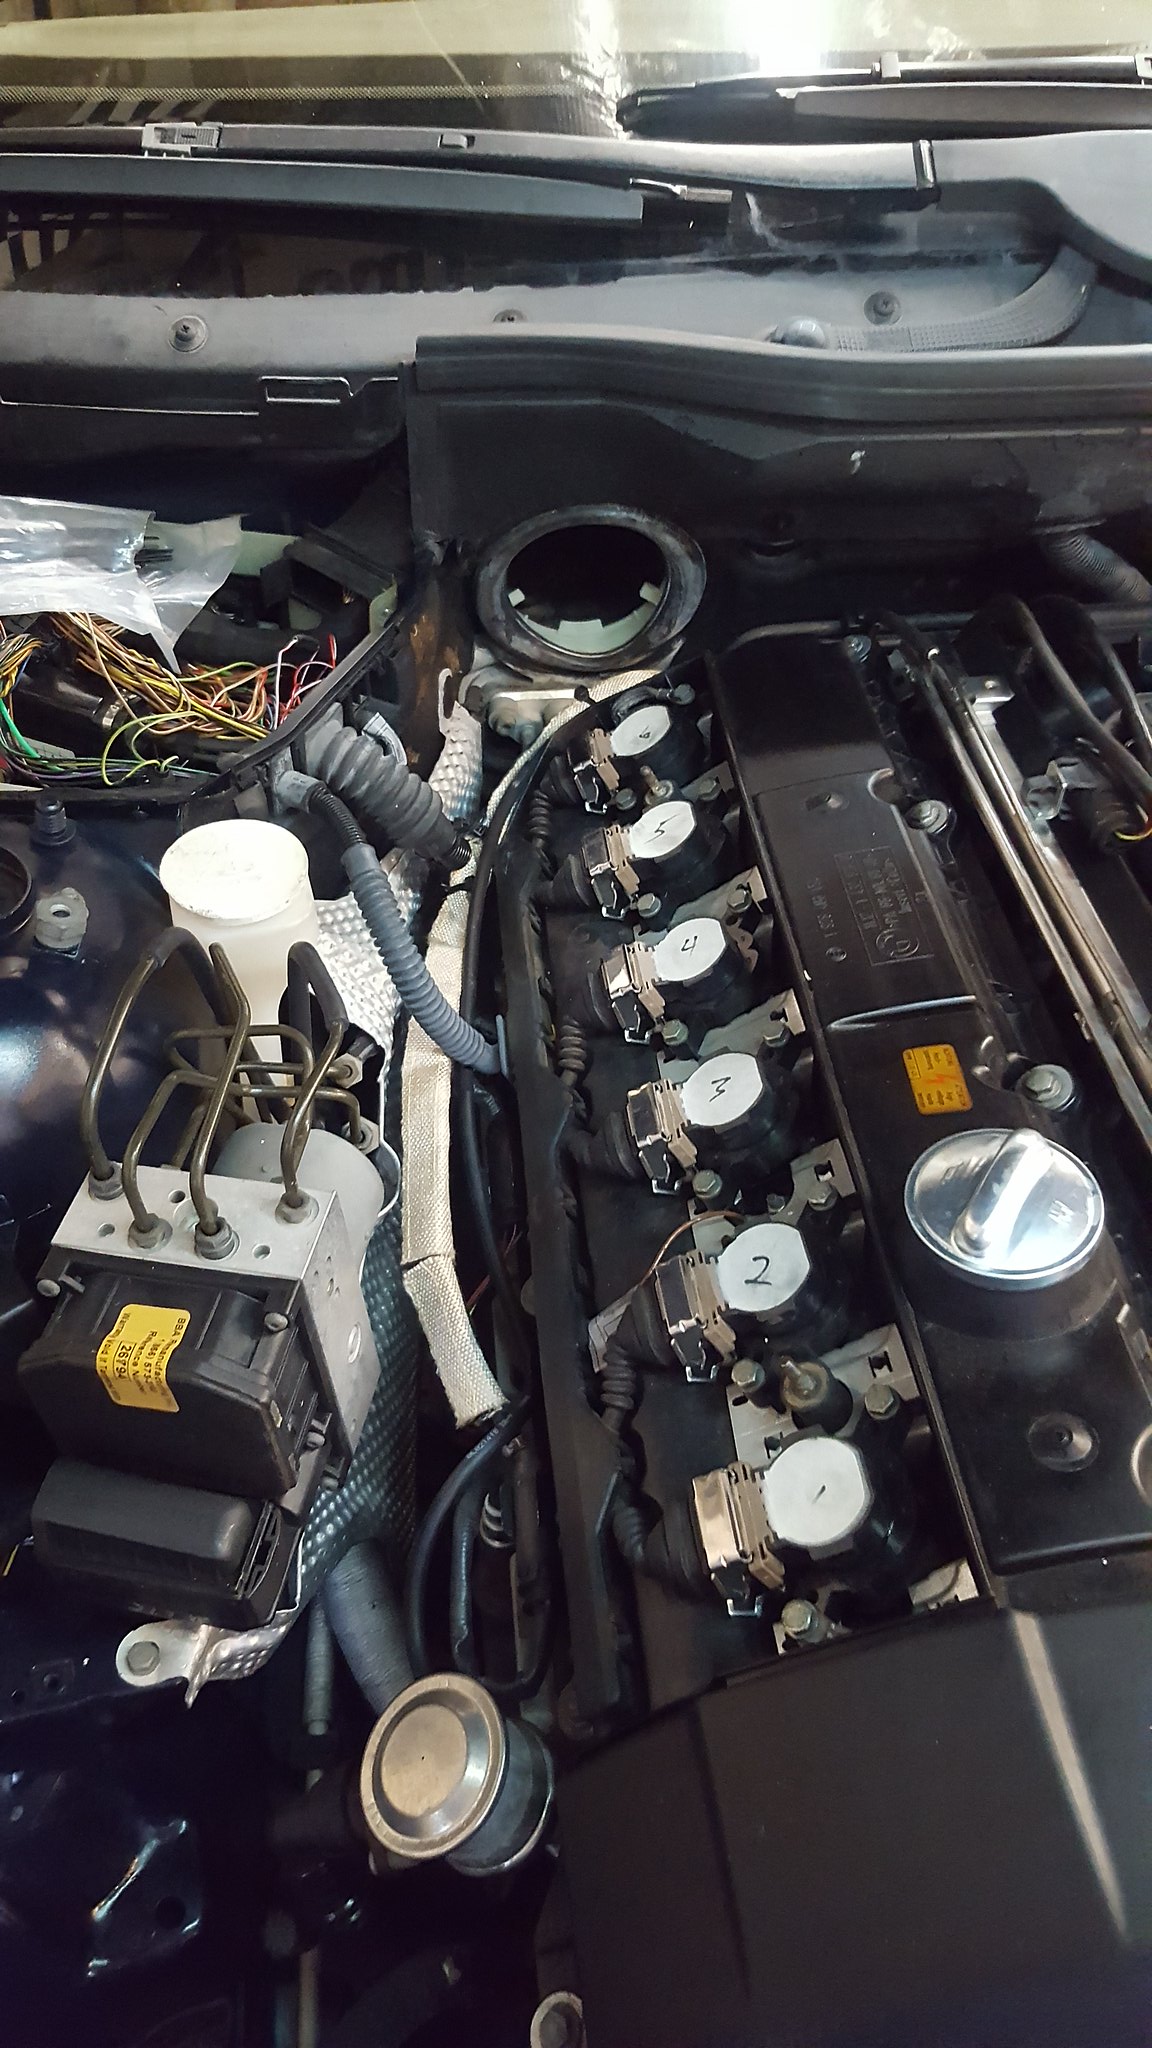
So I wrapped the entire harness around the exhaust with heat resistant wrap from ebay. I know that I could have gotten away with convoluted tubing, but im a belt and suspenders kind of guy....
 20180902_075116 by Michael Crawford, on Flickr
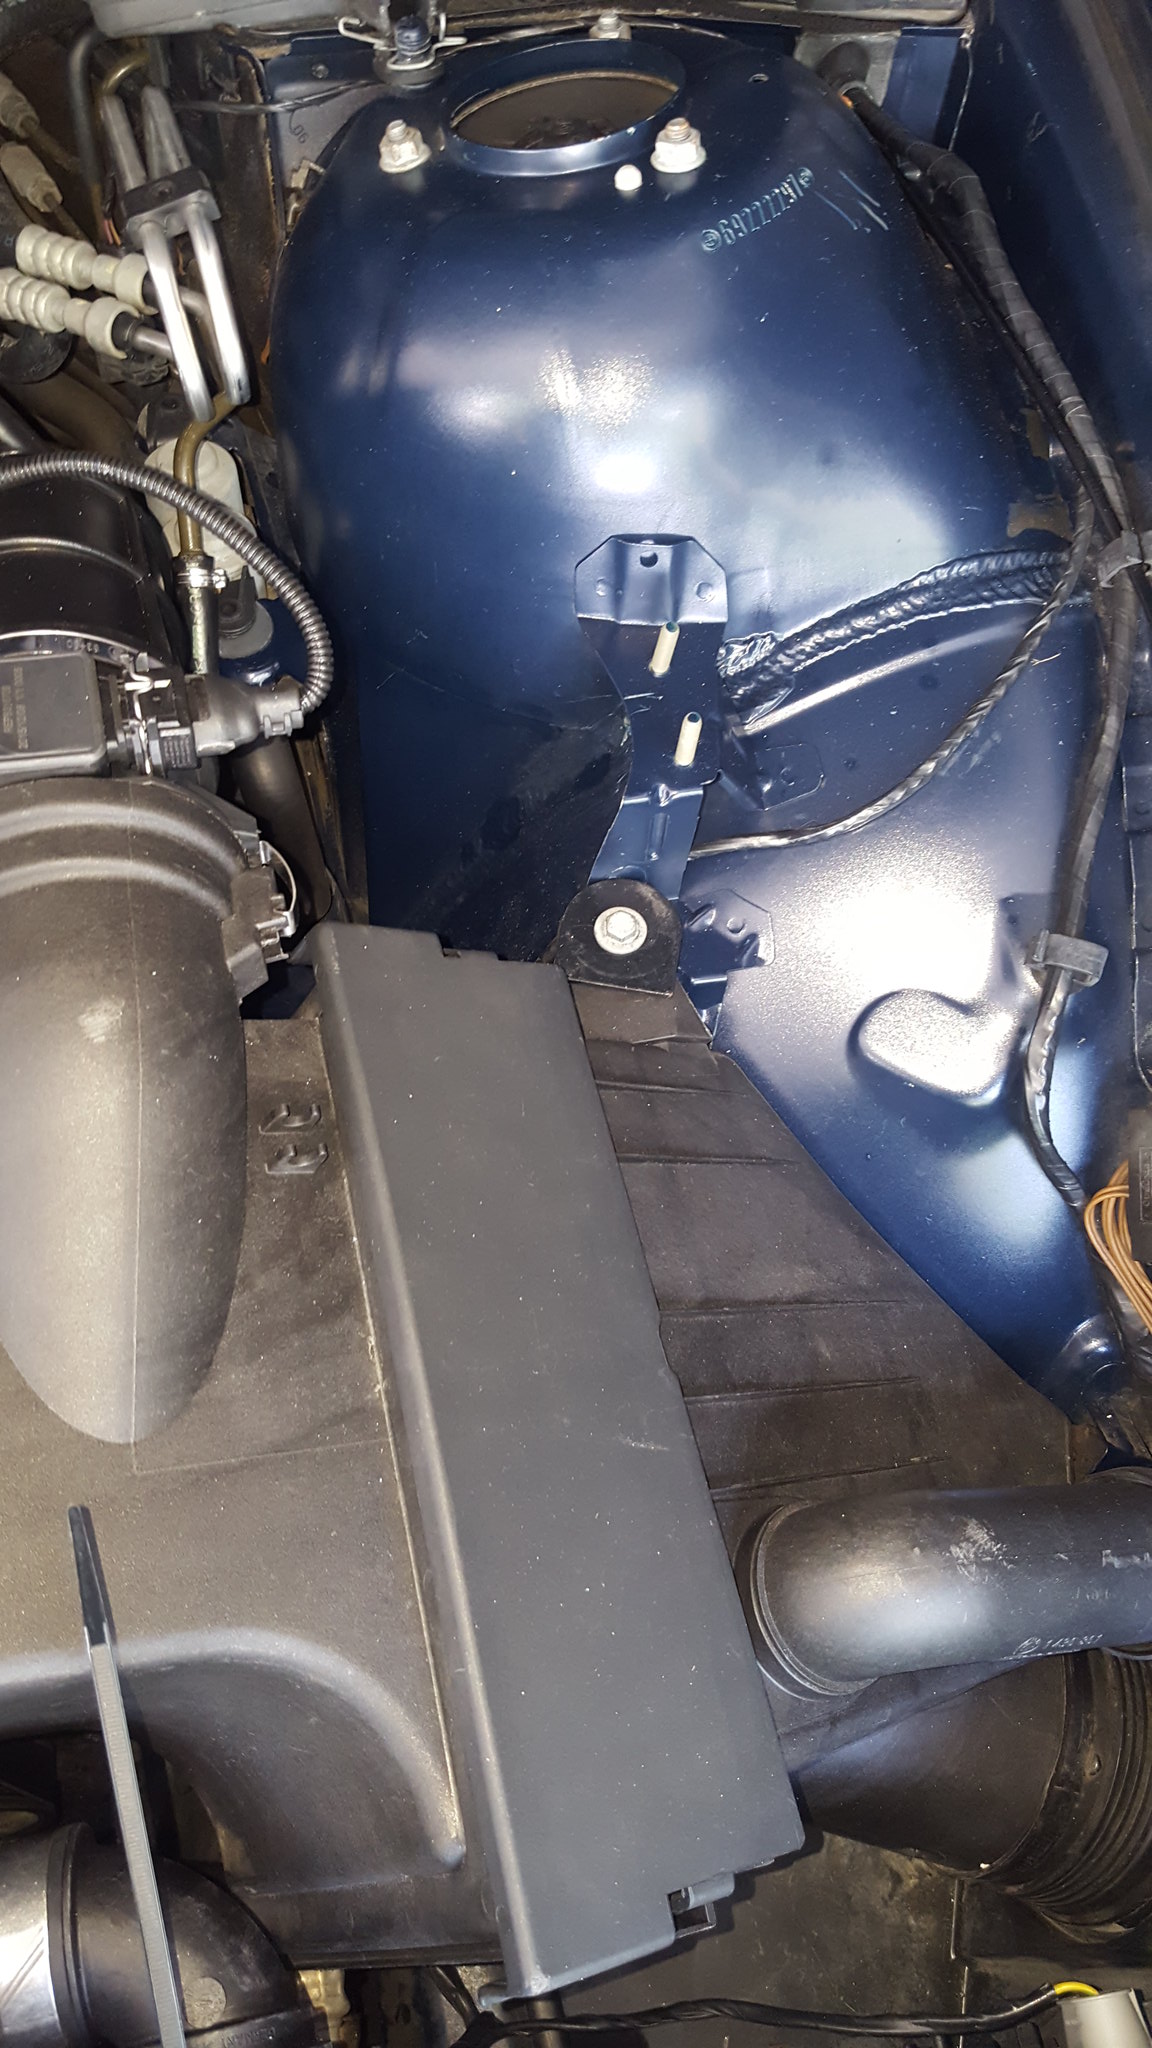
I think that when the DME comes in tomorrow, we will be happy. I also completed a few smoke tests. Found a fixed one vacuum leak from the CCV to valve cover line. Then, while I was putting it back together, I tried the new airbox. For whatever reason, the replacement had an inlet over 4 inches, whereas as mine was under. So I pulled the sleeve from the bushing, used a large washer, and ran it all home. I also removed the snorkel that chokes the inlet of a 4 inch tube to 2 inches. Im sure it was there to reduce noise, but im half deaf anyway. So hopefully it picks up some MPG and power.
 20180903_141439 by Michael Crawford, on Flickr
anyway, I was also working on window tint and fixing windows, latches, etc.
first one I went after was the dead one. Figured I had to pull the window to change the regulator anyway, so I might as well start by tinting that one.
When I got all the chunks of door panel off (more in a minute) I found that someone had a very creative fix. I blame the guy that nuked the wiring and DME.
They cut a hole in the door structure to put a bolt through the track to fix the window in place. Bonus points that it was metric.
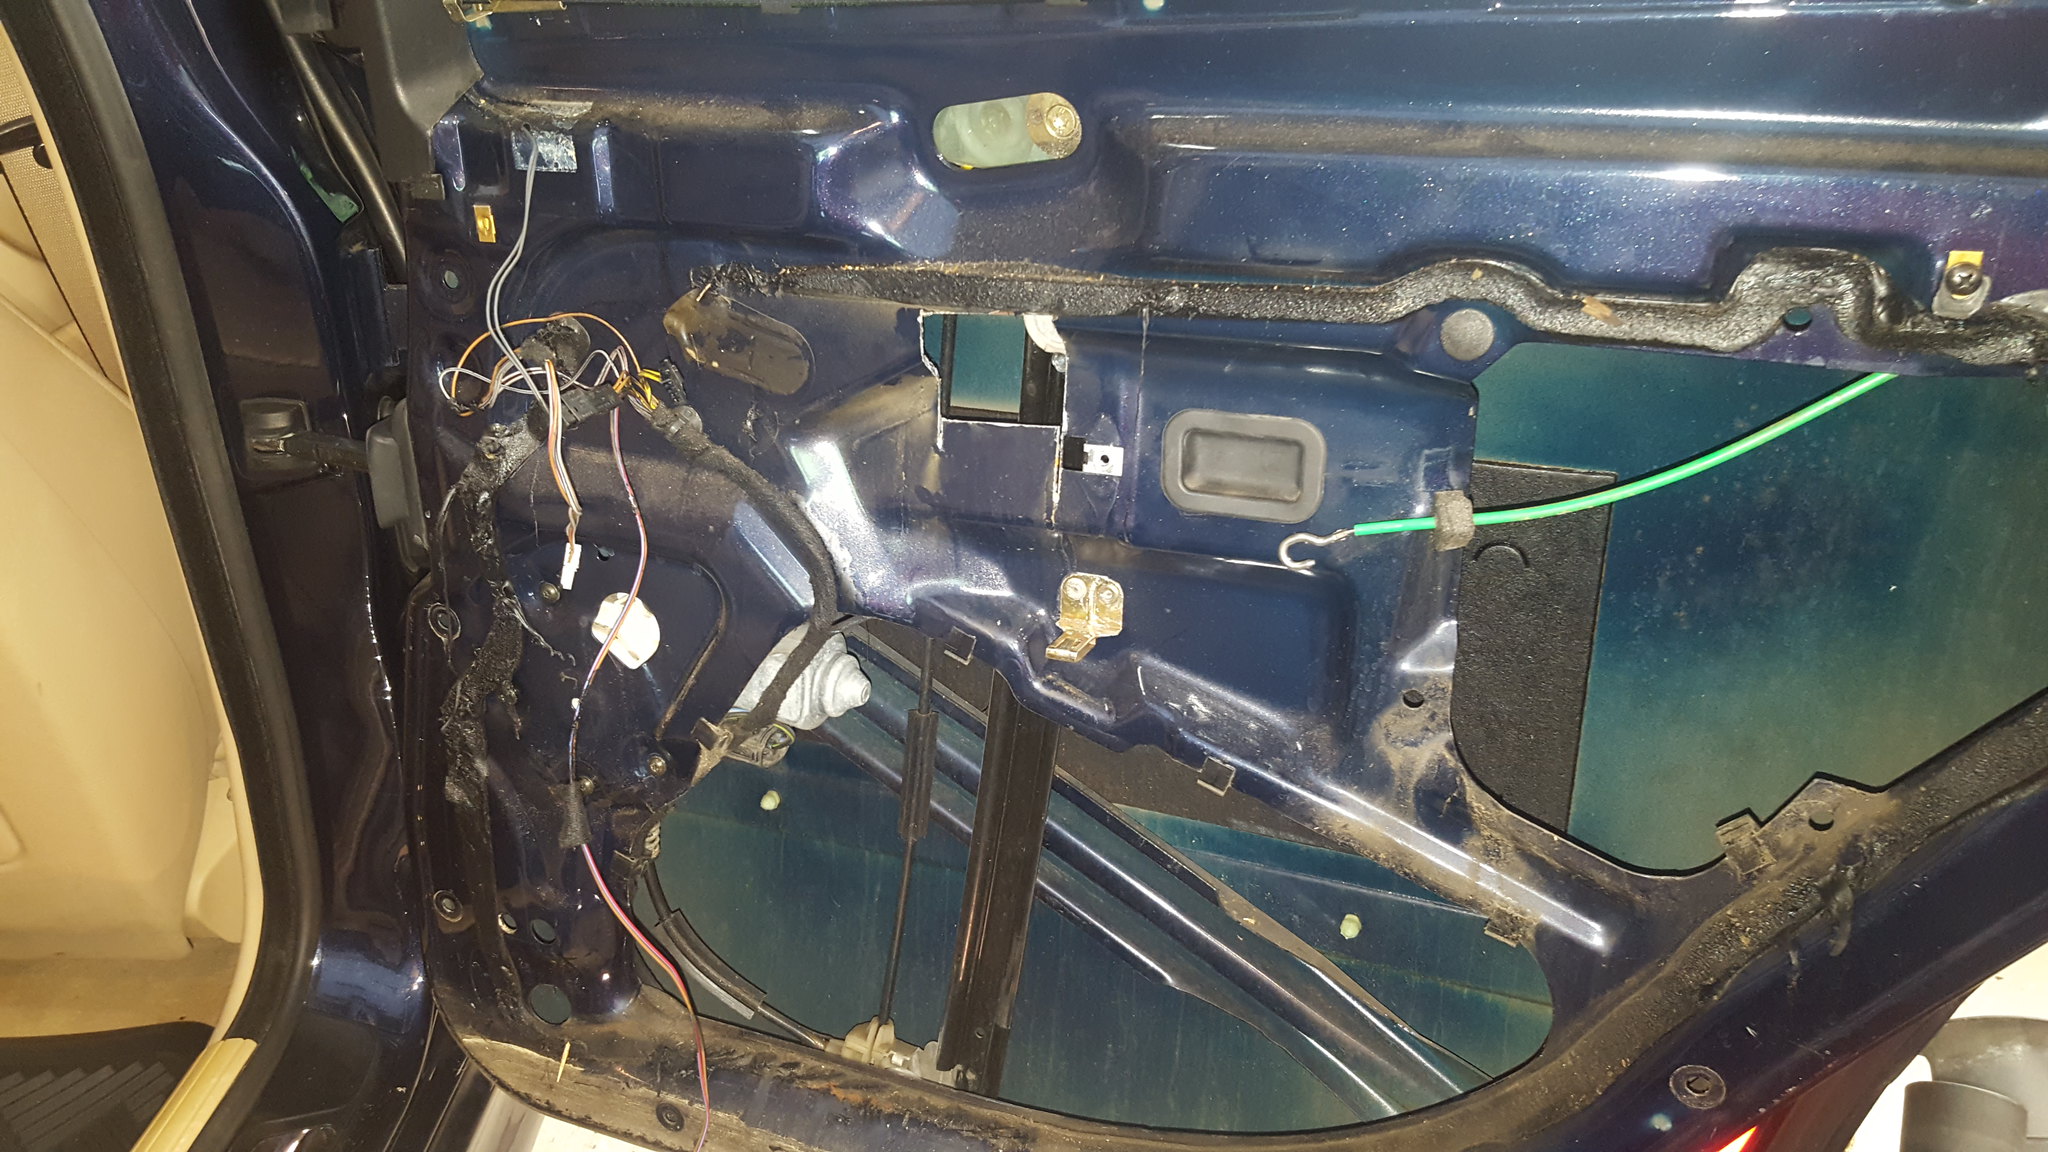 20180816_115713 by Michael Crawford, on Flickr
I then proceeded to get my groove back on tint. I screwed up a lot of tint until I shook the cobwebs out.
 20180818_090724 by Michael Crawford, on Flickr
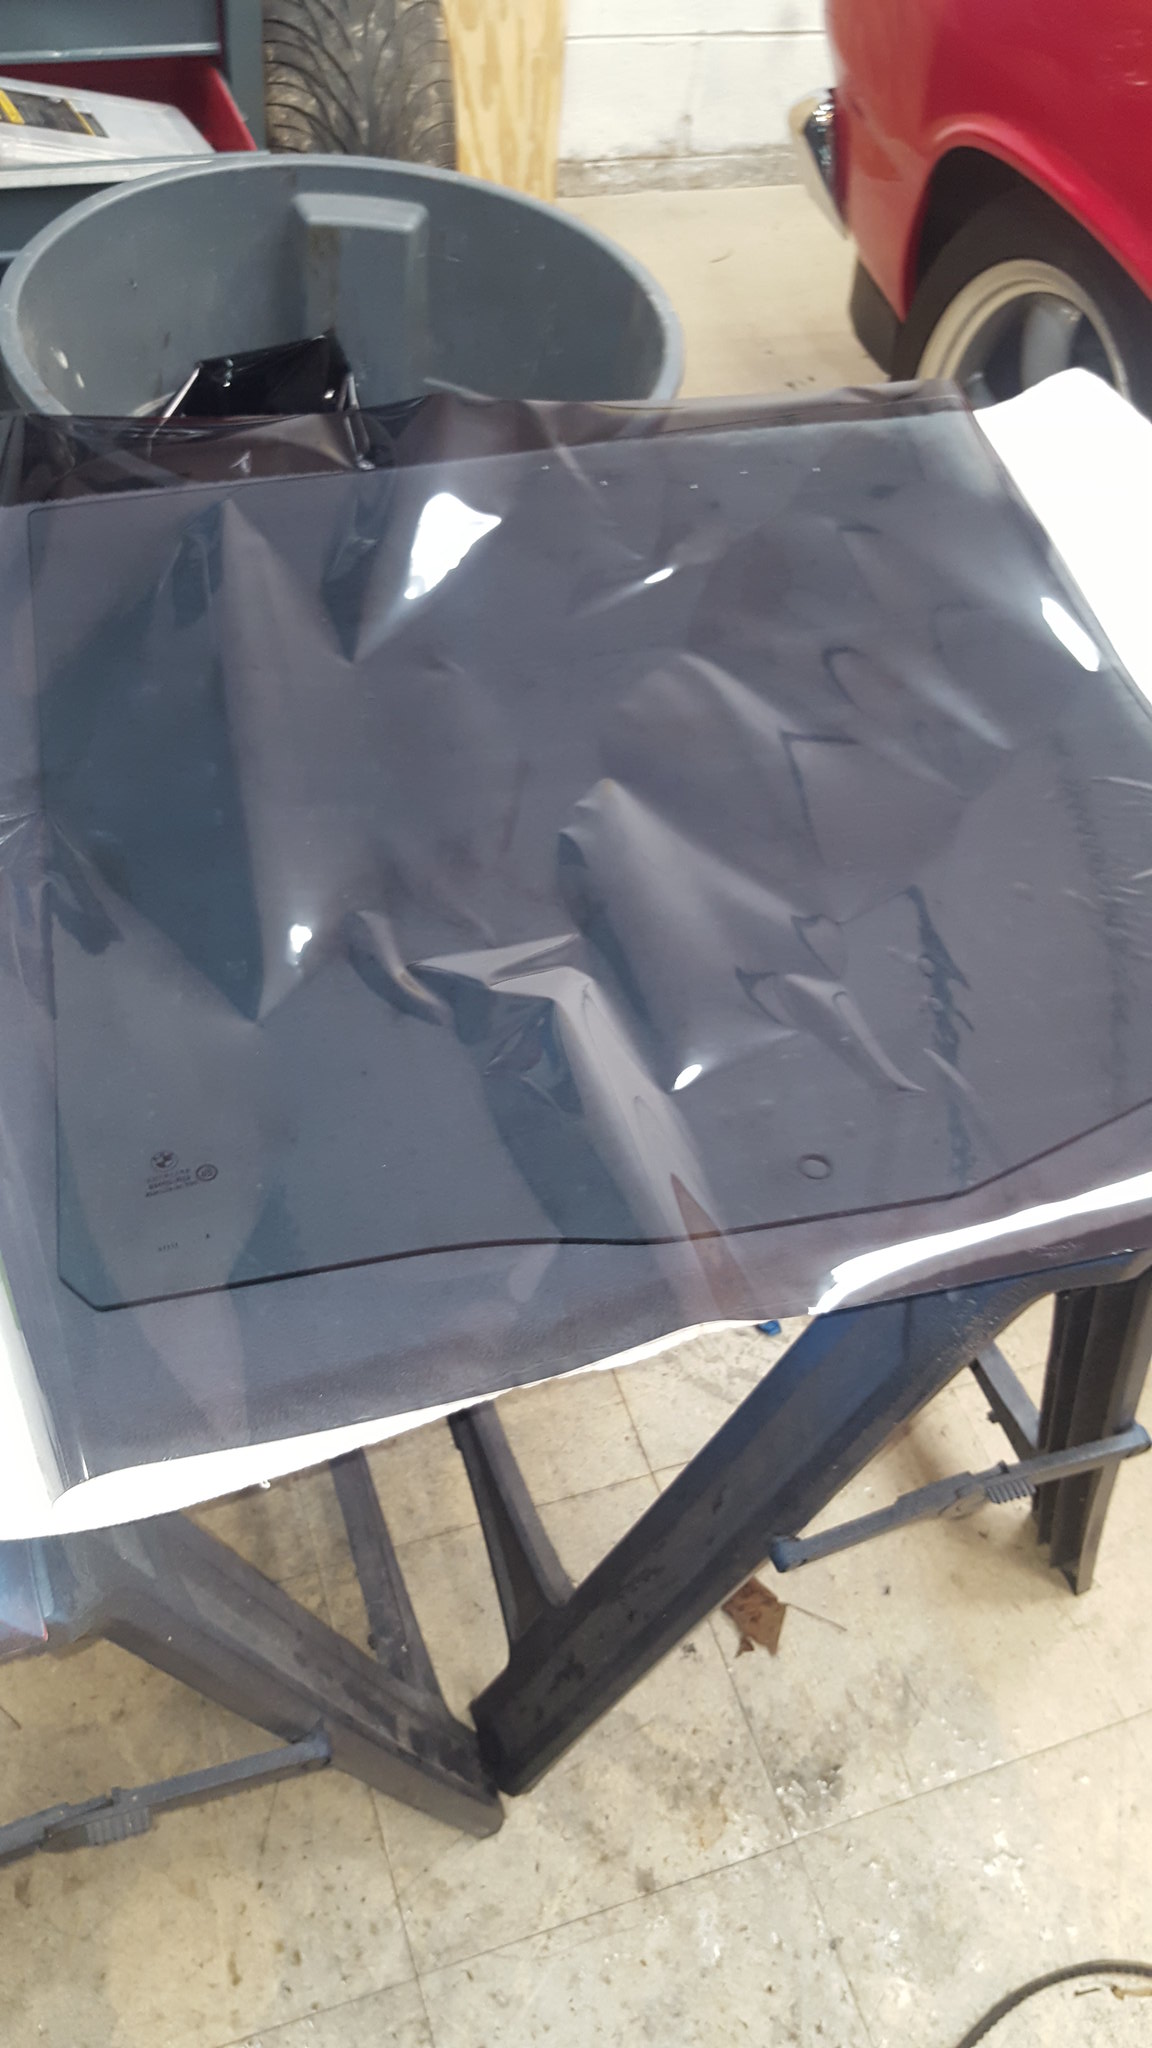 20180818_091842 by Michael Crawford, on Flickr
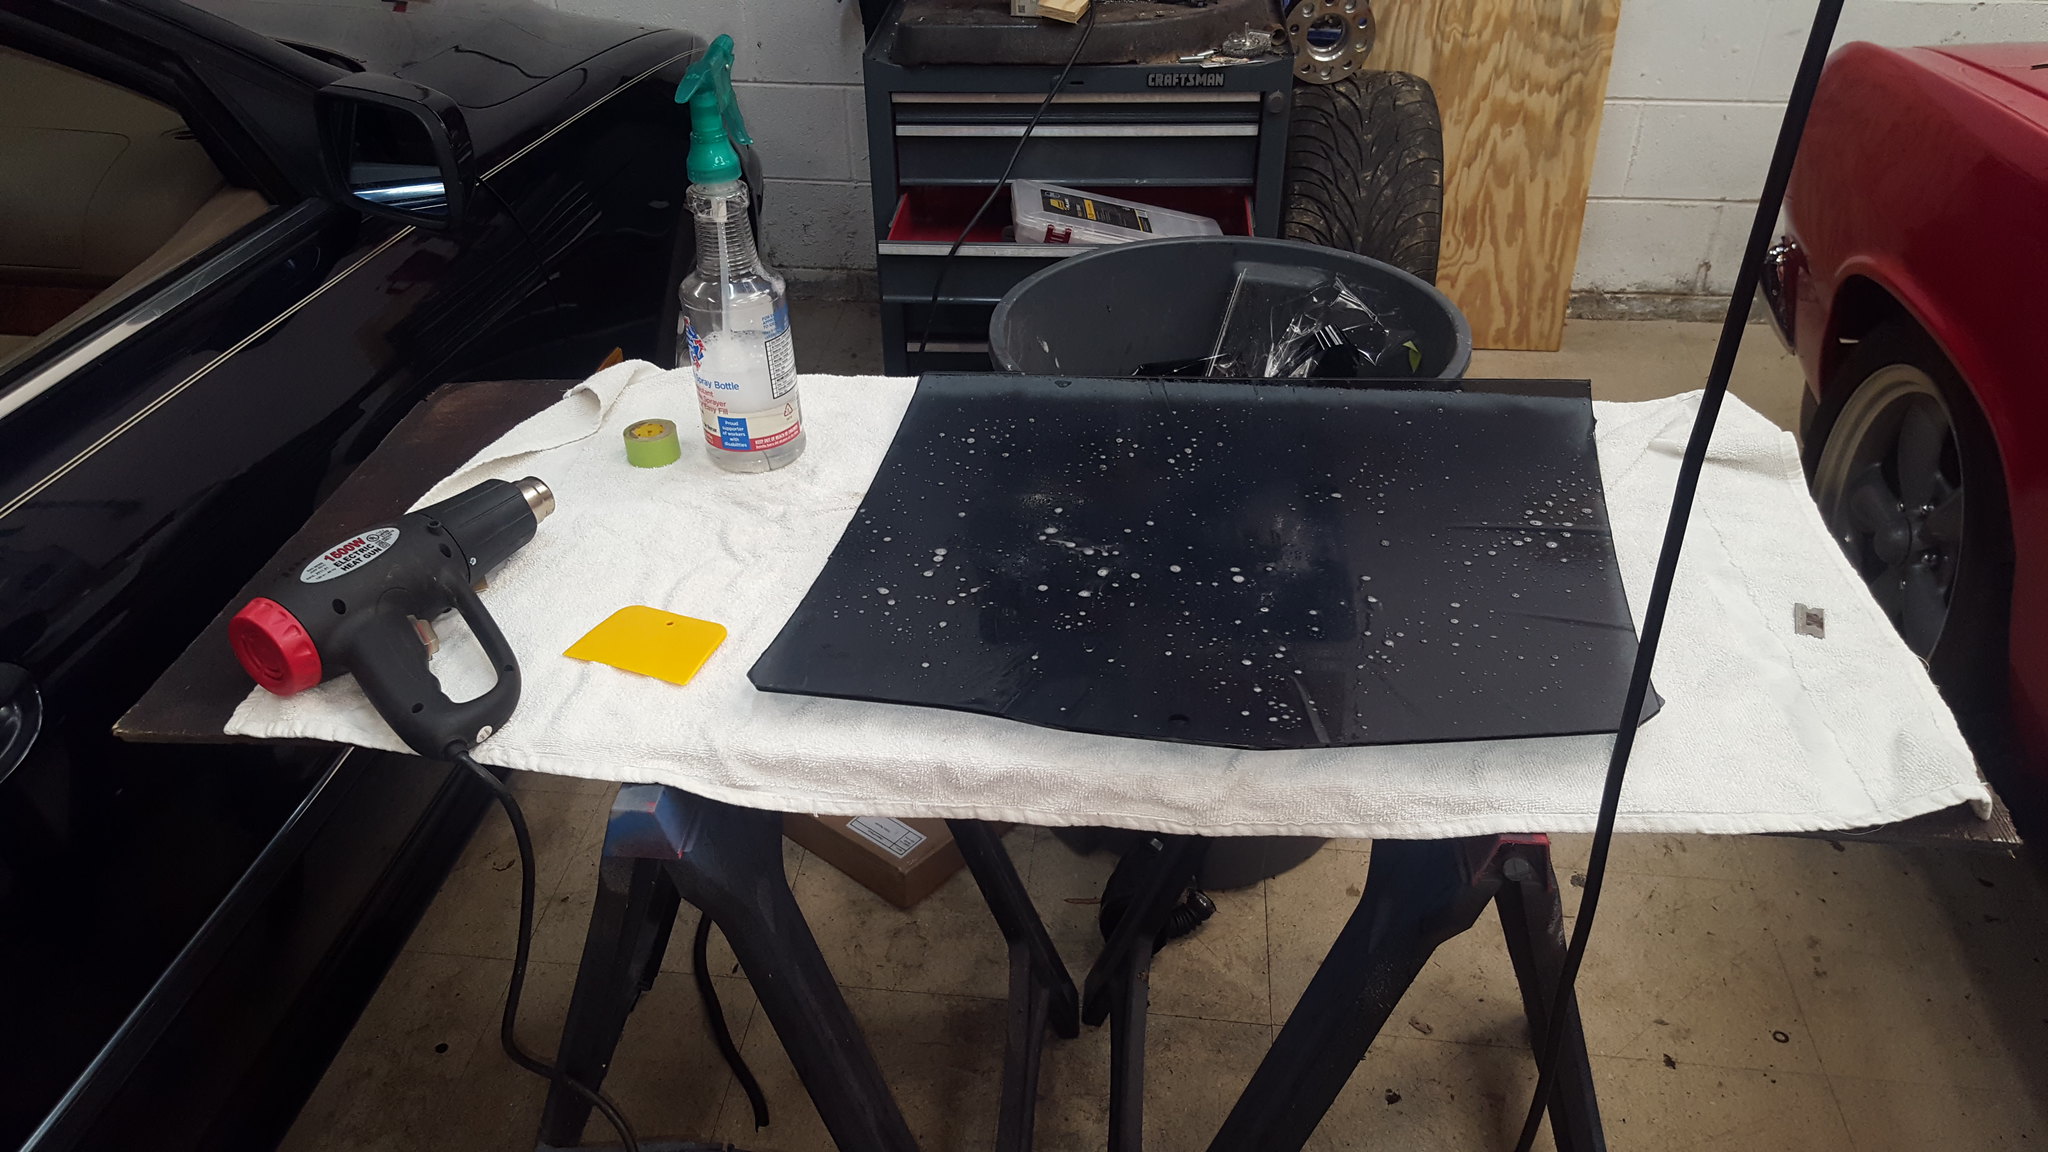 20180818_092649 by Michael Crawford, on Flickr
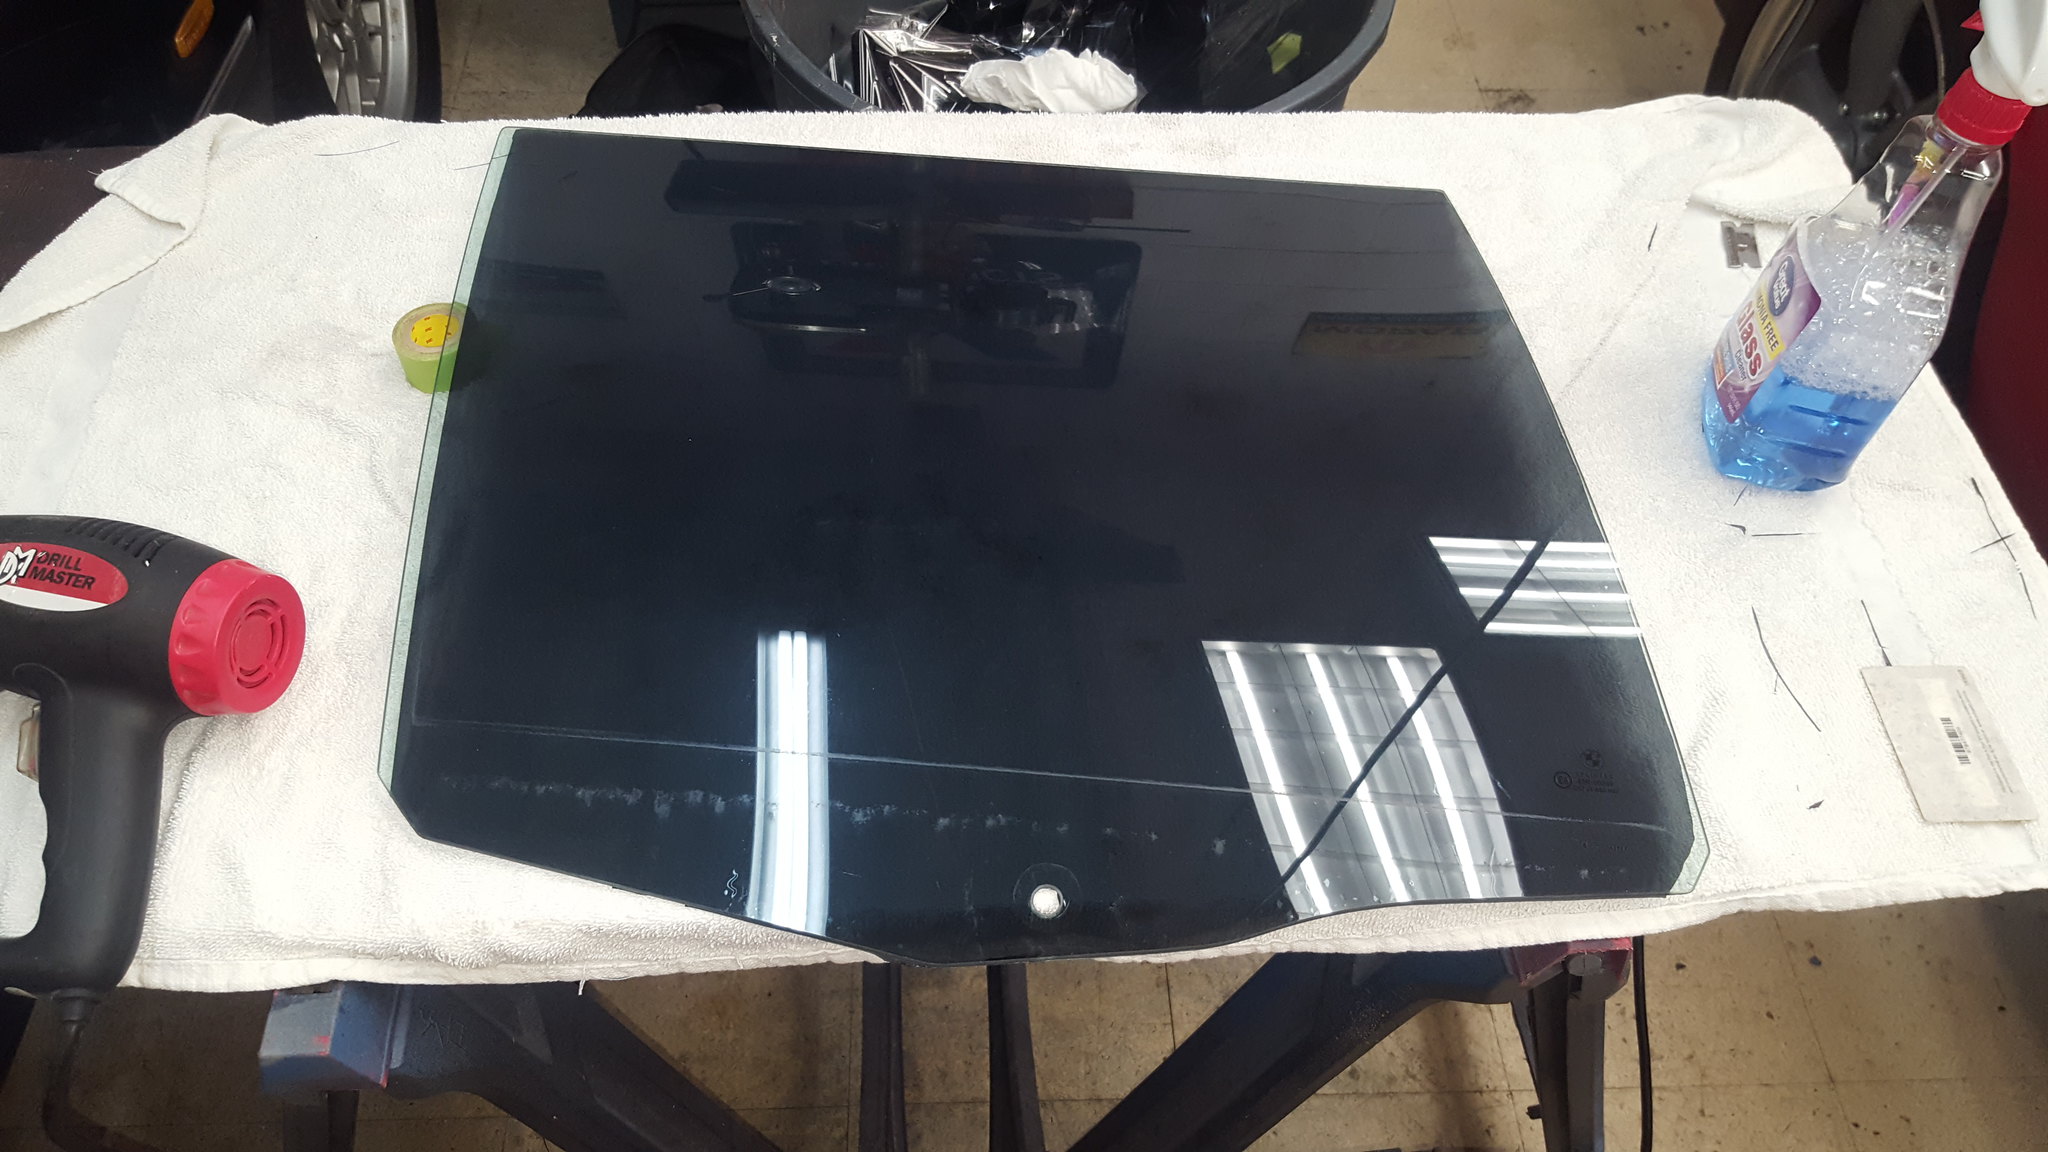 20180818_100550 by Michael Crawford, on Flickr
my munchkin helped me finish the side
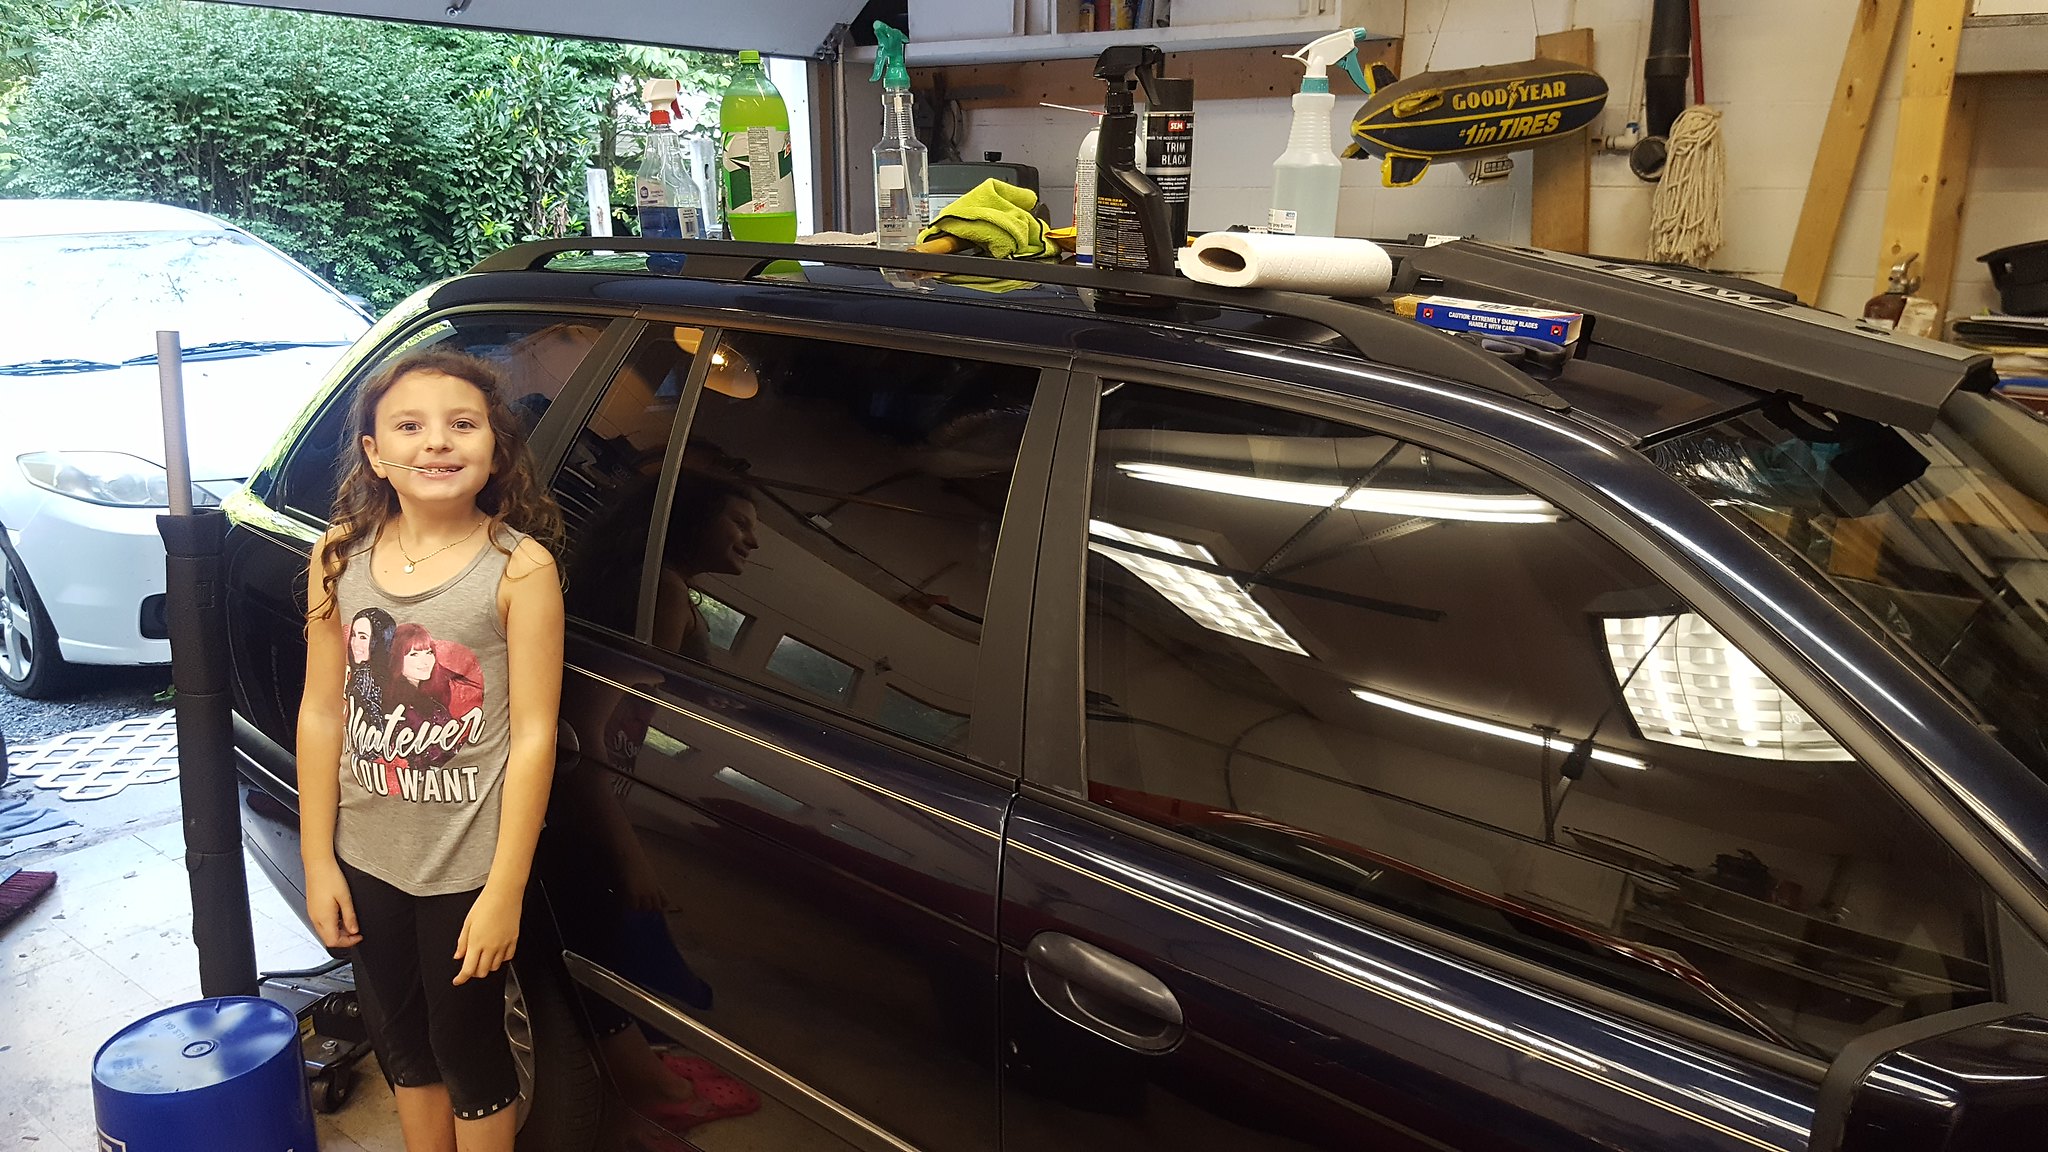 20180825_084037 by Michael Crawford, on Flickr
remember the door panel I mentioned a few pictures ago? I regued everything, reinforced some sections with aluminum, and re rivited the upper mount. Replaced all the broken clips, tightened the brackets so the sunshades would work again, etc.
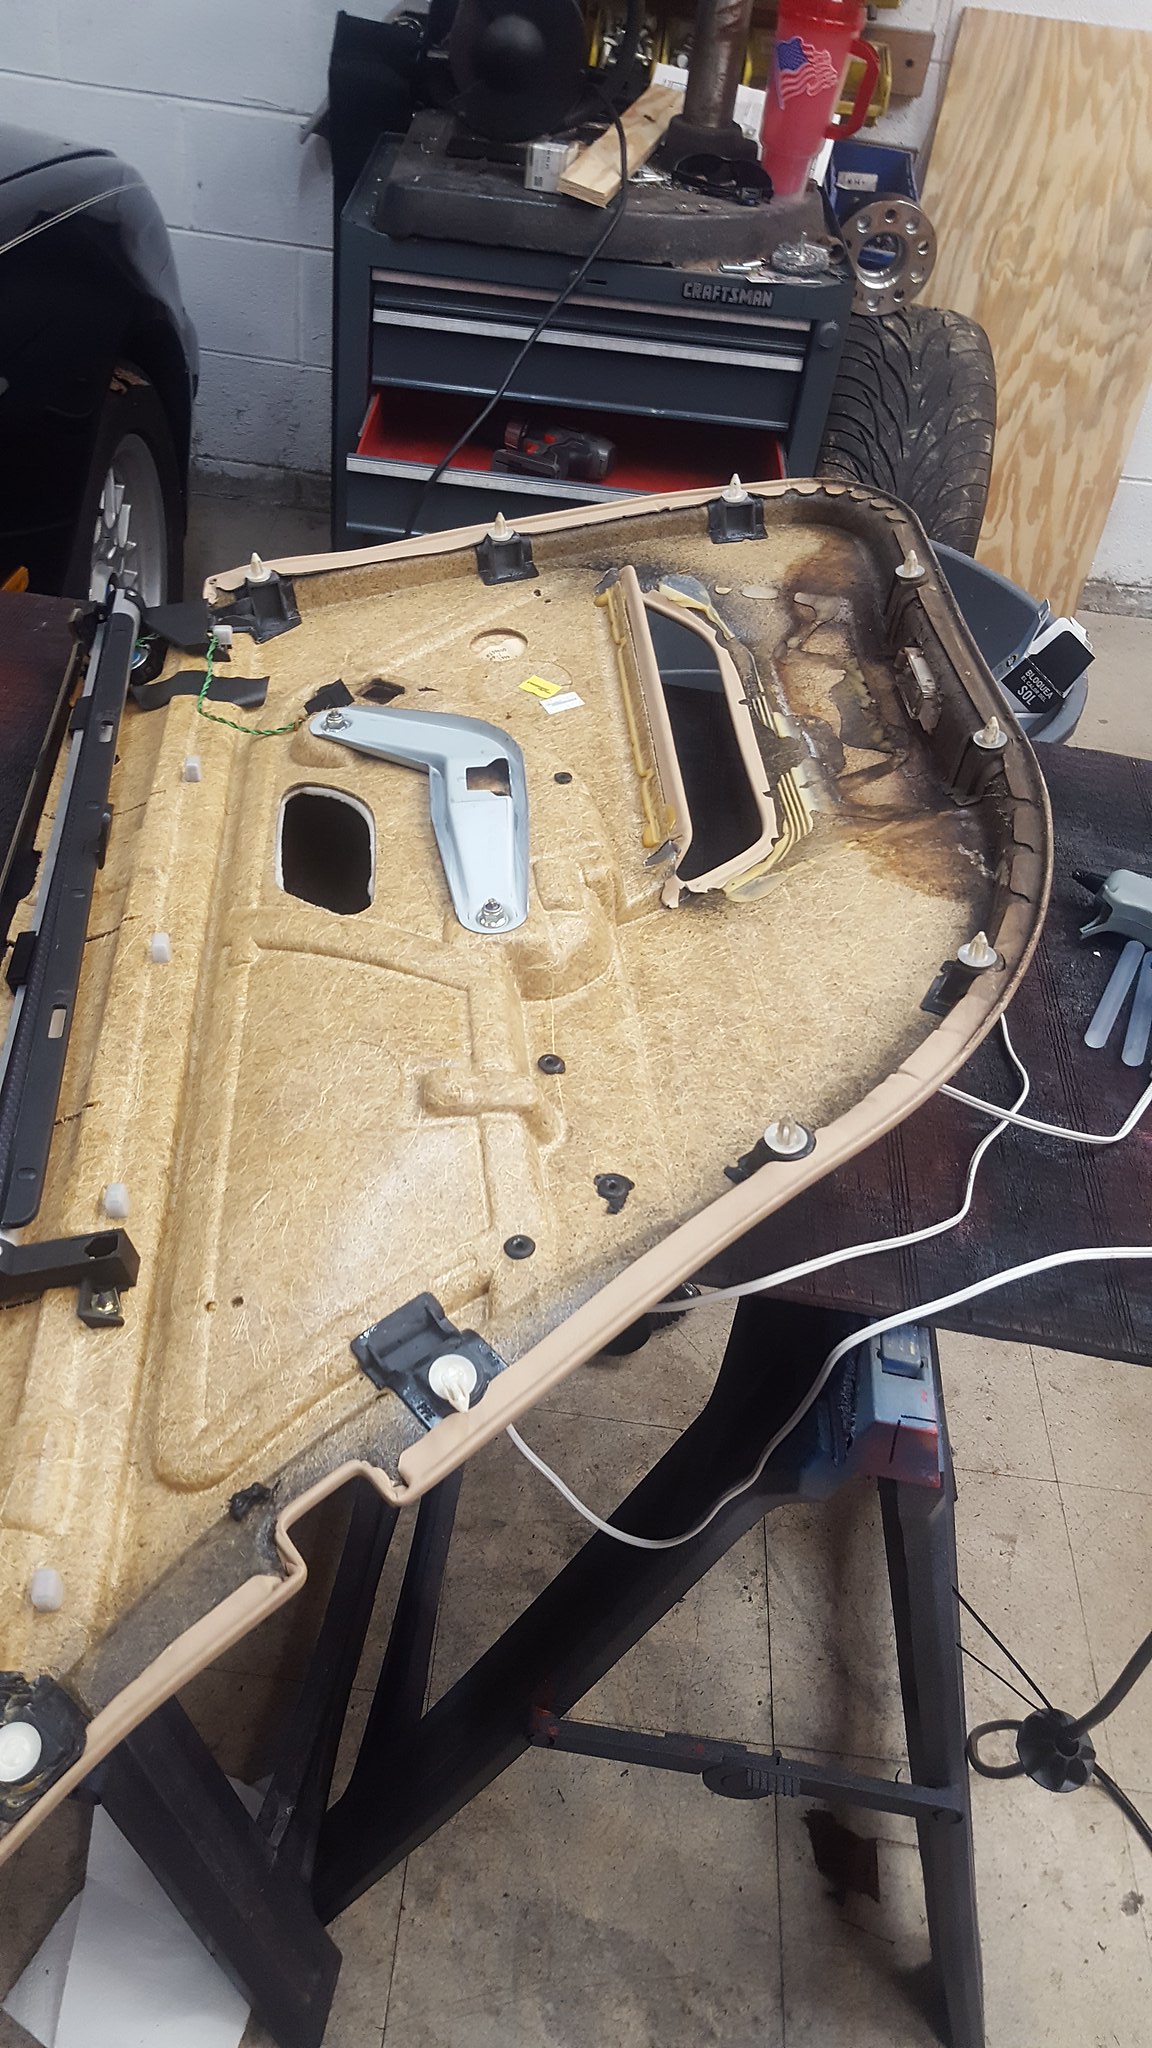 20180819_130143 by Michael Crawford, on Flickr
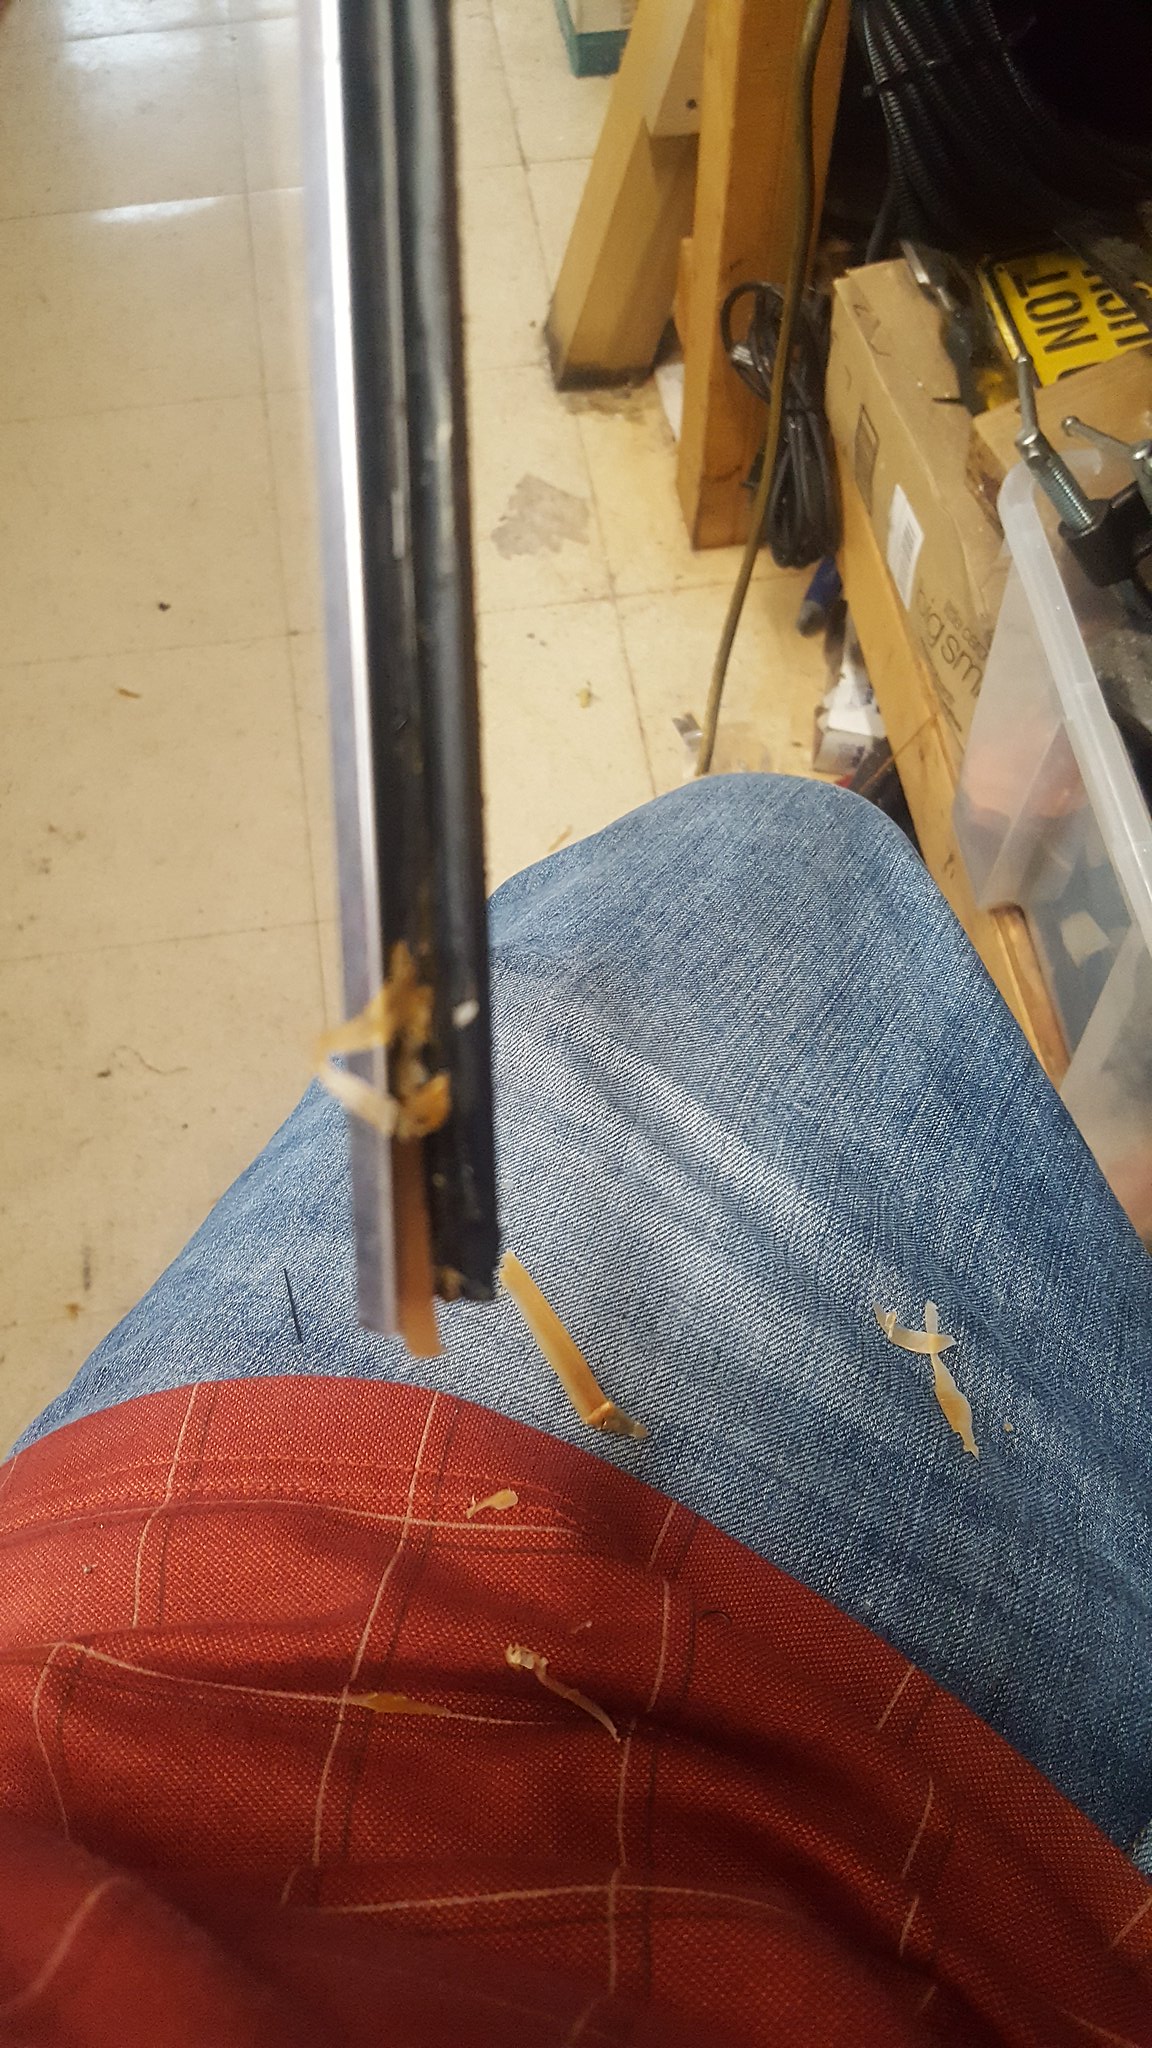 20180819_130036 by Michael Crawford, on Flickr
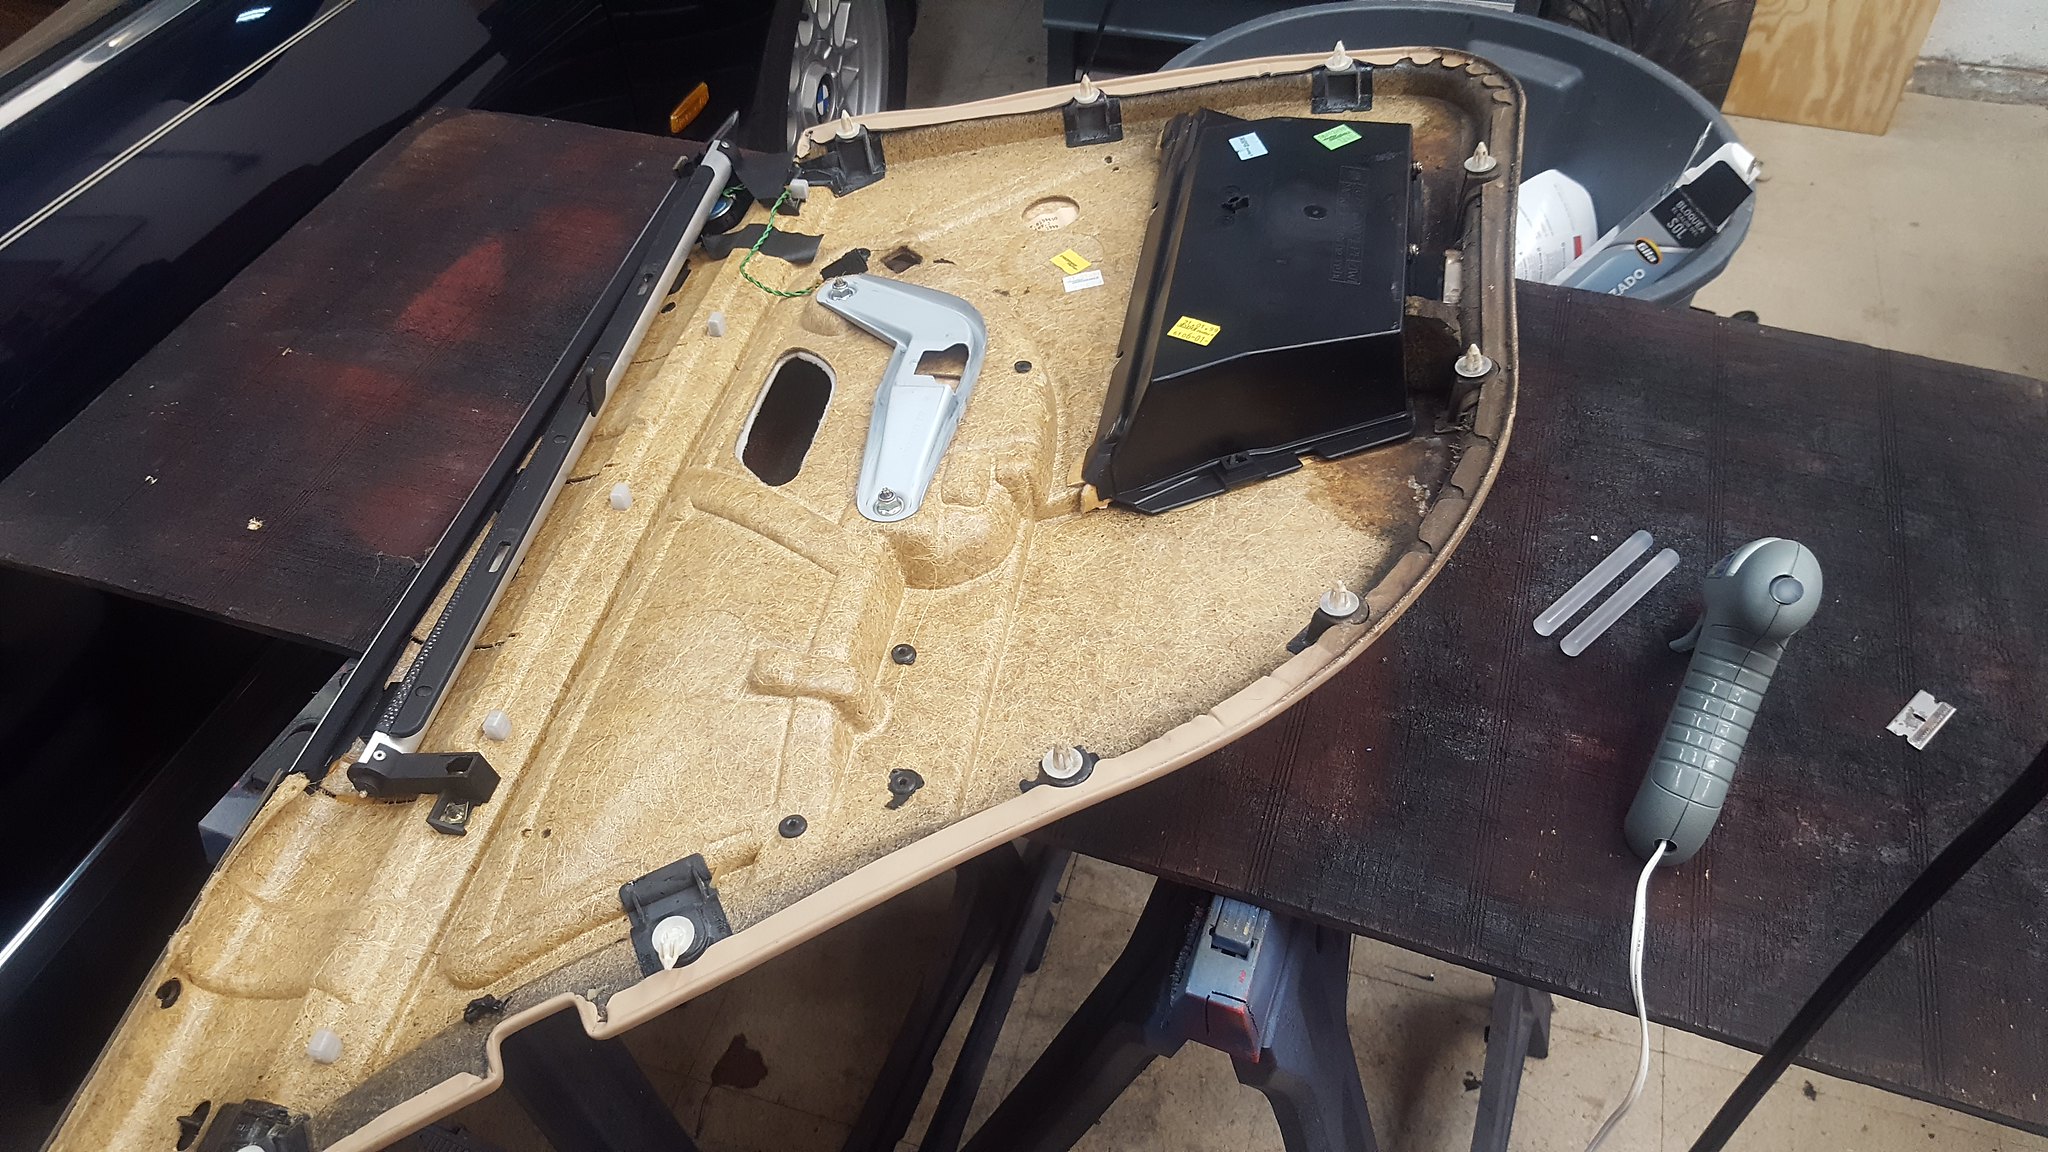 20180819_130708 by Michael Crawford, on Flickr
as good as five years from new!
We also went ahead and started the stereo work.
First up, I hate the dash kit. This may be the ugliest dash kit, and biggest waste of useful space that I have ever seen. I will custom make something in the near future (like, after it runs) that will place the radio in the bottom left corner, and my usb charge port on the right beside it. Then, the wood folding door will go back in (hopefully operable) and the blank space behind it used for something. Don t know what yet....
here's the kenwood and stupid, stupid dash kit. Also shown is the center console and arm rest pieces from a previous update finally installed.
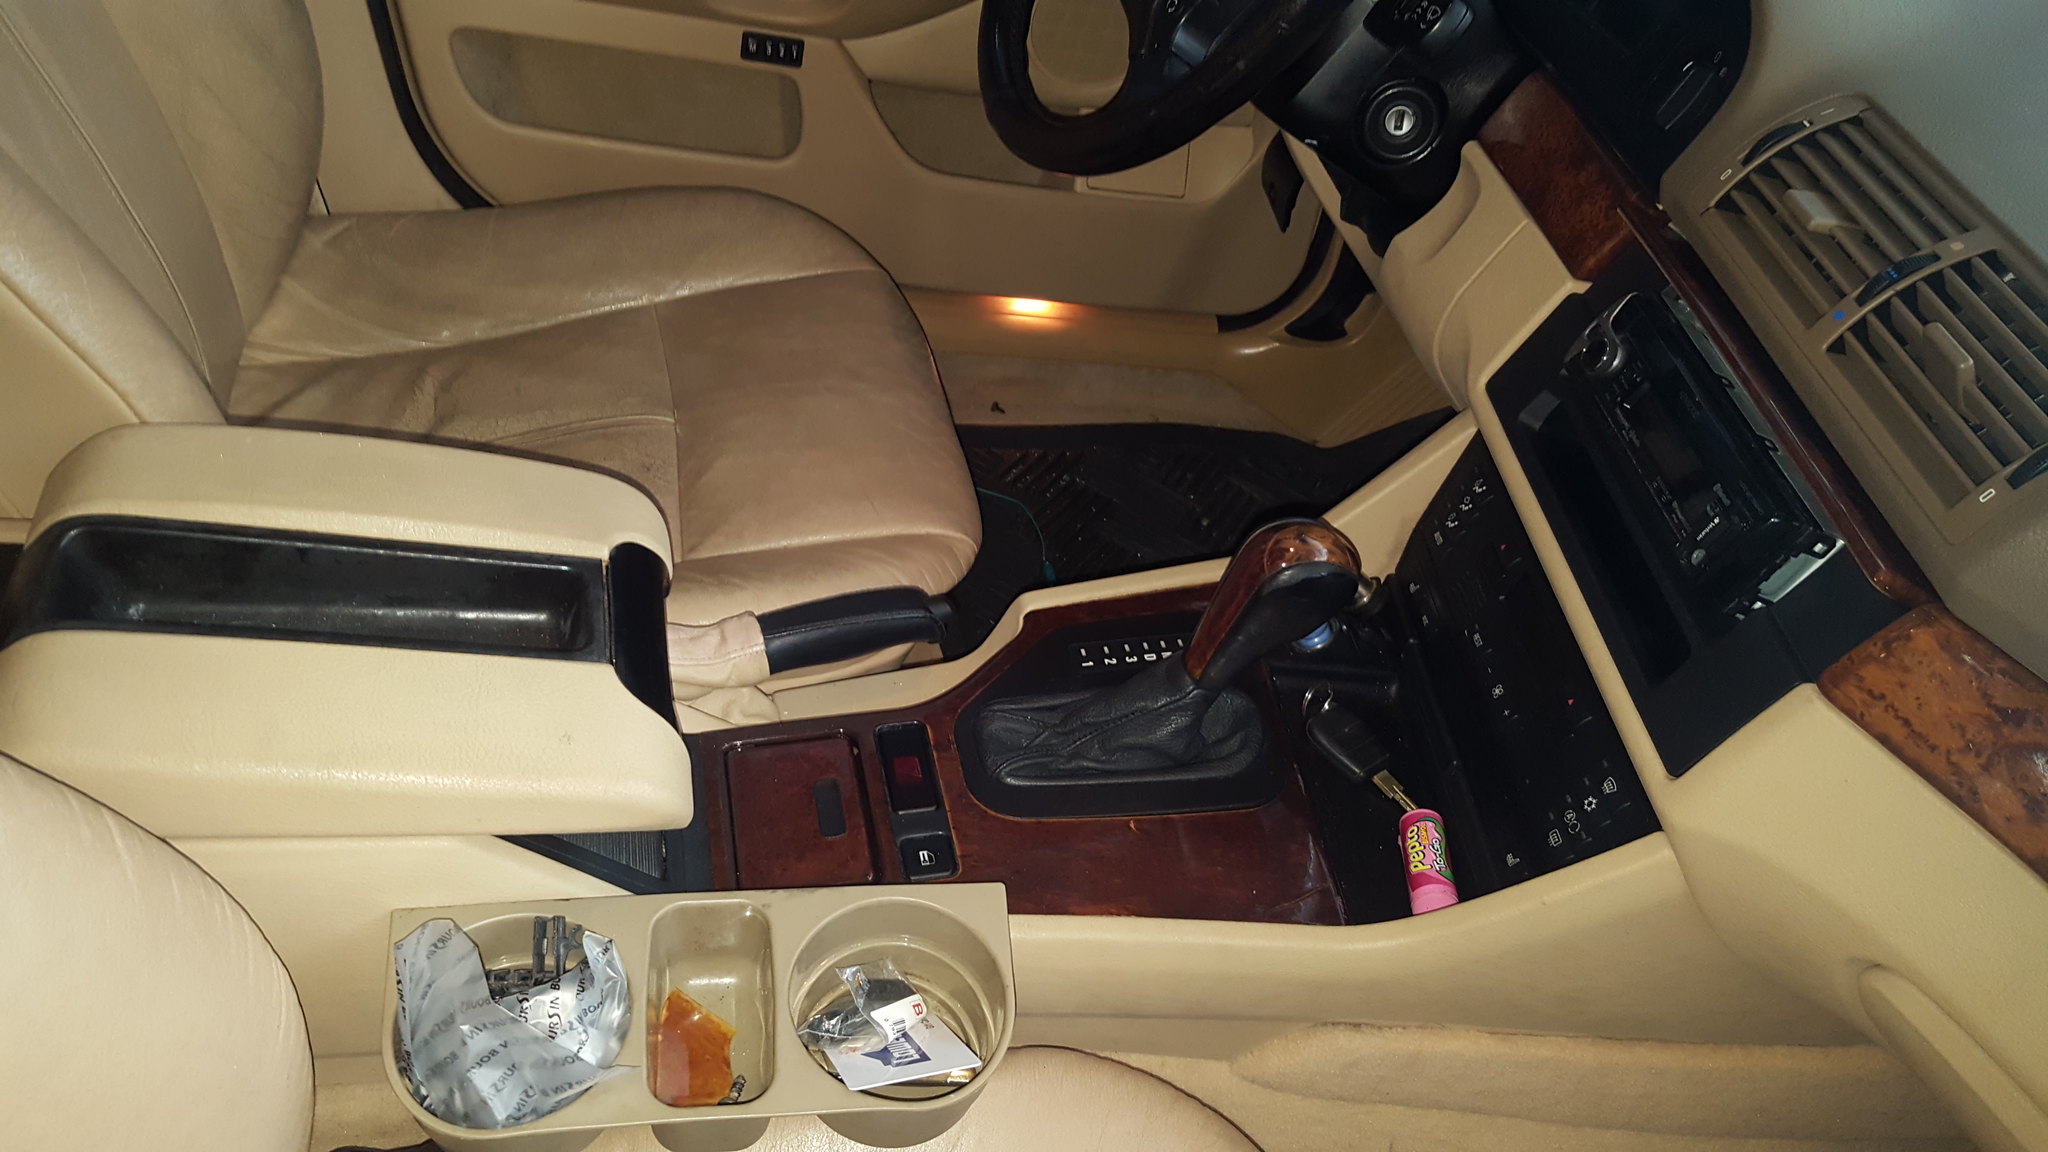 20180903_141107 by Michael Crawford, on Flickr
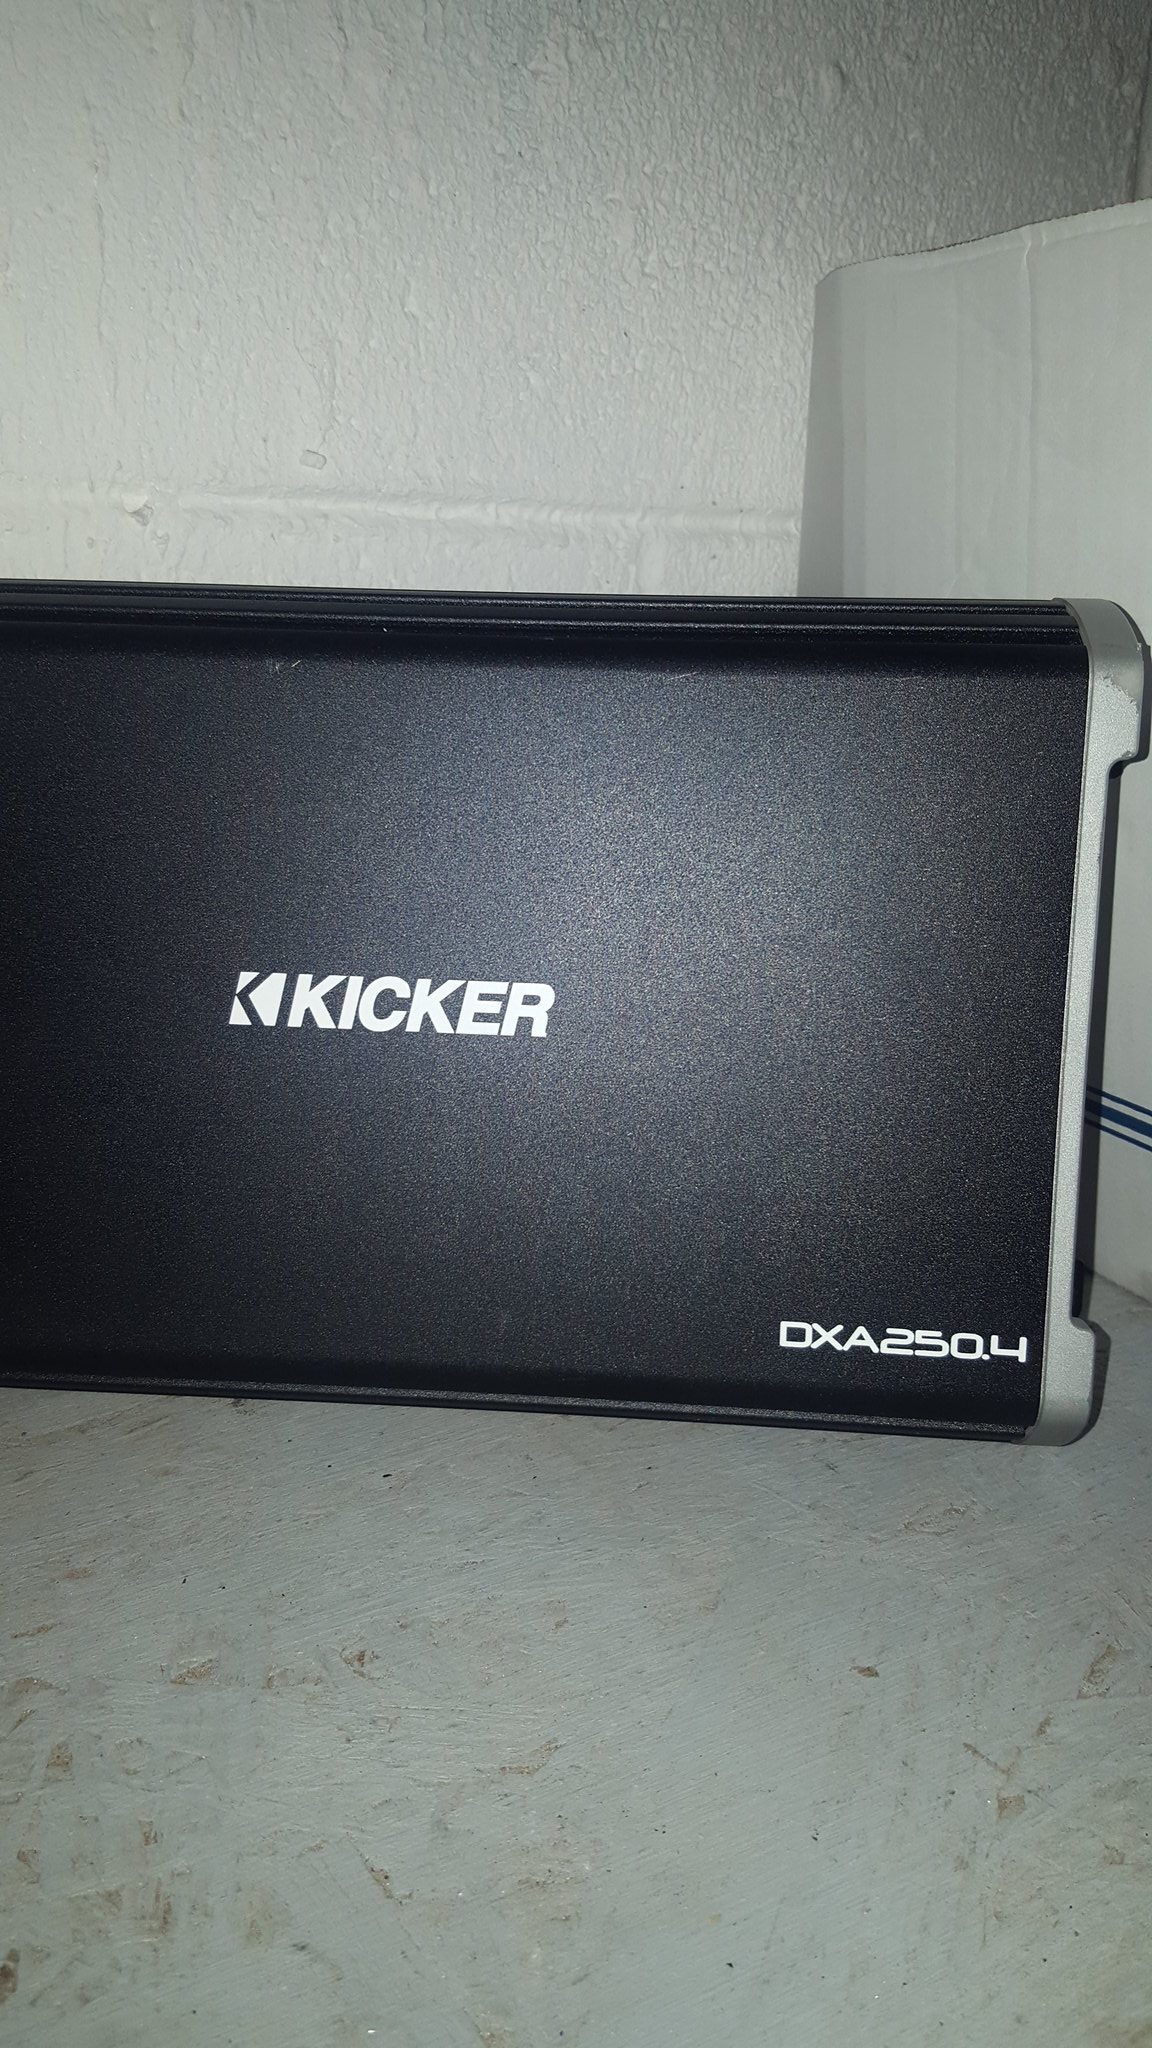
and pictures of the other audio parts.
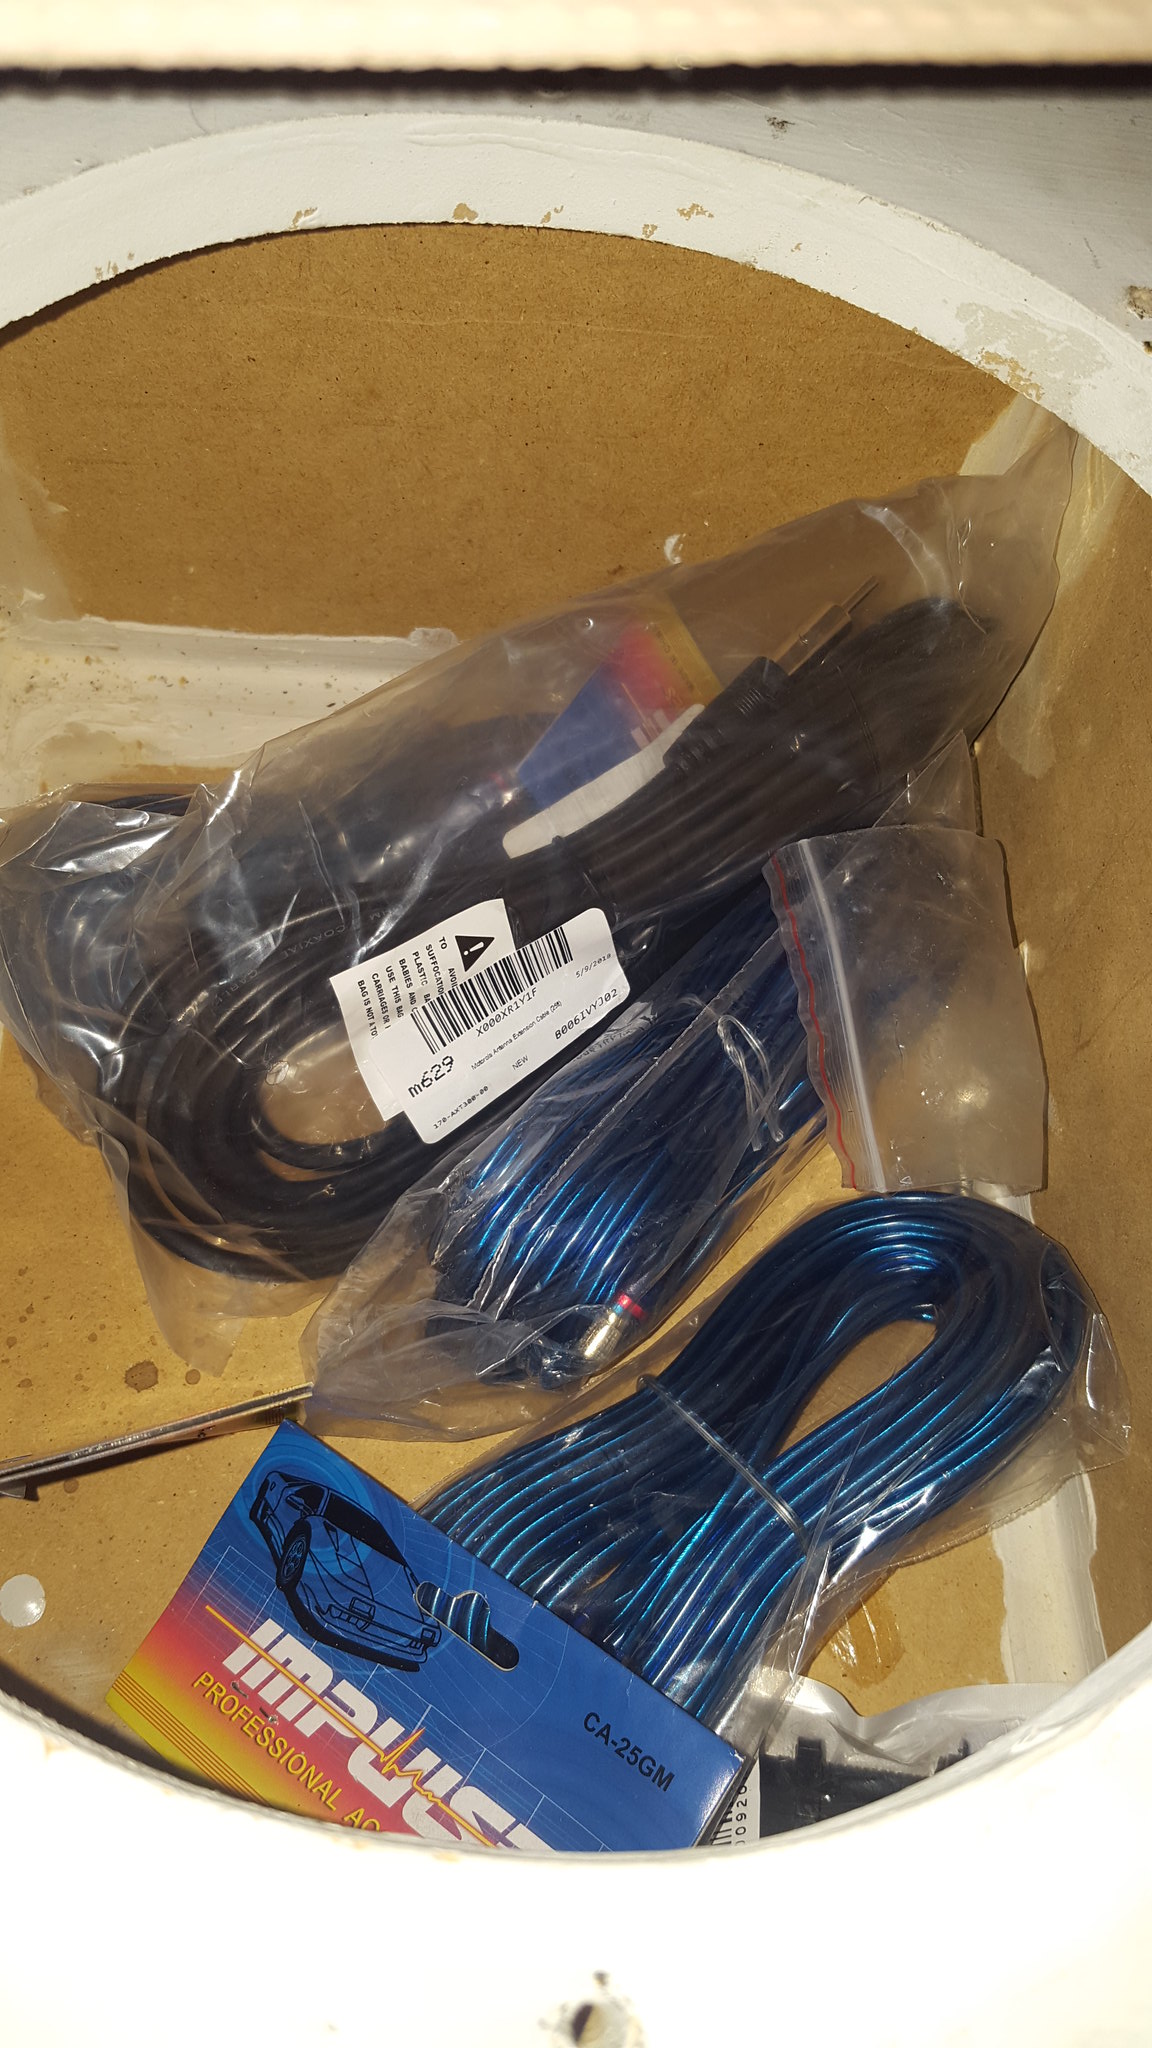 20180903_141202 by Michael Crawford, on Flickr
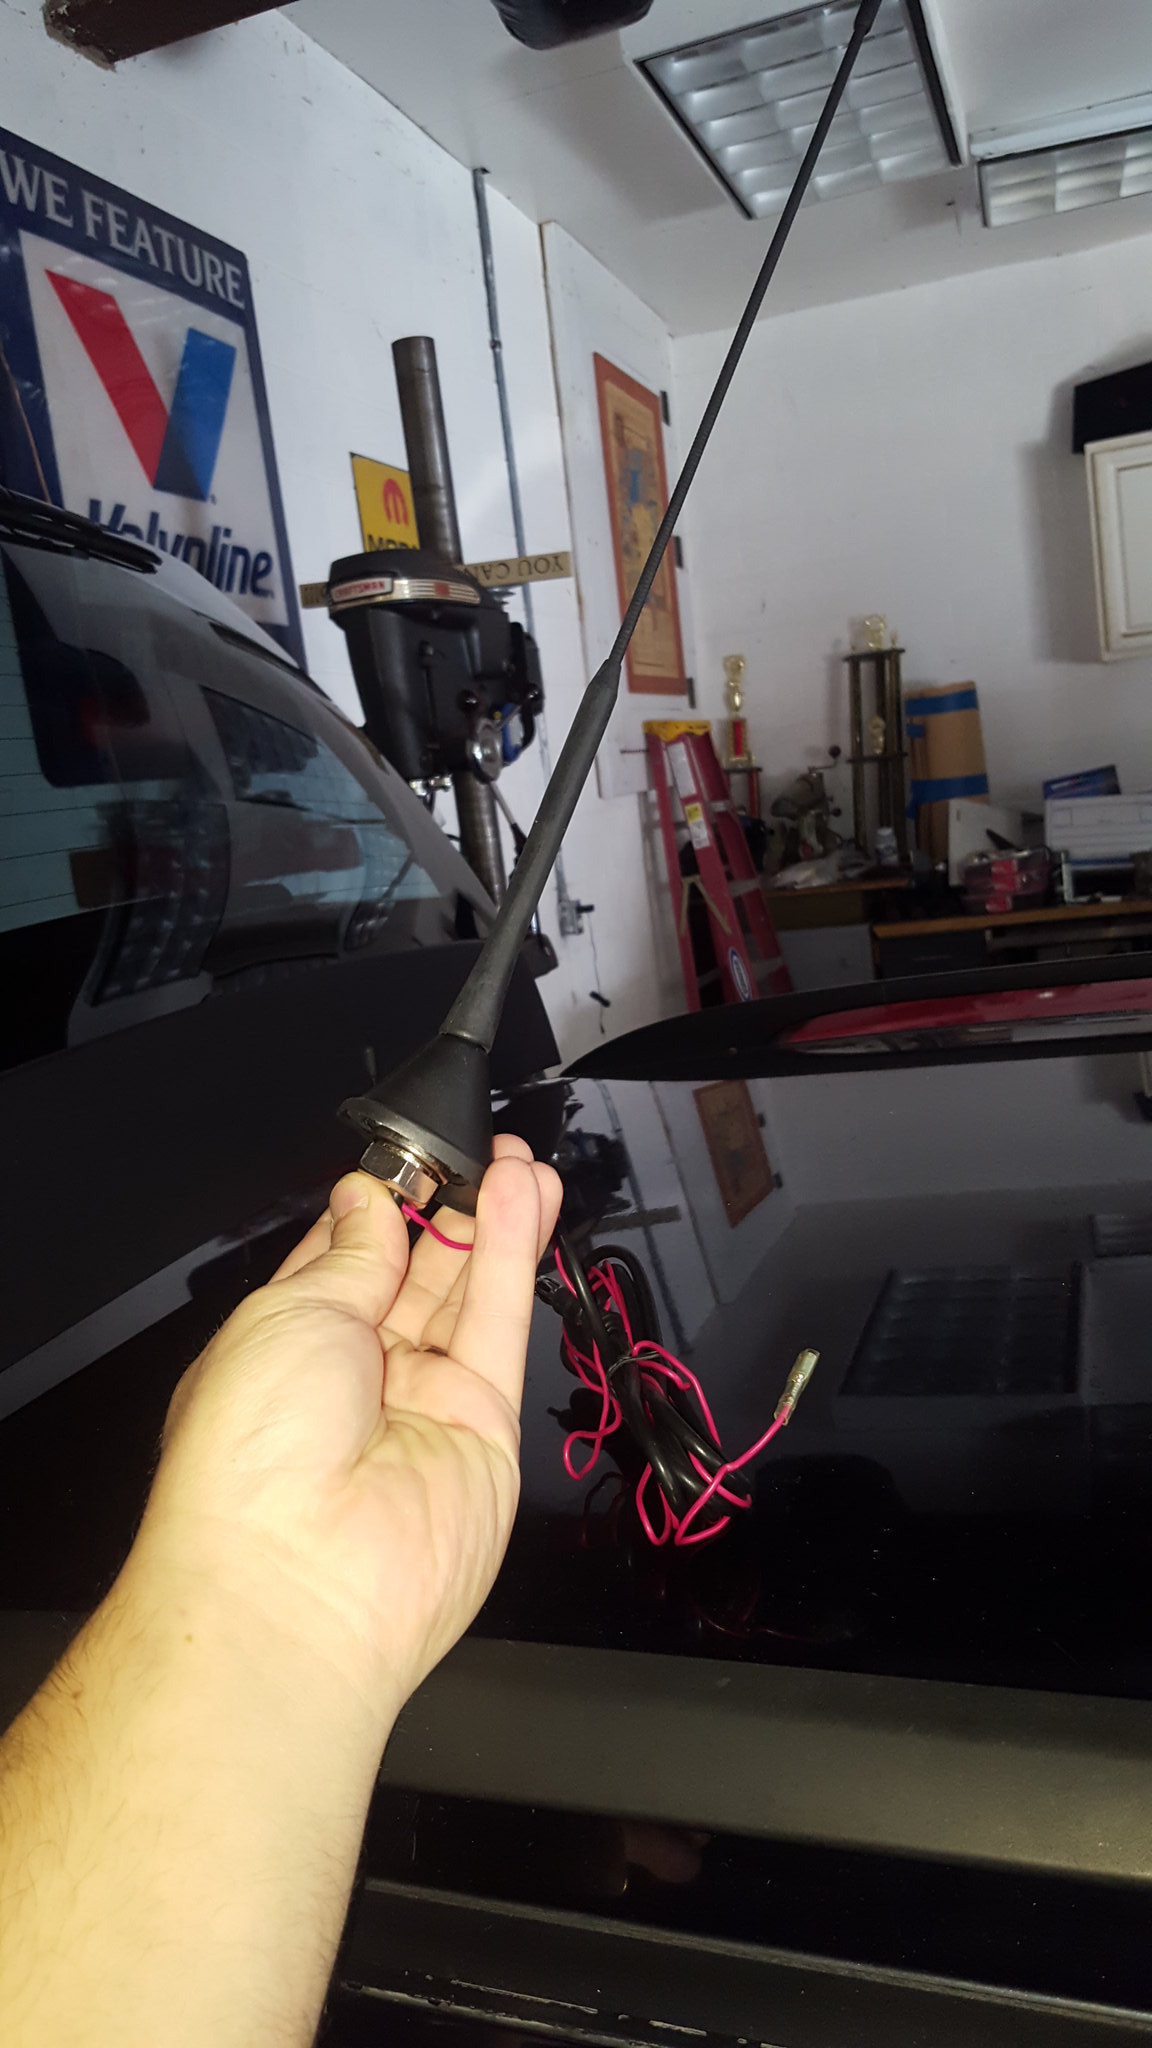 20180903_141231 by Michael Crawford, on Flickr
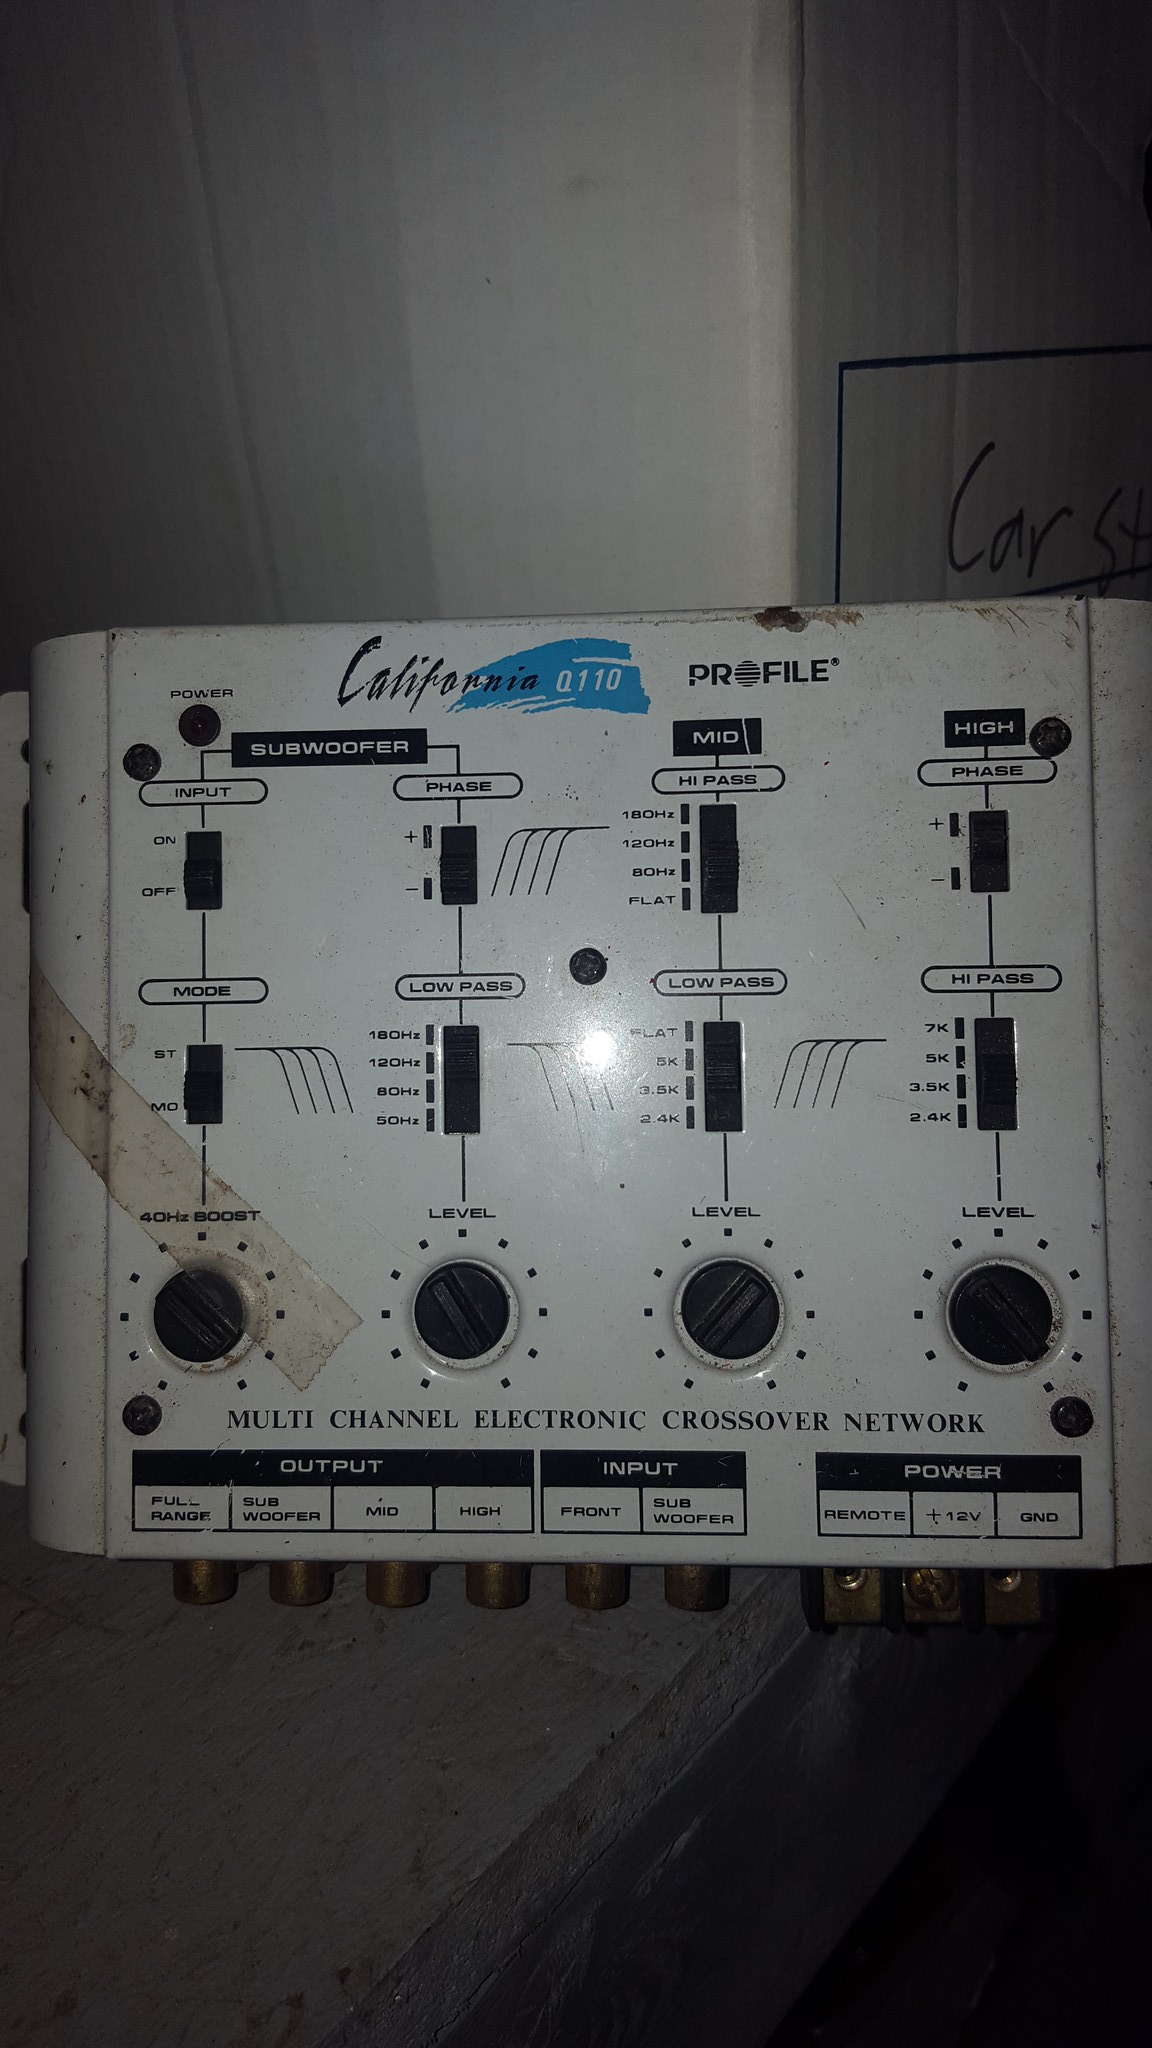 20180815_131037 by Michael Crawford, on Flickr
 20180815_131042 by Michael Crawford, on Flickr
next up is my sub plan. This sub is not rated for free air, nor does it have enough suspension for an infinite baffle setup. I tried.
 20180903_141157 by Michael Crawford, on Flickr
the plan at this point is to build an enclosure to maximize the airspace in the cavity where the battery and sub will live. Then, use the kicker amp bridged to power the sub, but the other two channels run through the crossover to a pair of 6.5 midbass drivers in custom baffles in the front doors. At the same time as I run the RCA cables to the head unit, I will run the extra antenna cable. Im going to test the stock BMW antenna setup, but I travel some pretty rural areas, and reception is lacking in most vehicles. So, if I find that the case, ill use the antenna to replace the cell phone antenna. This same antenna I have used successfully in many protege5s to make the reception work well enough to keep HD reception out here.
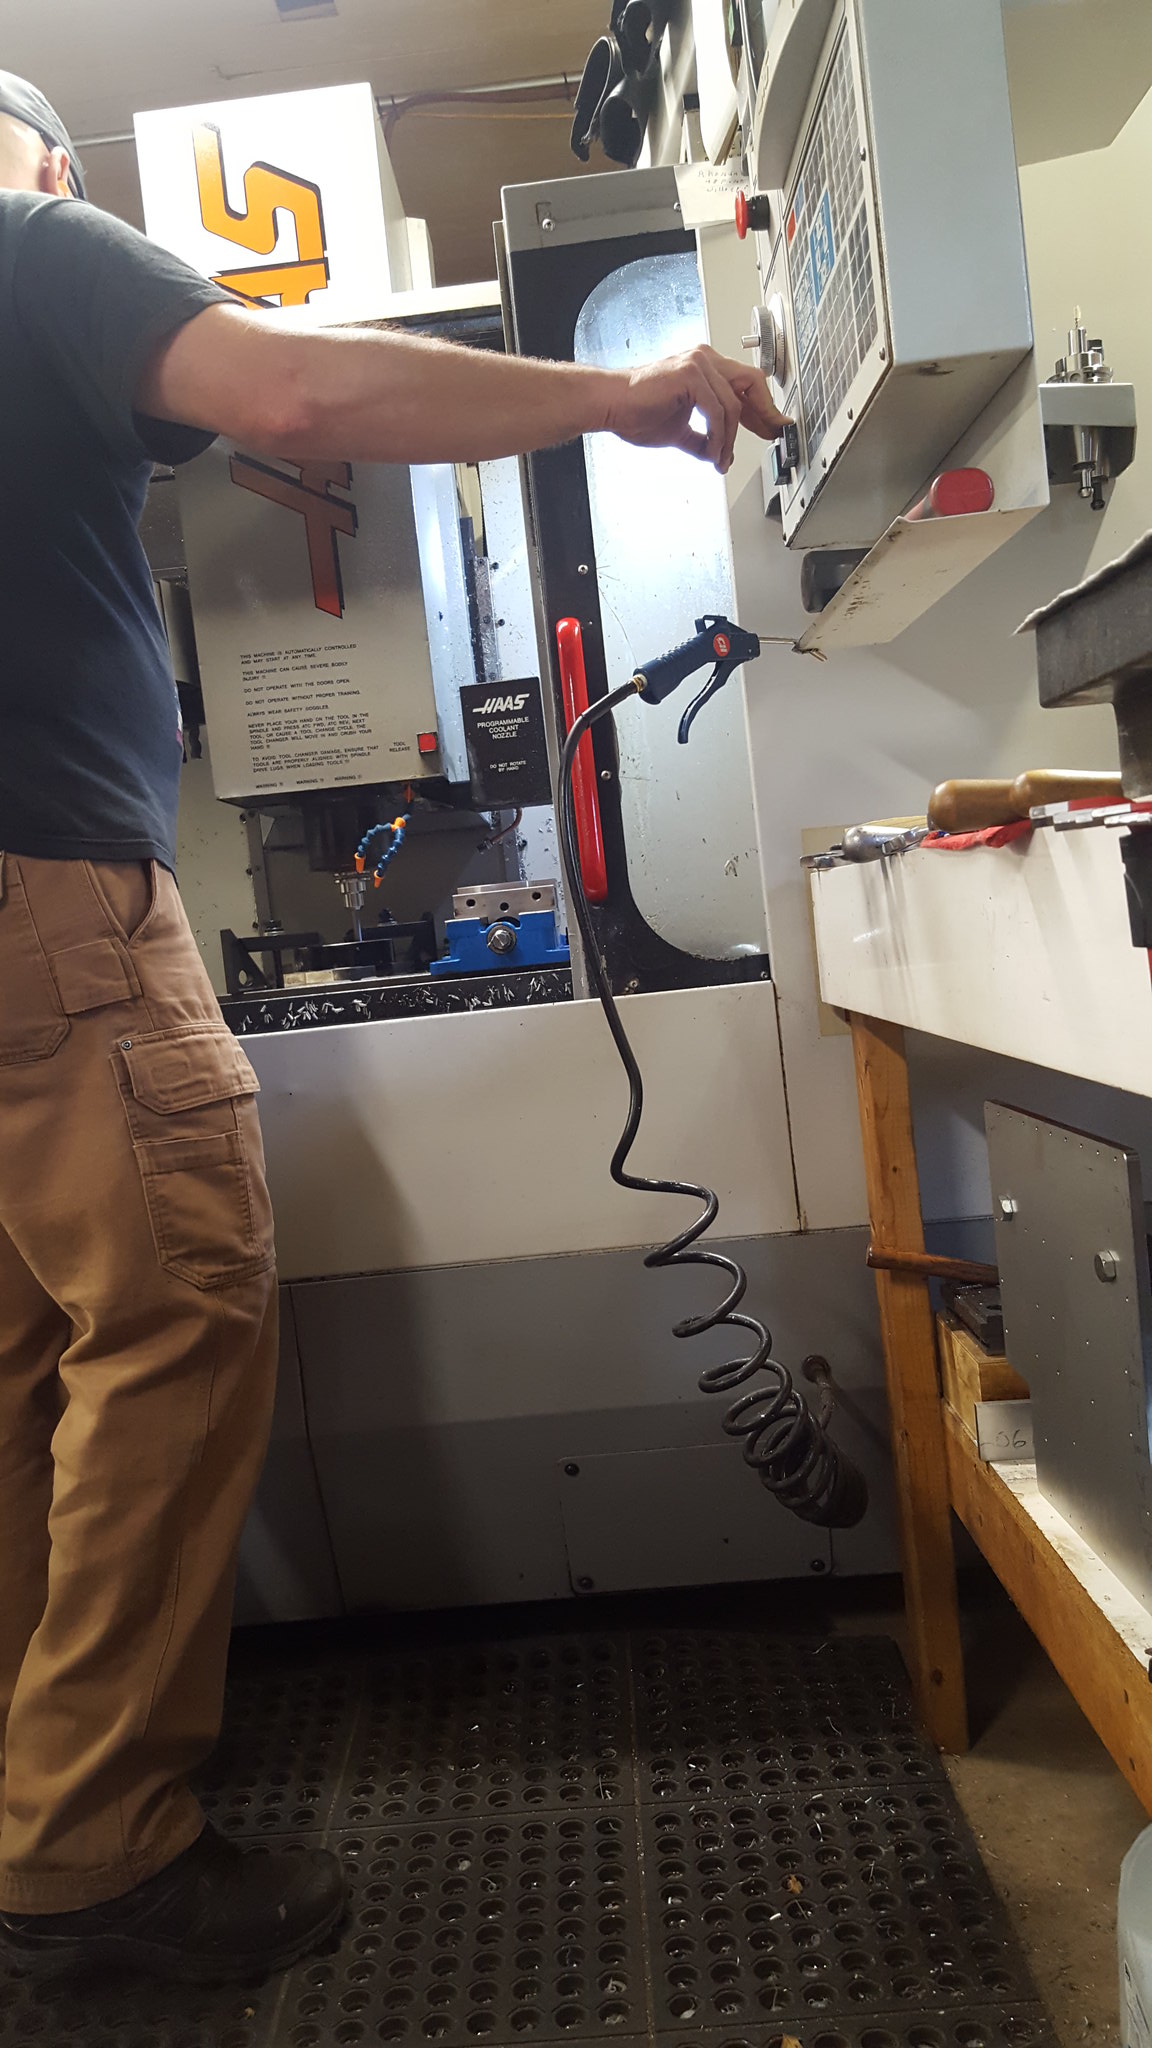
Lastly, ive been thinking about wheels and tires. I know im nowhere near needing tires yet, so its kind of a waste of time, but my curiosity was piqued. Working on the cuda pictured above, I traded my time for a few minutes of his with his CNC machine. We opened the center bores of the adapters I used to run vette wheels on my el camino to e39 diameter.
 20180902_134101 by Michael Crawford, on Flickr
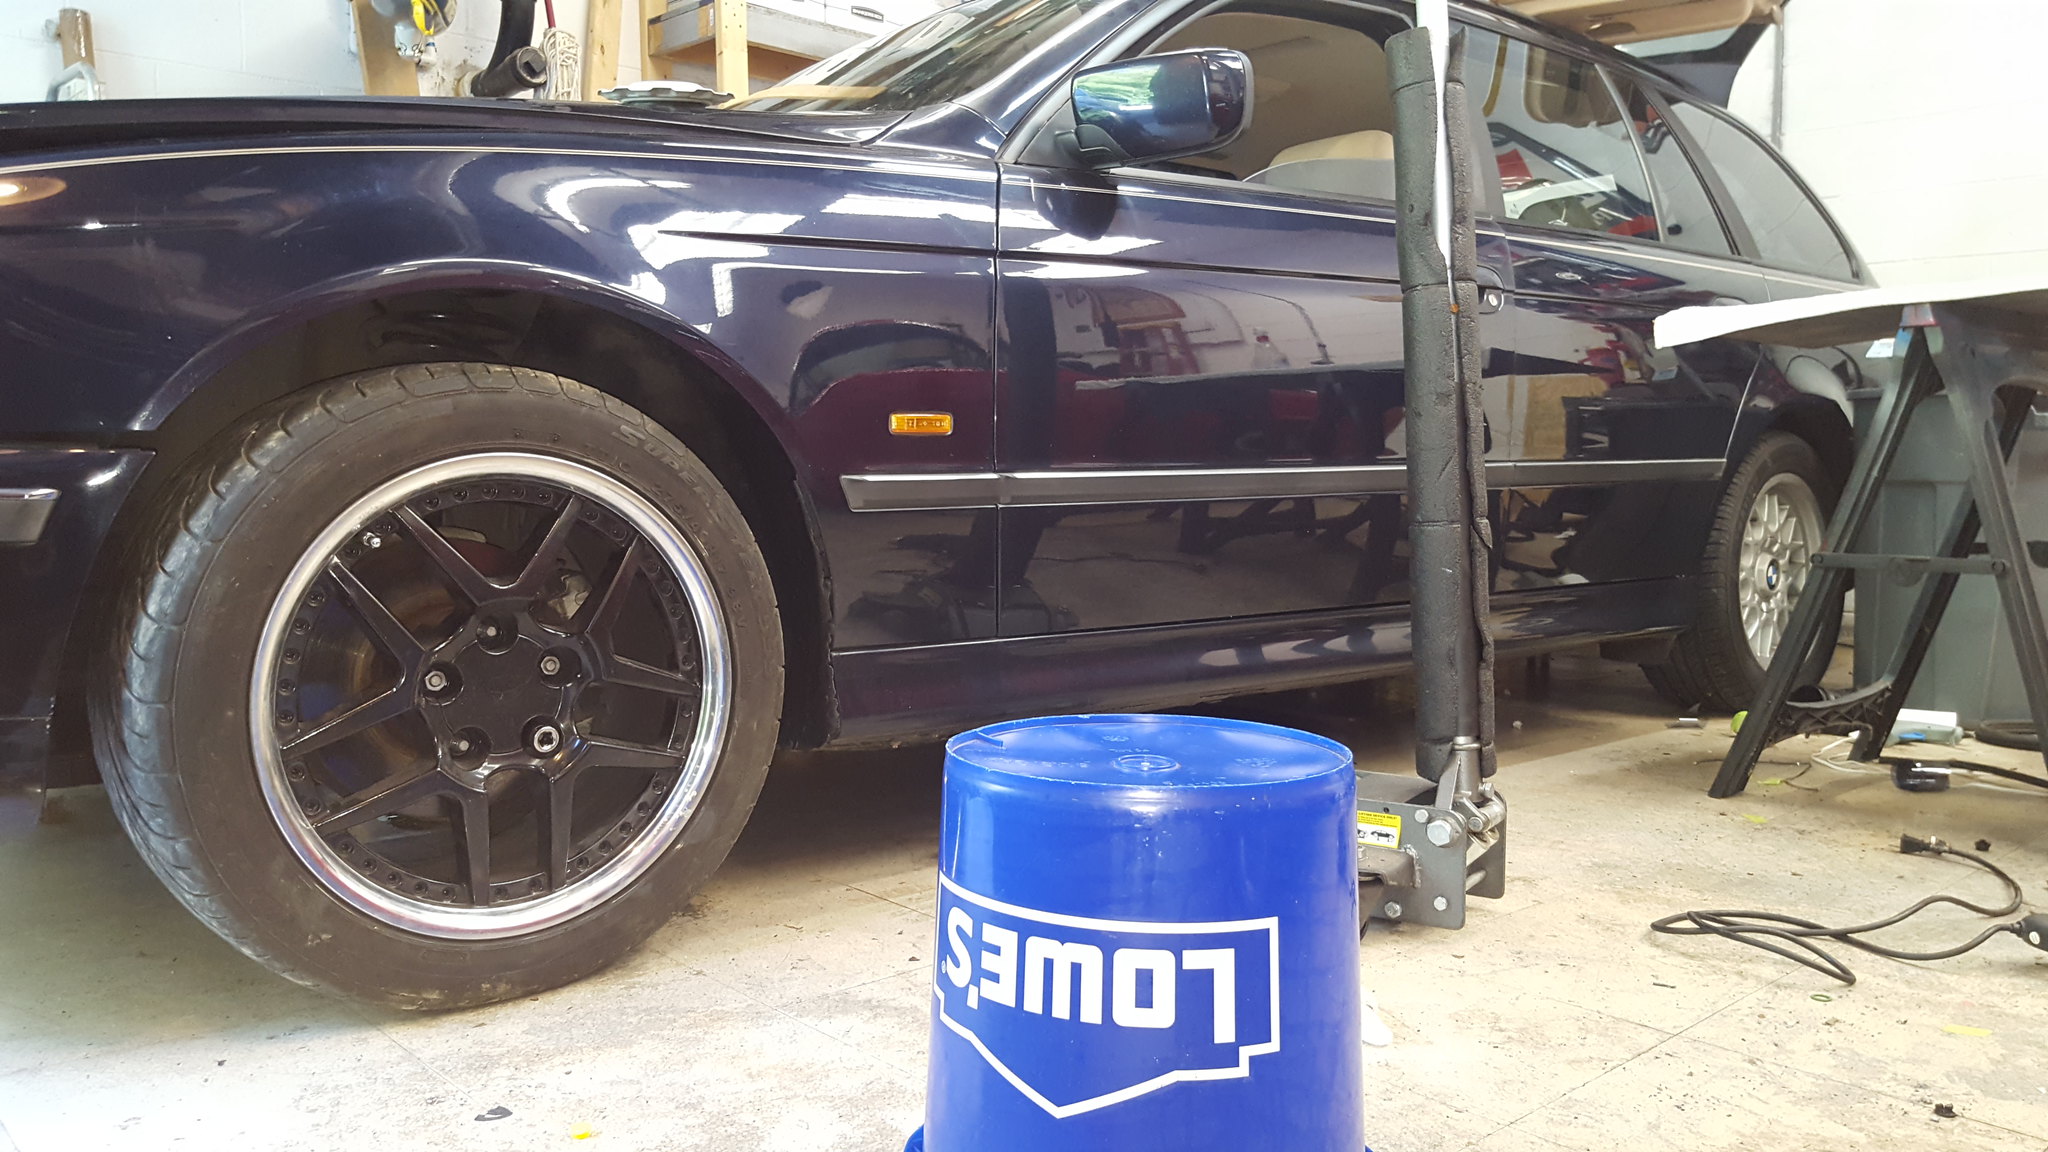
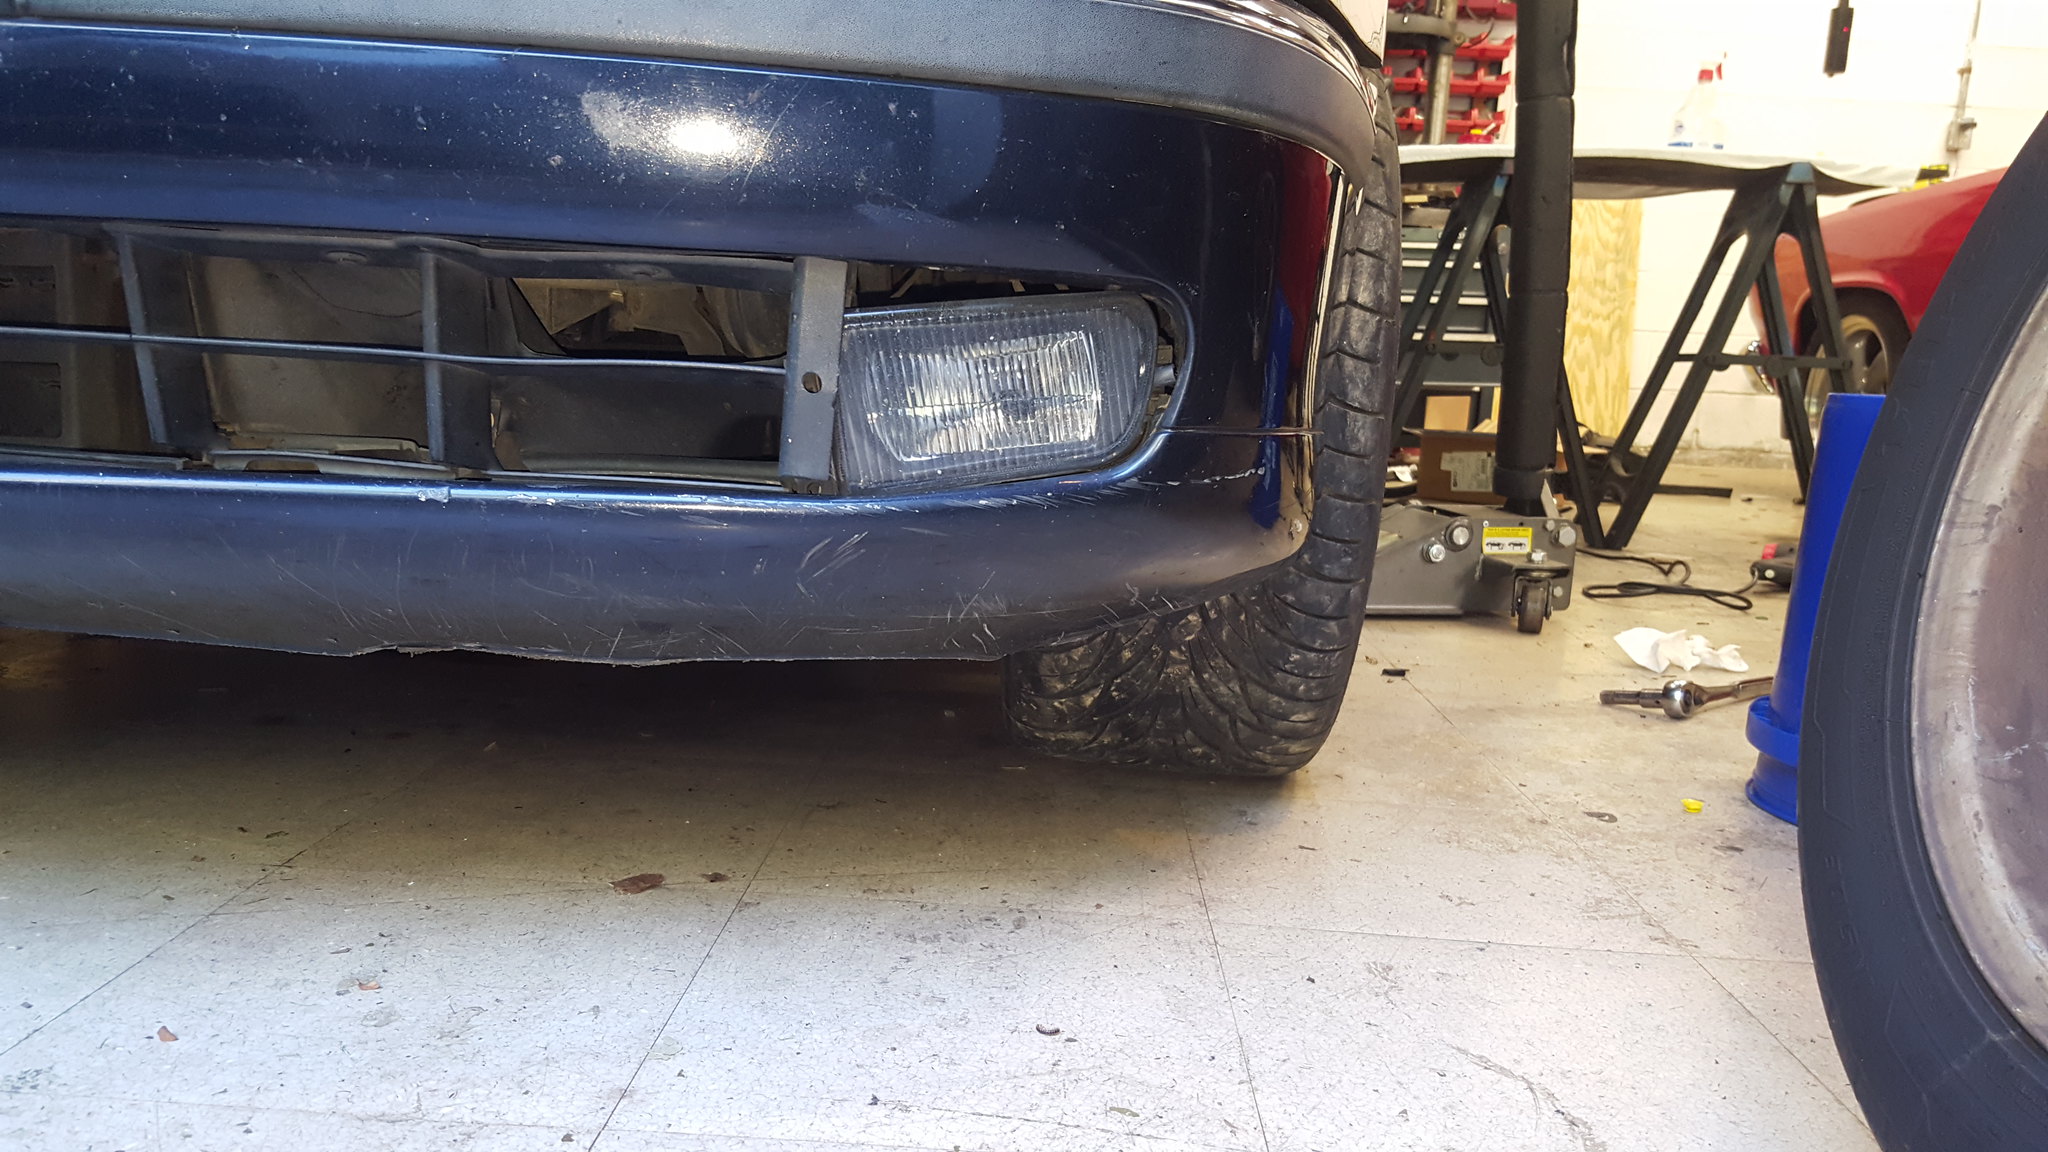
which allowed me to mount the 17x9.5 z06 wheels and 275/40/17 on the front corner (all I had out of storage, and ass for) for a test fit. Spacers are 1.5 thick, and the tire slightly rubs the strut housing. But it looks like itll work. Im still on the fence about the style though. I think id rather run c4 vette sawblades to be honest.
 20180903_100517 by Michael Crawford, on Flickr
 20180903_100257 by Michael Crawford, on Flickr
next update will hopefully see a running, driving, trouble free car. And maybe even tinting the last widow and rebuilding the door panel. After it runs.
i never thought you did. its a far more..... creative..... bodge than anyone on this forum would do. it took more time and effort and thought to do this than it would have to fix it right.
I just want to compliment you on some seriously solid electrical trouble shooting there. I even showed the pictures to my wife and explained how far in you had to go to find the problems. Even she was impressed. Crossing my fingers that the post office has your solution.
+1000
I dont know if I would have gotten as far as you have. After what it took to figure out the trans fail safe issue, I may have just packed it full of tannerite and parked it at the end of the 300 yard rifle range on a Saturday
In reply to Justjim75 :
Nah. If i can do this, being as drain bamaged as i am, anybody can. You'd probably be faster at it than me as proven by the miata.
Apparently i read tracking info wrong. Estimated delivery was today, but tracking still shown it between here and texas.
Dammit.
Guess ill tint that window and fix the door panel instead. I knew it would'vebugged me being un tinted.....
mazdeuce - Seth said:I just want to compliment you on some seriously solid electrical trouble shooting there. I even showed the pictures to my wife and explained how far in you had to go to find the problems. Even she was impressed. Crossing my fingers that the post office has your solution.
can someone paint-circle the bad area of the DME? My couple cursory glances at it (and lack of electro-mojo) aren't picking out the problem.
Look at the vertical strips of metal in the upper right corner. Thats the really obvious damage. The rest required me to put on TWO pairs of glasses.
Stampie, i hope youre right. I really, really do.
Look at the top of the picture toward the right-center. It is one of the pins that melted. You have to look closely to find it.
Dusterbd13 said:Look at the vertical strips of metal in the upper right corner. Thats the really obvious damage. The rest required me to put on TWO pairs of glasses.
Stampie, i hope youre right. I really, really do.
Beat me to it!
The ecu was not delivered today.
Thw window i went to tint did nog get finished due to my heat gun catching fire.
The drivers resr door panel may need total replacement due to damage, but im going to try to salvage it.
But, i did strike a deal for an orient blue front bumper and fender! Here's to hoping its as described when i meet the sellerSaturday. Might even have good door panels and inner fenders and such.
Awesome work! Love reading your builds and details in progress you make. Even though sometimes sets you back. Hope your ecu comes tomorrow and you can finally enjoy a drive.
You'll need to log in to post.