Shelf pins rock!!!! Hey how are those cabinets for Ms.MazD comin' along ?![]()
759NRNG said:Shelf pins rock!!!! Hey how are those cabinets for Ms.MazD comin' along ?
Shhhhhh........ let's not talk about that.
I had trouble deciding what to do this morning.
Mrs. Deuce looks at me and says "is any of this making money?"
This made me nervous. It sounded like a trap of some sort. "Noooooooooo......"
"If this is just for fun, do whatever seems like it will be the most fun."
She's right. Off to the Grosh!
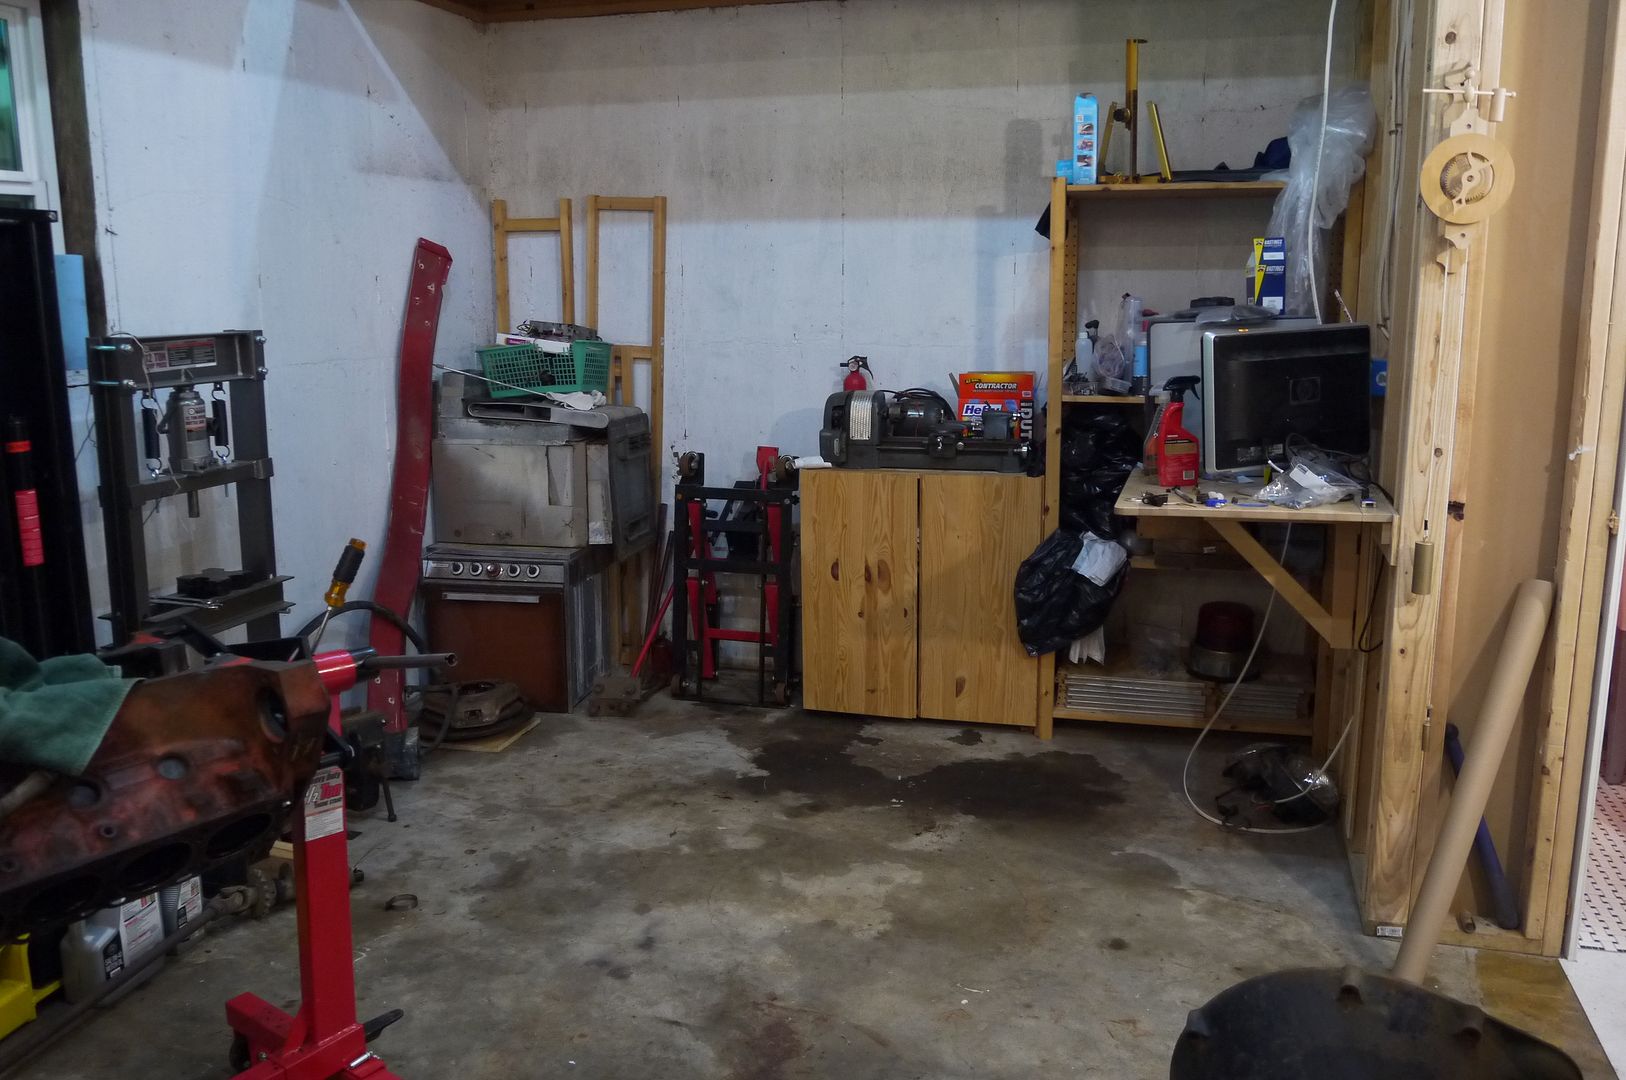
The cabinets are destined for this general area that has become a horrible pit of darkness. It doesn't look so bad because I just cleaned up all the cabover parts, but inevitably I end up stacking things on the floor here. Time for a change.
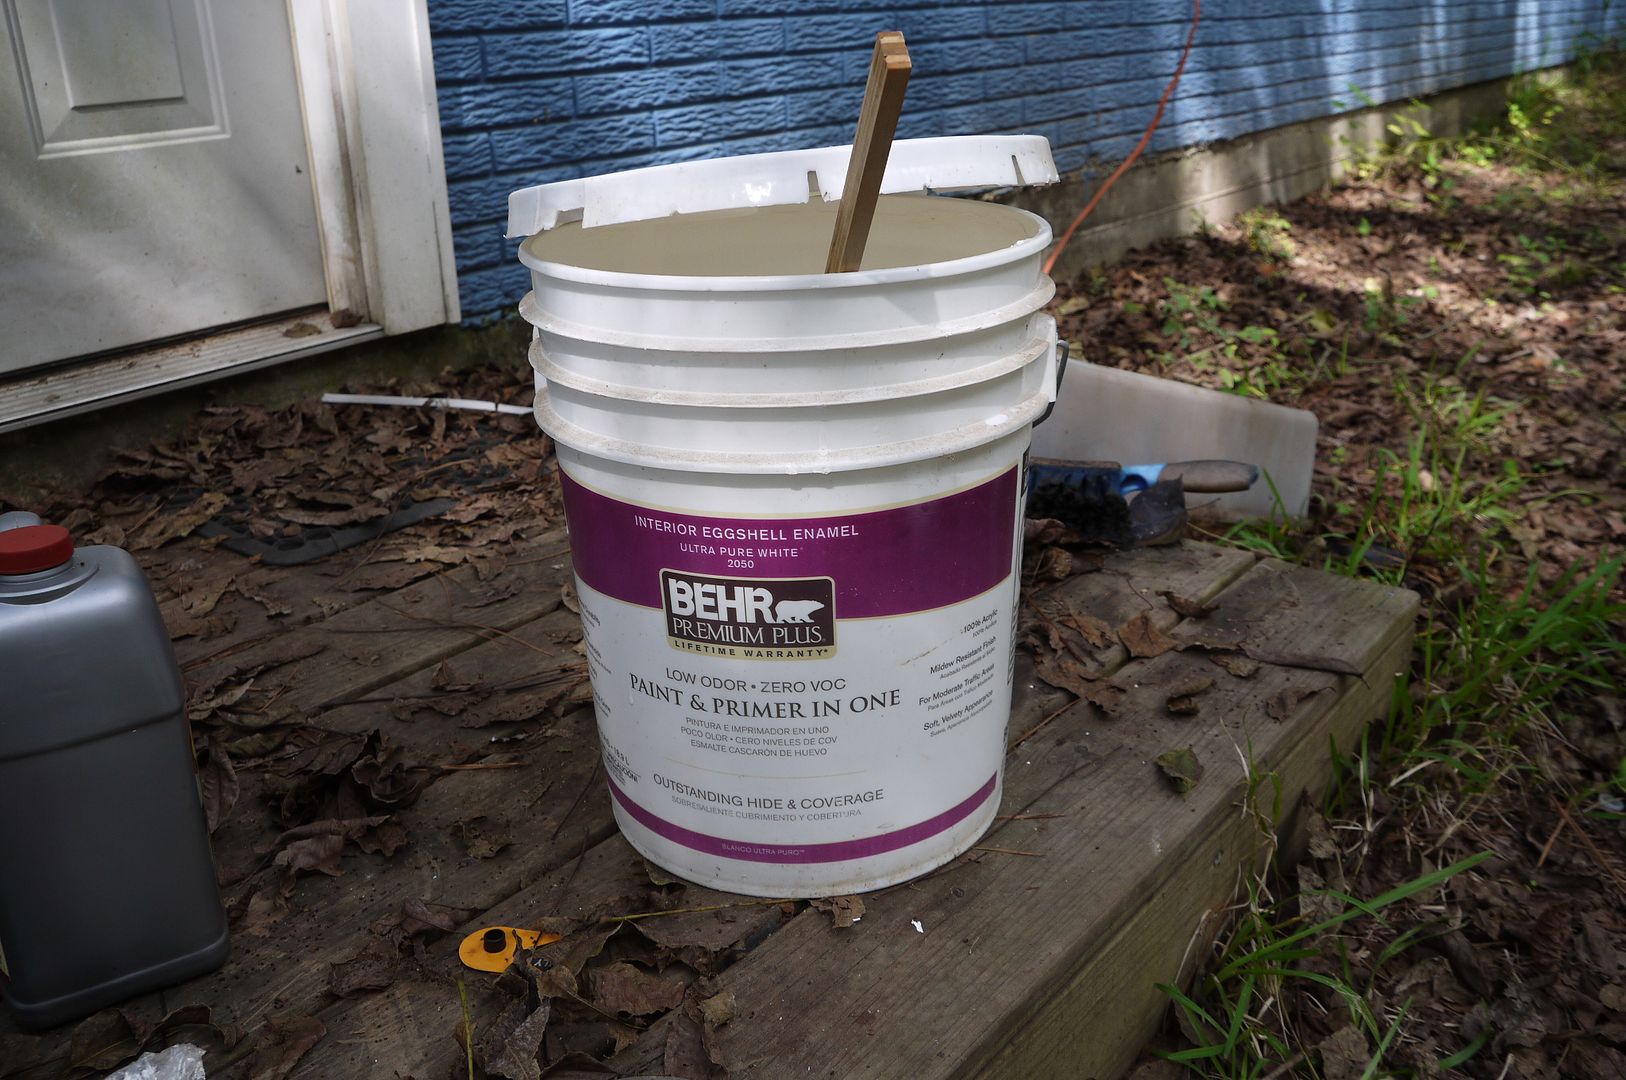
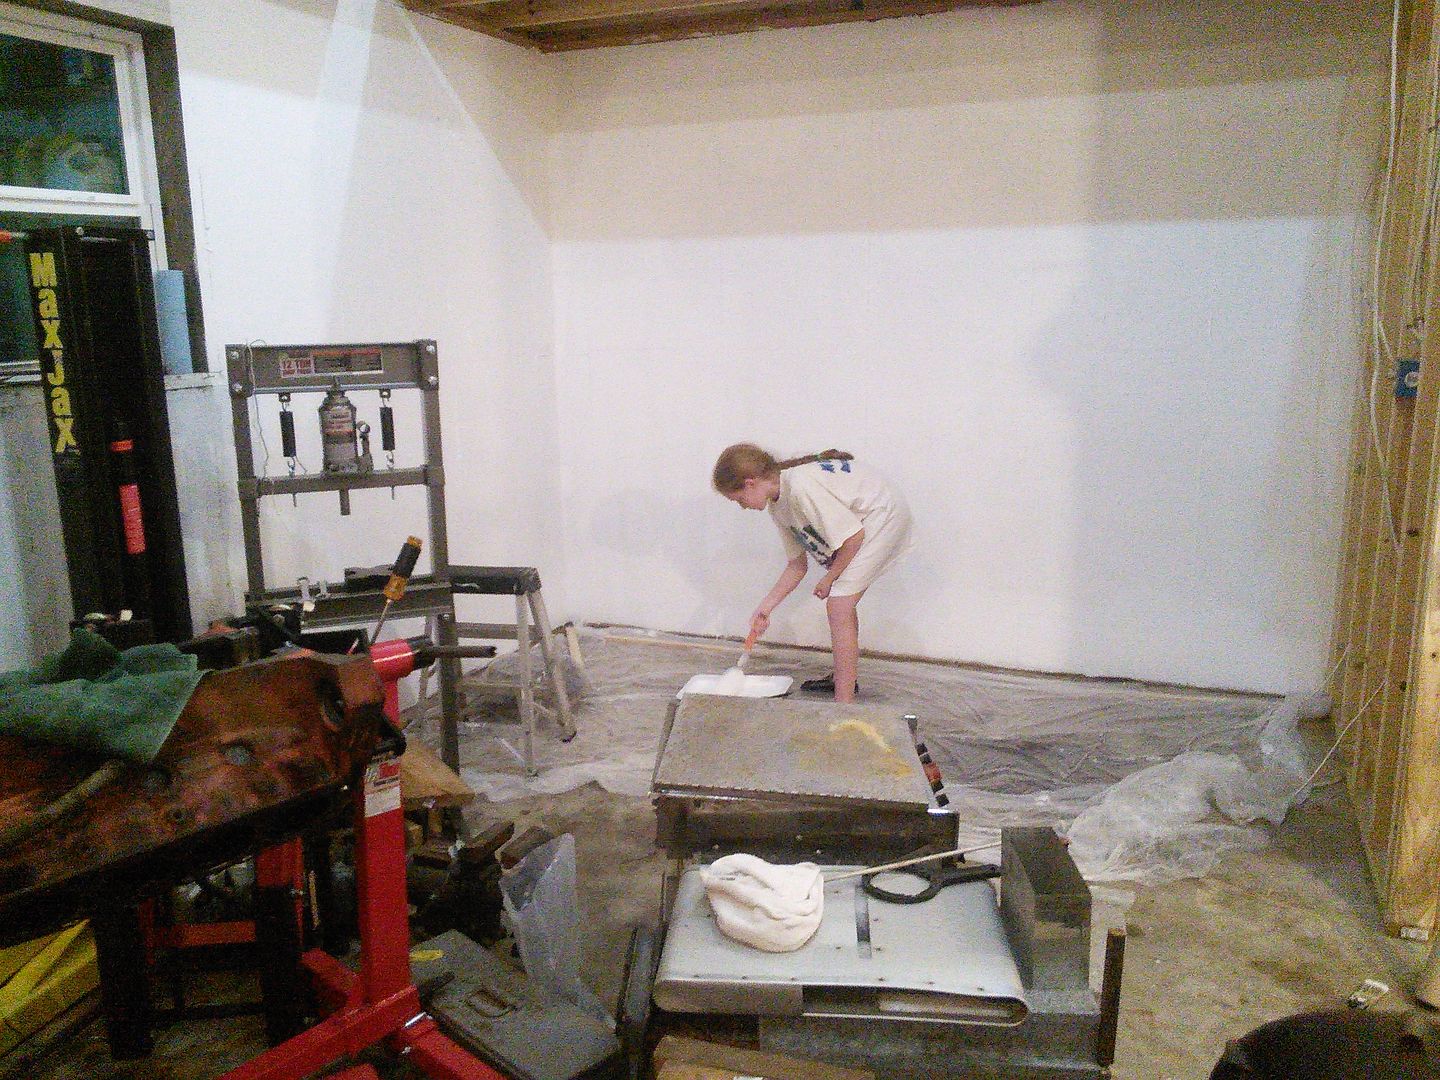
I moved EVERYTHING out of the area, consolidated the wooden cabinet and shelving and put them in a corner in the shop, and then stumbled into this bucket of paint. It's still good after a bit of stirring, and there is something like four gallons left and I can't for the life of me figure out what I bought it for. Maybe the upstairs of the Grosh? I also have a heavy knap roller and one disposable paint tray left. Sounds like destiny.
Anyway, if I were to look back through the thread I'm sure I could find where I decided to paint this wall the first time. I bet I was thrilled with how white it was. This is whiter.
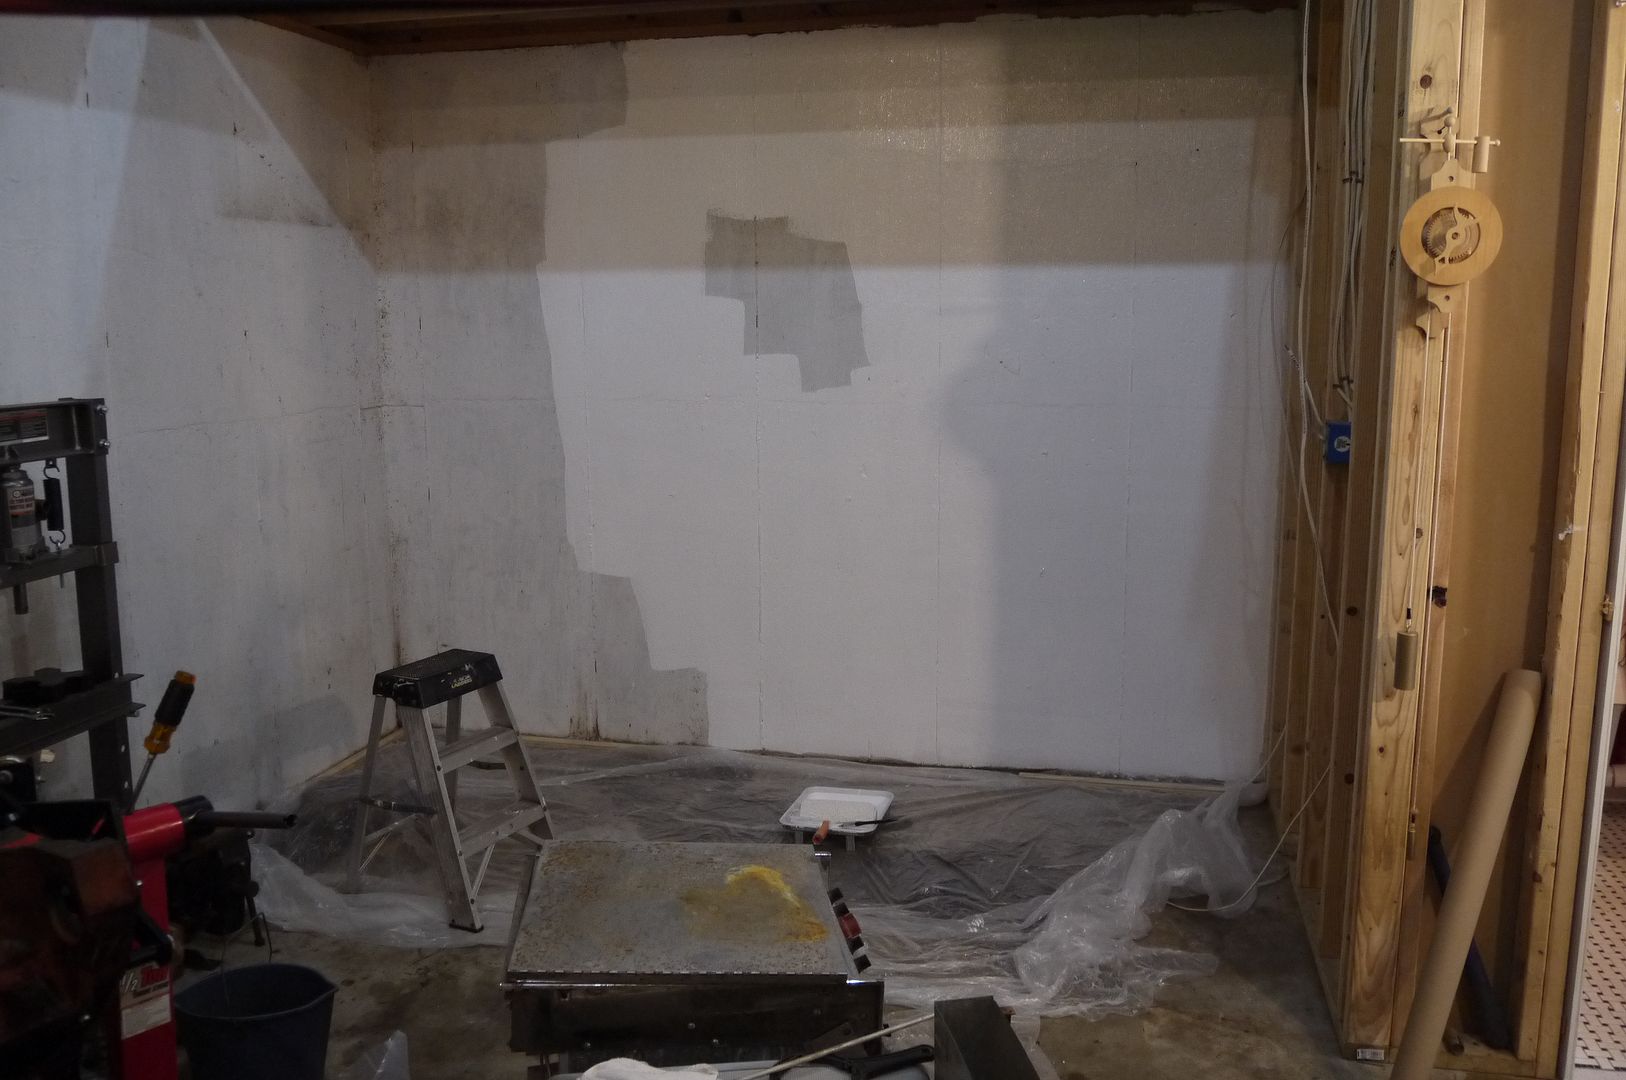
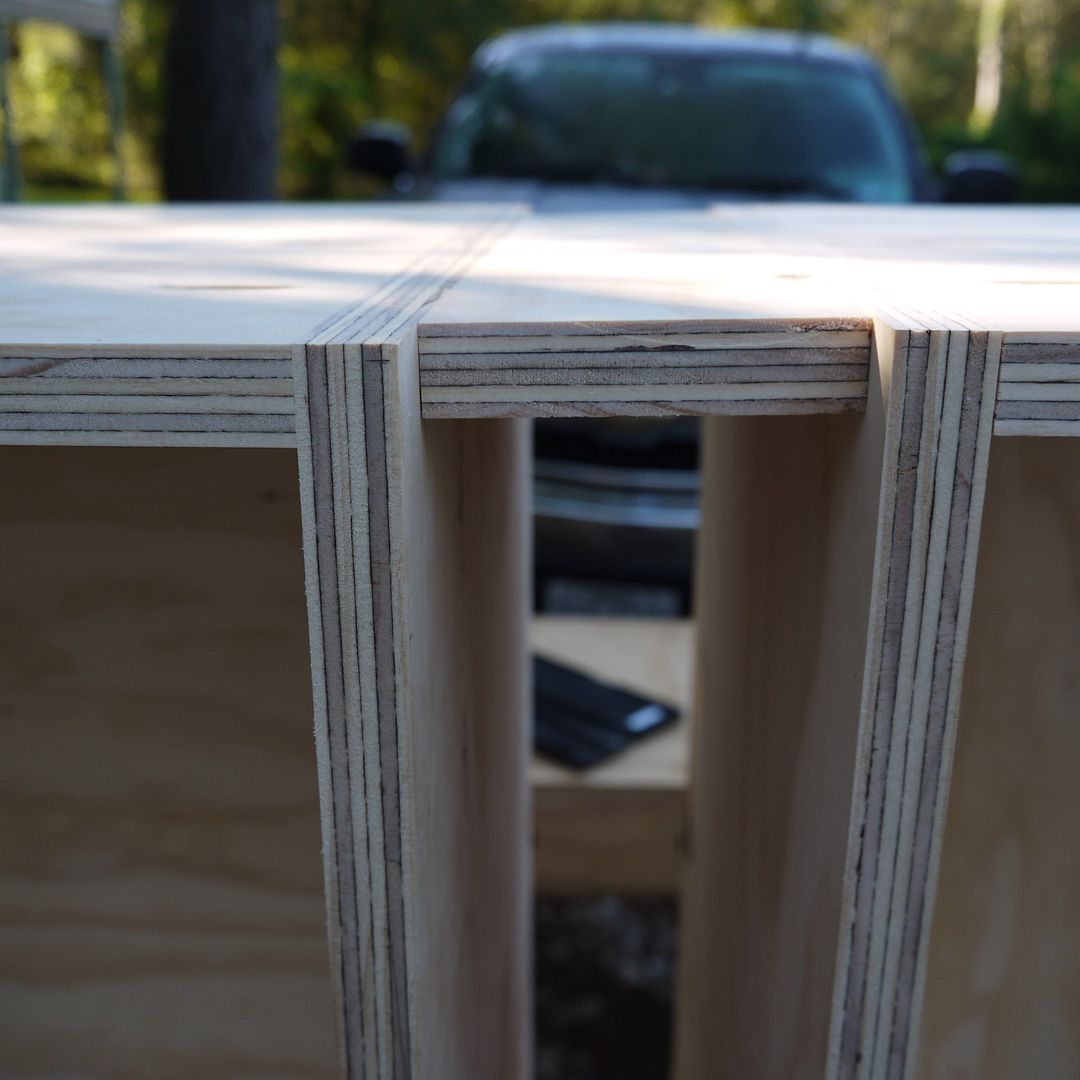
And done for the first coat. I think I'll do a second this evening just because I have enough paint. I also drilled shelf pin holes. One thing I wanted to get right (which I didn't get right on the shop cabinets) was to drill the outside pins so that a board set on the top set would make a smooth shelf across the top of the cabinets. Some measuring, drilling, re-measuring and re-drilling had me figure out that putting the pin hole jig 1/8 inch from the top is perfect with the pins I have. I should have tested on scrap wood. Not my best moment.
Something cool about the kids asking to help. We're going to get the second coat knocked out and then turn on a movie.
I started putting up the cabinets. The end ones went in as planned but when I started laying out the side ones to make sure they were even around the window and the lift I ran into an issue.
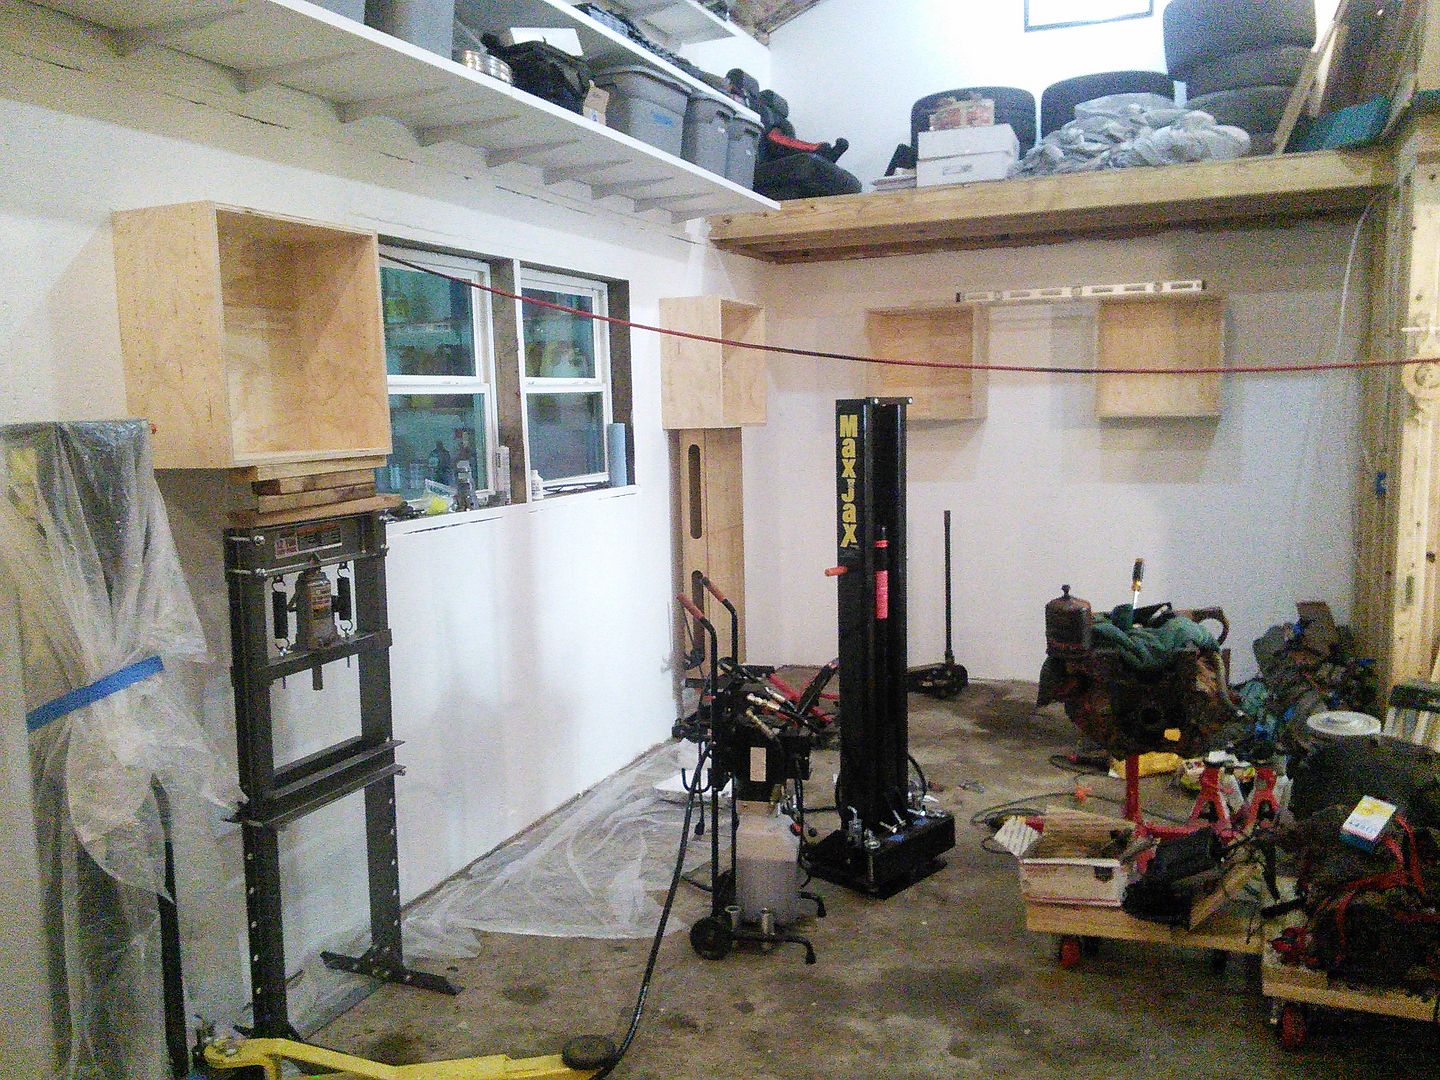
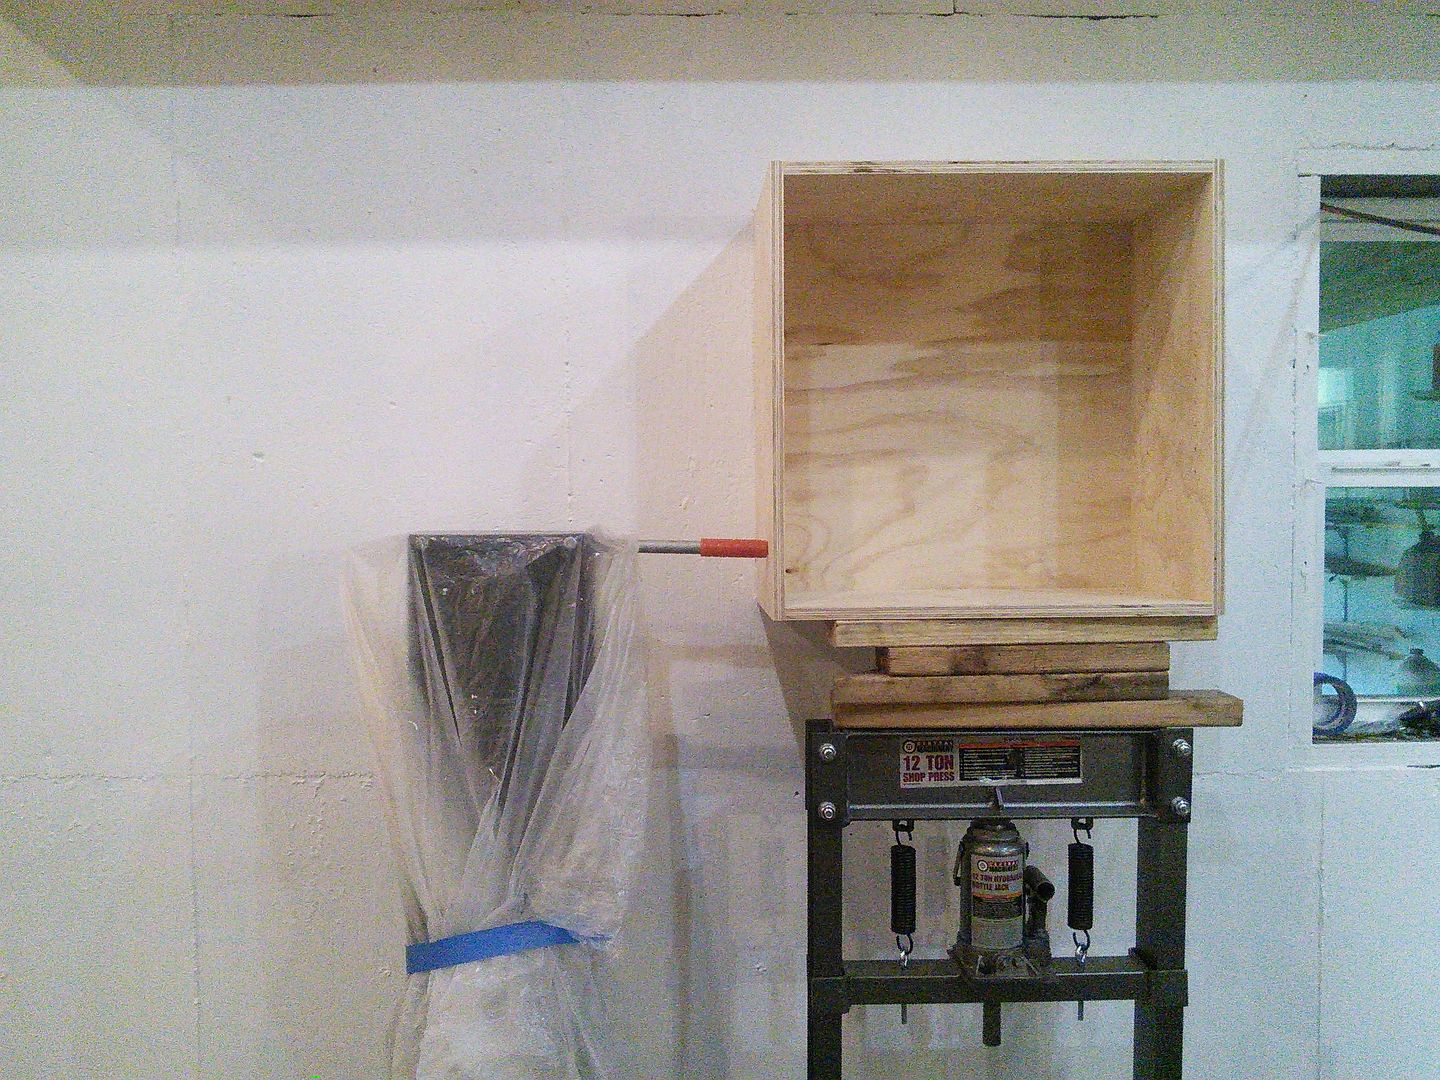
The safety pin for the lift hits the cabinet in the topmost position. Moving the cabinets up 6 inches fixes it, but then the cabinets are really too high. Moving just the side wall cabinets up throws off the symetry of the whole room. I sat and stared at it for the better part of an hour. Mrs. Deuce looked at it for 10 seconds and said "cut a hole in the cabinet". She's pretty clever.
You can put those pins in from either side. So instead of inserting from the right and having it hit the cabinet just insert from the left. And the top position is just for storage - you could store them anywhere as long as you're consistent about it and don't lose them and they're convenient to grab when next to the lift post.
There will be a cabinet on the other side of the post the same distance away. I also like to be able to insert the pins from this side because that's the side the pump is on and I don't want to walk around to put pins in.
Having said that, I may have forgotten that the top pin position is just for storage. For some reason I thought it was the highest of the lift positions. I'll hold off on drilling the hole for now. ![]()
Today was 95 degrees and humid as a butt crack. The little air conditioner in the Grosh held the temperature at 78 degrees and 40% humidity. I was cycling through Rancid albums on the iPod with cold drinks in the fridge. Yes it's messy still, but this is exactly what I built the Grosh for. It was a good day.
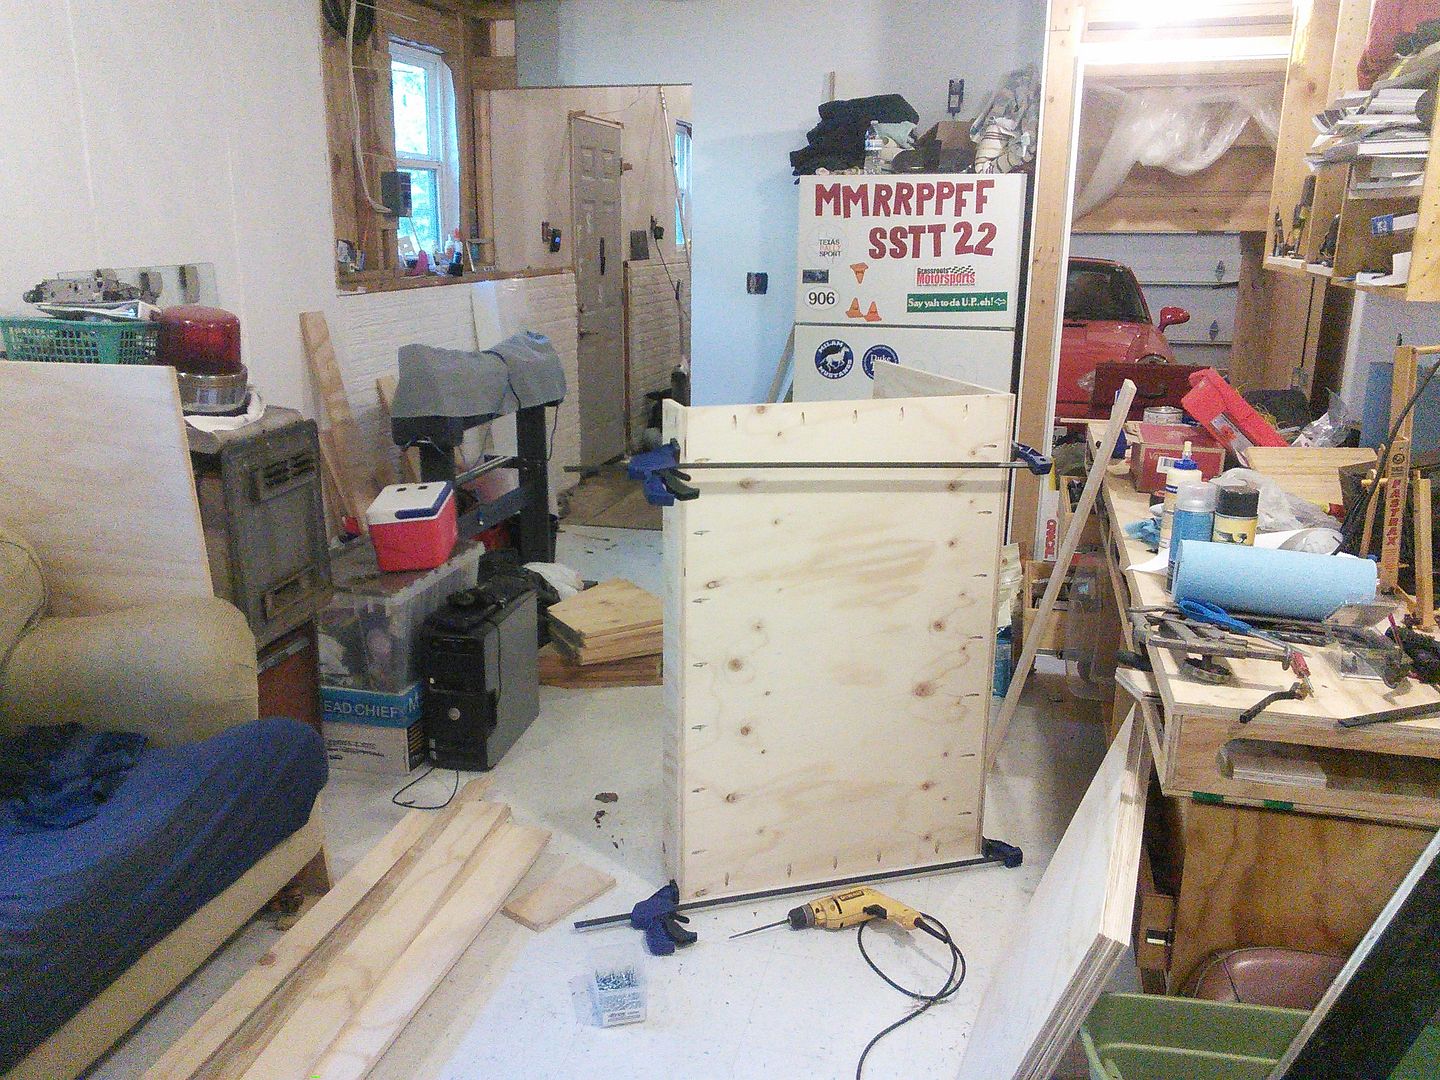
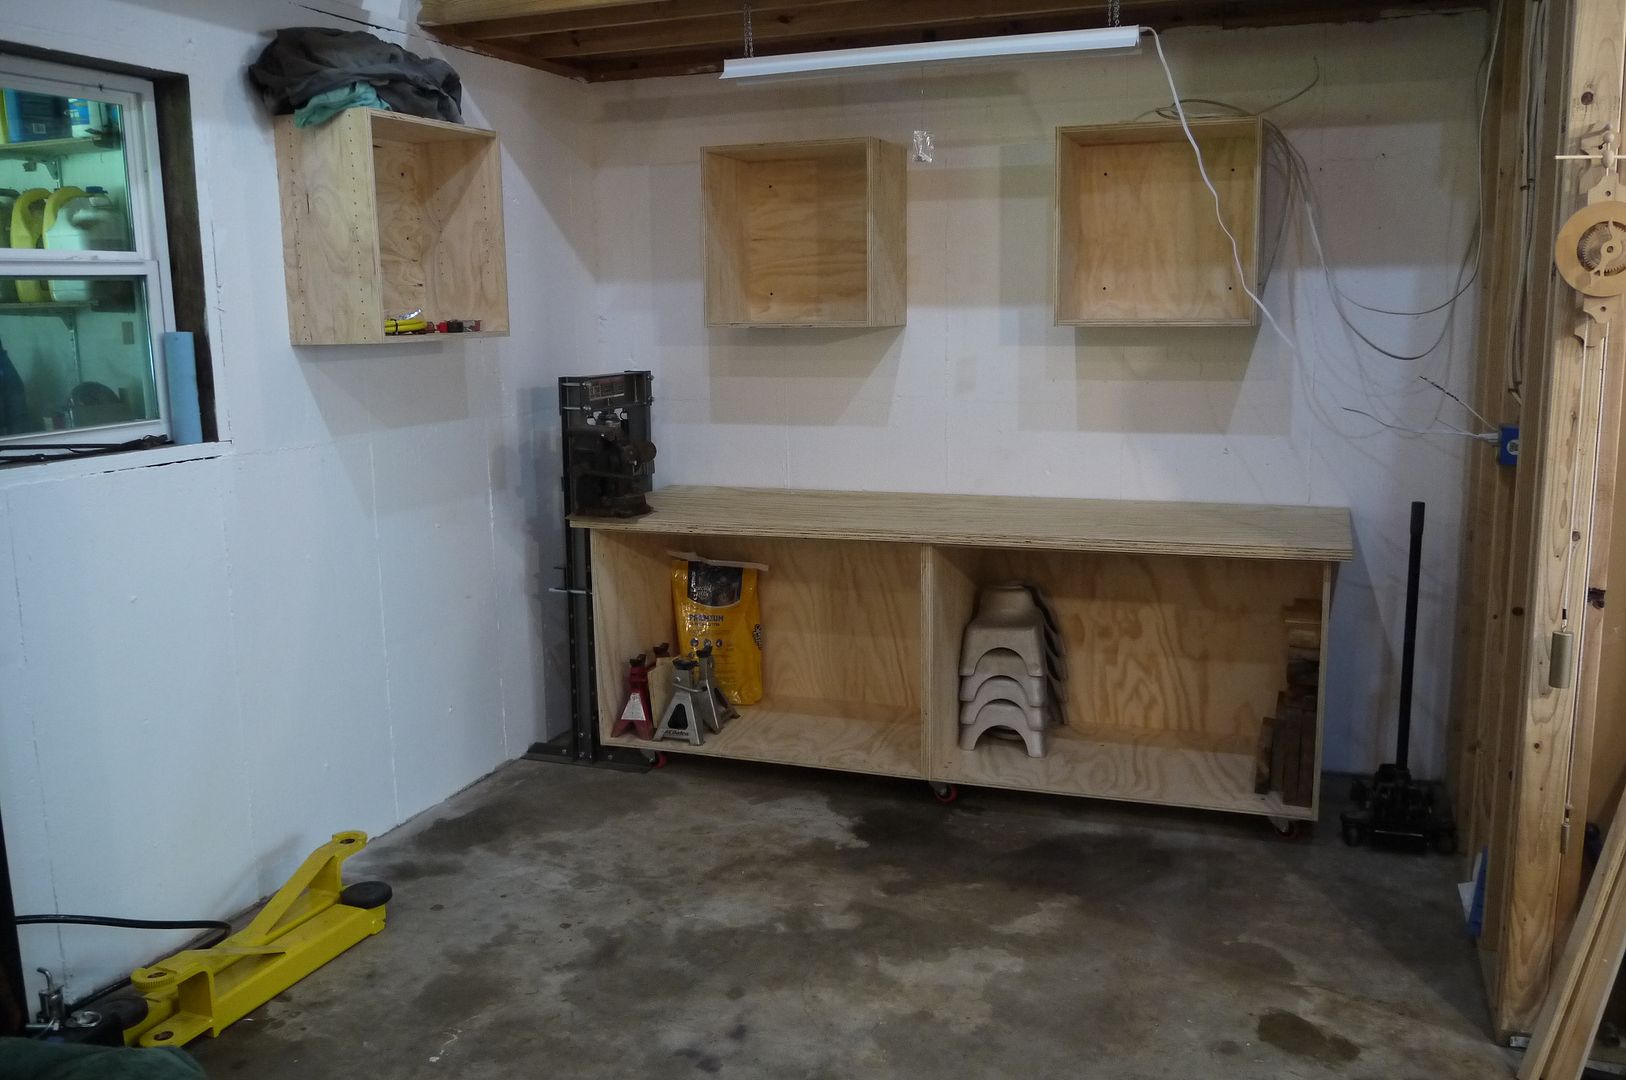
I finished hanging the upper cabinets and knocked together the two boxes that make the base of the new workbench. Will it support a transmission? Probably not. But will it work for 99% of everything I've ever needed a workbench for? Yes, I believe it will. Still need to make a top (two layers of 3/4 ply screwed and glued) and drill shelf pin holes. I also hung a new LED light above the bench. You guys are right, these things are amazing.
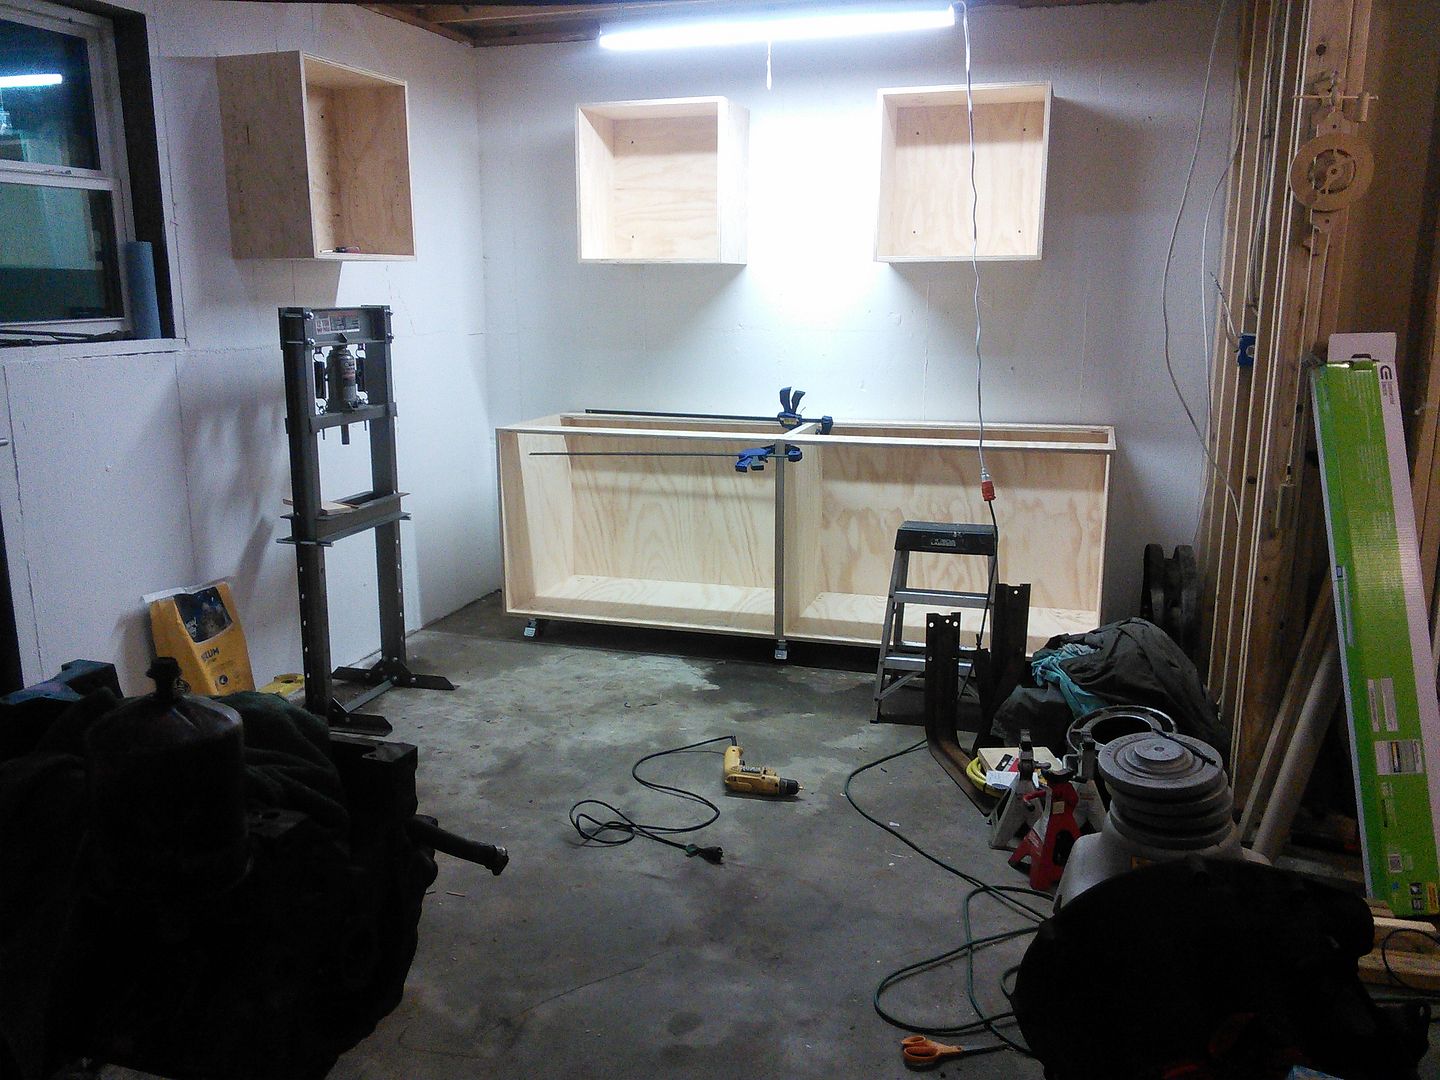
At this point I turned around to snap a picture of the cabinets next to the lift post. I got this one. It was blurry. I lowered my hand and stepped sideways. My tablet hit Ferdinand's engine on the stand. Just brushed it. Hard enough to knock my tablet out of my hand and directly onto the corner of the leg of the engine stand. I have now broken three Nexus 7 tablets. My wife continues to be a saint.
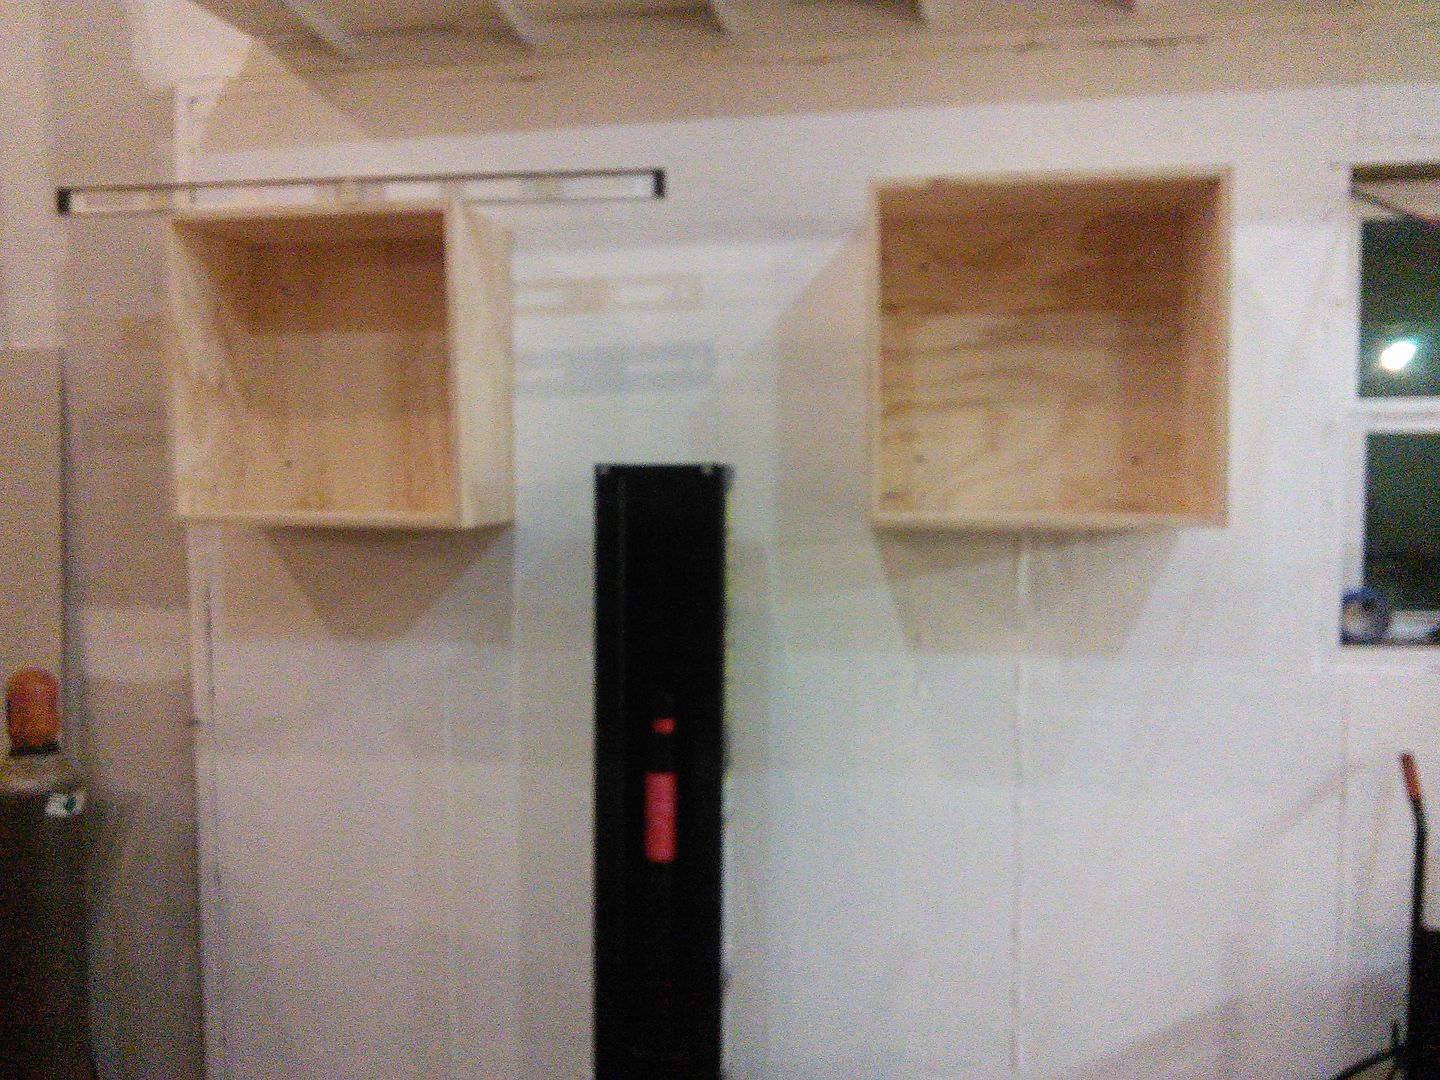
MZD I had no idea these Wren houses (wink) were populateing the GROSH....Shoot my wren invaders have reached the grosh attic (sigh) prolly dead ![]() ....
....
In reply to EastCoastMojo :sorry i'm not knowing what that response meant...i'm old and not fully aware of this type of 'code' ....
STICKERS! Thank you sir, we (Alex and i) got a kick out of the note too. I'll send pics of them "installed" as soon as we have time
Jim
In reply to Justjim75 :
I'm glad they made it and that you liked the note. Mrs. Deuce was all "you cant' tell his kid to break stuff" ![]()
In reply to ronniejay :
I grabbed this one at Home Depot for $40 though it looks like pretty much everywhere has them in the $35-40 range for basically the same light. There was a discussion about them in the main forum a while ago and I don't remember which one they ended up suggesting. This was a bit of an impulse purchase. My plan is to wait and see if anyone has them cheap as part of a Black Friday/Christmas promotion and pick up enough of them to replace the bulbs in the work bay. For $10 more they also had a four foot LED light with built in bluetooth speakers. I don't stream music, but if I did, that would be a pretty neat thing to hang over the workbench.
Every time we head out to go rock crawling in the Bronco, I look at Alex and ask him what he thinks the next weak link is. It's something of a joke between us that you never know how much something can take until you break it, be it mind, body or "parts"
Mostly done with refreshing the work bay. If I wasn't storing the Miata I'd be scrubbing the concrete and ordering a couple of gallons of white Rust Bullet. I just need to cut shelves for in and in between the cabinets. I have a few scraps, but I need another sheet to get as many as I want. I also made a bit of a mistake. I'm happy.
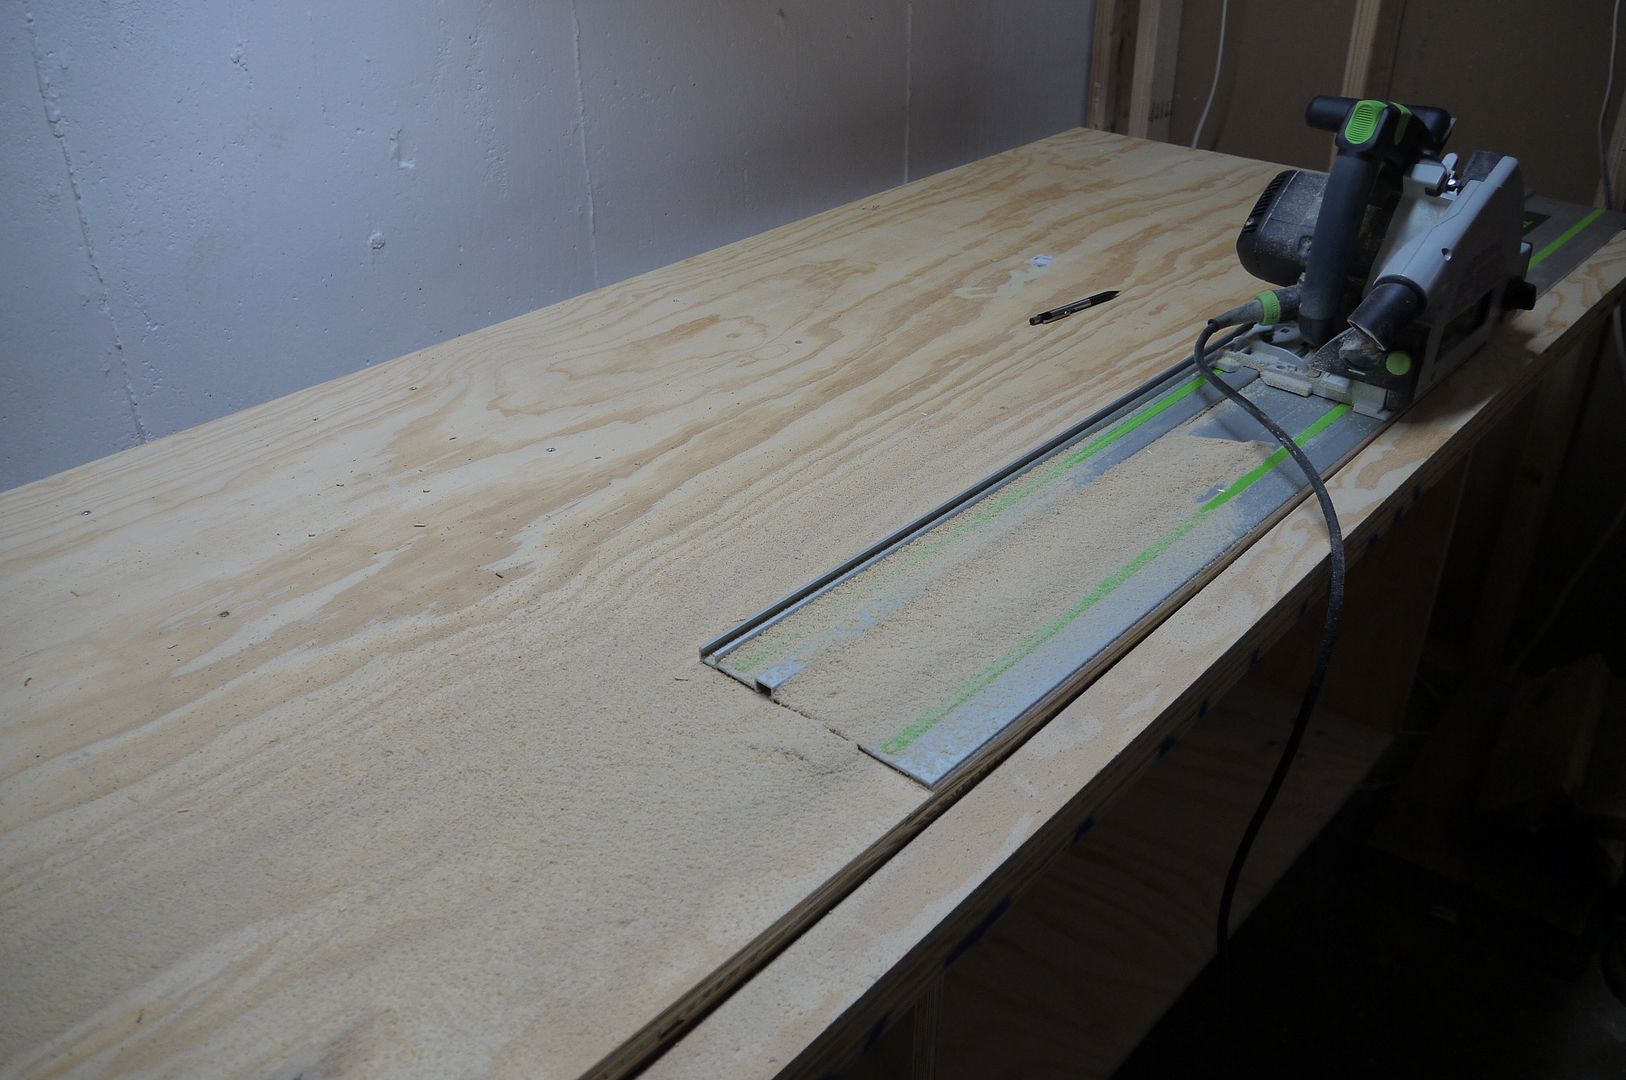
Also boxed myself into a corner this morning. I wanted to wait to do a final cut on the two sheets that make up the top until they were screwed together. Once I had that done I realized that I couldn't carry 1.5 sheets of 3/4 plywood by myself without injury potential. I did the cut inside. I hate cutting wood inside.
Super busy kid week with no good blocks of time to work on the cabover so I'll probably just putter and finish the shelves. This has been a productive diversion for me. Can't wait to plop the heads on the new workbench and put them back together.
I'm trying to decide if it's worth buying a laminate trimmer just to surface this. I already tracked down the laminate and glue locally, and I'd like to learn. I probably should.
I would suggest using masonite/hardboard applied over the current plywood surface, using a few flat head screws set flush with the surface for attachment. Masonite is reasonably durable and at $12-13 per sheet, cheap enough to replace periodically if its gotten beat up or dirty. I've yet to try this, although I've seen the idea a few times and it makes a lot of sense.
Stainless cleans up with a flapper wheel and takes a heck of a beating. Or copper so weld splatter won't stick. Look into used restaurant equipment auction/sales
2500_Cummins_Ram said:I would suggest using masonite/hardboard applied over the current plywood surface, using a few flat head screws set flush with the surface for attachment. Masonite is reasonably durable and at $12-13 per sheet, cheap enough to replace periodically if its gotten beat up or dirty. I've yet to try this, although I've seen the idea a few times and it makes a lot of sense.
Currently in use on my bench ......over 15 years old and still looking good .....ok looking like a work bench should
You'll need to log in to post.