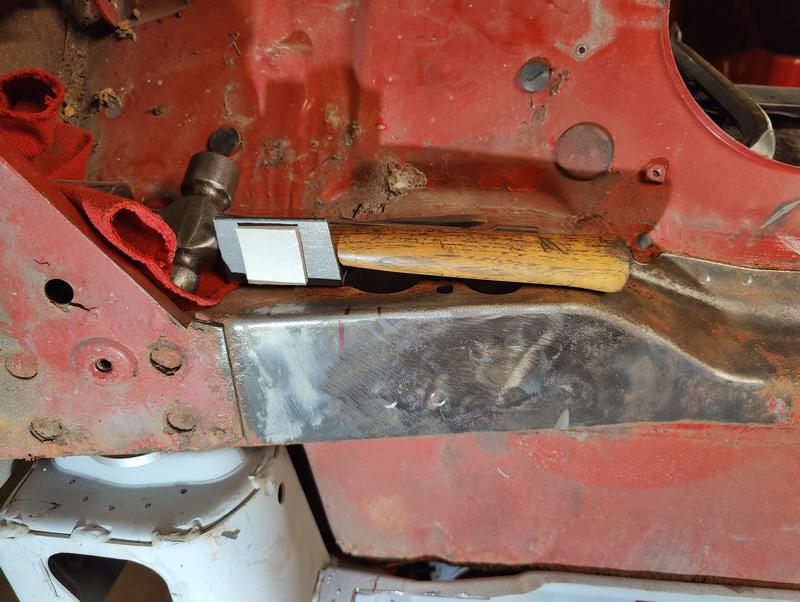
Today I'm making brackets and such to weld in to mount all the stuff in front.....to that end I got to use a new tool today! I needed to remove the big heavy bracket that the clutch hose attaches to, so I got out my spot weld cutter kit. I bought it about 30 years ago and never had used it before, so there was a learning curve as I broke one fairly quickly - but, once I got the hang of it, it worked really well, even in this thick metal. Should make separating some of these other panels easier than just ripping them apart with an air chisel.
I was concerned that if I just chiseled it off it would tear the underlying metal and I would have to weld in a patch.
I also was sent a link to a Facebook page for folks who put modern engines in classic Minis, and one of the guys on there has done exactly what I'm doing, so I'm hoping he has a build thread somewhere so I can copy his work! 

I had to pause my bracket making when I realized that if I set the tank all the way down in the subframe, the pipes for the coolant wouldn't clear and would hang down below the subframe......so.......
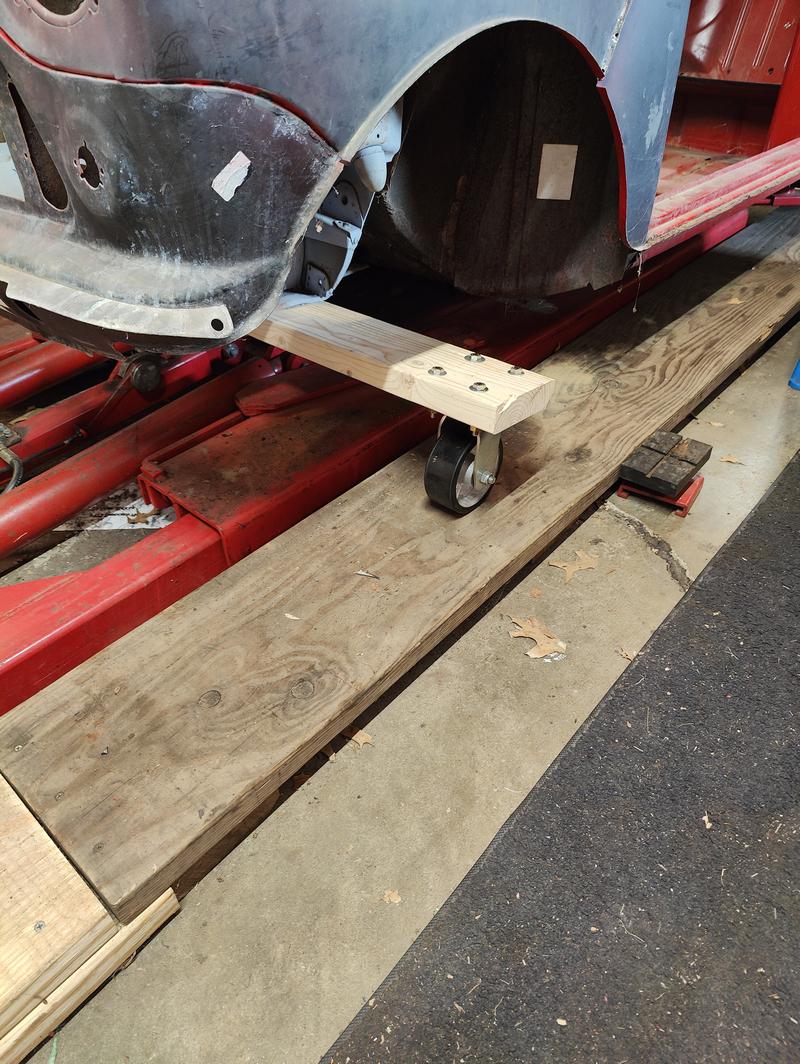
I decided I was tired of working in filth and I need to get the shell outside where I can go after the mud and mud dauber's nests with my pressure washer. To do that I needed to make some sort of dolly. I dug around an found these 5" casters, I bolted them to a 2X6 and bolted that to the subframe. I figure if I can get a couple of my young, strong neighbors to help, we can "wheelbarrow" it out onto the driveway. Getting back in might be a trick, but we'll figure it out. I had to make it wide enough that the casters would ride on the boards beside the lift....
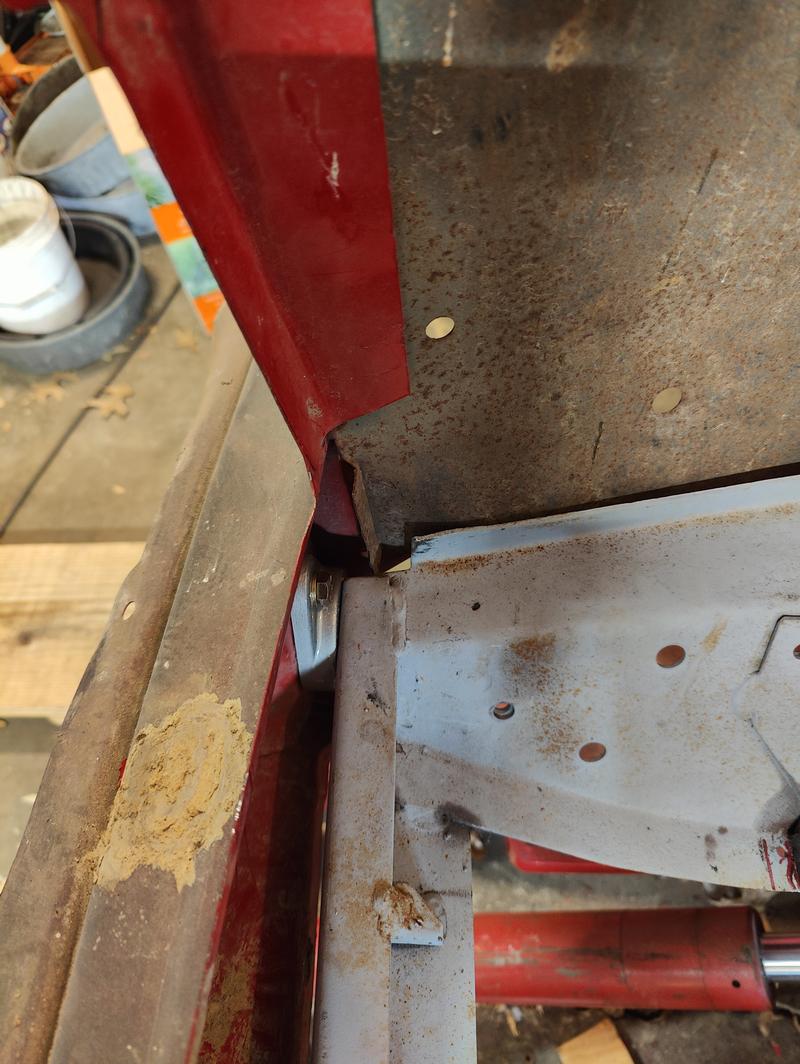
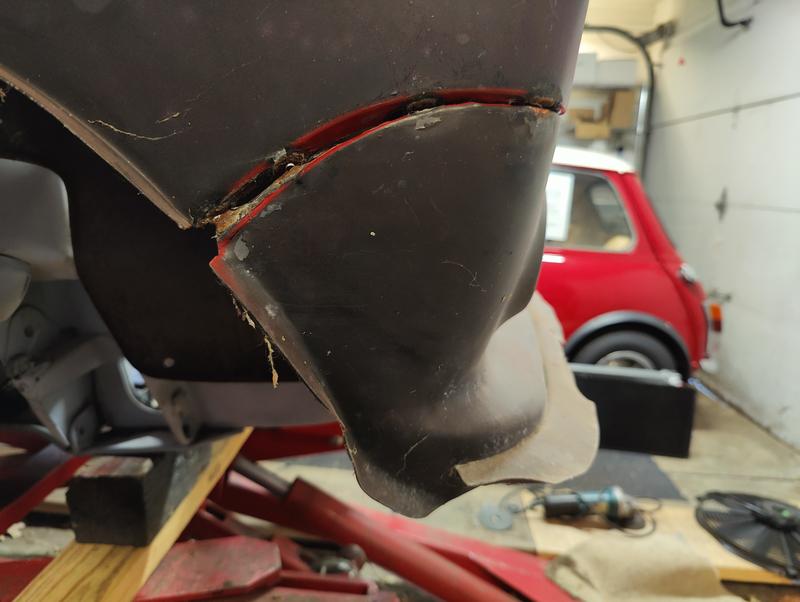
I had a problem with the front panel not being square to the subframe, so Don brought his porta power over and we moved it out enough to get the spacer in place. Things lined up pretty well except for the gap that opened up at the outer corner between the fender and the valance. Dan thinks it will pull together with a judicious application of clamps and welds.

I still haven't gotten the car out of the garage as I'm having trouble co-ordinating with strong/younger neighbors to give me a hand (one's wife had a baby this weekend so he's excused), and since a car ran over my foot at the car show last Sunday I'm not really in any shape to lift it, so I decided to get started on cutting out the old rusty floor panels and welding in new shiny ones.
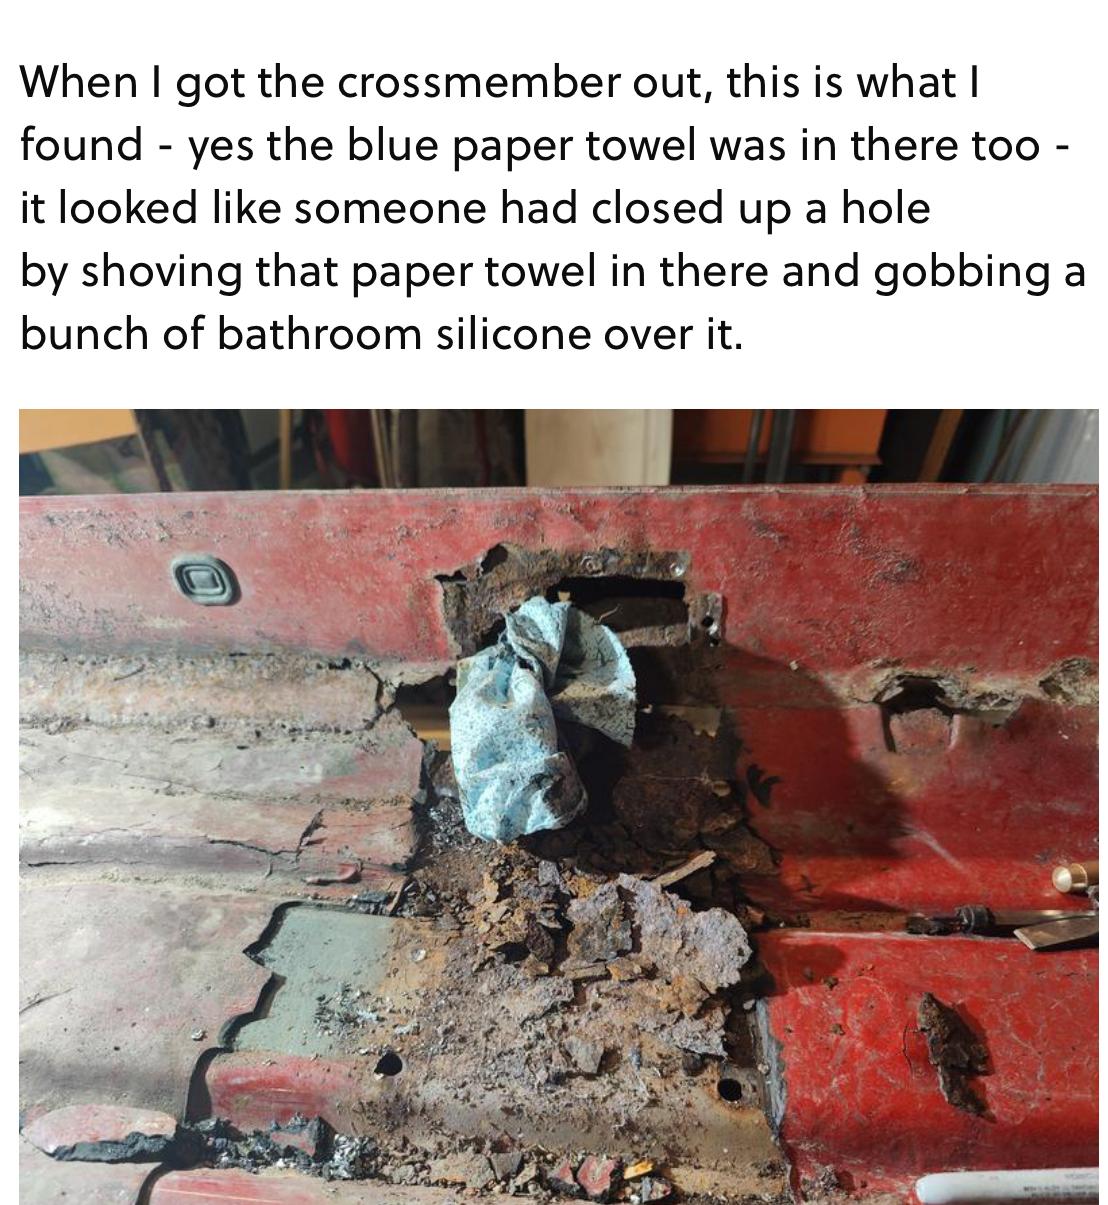
I started by removing this crossmember - I noticed after drilling out a few spot welds that a LOT of big rust chunks were falling at my feet.
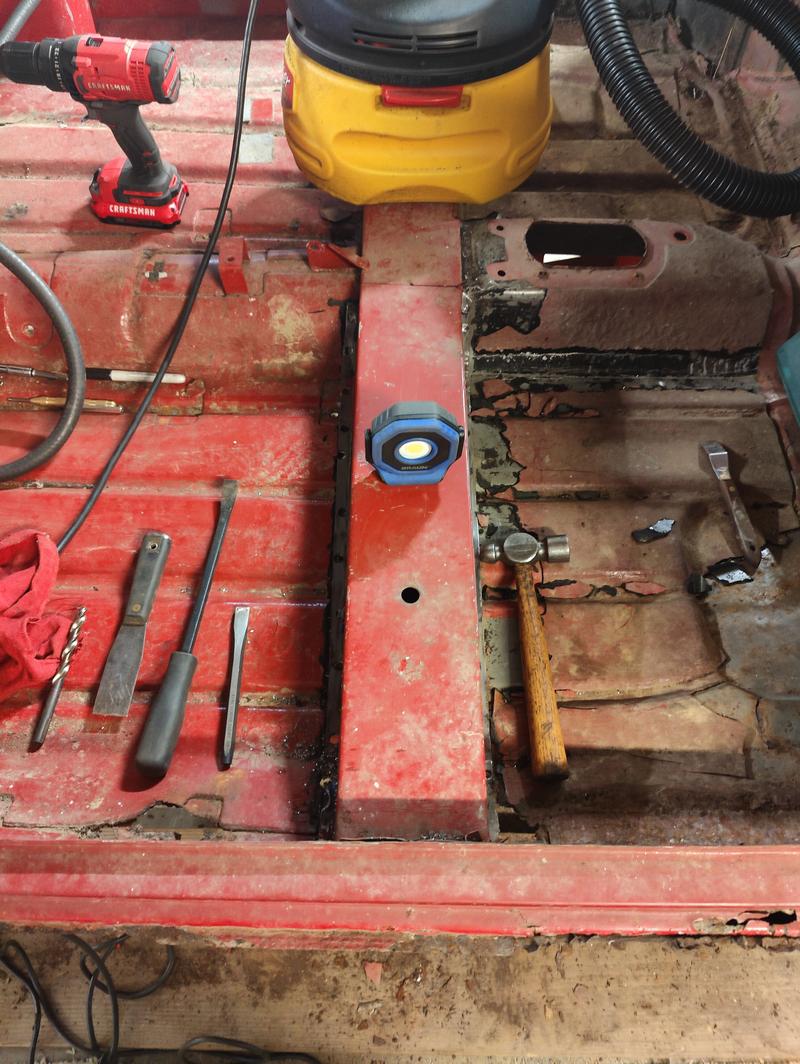
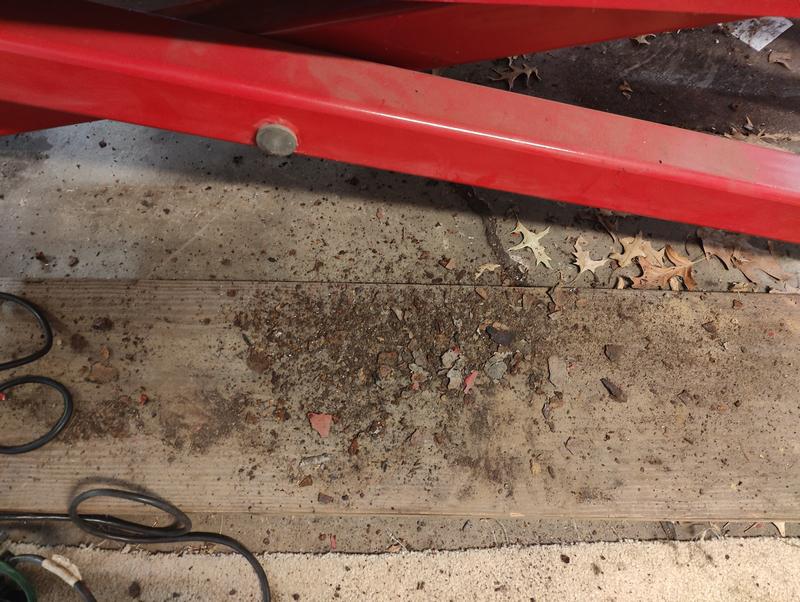
When I got the crossmember out, this is what I found - yes the blue paper towel was in there too - it looked like someone had closed up a hole by shoving that paper towel in there and gobbing a bunch of bathroom silicone over it.
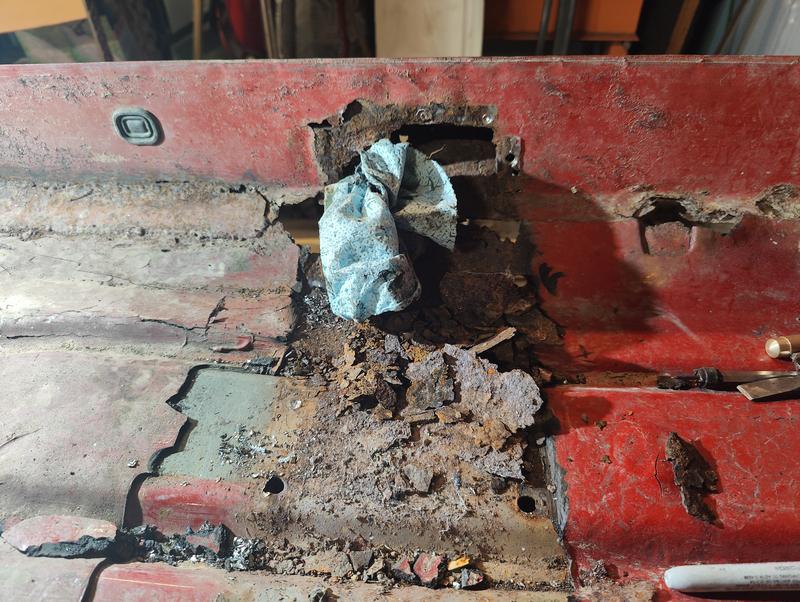
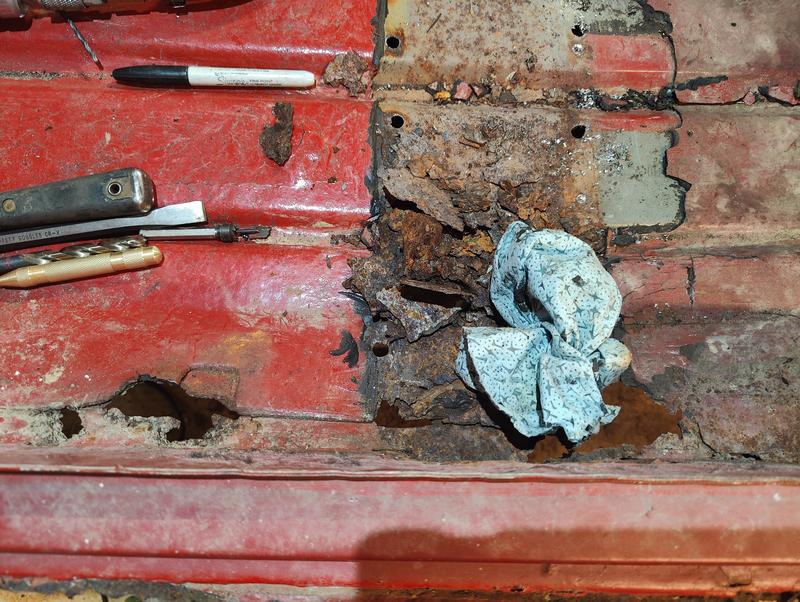
You'll also notice there is a fairly thick sound deadening applied to these panels which I have to remove in order to get at the spot welds, and it is a royal PITA to get off of there. Sometimes if I can catch an edge I can drive a scraper under it and lift off a section, but usually I have to take my heat gun to it to get it soft enough to scrape off. PITA!
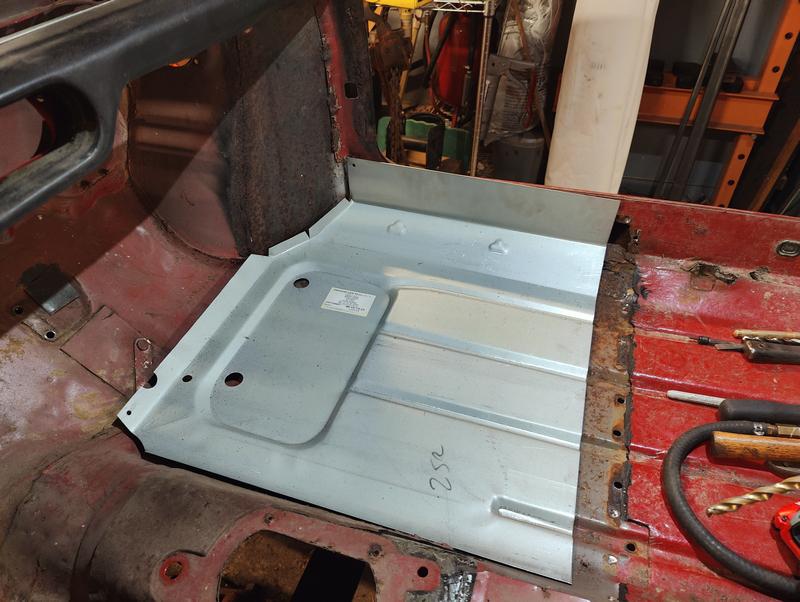
With that out of the way I dropped the new panel into place so I can start figuring out where exactly to cut out the old one and start welding in the new. I'm a little undecided about the sequence of what to cut and weld first as I'll be rebuilding the entire lower side of the car. On Binky they welded in the door step area first and I need to do that as well, so I may do that before cutting out the floor. It's a mess, no question!
Finally got the hot rod off the rack and out into the driveway for a bath! It only took me and one other guy to do that but I'll have a spare helper to get it back in - over the lip into the shop and up the ramps onto the rack again. It's a nice, warm, dry day so once it's baked a while we'll roll it back in again.....with so many holes in the floors and sheet metal, it drained easily! 
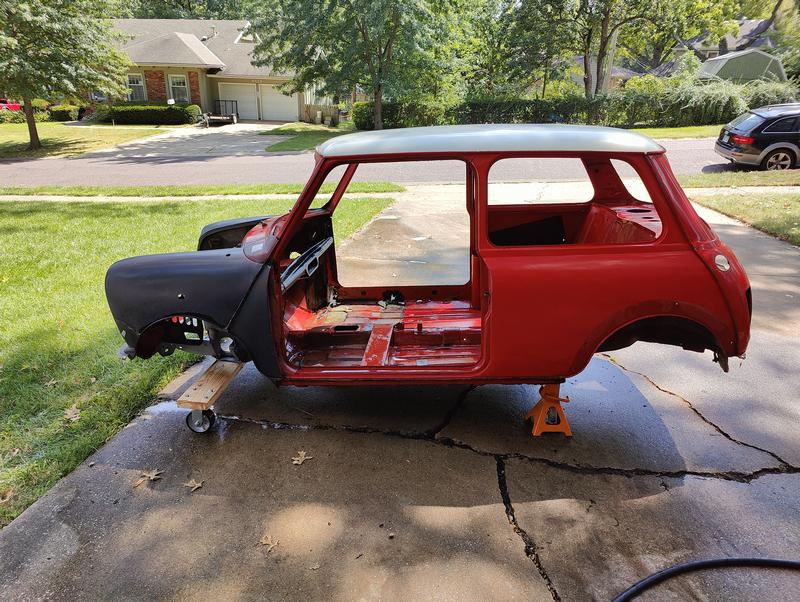
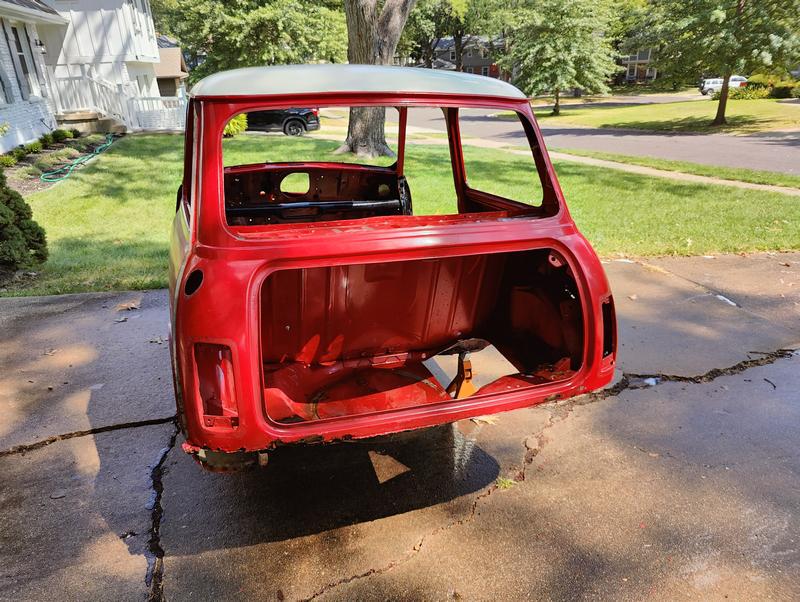
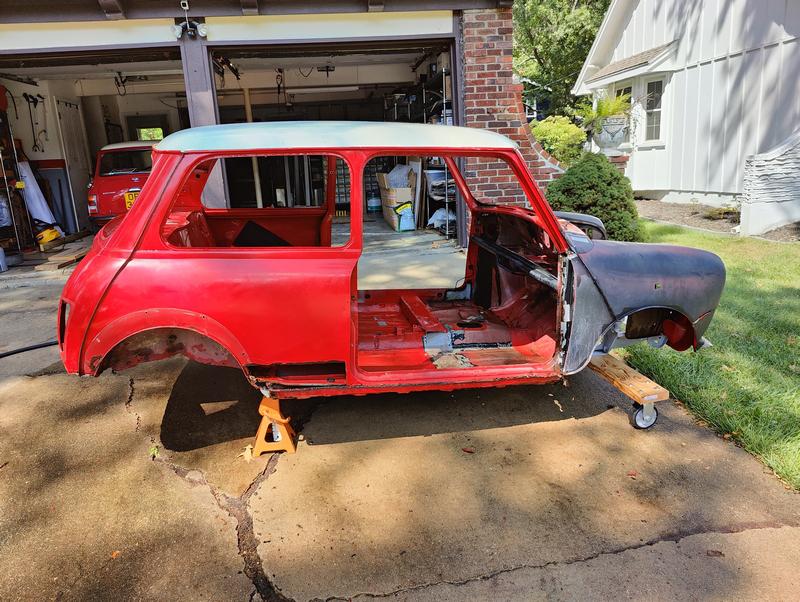
It was surprisingly easy to roll it back into the shop!
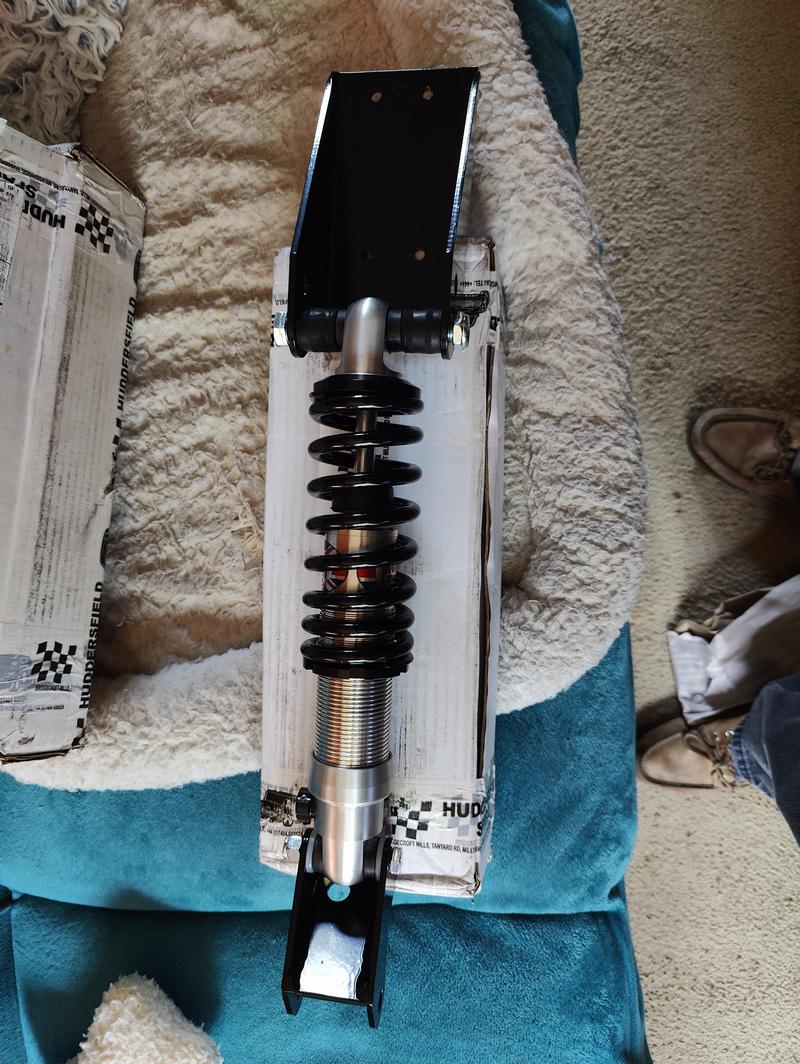
Also, today the front coilovers came in. Once a few other bits show up I can build up the front end, then I can roll it around on actual wheels.....at least in the front!
Looks like you're making good progress!

I know it's been a while but this project has not died, I just had to put it aside to complete some other work. I build transmissions for Sprites, especially for racers (straight cut gears) and I owed one to a guy - then a friend of his came in with one for his Bugeye - which became 2 when the one already in the car blew up also (turned out it was run thru two racing events with no oil in it. I've never seen a gearbox that dry! Some of the gears were blue)
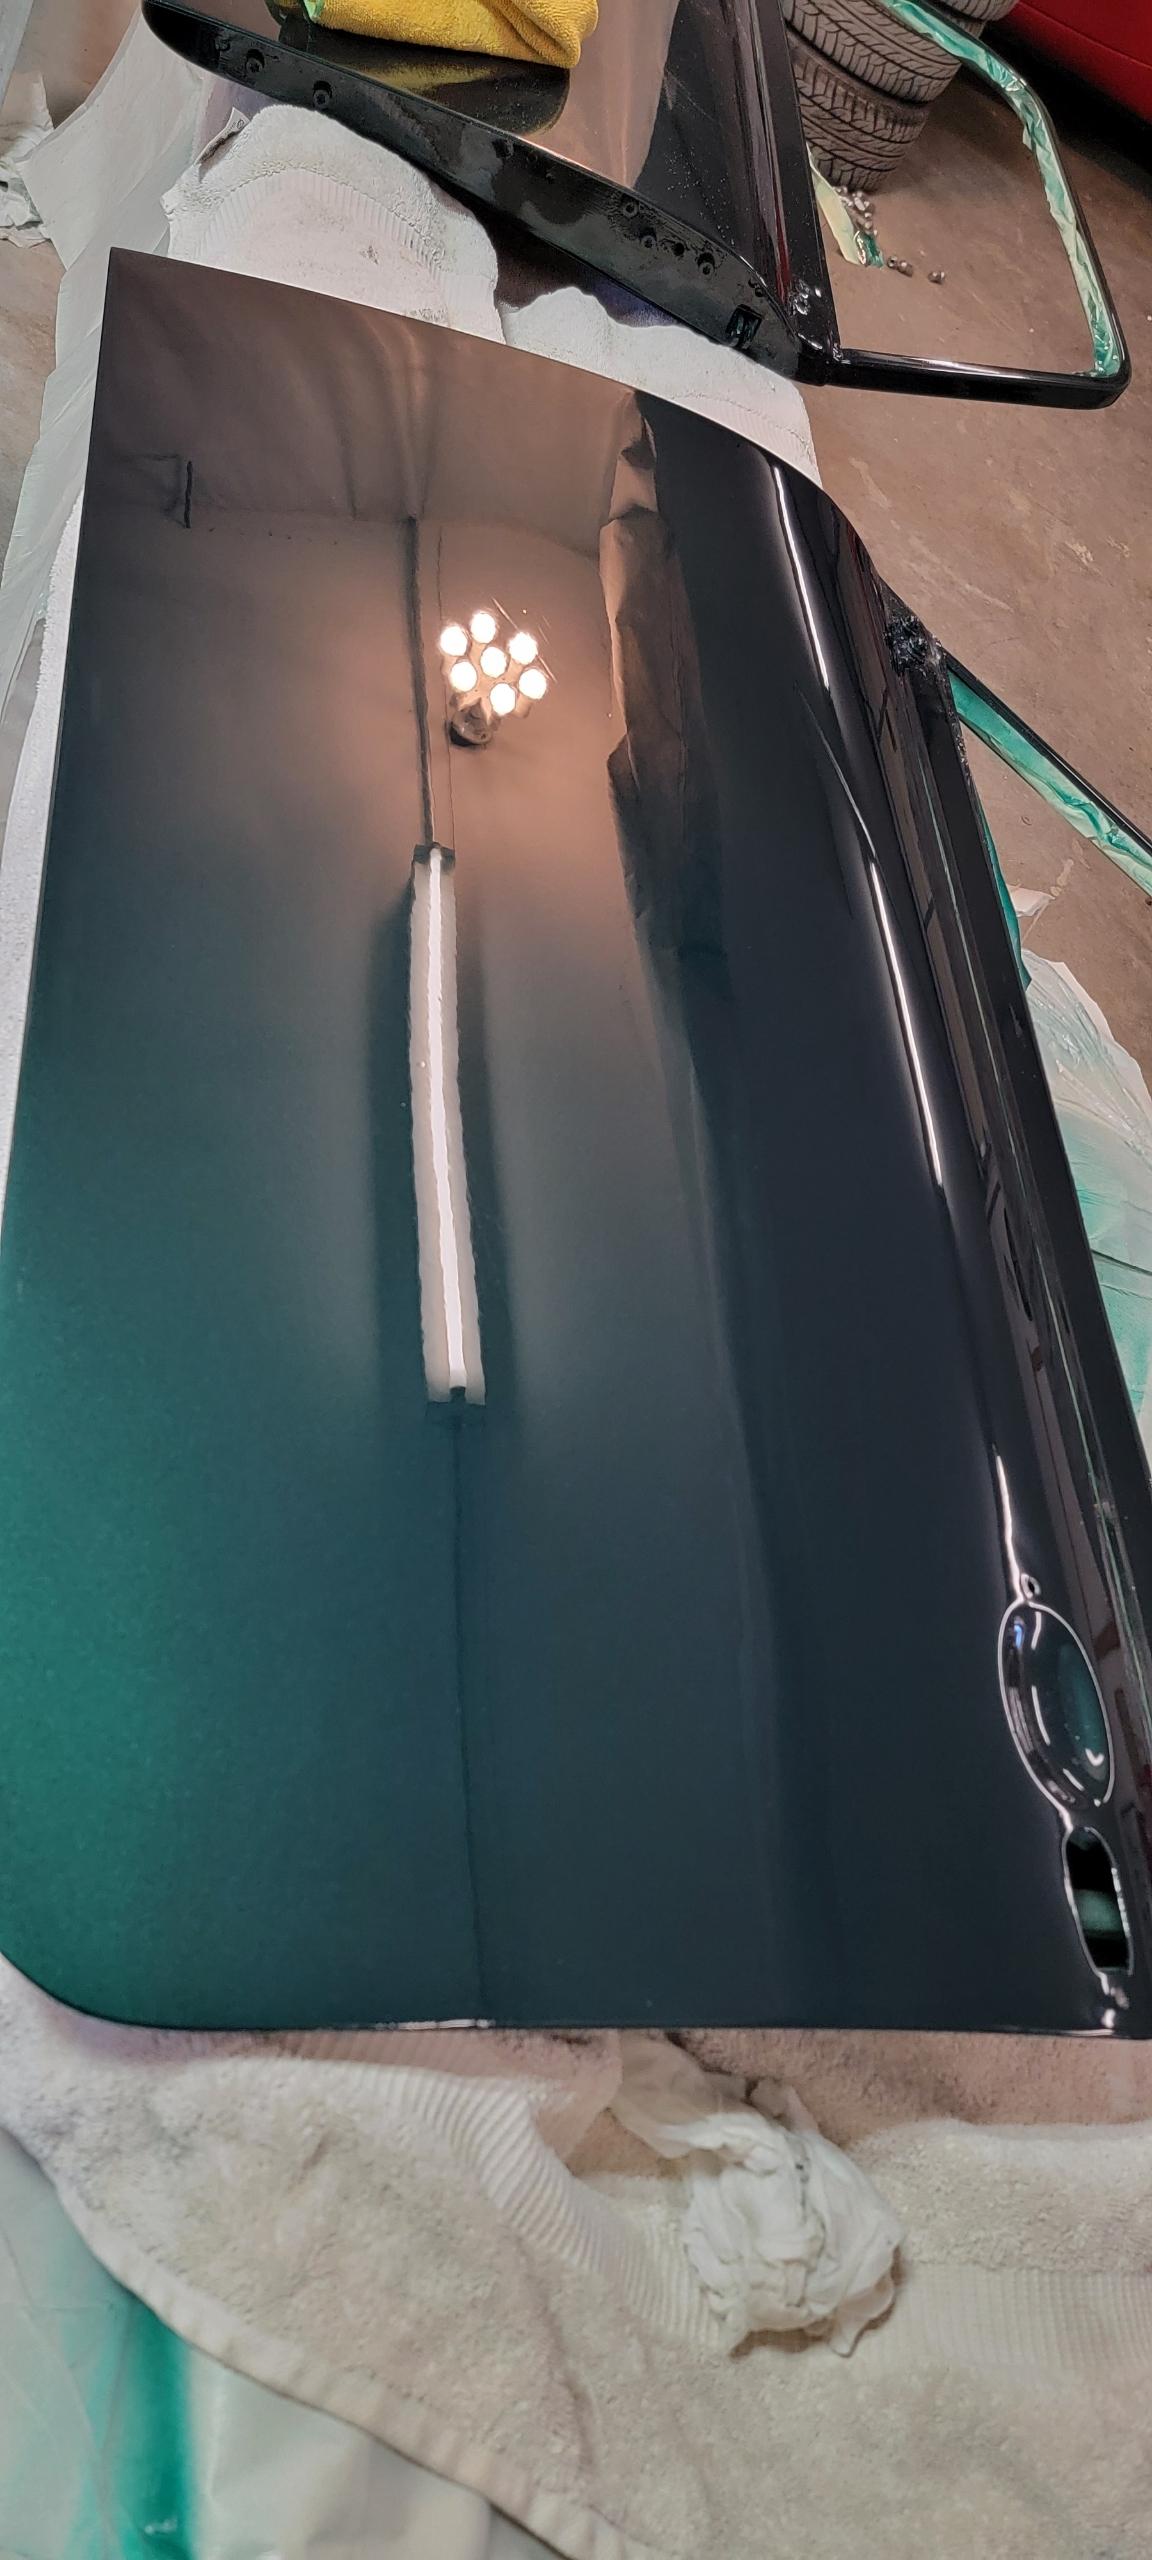
So coupled with the holidays, some final electrical work needed on the Inno before it leaves in Mid Feb, a wedding for my grandson and who knows what else I'm almost ready to jump back in on my project once the Inno leaves. In mid-Feb I'll be taking it down to Tulsa to the new owner, and picking up my Racing Green Mini from his shop after he painted it - which turned out really well!
More as it happens!
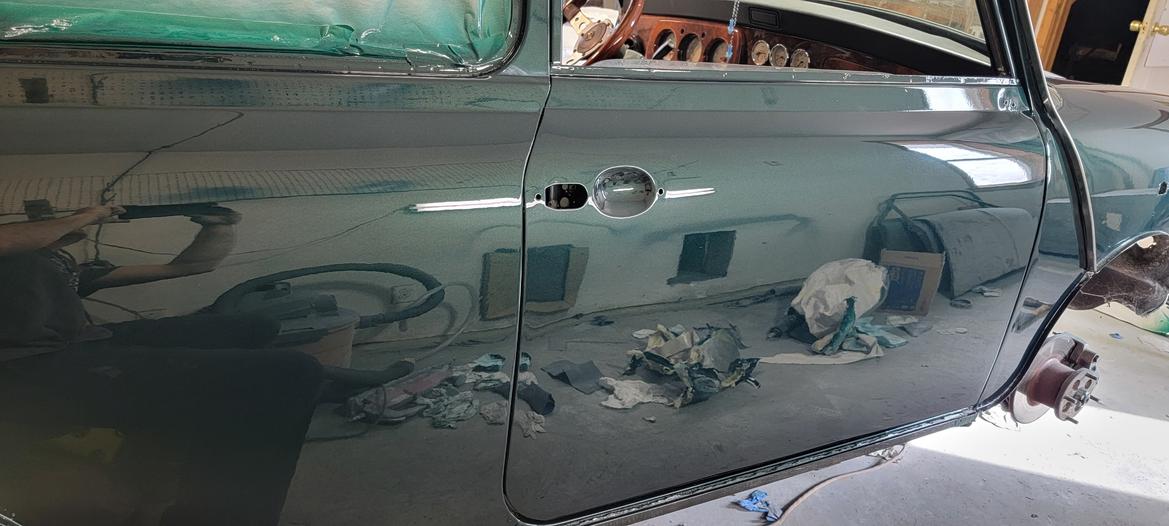
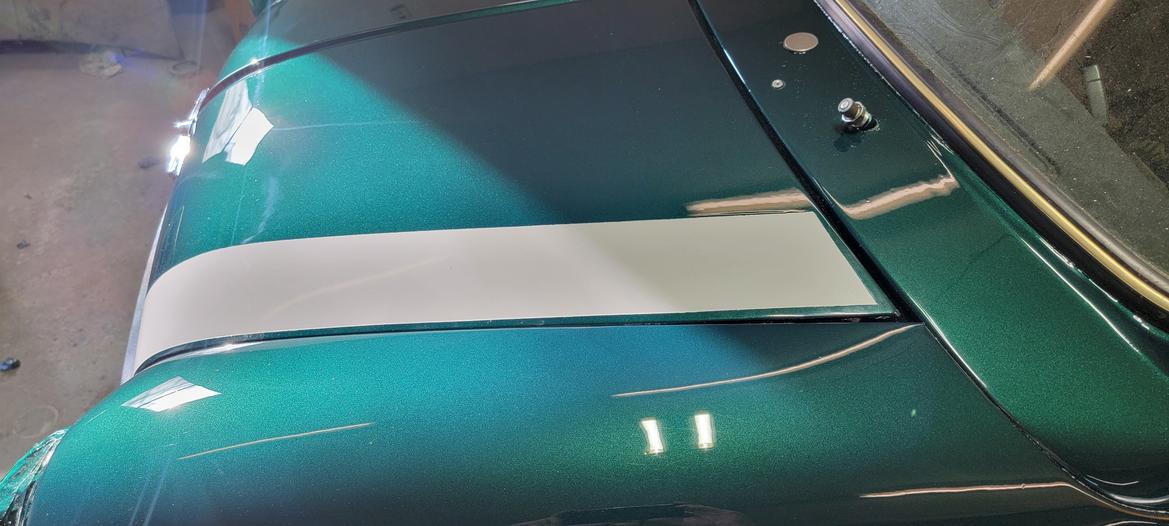
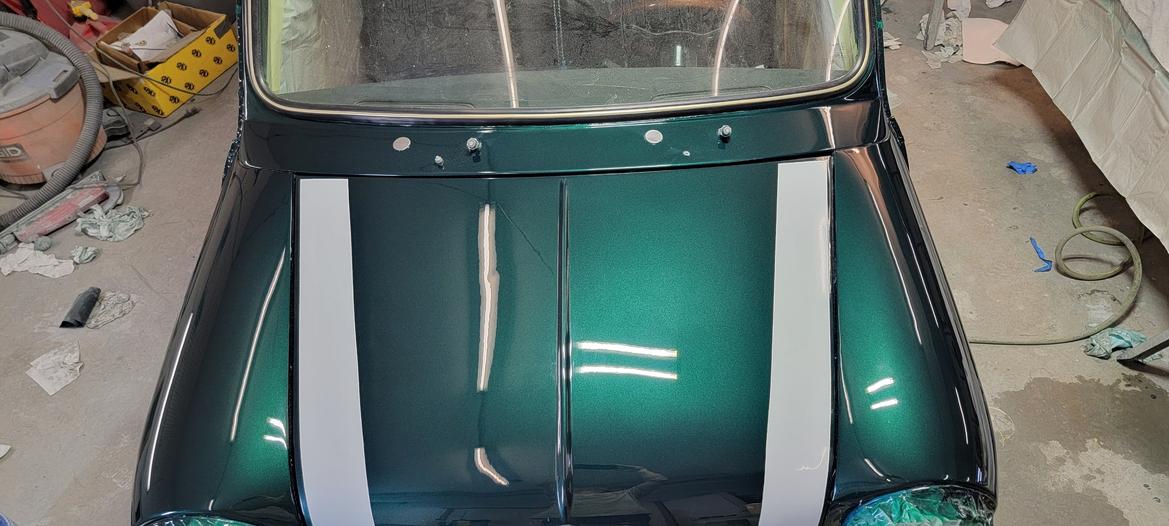
A few pics of the Racing Green in progress - he still needs to cut and polish most of it. The racing stripes are painted on. Can't wait to get it back....since this is a part time gig for him it's been there since last August. Should get it back just in time for some spring driving and events.
Not kosher? What do ya know.......
Were you affiliated with the local junior college? I could swear I recognize your place from swinging by for a part for my brother in law Devin's Mini a few years back
P3ppy - yes, that's me! I taught there for 5 years.....and they call it a "Community College" since they have a larger yearly freshman enrollment than the two state universities combined, they don't consider themselves "junior" to anyone! 
Ian, my last post must not have been very clear - I sent my green car (the one in my Avatar) to my buddy in Tulsa last August- he painted it in his garage. I will be taking his Innocenti back to him and picking up my green Mini mid Feb, then I can get back to working on the hot rod Mini.
Once I start cutting and welding the new metal in I'll put up some more pics of the Hot Rod. It will not be green when finished - or red. Haven't decided on what color yet but I'm leaning toward new MINI White Silver with a silver top. Undecided tho.....
In reply to MiniDave :
Ah... now I see it... only had to read the post three times... work has started to fry my brain...
Carry on...
In reply to MiniDave :
Yeah, true. That's a formidable place! Just keeping it generic because Internet
Cool to see you and your projects on here, it's a small world!
Stay tuned! Things happening on this project at last..... should have more to post tomorrow!
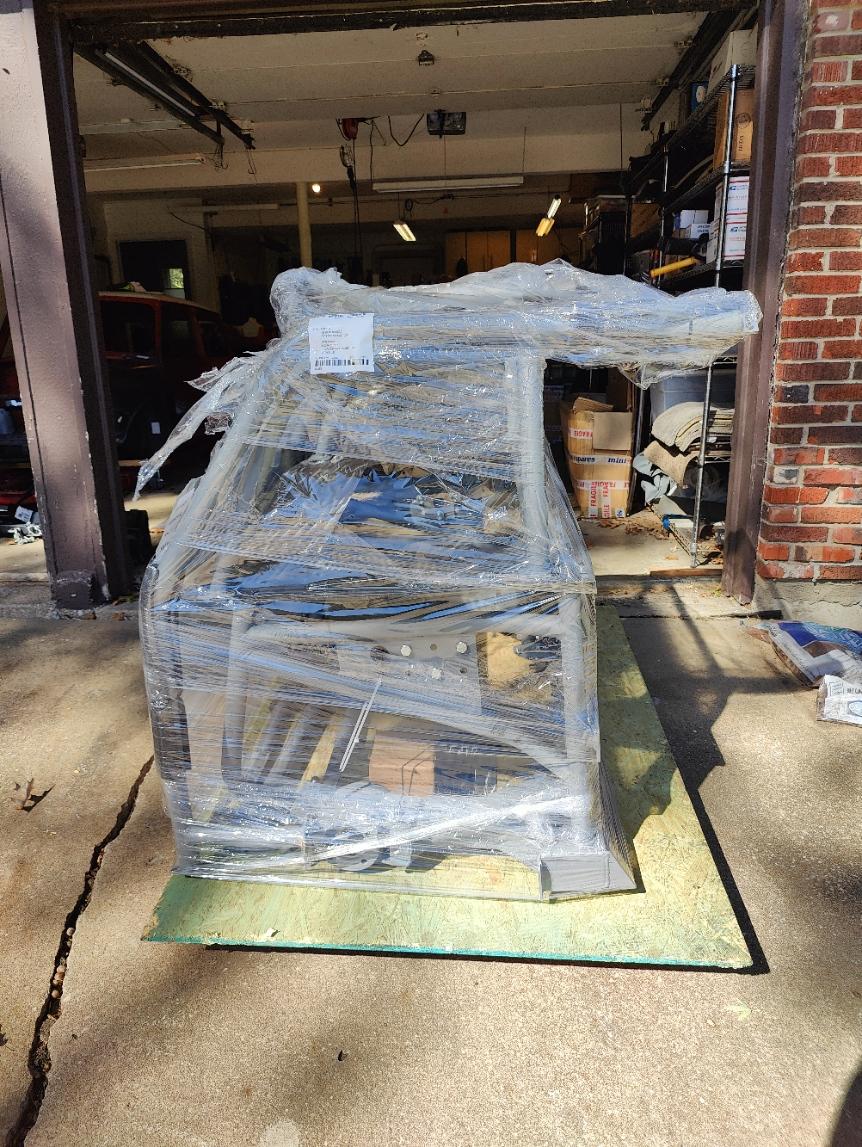
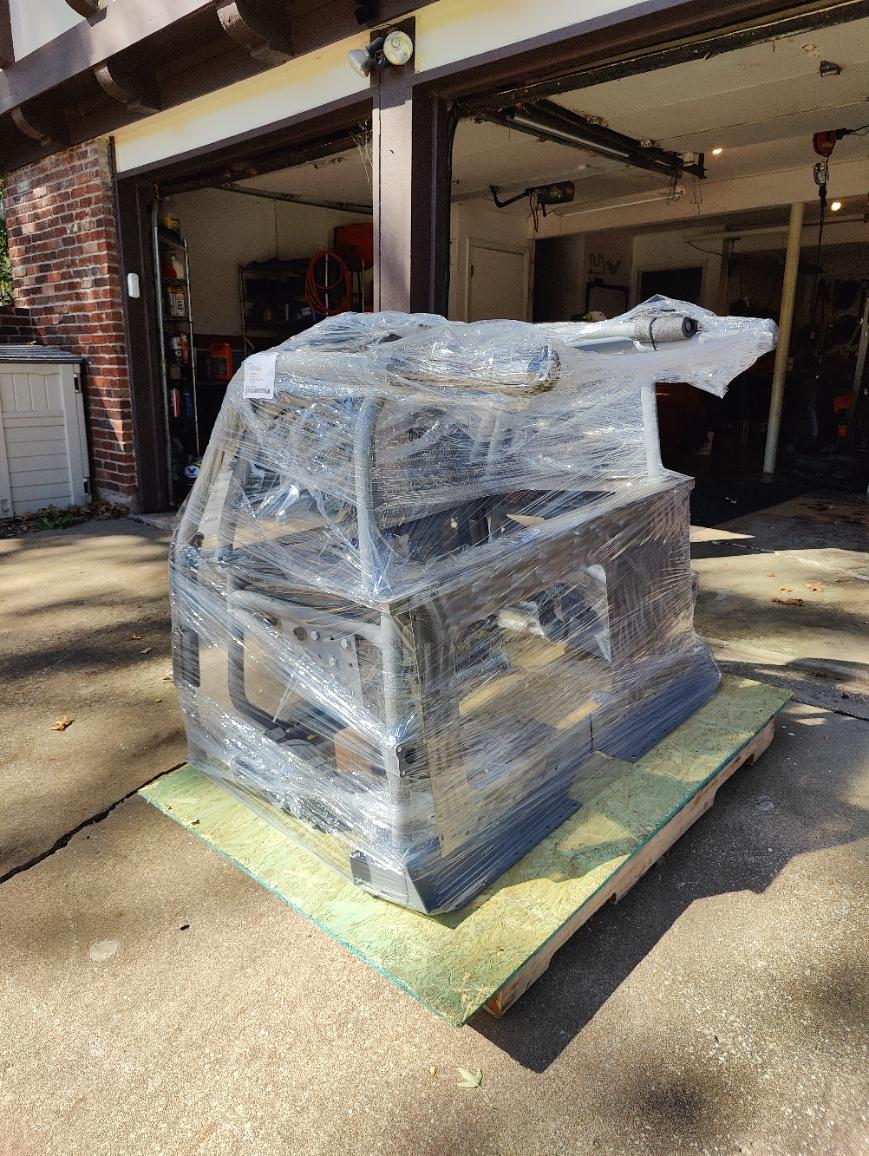
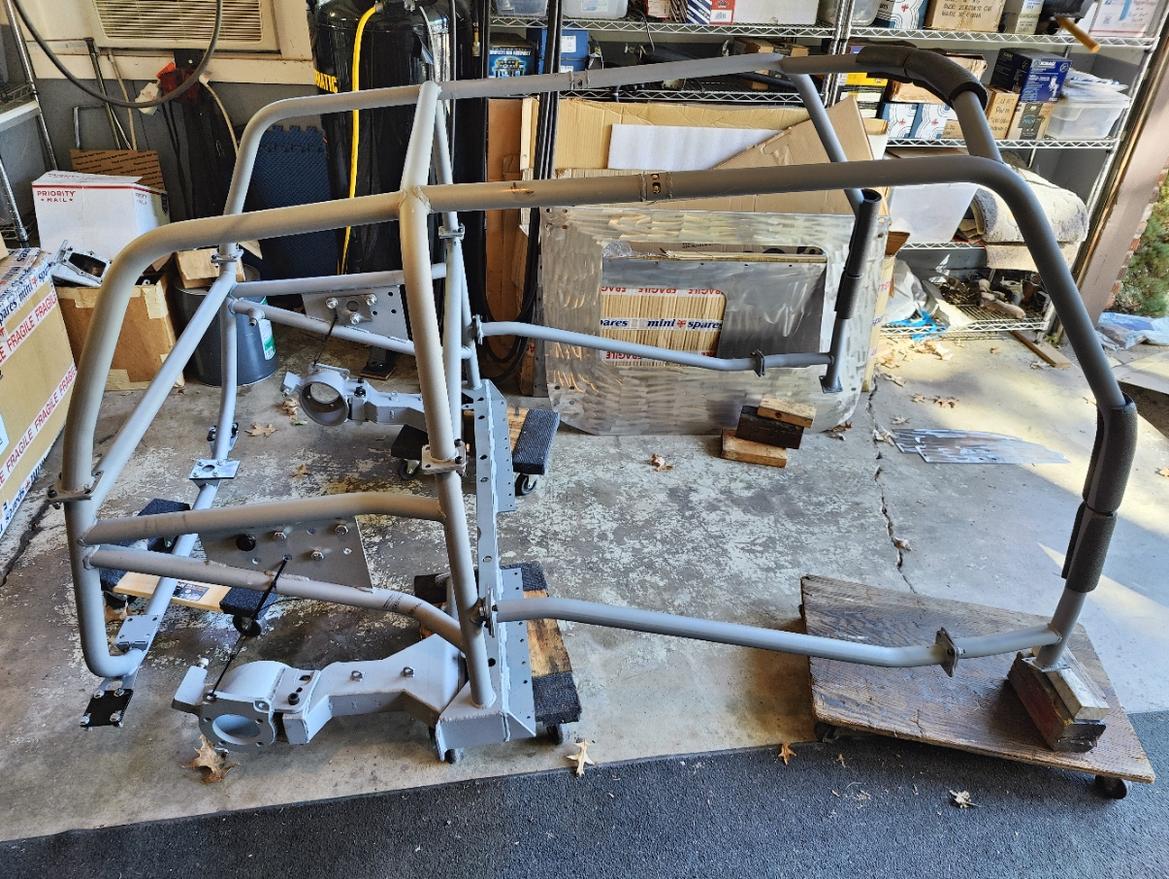
So, the subframe and roll cage are here at last, I unpackaged it all and assembled it so I could see how all the pieces fit. Then I took it all apart again and set the subframe over the motor so I could see how it's going to fit. It fits "ok", but there are some challenges......more on that tomorrow.

I fit up the motor to the subframe and right away several issue were evident - the A/C compressor will NOT fit where it's supposed to, and the axles were at crazy angles to reach the hubs......so I spent several days pondering, moving, adjusting and scratching my head trying to figure out how to make it all work.
I'm still not 100% there, but one question needs to be answered. I always thought the axles should be as straight as possible to the hubs and gearbox under normal ride height - is this correct, or just the preferred situation?
Cause a buddy of mine pointed out the crazy angles his VW bus axles run at all the time. First thought is - yeah, but it's a slow moving low HP bus - except it isn't, it's a 150hp bus that he tows a loaded trailer or a Mini behind at 70+ MPH for hundreds of miles at a time, and after 20K miles or so, his axles still seem fine.
I also seem to remember that Project Binky's front axles run at some angles too?
Point being if i can run some odd angles, I can probably put my A/C compressor back on.
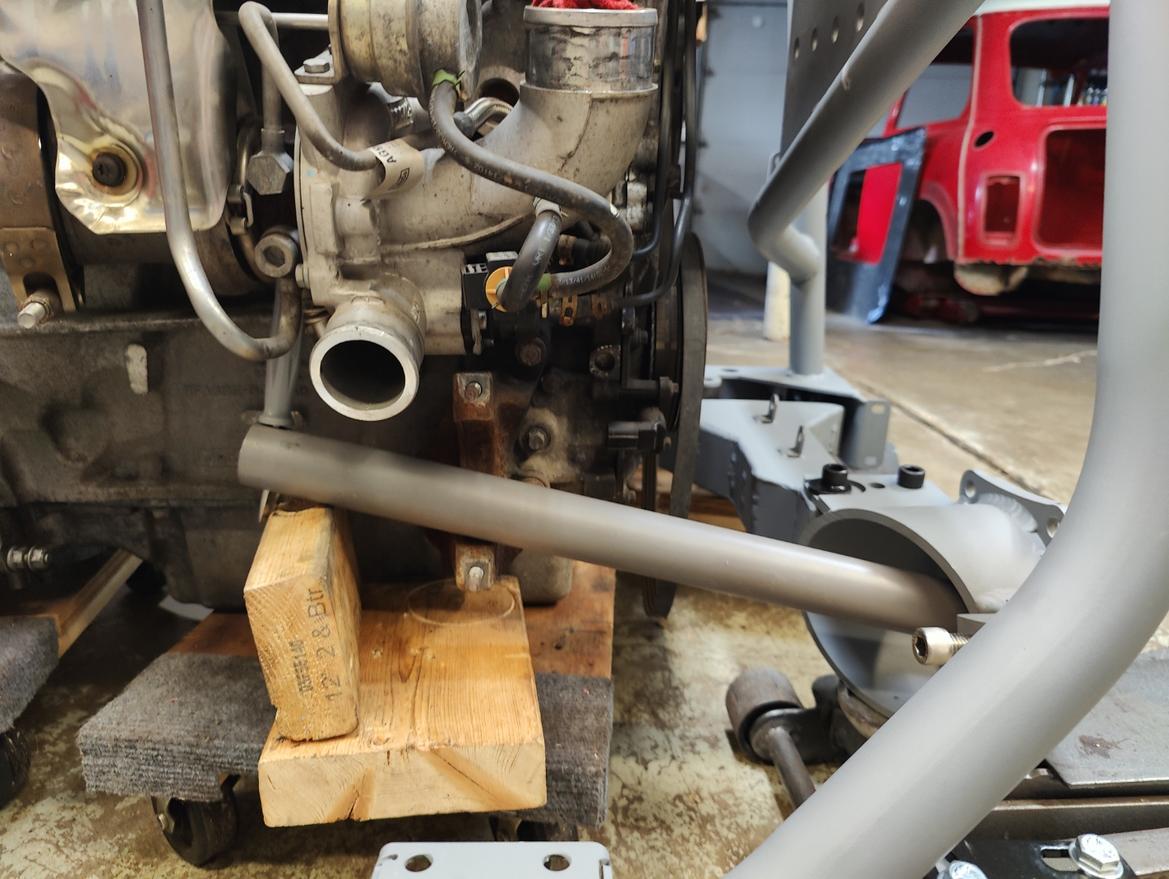
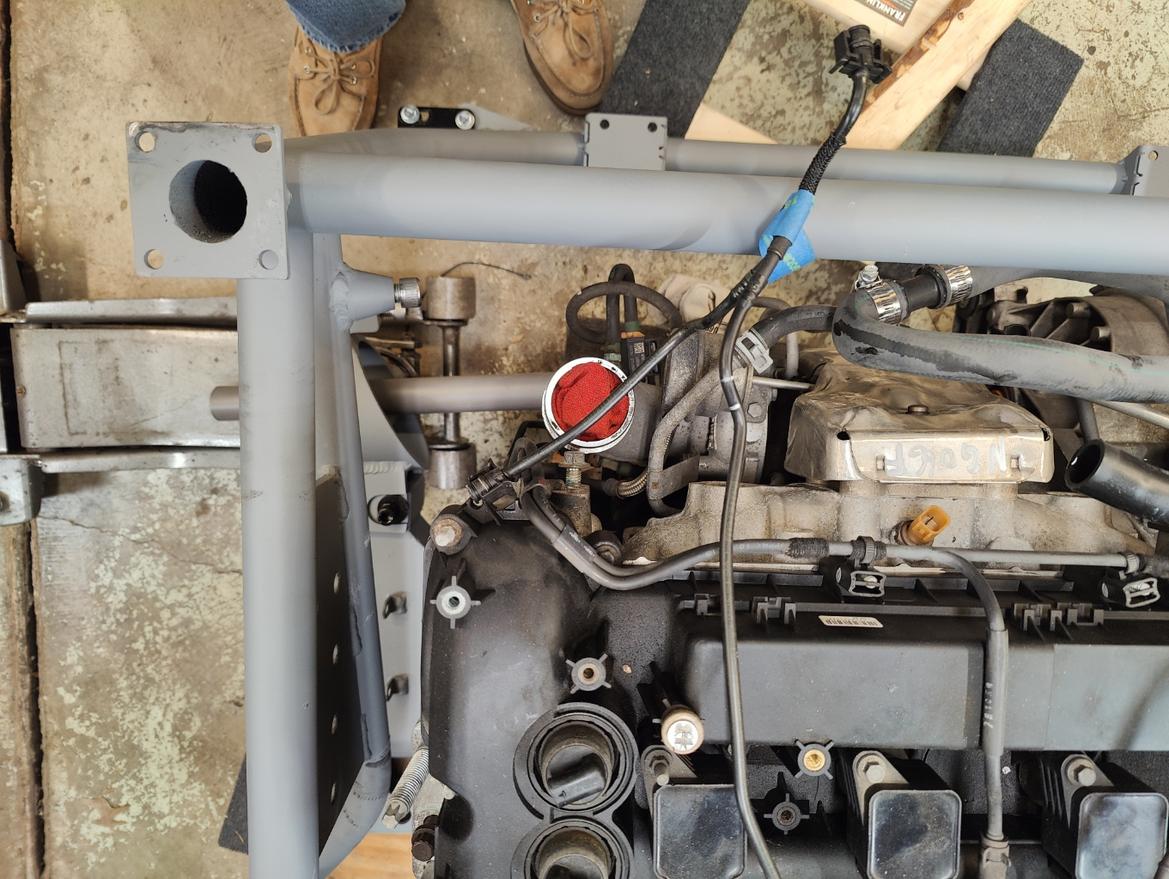
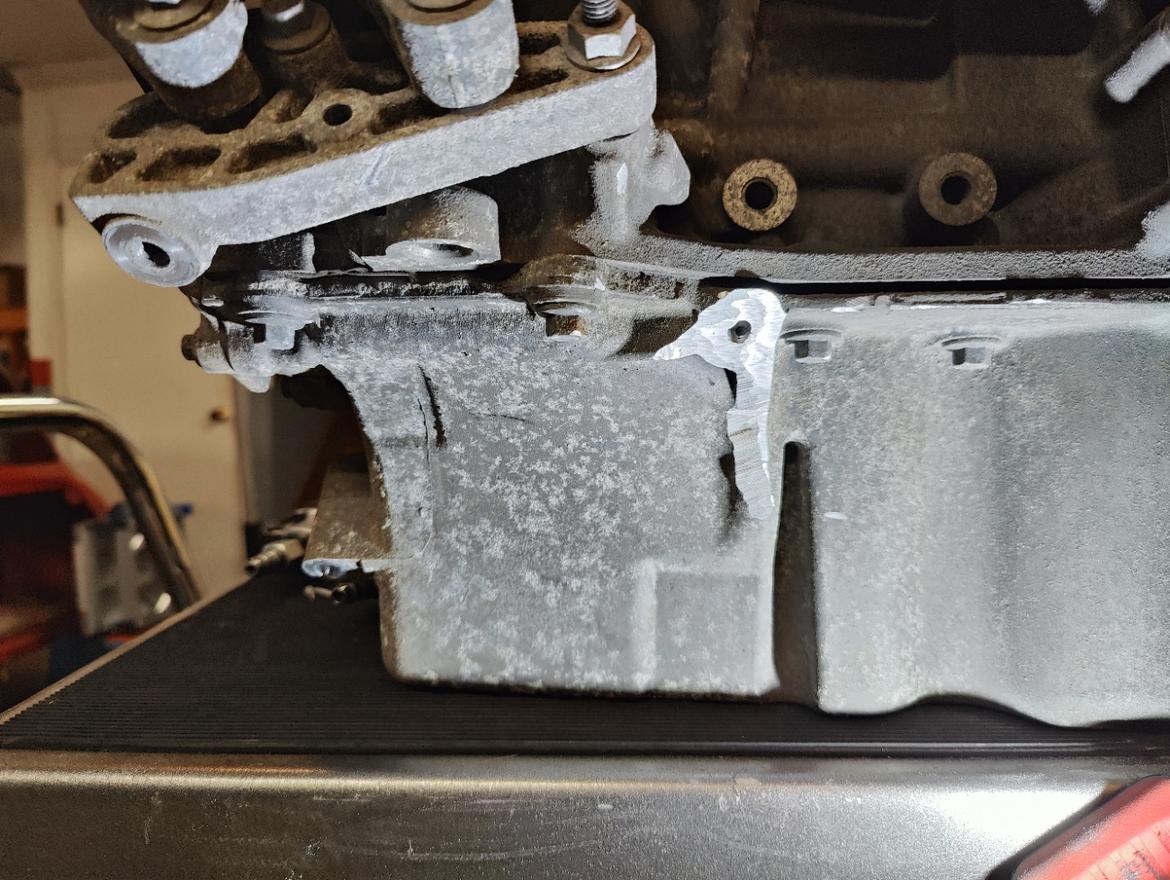
To test out a couple of theories I moved the engine around, tilted it somewhat and built a couple of brackets to set the ride height approximately where I think it will be - at about 1/2 of the shock travel. Doing all that I've managed to get the axles pretty much straight on in both directions. I will have to do some small modifications - I'll need to remove a boss on the oil pan where the A/C compressor used to bolt up, and I will have to completely engineer a bracket to remount the compressor somewhere else......but that at least gets me in the neighborhood.
But, if I can run the angles then I may be able to move the engine back further in the frame set and put the compressor back on.
What say the cognoscenti?

So MiniTec called me back and after a good conversation I now know what to get parts-wise to keep moving forward.
Don dropped by and helped me lift the subframe up and off the engine so I could get it up on my lift table and get started cutting off that boss to make clearance for the suspension arms to move.
Once up on the table it wasn't too hard to cut the boss off and use my angle grinder to clean up the area enough to do a test fit. Putting the subframe back in place by myself turned into a challenge, but using the engine lift and some straps and chains I managed to get it in place.
Now the axles line up nicely and there's room on both ends for the trailing arms to move without hitting anything.
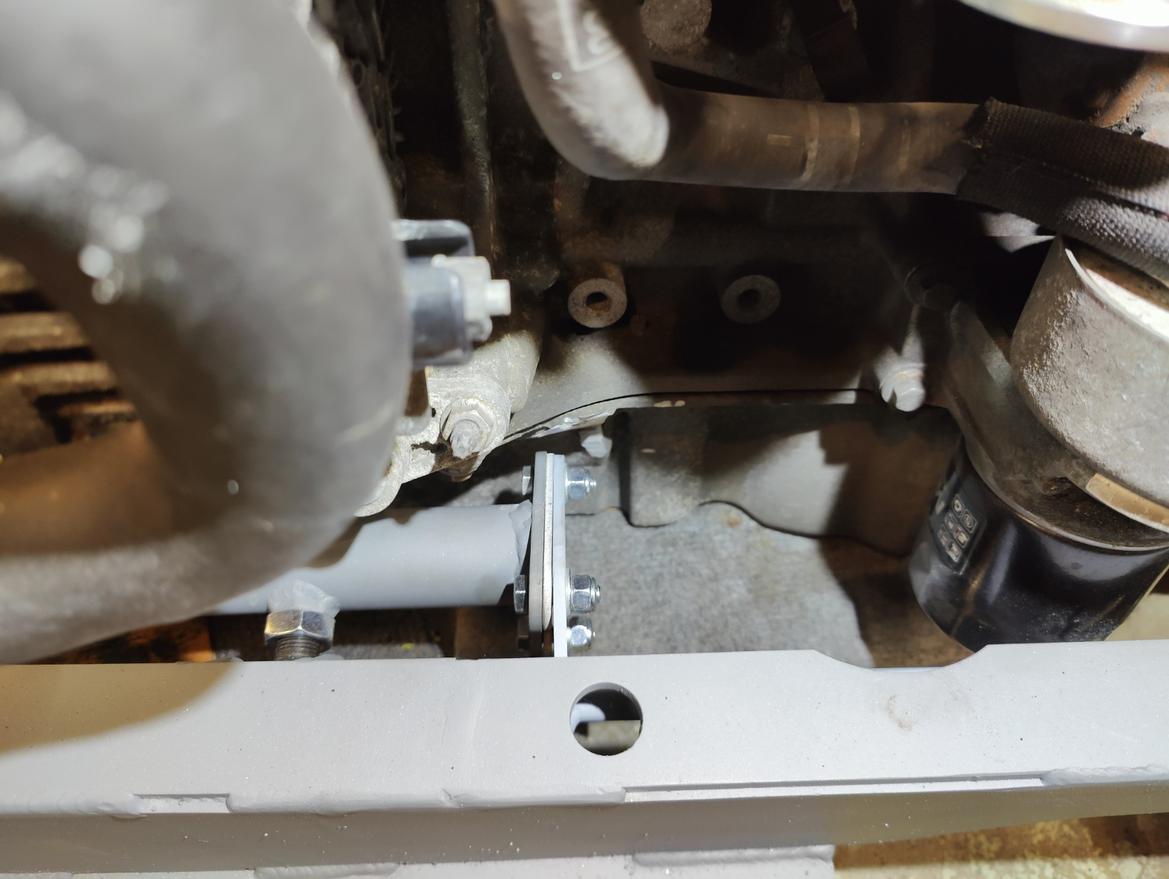
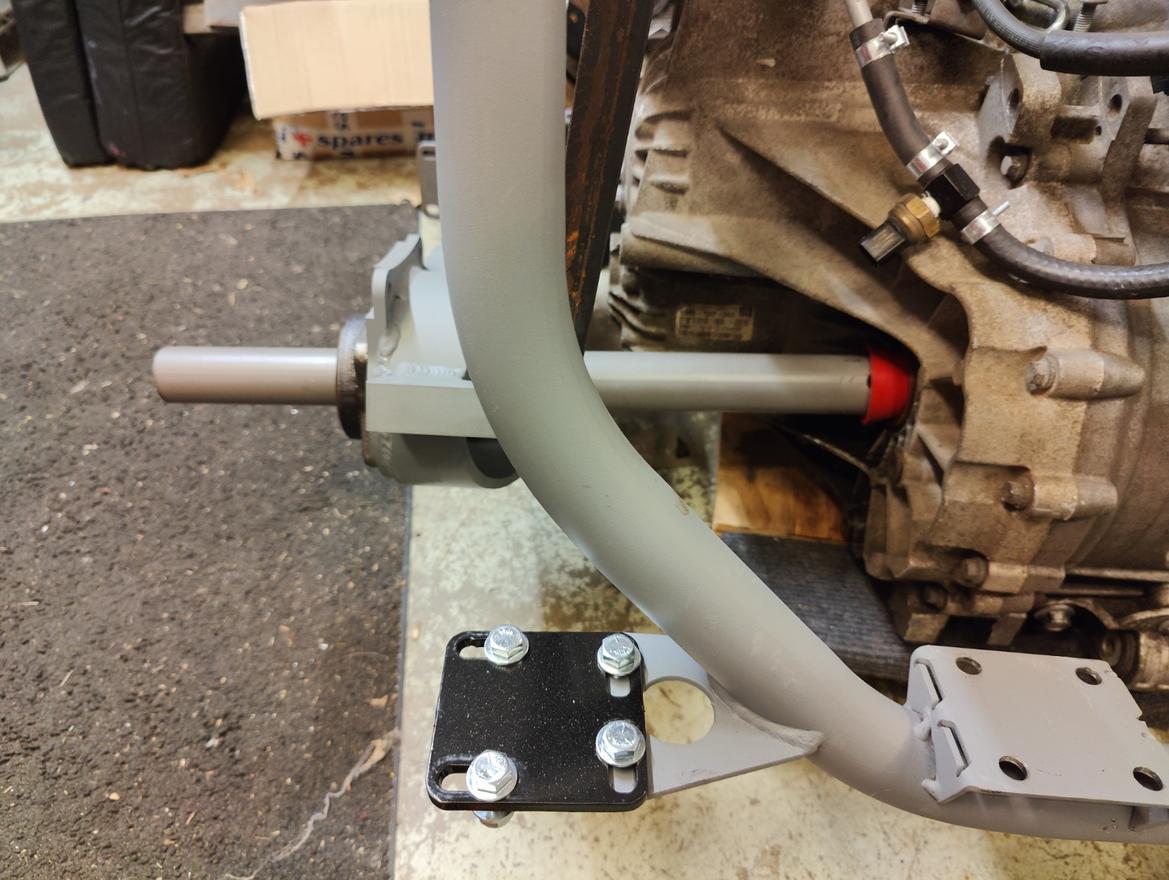
I messaged my brother in England who used to work for Sanden to ask about compressors as I won't be able to use this one now that I'm using the area where it used to mount for the suspension.....he gave me a couple of leads as it's now going to turn the opposite direction - on what compressor to order and it turns out they're readily available and fairly inexpensive. Once I build the motor mounts, add the coilovers and axles, I'll be able to see where exactly I can put it and build some brackets to mount it.
I know on some of the Vtec Mini builds they mount the alternator to the frame rather than the motor - not sure that would work but it's an interesting thought anyway....I'd be concerned with vibration when it's running and how to tension the belt.
1st pic shows where I cut off the boss, second the clearance to the trailing arm and third the nice straight axle lineup.
While I had the subframe standing on its side I also found where the adjustment is for camber, it uses a large eccentric washer to move it where you want it.....simple and effective. A similar set up adjusts toe....
All of the aluminum has a lot of corrosion on it, I found some liquid spray-on stuff that's supposed to clean the corrosion off without damaging the metal......that will be one of the last jobs I do, but I'm definitely going to give it a good shot at cleaning it off. Maybe while the engine's out when the body is at paint would be a good time to tackle that......
Trying to sort out how to do the motor mounts, MiniTec sent me a pair of what they use. The transmichigan end is easy - lots of room. The other end is close! I cut a length of 1 1/2" angle and mounted it to see how I can do this - it's possible - it just fits in the gap, but it is tight!
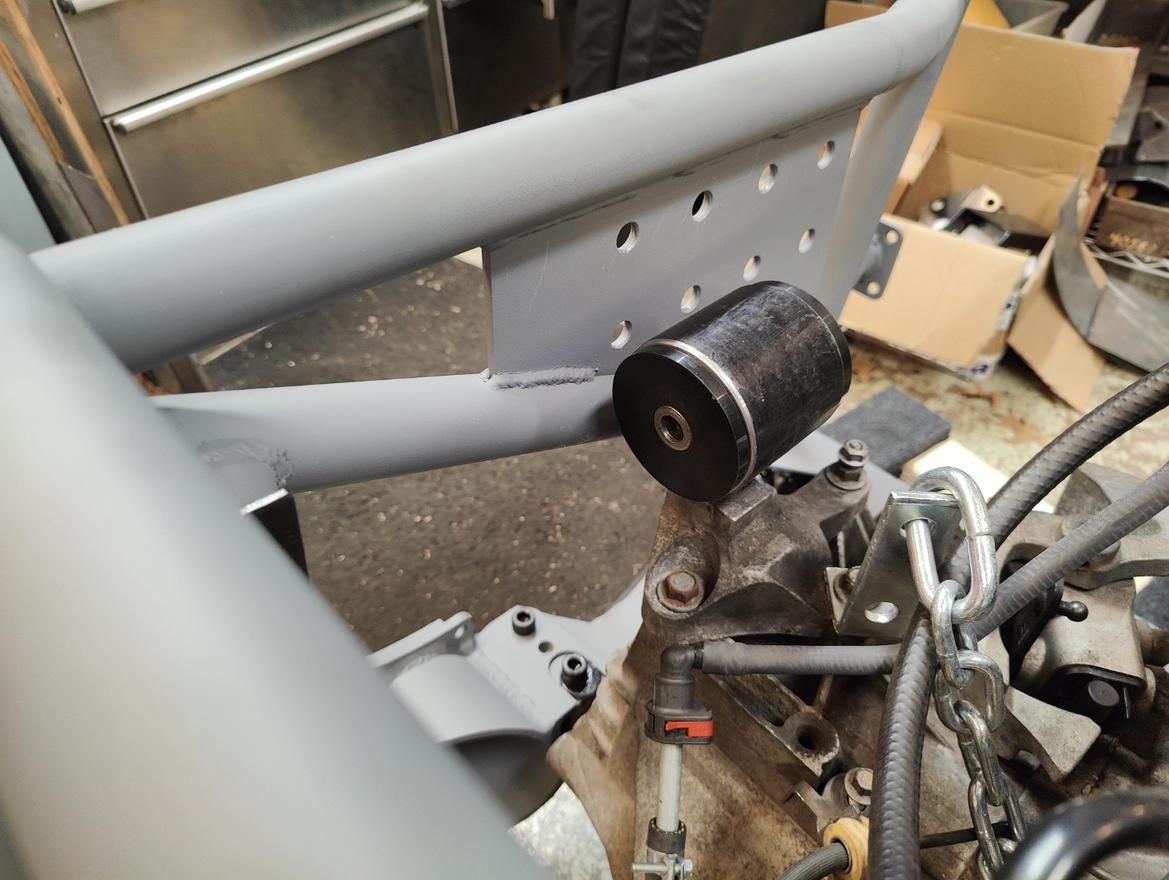
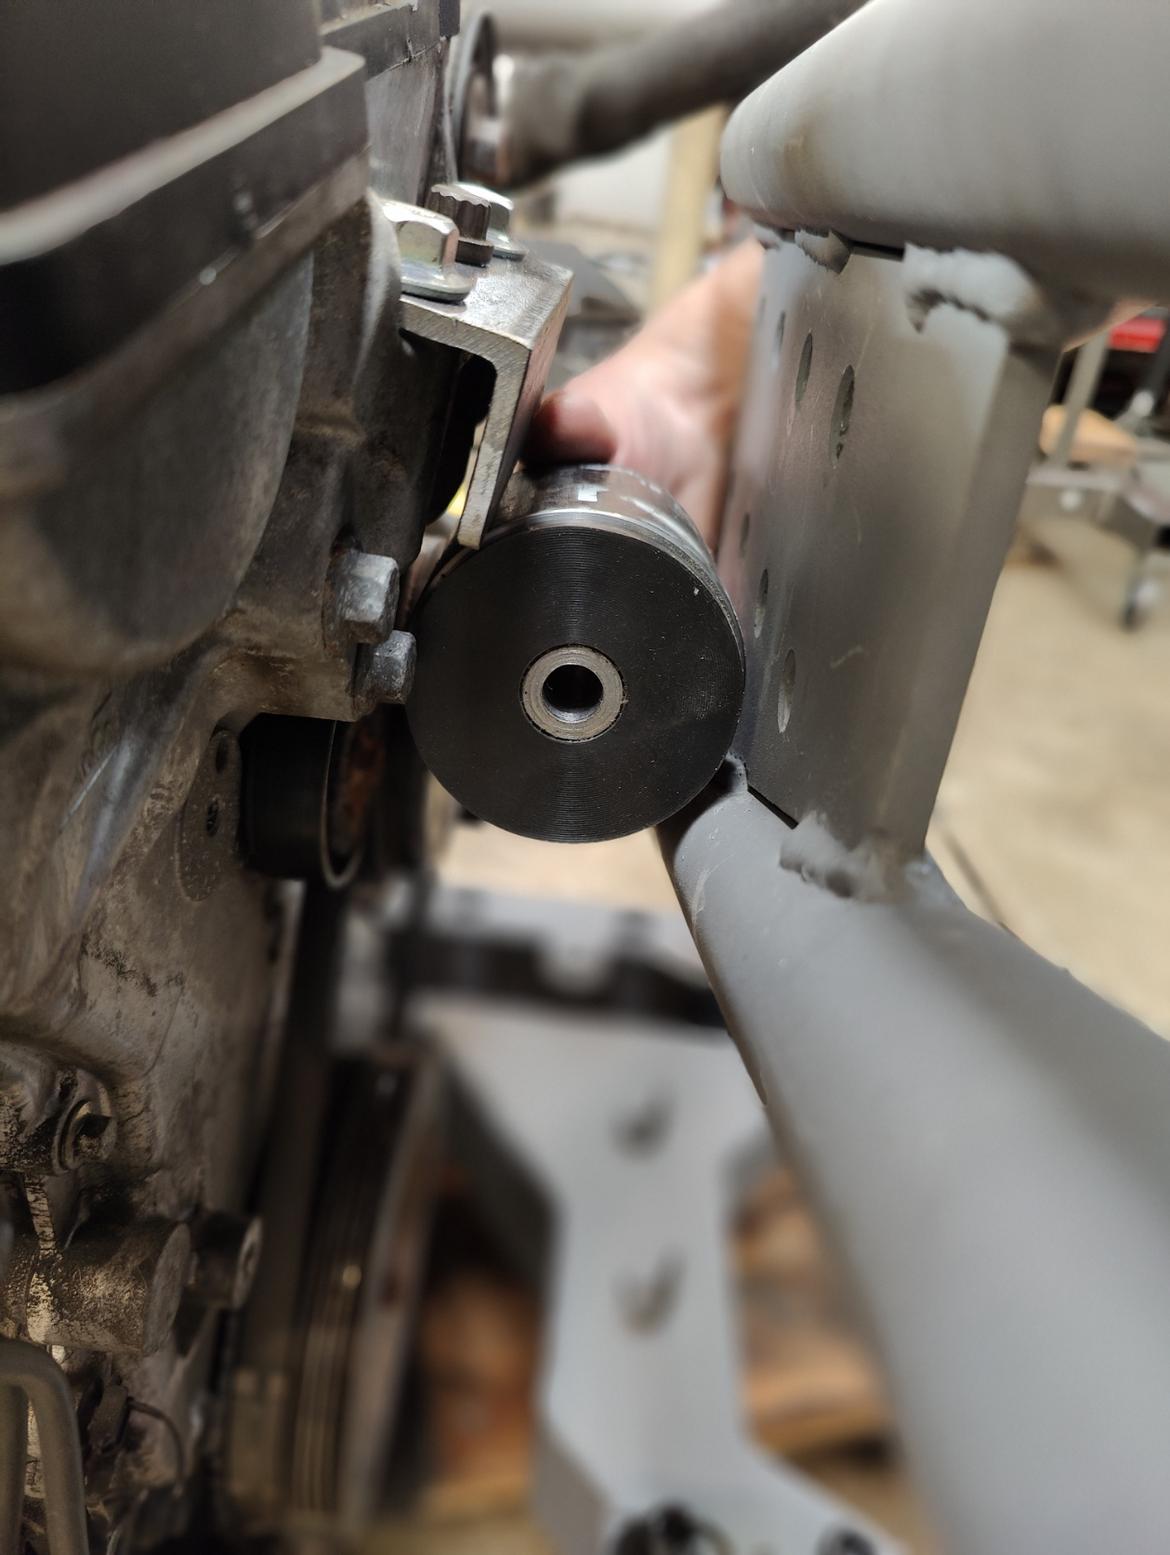
I also ran the suspension to both extremes and everything clears with ease, so no worries there.
Cooooool
An aside, the weights on the shift arms are for shifter feel. When you move the shifter, the mass helps to move you into the next gear instead of relying solely on the cables. The mass helps reduce the "notchy" feeling that cable shifted transmissions can have.
Heck, for rod shifted watercooled VWs (A1, A2, and A3, that arent G60 or VR6), you can buy weighted shift rods, or people will just hoseclamp weights to the shift rods for the same effect. If you are unfamiliar with them, they had an intricate linkage that connected a shift rod under the car to the shift arms mounted on the FRONT of the transmission, that was engineered with all sorts of push/pull slots and such to allow the drivetrain to flop around without binding the linkage. The added mass to the rods helped shift feel immensely and it's also telling that there are/were people who converted them to cable shift, if they kept the 020 trans at all. (The 020 was very very light, I think only 66lb)
Thanks for the input on the shifter weights - but I may just lop it off and see what happens......I can always weld it back on again I suppose......right now it's in the way of how I think I'm going to run my cable, but that could change s0 I'm not doing anything with it just yet.
Just got to thinking about the tight space motor mount, no reason it can't go above the tube where there's more room......
May wind up doing a Binky and make a lot of trial and error bits.

I'm having fun with it, and considering I don't have any machine tools everything is pretty crude, but as long as it functions it will have to do......case in point......
After finagling the motor around in the frame a bit, I welded up the motor mount on the engine side, but ran out of back and material to finish it. Next I'll build the legs that attach it to the subframe, then switch over to the transmission end. I also need to buy some bolts and some more metal for the "legs" on both ends, plus I want to brace up the shell before I start cutting any metal out of it - it's probably only held together with the paint as it is!
This is my first effort and I'm sure I could do better, but as long as it holds, the only one who will ever see it is me!
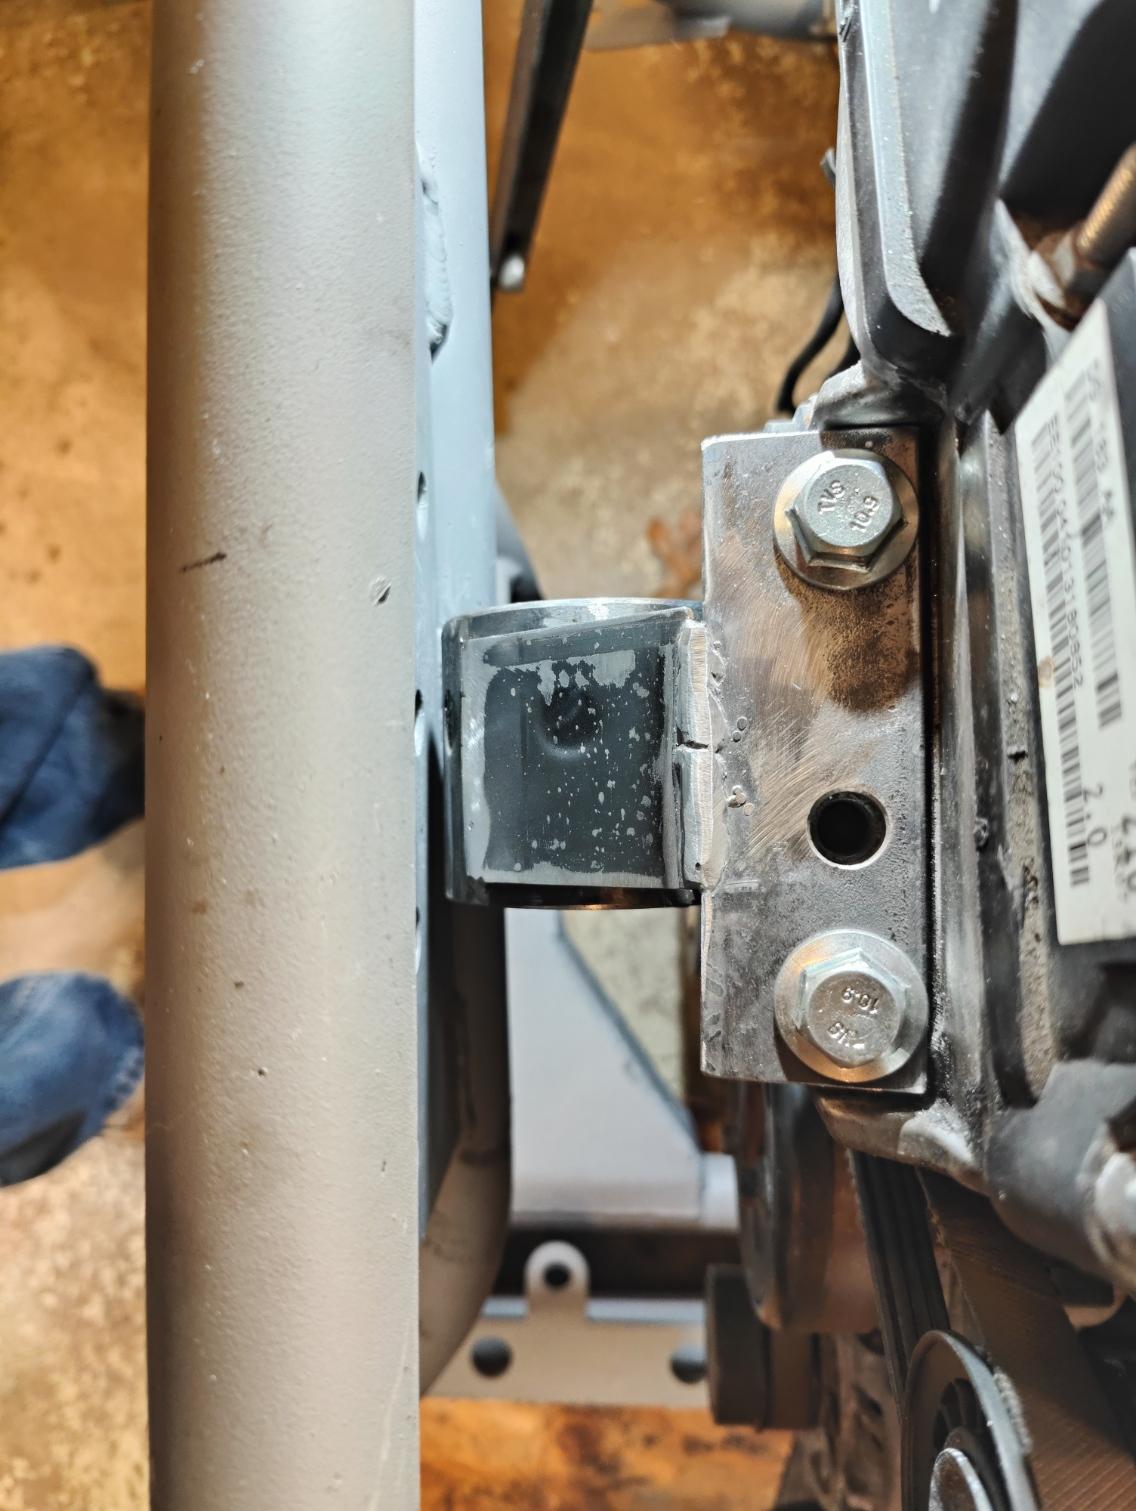
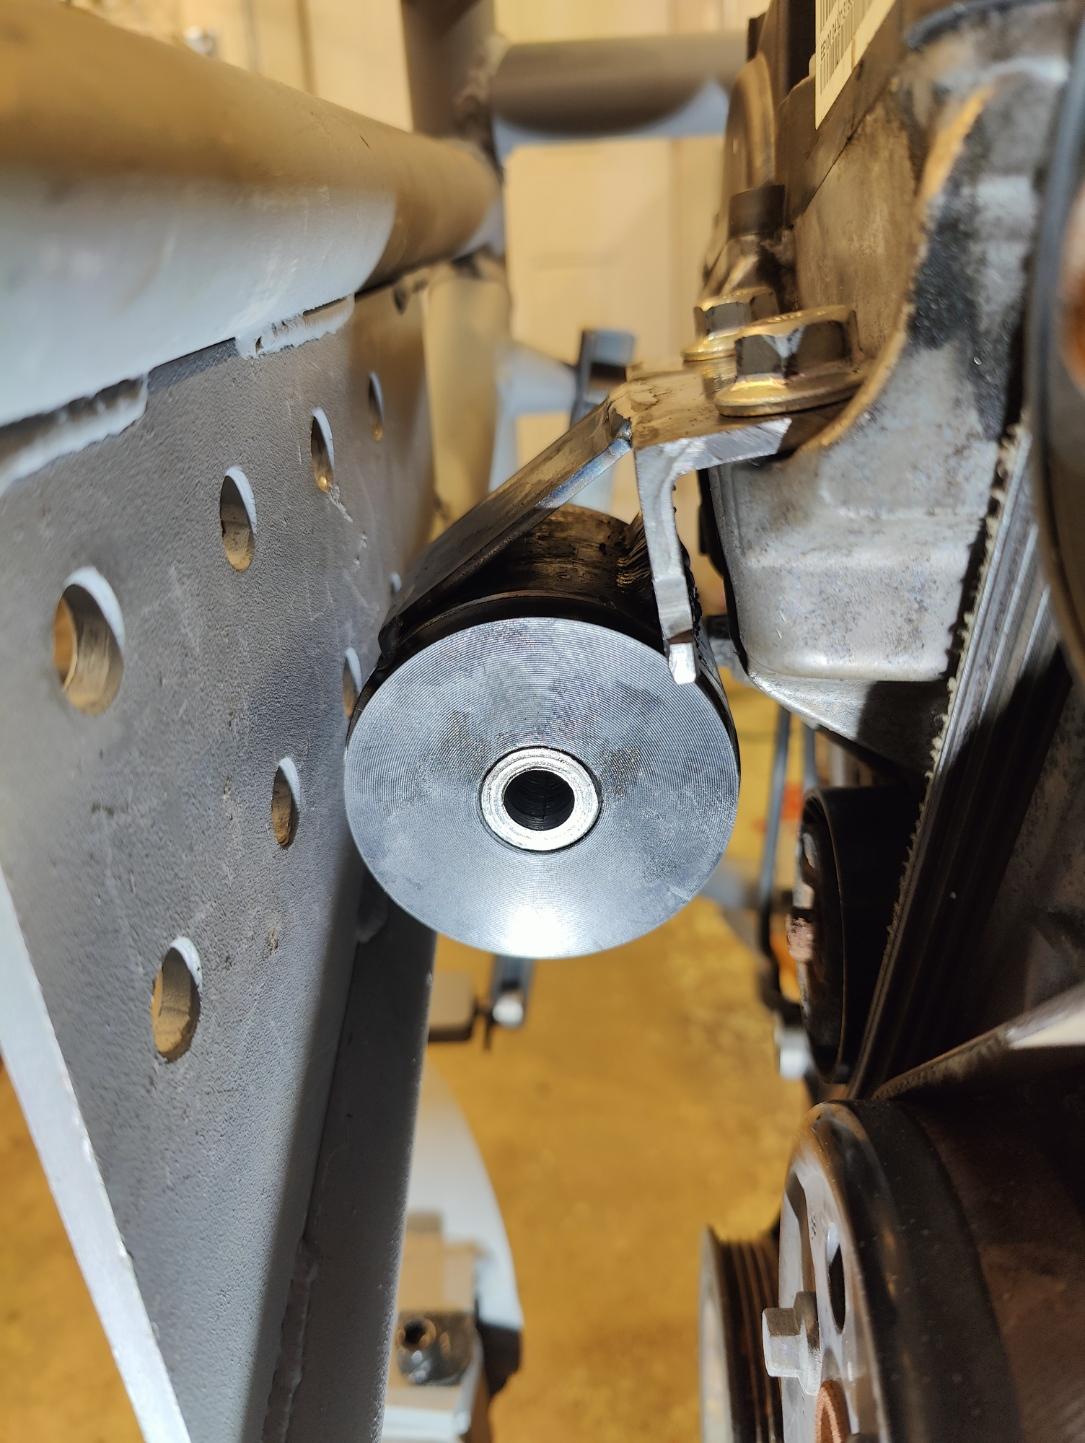
I had a weird thing happen when I was trying to weld it up - I was just putting a couple of tacks in to see if I had the angle and spacing right, and it just would not weld. I was using a couple of very strong magnets to hold things in place, so I switched over to regular c clamps - it immediately welded up normally! I think I've run into this before, where a magnet somehow screws with the welding arc. At any rate, I'm glad I figured it out cause I was getting pretty frustrated with it after my third attempt!
I'm going to trim up the edges and polish off the weld splatter before I'm done with it
Magnets will certianly cause issues when trying to weld, good to see you making progress!

So I picked up a load of metal - it only came to a little over $100 - and that should allow me to do all the bracing of the shell, finish the motor mounts and a few other mods....
I've been getting the rear hubs all figured out - I bought the hub and disc rotors, pressed the hub into the rear bearing and found that my standard offset wheels rub the trailing arm. I also decided to change out the studs so I don't have to carry metric nuts and English ones both. I can always just use a spacer, or If I'm having Force Racing build me some custom wheels they can change the offset for me.
My friend and long time Sprite racer Clancy uses 7/16" studs instead of the 3/8" that come in the Sprite/Mini hubs, however the rear hubs are for a Miata, and use 10mm studs - which is slightly bigger than 7/16". In fact, the 7/16" studs just dropped into the holes......also the spacing is just very slightly wrong, so as you tighten the lugs you slightly bend your studs. To fix both of these problems, Clancy loaned me a fixture he uses when he drills out the hubs, I put the new, slightly smaller diameter 7/16" studs into the holes and bolted them to the fixture - that pulled them straight and there was just enough play in the holes that the studs came out straight too. Then I welded them to the hub. I just tried them in the wheel and they pull up nice and true....
Next I'll press out the 3/8"studs from the Mini front hubs, drill the holes out and press in the 7/16" studs....since those holes will be the right size I won't have to weld them, the splines will hold just fine. 7/16" studs will torque at 70-80 ft lbs (compared to the 45ft lbs of stock Mini studs) too, which I think will be a good idea considering the extra HP and sticky tires I plan to run.
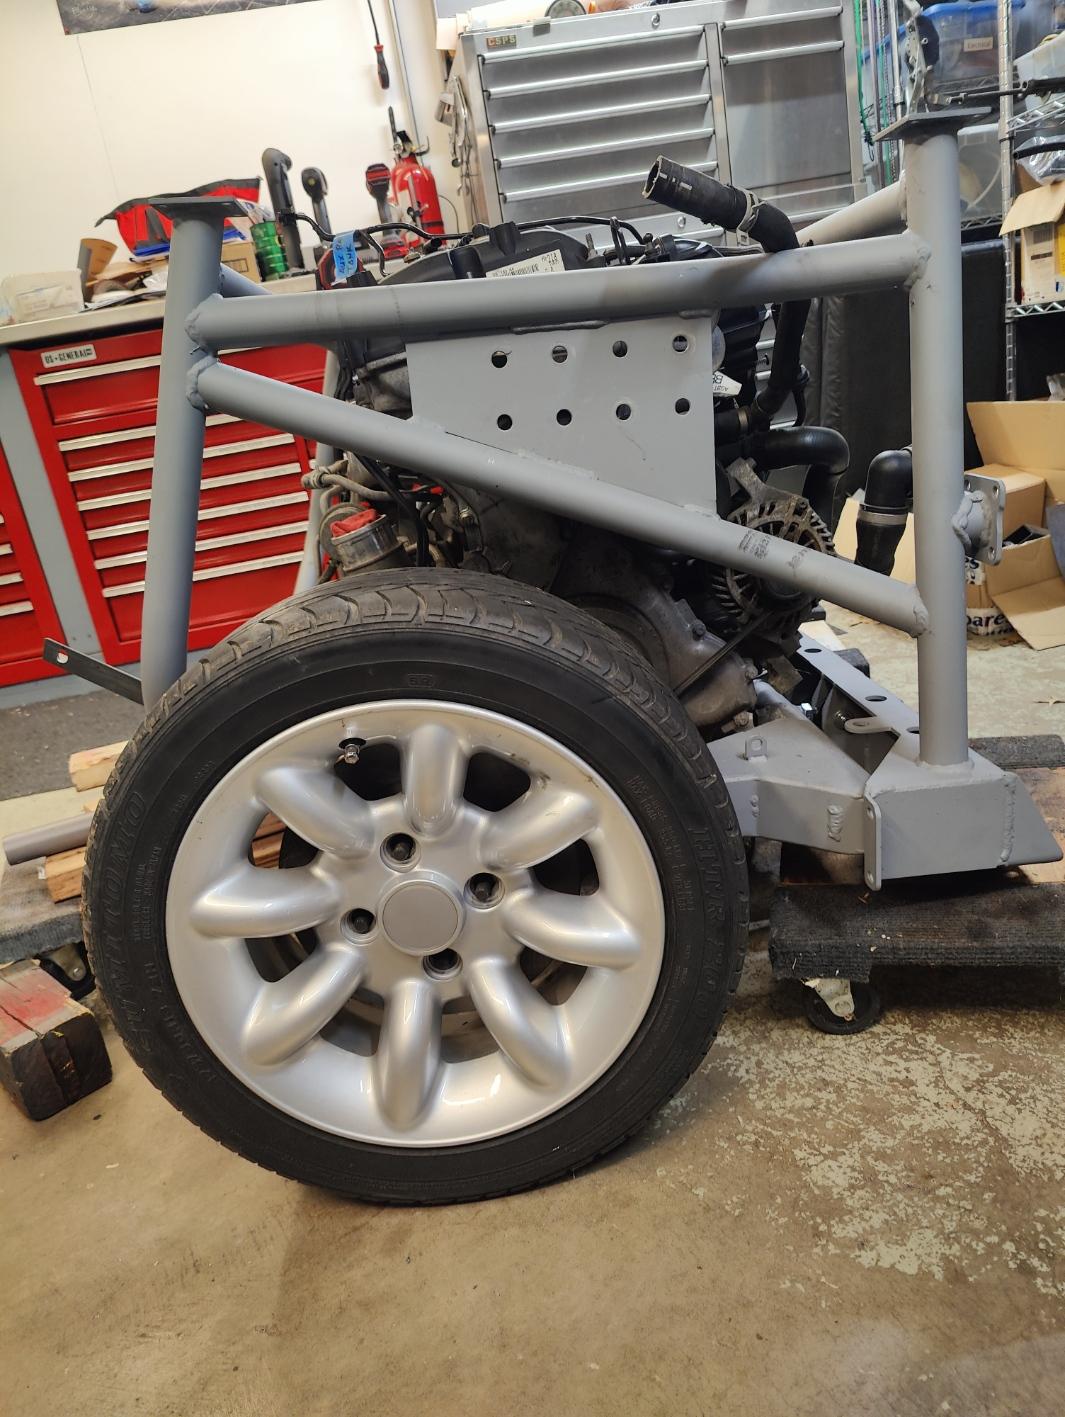
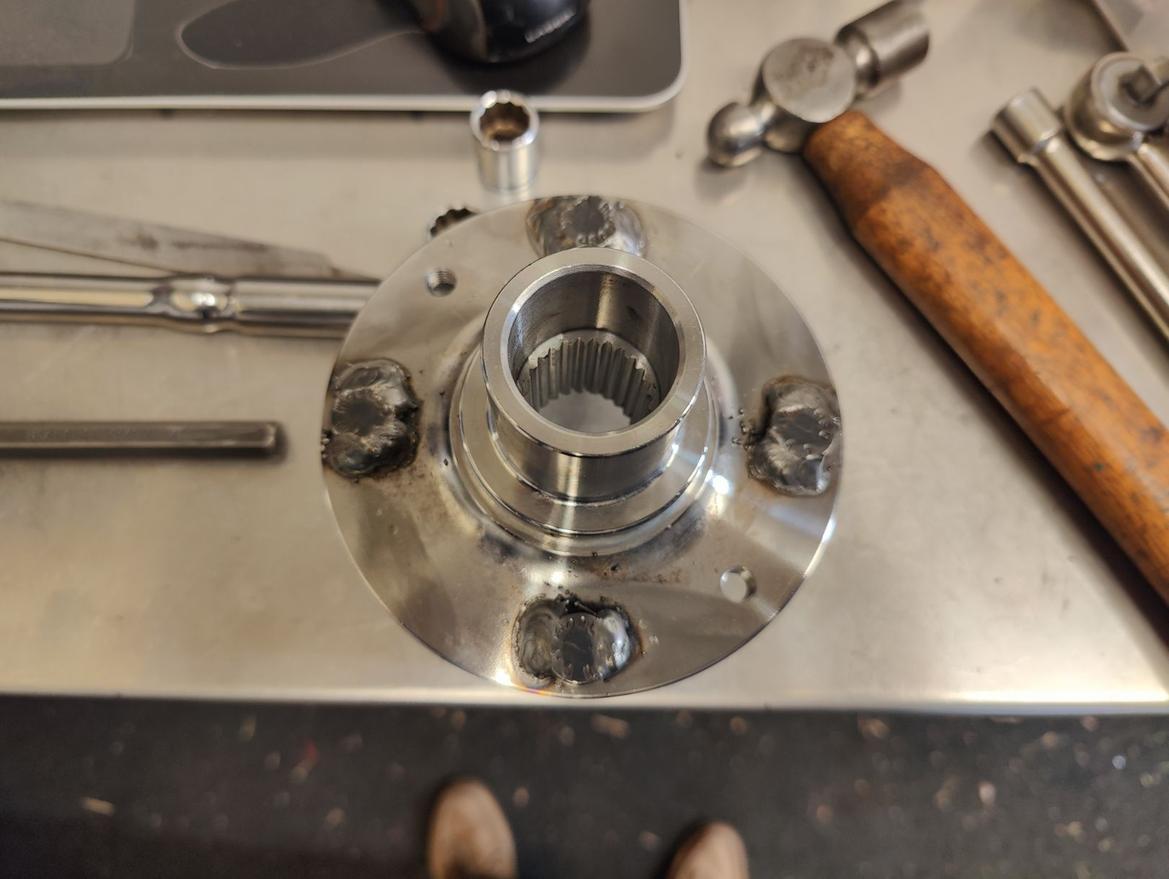
The reason I'm focusing on these rear hubs is once I have the motor mounts finished up then I can measure the length of the axles I'll need and get the shop started on them......no telling how long it will take them to make them but judging on their past performance I'm expecting it to take a couple of months!
Beans.....ran out of welding wire 1/4 of the way thru the second hub.
Oh well, a fresh roll will let me get to welding on the chassis bracing so I can start removing metal and install the subframe and cage.
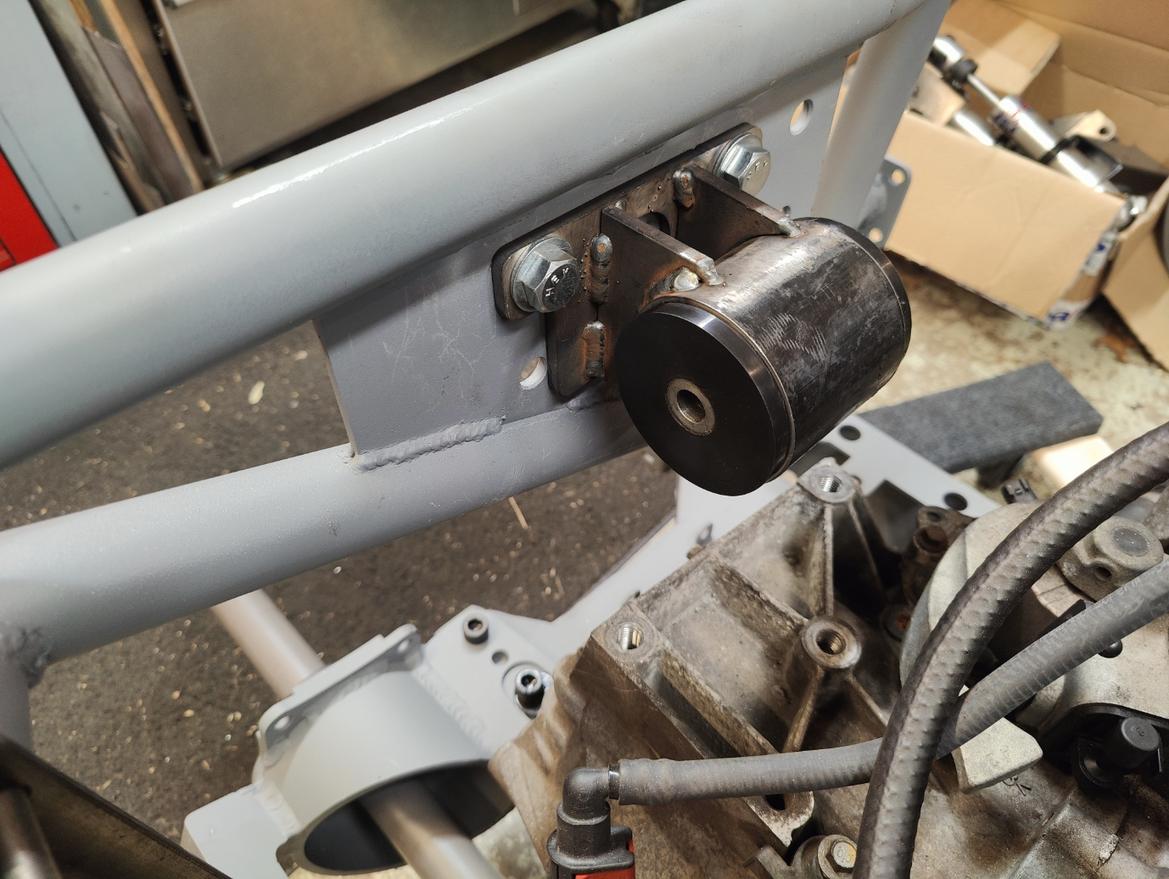
Built the motor mount for the transmission end today, next I'll build the connections to the gearbox.....then do the same on the other end.
Once that's done I'll need to build a bracket to keep the engine from rocking - I've got a couple of good ideas but haven't finalized any plans yet.
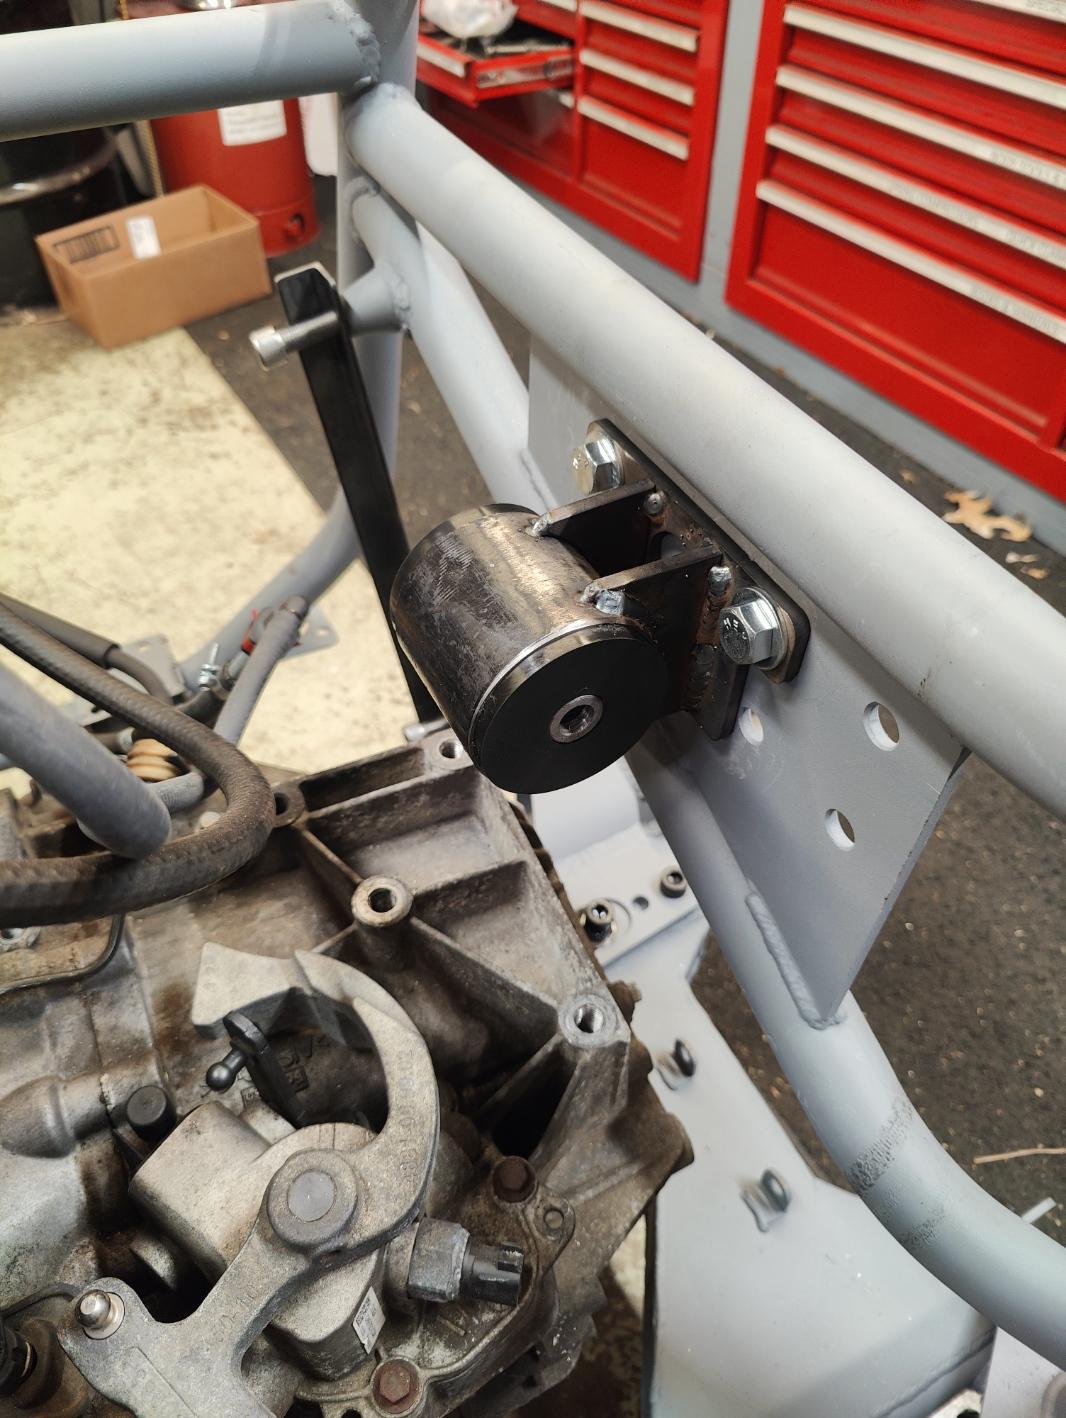
I think I'm going to wind up redoing the one on the other end of the engine, I wasn't 100% happy with my first effort. This one was a lot more complicated to build, but turned out better when finished

![]()


