1 2 3
DRProjectCentral
DRProjectCentral New Reader
3/12/24 1:49 p.m.

No big updates from this weekend for the 79. For the 78, a quick carb cleaning, rebuild, and readjusting was in order. It's just the factory 32ADFA. Happy to say it idles at 900 now, instead of 3,100. No more choking when you step on it, either. Hopefully it continues behaving so I can take it for longer drives this year!

DRProjectCentral
DRProjectCentral New Reader
4/16/24 2:46 p.m.

Don't plan a wedding, buy a house, and build a car all at once folks. It is not the way.

Anyway, progress has been slow. So far, the engine has been temporarily mounted with some special tabs off the heads/exhaust "manifolds" and the oil pan has gone back to stock (instead of the 200/Cherokee version). 


Next up: build some temporary motor and transmission mounts. These will be fixed fore and aft, but will have vertical adjustablility. This way, the chassis height AND powertrain height can be independantly adjusted while the Fiat body is fitted. 


Progress is slow, but forward.

QuasiMofo (John Brown)
QuasiMofo (John Brown) GRM+ Memberand MegaDork
4/18/24 8:39 a.m.

So the real holdup on using a Cherokee pan is overall depth. And the factory 2 piece pan has a rear sump, correct? 

Sketch up the rear sump with a short height but proper rail and support structure. Once finalized have a CNC job shop knock one out. Modify a rear sump pickup for height. Yes this is an expensive proposition, it can be done on a manual mill as well. 

While the fabrication fuel is flowing, replace the Miata subframe with a tubular one. Stronger, more range of adjustability and best of all... more room.

DRProjectCentral
DRProjectCentral New Reader
4/23/24 9:37 a.m.

In reply to QuasiMofo (John Brown) :

The Cherokee pan is the shallowest available, the killer is the oil pump hanging down right where the subframe runs underneath. The factory 2-piece for this motor (from a 300) is front sump, same issue. Rams and Grand Cherokees/Durangos are rear sump, but so deep I'd have an inch of ground clearance. 

The only stopper on the tubular subframe is cost. I can get scrap steel relatively easily and patch up a stock subframe as clearance is needed. Those tubular deals are expensive.

I am starting to wonder if it'd be feasible to fab up a crank snout adapter to drive a front-mounted oil pump. I don't want to go full dry sump, but I wouldn't have to move the rack around...

DeadSkunk  (Warren)
DeadSkunk (Warren) MegaDork
4/23/24 11:06 a.m.

It's too bad that engine is so darned tall. I went through all this height and interference crap when I built my Corolla, but I was able to reduce the height by 6-7 inches with pan and intake selection on an LS. If it were me, I'd look at fabbing a new sub-frame if the engine and rack can be located without interfering with each other. I can envision a rectangular weldment with the stock towers .

DRProjectCentral
DRProjectCentral New Reader
6/21/24 10:58 p.m.

Again, don't buy a house and plan a wedding in the middle of building a car. It's not the way.


Anyway, I made a smidge of progress today. Tomorrow I'll get the front suspension back together and set the whole car down. The next step after that will be trimming the fat off the NB and prepping the Fiat unibody for some pretty major liposuction. Hopefully by wintertime they'll be put together (and I can work on this whole shebang in my own garage without the commute). Stay tuned!


Sidebar, for those interested: the 78 is running great! Still needs some tinkering around the edges but I dare call it reliable at this point.

DRProjectCentral
DRProjectCentral New Reader
7/7/24 4:04 p.m.

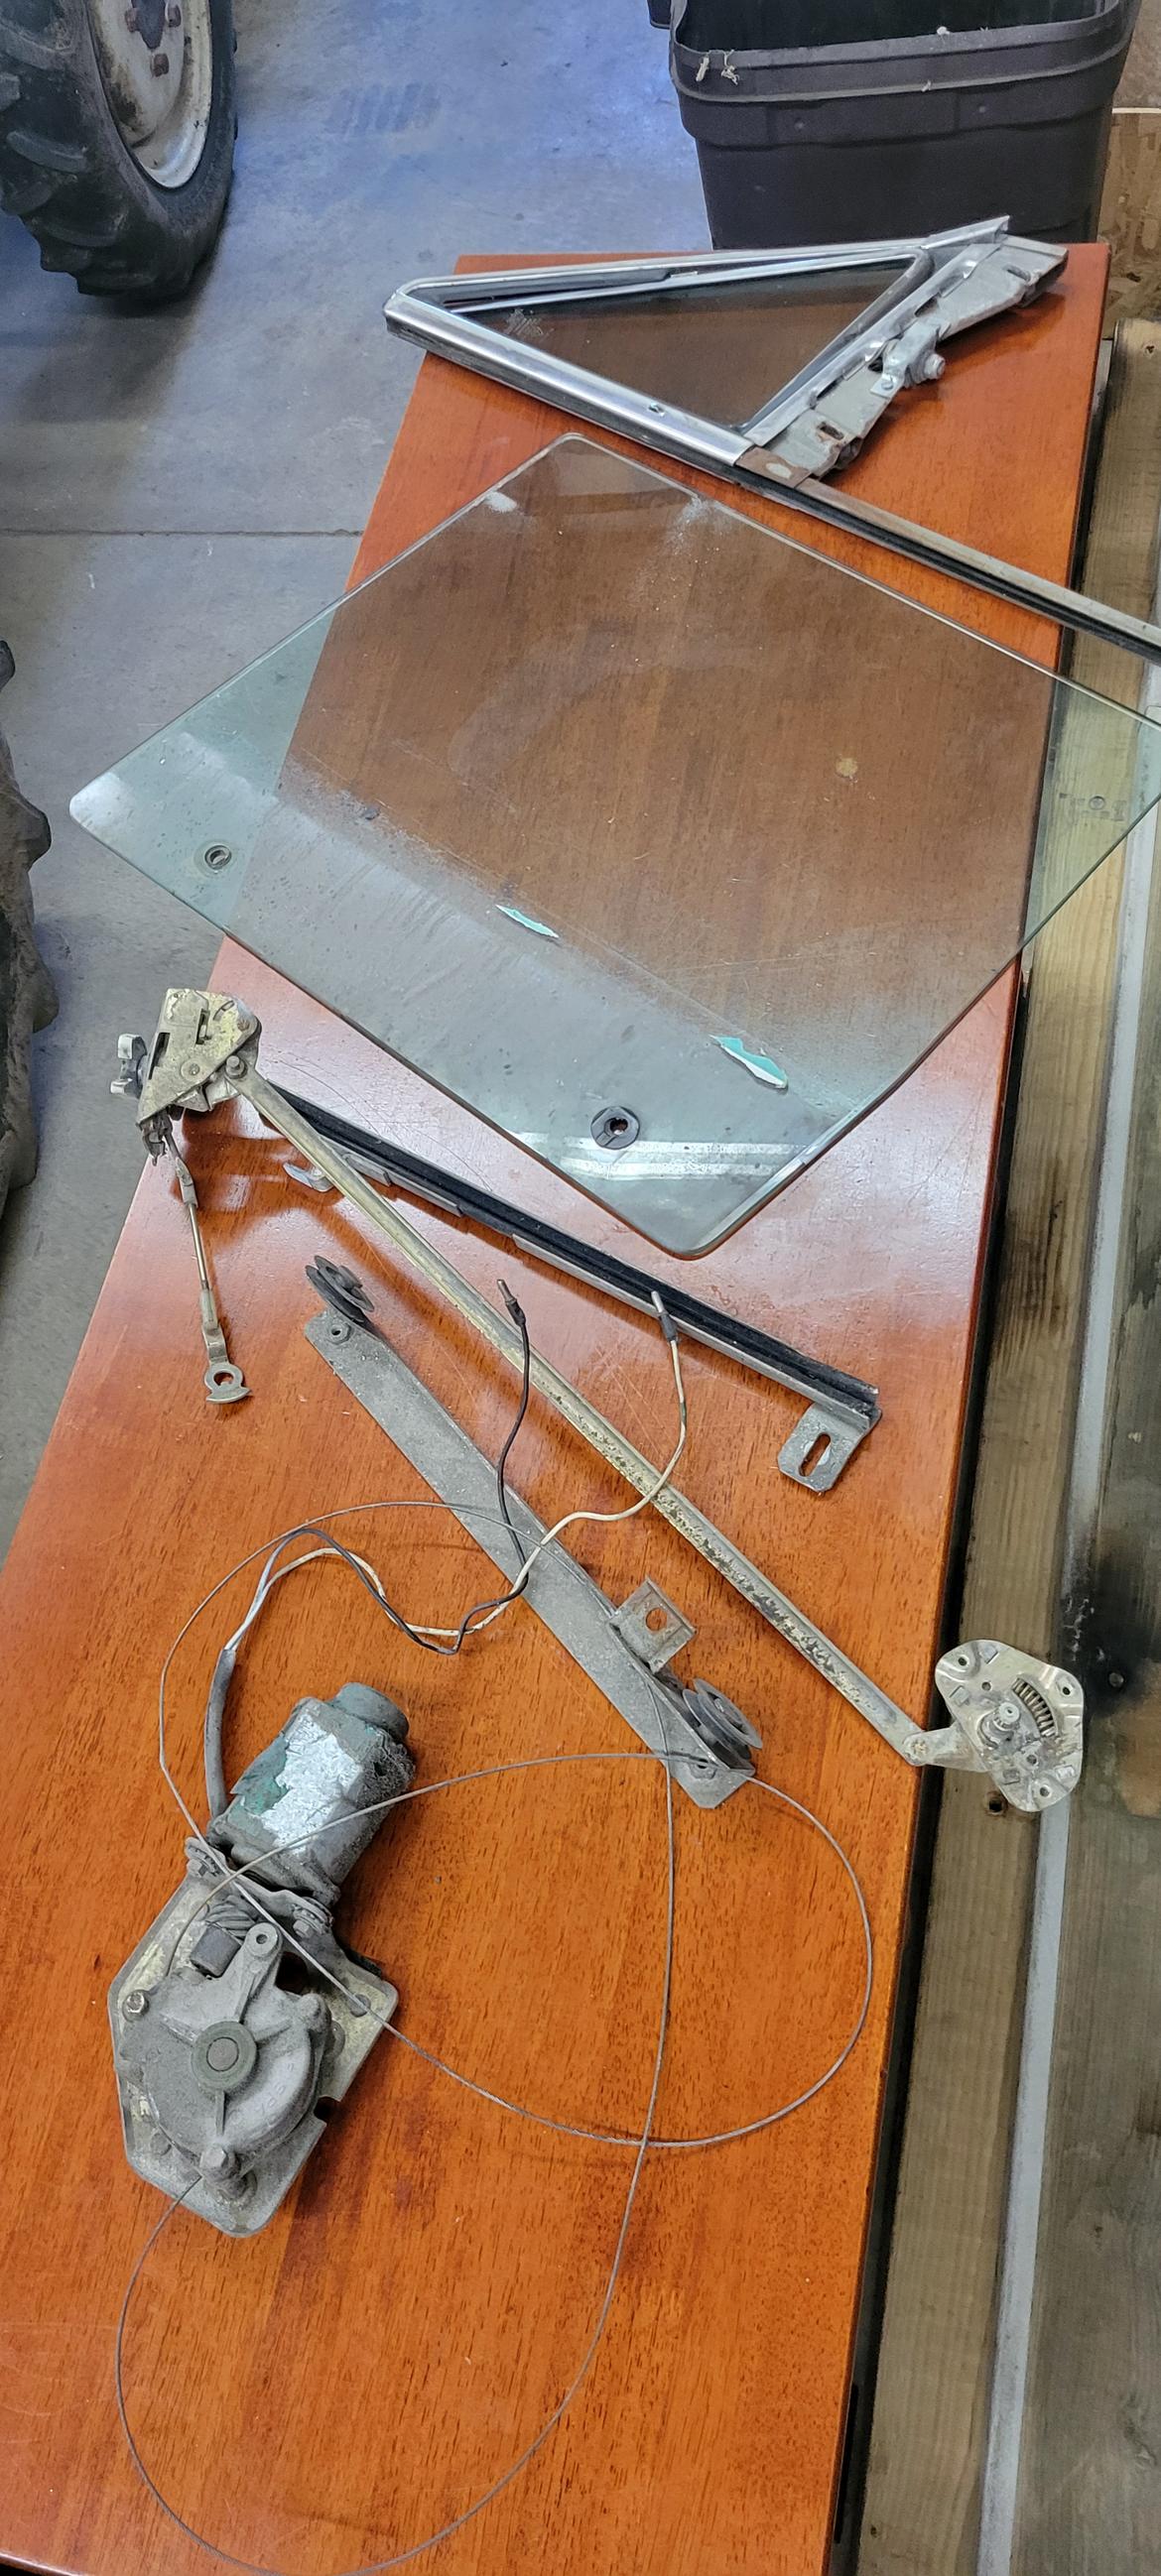
Made a little more progress today, with some help from Ice Cube on Spotify. Got the door internals disassembled, so the windows, frames, motors, and lock/latch mechanisms can get freshened up at the house on days I can't come back to work on the chassis. I also pulled the whole dash wiring harness out yesterday: if you have a Spider, I'll be selling it, so please reach out if you want it (I'm in northeast Ohio, but we can talk shipping). 


I gotta say, today was a good day.

DRProjectCentral
DRProjectCentral New Reader
7/21/24 5:30 p.m.

Keeping it moving a little at a time. Got the doors, hood, and trunk lid off now. Speedster mode activated

1979 Fiat Spider with windshield, doors, hood, and trunk lid removed

DRProjectCentral
DRProjectCentral New Reader
8/8/24 9:15 a.m.

Got the Miata set up one step before final trim: the front "fenders", rockers, A pillars, and most of the rear has been removed. A quick measurement gives me a current floor pan width of 48", with 46.5" available between the insides of the Fiat rockers. The next step is getting the Fiat unibody braced for moving around to reduce flex and torsion while fitting it over the Miata. It currently has a spot welded dashboard bar (factory), and I'm thinking the best move will be another bar across the rear (where the back seats would normally be) and two bars running longways connecting the two. From that point, it'll just be trim city until the Miata fits nicely under the Fiat, at which point I can stop referring to this project as two separate vehicles.

DRProjectCentral
DRProjectCentral New Reader
8/19/24 9:36 p.m.

Well, the big day finally came. We welded in some quickie support bracing to begin the surgery, then began the surgery. Note the lack of cross bracing across the bottom of the chassis: we will be using a lift to raise and lower the body, and figure there shouldn't be much distortion beyond what the other bars are holding. The next steps are to clear out the remainder of the firewall, the engine bay*, and the rear floor pan and trunk.

*Of special note, for the Fiat-illiterate, is that these cars are unibodies without typical removable fenders. The fenders and quarter panels are welded directly into the engine bay, and directly to the frame rails. Each step is surrounded with sweat bullets as we make sure nothing twists or kinks or bumps into anything. 

Nevertheless, progress continues. I'm getting married in November: the goal is to have the Fiat and Mazda welded into each other before then. At that point, I can clear two bays out of my dad's garage and fill the empty one in mine. 


Does anyone need a complete, 95% rust free floor pan from a 79 Fiat Spider 2000? I don't know if it was an auto or manual, or if it matters, but shoot me a message if you're interested. I cut a couple small access holes in the corners for the reciprocating saw, but the seat mounts are fully intact, as is the entire trans tunnel (that was plasma cut).

DRProjectCentral
DRProjectCentral New Reader
9/1/24 10:35 p.m.

More progress in clearing out the chassis and floor area. Just have the firewall and engine bay left to do at this stage: the rest will be "fine tuning".  The current plan is to weld in 2 pieces of thin angle iron (with speed holes, of course) to give the chassis something to align to heightwise before we align it rotationally.


I did save the bottom of the spare tire well. I 100% plan on totally redoing the entire trunk (both for chassis strength and improved luggage capacity), including leaving enough space for the thinnest space saver I can find. I figured blending this pan in would be a nice touch as an homage to the original Fiat spare tire well (because it is).

Piguin
Piguin Reader
9/2/24 5:24 a.m.

Love the progress, can't wait to see them become one.

Hopefully things will go relatively smoothly.

DRProjectCentral
DRProjectCentral New Reader
9/10/24 7:17 a.m.

Another good update from over the weekend. I finished trimming out the excess in the rear, and cleaned out the engine bay and firewall. Last thing before I wrapped up was take this picture, which gives a nice side-on visual of where everything will fall (keep in mind those rear wheels are at half droop, there's an adjustable solid shock replacement in there that was hung up in the mounting hole, so they aren't at ride height but they aren't flopped down all the way). 


It also appears that while I'll lose a couple inches of legroom with the firewall moving back, the seat will also be moving back a few inches, so win-win!

DRProjectCentral
DRProjectCentral New Reader
11/3/24 5:56 p.m.

Been almost 2 months, but put a little more work in today. Everything is clearance enough for the most part. I just need to trim the floor width and decide on where to attach it.


Which leads me to a question, for anyone who might have insight: between the Fiat body and Miata chassis, how would you determine the appropriate body-to-chassis position, while taking suspension travel/ride height into consideration?

AngryCorvair (Forum Supporter)
AngryCorvair (Forum Supporter) GRM+ Memberand MegaDork
11/4/24 11:36 a.m.

My buddy Jay says he'd remove the springs and bump stops, and let the chassis sit on whatever the hard stops are. Then lower the body until it lays rocker. Then weld. Yeah, he's a 90's S10 guy.

i would substitute "until hard interference, then raise body a half inch" for "until body lays rocker". Take vertical measurements from LCA inner pivots to floor. Take measurements from fender lips to floor. Subtract LCA meas from fender meas.

then mock the suspension to be mid-travel (assuming that's ride height for driver-only loading condition), then lower the body until I liked the look. Take vertical measurements from LCA inner pivots to floor, and from fender lips to floor. Subtract LCA meas from fender meas.

If the difference at mid-travel is GREATER than the difference at hard interference plus a half inch, then weld.

If the difference at mid-travel is LESS than the difference at hard interference plus a half inch, then argue with yourself which is more important: appearance in day to day life, or risk of hitting a hard stop (and potentially losing control when spring rate goes to infinity and tires tell you to berkeley yourself mid-corner). Resolve this internal conflict. Then weld.

Shavarsh
Shavarsh Dork
11/5/24 10:50 a.m.

^ Sounds sound to me

DRProjectCentral
DRProjectCentral New Reader
11/7/24 2:27 p.m.

In reply to AngryCorvair (Forum Supporter) :

This has me thinking in the right direction. Unfortunately I threw out all the springs and shocks from the miata when I installed the solid adjustable replacements. But I'm sure any reputable suspension company has the stroke length, and I can use that to find the "center". 


This should get me where I need to be. I certainly do not want to scrape all over the place. Goal is to be able to drive it long distance, GT style. Handling is a close second, but I don't want a backbreaker.

DRProjectCentral
DRProjectCentral New Reader
12/10/24 8:47 p.m.

Put some more work in, forgot to update last week, so this is a bit of a combo from last weekend and the one before. Anyway! 

Did the final major trimming to get the body all the way down: the floor officially slips up between the rockers. Most of the major structural members are near enough to each other that blending it all together shouldn't be too tall of an order. The biggest change will be the rockers to the rear Miata framerails, as they're a decent distance away from each other. But generally speaking, it shouldn't be too bad, with some quick, simple sheet metal to hold it all together.

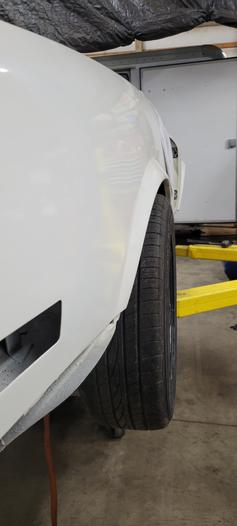
Here's a nice shot of the rear quarter at (or near enough) the correct setup for the wheel. Unfortunately, the wheel is poking out too much. Obviously I'll be looking into a different offset, but even with that, these are 185s and I'd like to bump up to at least 205s, especially for the extra power. If I can't find the right wheels to make that happen, I'll have to add some flares (before you suggest the Abarth rally style, I'd rather work it directly into the body. I can't STAND the riveted look, or there to be a seam there).

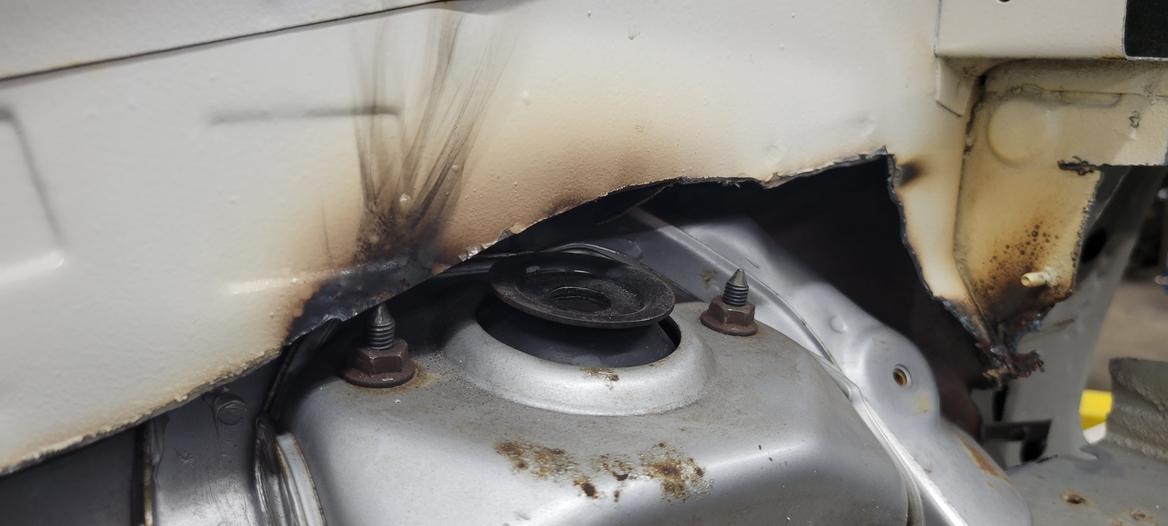
Here, you can see where the front shock mount is touching the upper inner chassis support rail. These are known to be a soft spot on these Fiats, with at least one vendor now offering support braces. Trimming this for clearance made it obvious why: the steel is SUPER thin. Like, bend it with your fingers thin. No worries, this will be reinforced as well.
And finally, if anyone has any recommendations here, I'll take your advice. My Miata is an NB, but I bought the car as a stripped chassis with no interior, doors, trunk, roof, hood, etc. So even if I had measured the ride height, it would've been inaccurate. I used to have the rockers with the pinch welds, but they're long gone. On a positive note, I actually did save the factory shocks and springs, so I can put them back in for ride height adjustments if needed. So the information I'm looking for: would anybody be willing to share any of the following measurements, or something similar, from a STOCK or MILDLY lowered NB?

Frame rails to ground

Lower control arm pivots to ground, front and rear

Lower ball joints to ground, front and rear

Subframes to ground, front and rear

???? Anything else I can use as a reference that isn't the pinch welds or fender lips. The last picture here is how I have the rear wheels set using a ratchet strap to hold them at "ride height", which was assumed by keeping the lower control arm pointed down, above parallel. I'll make a new post about this too, but if you happen to know, I'll take it here too.

1 2 3

You'll need to log in to post.

Our Preferred Partners
O2f9kHqil2gJJ6yNHAaP0QHGLLB3rY0PcrG4Nbb6W8OZCTCN6y8HM043fDwoIL3C