Continued from here:
http://archive.grassrootsmotorsports.com/board/viewtopic.php?id=21626
Did a little upkeep on Chuppy. Replaced the timing chain and sprockets and recored the radiator--and did a little bling.
Chuppy's coilovers are also complete--riding on Tokico inserts, ebay Miata coilover perches, Tanabe Springs, T3 camber plate, GTS brakes with Hawk pads. Whole setup cost less than $300. This includes finding donor Corolla GTS strut and brake assemblies at the junkyard. Bad pic...calipers are of course rebuilt and powdercoated.
Good to see you are still working on the Starlet. It was fun to follow.
It was also fun because I've never seen one in person being that I live on the wrong coast.
http://www.aceengineering.ca/1982_Starlet.asp
Friend thats been playing with a Starlet for quite a while. I think its back burner now with job/business/new wife.....
Streetwiseguy wrote: http://www.aceengineering.ca/1982_Starlet.asp Friend thats been playing with a Starlet for quite a while. I think its back burner now with job/business/new wife.....
Ahhh... Conrad.
Ahhh...I miss my Starlet. Got rearended and had to get rid of it. Good job and its nice that you still have it.
Heh... I've done some porting on "K" heads....
Sometimes the best "porting", is done outside of the usual places, here some cast crap was cleaned up to improve oil drainage
We're back:
Chuppy Fire Movie from John Pruner on Vimeo.
Let me know if you want any stock engine, trans, or rear end parts. I have an 81 that is getting Miata parts
In reply to singleslammer:
Sure, let me know what you have and what you want for it--I can always use spare parts. I am definitely looking for a five speed transmission.
We're back--82 Starlet named Chupacabra aka Chuppy because I bought it in a seriously nasty state from some Mexicans here in Tulsa's Little Mexico.
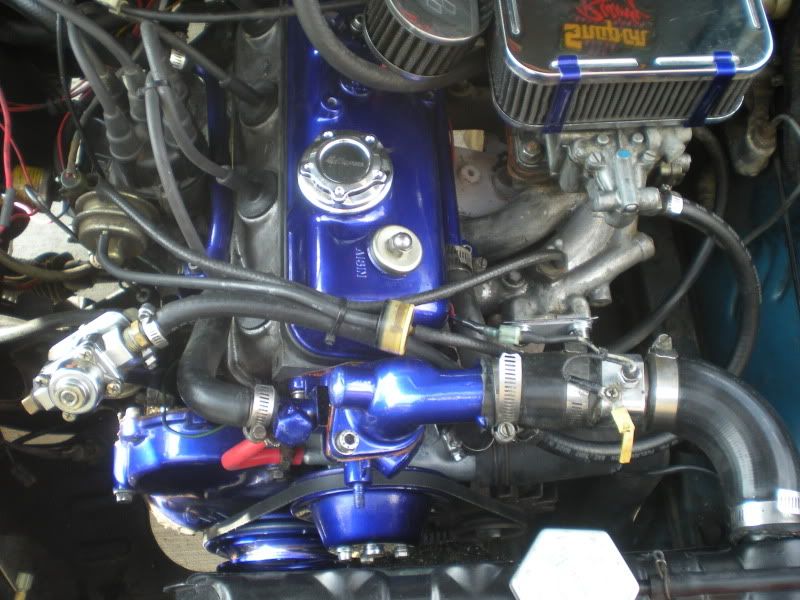
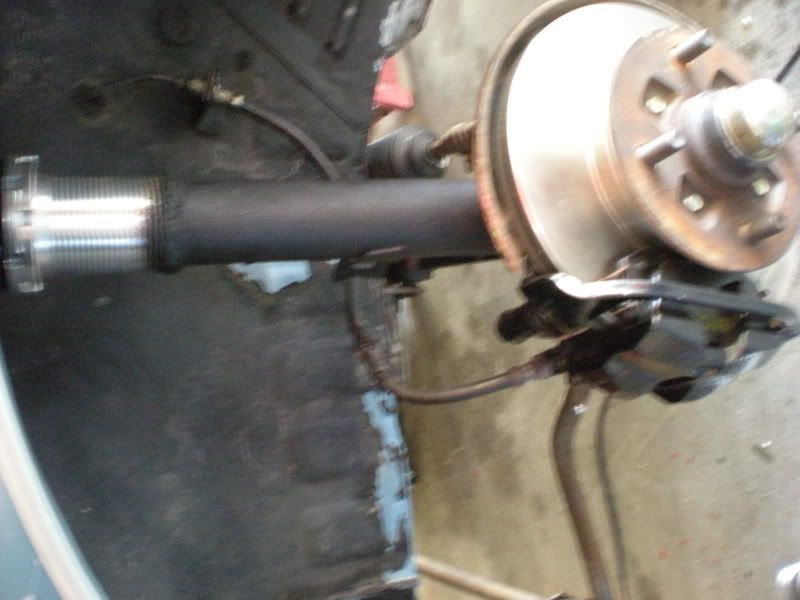
Just a recap of the significant stuff done so far--Weber 38/38 matched to a ported and matched big port manifold, Martelius header that runs into a straight pipe that dumps out the side, TRD 2-way LSD, went from a 3.2 final drive to a 3.9, currently on Tokico struts all around but Koni adjustables are in the future, swapped the strut and brake assemblies for AE86 units with T3 camber plates. The interior has been redone, painted, and the masive holes in the floor are gone. Rolling on Celica Supra wheels-- looking for 13"s if anyone has some they'd like to get rid of...
So the point of my next steps is to prepare for three things-- the upcoming Tulsa Autocoss season and open events at Hallett Raceway--and--the 2015 Hot Rod Power Tour. Yup, as far as I know I'm the only Japanese import entered and I will most definitely be the first and only Japanese car to go the long haul which is from Wisconsin to New Orleans this year.
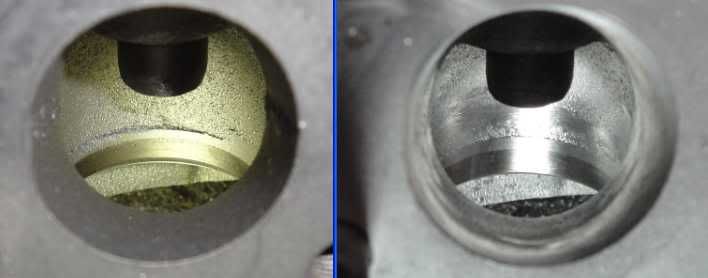
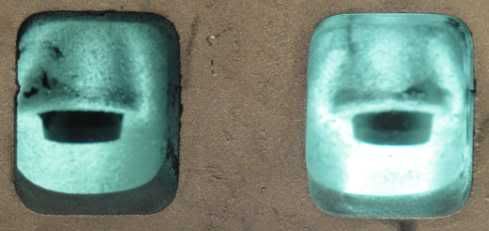
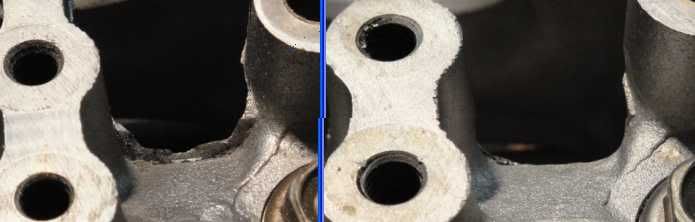
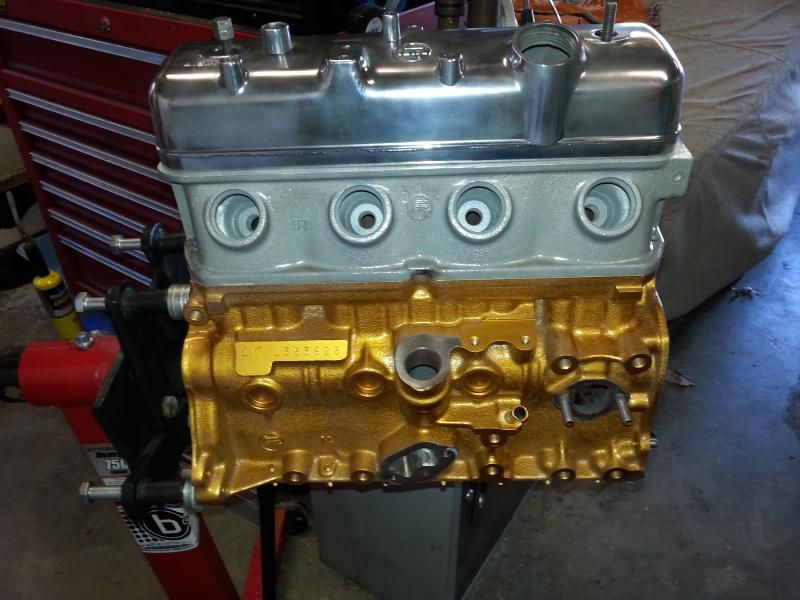
So, a good buddy hooked me up with a second good 4KC engine that I am prepping. Head has been worked over, cleaned up, and the port and polish plus chamber work was completed by myself. The block has received similar work. Pics coming soon of those.
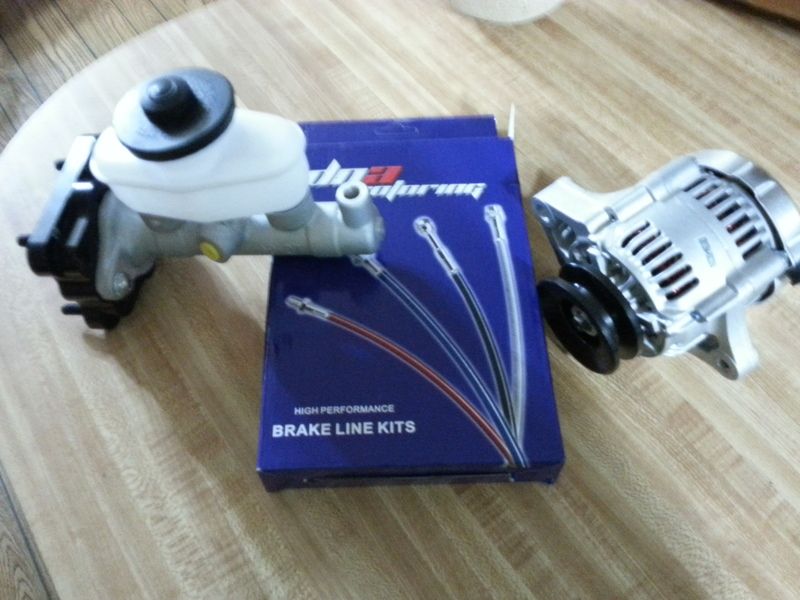
I'm currently gathering parts for an engine rebuild and some suspension work. Pics of some of the parts I've gathered so far. Getting some of the Starlet/4KC specific parts is a nightmare...but I'm working through it and if this was easy it wouldn't be fun.
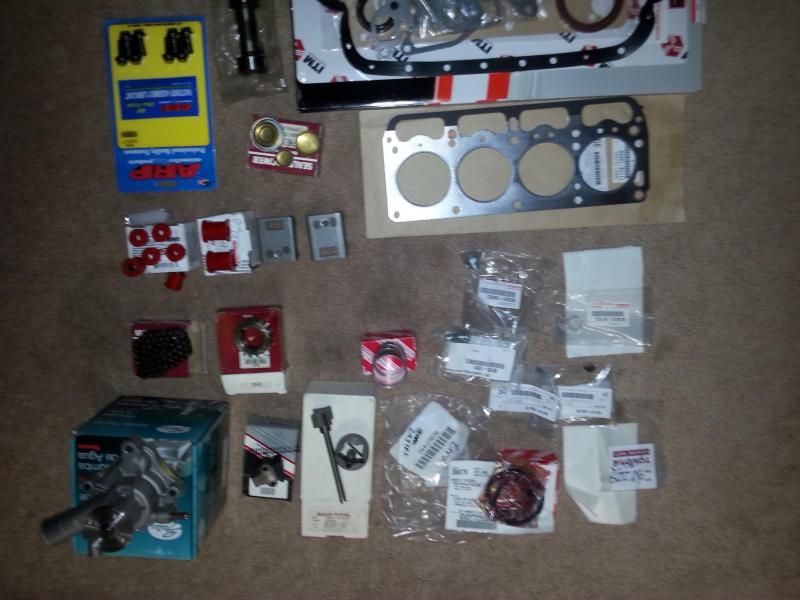
From bottom to top we have a AE86 rear sway bar (still looking for a front GTS bar), UEO lateral rod, Xcessive Manufacturing lateral rod mount, Kelford cam and valve springs, ARP flywheel bolts, freeze plugs, various urethane bushings, Xcessive sway bar pads, ITM engine gaskets, Toyota of Japan head gasket, various Toyota factory parts such as crank keys, bolts, gaskets, cam bearings, piston rings, timing chain parts, oil pump drive, and a new water pump.
I'm still verifying the size main and rod bearings I need. Once that's done the plan is to pretty things up, balance the moving parts, and put it all together with ARP head studs. I've already verified the correct stud and nuts to use--ARP doesn't make a kit for the 4KC but they have individual studs that will work nicely.
Used bearing pulled and used as a test for chamfering the main's oil through holes.
Main bearing saddle cleaned,edged radiused, ol supply oil chamferred. Main surfaces leveled and deburred. Threads chased
Top of main caps receive similar work--all flat surfaces are gone over and made flat. clean up cap numbers for quick visibility, mounting points smoothed perfectly flat and even polished to further assure no kink to distort seating or torque readings.
You can see a main cap with both ears prepped and all corners knocked down.
You can see here how most of the inner block wall has been made smooth.
Opening, porting, smoothing the oil pass-through.
Further cleaning mating surfaces and rounding sharp edges and de-stressing the block in key areas.
Close up of worked over lifter valley--but it's still not clean. Flash and cast gone. Sharp ends removed to again, aid rapid oil return.
Forward progress. Upgraded to a slightly larger brake mc, went with the T3 booster delete, got some new lines, and...baby alternator. That's a 70 amp internally regulated one wired alt which makes life for all of us stuck in the 80s a little nicer. Stock alternator is about 40 amps and has an external voltage regulator and is about twice the weight and size. The stock alternator itself rarely goes bad but the voltage regulators die on a regular basis. *Two stock regulators get you one new baby Denso alt. *
A note on the T3 booster delete plate. They've gone to a truly universal design for all of the ToyotaS. So, there is a pattern of holes to fit whatever the delete is going on. However, you may not get all of the hardware you need. A KP61 really needs for 40mm studs to go from the firewall to the plate. Kit comes with some really nice socket head bolts that are way too long. Not a problem. Just run to the hardware store and grab four M8 x 1.25 studs.
That might be the smallest alternator I've ever seen on a car. Either that or the master cylinder is totally enormous.
Finished the manual brake install and so far, so good. Really opens up a ton of space.
Of course, I had to have some fun with Chuppy.
https://vimeo.com/124376002
The alternator is this one:
http://www.amazon.com/gp/product/B00BP0W9AI/ref=oh_aui_detailpage_o01_s00?ie=UTF8&psc=1
They're also rebadged and sold by various vendors:
http://www.powermastermotorsports.com/denso_alternators.html
You'll need to log in to post.