1 ... 7 8 9 10 11 ... 35
Hungary Bill
Hungary Bill GRM+ Memberand UltraDork
11/2/15 9:59 p.m.

I'm back on second shift which may or may not be beneficial to the build... I say "may not" because it means I can't just get by waking up half an hour earlier than the rest of the house to sneak out every morning.

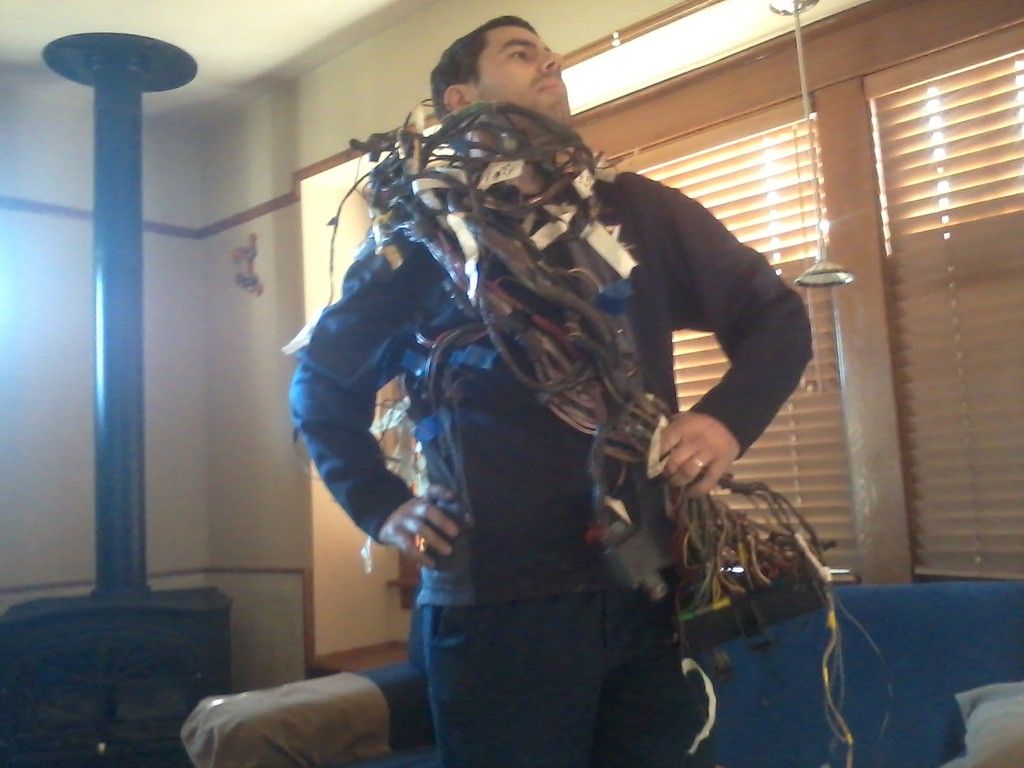
I say "may" because it means I can spend my lunch break on stuff like this:

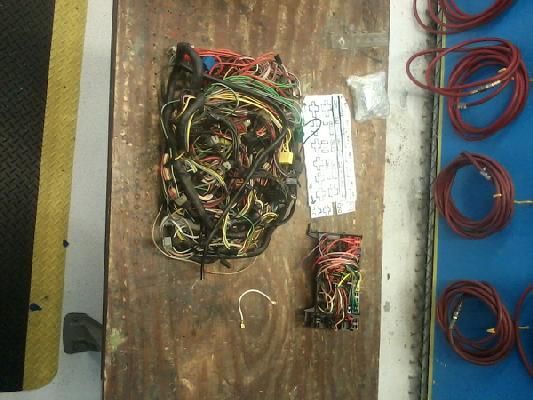
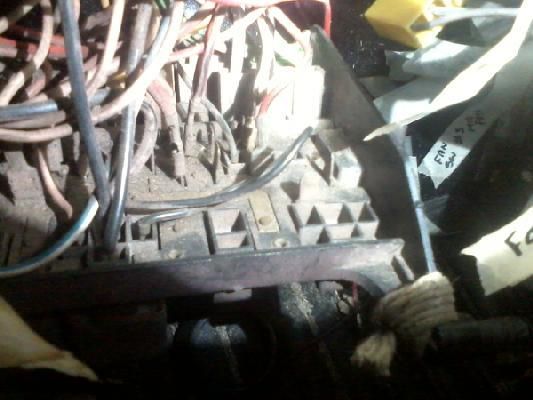
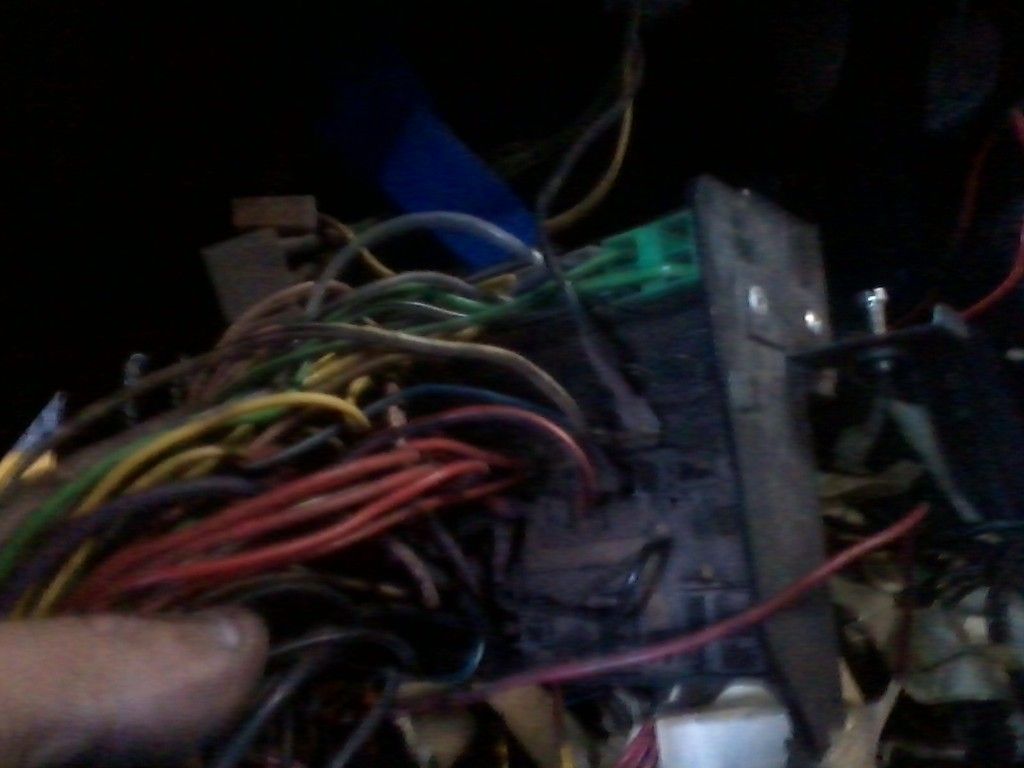
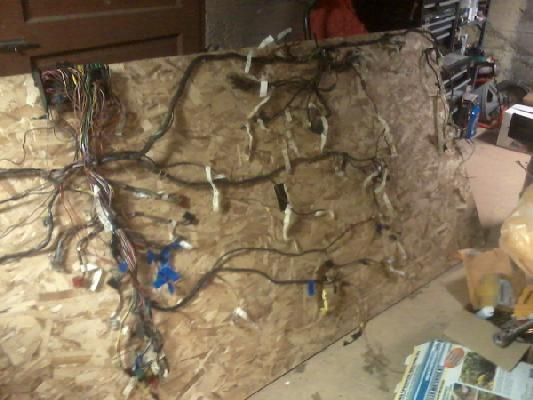
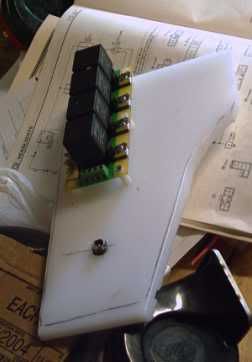
I took my new fuse box and new chassis wiring harness out to the back room for a quick orientation. I noticed a few discrepancies:

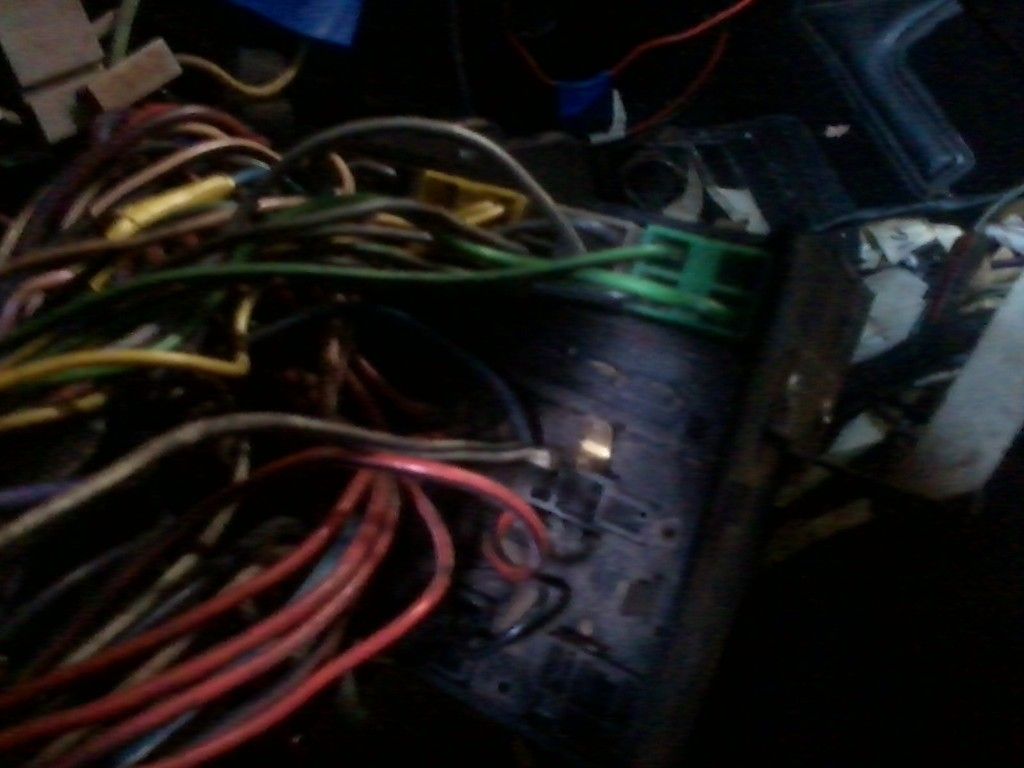
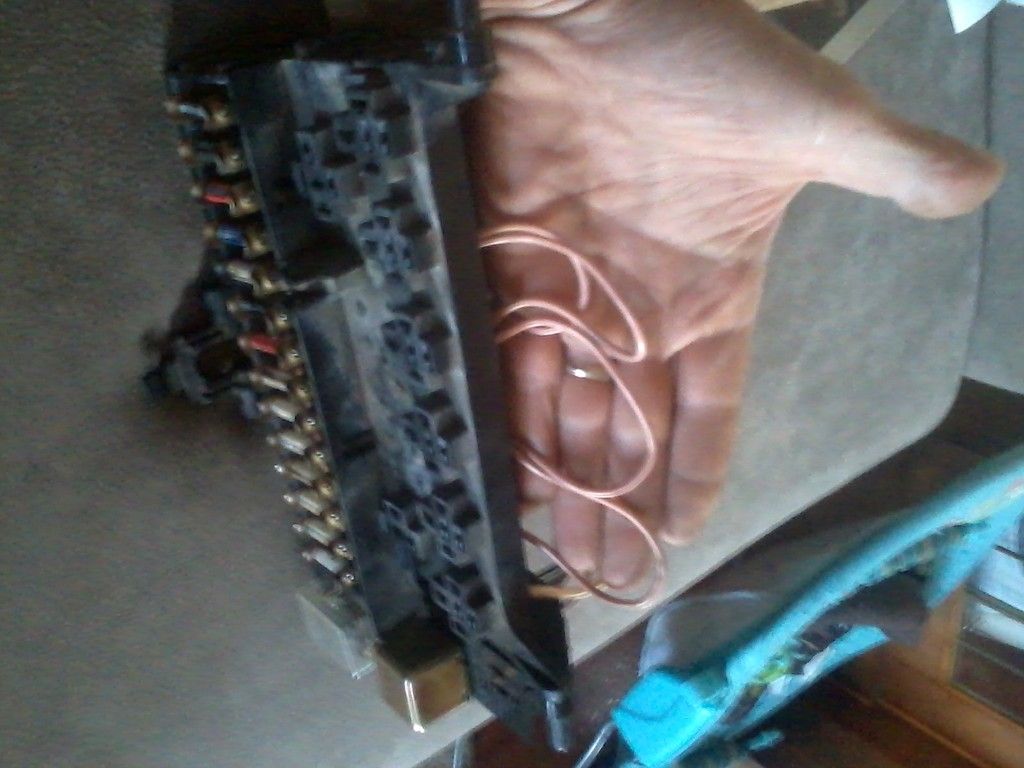
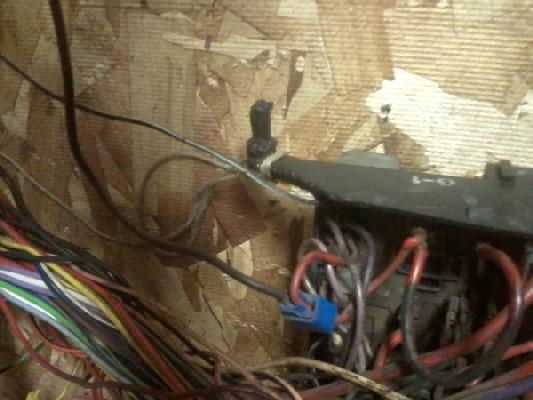
  • a flat grey connector on the 2nd row of the new fuse box is missing from the chassis wiring harness. Not sure what it goes to.

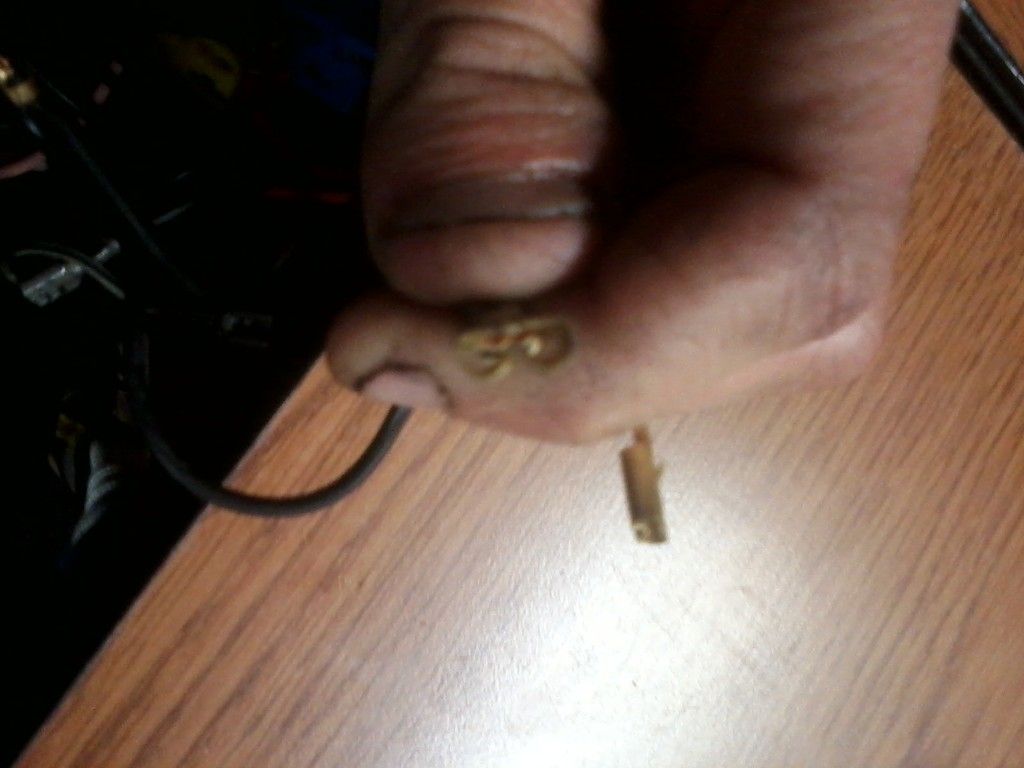
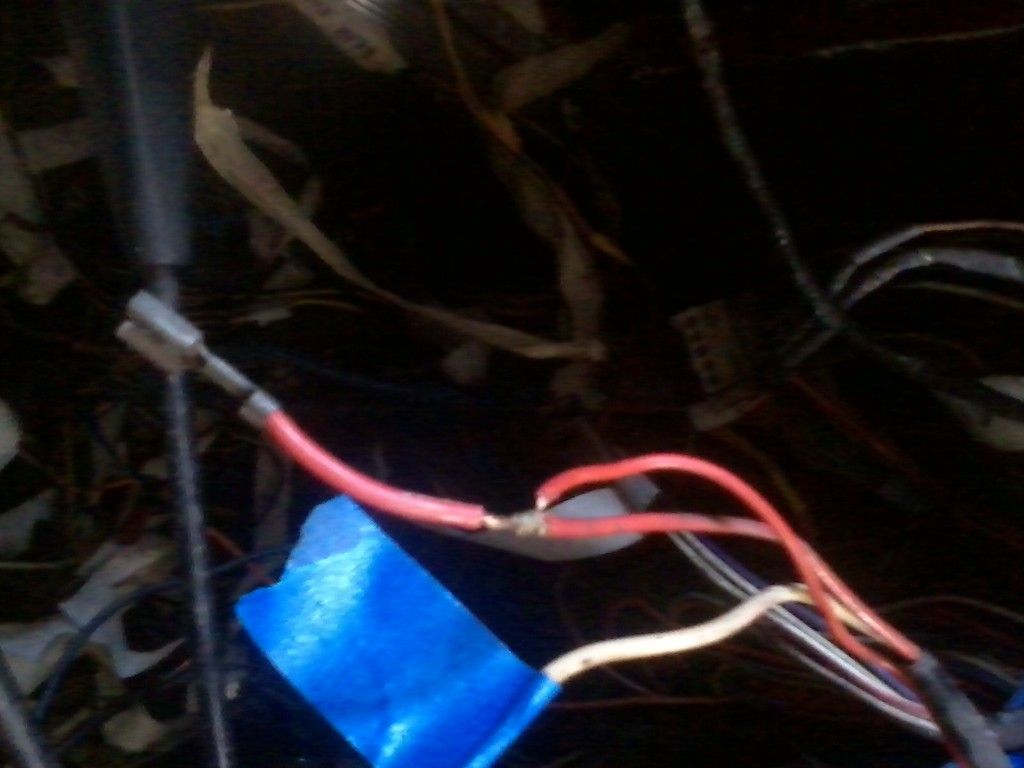
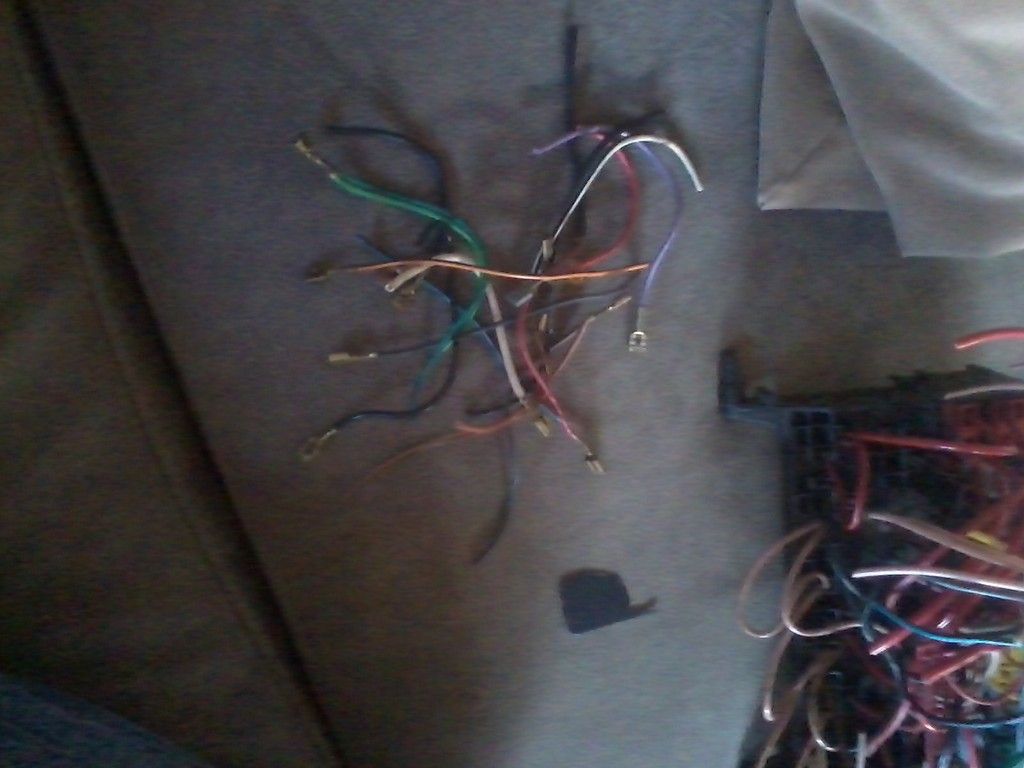
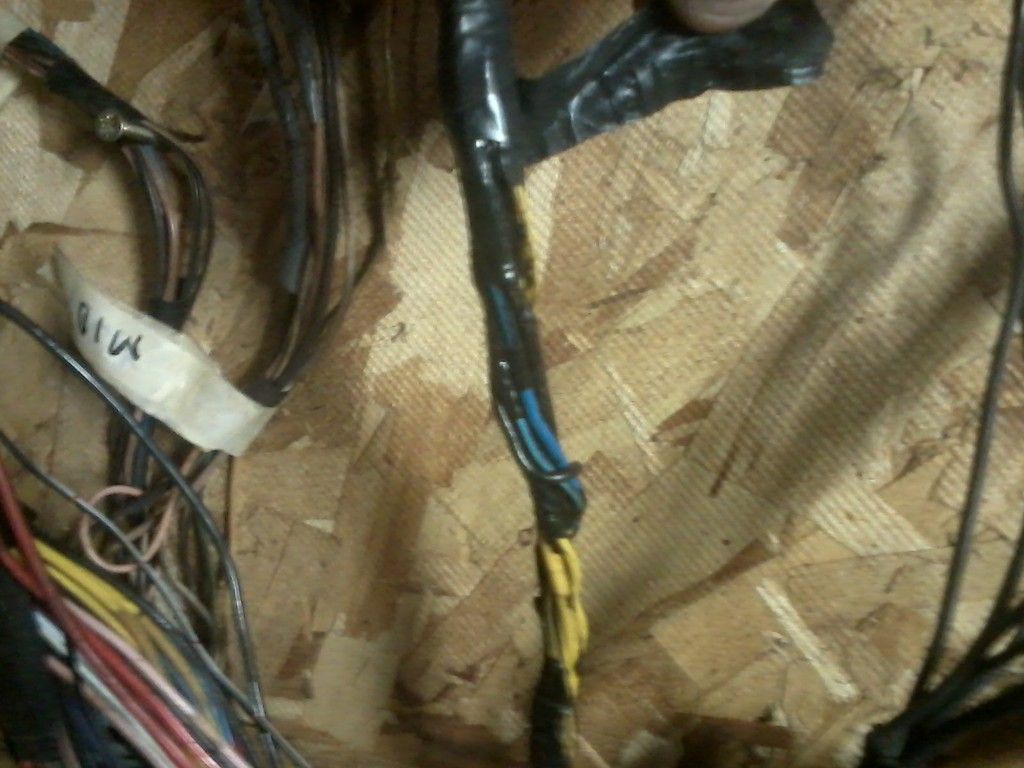
  • The new harness has 1-single purple wire with a spade connection, and a pair of purple wires in one spade connection. The new fuse box has only one purple wire and its spade connection goes to a relay (Labeled "#2" in the bottom right corner)

  • There is a yellow wire on the fuse box that does not exist in the chassis wiring harness. It is its own plastic covered spade connection (I labeled it #4 on the map)

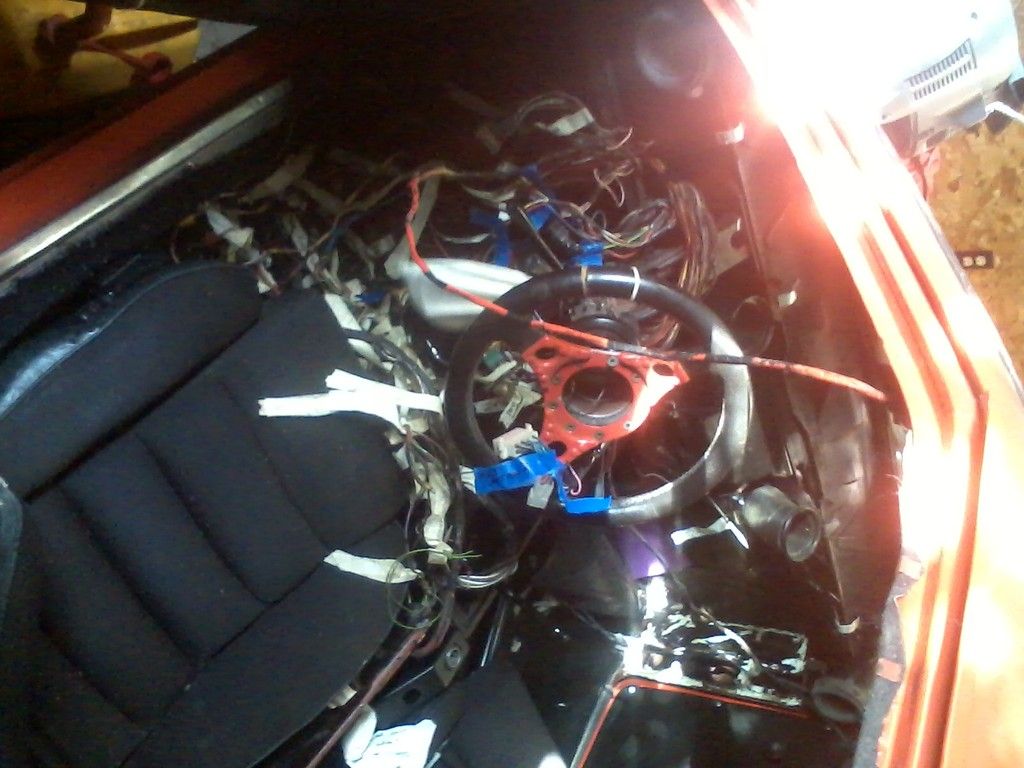
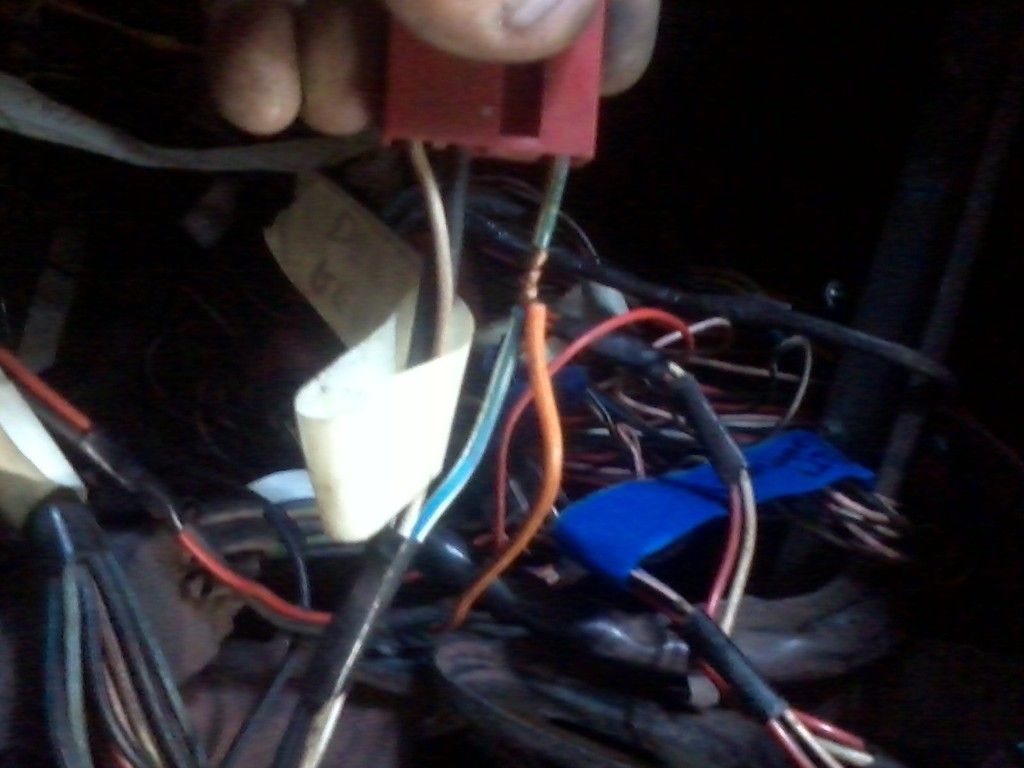
Now I'll have to go compare the new fuse box to the one that's installed in the car and see what I can make of everything. Otherwise it looks like the chassis harness vs fuse box is almost perfect. Aside from the rather short list of issues, the colors all match, and all the jumpers I can trace go to the same places, and the wiring seems to be in good condition.

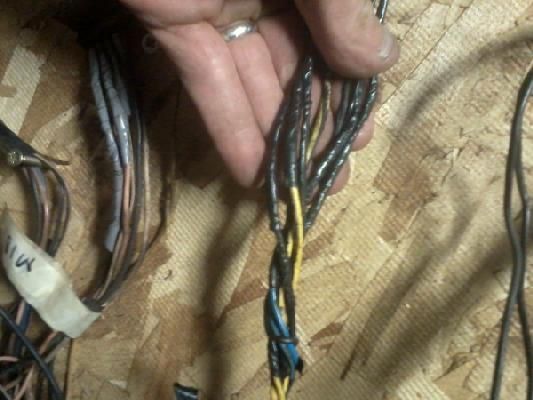
I did notice a few cut wires in the bundle, but they number less than 5 so I'm not too afraid.

Good times.

oldeskewltoy
oldeskewltoy UltraDork
11/3/15 12:32 p.m.

^^^

that is why I bought a 20 fuse mini harness and threw all the factory crap away........

Hungary Bill
Hungary Bill GRM+ Memberand UltraDork
11/3/15 9:38 p.m.
oldeskewltoy wrote: ^^^ that is why I bought a 20 fuse mini harness and threw all the factory crap away........

Hungary Bill
Hungary Bill GRM+ Memberand UltraDork
11/3/15 9:52 p.m.

I've always wondered what held those female spade connectors in a fuse box. Turns out it's just a little prong that sticks up diagonally aft to catch on a plastic tab on the fuse box receptacle. All it really provides is enough "stop" to keep the female spade connector from recessing when a male receptacle is inserted. (git yur minds out tha gutter).

To remove this properly I found that a thin piece of metal inserted in the face of the fuse box will push that tab down and allow you to remove the female spade.

The person who removed this harness did no such thing...

(that tab on top should be facing the other way)

So! I had a small screwdriver in my desk and I decided "what better way to spend my lunch break than by seeing if I can bend all these back without breaking them

So I did:

And repeat for all 37 of them...

While doing all this though, I noticed some of the connectors had been squirshed a bit. I figured I might as well try to bend those into a more favorable shape for "male tab insertion" (gutters, guys! Seriously?)

< / Lunch break! >

Good times.

Unfortunately I did not have time today before work to compare old vs new fuse boxes as promised. My neighbors' daughter's car sprung a large coolant leak. They were threatening to take it in for service, so I intervened. It was just a heater core hose that split right next to a hose clamp near the block. I cut it back a bit, and re-clamped for a nice "like new" water tight seal (it was a BEAR to get to though).

Hungary Bill
Hungary Bill GRM+ Memberand UltraDork
11/4/15 4:10 p.m.

It was a good morning. I washed the Impala in preparation for this weekends GRM meet, I cleaned out the gutters, AND I had time to work on my Alfa. Today I worked towards the removal of the old chassis wiring harness. I call it:

Good news / Bad news

Good news:

  • That flat grey connector on the 2nd row and the single yellow wire that were on the new fuse box, but not in the new harness were found. They go to the multi-function (blinker) switch on the steering column.

Bad news:

  • The new fuse box is different than the old fuse box. The old fuse box has a power bus bar to provide electricity to most of the relays and the new one does not... (the first of many other differences)

(you can see part of the bar between the two empty receptacles on the bottom right of the fuse box)

Good news:

  • There are less options (and subsequently wires) on my car's chassis wiring harness, versus the new wiring harness I bought. It also goes without saying that there are less spots that need filling on the new fuse box to create a replacement.

Bad news

  • the wires that ARE in my car's chassis harness are molested beyond belief... You may have heard the term "electrical nightmare" but those were just random empty connectors compared to the melted, cut, and twisted crap I found in my car.

Good news:

  • I got the Alfa's fuse box and chassis wiring harness completely removed from the car

Bad news:

  • The fuse boxes really ARE noticeably different in a few areas. There are two fuses added to the car's fuse box in a location that has two relays added to the new fuse box... (not sure about that one) We'll see what comes up as I go through wire-for-wire. Also, I don't see any tail light connectors on this harness. I'm not sure if those needed replacing too (so many melted runs, it's hard to remember them all). I'm going to have to go poking around with a flashlight to find where the disconnect for those might be (I mean they HAVE to have a tie in to the fuse box somewhere... right?)

I'm not sure if I mentioned it before or not, but apparently the melted electrical components (tach connector, wiper relay connector, various wires, etc etc etc) are rumored to be a result of hooking up the battery backwards. At least that's what I was told on on AlfaBB, the previous owner neglected to mention "melted wiring hidden under the dash" when we were going over the list of this cars features

Hungary Bill
Hungary Bill GRM+ Memberand UltraDork
11/4/15 4:12 p.m.

The following two pictures are going to be posted for the sole purpose of showing me where that ONE LAST WIRE goes. (from fuse box double spade, to multi-function switch)

Too hard to mark an empty terminal with tape. I figured you guys wouldn't let me forget where it went

Hungary Bill
Hungary Bill GRM+ Memberand UltraDork
11/4/15 4:19 p.m.

I call this:

Game, set, match, point: Hungary

Or

m4ff3w
m4ff3w GRM+ Memberand UltraDork
11/5/15 5:05 a.m.

Progress!

oldeskewltoy
oldeskewltoy UltraDork
11/5/15 10:08 a.m.
oldeskewltoy wrote: ^^^ that is why I bought a 20 fuse mini harness and threw all the factory crap away........

and so I repeat myself...............

Hungary Bill
Hungary Bill GRM+ Memberand UltraDork
11/5/15 11:47 a.m.
oldeskewltoy wrote:
oldeskewltoy wrote: ^^^ that is why I bought a 20 fuse mini harness and threw all the factory crap away........
and so I repeat myself...............

The sirens call

Hungary Bill
Hungary Bill GRM+ Memberand UltraDork
11/5/15 10:11 p.m.

Oldskewl: maaaaaan, where were you BEFORE I went and bought the wiring harness and fuse box without consulting anyone!?!?

I'm weighing the cost benefits of a 20-fuse mini-harness

The positives?

  • It costs $120 on fleabay

  • It's exponentially easier, neater, and newer.

The negatives?

  • I'm already into the new fuse box and harness for $150.

  • The factory wire colors for the stock harnesses match the wiring diagrams in the manuals (for reference in the future)

  • I'd have to re-term all the connectors if I went to the mini-harness

  • the fuse box mounting is "unique" and I'd have to fab something up to mount the mini-harness

I'm not saying I've removed it completely as an option, but I've got to give the stock harness a go.

Cue the music!

a-team

Hungary Bill
Hungary Bill GRM+ Memberand UltraDork
11/5/15 10:27 p.m.

So I made a few tools to help me get the spade female spade connections out of their housings. It's really just thin aluminum that slides in and pushes that tab down so I can pull the wires out the back of the fuse panel. My idea here is I'm going to remove the cut wires from the back of the new fuse panel to help me see what's going on. The cut wires have no "mapping value" (that is, aside from color and location, they tell me nothing of the differences between the two fuse panels) and I see a few jumped connections in the new fuse panel that just MIGHT duplicate that busbar we were taking about.

SO here goes:

I'm kind of bummed because I couldn't remove as many as I thought I could. The female spade connections can only be removed from the relay slots and honestly there just wasn't as many as I thought there were. It turns out that a LOT of these wires jump internally within the fuse box (thus, reinforcing my idea that it duplicates a busbar type of system... just, with wires.)

When I was done, I thought I could see the beginnings of what I was hoping for. Those pink-ish wires are jumping very near where the busbar is on the old fuse box

Except they werent

They were close, but it turns out that these two fuse boxes share VERY little in common. The busbar touches the TOP of all the relay plugs on the old box and the jumped wires in the new box go all over the place. I have neither the time nor the patience to map everything out right now and make it work.

So I moved on to the harness

Hungary Bill
Hungary Bill GRM+ Memberand UltraDork
11/5/15 10:58 p.m.

Someone on this board said someone was good at making wire harnesses from scratch. That second someone said "it (was) easy, all you need is a sheet of plywoood..." (oldskewl, it wouldnt' surprise me a bit if the "second someone" was you, but I'm two days from my flu shot and on my third beer my memory isn't what it usually is).

Anyhoo, I figured "shewt, I got a sheet of plywood" So I decided to make a go of it. Here's the old harness (I had to use screws to mount everything as the youngest Hungarling was sleeping right behind me. I was worried a hammer and nails would wake him up):

My goal here is to leave as much of this harness as untouched as possible. I want to replaces the melted E36 M3, the hacked E36 M3, and any broken E36 M3 in an effort to make this work. I plan to use the harness I bought as a source for wires and parts. If possible I'll re-evaluate the fuse box situation to see if I can swap boxes at the end of all this (honestly though, now that I have it out this old melted fuse box doesn't look so "melted". It just might work)

I got out my trusty notebook and a few other things to help me along the way:

I figure the best way to go about all this is to remove all the electrical tape, use the string tie to keep everything neat, use the blue tape to mark anything that needs marking, and use the box of new wires/plugs to replace any broken wires and plugs. If I document everything on the note pad, I should be able to keep track of what I'm doing as I go.

Sounds easy, right?

So I started removing electrical tape...

The problem I discovered with my original plan was two-fold:

  • I'm unraveling botched E36 M3 (see the vampire splice above. whiiiiiich may not be the best way to do things, but at least it's not the twisted bare wires we saw a few posts ago)

  • there's stuff under stuff. Which I'll demonstrate with the next two pictures

Same wires, those last two pictures. I'd gripe, but there's probably not a lot of GTV6 wiring harnesses laying around Slovakia so what can I say really? (they did what the had to did?)

All in all though, it's a good start. I take the tape off, document what needs to be replaced, and I'll fix things one at a time until there's nothing left to fix. I know it must seem like the whole thing is a melted copper/plastic mess but things aren't as bad as they seem. I mean, how boring would a build log be if the guy just said "and I bought a few parts, bolted them up, and look how great my car is now!"?

Now, in the spirit of honesty, not all the wires in this harness are toast. To prove it, I took a picture that only has one melted wire in it

Cheers ya'll. (finishes beer #4. Man do I have to pee!)

Good times

Hungary Bill
Hungary Bill GRM+ Memberand UltraDork
11/5/15 11:01 p.m.

Just real quick: Remember those twisted wires I mentioned? Well.....

See that? That's solder!

That means that the same guy who was twisting wires together a few posts ago had the ability at some point to actually make a solder joint!

That's all. I was just shocked to see a splice that wasn't tied in a knot

(Back to my beer... and bathroom)

oldeskewltoy
oldeskewltoy UltraDork
11/6/15 11:09 a.m.

It has been a while, but SOME solder MAY(might) be OEM...????

As to a unique area to mount a harness... try getting yourself one of these....

and then shape it as needed....

as to labeling...

I used zip ties with tabs...

and there are other types too...

google photo search of wire labels

alfadriver
alfadriver UltimaDork
11/6/15 11:31 a.m.

I'm sure I was one of those guys who said it was easy.

A very small screwdriver is all you need to get pins out of connector housings. That works from the blade connectors you see to the tiny bullet connectors used in modern EFI computers- the difference is how much needs to be ground off to make it fit.

oldskew- I know it's possible that there are OEM solders, but it's incredibly unlikely. They are far less reliable than crimp connections.

What I find interesting are the wire color changes. What in the world is that?

Bill- before you wrap that harness back up- get HARNESS WRAP, and don't cover the whole thing with electrical tape. You should only need about one inch of tape at the end of each wrapped end. You should have noticed that the black stuff around your wires was not all that sticky- it should not be adhesive tape.

Hungary Bill
Hungary Bill GRM+ Memberand UltraDork
11/6/15 1:20 p.m.

Yeah it wasn't sticky, but almost all of it was electrical tape. I forgot to mention: the ends of some of the tape was tied in a knot! (I forgot to get pictures too). And now that I think about it (head is still clearing) Alfa, I'm almost positive you were involved in the "easy" conversation about building wire harnesses.

Oldskewl: I like that zip-tie and tab idea, I may have to steal that one :)

Also, some harness wrap is definitely in the cards. That's going to take some planning though, this thing is like a bowl of spaghetti at the moment. I'm hoping it clears into a logical fashion before all is said and done (hope against hope?)

Hungary Bill
Hungary Bill GRM+ Memberand UltraDork
11/6/15 1:20 p.m.

Your friday funny:

alfadriver
alfadriver UltimaDork
11/6/15 2:14 p.m.
Hungary Bill wrote: Yeah it wasn't sticky, but almost all of it was electrical tape. I forgot to mention: the ends of some of the tape was tied in a knot! (I forgot to get pictures too). And now that I think about it (head is still clearing) Alfa, I'm almost positive you were involved in the "easy" conversation about building wire harnesses. Oldskewl: I like that zip-tie and tab idea, I may have to steal that one :) Also, some harness wrap is definitely in the cards. That's going to take some planning though, this thing is like a bowl of spaghetti at the moment. I'm hoping it clears into a logical fashion before all is said and done (hope against hope?)

Yea, that's harness wrap, not electrical tape. You can get that most anywhere. It is stretchy, so wrap it nice and tight, plus it does a decent job sticking to itself. Tape is only needed at the very end.

Other cool zip ties- there are some big ones that have screw holes in them. Better than the earlier things to hold the harness in place.

I've covered some other harnesses with the woven cover, which looks pretty nice.

Hungary Bill
Hungary Bill GRM+ Memberand UltraDork
11/6/15 9:05 p.m.
alfadriver wrote: I've covered some other harnesses with the woven cover, which looks pretty nice.

I'm really liking how clean the wires look with that wrap. If I can get things sorted to a reasonable level I might try to do as much of the chassis harness like that as possible.

Failing that, I'd really like to see the engine harness done up.

Failing THAT there's always the megasquirt harness

It looks like it's only about $.40 a foot here

not bad!

Dusterbd13
Dusterbd13 UberDork
11/6/15 9:26 p.m.

I love the looks of the braided wrap.

Ive also been pleased with using small zip ties every three inches.

And the summit extreme tape makes some great harness wrap. Silicon, fuses to itself with no adhesive, extreme temperatures are fine, and surprisingly abrasion resistant.

alfadriver
alfadriver UltimaDork
11/7/15 7:58 a.m.

In reply to Hungary Bill:

Looks a lot better than the corrugated plastic stuff. On the harness I made for my race car, I did that in lieu of harness wrap. Just some zip ties inside to hold it together. Being lazy and all..

Hungary Bill
Hungary Bill GRM+ Memberand UltraDork
11/10/15 5:38 p.m.

Well the unwrapping continues, but I think there's already enough pictures showing the stuff I uncover when that happens. I stole a quick 30 minutes yesterday, but didn't get any time today to work on it (and yes, I'm still finding more twisted wires and crap that seems to just loop to itself. It's all very confusing...)

Anyhoo, Mezzanine and AClockworkGarage were over last Saturday and they got a good chuckle from the Harbor Freight ads I was using to mask the engine bay. I thought I'd share here for all to enjoy

Probably one of the better uses for them, I think.

On the "lunch break" side of the house though, I had some 1/4" 2024 T3 laying around so I thought I'd make a distributor blank off plate. I'm not sure if I mentioned it, but the new engine's distributor points right at the firewall, and I'm pretty sure it's not going to clear. You have to love Alfa though, because the old boss and hole for the 2.5 location is still there on this engine. It's just blanked off.

SO! all I have to do is remove the drive and distributor, blank off the hole, remove the Alfa installed blank off plate, and install the 2.5's drive and distributor in the unused location.

This is as far as I could take the 3.0 distributor apart. It's really just a facility for a cap and rotor, but still that last little boss wouldn't come out. meh

Mezzanine offered the use of his tools if I couldn't get a blank off plate made (because of the trouble getting the old dizzy apart). What we'd do is cut away as much as possible, plug what was left, bolt it back on, and call it macaroni.

Still may come down the pipe, but for now I'm hoping this plate will do the trick. I'll pilot the holes tonight and see how it all looks next time I'm in the garage.

Good times

Mezzanine
Mezzanine HalfDork
11/10/15 6:25 p.m.

Blank plate looks great! With some gasket-maker goo on there, you'll never need to replace it. One thought on the distributor switcharoo...what are you doing for engine management on this thing? Because if you said Megasquirt or some other EMS, then you can think about using your blanking plate to hold some kind of cam position sensor that is sensing the end of the cam, and then with COPs that would mean that you wouldn't need a distributor at all.

I'm sure you know all that. I just couldn't remember what you decided for controlling your fuel and spark. You'll want some sort of aftermarket EMS when you go to those ITBs.

Hungary Bill
Hungary Bill GRM+ Memberand UltraDork
11/10/15 6:43 p.m.

I think, since this needs to run sooner than later, I'll run the 2.5's L-Jetronic unit and just suffer "the loss" in power. I love Alfa for the fact that the engine harness is COMPLETELY separate from the chassis harness. It's plug and go when the time comes.

While that's running I'll focus on "shake down" and make sure no parts fall off, address issues with all the things I've touched and THEN start working on making the MS3 work with the ITB's I have and Alpha-N it from there.

I figure without taking it off the road, I can build up the ITB's (to an inline-6 sort of configuration), make the engine harness for the MS3, and have everything as "plug and play" as possible. Then take a weekend off and "wham-bam-thank-you-ma'am" it to the point that I can drive it again on the following Monday.

I may even think about piggy-backing the MS3 while the L-jetronic is running to datalog the stock fuel map a bit (snag what air fuel ratio is where, etc). This is actually made easy for me because the European Spec L-Jetronic didn't come with a lambda sensor (OR a catalytic converter). I'll just weld on the bung for my wideband and watch it do its thing.

Coil on plug would be nice though. EDIS-6?

IIRC, I need to leave the 2.5's distributor drive in place even if I am running coil on plug (shared oil pump drive off that idler belt gear you saw). Meh, that's not the worst thing in the world.

Good times.

1 ... 7 8 9 10 11 ... 35

You'll need to log in to post.

Our Preferred Partners
wzGdimc4NbVgpQRJI2j181909EDUAcrl4vM0sNzLhWgpiHtQCPbPwdlL6ZP4iL0v