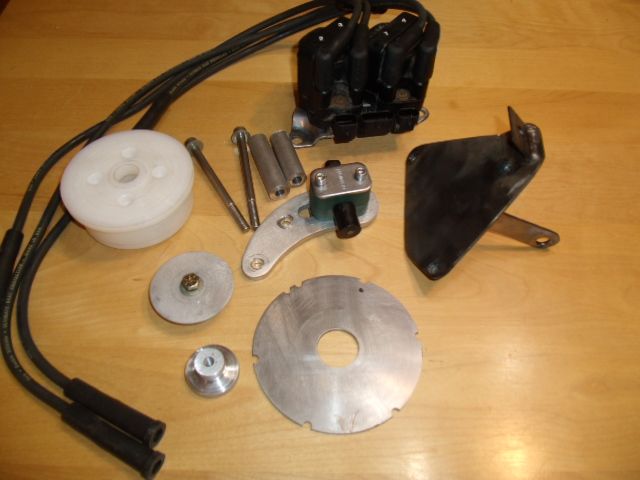
 A little more fabrication and we have this pile of stuff.
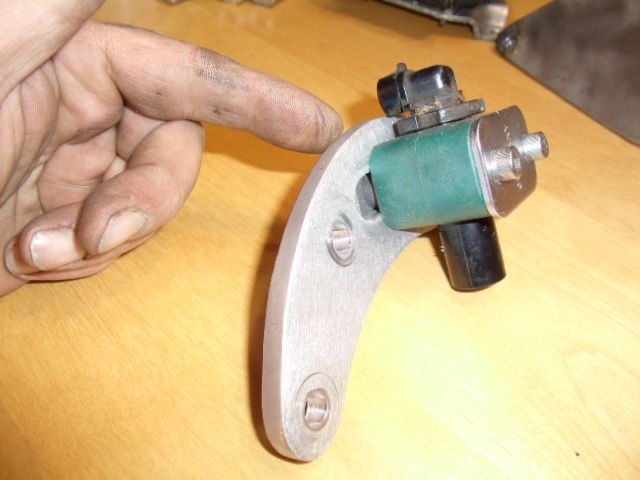 The crank position sensor bracket was cut out of some 1/4 inch aluminum plate. The 3/4 inch hydraulic pipe hanger mounts to the bracket and holds the cranks sensor solidly.
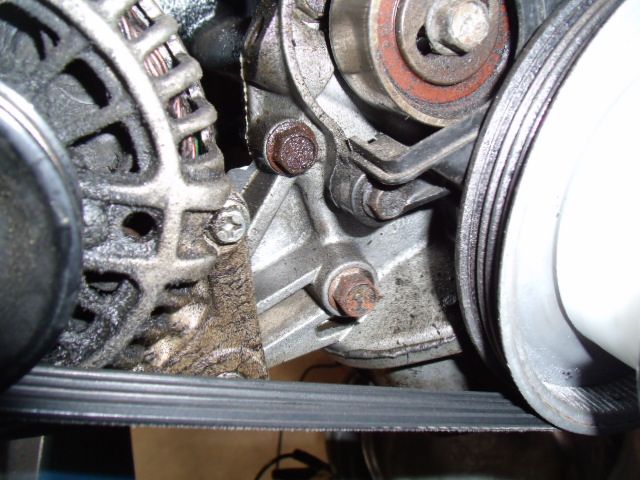 These two rusty bolts were more or less doing nothing so they are going to be used to mount the sensor bracket to the engine. Here is a bit of trivia... the front of the B3 engine is identical to a Mazda DOHC 1.6 and 1.8... so this setup will fit on a real engine too...
![]()
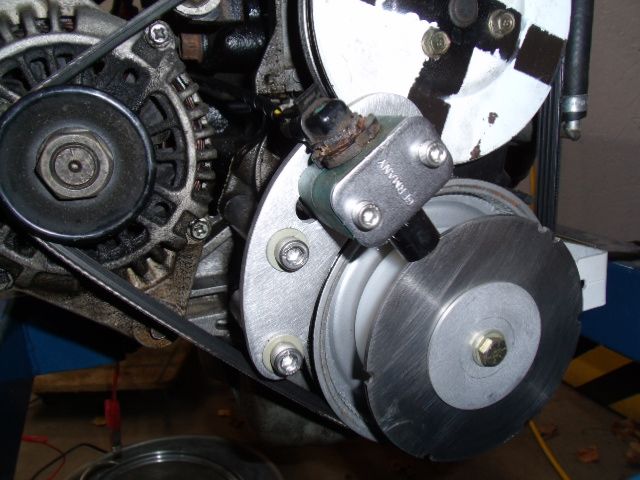 Cranks sensor mounted!
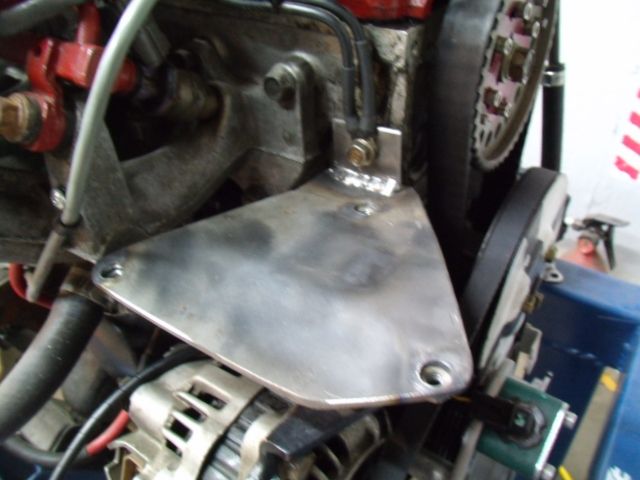 The bracket for the DIS is mounted to the engine. Note, I'm setting this system up on the dyno engine because... well I'm lazy. Once the system is dialed in it will get transfered to the Miata.
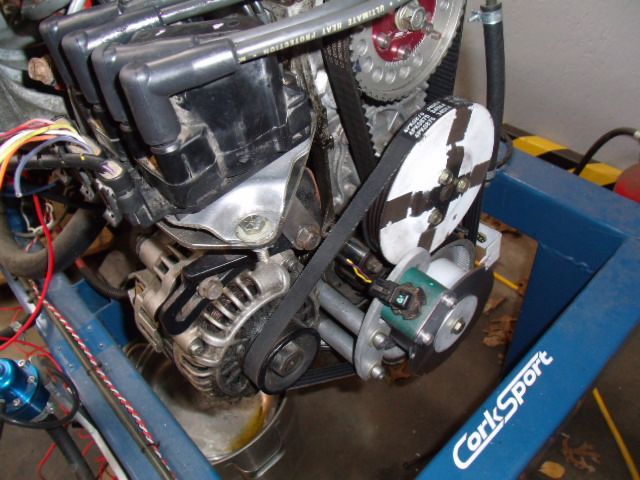 DIS mounted and new spark plugs wires are routed....
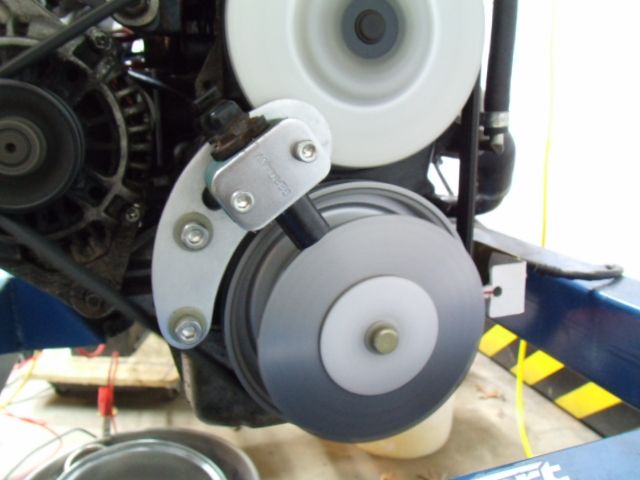 So at this point the crank position sensor is plunged in and the DIS module was wired for power and ground. The crank wheel was eyeballed into position...... the starter was engaged and the engine coughed into life!
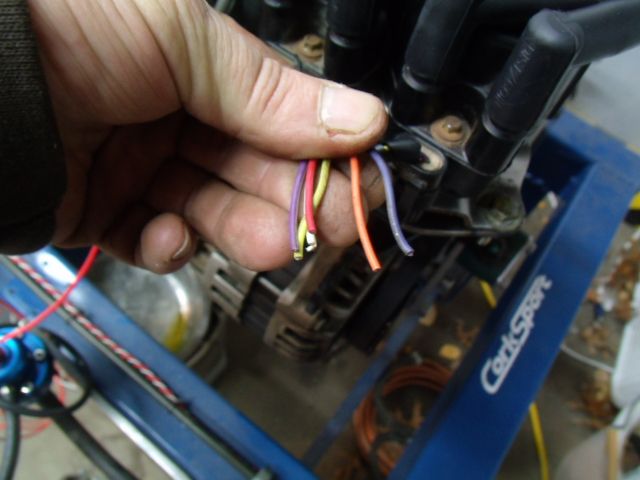 Keep in mind, the Megasquirt is not connected to the DIS and yet the engine runs! Time to buy a lottery ticket!
next up.... wire the DIS into the megasquirt.
Stay tuned!
Fooled around with the DIS ignition today and was able to mate it with the Megasquirt. There was a DOH! moment when I discovered the crank wheel was on backwards...Interesting enough the engine will run with the wheel spinning the wrong way. Anyway the mistake was quickly sorted out.
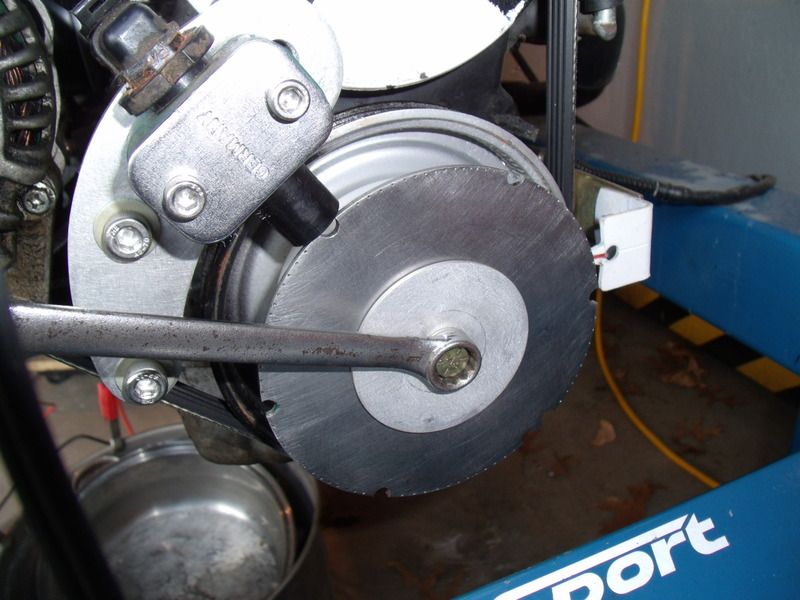 Loosing the bolt on the crank hub releases the wheel so it can be repositioned. Eventually the wheel will get pined to the hub and any fine adjustments can be made by moving the sensor.
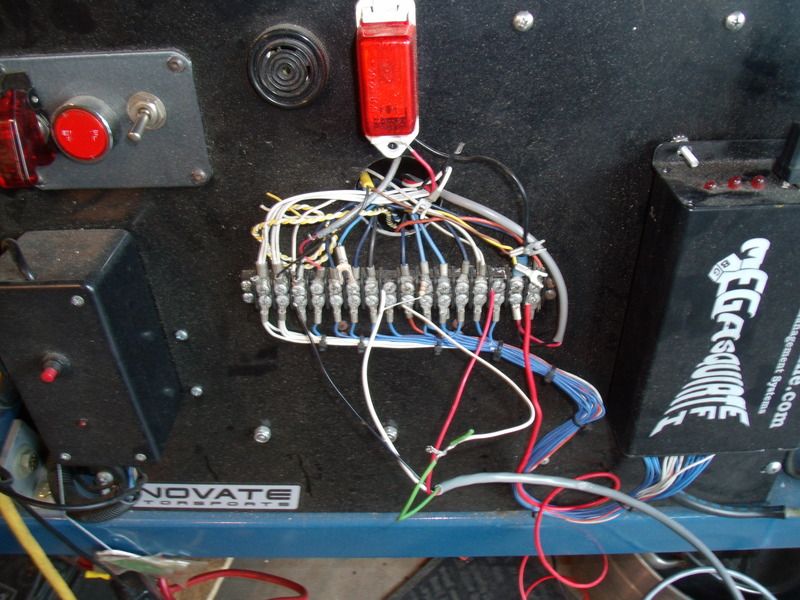 The 7X DIS temporarily wired into the dyno terminal block. Experimenting on the dyno makes troubleshooting so much easier
![]()
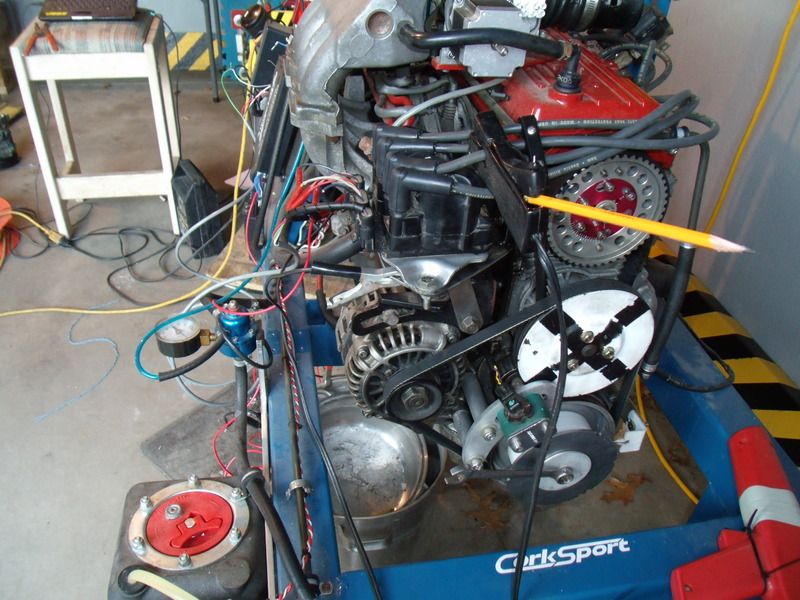 At the end of the day, the 7X DIS was working well enough to justify transferring it to the Miata.
Next up.... installing in the Miata!
Stay tuned!
A Ford EDIS ignition can also have been installed. Based on your description of the GM one, they act the same way- trigger wheel in, outputs to an ECU, puts spark at specific time unless told otherwise by ECU.
An interesting aside I came across WRT improving mileage of older cars. A bit, well seriously, out there in some respects with some very questionable maths, but interesting never the less. A 43mpg Jaguar XJS (That's 43 miles per real gallon which is only 35 or 36 Miles per baby American gallon)
http://www.theregister.co.uk/2014/10/19/crawling_from_the_wreckage_essay_making_cars_more_fuel_efficient/
In reply to alfadriver:
Now that I have the basic crank trigger sorted out, jumping over to the EDIS should be simple. I'm hoping the Miata will be back on the road this week with the 7X system so I can see if there is a difference with the simpler system. Anyway EDIS is defiantly something I want to try.
In reply to Adrian_Thompson:
The math is suspect but nevertheless an interesting read. Thanks!
In reply to El Cheapo:
Pulse wheel is quite different- 36-1 teeth. But they work the same, apparently.
alfadriver wrote: In reply to El Cheapo: Pulse wheel is quite different- 36-1 teeth. But they work the same, apparently.
Whoops.. forgot about that![]() . I'll have to try and do a layout of a 36-1 wheel with my halfazz CAD program. The 7x wheel was a snap to layout and build. I'll eventually update this thread with some pictures of how the wheel was built.
. I'll have to try and do a layout of a 36-1 wheel with my halfazz CAD program. The 7x wheel was a snap to layout and build. I'll eventually update this thread with some pictures of how the wheel was built.
El Cheapo wrote:alfadriver wrote: In reply to El Cheapo: Pulse wheel is quite different- 36-1 teeth. But they work the same, apparently.Whoops.. forgot about that. I'll have to try and do a layout of a 36-1 wheel with my halfazz CAD program. The 7x wheel was a snap to layout and build. I'll eventually update this thread with some pictures of how the wheel was built.
There are always EDIS 4, 6, or 8 systems on ebay. On the 4's, if you can find a junk 1.9 Escort- they had the tone wheel outside of the engine on the front pulley. Easy to get to instead of fabricating.
I actually thought that the Festiva had our controller. But it was a Mazda powertrain through and through.
Progress.....
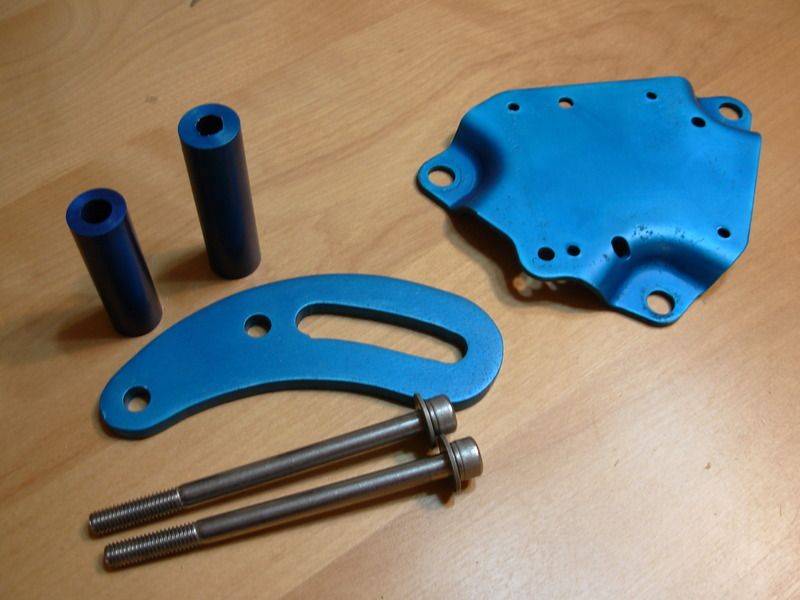
The fabricated parts were anodized in my basement laboratory with a cool blue color. They came out really good!
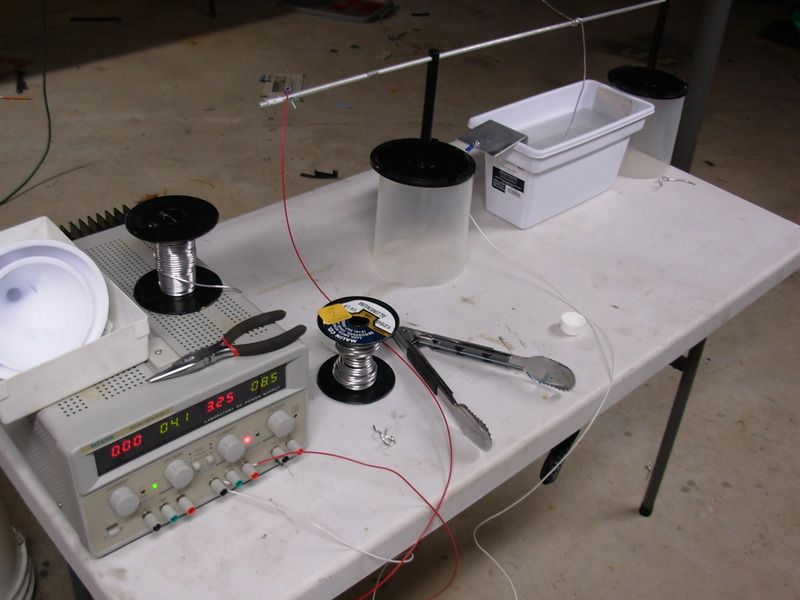 The anodizing equipment was sourced from Wallmart's kitchen department for $25.00. (not including the power supply). The tub on the right is filled with diluted sulfuric acid ($10.00 at autozone). An electrical current is passed through the parts while they are immersed in the acid... the current will open pores in the aluminum that can later be filled with dye.
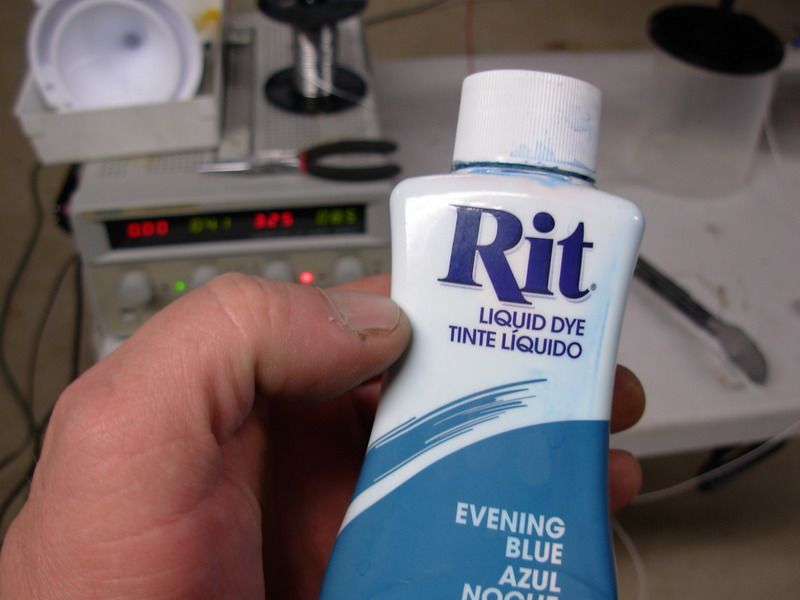 The electric blue coloring was achieved using RIT fabric dye.
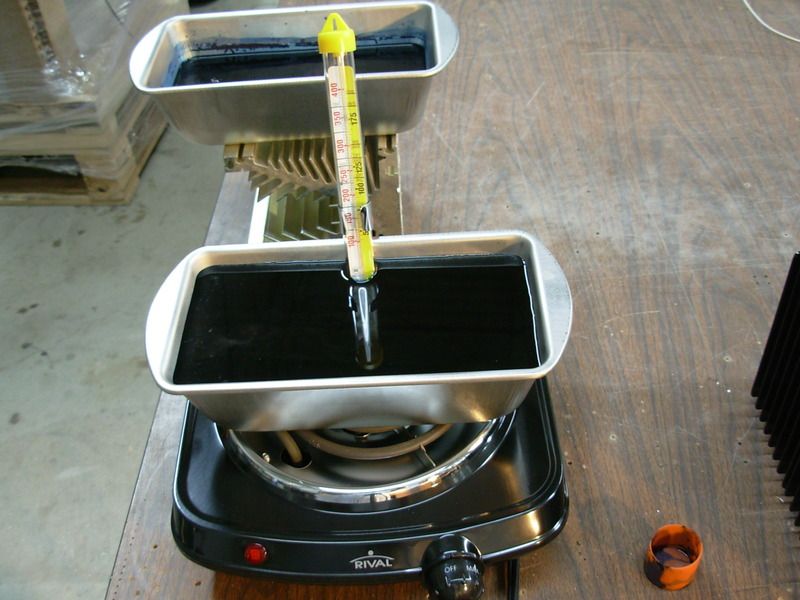 After about 25 min in the acid bath, the part is pulled and sprayed off with distilled water. Then it is immersed in the blue dye for a few min. When the coloring looks about right the part is removed from the dye and placed in a pot of boiling watter to set the color into the aluminum.
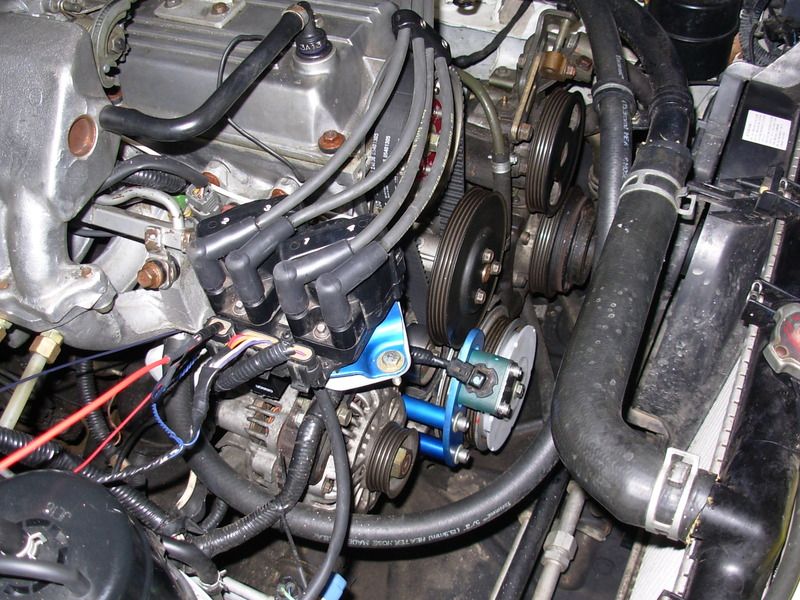 ...and finally the whole crank trigger system is transfered to the Miata.
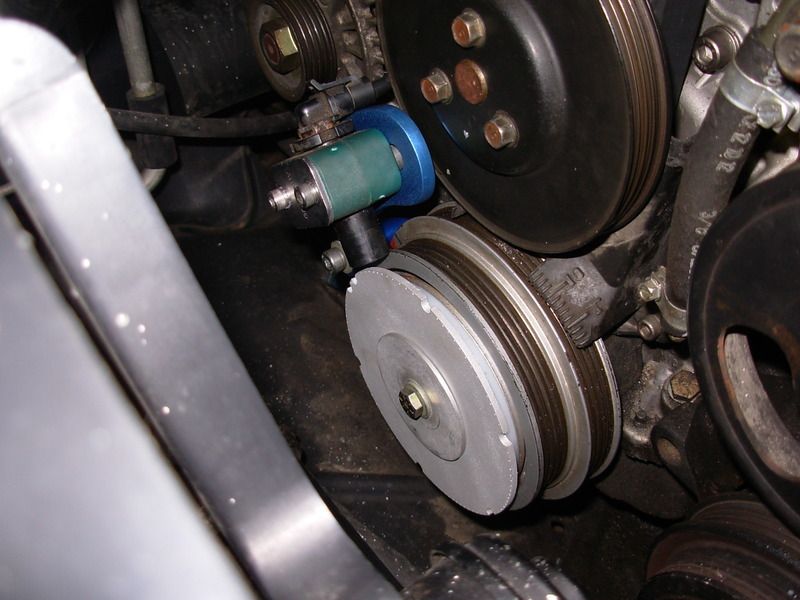 Looking good!
Stay tuned!
Whelp, after the new ignition system was laced into the already hacked up harness and a few parameters were changed with the megasquirt it was time to go on a death ride.
Holy E36 M3... what a huge difference! I'm not saying the 7x system is all that and a bag of chips, but it is definitely a step in the right direction. Apparently older the hodgepodge ignition was causing a bottleneck in the upper RPM range... not really sure what the trouble was but its clear that the old ignition wasn't working properly.
The engine now pulls hard all the way up to 5000 rpm before the fuel cutout ruins all the fun. prior to the ignition swap, the engine would fall flat on its face between 4200 and 4500.
The little B3 now goes Zoom Zoom motherberkeleyer ![]()
Here are some poorly taken pictures for entertainment purposes.
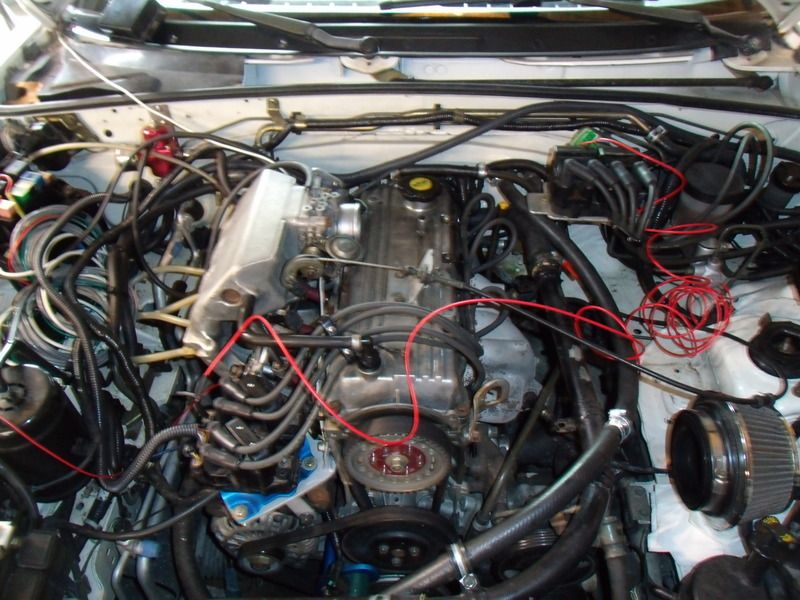 Potato camera image reviles the engine bay is a disaster. No worries, this will get sorted out as soon.
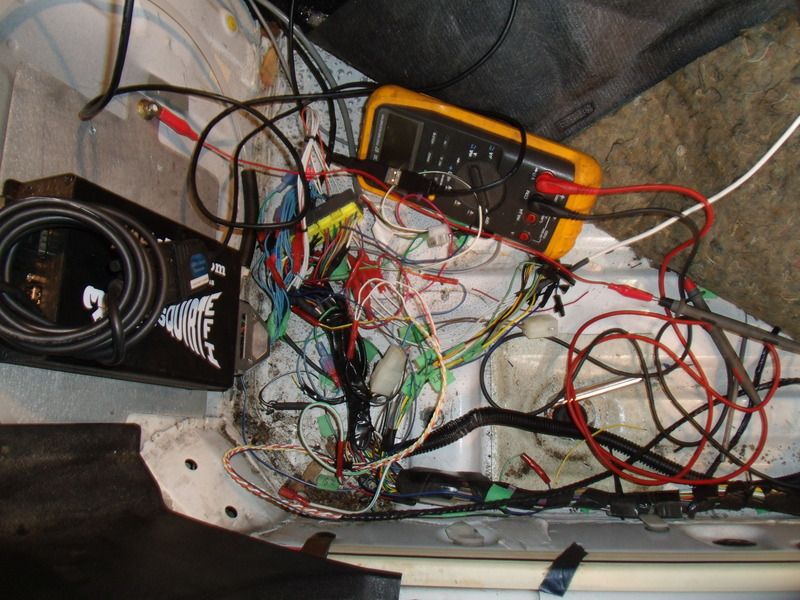 Another cluster berkeley disaster... Meh, this mess will get nuked before spring.
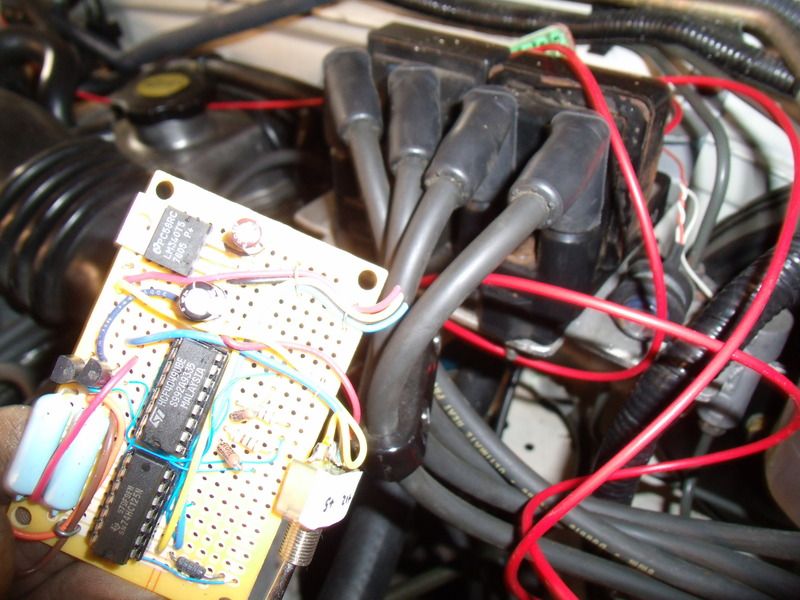 The flip flop circuit board was most likely the performance/economy bottleneck. Off to the trash bin it will go!
Stay tuned!
Alright, let's talk numbers...
In a forum full of fast cars, I find it difficult to share performance data. The numbers I'm bringing to the table are laughable even by my standards, but this is the nature of the project. Anyway, its time to show my cards...
Using the Wallace Racing calculator, HP works out to be 55.94
The calculated HP works out to 75.8
The take away is... that's a 36% Horsepower improvement!
Stay tuned!
For all the work I do on cars, reading this thread makes me feel like some kind of cro-magnon man saying "I turn bolt with wrench!"
Definitely a great read and I'm not sure if I learned stuff or if I'm now totally confused, lol (but likely the former!)
I would definitely lean toward underbody aero....some thin HDPE sheeting is easy to mount, tough, and slippery and could improve things mileage-wise.
After two days and 200 miles it was time to top off the fuel tank.... Oh ohh, looks like I been having too much fun and the mileage dropped off to a mere 40 MPG.... really not to shabby. ![]()
Now that the little engine is behaving, I think I can squeeze a bit more power out of it. We'll see...
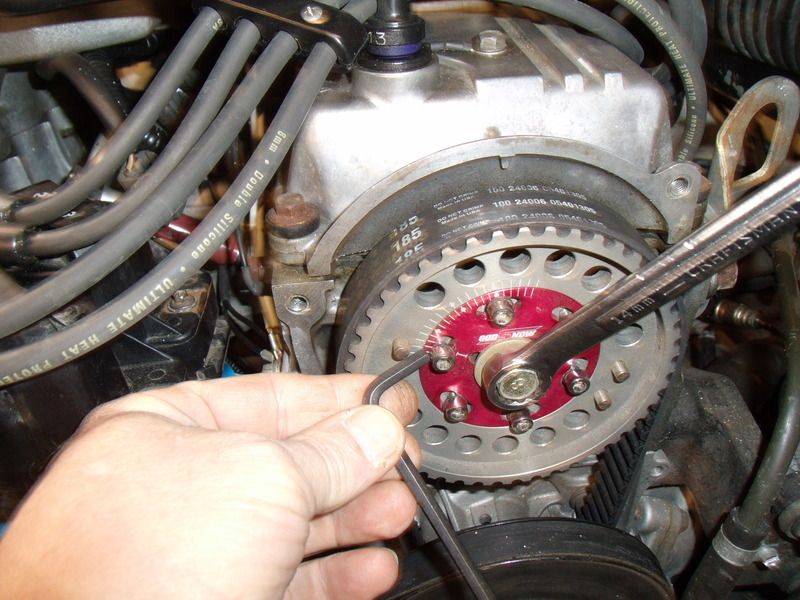 Camshaft timing needs more cow bell.. I am addicted to power!
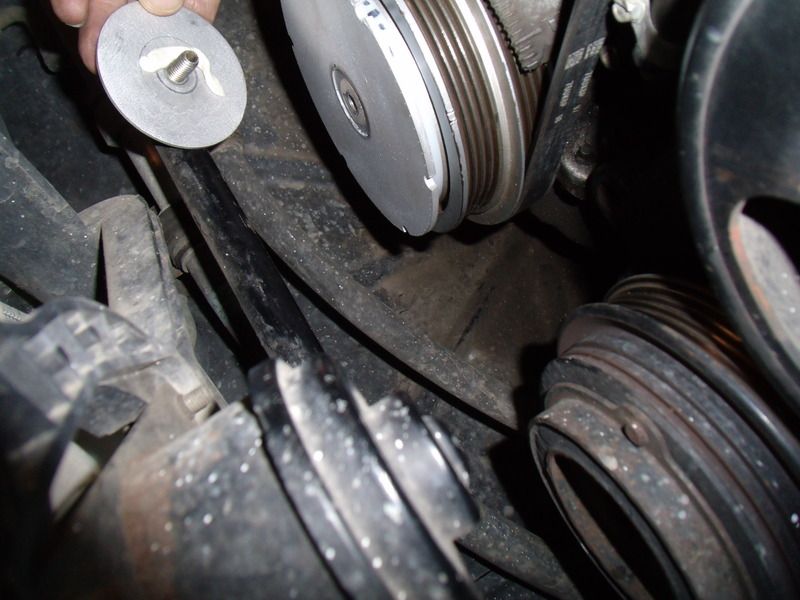 A quick check with a timing light revealed the crank wheel had slipped. No problem, some chewing gum should get it to stay put for a while.
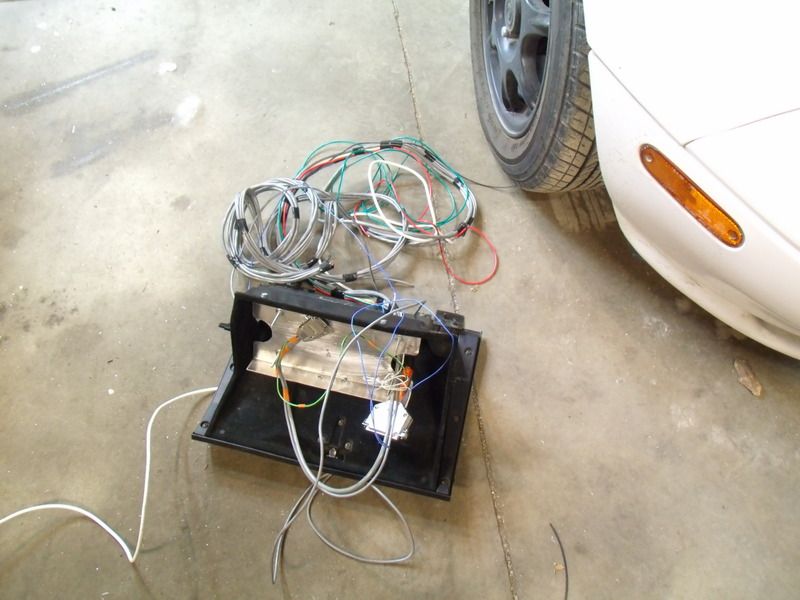 Two steps forward, one step back. The new unused megasquirt harness was pulled so it could be modified for the new ignition system. Once the mod is complete I can reinstall the harness and cut out the hacked up harness.
Stay tuned!
I'm still waiting for high mpg turbo power testing ![]()
But really, you never cease to amaze me, that anodizing experiment is too cool I'm going to have to try that myself
In reply to chiodos:
The anodizing experiment was one of the most satisfying DIY projects I have ever attempted. Its sort of like understanding how magic works.
Unlocking the top end power with the new ignition was a game changer for this project. There is a real possibility of a turbo finding its way under the hood in the near future. ![]()
I can add some awkward stuttering and idolatry. Amazing work, and to me, it seems because you are almost entirely focused on learning the process, which always gets better results. I often focus on the end product instead of UNDERSTANDING how to get there. Truly great work.
In reply to wheelsmithy:
Thanks for the kind words.
I definitely underestimated how much of a challenge this project would be. A lot of little details that are normally taken for granted end up being very educational.
Anyway, As luck would have it, the moment when I finally get positive results the whether turns to E36 M3. ![]() .. This could be the ultimate cliff hanger..
.. This could be the ultimate cliff hanger..
Stay tuned!
You'll need to log in to post.