
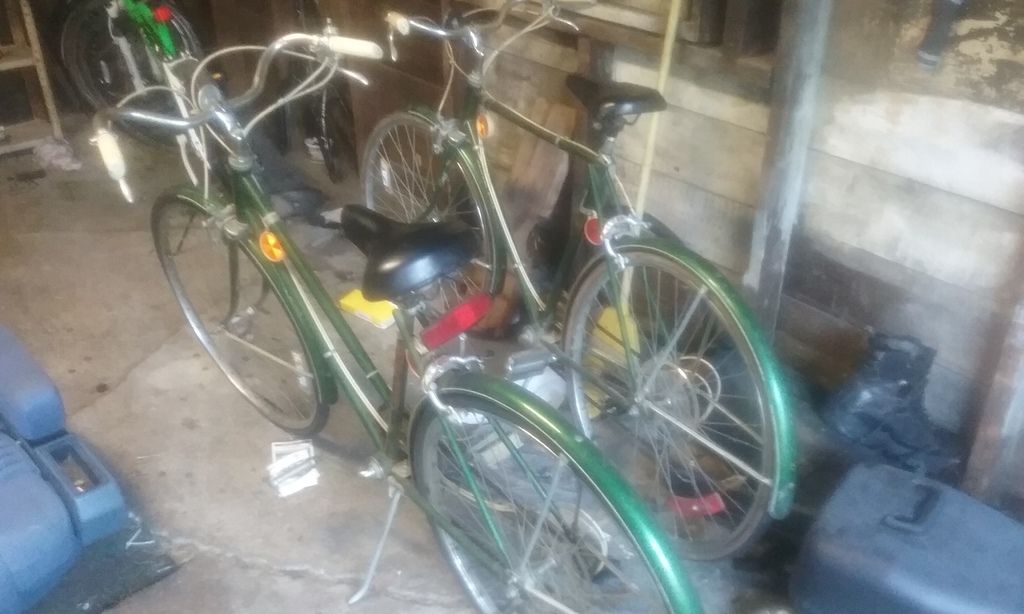
My newest small project, picked them up off a co workers mom today. His and Hers 1975 western flyer's. Going to use the nicer original parts on the hers and build myself a weird rat bike style cruiser out of the more beat up stuff.
This is what happens when your knee hurts too bad to ride the 20 inch!

Not sure if i ruined it or made it better but it rides great!

Another quick one:
I modified our propane smoker with extra parts from the one our neighbor was going to throw out (bottom rusted out)

I wanted to use the extra body section, so I cut the seating lip off the extra lid

And with a few (ugly) tack welds welded the lip on the bottom of the center section. I was having a real hard time getting down to clean metal thru the hard coating.

But it worked!

We were able to smoke two whole chickens

And about 18 brats... which are becoming my one of my favorite things

Plus I think with a couple well placed bolts I can get another rack in there.
Best smelling fab job... EVER!

Another little "nearly free" furniture project. This time a little desk for behind the couch made out of some reclaimed wood that I found in the garage and some steel hairpin legs. Still need to seal it and add a little shelf, but it's done enough to set it in place.
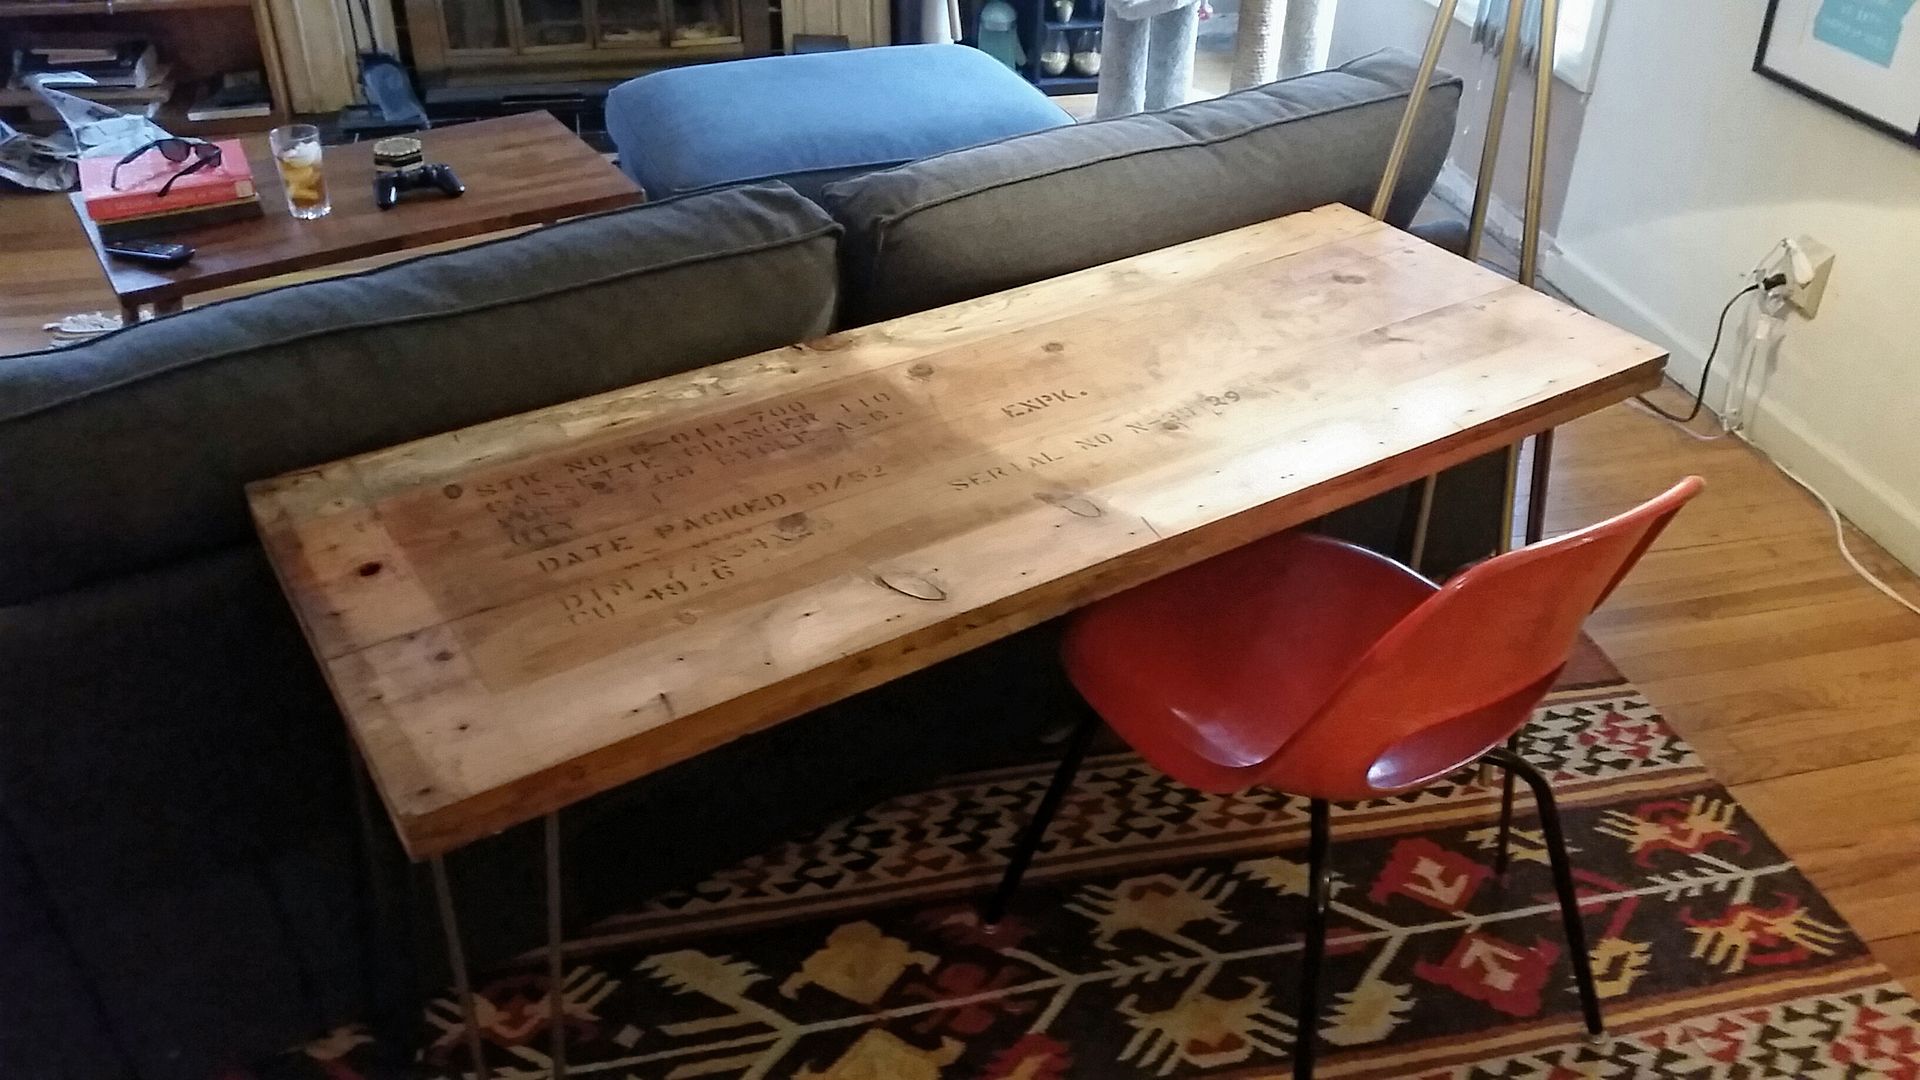
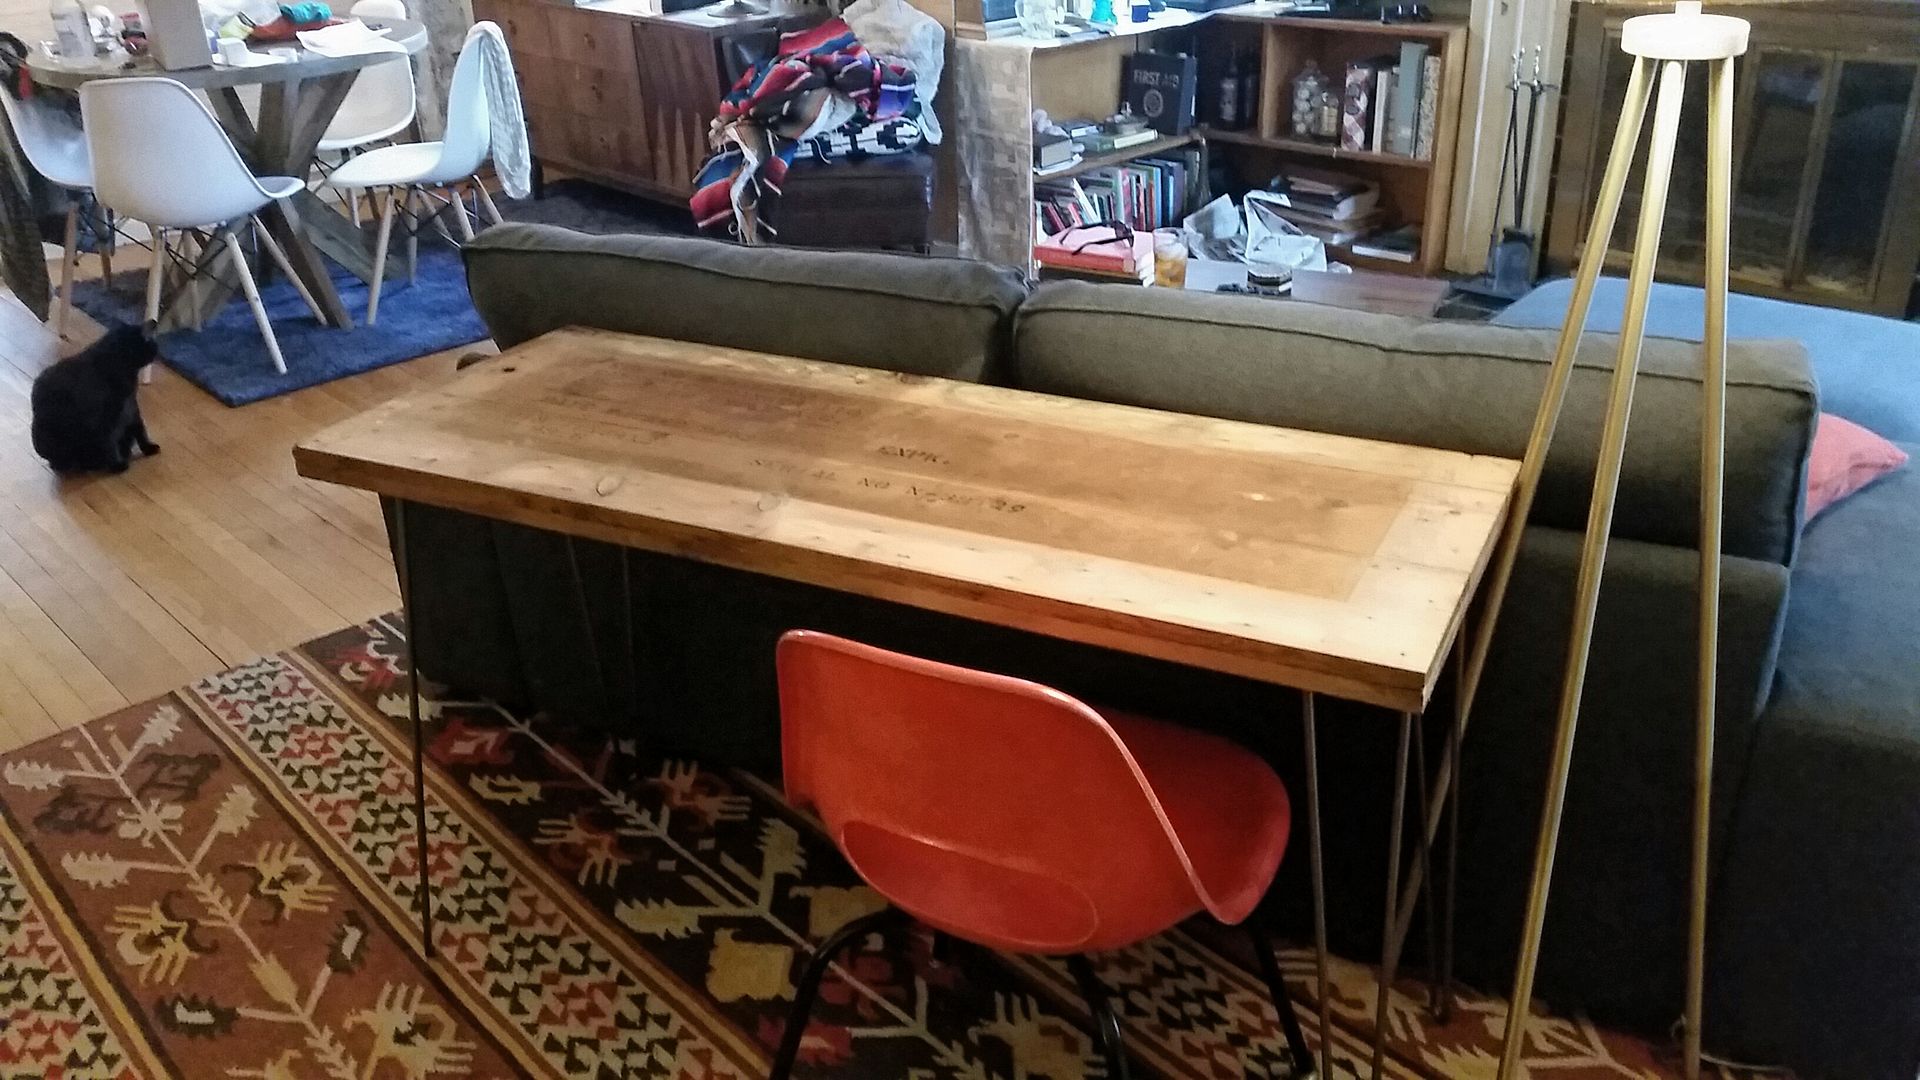
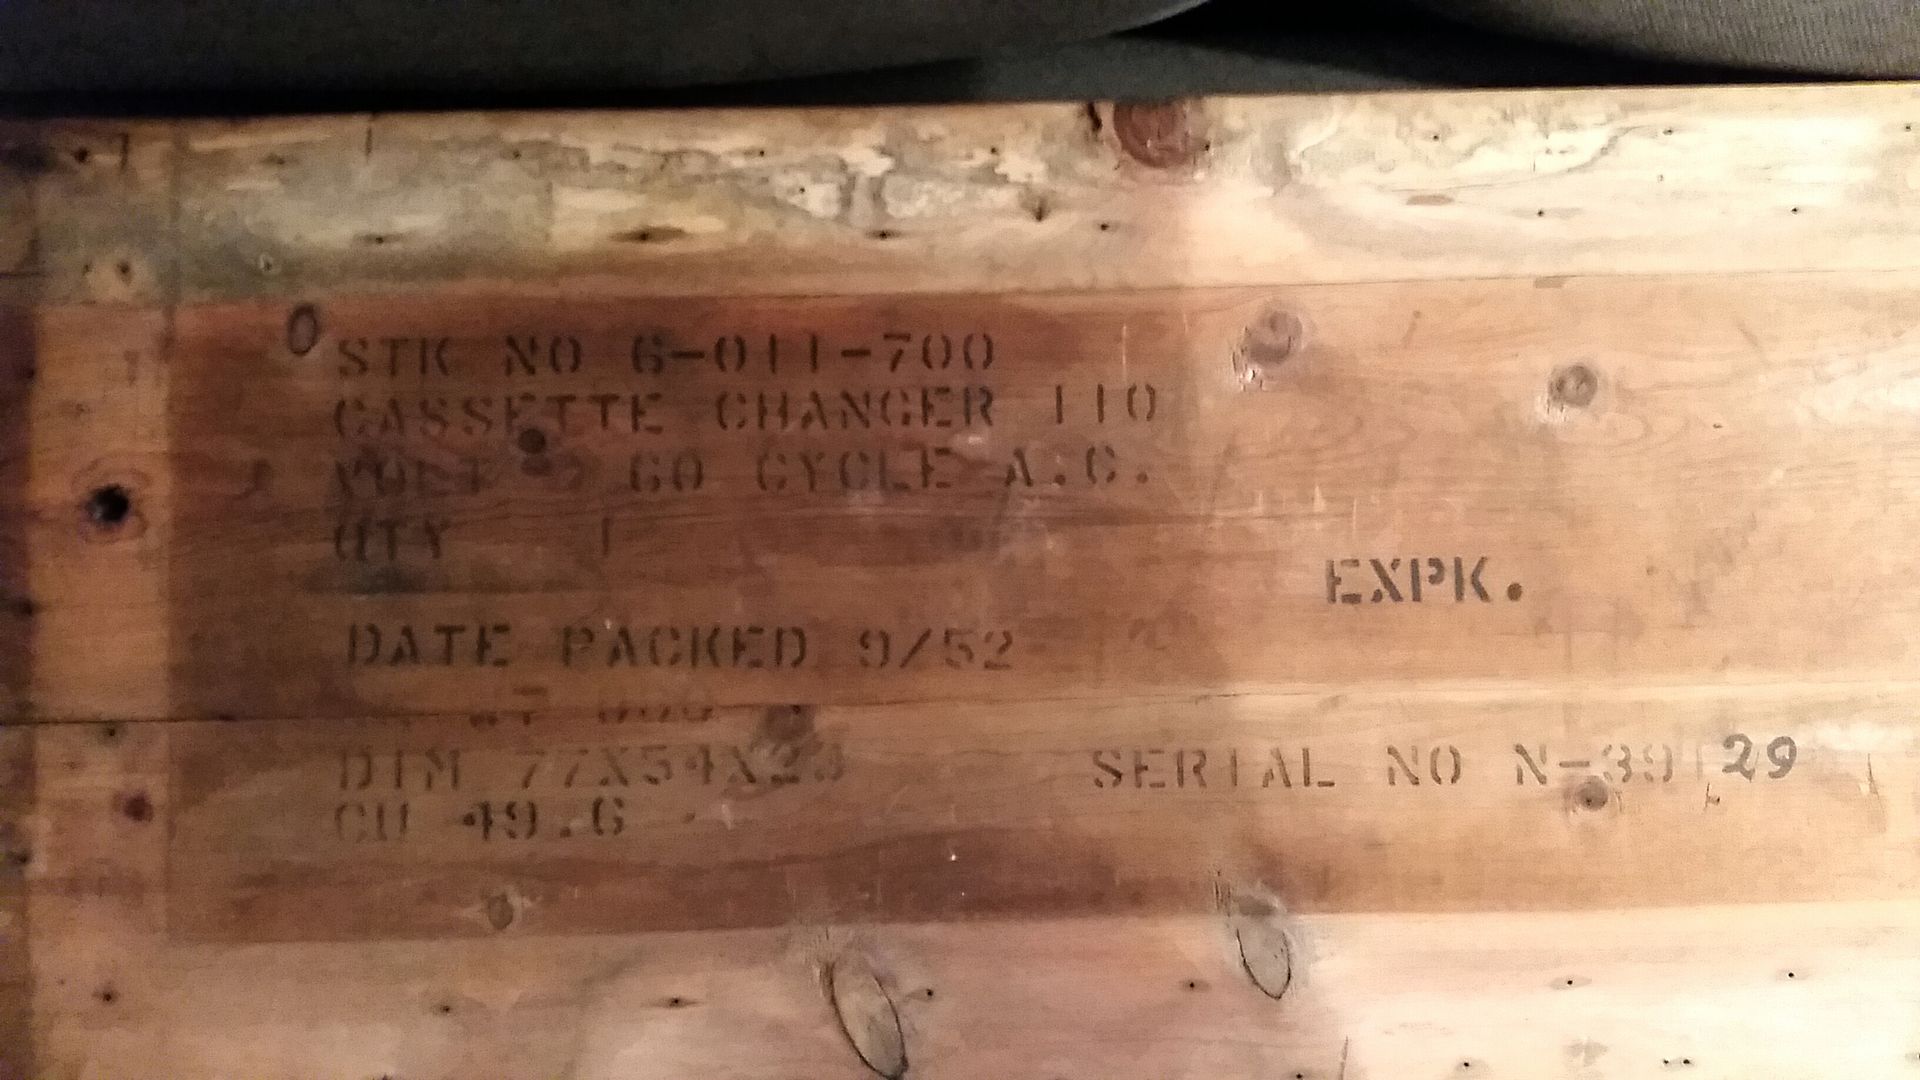
I'm hoping some spray on poly will protect the the letters for a few years. It's too bad the weight got rubbed away in the building process, but it's worth noting that in 1952 a Cassette Changer weighed 800lbs...
In reply to Burrito:
Super nice!

My croc broke. This was nearly a tragedy. These are my most worn footwear.
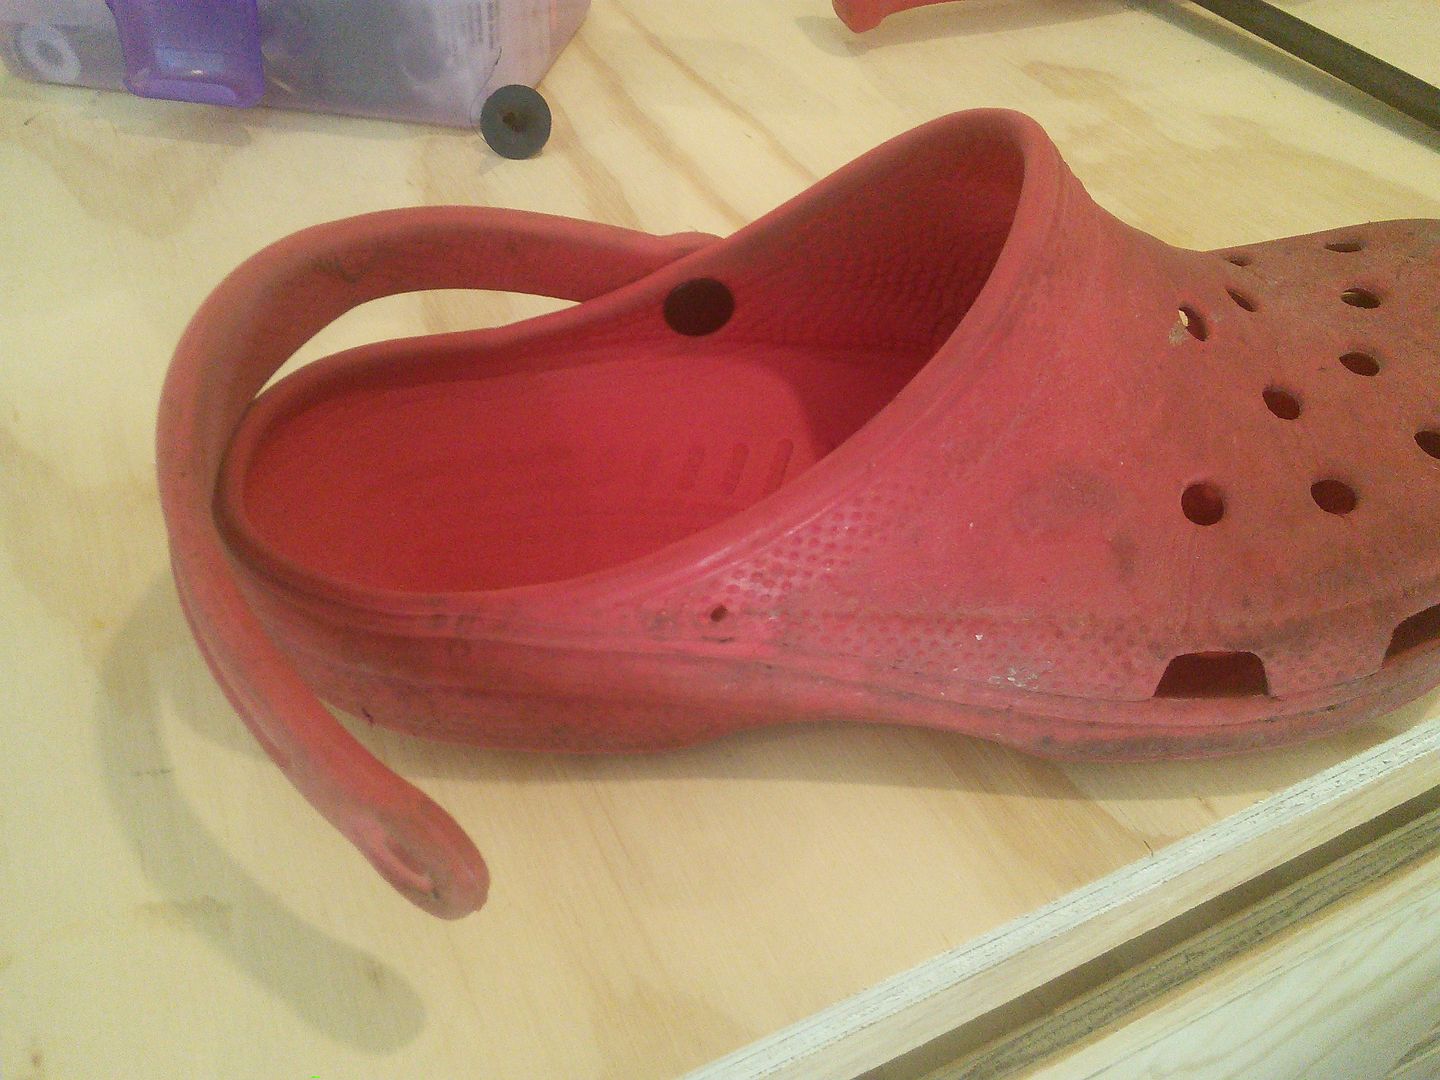 I still had the pieces, so I drilled holes.
 I wanted to use a pop rivet but my stash doesn't have any long enough. Cotter pin works for now.
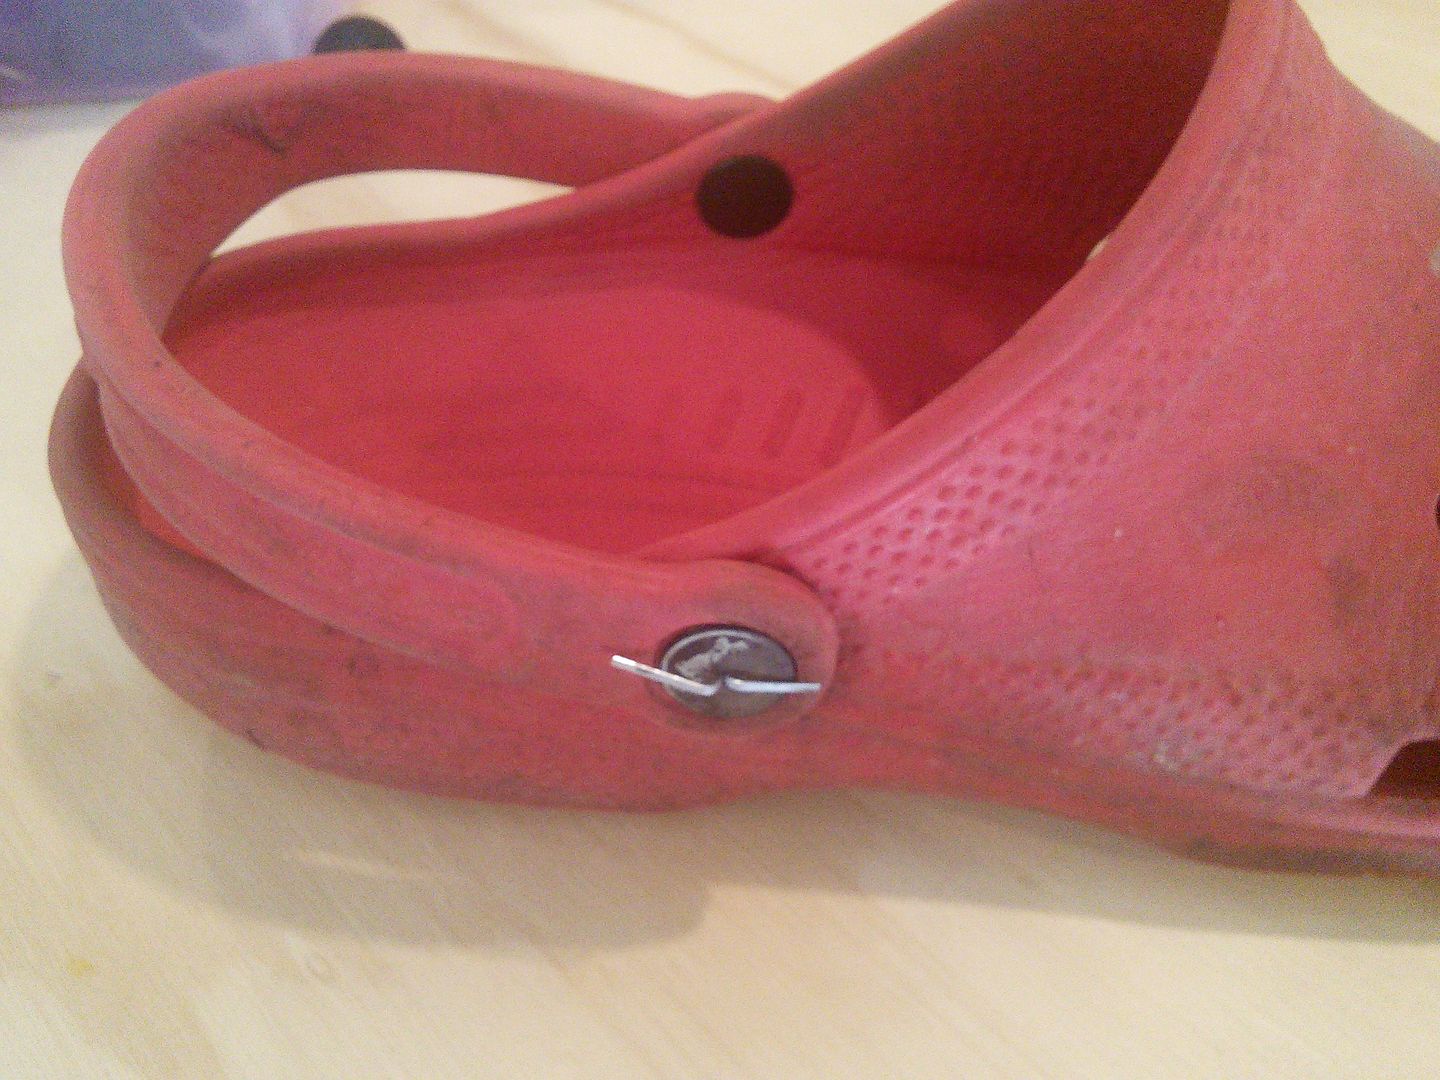 This counts as a small project, right?
 ![]()

In reply to mazdeuce:
as a sometimes croc wearer, nice fix
why doncha wash them things ![]()
They're older than some of my children. I'm getting close to wearing through the ball of the foot on both of them. They ARE clean. Mostly any way, it's not like I wear them out of the yard. ![]()

Free bump for this thread since it's been a fun one. Also, if you guys and girls want to start individual threads detailing some of these small projects, go for it. (I think that people would enjoy a Conrad thread, for example.)
In reply to David S. Wallens:
So... where would be the best place to drop a 'Conrad's adventure' thread? Then we could put all the silliness in one place.![]()

In reply to Madhatr:
How about the Adventures Forum? "The Incredible Adventures of Conrad the Cone?"

How about a ghetto hot wire foam cutter. This is V1.0, V2.0 is slightly less ghetto, but same principle.
In reply to Ed Higginbotham:
I'm good with that, just wanted to make sure everyone would be able to find/ enjoy it ![]()

One of the odd things I do very regularly is replicate specific fasteners. If a Abarth Zagato double bubble is missing the quarter glass screws I have to make 'em and get them chromed.
My slitter blades are too thick. The machine tool supply didn't have anything thin enough so I stopped at Harbor Freight and found some replacement blades for a mini cutoff saw for $2.99. Just need an arbor.
random 3/4" cold rolled offcut

Turned the pilot cap and parted it off. It has a 3/8" pilot to center the blades.

Turned the arbor with a 3/8" bore to accept the pilot. I tapped inside that M6X1.00

The whole gubbins

And assembled

In the collet on the mill

A Tremolo pivot screw for the missus guitar

And some repop Zagato screws before being plated

This thing works awesome. I can stack the blades like a dado for different slot widths. I am pleased with the outcome this time. Not bad for a half hour and under $3.

Wow I hate to follow something like that with my getto redneck project.
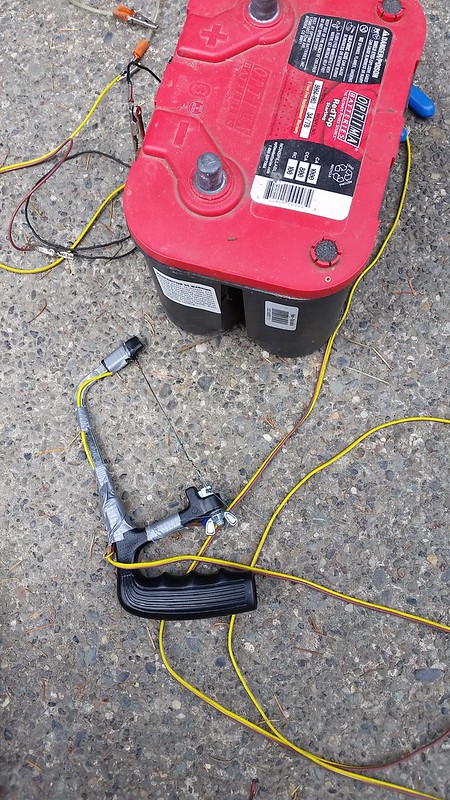
Stampie's Hurricane Lights
Take one battery from your stalled truck project.

Add some left over wires from your Challenge car and 12 volt LED lights from an aquarium project you never finished.


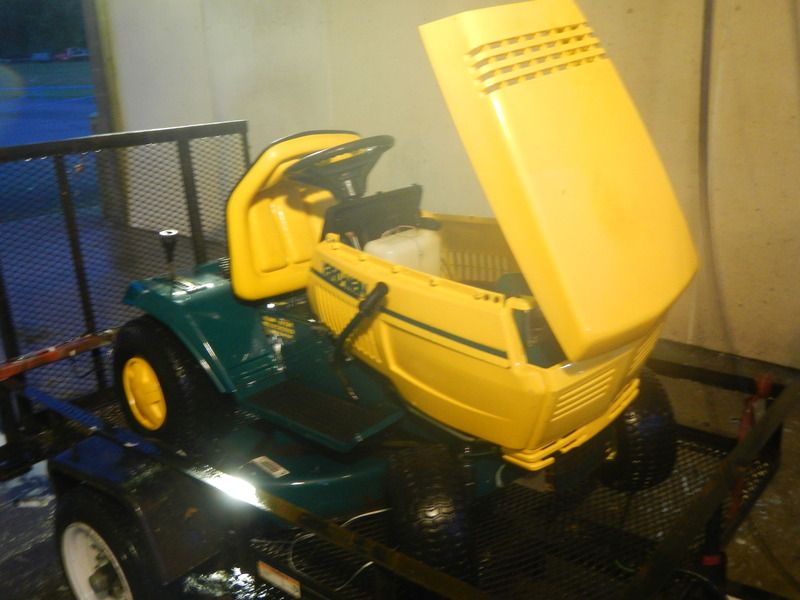
 ......So my neighbor stopped by yesterday and mentioned that he saw a riding lawnmower by the side of the road with a free sign. The word free happens to be one of my favorite words so I went ahead and took a look......
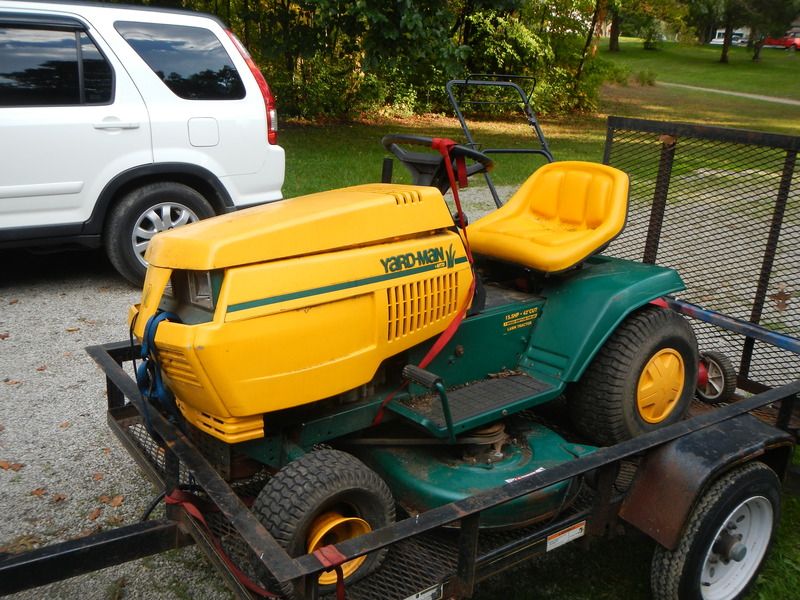 Whelp, it's got some issues... Flat tire, no battery and broken plastic thingy that supports the hood. Meh... it could be worse.
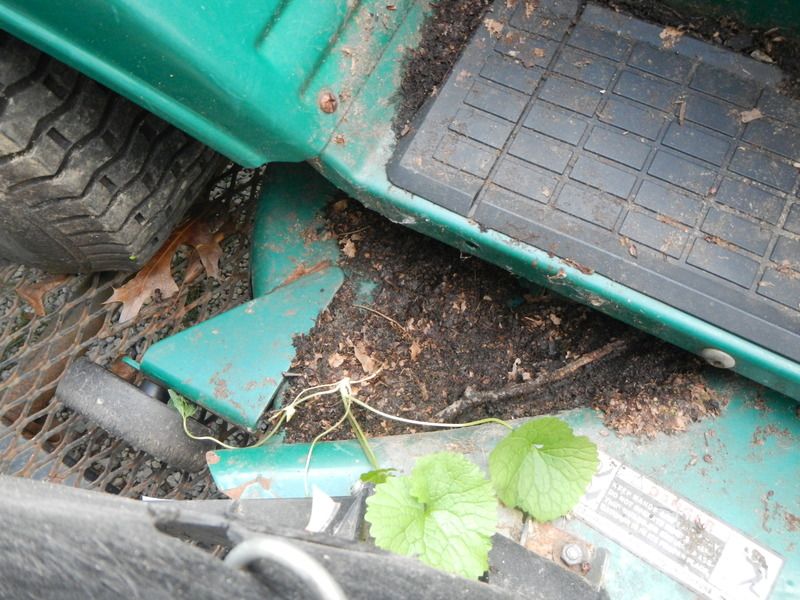 .. oh and it has things growing on it..
![]()
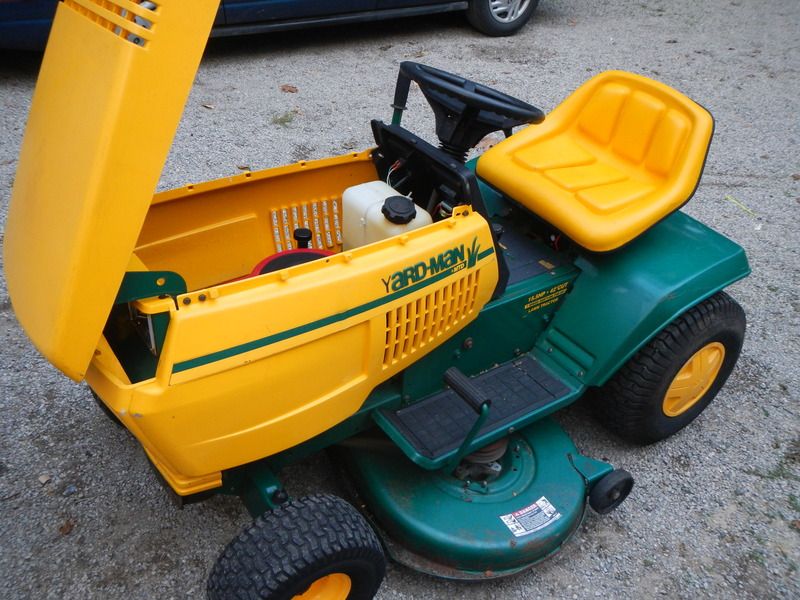
 A quick trip to the car wash and a major investment of $4.00 in quarters gets the mower clean...
 $31.00 battery plus a $10.00 core gets the 15.5 HP Briggs and Stratton cranking over.....
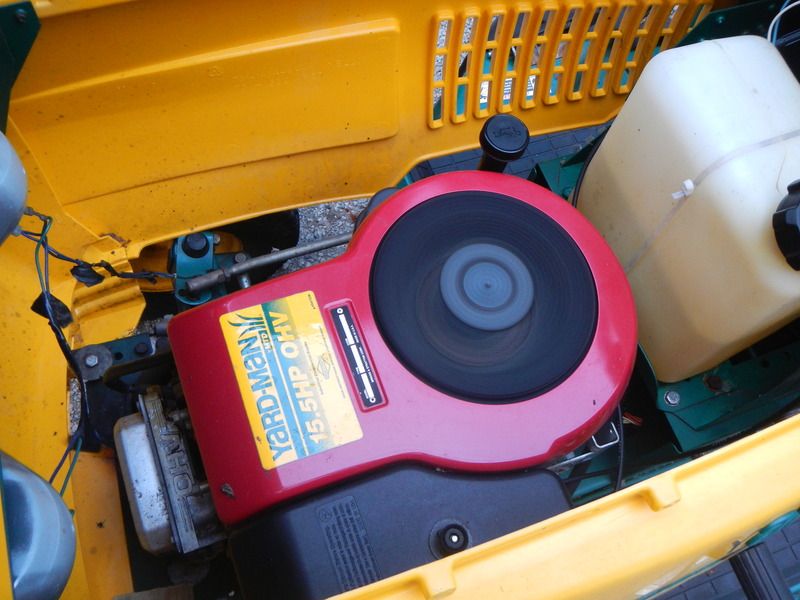 The engine coughed, spitted and then let out a roar as the old fuel ignited. After a moment the big Briggs settled down and ran perfectly....
 Yee ha!...
Total cost... $45.00 ![]()
That's cool. How fast is it?
Stampie wrote: That's cool. How fast is it?
Good question.... this thing feels quick for a lawnmower.
 Seven speed manual gearbox....
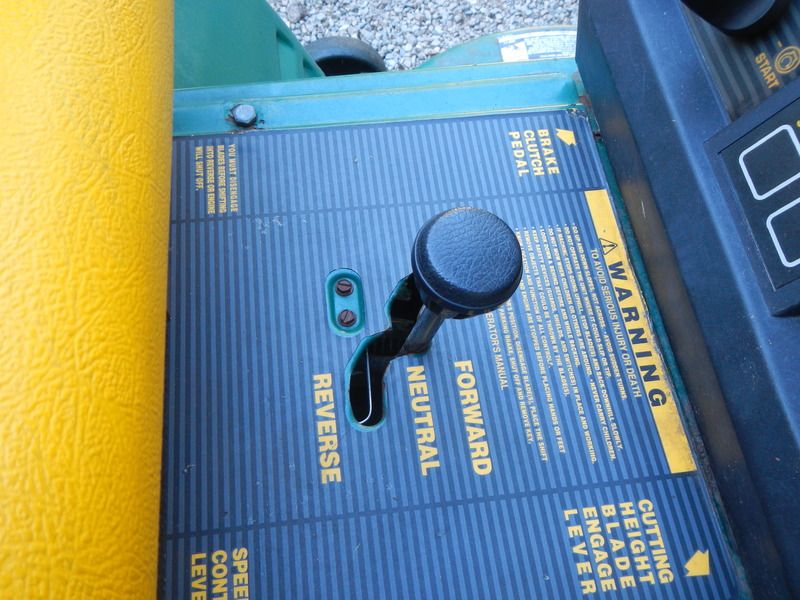 plus forward/reverse shifter. So it has 7 forward speeds and 7 reverse speeds. Using government math, that adds up to 14 speeds.
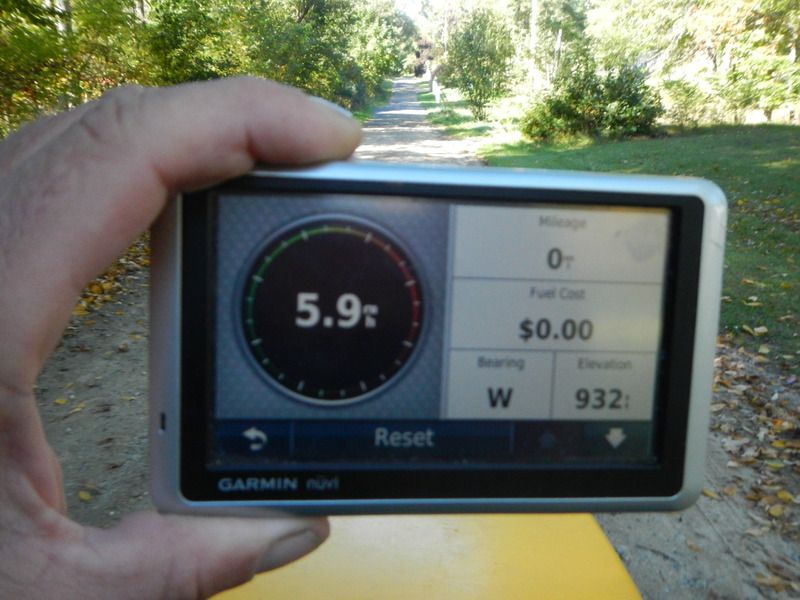 At full tilt this thing runs at an indicated 5.9 MPH.
 ![]()

subscribed, love small projects.
In reply to Doc Brown:
I think we need to change the rear end in that thing.
Lets keep the small projects thread alive!
This morning I buggered up three heat shields by running a wavy bead in the panel. So I needed a fence for the Woodward Fab tool.
I took a 2" chunk of 1" keystock and milled a 0.550" slot down the center of it. I drilled and tapped the side for 1/4"-20 thumb screws. Over at the bandsaw I cut a "V" out of some 1/8" plate and a few 1" strips. Over at the TIG I glued the whole mess together


On the machine

and in use

Straight as a straight thing

and bent up. These are exhaust manifold heat shields for the 440 in a Jensen Interceptor

I am delighted with the outcome of the fence. It is a keeper!
In reply to Jumper K. Balls:
Nice! I have been meaning to build a guide for mine as well,Ibalso have been thinking about bracing the top arm to eliminate flexing.

So, earlier this year, we got a new bed. Bigger than our old one, so we needed a new headboard. So, this

After a bunch of cutting, nails, glue, sanding, and staining, we had this..

Uh... That's so not right. So, with some stripping and restaining, we now have this


Mrs. Wx. is over the moon about it. Now, maybe I can get some garage/shop stuff done before Mrs. Wx. wants me to make desks for our boys in the playroom. ![]()

This may be a little big for the small projects thread but small enough that it doesn't really need its own thread. Years ago I bought my nephew a Powerwheels truck and thought it was pretty crappy for the cost. I decided if I ever had a kid that I would build him something cooler. I have a 3 year old now and over the summer I did exactly that.
A friend of mine posted this old Deere lawn tractor on facebook for $100. I asked him what it would cost without the blown engine and deck-$50. A perfect starting point.
[URL=http://s34.photobucket.com/user/karplus2/media/Mobile%20Uploads/20160701_201831_zpsoqtezzo6.jpg.html]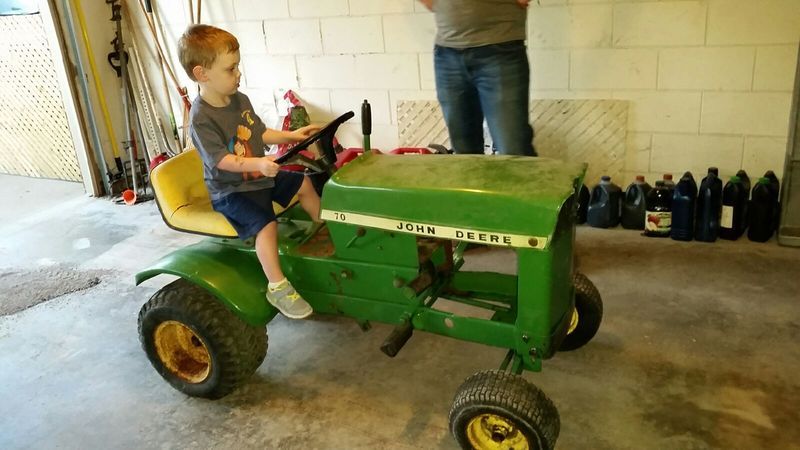 [/URL]
I ordered a bunch of parts from monsterscooterparts.com and set everything up on the bench to see if it would work. I was a little surprised when everything worked on my first try.
[URL=http://s34.photobucket.com/user/karplus2/media/Mobile%20Uploads/20160724_155215_zpss194ybif.jpg.html]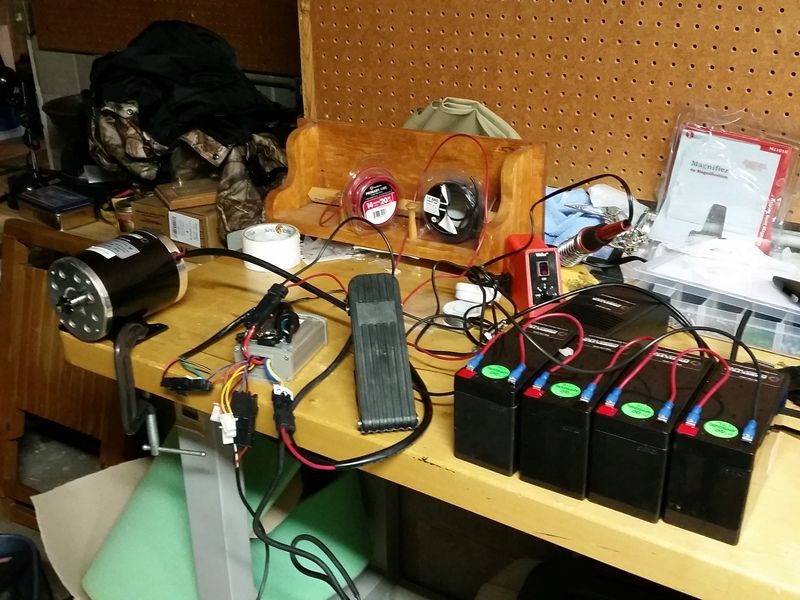 [/URL]
Time to start installing this stuff on the tractor. It is a 48V system with ~1hp motor. I decided to try and drive the existing transaxle and was able to order a sproket for the input shaft to replace the pulley.
[URL=http://s34.photobucket.com/user/karplus2/media/Mobile%20Uploads/20160730_170434_zpshlfhjchj.jpg.html]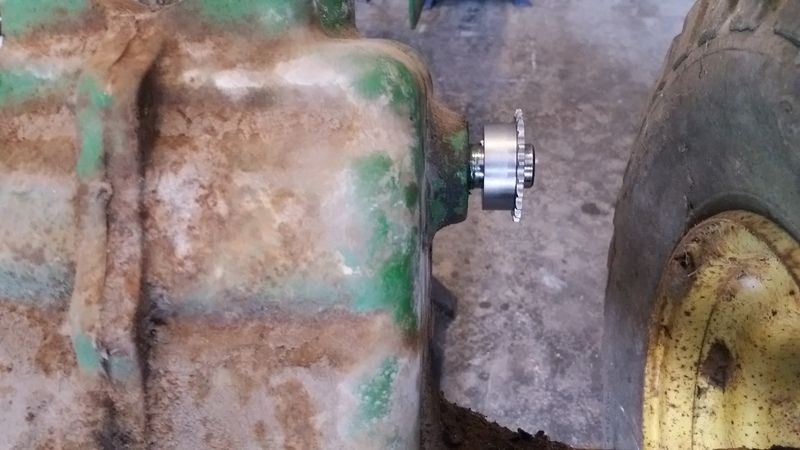 [/URL]
I made a bracket for the hall effect foot pedal that can easily be adjusted as my kid grows.
[URL=http://s34.photobucket.com/user/karplus2/media/Mobile%20Uploads/20160730_175136_zpszirljblq.jpg.html]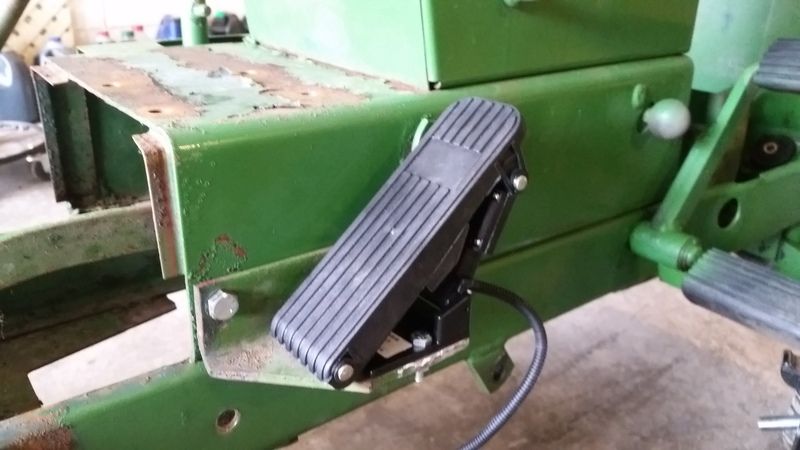 [/URL]
Everything came together and it works just as I had hoped.
[URL=http://s34.photobucket.com/user/karplus2/media/Mobile%20Uploads/20160731_194619_zpscndppohp.jpg.html]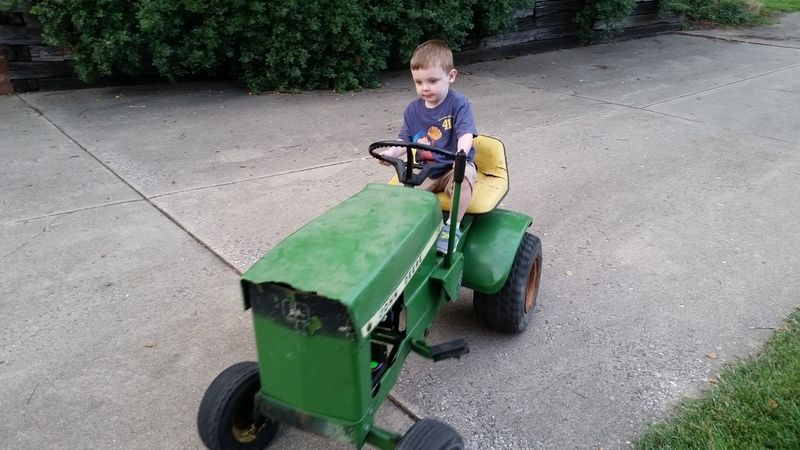 [/URL]
I plan to tear it apart and paint it this spring.
[/URL]
I plan to tear it apart and paint it this spring.
There is a more detailed build thread on a local board that I am on. That can be found here if interested: http://www.cicenet.net/showthread.php?t=14256
Video of the first ride: https://youtu.be/ThxiK37cxGg

I recently learned that I really enjoy designing and cutting vinyl decals. And I have access to a vinyl cutter at the maker space where I volunteer. But, due to the nature of maker spaces, it isn't up and running every time I'm down there.
So I started looking into purchasing a cutter for home use. Then quickly realized that that money would buy lots of parts for my Rabbit project.
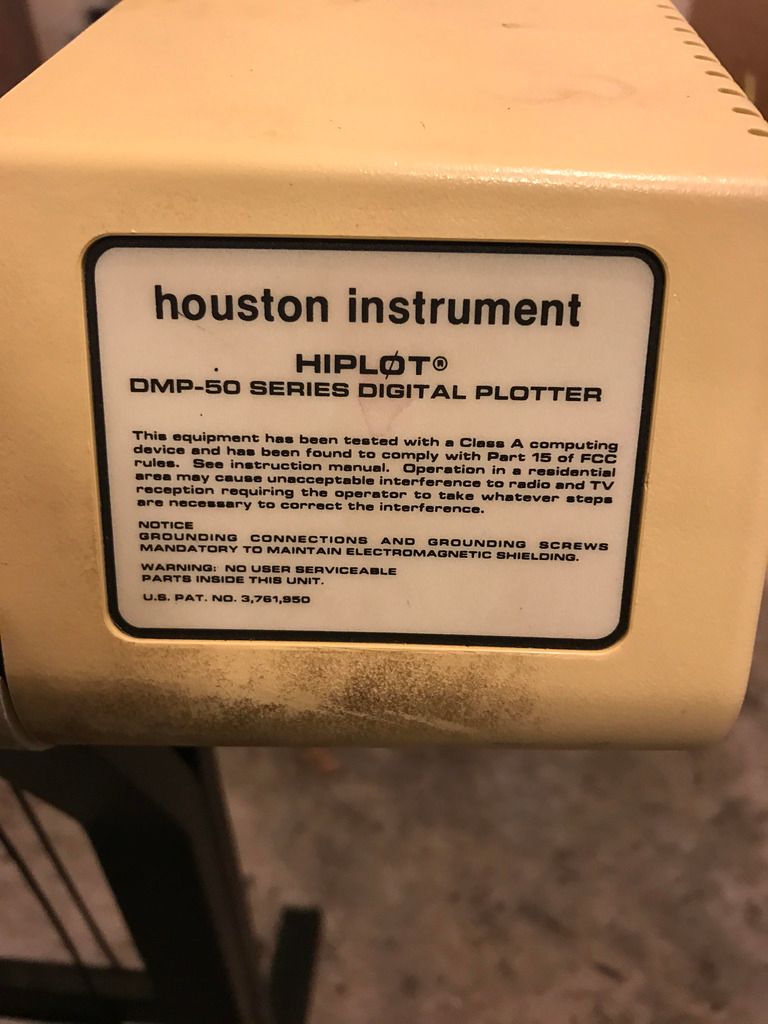
Enter a listing for a free 24" pen plotter, circa 1986 I think! Her most redeeming quality is she has huge.......... servo motors. I don't think a computer will be able to communicate with it though, so time to start tinkering!
Part one, make it hold a cutter holder. This is the pen holder as it sits on the machine now:
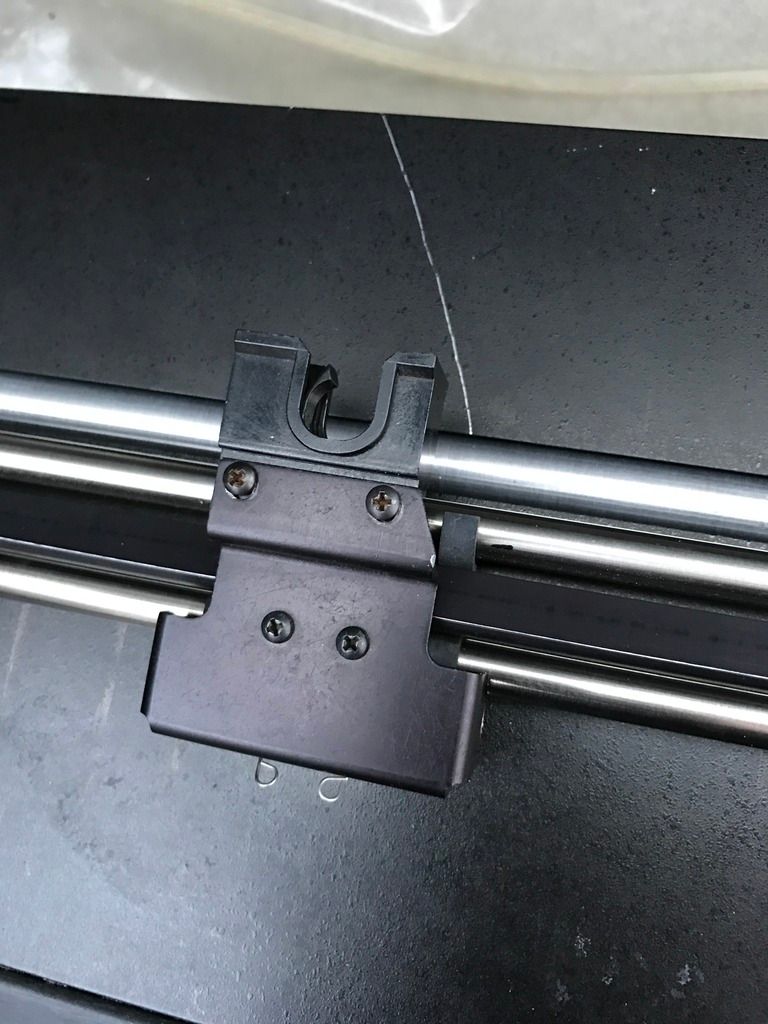
This is what the cutter holder looks like from uscutter:

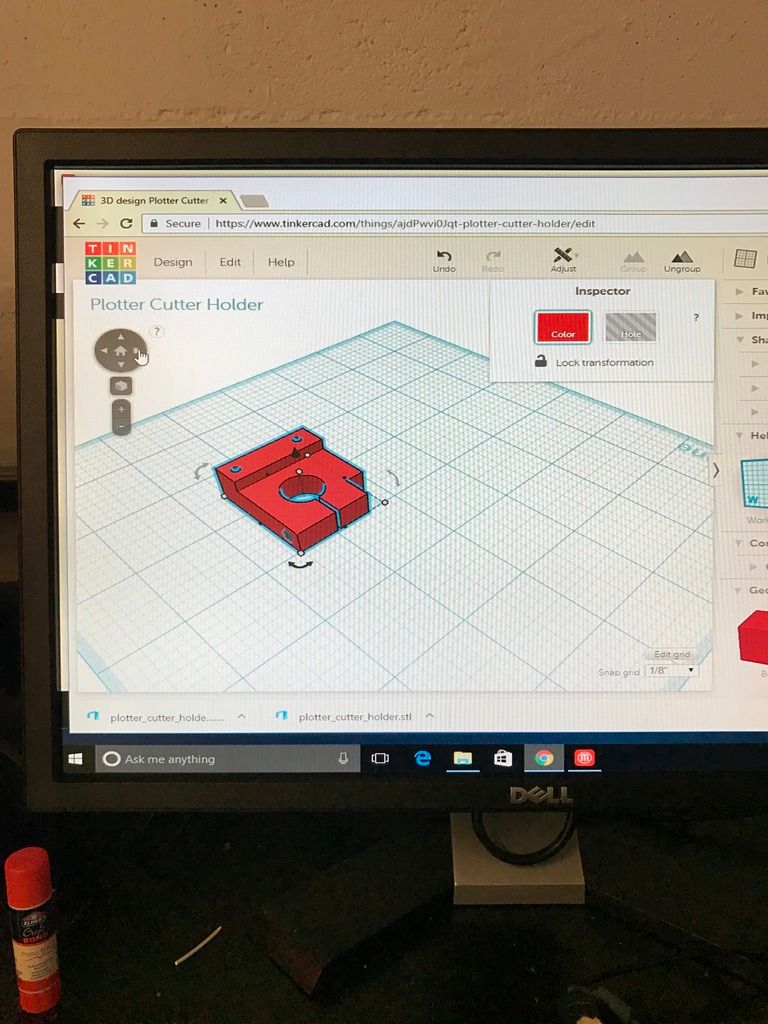
Based on dimensions I took from the cutter holder at the maker space, I started sketching on a piece of paper what the part would look like. And then hurdle number one- get the design ideas into a computer somehow. Mind you, I know E36 M3 about Autocad or any of that stuff. Then I found a site called Tinkercad. After spending thirty minutes going through the tutorials and messing with it, I spent another thirty minutes on it and ended up with a file that could be used for 3D printing (.stl). Like this:
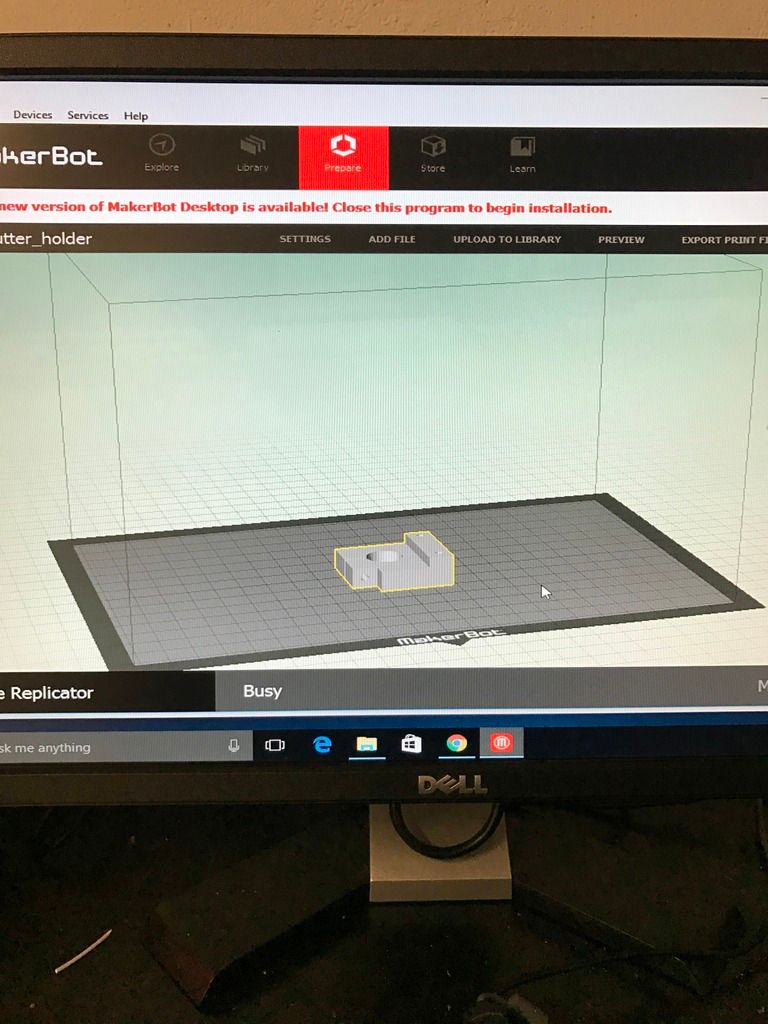
Again after very little time I had the .stl file loaded into the Makerbot software (the machine is a Makerbot Replicator). It is very easy to use too. This is the screen for getting the file ready to print:
Once the printer was all up to temp, hit the print button and off we go:
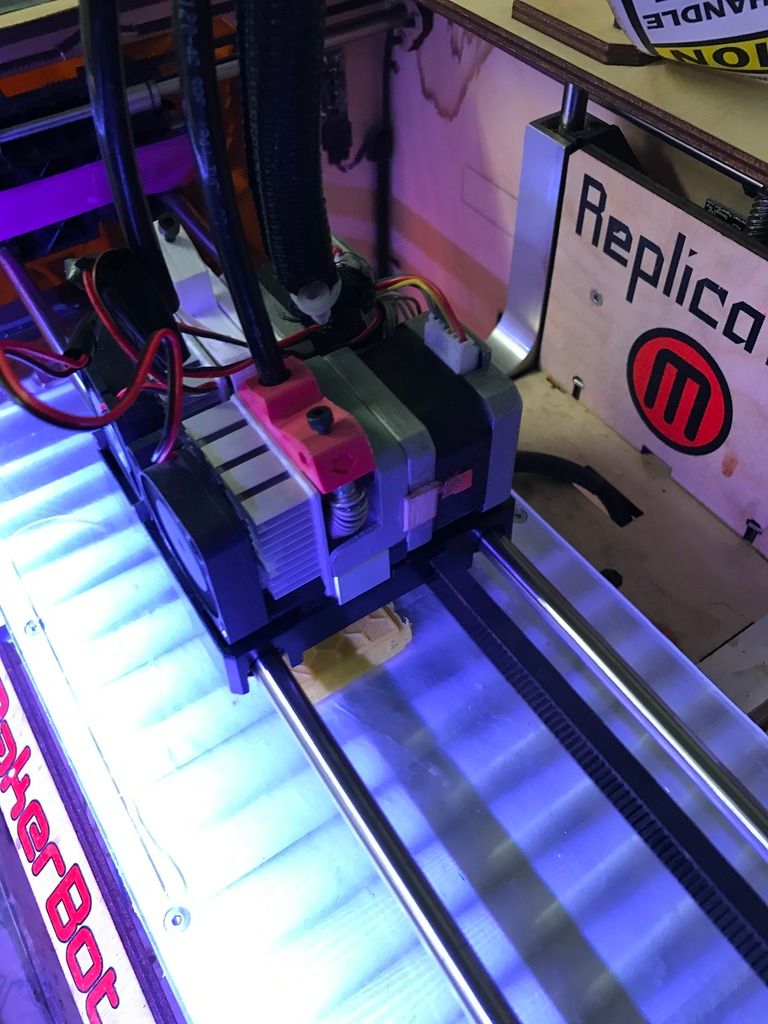
And thirty six minutes of printing later, I have a prototype cutter holder!
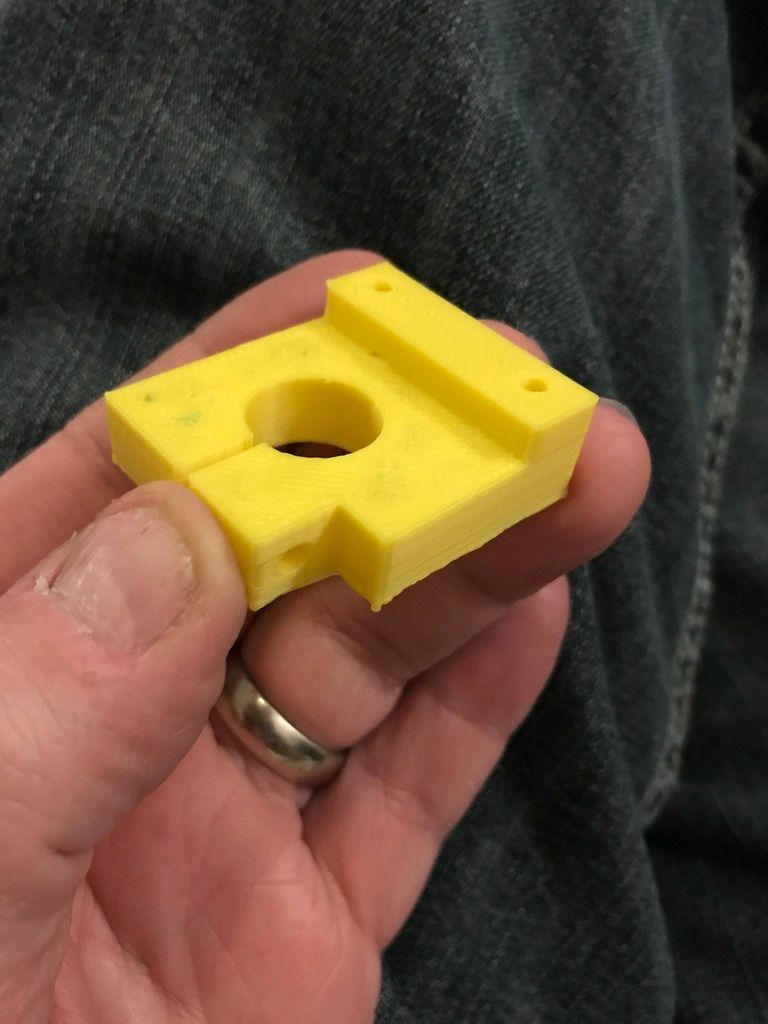
Pretty berkeleying cool.
The two holes on the raised part will hold it onto the plotter head. And the hole that runs through the slot is for a screw that should pinch the cutter holder and keep it in place. You can't see them, but the three smaller holes have hex shaped recesses on the backsides that will hopefully hold small nuts captive, so no need to cut threads.
I have yet to test fit it, but I can make necessary adjustments and have a new part printed in about an hour's time.
Part two will be trying to figure out how to make an Arduino Uno act as a CNC controller of sorts for the servo motors, and make the old girl do something. Then we will see what happens next!
You'll need to log in to post.


