Tom Suddard said:
Serious question, though: Should I also spend $40 on a hex/square 5C collet block set if I'm going to end up with a bunch of 5C collets anyway?
I have both a spin indexer and a hex/square collet block set.
The spin indexer is great if you're doing some random number of indexes - I used mine to make a tiny round hollow saw prototype. Had something like 11 teeth. Surgical tool.
The collet blocks are easier to set up and use in your vise. They're not too expensive once you have a big set of collets. Just bear in mind those are 5C collets, not the R8 version used in your mill quill.
Speaking of paper-cuts, I have four different collet/tool-holder sizes in my collection...

ShawnG
UltimaDork
7/27/21 2:26 p.m.
The first step to recovery is admitting you have a problem.
Ok, time to make more progress! Let's install a generic imported power feed.
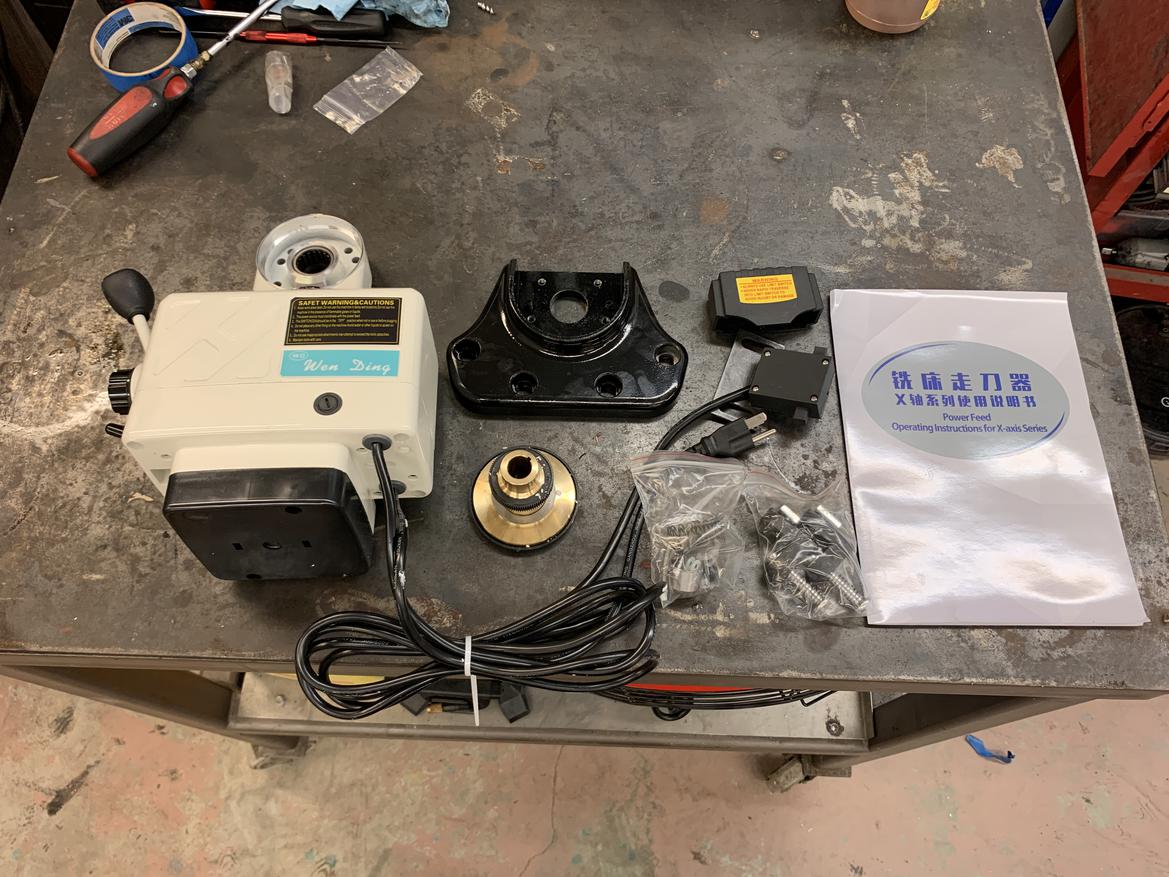
First step: bolt the bearing bracket and the unit to the table.
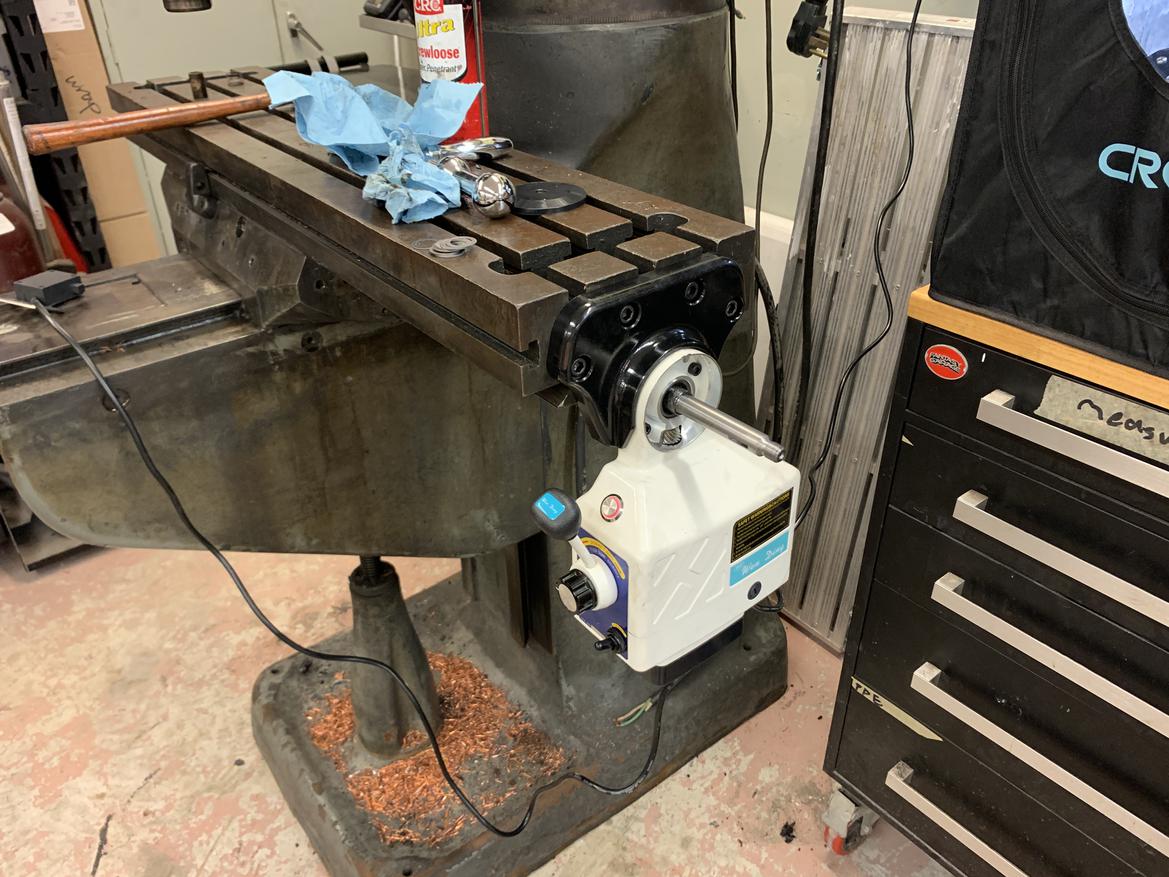
Second step: Realize you get what you pay for.
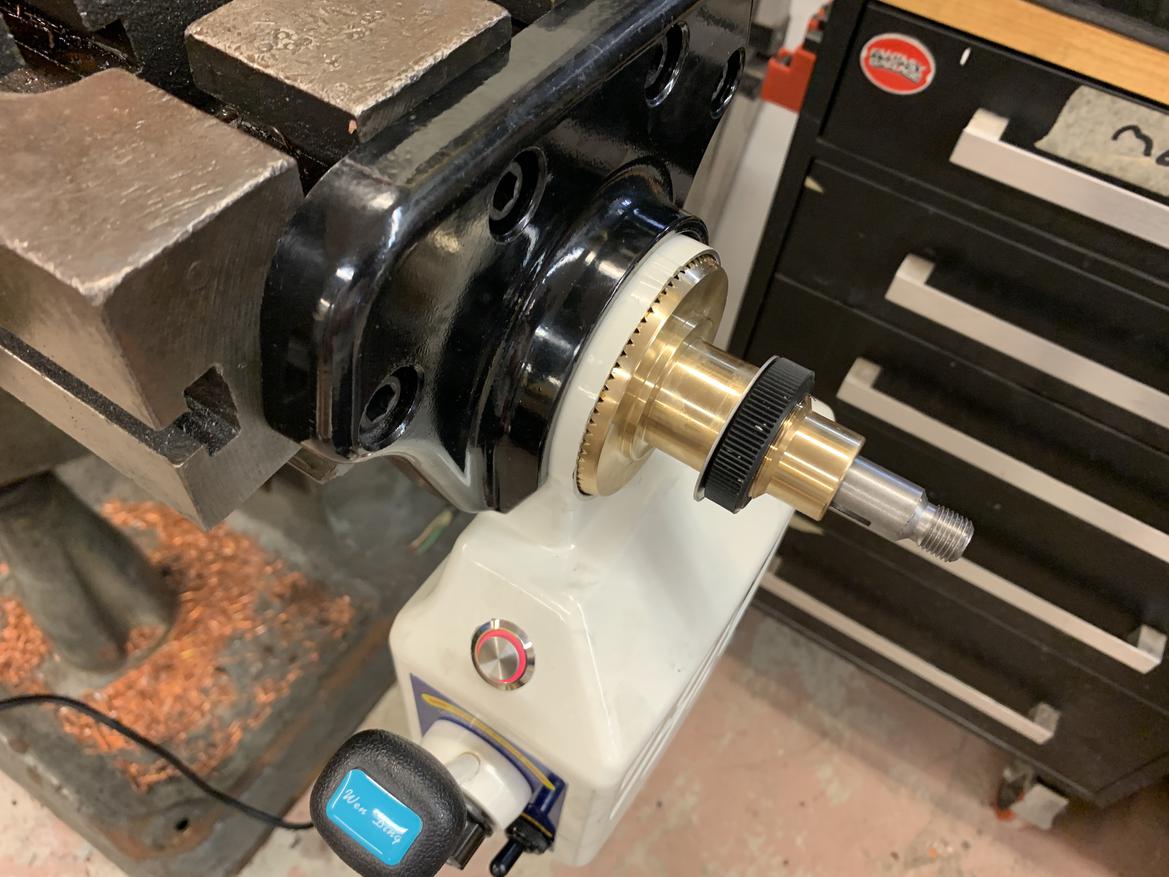
Sadly, the gear hits the shoulder on my new leadscrew before it meshes with the power feed's drive gear. If only I had a mill to fix this....
Can you shim the white thing out more to compensate?
You beat me to the punch!
Hey wait a second I have a lathe! That will work!
I measured and decided I needed to move the gearbox 0.300" towards the gear, or the gear 0.300" towards the gearbox. That meant either building a spacer between the gearbox and the bearing bracket, or turning down the ID of the gear so it would fit over the shoulder on the leadscrew.
I decided to make a spacer for one reason: The gear lined up perfectly with the handle keyway, and moving it would mean I'd need to cut a second keyway on the leadscrew. I didn't want to remove the leadscrew to cut that keyway, plus the only tool I have to cut it with, the mill, needs its leadscrew to cut keyways.
Let's build a spacer! I had some extra 6061 aluminum laying around. The OD was slightly smaller than I wanted, but it should work fine. I think it came out fairly well despite the fact I don't own a boring bar.
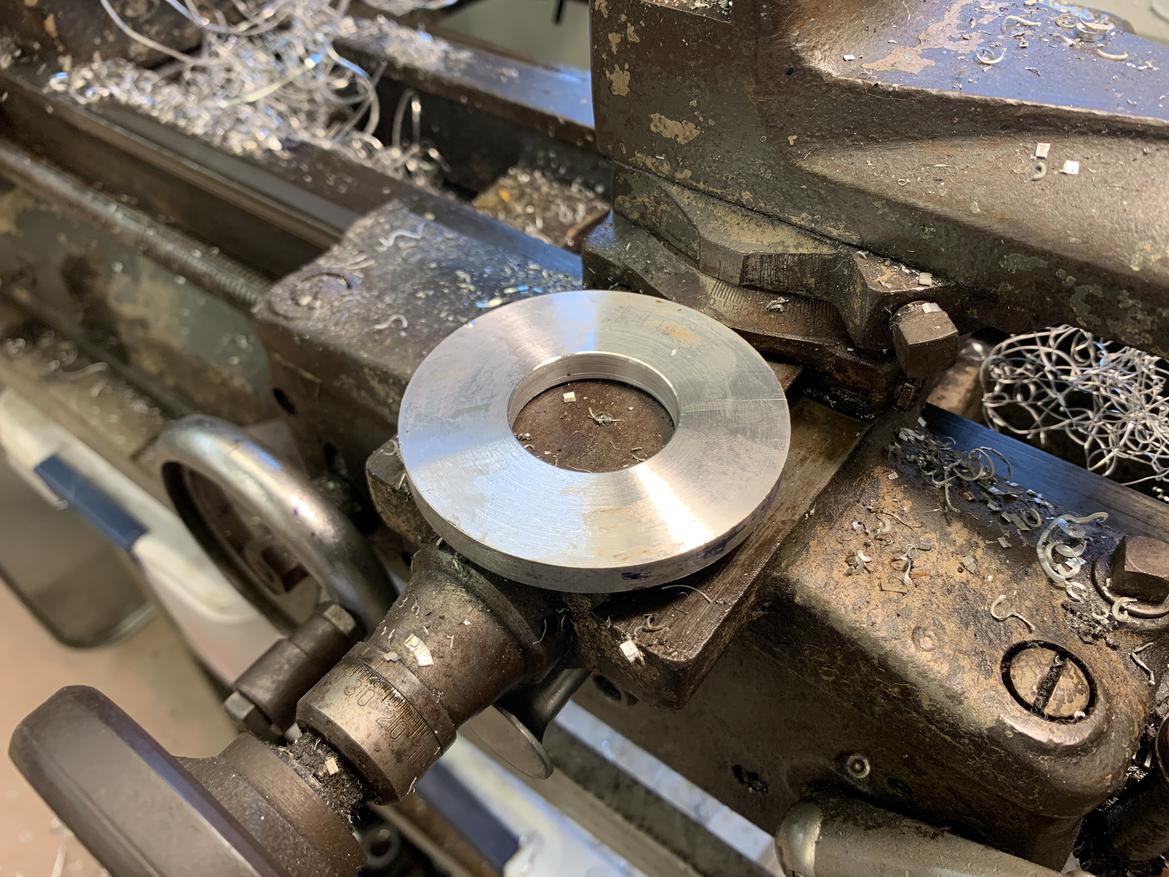
And after drilling the bolt pattern....
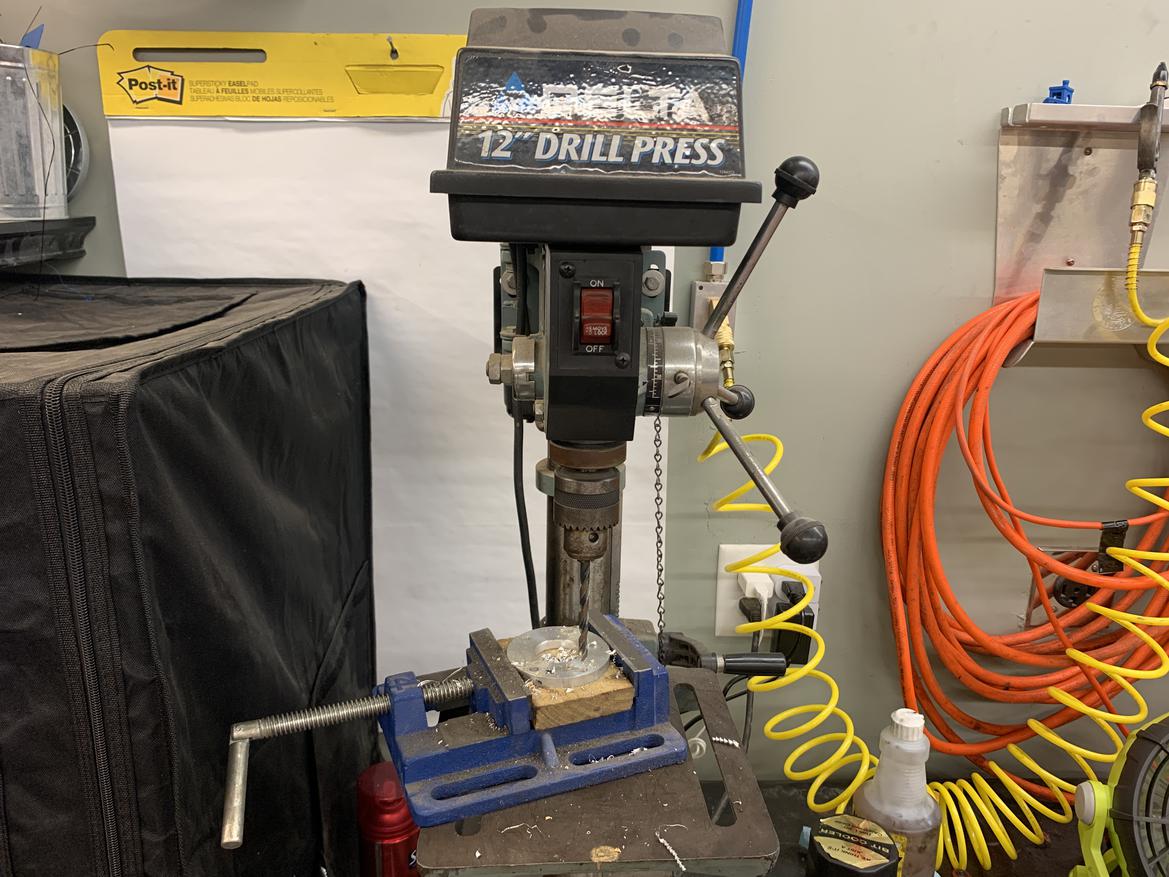
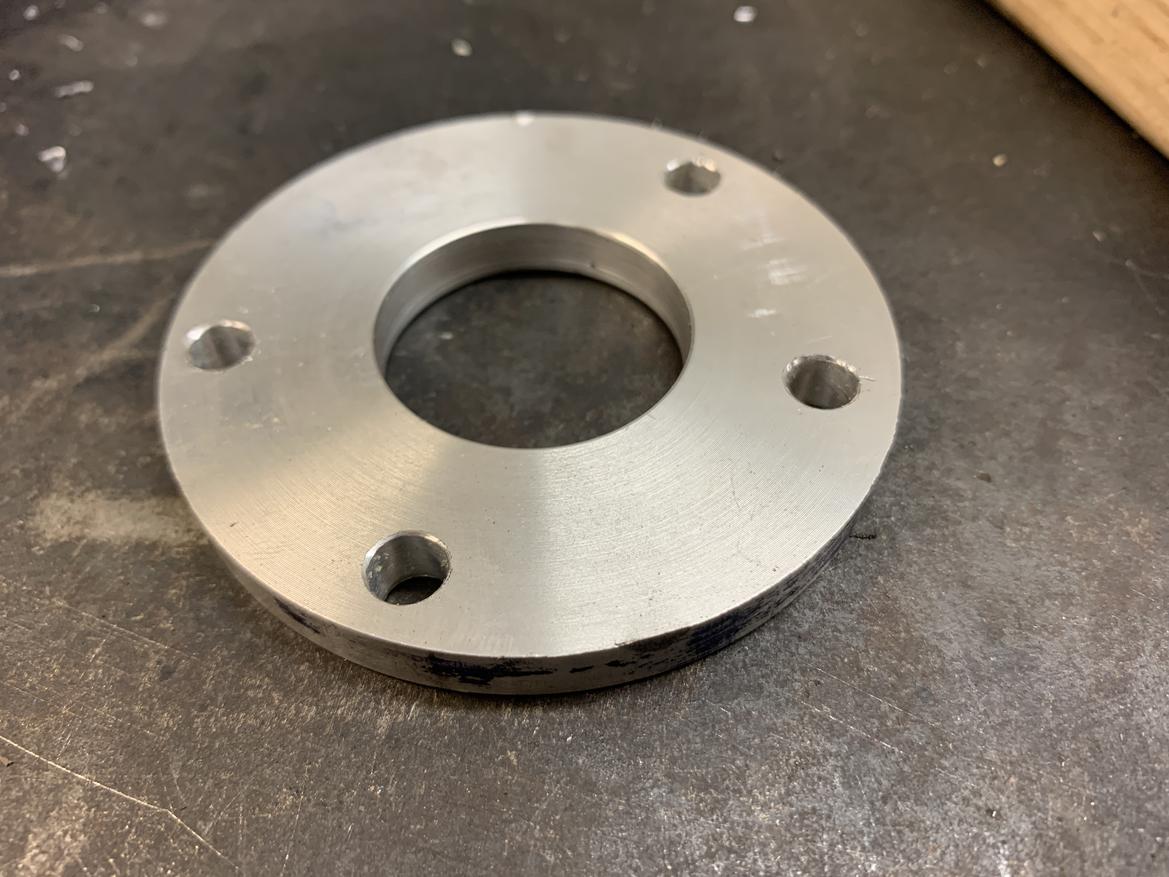
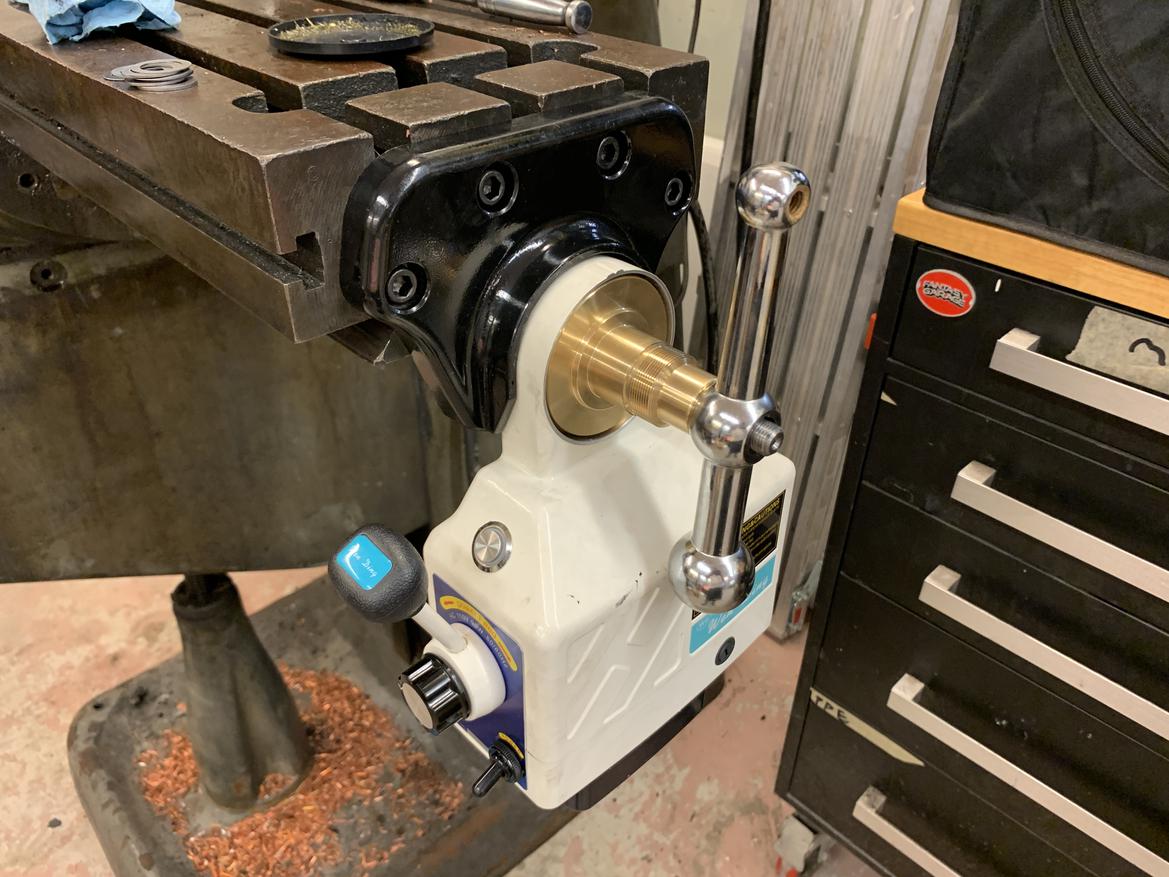
Success!
One problem: By moving the gearbox, its roller bearing no longer lined up with the bushing that slips over the leadscrew to adapt its diameter to fit the gearbox. On the bright side, it didn't really line up in its original position anyway, so I would have needed to make a spacer either way.
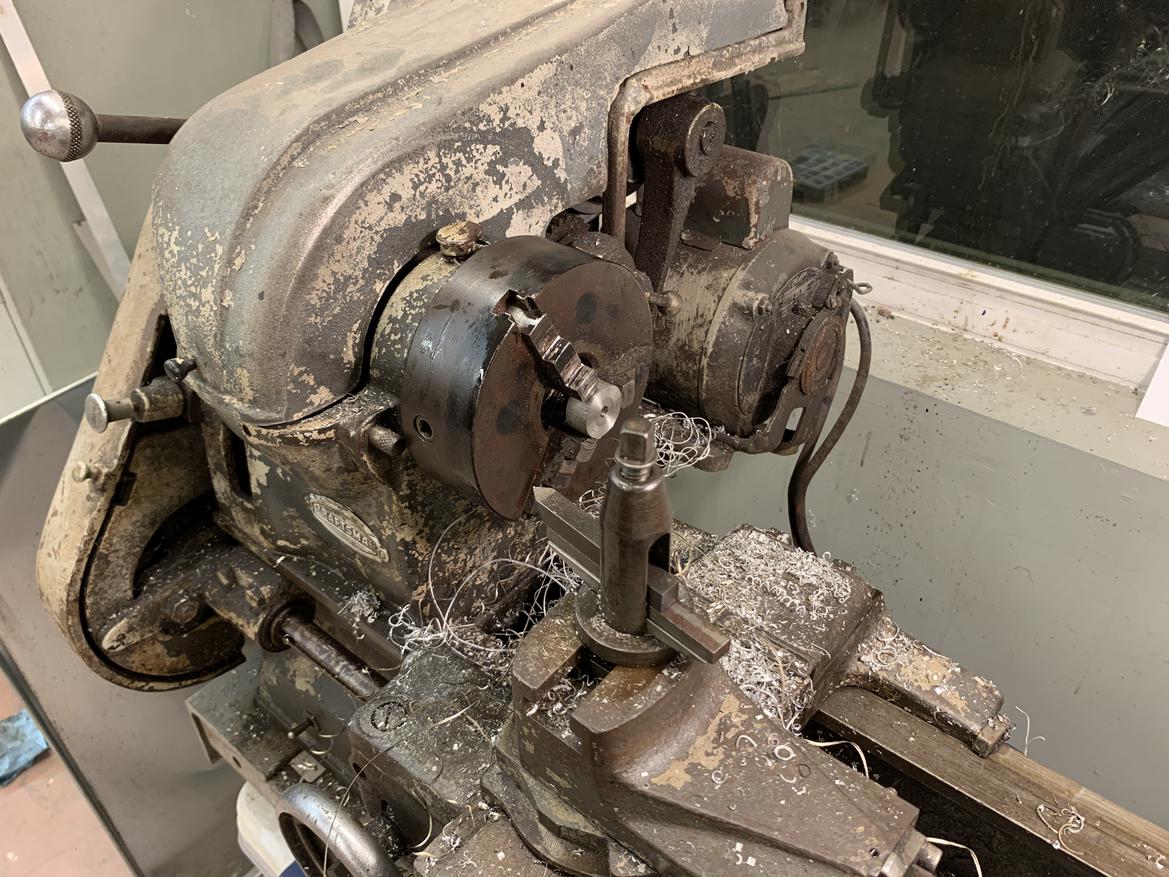
Back to the lathe! I used 304 stainless and got about halfway through making a spacer before calling it a night.
Fingers crossed I'll be milling soon!
I love how you've fully embraced this with both arms, while diving in head-first with both feet.
Proud of you!
(and living vicariously through tooling envy).
Thanks! Glad my tendency to obsess over things is at least entertaining!
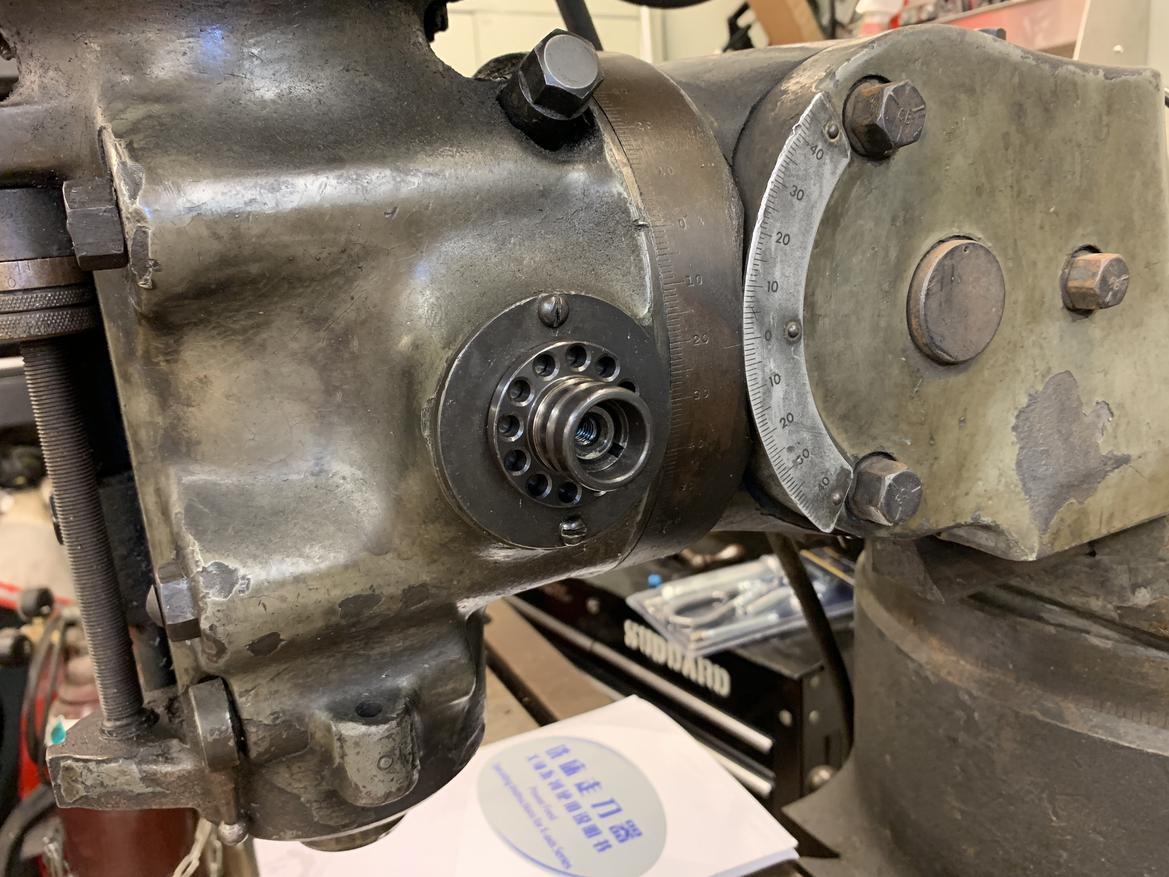
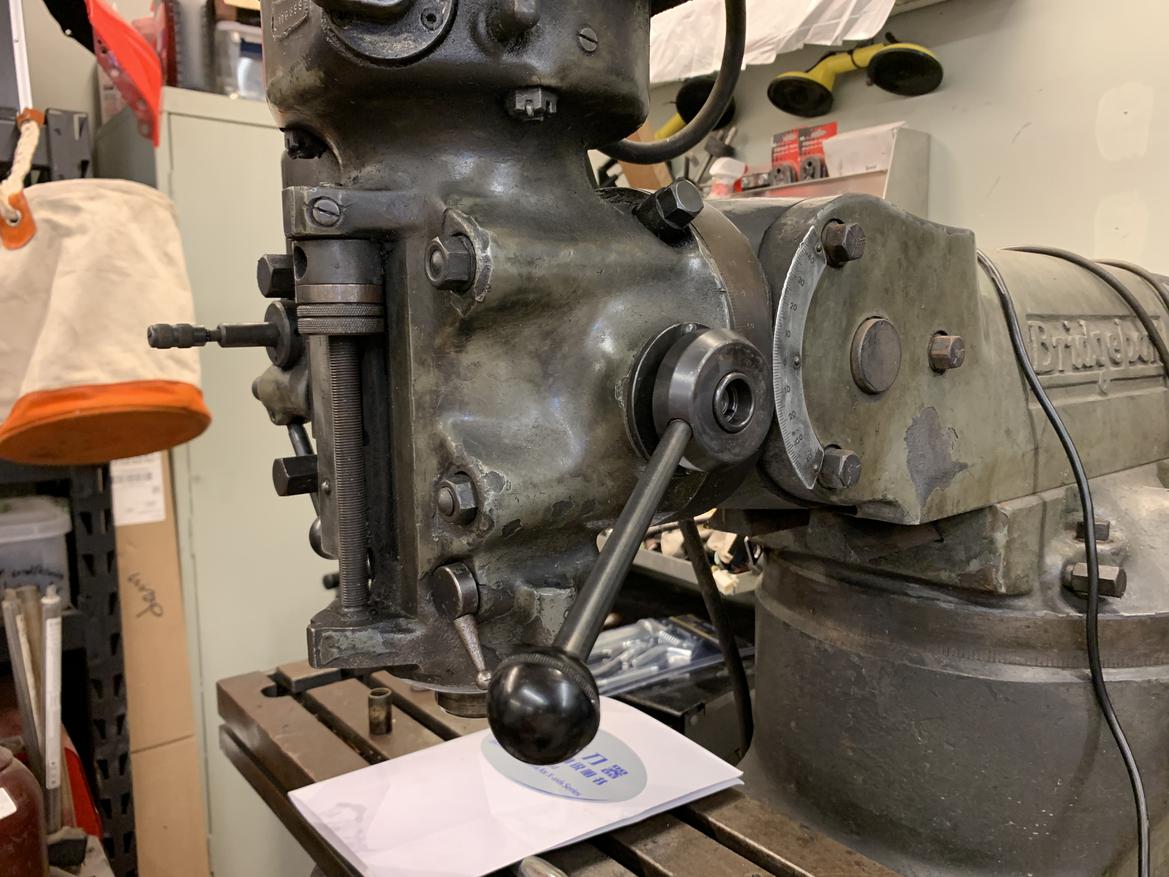
I forgot to mention one other thing I finished last night: The quill handle! This was missing when I brought home the mill, so I ordered a new one from China for $35... the day I put the mill in the garage. Shipping was slow, but it did eventually show up!
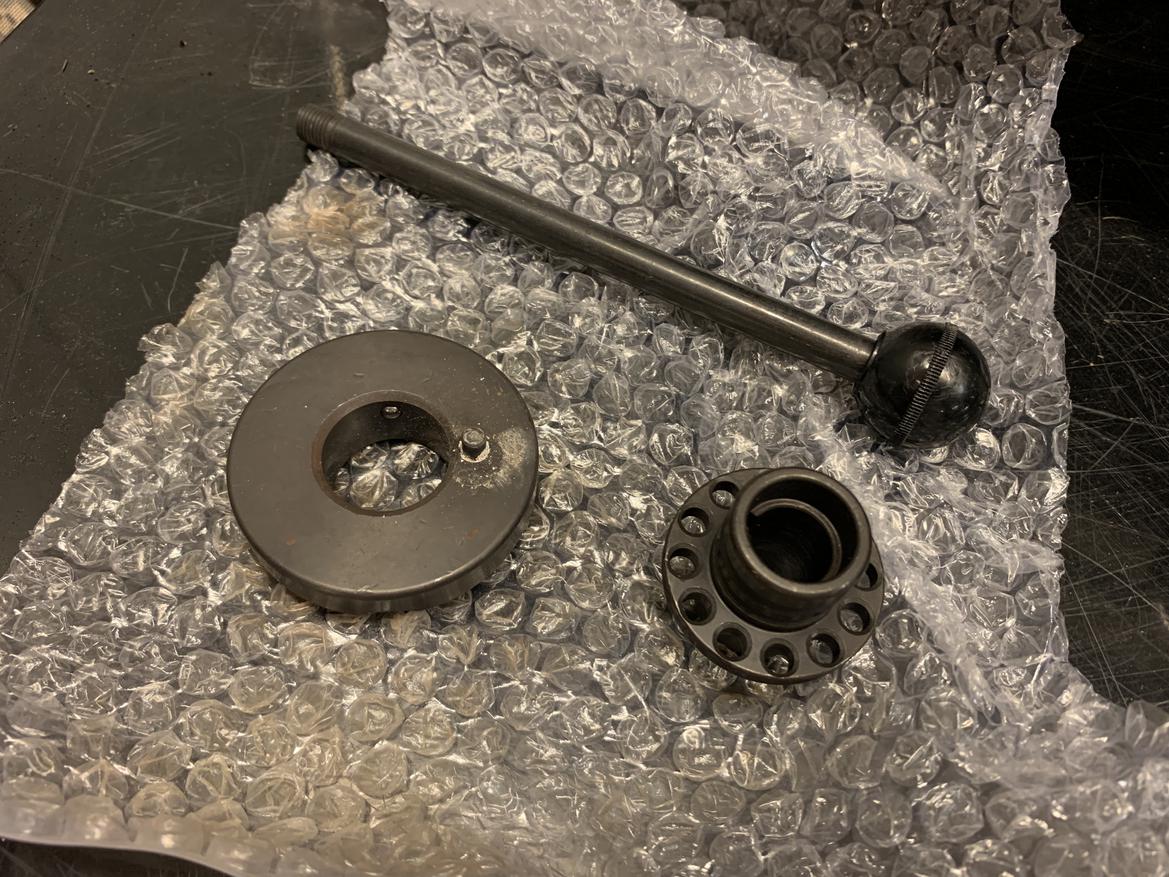
You're not going to believe this... but it didn't fit! For some reason the keyway wasn't square. Fortunately it also wasn't sized for, well, a key, so there was plenty of material for me to clean it up with a file.
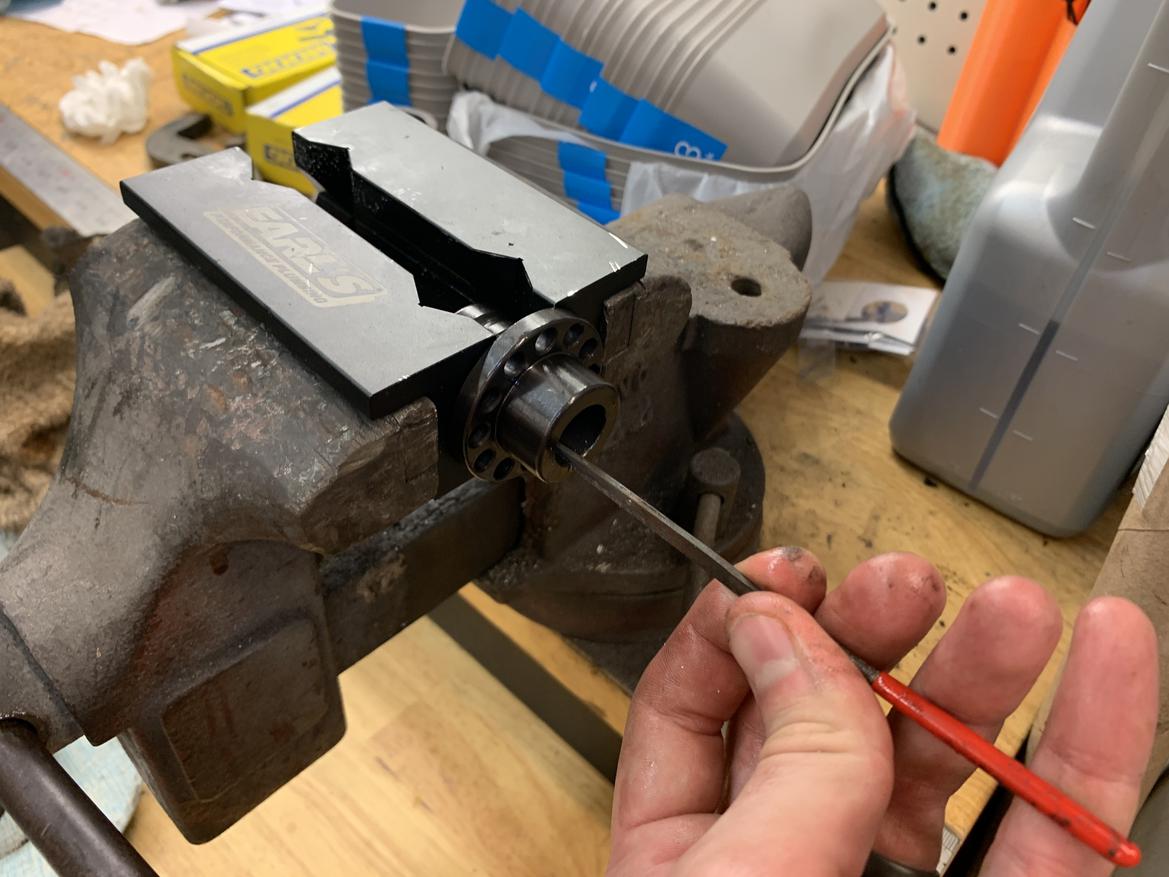
Success!
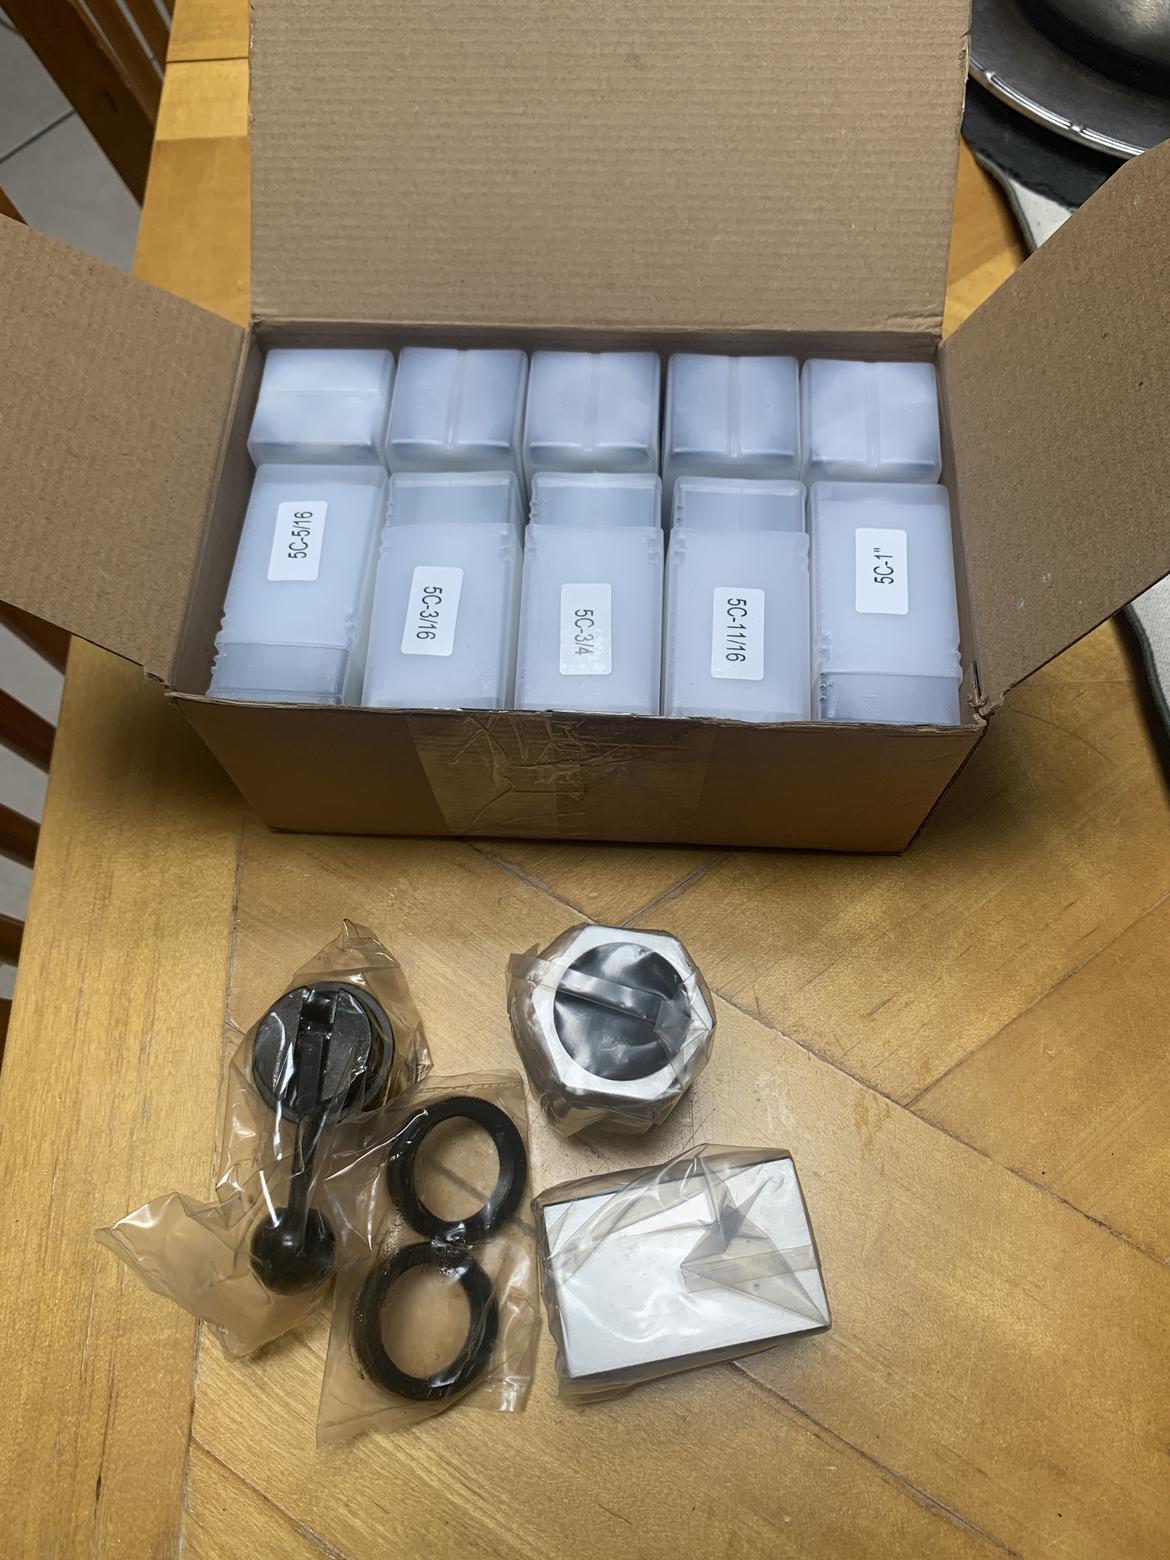
More extremly dense packages just arrived! I'm definitely winning "UPS customer of the year."
Got the stickers today Tom, thank you!
Tom hasn't so much fallen down a rabbit hole as a rabbit chasm.
5C collet blocks have held a spot in my ebay cart for a while now, just gotta find a project that needs one!
May the bloodletting continue! Looking forward to watching chips go flying.
I only had about an hour of free time today, but I did manage to make some more progress. Let's finish a spacer!
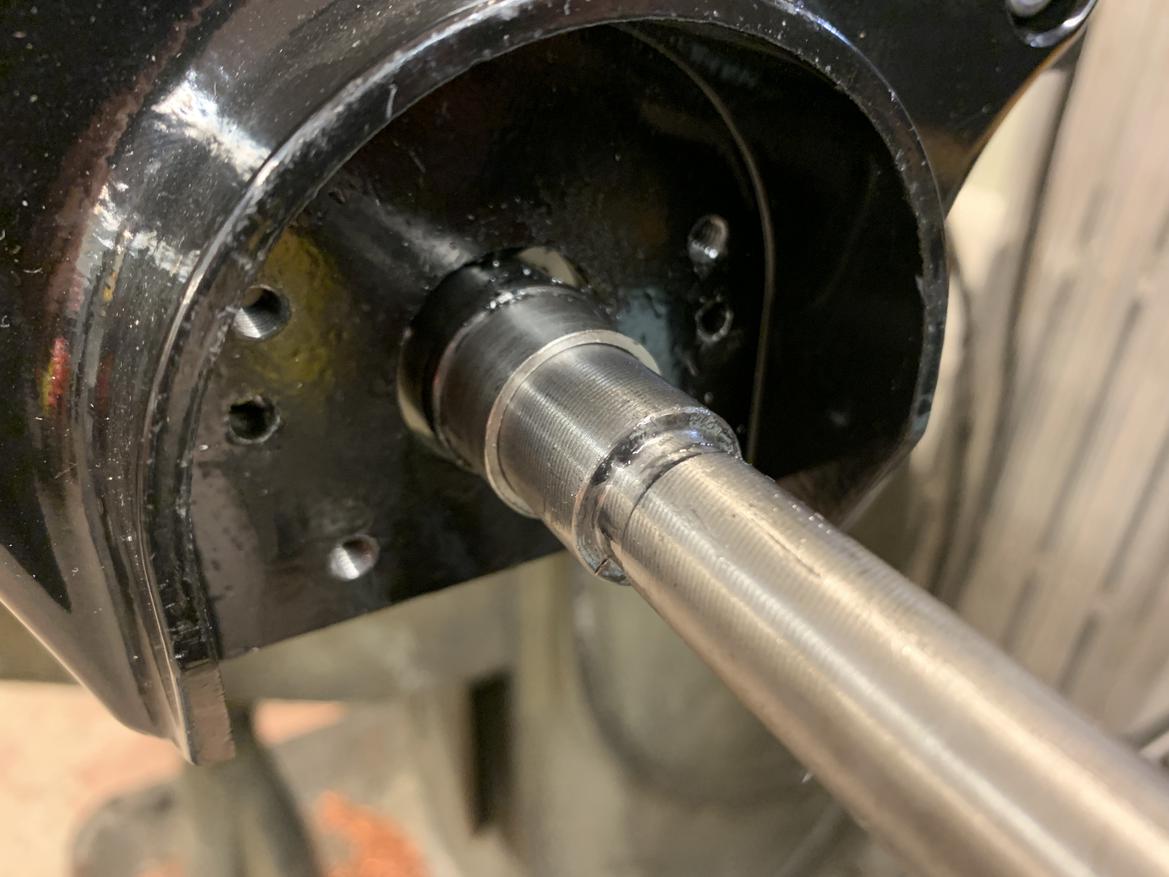
Ooooooh shiny. Not the best surface finish, but it should be fine here. I can already tell I'm going to want a better lathe soon.
With the spacer installed, I could now add the bushing and the gearbox.
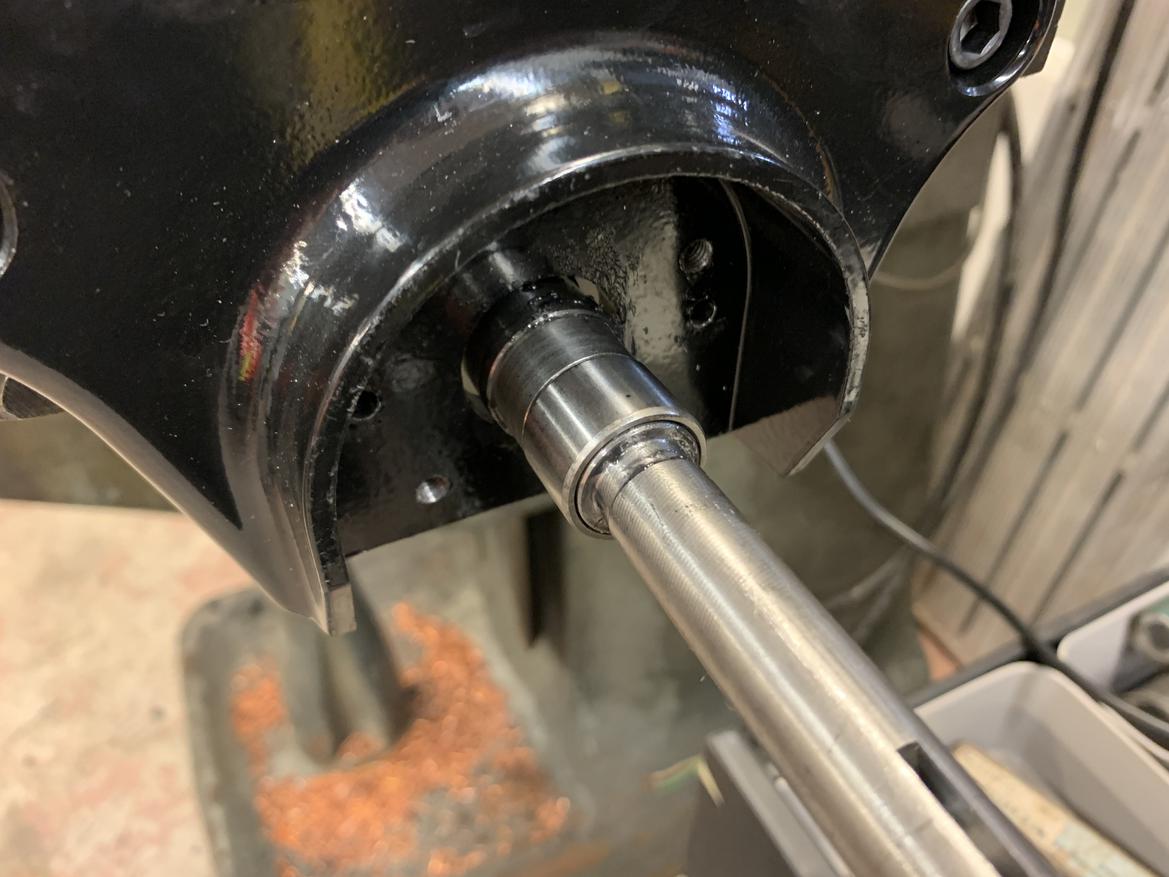
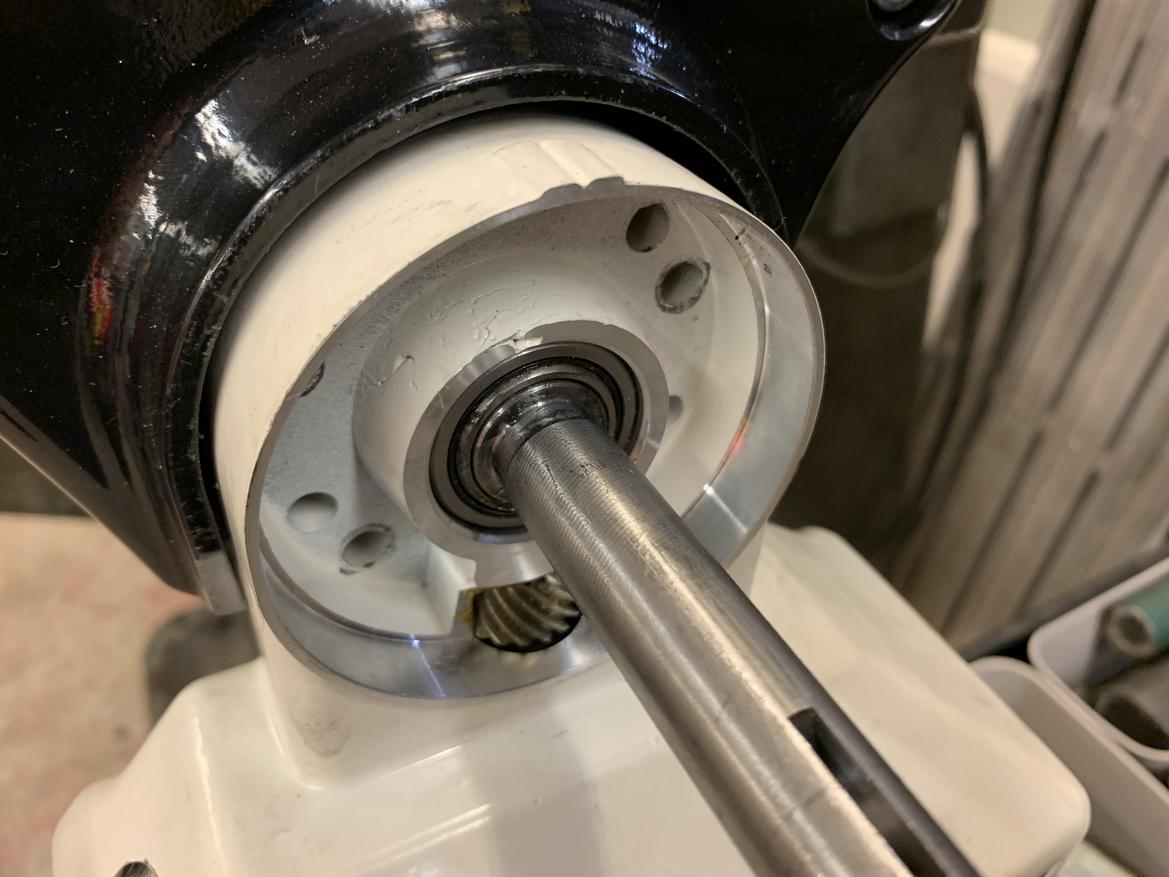
Ta-dah! The powerfeed came with about a million washers you're supposed to stack to set the gear mesh, but I got so close with my spacer math that I don't think I'll need them:
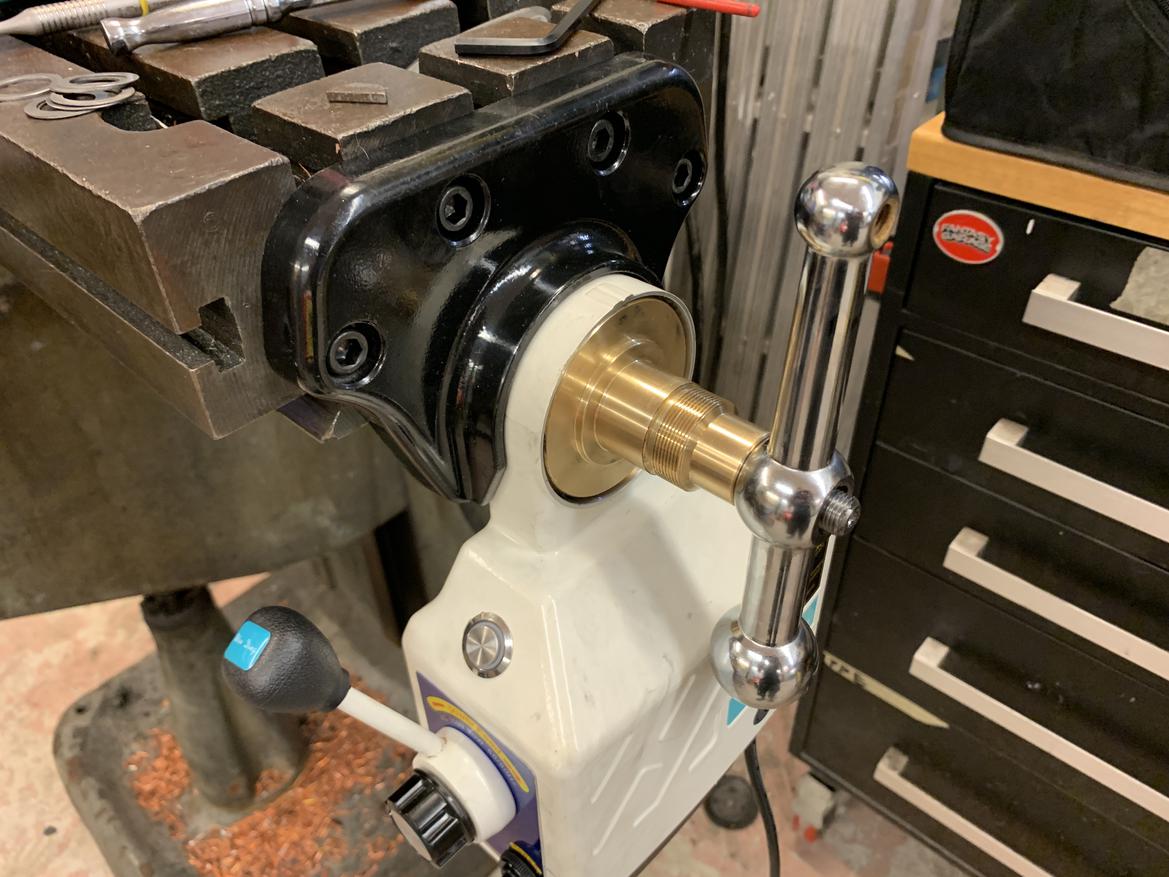
Finally, I could put the woodruff key in place and assemble this for the last time.
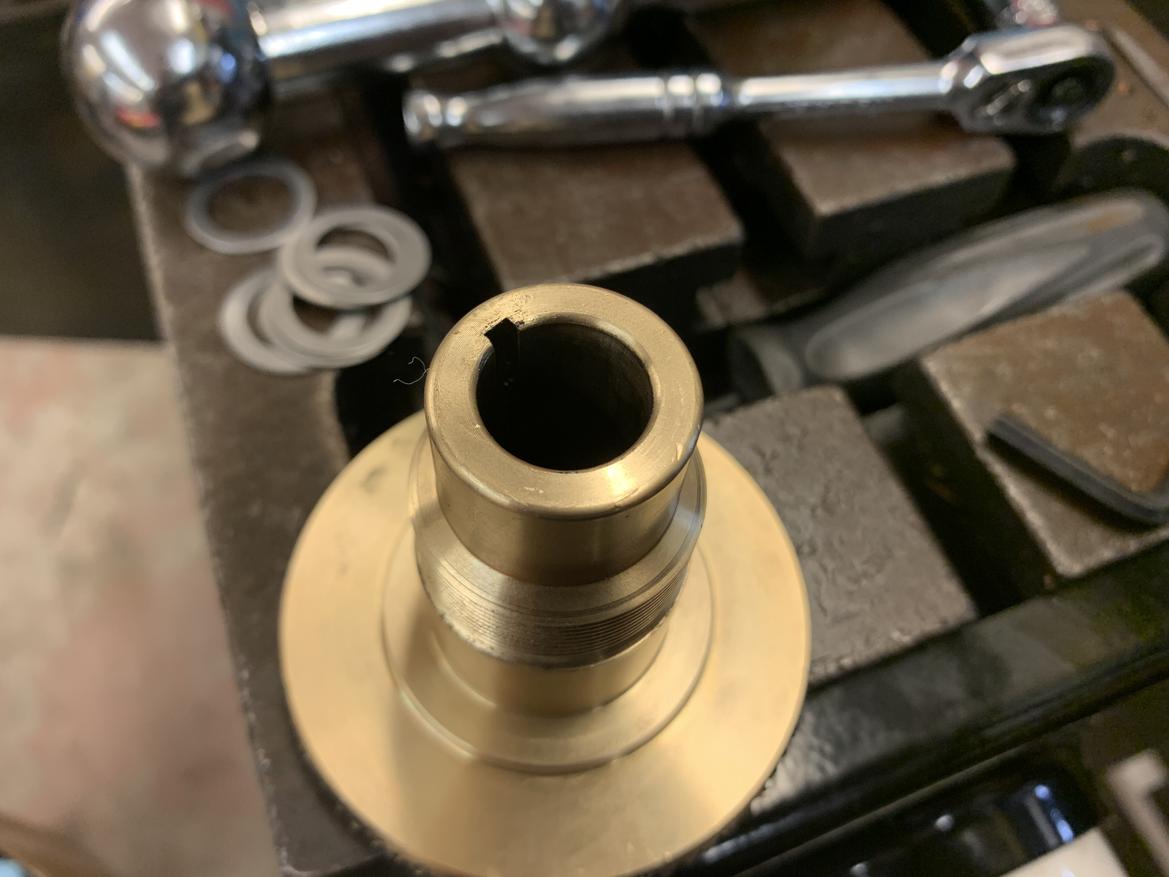
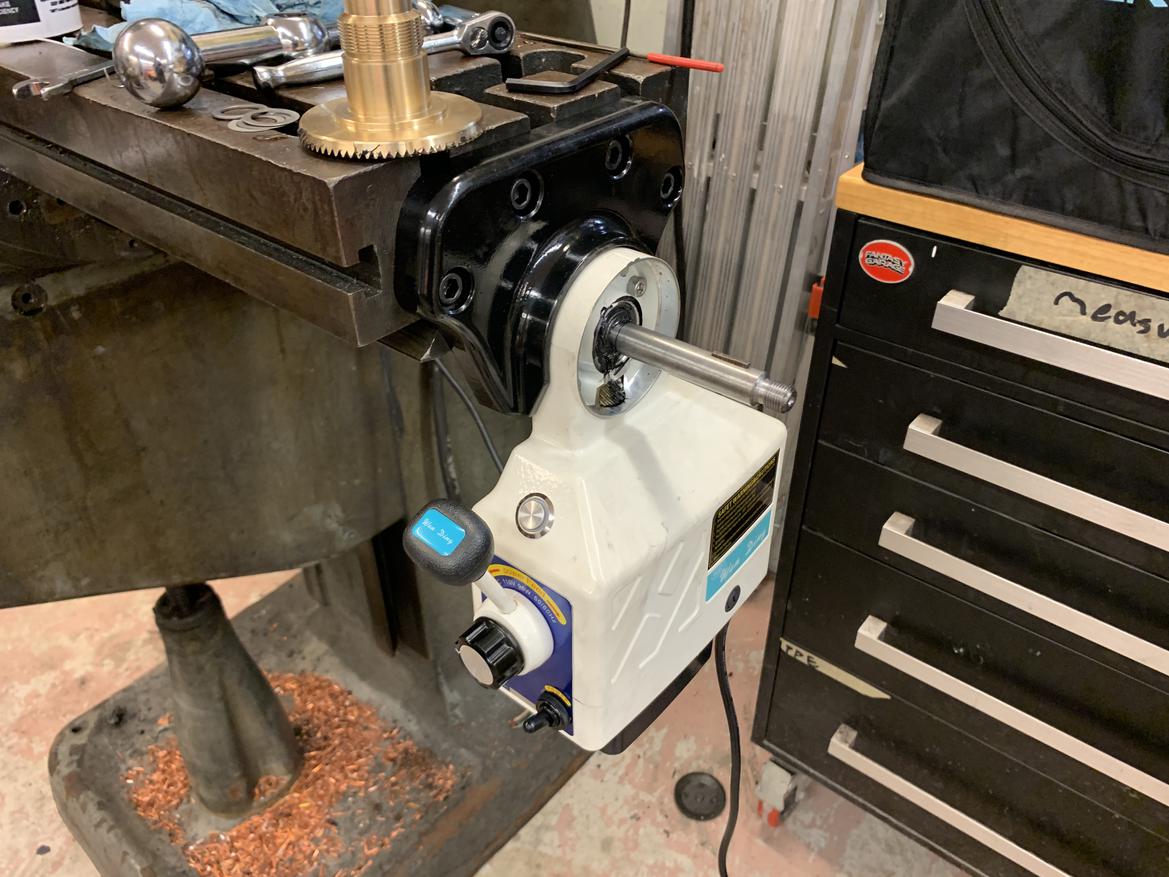
Oh, right, cheap parts. The keyway in the gear isn't anywhere near the right size, so it's going to need lots of time with a file (or a $200 keyway broaching kit) to fit. I'll cross that bridge tomorrow.
What size is the key? You can get a broach from MSC for ~$50
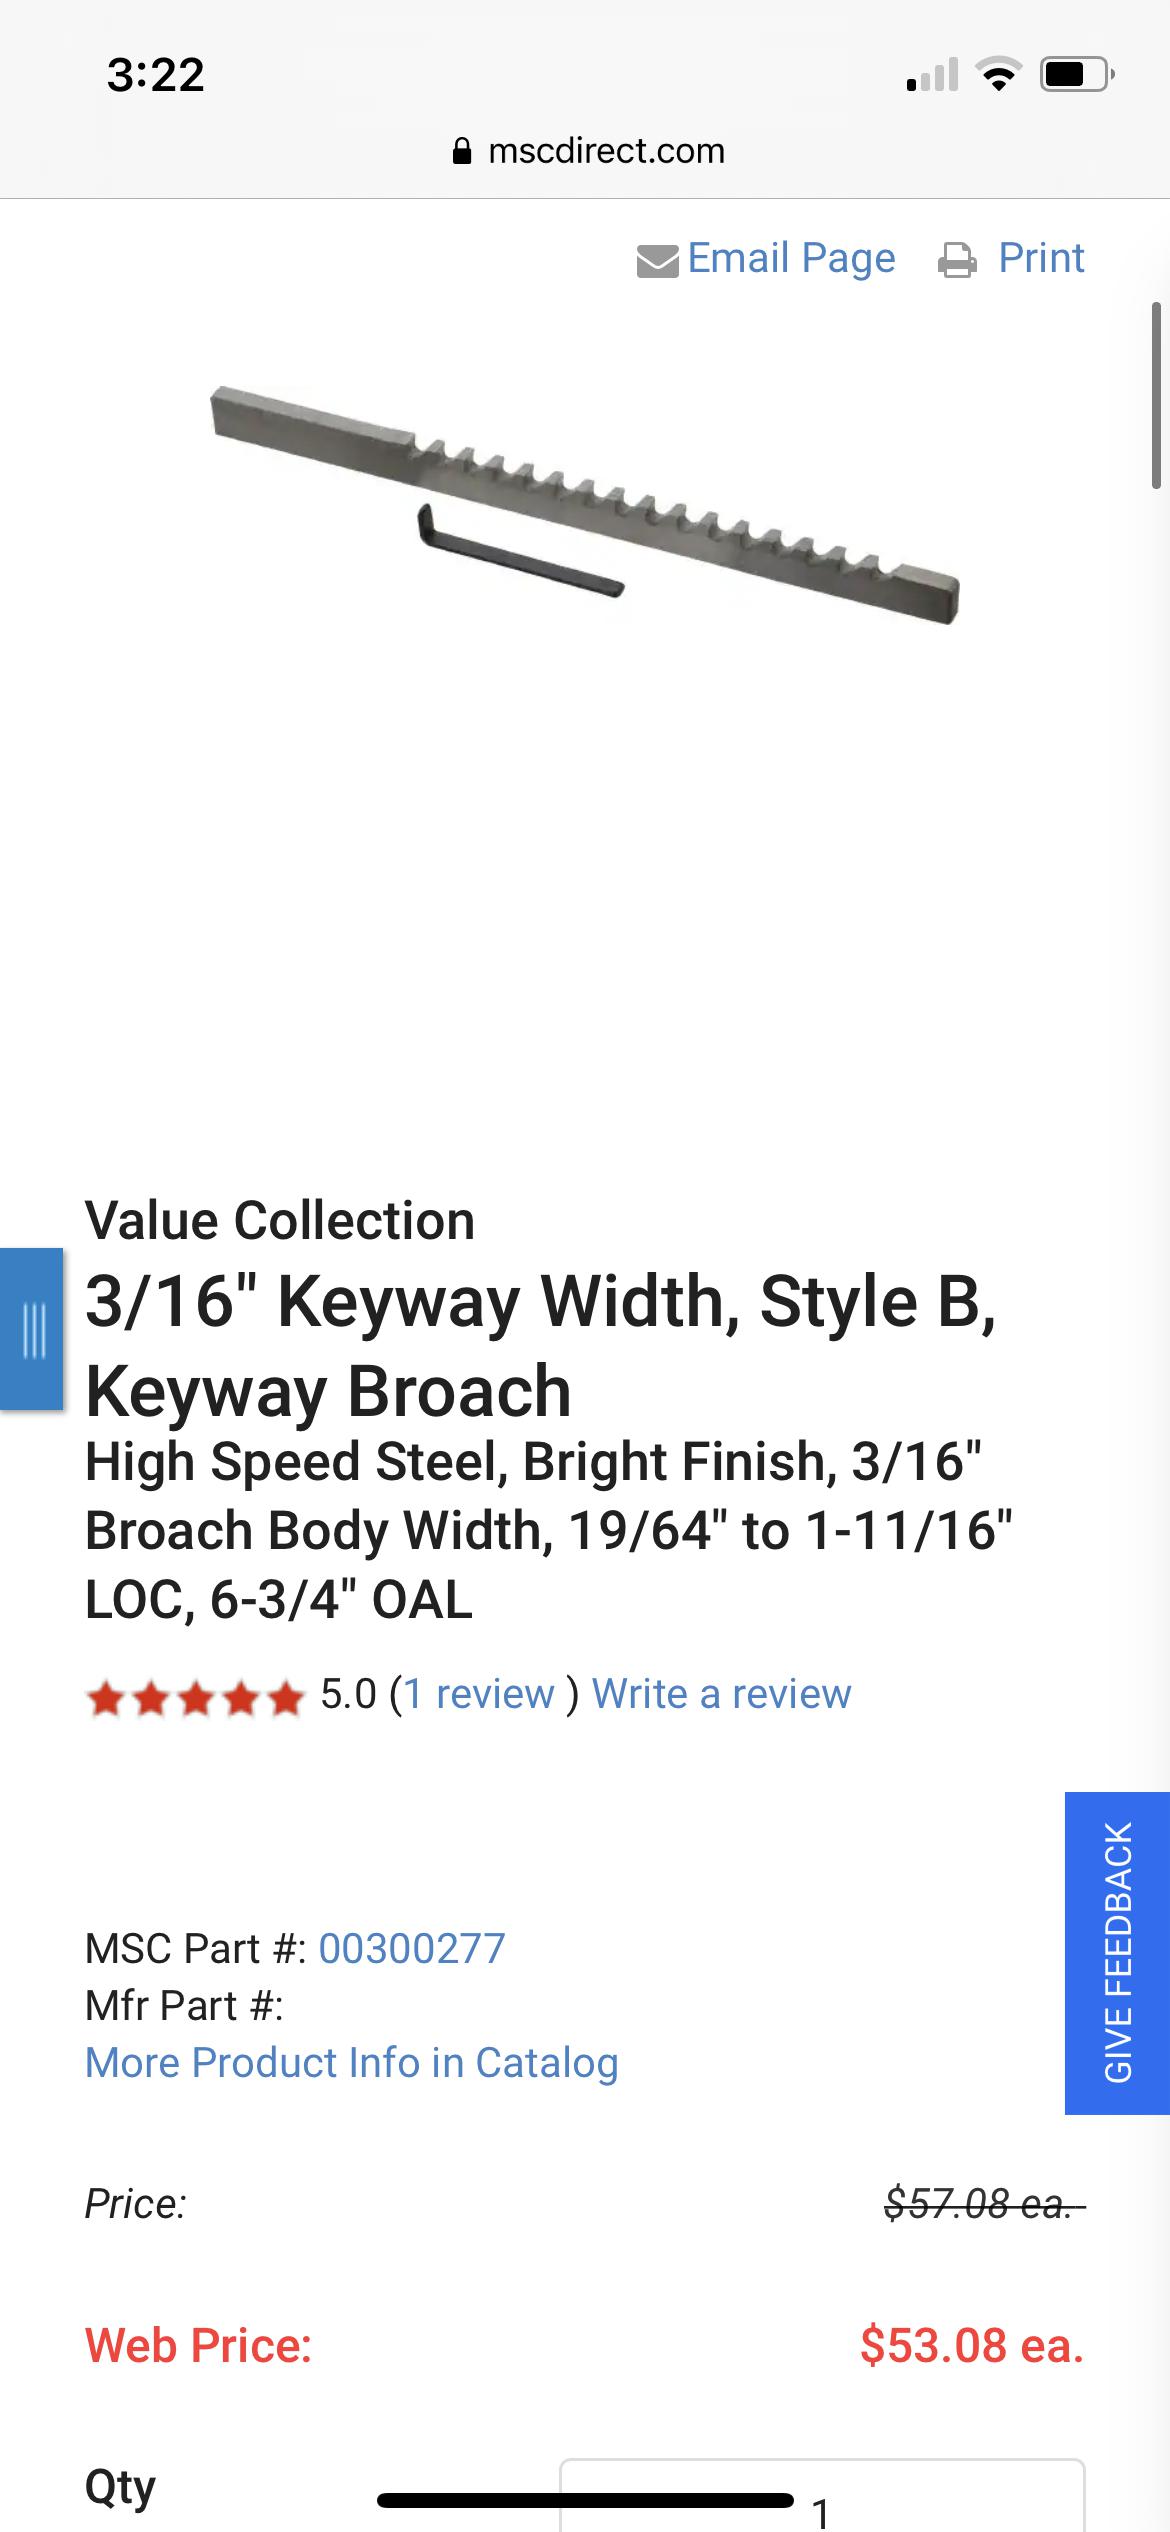
Why spend $50 when you have patience? :D
I didn't have much free time yesterday evening, but I did manage to get the keyways on both the gear and the handle filed to the the right size, so I should be nearly ready to finish the X axis. I should have everything I need to wire up the mill for real, too. Progress resumes in the morning!
Ok, update time! I filed down the keyways in the bronze gear and the handle, and successfully finished the right side of the X-axis!
Naturally my off-brand powerfeed interfered with the dial, too (both the new one I bought and the original I have from the left side) so that spent some time on the lathe.
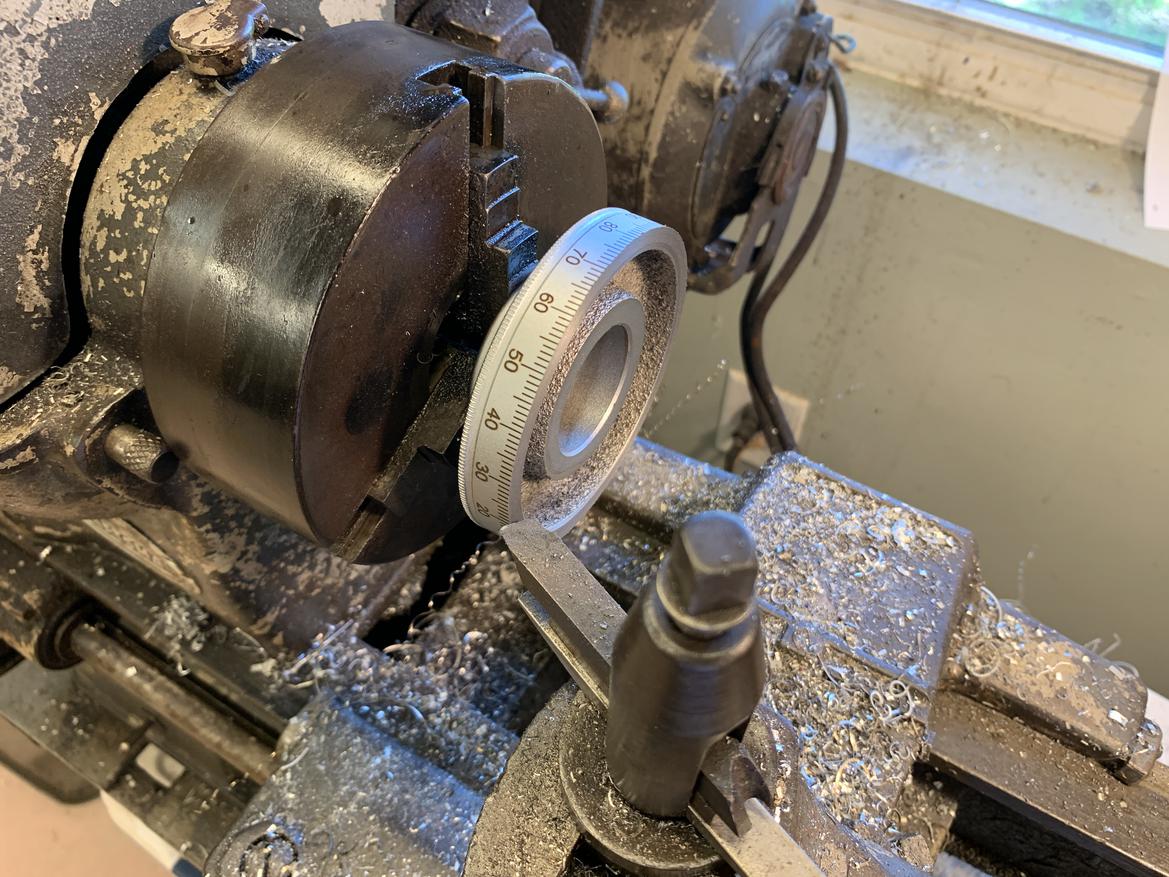
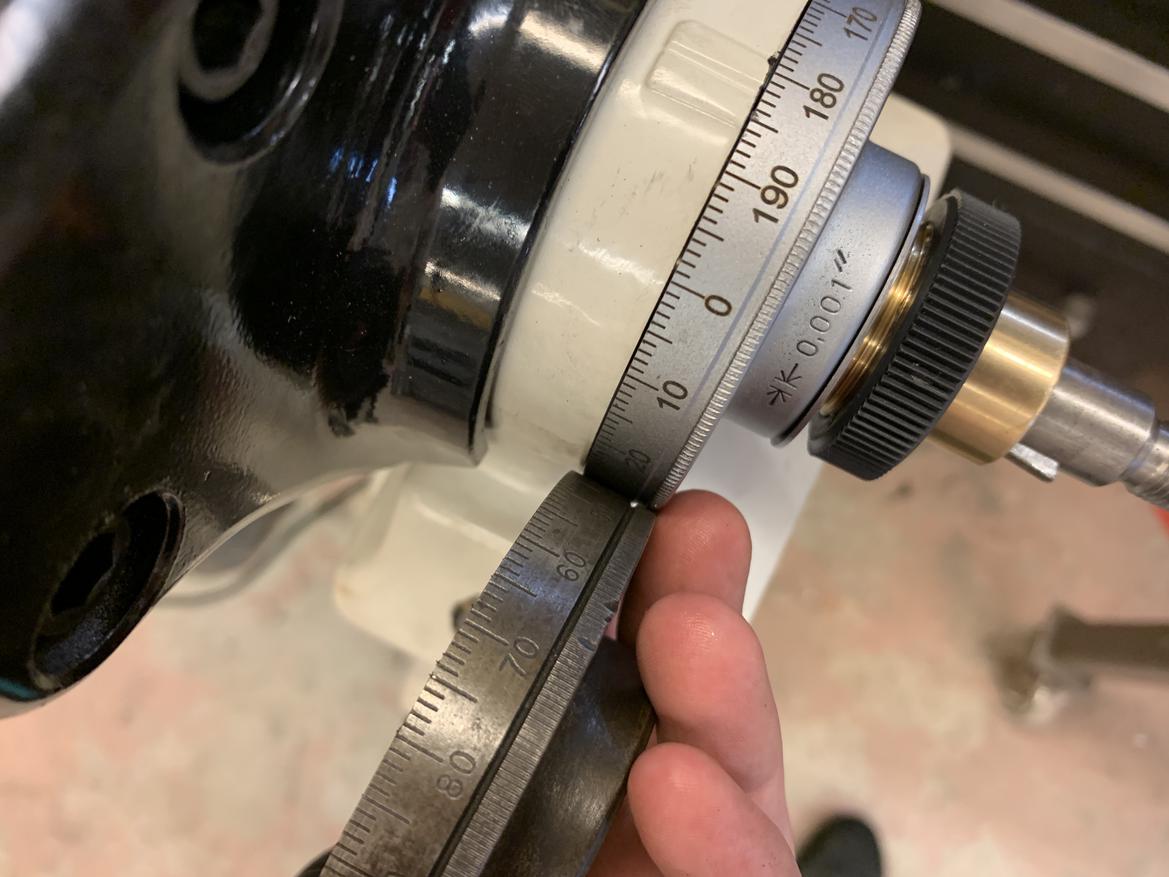
Success!!
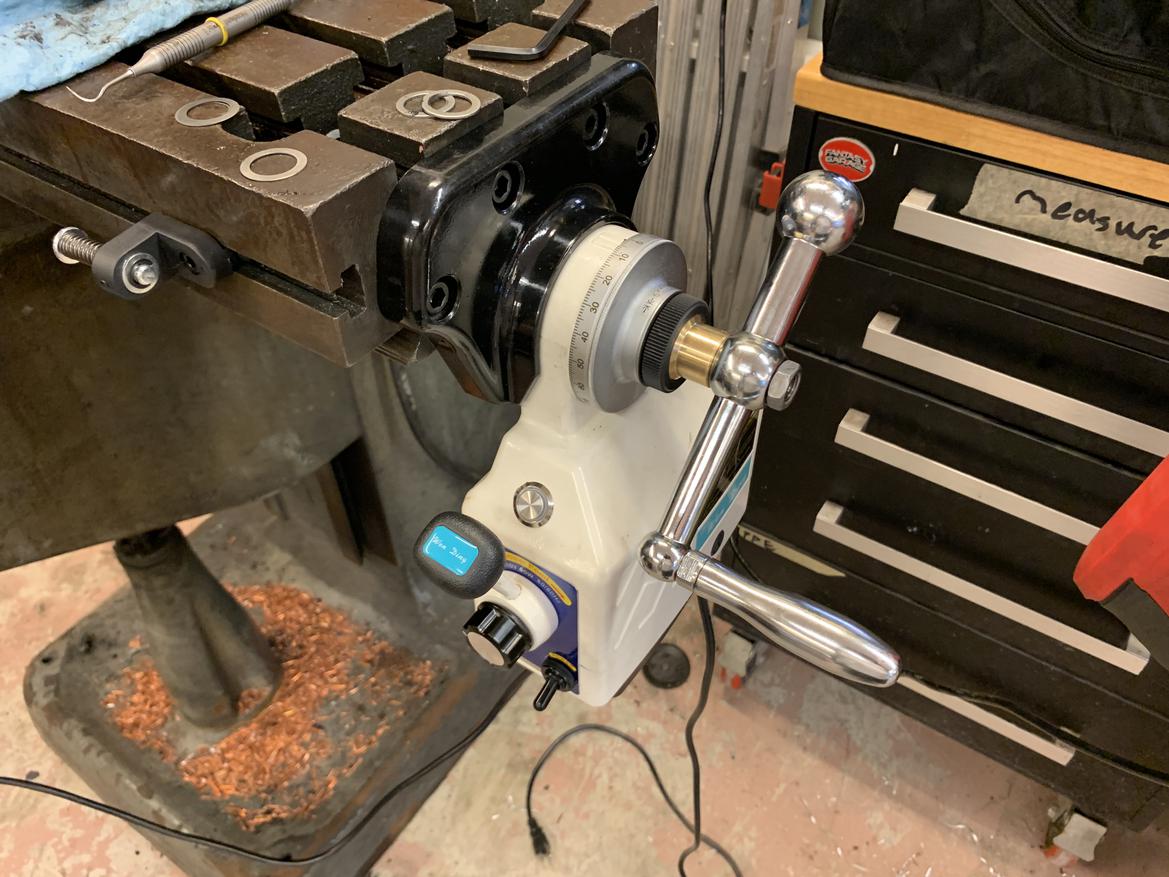

Time to put the other side of the X axis together. Since this mill was originally equipped with a power feed, it has a spring-loaded handle designed to not maim you quite as thoroughly if you get too close during a rapid move.
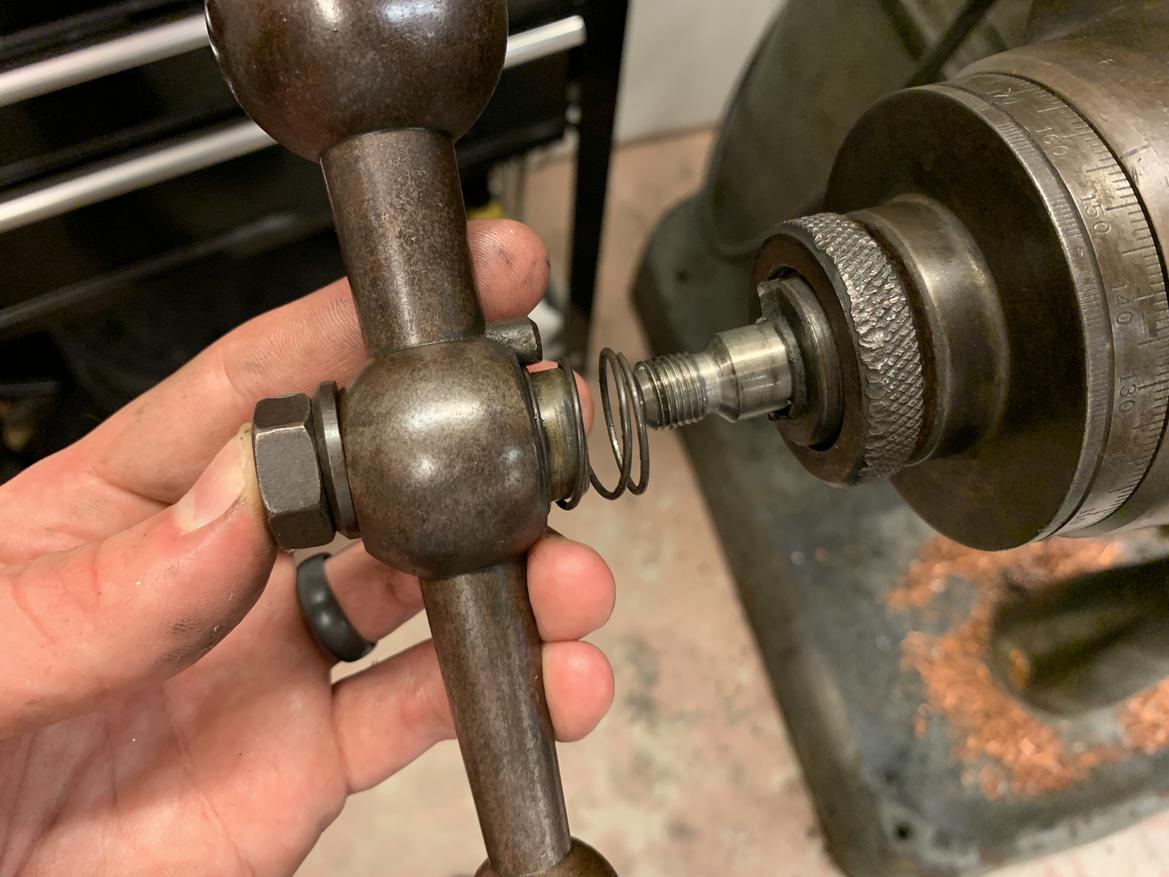
The handle isn't keyed, instead it has a little post that engages with the keyed dial holder when you push it against the spring pressure. Otherwise, it spins freely on the bronze bushing.
On problem... I was now using a leadscrew designed for manual operation, which meant it was too short to bolt this handle on. Basically, I'm missing the length added by the handle moving back and forth. This project....
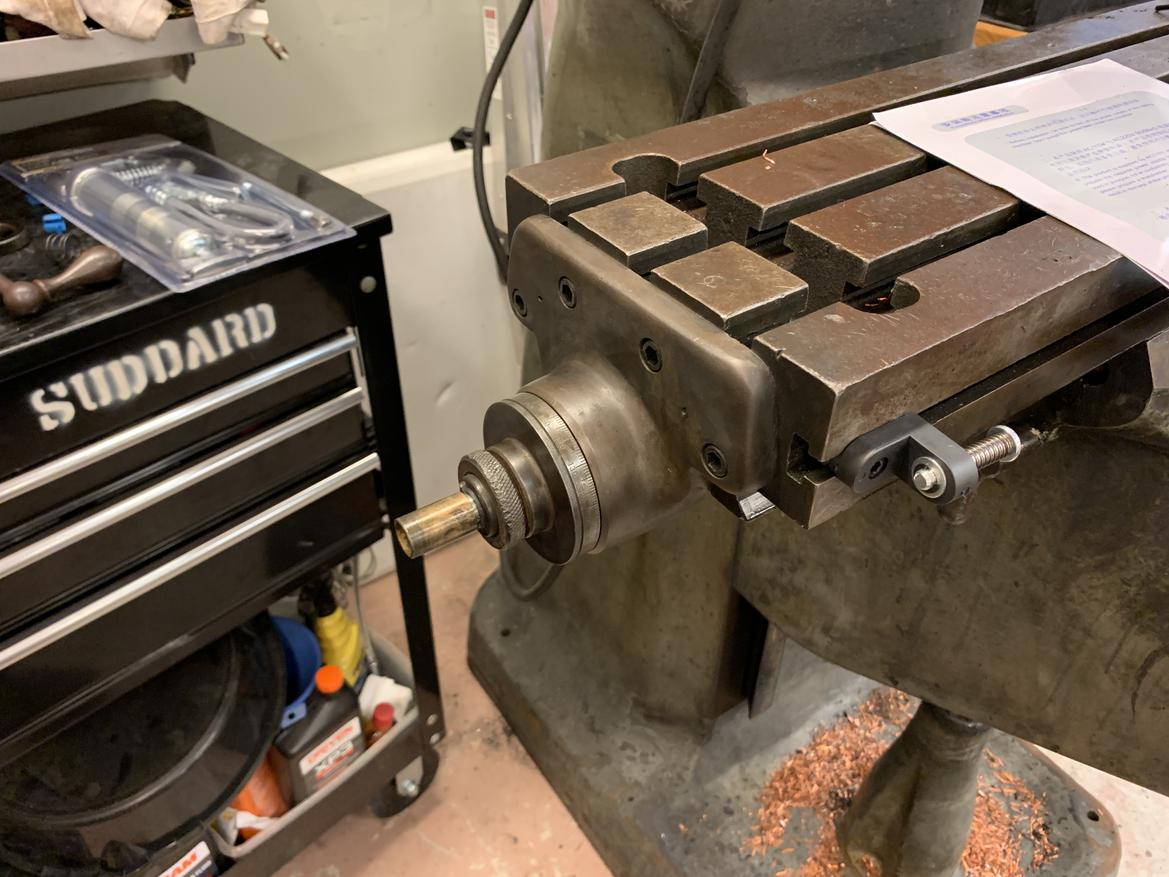
I could have ordered a standard handle and dial holder, but I figured I'd use this one to save $100 and keep some of the safety intact. How could I do that without the right leadscrew?
To the lathe! Again! I got about halfway through turning a weird nut that should provide a place for the brass bushing to sit and secure everything to the leadscrew.
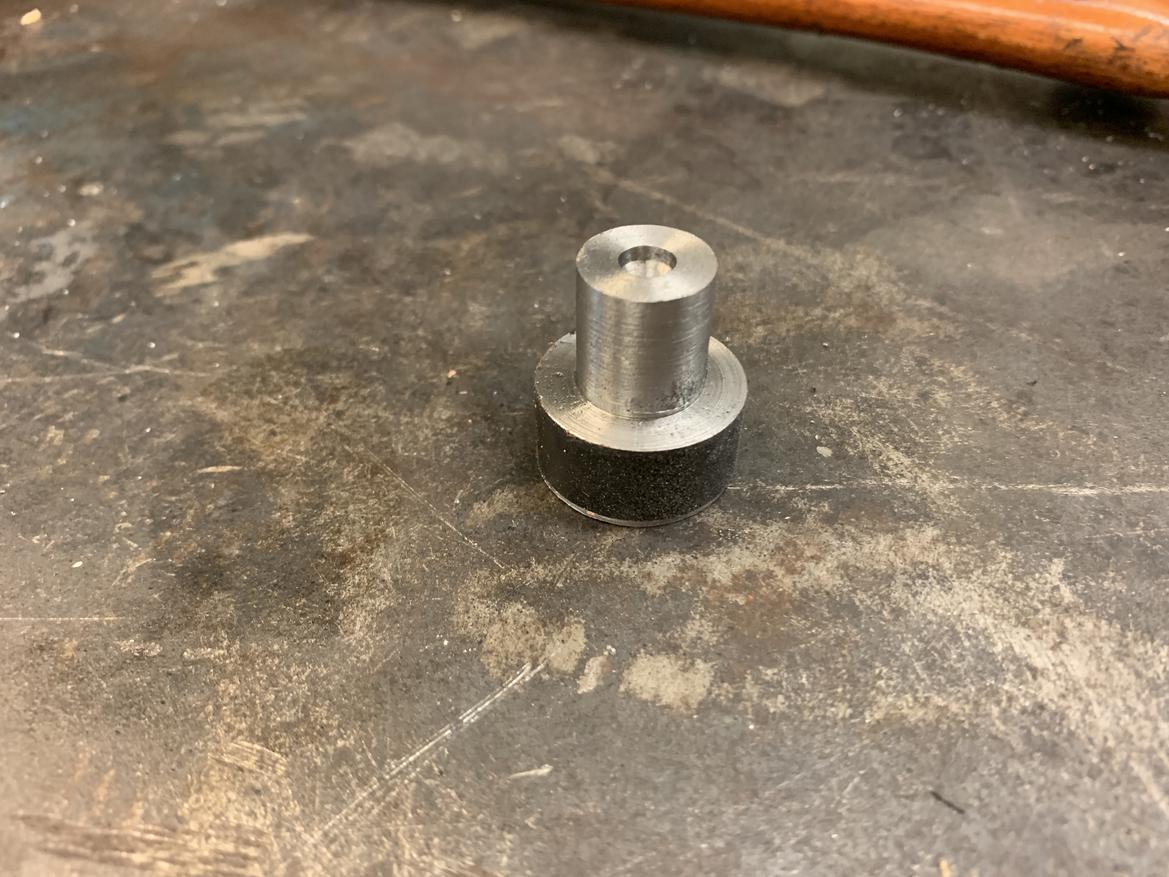
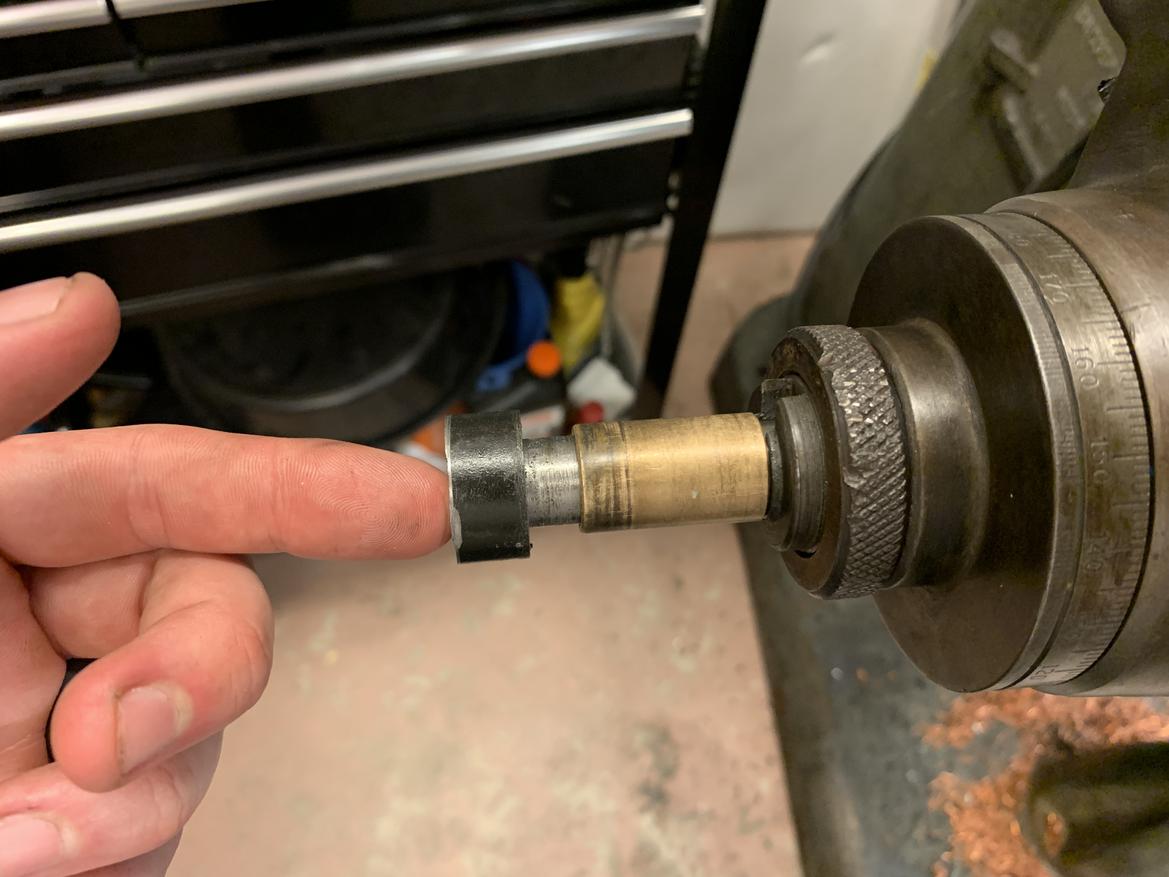
I didn't have the right tap to tap the threads, and I'll need to get the mill running to cut the hex in the top, but hopefully you get the idea.
Next step? Wiring!

I haven't made much progress in the past few days, but I can still post a quick update:
Since I need to mill the wrench flats onto the bolt I'm making, I've started building an enclosure for the mill's VFD. Why not just leave it exposed? Simple: 230V power and hands/chips/coolant don't mix. I need to put the VFD in an enclosure that will protect it from metal shavings and oil as I'm running the mill.
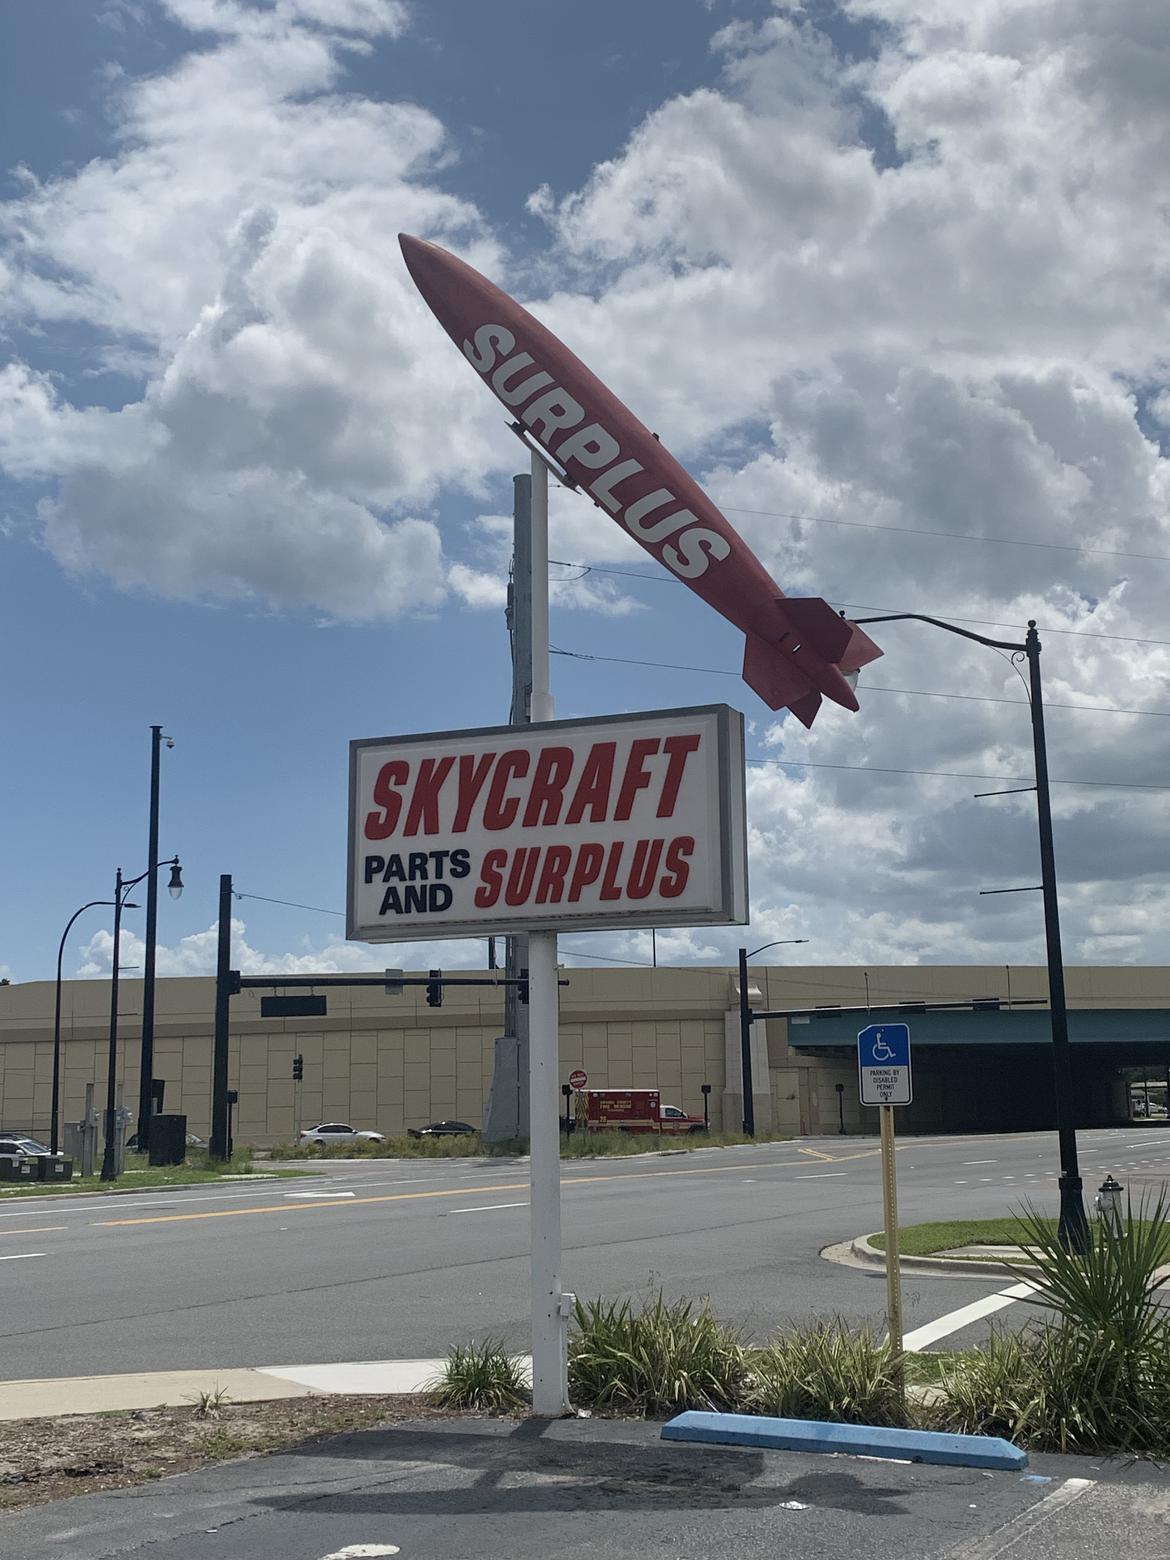
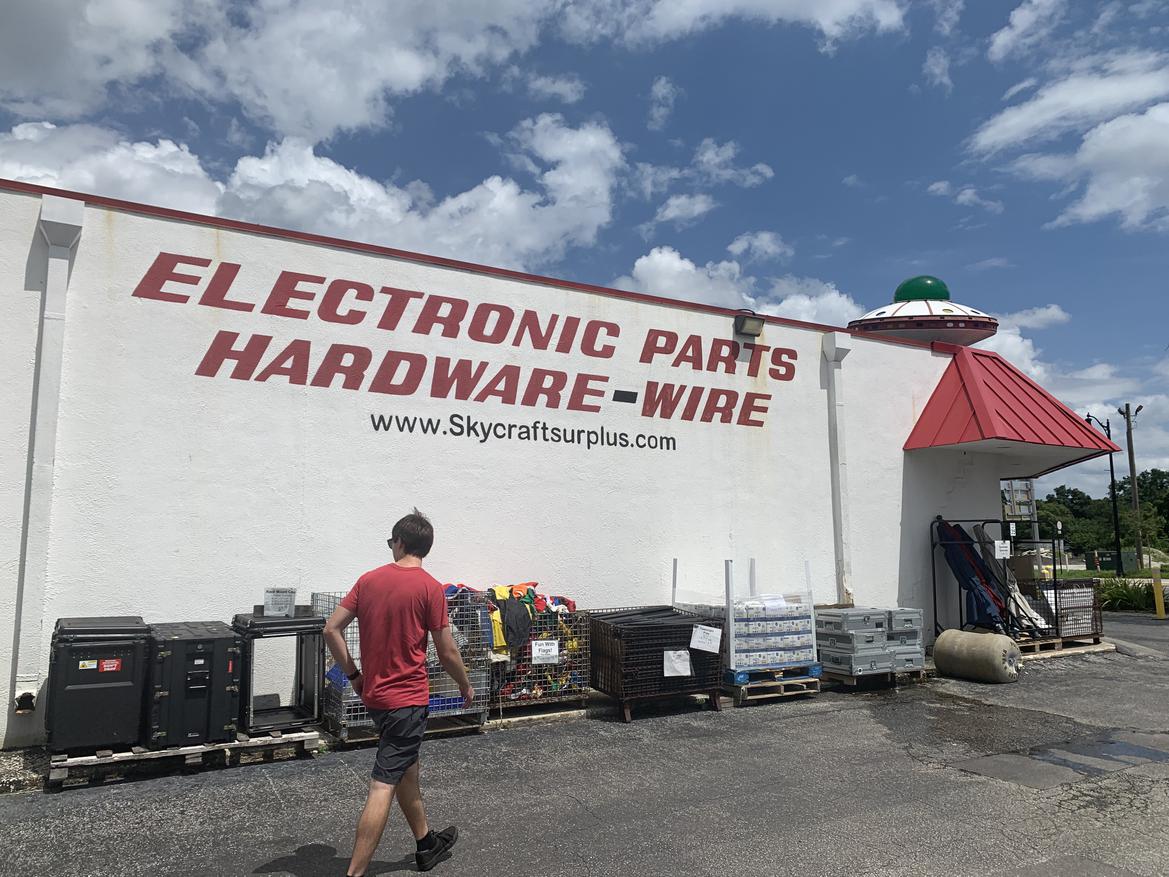
First step: Go to Skycraft Surplus. This place is an institution for people who build stuff, and well worth the hour drive to Winter Park (we needed to go to Ikea anyway). They don't have military surplus, rather it's all surplus electronics parts and widgets and such. Need a 380V-5V transformer? They have it. 50 lb. block of 7075 aluminum? Those are towards the back of the store. Three NASA panel switches in various colors? Check the used switch aisle, probably next to the emergency stop parts. And feel free to stop by the test bench, where you can poke and prod your finds with an adjustable power supply to make sure they're working on your way out of the store.
Success! Nicole snapped this photo of me choosing fans for an old control box I found. 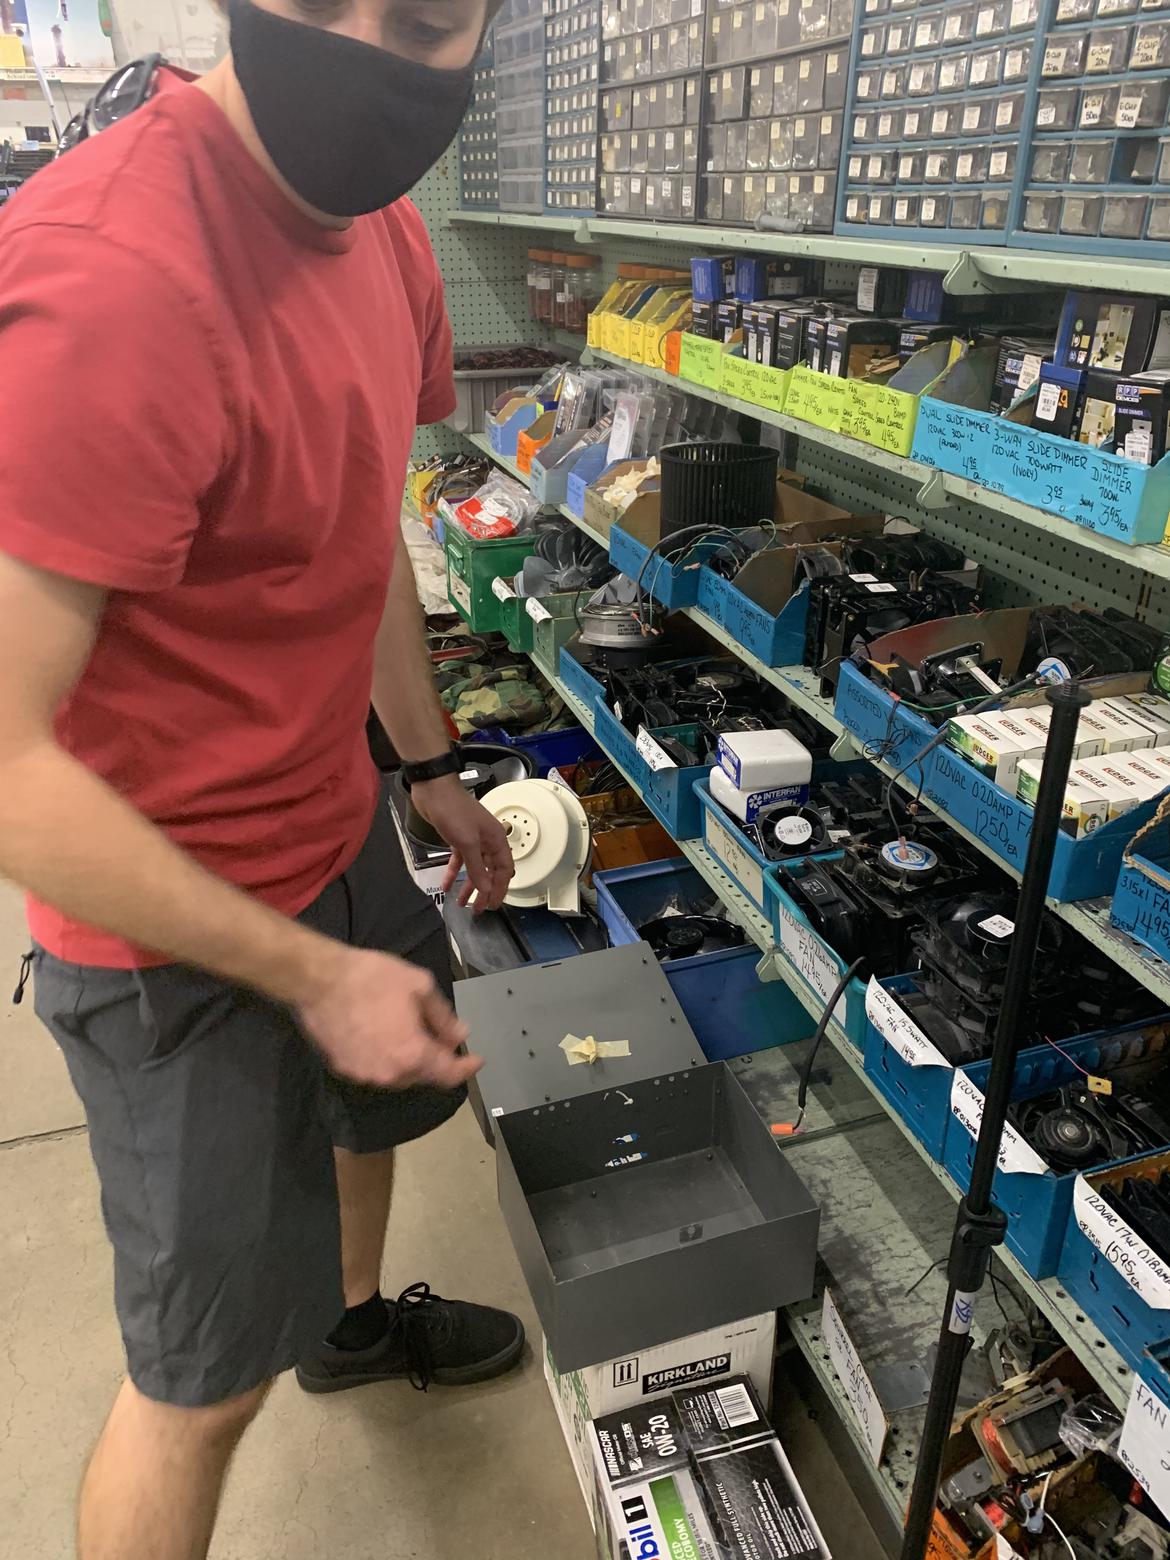
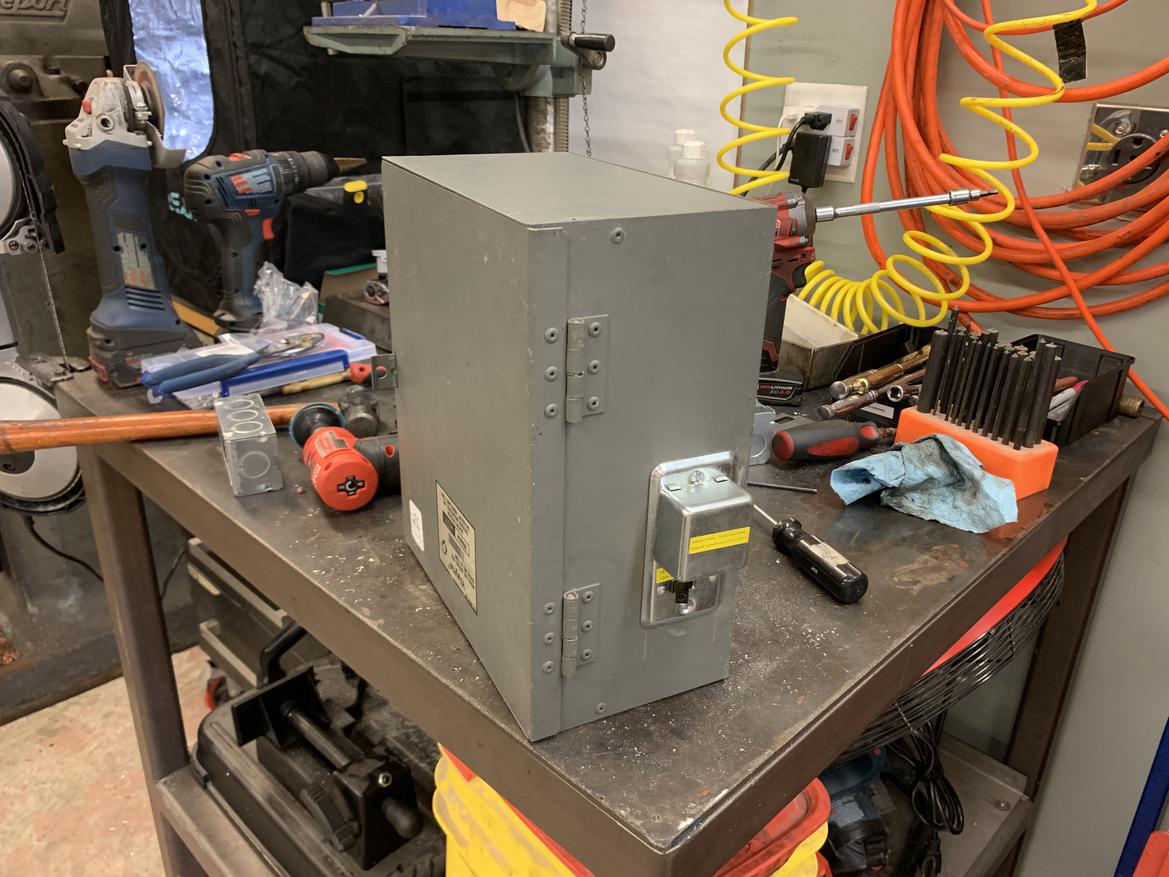
This box will be my enclosure, and should mount nicely in place of the old transformer for the optical measuring system I won't be using. 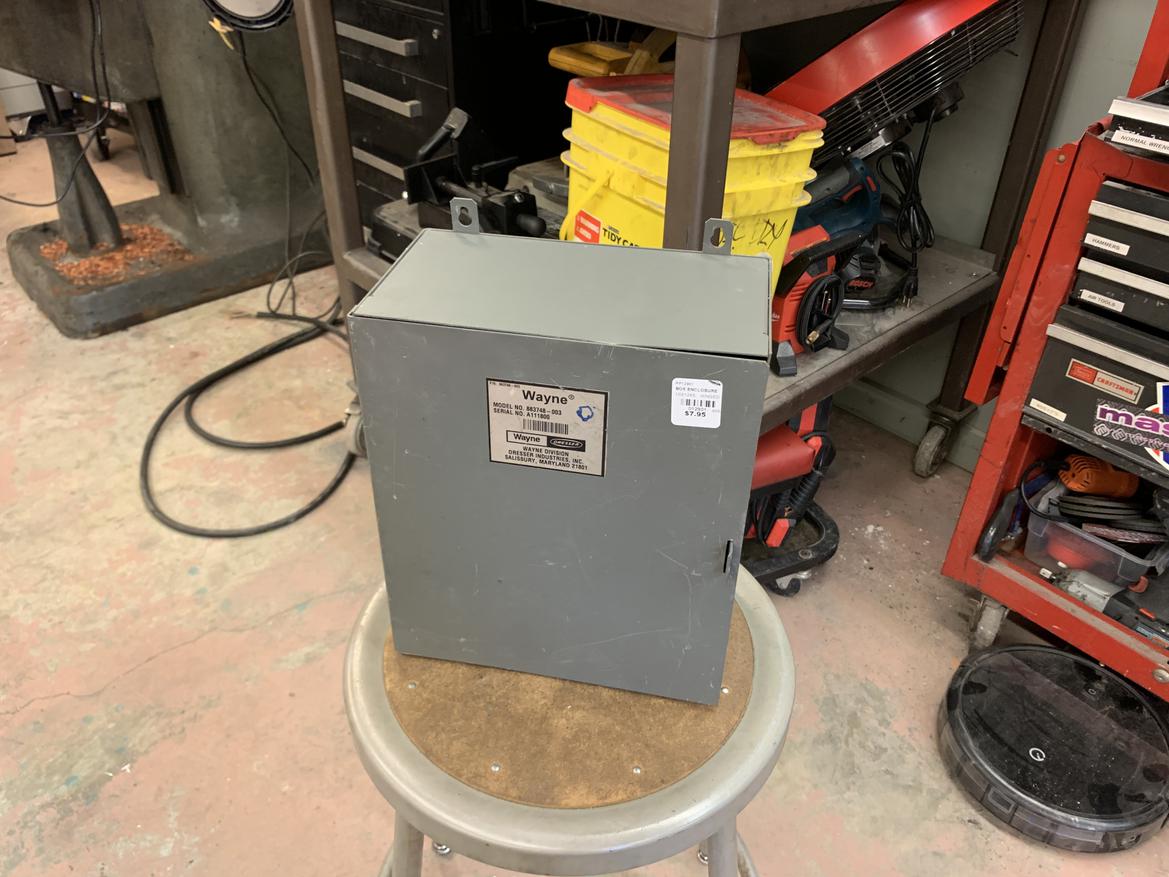
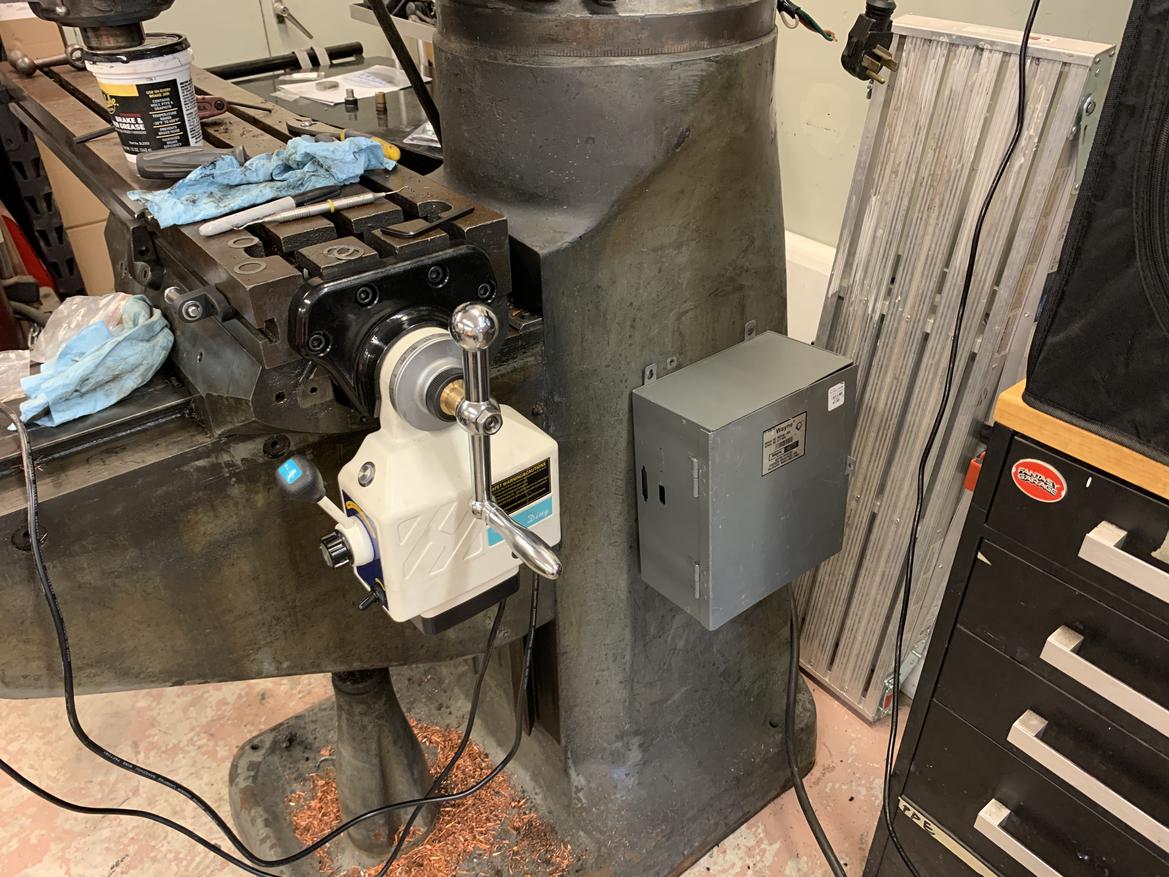
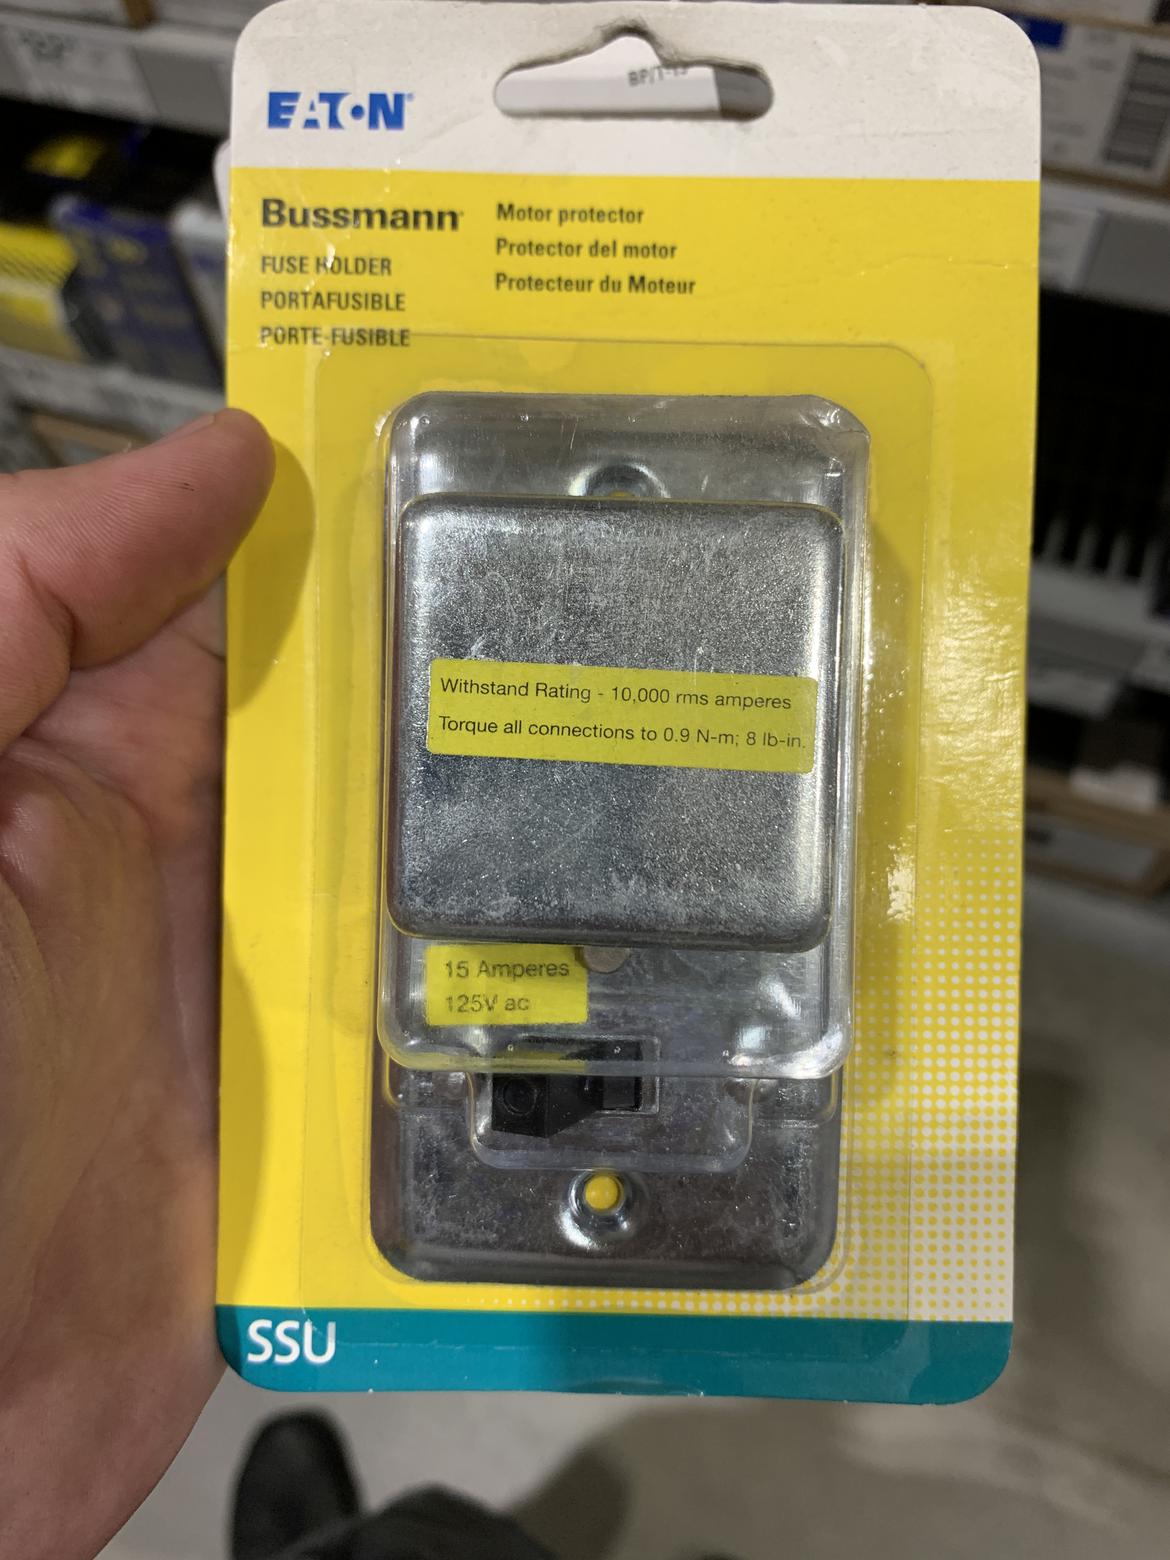
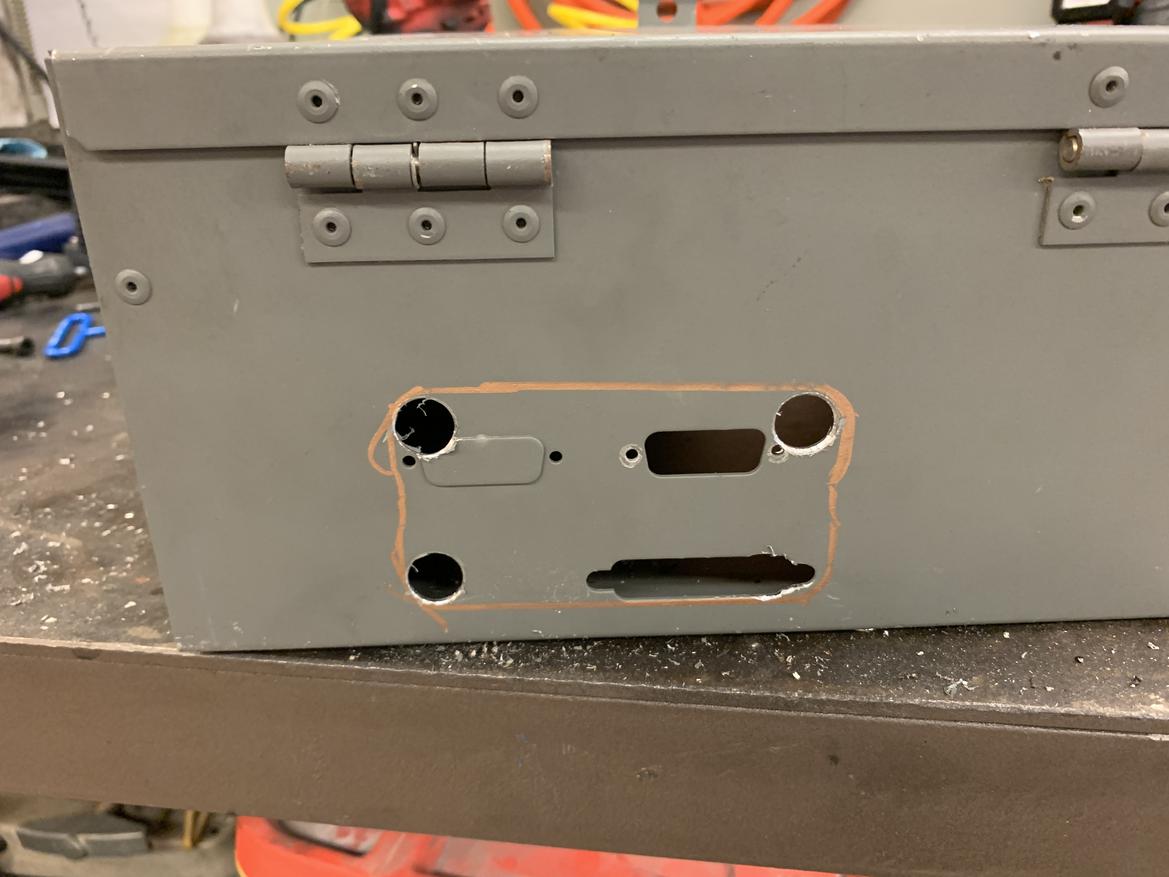
For starters, I'll keep it simple: Just the VFD and a 115v outlet, which is where I'll plug in the power feed and the DRO I eventually add. I picked up a fuse holder from Lowe's (doh, forgot to grab it at Skycraft) and put it in place of the few holes that came with the enclosure.
Tom Suddard said:
First step: Go to Skycraft Surplus. This place is an institution for people who build stuff, and well worth the hour drive to Winter Park (we needed to go to Ikea anyway). They don't have military surplus, rather it's all surplus electronics parts and widgets and such. Need a 380V-5V transformer? They have it. 50 lb. block of 7075 aluminum? Those are towards the back of the store. Three NASA panel switches in various colors? Check the used switch aisle, probably next to the emergency stop parts. And feel free to stop by the test bench, where you can poke and prod your finds with an adjustable power supply to make sure they're working on your way out of the store.

Sounds and looks like absolute Mecca. I want to go there so bad...we have an industrial surplus place in Seattle that's pretty good but when you mentioned the test bench, that's when I knew my options were truly inferior. I'm so envious.
Oh yeah, Skycraft is awesome. Video tour for those who haven't been:
Skycraft is great.
I have made a side trip when testing at sebring to purchase 1000s of feet of teflon coated wire for scrap prices.
Just wandering thru is overwhelming. You have to look up too because stuff is hanging in the rafters and on top of 10ft shelving


