please document changing the false drawers to full drawers. I have to do it to four drawers on my cabinets. Never got to it.
sure will!!
as soon as I figure it out myself. ive never done it either, but it cant be all that hard.
previous budget: 347 money spent: 53 at home depot for a bunch of 2x6, 2x4, and 1/2 ply cull lumber 44 at habitat for humanity restore 42 at home depot for 4 sheets of white coated hardboard, and 3 more 2x4 out of the cull rack
total: 486
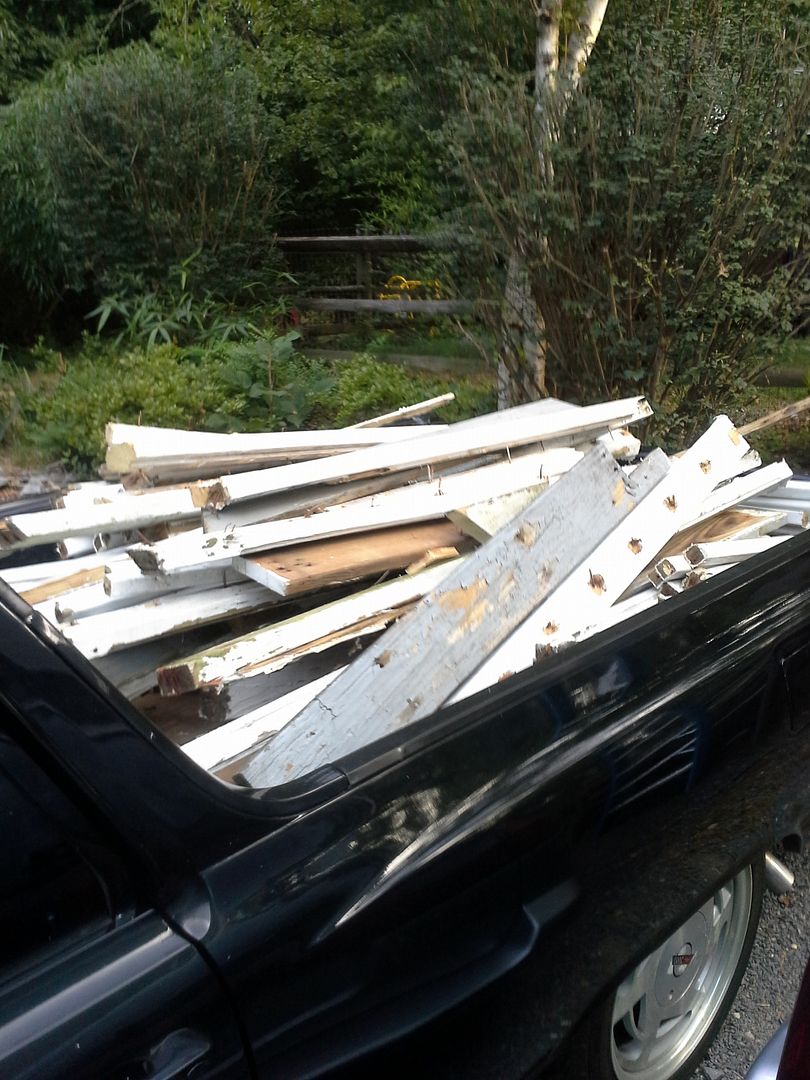
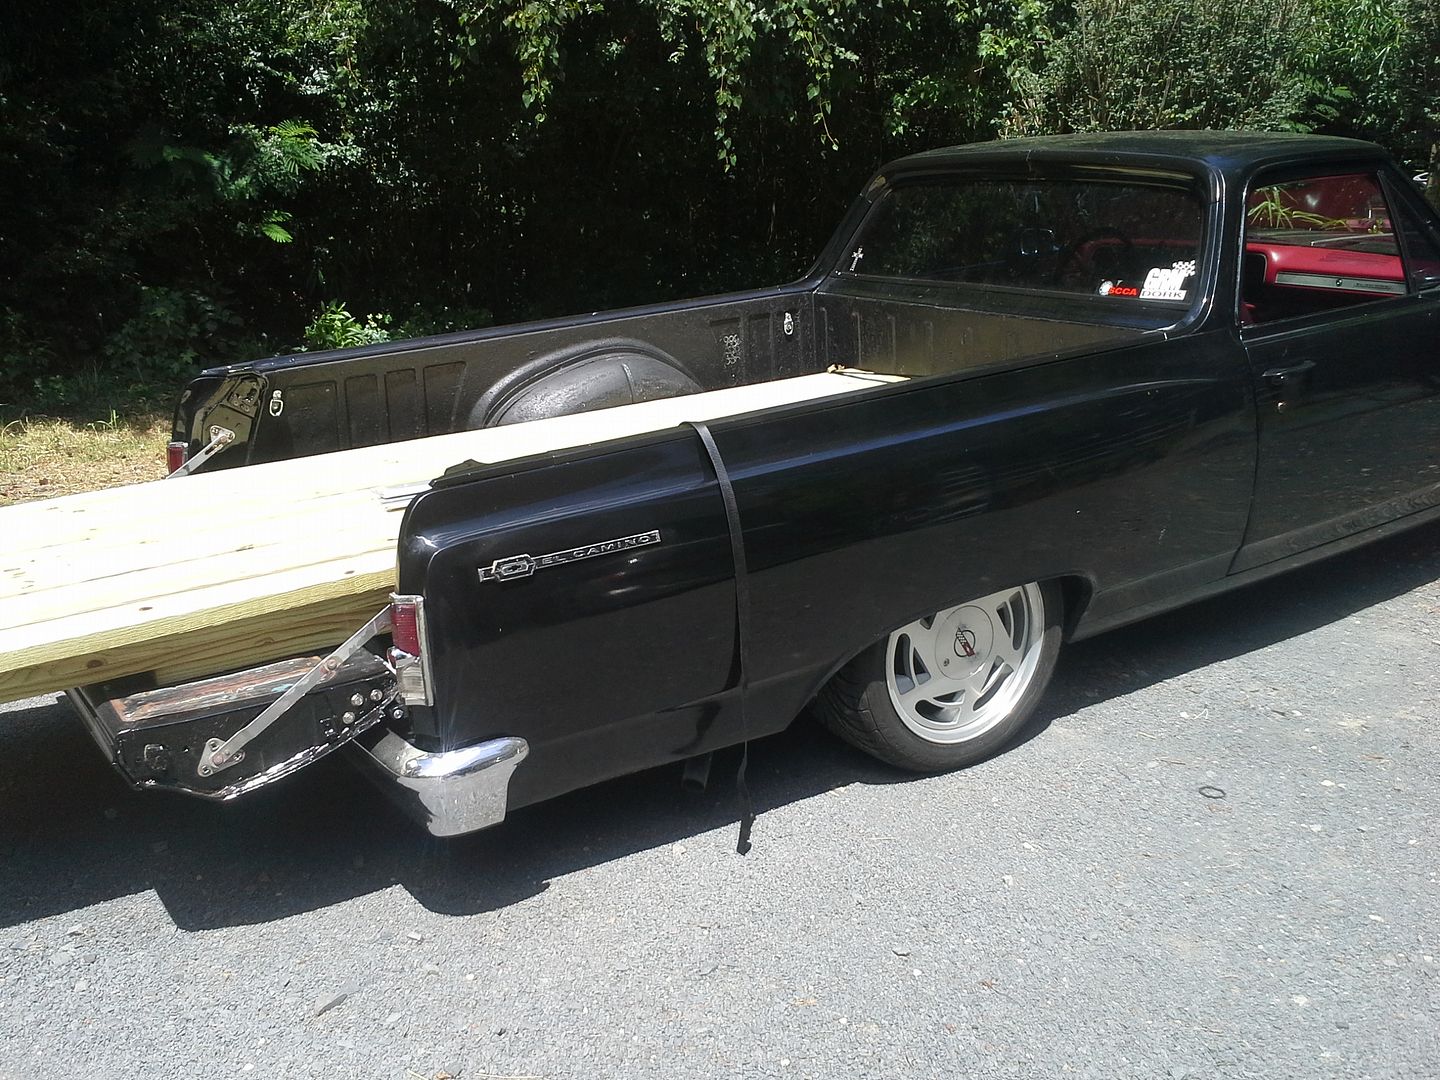
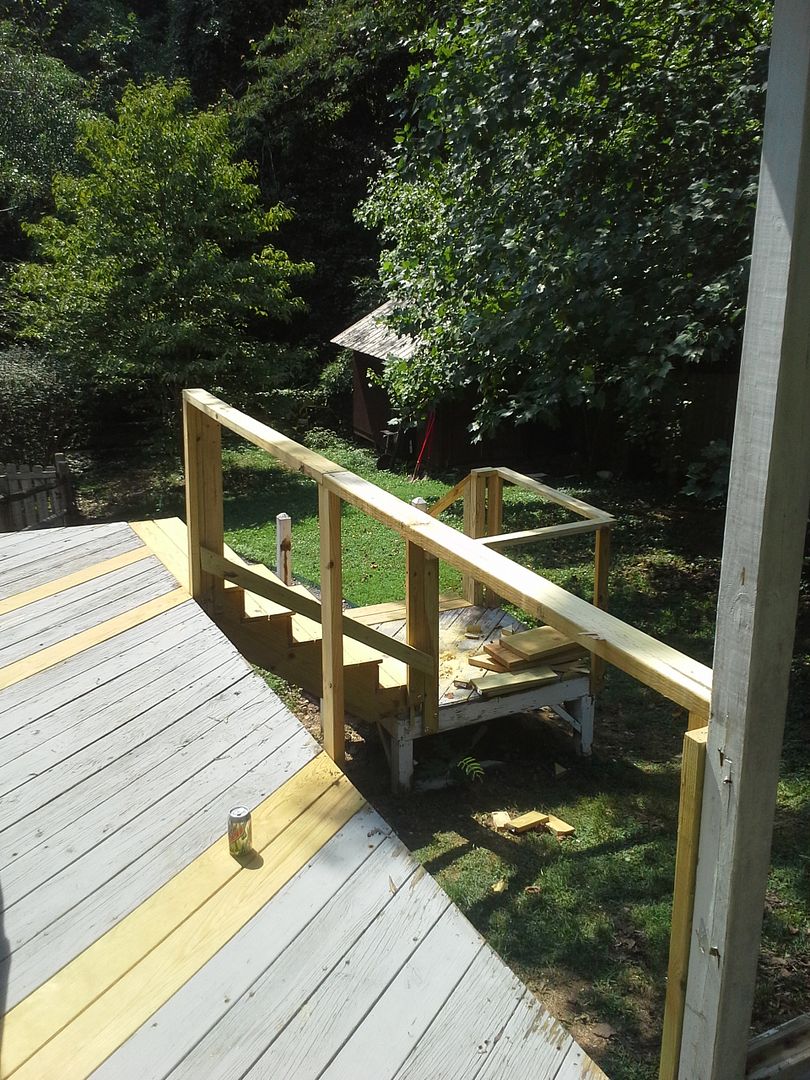
first, when we left off, I was kind of clean and neatly getting things laid out. that didn't last long, as I also undertook a deck repair job at the same time im renovating the garage. all y'all probably know by now that im not all that bright....
anyway, in the late evenings and early mornings when its cool, this is what im doing.
[URL=http://s54.photobucket.com/user/dusterbd13/media/20150716_073502_zpsfemj5utb.jpg.html]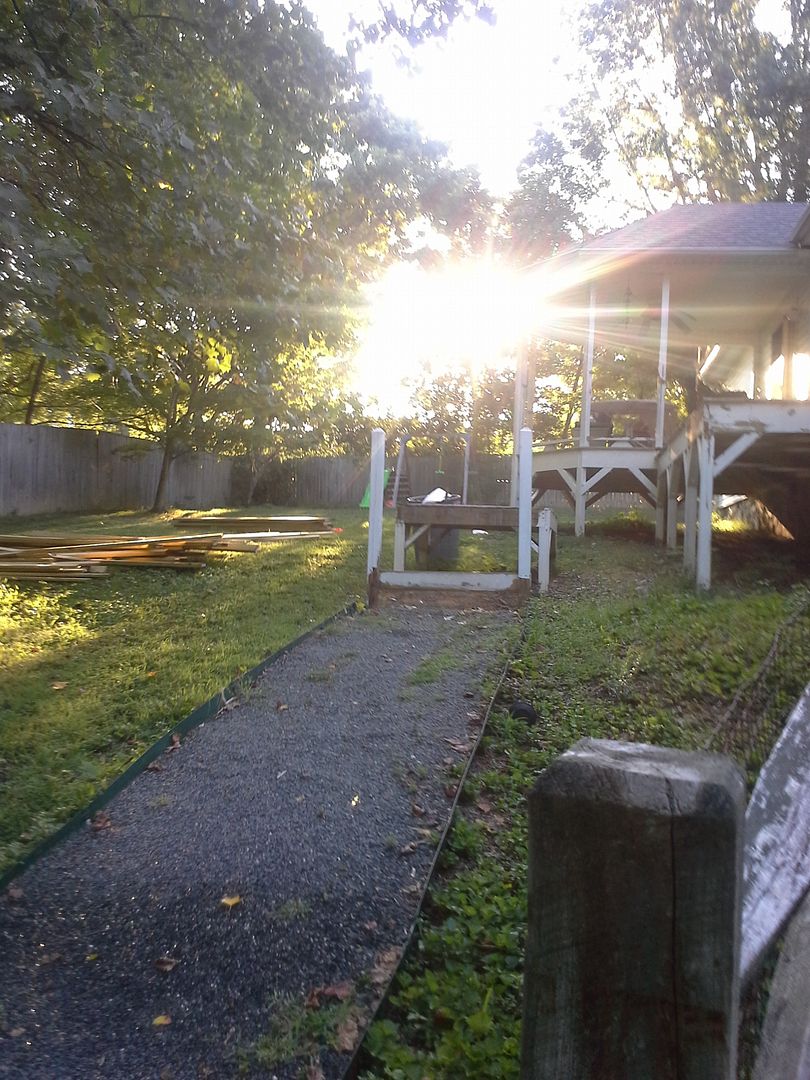 [/URL]
[URL=http://s54.photobucket.com/user/dusterbd13/media/1964%20elcamino/20150711_072056_zpsurwmmapa.jpg.html]
 [/URL]
[URL=http://s54.photobucket.com/user/dusterbd13/media/1964%20elcamino/20150711_121552_zpso75aw6hu.jpg.html]
 [/URL]
[URL=http://s54.photobucket.com/user/dusterbd13/media/20150725_154353_zpskrqe5fri.jpg.html]
 [/URL]
this job is taking away from the garage time, but my wife and daughter are happy that im fixing it all, so its all good.
in the garage, I started framing out the opening to cold storage, and built a door.
[URL=http://s54.photobucket.com/user/dusterbd13/media/20150722_183942_zpssamgez2e.jpg.html]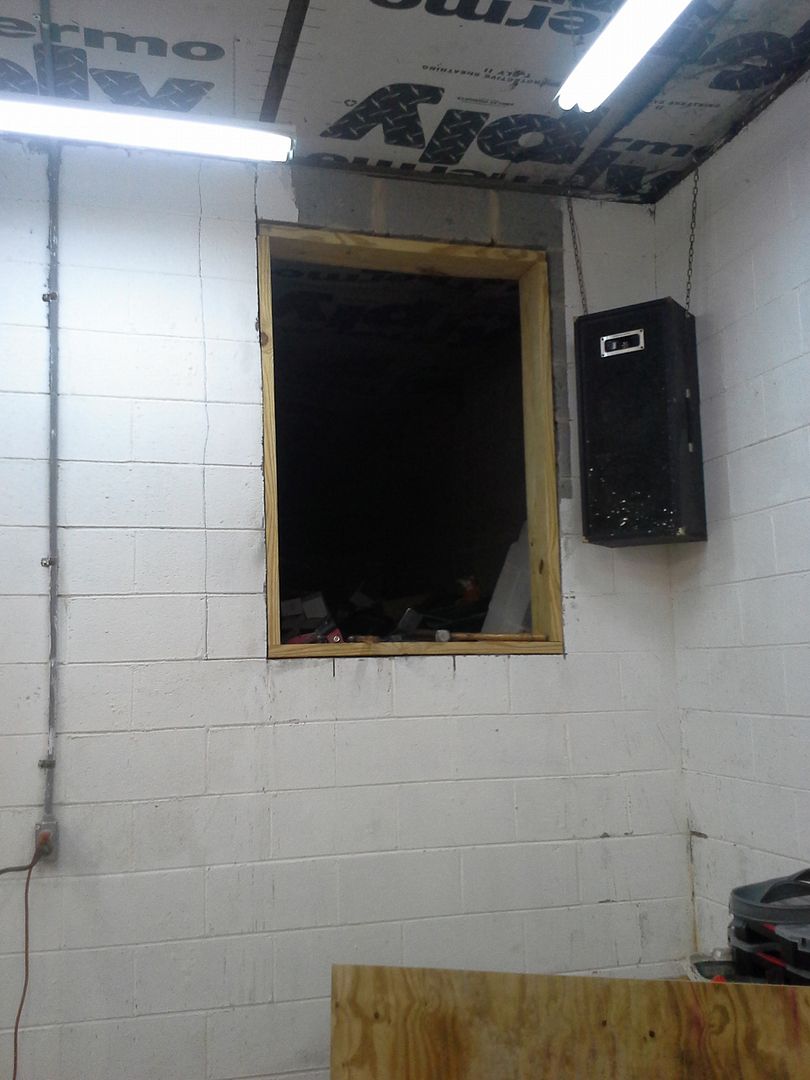 [/URL]
I built the door out of a piece of 1/2 inch pressure treated plywood that would have been better served to be used for the bow of a boat, and 2x6 lumber that could have done a good job as the hull. but it was cheap from the home depot cull lumber cart, so I couldn't refuse. this picture of the ply is AFTER it was clamped to a straightish board.
[URL=http://s54.photobucket.com/user/dusterbd13/media/20150722_183926_zpsebivhpd3.jpg.html]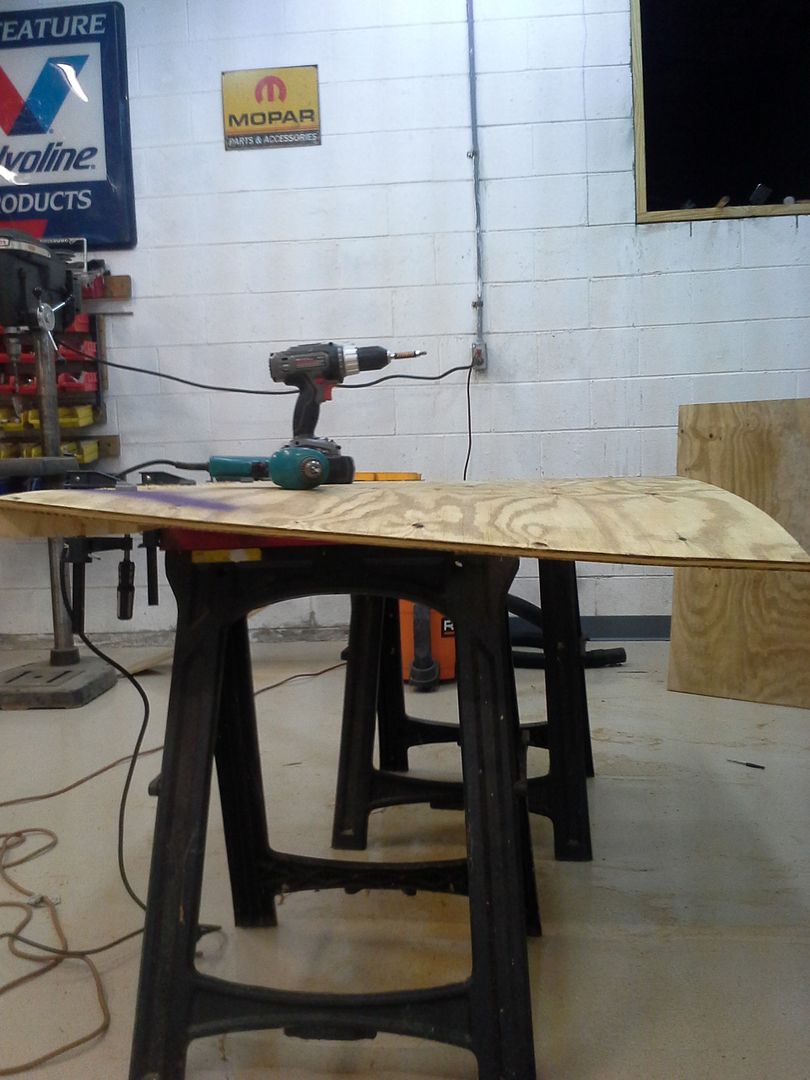 [/URL]
and a picture of the rest of the cull lumber score
[URL=http://s54.photobucket.com/user/dusterbd13/media/20150722_183938_zps5uy4t2zp.jpg.html]
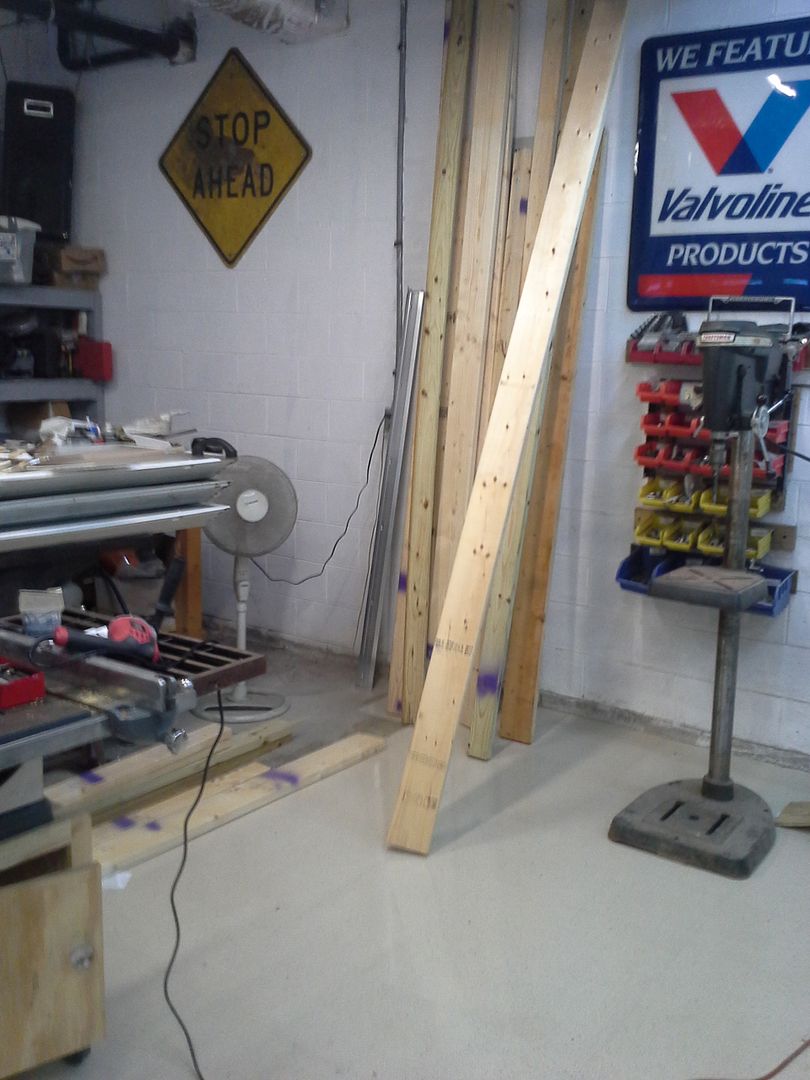 [/URL]
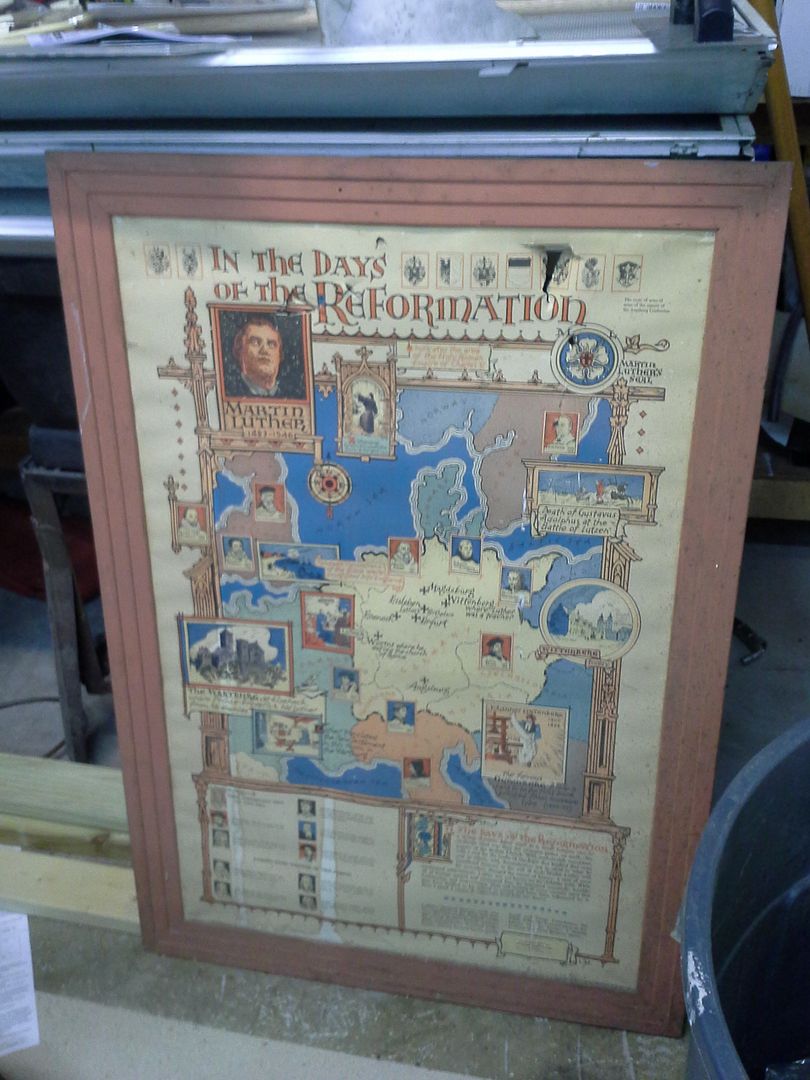
I then proceeded to frame out the bent ply with bent and mitered 2x6. the two pieces of 2x4 are for spacers. I have a picture that was given to my by a church I was doing some restoration work on. its from the late 30's, done in an artistic/comic book style. came framed. so im mounting it to the door for the display. still have to repaint the frame of the picture before mounting, but have to wait for a day where my hands don't shake.
[URL=http://s54.photobucket.com/user/dusterbd13/media/Mobile%20Uploads/2015-07/20150722_203012_zpsb6wpl1m4.jpg.html]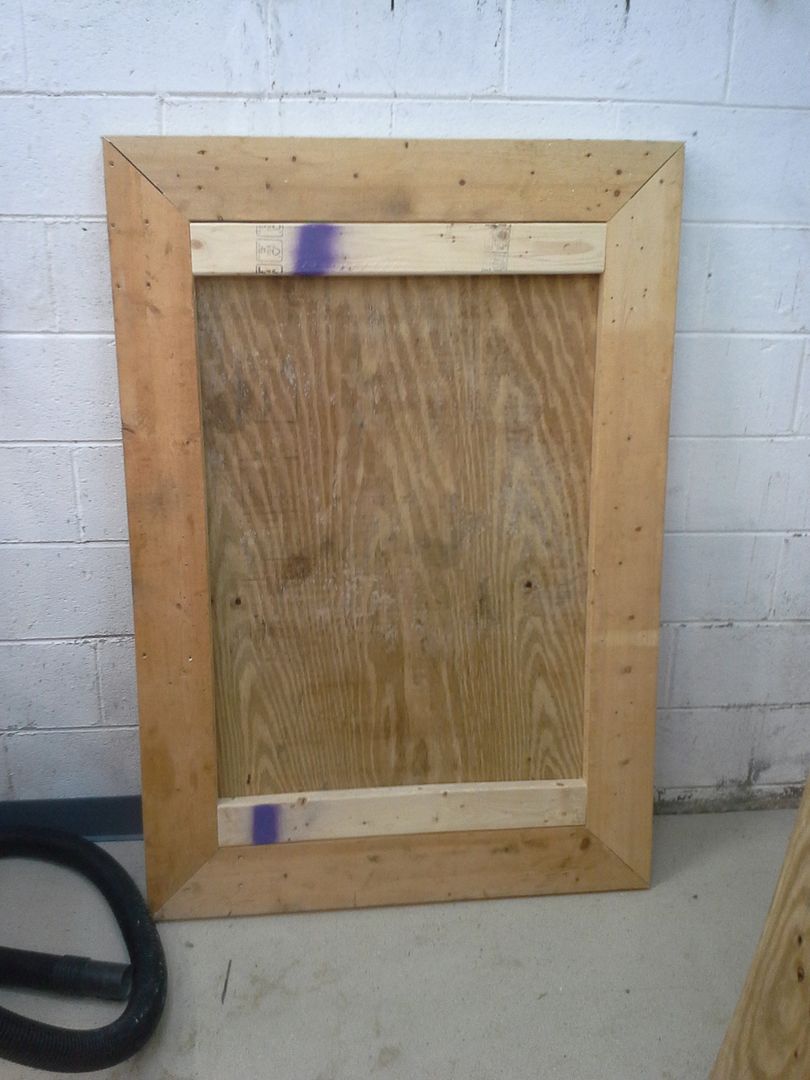 [/URL]
[URL=http://s54.photobucket.com/user/dusterbd13/media/20150728_191615_zpsjwiviism.jpg.html]
 [/URL]
after this, I built the face frame for the door out of more hull-like 2x6, with some 1/2 ply screwed to the back to keep the same depth. grabbed my can of zinser primer, and my can of latex semigloss exterior paint. the primer was still good. so was the paint, though it was so old that the lip to the can ripped free from its rusty moorings with the lid. dammit. primed and painted all the pieces.
[URL=http://s54.photobucket.com/user/dusterbd13/media/20150725_145357_zpslebajfzv.jpg.html]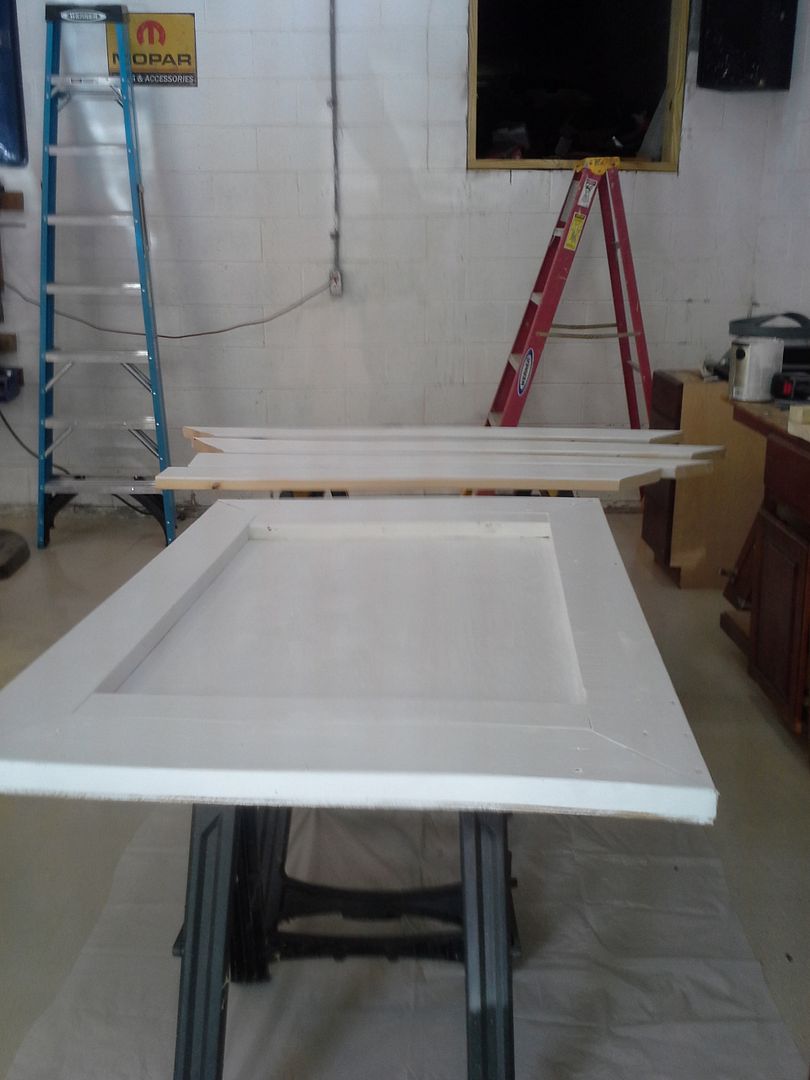 [/URL]
after these dried, I got to teach my daughter about how to setup and operate a drill press. no pictures of her doing so, though, as momma was out and about. she drilled all the countersinking holes for the main rails for the door, and I placed them and secured them with tapcons. I want to find some sort of chrome plug to fill all the 9/16 holes, or something. want a clean, late 40's-mid 50's industrial look. don't know just what im going to use yet, and am open to suggestions.
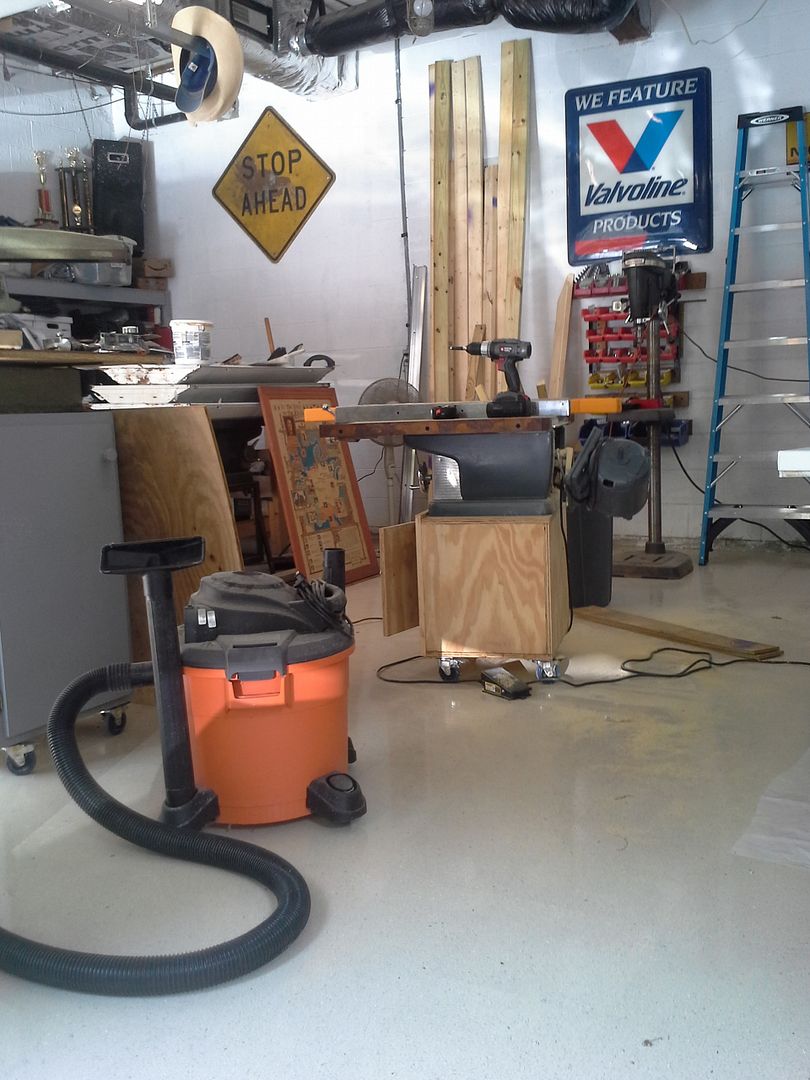
the door is hung on three vintage stanly brass hinges that I reclaimed from the same church I got the art from. still have a handful of these left for when I decide I need them. just seemed fitting to use these hinges along side the artwork. I still need to finish the upper and lower rails, and then I can clean up again and start in on the ceiling.
[URL=http://s54.photobucket.com/user/dusterbd13/media/20150728_170632_zpsfaliwthd.jpg.html]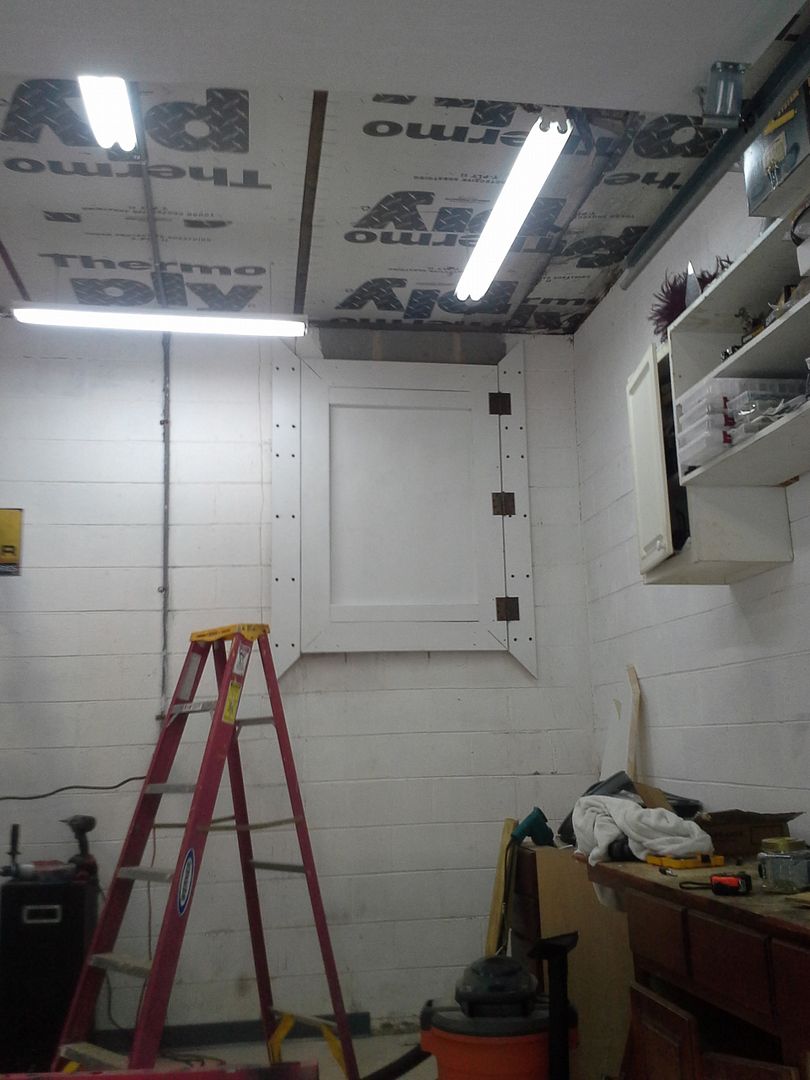 [/URL]
[URL=http://s54.photobucket.com/user/dusterbd13/media/20150725_145416_zpsa0gi98dp.jpg.html]
 [/URL]
speaking of ceiling, this is what I got today. 1/8 hardboard, coated in a slick and shiny white coating. these will go up on a 24x24 grid, and ill use the 50's style 1 inch wide, 1/2 thick molding to cover the screws. lot of old houses down here are done with that kind of ceiling molding, and I like it.
[URL=http://s54.photobucket.com/user/dusterbd13/media/20150728_170638_zpsmxsulos9.jpg.html]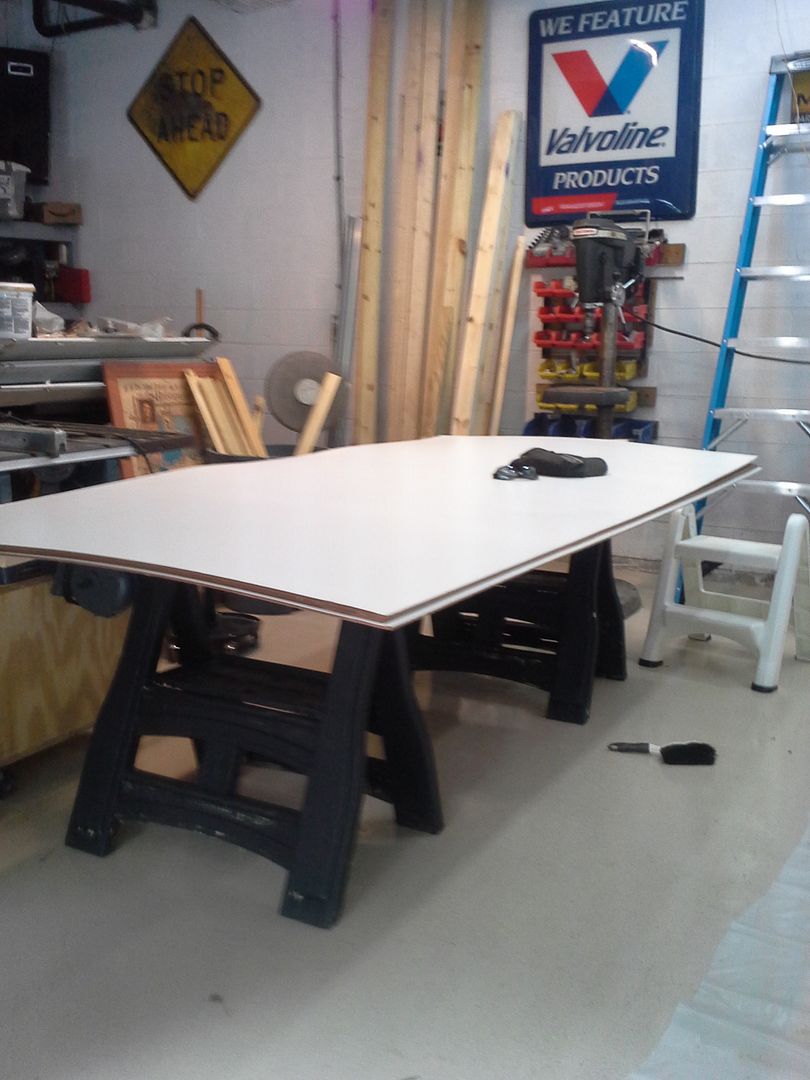 [/URL]
lastly, this is my supply score from habitat. 40 stainless steel drawer/door handles, a handful of receptacles, and a pair of complete door knobs for the door I just built.
[URL=http://s54.photobucket.com/user/dusterbd13/media/20150728_182117_zpsia6igei1.jpg.html]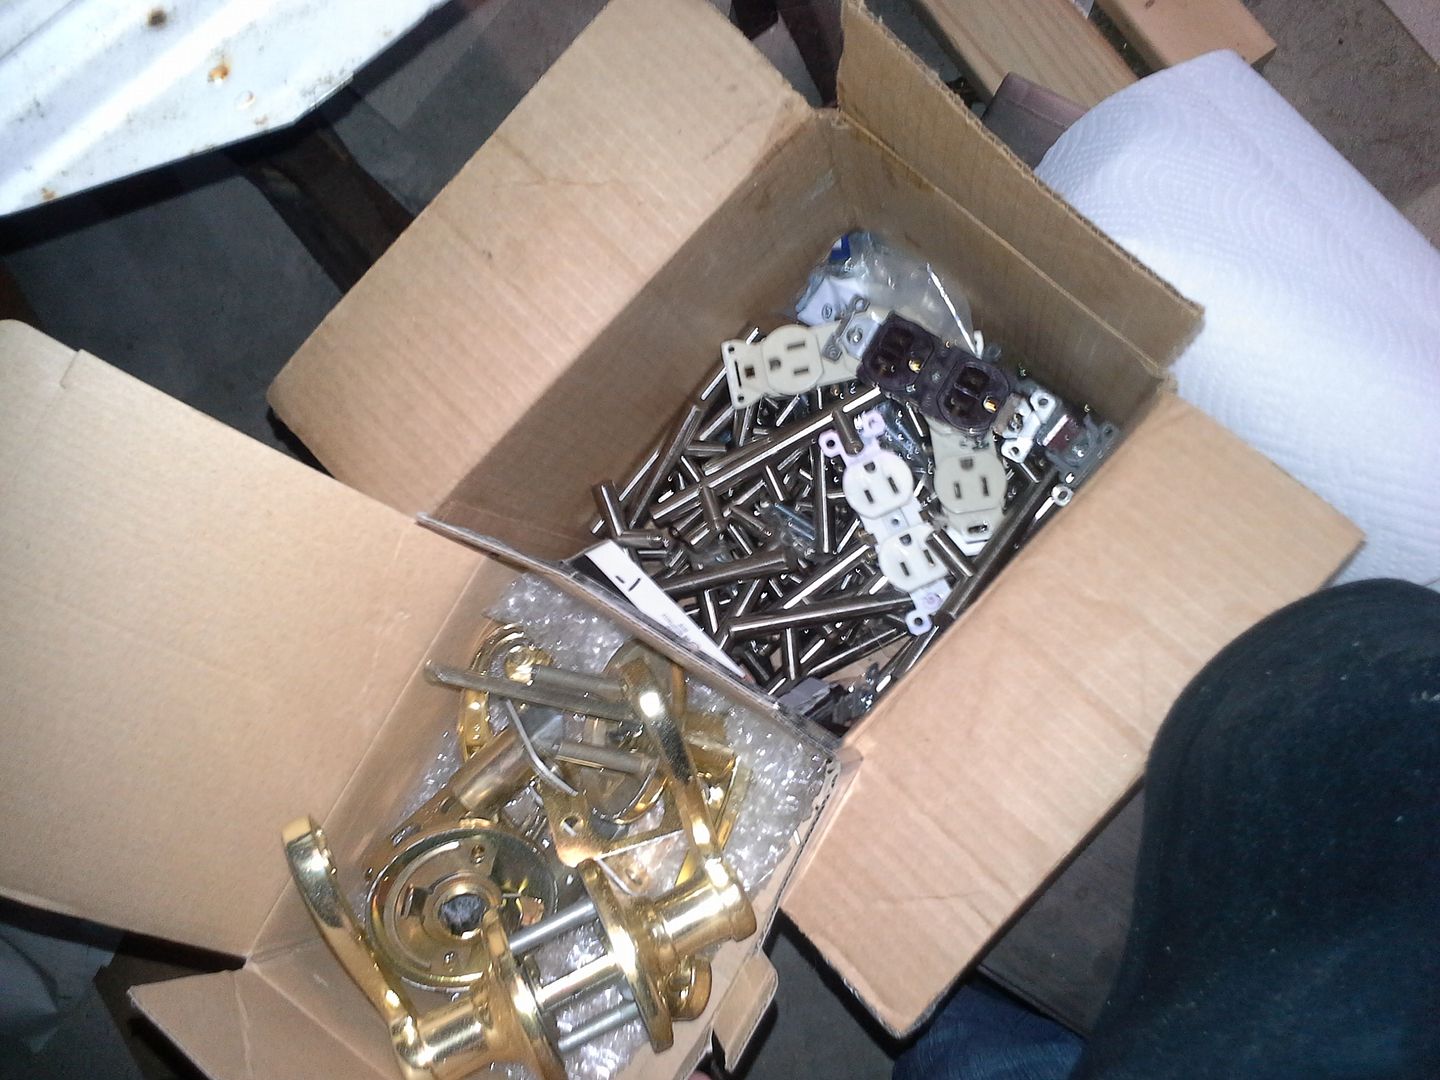 [/URL]
The Home Depot Cull Cart. Only the greatest idea ever, I am always amazed at what they put on it and how cheap it is. Nice work on the deck repair, looks really clean and straight.
Still have all the rails to finish, couple more planks to replace, clean/paint, and then screen in the covered parts. Bleh. Too damn hot by 10am, so it's taking forever to do.
And now that I have found the cull cart, it has stolen the title for happiest place on earth.
The one I go to has the lumber marked with purple spray paint and a sign reading 70% off.its nearthe llumber isles.
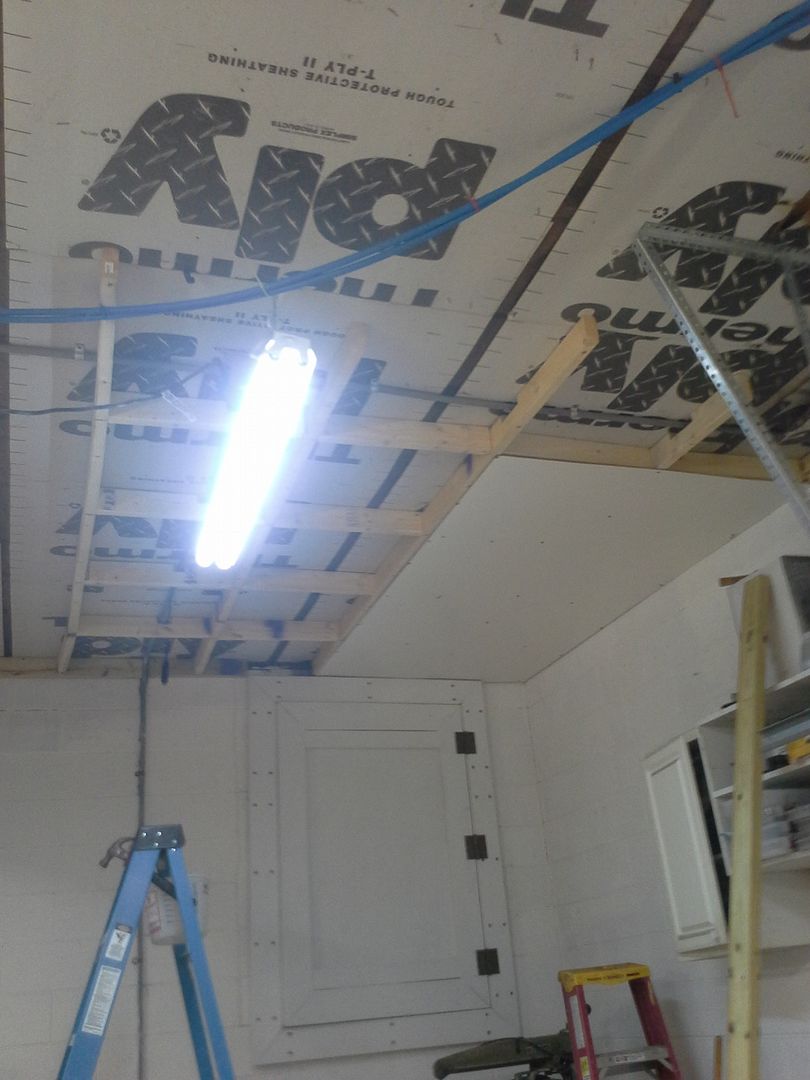
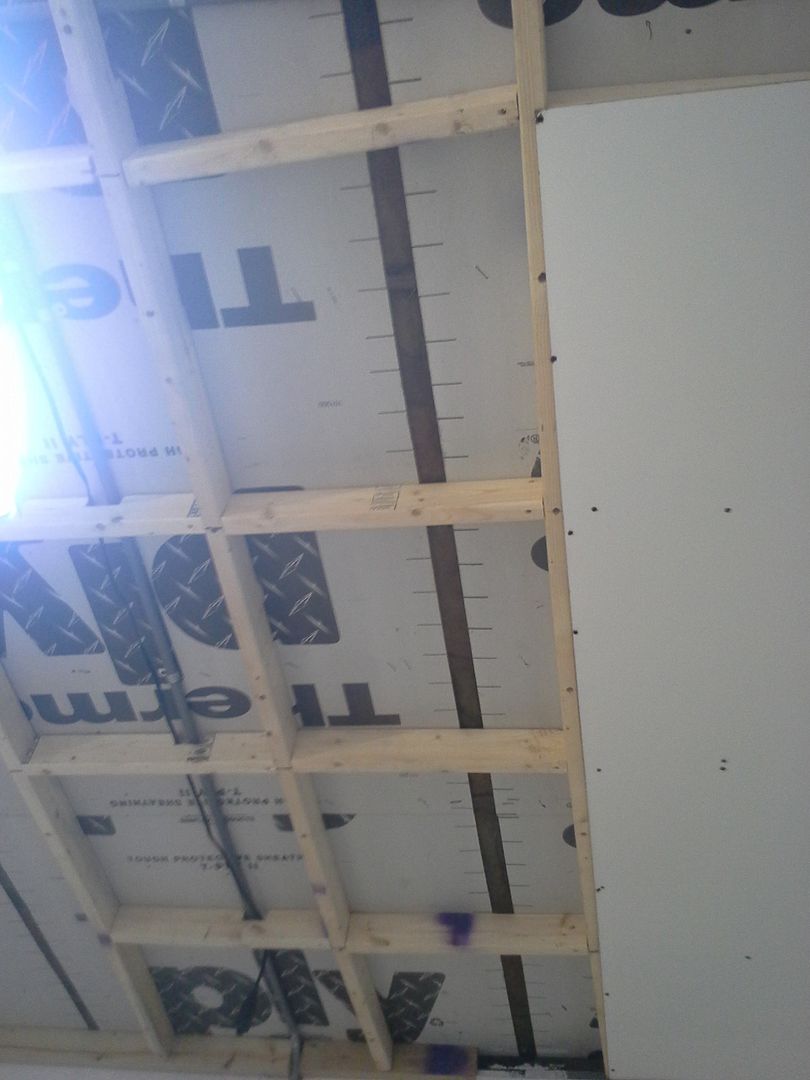
Actually going to screw 2x4 to the joists above the thermoply in a 24x24 gridwork and screw the hardboard to that. Then make my moulding to cover the joints and screws.
This hardboard has a fire rating as well according to the sticker.
Word of warning...
I believe that is laminated masonite. It may have a flamespread and smoke development "rating" that passes as Class (?) but I'm 99.999% certain it is not "fire rated" like gypsum board. That'd be magic.
If your goal is to improve (reduce) the fire hazard from the garage to the bedroom above, you should probably invest in a layer of sheetrock before the white panel.
You won't have to do a pristine job taping it if you cover it up.
And buy or rent a panel lift to make your job WAY easier. Especially if you don't anticipate having a helper. If you buy one, it is easily sold on CL, to the next guy doing a ceiling.
previous total 486
money spent: 48 at Lowes for 2x4x10 (10) 52 at home depot for more ceiling and cull lumber 15 to a helper
total: 601
so I've been working on the ceiling. the primary purpose of this is to increase light reflectivity, as well as reduce/eliminate the dust and crap falling out of the ceiling. side benefit should be reduction of noise and fumes transmitted upstairs.
this job has been kicking my ass soundly. all except for 2 hours to hang sheets, I've been doing it by myself. drilled all my 2x4 to countersink screws deep enough to hit the studs with good penetration, and divided the whole ceiling up into a 2x2 grid. im on the home stretch now.
before:
[URL=http://s54.photobucket.com/user/dusterbd13/media/20150728_170632_zpsfaliwthd.jpg.html] [/URL]
during:
[URL=http://s54.photobucket.com/user/dusterbd13/media/20150805_185702_zps3avxnoo4.jpg.html]
 [/URL]
[URL=http://s54.photobucket.com/user/dusterbd13/media/20150805_185714_zpsqldazhot.jpg.html]
 [/URL]
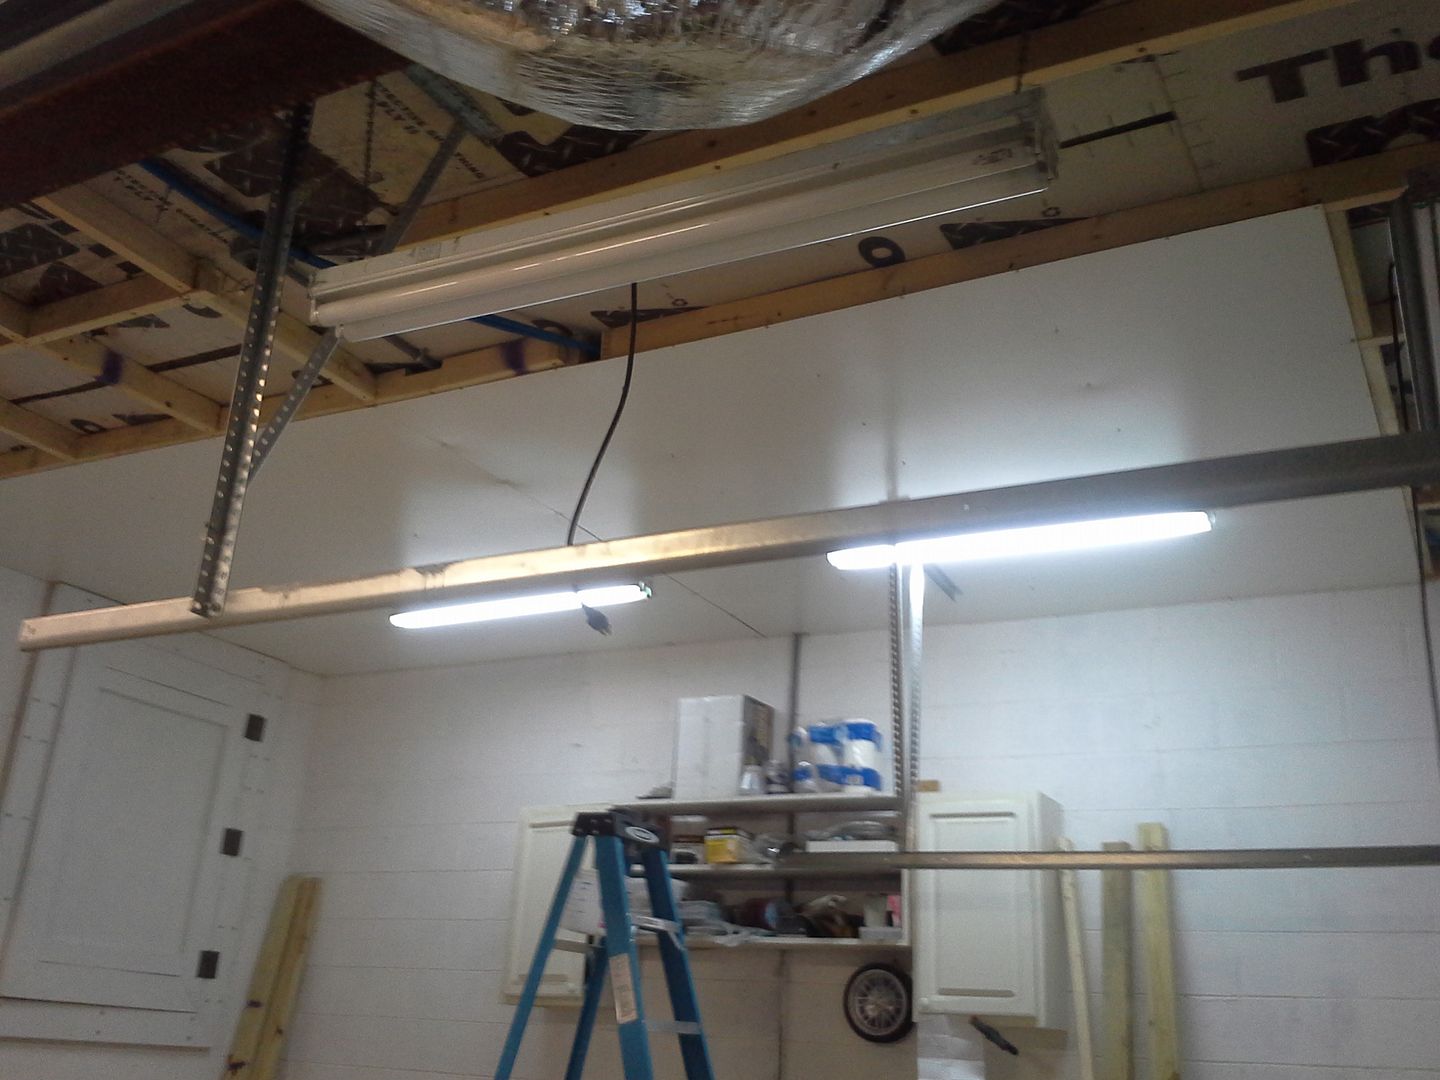
this morning
[URL=http://s54.photobucket.com/user/dusterbd13/media/20150814_163247_zpsday8smey.jpg.html]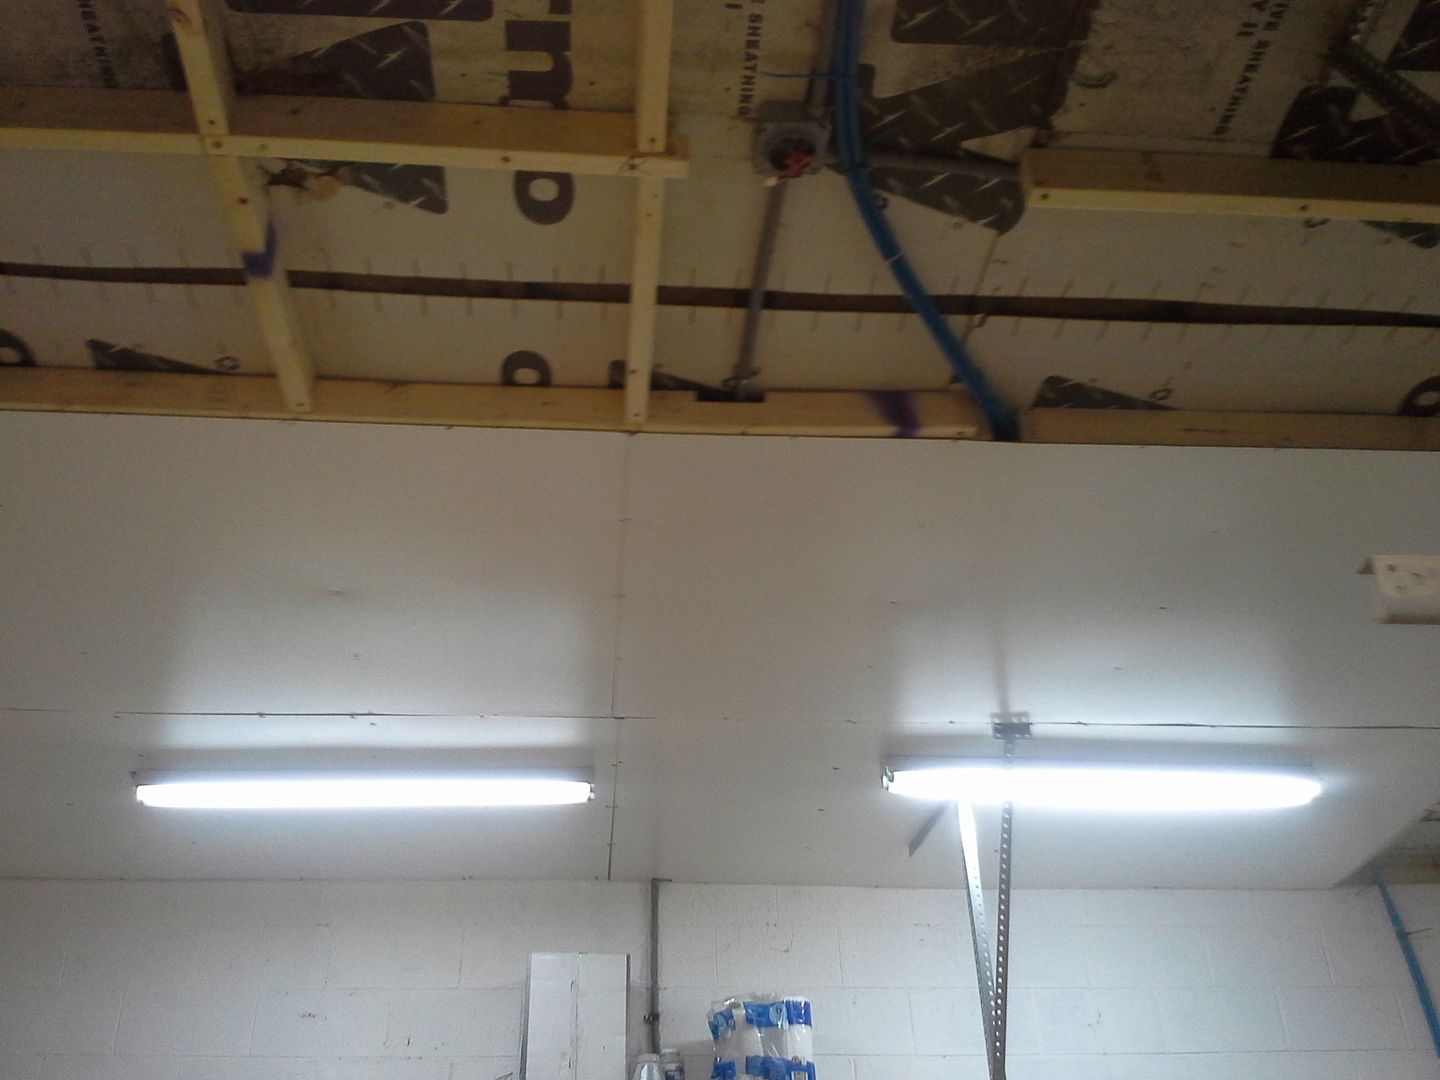 [/URL]
[URL=http://s54.photobucket.com/user/dusterbd13/media/20150814_163302_zpszgeg00ih.jpg.html]
 [/URL]
have the ability to put up one more full sheet, then its onto partials and complex shapes to clear ductwork/etc. then putting all my lights and garage door tracks back up.
im so looking forward to having this behind me. I miss furniture. that's easy to make. don't see how guys do this all by themselves on a larger scale.
Nope. 14 foot ceiling. Local rental places only got 10 footers.
And the boards are incredibly floppy.
The key to doing it yourself (not that it matters now) is to make T braces. The short part a bit narrower than your panel and the long part just long enough to brace the whole thing snugly against the ceiling. It's still a huge pain in the ass, but it's better than holding it.
Alternatively, you can make one T brace and a couple of C shaped pieces that temporarily screw to the ceiling to hold the edge of a panel right about where you need it. Slot the end into the C's reach over and grab the T and wedge the piece against the ceiling. If you did it right you still have enough wiggle room to get the panel exactly where you need it, put in a few fasteners and remove the C's.
Having said all that, I don't do much ceiling work by myself. With a single helper I can do a whole room in the time it takes me to do two sheets of anything by myself.
Thanks angry and bruce.
This is the biggest rennovation project I've ever done by myself. Resto and repair work, building cabinets and furniture, that stuff is fun. Usually with a plan or general guide to go by. So all this is shooting from the hip and asking questions before I do something potentially stupid.
Im making it even harder by being broke and using mostly 50s&60s vintage tools.
Im glad I can inspire, just don't take anything im doing at this point as the best or proper way to do things.
Duece, Thanks for the information.I still h a whole other half of the shop to do when this side is completed. So that info will come in handy.
been thinking about all the projects this place has seen over the years. I haven't done a great job of documenting all, or even most, of them. but for your enjoyment, ill post the links to the ones I can find.
http://www.pro-touring.com/threads/71755-70-duster-updating-and-a-no-dough-pro-touring-makeover
https://grassrootsmotorsports.com/forum/build-projects-and-project-cars/1968-firebird-formula-400-project-where-does-that-/59258/page1/
http://forums.neons.org/viewtopic.php?f=51&t=394021
http://www.s10forum.com/forum/f30/project-drivabeater-352595/
https://grassrootsmotorsports.com/forum/build-projects-and-project-cars/project-drivabeater-20-64-el-camino-this-time/60101/page1/
http://www.gmfullsize.com/forum/showthread.php?t=218935
http://www.toyotanation.com/forum/103-3rd-4th-generation-1992-1996-1997-2001/406530-project-spec-camry.html
http://www.garagejournal.com/forum/showthread.php?t=289359
there were tons more, but these are the threads I could find.
previous total: 601
money spent: 17 (11 1x6x6 fence boards) 12 (harbor freight lamp extension cords) 42 (lowes t12 bulbs contractor pack) 15 (screws) 20 (ikea spun aluminum light)
new total: 707
so when we last left off, I was hanging ceiling panels. I still am. im sick of it. this is a job that I almost regret undertaking for the benefits im seeing to money and time spent ratio. theres a light at the end of the tunnel, however, and I know ill be happy I did it in the long run. just right now, im discouraged about how its turning out, how long its taking, and ow much its costing. and im only doing half at the moment.
anyway, I wont bore you with more pictures of studs and sheets. it looks pretty much the same as before, just with more done.
I will, however, bore you with the jorney of improving light.
I have a problem, yopu see, of not that great of vision. im night blind. shadows and flashing lights cause a number on me, which is why im always on a quest for better lighting. wether that is in the cars, or the shop, or the house, it doesn't matter. I need more light. ideally, id have so much light everywhere id always need to wear sunglasses.
anyway, a month or two ago, I traded hawk my 50's craftsman shaper for three four bulb dropped ceiling light fixtures. they all had good ballasts, and bulbs in them. the bulbs were a dingy yellow color, which wasn't ideal, but the swap was. previously, I had 7 various two tube, four foot fluorescent fixtures above the work bay in a semi-haphazard arrangement. not ideal, but a far cry better than a poke in the eye with a sharp stick. the floor, ceiling, and soon to be freshly re-white-washed walls are all aimed at improving light, reducing shadows, and making it a more inviting space. these fixtures were to play a central role in this, as according to my reconing, putting these three fixtures down the center of the bay with 4 of the four footers around the perimeter should make the work bay as bright as a operating room.
anyway, heres a craigslist worthy picture of what hawk swapped me.
[URL=http://s54.photobucket.com/user/dusterbd13/media/20150821_191251_zps9ia5qnww.jpg.html]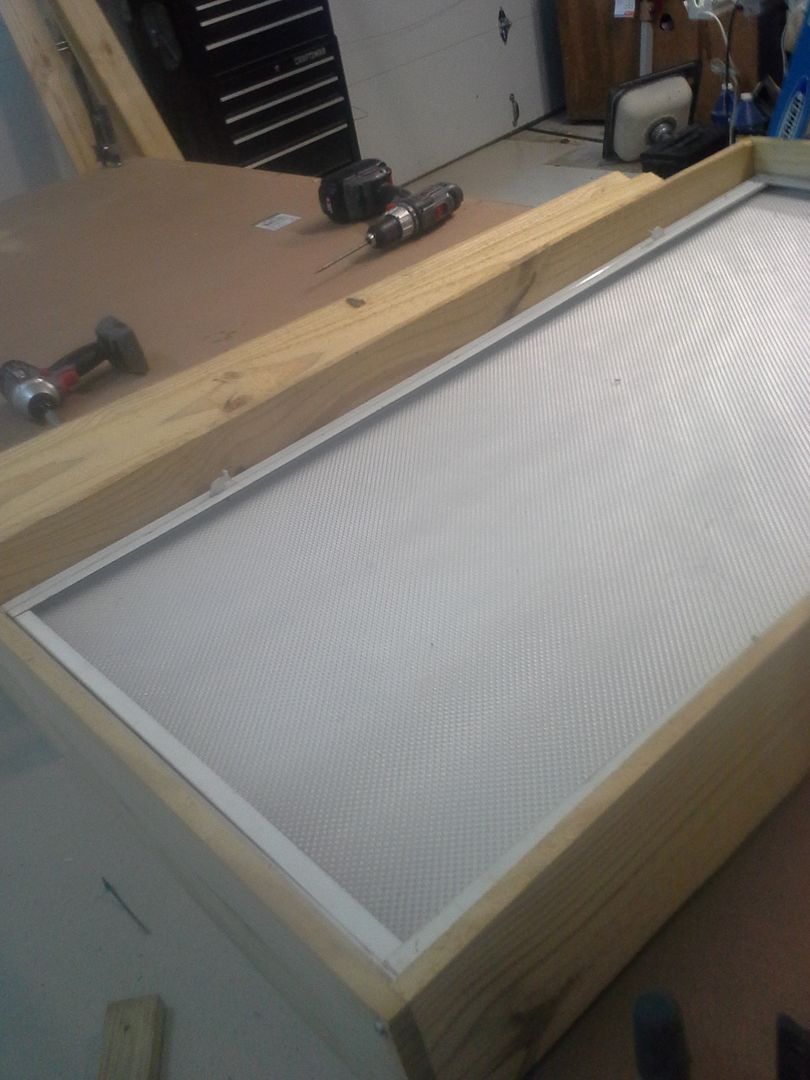 [/URL]
theyre right at 4 inches deep, and make for a dropped ceiling grid with 2x4 tiles. which means that a 1x4 wont create a nice flush mounting box. they'll still be about 1/2 proud of the frame. dammit.
so the next size up is 1x6. I don't know if you've priced 1x6 lumber lately, but it has gone up in price considerably since I quit doing woodworking 4 years ago. to get enough lkumber to make my 3 boxes would have been in the neighborhood of 40 bucks. too much. so I looked at plywood. neighborhood of 30 bucks. getting better....
my lowes lumber guy (who knows that I like doing things the hardest, most convoluted, and cheapest way possible) offered me the 1x6x6 fence boards. supposedly they are 3/4 thick. rough cut and pressure treated. and 1.55 each. so I bough 11 of them.
brought them home, and started thingking. I wanted to paint these to make them look nicer from the ground. painted rough cut typically looks like crap. so I needed to smooth them. couldn't find my block plane, so I got stupid.
broke out my benchtop planer and skip planed them down to a true 1/2 thick, as that was apparently the minimum thickness that they were cut to. the most dimensionally inaccurate cutting ive ever dealt with.....
anyway, a word of caution: DONT PLANE PRESSURE TREATED LUMBER INDOORS!!!!!! even with a shop vac hooked up. I have been out for the last day and a half with a severe sinus infection that's teetering on pneumonia that the dr believes is due to this stupidity. I know better than to do this. and yet, in my efforts to be the president of the city state of cheapass, I ignored it. don't. this E36 M3 sucks.
anyway, before planning:
[URL=http://s54.photobucket.com/user/dusterbd13/media/20150821_184615_zps7t41npj9.jpg.html]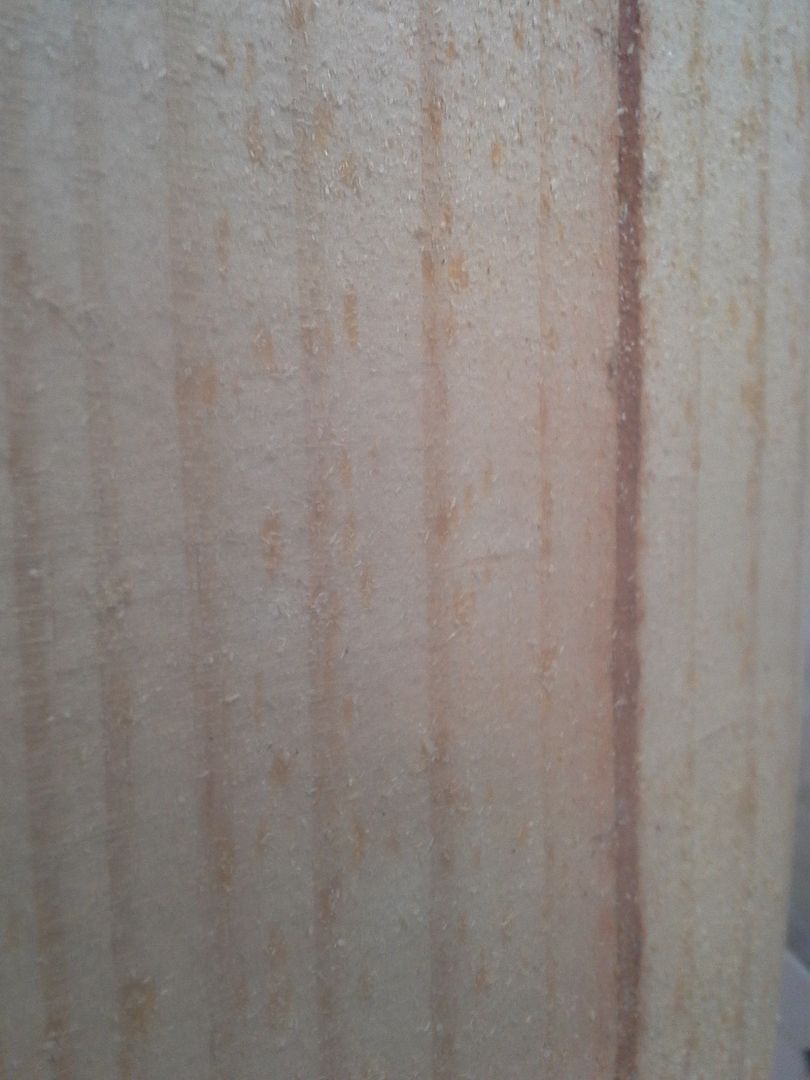 [/URL]
after planning:
[URL=http://s54.photobucket.com/user/dusterbd13/media/20150821_184628_zps24nwql1u.jpg.html] [/URL]
and the 80's tastic Ryobi noisemonger that did me in:
[URL=http://s54.photobucket.com/user/dusterbd13/media/20150821_184605_zpshoyojcgd.jpg.html]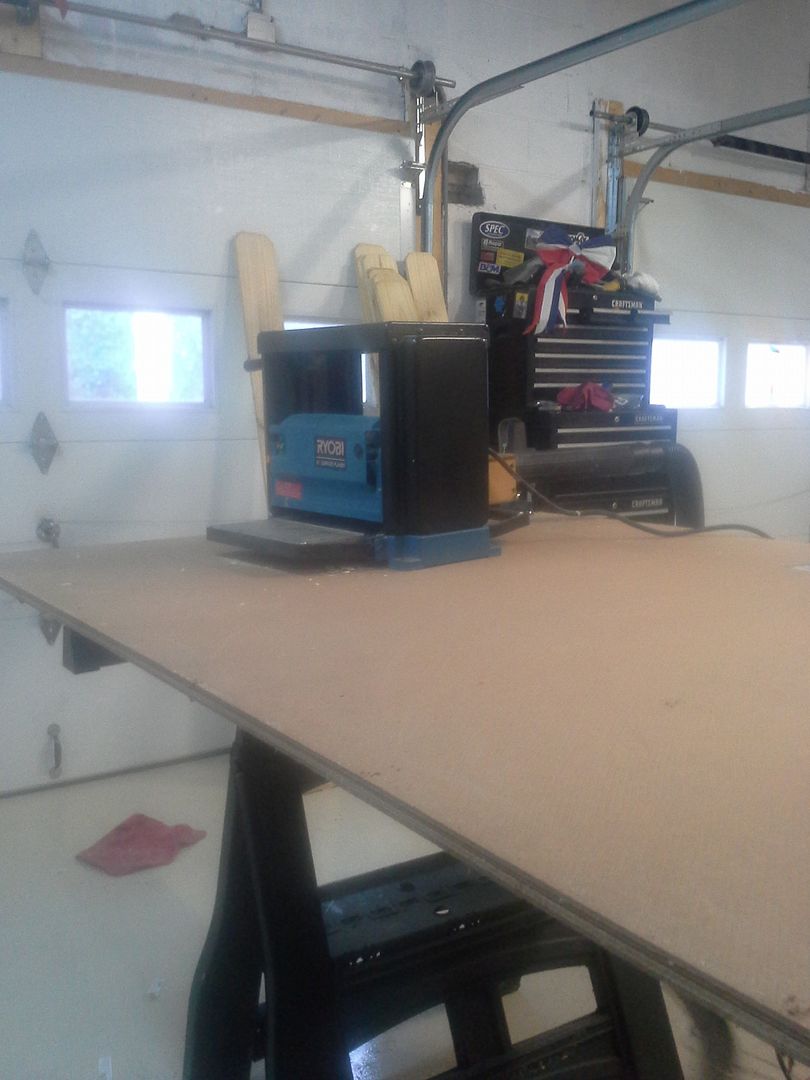 [/URL]
so then, using my 58 AMF dewalt radial arm, I cut them up and created some boxes.
test fit one of the fixtures:
[URL=http://s54.photobucket.com/user/dusterbd13/media/20150821_191251_zps9ia5qnww.jpg.html] [/URL]
primed and painted:
[URL=http://s54.photobucket.com/user/dusterbd13/media/20150822_202211_zpsmc58hene.jpg.html]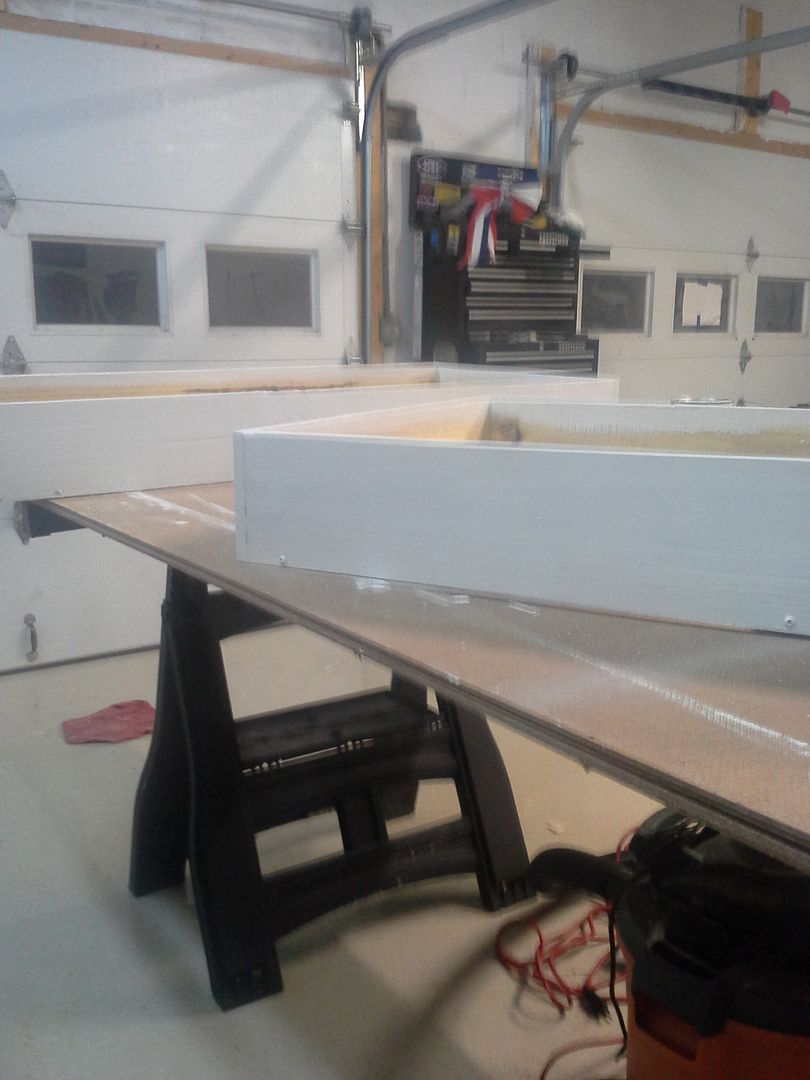 [/URL]
[URL=http://s54.photobucket.com/user/dusterbd13/media/20150822_202217_zpsbbg382qg.jpg.html]
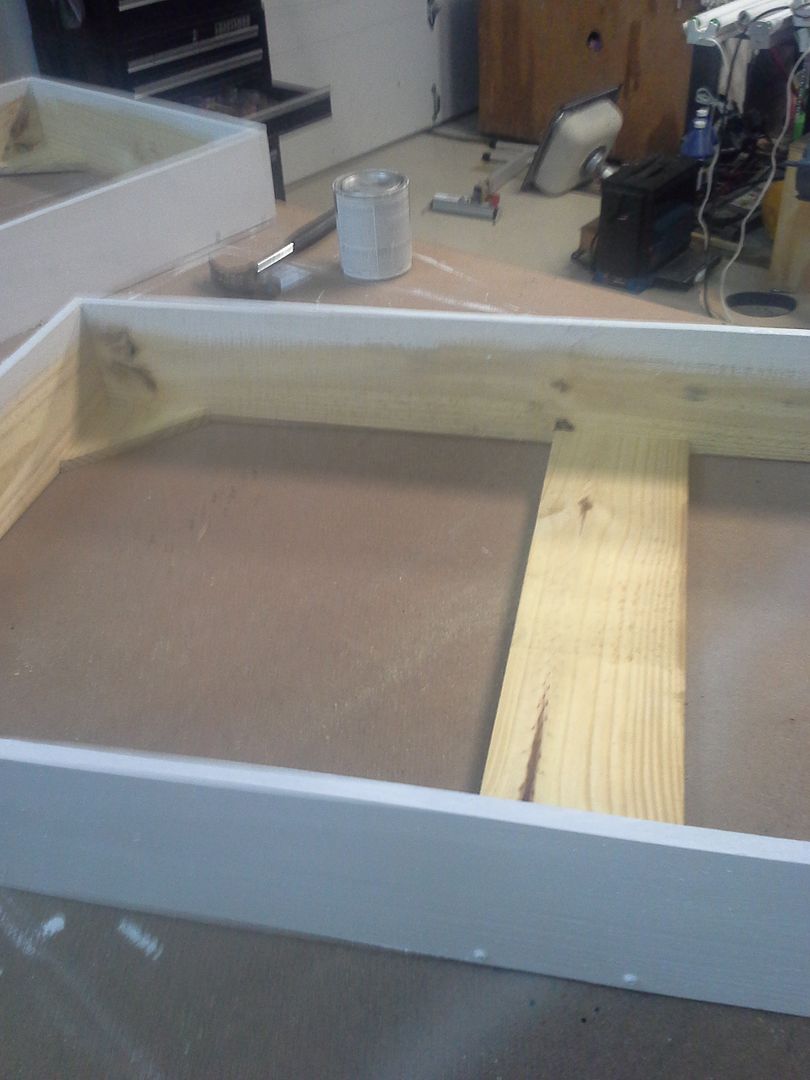 [/URL]
I also (no pictures) shot some leftover gloss white rustoleum on the edges of the fixture to brighten them up and cover up the spots/scratches/rust.
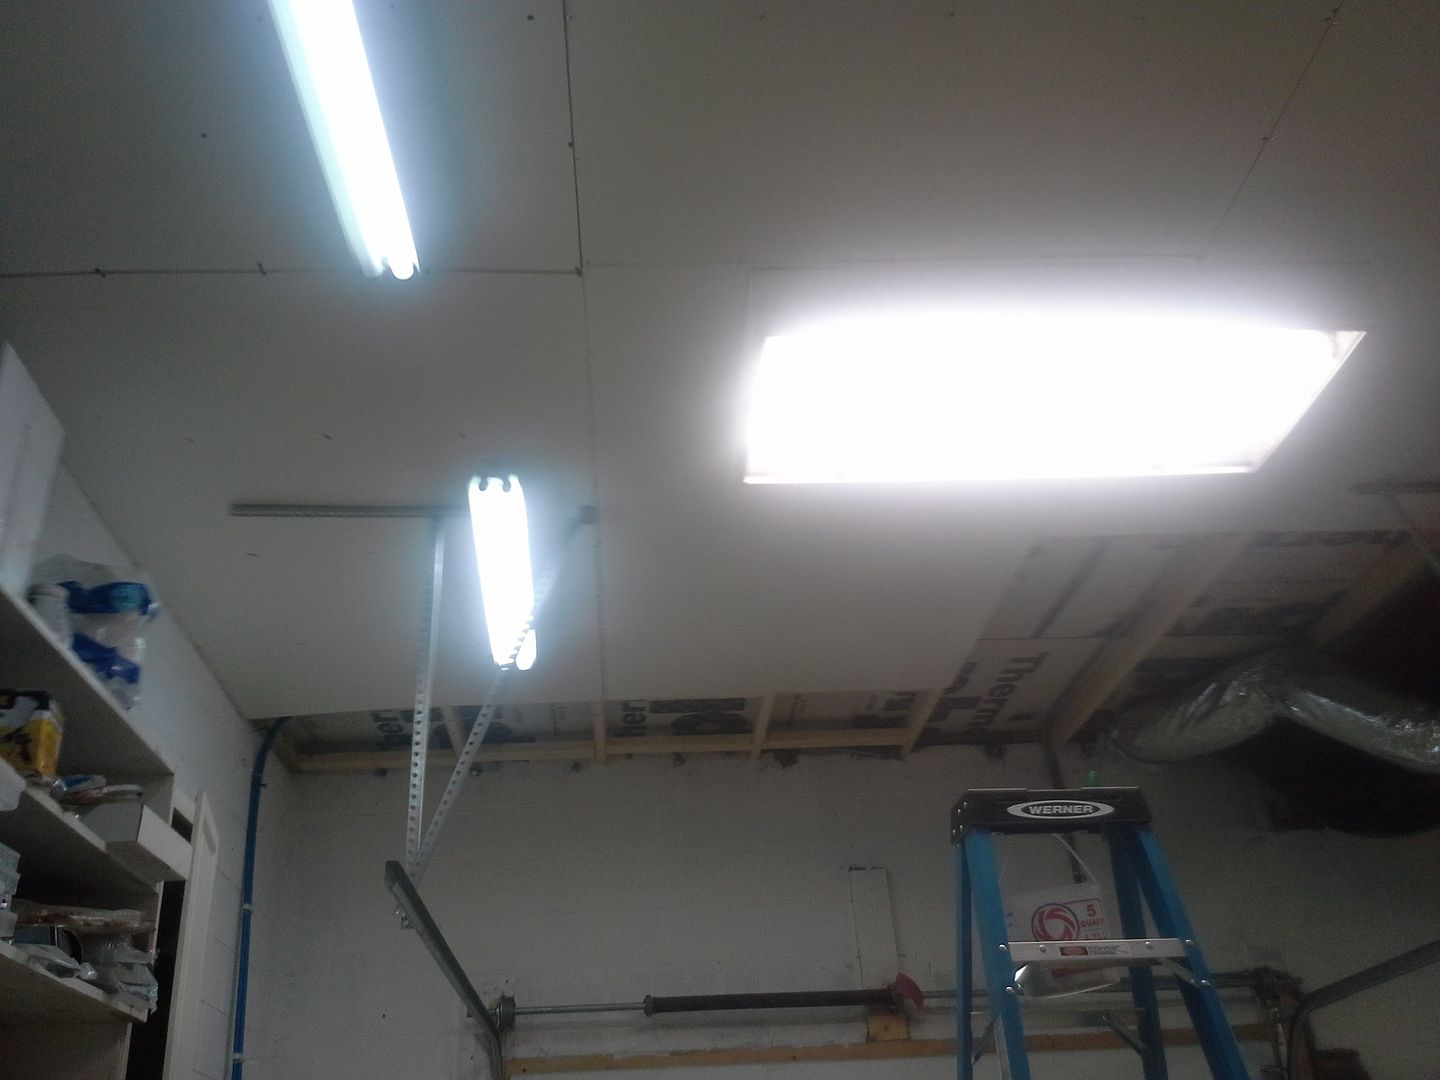
got the central one hung, and then swapped in some brighter bulbs. with only these three lights over the bay, it is already as bright as it was before. I cant wait till I get all of the lights in, and the whitewashing done. should be ridiculously bright at that point.
[URL=http://s54.photobucket.com/user/dusterbd13/media/20150823_141659_zpsw2z4cvgh.jpg.html]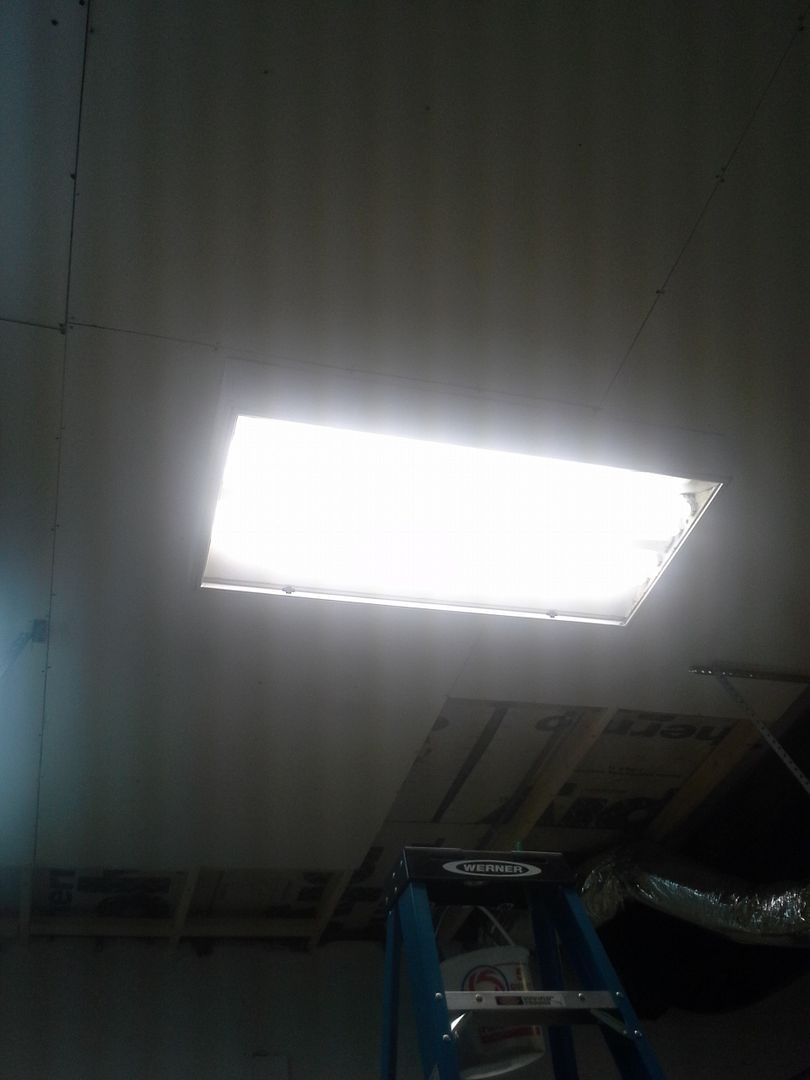 [/URL]
[URL=http://s54.photobucket.com/user/dusterbd13/media/20150823_141707_zpsmvj4pgv0.jpg.html]
 [/URL]
lastly, I hung an ikea spun aluminum 50's style light over the toolbox. I have to get the proper bulb for it, and another to go at the opposite end of the shop over the drill press/grinder area, but I like the looks. brings back memories of my grandfathers shop (he was an aircraft mechanic in ww2 and afterwards. his shop was only lit by lights similar to these). finally starting to get the late 40's-early 60's industrial vibe im hoping for. originally, I bought this for over the kitchen island, but the fife didn't like it. so its in the shop now, and its nifty.
[URL=http://s54.photobucket.com/user/dusterbd13/media/20150823_143414_zpsipplecc6.jpg.html]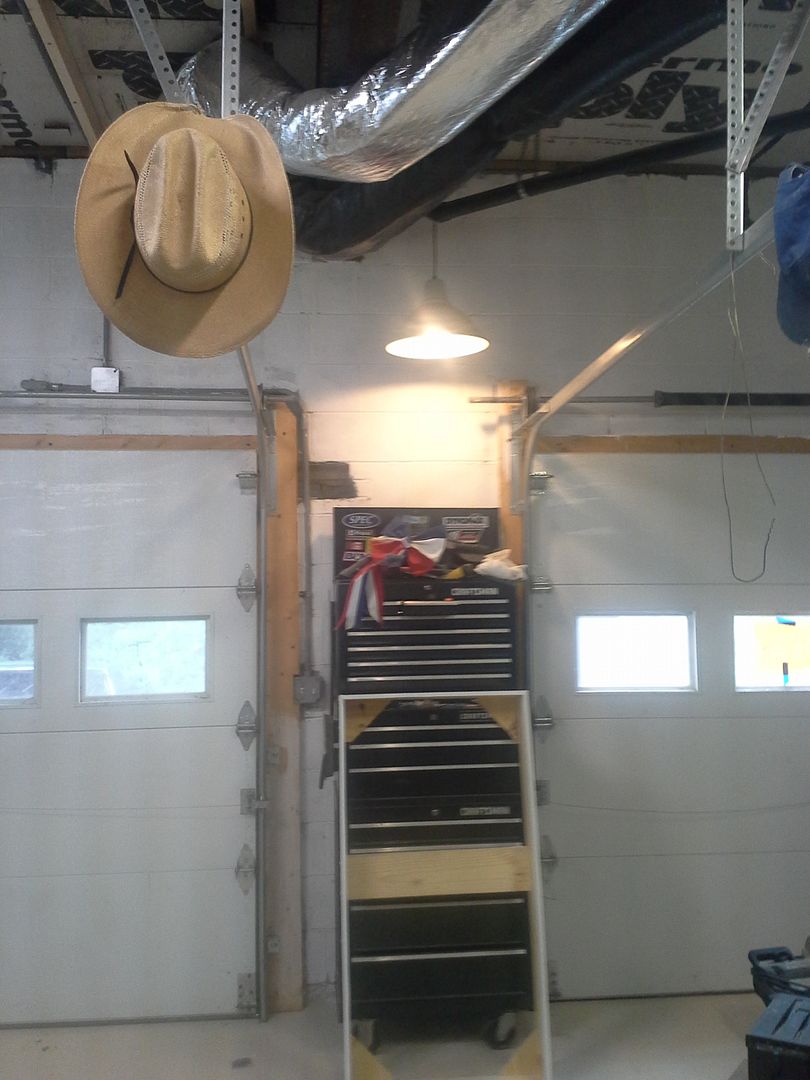 [/URL]
oh, also hung the first art piece that we talked about earlier. wife talked me out of painting the frame. she said it would look out of place against the yellowed and stained art. so I humored her, and am glad I did. just looks right.
[URL=http://s54.photobucket.com/user/dusterbd13/media/20150822_203741_zpsxk4mrk8g.jpg.html]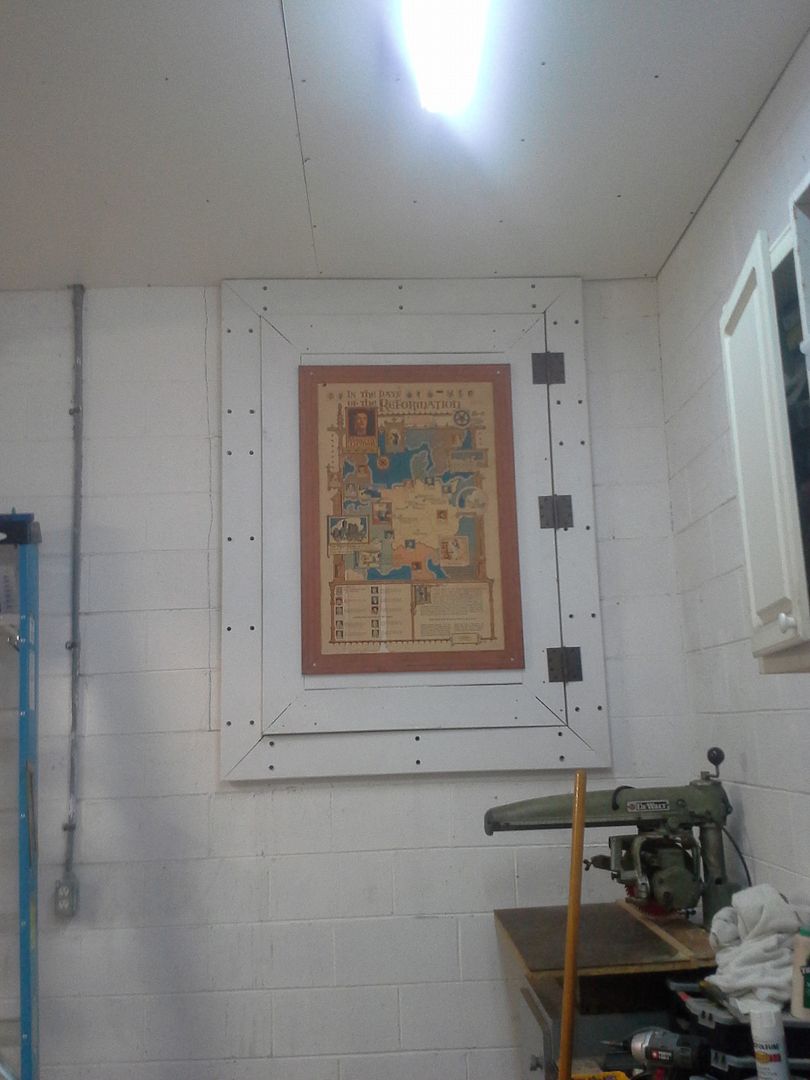 [/URL]
I feel like some robin blue on the door would look right for fifties workshop vibe you want good sir.
Looks great. giving me ideas for the undergrosh ceiling. (just insulation to the house right now.)
Thanks guys.
And which door, mad? Im not opposed to the idea, but I can't see what your talking about in my head.
You'll need to log in to post.