In reply to mazdeuce - Seth :
Will do. He checks in here fairly regularly, but hardly ever comments.
This is fun working with him.
In reply to mazdeuce - Seth :
Will do. He checks in here fairly regularly, but hardly ever comments.
This is fun working with him.
I'll admit I read for a bit then kinda glazed over the words and looked at the pictures, but this will be righteous. Car projects with Dad are always a good time.
Did you have your guy weld a bung for an oil drain into the pan when he notched it and I missed it? Or is there another contingency planned for oil drain.
As a Father of a mid 30's son, it is enlightening to see this project. I too get involved with my son with his track car. Nice to see. Good job fellas. Running or not, you are making progress. Keep up the good work.
Gunchsta said:I'll admit I read for a bit then kinda glazed over the words and looked at the pictures, but this will be righteous. Car projects with Dad are always a good time.
Did you have your guy weld a bung for an oil drain into the pan when he notched it and I missed it? Or is there another contingency planned for oil drain.
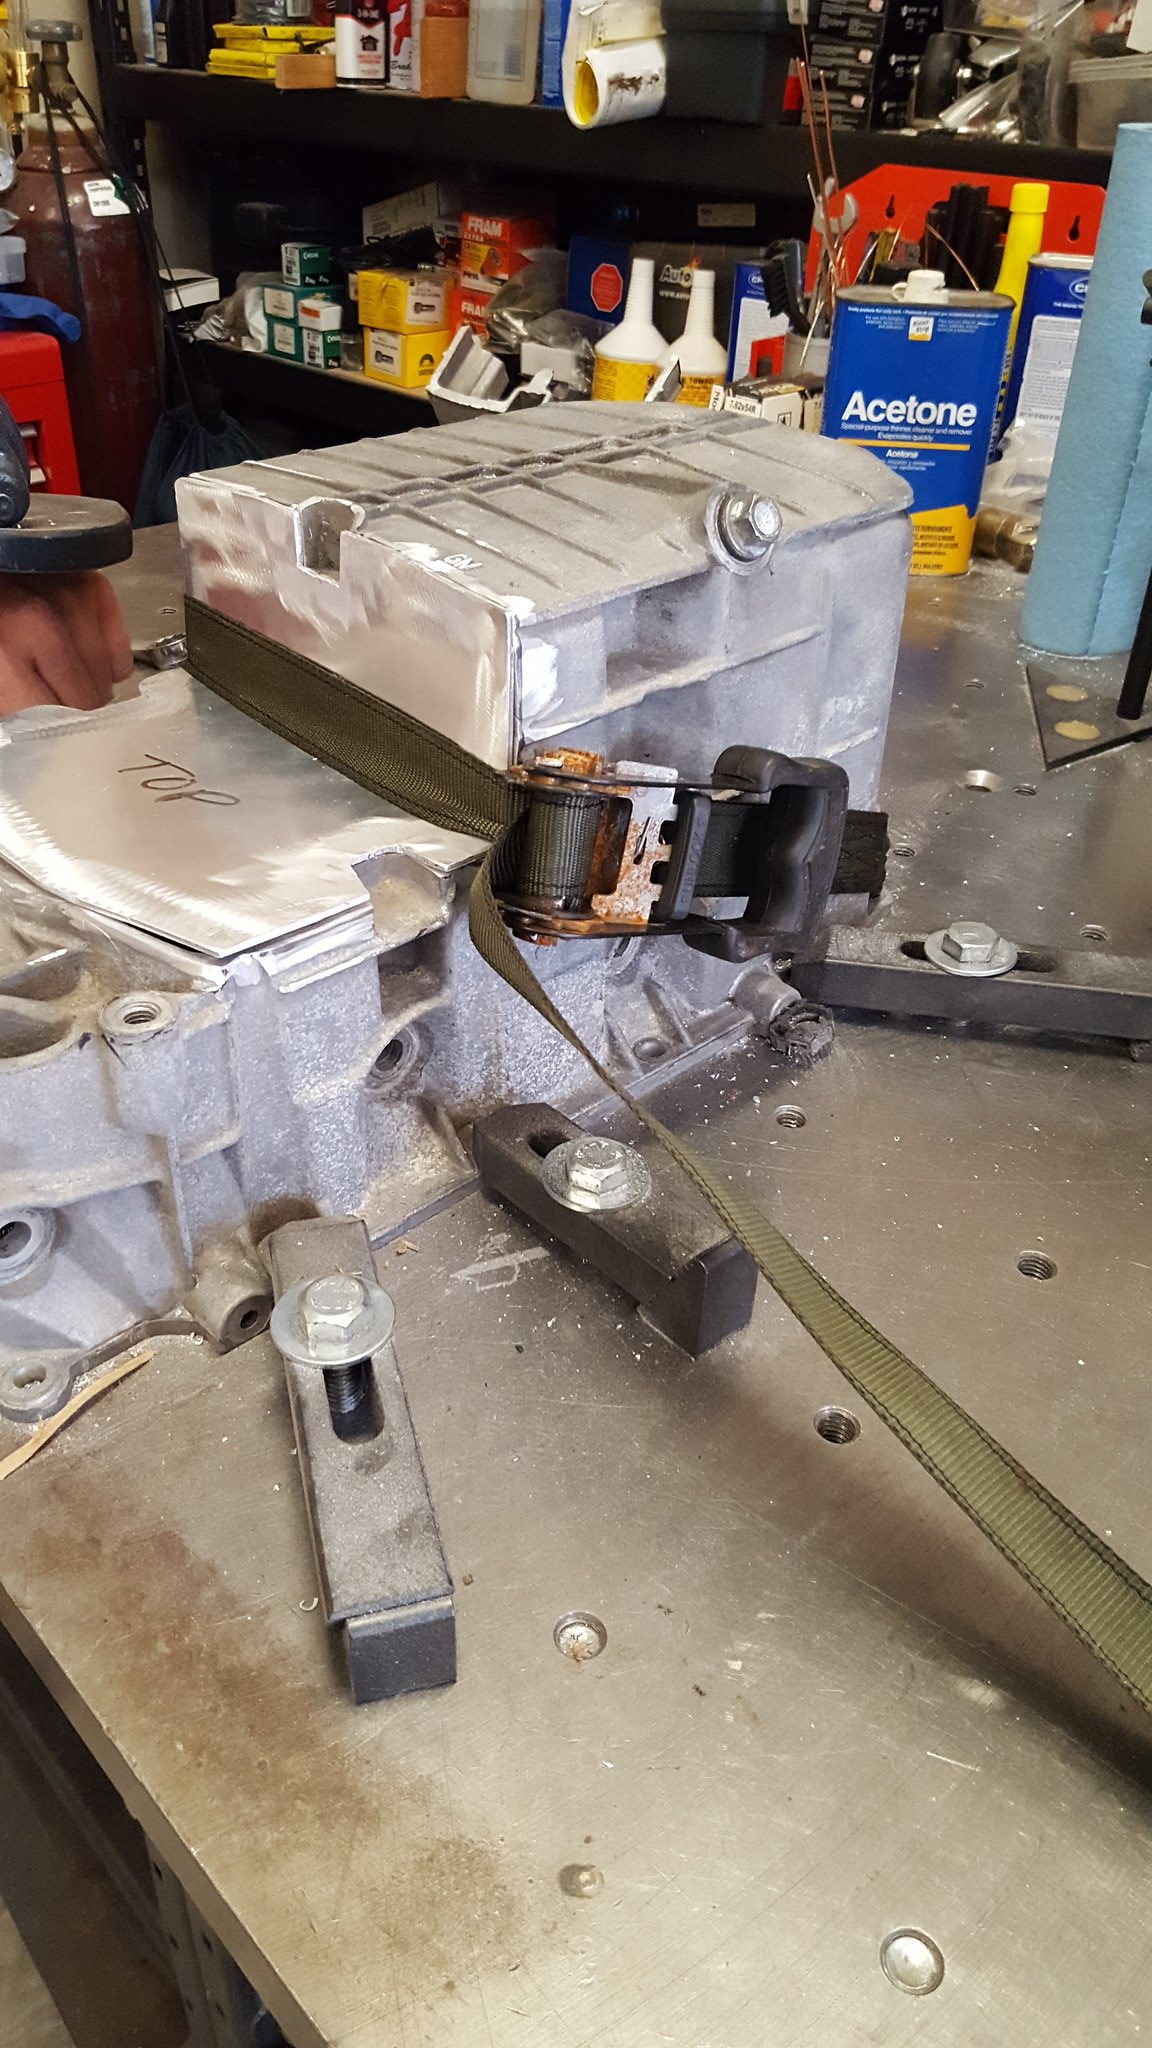
To be honest, i forgot about the oil drain for the turbountil now. Dammit.
Problem for another day. Were still at make engine and trans fit.
In reply to Dusterbd13 :
Easy enough to add later, and there are plenty of bulkhead-style deals you can get that don't involve welding. Frankly on the Shart I just tapped the pan and threaded a fitting in, slathered it in JB weld and called it good. Never leaked, and since it's above the oil level anyway there shouldn't be tremendous opportunity for leakage.
In reply to AngryCorvair :
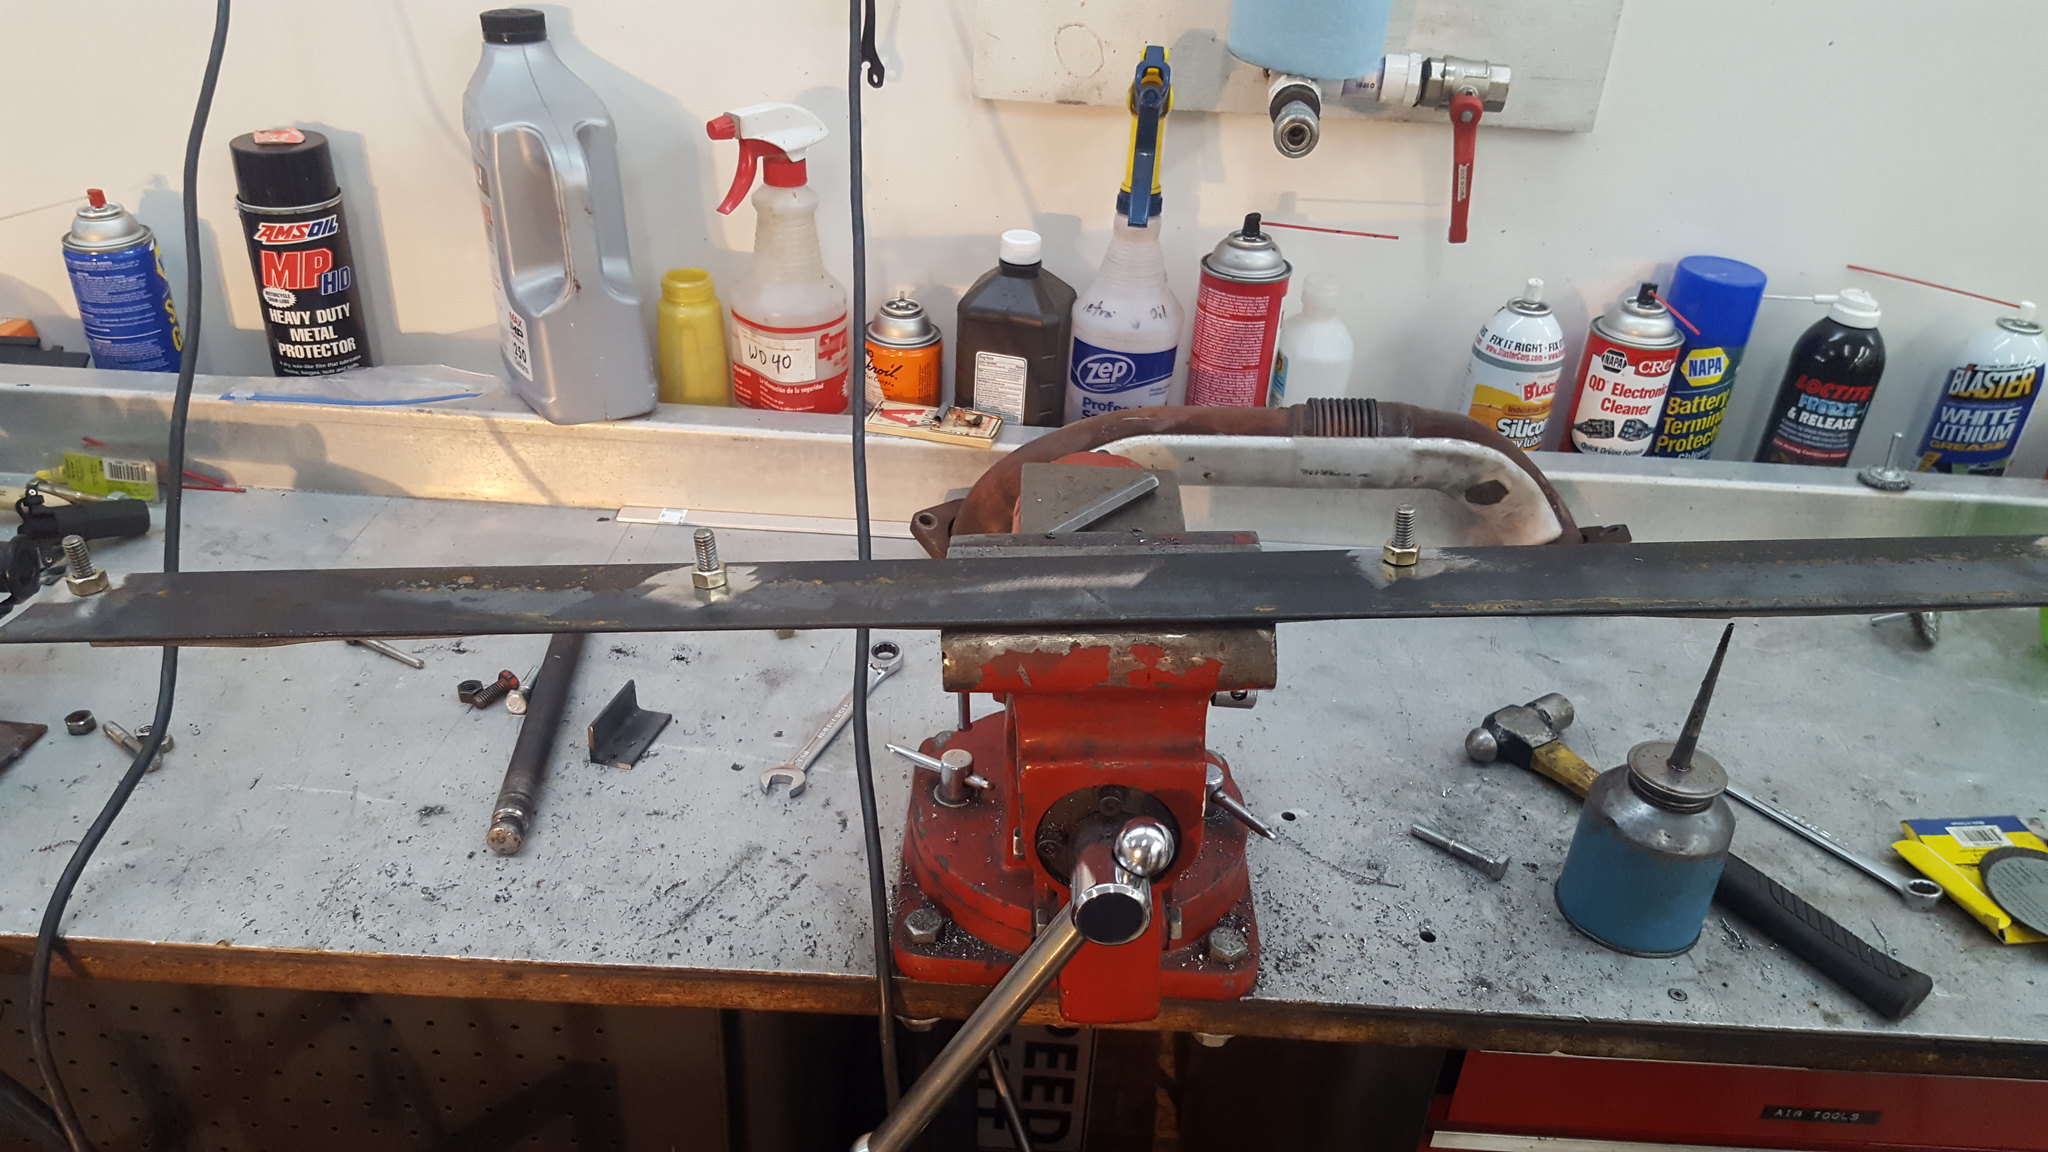
The oil can was grandfather tarasi's. Drill press is a 56 craftsman 150.
I love my old tools.
Another update incoming tonight. But, butterfly brace, cage feet, and 60% of the seam welding are done!
Today, dad and I made HUGE progress.
First things first, we finished up the main hoop feet. I offset the backing plates so as to minimize any shearing action. I also rounded all edges and corners just like I did up top. Just makes things much nicer whenever you don't touch sharp edges when working on something. The pop rivets and captured nuts idea worked perfectly. I even tested it multiple times throughout the day, just because I could. However, the bolt on the bottom of the factory seatbelt reel that I incorporated into the design cannot be removed with the cage welded to the feet due to the spacing of the main hoop legs. A capscrew MAY fit, but we didn't have one in the right thread pitch. So, a couple are on order from mcmaster carr.
We knocked the feet that were tacked to the cage off, set the cage in place on the new feet, and tacked them in heavily. I also got started on the tabs that will connect the cage to the upper bolts on the seat belt towers where the factory guides went. But don't have any pictures, and they just look like rectangular pieces of metal at this point. With a pilot hole.
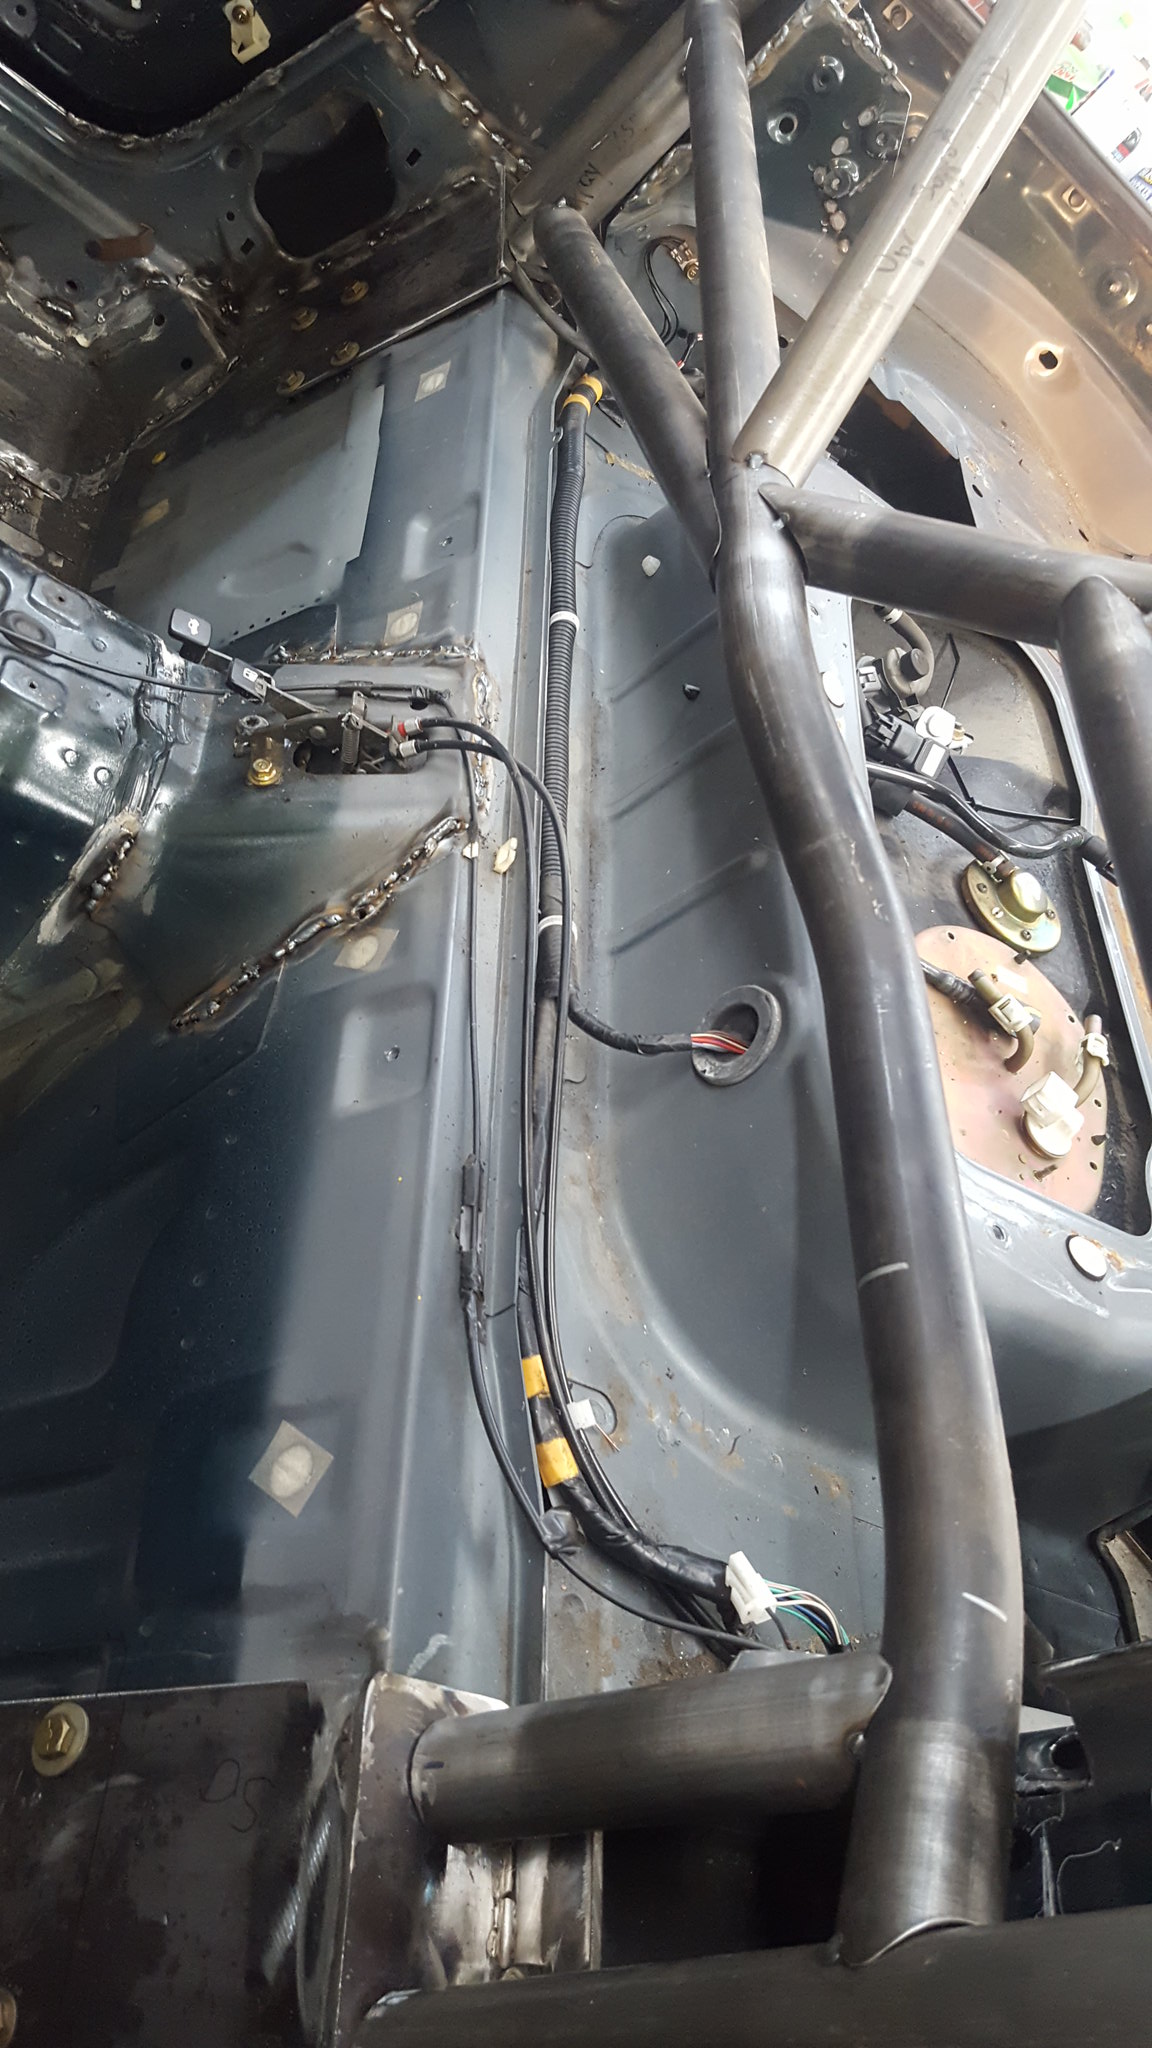 20180115_111121 by Michael Crawford, on Flickr
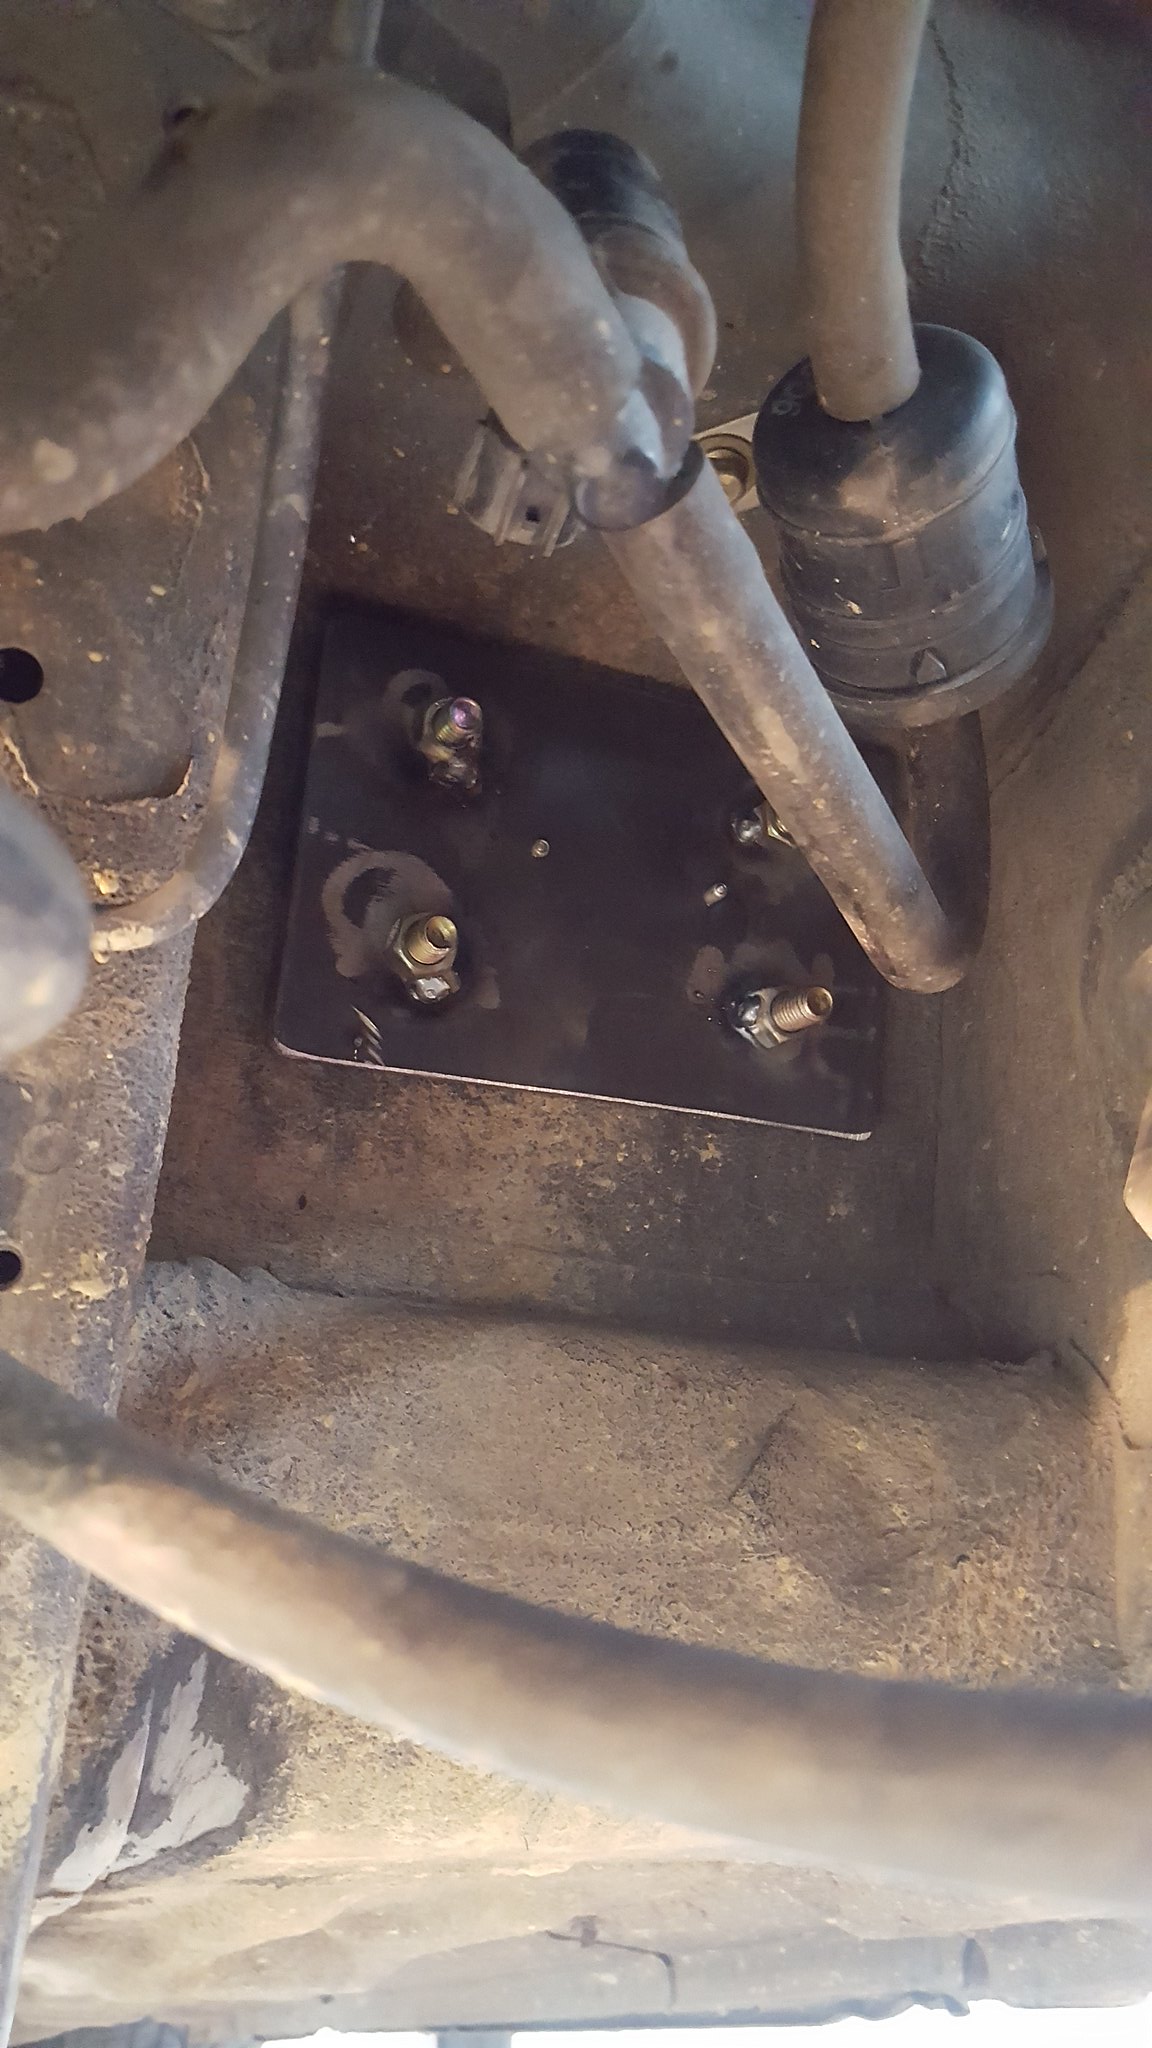 20180115_115450 by Michael Crawford, on Flickr
I then threw a factory NA top frame on it that oi got for free at the challenge this year. I wanted to see if it would clear a factory top. The answer is yes it will, but not enough clearance to operate the top. So I guess ill have to make a hardtop at some point. Yay.
 20180115_115450 by Michael Crawford, on Flickr
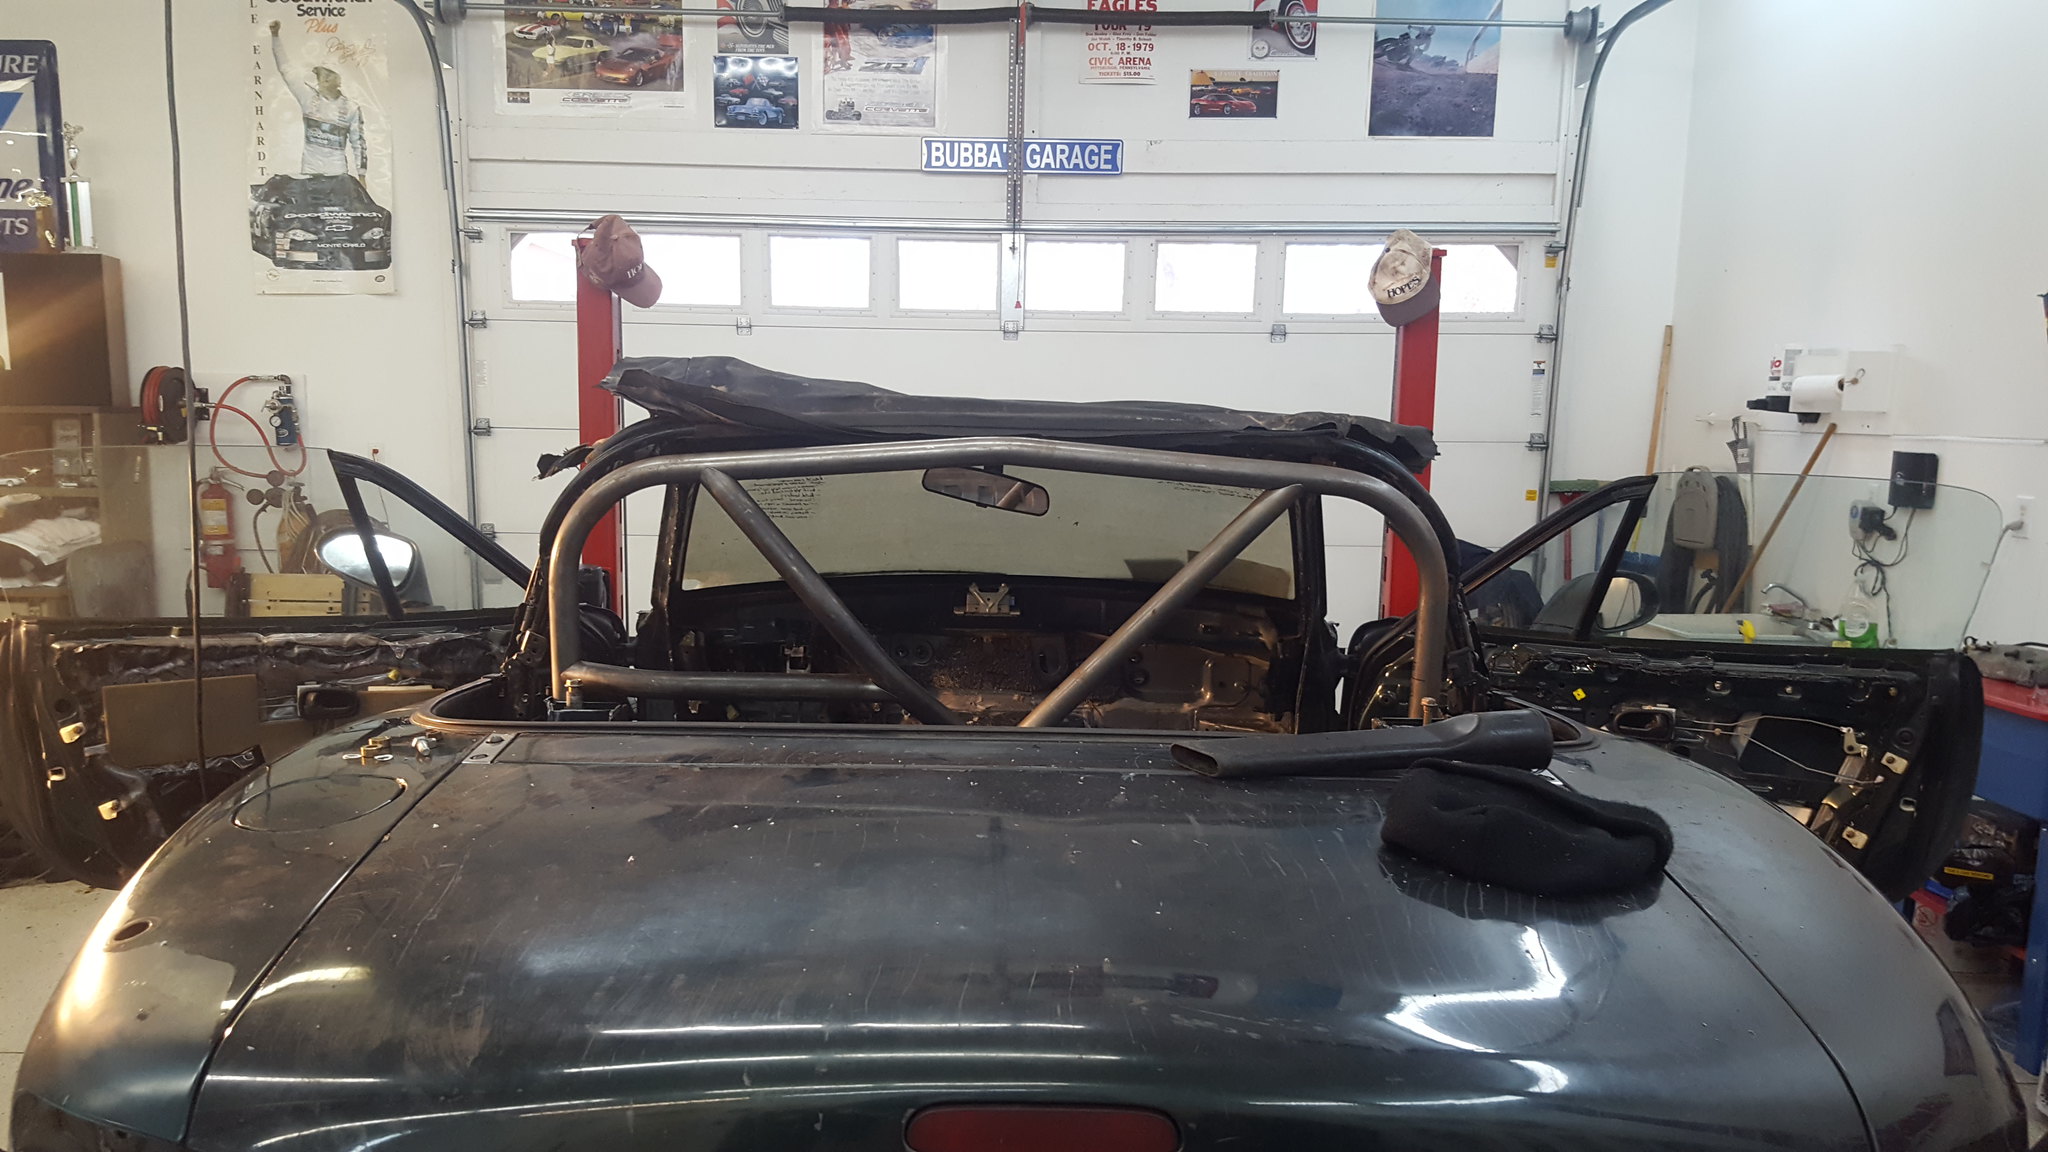 20180115_104927 by Michael Crawford, on Flickr
we also got the butterfly brace welded in. finally!
Welded some nuts to the backside, drilled a bunch of holes, put it into place, and plug welded the crap out of it.
 20180115_150337 by Michael Crawford, on Flickr
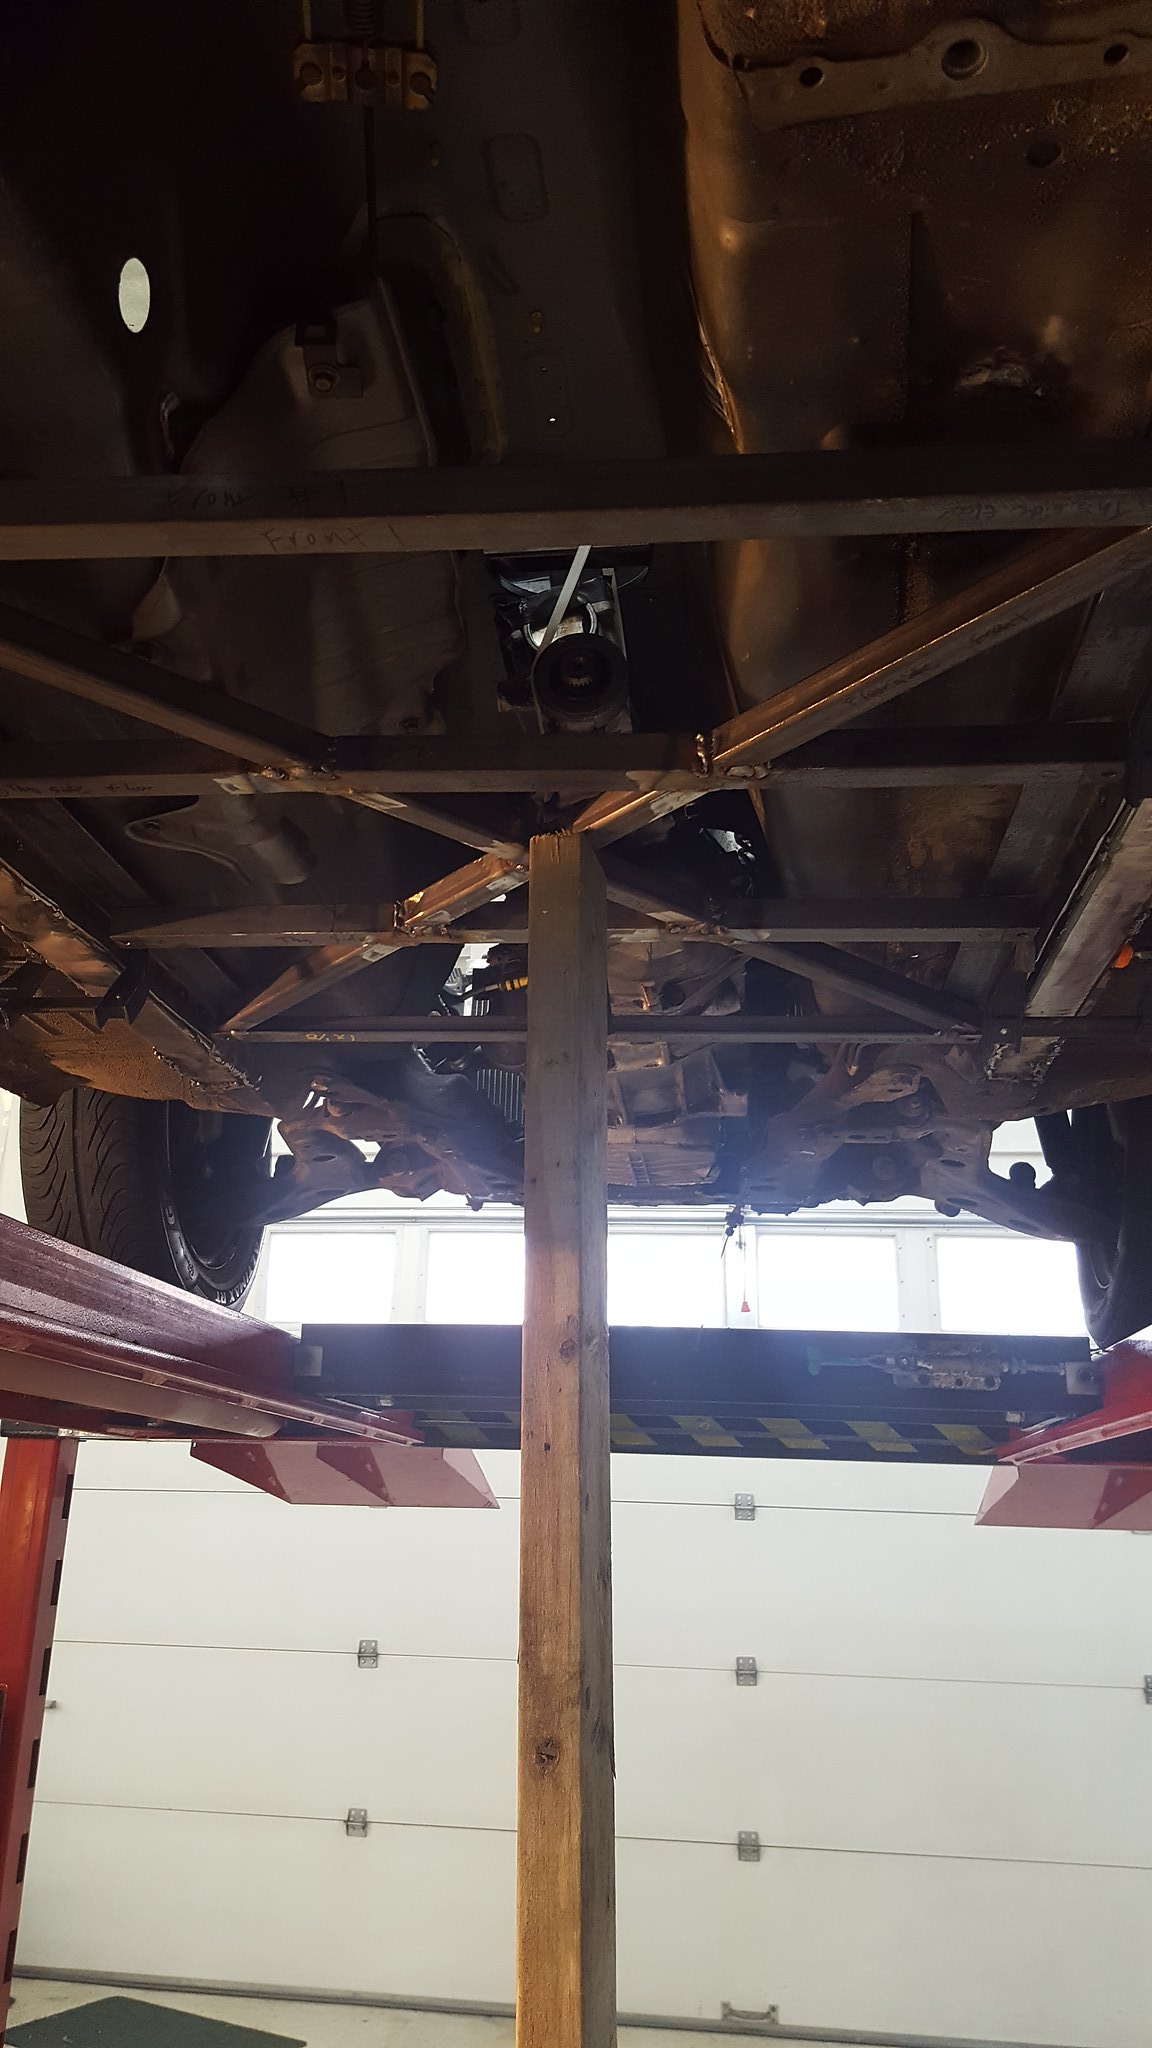 20180115_142457 by Michael Crawford, on Flickr
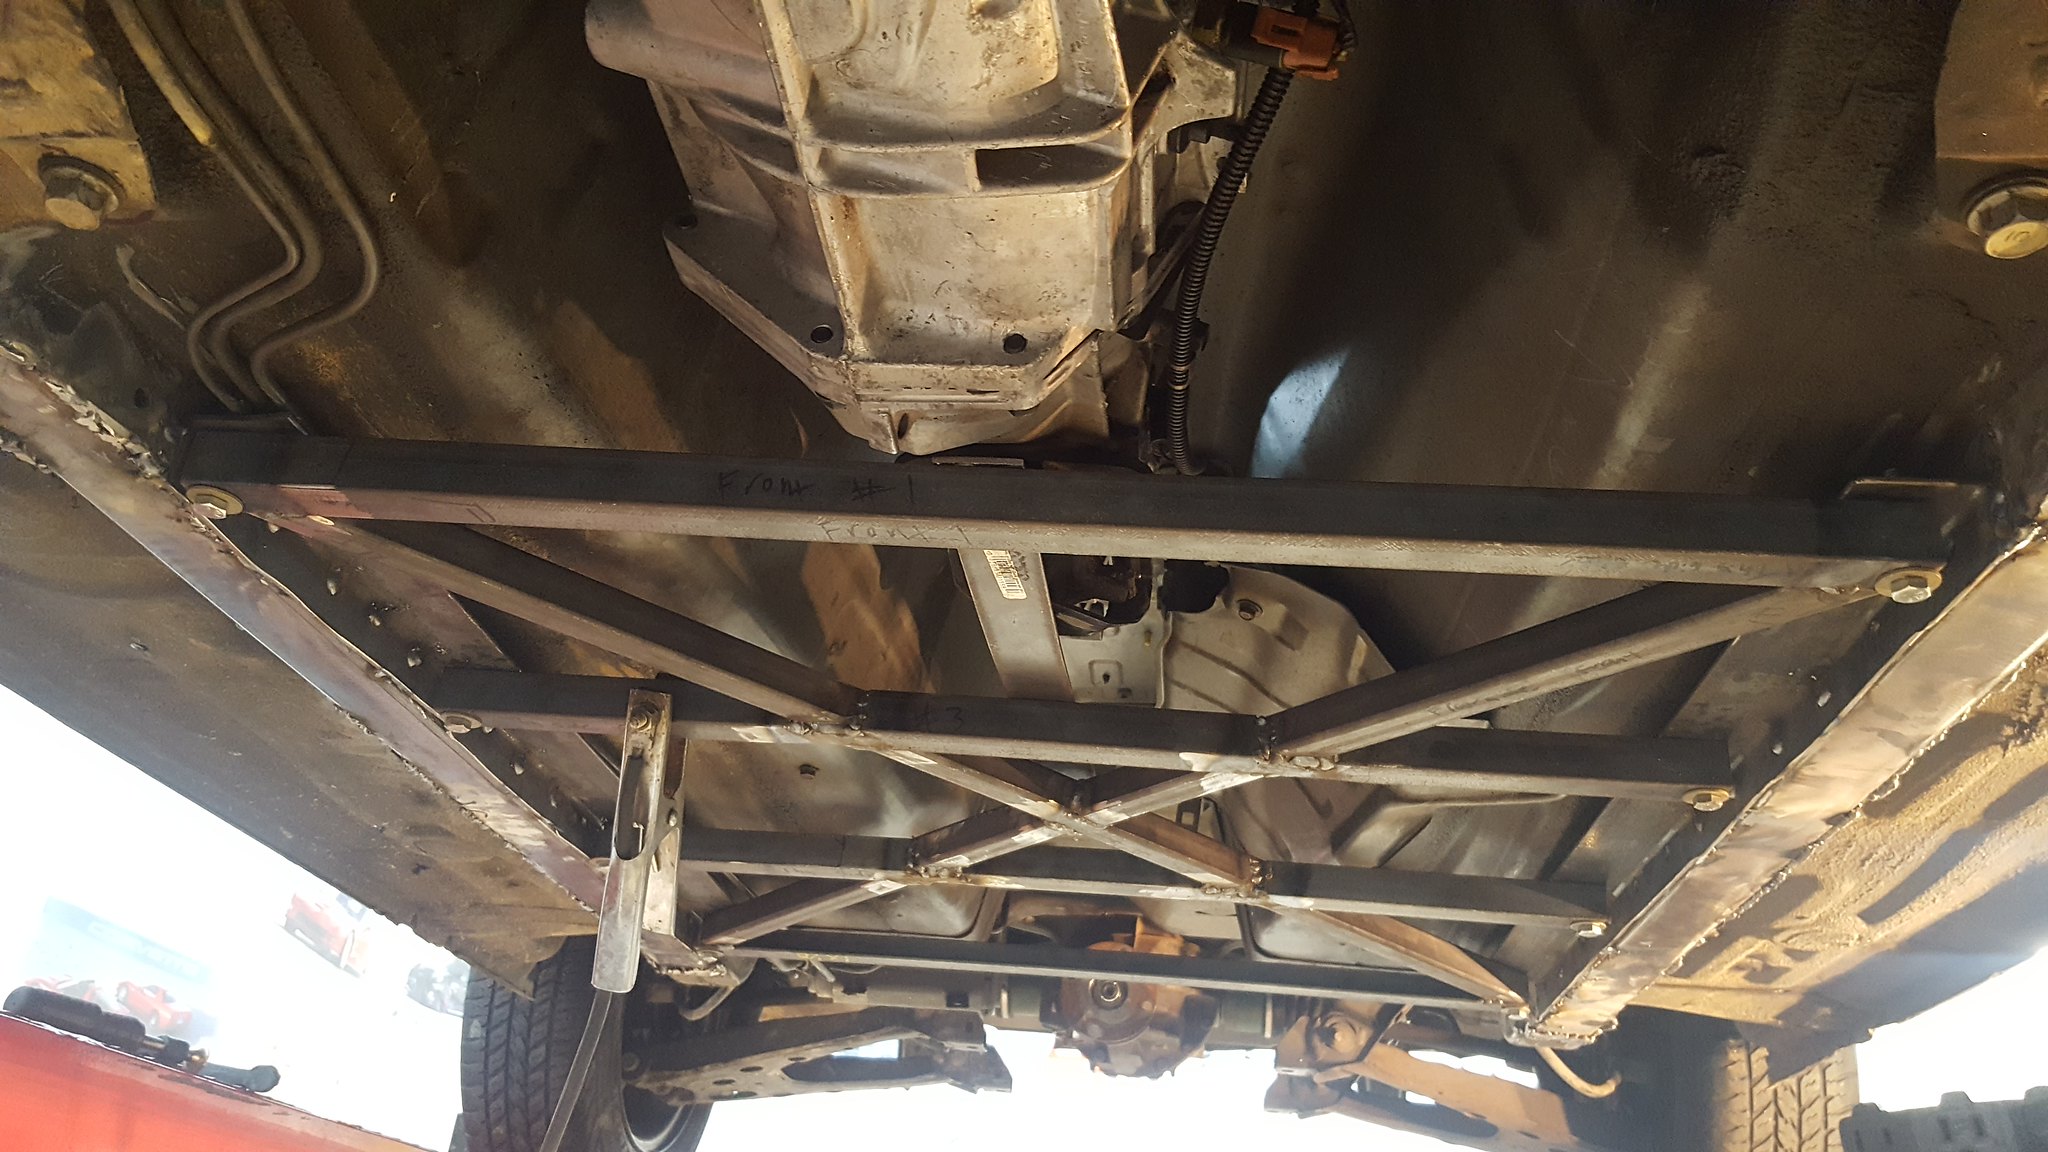 20180115_161313 by Michael Crawford, on Flickr
and dads about 60% of the way done with seam welding. Passengers side from the firewall back is finished. Couple braces to stitch on the firewall yet, and a little on the drivers side to go. Well finish the engine bay when we yank the engine back out.
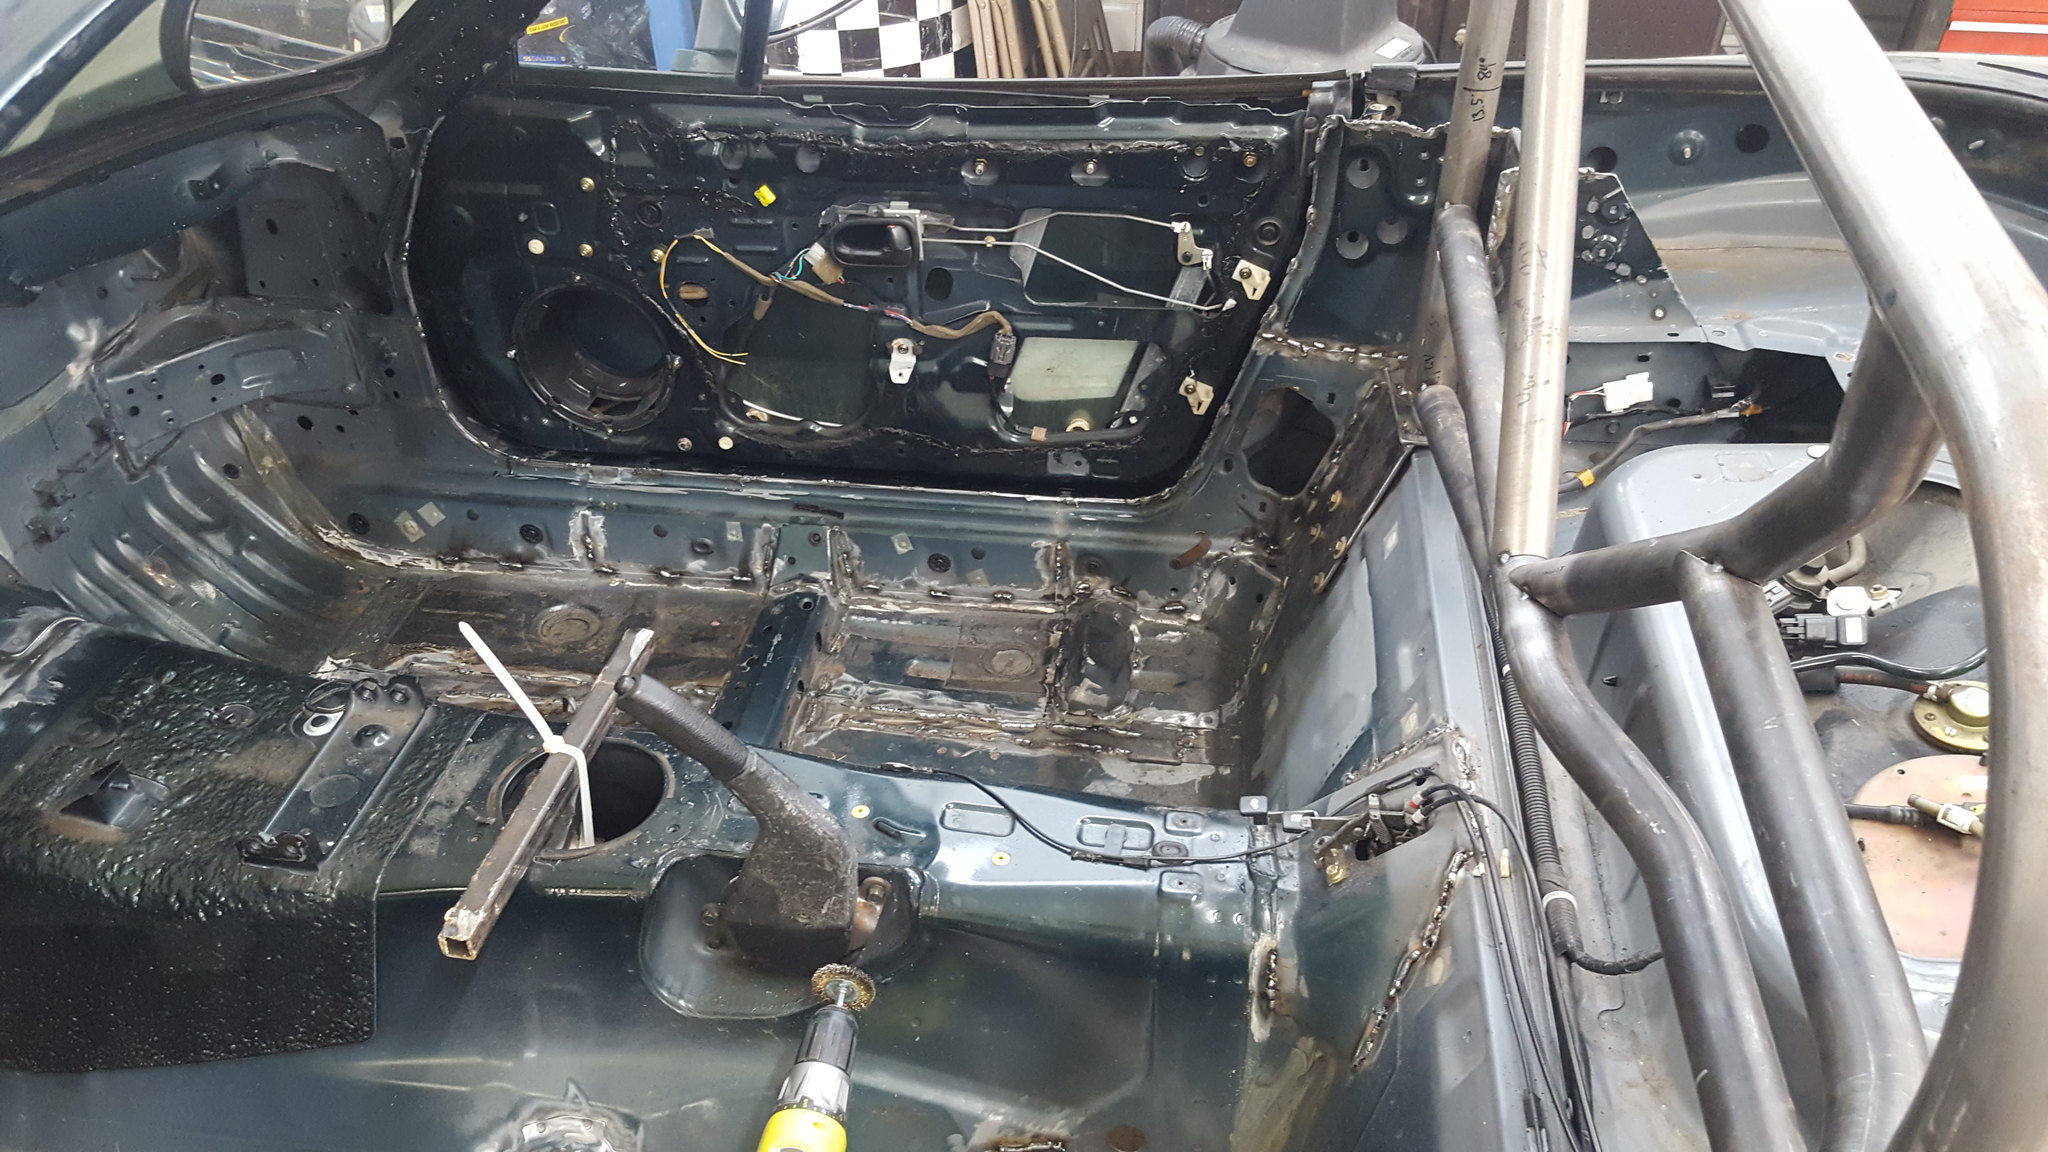 20180115_165154 by Michael Crawford, on Flickr
I think the 2x2 framerail would make a dramatic change by itself. Butterfly brace (flyin miata version) is reported to make a night and day difference with their framerail caps. Id hope mine is at least stiffer to justify the weight.
And its probably unnecessary now that im doing door bars. But, being a belt and suspenders kind of guy, ill throw each and every chassis stiffening idea i can at it. I want it stiffer than the amc.
I forget who called it an "under cage" but definitely an appropriate statement. As a side benifit, its easy to do pull ups with
That reminds me of one of our teammates from my circle track days got hit in the passenger side floor pan while he was up on two wheels. (Subsequently rolling it.)
We made a special hoop under the seat off the main hoop that tied into the door bars a couple weeks later. The seat was then mounted to the hoop.
The next couple cars we built had similar seat mounts as well. LOL
maschinenbau said:How much do all those chassis braces weigh?
Far too much.
Rough estimate:
Frog arms: 3-4 lbs ea
Framerails: 6-8 lbs ea
Butterfly brace and rails:15-20
Lots to go back in though. We also added (really rough estimates) 150lbs of cage and an extra 100 in drivetrain so far.....
It looks like I can pick up spare doors for $75ish so I don't have to use friends cars as molds. Still too cold to mess with it. I've been watching CL though. Don't worry. ![]()
In reply to mazdeuce - Seth :
Awesome!
Ju retain the points for the hinges., and some way to zip tie the door at the other end instead of a latch. No top and door bars means entry is dukes of hazard style for the challenge.
Wonder how much the decklid weighs? That could be an easy panel....
On another note: ive been kicking around the idea of cutting the spare tire well out of the trunk floor and skinning it with a pop rivet sheet of super thin aluminium. Would make exhaust much easier. What repercussions would this have?
Along the same lines: radiator support has an impack beam welded on, that is then wrapped in a 4 lb chunk of plastic, then the bumper cover. Im tempted to reduce the mass up there by about 80% via sawzall, but dont want to sacrifice safety. Any feedback? Same with the rear impact beam.
This isn't a street car Front Impact should not be a Problem.
Same in the Rear.
Do you plan on driving around with a Spare?
No Doubt Glass is Lighter but Just Skinning the Doors and Trunk is the Easy Button here. Weld the Doors in Place but Keep the Trunk Hinged.
Oh I just realized you haven't gutted the doors yet. You can keep them functional with hinges and get them pretty darn light. They will be floppy though.
Car will eventually be street legal so i can drive to and from events. Additionally, it may become an open track car at some point.
So impact is a real possibility.
Skinning may be a good idea for decklid. Doors id like to keep intact for after the challenge.
No spare us planned, so the loss of the well wont impact that. However, im thinking structural and aero.
You'll need to log in to post.