In reply to a_florida_man :
Keep thinking good thoughts!
Dusterbd13 said:So, torsen or turbo? I got room in the budget for one or the other.
How much power are you expecting N/A? And your other option is an open diff? I'd probably go Torsen, but that's me.
Hoping 200/200 all motor. 100 shot of nitrous for drags. Id be hoping 300 on boost.
Other options are open, welded, or torsen rear.
Hoosier slicks, 450/275 springs on bilsteiens, berkeleying huge sway bars.
I would vote Torsen, does not sound like you will need a turbo based on your projections. I agree with you on painting the engine compartment, ran into fitment issues on my project, so got to cut, weld and finish again..... Great to see your's progressing.
BTW that engine compartment looks amazing!
I also plan on installing a LSD with any remaining budget for Datsaniti. Like you said, it helps everywhere, and you have to launch during both driving events. Does the Torsen give you better gears?
Dunno yet about gearing.
But yeah, going torsen. No reason not to. And no compelling reason for the turbo....
Budget nore to self: remove 3500 plenum and throttle body and turbo stuff from budget. Should net me tbe torsen
Dusterbd13 said:Also: brush painting the engine bay is a job that they will hand out in hell.
Second.
Looks good in pictures though.
If i could get the paint to level out some, it would look great in person too. But maybe im being too anal.
Tomorrow morning steve and i do what is hopefully the last tig welding to make the engine fit. Plugging egr and a water neck.
Dads back, and we have a paint party planned for Sunday. Should be able to finish up the front crossmember next weekend.
Starting to see it going back together is really nice.
yo, Mikie,
does that engine have VVT or is it earlier, I would like to check into a set of those heads for myself, Sans VVT of course
Engine bay paint finished. First coat in interior and chassis bracing. Making and cleaning all the system hard lines now.
Hoping to pull tbe k frame for finishing tomorrow.
Challenge budget so far:
previous challenge budget: 1612.35
recoup total: 820
new money:
bought reflectix insulation at lowes: 23:85
bought dorman fittings for the fuel lines (5) for 12.99
7 ft steel fuel line at $1 foot.
also went through the budget sheet and pulled stuff that im not using to clean up the total to a more accurate number. Stuff like pro-rating paint amounts, removing the 3500 stuff that im not using, etc. dropped a considerable amount there. Turbo and nitrous are still in the budget. However, were just running nitrous while sorting out the car. Turbo will be step 3. im leaving it in just to make sure that I can actually have the budget room to do it.
new total: 1527.54
recoup: 820
since last update, weve been getting steady progress made. I put a few more coats on the engine bay, and painted the interior. Not perfect, but good enough to photograph well
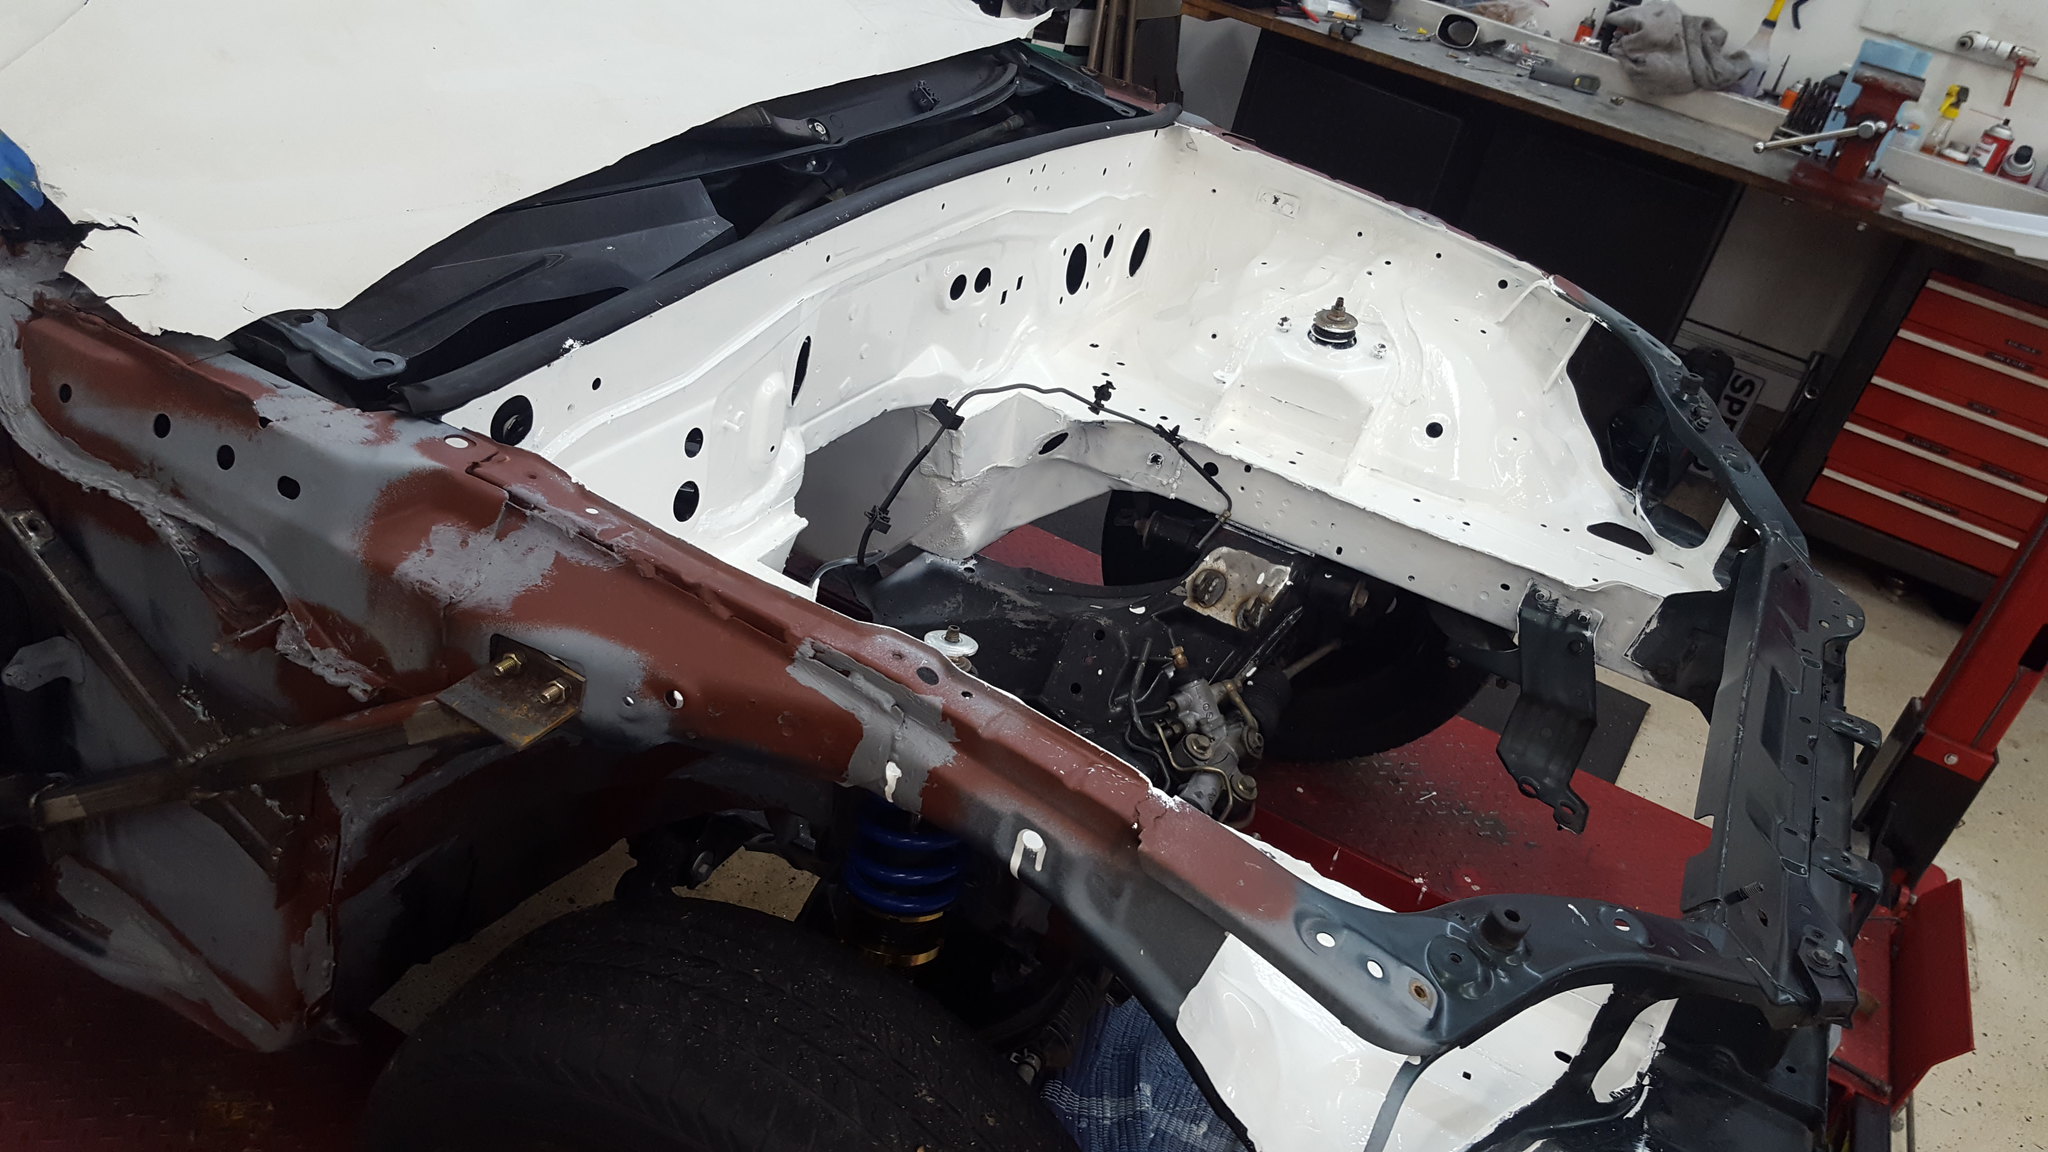 20180527_113437 by Michael Crawford, on Flickr
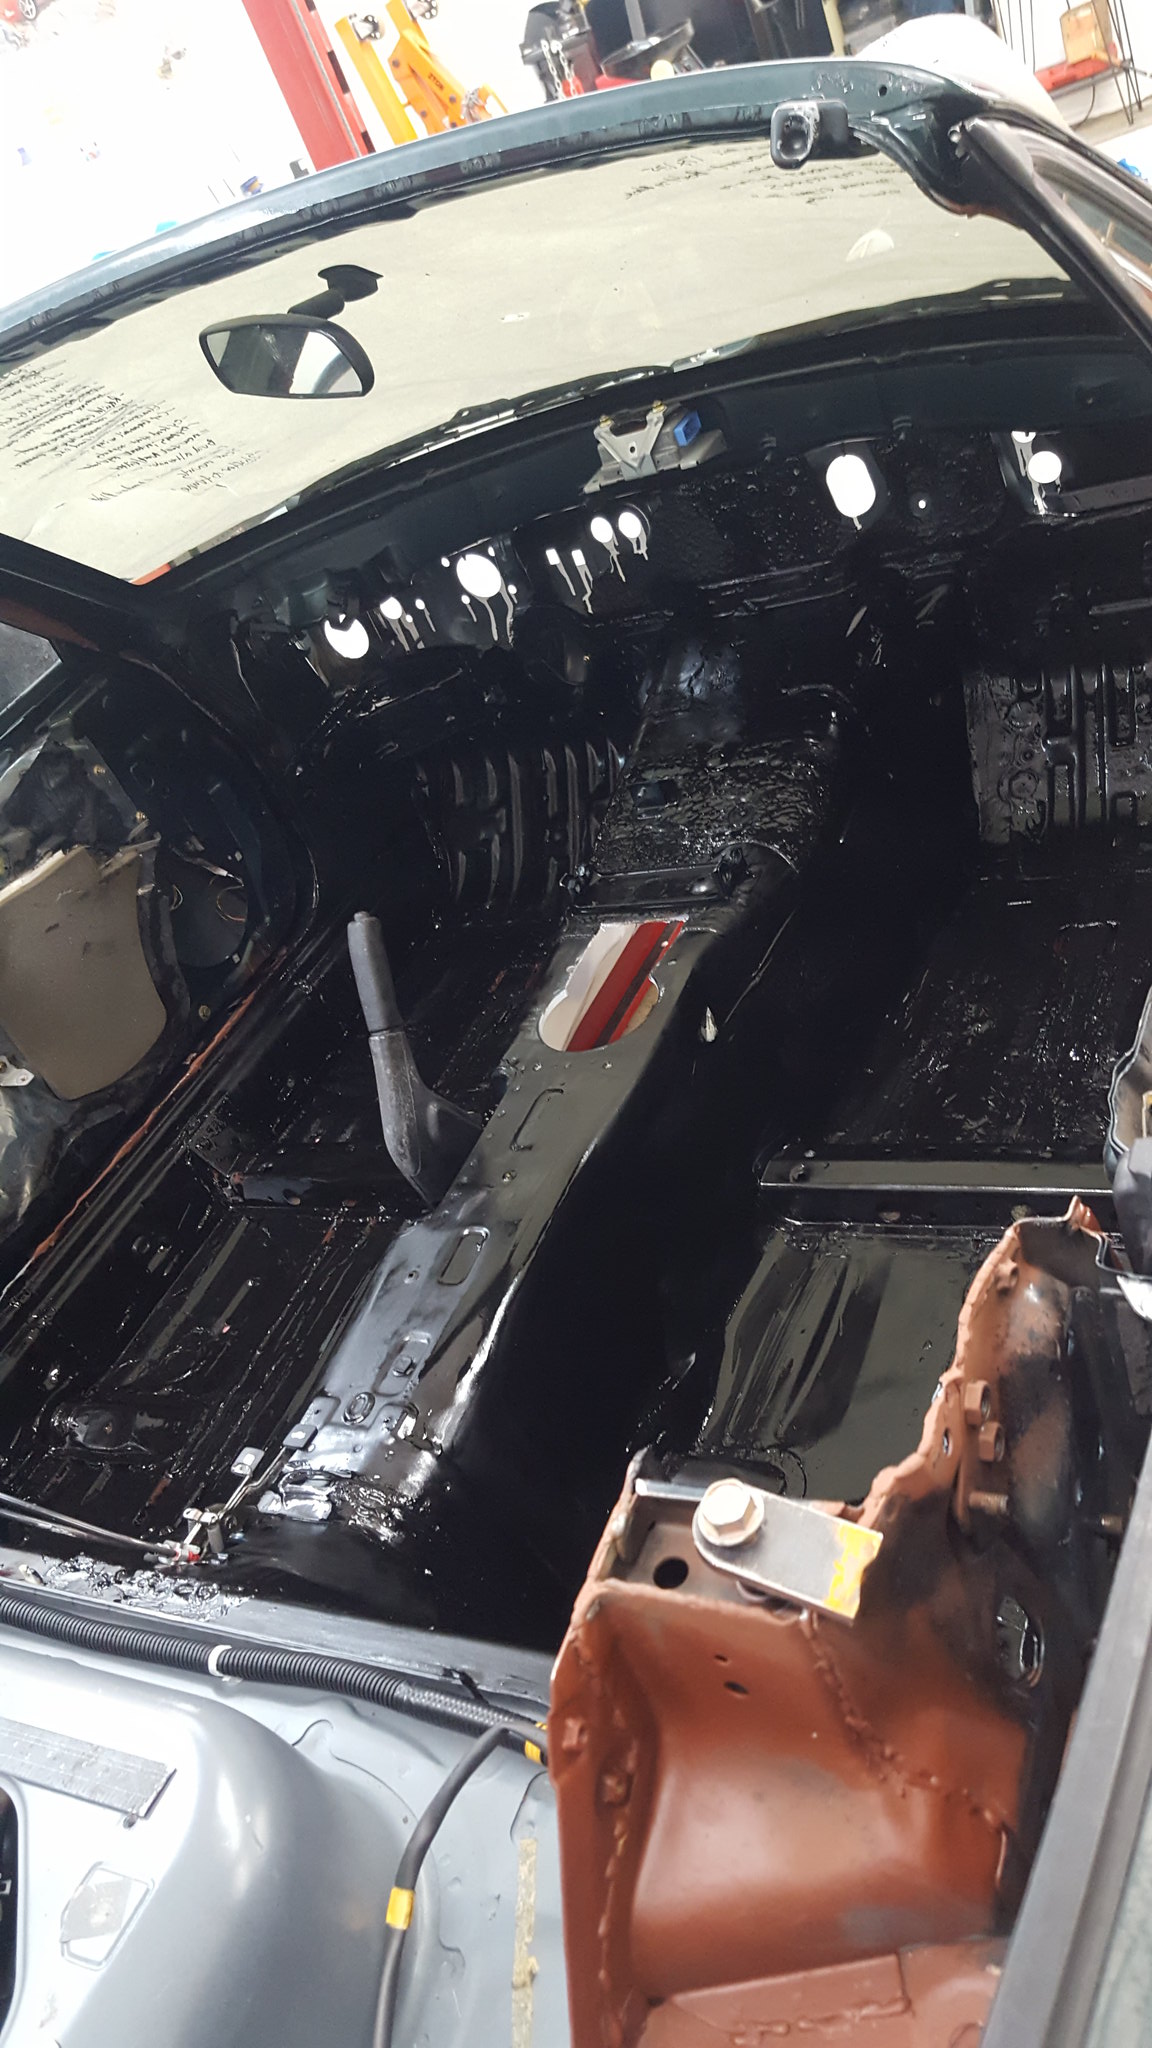 20180527_113431 by Michael Crawford, on Flickr
I then spent a considerable amount of time with acetone and paper towels cleaning all the overspray off the 5/16 fuel line and all the brake lines. While I was doing that, my daughter painted the butterfly brace. Dad came home, and finished the calipers, frog arms, and a little touch up on the butterfly. Apparently I don't have the finished picture, so use your imagination for now....
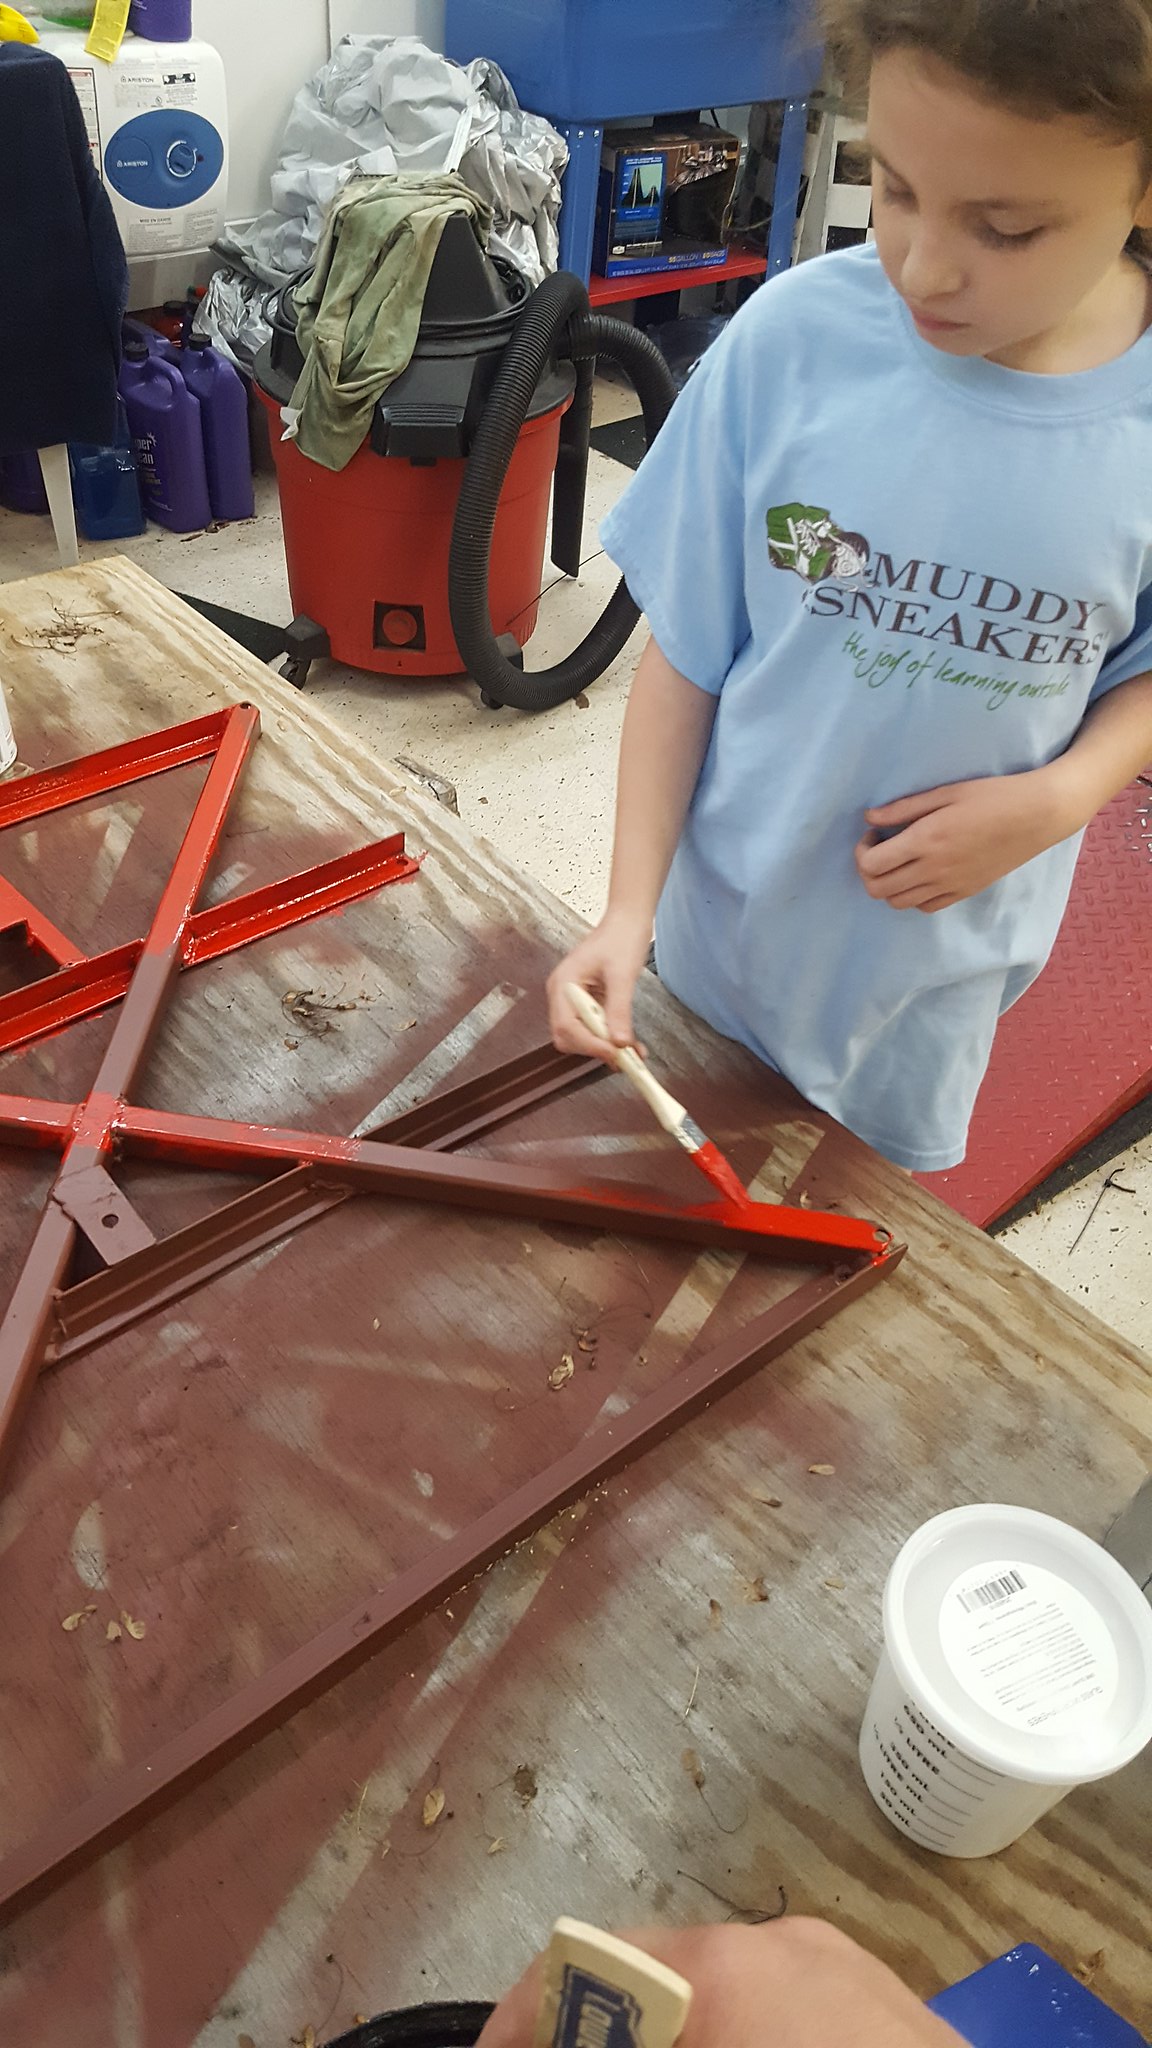 20180522_181531 by Michael Crawford, on Flickr
brake lines installed, wiper motor cleaned and installed. Its really nice to finally start bolting stuff back ON the car for the last time. I also went ahead and built the 3/8 feed line. I had this on the shelf. Cheapest I could find a roll on ebay was 25 feet for 25 bucks, or a buck a foot. There's 7 feet. I put bubbles on the ends with my mastercool flaring tool, and double clamp each piece of rubber hose (pull-a-part doesn't charge me for small lengths of rubber hose or hose clamps. So I have plenty at a budget free price.) the gm v6 runs at 53 psi of pressure, and I have shown myself that the double clamp and bubble trick survives much higher pressure than this (120psi before the hose burst and it never slipped). I however would not recommend it if other options are available, as there's much less finicky methods that don't require nearly as much fiddle berkeleying. Im doing it this way due to budget constraints) still need to redo the vent and hook up the return side of things to the tank, and the plumbing is done at this stage. Still need to figure out how to run the nitrous off the same supply as the efi. Never ran an efi system. Ever.
Anyway, plumbing pictures.
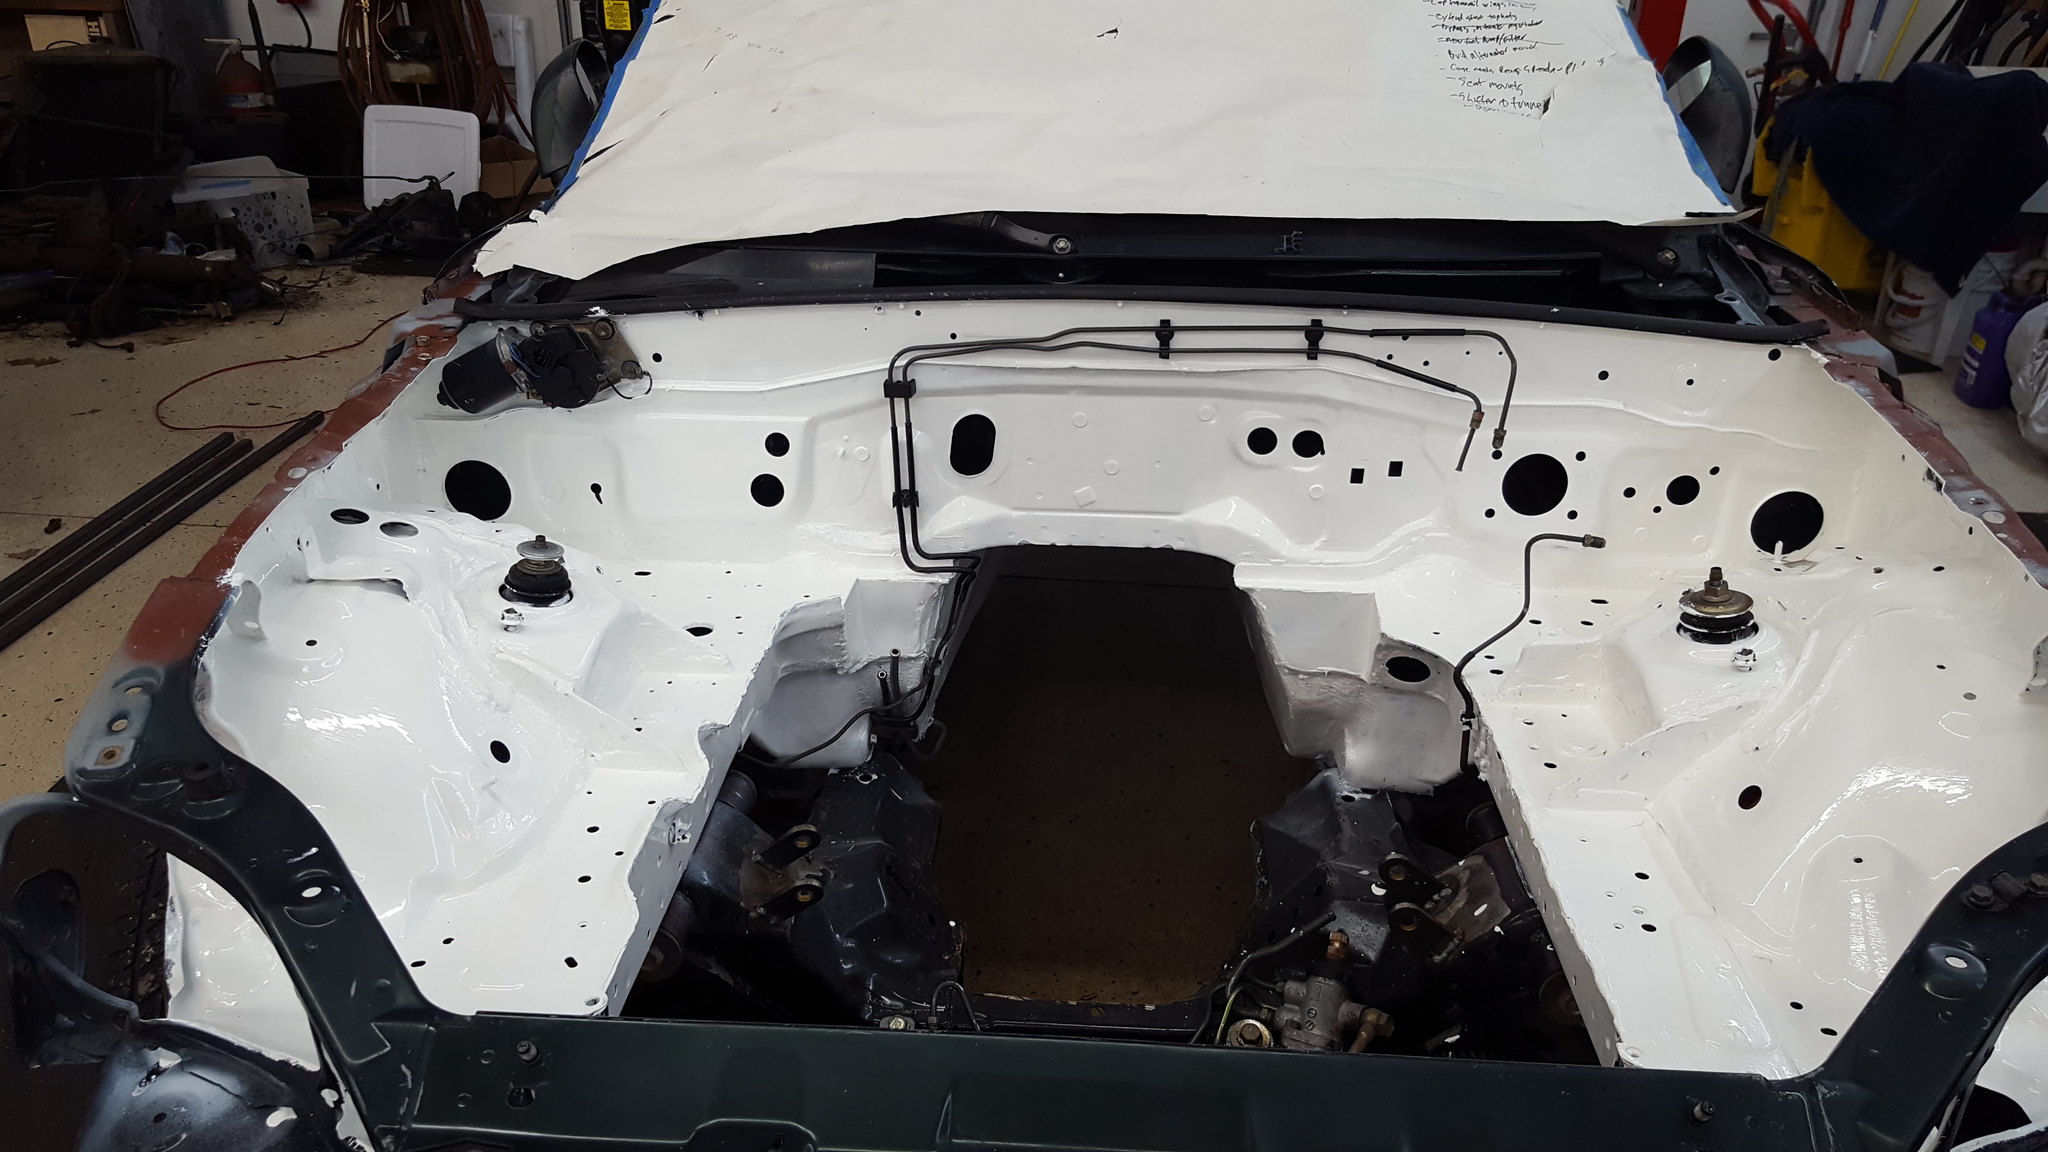 20180528_144132 by Michael Crawford, on Flickr
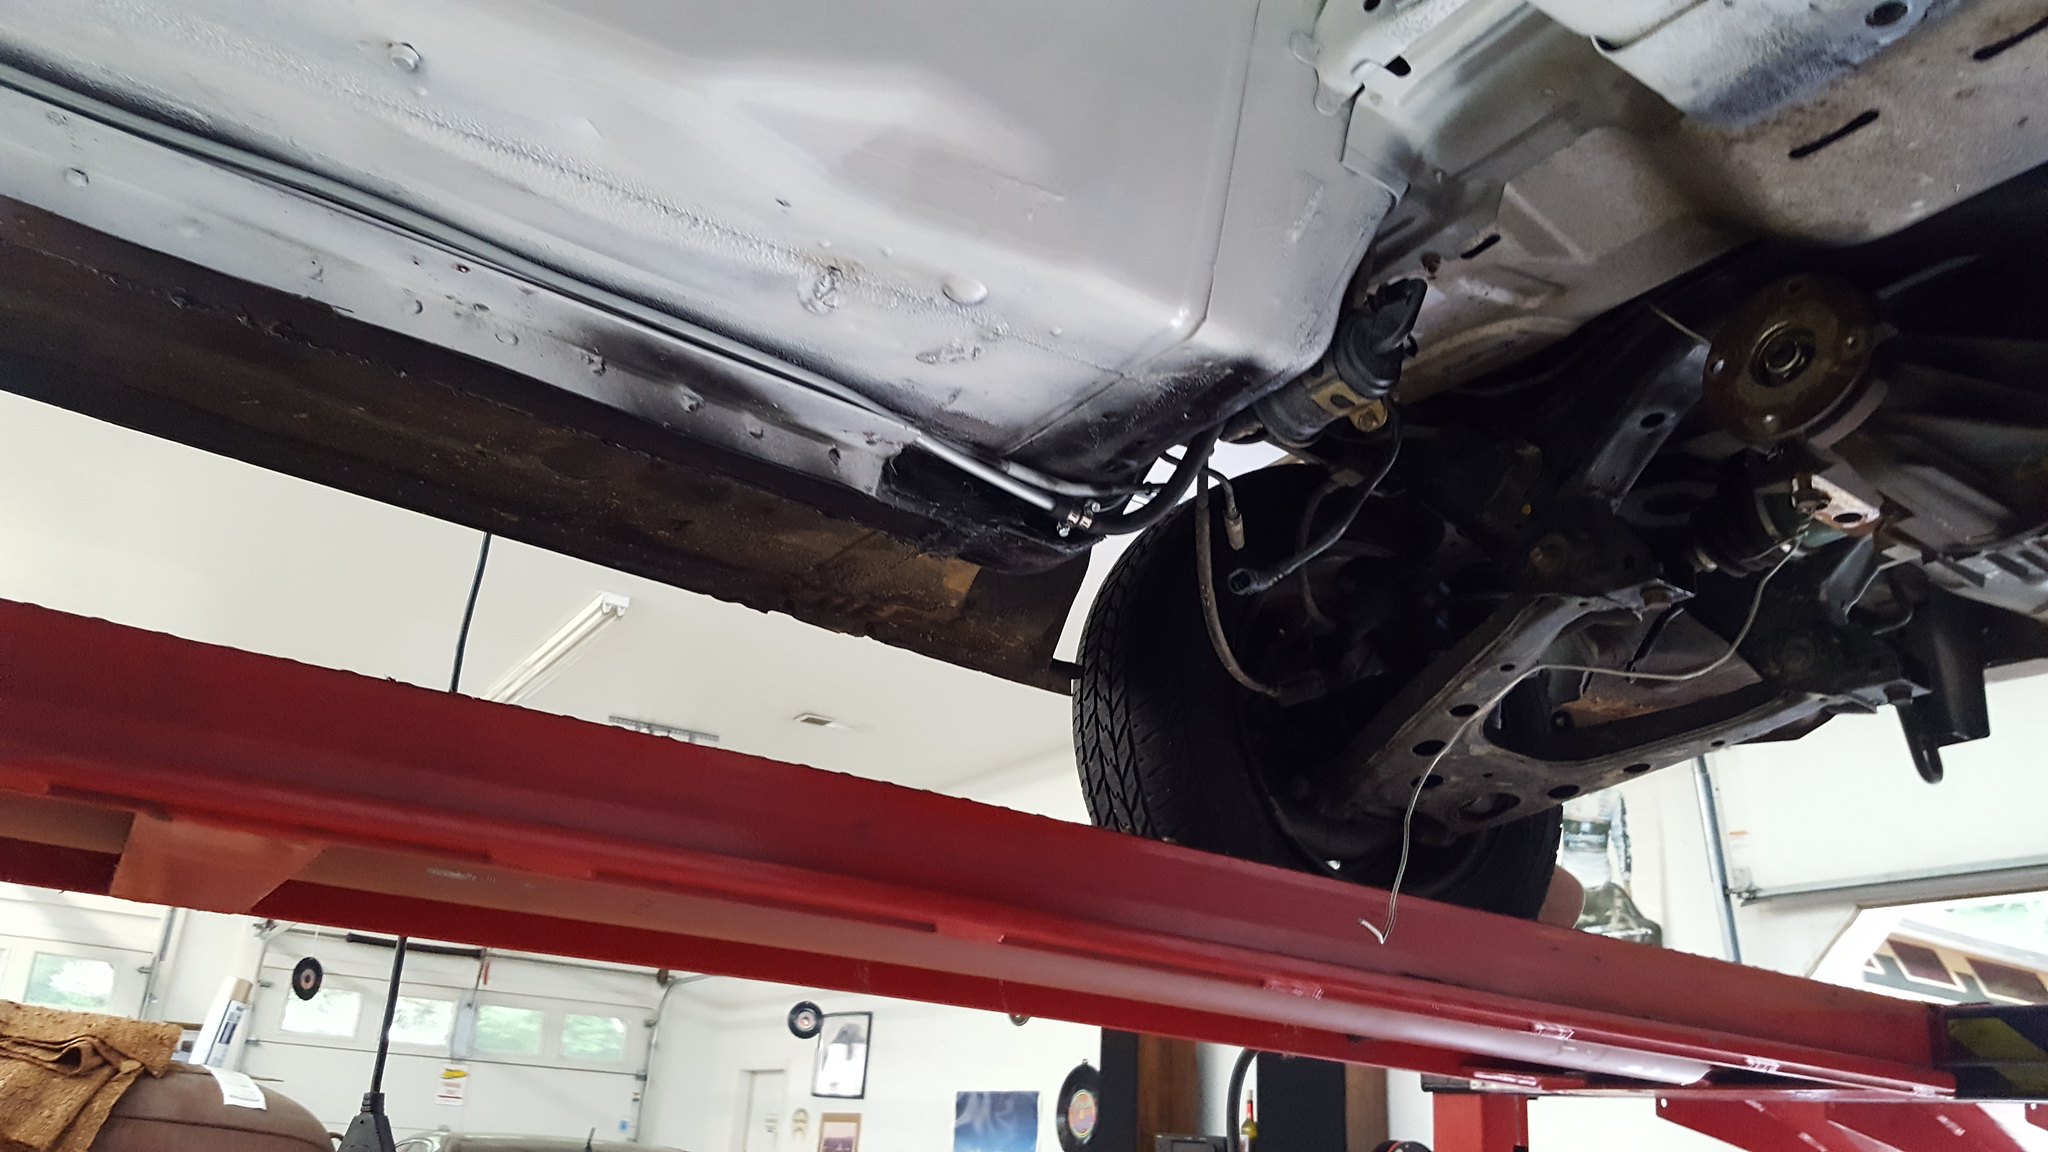 20180528_142509 by Michael Crawford, on Flickr
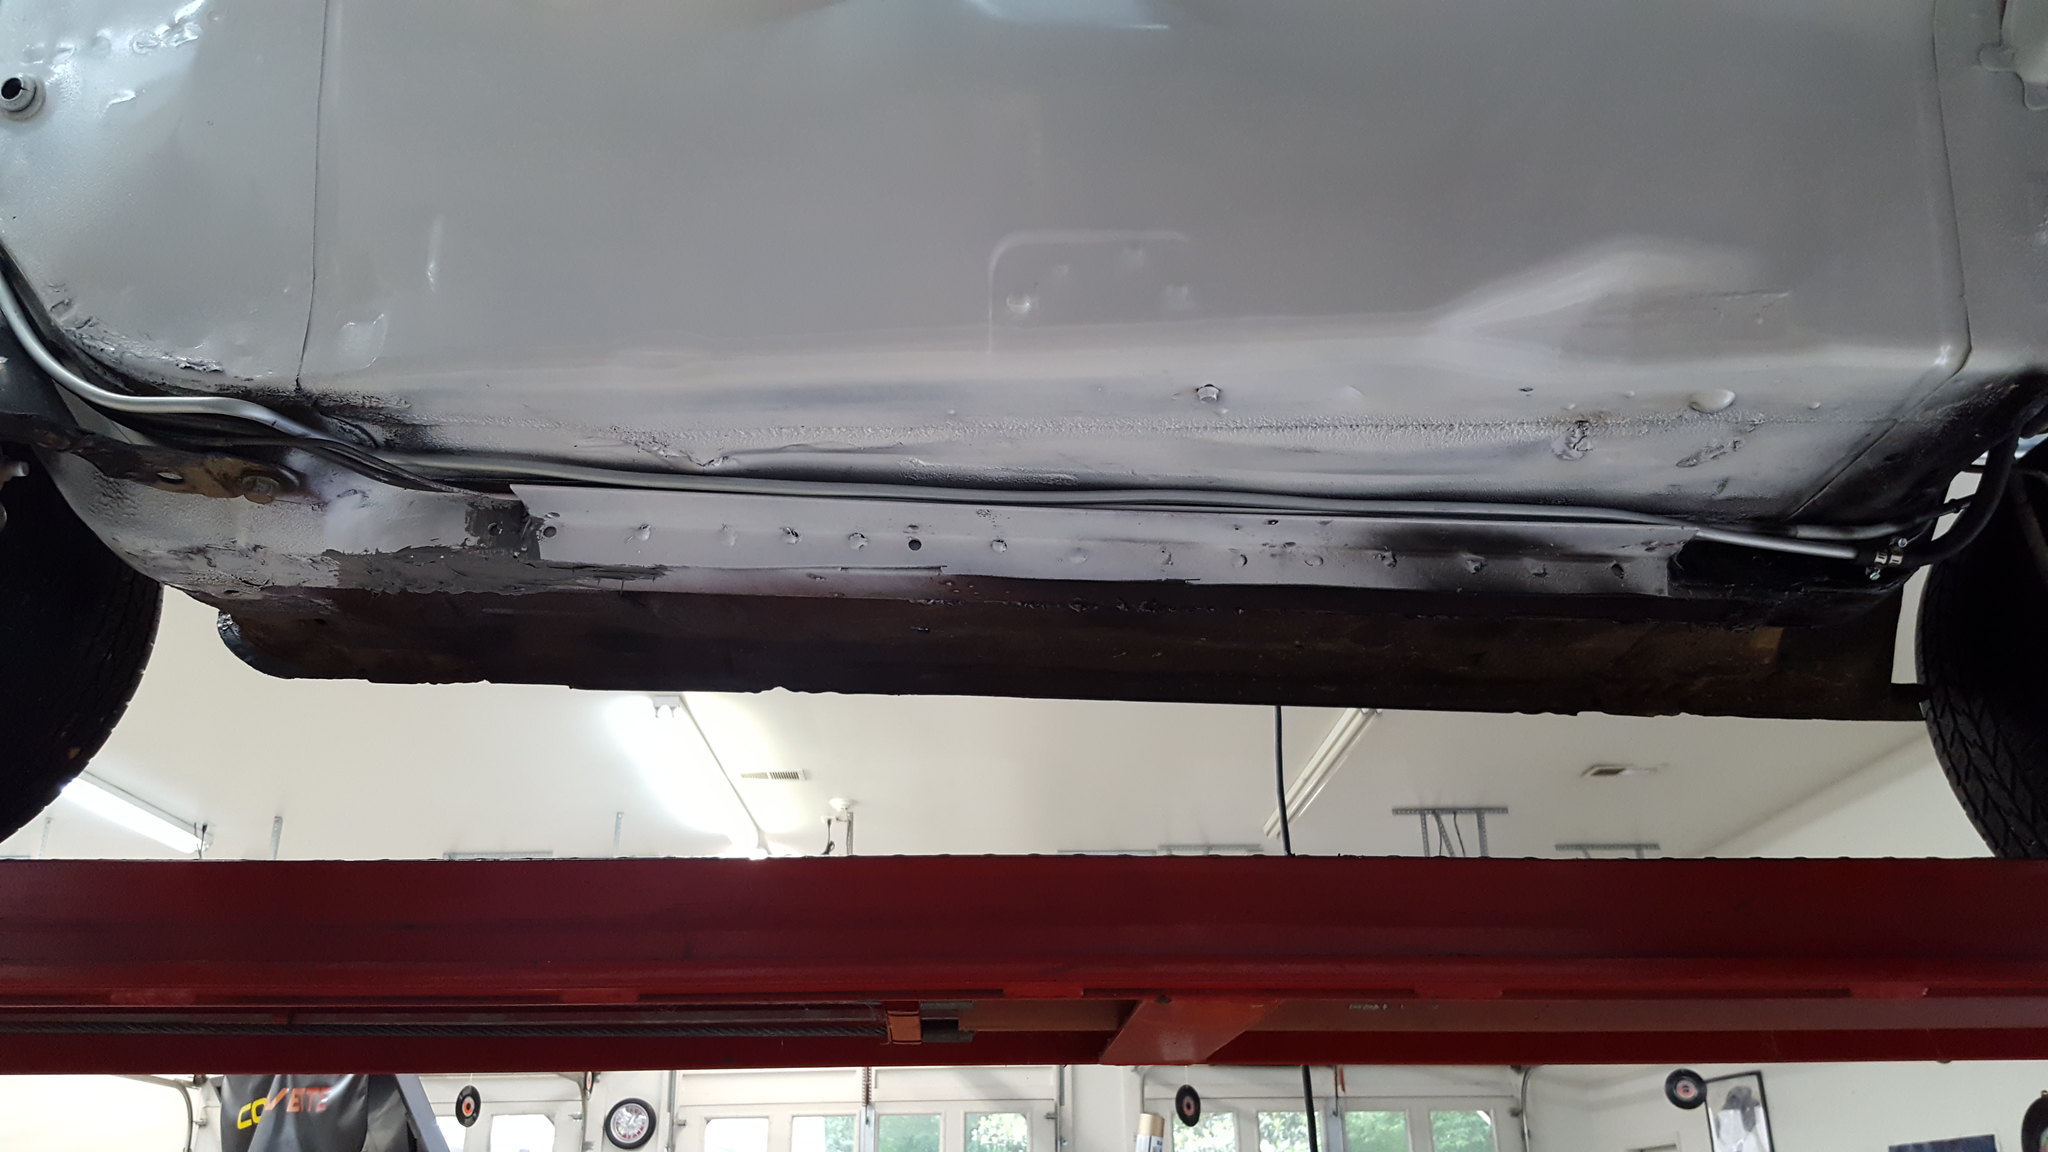 20180528_142506 by Michael Crawford, on Flickr
I started insulating the firewall tonight, but didn't get very far, and didn't take any pictures. Suffice to say, the nest update will have a bit of that and more reassembly.
Lastly, steve stafford helped do the last of the welding needed for the engine swap. We welded a water neck to the lower intake to be able to actually get water in and out of the engine. (no thermostat in there, and plan to make my own inline thermostat and housing setup). We also welded up the EGR port in the intake after I cut it off. This was required to clear the FWD timing chain cover with the upper manifold flipped. We decided not to run the 3500 upper and big throttle body at this time, as the jury is still out on its effectiveness vs the large port 3400 that this engine is. It may be good for some power in this application, but not enough for one twentieth of the budget.
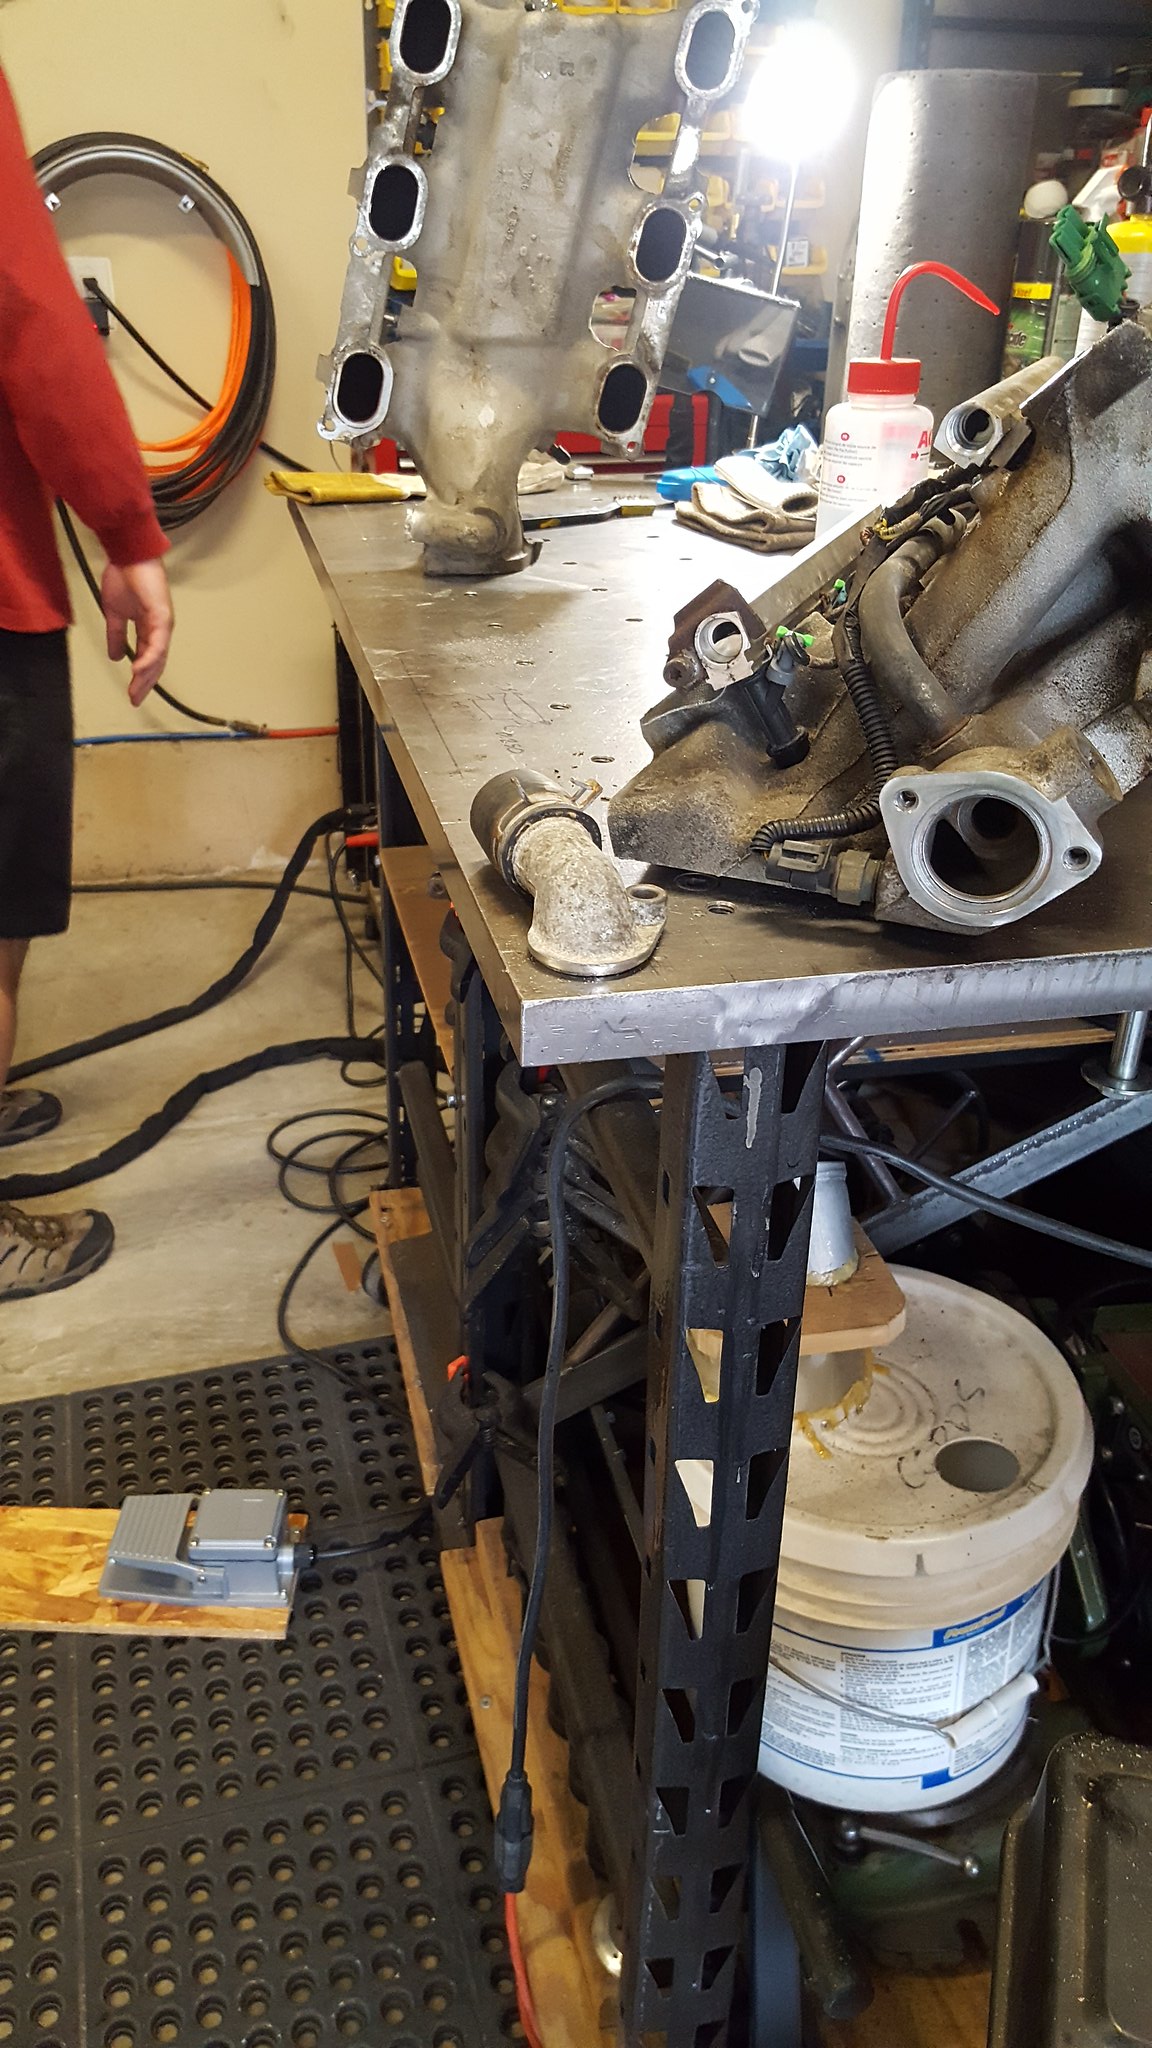 20180526_084916 by Michael Crawford, on Flickr
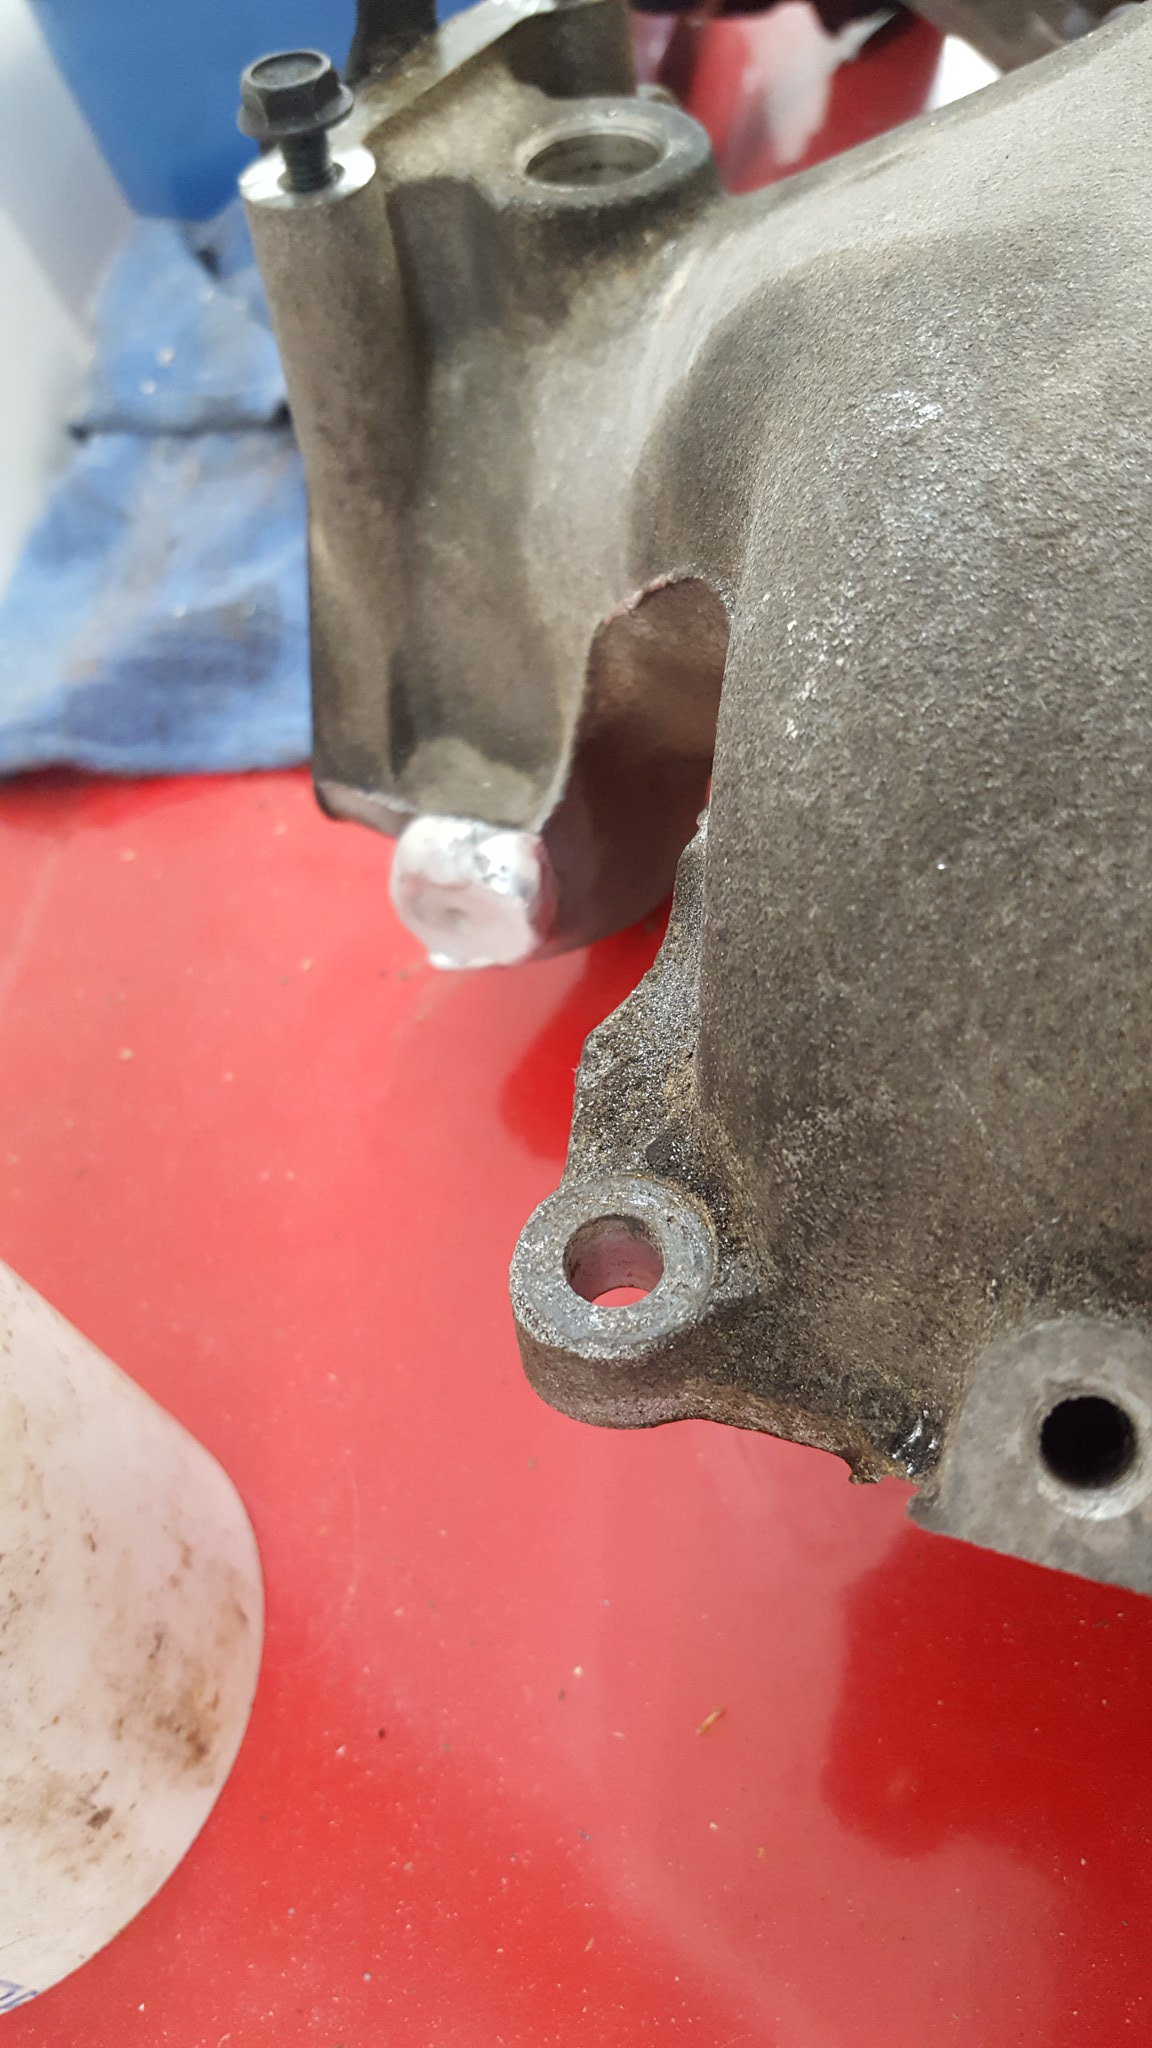 20180527_113454 by Michael Crawford, on Flickr
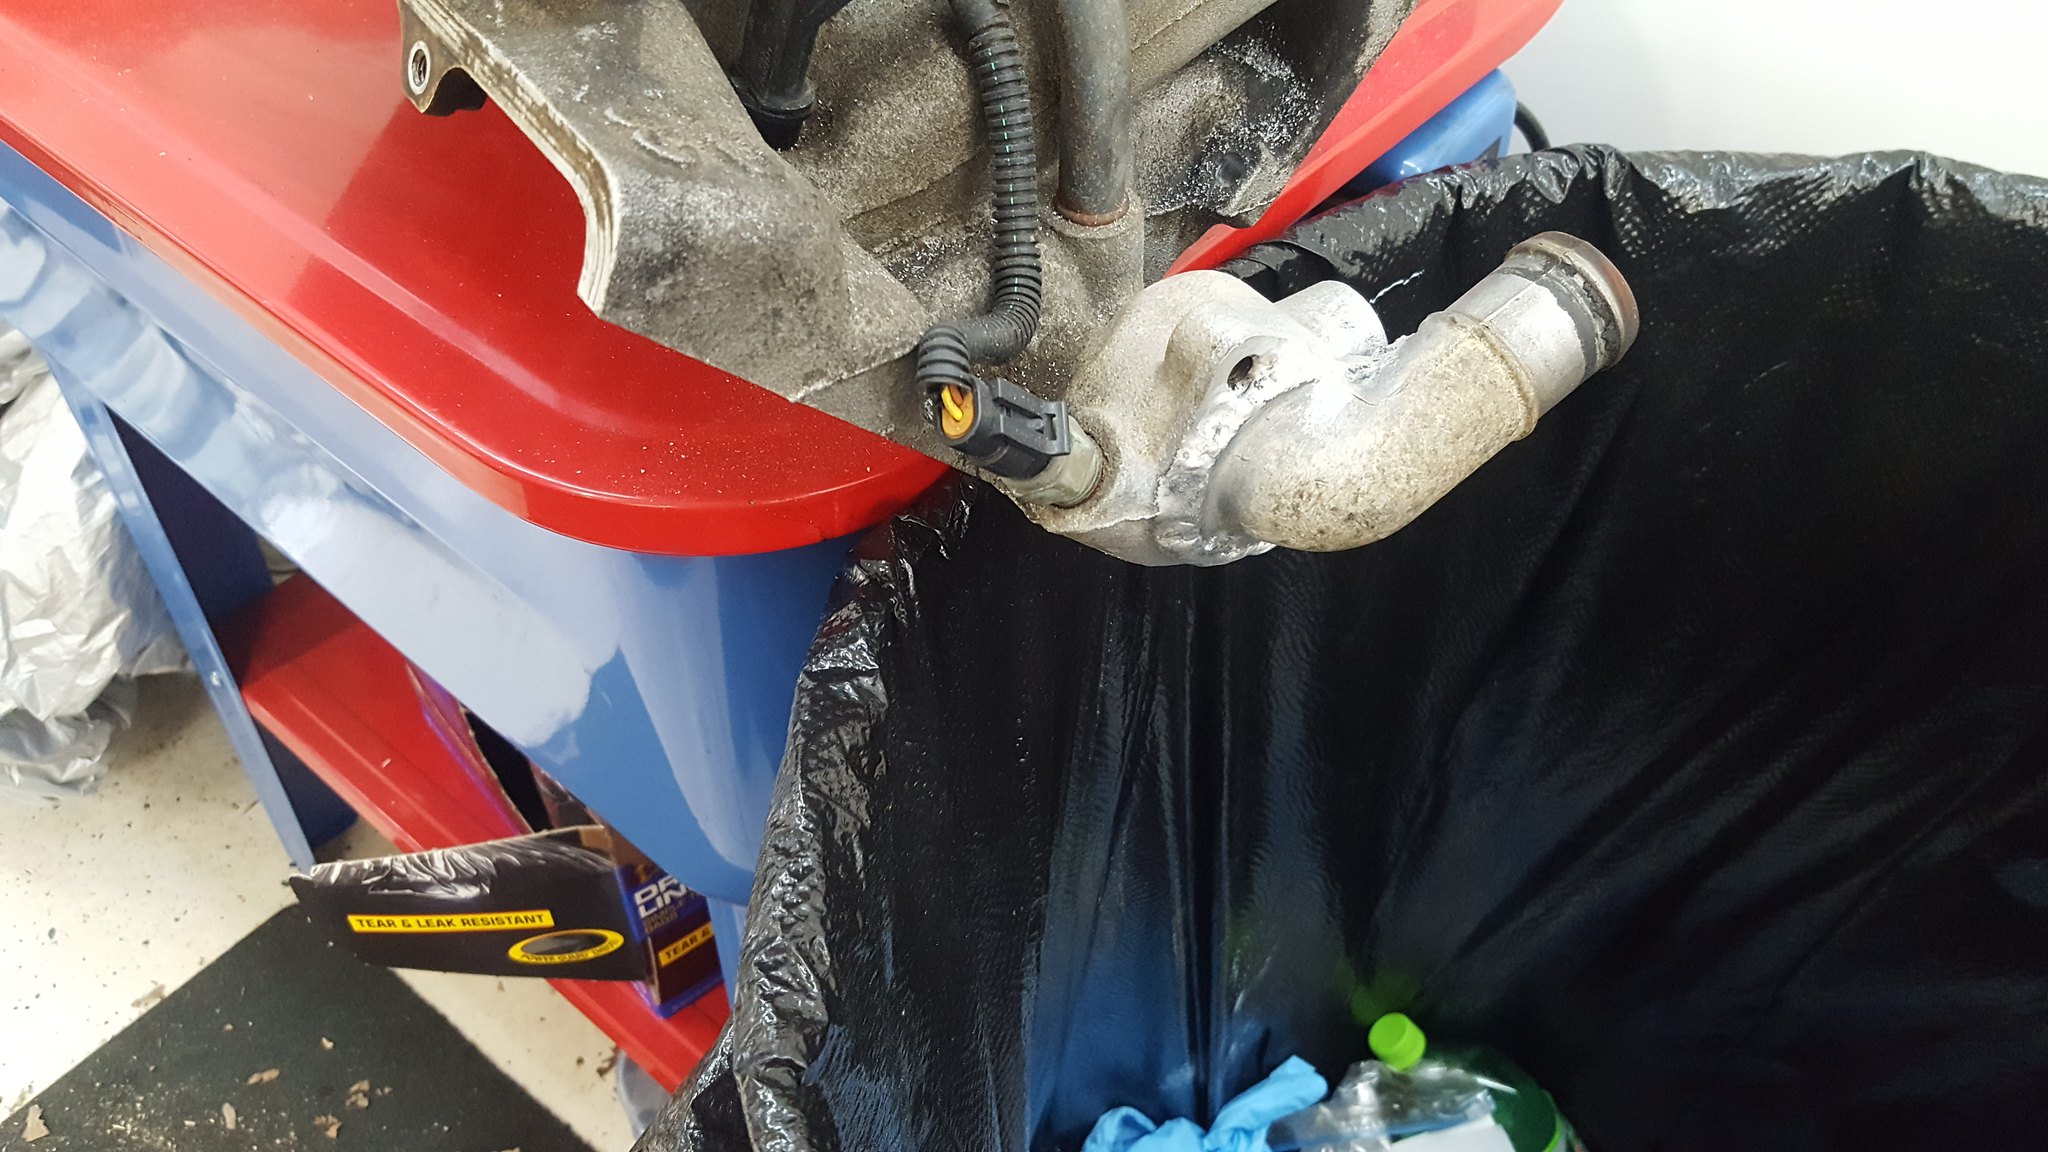 20180527_113450 by Michael Crawford, on Flickr
don't forget to tell your family you love them.
By the end of the day, front crossmember will be finished. Im actually quite happy with my welds, and think i found a way to make it stronger than factory, and a whole lot stiffer.
You'll need to log in to post.