In reply to Greg Smith :
That's actual pressed tin. I put another 200 nails in today. I like it a lot.
Pretty much done with the kitchen for now. The point of the nails was to get all of them in above where the table goes so we could move the table back in, which we did after re-packing the cubbords. I think we've decided to add another cabinet above the fridge, so I'm not done yet. Yay.
Let's talk about the Grosh though because this thread is mostly about the Grosh and I've been neglecting it. There is a lift in there somewhere.
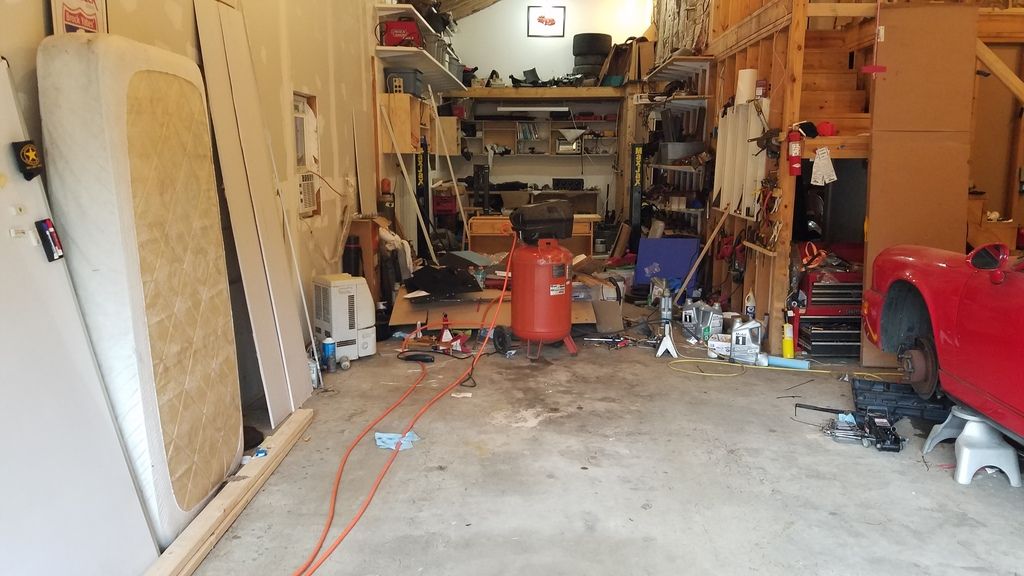
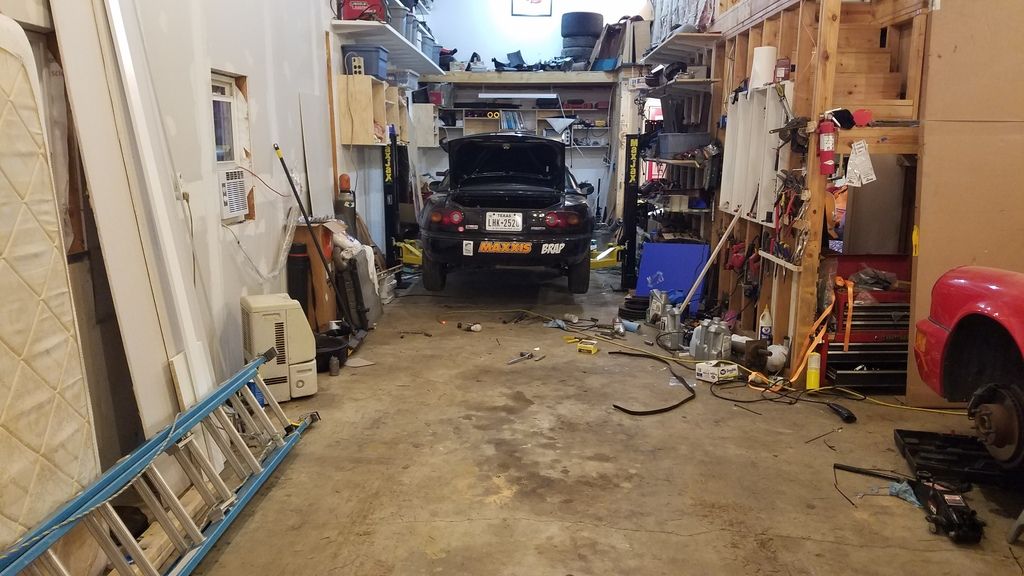
And here? This needs work. Lots of work.
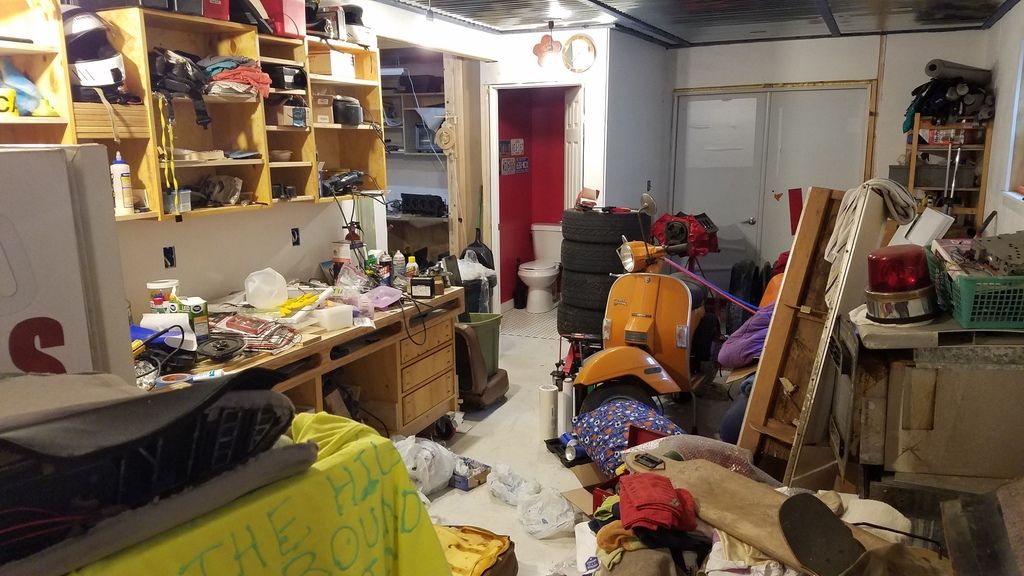
But I want to start next to the Porsche because I need somewhere to put the cabinets that I made for the kitchen that we decided not to use after using them for a couple of years. I was always going to make cabinets for here anyway. This is after moving a whole truck load of cardboard and other debris that had stacked up from the wall all the way to the Porsche. It was bad.
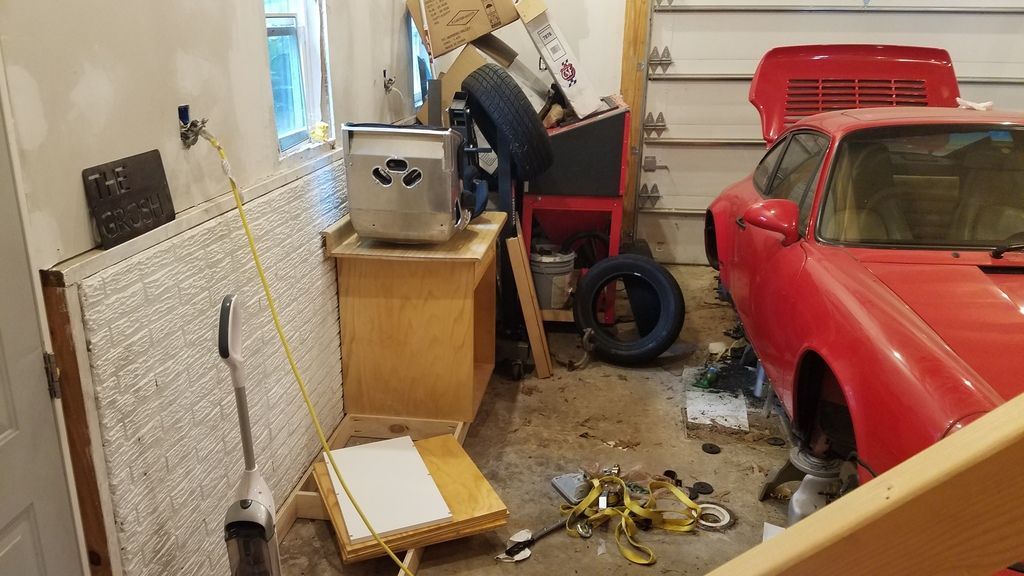
As much as I was motivated to get this properly sorted, I had a request for a work surface before I was done.
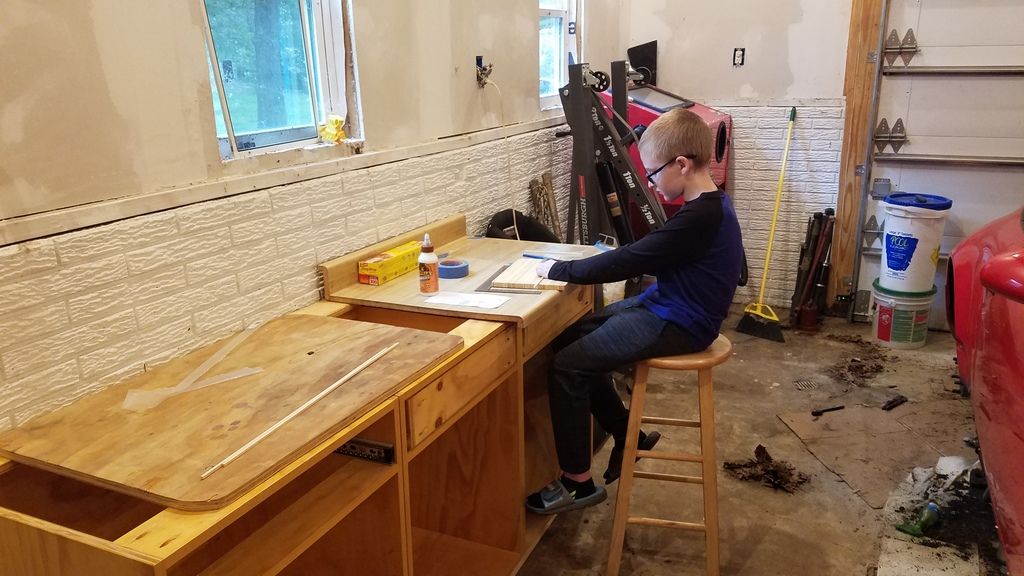
The work bay isn't clean, but I got it clean enough to put the Miata on the lift and get some sorting done. After six weeks of kitchen, it's good to spend some time out here.
Can you take some close up pictures of how these things actually work at and give us a breakdown? I need to fabricate something for doing all my own home alignments on 10 different types of cars...
In reply to Dusterbd13-michael :
I will absolutely do that. There is a learning curve for sure.
Now that the kitchen is "done" I need to run around and fix things that I broke by fixing other things. One of these is the hole in the wall under the sink where the old cleaning chemicals cabinet went. I ripped it out because I wasn't sure it was my final draft which meant I needed to run floor under it which meant destruction. And an unattractive hole.
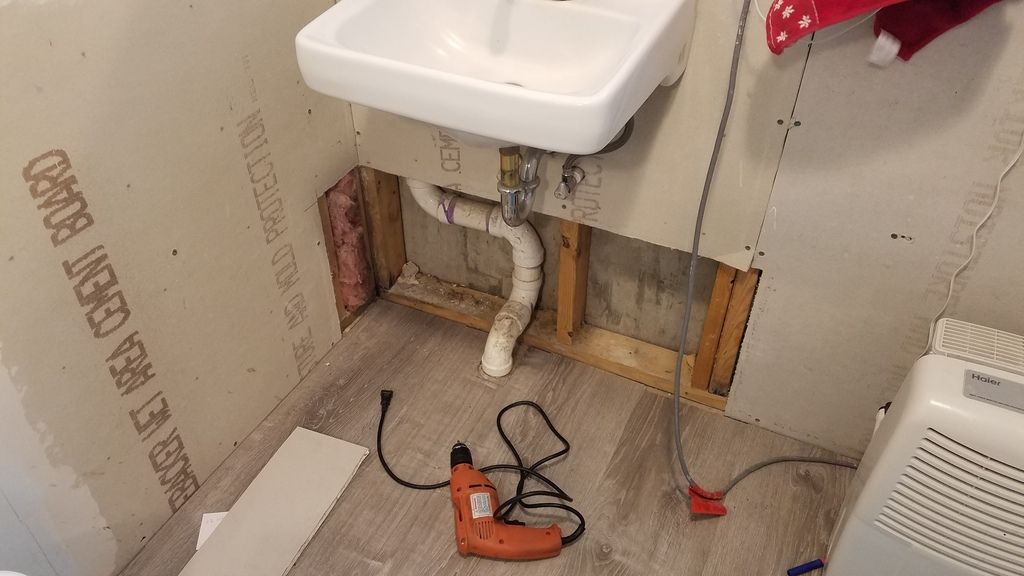
Note that the drain comes out of the floor outside of the wall. All of my drains do this. I suppose the idea is that you run them up through the bottom of the cabinet, but that means that you HAVE to put in a cabinet. This is annoying. Drywall is up. We're contemplating cabinets. Also contemplating ripping out the hardibacker that I put in to cover with tile because if I'm putting in a cabinet then I don't think I want to tile it. Only took me the better part of a decade of staring at it when I poop to decide that.
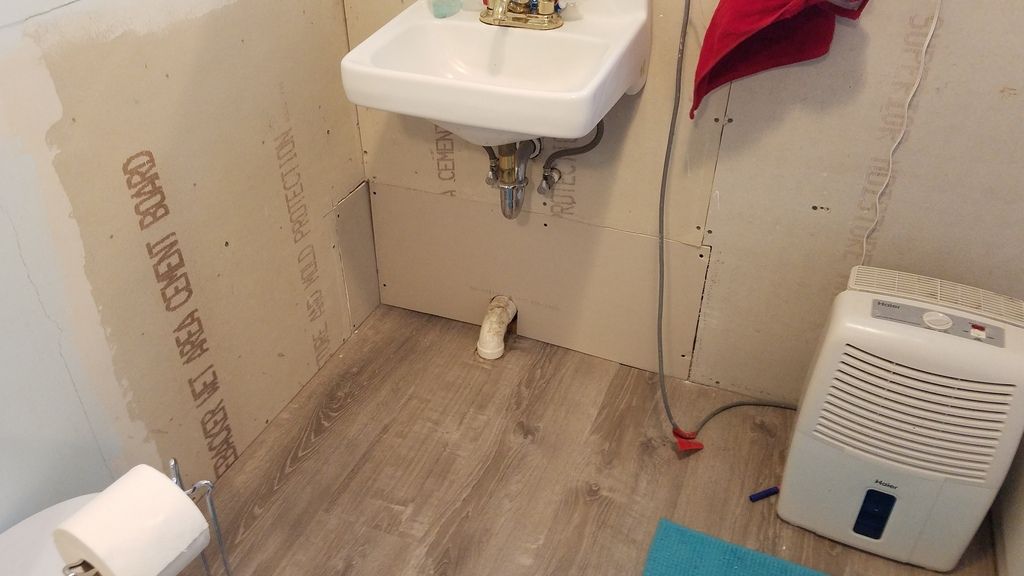
I always like the look of a cabinet under a wall hanging sink. I did that in a bathroom I re-did at my old house, I had a very nice pedestal sink but I'd broken the base while in storage, so I put up the sink and then wall mounted a cabinet under it. It looked awesome. I used an Ikea sink base cabinet with frosted glass doors and just didn't put legs on it. It held up just fine. You can also buy cabinets made for that, just look for "cabinet under pedestal sink" for ideas.

(not my redone bathroom, mine was cooler!)
In reply to dculberson :
That's basically what we had aside from the fact that mine was scabbed together from leftover wood. It worked. I might go that way again. Still haven't decided. The wall hanging sink we have came about because the cabinet that came with the bathroom was HUGE and we wanted as much of that space back as we could get. We tend to work in extremes around here.
You could also fur out the wall with another wall, you would lose 4"-6" in depth of the room, but you wouldn't have the drain pipe and additional 90's to contend with. In my old house the main drain went through the slab in the front of my garage and one day while pulling in I hit a rolling desk chair with my truck and guess where it went? That's right, the main drain and broke if off below the slab, that was a fun repair after coming home from being on the road for 2 weeks, so I have a strong opinion that all plumbing needs to be behind a wall or somehow protected.
Finally got the last cabinet from Ikea. Some dumb backorder nonsense. This finishes out the fridge area nicely and now I can deal with the backsplash on an emotional level.
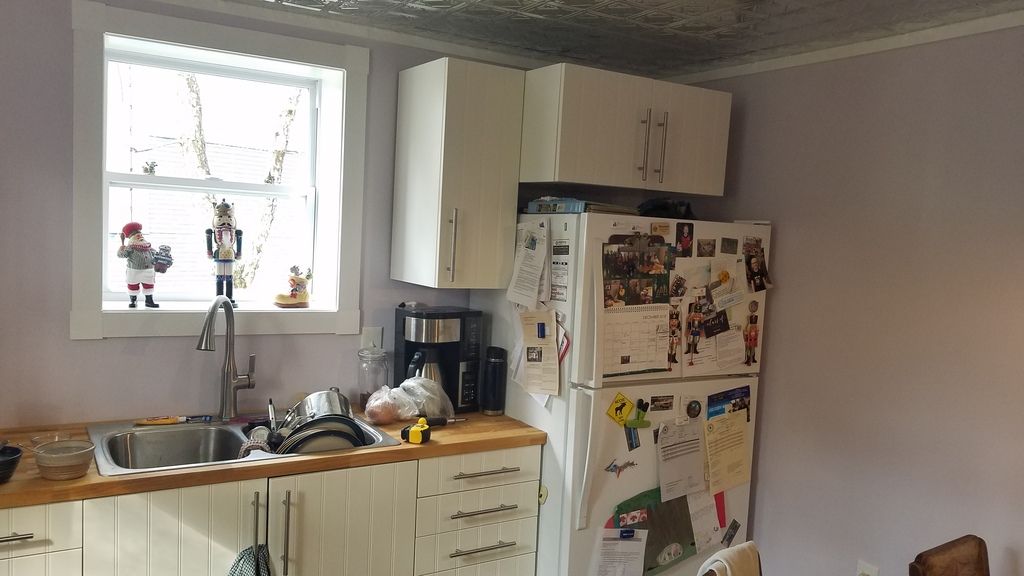
I've had the tile for the backsplash for a couple of months. And the tile saw from the hammer store. I should use them.
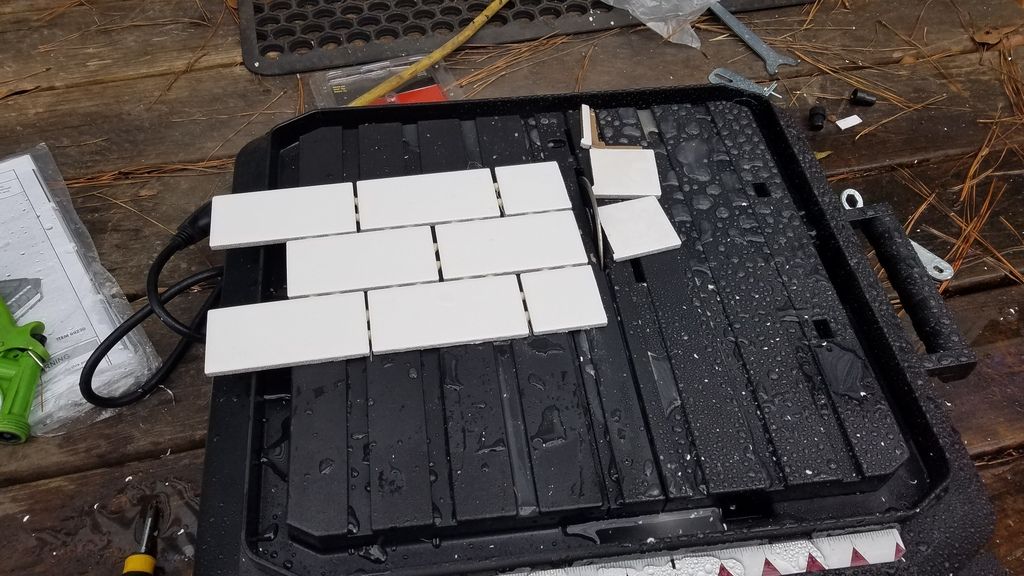
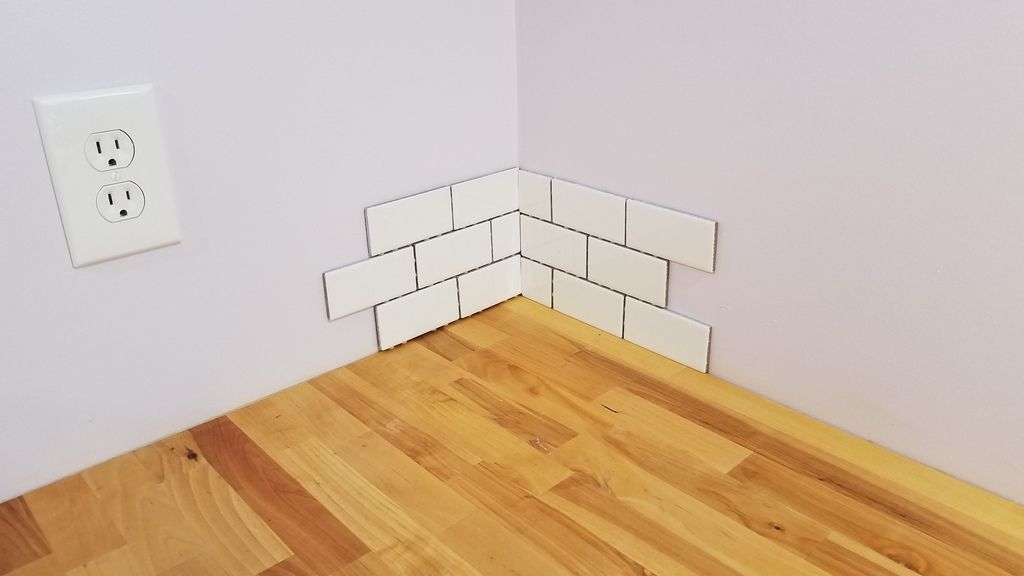
After making a couple of cuts my gut feeling is to go slower. No matter how slow, a bit slower is better. Marking cut lines with pencil seemed to work.
Any other pointers?
In reply to mazdeuce - Seth :
Lay it out on the counter first as whole tiles to make sure you don’t end up with slivers anywhere. Also you can get spacers in the electrical row to push the outlets out as well as some slide in plastic box extensions.
After having done maybe a hundred of these, turn off the breaker for the outlets before you grout. The wet sponge near the outlet got me enough times before I started turning off the power.
Feel free to bother my phone if you need help
In reply to Patrick :
Thanks for the tips. I'll lay it all out and see what I have. The plan is to do the short three row backsplash everywhere but above the sink and the stove where things actually splash. Still working on a few pattern ideas in my head.
In reply to mazdeuce - Seth :
It could be the angle of tge picture, but in the corners you should cut the side on top shorter by the thickness of the tile. Otherwise it appears the tile as it wraps through the corner is longer by the thickness of the tile. The two cities pieces should be no longer than a whole piece. A little shorter is ok until you get to sliver, then I would be moving the layout for balance.
In reply to Fladiver64 :
Yes. I agree. That was just me making test cuts before setting things out and doing crappy cuts on important tiles. Duly noted though. I will plan it out to work visually.
In reply to mazdeuce - Seth :
Been waiting on the splash. Did you pick white or dark grout? Be sure to cover counter tops with construction paper and tape before the messy work.
Also waiting on what and where answer to:
759NRNG SuperDork
12/13/18 7:17 p.m.
What model is the sink faucet..... I like the height above the area below???
In reply to ronniejay :
Haven't picked a grout color. I think we finally figured out how we want the pattern to be so the next step is laying it all out. We should have grout decided by then. The counter will get protected, we really like it so far.
The faucet is a Kohler but I can't remember what the model is. It was an upper mid-range one from Lowes I think. I don't really like the height. There is a lot of extra room for splashing and you need to turn the water volume down to prevent that. Kids make a much bigger mess no matter what. We're getting used to it but I about threw it away in the first week.
Still haven't put up the backsplash. Or started on the second round of the bathroom. Or lots of stuff. But small projects still pop up and somehow I'm getting better at those.
We have a semi-mentally ill dog that's getting older. Part of her brain is significant separation anxiety. She's....better than she used to be, but if she can't see outside when people are gone she loses her mind. She sits on an old cabinet under a window, but as she's aging getting up and down is getting harder. I was going to build stairs but I did some reading and the old dog people suggest ramps for this sort of thing. All right. Time to cut some plywood.
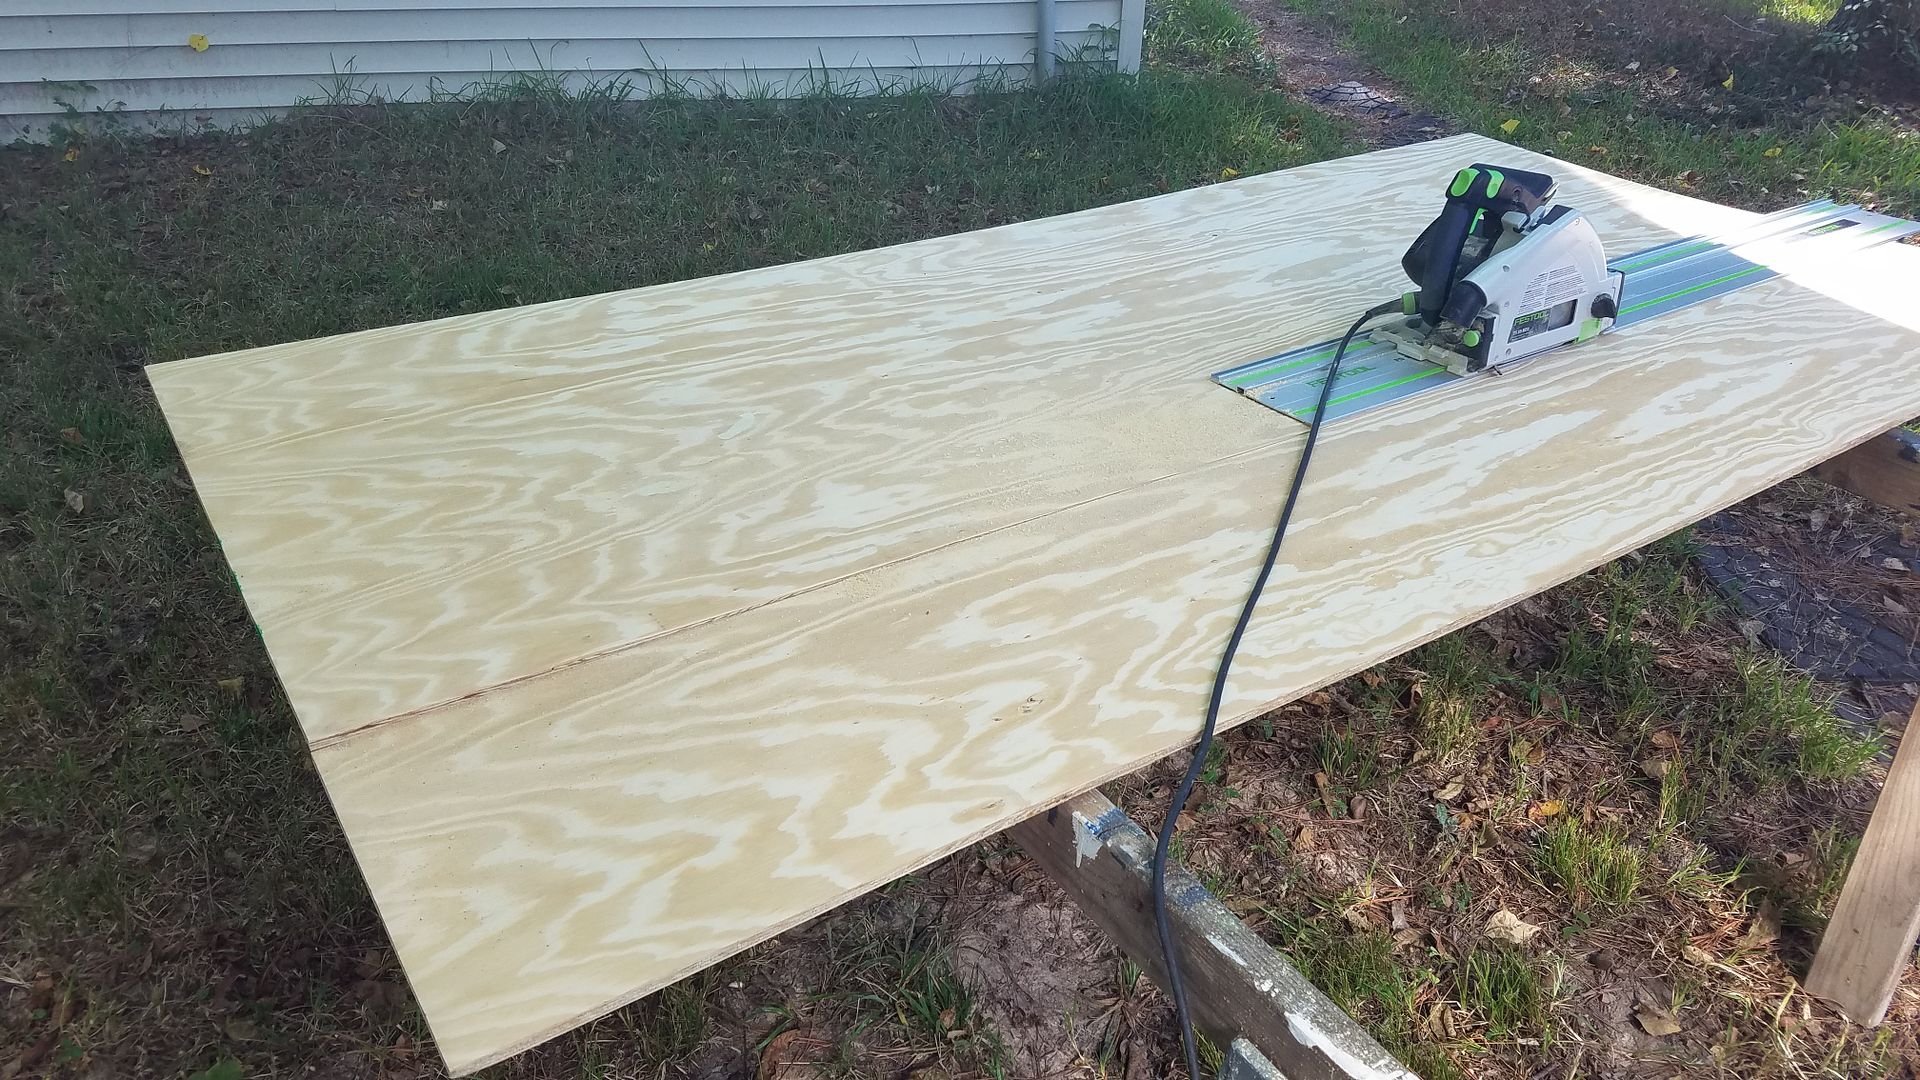
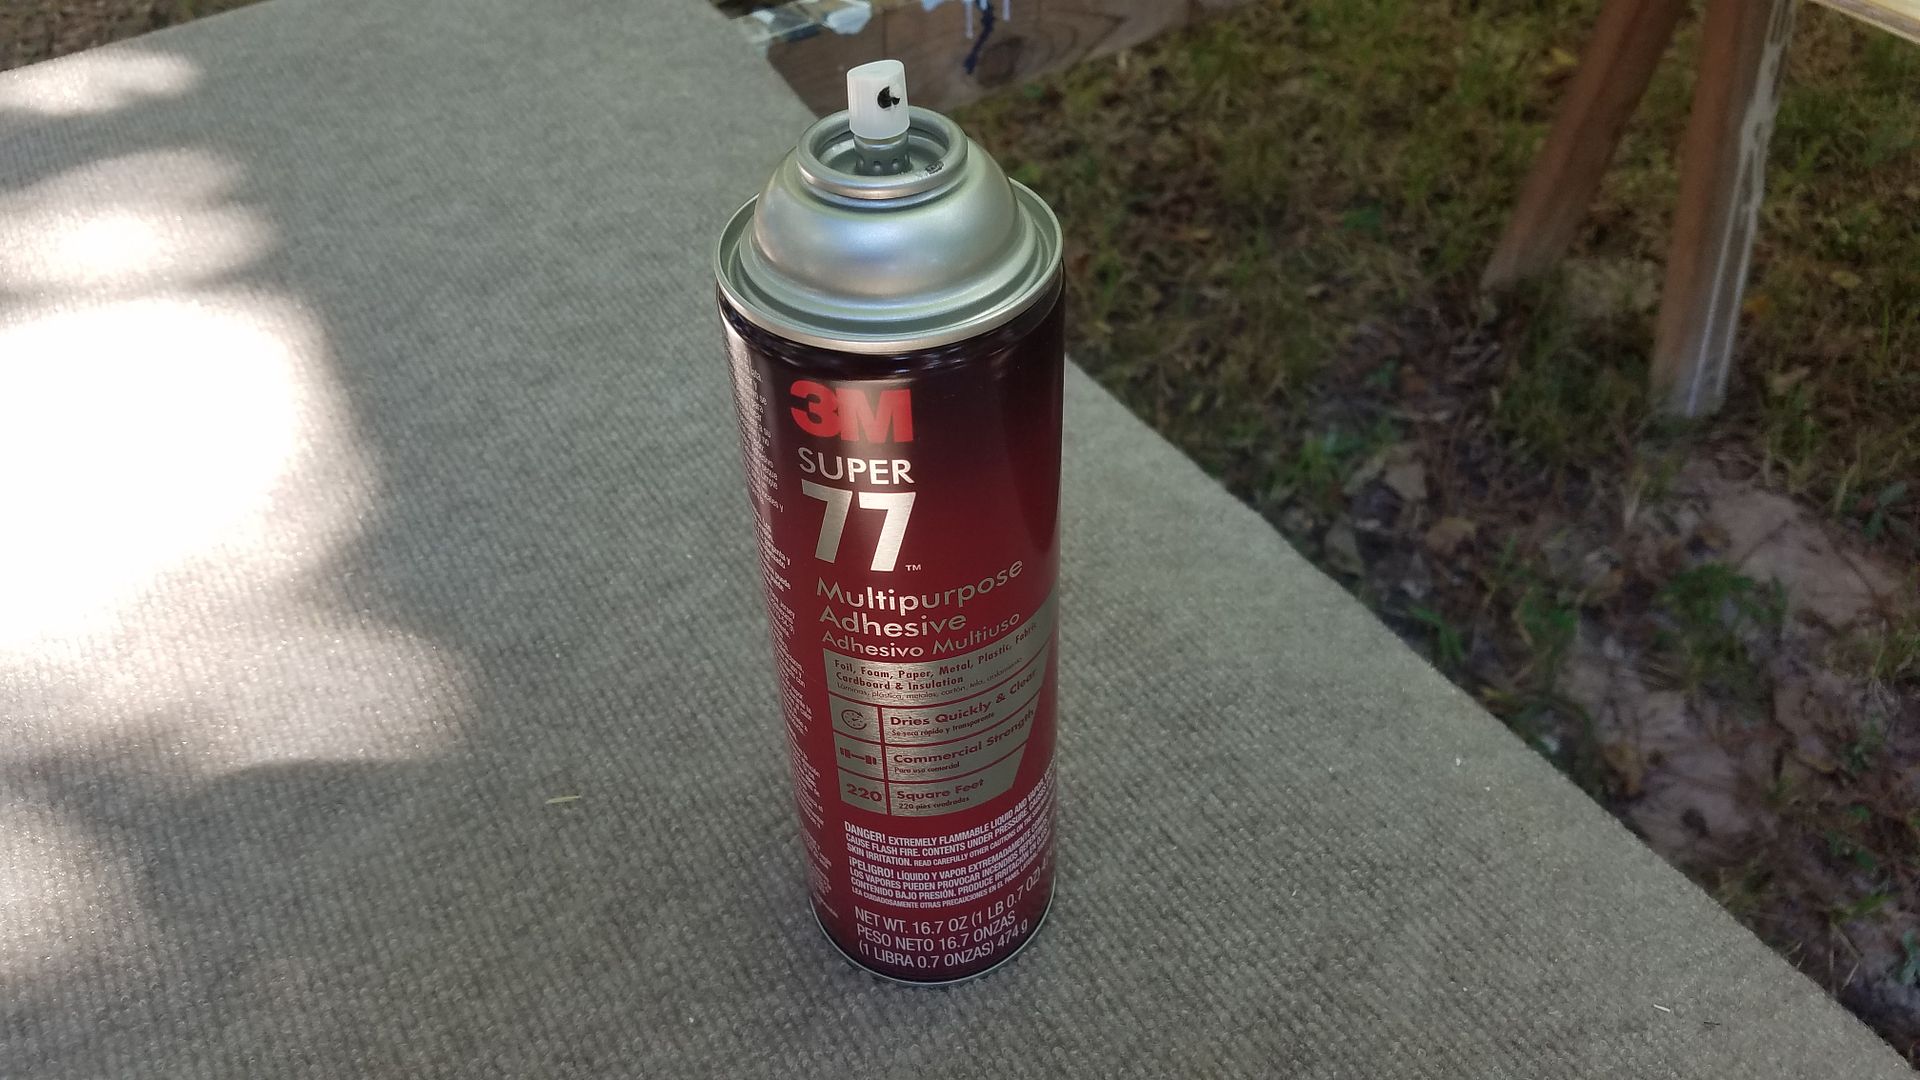
Got out the indoor outdoor carpet that I was going to use in the Subaru and ended up using in the Miata and still a have a bunch of. Traction is important on ramps. Adhesive between the wood and carpet.
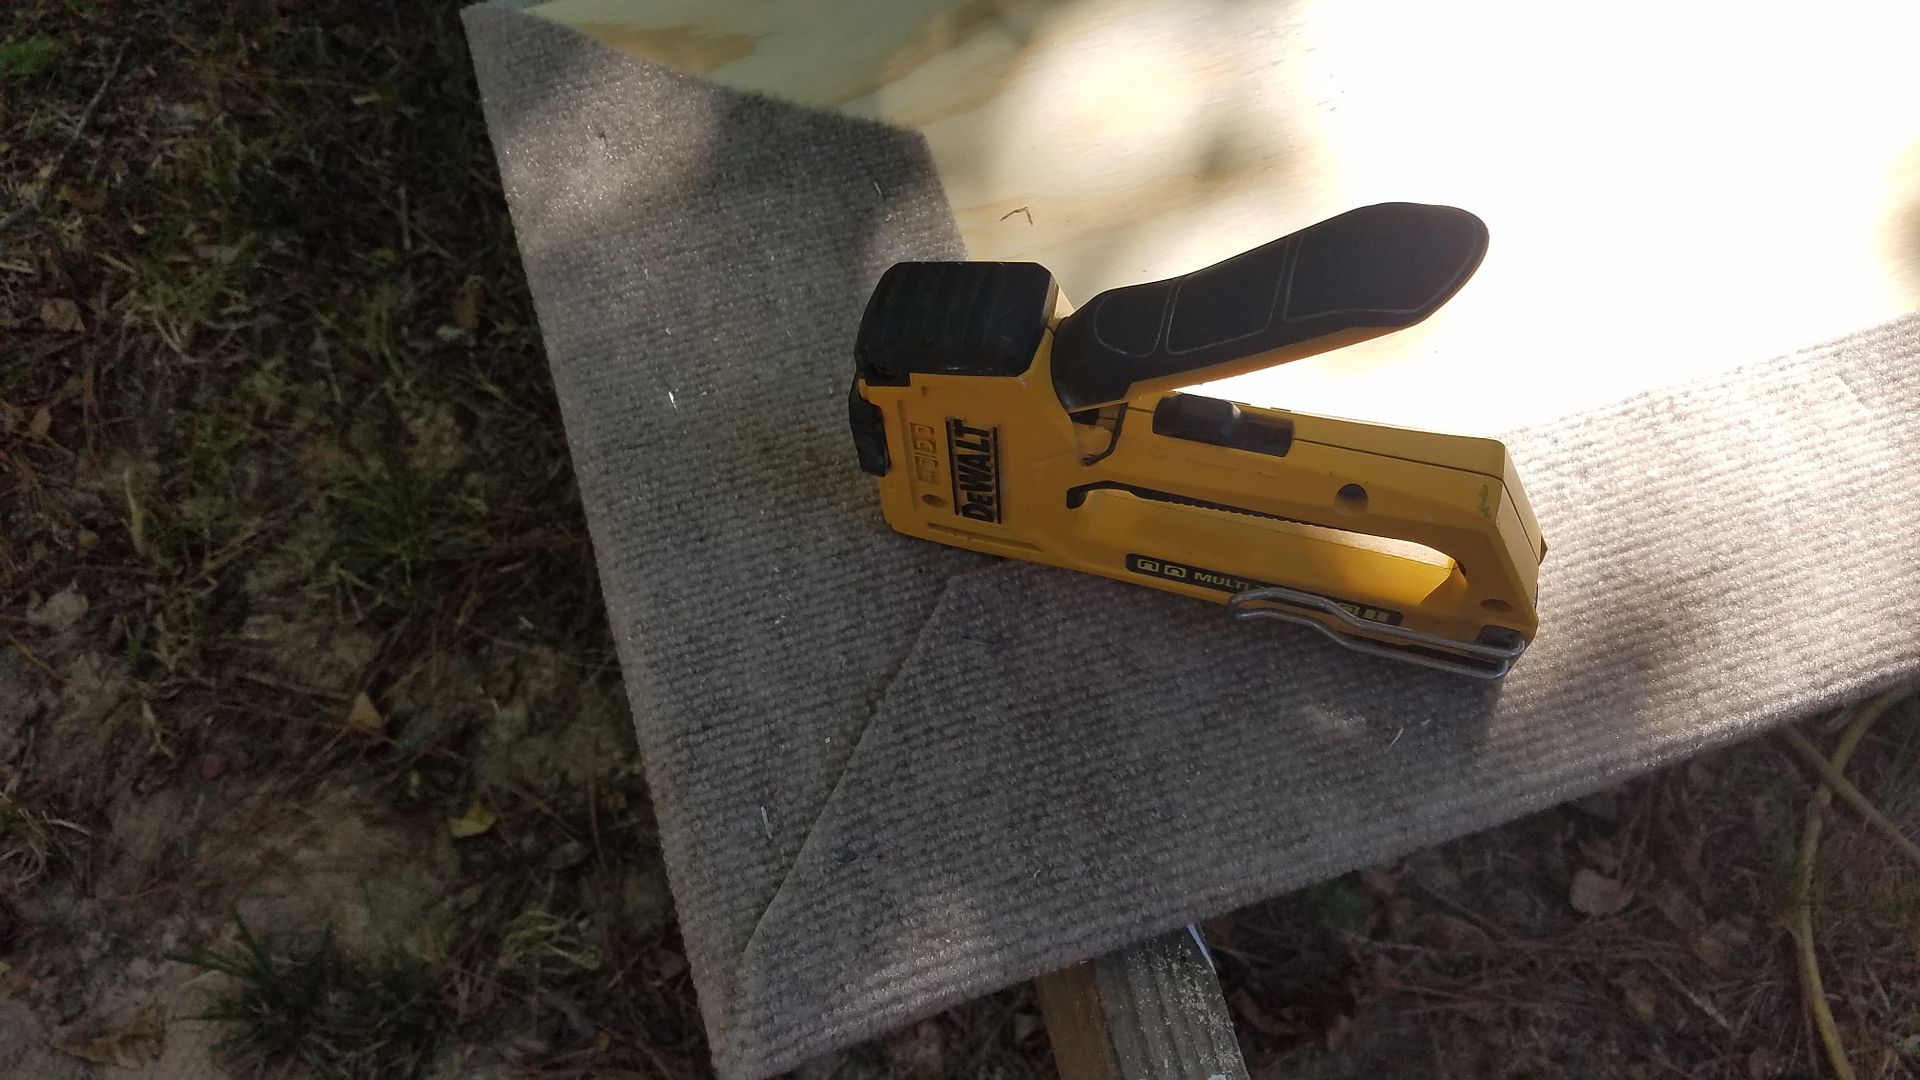
Staples on the back.
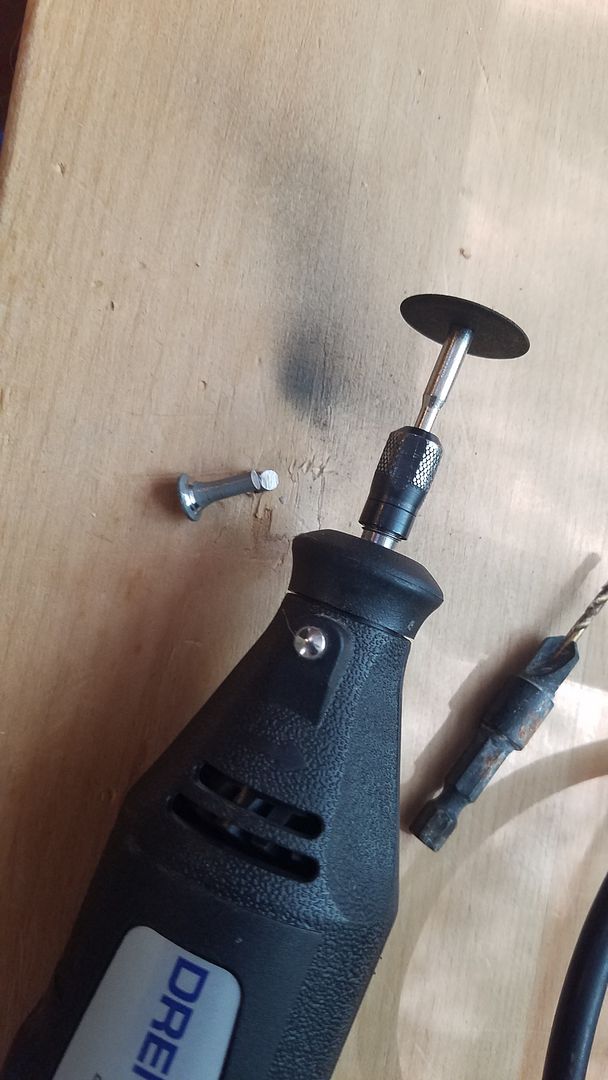
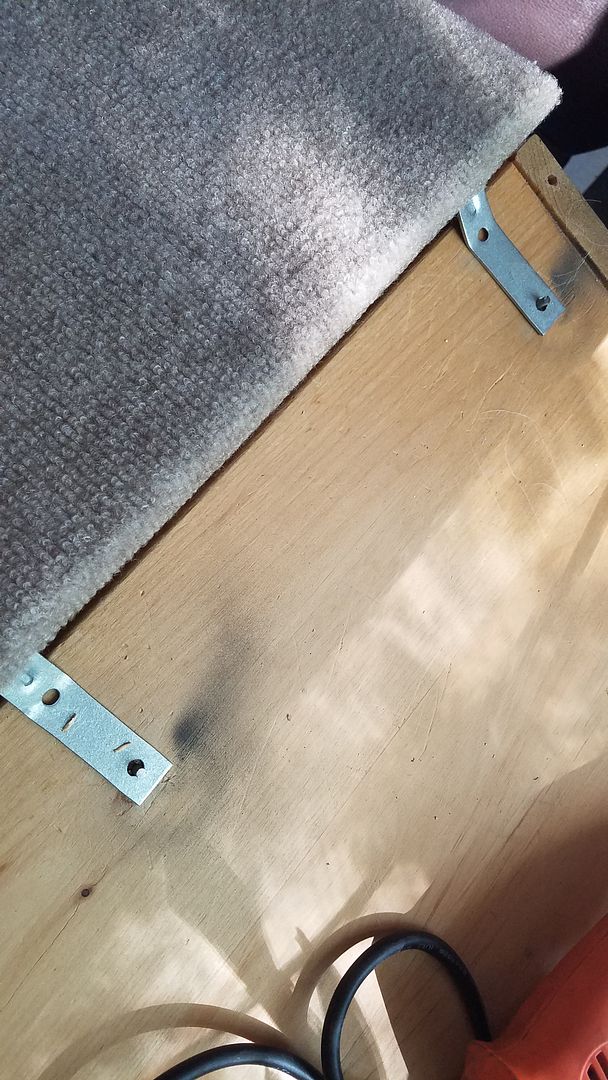
Made some right angle brackets not right angles and to keep the ramp in place I drove in some shortned deck screws and cut the heads off.
Slides on like so.
And here we have it. A ramp that should last as long as the dog and make Mrs. Deuce a happy camper.
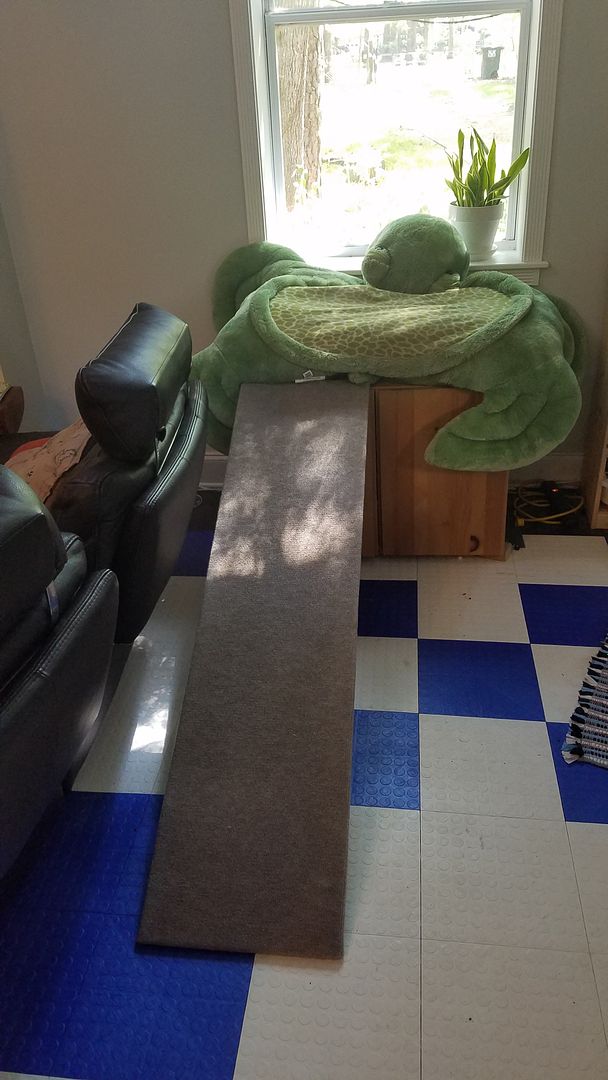
I'm sucking a lot less at making things look fairly professional these days. Yea, it's just plywood covered in carpet, but it's fairly nice looking plywood covered in carpet.
Woohoo back at the garage. I know the feeling of having a dog with separation anxiety. We had one years ago that bonded to my wife and wouldn't let me near her and bark continually for hours if she left the house. Sorry to say when it growled and about attacked me when I came to bed one night, He was out the door and to a new home that weekend. We did find him a nice place with a few other dogs that was out it in central Oregon. So it did end nicely. What I was wondering is your take on the maxjacks you have. I have a 9' ceiling in my garage and have been looking at those mid rise ones for a bit. How do they feel when you get them up to the higher range of the support? Are those the 3500lb or the 5000lb? Thanks for any input.
MaxJax are the greatest thing in the world and everyone with a normal garage should buy them. I have the 5k ones as I bought them to put the R63 up in the air. If you're going to get them, get the biggest ones your concrete can handle. At the top of the travel they feel fine. I'm still weirded out being under a car but I feel the same way when I'm under a 10k two post as well. They held up the R63 for the work it needed and doing that paid for themselves. If you've got the concrete, do it.
I love my MaxJax too, but I think I may be replacing it with a four poster soon if anyone is looking for a used one. I’ve left cars up in the air for months at a time without issue. I bought it to do work, but lately I've been doing less work and need more storage.
I don't think the pad will be a problem as it's 6'' thick at it's thinnest. Were it will be mounted is about 10''. Got a little carried away when I built my garage. Got all the rebar and steel mesh that they were throwing away on the jobsite I was working on at the time. So I have 1/2" bar in a 2x2 pattern and wire mesh tied to that. Inspector wanted to know if I planned to park a tank in my garage. The 5K is the one I'm looking at and if it held the R63 then it should have no problem with my 76 Fiat spider. Might be a bit close on the wifes Q5 but workable. Thanks for the info. If you happen to be within 100 miles of Seattle I may take you up on that Woody. I'm guessing that your not but I could be wrong.
You'll need to log in to post.