
DO NOT USE A GRINDER OR FLAPWHEEL TO CLEAN ALUMINUM PRIOR TO WELDING! You will contaminate the aluminum and will never get a good weld. Use a die grinder with a carbide bit meant for soft materials (it has bigger teeth to keep it from clogging up) and grind away the bad welds. Then use acetone and a stainless steel brush to clean it up before welding. Clean your filler rod with acetone and ensure your Tungsten is clean,clean,clean. Having too much temperature can cause a weld that looks like contamination, too. Ugh, aluminum is such a pain to weld!!!

In reply to loosecannon :
Thanks all for the tips! I've learned to keep the angle grinder away mostly because it does a E36 M3 job at cutting. Are even brand-new flap disks a no-no?
The sheet was cut with a jigsaw using WD4o for lubrication and the cuts dressed on a bench sander (with a fresh belt I thought, but maybe not?). I did clean up the material and filler with acetone right before trying to weld, but it felt like I wasn't doing a great job getting the cut-edge clean. I can't remember if I cleaned the Tungsten or not, but I welded the compressor housing with the same one just before trying to tackle the air box.
I felt like a hero doing the compressor housing; then I was reminded of my place when I tried to weld the air box.
I welded some mild steel right after to regain my spirits. Al does indeed suck to weld.

In reply to loosecannon :
I guess the Air Force taught me wrong when we were repairing nasty aluminum aerospace ground equipment....
In reply to Nukem :
I think you found your problem (wd that is)!
In reply to TurboFource :
Yeah, even after cleaning up with acetone? Anything I can / should do to clean these parts up better?

I clean like crazy, with a dedicated SS brush. Wipe the alloy rod, use acetone till I get a buzz to make sure all is clean then use my Lincoln 180 to try and weld alloy parts with never great outcomes. I take anything to a friend of mine with the same welder and he fires up a cigarette and without so much as a quick SS brush to clean the oxide, creates a stack of dimes.
Disclaimer, he did spend years welding alloy trailers together for a living.
I kinda parked the TIG.
In reply to NOHOME :
Hehe, glad it's not just me.
You could try using heat from a propane torch to "burn" it off and then clean it again. You have to get rid of the blackened and porous mess because it will give you nothing but problems.
When I was in the Air Force they used to mark cracks in aluminum stands for the flight line with red spray paint that got into the crack and into the tubing..talk about a nightmare! Sometimes we even had to create a molten pool with a TIG torch and while it was still molten use a wire brush to flick the dirty mess out of there ... (don't try this ....molten aluminum will burn you and other things)
In the garage I just use 91% Isopropyl Alcohol in a spray bottle to clean before welding, It's cheaper than acetone ....YMMV
Any luck on the welding?
In reply to TurboFource :
Its going to be a couple weeks until I'm able to get back at it. My wedding is this weekend and then I'm immediately away on my honeymoon until basically the end of September.
Congrats!!!
In reply to TurboFource :
Thanks! I'm back and looking forward to a productive Fall.

One of the honeymoon highlights: drove the Stelvio Pass in a gutless (but thankfully manual) 1.0L Fiat 500.
I wish that road was near me!!
I've been spending the day on little jobs, like cleaning aluminum bits and making some quick tabs to connect the oil cooler / intercooler support to this front bar thing

Glad to see you're back at it!
Clutch things...

And test fitting up the turn signal / brake duct doodads I made a while back:

Anyone interested in a T5 hydraulic clutch bracket (designed to use a NA Miata clutch slave, because that's what I had on the shelf and they are cheap, but should work with other similar clutch slaves).
I'm going to at least one laser cut, but the price break is such that If I make 5 they will only cost ~$10 a pop. I'd let them go at-cost to any GRM people. There are a few of similar designs available on the net, but the prices are a bit steep for a simple bracket. I'm also trying to make this as tight to the transmission as possible, which is a bit different from what I'm seeing that is already available.
This results in some slight modifications being needed to the T5 bellhousing for clearance, and the usual modifications to the clutch fork.


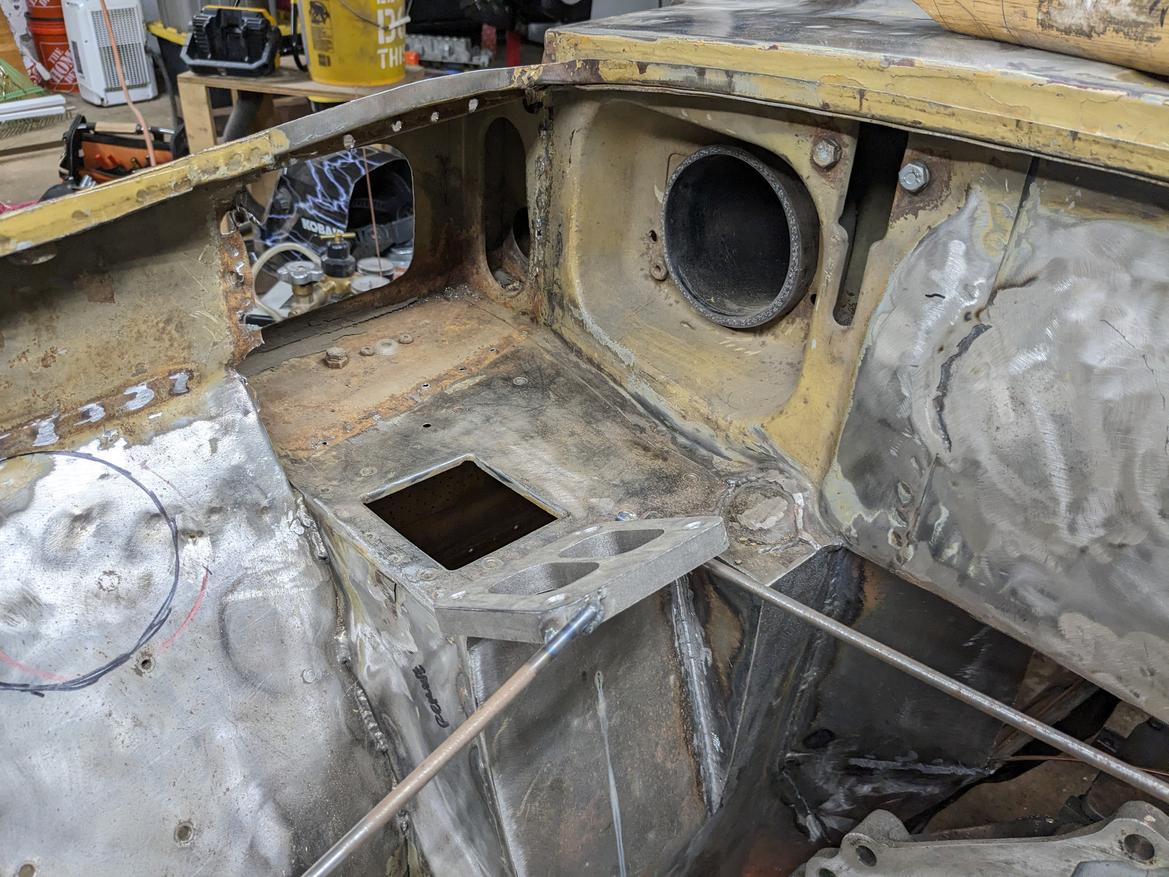
I probably should have added some more bracing before chopping the driver side apart but I didn't and the doors still shut fine, so I'm calling it fine...
I'm not sure any of the material I cut out was really doing anything useful anyway. Lots of rust and at least one previous E36 M3ty sill repair involving a repair section right over top of the rusted out original sill. Nice.
The trunk floor isn't it great shape, so I'm thinking about cutting that out too, because scope creep. I already have to make the panels directly in front of that.
Nice to see someone who is not me carving up MGBs.
In reply to NOHOME :
You are proving a great example and moving at an incredible pace so thanks again!

On the other side of things, I printed a quick jig? fixture? to get the belt tensioner placement pretty close to per my CAD and tacked it up to possibly temporary bracket

More fiddling with the belt drive


I should probably shove the crank back in so that I can make sure this belt length works.
It should per the CAD but I know this is only ending up pretty close to that.

Wow, that routing and tensioner placement looks great. Nice work!
In reply to Shavarsh :
Thanks! I'm pleased. It's all pretty compact. I got pretty lucky with clearance from the alternator to the head and the tensioner to the crank sensor; it's pretty tight but that's perfect.
I need to tie the tensioner bracket to the block somewhere else so that it doesn't just rotate. The water pump bolts are the most likely candidate but I don't love it yet.
I made a bit more room for the turbo. I'll probably add a bit more structure back in later to make up for what I cut out

You'll need to log in to post.


