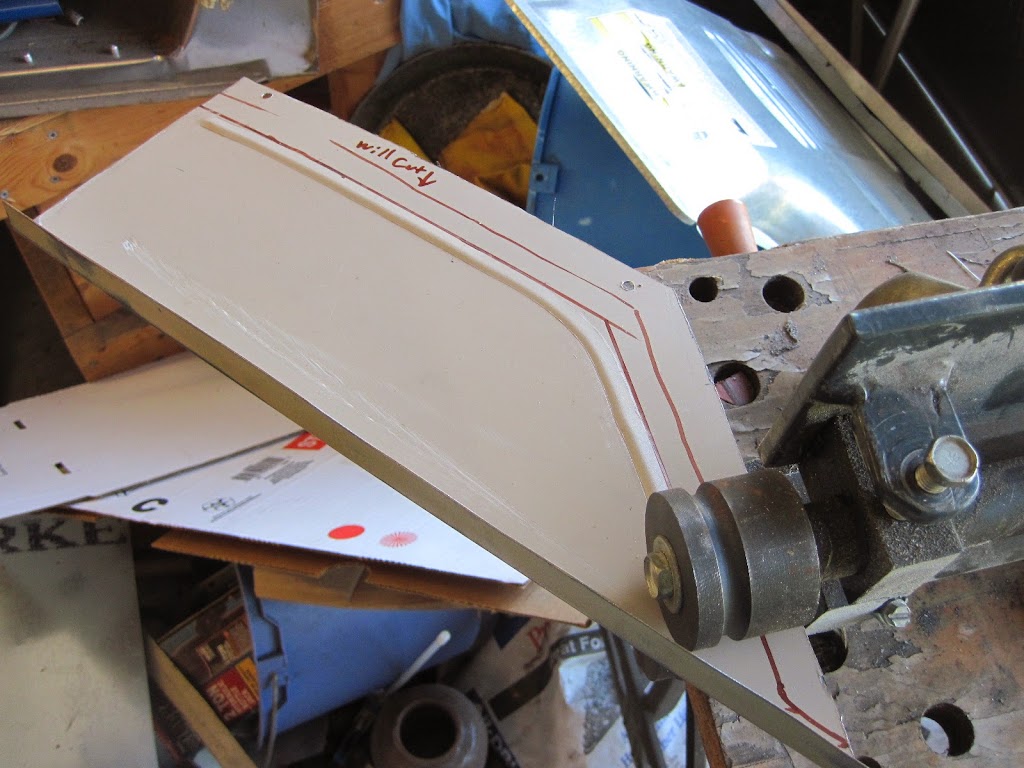
This photo is of the gas pedal test fitting, and was taken while I was waiting on Dad to try it and make sure everything works for him.
 (also note vertical braces at back of brake pedal bracket, attached right where nocones indicated in his awesome CAD/CAM bracket design. His design called for diagonals, but I had a perfect vertical surface to attach them to just a few inches away.)
Dad came over and tested out the pedal position again, this time with both pedals in place. He has room to use both pedals comfortably (i.e. my gas pedal modification was successful, and the estimated position was correct.) I welded up the notches in the gas pedal arm, ground the welds pretty, and rattle canned the gas pedal assembly black. Tomorrow morning I will hit it with another coat of paint and put the rubber pad back on the pedal.
I can then start on the pedal box. When the box is done, I'll be back to the point that I thought I was at on Aug 27; i.e. planning the firewall installation.
The second coat of spray paint is on. Tomorrow I will put the rubber pad back onto the pedal. I still need to trim the extra metal off of the other side of the bracket before we can weld it to the chassis.
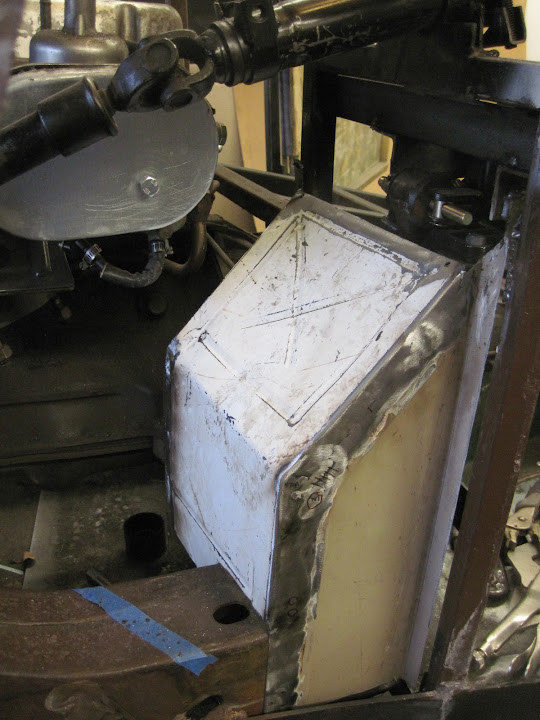
I finally made a decision about the pedal box and got up the nerve to try it. My first attempt is being made using the back of a clothes drier. It has the right shape, but is not deep enough. I'll need to cut it apart so I can change the angle at the top and add several inches of metal
 The galvanizing had to be stripped off to avoid making any white smoke. (Cancer sucks.)
 I had to hammer the dimples out of the flanges.


Here's one side of it, partway done.
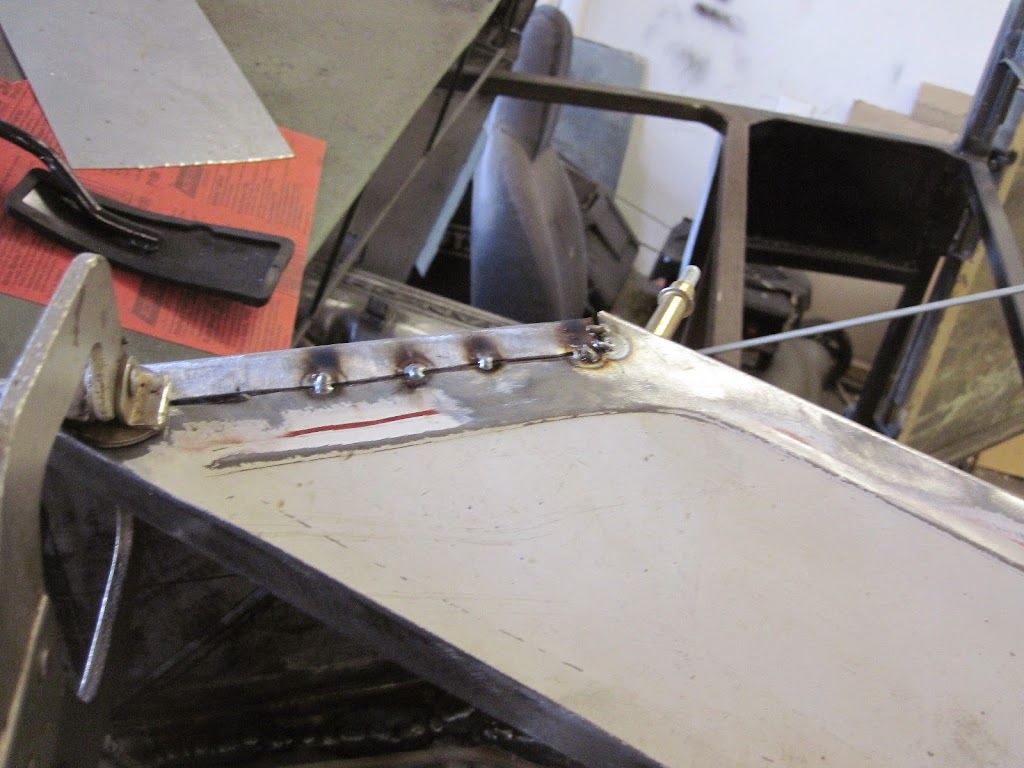
 While talking to Andy Nelson at the challenge, I mentioned the burn through and oil canning problems I was having with sheet metal. He said to use thinner wire. This was done with 0.025 (I normally use 0.030) and the results are definitely better. ....not up to what they should be, but more definitely more durable with less burn through.
I'm still getting distortion, but the welds are much more solid than most of my sheet metal welds. I now think my fitting is causing most of my sheet metal problems. (i.e. it is hard to make a consistent weld when the sides of the seam waver instead of being a uniform distance apart.) I need to be more careful and precise when cutting the metal I'm going to work with. The one straight seam that I had welded nice and smooth.
Incidently, I've decided to get the car running without fenders or a hood. I'll worry about that stuff later. This will get me running faster. I'm convinced that the project will be a lot less frustrating after the car can move under its own power. It will also give me time to look for another water heater to build a new hood....I messed the other one up.
After the pedal box and firewall are in (which will require engine removal), I'll redo the bottom of the windshield and then put rivet the cowl into place for good. I'll also finish up some welds on the underside of the transmission tunnel while the engine and transmission are out.
Great!
Thanks. I still need to get the seams ground down and build the rest of the box.

JoeyM wrote: Incidently, I've decided to get the car running without fenders or a hood. I'll worry about that stuff later. This will get me running faster. I'm convinced that the project will be a lot less frustrating after the car can move under its own power. It will also give me time to look for another water heater to build a new hood....I messed the other one up. After the pedal box and firewall are in (which will require engine removal), I'll redo the bottom of the windshield and then put rivet the cowl into place for good. I'll also finish up some welds on the underside of the transmission tunnel while the engine and transmission are out.
Good call, and keep it up

Sounds like a good plan. How thick is the appliance metal that you are using?
Went to an MSCC meeting last week. Got scolded for not working on car. (Deserved it.)
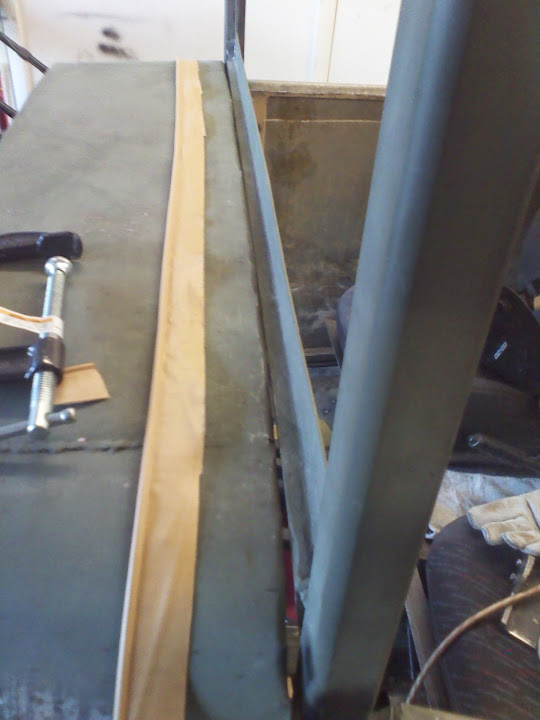
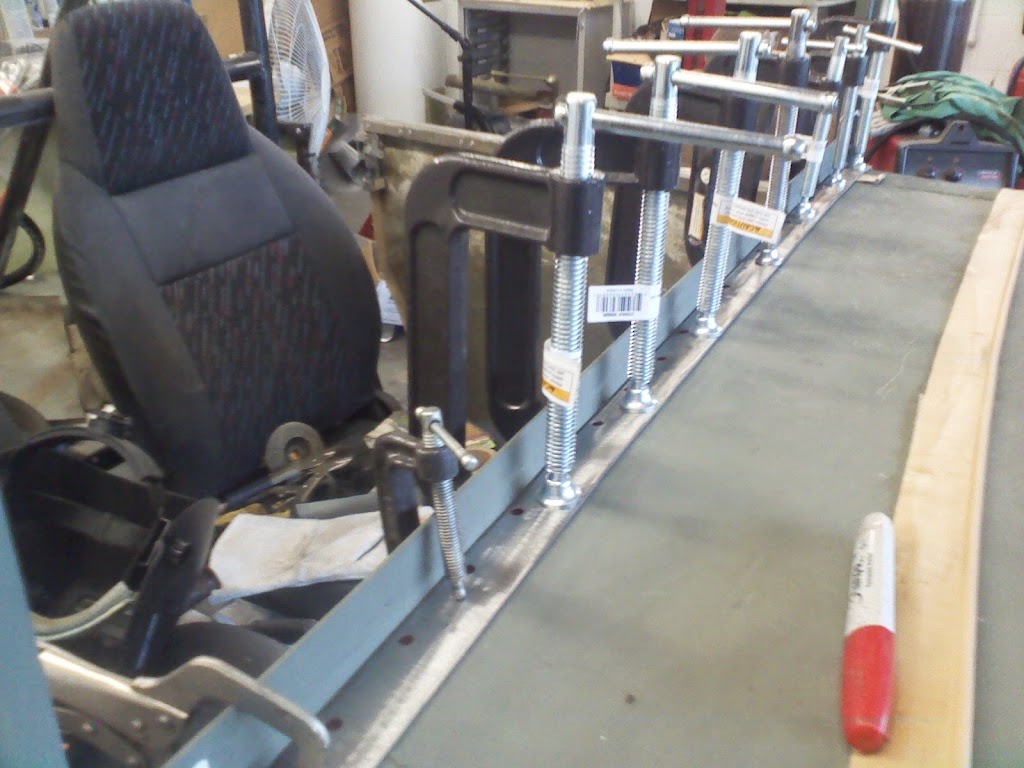
This is the latest attempt at the pedal box. It has a lot less oil canning than the one above
This time I used a 1960s Sears Goldstar Freezer for most of it (even thicker than a washer/dryer), with 024 wire (Thanks for the tip Wheels777) and a whole mess of sheet metal clamps. The side facing the camera is from a washer stand (the same one I used for the vertical sides of the cowl.)
I also tried to make sure any seam on it was within 1" of a bend or bead (i.e. where the metal was stiffened) as a way to reduce oil cannng.

Lookin' good Joey! ![]()
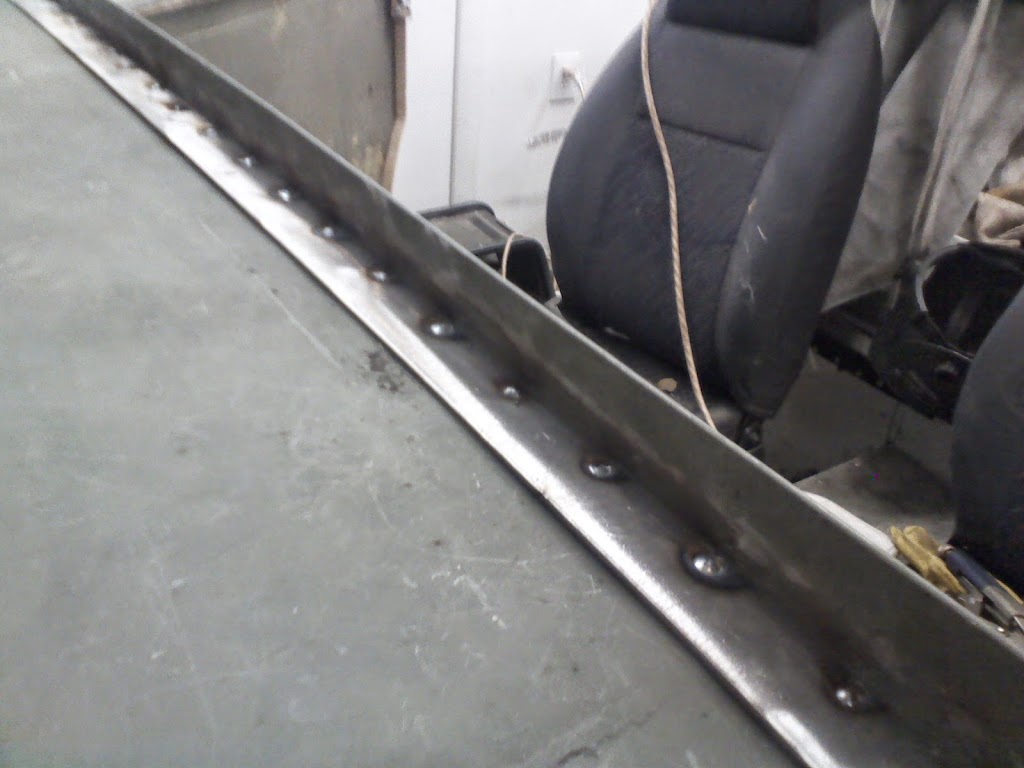
Thanks. This is what I meant about keeping the seams between a bead and a bend
What kind of bead roller is that, and how do you like it?
harbor freight special. it works great on thin stuff, but has a bit more flex than you want on thicker sheet metal. my only complaint is that careful work takes two people...one for propultion and one to guide the workpiece. OTOH, it is cool to look at the bead that spans the door, hood or rear quarter panels and know that my dad and i did that together.
Good to know, I have a big sheet of 20 gauge steel to work, so I may pick one up
I pulled the engine and transmission out today so I could sit in the engine bay to work on the pedal box. I also cut some oil drip pan to use as a cheap metal template as I mark where to cut the firewall for the steering column hole and the pedal box. It took the whole day to clean up the garage enough to do that. ![]() On the bright side, it's now easier to walk around in the garage.
On the bright side, it's now easier to walk around in the garage. ![]()

The clean the garage part is where I always seem to get stuck. ![]()
Mine is a absolute disaster right now.
Trust me, I understand ![]()
welded the top onto the pedal box. the welds looked ok, but I made a mistake measuring....will need to cut part of it up and redo. Dad came over and started cleaning up the engine while I was working. We also looked at how to fix the place where the window frame and the cowl meet. The gap there is uneven and in some places is too large to cover via welding. Dad may have come up with an easy fix....modifying the 1/4" rod frame of the upper cowl.
Dad came over this a.m. before I had to go to work. We cut the cowl frame and rewelded it about 1/4 shorter. (i.e. Dad's plan.) It seemed to work really well. Next up....fixing the lower side of the windshield frame.
It's a neato father/son project, keep that up.
Thanks. I agree that it is nice to work on the car with him.
nasty looking irregular gap that in a few spots is too wide to hide with welting.
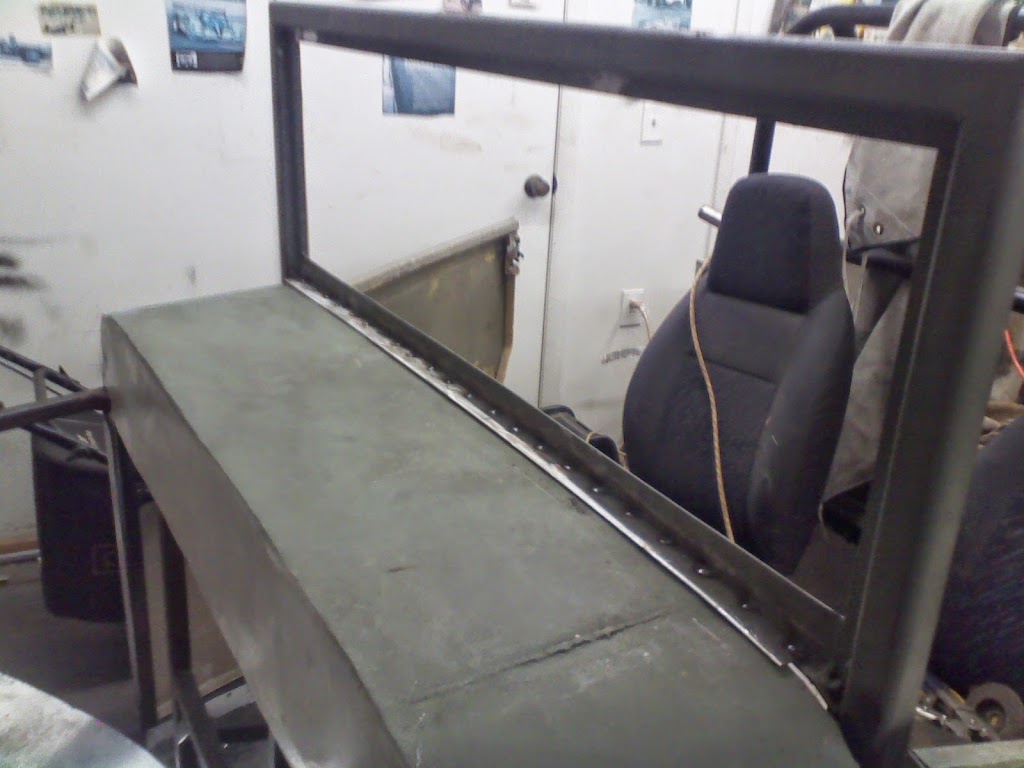
I made a wider piece to hide my fabrication sins (i.e. to cover the gap.) The back of the cowl will now fit UNDER the flange at the bottom of the windshield frame instead of butting up against it.
It still needs to have the welds ground down, have the side pieces made, and have the gaps filled, but I'm already feeling like this is a big improvement.
Earth Day: An excuse get my butt back out in the garage and play with my discarded appliances.


I'm no longer trying to set the car up for multiple drivers and am now using the Colin Chapman "if your body dimensions don't match mine, build a different car" school of car design. (i.e. some difficult decisions were made r.e. my health, my parents'health, intended use of the car, etc.)
The old brake assembly is out, and I've bought a new one. Still Willwood, still dual master cylinders, still the same diameter....just traditional front-mounted cylinders instead of rear facing ones. The new bracket to mount the brake pedal will be about as sophisticated as a hammer; I stuck some angle iron to some plate. Photos later.
I'm guessing there are a few questions, so here's a FAQ
I thought you were dead
Nope, still alive
Where have you been instead of here
working, mostly. I also took a scuba refresher and began diving again, and started walking a few miles most days of the week in an effort to become a little fitter. (Cause and effect, BTW)
What have you done on the car
Nothing other than what you see. I literally walked away from it for six months....I'm trying hard to keep things together at work, and has to take priority.
You'll need to log in to post.