In reply to nocones:
Awesome progress! Are you driving Russ' car at Lincoln?
Rear bulkhead is complete. It's made of way to many small fiddly pieces. Here you can see the hole I left for diff removal. 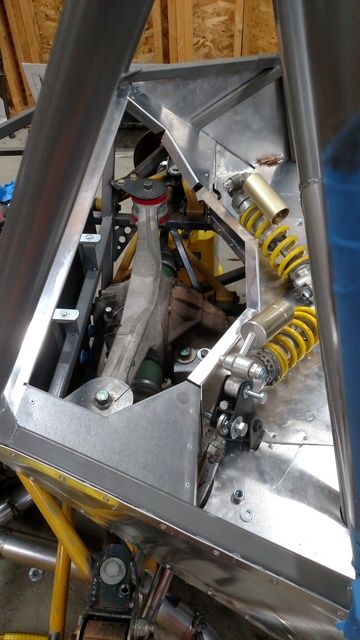
And here it is complete with the cover. I riveted in small pieces of steel to the aluminum to reinforce the edges where joints were and provide a surface for he TEK screws to seat in.
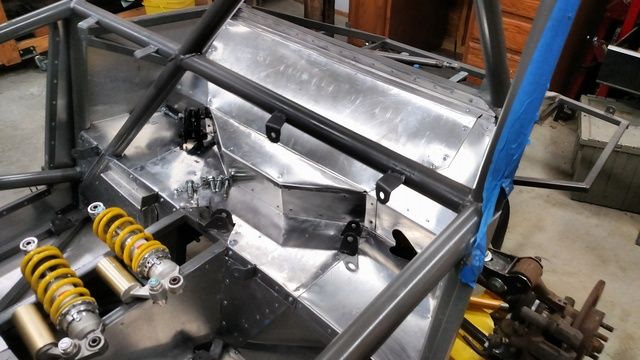
And finished the scuttle panel. This worked really well and was surprisingly simple/straightforward. It is 3 pieces that overlap with the stock firewall panel. I used my friend the TEK screw to secure the aluminum. From the frontside it looks smooth.
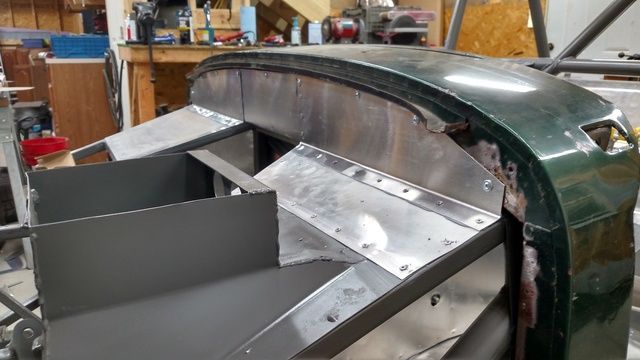 From the back to can see that it is floating in front of the frame by about and inch.
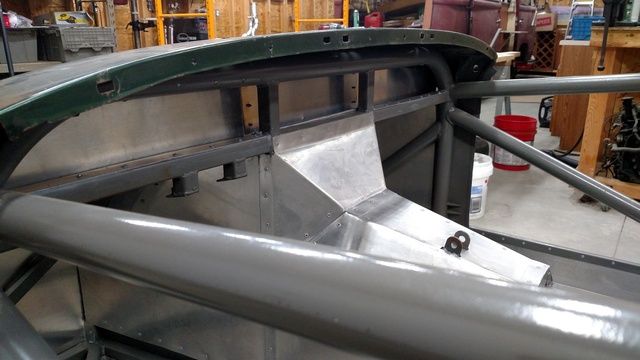 The only remaining aluminum panels will have to wait until the car is more assembled. The tunnel top requires installed engine and the brake cover requires installed/adjusted brakes so I am done with aluminum panels for now. Next shop time will be suspension reassembly the brake master cylinder install. I will then work on brakelines. So probably boring pictures for a while.
Very cool Daniel, It'll be awesome when this hits the course again. Was it around '01 when you first yanked out the stock drivetrain?
Back from nationals. Overall I Had a good trip. I wish I had the MG but it was nice seeing the D/Emod people and their cars. I got to talk to many of them and see the competition. Everyone was nice and approachable and I'm excited to join the class. Next year I will be there with the MG for sure.
I drove a C5 Z06 in AS. Given that I had only driven the car 1 event (my only event this year) before Nationals I am pleased with how I did. I had 6 clean runs and was only ~.75 seconds out of trophies.
Work on the MG continues. No pictures today but I do have an update. Brake lines are ran and the system is bleed. I final assembled front and rear suspension so the suspension is ready to go. I've also replaced the flywheel surface (racing beat aluminum flywheel with replaceable insert) and final assembled the engine/trans. Next up is to assemble the intake and plug all the holes in the engine.
Remaining prior to running is.
1. Install engine
2. Finish weld exhaust / install.
3. Run all electrical
4. Plumb fuel system.
5. Install radiator/oil cooler.
6. Fill with fluids.
7. Install seats/harnesses.
8. Align.
9. Go Racin
And now boring pictures.
I got the accelerator all hooked up. I ended up using a Miata pedal bent with the original MG pedal welded on. I attempted to purchase a 1996 Miata throttle cable from O'Reilly and ended up with some wierd thing with a 2 hole rubber flange and metal bracket. It's a Pioneer CA-8896 and is a high quality cable but it most definitely is not for a Miata despite it being listed everywhere as for a 1994-1997 Miata. But I'm not building a Miata so I was able to use it. Both ends of the cable as well as the sheath/cable length were correct so I was able to use it to attach my Miata Pedal to my RX-7 throttle.
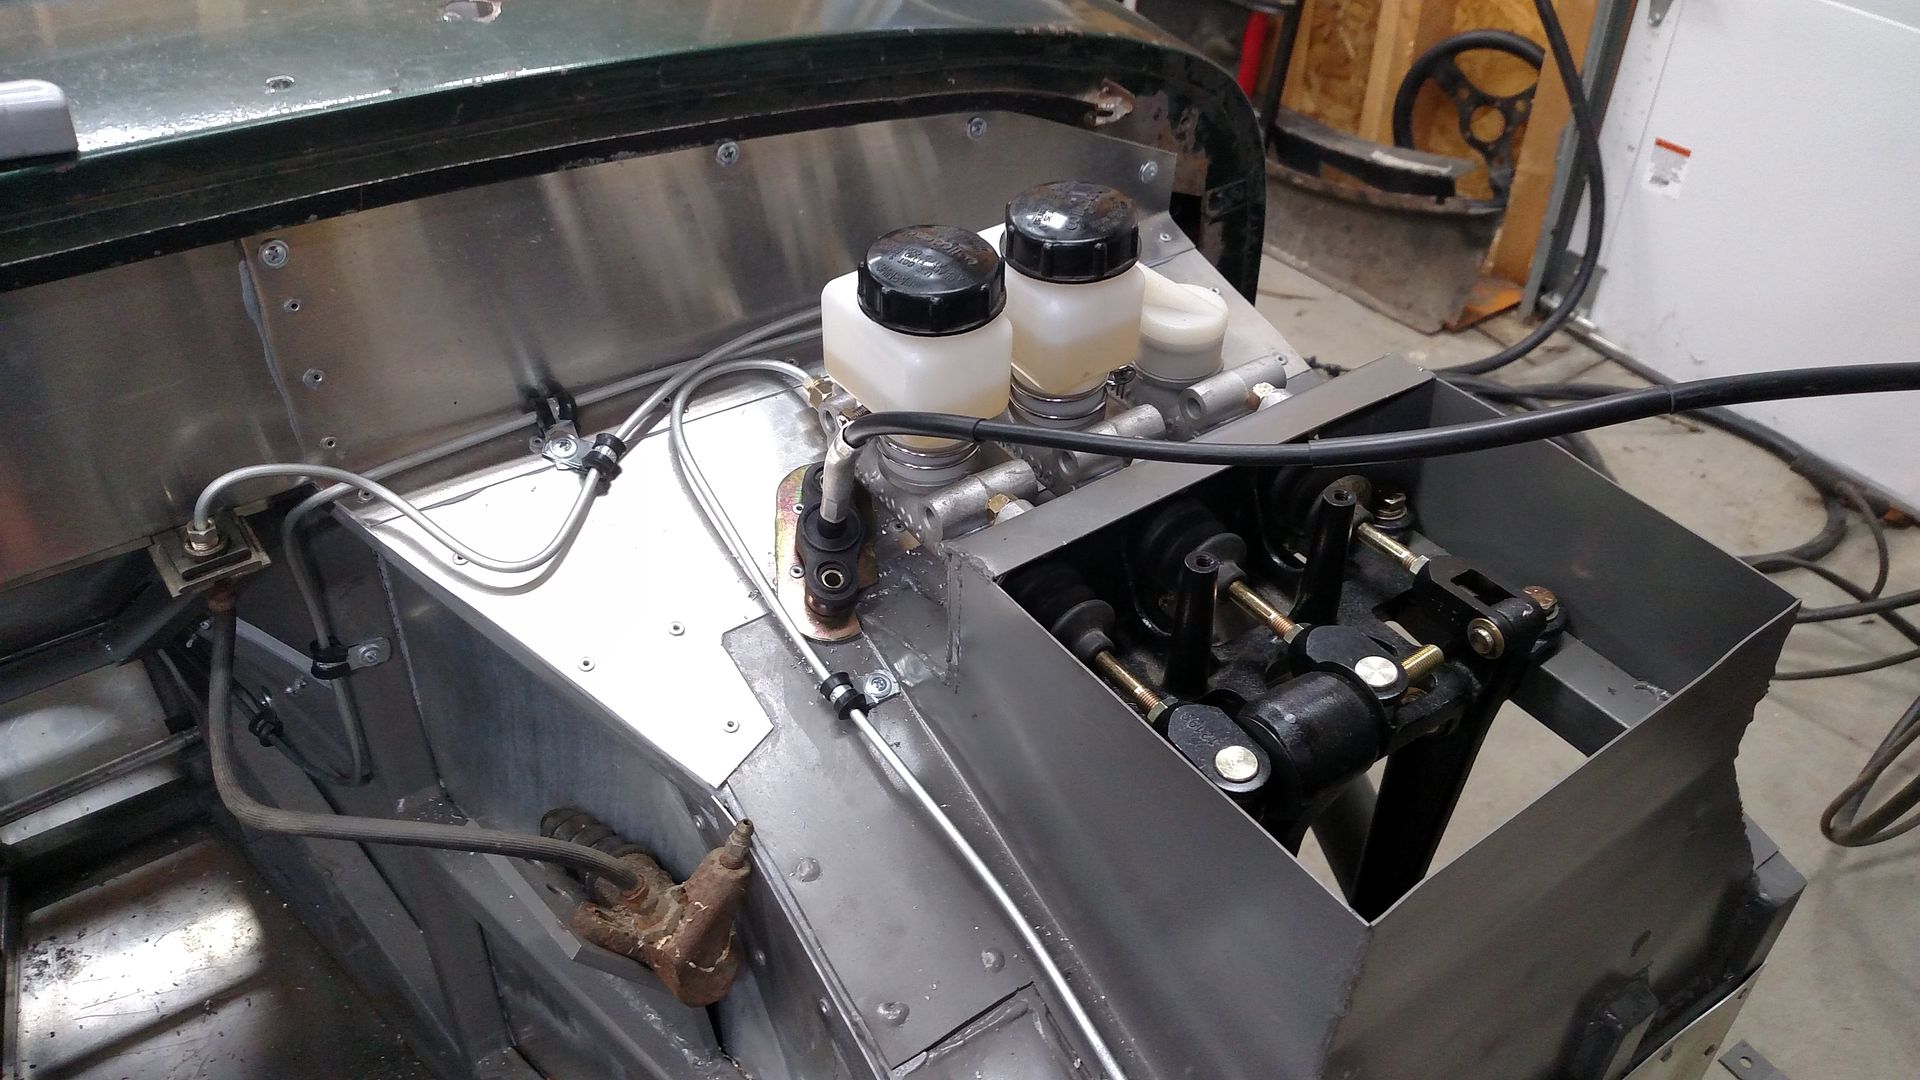 Great Success. The pedal is a bit long/wierd shaped so the motion is a little strange. I will likely eventually do something different to do a floor hinged pedal but for now it works and It seems heal/toe will be doable.
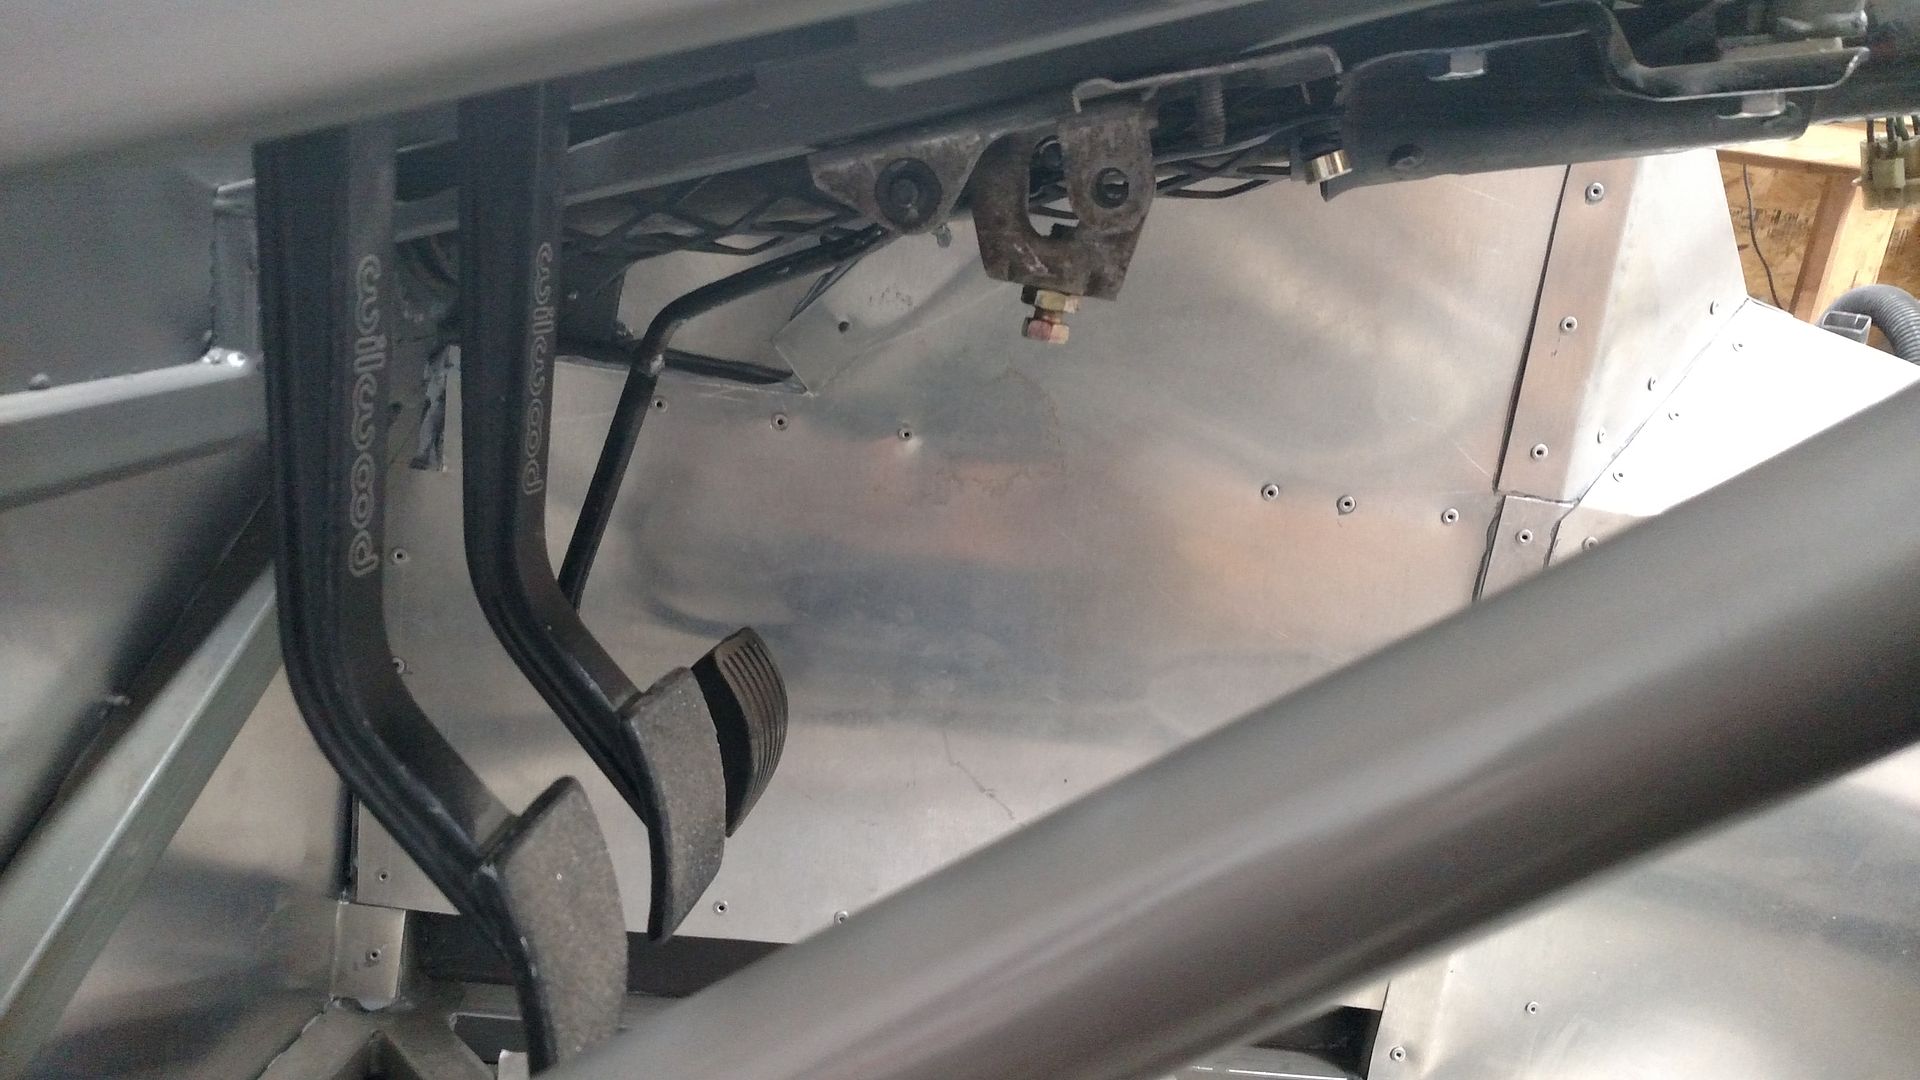 See I promised boring pictures.
Has anyone ran fuel lines through a tunnel with a floor? I'm wondering if I should run the lines through a metal tube that runs the length of the floor pan. That way if a line were to leak the outer tube would direct fuel away from the tunnel. Seems safest but not sure if necessary.
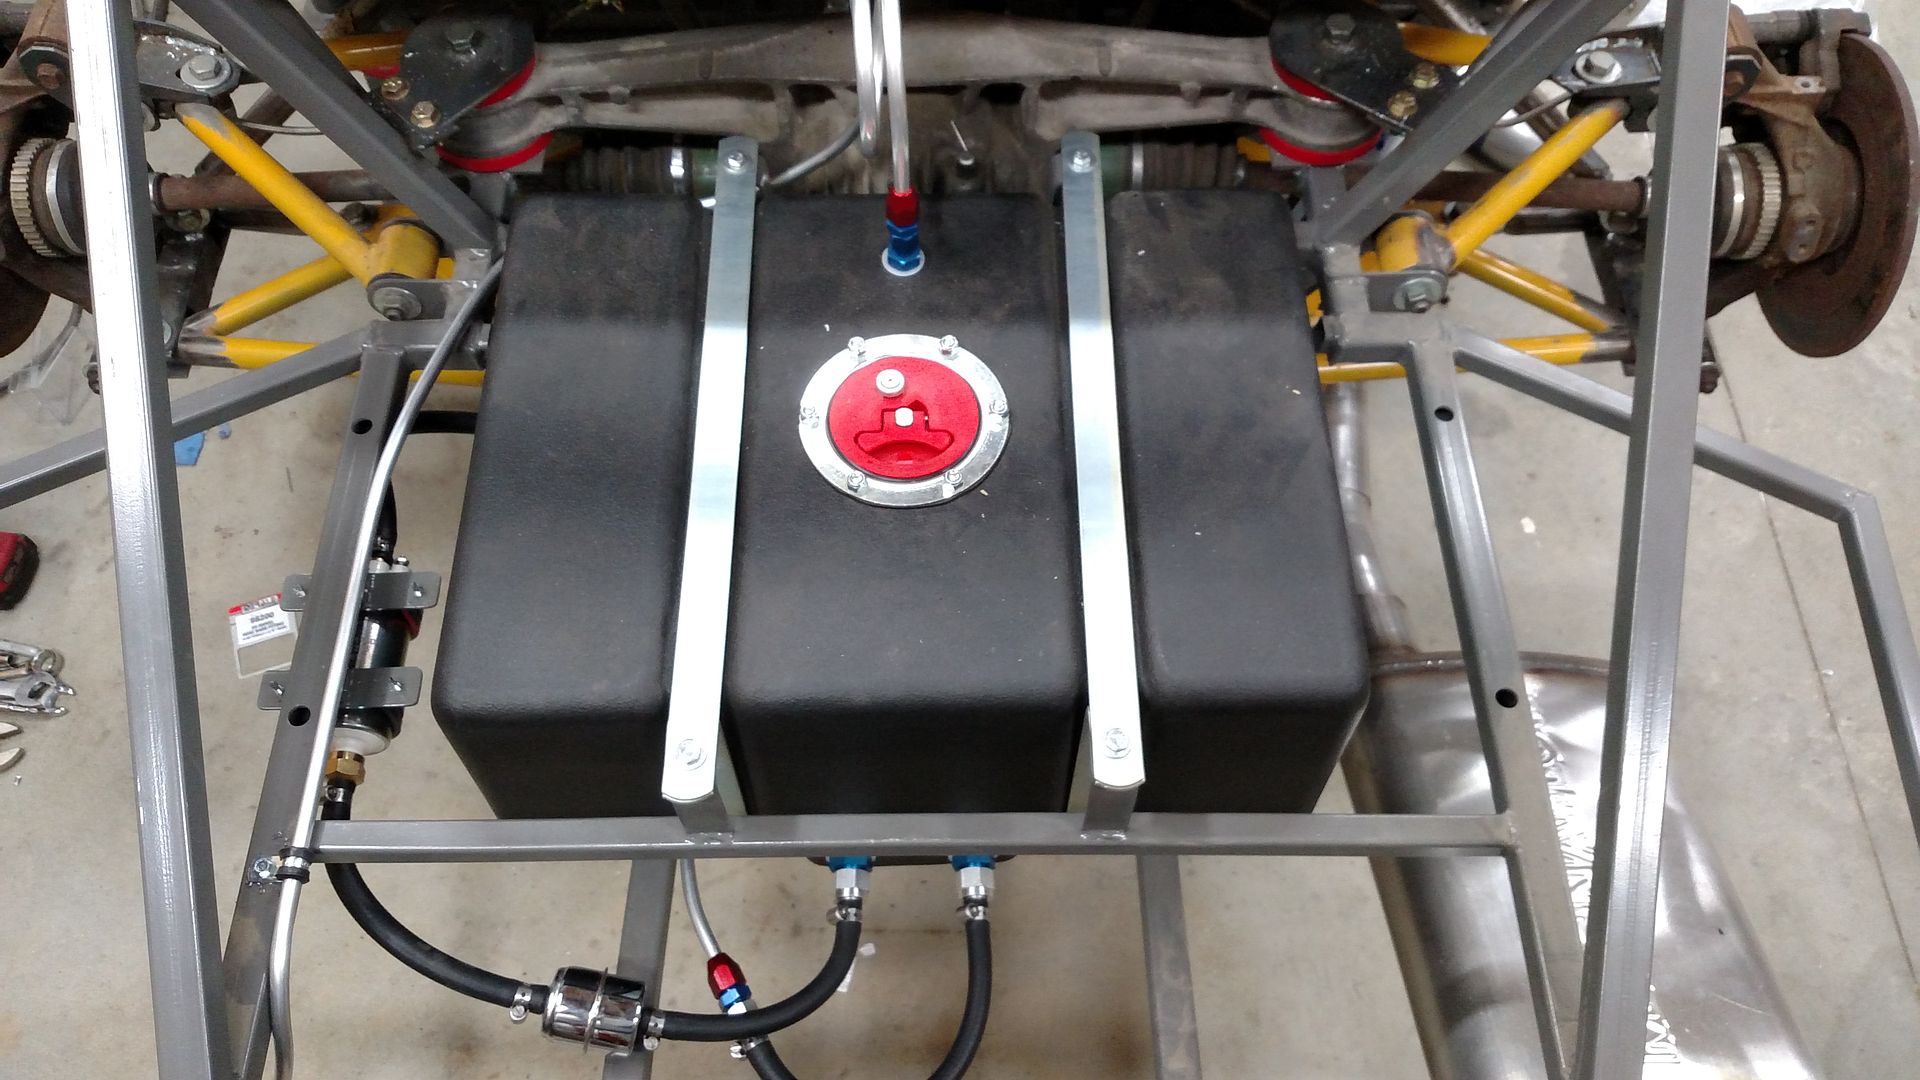 Fuel system is complete. I have no idea how to run the vent so I did what the internet showed. Fuel pump mounting bracket is just some 1"*.125 strip welded to the bottom of a tube.
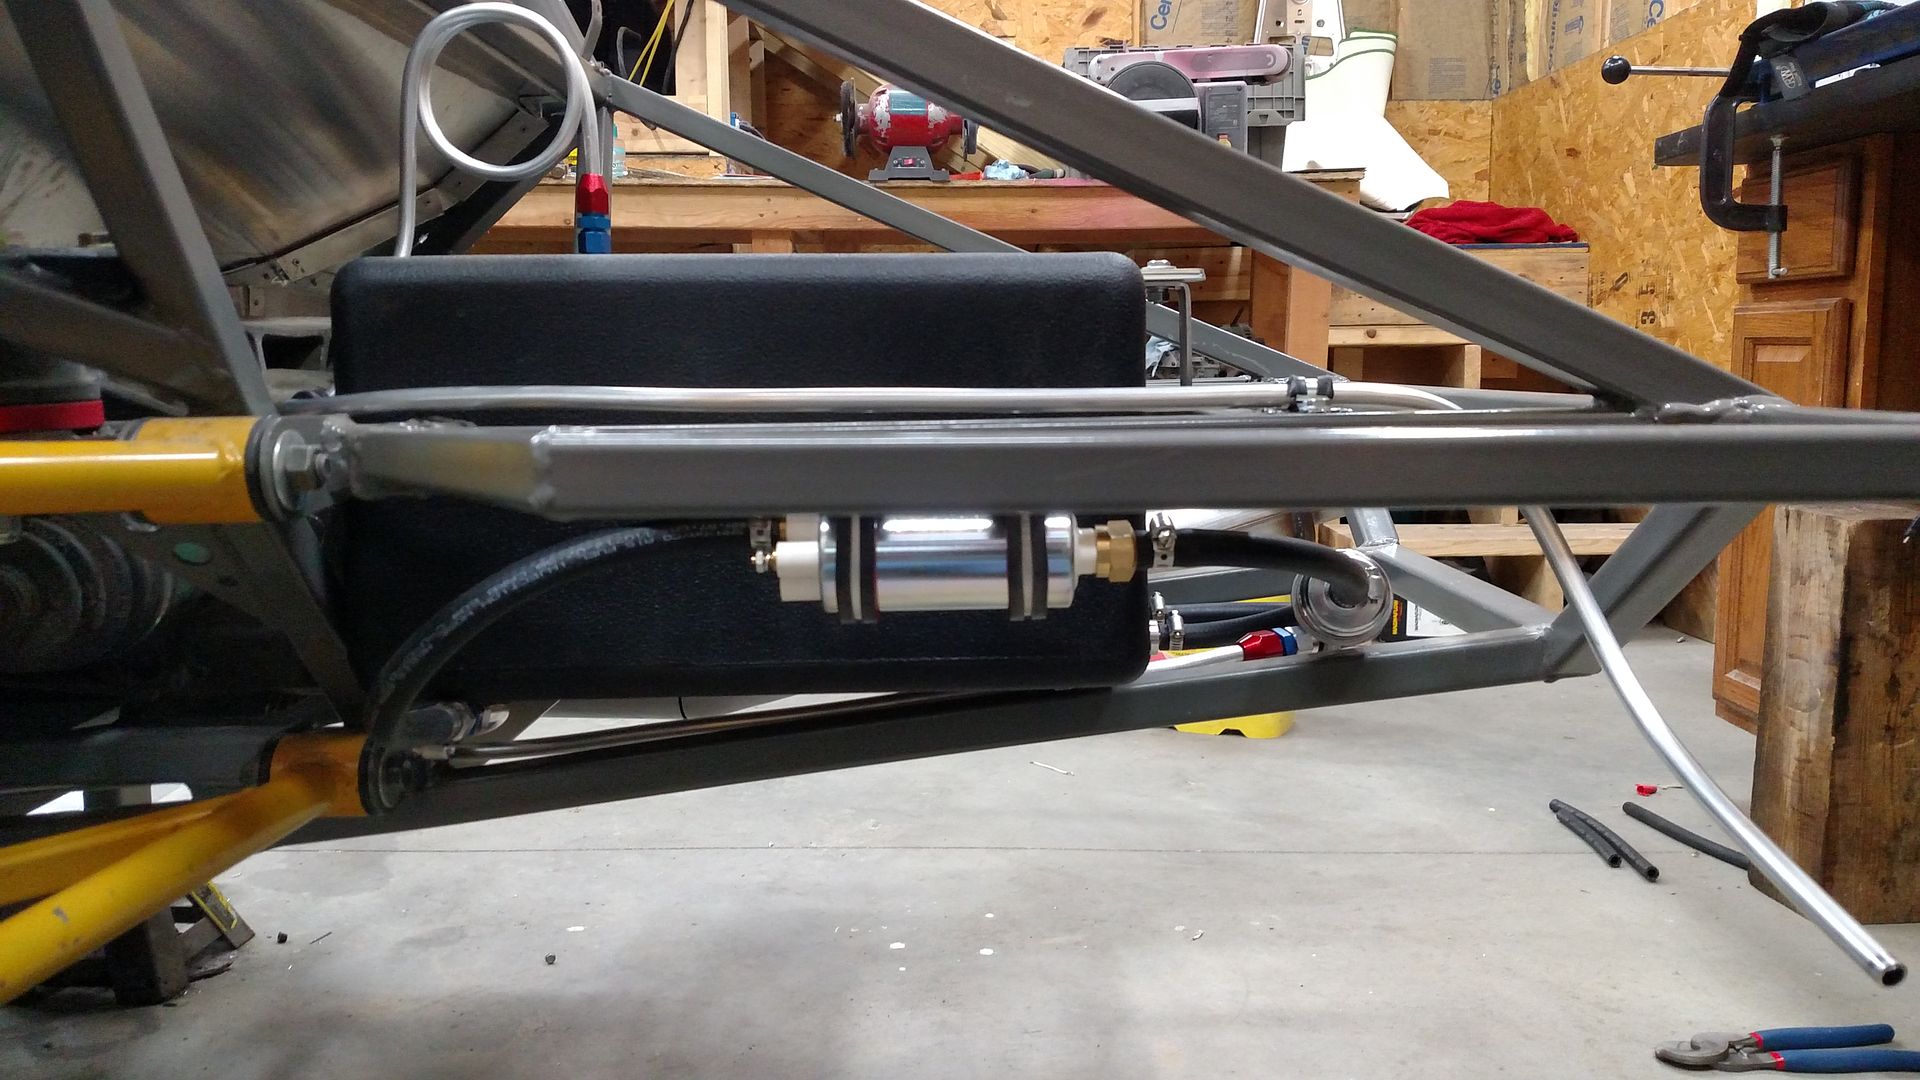
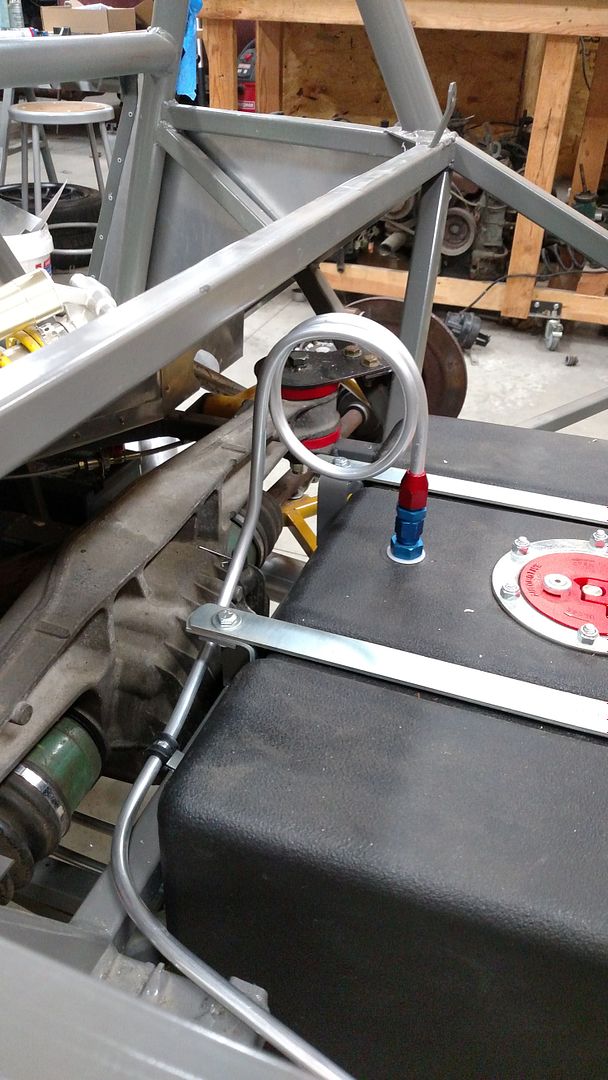
Engine is in but immediately has to be removed because I forgot to install the header. Despite my best efforts the header must be installed from the engine bay. Maybe a future improvement will be to fix that. Looking at final clearances I will have to put in a access cover on the driver's footwell to allow for sparkplug service and oil cooler install. I can live with that I'm just happy the engine actually fit.
nocones wrote: I drove a C5 Z06 in AS.
I drove a C6 Z06 in AS and was only .047 out of trophies. I need to speak up more out there ;)
Also, I really want to see this car together and running.
Digging the fuel line runs ... very nice work! Been there myself on Exocet project, and gotta say, those are no fun at all to hand bend!! Your work on this project is truly a joy to watch progress!
In reply to nocones:
You're really kicking ass now! I still can't believe how far you've brought this car, and envy your talent, patience & persistence to keep at it for all these years. ![]()
For the wheel, On the Locost forum there is a post showing how I built it. It was a proof of concept that has stuck around. It has no metal rim which I should have included but was not expecting it to turn out so well. I will make a more "proper" one in the future and have a separate 12" wheel for racing.
The exhaust runs out the side and then back under the car in front of the rear wheel. I anticipate needing 2 mufflers based on a local running a 13b ironically in a MG. That is the way he routed his and it works well. I will fab up a heat shield for the side muffler.
As to the Tach this picture is a bit clearer. Maybe will have to disassemble the actual tach and do an overlay.
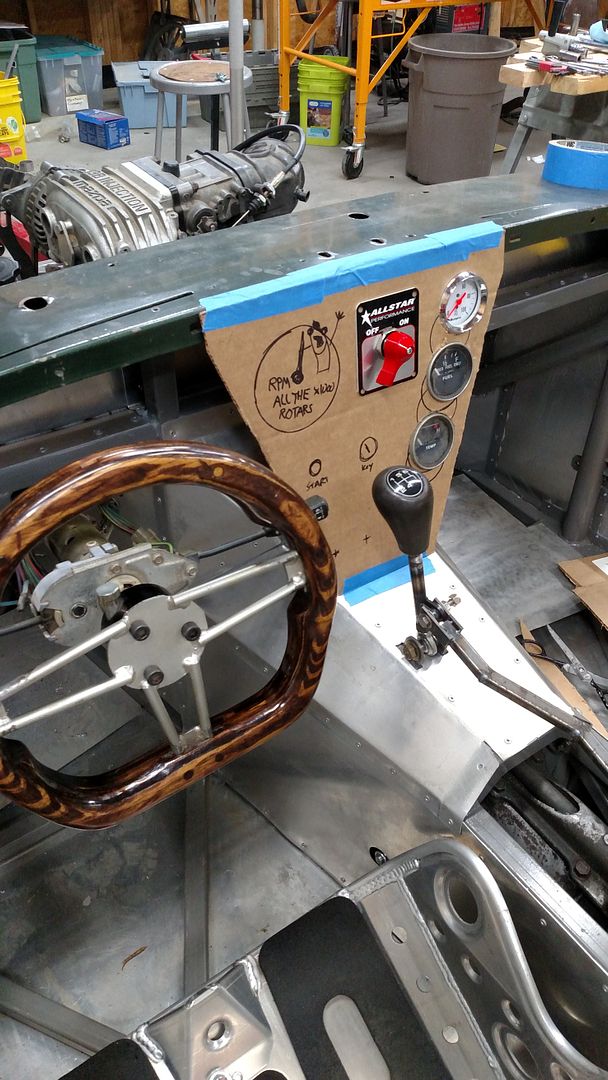
Thanks for all the interest. It helps keep me motivated to know other people are engaged.
nocones wrote: For the wheel, On the Locost forum there is a post showing how I built it. It was a proof of concept that has stuck around. It has no metal rim which I should have included but was not expecting it to turn out so well. I will make a more "proper" one in the future and have a separate 12" wheel for racing.
can you post a link???
You'll need to log in to post.