Thanks guys. I appreciate the feedback.
And yeah, its no longer really a beater. Probably up to nice driver status now. The door is the only part to have been wet sanded and buffed yet. So theres miles of that to finish. ..
Thanks guys. I appreciate the feedback.
And yeah, its no longer really a beater. Probably up to nice driver status now. The door is the only part to have been wet sanded and buffed yet. So theres miles of that to finish. ..
I have been busting butt. Big upeates, hopefully tonight. Fuel system is designed, engine gone through, drivetrain in, firewall done, los if stuff cleaned and painted, money spent, shop organized, and a mad dash to the other end of the state.Fun ttimes.
Somehow I think I'm doing it wrong.
Didn't finally get done with my day till now. Since tomorrow is my 14 hour shift, it will be wedsday at theearliest for me to get the photobucket stuff uploaded and my update written up.
Short version is the parts pile is getting smaller and it looks great.
Yeah dude, if the last week or so of my build thread didn't stink enough!
No worries, look forward to seeing the results.
Hit the ground running an hour ago for work. I apologize about the suckage of not actually having an update. A mental picture of a clean, shiny, painted, reassembled engibe and bay. As well as a metric buttload of sound deadening and insulation applied to the firewall.
I promise ill get pictures And coherent writing up soon.
Both of you have let me down. I've started to peruse craigslist again for a project car. ![]()
![]()
At least Mazdeuce still updates with small incremental drywall hanging pictures...
Hey I made an update last night. Yeah, I've been down with some other stuff. I'll be better; promise.
![]()
The wife chimed in with a "instead of messing with the existing house foundation, why dont you do a slow build of the external 2 car instead... "
Mad_Ratel wrote:The wife chimed in with a "instead of messing with the existing house foundation, why dont you do a slow build of the external 2 car instead... "
Your wife is crazy! Start a build thread.
There is one, just nothing to update. I wired up the subpanel and then stopped having overtime. and Thus spare moneys went out the door...
random picture from my photobucket uploads. lat night I worked longer than expected. so don't count on the update today...
[URL=http://s54.photobucket.com/user/dusterbd13/media/1964%20elcamino/20141011_125543_zpsb0892d5c.jpg.html]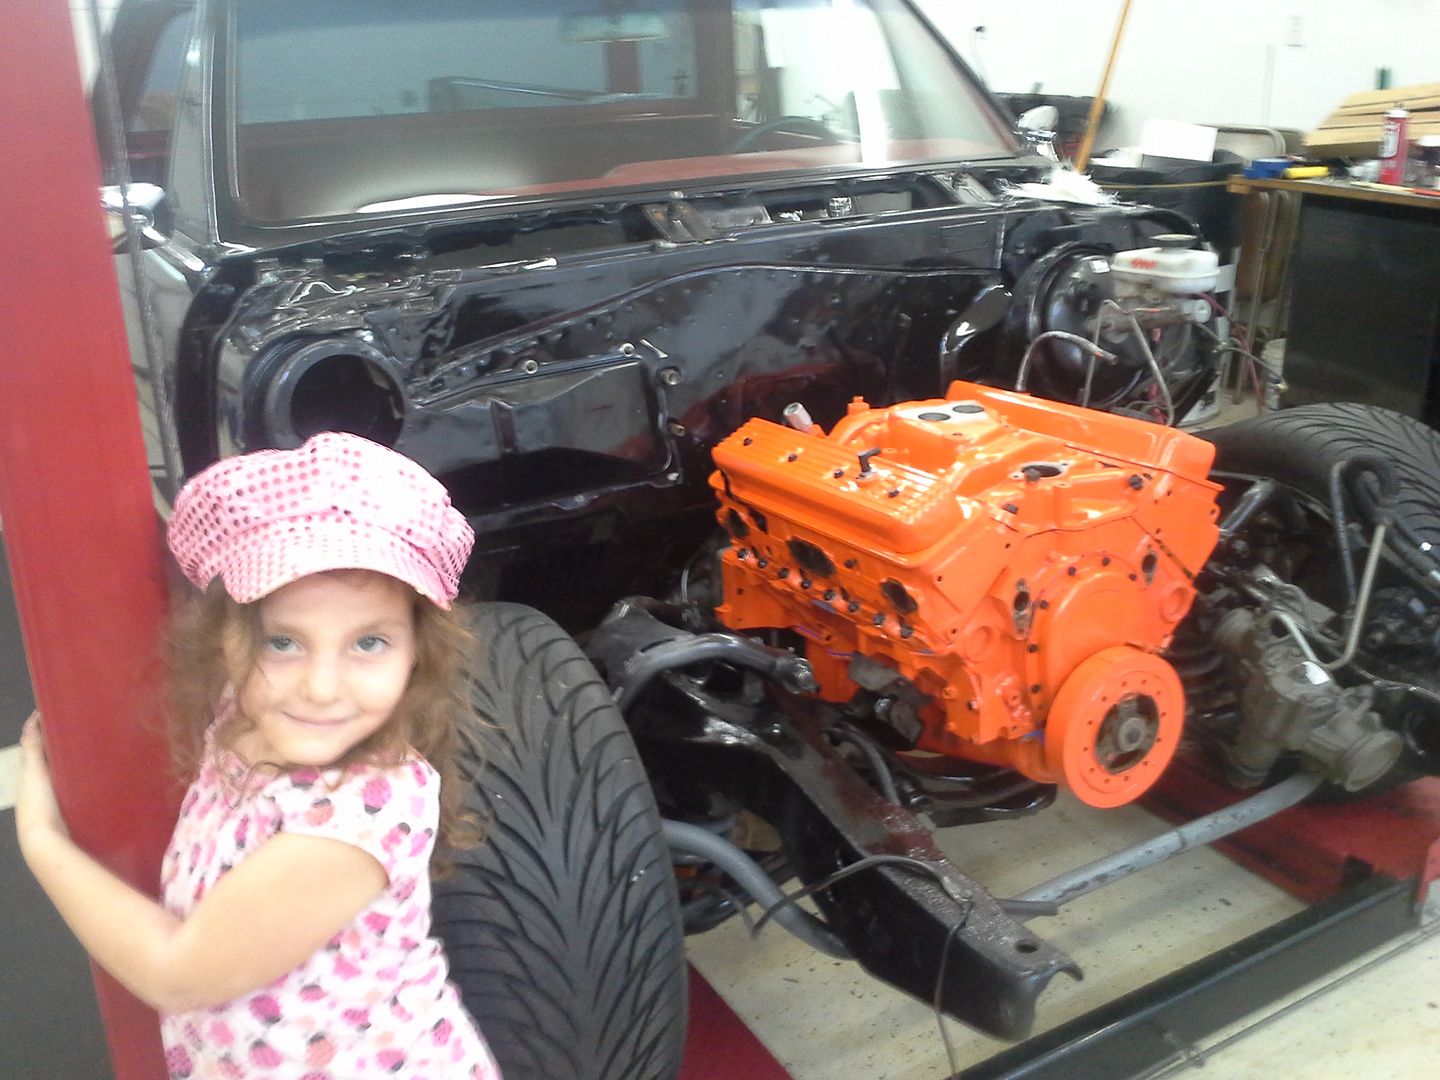 [/URL]
To think I opened the thread then got my coffee ready so I could read it uninterupted.
Off to Tuna's thread. Hopefully he updated it with actual content. :D
Just razzing ya'll.
18 hour day yesterday. ive pulled 28 of the last 48 hors at work. and still have 3 days to go.
ill probably take a half day just to update the thread....
lol. I was working 60's in may/june/july. Been 40's since... I actually miss the 60's. I'm not busy which is always scary... and the day lags like hell when you just barely have enough to keep your attention for forties.
so, budget first:
previous total: 8995.04
two more rolls of peel and seal, as well as stainless hardware from Lowes, 38.42
vintage air defrost plenum and hoses, 31.00
ported 305ho heads and edelbrock tbi intake, craigslist, 20
machine shop bill: 110
return line bulkhead fitting and nipple, jegs, 16.98
surge tank, ebay, china 44.00
e2000 fuel pump, brisos brand, ebay, 16.49
add 40 for the original airtex pump back in
15.78 for two cans john deere high gloss black
41.22 for steering column gasket and firewall pad, npd
remove 23.50 for fuel pump module I couldn’t use
new total: 9345.43
so where do I start now? I've got sooo many parts of this going on at once. I guess well go with body prep as the starter, since that had to be done before anything else was. now mind you, most of this was going on simultaneously, as I was waiting for this part to dry I was cleaning or painting this part, or doing something else.
before i get to the truck though, ill update you on the ankle: I'm walking. I forgot how great that was to do. I may or may not look like I stole robocop's boot though. and I sure aint no prettier.
for the truck, I had previously stripped all the failed seam sealer off with a wire cup brush. then, sanded the whole firewall with 220 grit sandpaper on an electric palm sander. after the firewall was prepped, I applied the new seam sealer. I cut 3/4 of the bristles off a cheap harbor freight brush, as well as used blue painters tape. the painters tape was put on either side of the seam by about 1/8 inch. it also would have created a very nice and clean line of the seam sealer had I pulled it off soon enough. unfortunately, I left it on until the sealer skimmed over making some extra work for myself. created little folded over flaps of seam sealer that I had to painstakingly skim off with a razor blade. when all this was done, I cleaned the firewall again, taped up the edges for a paint break, and shot it in a nice coat of gloss black.
before:
[URL=http://s54.photobucket.com/user/dusterbd13/media/1964%20elcamino/1834_zpsd90f7ce1.jpg.html]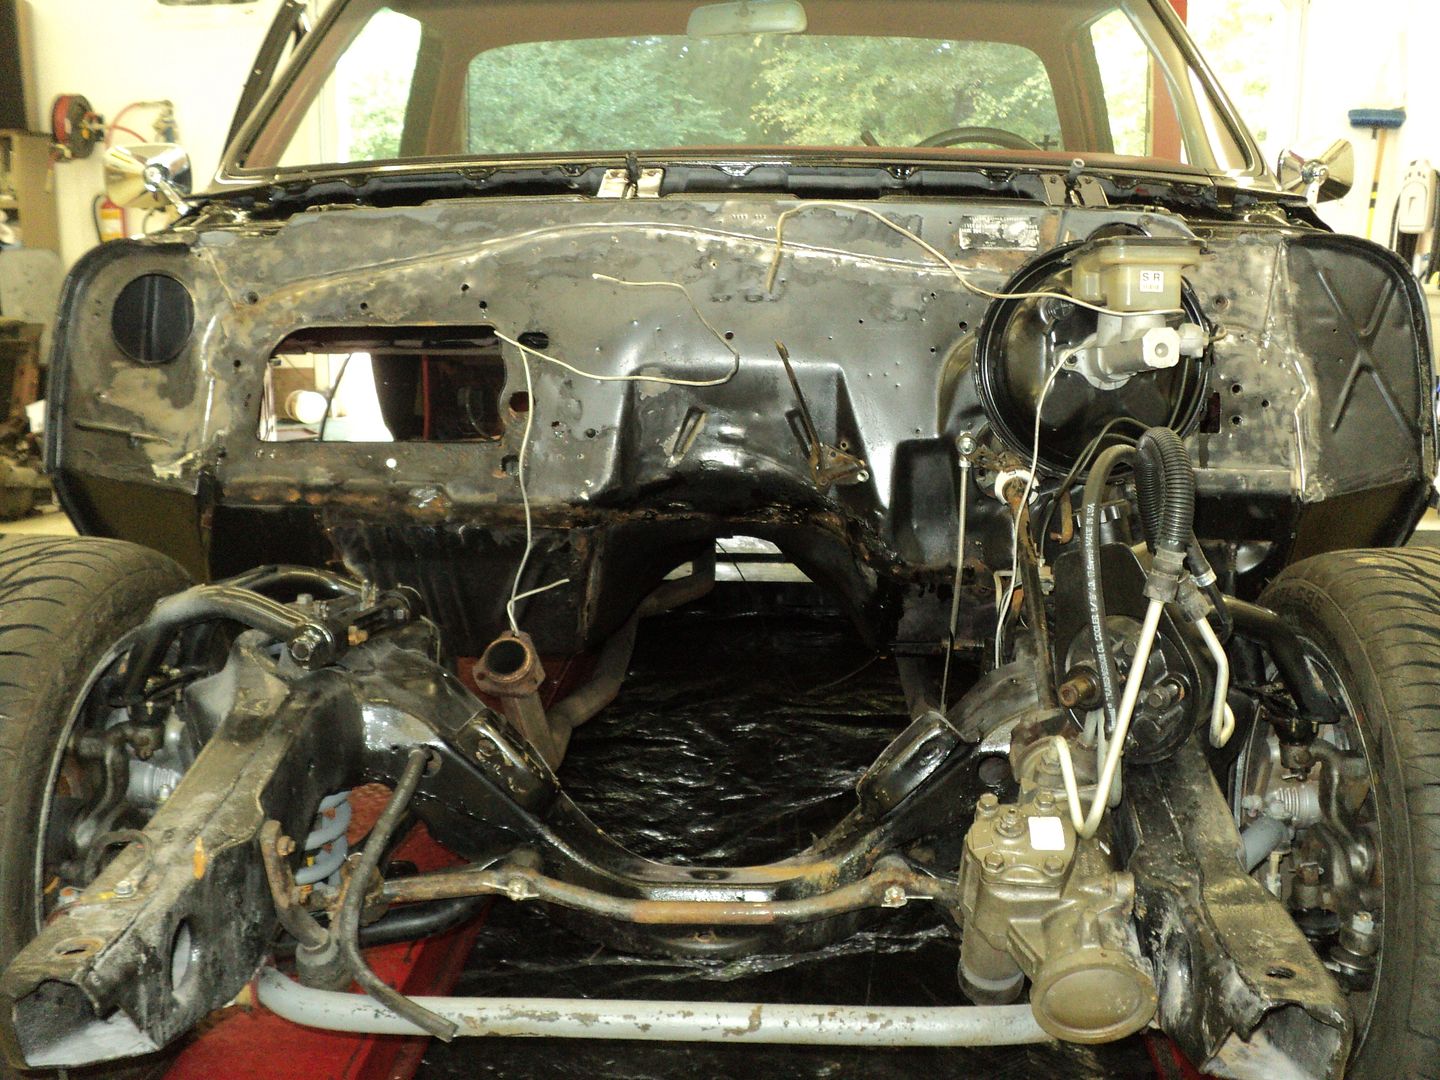 [/URL]
after:
[URL=http://s54.photobucket.com/user/dusterbd13/media/1964%20elcamino/20141002_171730_zps92705eda.jpg.html]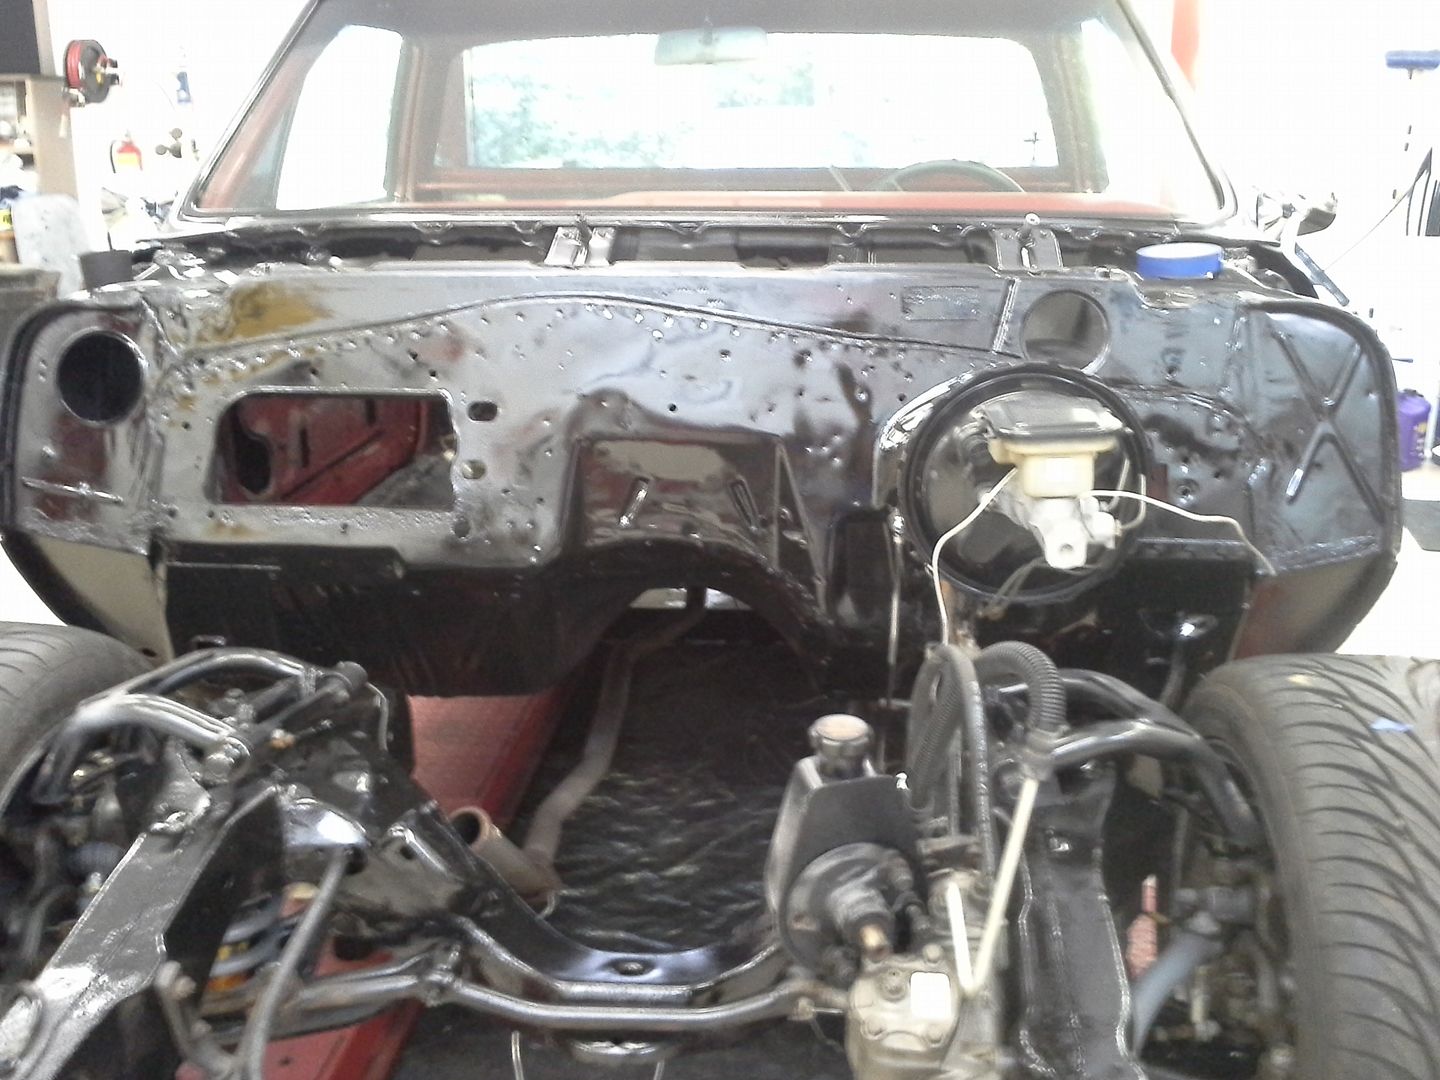 [/URL]
while everything was out, and the paint was drying, I went on to do the backside of the firewall. now you see, I have this thing about noise/heat. my wife says its bordering on pathological at this point. I hate extra noise, rattles, drafts, heat soak, etc. they irritate me more than bamboo and fire ants.
to this end, I used 4 different products on the firewall alone. the firewall was previously prepped with POR15, and seam sealed from the floor pan replacement. I covered this, including the backside of the dash, with peel and seal. this is highly flexible, incredibly sticky, and aluminum backed for slight heat barrier. to get much sound deadening from this product, it needs about 100% coverage. 75% coverage nets enough for justification. in this application, its mostly for heat and vibration. over top of this, I used my standard mcmaster-carr mastic sheets which does a wonderful job of sound reduction. these two products when used in conjunction, make an incredible difference in panel resonance. I also used some foil backed jute padding on top of this combo on the upper part of the firewall/cowl plenum area. I could not use this on the firewall proper due to thickness.
[URL=http://s54.photobucket.com/user/dusterbd13/media/1964%20elcamino/20141004_150814_zps63c84d40.jpg.html]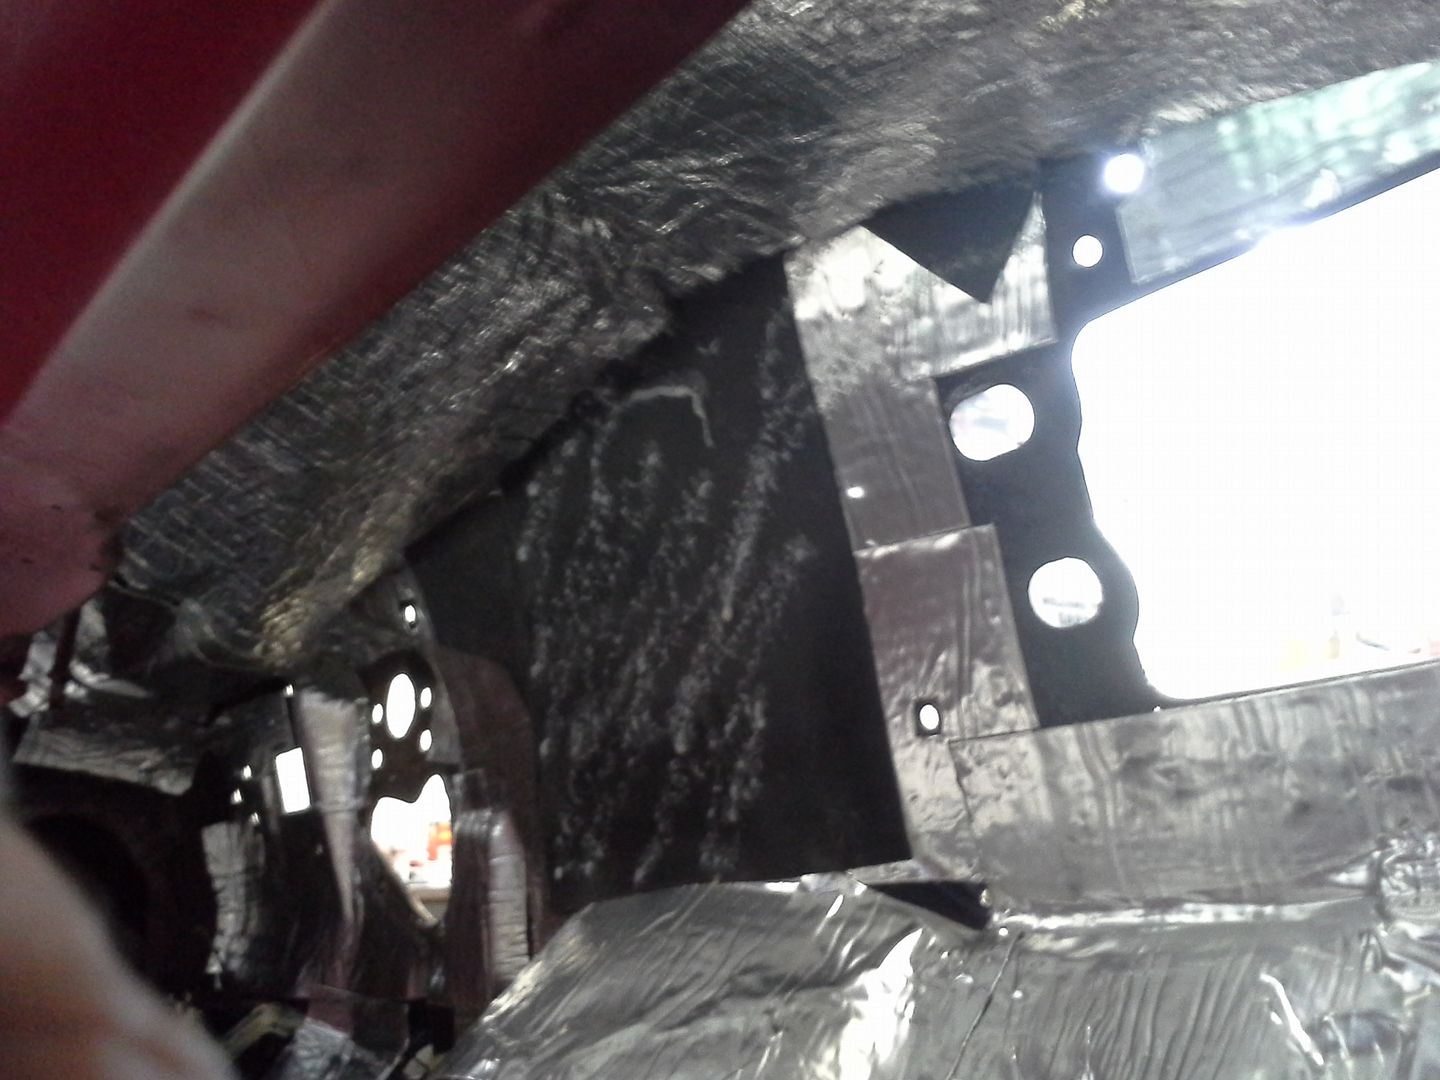 [/URL]
on the firewall proper, I used the bubble wrap insulation from Lowes, glued down over top of my sound deadening sandwich. on top pf this, I installed a reproduction factory firewall pad. I bough the cheap one from NPD. it fit fairly good, but the little Christmas tree fasteners they send SUCK. wound up lubing them with white lithium grease, making a installer tool out of a 3 inch long 1/4 screw, washer, and nut, and smacking them in with a rather large hammer. should not have been that hard. but its done. I also took my old clutch/brake pedal assembly apart, cleaned, painted, lubricated, and cut the clutch pedal off to create a brake pedal mount pin. reinstalled that as well as the cleaned and painted steering column with new gasket at the firewall, and my restored parking brake assembly.
[URL=http://s54.photobucket.com/user/dusterbd13/media/1964%20elcamino/20141004_205942_zps43d6ec84.jpg.html]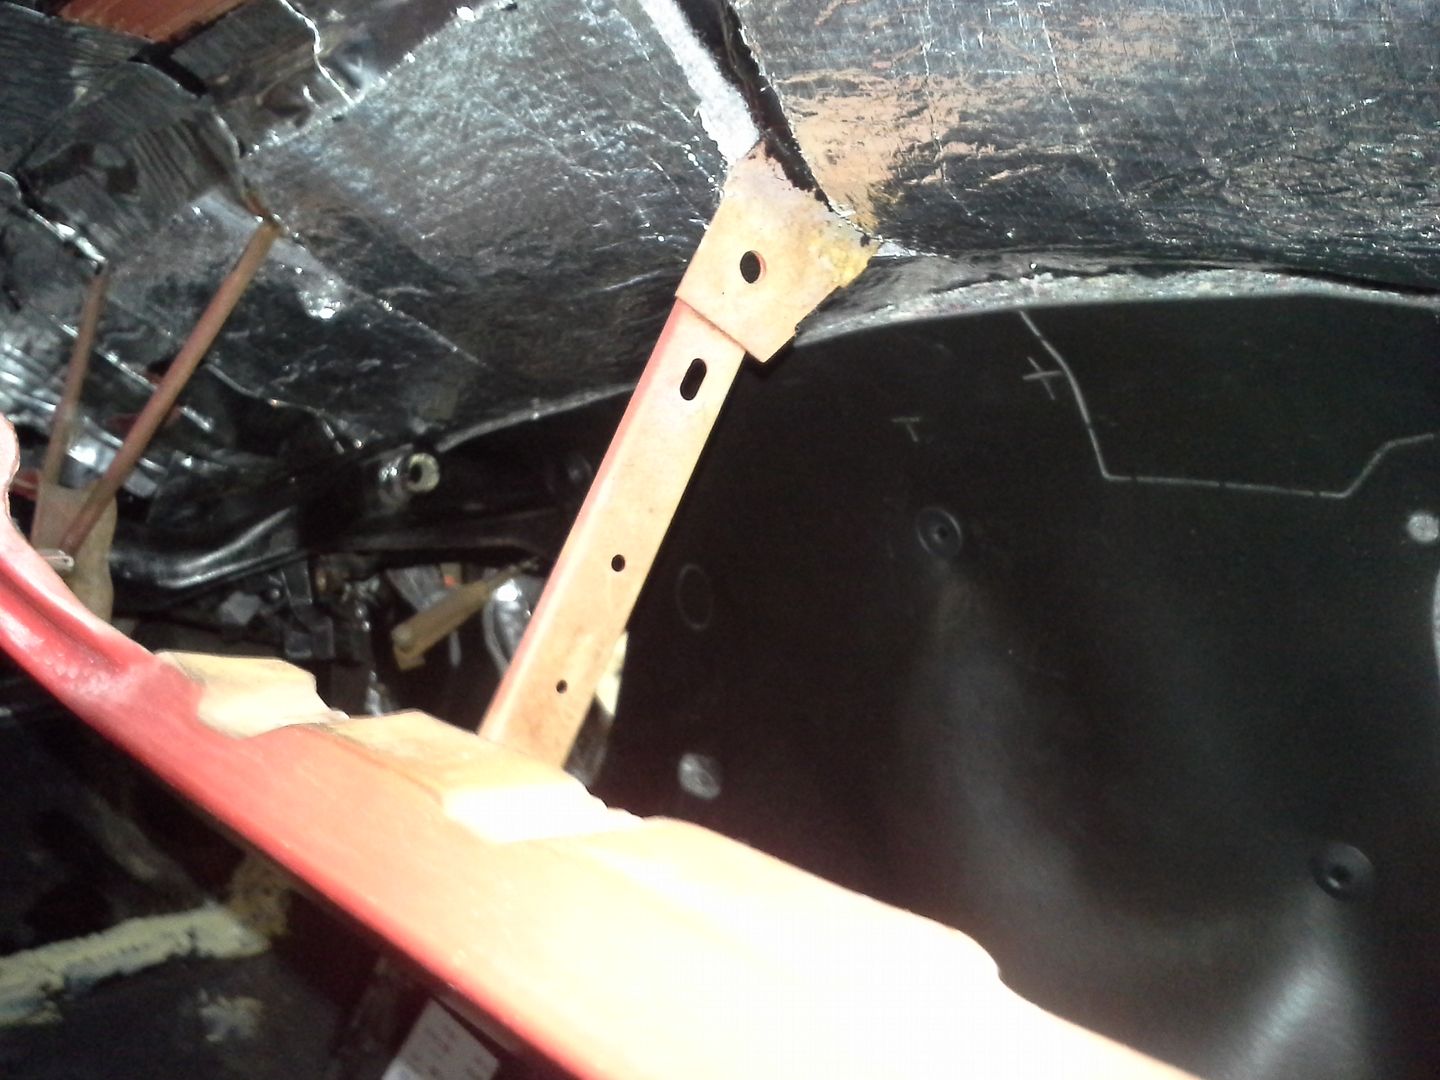 [/URL]
I then moved onto the HVAC install. I was trying to adapt a nissan hardbody setup to the elcamino. well, trying is the wrong word. I successfully did it. and hated how far it hung down, how much dash space it took up, etc. unfortunately, I cut the original defrost duct out to do this. so I had to get the vintage air defrost duct piece. kinda nice though, as it frees up a bunch of room behind the dash versus the factory duct. they attach it to the cowl with two screws, but it leaves a small gap the whole way around where it meets the dash. I decided to cure this with some foam gasket tape from lowes that I have stashed in my big box of miscellaneous E36 M3.
first, the defrost duct
[URL=http://s54.photobucket.com/user/dusterbd13/media/1964%20elcamino/20141004_205848_zps5c93cb6c.jpg.html]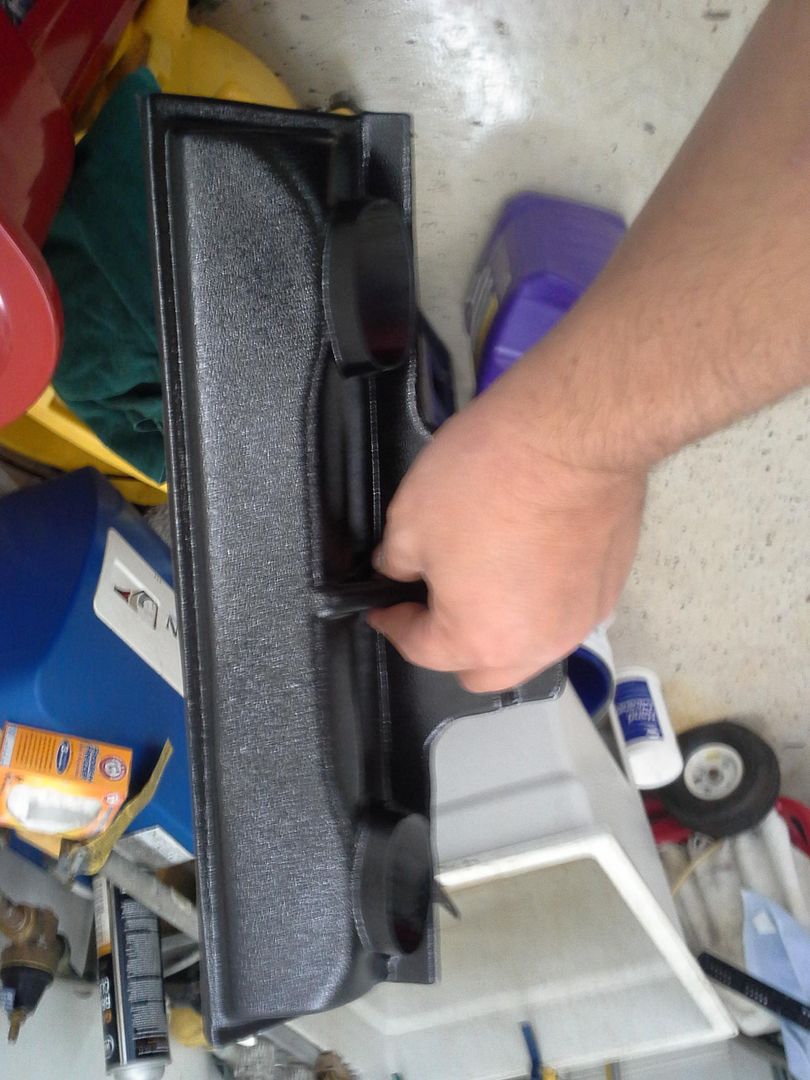 [/URL]
[URL=http://s54.photobucket.com/user/dusterbd13/media/1964%20elcamino/20141004_205843_zps9075fbf6.jpg.html]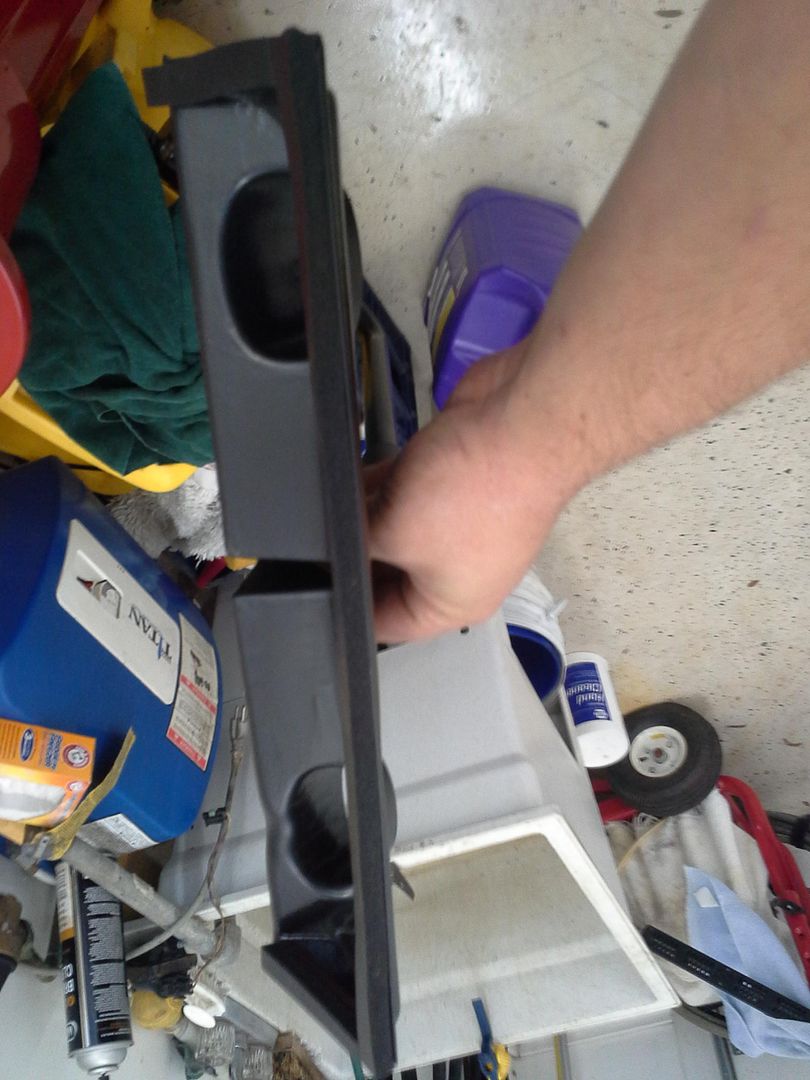 [/URL]
[URL=http://s54.photobucket.com/user/dusterbd13/media/1964%20elcamino/DSC01978_zpsf16ad3fc.jpg.html]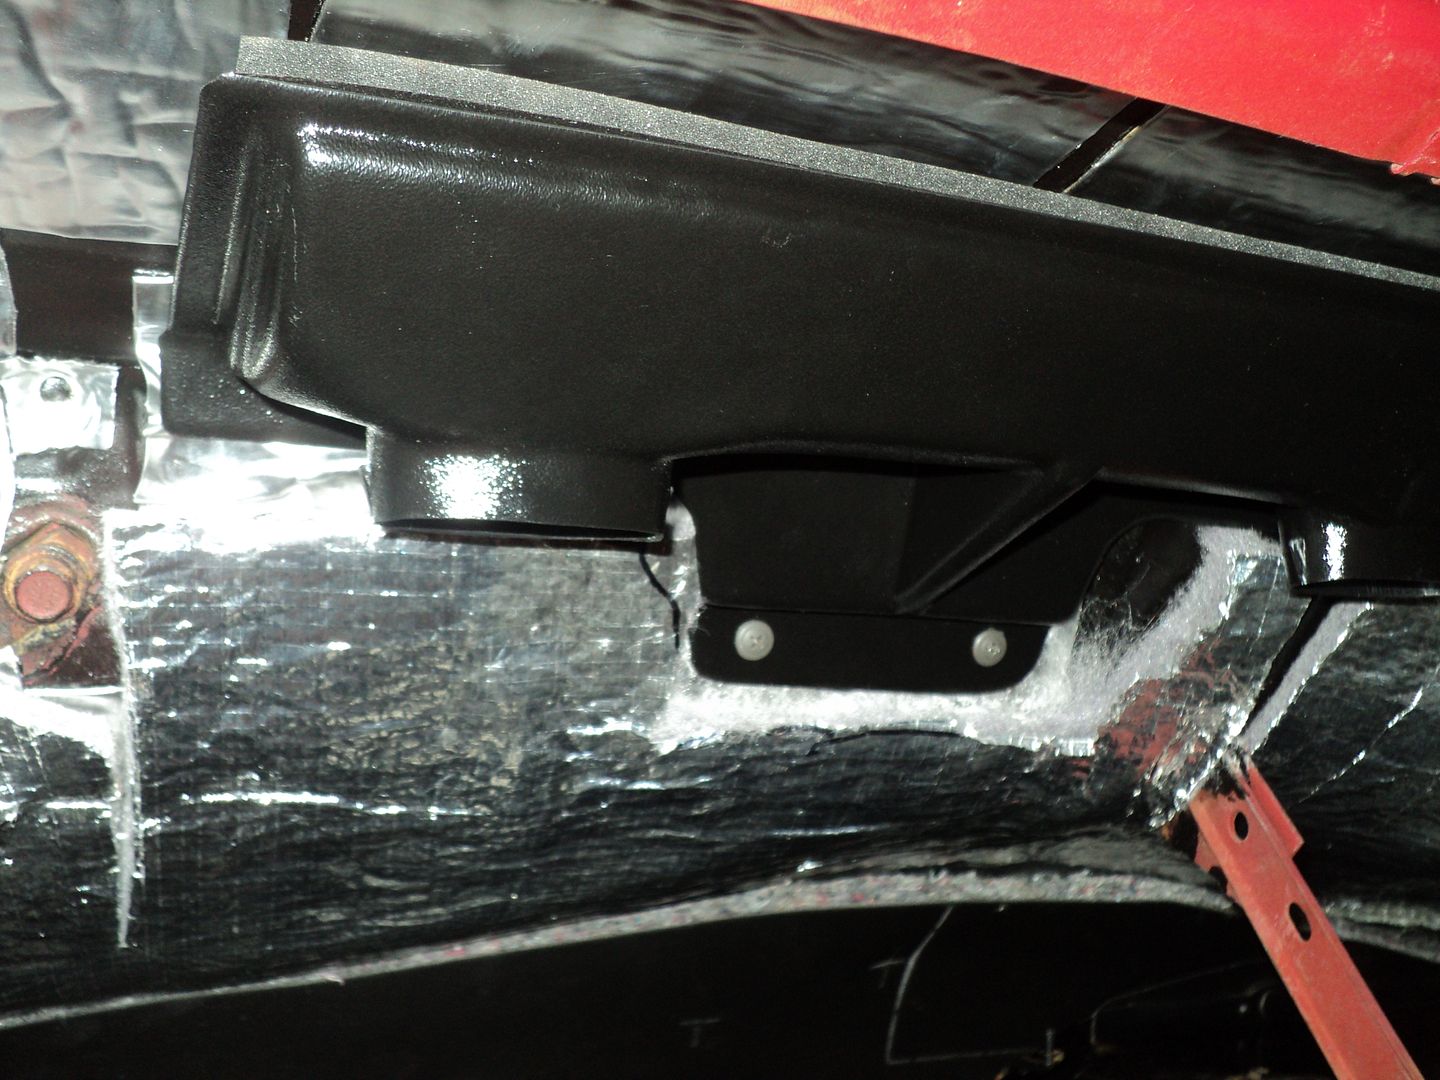 [/URL]
to adapt the box and try it yourself (you'll probably hate it too), look at the following pictures and do what I did.
[URL=http://s54.photobucket.com/user/dusterbd13/media/1964%20elcamino/20141004_211629_zps53f8cd49.jpg.html]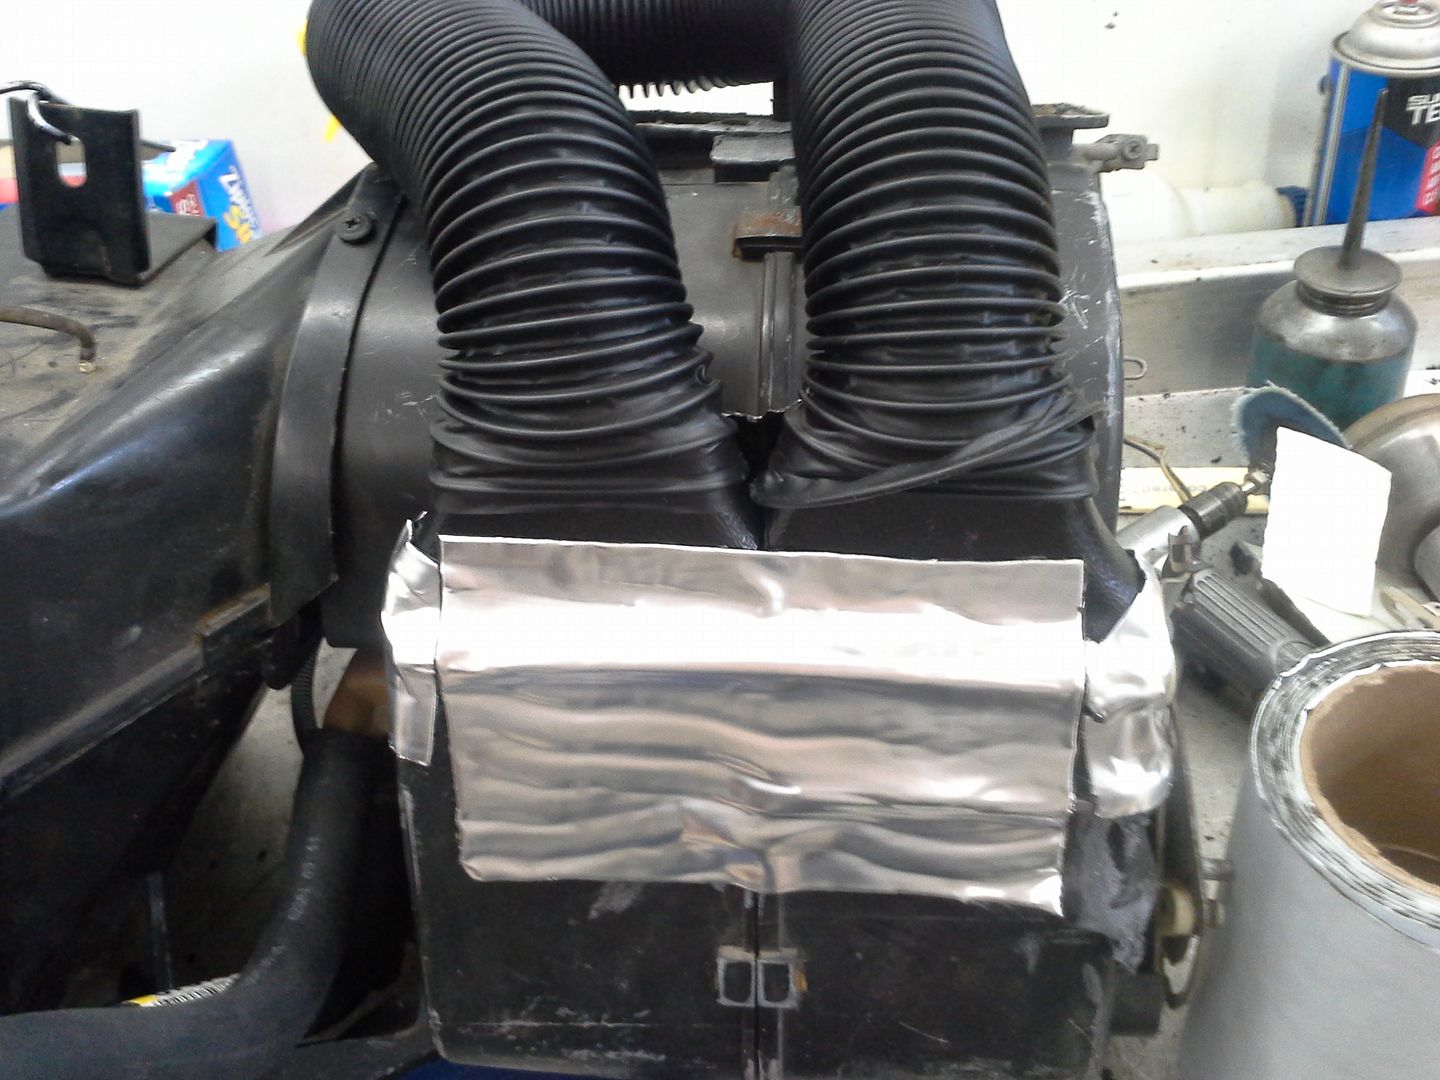 [/URL]
[URL=http://s54.photobucket.com/user/dusterbd13/media/1964%20elcamino/20141004_205902_zpsc6646907.jpg.html]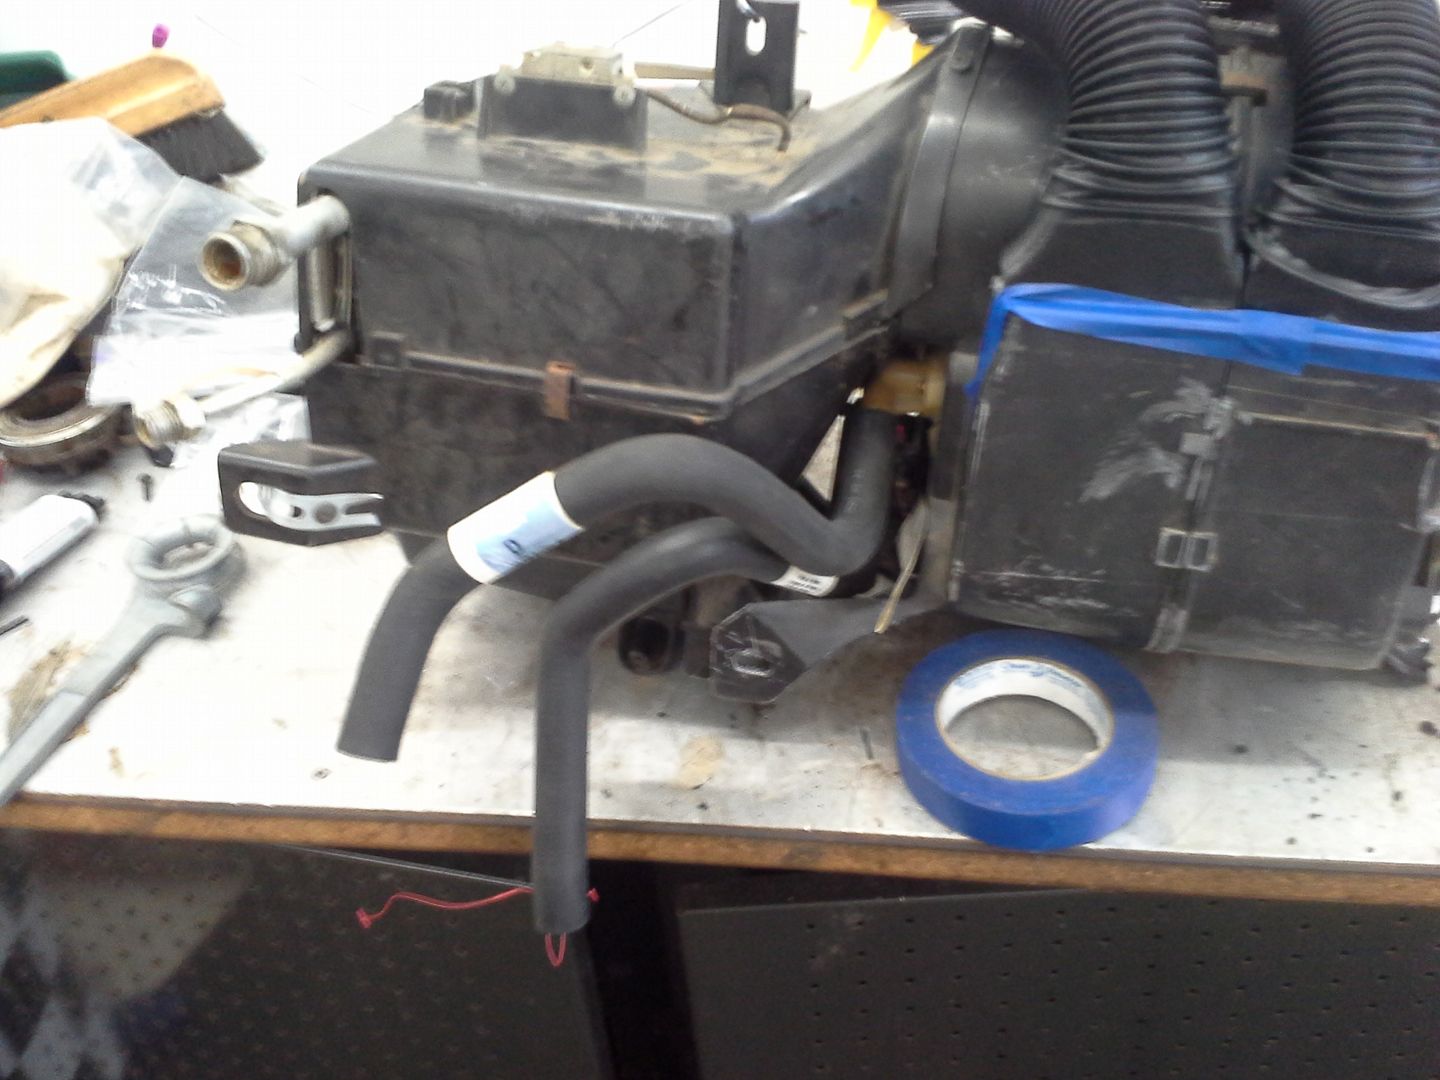 [/URL]
[URL=http://s54.photobucket.com/user/dusterbd13/media/1964%20elcamino/20141004_220255_zps484ec3a6.jpg.html]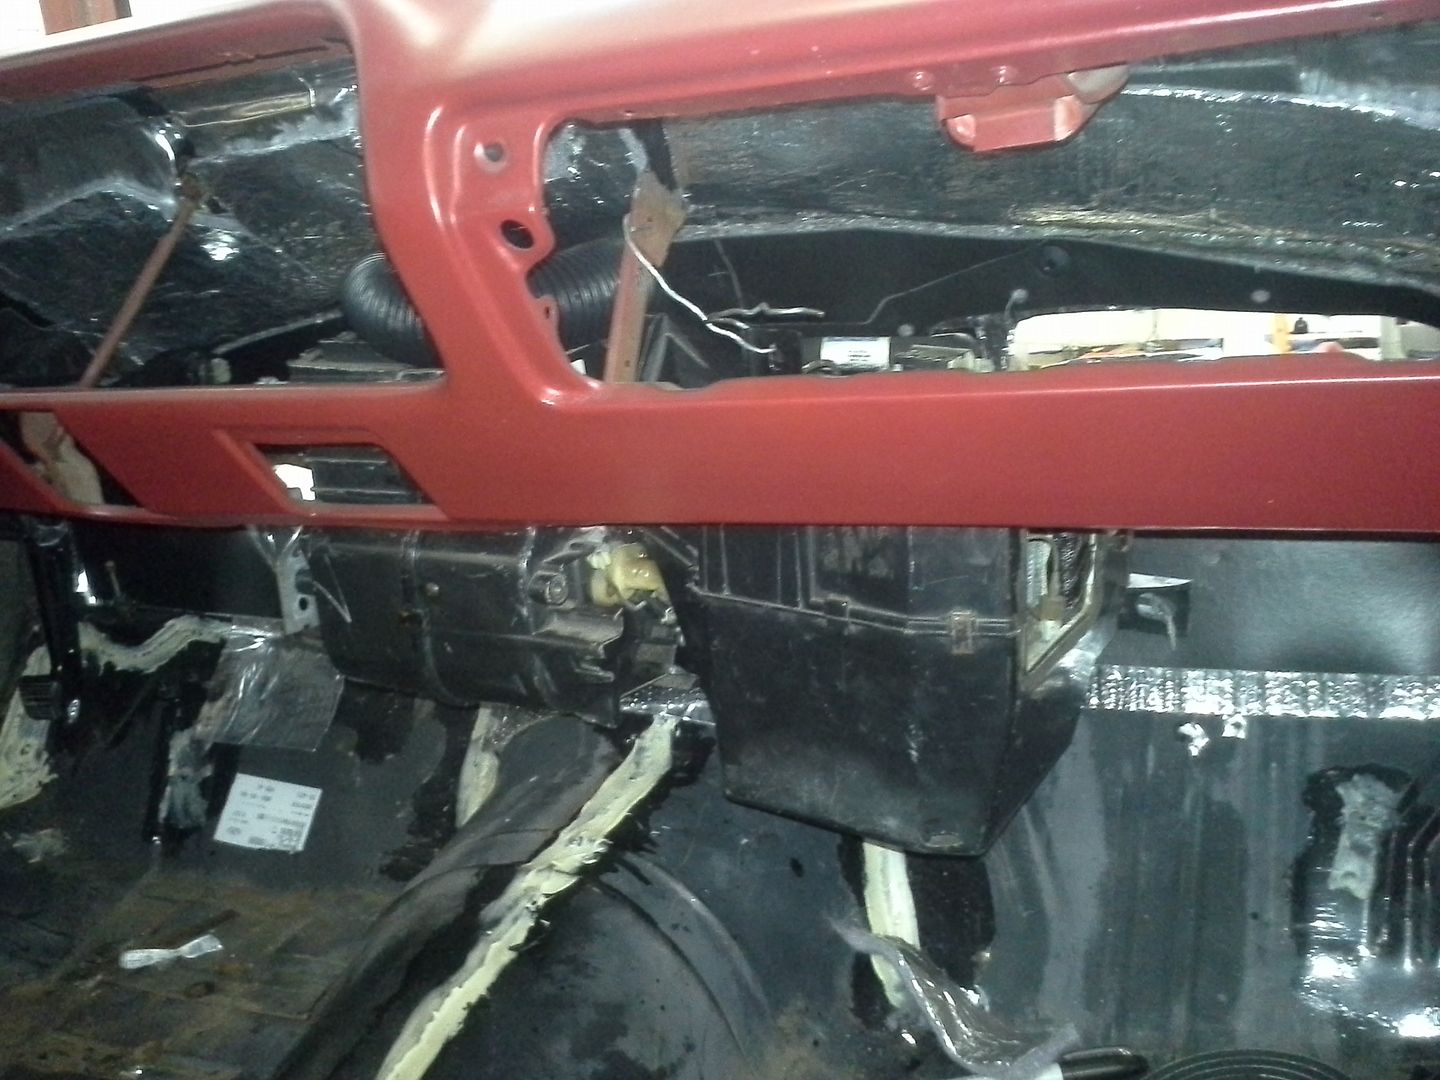 [/URL]
it takes up almost the entirety of the passengers foot well. don’t bother spending money on it. the factory hardbody heater hoses will exit through the heater hose holes in the firewall, and the ac evaporator hookups behind the factory heater box cover.
anyway, I then cleaned and painted the factory heater box and put it back in. just hitting the easy button for right now. ill figure out ac another day.
so we now had almost a complete roller. still needed a fuel tank setup for efi.
I went to start prepping the tank for my fuel pump module. thankfully, I got the tape measure prior to the sawzall. the module was 3/8 of an inch too tall anyway I looked at it. damn. so plan b was to use the rail mounted pump like I originally planned. except when looking at the specs, they were too low as far as pressure. and the sumpless/baffleless setup would prove troublesome with my driving habits. so I did some soul searching and googling. decided that the best course of action was to use the stock tank and pickup. add a return bung to the tank. feed the low pressure pump from the factory pickup, plumbed to a surge tank. use the surge tank to feed a high pressure pump (e2000) which feeds the tbi. run return into surge tank, with overflow going back to the tank. so I then had to assemble the pieces. only thing to not come in yet is the surge tank, a 2 liter piece straight from china via ebay. the e2000 pump was the cheapest I could find. both pumps will be fired by factory relay controlled by the ecm. I also discovered while installing the return bulkhead fitting that my big man hands don’t fit in the tank through the sender hole. nor does ANY 7/8 wrench that I currently own. I picked up the cheapest 7/8 wrench I could at harbor freight, and promptly cut the box end off with my sawzall. left about 3 inches of shaft to hold on to. tightened right up then. cleaned and painted the outside of the tank with POR15. the inside was a spotless as a new tank. installed the new sender, and reinstalled the tank. only to figure out the front anti-submarine strap would no longer fit due to where I put the return bung. still haven't figured out what I'm going to do about that. nor have I mounted any of the pumps/etc yet. I did run the 3/8 feed line from where the surge tank is going up to the engine bay.
[URL=http://s54.photobucket.com/user/dusterbd13/media/1964%20elcamino/DSC01988_zps9c43befa.jpg.html]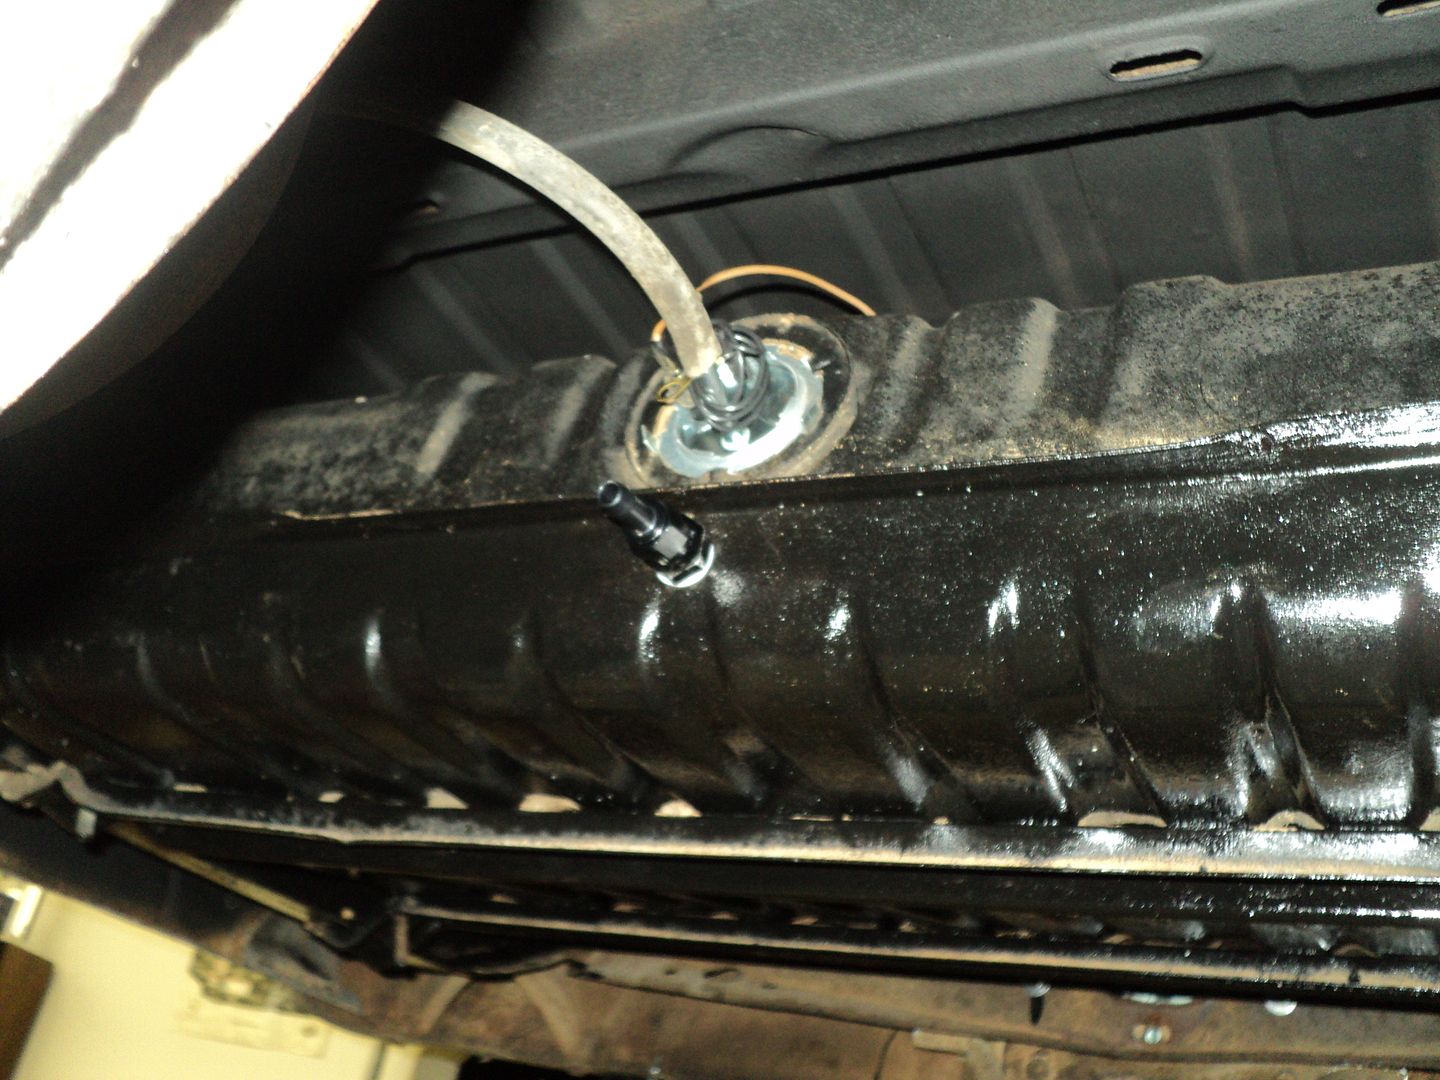 [/URL]
[URL=http://s54.photobucket.com/user/dusterbd13/media/1964%20elcamino/DSC01992_zps6068ae7a.jpg.html]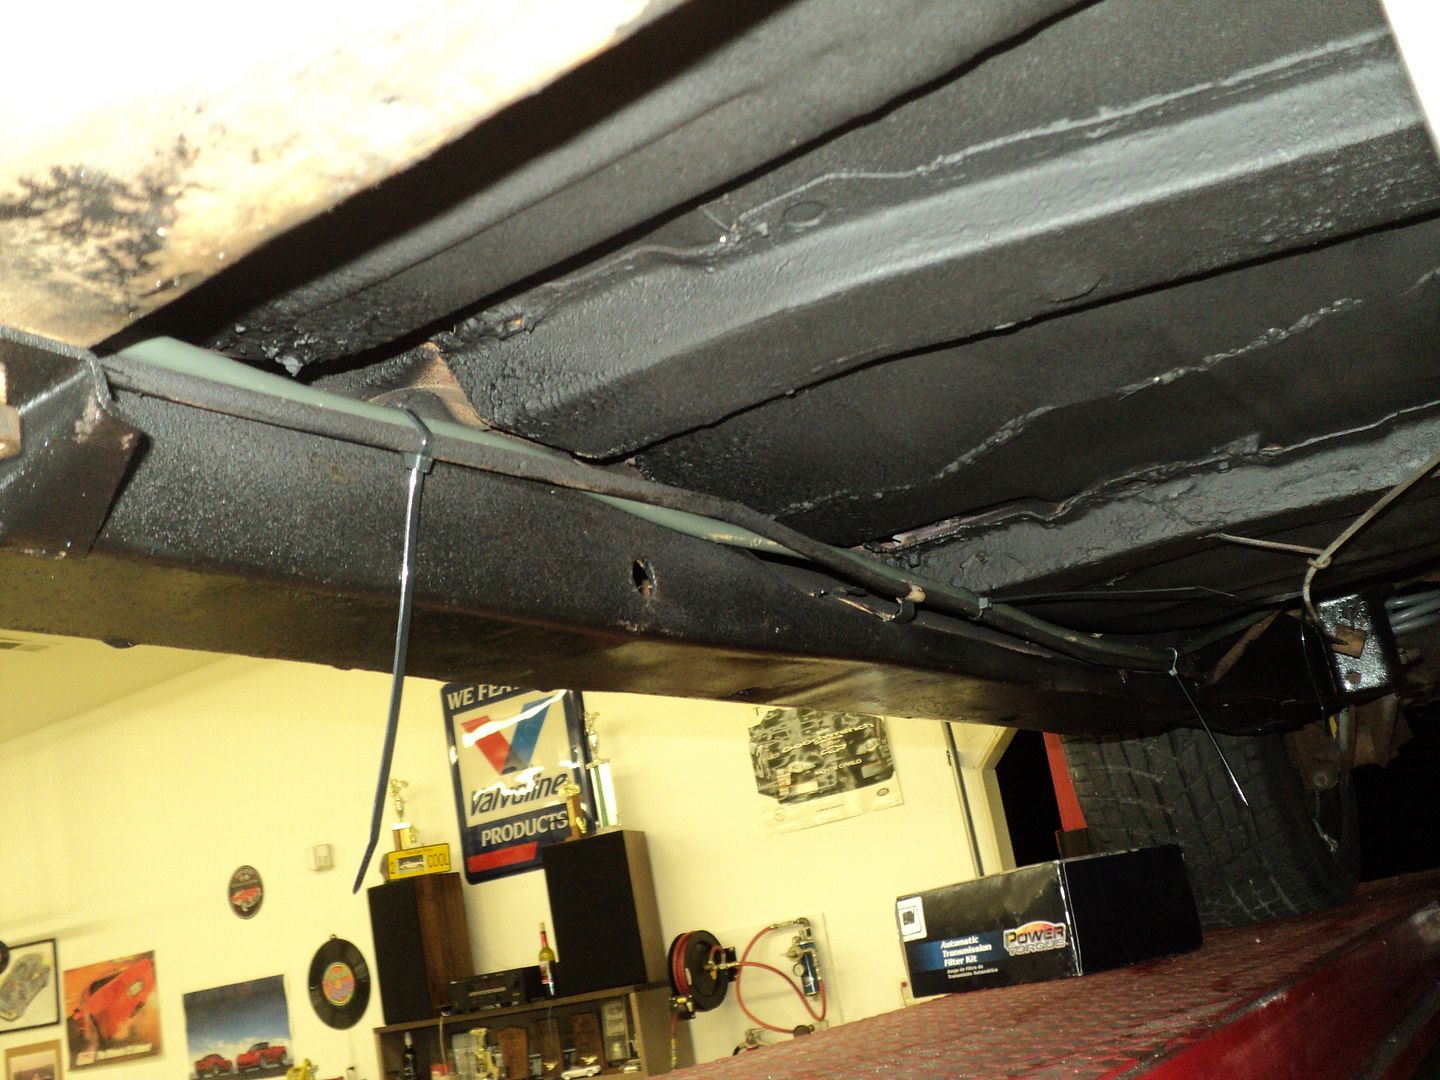 [/URL]
I guess while were at the back of the truck, ill talk about the rear quarter emblems. I had a pair that were awfully rough. I cant justify the price of the reproductions. so the next best thing is to make them look as good as I can. I toyed with the idea of just powdercoating them black, but I've already done SO much of the trim in black, I don’t want to lose any more of the character. so I took a trick from my wife's book, and grabbed the bottle of black touch up paint. after a few hours of painting, and multiple coats, they looked worse than before. I don’t have a very steady hand. I took a razor blade and scraped all the mistakes off, and they turned out OK. they aint great, but they'll do for now.
[URL=http://s54.photobucket.com/user/dusterbd13/media/1964%20elcamino/DSC01981_zpsd7bb9e3c.jpg.html]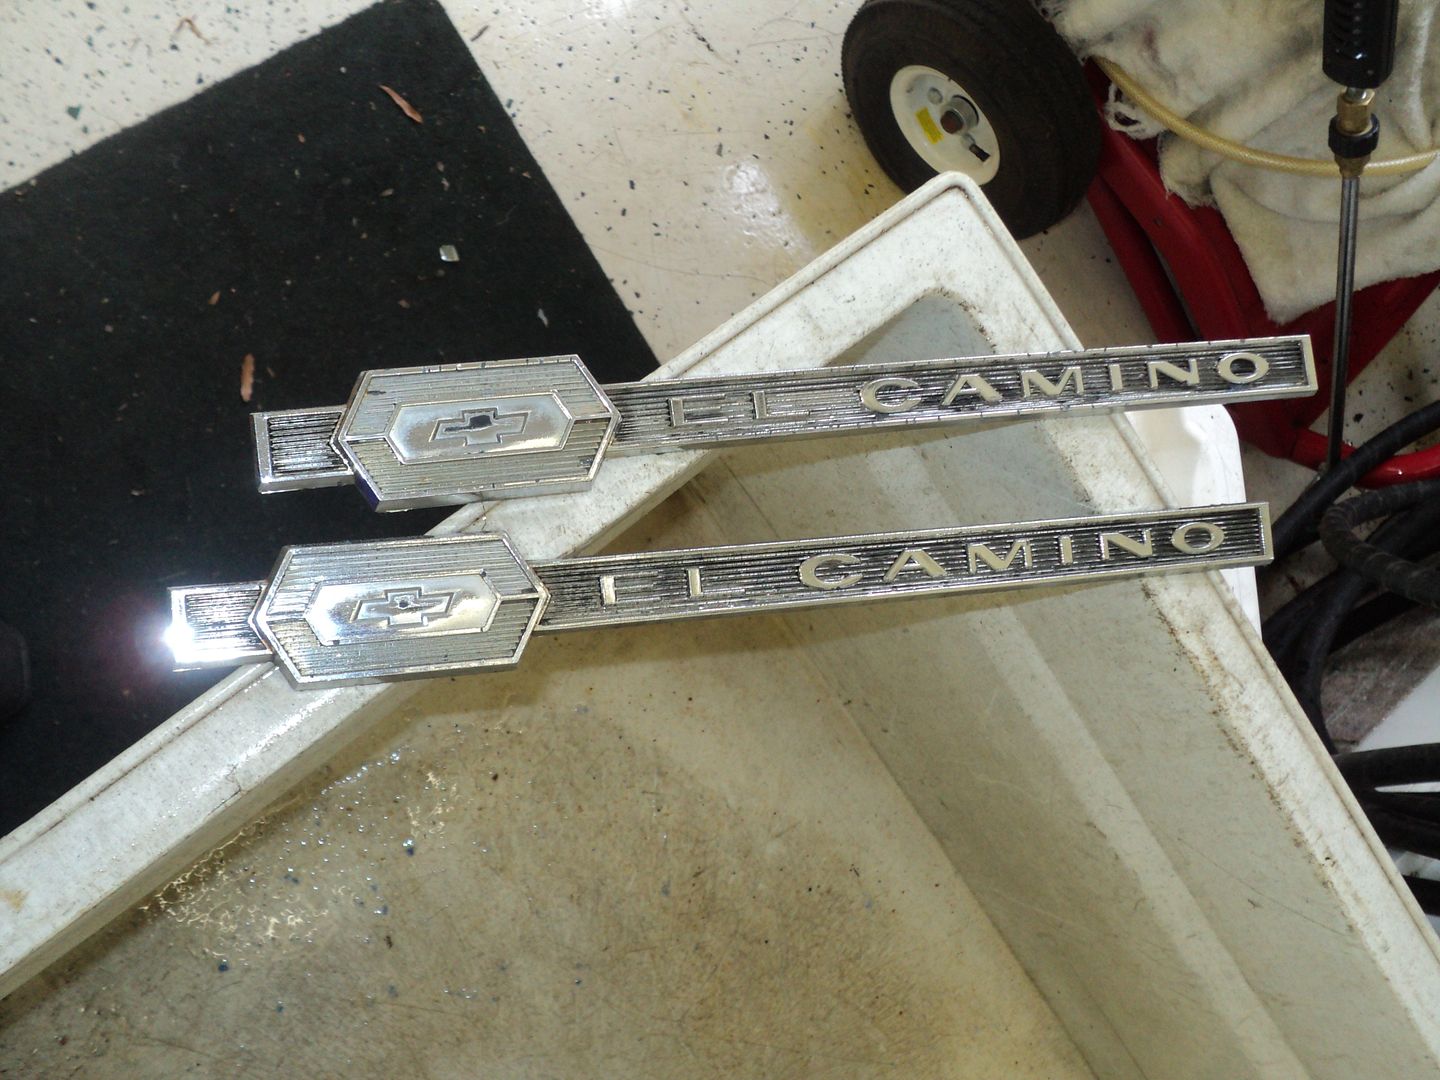 [/URL]
[URL=http://s54.photobucket.com/user/dusterbd13/media/1964%20elcamino/DSC01985_zps0b19b1c7.jpg.html]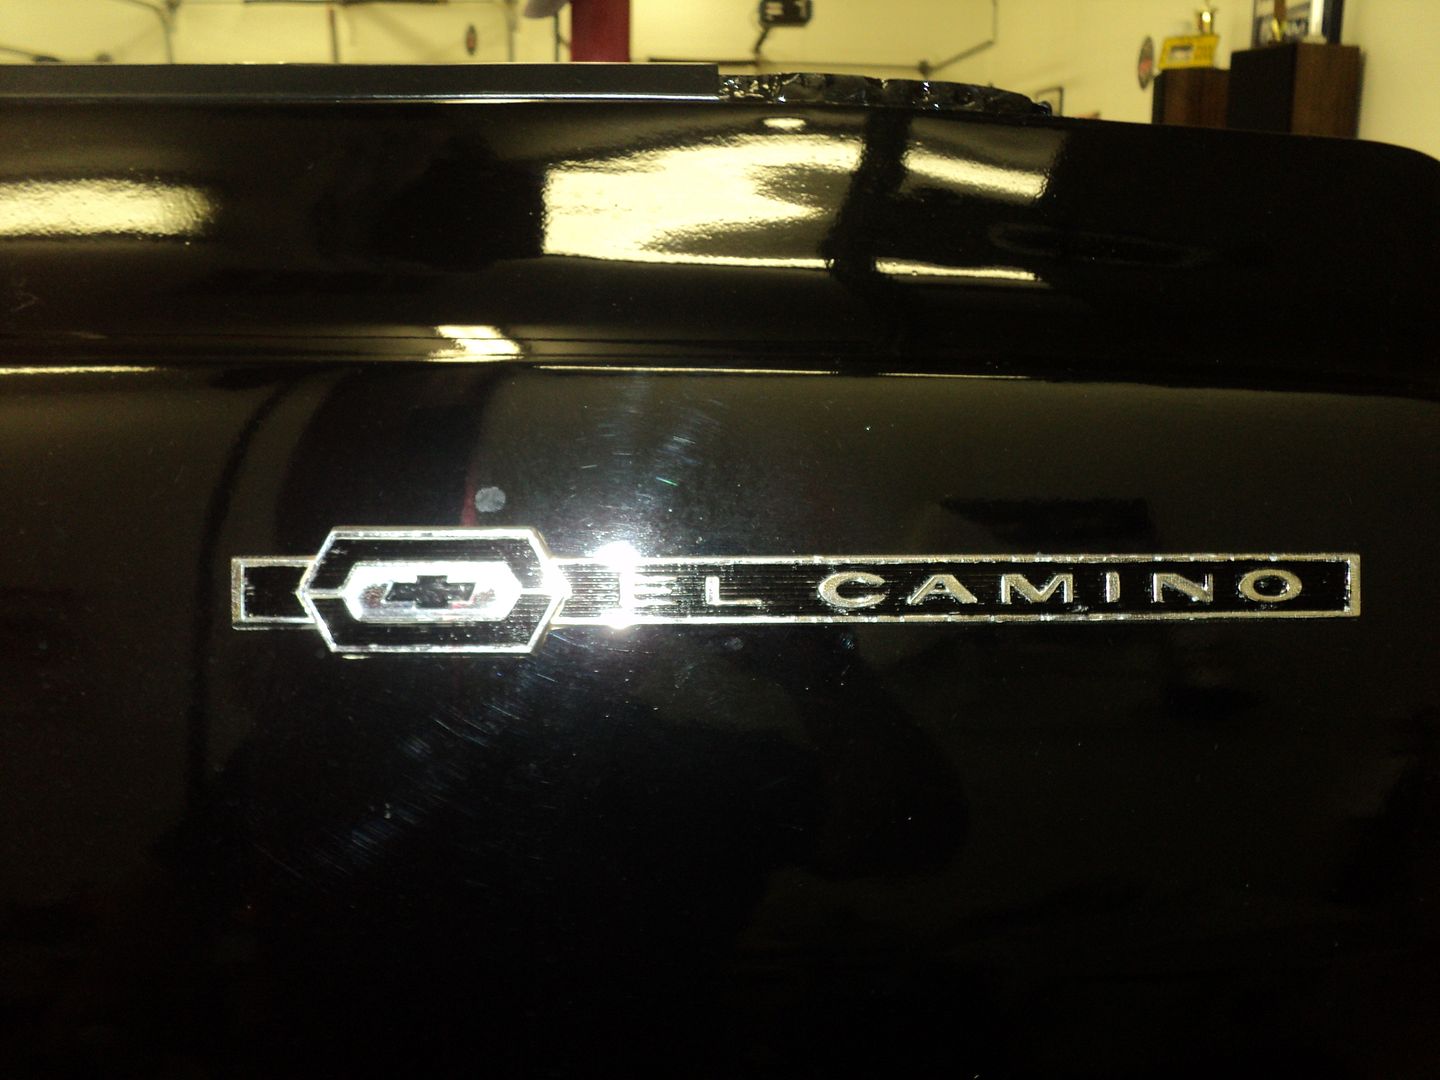 [/URL]
I then, to consolidate some parts, bent up a bracket and mounted the wiring harness up.
[URL=http://s54.photobucket.com/user/dusterbd13/media/1964%20elcamino/DSC01977_zps7fef0209.jpg.html]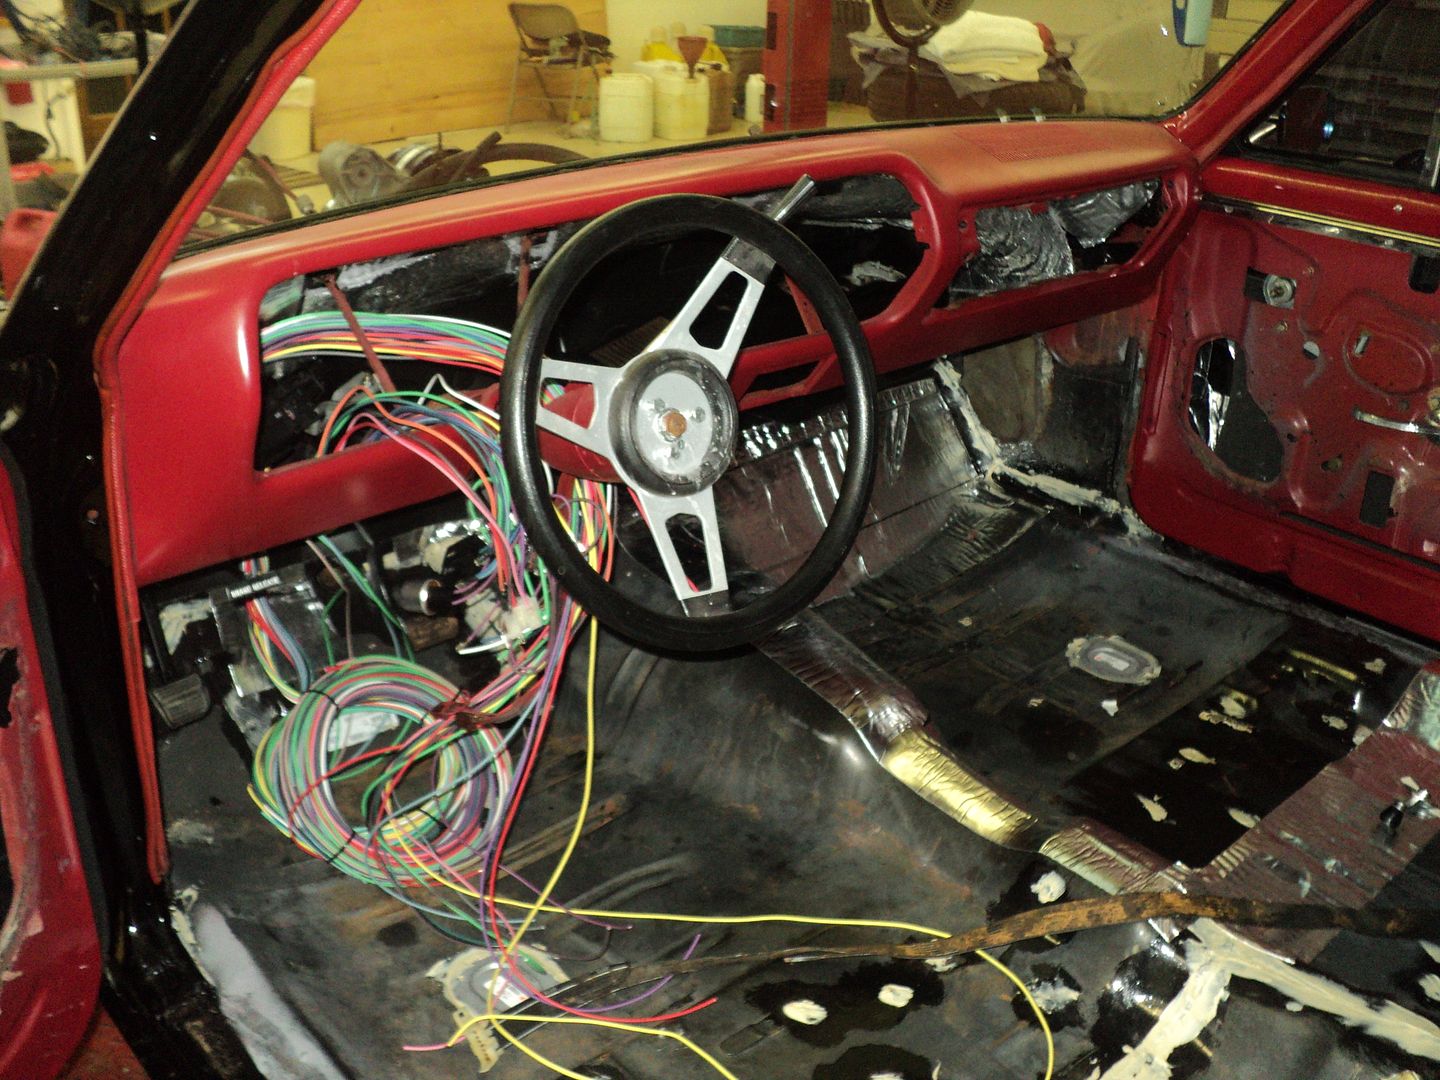 [/URL]
I also mounted up the rear bumper. the thing is actually broken in half, and quite scruffy. its easily the worst part of any of the trim. but its paid for, and I'm quickly going broke. I am digging the black and chrome though. starting to look like a truck again.
[URL=http://s54.photobucket.com/user/dusterbd13/media/1964%20elcamino/20141011_125558_zps33a60b53.jpg.html]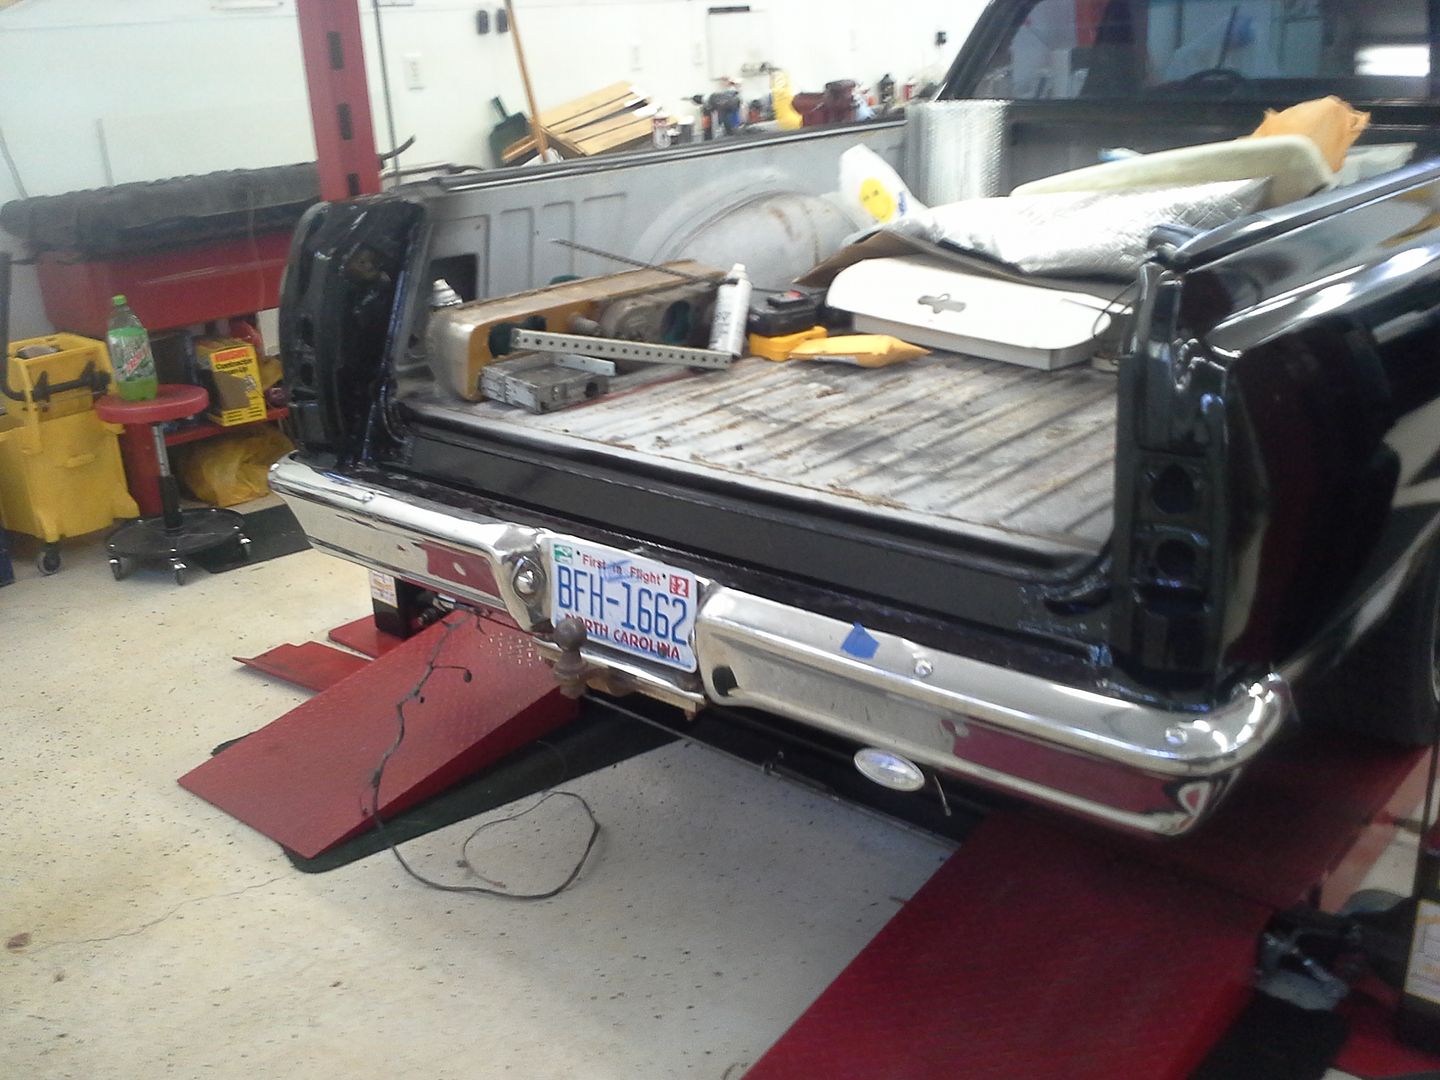 [/URL]
so I guess all that’s left now to discuss is the drivetrain.
the "rebuilt" small block I bough definitely wasn’t. I had cleaned and painted the outside, and knew the intake was leaking. when I pulled it off to change the gasket, I found this:
[URL=http://s54.photobucket.com/user/dusterbd13/media/1964%20elcamino/1845_zpsb10c8b13.jpg.html]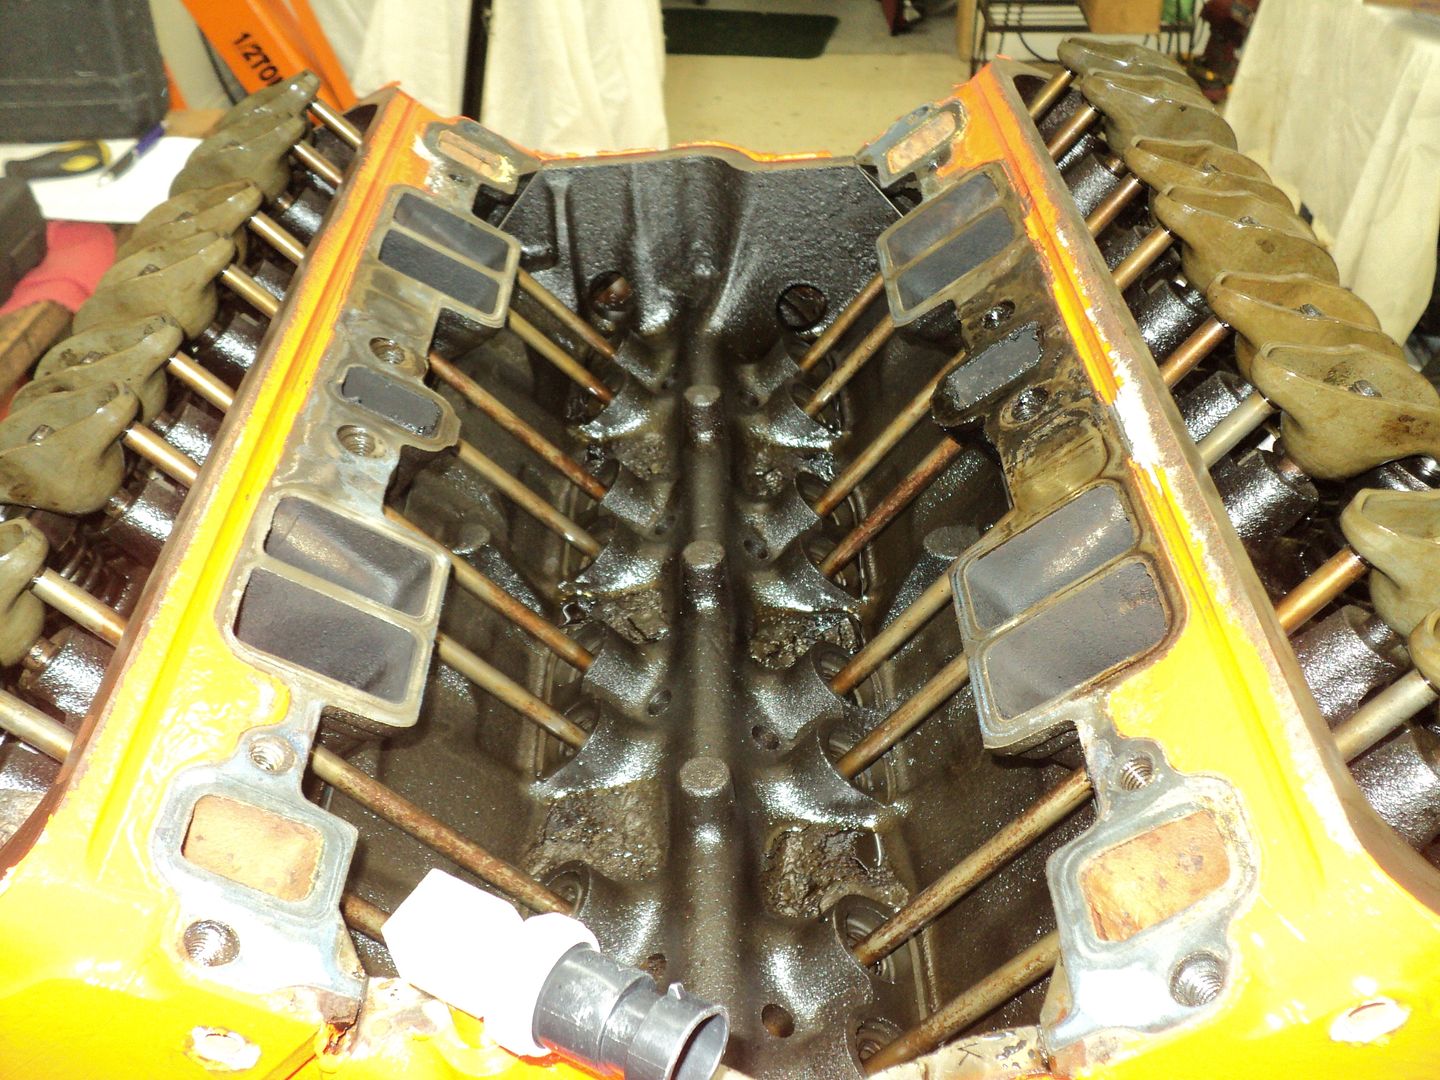 [/URL]
what I didn’t take pictures of was the 3/8 of buildup on the valve stems, the two or three only valve stem seals that were replaced, or the leaking oil pan gasket. so I tore it down. someone had had the heads off, and I wanted to see just what I have to deal with. the bores are good, but no crosshatching left. no major ridge though. bearings all looked good, timing chain has minimal slack. took the heads to the machine shop to get them checked out. found they were both cracked, one warped. so I needed heads.
[URL=http://s54.photobucket.com/user/dusterbd13/media/1964%20elcamino/20141004_232202_zps7d339b31.jpg.html]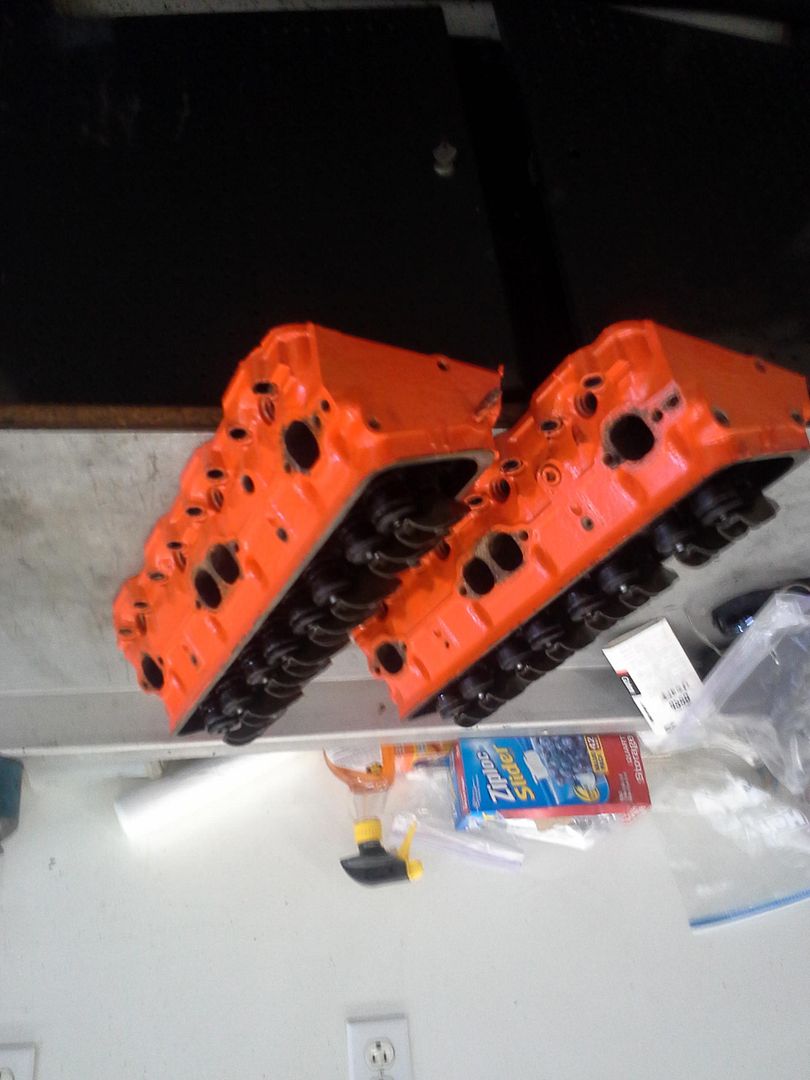 [/URL]
so I go on the clapp (craigslist search engine on my smartphone) and see what I can find. there's a 17 day old listing for a set of "rebuilt, ported and polished" 305 HO heads, as well as a performer TBI intake. all for 20. yes, 20. I actually verified the price with him twice, as I couldn’t believe that wasn’t a typo. id been half looking for the edelbrock intake for a reasonable price, so I figured it alone was worth it. guy turned out to be in Selma, NC, outside Raleigh. 2.5 hours each way, and 150 miles each way from me. he told me they were on his truck for the scrap run tomorrow, as no one had called on them. I told him id be there in a couple of hours with a 20 in my hand.
[URL=http://s54.photobucket.com/user/dusterbd13/media/1964%20elcamino/20141007_214523_zpsece74876.jpg.html]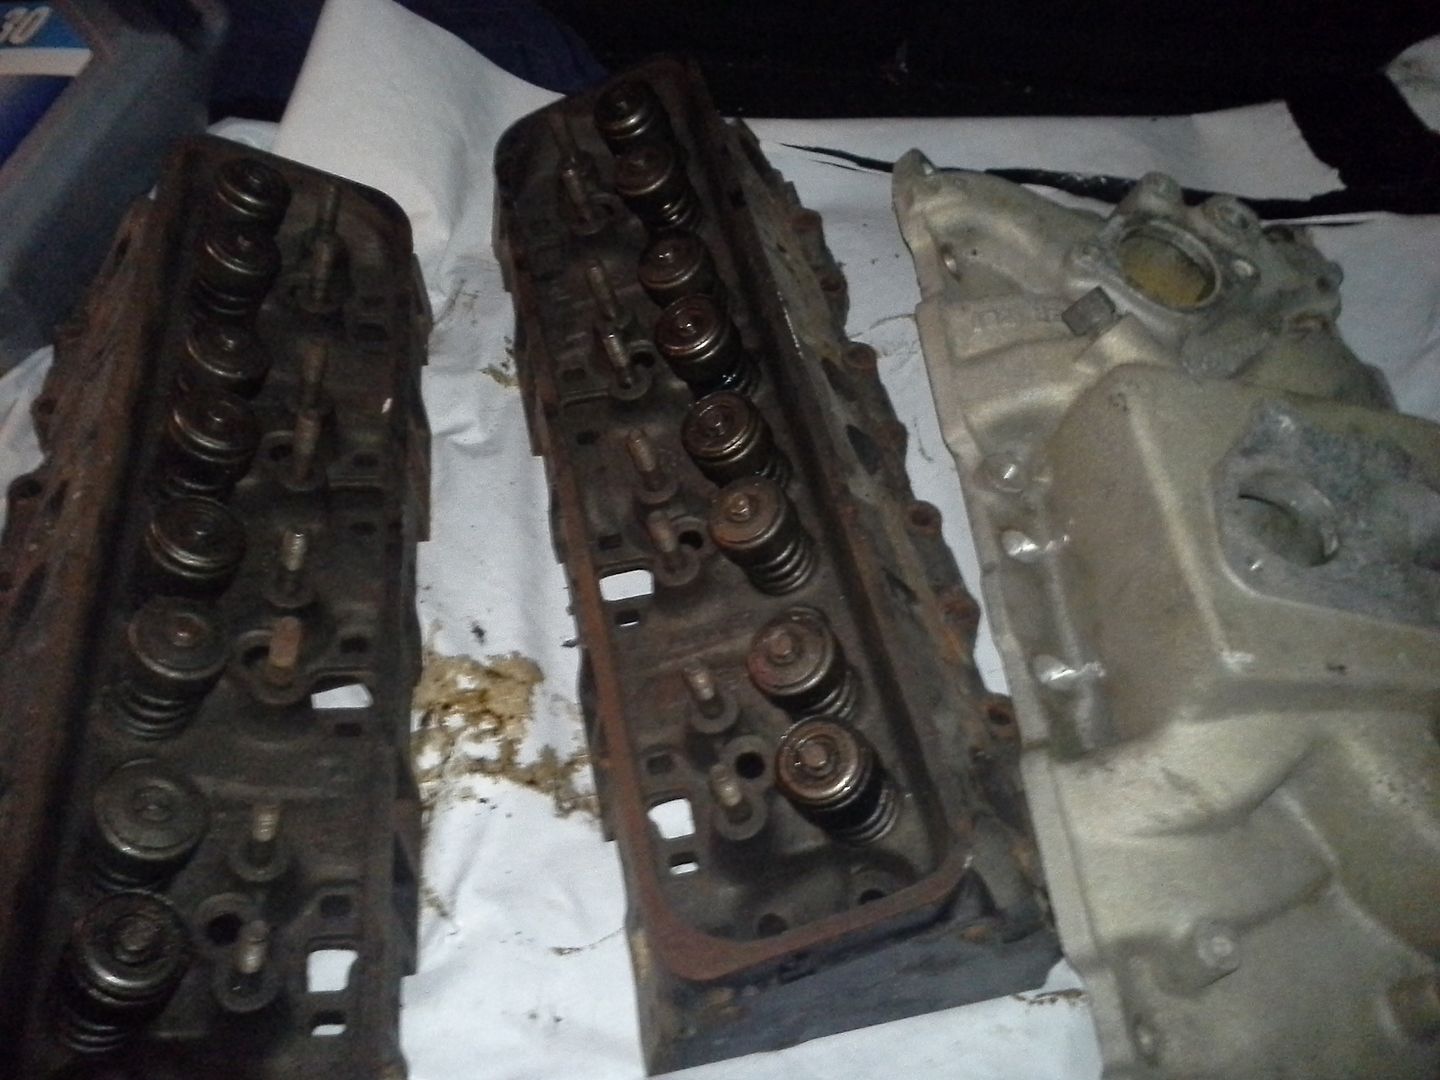 [/URL]
[URL=http://s54.photobucket.com/user/dusterbd13/media/1964%20elcamino/20141007_214531_zpsce00ebf7.jpg.html]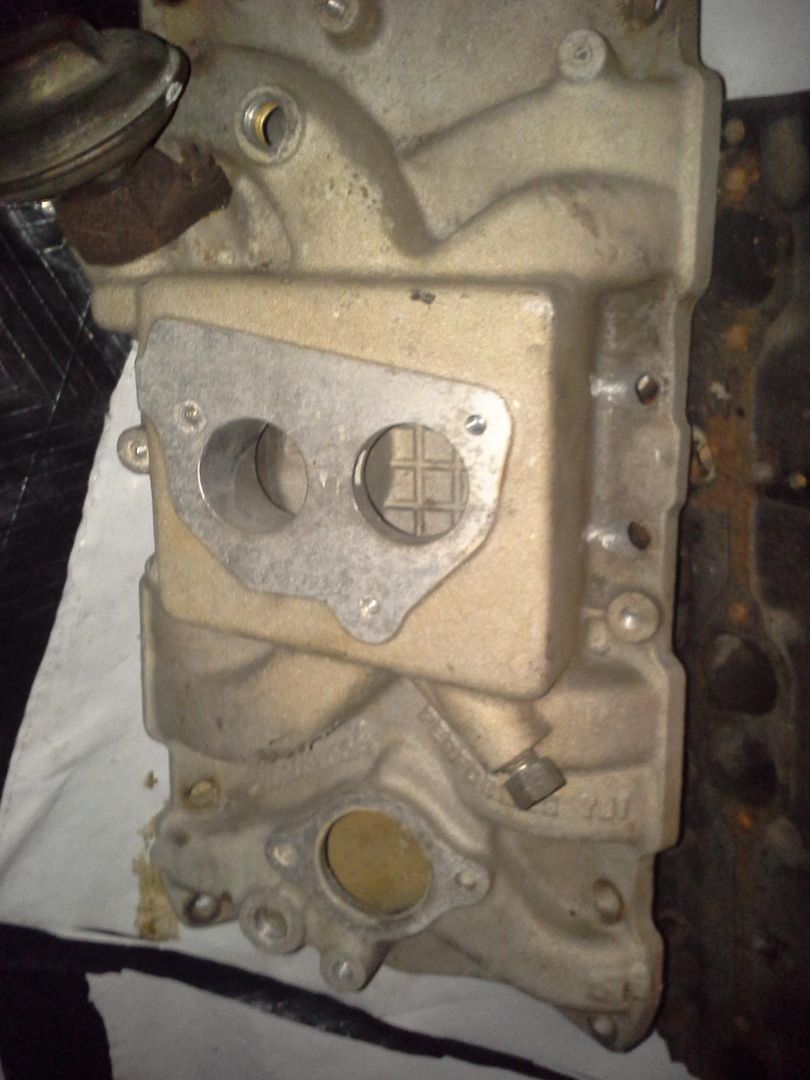 [/URL]
nice dude named edward. anyway, took the heads to the machine shop, where they slammed new valve stem seals in them and angle milled them for me to clean up the previously done decking. brought them home, cleaned them up, put them in. painted all my bolts gloss black, as well as the oil pan reinforcing rails. I then proceeded to paint my new intake as well, and slam the fresh small block home. also got the trans, driveshaft, exhaust, accessories, etc in. my 5 year old helped me with all this, as she loves helping me in the shop.
[URL=http://s54.photobucket.com/user/dusterbd13/media/1964%20elcamino/20141011_125543_zpsb0892d5c.jpg.html] [/URL]
[URL=http://s54.photobucket.com/user/dusterbd13/media/1964%20elcamino/DSC01972_zps5c436d20.jpg.html]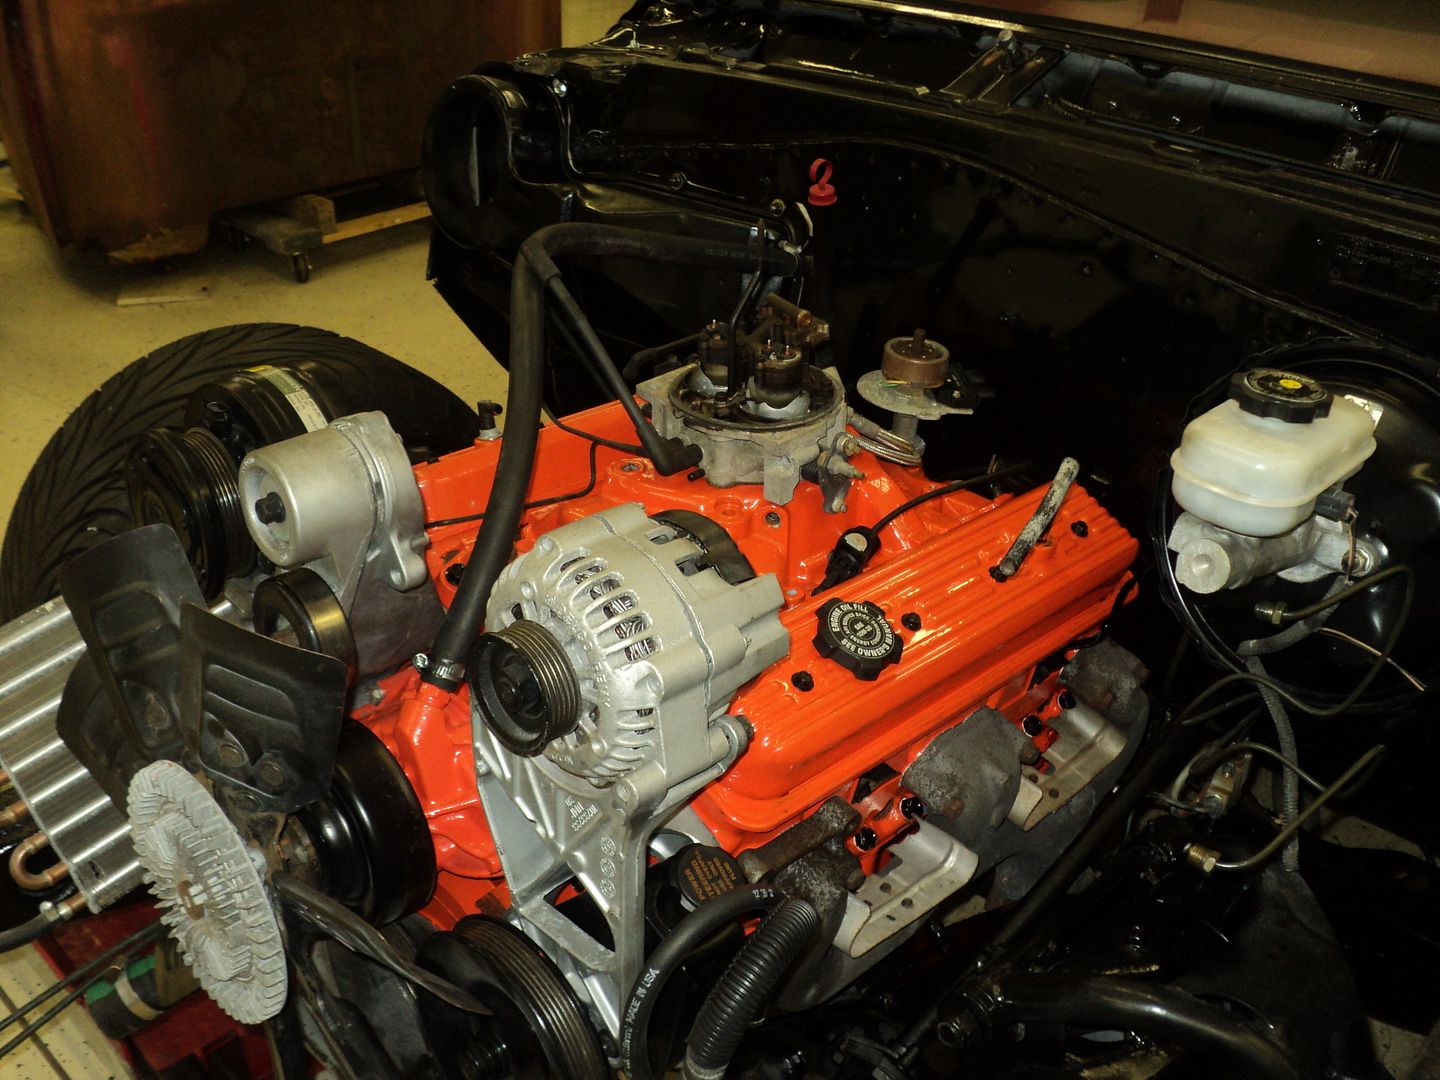 [/URL]
I am positive that you have more of an audience than the two of us. Don't actually let me be an irritant, though. I understand update delays as well as you do!
Not an irritant. More of an inspiration mr freakazoid/tick superhero.
You guys asking helps keep me motivated. I really want to drive this thing to Columbia and meet you and mad for lunch. As well as any other of your local grmers.
You'll need to log in to post.