Now that you have a lift I suggest you get a rolling oil tank. The oil drains right in to the tank, then when you want to empty it you attach an air hose to it and pump the oil out into containers.
That's what I use and it's great
In reply to docwyte :
I've been looking at those, and will likely end up with one... just haven't got 'round to it.
On the subject of oil changes, I took the dually in yesterday for an oil change. I have the dealer do the oil changes on the truck because I don't want to deal with 3 gallons of nasty diesel engine oil. It also had a recall that needed to be cleared regarding bad lugs/nuts. Got that one taken care of, and found out it has an emissions recall calling for a computer reflash with a new calibration. I was very happy the service folks asked me if I wanted that one done, and didn't just do it. I'm very leery of getting a new calibration when everything is running well... who knows what kind of problems may ensue... doing some research, but there's not much out there yet on this one.
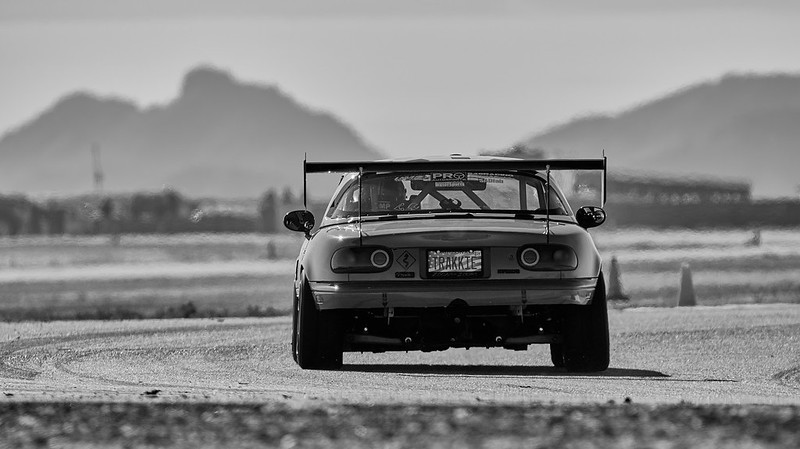
In more interesting news, I added some more 'art' in my continuing personalization of the shop. It's one of my favorite 'pro' shots of our NA on track, but it's amazing how small a 24x36 print looks when it's on the wall!

Today, I pulled the seat and harness from the NA, and in the process discovered the 13mm gear wrench I've been missing for months was hiding underneath....

Once the seat was out, I could pull the rear harness and work out what wires I needed for the rear lighting (tail/brake/turn, etc) and pruned the rear harness to eliminate anything extraneous. I'm going to retain the factory wires for this to save a bunch of unnecessary re-wiring into the lights. What's left:

The other wires are for the fuel pump, and those will be completely replaced.
Into the trash:

Pulled off the front cross brace today for a little modification.
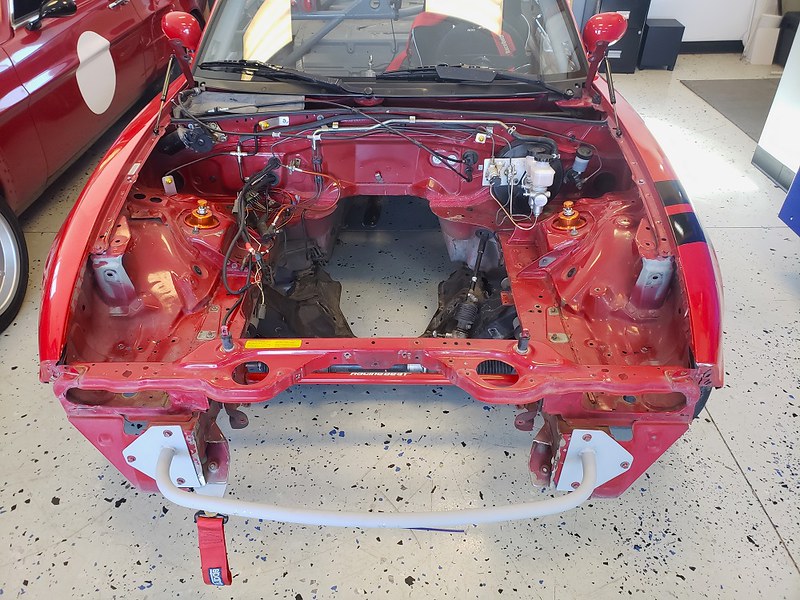
I built this when I removed the factory cross brace during the front aero work. It's purpose is to give back a little rigidity, provide some support for the bumper cover, and support the inlet ducting for the radiator. I had built it with just the tube welded to the mounting plate, and always felt it should have a little bit of a gusset for support, so today I finally got around to that. Then I painted it to match the cage, since it's been in primer for a couple of years. Plan is to paint the whole engine compartment while it's bare.


[img]https://live.staticflickr.com/65535/53382700723_b9f13bc702_c.jpg[/img]
Starting to get frustrated with the inability to go back and edit posts... I don't know why the img tag in the above post isn't working. Here it is again:


Caught up on some small stuff in the last couple of days. The Dually got new air and cabin filters, and the BMW got an OEM center console insert with cup holders.

Of course, like all 90s cup holders, they're basically designed for soda cans. But they're better than nothing...
And, the NB finally got some artwork for the wheel center caps.

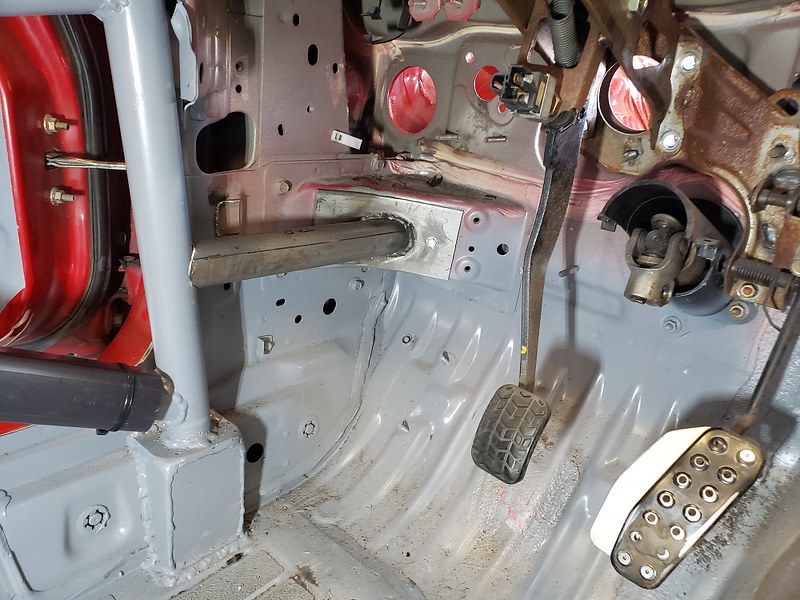
Back to the NA, one project I wanted to complete while the car is disassembled is to extend the cage to the firewall to enhance the footwell protection. This wasn't really possible when I built the cage, as I didn't want to remove the wiring harness and all the other stuff in the way at that time.
I started by making a die set from a 2x4 to press some 1/8" plate in to the proper shape.

After that, it took some massaging with a BFH to get them dialed in.


Then I cut/notched some tube to tie it into the front downtubes. Sorry for the out of focus pic... didn't realize it 'till it was uploaded.

Driver's side will be waiting until I pull the hydraulics and get the clutch pedal out. I also have to cut out a small bracket that's in the way. Once I get the driver's side fitted, I'll weld it all up.
Yesterday, we went for a drive in the NB and had breakfast in Bisbee. Continued up through Tombstone and back home. Accomplished nothing on the NA...

As everyone knows, this time of year is difficult for getting work done on car projects...
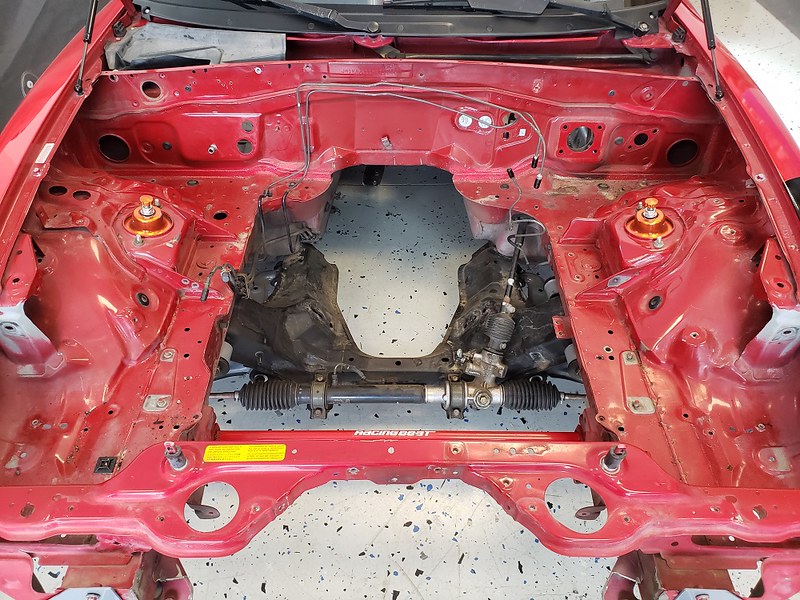
I was able to make a little progress. Engine compartment is stripped... got the hydraulics and other remaining stuff out. Ready for cleanup and paint. I'll be making new brake lines for the front.
Did a quick 'test fit' with the AIM dash and CAN switch panel.


The center stack panel will be re-made, and I may install some warning lights where the gauges were... not 100% on that yet...
Grinding along... today I wanted to get the driver's side footwell extension for the cage done. First, I had a couple other items to tackle.
First was removing the steering column, but before I pulled it, I mounted the AiM dash just to see where it was going to sit. It's mounted on a Singular Motorsports bracket.


Once my curiosity was satisfied, I pulled the column, then pulled the clutch pedal, which was also in the way for working on the cage in the footwell. While the pedal assembly was out, I tackled another project. There's not a lot of space in a Miata footwell to begin with, and after installing the cage, there was barely enough room for me to get my foot between the clutch pedal and downtube to plant it on the dead pedal. I wanted to shift the clutch pedal slightly toward the brake pedal to make a bit more room.
First up was cutting the pedal, and adding some flat stock to move the pedal about 1" to the right.


Next up was adding fillets to strengthen the joint.

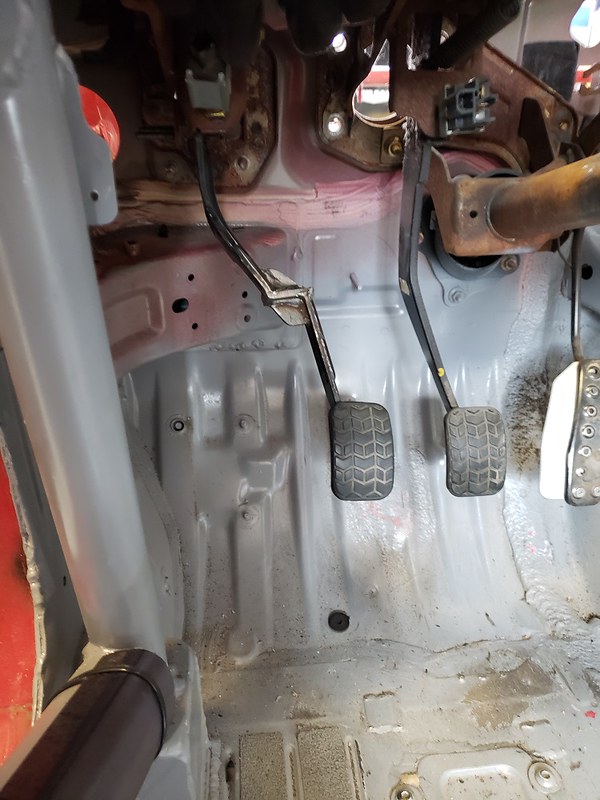
Squirted on a bit of paint and it's done.

Once all that was done, I could get the cage extension fitted up.
Running around town got me off to a late start today, and I didn't feel like crawling around inside the car with a wire wheel and welder, so I made the new center stack panel instead.
Laid out a pattern from the old one...

Then I poked some holes in it and bent the tabs and sides. Test mounted with the CAN switch panel:

One tool I'd really like to have is a good sheet metal brake, but it would take up a lot of shop space for something that doesn't get used a lot.
Nice work as always but I'm LMFAO at " but it would take up a lot of shop space" We've seen that shop! ![]()
In reply to NermalSnert (Forum Supporter) :
It's a lot of space, but it isn't limitless. Ever seen the old George Carlin routine? ![]()
Footwell cage tubes are in. I had forgotten how much fun it is trying to work in the deep, dark corners of a caged Miata... Ibuprofen is on the menu tonight. ![]()


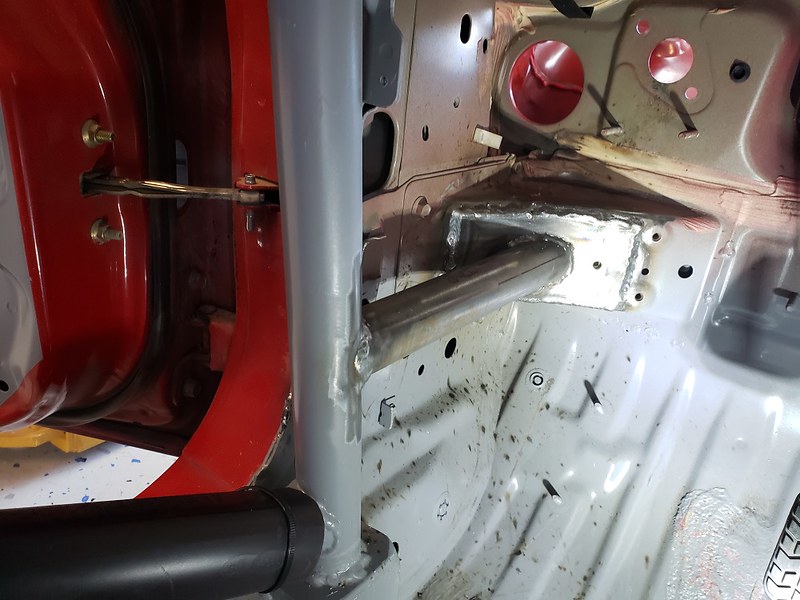
Testament to the tight pedal box in a Miata...
Here's my size 11 Piloti on the dead pedal... barely enough room under the front tube.

Here's the shoe even with the clutch pedal... just enough room, and that's after moving the pedal over an inch.

Not a lot of excess space in there.
Main project for the day was working on plugging holes in the firewall. The biggest holes are where the factory harness goes through on each side, with a large rubber pass-through grommet, and they're nearly 4" in diameter.
I started with a CAD (cardboard aided design) pattern for an aluminum plug, which I transferred onto 12ga aluminum sheet.
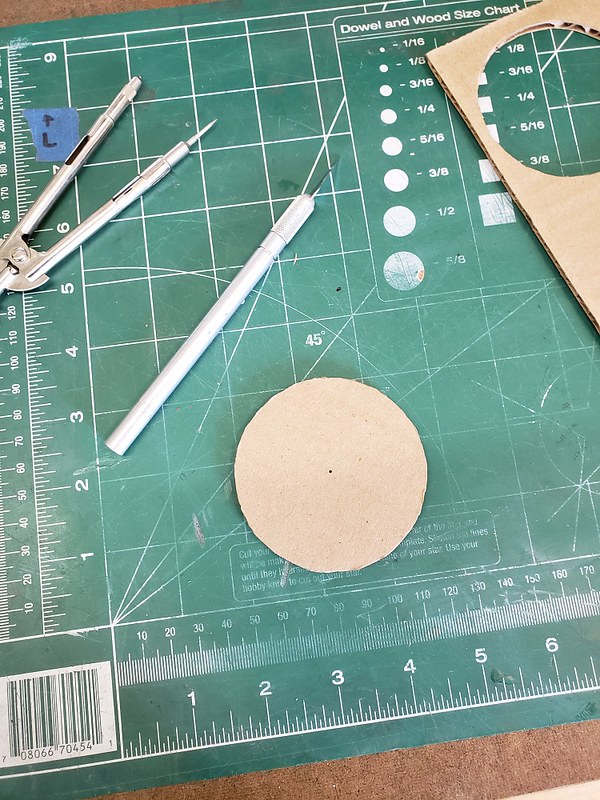

You can see the nice quality material I'm getting from my new local metal supply...

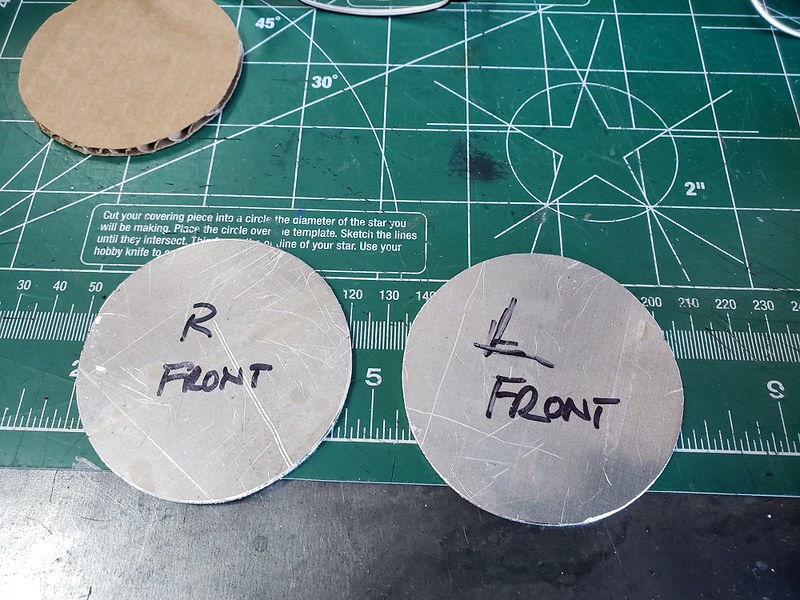
I used an aerospace grade epoxy that I've got a lot of experience with to fix them in the holes.
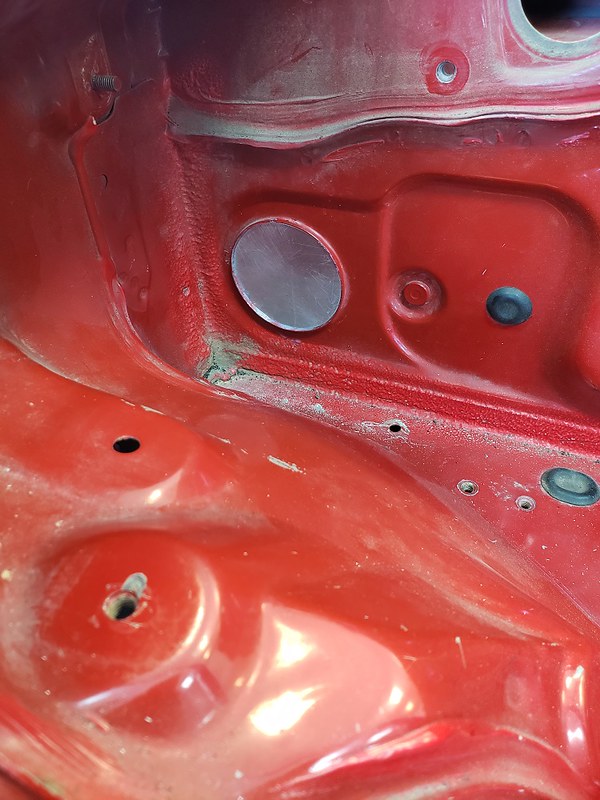
Once the epoxy cures, I'll use some body sealer on the inside, then paint.
Next step is to repeat the process for the other holes that won't be needed... I might just use steel for these and weld them in place since they don't have a flanged opening.

Nice, clean work as always.
Re: your comment about the K being so tall. There exists a short valve cover that allows it to fit under the NA hood. Since the car we K-swapped is really rough cosmetically, we just made up a simple sheet metal bump so it clears.
In reply to AxeHealey :
I do have the modified valve cover... basically it's just an angle cut at the front that allows it to clear the NA hood.

Finished making the firewall patches today...


Hope to get those tacked in tomorrow, then I can start on a couple of engine bay mods to clear the new engine.
More work on the firewall today. First step was disconnecting the brake lines from the front calipers. I picked up some brass plugs to cap the lines while things are sitting around. Also bent the rear brake hard line out of the way for now.

Next was getting down to bare metal around the holes, and welding in the patches. These aren't structural and will be backed up by seam sealer, so not fully welded.


And a shot of primer to hold off any corrosion until paint.
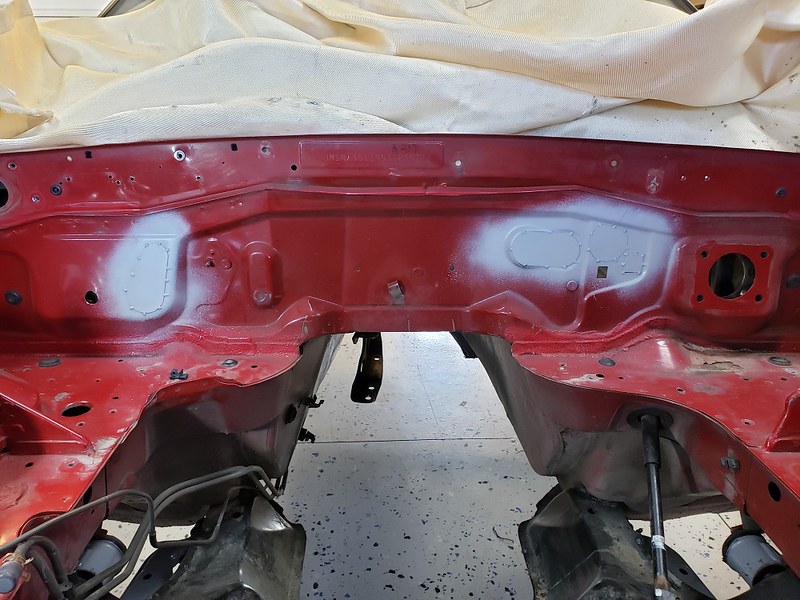
Having the car on the lift to reach a comfortable working height is a bonus. As is being able to stand in the engine compartment...

While removing the 'corners' of the frame rails at the firewall isn't strictly necessary for a K swap like it is for an LS, I decided it would be a good 'while I'm in there' modification that would give more elbow room around the engine for the future. So I fired up the plasma and went to town...


Did some CAD rapid prototyping for the fill plates.

And discovered I didn't have any 1/8" flat stock in my pile that was wide enough, so off to the local steel supply. I only have one metal supply in town, and it's been a big disappointment so far. Today was no exception. $6/ft for 1/8" x 6" flat stock, and this is what I got...

Finished up the frame rail 'notching' today.


Getting close to being able to paint the engine compartment. Just in time for it to finally get cold...
My original hope had been to be back to racing this month, but I was overly optimistic about the progress I would be capable of with settling into a new home over the holiday season. So, since we aren't racing the NA this month, we decided we would take the NB to the local AutoX this weekend. It's not really our thing, but it's still driving, and it will be a chance to meet some of the local gearheads.
Today, I put the NB up on the lift to give it a once-over for the event, and swap on a set of wheels with Conti ECS tires. I also wanted to look for the source of a new oil drip.

Just in time, I guess, as it left this on the floor under the lift...

I'd seen no evidence of a coolant leak before now, but quickly found the upper radiator hose clamp was loose at the thermostat housing. I tightened that, checked all the other hose connections, and cleaned up the mess.
Now for the oil leak. It had seemed to be dripping more after being driven, but not while parked. I eventually tracked it down to the 'oil cooler' sandwich plate between the filter and the block.

I have seen the nut that holds down the sandwich plate come loose on other Miatas, and even bought one with a bad engine due to that problem. I pulled the oil filter and re-torqued the nut, and that seems to have resolved the problem.
Leaks fixed, tires swapped, and everything else checked over... we should be ready to run for Sunday.
The NB also got a bath, and I discovered my driveway (which is in the shade all day in winter) remained at 32*F even though it got into the 50s today when I almost ended up on my butt...

Yup, that's frost... in AZ, 8 miles from the southern border. ![]()
You'll need to log in to post.