A layer of masonite over that bench would make it awesome. Props to you for making a totally grassroots work bench.
do you plan to anchor the legs to the concrete blocks? theres nothing worse than really leaning onto something thats clamped to the work surface of my bench, only to have the whole bench wobble and half my fasteners roll all over the place.
But yeah, really good work on that bench! thats great!
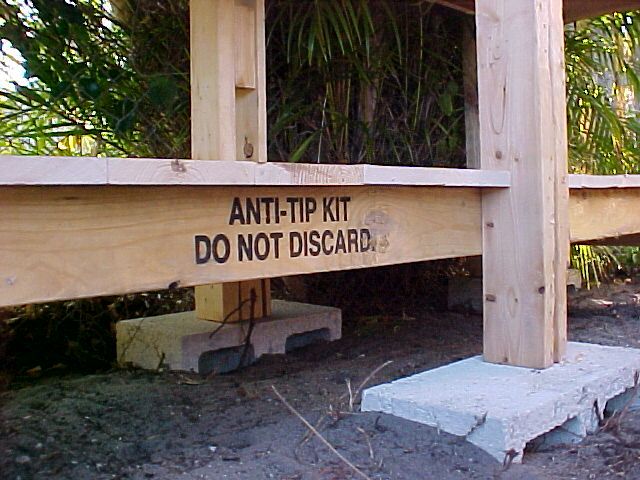
I used the special anti-tip wood! Seriously though, it's very stable and will also have a couple hundred lbs of stuff on the lower shelf. Sand for the "hose in a bucket" sand blaster, my 5 gallon buckets of drain oil, batteries, brake drums and other recycleable heavy metal collected until turned in etc.
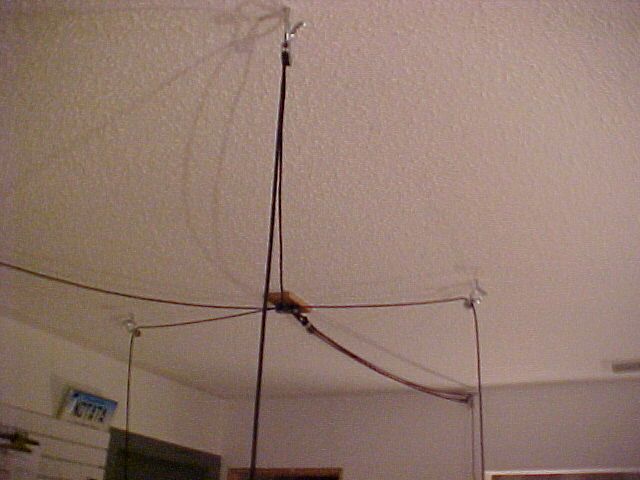
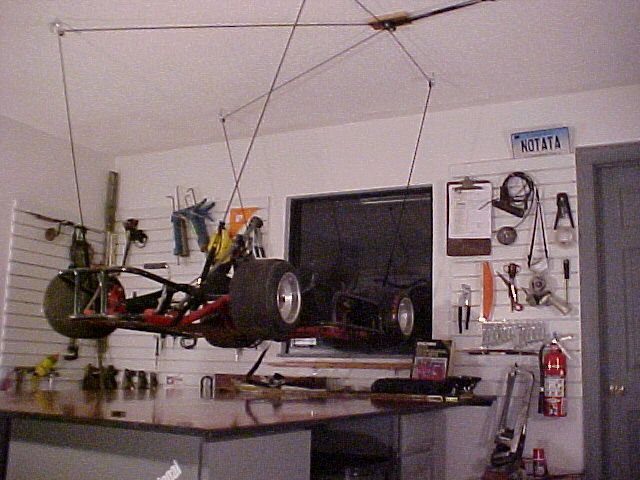
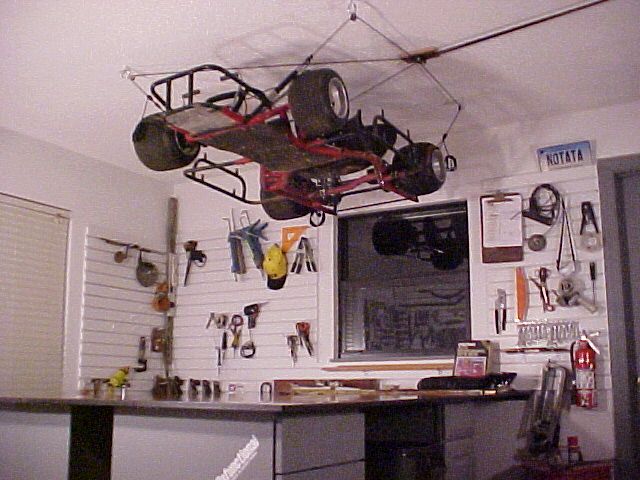
Back when I started this project Karl La Follette suggested rope devices to hold the large table in the shop up in the air allowing the room to still be used as a bedroom if necessary. I kept thinking about that idea. Meanwhile, while selling off all the inventory from my old bikeshop, I came across an unsold hoist system. We sold them to people who wanted to hold up cartop bike rack systems or the cartop boxes in their garages when they weren't using them.
So since we've had a couple very cool evenings here I figured it was a good time to put it up since I have a couple big things I need out of the way, and I figured it will be a great addition to the shop! I'm going to accesorize it for particular tasks, more on that later....
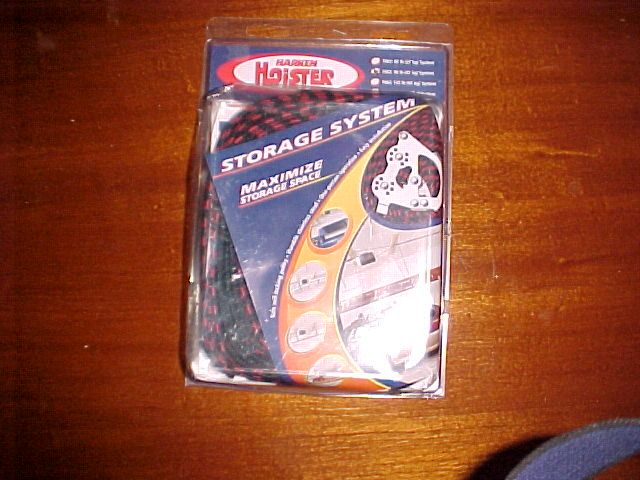
Harken Hoister with 90lb weight limit. Seems to hold a lot more than 90 with no problem. Nice product but a couple lag bolts didn't fit correctly causing me to scatter 24 plastic ball bearings from one of the distribution block pulleys. After rebuilding both pulleys with new steel ball bearings (bike shop guy so I have lots of sizes of bearings) it works great!
You keep saying you are not going to keep the house. If you keep going like this you will never get rid of it!
Great work!!! You are living every car guys dream at the moment. I think many of us are living vicariously through this thread. LOL
If Colin Chapman had designed a shifter kart he would have kept adding lightness until it floated!
[edited for spelling]
David
DWNSHFT wrote: If Colin Chapman had designed a shifter kart he would have kept adding lightness until if floated!
Say What?![]()
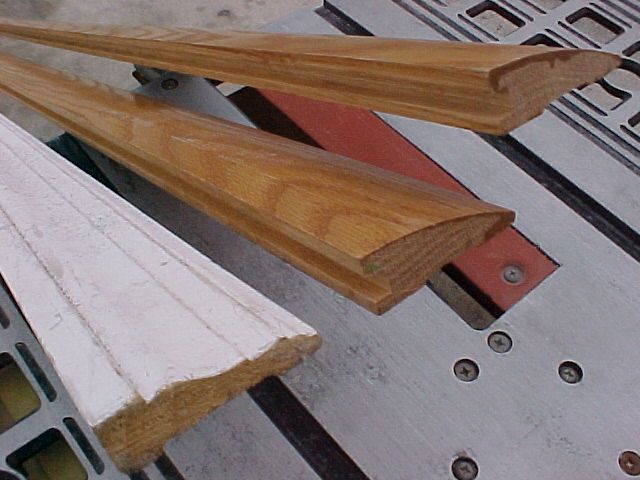
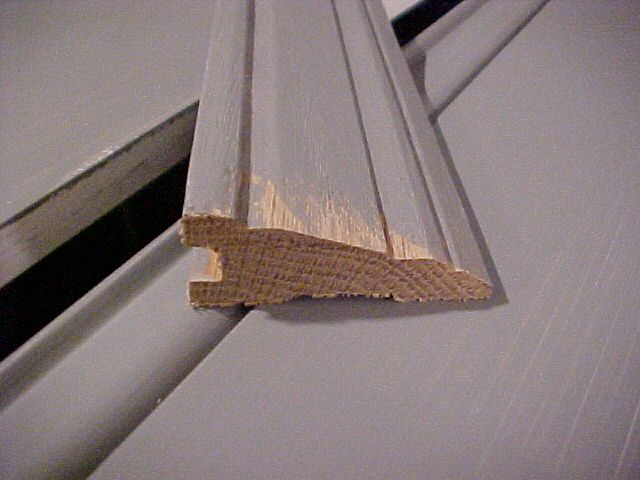
Well I've got the walls painted in the garage and I'd been trying to come up with some door trim similar to the other door trim in the garage (which is different than in the house). I made a window at the machine shop so the guys could see out of the clean room into the shop area. They had some oak mouldings of different types that were left by a flooring company that previously occupied the location they wanted to use for the window trim. Some I was able to use for their window but some there wasn't enough to do anything with, BUT, there were some pieces were sort of close in size to a single piece of trim that was left in my house when I bought it.
The single piece of trim left at the house matches the exterior garage door trim and the door was new when I bought the house so I'm guessing it was left from the door install. Anyway, a few passes on the table saw gave the oak trim similar lines and a pass of the wider single piece brought them all to the same width. I used the factory made piece on the side where the door handle is because it's more noticable. So, shop/garage door trim..... FREE! It's not perfect but no one will notice. LOL
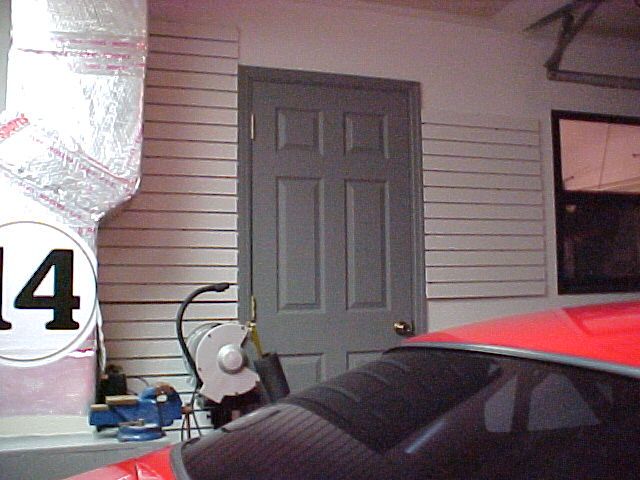
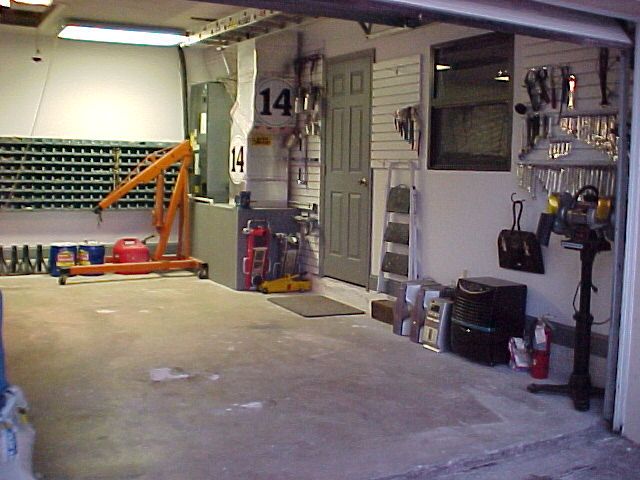
With the garage walls painted I decided to put some baseboard trim in there and get to organizing tools on the slatwall. I have hundreds of plastic coated "bike" hooks left from the bike shop so I used some to hold up the floor jacks and other items. For the first time in 5 years I can walk all the way around the cars without tripping over crap!
Glad to see you guys enjoying the thread! I went to the leaderboard the other day curious about the dorkdom status thing I've read about and saw this thread was listed as a top thread. Pretty cool! Now I know what the "vote this topic up" button does!
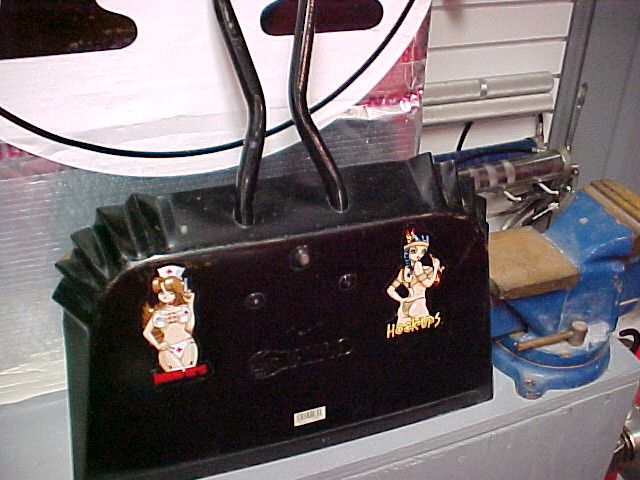
The "GRIP" dustpan came from the bike/skateshop and is therefore decorated with appropriate stickers from the Hook Ups skateboard company! LOL Great dustpan, reminds me of something you'd expect to see in Griots. Bought mine at Restoration Hardware. Made of metal with a good strong wide handle and thin enough metal where you sweep stuff in it that you don't have a line of dirt left on the floor.
Extremely impressive build. I have much envy of your shop, and admiration of your character.
I hope that karma will reward you, and the "thieves" if it hasn't already.
"Thats a 1974 Firebird Superduty. I rule!!" Kevin Spacey, American Beauty ![]()
Thanks!
As you all know project creep gets the best of us even when we know it's not in our best interest when trying to complete a given project in the least amount of time necessary. Although I was chanting the mantra "Clean, well lit, organized, clean, well lit, organized" my attention was diverted by the nasty old circuit breaker panel. It's got joint compound slathered on it, several layers of cheap paint globbed on, plus the FL humidity has caused it to rust underneath the paint.
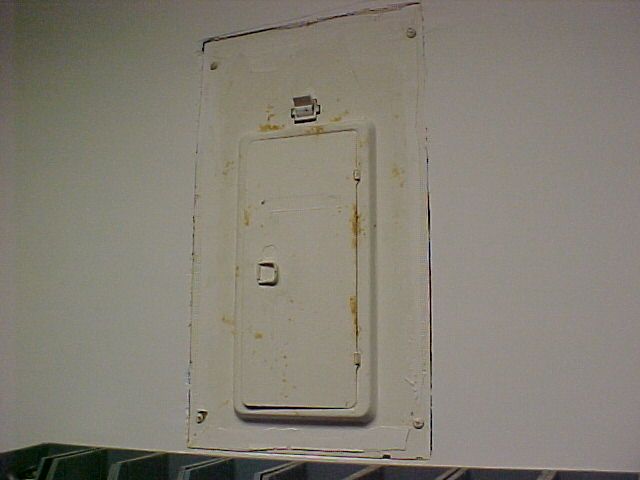
I considered taking the face off and stripping/painting it but thought "well I'll still have an ugly panel to look at". So I fixed it with a poster I got with a membership renewal from the ECTA, and some of the slat wood left from the skids. I don't want the possibility of anything being able to fall and hit the cars, so I used some old hinges left over from who knows what, and made it so it swings open and is not going to vibrate off if something gets fired up with open headers. Assembly details at the bottom of this post.
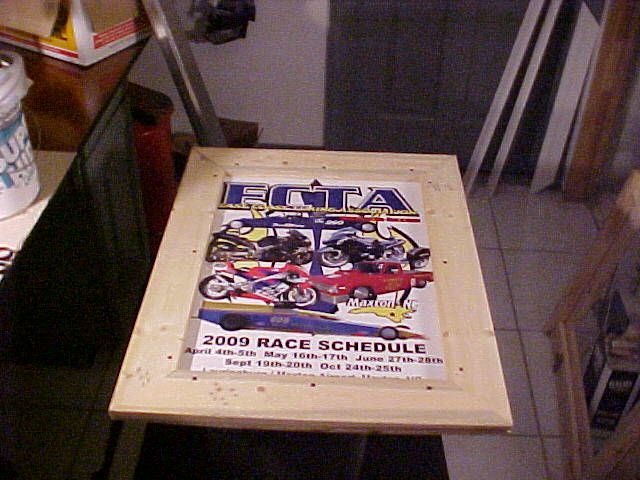
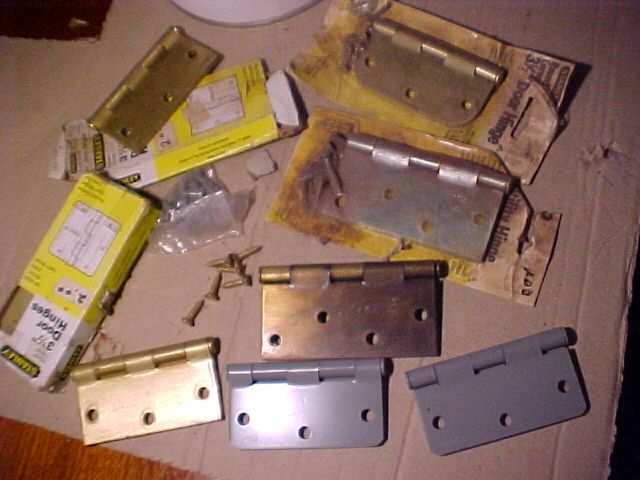
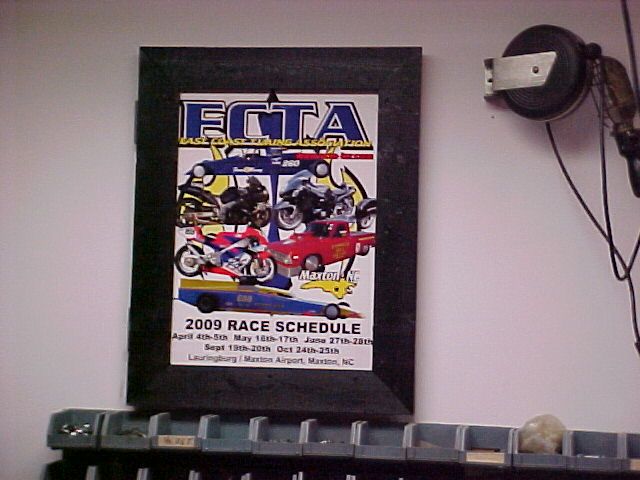
Used a scrap panel piece of manufactured wood big larger than the poster and slat frame would be. Used 3m spray adhesive on the panel and stuck the poster on. Screwed the "picture frame" to the fake wood panel from front and back. Cut of excess fake wood then screwed hinges through the fake wood to the picture frame and also another piece of slat that gets screwed to a stud in the wall.
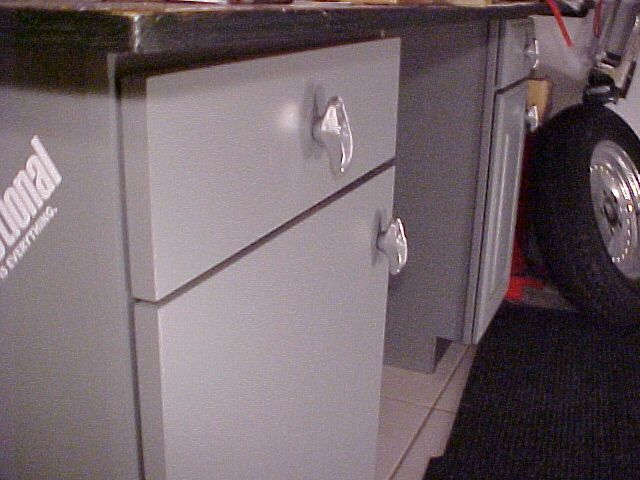
You may have noticed in the early post pics that the kitchen store display cabinets I used to support the big table had no hardware on them. While I didn't really need anything to open and close the drawers/doors it was becoming a pain remembering which cabinet door swung which direction. So.....
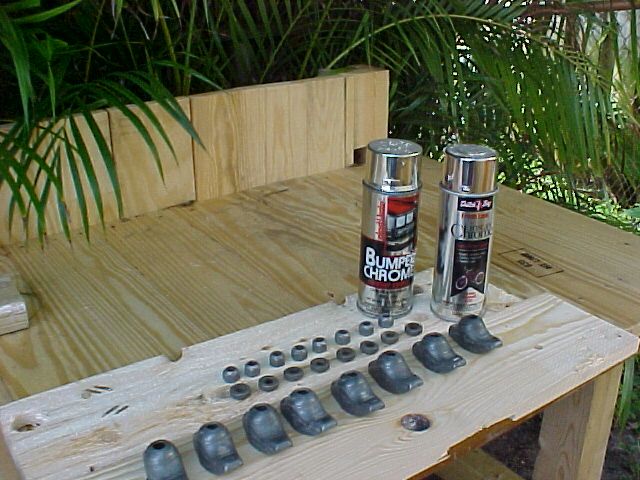
I'd been looking for something to use for cabinet handles that wasn't just a lag bolt or something equally mundane. I decided a set of V8 rocker arms would look interesting and work out well (Junk/free at the machine shop) and I could use the rocker balls and nuts so all I'd need was bolts. I'm still trying to use up misc. cans of old spray paint and I had a couple cans of the fake chrome stuff so I used some. I did have to buy bolts though since I didn't have any fine thread 3/8" the right length. I needed 7 handles for the cabinets in the shop, so I used the last one on the ECTA poster frame.
Thanks guys!
Like many of you I'm sure, the only interior painting I dislike more than painting closets is small bathrooms. So I've been avoiding finishing up the closet makeover. Finally decided it was time to just jump in and get it done.
I'd been hoping to find a piece or two of 1/2" plywood suitable for hanging more parts bins but didn't. However I did have a couple pieces of 3/4" from my ongoing skid disassembly project that were close enough to work for the bin setup so I used those instead. A little small for what I needed and had been cut crooked by skid builders but no one will notice when I'm finished. Painted the closet shelf brackets with some leftover black.
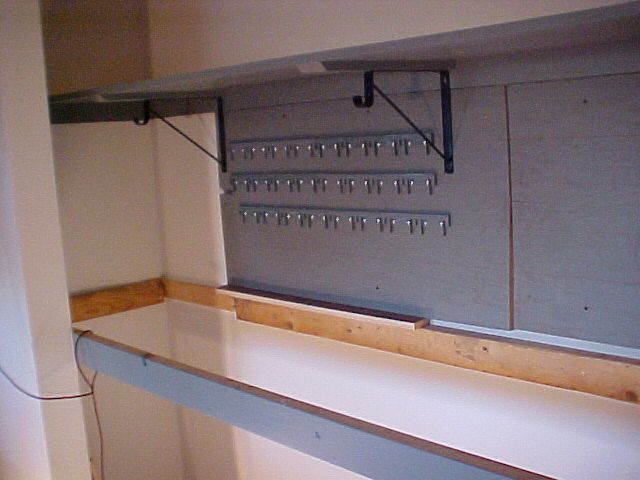
With the nut and bolt bins set I decided to use up the last of the Mohogeny faced plywood to add a couple shelves. Used pine and screws from skid disassembly for supports.
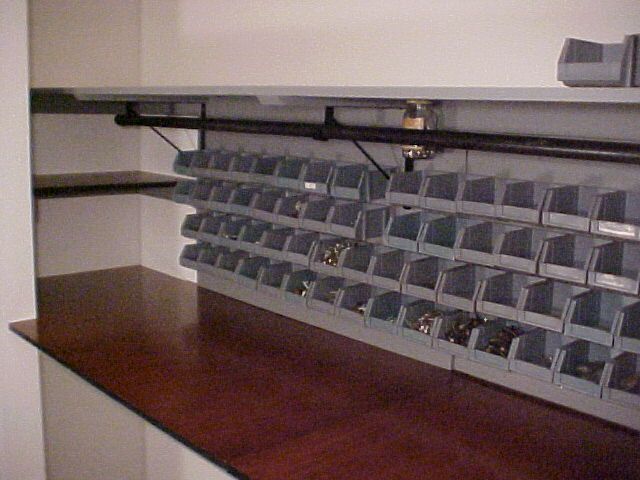
I got a couple more rocker arms and painted them black to use for the hoist rope, gets it out of the way. Then added a vice to the closet bench. Because I'm going to be able put different vices in different locations I made some pads for them to sit on out of some scrap manufactured wood stuff. This way the casting of the base of the vice doesn't make an imprint in the benches that would remain even if the vices weren't in place.
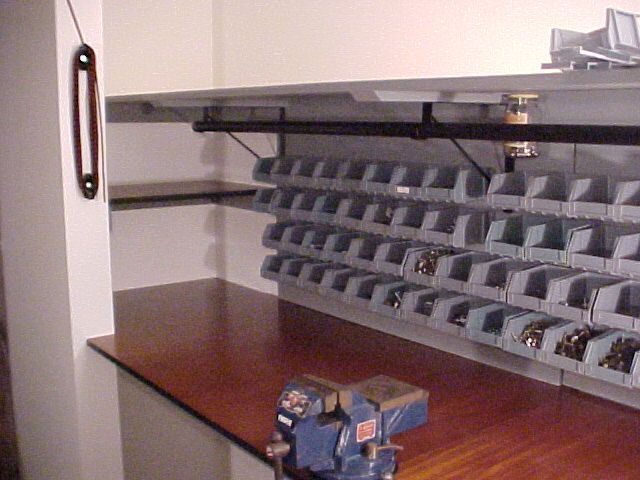
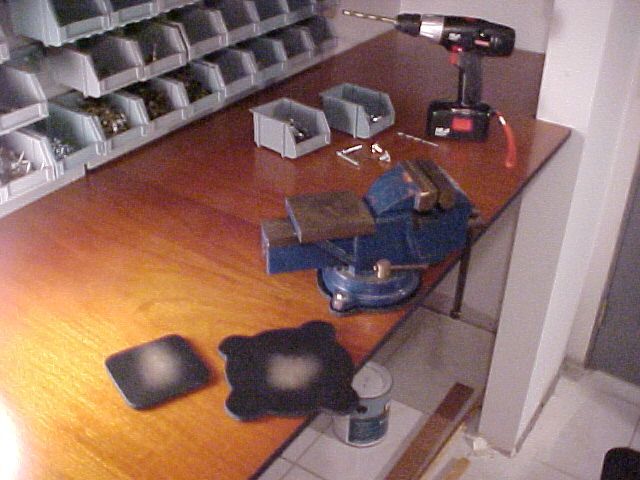
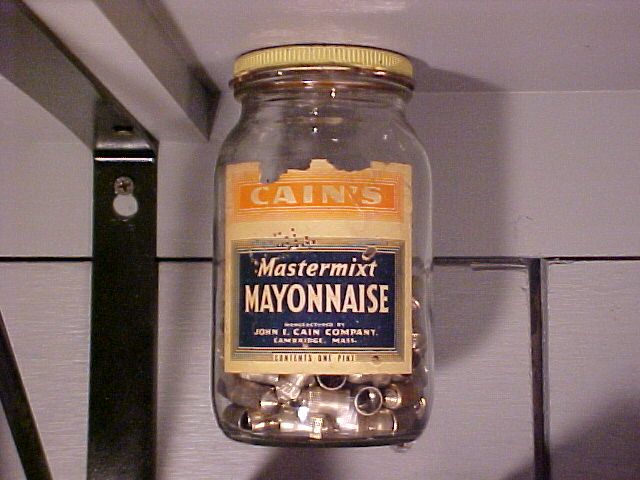
You may have noticed a jar hanging from the shelf in the pics above. It's there to remind me of my dad. He was a brilliant electro-optical engineer, a good man, and a car guy. Things he worked on changed the world in many ways. Screwing bottle caps to the bottom of shelves in the basement to hang bottles from was his version of nut/bolt bins. Made perfect sense to him. Keeps the items organized, clean in the bottles, moisture free, cost effective, and you can easily see whats in the bottle. Most of the ones he used had no labels, or the label was turned to the back when the bottle was put back up. I turned this one label out because he liked Cains and I like Hellmans reminding me that although we had our differences of opinions we were very much alike in many ways. Whats in the bottle you wonder? About a hundred vintage polished valve stem caps.
You'll need to log in to post.