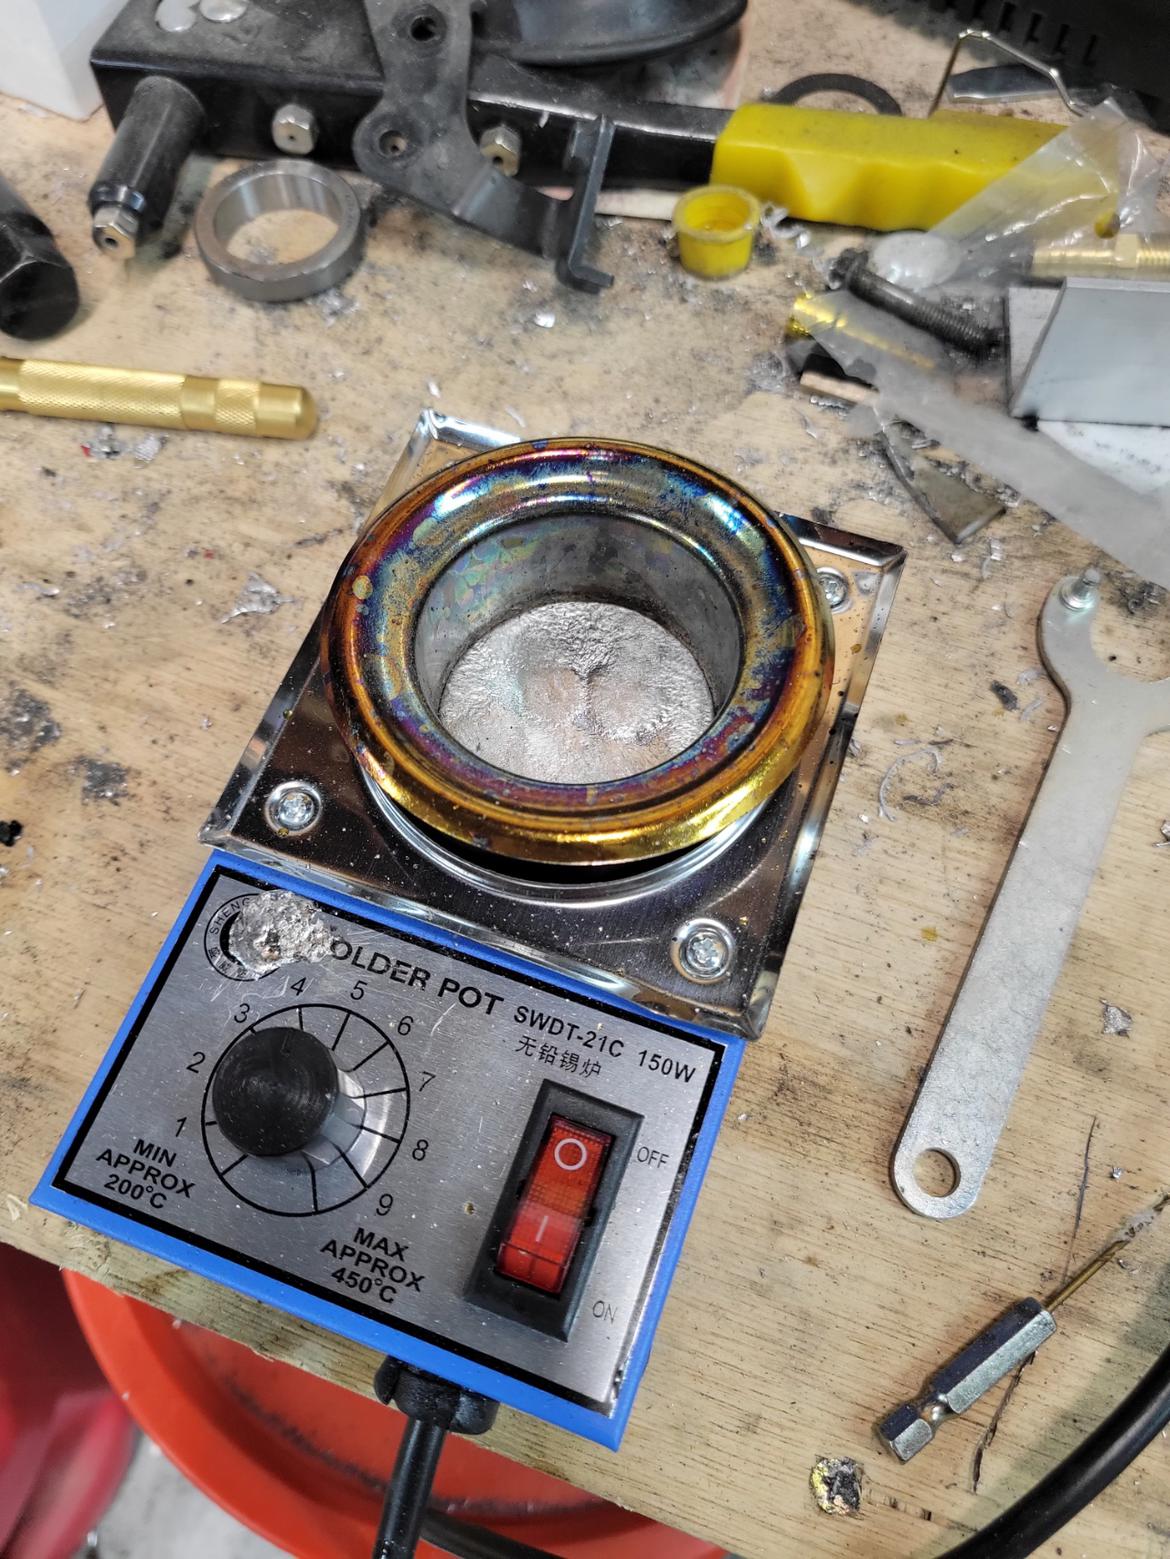
I posted this in my GL500 build thread, but know a few of us have had that one application where you can't seem to find the right length throttle cable, or you're building a custom bike and need longer clutch and throttle cables. It's always a pain in the butt to try and get a nice cable made. Sure, there are cable kits which make all the parts available, but often we're left trying to apply heat to the ends at weird angles with an iron or torch.
Enter the solder pot. It's basically just a hot bath of liquid solder that you can dip things into. Seriously, it's as easy as trimming the cable and housing, threading on your choice of ferrule, slightly fraying the end to provide more mechanical surface area, applying flux to the cable and ferrule, then dipping it for ~10 seconds and hanging to cool. I've wasted more money and weeks of waiting on replacing cable kits when I've ruined them with a torch than it would have cost to buy this for the first try.

Factory cable on the right, my cable on the left. It was a brass nipple now covered in solder. the 'parting line' is a scribe mark I made to help eyeball the cable going straight into the end.

if i'm extending a wiring harness on a bench, any reason not to use a solder pot to join the wires? seems like flux, twist, dip, win.
of course, i'd forget the shrink tube on the first one...
In reply to AngryCorvair (Forum Supporter) :
A twist splice would work well, though a butt splice would be a little tricky. Time in the pot depends on how much flux needs to boil away and how much wire; light flux and a quick dip is probably all a couple of 16ga wires would need!
AngryCorvair (Forum Supporter) said:if i'm extending a wiring harness on a bench, any reason not to use a solder pot to join the wires? seems like flux, twist, dip, win.
of course, i'd forget the shrink tube on the first one...
No, you'd be paying close attention on the first one. You'd forget around #3.
Solder pot is a tool I didn't know I needed but I'm thinking I do.
I like it!!
After having more than one or two of these fail, I'm pretty sure I need a solder pot as well.
Forget to put the shrink wrap on? Take a larger diameter tube than you were originally going to use, and split it in half, end to end. Wrap the tube over the wire. Put superglue on one edge of the split. Overlap the ends, making it a tube again. Once dry, heat the shrink wrap normally. I assure you it works.
Appleseed said:Forget to put the shrink wrap on? Take a larger diameter tube than you were originally going to use, and split it in half, end to end. Wrap the tube over the wire. Put superglue on one edge of the split. Overlap the ends, making it a tube again. Once dry, heat the shrink wrap normally. I assure you it works.
That's pretty clever!
If you are looking for real, old school solder, craft stores that deal with stained glass windows, they have 70/30 lead-tin. I got mine at Hobby lobby.
Toyman! said:I like it!!
After having more than one or two of these fail, I'm pretty sure I need a solder pot as well.
These with an allen setscrew from each side pinching the cable (and you tighten both sides at once) never has failed me.
In reply to jfryjfry :
Unfortunately not. Sometimes I get flying on a project and only remember to catch pictures once a task is finished. The original parts are from this Revival Cycles clutch cable kit where I used the two big brass ferrules, and I took a screenshot from their DIY video of how I similarly splayed the ends of the cable to provide more mechanical lock in the nipples. It's hard to make out, but just a little bird nest to fit in the nipple will do.


In other news, I had to shorten the clutch cable a little bit, and the solder pot was very useful in getting the nipple free to slide down the cable where I could trim the inch or so off and resolder the whole thing.
You'll need to log in to post.