Hungary Bill wrote: I think, since this needs to run sooner than later, I'll run the 2.5's L-Jetronic unit and just suffer "the loss" in power. I love Alfa for the fact that the engine harness is COMPLETELY separate from the chassis harness. It's plug and go when the time comes. While that's running I'll focus on "shake down" and make sure no parts fall off, address issues with all the things I've touched and THEN start working on making the MS3 work with the ITB's I have and Alpha-N it from there. I figure without taking it off the road, I can build up the ITB's (to an inline-6 sort of configuration), make the engine harness for the MS3, and have everything as "plug and play" as possible. Then take a weekend off and "wham-bam-thank-you-ma'am" it to the point that I can drive it again on the following Monday. I may even think about piggy-backing the MS3 while the L-jetronic is running to datalog the stock fuel map a bit (snag what air fuel ratio is where, etc). This is actually made easy for me because the European Spec L-Jetronic didn't come with a lambda sensor (OR a catalytic converter). I'll just weld on the bung for my wideband and watch it do its thing. Coil on plug would be nice though. EDIS-6? IIRC, I need to leave the 2.5's distributor drive in place even if I am running coil on plug (shared oil pump drive off that idler belt gear you saw). Meh, that's not the worst thing in the world. Good times.
IF you have the heads ported, and build the engine a bit with a touch more compression, you might find the original MAP lacking even more..... but with MS you shouldn't have an issue adjusting it
The porting is still in the plans, I just don't know when... After reading your e-mails about what you would remove from the casting and where, my OCD has been going nuts. However, the 2.5 heads suffer from smaller valves aaaaaaand something else I cant remember now when compared to the 3.0 heads (so my spare set of 2.5's is now not worth porting).
On one hand I want to pull the heads off my new engine and have them ported and find a mild cam to toss in "since I'm already in there". On the other hand I want to just get this moving so I can enjoy driving it. ![]()
There's also a 24-valve version of this engine I bought. It's good for another 20hp bump, but the cost of modification goes up exponentially from there (twice the valves, twice the cams, etc, etc, etc). I think I've decided to keep the 12v I have and modify it to suit my goals if needed.
Good times
In reply to Hungary Bill:
The 24V makes good power. The 12V is better to drive with. Our 164 had the 24V, and for a weekend, it was in service, our guy loaned us a 12V- and it drove a lot better. I'd stick with the 12V.
alfadriver wrote: In reply to Hungary Bill: The 24V makes good power. The 12V is better to drive with. Our 164 had the 24V, and for a weekend, it was in service, our guy loaned us a 12V- and it drove a lot better. I'd stick with the 12V.
Hmmmm, I wonder if that has to do with 2 valve heads tend to have swirl induction, while 4 valve heads tend to have tumble induction...??? Tumble tends to work better above 4000 rpm, while swirl tends to work better under 4000. So the 12V head may offer a wider torque band, with the peak lower in the rpm band
Any stock 12V vs 24V dyno plots?
edit - additionally the 2.5 heads may not be a problem(I don't know....) A lot depends on port configuration, as well as chamber size, and if a larger valve could be fitted. A side by side comparison would be useful
Alfadriver: Thanks a ton, that's good info to have.
Oldskewl: I haven't been able to find any back to back dyno results, BUT from what I could find, the 3.0 heads have a 3mm larger intake valve (44mm vs 41mm on the 2.5) As I understand the 44mm valve seats won't fit in the 2.5 heads. It's speculated that the valve angle was different between the two, and the intake port was straighter (not sure WHICH one was straighter, the 2.5 or 3.0)
I've also been able to find that you can't fit a 3.0 head to a 2.5 without a "huge" amount of work, but no mention of going the other way. Also not sure what "huge" means.
I guess the "head plan" becomes: Watch the junk yards and see if a 3-liter 164 shows up. When (not if) that happens, I'll snag the heads and start looking at porting ![]()
One does need to put the "small valves" on the 2.5l into some perspective. They were among the best 6 cyl engines in the 80's.
Then the 3.0l came out in the Quad Milano- wow. People raved about the SHO motor, but the 2V was almost the same.
And while I pointed out that the 2V is easier to drive than the 4V- the 4V was a pretty stout engine- better than the 3.2l SHO motor.
All from a combustion chamber design that one can easily trace to 1954.
Hungary Bill wrote: Alfadriver: Thanks a ton, that's good info to have. Oldskewl: I haven't been able to find any back to back dyno results, BUT from what I could find, the 3.0 heads have a 3mm larger intake valve (44mm vs 41mm on the 2.5) As I understand the 44mm valve seats won't fit in the 2.5 heads. It's speculated that the valve angle was different between the two, and the intake port was straighter (not sure WHICH one was straighter, the 2.5 or 3.0) I've also been able to find that you can't fit a 3.0 head to a 2.5 without a "huge" amount of work, but no mention of going the other way. Also not sure what "huge" means. I guess the "head plan" becomes: Watch the junk yards and see if a 3-liter 164 shows up. When (not if) that happens, I'll snag the heads and start looking at porting
alfadriver wrote: One does need to put the "small valves" on the 2.5l into some perspective. They were among the best 6 cyl engines in the 80's. Then the 3.0l came out in the Quad Milano- wow. People raved about the SHO motor, but the 2V was almost the same. And while I pointed out that the 2V is easier to drive than the 4V- the 4V was a pretty stout engine- better than the 3.2l SHO motor. All from a combustion chamber design that one can easily trace to 1954.
Ok... but IF the 2.5 heads were "better", it might be possible to put in a bigger valve... that isn't the stock 44, but say a 43, or even a 42.5. IF the head is better, that small a difference likely will matter less then if the port (and valve angle) is actually better.....
just brainfarts for now... if the 3.0 heads need a lot of mods to fit the 2.5, then it is likely the reverse is also true....
what about alfabb, or the other forum[s] for the heads???
Alfabb and GTV6.com are the places I got the info from thus far. I haven't posted a thread there yet, but I probably will closer to the time I'm ready to pull the trigger.
The way I see it:
2.5's have more compression but smaller valves
3.0's have bigger valves but also bigger combustion chambers
Worst case, if I cant get a definite answer from someone with experience using the two, I'll just haul both sets down to Portland and let Oldskewl be the judge ![]() (it's good to know people in high places)
(it's good to know people in high places)
Not much to report in the way of progress today. On my way to take out the trash (I pass by the garage) I stopped in to measure the 2.5 vs 3.0 exhaust manifold runner size etc.
The 2.5 manifold and the 3.0 manifold both measure 14mm in diameter at the port, and it's already been established that the 2.5's bolt up to the 3.0 heads. Good news there.
The collector outlet from the manifold measures 16mm(dia) on the 2.5 and 17mm on the 3.0. Good news there.
I did this to look at options for exhaust, I wanted to make SURE the differences between the 2.5 and 3.0 components were mild enough to continue bolting up 2.5 goodies. Good to go.
I've narrowed it down to two options. With option 1 I can retain the 2.5 exhaust manifolds and buy new "euro" downpipes (old ones are crushed flat) and a new mid section (old one is hacked) and bolt it up to the new aft exhaust section I have. Parts have to come from England and it's quoted at $613 including post.
option 2 is CSC stainless headers, CSC stainless mid section (w/muffler) bolted up to my stock aft section. Also comes from england, quoted at $1135 including post. (maybe I could buy an aft section later. Right now I'm trying to stretch the spending)
I'm not sure what the gains are for the CSC system, but both sound equally phenomenal, at twice the price I'm thinking the CSC might just have to wait.
All just info for the back of the brain at the moment. The wire harness is still being worked. I'm pretty close to having all the wrap off and I'm getting ready to start replacing stuff. I'm kind of worried as I get closer, I hope all the wire colors and pins match. Otherwise this has the potential to get confusing fast...
No pictures of my work today, so I'll leave you with this:

As I searched for more info on Leonard Nimoy and his Riviera, I discovered that young William Shatner had a Fuelie Split Window Corvette. And a fat Doberman.

My lack of experience with automotive wiring is beginning to show itself. I started the wiper relay from the new harness as a "test dummy". Some of you may remember this picture?
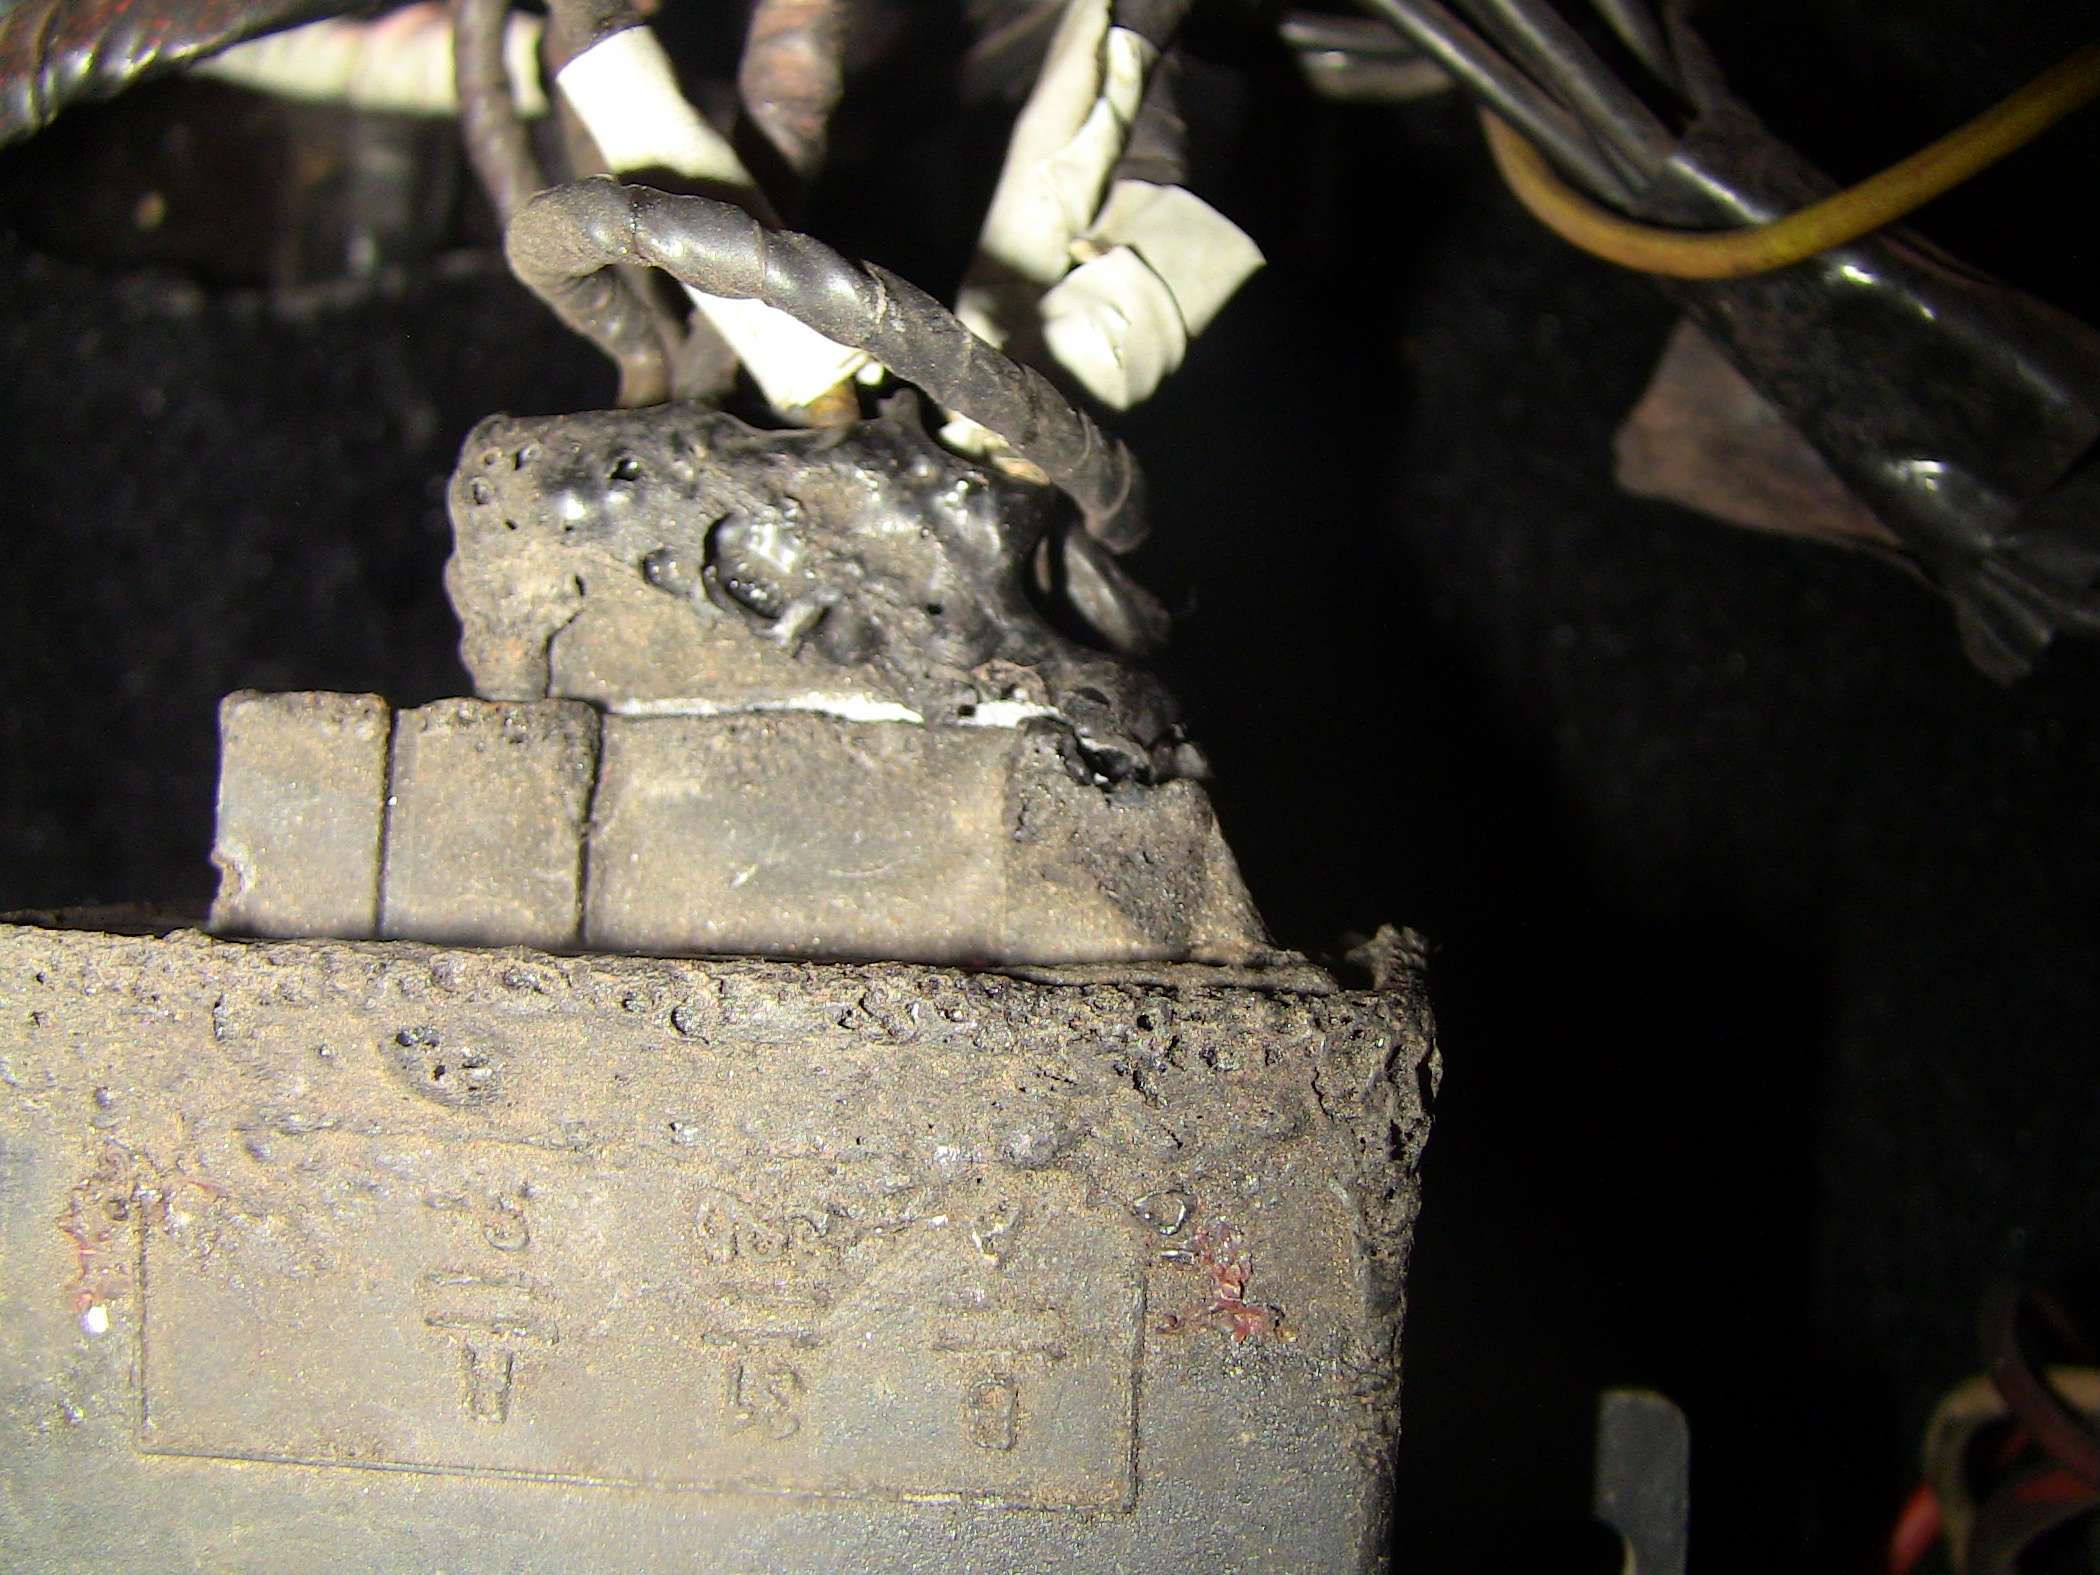
My goal here was to use this as a gauge to see how the rest of the wire swap was going to go (jumping the gun here, as the old harness isn't completely unwrapped yet). On the plus side, all the colors to the new and old wires matched up (the two harnesses are in two different locations at the moment. I just wrote a lot of notes and took them with me).
The bad side is I was picturing a "point to point" type of run when I decided to do all this. Unfortunately wires in real life are daisy chained into other connectors and on to others and so on (intentionally, this is what the factory did).
For instance:
Pin #2 (or what I've deemed pin #2 of this connector) has two pink and black wires. One goes to a three prong connector that was easily removed and stowed. The other went to a black 4-prong connector and at that pin it's mated with a blue and white wire that goes back into the harness and...? (I didn't bother tracing it)
I'm chewing on the idea of just replacing the run of wire I have to, and use butt splices (high quality butt splices) to join the new with the old.
OR
Removing the wires in their entirety (to include the daisy chained parts) and replacing everything it ties into as well.
I'll be honest, I'm not really a fan of butt splices...
We'll see.
The other issue is: On my old harness everything is easily identified because I made labels. For instance, I know the tach connector is the tach connector because I wrote "tach connector" on it. With the new harness NOTHING is labeled so I have two similar looking white connectors that could potentially be tach connectors. I'll have to match up wire colors to be sure which is which (no notes written on that one yet).
Good times ![]()
Uninsulated crimp style butt solice connectors with adhesive lined heat shrink tubing. I've been using that setup for a while and have had no failure or corrosion. Very nice to work with. I get a lot of my terminals in bulk from sherco supply down in Florida.
In reply to Dusterbd13:
That was what I was thinking I would do. I'm not sure if we have a sherco here, but I bet i can find a similar store with a little digging. Speaking of digging, I went searching through my old electrical scrounge and came up with a small handful of aircraft environmental splices.
they look like this:

I'm thinking I'm going to use those up (and cover them with just some black shrink wrap) and when I run out move on to the barrel splices and adhesive shrink wrap (but only because I have to order the latter ![]() )
)
I got word back on the head situation:
The 3.0 heads are NOT interchangeable with the 2.5 heads. Furthermore the larger 3.0 valves wouldn't fit in the 2.5 heads anyway ![]() Looks like I'm going to have to hit the yards and find a junked 164.
Looks like I'm going to have to hit the yards and find a junked 164.
Oddly enough, the cams are interchangable. That means that set of cams that came with my 2.5 should work in the 3.0. At 288deg duration and 10.7mm of lift, they seem a bit aggressive to me, but the Alfabb guys say "pfft, try em and see what you think". So there ya go ![]()
Good times
Okie dokie. I got up at about 5am on saturday and since the rest of the house was still asleep, I stole an hour in the garage.
I decided I'd try to go after the oil sump and distributor drive first, so I flipped the engine upside down and went to town.
Couple things:
there was no oil in the engine (no surprise there)
no chips on the oil pan drain plug
I think the oil pan drain plug may have been stripped as it just "turn turn turns"
half the oil pan bolts are accessible from the bottom, half from the top (go Alfa!)
almost none of the pan bolts were what you'd call "tight"
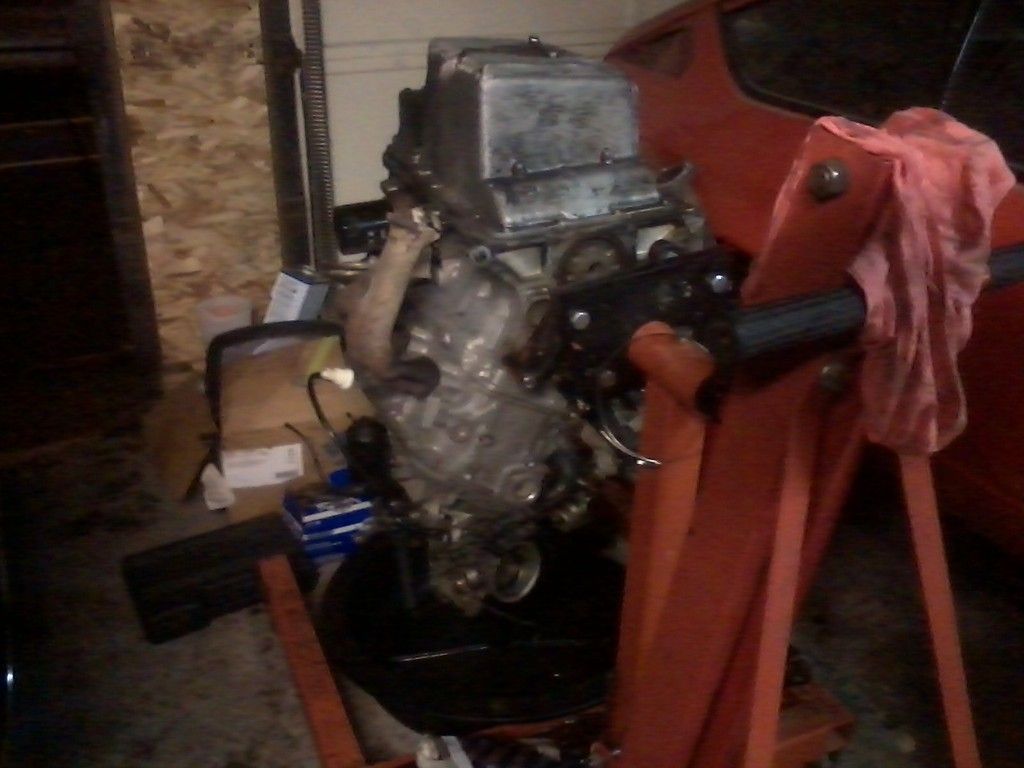
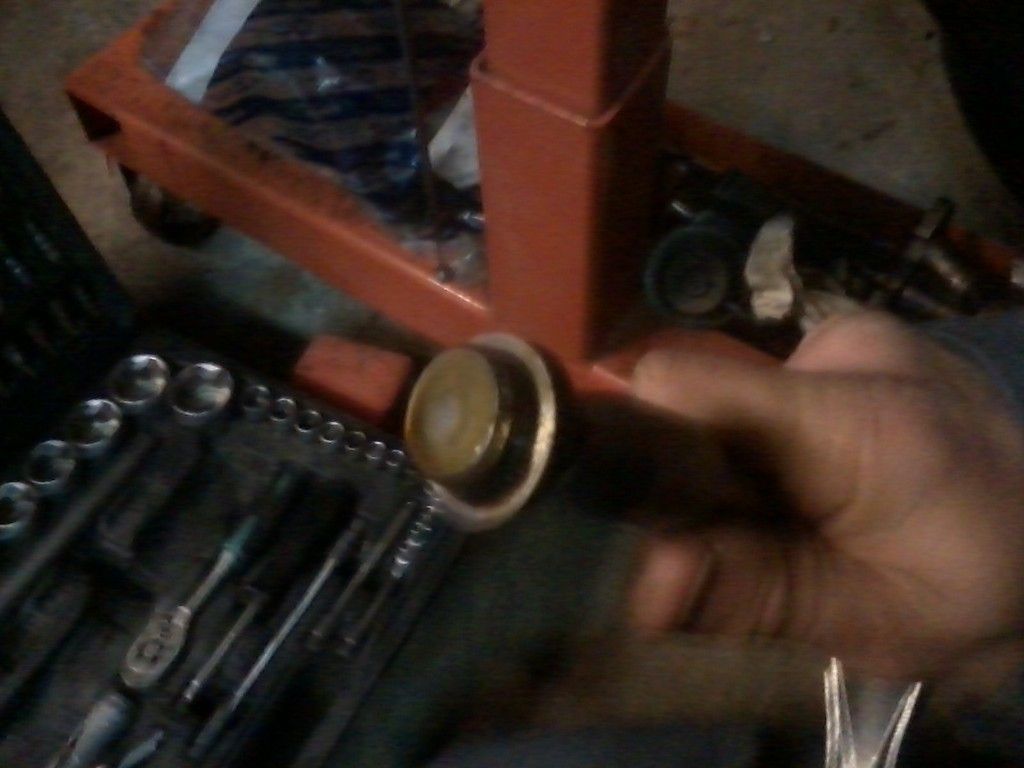
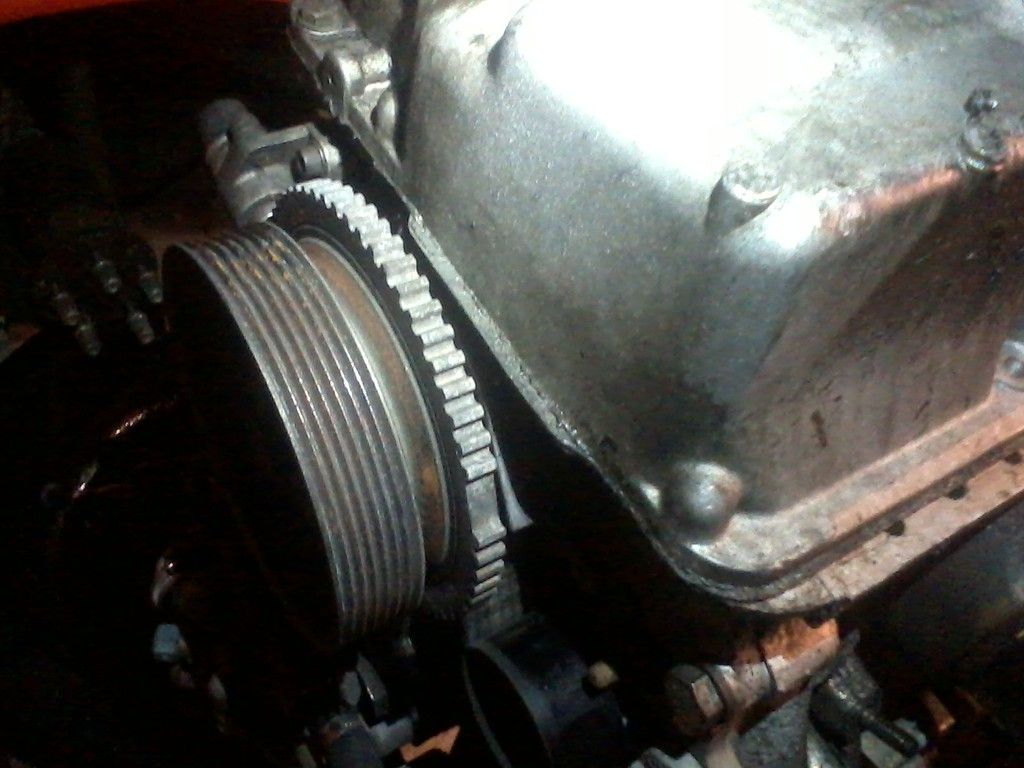
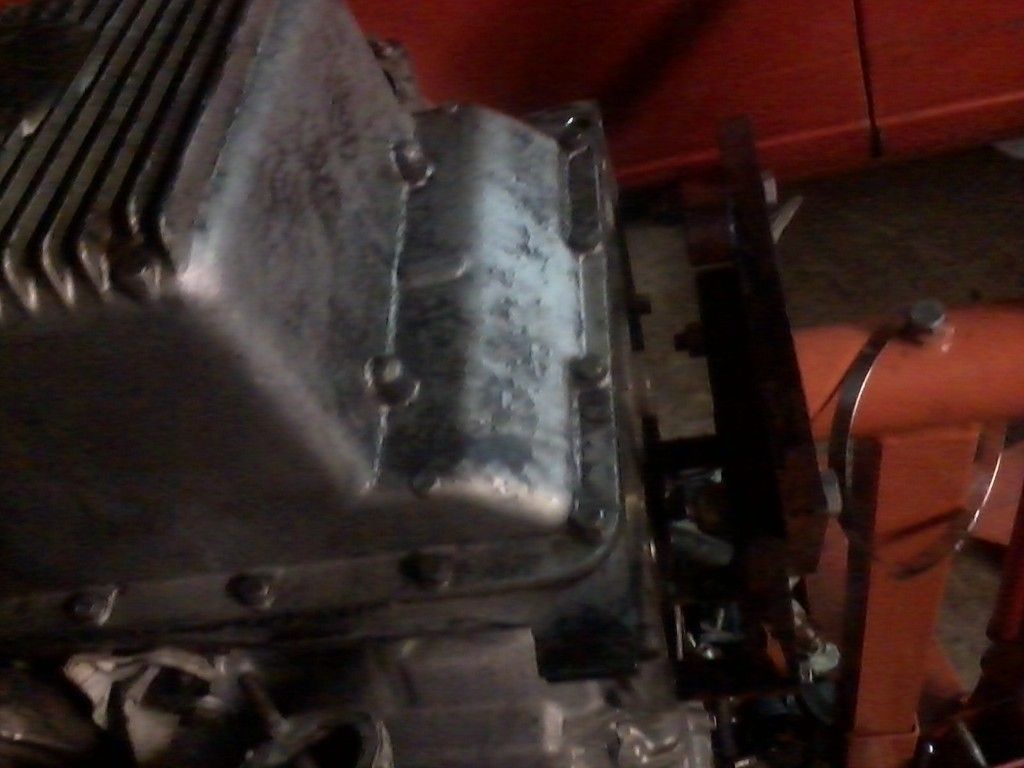
oh, and I found one bolt that wasn't removable at all.
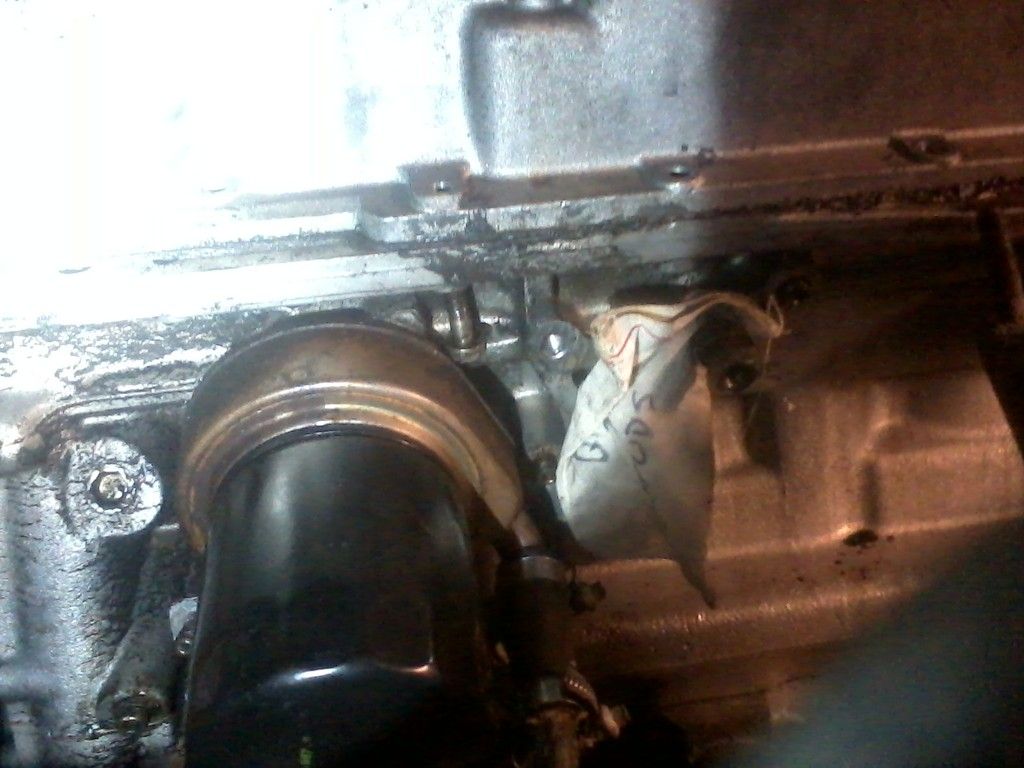
But hey! check out that shroud around the oil filter. It's a coolant-to-oil heat exchanger, looks like! ![]()
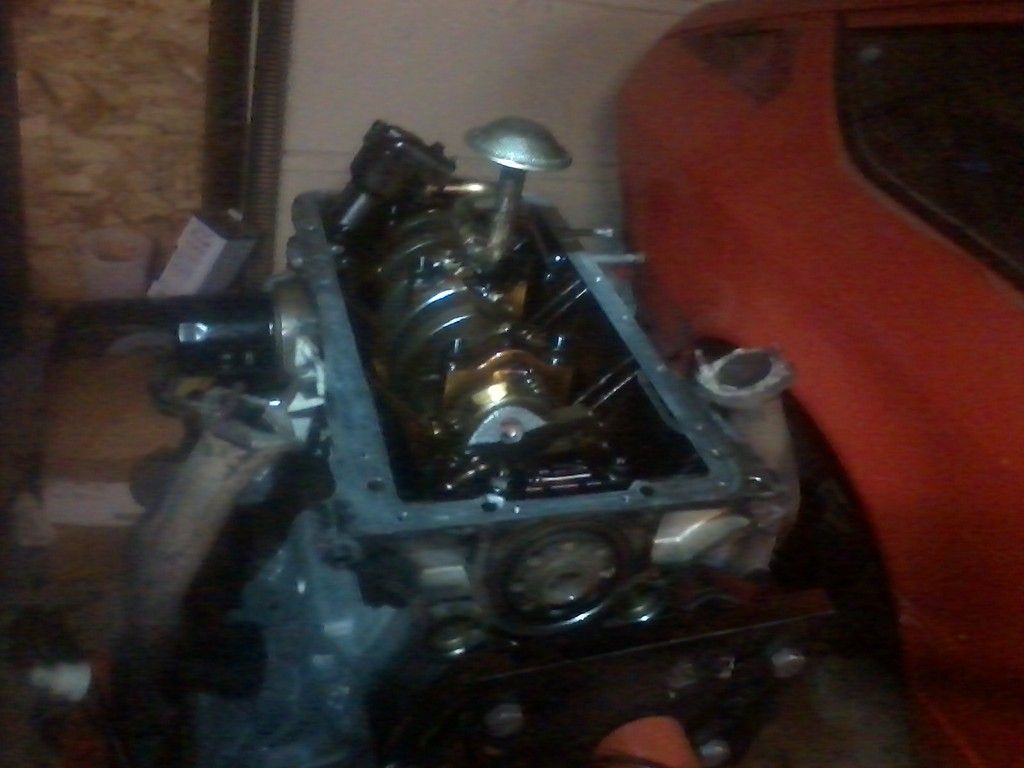
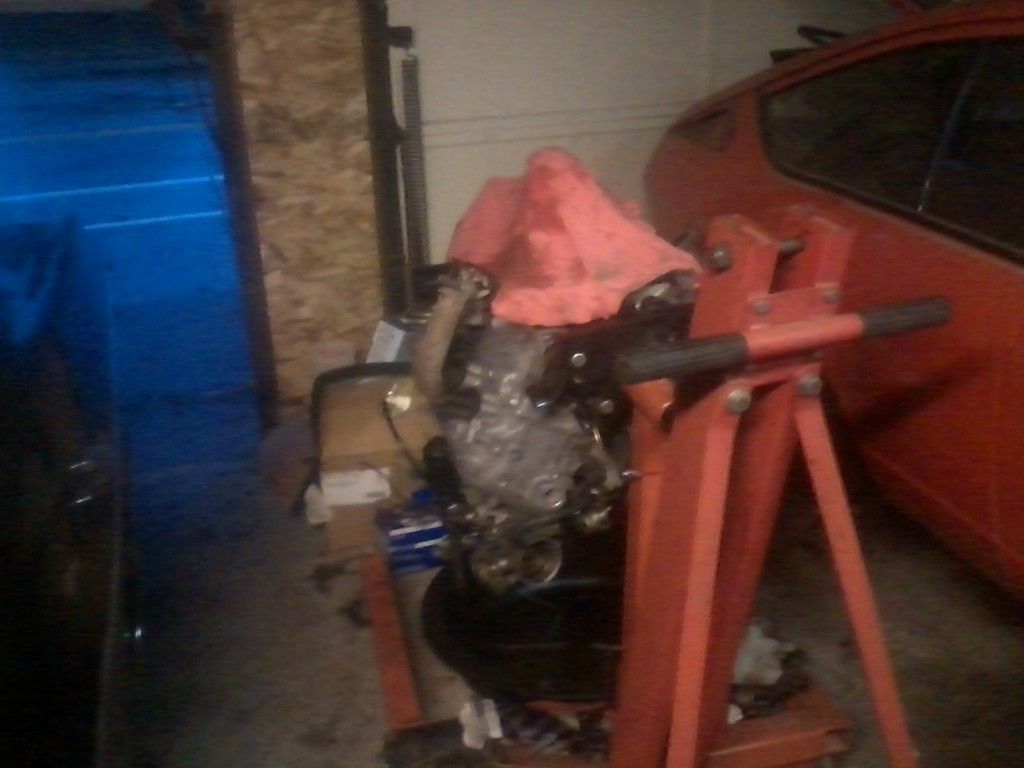
and that's where we leave her for now.
I did get a moment over the weekend with the wire harness, but it's nothing to write home about. Not a bad way to spend a saturday morning ![]()
Good times
Oh, and I got that blank off plate to fit ![]()
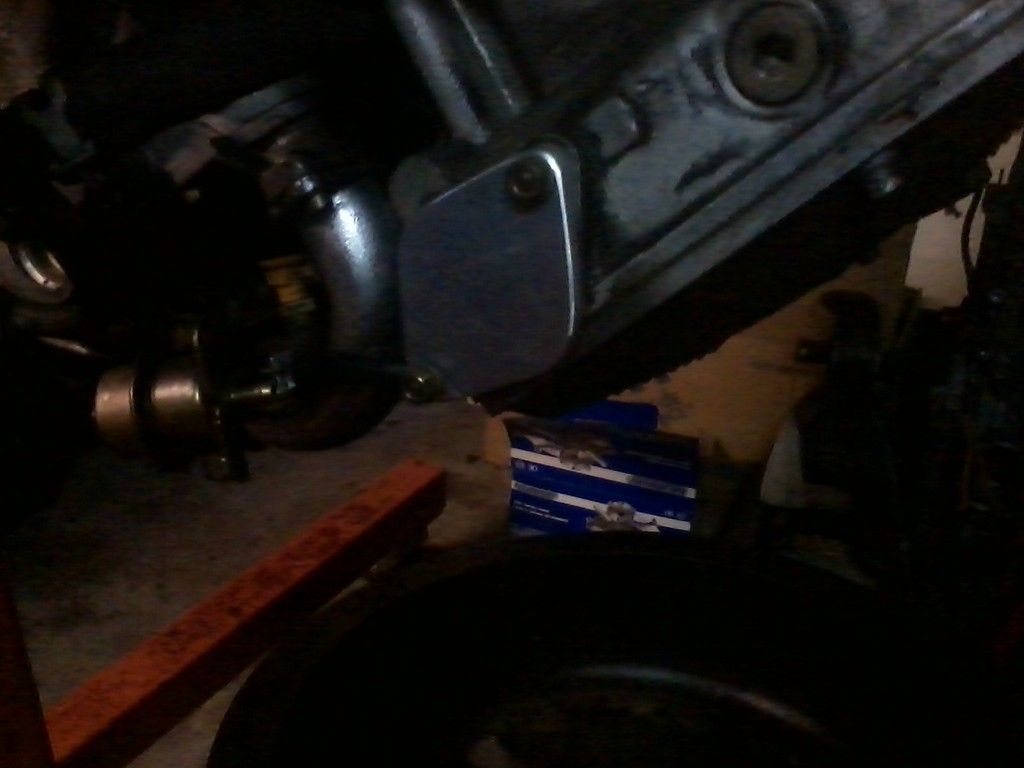
Remind me to tighten that up though, would ya? I was in kind of a hurry to get to the oil pan, I put this in the "meh, later." bin.
The wiring continues. I'm going end to end where I can (read, where the wire terminates at both ends, and does not daisy chain with another wire) and cutting the wires that are connected. I figure the more wire that I don't have to splice, the better ![]()
First picture is the wiper relay connector, second is the tachometer connector, the brake pedal switch wires, and the ignition switch connector. All melted in the old harness ![]()


If I have to cut more than one wire in a run (like I did with the tach connector) I try to make the wires different lengths. This'll keep from making a bulge in the bundle, and also reduce shorts if I do a crappy job of splicing.
All in all, good times.
My mission today, should I choose to accept it: Install the new oil sump and distributor drive.
Begin:
I thought I could get away with just changing out the sumps and leaving the pumps in their respective engines because the pumps looked nearly identical, one just had a long sump while the other had a short one.
3.0 pump and sump:
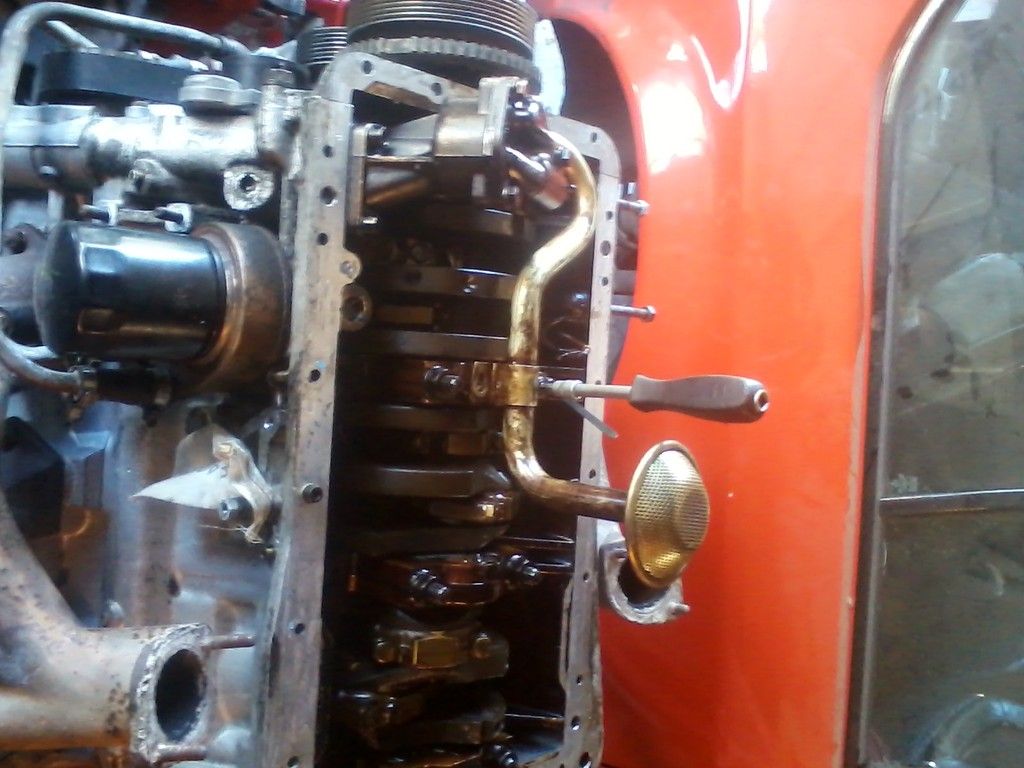
Comparison between the two

Out with the old
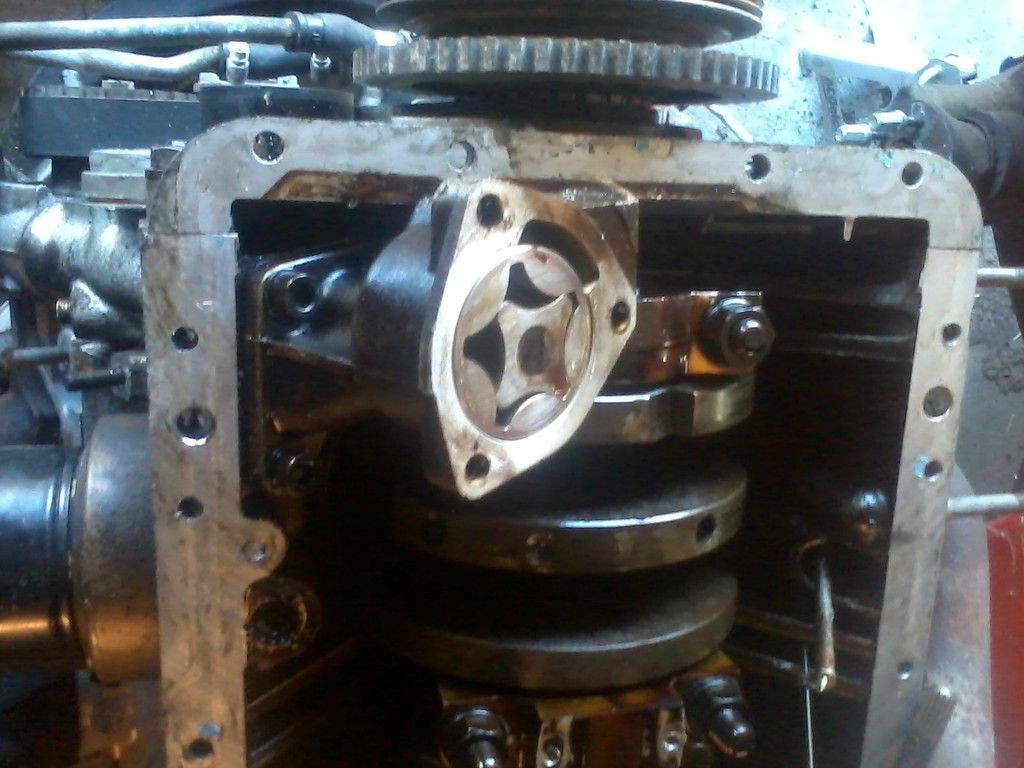
In with the new
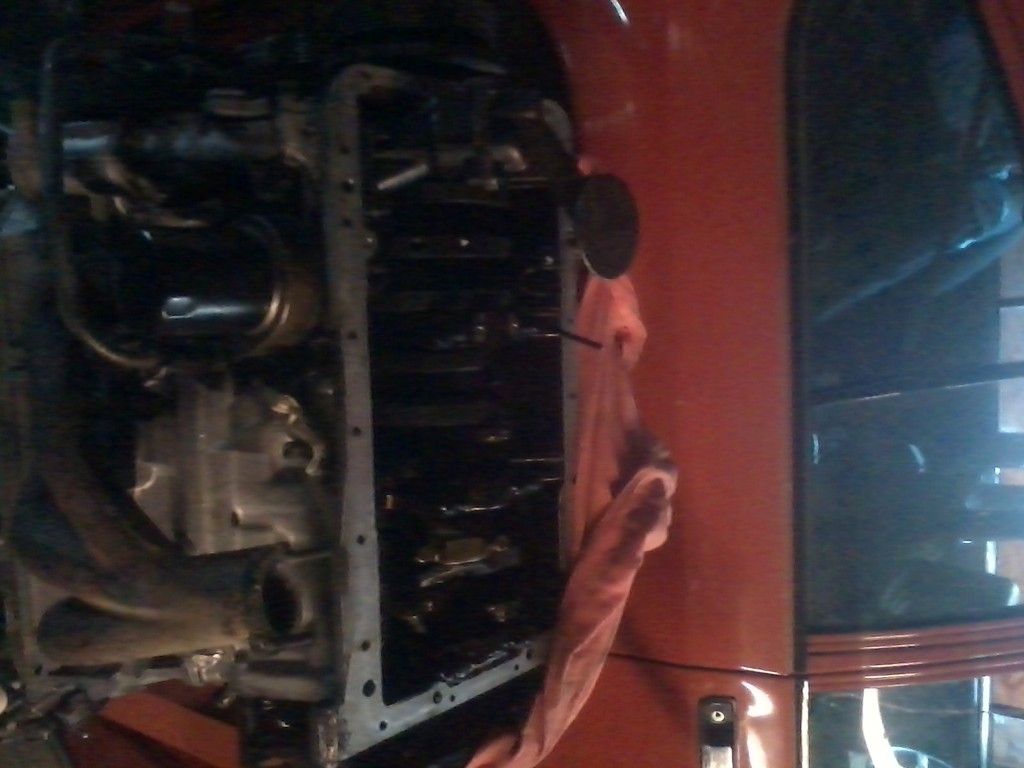
Hey! that wasn't too bad ![]() Looks like I'm half finished, and I didn't have to undo that "hell bolt" (top of the pump mount in the picture below)
Looks like I'm half finished, and I didn't have to undo that "hell bolt" (top of the pump mount in the picture below)
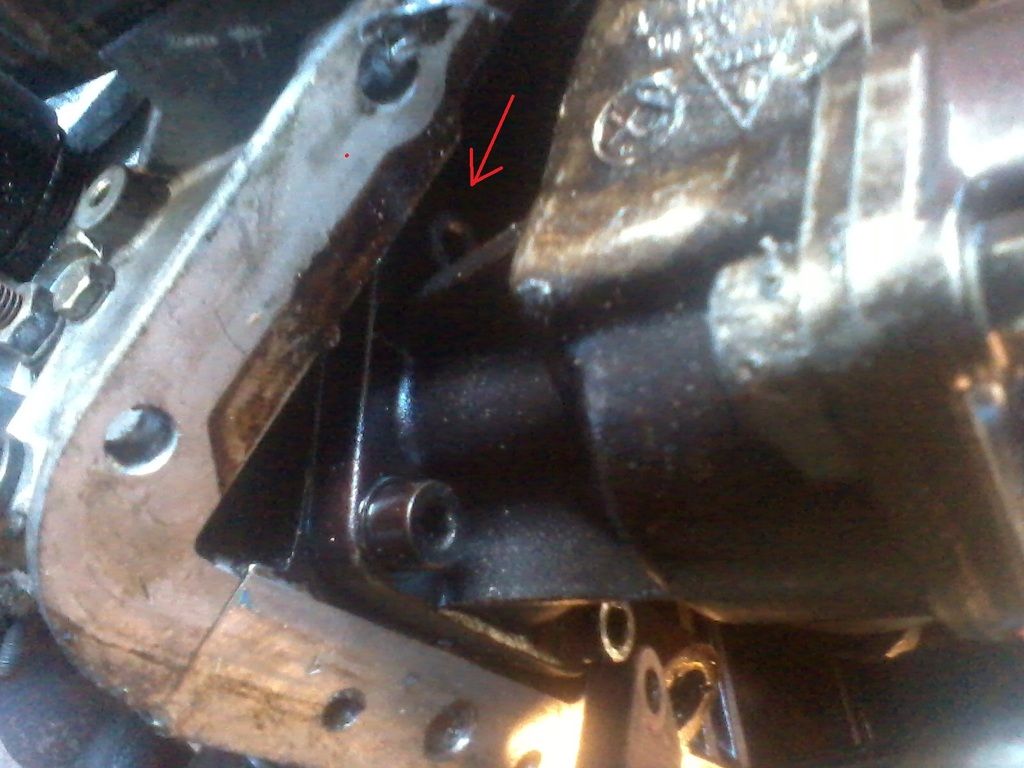
All was dandy until I looked at the top of what would be the distributor drive. This drive runs off of the idler timing belt pulley and runs your oil pump and in the GTV6's case the distributor as well. On the 164 of course the distributor was moved, but the pump drive remained in place

Top of the drive on the 164 (above)
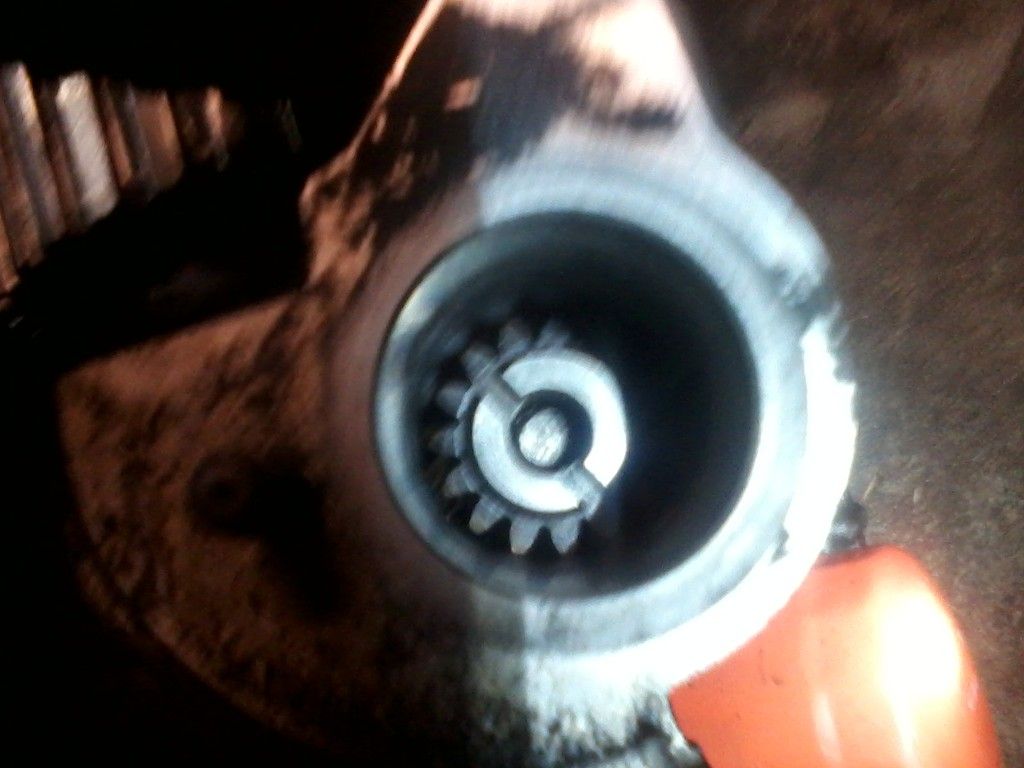
Top of the drive on the GTV6 (above)
Alfa 1 Bill 0
I figured I could remove that little nut and see if I could just swap out that gear to get the desired result

No go. That stud is in there and it's staying.
Alfa 2, Bill 0
No prob, I just swap oil pumps
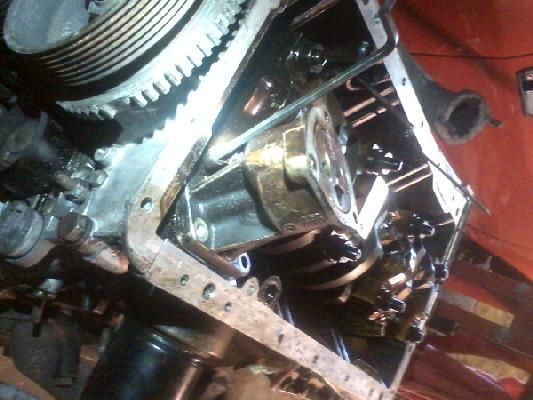
And would you look at how much easier that hell bolt is with the GTV6's oil pump in place!?!
That's a score for me
Alfa 2, Bill 1
But when I go to put the distributor drive gear back on....

Ka-lunk
Alfa 3, Bill 1
The drive gear wont go in, even with the new pump in place. I think the tooth width or the angle is different between the two pumps and that drive pulley (next two pictures)
164 (below)
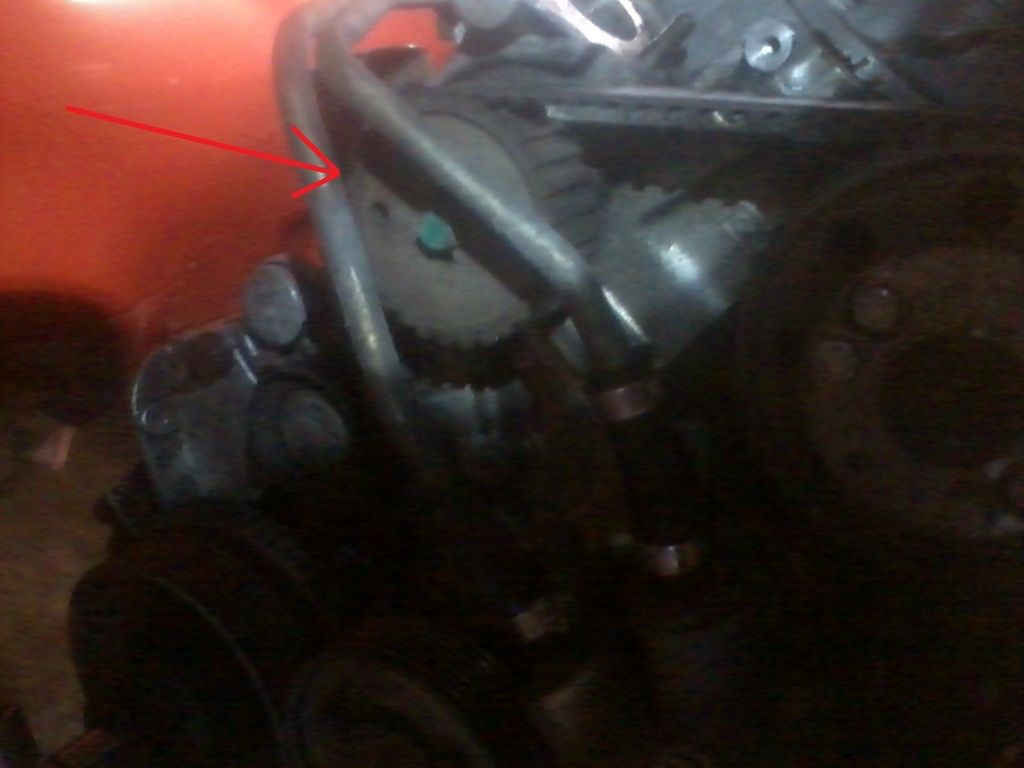
GTV6 (below)

So next time I'm out there, that's where I'll be. Who knows, maybe I'll get a chance to even up the score! ![]()
Good times
Sorry, not a lot to report. Kind of got hung up selling some car parts, and playing with the new shooter I got ![]()
On the engine side:
I thought maybe the distributor drive gear may fall right into place without the oil pump installed. I re-removed the oil pump but the gear still doesn't set in place. I'll be replacing that timing belt pulley captioned in the last post. Not so bad except, if I'm going to have that off then I also should do:
crank pulley swap
Change the water pump
change the cams (in favor of the Dbilas cams in my 2.5)
change the timing belt
I think there was something else, but I cant remember what...
So that's that side of the house.
Hungary Bill wrote: The wiring continues. I'm going end to end where I can (read, where the wire terminates at both ends, and does not daisy chain with another wire) and cutting the wires that are connected. I figure the more wire that I don't have to splice, the betterFirst picture is the wiper relay connector, second is the tachometer connector, the brake pedal switch wires, and the ignition switch connector. All melted in the old harness


If I have to cut more than one wire in a run (like I did with the tach connector) I try to make the wires different lengths. This'll keep from making a bulge in the bundle, and also reduce shorts if I do a crappy job of splicing. All in all, good times.
that is my nightmare right there.
On the electrical side of the house:
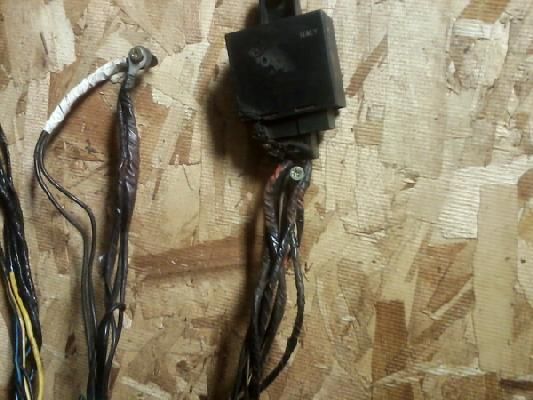
Slow progress, I'll explain why:
It turns out that there are 7 possible wiring configurations for the GTV6.
The new wiring harness has two black wires going to a pin. We'll call it pin number 6. One of those wires goes to a red connector (probably the speedometer) the other goes to a ground terminal similar to what's shown in the picture.
That's all fine except the car's wiring harness (the one I've removed and am trying to fix) has one black wire going from the fuse box to pin 6 and the other goes to the tachometer from pin number 6.
So out come the wiring diagrams. Of the 7 possible configurations for this car, NONE of them match to what was removed from the new harness. Fortunately what is in the car is one of the 7 configurations shown, so I can just cut and splice
(I ordered crimp barrels that were too big, by the way. Remind me to reorder those please)
But that's just the first two wires from the first connector I've attacked! I've got 7 more wires to go with this one! ![]()
Wish me luck ![]()
Flight Service wrote: that is my nightmare right there.
I'd be a liar if I said it doesn't affect my sleep at night
Hungary Bill wrote:Flight Service wrote: that is my nightmare right there.I'd be a liar if I said it doesn't affect my sleep at night
Nightmare aside I am very jealous of you. I saw a GTV6 in Japan and have been love with them ever since. Stock with the exception of the wheels in Charcoal grey (think Elanor) Beautiful, just beautiful.

Darned Impressive work learning Italian, Bill. This all looks as difficult to manage as all the stereotypes suggest. Cool to watch, learn, and be relieved I'm not in your shoes.![]()
One thing I did learn while I had mine was to keep my VIN handy when ordering just about any parts. Those crazy Italians, but man can they make a car that really talks to a person.
1) Very impressive build, I read most of it over the past few days.
2) Holy E36 M3, what a ton of time and money and dedication. It makes me a little less sad to have sold mine, as this is the kind of rabbit hole I was headed down to make it truly 'right'. I think it would have broken me. I still keep half an eye out for a ratty driver from time to time. Haven't learned.
You'll need to log in to post.