This build started over a year ago so these photos are not very current. Nonetheless, here it is. I will try to put up fresh stuff every day or so until we have caught up to the present. I hope you all find it worthwhile.
This project started about a year and a half ago when I decided to get a RCR Superlite Razor "kit" from Race Car Replicas in the Detroit area. Please forgive the old pix but I will try to post something often to keep it from getting too boring.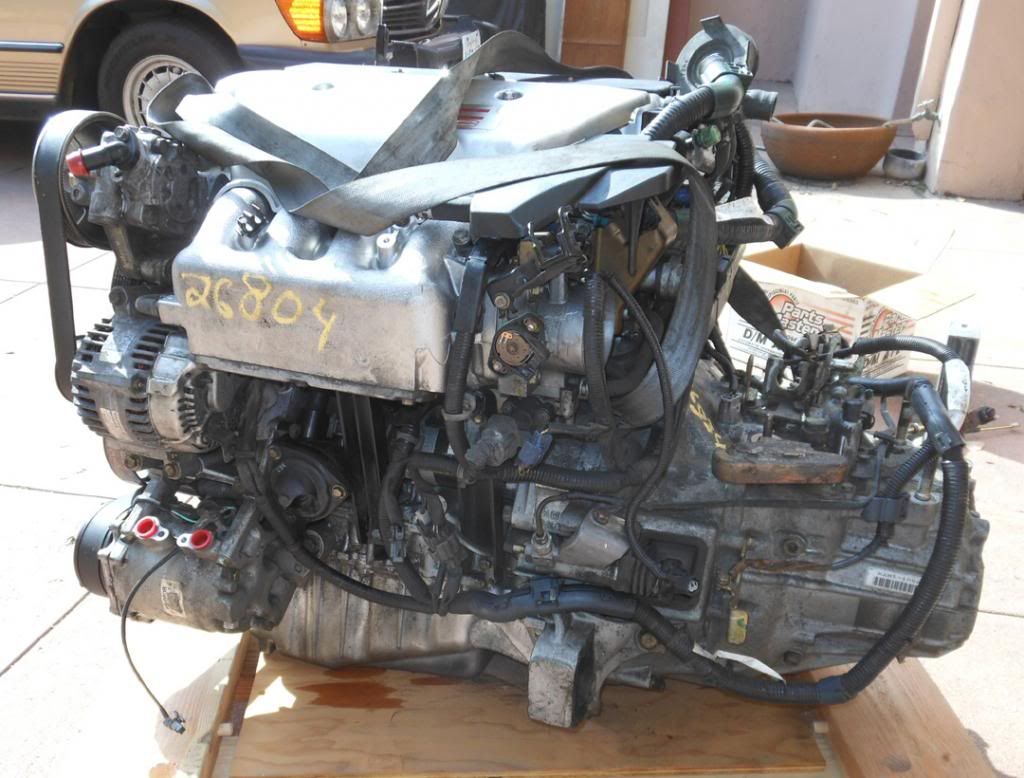

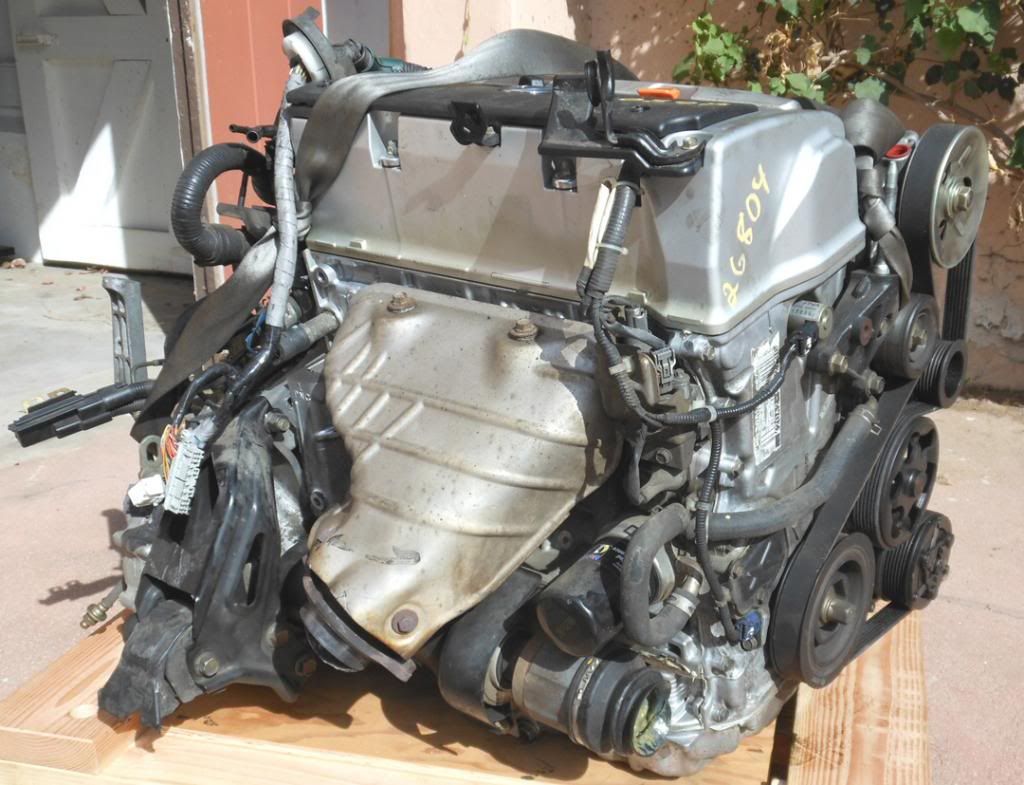
I truly hate this site's process for loading photos. The engine, from a wrecked 02 Acura RSX S-type was found in Chula Vista, CA, Nov 2013. Supposedly had 65K miles which isn't too bad. Keep in mind that I have never even changed oil on a car before so this was a big step for me.
I also had to replace the thermostat and TPS sensor, which had been smashed on the engine.
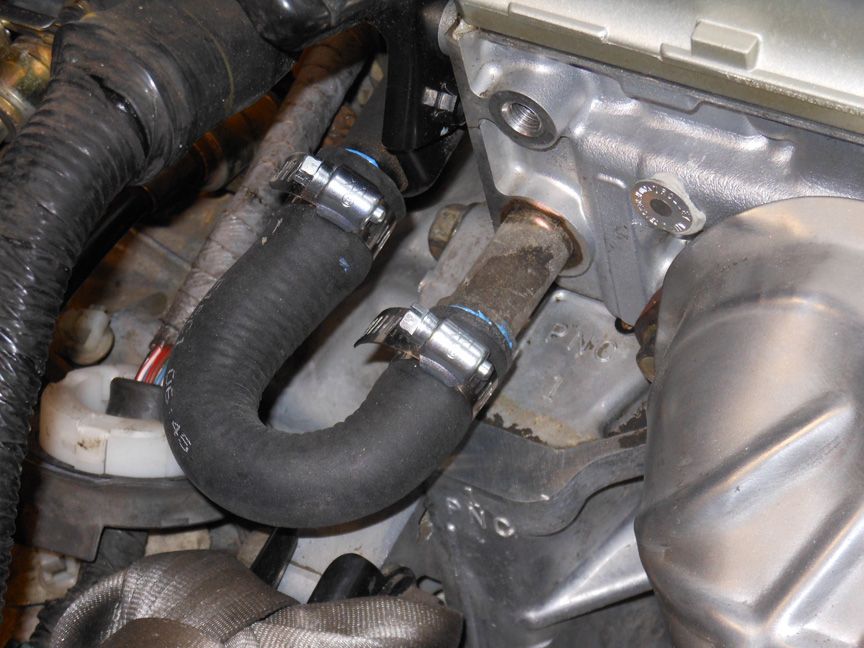
Also the heater hose needed a bypass. (No AC, PS or heater on this thing)
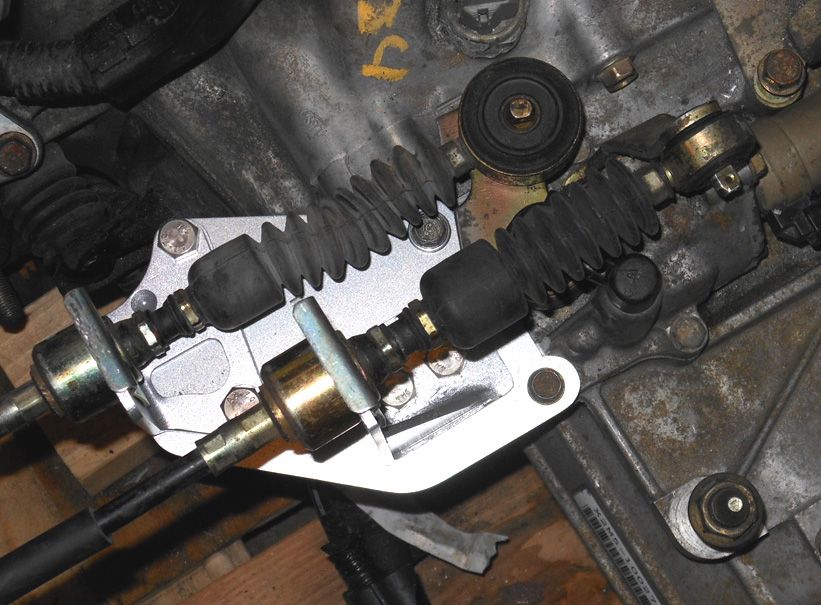
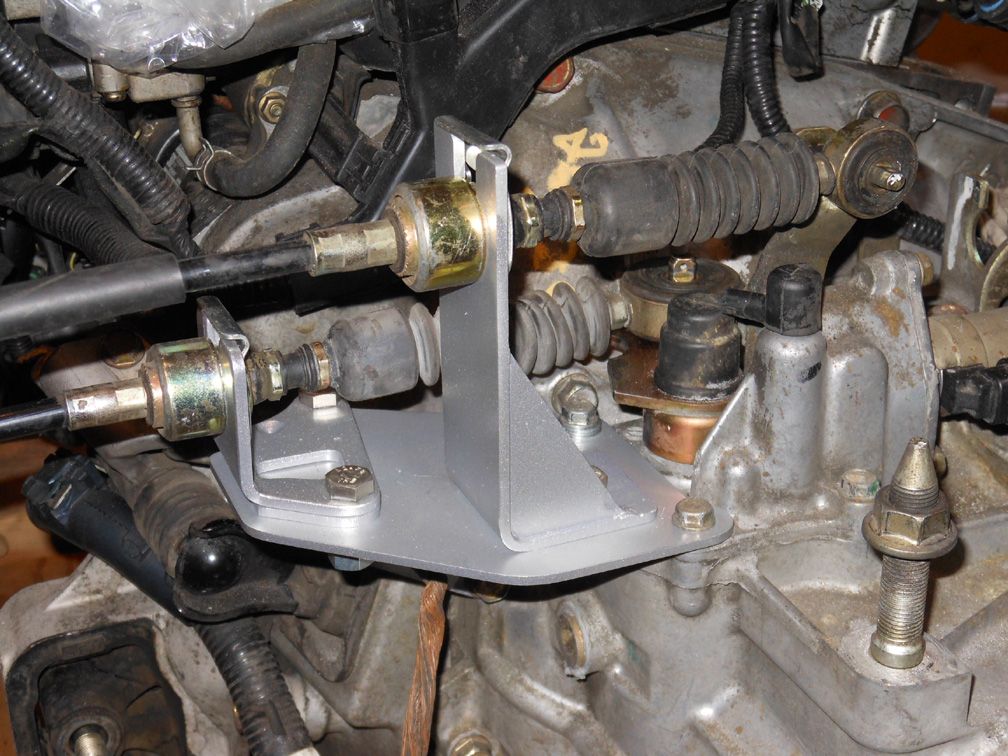
While waiting for the chassis, I started on the shifter bracket. In this case, the cables must come in from the front, rather than the rear, so a new bracket was required to locate the cables on the front side. The first iteration of this was with an aluminum plate for the primary part (shown here). Later I redesigned this part to get a little better angle on the action - and went to a steel plate which looked just about the same.
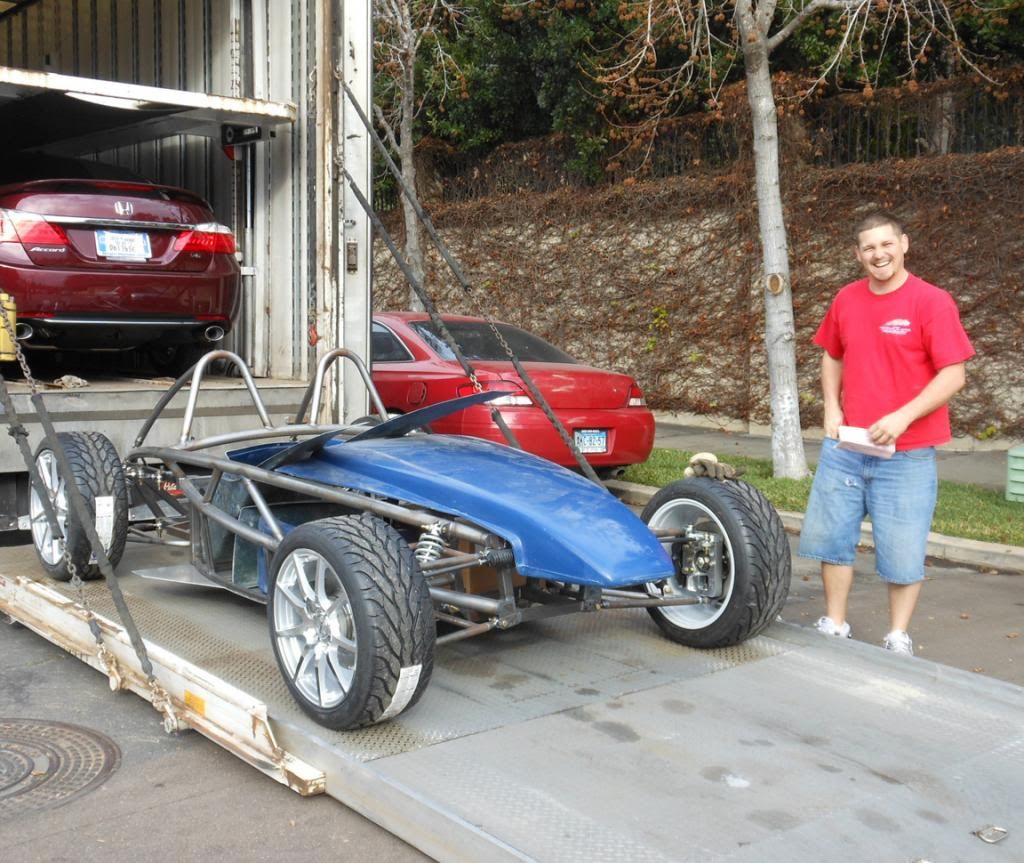
Feb, 2013 the "kit" arrived from Detroit. Lamb Transportation does a good job. I had drop shipped the wheels and tires to RCR so the car was rollable with steering but no brakes.
Hey, where do I attach the engine?
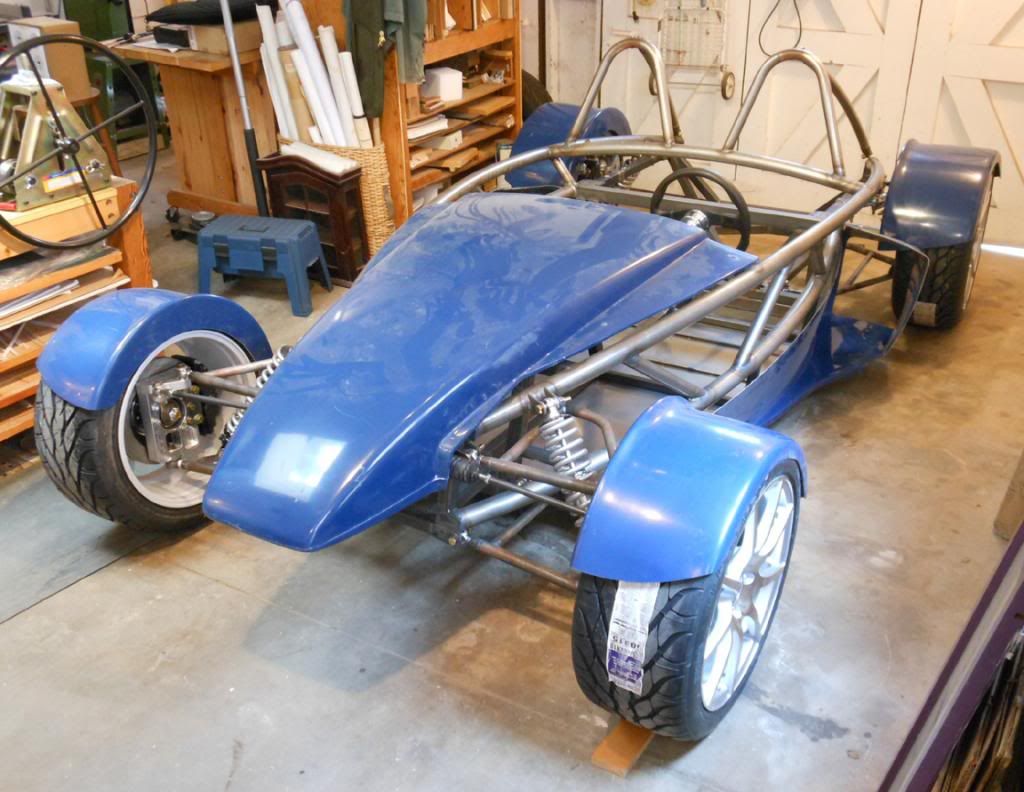
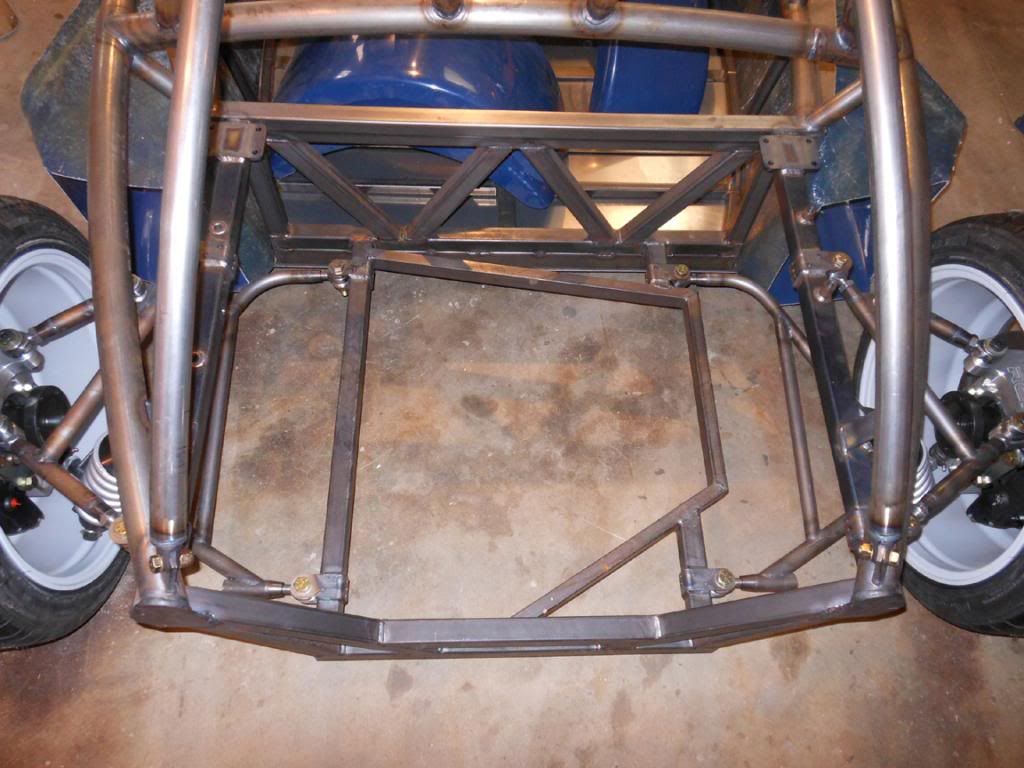
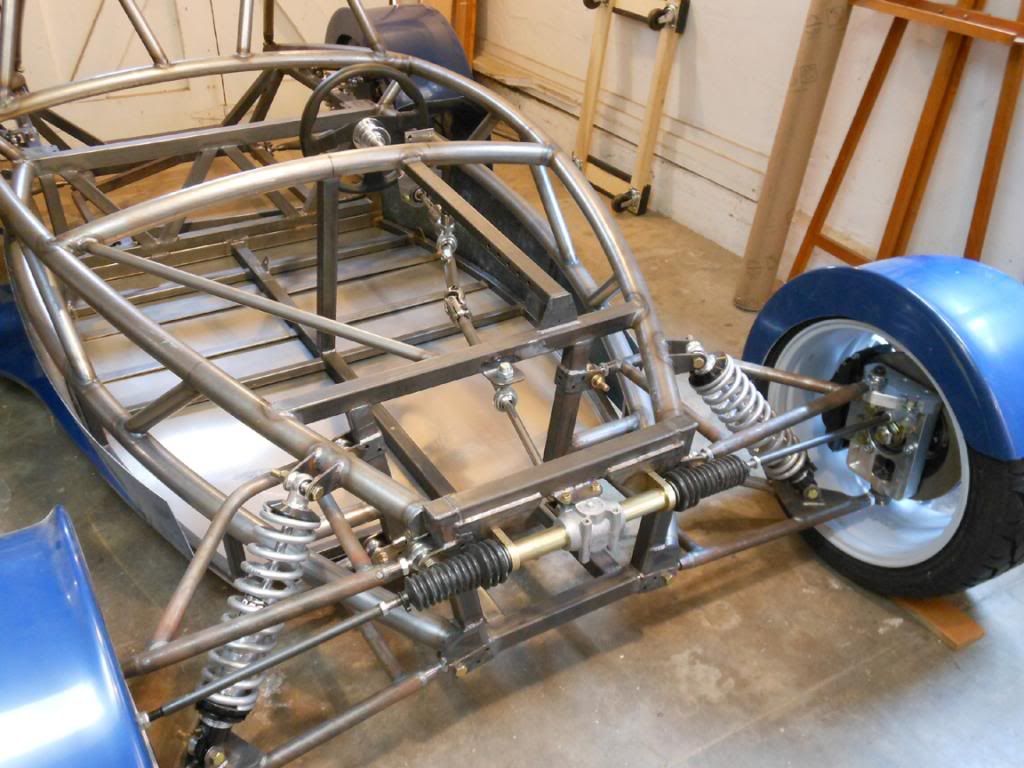
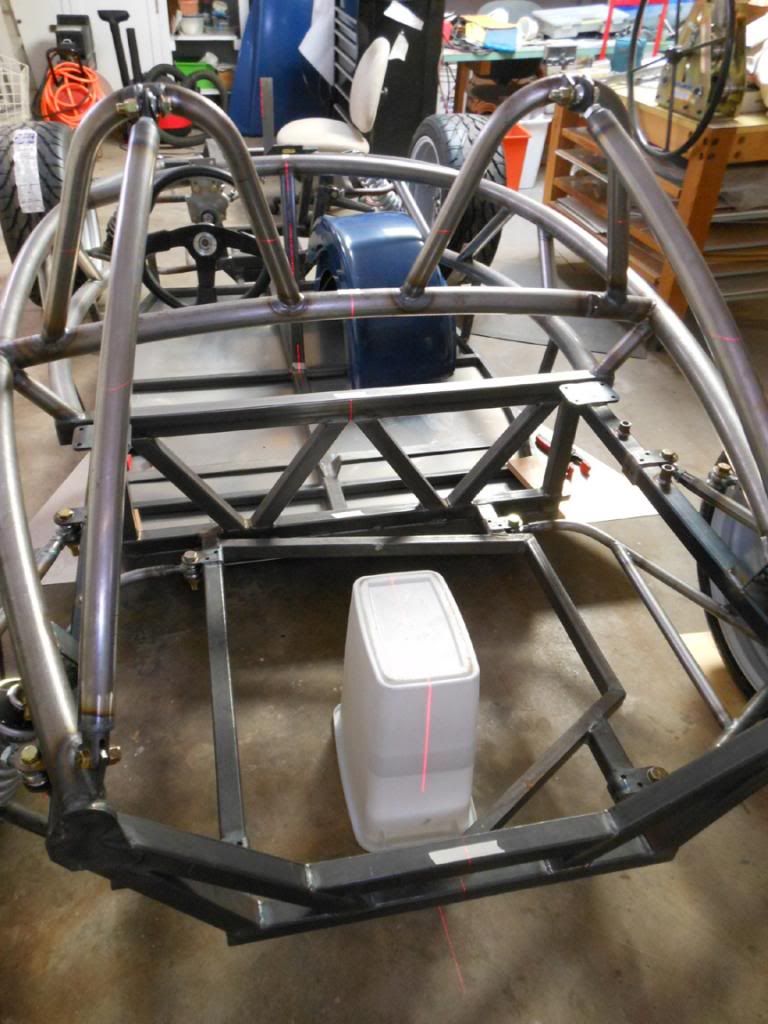
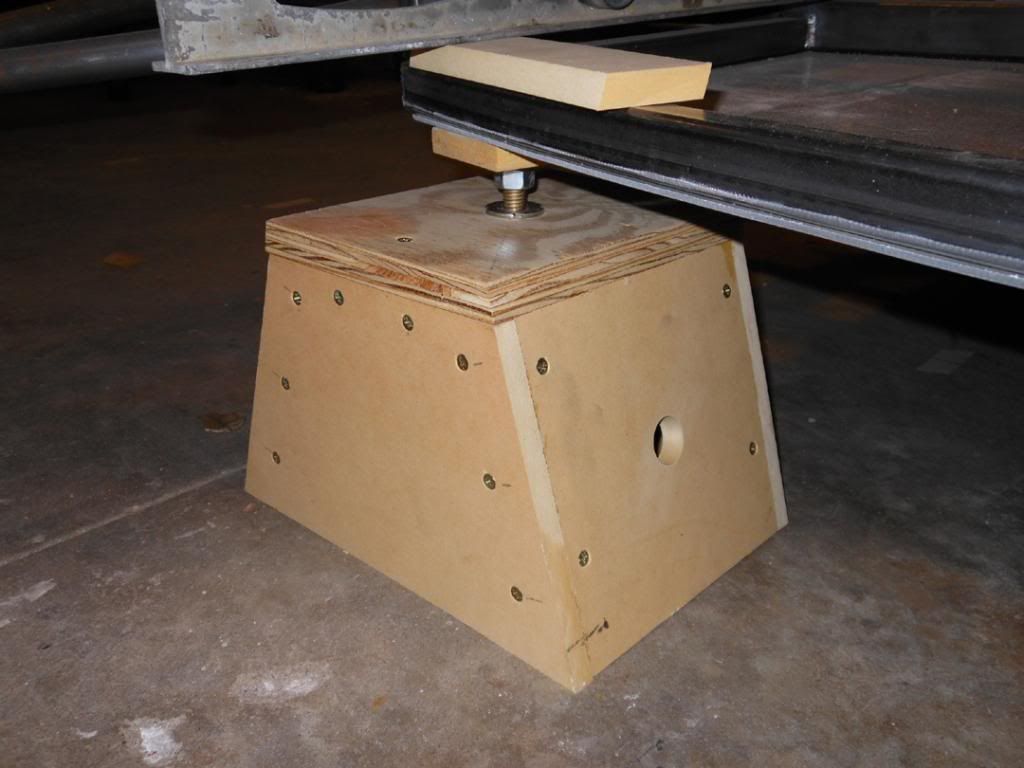
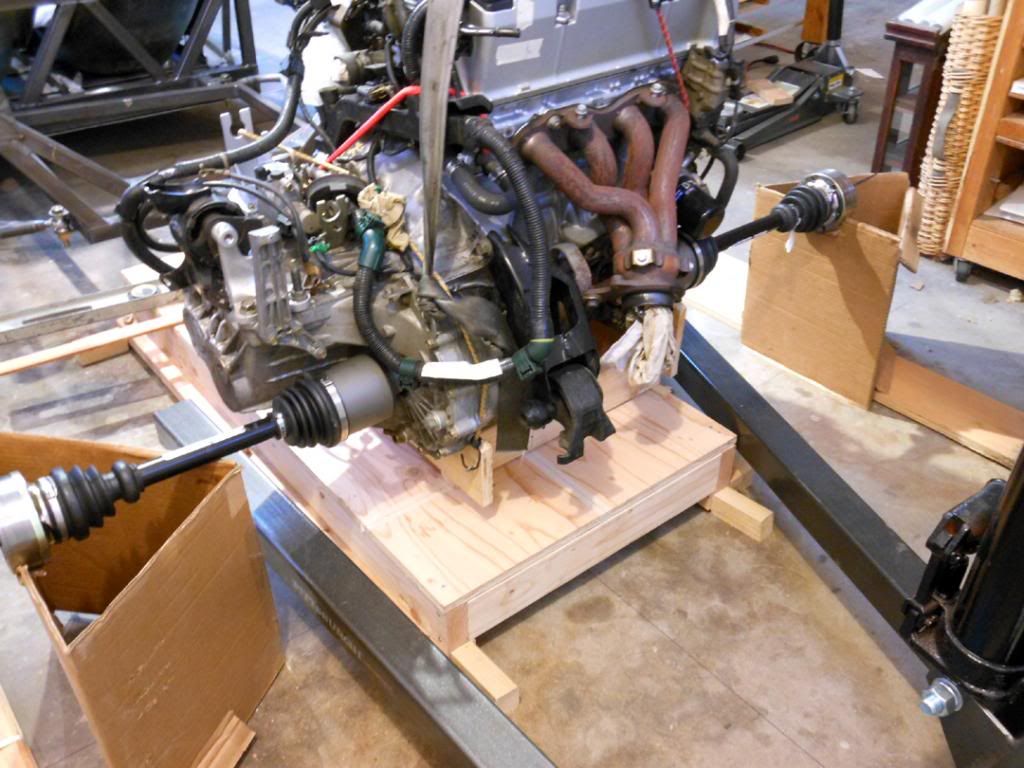
Here the chassis is set up on the garage floor (to some reference lines) using a carpenter's laser and levels. Home made jack stands can be adjusted accurately to level it all out. I made a box type base to hold the engine which was placed on a small wooden surface plate for centering and location.
The fuel tank was on back order and will go behind the seat against the firewall (which was also on back order).
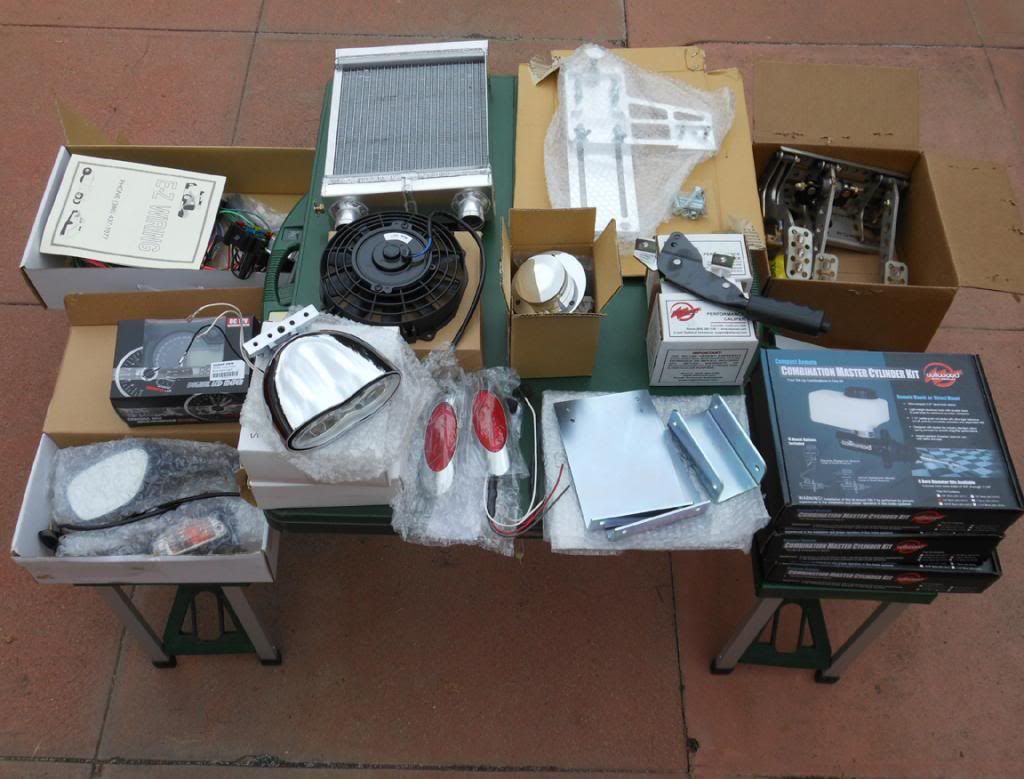
Here are the items in the kit, most of them are extra cost options. Some even fit.
I'm not sure about those "pre failed" roll bar supports. Does it come with engine mounts, or do you have to make them?
Very similar concept to the Midlana, I would like to see how they stack up on the track.
The "stays" on the roll bars have to be taken off to get the engine in and out. As for the strength in a rollover, I wouldn't know. I bought engine mounts but that just solves the connection to the engine, not the part that connects to the chassis. I will post some pix on that particular month-long struggle.
Removable is fine as long as the joints are strong. My concern is the curve. We refer to that as "pre failed" on the locost forum. If there is ever any real load on them they will just bend.
Keep up the good work!
The curve is necessary to clear the engine. Frankly they seem VERY strong but I hope to never really test them.
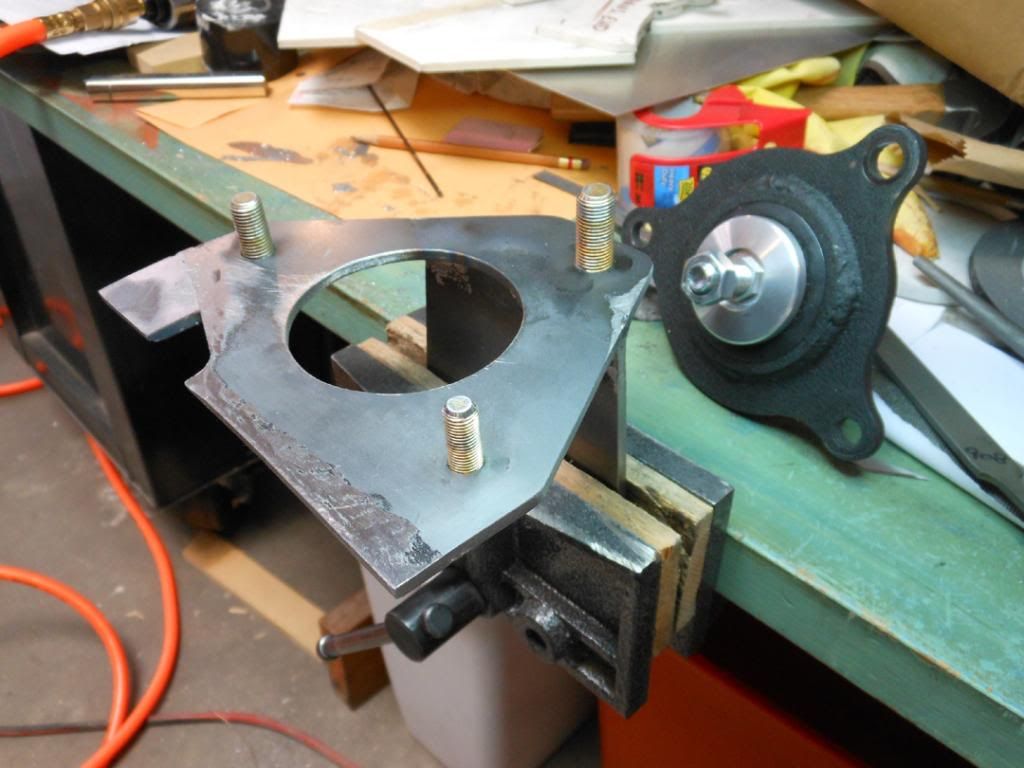
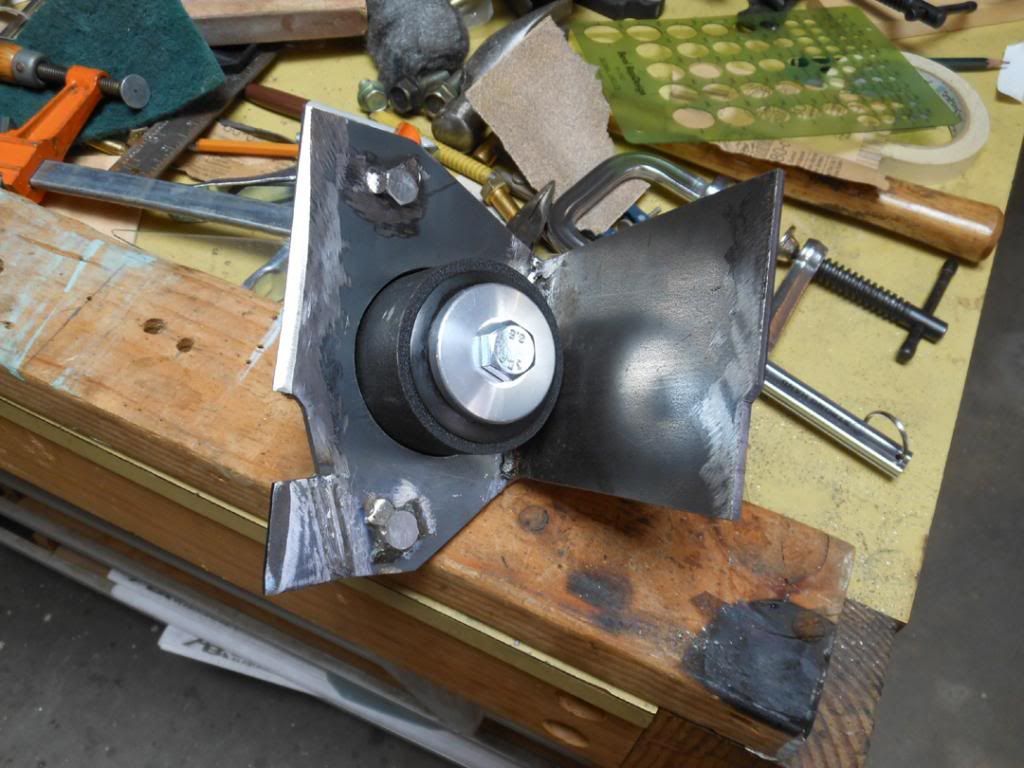
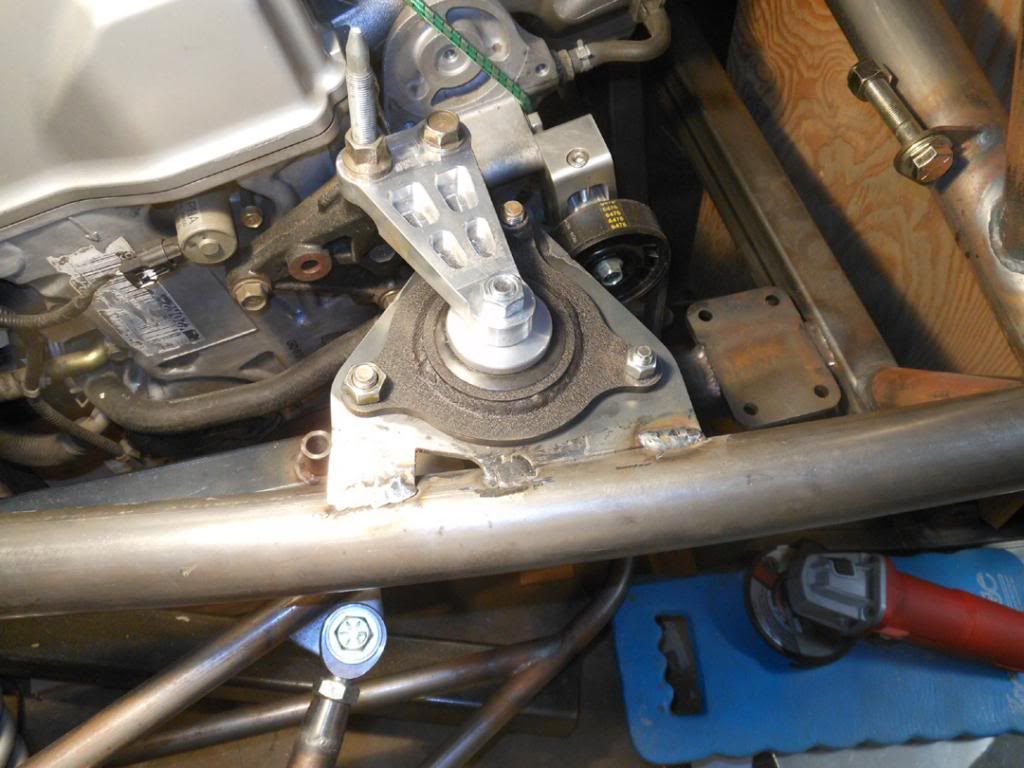
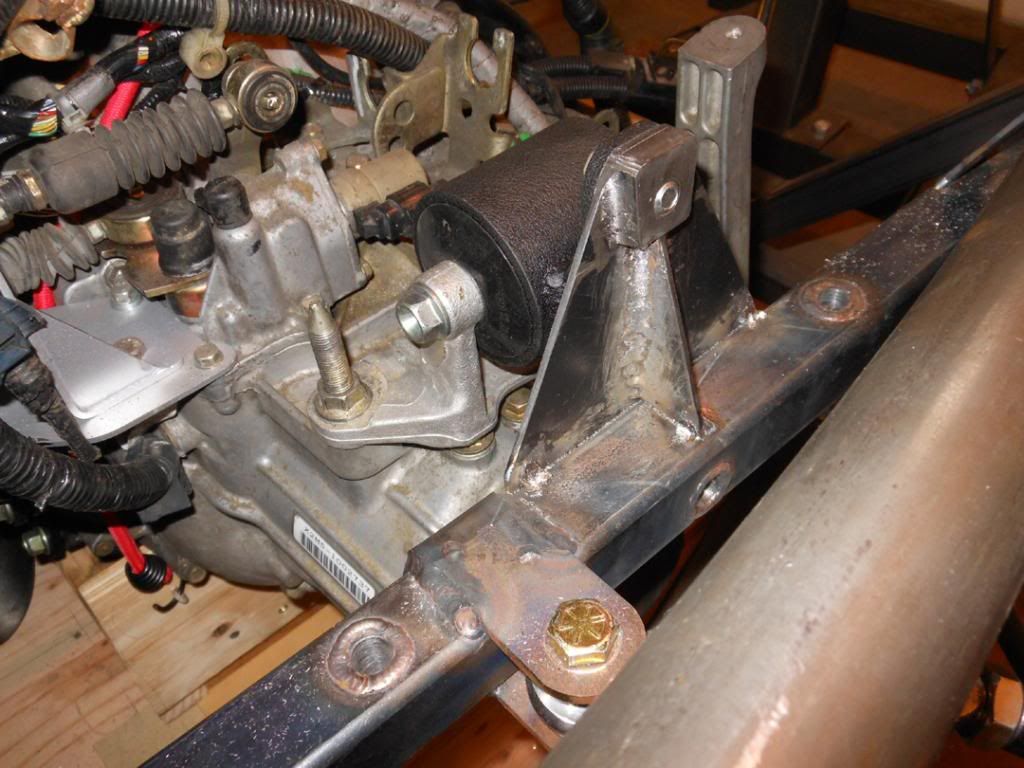
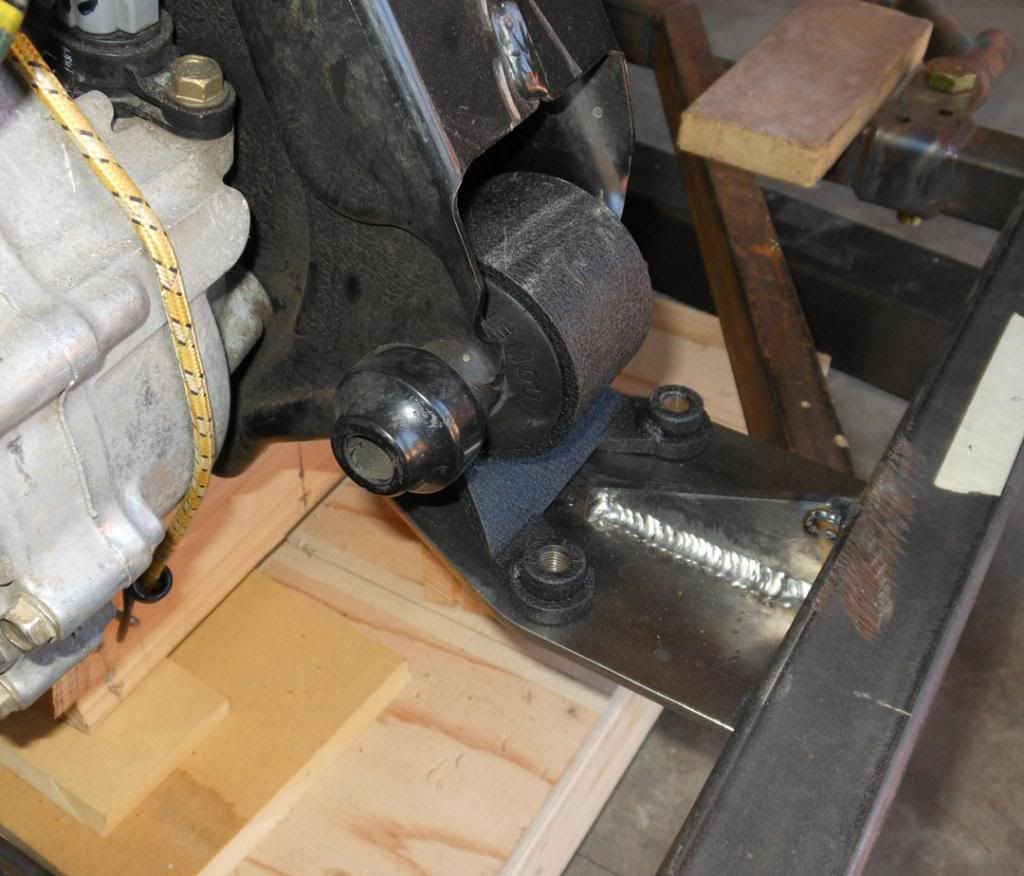
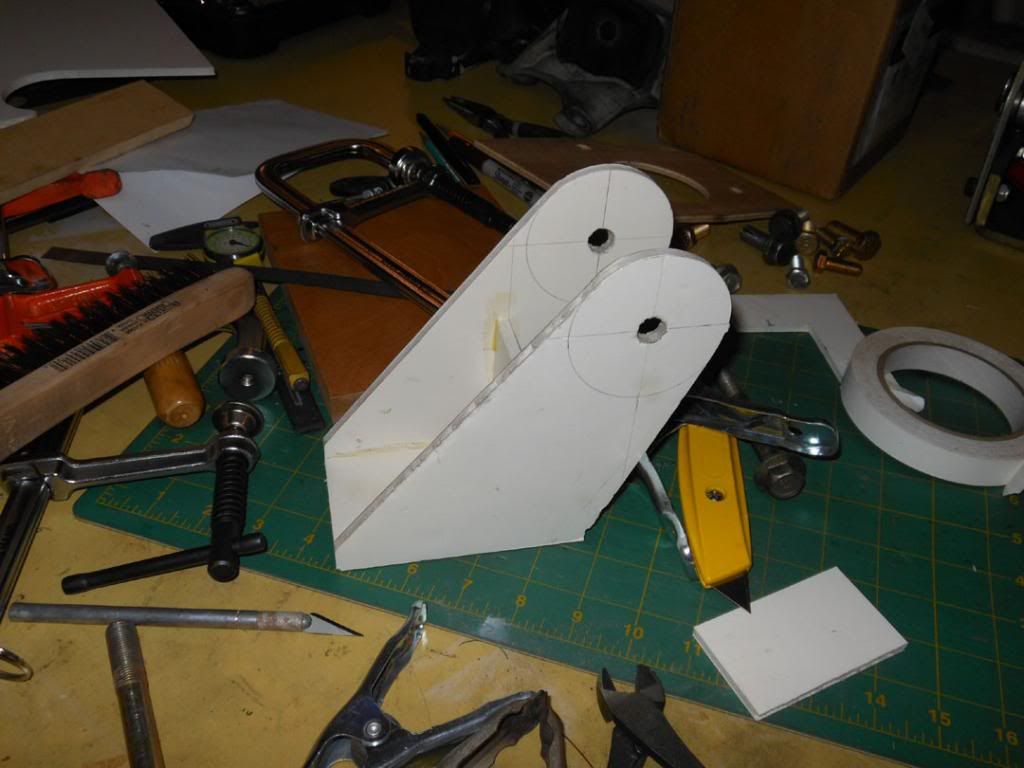
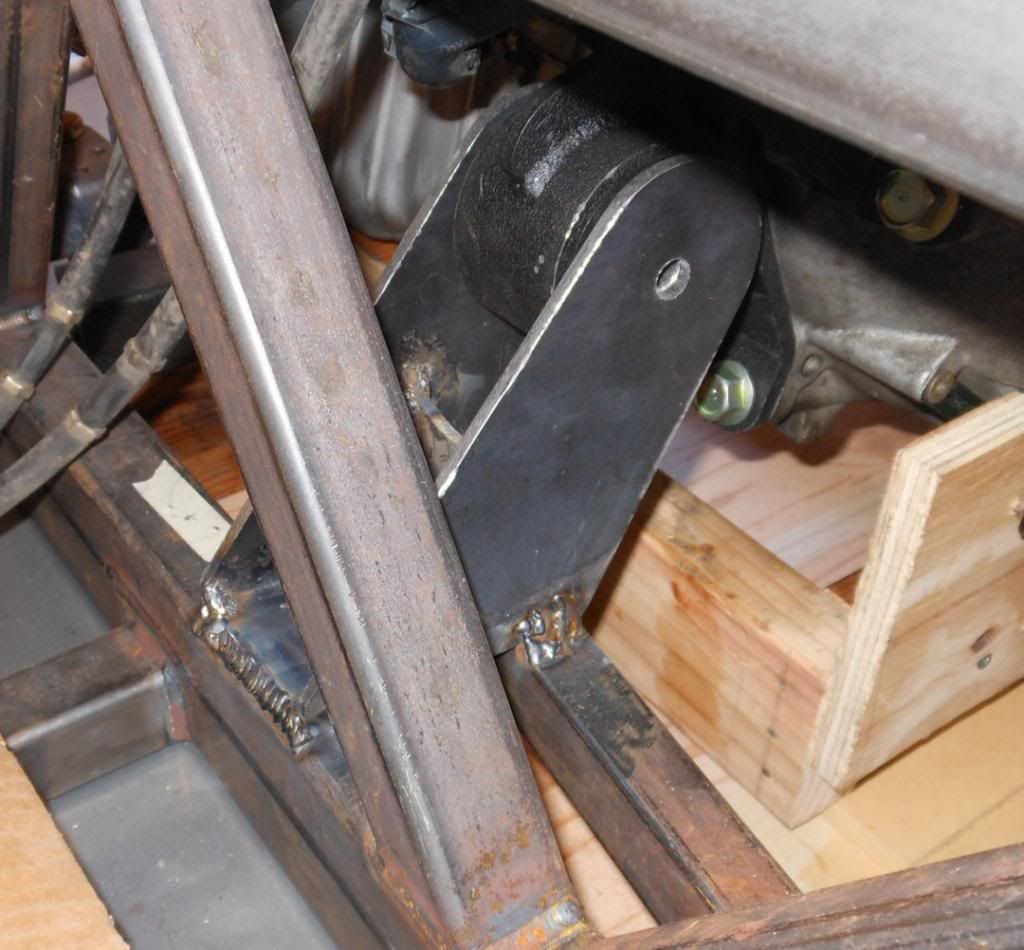
The engine mountings were an early challenge, working with my Innovative racing mounts. I started on the passenger side mount, worked to the driver's side then the rear then the front. This took several weeks to go through the cardboard/wood/steel process - tack welding everything to the chassis. My welds, as a newbie, were not pretty but grinding and bondo makes them look a lot better.
After messing around with the RCR fiberglass buckets, I decided to go with these Sparcos, with an actual sliding track. Of course this meant fabricating the mounts, which are bolted to the 1/8" aluminum floor pan and the steel cross members. Next was working out a revised seat back adjustment handle which didn't break off in my hand on the first try. I made these aluminum handles and they have worked out fine. This also meant early trys on the parking brake handle.
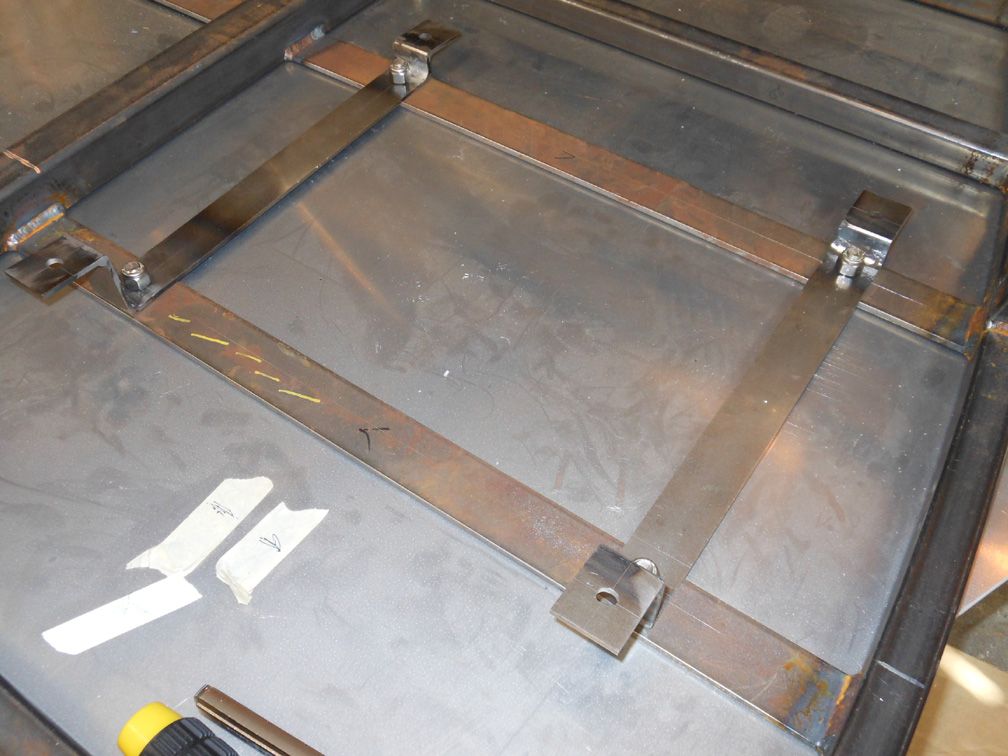
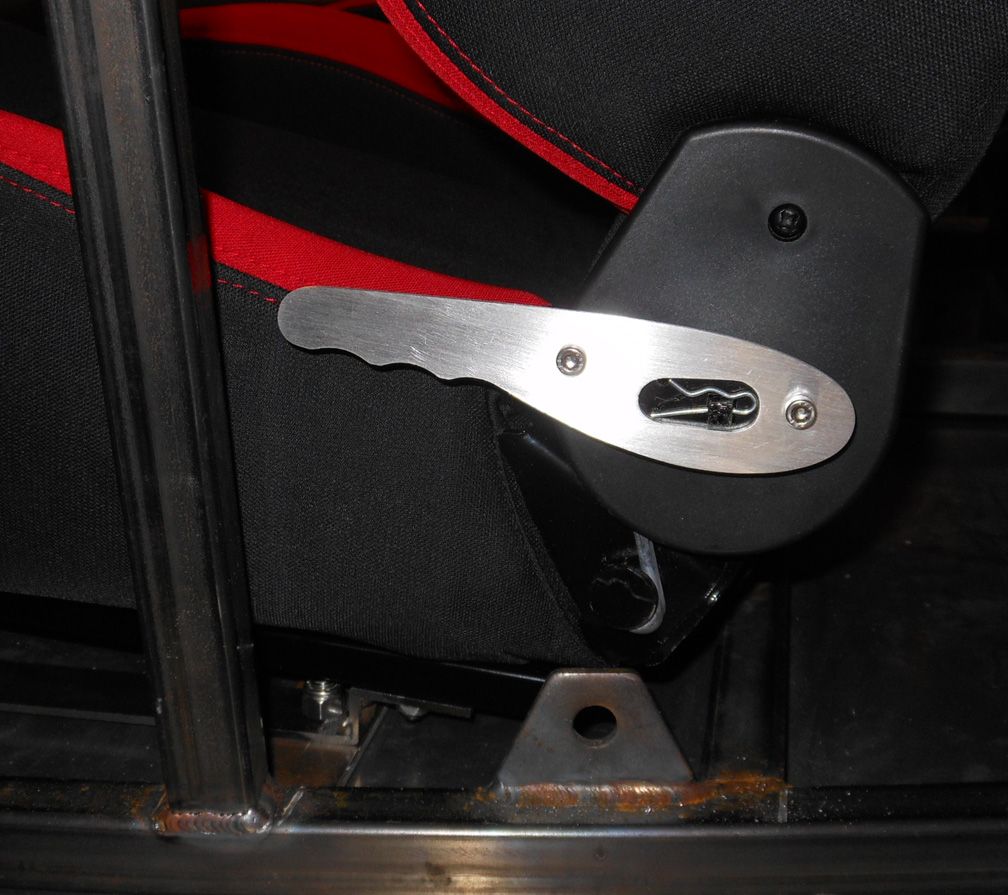
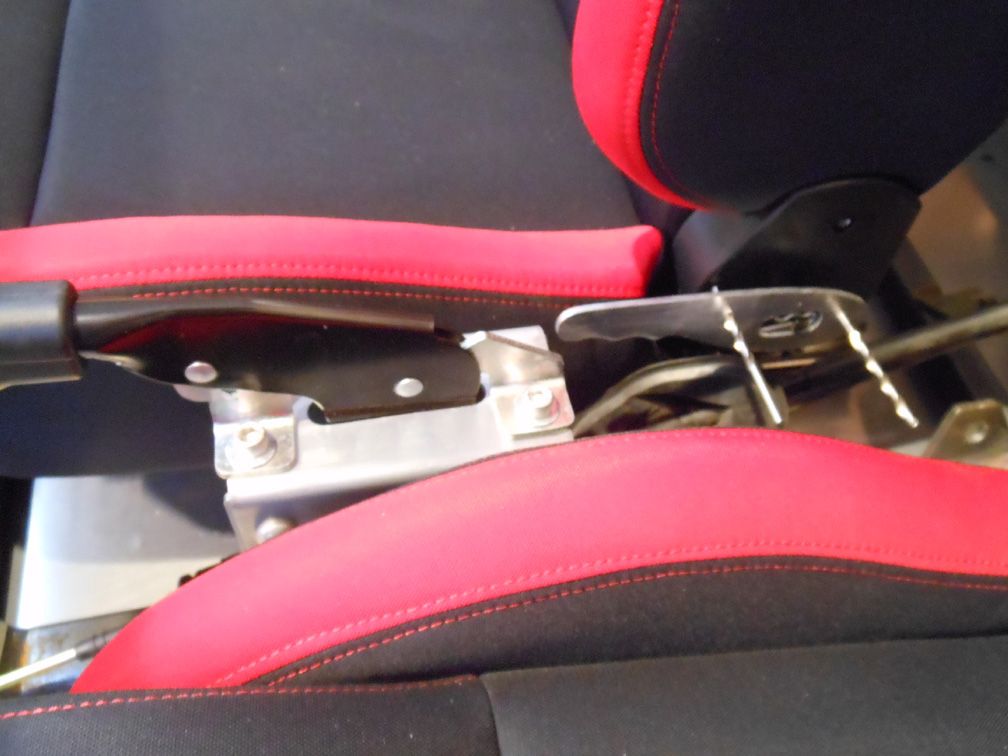
More work on the floor. The parking brake mount is shown full height. I cut it down later to work better with the seats and shifter. The pedals from RCR required some work too. They were mounted as far forward as possible and still allow for the connections (vs the front close-off panel.
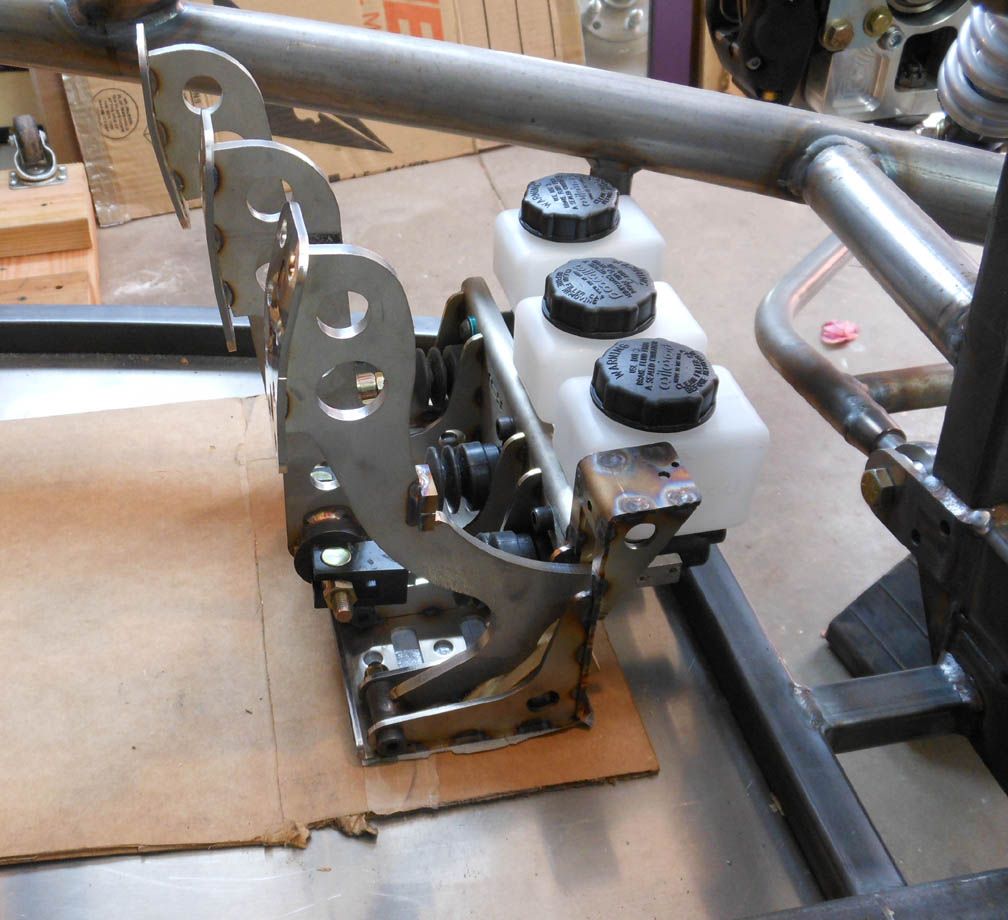
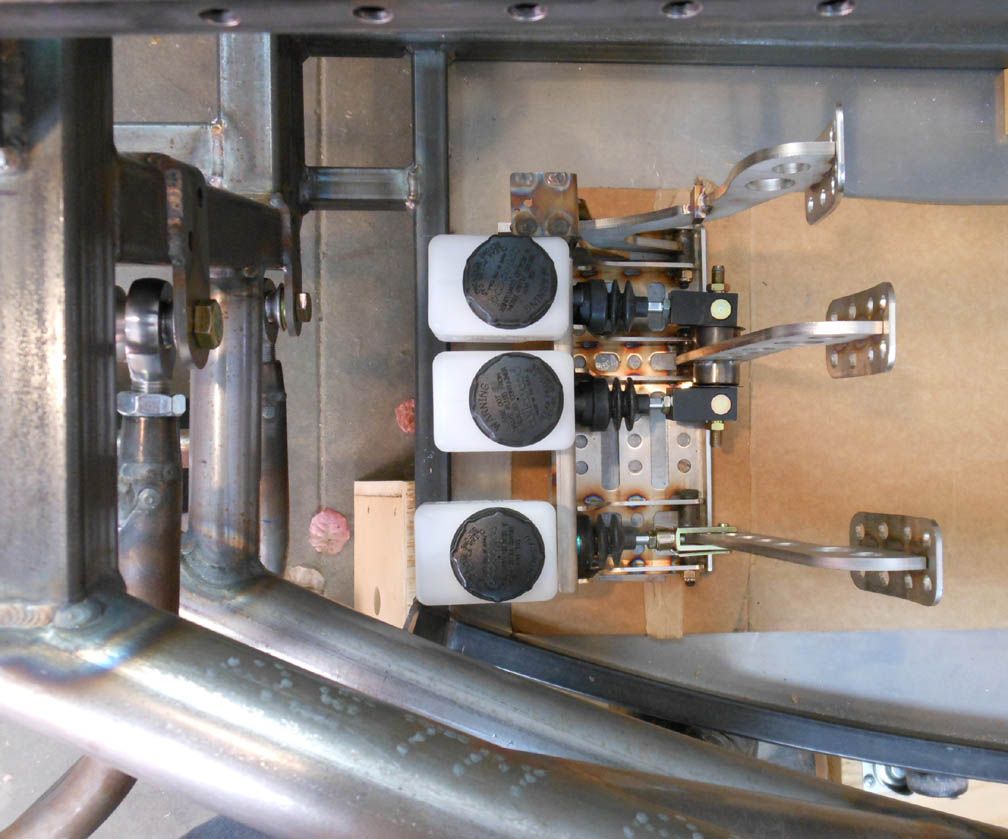
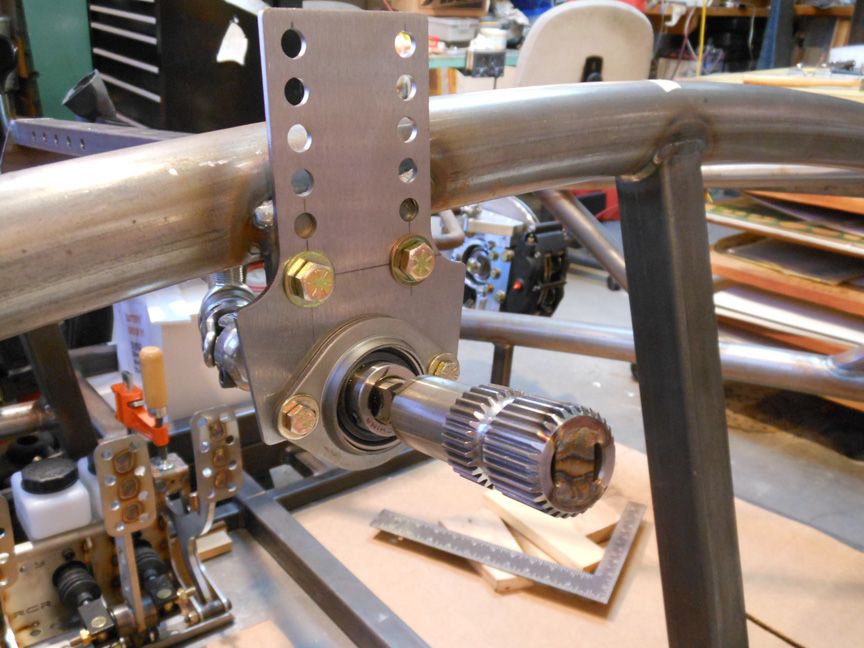
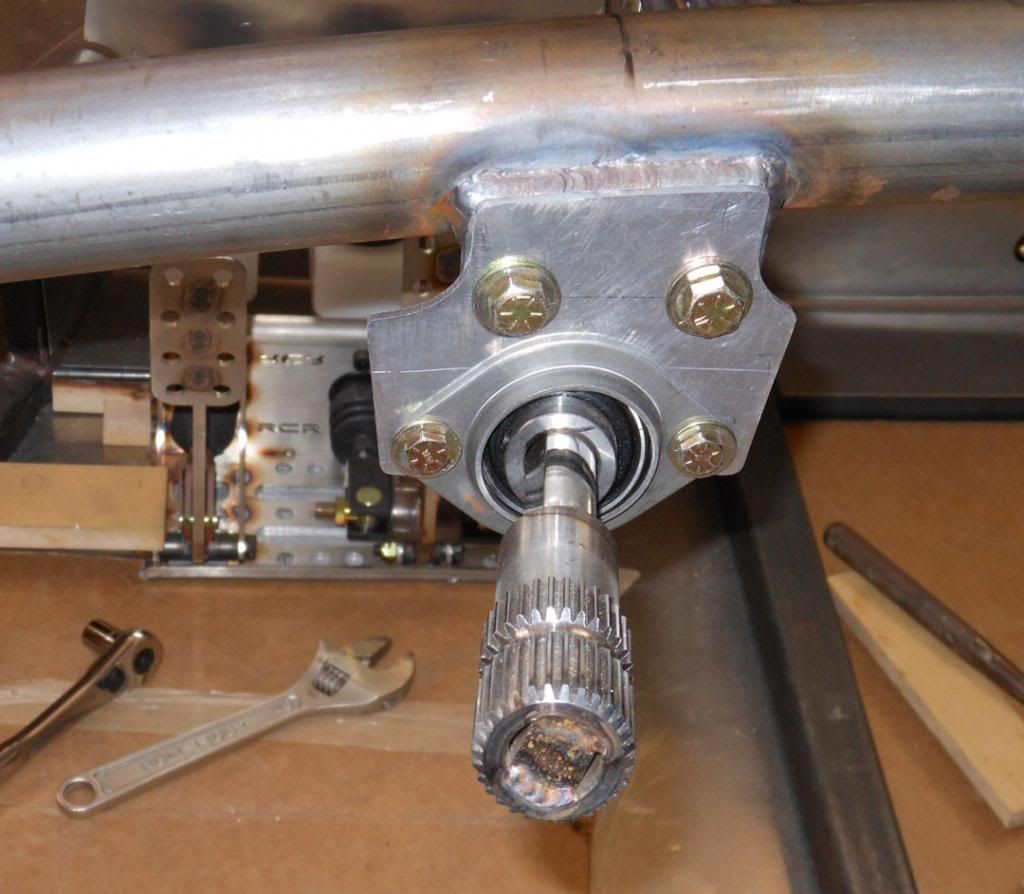
With the seat and pedals located, I was able to work on the steering wheel location. Eventually I decided to make a new plate to get the location I wanted.
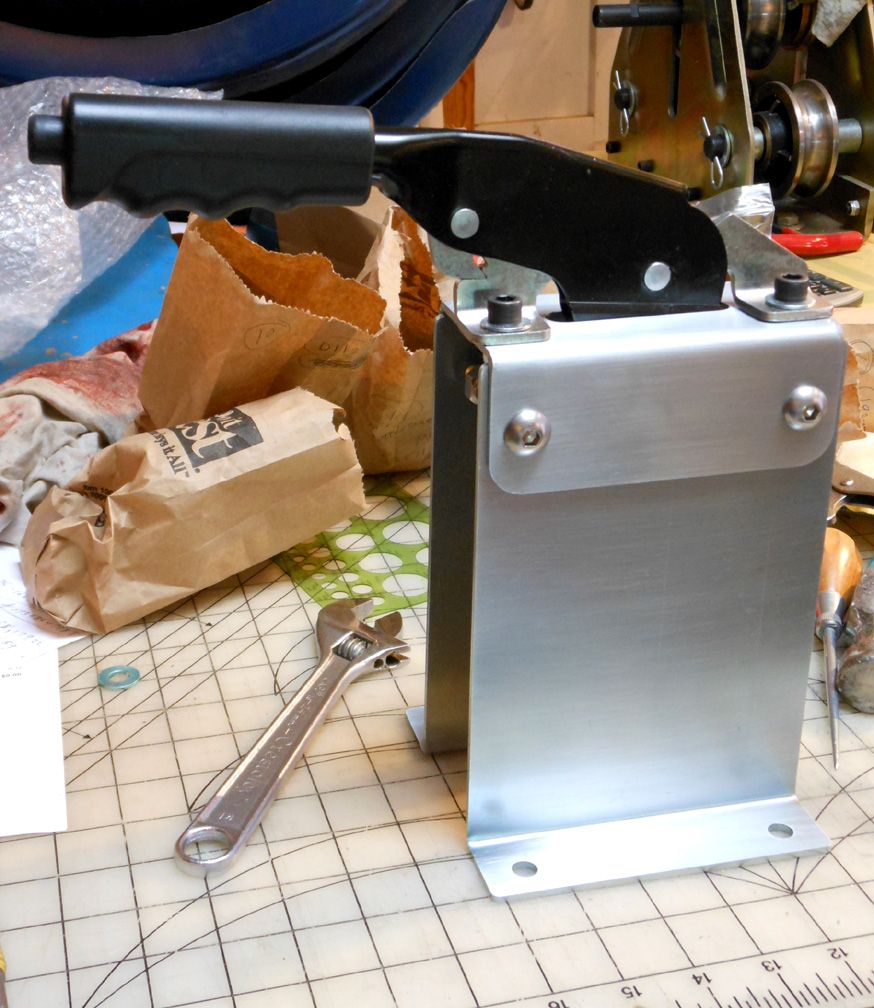
The parking brake stuff provided was not complete but RCR cut me a refund so I bought some Wilwood cables. The photo shows a p-brake unit mounted with the RCR adapter.
Very nice work! I'm getting ideas from your build for my steering setup on my project. Did the steering shaft, U joints, bearings and quick release spline come with the kit? If not where did you purchase them? Do you have part numbers or sizes on any of them?
Thank you!
The steering was all set up but based on using their thin fiberglass shell seats. With my Sparcos, the H-point was higher and farther forward so the RCR setup did not work. This is all part of their base kit so there are no specs on the parts, as far as I can tell. You can find nice steering columns on line, mostly for hot rods, etc. At least they often have the self canceling turn signals which my setup doesn't. My wheel is not straight with the world but it is okay.
You'll need to log in to post.