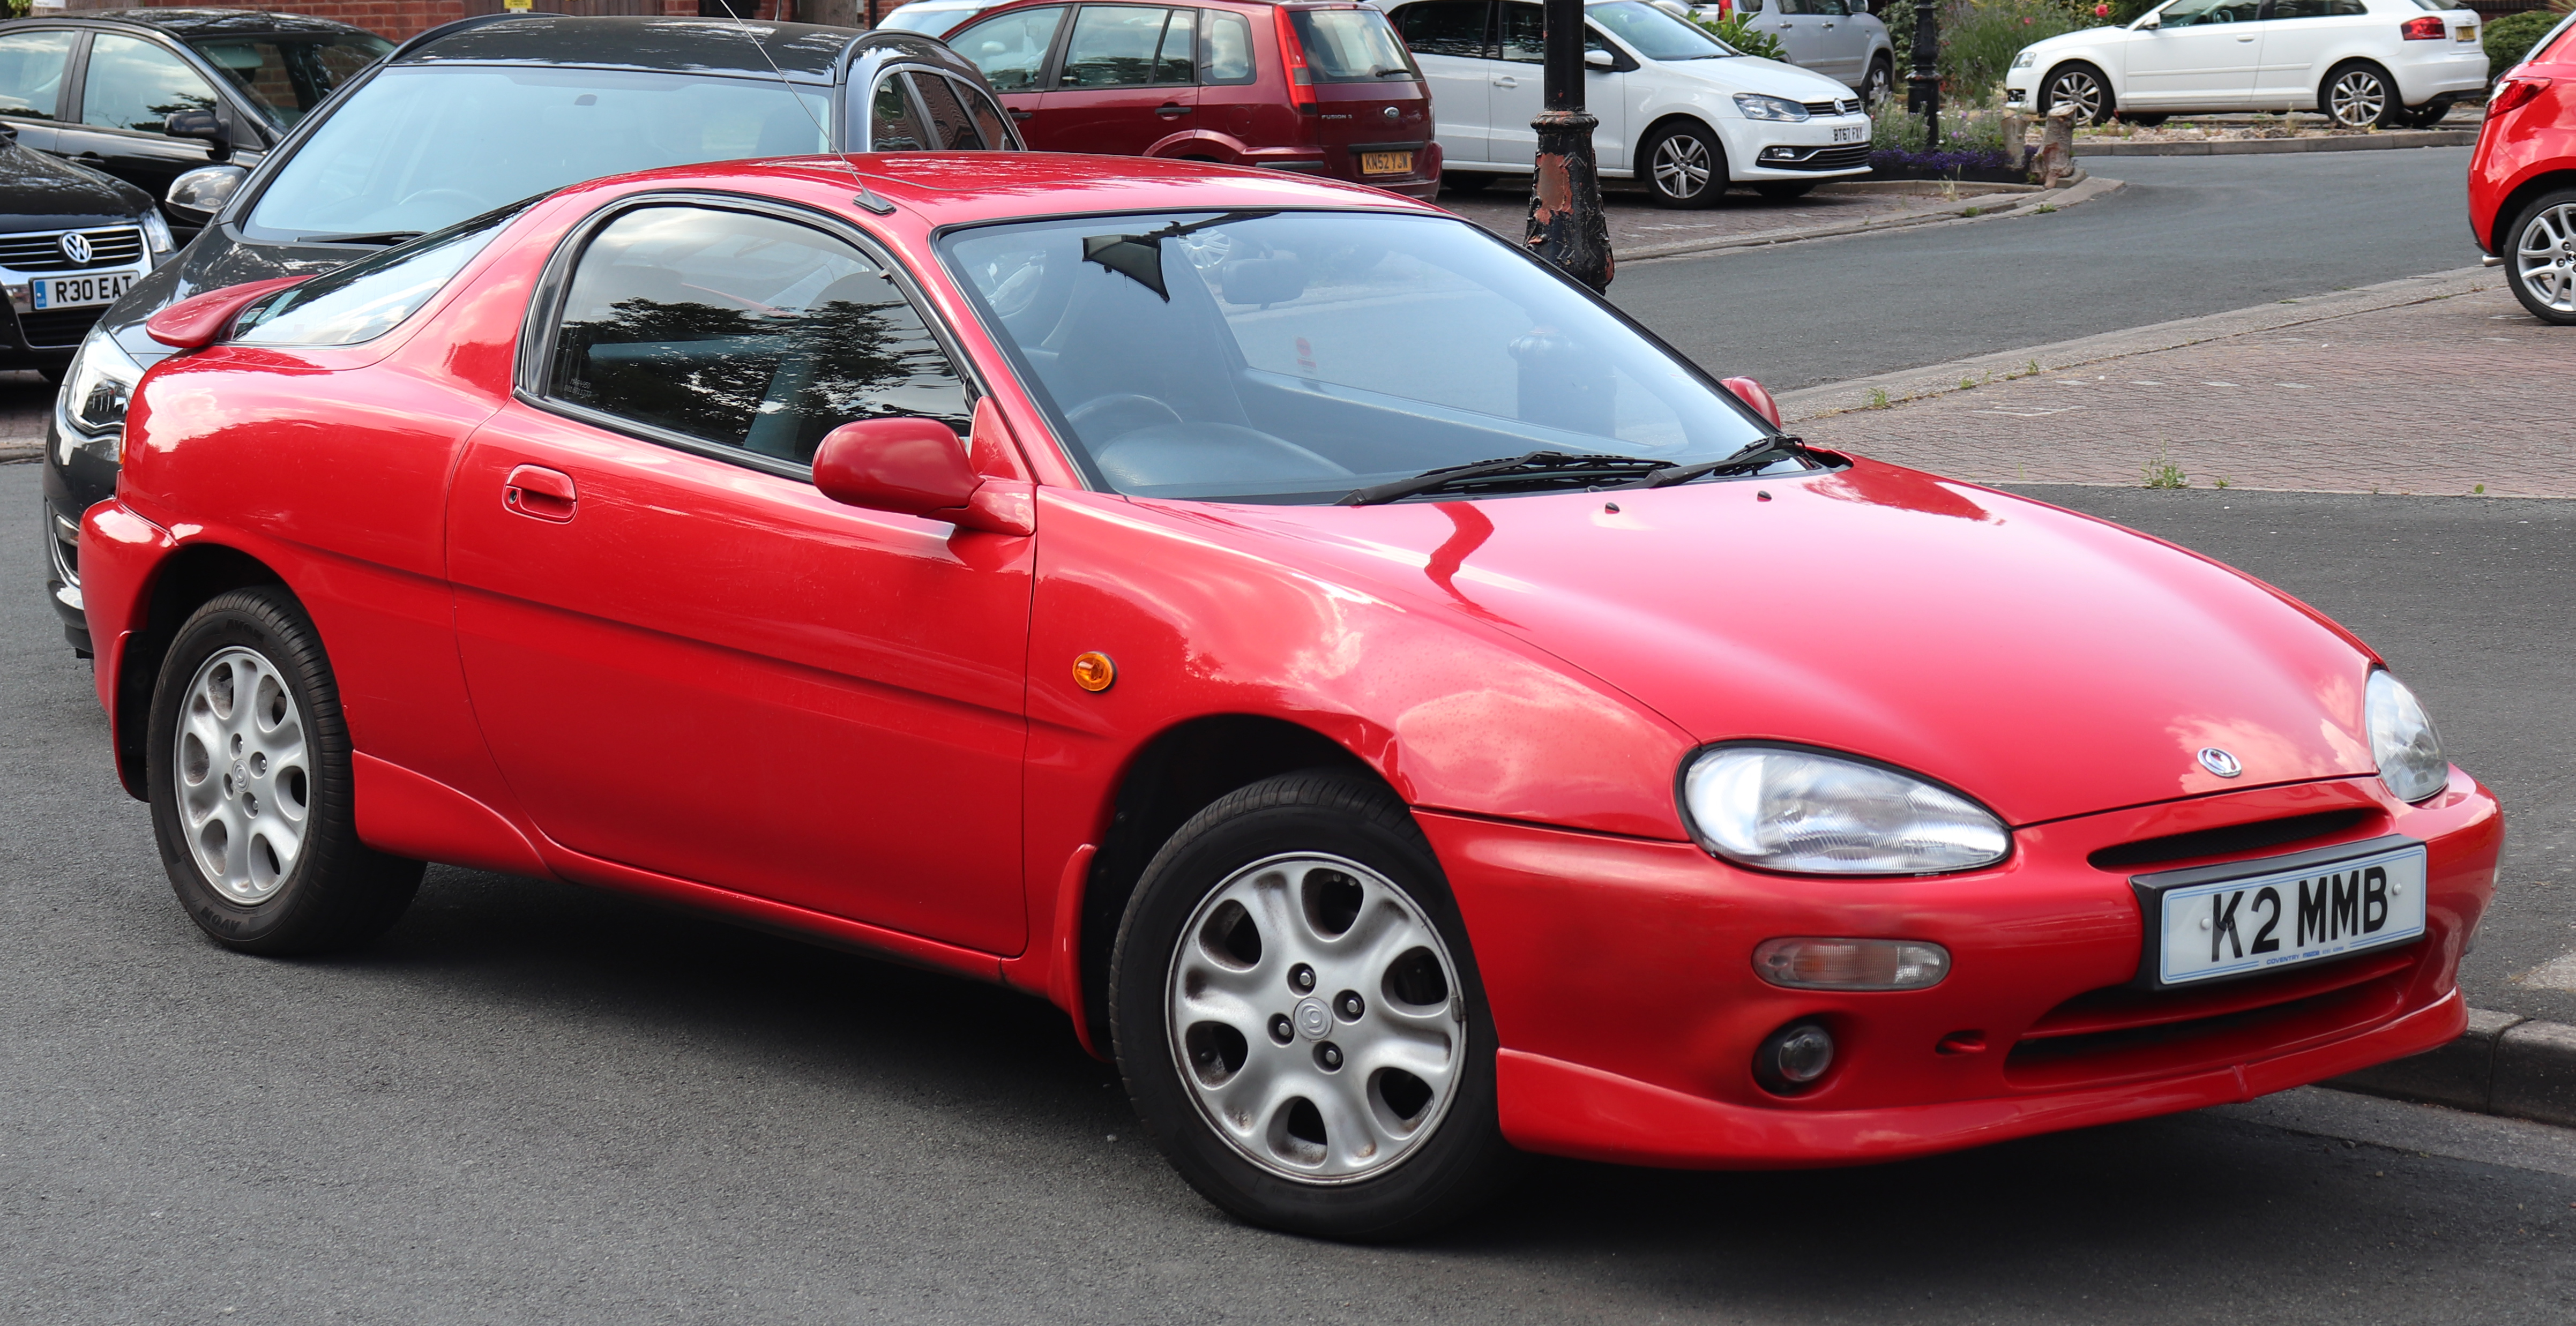
So are you busting out the English wheel or is this going to be a composite project? So far you have been doing metal on the roof, so I somehow feel you are going to continue along that path.
There is a Volvo P1800 build on this board that is being re-skined in alloy to resemble a classic Ferrari, so perhaps you two can form a mutual support group.
Pete
NOHOME said:So are you busting out the English wheel or is this going to be a composite project? So far you have been doing metal on the roof, so I somehow feel you are going to continue along that path.
There is a Volvo P1800 build on this board that is being re-skined in alloy to resemble a classic Ferrari, so perhaps you two can form a mutual support group.
Pete
Im going to make the body from fiberglass. Im not skilled enough to make the body from sheet metal. that's a whole different level of artwork that Im not capable of.
I fabbed up the A and B pillar caps which will be platforms for the Hyundai roof to mount to. They are all welded on and primed to keep the surface rust off. They arent my prettiest welds but surprisingly better than the factory mig welds on the chassis. Id say I done purdy good for a white-collar guy

Funny juxtaposition, Harrington bonded fiberglass roofs to steel Sunbeam Alpines to make their GT cars. You are bonding a steel roof to a fiberglass Chevy to make your GT car.
Ambitious! Keep the updates coming. Intrigued to see how the rest of the exterior panels come together and assemble.
TurnerX19 said:Funny juxtaposition, Harrington bonded fiberglass roofs to steel Sunbeam Alpines to make their GT cars. You are bonding a steel roof to a fiberglass Chevy to make your GT car.
to be fair, the fiberglass is all bolted to a steel corvette chassis with the exception of the door jambs and trunk tub on a stock c5 corvette. Ill be removing the roof skin from the Hyundai structure and gluing on a fiberglass roof and essentially only using the tiburon roofline as a skeleton for the shape. The door jambs will be made from fiberglass and glue onto the steel and overlay it completely. The A pillars and posts above the doors will be covered by a new fiberglass skin bonded to the steel.
To be more clear, I am making all of the body panels by hand. None of this is or will be a kit. I intend to make the body panels bolt to the stock corvette locations where possible like the front fenders or at least mimic how the corvette panels are connected together for simplicity such as the rear quarter panels to the door jambs/rockers.
Im winging most of this so the plan is evolve as the build continues
OjaiM5 said:Super cool build!
Did you do any sketches? Tracing paper overlays on top of the Corvette wheelbase?
I have overlaid digital pictures of the cars numerous times but they are too messy to post here. with the tiburon roof on the corvette wheebase it matches almost identically to this picture

Make male bucks and female molds even if you only make one unit. Make your first mold off the Tiburon roof so you get the hang of the process. Making fiberglass parts without molds is always disastrous. Finished body panels need consistent wall thickness, which can be obtained only by layup inside a mold. The male bucks you pull molds from do not need backside clearance for anything, nor structural integrity if you only use them once for mold building, so they wind up saving time and effort. BTDT
I started the final trimming of all the excess sheet metal off the roofline. Lost about 15 pounds of fat off the A and B pillars. Next will be welding base plates to the pillars to then weld to the corvette chassis


Watching with interest because I have dreams of grafting some sort of steel roof to an NB Miata one of these days. Lead the way !
DeadSkunk (Warren) said:Watching with interest because I have dreams of grafting some sort of steel roof to an NB Miata one of these days. Lead the way !
I've always wondered if the roof from one of these would work for that purpose:

The difference in width of the two is less than an inch.
I got a ton of work done this weekend and the roof line is officially installed onto the chassis
The Hyundai A and B pillars are made up of multiple layers of sheet metal folded and spot welded together. When I sectioned the roof from the Tiburon body those sandwiched layers lost some rigidity. I flipped the roof over and stich welded all of those layers together then made 1/8" steel plate caps and welded them solid to the stiffened pillars.
The Corvette chassis is steel C channel uprights at the A pillars that I capped with the same 1/8" steel plates. The B pillars are similar to the Hyundai with sandwiched sheet metal so those were stitch welded together then capped with plate. I put the roof line onto the corvette chassis and welded the plates from the Hyundai roof to plates on the corvette chassis which made really clean attachment points and very strong pillars
Then I test fit the front glass and the door weather seals from the Hyundai. They fit phenomenal

Its starting to look like something
woah. as a fellow C5-destroyer, i admire your vision and ambition!
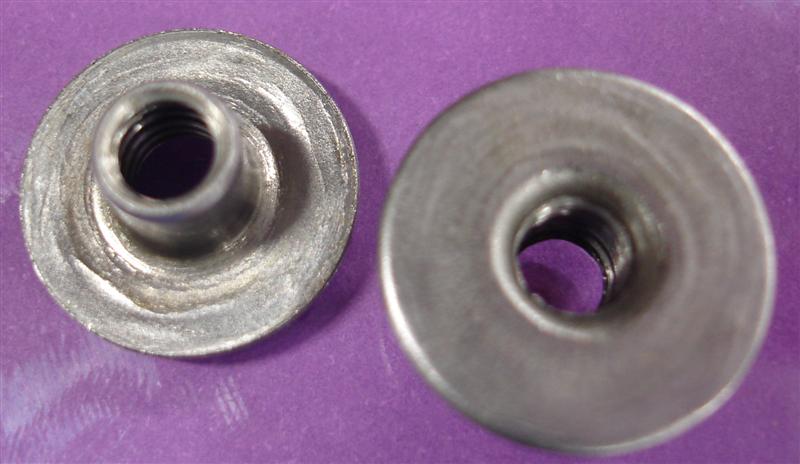
about the only suggestion i have, that i have found super useful, is for attaching things to the paper thin frame... my Ace hardware (official auto parts carrier of the LS1-KART) carries a 'T' style nut 1/4-20 (official thread of hte LS1-KART) that essentially has a 1" or 3/4" (i cannot remember) integral washer. I use a step bit to cut the hole, then weld the washer flush on the frame with the nut inside. works great, i thread lock rod/studs when i want male threads.
happy hacking!
Join vette hacks group on FB if you are a FB type.
Along those same lines, I have a big box of weld nuts and an equally big box of flange bolts, also in the official thread size of hacked-up cars everywhere (1/4"-20). They are great!

Go_Gators said:my Ace hardware (official auto parts carrier of the LS1-KART) carries a 'T' style nut 1/4-20 (official thread of hte LS1-KART)
your post is a great idea overall (i'd love some pics and maybe a thread in the tech tips section) but this is my favorite part.
Started mocking up the window glass tonight and shortened the window rails to fit into the new doors.


Great, now time to ''accidentally'' wreck my c5 and be forced to turn it into an Aston replica! You're a bad influence lol
I ordered and received some expanding foam to start shaping the body once I get the door jambs finalized. I also took the car out for a quick spin around the block.
Mufflers are now off and will need to be replaced to fit within the new body lines. Ill likely use something like stock C6 mufflers. I also started relocating the battery and PCM. The PCM was bolted to the lower frame rail right behind the passenger front tire. I need to use this area for some aero work so Im moving the computer up to the original battery location and the battery to the back


sweet. like your plan for putting the elec boxes in the battery location. moving my battery aft is on the to-do list as-well, though i havent found a spot i like.
i imagine you already know.. but bottom out the leaf spring adjustment bolt up front and buy a longer one for the back before you get too far down the body work road... assuming you want to go as low as possible. for me, the front was the limiting factor as the spring bottoms out on the a-arm. i couldnt go as low as i wanted to out back because i wanted to maintain some rake...
Go_Gators said:sweet. like your plan for putting the elec boxes in the battery location. moving my battery aft is on the to-do list as-well, though i havent found a spot i like.
i imagine you already know.. but bottom out the leaf spring adjustment bolt up front and buy a longer one for the back before you get too far down the body work road... assuming you want to go as low as possible. for me, the front was the limiting factor as the spring bottoms out on the a-arm. i couldnt go as low as i wanted to out back because i wanted to maintain some rake...
Im going to put the PCM and the drive by wire module inside a plastic battery box in the stock battery location for simplicity and to keep it as dry as I can and likely wrap it in foil insulation or something to try and keep heat off of it.
I already have the suspension sitting where I want it for the most part. I dont want to slam it on the stock suspension and adversely affect the control arm angles so I have it sitting where I deemed the correct height. the new roof height is set at 48" from the ground which is identical to my stock roofline and Ill make the side skirts and splitters to have a 2" drop under the frame to make it appear closer to the ground. I need to keep some clearance since I pass over 4 sets of train tracks to drive into the parking lot at work. Im setting the final ground clearance to 4.75" to match the 2019 corvette Z06 diemensions
I fabbed up the door jamb rubber seal holders to mount the OEM Hyundai jamb seal to the corvette. The corvette does not have a jamb seal mounted to the jamb, theirs is two rows of rubber seals mounted to the doors. This will mount one row of rubber seal to the jamb and one row to the door like 99% of cars on the road today and allows me to use the OEM Hyundai seals and make it look OEM


You'll need to log in to post.