Another fullsize Subaru has given it's life to build the smallest Subaru made almost entirely out of commercially available Steel... Wierd how that works.
I've spent about 6 hours to get the Engine and full wireing harness pulled from the Outback. Don't worry the rear of the chassis on the outback was quite rusty it was just it's time.


A cordless drill impact, air ratchet, and regular impact make pretty quick work of pulling these apart. Everything is pretty well laid out and bolts are easy enough to get to. Of course it was after I spent 2 hours pulling and labeling the chassis / Engine harness that I found the Busaru Harness information which told me that I could of just CUT basically everything.
Apparently Subaru's until as recent as 2010 have basically entirely stand alone ECMs. The wireing is buried in the rest of the car harness but the ECMs apparently do not need other modules to operate. They just need to see the sensors that they need inputs from and be connected to the on engine harness. I know it will still take a while to strip the harness appart but it's good to know this is plowed ground and that it's just a matter of removing what Isnt a pinout on the ECU. I don't have to do a bunch of module simulation or wierd reflashing to get it to run. I will long term probably put together an exhaust that retains a CAT so the O2 sensors work correctly and see what they expect.
I also was proud of myself for keeping the AC charge during the entire ordeal. It would of been easier if the AC had arrived at my shop leaked down but it still has some charge so I played the careful bend things game to just set the entire AC system on the fender out of the way while I pulled the engine and hVAC.
Also OMG I would never want to do a Heater core in one of these. That interior image is how far you would have to go to get the heater core out. It's insane. Once I pulled the HVAC it just fell out of the housing though.
In reply to nocones :
My experience with my 2004 Legacy wagon (same generation and drivetrain as your Outback) is that when it started throwing CAT inefficiency codes the rear 02 spacers did the trick to clear that and there were no problems going forward (codes or drivability issues). Tried to do the same on my 07 Legacy for the same reason and the car was not happy about it. So I think you will be fine and avoid the check engine light by just having the rear 02 sensors connected but not directly in the exhaust stream whether there is a CAT or not (there's nothing wrong with running CAT's though).
Edit: Seeing that ABS unit in the engine bay of the outback also reminded me of how terrible that system was in that generation of car so if you were thinking of that sort of thing go with something else!

Car is loaded. I likely will borrow a car trailer to transfer it to and tow it to the scrapyard with. It's a little light on the tounge and technically is over the trailer capacity by a little.
Watched the latest Youtube Video last night, and just came here to say how awesome this thing looks!
Please keep making the videos, even if they are edited/released after the car is finished.
So I'm back.. I was on vacation. I'm back at it though. I'm still hoping against all reality that the car will be at the challenge in some form where it moves and stuff under it's own power.
It's time to work on the pedal cluster. I figure I should get the controls done so I can immediately start with brake lines after chassis finish welding.
The Subaru Outback clutch uses a long shaft concentric with the brake to offset the clutch MC inboard of the brake. My plan is to flip this mechanism, reverse the orientation of the clutch shaft and then be able to mount the masters. I'm converting the car from power assist to manual so I need to reduce the pedal ratio from ~9.5:1 to ~6:1. I also need to have the brake master cylinder mounted forward of the pedals. This will hopefully become more clear over the next few days as I build it.

Another not huge update but I scrapped the Outback for $300 which is $100 more then I paid.
So That makes the budget impact if this Outback -$150* for a ~30hp upgrade to a known running engine. I'm also going to use the extra steering shaft ujoints for the shifter shafts.
*$200 purchase, -$200 recoup, -$150 that was in budget for the WRX uprights and brakes.

That shot in the video of you rolling the car out is crazy. More go cart than car. The roof looks almost even with the top of the Outback's door. Simply incredible. Expletive, superlative, bad-assitive.
Work on the pedal cluster berkeley continues. I've hacked down the mount and added a center tube to the floor (21.75" - $1.23).

Has anyone ever disassembled a brake booster.. Holy hell there are a lot of pieces and they are complicated.

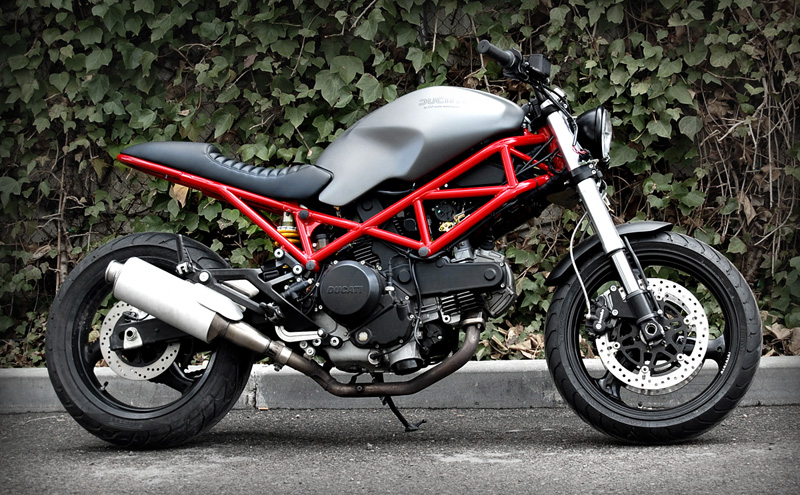
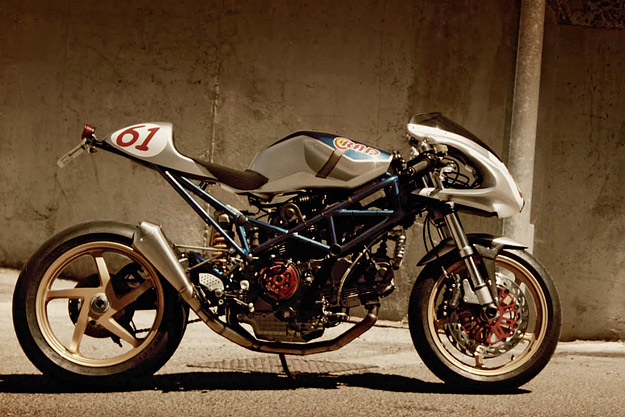
You know, some might call it "unfinished" but the bodywork to exposed frame ratio right now screams "Ducati" to me. Paint the cage and the bodywork in contrasting colors and throw away all the aero ideas?

Edit because this one actually looks a little like the LMP360 already:

¯\_(ツ)_/¯ said:You know, some might call it "unfinished" but the bodywork to exposed frame ratio right now screams "Ducati" to me. Paint the cage and the bodywork in contrasting colors and throw away all the aero ideas?
I like the idea too!
This year if it makes it it will absolutely be looking like a Ducati monster without any Aero. Probably won't even have side panels so the exposed frame Ducati look will be SUPER strong.
Long term I am comitted to the Aero look. It's just the vision I have. It would and will look cool with less bodywork but I want to finish the LMP looks.
nocones said:Another not huge update but I scrapped the Outback for $300 which is $100 more then I paid.
So That makes the budget impact if this Outback -$150* for a ~30hp upgrade to a known running engine. I'm also going to use the extra steering shaft ujoints for the shifter shafts.
*$200 purchase, -$200 recoup, -$150 that was in budget for the WRX uprights and brakes.
This was an excellent move.
Another hour on the pedal cluster. I added a cross tube (2*12" @ $1.36) for mounting the pedal cluster and cut up the boster to harvest the mount. I will run a long pushrod up to the master and tie this plate into the structure that will be added to the front.


Yes I can remove the cap and get it out of the chassis.
Front undersuspension supports and front floor extension are in, and I cut the footwell floor diagonals. I think the front suspension will be done with 2 or 4 more diagonals. Once again I feel like I am overbuilding it, but It's move forward not question the past time so we burn it all in with welder and move along. +2.5 hrs, +$6.72


If for whatever reason you can't make the stock brake stuff work I have a box of old racing brake pedals/masters/parts here that I could definitely itemize at challenge friendly prices.
nocones said:It's move forward not question the past time so we burn it all in with welder and move along.
I felt this in my soul.
In reply to tuna55 :
No assist. I'm attempting to use the stock 15/16 master cylinder with a ~6:1 pedal ratio. The internet's say it may work. I'm using the mounting part of the booster assembly cut down as the master cylinder mount because it's easier to use then making a new plate. Or that's my theory.
i think it will be fine. remember light car so you don't need as much line pressure to achieve the same deceleration.
nocones said:In reply to tuna55 :
No assist. I'm attempting to use the stock 15/16 master cylinder with a ~6:1 pedal ratio. The internet's say it may work. I'm using the mounting part of the booster assembly cut down as the master cylinder mount because it's easier to use then making a new plate. Or that's my theory.
Ahh! I assumed that you were rebuilding the booster earlier, my mistake. I agree with this choice. You can play with things later to tune it, but nonassisted is what I would do as well.
You'll need to log in to post.