Ive got a little eight or ten inch air cleaner with reusable filter if you want it.
What kind of regulator are you using?
A little bit more on the side of updates.
I built a bracket for the overflow tank.
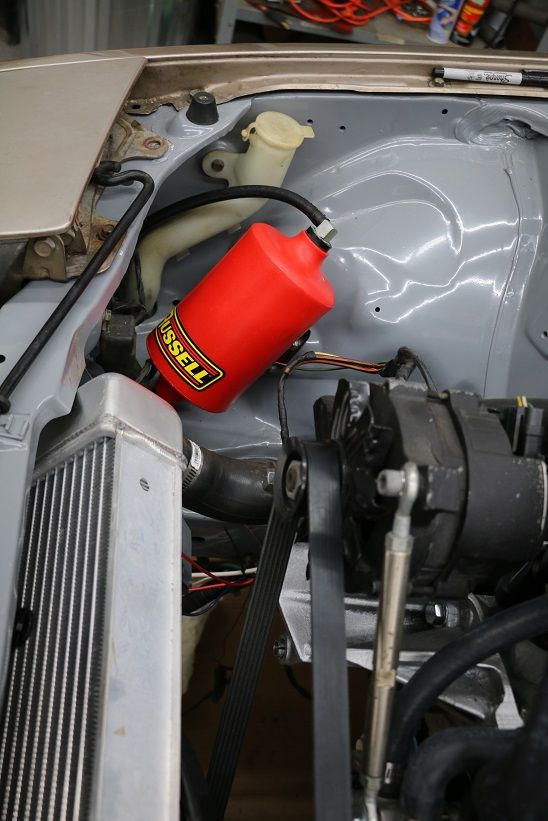
Keeps it nice and tucked out of the way.
Also pick up the carb as I said earlier.
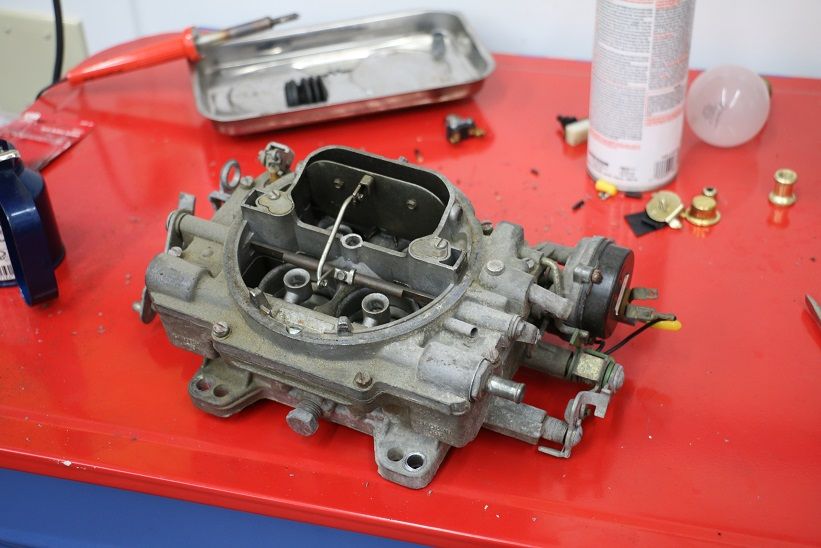
Looks right at home.
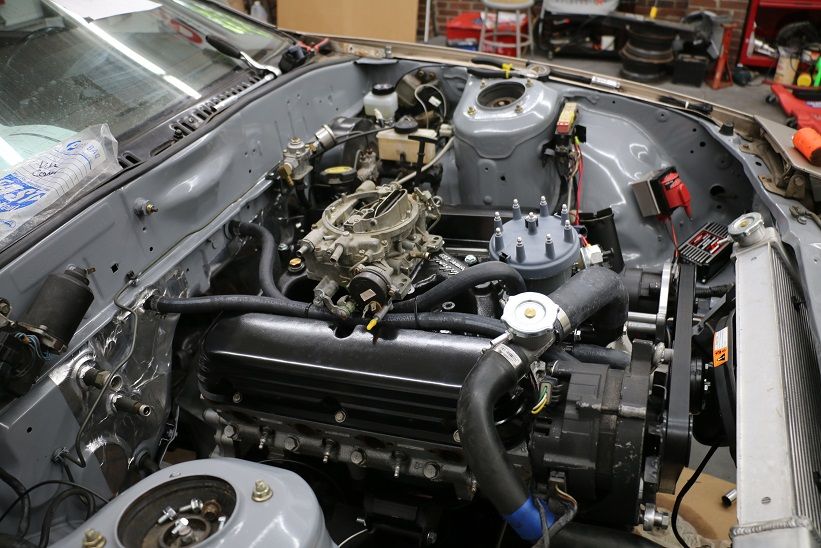
Should fit with the air cleaner I ordered.
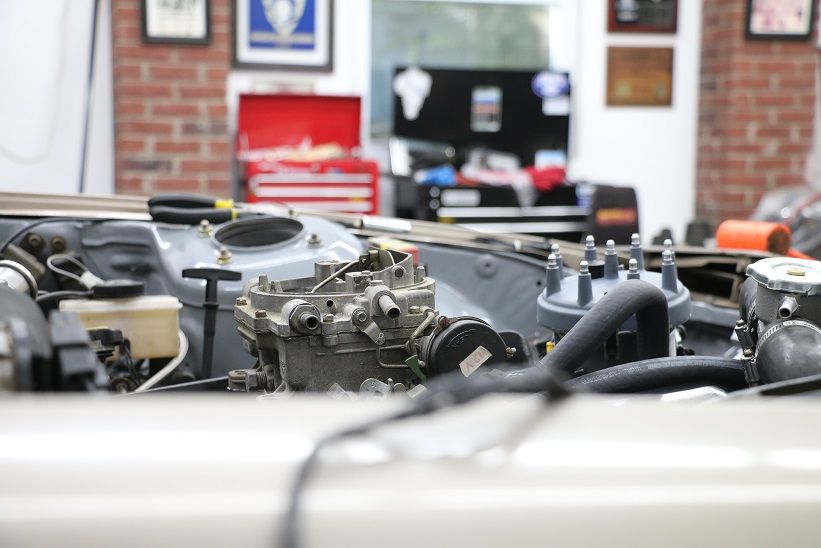
Don't have a rebuild kit yet but I had to crack it open and have a look. And it looks like I thought it would, will take some cleaning before it goes onto the car bet its progress.
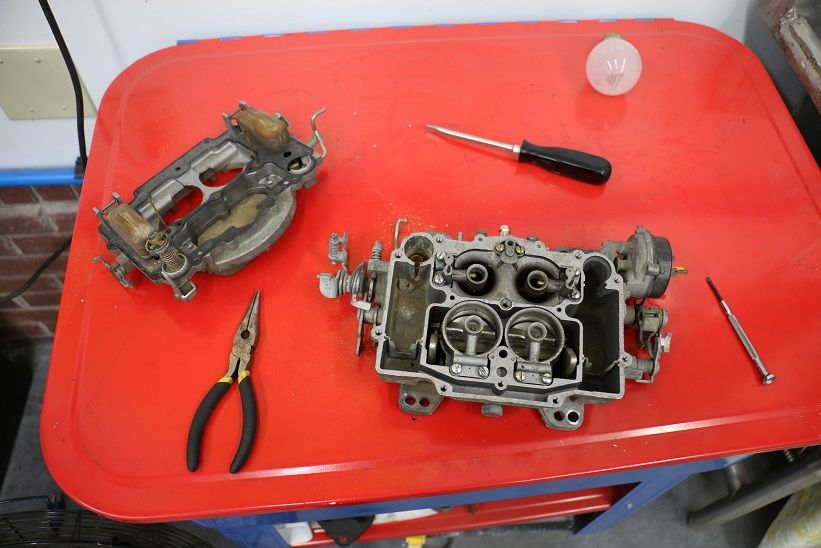
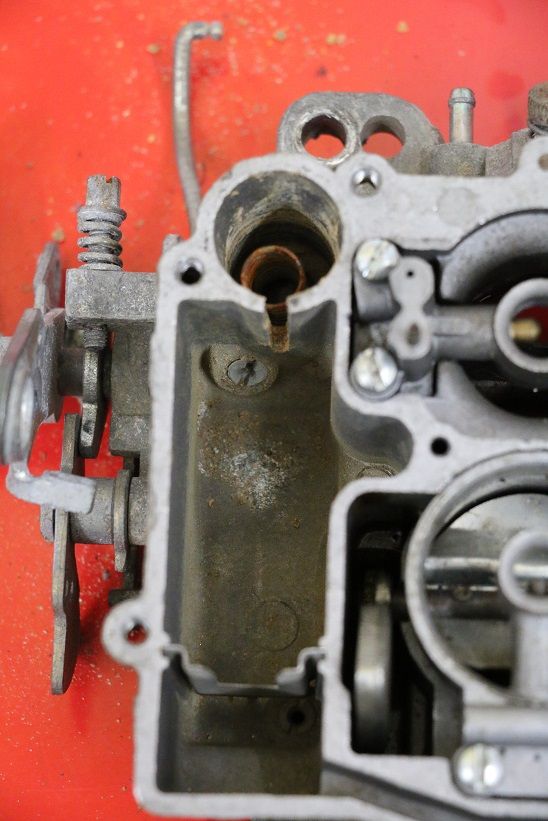
Things are still moving along haven't been very driven to work on this project and got a old 4 wheeler back that had not run in a few years that needed some work. That's now running and getting close to done so should be back on this thing soon. Here is whats happened in the mean time.
Got the carb rebuild kit and went through it setting the floats and new gaskets and so on.
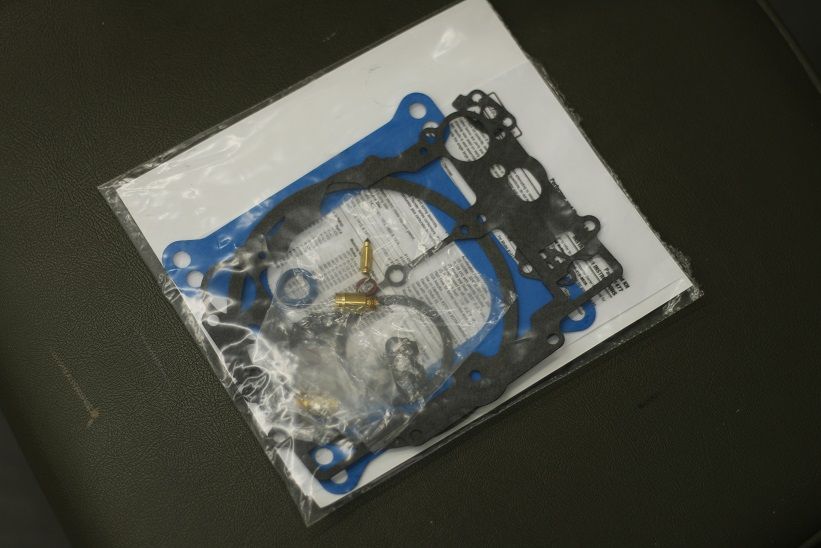
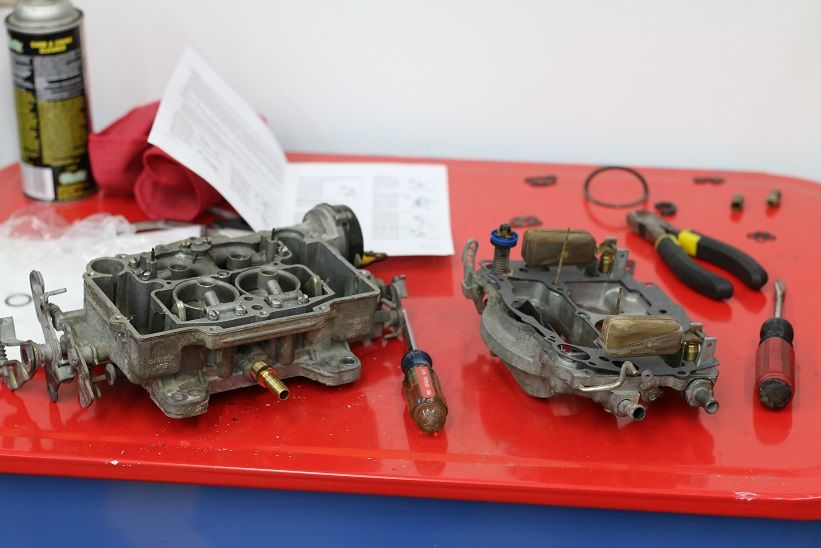
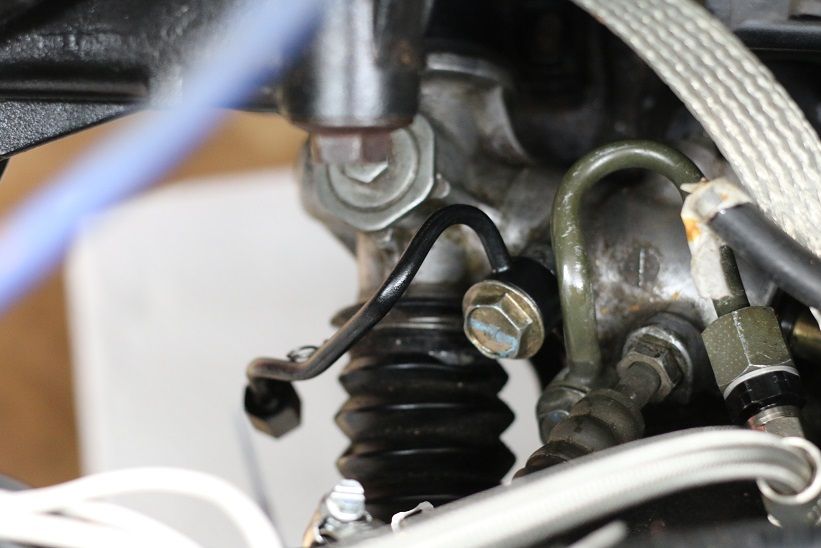
I made a run to ACE and got the new o rings for the power rack and get them installed after some black paint. They don't leak anymore form just sitting and I have turned the motor over with the starter with the spark plugs out and it haven't leaked yet. Hope that fixed it.
Then another new toy came in the mail. The new air cleaner.
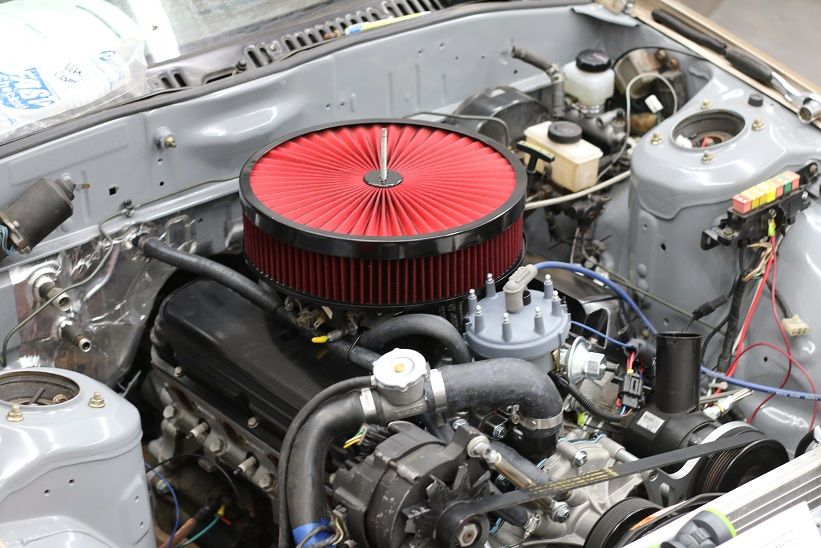
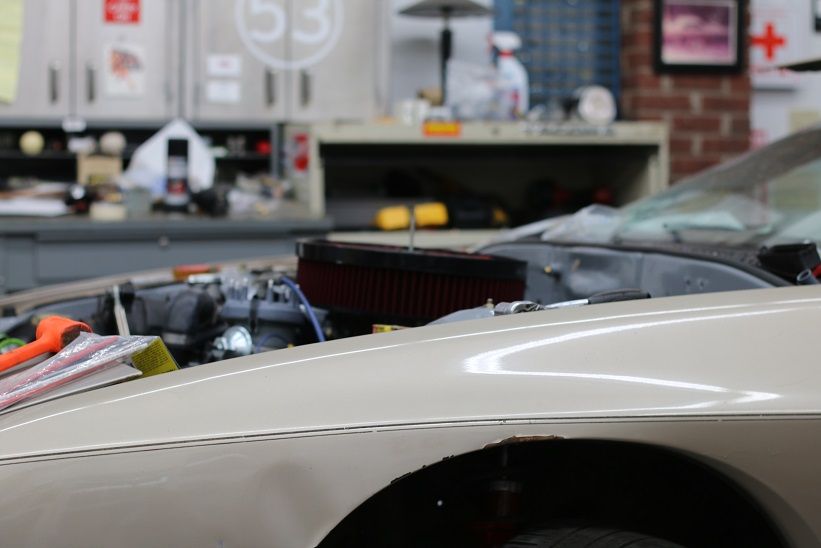
It will need to be modified to fit but that's for down the road.
The plumbing is 99% done still need some clamps but that should do it!
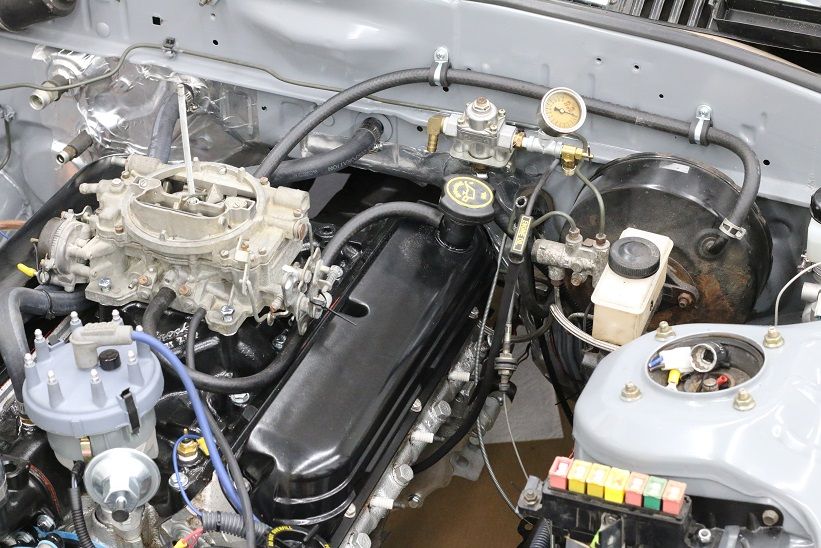
I also added a mechanical oil pressure gauge since the one on the dash seems to be dead.
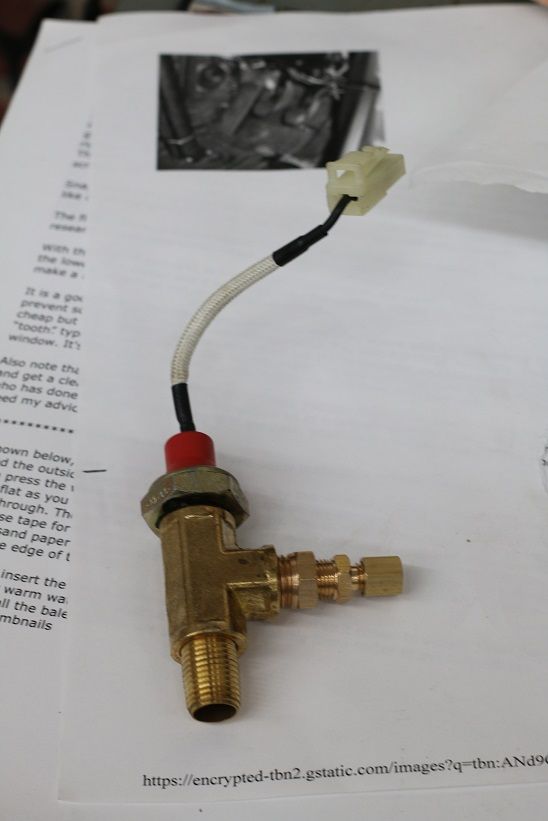
The new gauge shows that it builds about 60psi with the drill running it.
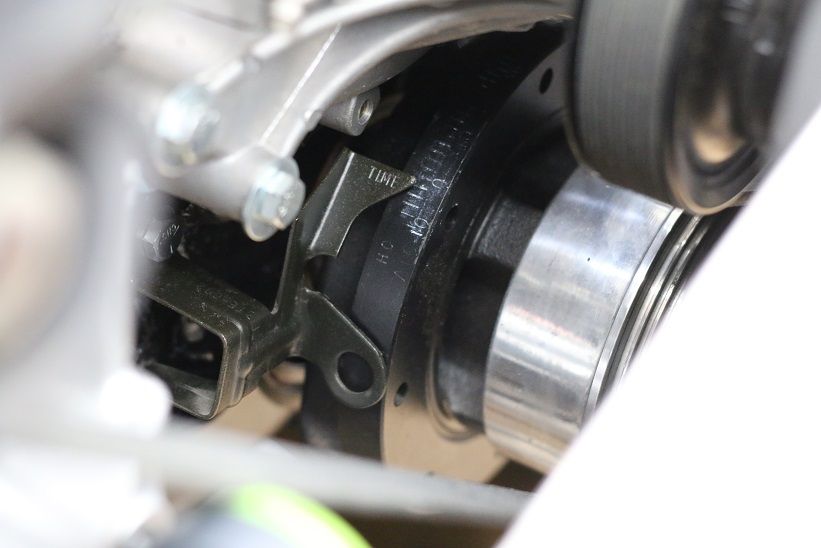
Also had to go buy a timing pointer crazy that these little things are so pricey (this is why motor swaps cost X3 more then you think) Oh well its done and now I can time it.
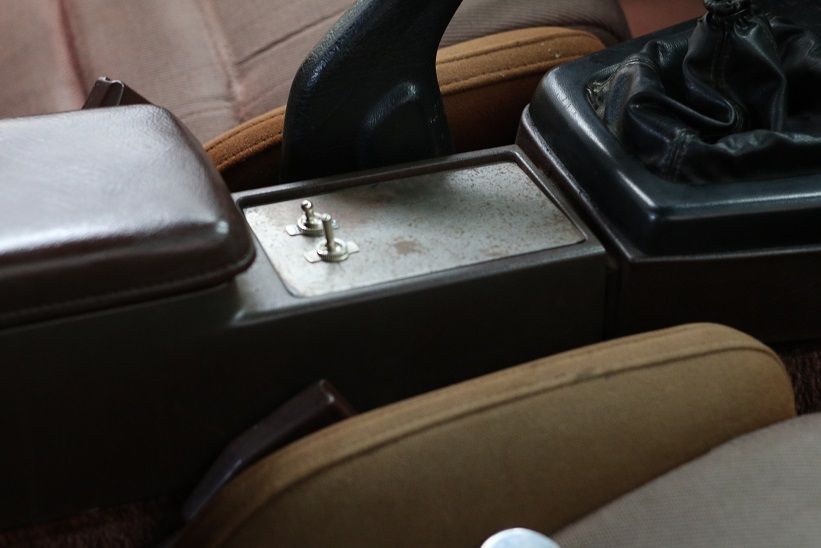
Also working on some switches for the fan and fuel pump. Not done with them yet but hopping they turn out good.
I still have to install the headers, figure out the fuel system, rewire some parts on the alternator that I got wrong then we can start thinking about starting this thing and running it down the road.
Well I have been making progress not much to take photos of but its the little stuff that takes all your time. Like this darn alternator. I wish I knew more about what im doing with it...
So I re wired the green wire coming off the alternator and added a different bulb that I knew was not an LED (didn't know if that made a difference or not) I wired one end to a switched 12V (ignition in the run position) and I thought that when it was wired and I turn the key on (with the motor not running) that the light would light up but its not...
Again I don't know what im doing but I think that's the way it was described to me.
Help!! im so close I don't want this to stop me from firing this thing up!
I don't think you want the light to light up. I think it just needs to see the resistance of the light to "excite" the alternators charging circuit.
I could be WAY off base, but I think that is what is supposed to happen.
Well I more or less know nothing... Kinda embarrassed of my ignorance but hey iv got to learn sometime!
I'm probably no help here, but did you check the bulb with jumper wires? It seems to me like it should light, until it is charging, but I'm no expert. I studied a lot to get my truck charging, and it seemed the more I learned, the more I realized how little I knew. Wicked awesome build. Hang in there.
Progress! I feel silly but wheelsmithy had a good point. The bulb came out and checked the filament again and it was good but with 12v it does nothing... So im going to run to the parts store and grab a new bulb or a new light setup.
I also ordered some new gauges but you will see them at a later date. I will have a big update but it will more then likely be in a few weeks. Be patient with me it will be worth it!
New bulb seemed to do the trick! With the car in "run" but not running the bulb lights up! I will have to check it when I get it running to see if that made the fix. Also picked up a battery shut off switch I plan to mount in the car between the driver and pasinger seat. It will be for safety but more for shutting power off when the car is parked. The radio kinda works but I wont be using it so I wont loose any presets when I kill the full power to the car.

Well here is a bigger update.
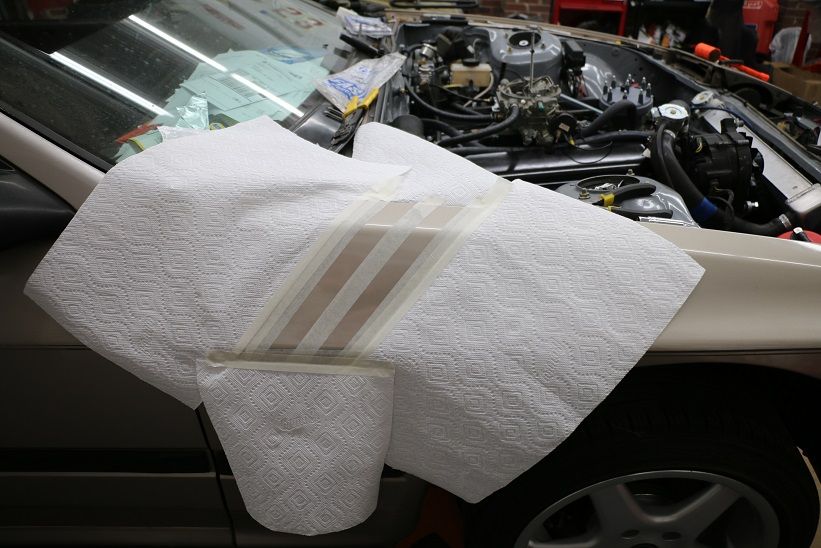
Well I got happy with the plastic dip and had some fun.
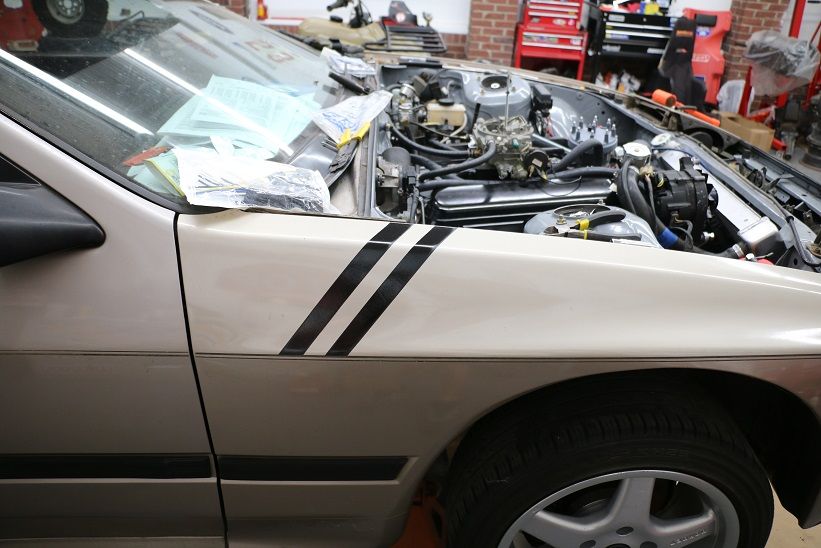
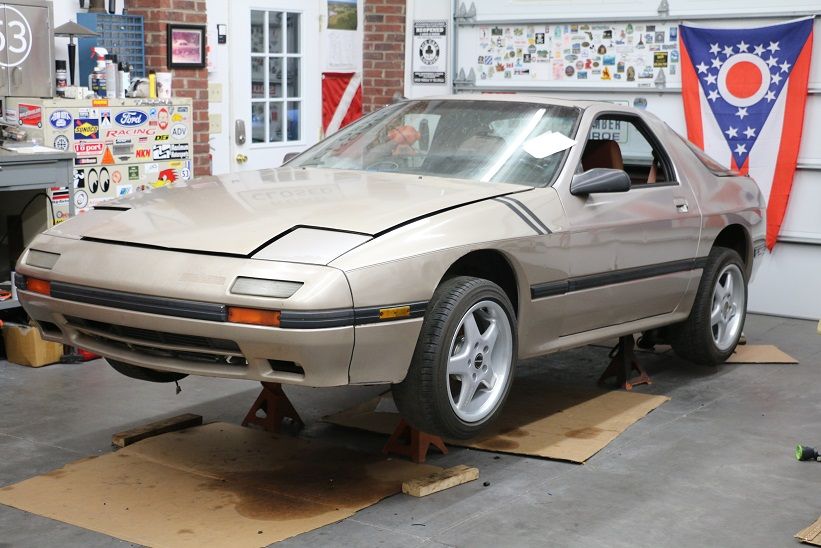
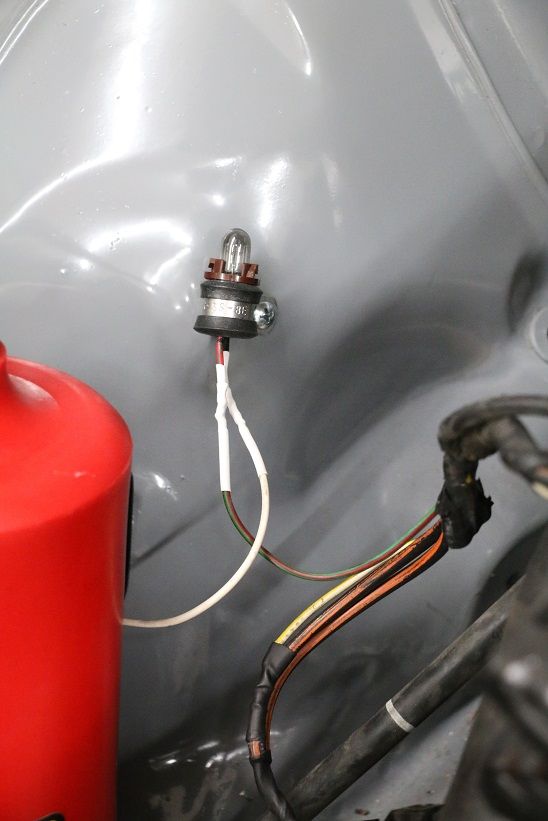
I got the new bulb in and seems to work how I think it should.
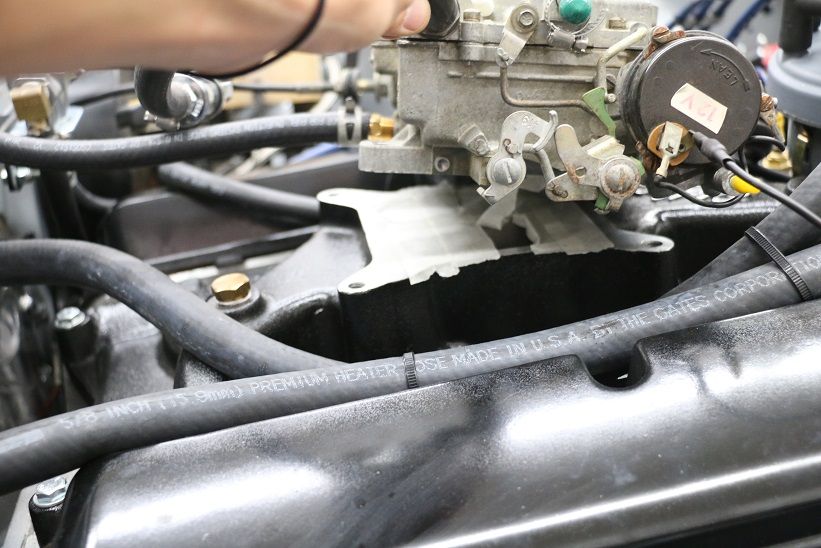
From there I installed the carb for good first taking off the tape under the carb and replacing that with a gasket. Then I made a throttle adapter more or less straight forward but took some tuning to get it right.
From there I tested the fuel pump and the regulator. I emptied the old gas out of the tank and when I was done I saw this.
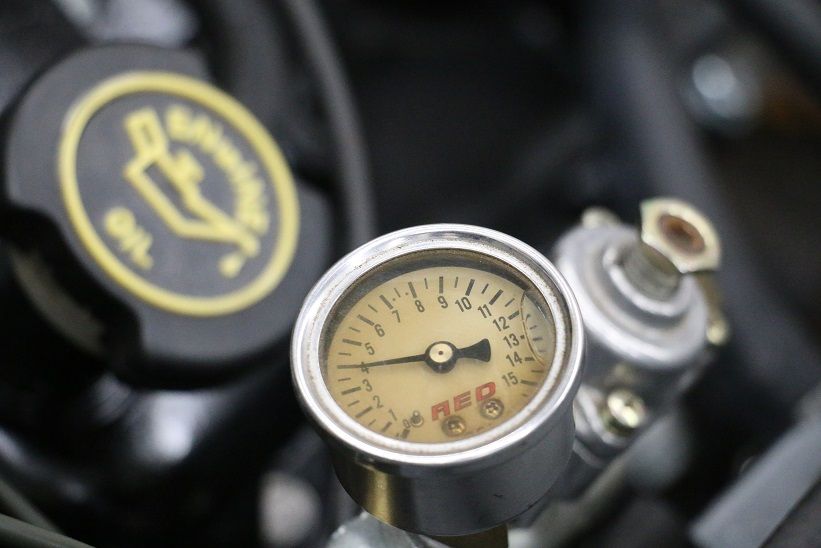
Yes fuel pressure is a good thing but not when the fuel pump has been off for 24 hours. So I ordered a holey a bypass fuel pressure regulator and put it onto the car. As it would turn out the gauge was no good and still says 4psi to this day.
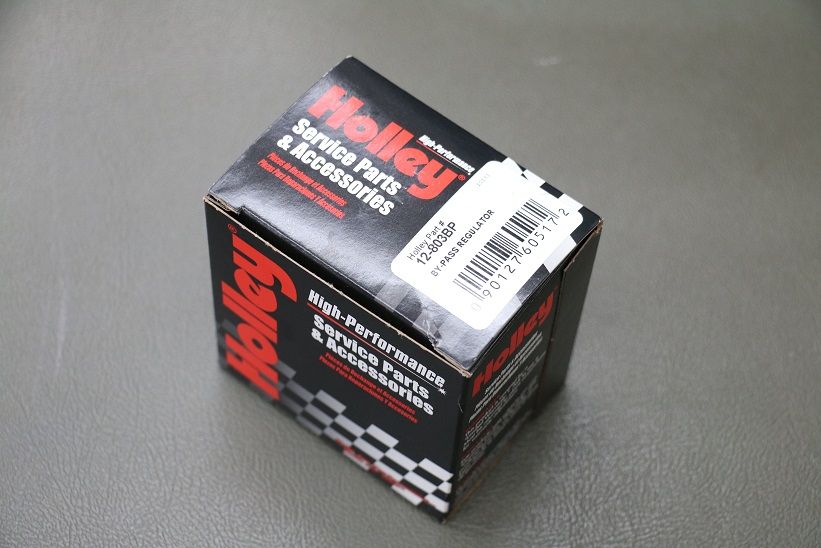
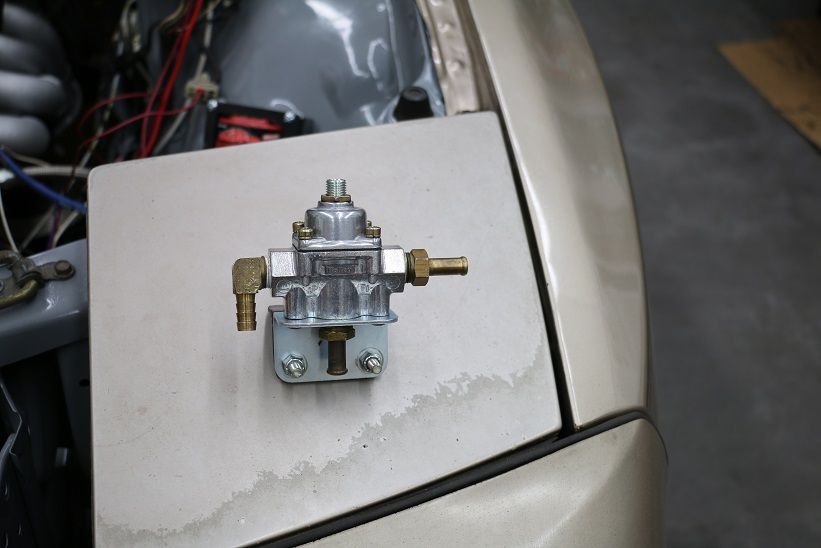
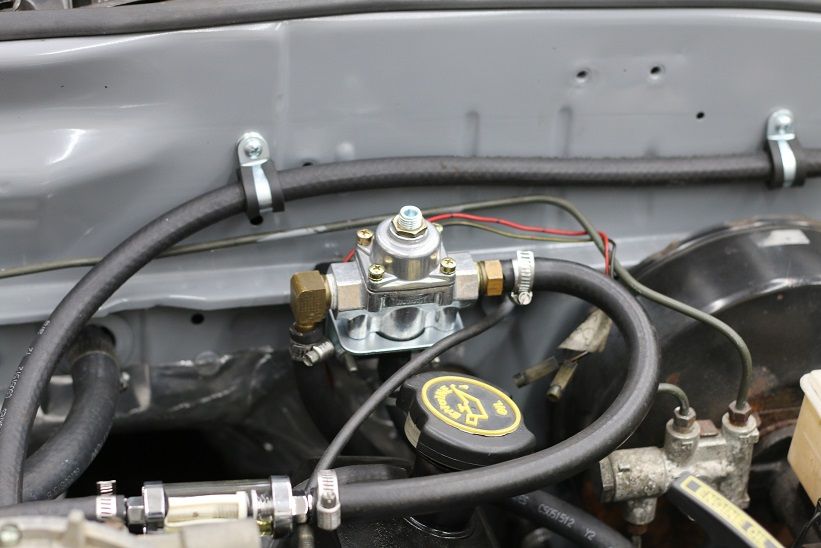
Then picked these guys up.
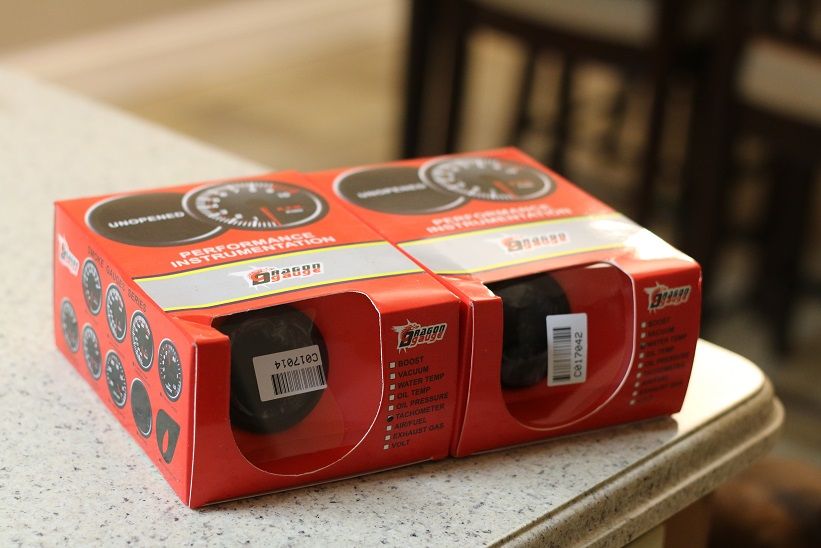
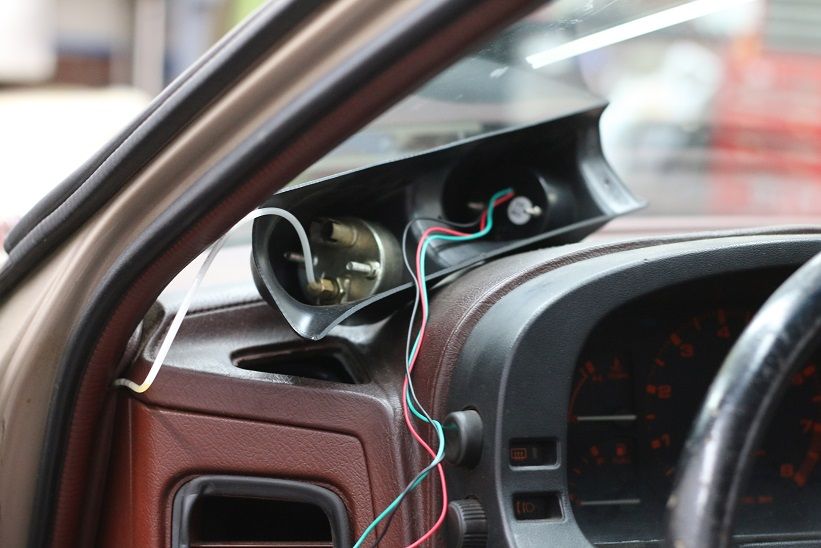
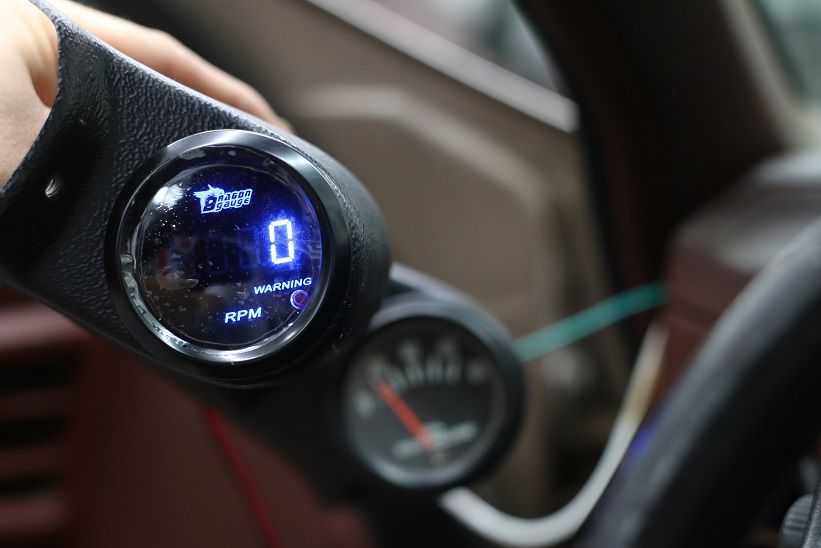
They are cheap gauges but they will work. More on them later.
Started to work on this but I will need a backing plate to hold it in.
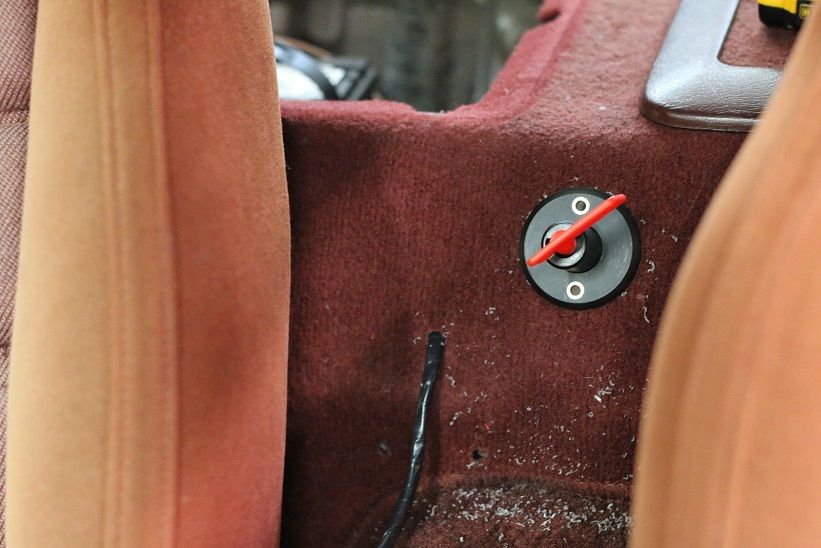
Last but not least finished the switch panel only need one more LED. One is for fan and out is for fuel, I thought it might help for tuning and what not to run them on there own switches.
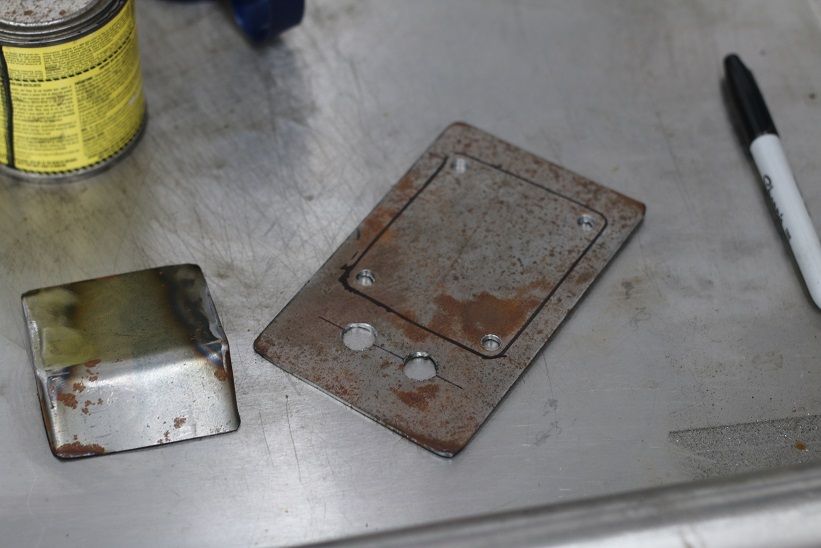
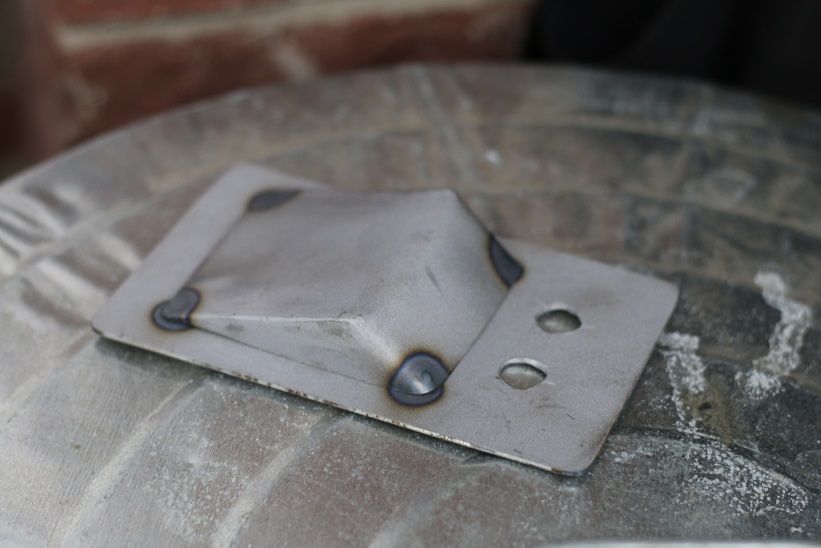
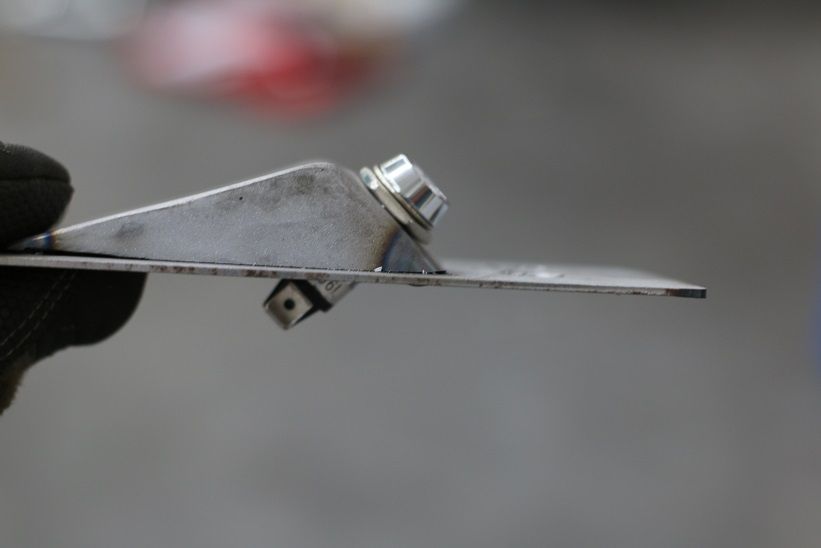
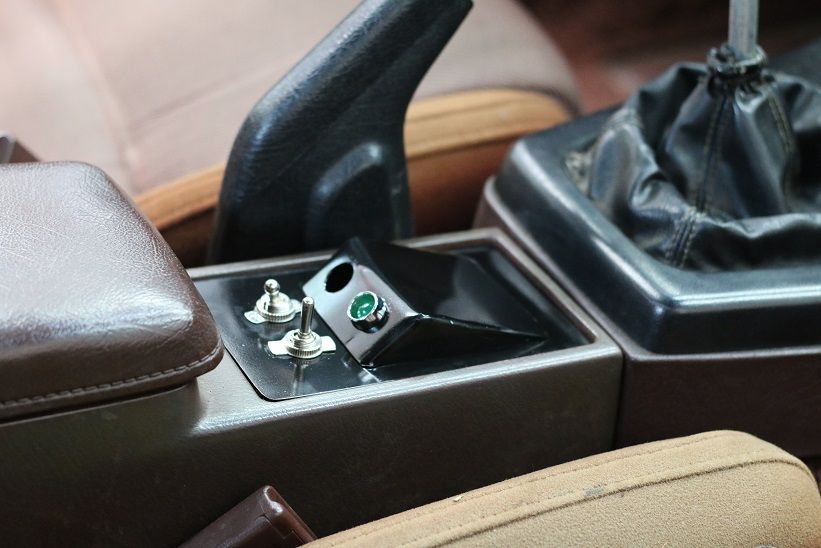
I still need to get the horn working, find windshield wipers, and order a rear view mirror.
Well Here is the big one!
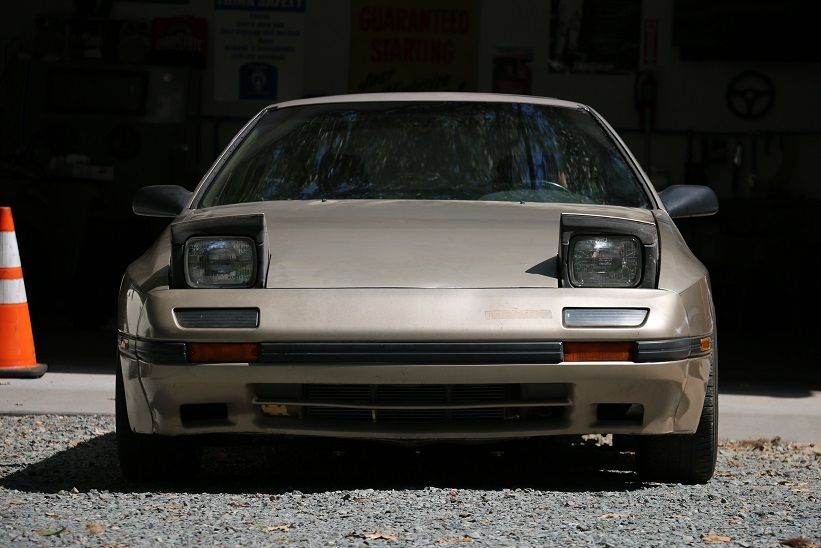
So why is the little rx7 so happy watch the video below and find out!
-Rx7 preview video- https://www.youtube.com/watch?v=6qDk6RN51K4
Yes the car runs!
Now hang with me because this will be a lot of text!
The car has been running for about two weeks as of now I had been waiting on the new fuel regulator to start the car for the first time. I spent about a week checking over everything to make sure the car would fire up on the first try so that meant watching every youtube video on setting timing. I added coolant and pumped the old gas from the tank. With a bit of fresh gas now in the system I plumbed up the carb and nothing was leaking so we were good to go. I had been looking forward to starting the car for about a month now so I was very nervous to actually do it! With the help from my dad and my mom filming with the iphone(the video above was not the first start up) we put on ear phones and had fire extinguishers at the ready. I let the fuel pump work for a little to fill up the bowl then shut it off for the first start so fuel pressure would not be a factor. Then turned the key to run pumped the gas peddle two times then hit the starter. It went over a few times then as if we knew what we were doing it fired right up! Then went right to a fast idle and sat for a few seconds before backfiring then we shut it down.
The next day we went to tune it so I wired up the timing light and started it up again. The back firing started again but timing the motor got it running well. We let it get up to temperature then shut it off. This is when we found 2 coolant leaks and a oil leak. so adding a second hose clamp to the upper radiator hose then tightening one of the heater hoses got the water sorted. But had to run to the store and get a new valve cover gasket because the oil leaks was due to a over tightened valve cover. We also tried to drive the car but we were sad to hear grinding when we went to put it into gear. I got the car back on jack stands and went through the clutch master and slave to find some slack in the system and had it working well.
The third start was time for a test drive. The car did not want to go into reverse but with a bit of grinding it went in fine and the clutch felt good. First and second gear were grate but third and fourth gears were grinding. So I thought maybe the clutch was not pushing far enough. Got a 1-1/8 wilwood master cylinder and still the same...
So it looks like I will be rebuilding my T5, I got the cost from a few places to see how much they would charge but $800-1200 was out of the question. Looking into rebuilding it myself, people say online to get a dvd and the right tools and its easy to rebuild yourself. So tomorrow I will be ordering parts.
As for the car itself... Holy cow its going to be fast down low! first gear is very short as is second. I have to baby it into third with a double clutch and fourth but it will hit 60 very easy. It will be a little high revved for highways so looks like a quiet exhaust will be a must. The motor is strong and has a good bit of torque. It holds oil pressure well and seems to be healthy. Some of the gauges don't work tack, oil, temp. So I ordered new ones as seen above. Still need to install the water temp gauge but the gauge itself needs a home first.
I was stuck on weather I should get the exhaust done first or rebuild the trans any thoughts would be grate. I have to call the shop doing the exhaust work a week in advance so I can get in line. Wish I could do them both at the same time but its one of those things.
Thanks everyone for the input that has gotten me this far, I would be so much further behind if it were not for the help you have given me!
Nice job man! Congrats. I have spent most of the summer fighting bugs on my build but the motor seems solid. The headers melted the speedo cable and a few wires. lol Lots more heat shielding now. Only have 30 miles or so on her but its fun and I agree with you on the gearing. Too bad about your trans, good luck with the rebuild.
I was curious what you did to cover the shifter hole and how you got the stock RX7 console bit to cover it up? Mine sticks up pretty high and I would rather not hack up the interior bits.
Dusterbd13 wrote: Trans will only get more expensive if you keep driving it crunchy. Do itfirst.
Yep it will not be driven anymore or driven to the exhaust shop it will get there on a tow dolly.
JTNWEvo- For the shifter I was very lucks and found a local guy that put a turbo 2.3 into his rx7 and he built a custom remote shifter for it. I know there are photos of it a few pages back. As for sealing it off, well I haven't gotten it there yet more then likely I will use a tire inner tube and some stock parts to make a water tight cover.
All this means is its now a running project, still so much to do, heat shielding, wiring cut off switch, shifter boot, exhaust, back up lights, get tach to work, windshield wiper arms, horn, swaybar. Then just maybe will I be able to really drive that car and sort out suspension.
Well looks like I will be busy this week! Just ordered the rebuild kit and a DVD from Hanlon Motorsports. Iv heard good things about them and they were helpful over the phone.
I also talked to some people at work and they said that it sound like just a syncro is gone which will make the rebuild cheaper not having to buy gears.
I will show some pic of the rebuild but not a step by step. I am ready to get the car on the road so I don't want to have to wash my hands every 5 min to grab a pic.
Car is back off the ground. The car is so low that its a pain to get up there but I was able to find a small oil leak and fixed it. Should start to pull it tonight.
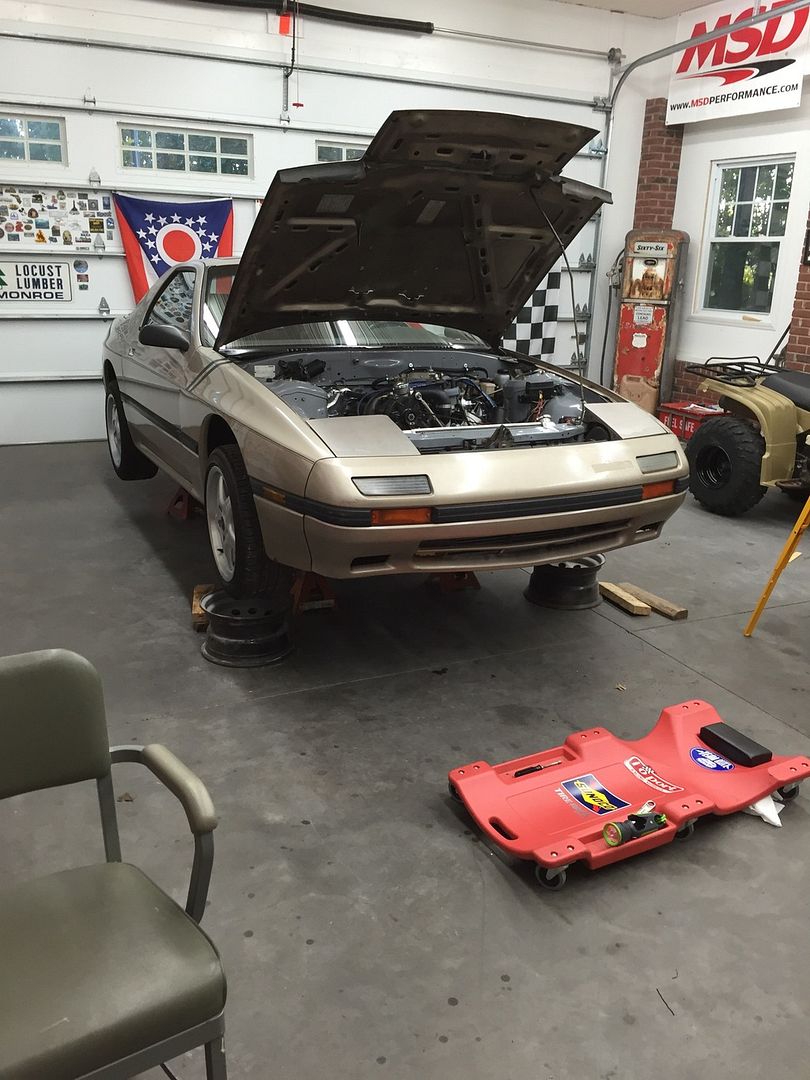
Looks like you've got a great space to work in. Is this yours or your folk's garage? It's the lighting that really separates it from my own garage. Well...that and the lack of crap stacked up everywhere. ![]()
Its my dads shop, he build it to rebuild his race car -race car rebuild- I got lucky and get to use it. A good place makes all the difference when working on cars. We spent a lot of time planning the placement of tools for ease of use. I watch everything that Adam Savige puts out about his shop. He talks about how first order retrieval and how you need to leave the tools you use the most out in the open. He also tries to make every tool easy to use. You will never use that sand blaster that at the back of the shop under a pile of crap that needs to be hooked up to air every time you use it. I will be very sad to leave this space but its given me a good idea on how I want my shop set up one day!
Well good news! Iv got the trans out of the car! It was a quick easy job had help to drop it out. Really hope the rebuild kit will come tomorrow so finger crossed. I have been watching videos online about rebuilds and it looks like a big job! The only thing i worry about is I don't have a press. I have them at work but I don't want to have to take the thing back and forth to work...
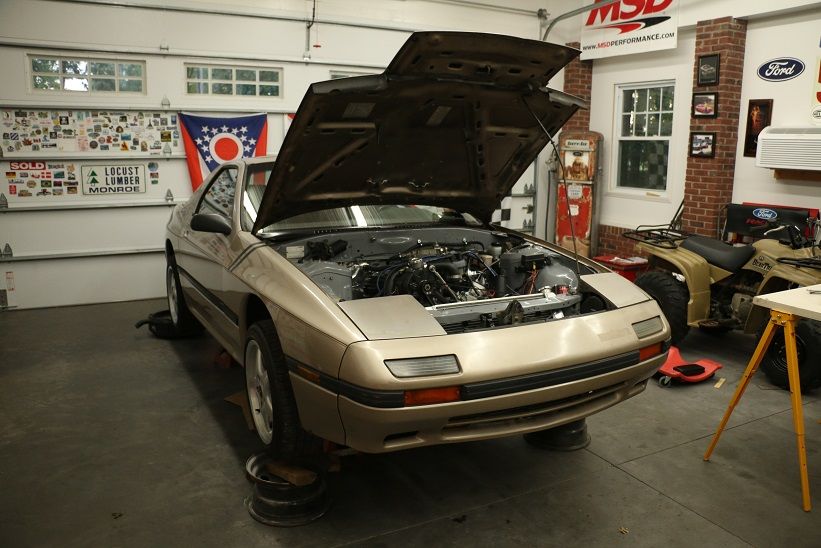
My temp work space for the job.
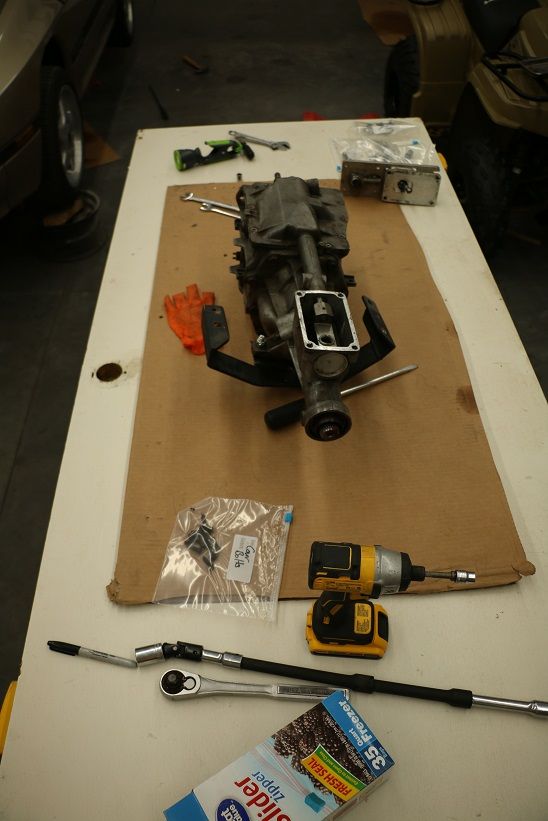
And the whole I made under the car.
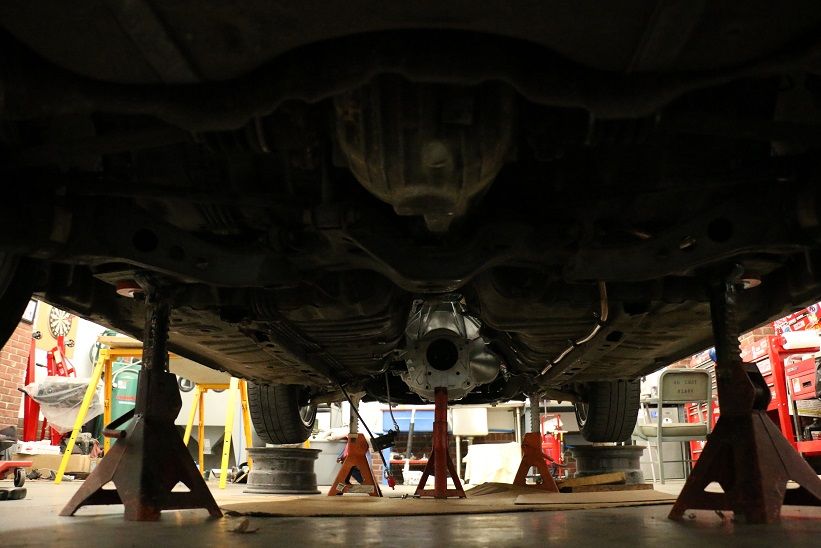
Good new on the trans! I opened it up last night and it looks good and nothing major will need to be replaced. 2nd gear has some ware on it but will be fine to keep using. Like I thought the sycro for third was more or less gone, and 4th looks to be just behind it. I got the rebuild kit and watching the DVD last night. After watching youtube videos I found the youtube videos were better at explaining the tear down and what is what on the inside, but the DVD shows you how it all goes back together. So with both I don't see any issue with it! I do wish I had a press in the shop but I can use the one at work just takes it from a one day job to a three day job. More photos to come and hope to do the rebuild in a week! Should be able to get the car back on the ground and driving then test drive and call the exhaust shop once I see that it all works. I will have a week or two to wait after calling the exhaust shop so I will be able to clean up the wiring and so on.
Yes! Sorry for got to tell you. I picked up a vacuum gauge at harbor freight and hooked it up. With that I was able to get the idle jets right but I will still having the issue, so I set the timing light and retime it. Still had the issue so I took the vacuum advance off and then it ran fine. I think it was a combination of everything, but I will have to look and see what I need to do about the advance. Some people say you have to have it and some say you don't need it at all so we will see.
I do have a issue of the throttle not returning all the way closed. Even with the idle screw all the way backed out and a big return spring it still stops before its fully closed which makes it idle high "1200rpm". Its just getting stuck with my hand I can push it closed. Might have to pull the carb and oil the main throttle shaft.
It seemed strong and fast when it was running good but I couldn't run through the gears with the trans messed up. The car does seem to "float" down the road. The front swaybar is still off the car I hope that fixes it but if not I have the ebay struts to blame. Also need to turn the rotors they just have to much rust from sitting so long, they were said to have been new when I got the car.
So here we go! I watched the video on how to rebuild this pig along with every youtube video online so I feel good about what im doing. Here is how she looked when I popped the top.
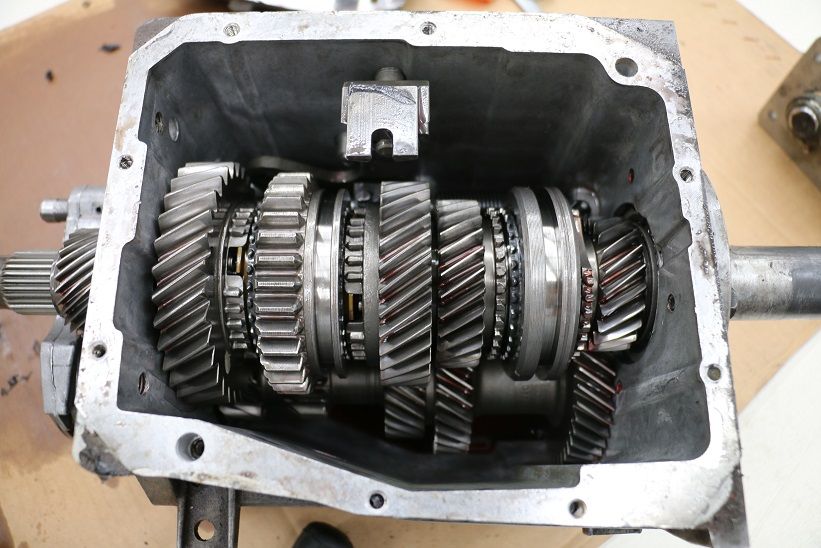
More or less clean and no crazy wear marks or junk on the gears. I then checked syncros and blocker rings for wear.
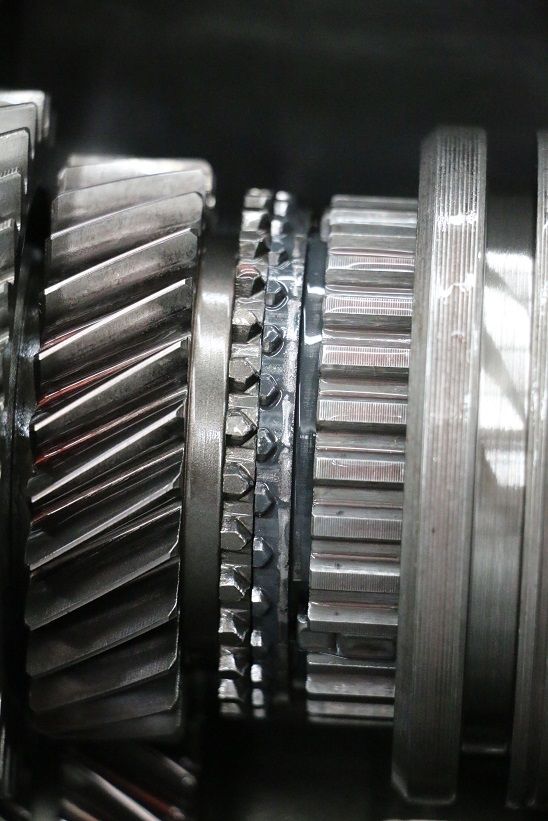
This is why third gear was grinding the syncro was gone! there should be a gap between the grey thin gear in the middle and the gear on the left. That means all of the friction material is gone and the gear has no way of speeding up before the slider crashes into meaning grinding of gears.
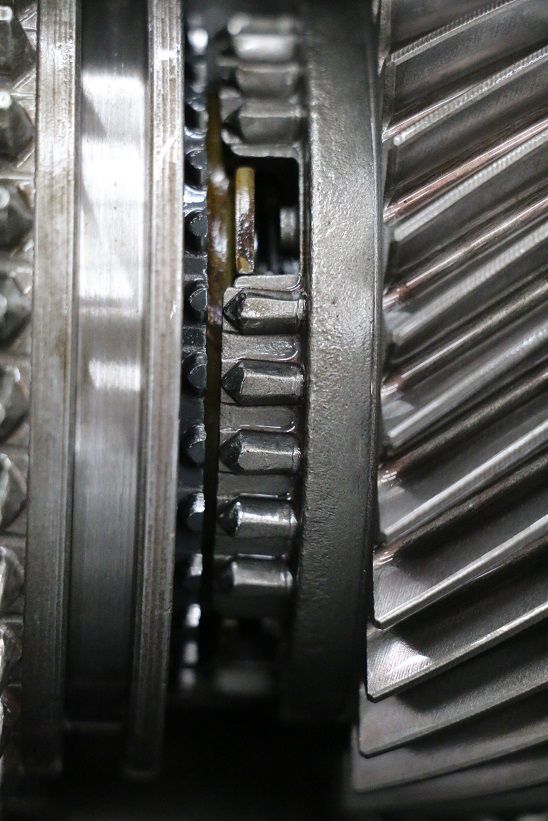
Second gear also shows a bit of wear but it also gets the most abuse. I will reuse it, it worked fine before and should last the life of the rest of the life of the car. fingers crossed.
Here is the rebuild kit from Hanlon, it looks like a complete rebuild kit. It also has new carbon syncros which should last for some abuse.
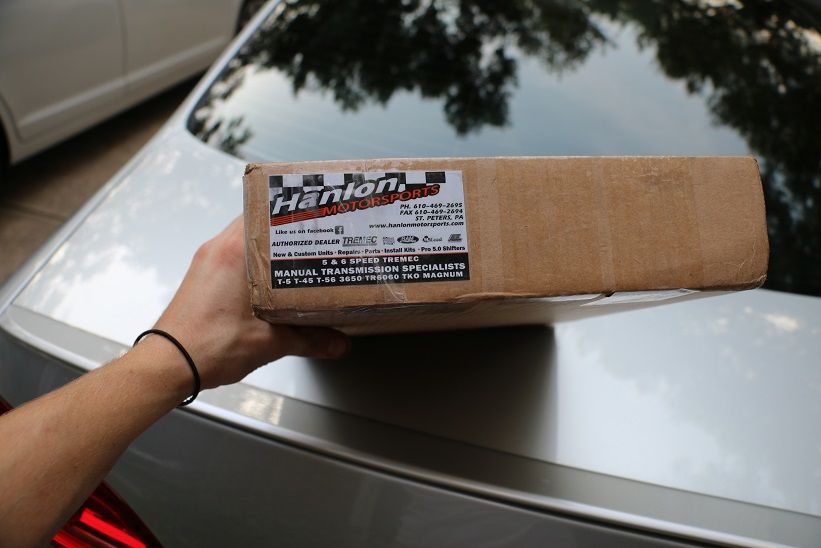
This afternoon I got back from out of town and I thought I would at least get the main shaft out of the case but instead I pulled the whole trans apart. I was lucky and did not need a press to do so.
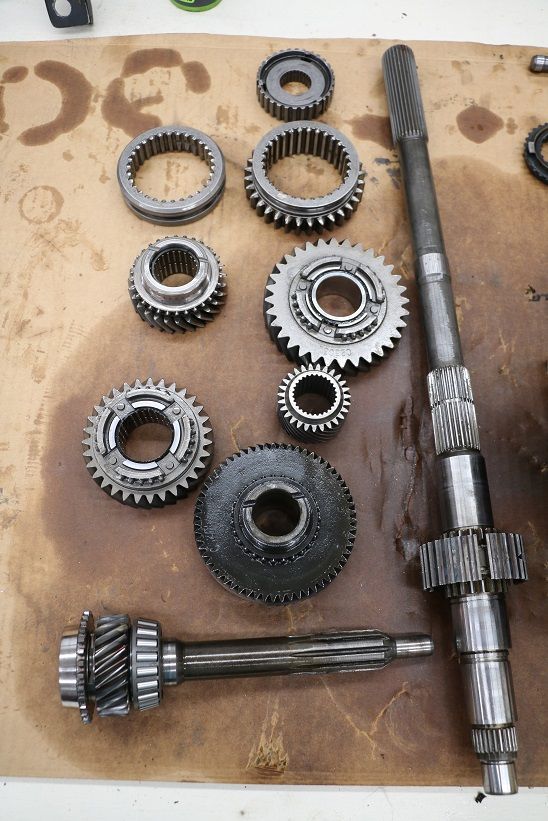
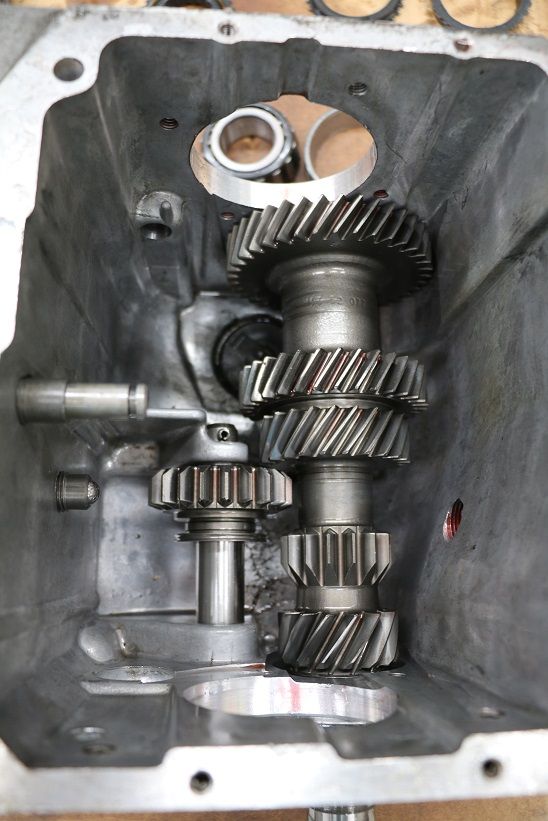
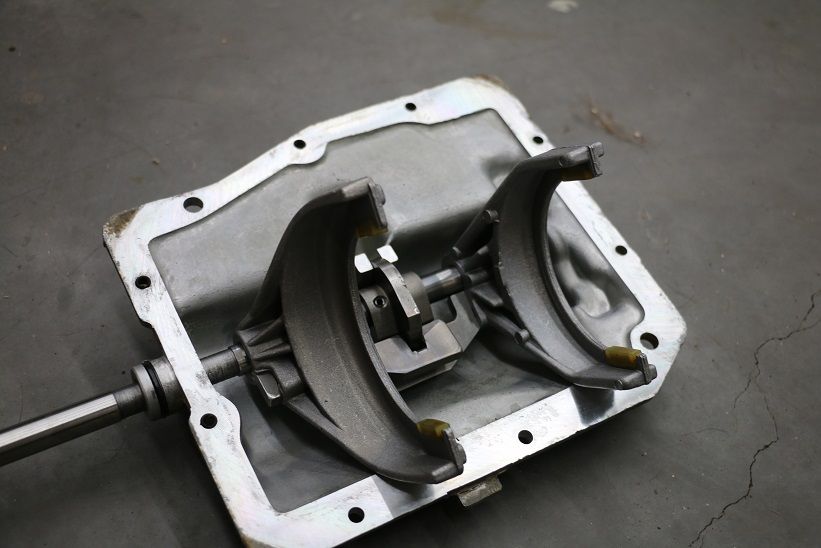
Nothing crazy just a bit of work to get it all apart but I was very happy to get it all done and have all day tomorrow to get it back together! The trans does have some miles on it. Its a early world class trans but all in all in good shape. Probably just came out of a road car and was never at the drag strip. I was going to do a 3/4 rebuild and not mess with the cluster gear just make sure there was not a lot of end play with it and if so put new shims to get it right. But after pulling everything I knew I needed to just go ahead and pull the cluster gear and put new bearings on it as well. So as of right now its 98% apart I need to use a gear puller tomorrow (rent one from o riles) and pull off the old bearings from the input shaft and cluster gear. Then going to a buddy's and pressing on the new ones. All goes to plan I will have the whole thing back together tomorrow!
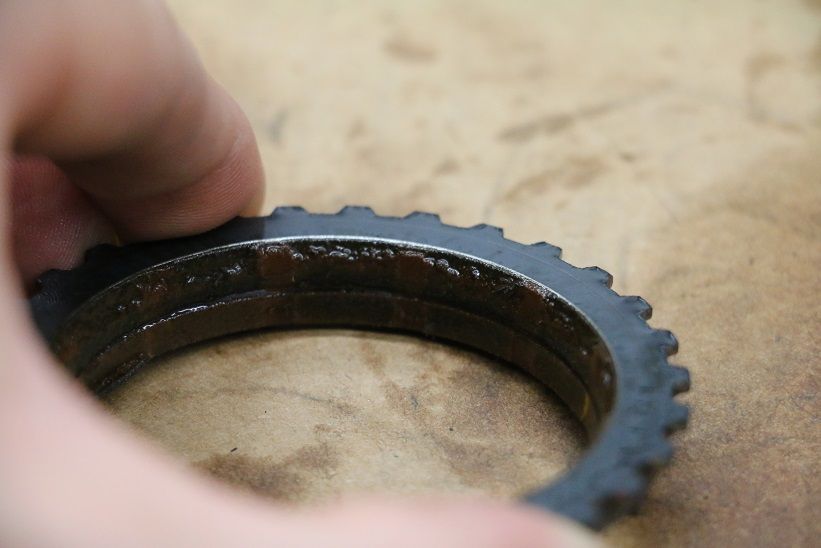
Here is a look at 3rd gear syncro
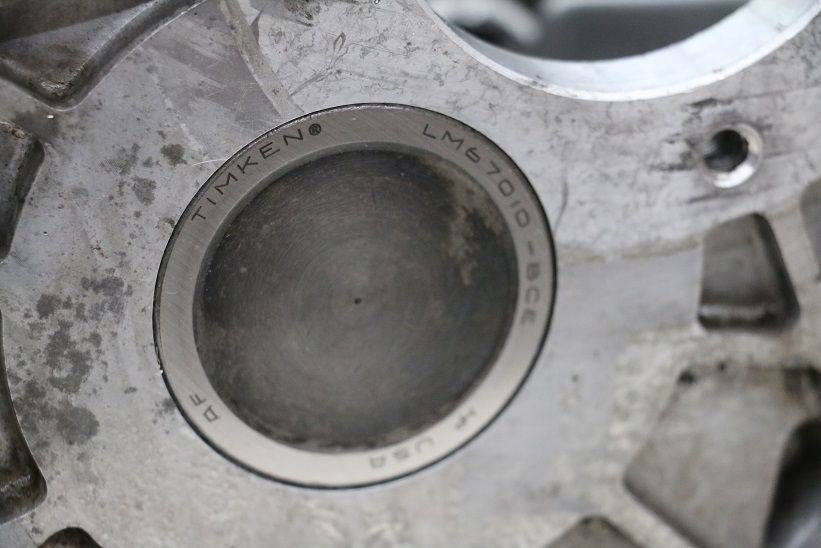
And here is the new end race for the cluster bearing already installed.
More good news on the rebuild. I got most of the main shaft done yesterday but got stuck on one huge snap ring for second gear that I couldn't get by myself. Took it to work and someone had the right tool and a extra set of hands and we made easy work of it. I also took off the bearings on the input shaft and the cluster bearing and pressed the new ones on. So as it looks now I should be able to get it all back together tonight. Still need to get some sealant before I put the case back together but hope to have the car back on the ground this week!
You'll need to log in to post.