Pete. (l33t FS) said:I'd love to clean the heat shield brackets off and have it cleaned up and coated. It looks way too nice to bury under a shield.
I am very tempted. We should have a spare that we just took off a development car, that would let me do the work without disabling 338. You know the Cerakoting will take longer than expected...
In reply to Dusterbd13 :
Basically, it's a pair of brackets that mount the factory hood prop clips to the shock tower brace (STB) uprights. The prop itself is a straight rod with a bend at each end. It was designed for the original FM STB, discontinued many years ago. Easy enough to build at home if you have an appropriate STB to mount it to.
Would you happen to have some close up pictures of the brackets? I may just build that for my nb2 strut Tower bar on my challenge car
They're very complicated :) Each one is a piece of 3/4" flat bar with a hole at each end and two little bends so it clears the bar. The prop itself is a steel rod with a 90* bend at each end, one to go through the factory pivot and the other so it sits flat against the hood like the factory one.
No pictures, but that AC receiver/dryer bothered me. Not only was it the wrong size, it didn't have the sight glass in the top that the factory one did. So I went to Rock Auto (sigh) and bought one that had the sight glass and no integrated bracket.
And it was the wrong diameter as well. I made a rubber isolator out of a bike inner tube and made do - at least it's got the glass. I'll find out soon if I managed to get the system fully sealed.
The main reason I was placing an order with Rock Auto was to get a pressure switch with the correct pigtail on it. I don't know where the one on the car came from, but the new (correct) one has a much more common connector. So now all the wiring is done and we're good to go!
First day back and work for a while. I'm gonna drive 338 just because it's nice out and I want to hear that little growl again.
I'm sure you did a better job than I did, but I once did a terrible job properly mounting a smaller dryer from Rock Auto. The dryer ended up partially supported by one of the hard lines which, as a result, cracked a year later. I too am annoyed at the ones without a sight glass, but assuming you're going to run R-134a the sight glass is pretty useless anyway. I got an EPA license so I can buy R-12 for my '91, but the '94 system is R-134a originally. The '94 and '91 A/C systems look quite a bit different, so I'm kind of surprised you haven't run into significant problems putting a '94 system on a '91 car.
Probably too late now that you've gotten it mounted, but I can't tell if you ended up using the NOS compressor or the used one. The new one was presumably still sealed, but if you're using a used one and it's been sitting on a shelf for any length of time, there's a really good chance the internal seals need to refreshed... In fact, if it's a '94, there's a really good chance the seals need to be refreshed anyway.
@Pete- the factory a/c components in my '91 are Nippon Denso. I even replaced the compressor with a brand new one from Denso just a couple years ago with no problem.
In reply to Berck :
Did your '91 have factory air or port/dealer installed air?
I'm not as familiar with the NAs as I should be, but in other Mazdas, they may have significantly different componentry.
Berck, I used the NOS compressor which was still factory sealed. I've got the used one on the shelf in case I ever need it. I haven't seen any maker's marks on anything. And the 1994 AC stuff dropped straight in. I know it changed on the NB and again with the NB2, but apparently the NA stuff was consistent enough not to be a problem.
Unfortunately, my plan to drive 338 to work didn't pan out - when I went to get the car, the battery was completely flat. Something must have pulled it down. Nothing left on that I can see, but of course I did hook up a new component a week or so ago and then walked away. Once I get some electrons back into the battery (assuming it'll take them), I'll see if there's B+ power at the pressure switch or something - maybe I screwed up my wiring sub-harness. Definitely not normal.
I bought someone a Christmas present. Maybe it was me, maybe it was 338. It's hard to tell. But three boxes just showed up*
Wait, what? 338 already has daisies!
These aren't normal daisies, these are the 15x8 flow formed reproductions from RML!
Why? Because at some point I'm going to need replacement tires for 338, and decent 14s are becoming scarce. I got lucky with my Russian Michelins, but of course that ship has sailed. So I figured the 15s are a good hedge against future availability. More importantly, RML has made some comments about how these are not selling quickly so it's unlikely they'll do another run - especially since the Christmas sale price was less than the pre-order price, albeit without free shipping. So these will probably go in the back of the shop for future use. Or maybe not. I might put some tires (thinking Yoko Flevas) on just to try them out. Or put on some 225/45-15s and use them on the Targa Miata :)
15x8 +30 is not the fitment I would have chosen, but I can make it work with a 205/50-15. That should fit without a rub. I don't want the car to feel too heavy on its feet or to have a harsh ride. I might borrow a tire or two from work and see how they feel. At least they're reasonably light at 15 lbs - not a 12.4 lb FM Kogeki, but good enough.
These will take stock Miata center caps, so I'll check to make sure I have a good set. If not, I can either restore some or get brand new ones from Mazda. Also, if you know the daisies, you know that they have a machined lip and machining on the surface of the spokes - good attention to detail there. Here's a stock set that I stripped back in December 2004 for my Locost. You don't really see the machining on a factory painted wheel.
* tracking indicates that the fourth box might have been left on a truck and kept going to Commerce City, CO after being scanned in GJ. It'll show up.
Oh, wow, 15" daisies! Those are tempting. If I hadn't just bought yet another set of 15x8 6ULs, I'd think about it. It's funny how I spent much of my life really disliking the daisies but have somehow come around to them finally. Now that I have several sets stacked behind the garage.
I know you're not a fan of the Azenis, but they are 14" performance tire that's still available, and 195/60R14 is close enough for me... They're definitely not the right look, though.
In reply to Berck :
I'll be using the Azenis on the MG when I get around to buying new tires for it because it needs that kind of grip level. Not the right tire for 338, I want enough grip to make the chassis work but I still want it to move around. 300TW Flevas sound about right, the current 240TW Michelins are very good. This is purely a hedge against future tire availability, I'm quite happy with the current ride/handling compromise. Although a slightly tougher stance would be nice :)
I wonder if the machining on the spokes had a practical purpose, like if the casting forms were irregular there and they needed to smooth out flashing.
I never noticed that before, and now I'll never un-see it
Here's what they look like with paint. It's easy to miss because it looks like they were cast that way. I'd owned a Miata for a decade before I found out they were machined.
I always used to run my daisies without center caps because I thought it looked cooler. Not bad in this case either. They're less obviously Miata daisies, but it's not like it's difficult to reinstall them. Also, the RMLs came with a little tool to pop out the cap which is a nice touch.
That's a pretty good match to the original texture and (30+ year old) paint color.
The fourth box did indeed show up today as I'd hoped.
More puttering today. The battery came back after a night on the charger and I measured dark current at 1.6 mA, which is actually considerably less than an NA Miata should have. So the battery discharge is a mystery. It's running an ND wet cell take-out battery that dates from 2017 or so, so maybe the battery just failed. I'll keep an eye on it.
I realized that the wiper airfoil was looking pretty sandblasted.
So I took it off, stuck it in the sandblaster, sanded it and gave it some fresh semi-gloss paint. Much better, although now I have to remove the wiper arms and do them. And no, I don't know what the effect of running without it would be, my 1994 never had one.
When I was at work on Thursday, I picked up a stock exhaust manifold to work on. It happened to have a good looking heatshield with very minor cracks so that's in place while I tinker. I might just leave it like this.
Meanwhile, I took the other manifold and cleaned it up in the bead blaster and with some sandpaper. And it turns out they're black from the factory! Dunno what that coating is, but it's pretty tenacious. Here it is with the heat shield bosses removed.
Here's a picture of a new one. So it's more like bluing and less like an applied coating.
I'd been wondering what color to paint it, and it appears it should be black. I did not have black header paint in my cupboard. So I took the excuse to go for a drive and enjoy the growly noises, arriving back home right before some snow blew in. And here we go, matte black. I would have preferred gloss but it's not like I keep the engine bay in showroom condition. It'll look better than surface rust.
The lighting makes it look grey (it's for a Canadian car, so it's grey. If it were a US car, it would be gray) but it's a pure black in real life. And FYI, the rattle can developed a problem with the nozzle not shutting off. I would consider this can to be a single-use design that will not survive future storage. At least it worked long enough for the recommended three coats. Now I have to let it dry for a week, then there's a curing process. No worries, it's not like this prevents me from driving the car!
It's not the sexiest header, but is it better than the heatshield?
In reply to Keith Tanner :
Certainly prettier than the heat shield, but that particular shield is between the exhaust and the master cylinders, so as well as keeping the exhaust temp up for the catalyst to light off, it keeps them cooler. If you don't care about early cat heat I would eliminate it, but make something fancy and shiny to reflect heat away from the master cylinders up closer to them.
In reply to TurnerX19 :
NA Miatas have been running without that heat shield for decades because they crack and develop buzzing noises. Pretty much any NA with a header doesn't have a heat shield either unless there's a supercharger mounted on top. There's lots of air space between the master and the header. That cat is a long way away from the ports, too - emissions systems were far less finicky in 1990 and the car doesn't even monitor light-off time. So I'm not terribly concerned about a loss of function, this is purely aesthetic.
After a long wait to let it dry, I then cured the paint. And here's the result. It's not bad. I shall leave it like this, at least for a while.
Also, I broke down and bought tires for the 15" daisies. I couldn't resist. The sizing is just a bit awkward at 15x8 +30, meaning that a 225 won't fit without a bit of fender roll and a 205 is on the edge of being stretched. I would have preferred a 15x7 so I could run a 205 with a bit of sidewall bulge. But I figured what the heck, I'll give it a try.
Tires chosen are the Yokohama Fleva, which are 300TW and have a decently soft sidewall - since it's going to be stretched, I'll get some stiffness from that. I don't want to affect ride quality any more than necessary. I mounted them up yesterday. At least the rubber hits the ground before the wheel lip does, better than a bunch of my more aggressive wheel/tire setups.
Got a chance to bolt them on today. I hadn't cleaned up my original center caps so I ran without - like I used to do back in the 90s.
Fitment is good. No wasted space, but no sign of rubbing yet. The car could sit a little lower aesthetically by some standards, but that's not going to happen for functional reasons. Besides, the wheel is perfectly centered in the wheel arch. I also need to find a flat place to take a side shot.
On a short test drive, they felt pretty good. A little more thump over tar strips but they don't seem harsh on my fairly good local roads. I'll take it on a rougher drive later to make sure I haven't compromised the ride. I can always bolt the stock ones back on! As it is, it seems like a good OEM+ setup. Most people may not even notice, it'll just look a little meaner than most.
later: Center caps are cleaned and installed. Aesthetically, these are basically a rebarreled 14" daisy. The center is lifted right out of the Mazda wheel and given a thicker, deeper lip. I dig.
It was a nice day so instead of changing transmission fluid, I took little 338 out for a Sunday drive. Up and over one of my favorite routes, which includes a section I used to use to develop the suspension for the Targa Miata when it was a rally car. It's not all high speed stuff, especially with the winter grit on the pavement and the deer roaming around - but it's a good test of suspension. That's my excuse. But really, it was a nice day.
The car felt good and the new growl from underhood is just right. The new shoes have not added any harshness, even sharp impacts are muted by some sidewall. The steering has lost a bit of delicacy - probably the change in scrub radius along with the wider contact patch - but it's gained some immediacy. Dynamically, I'm okay with it. I was worried about the car getting a flat footed feeling, but it did not manifest.
I did hear one little scootch of rub when I hit a bump on the outside front mid-corner. I suspect I know exactly what that was, and I can probably fix it without tools. There's a little tab that attaches the fender liner to the metal fender that is horizontal. Make it more vertical and the problem goes away.
I also wanted to get some better pics of the wheels without a wide angle phone lens, so I grabbed a real camera. The best photos are going to need a bit of tweaking - too much contrast - but here are a few.
A "before" reminder.
Nice! I put Flevas on mine and noticed the info. stated that if they got below 32 deg. to let them get back up to at least 40 deg. for 24 hours before driving. So my Sunday drive is sometimes on Wednesday at 2:30 in the winter.
I've got another hundred miles or so under my belt now, and I'm very happy with the ride quality. Those Fleva sidewalls still give. It may not be quite as much fun on a twisty road because it's got more grip now, but we'll see.
More importantly, when I went to leave work yesterday after a long day of troubleshooting this was what greeted me. Gotta love it. It made me look forward to the drive home.
Keith Tanner said:Gotta love it. It made me look forward to the drive home.
This is all one can hope for when changing little stuff on a car.
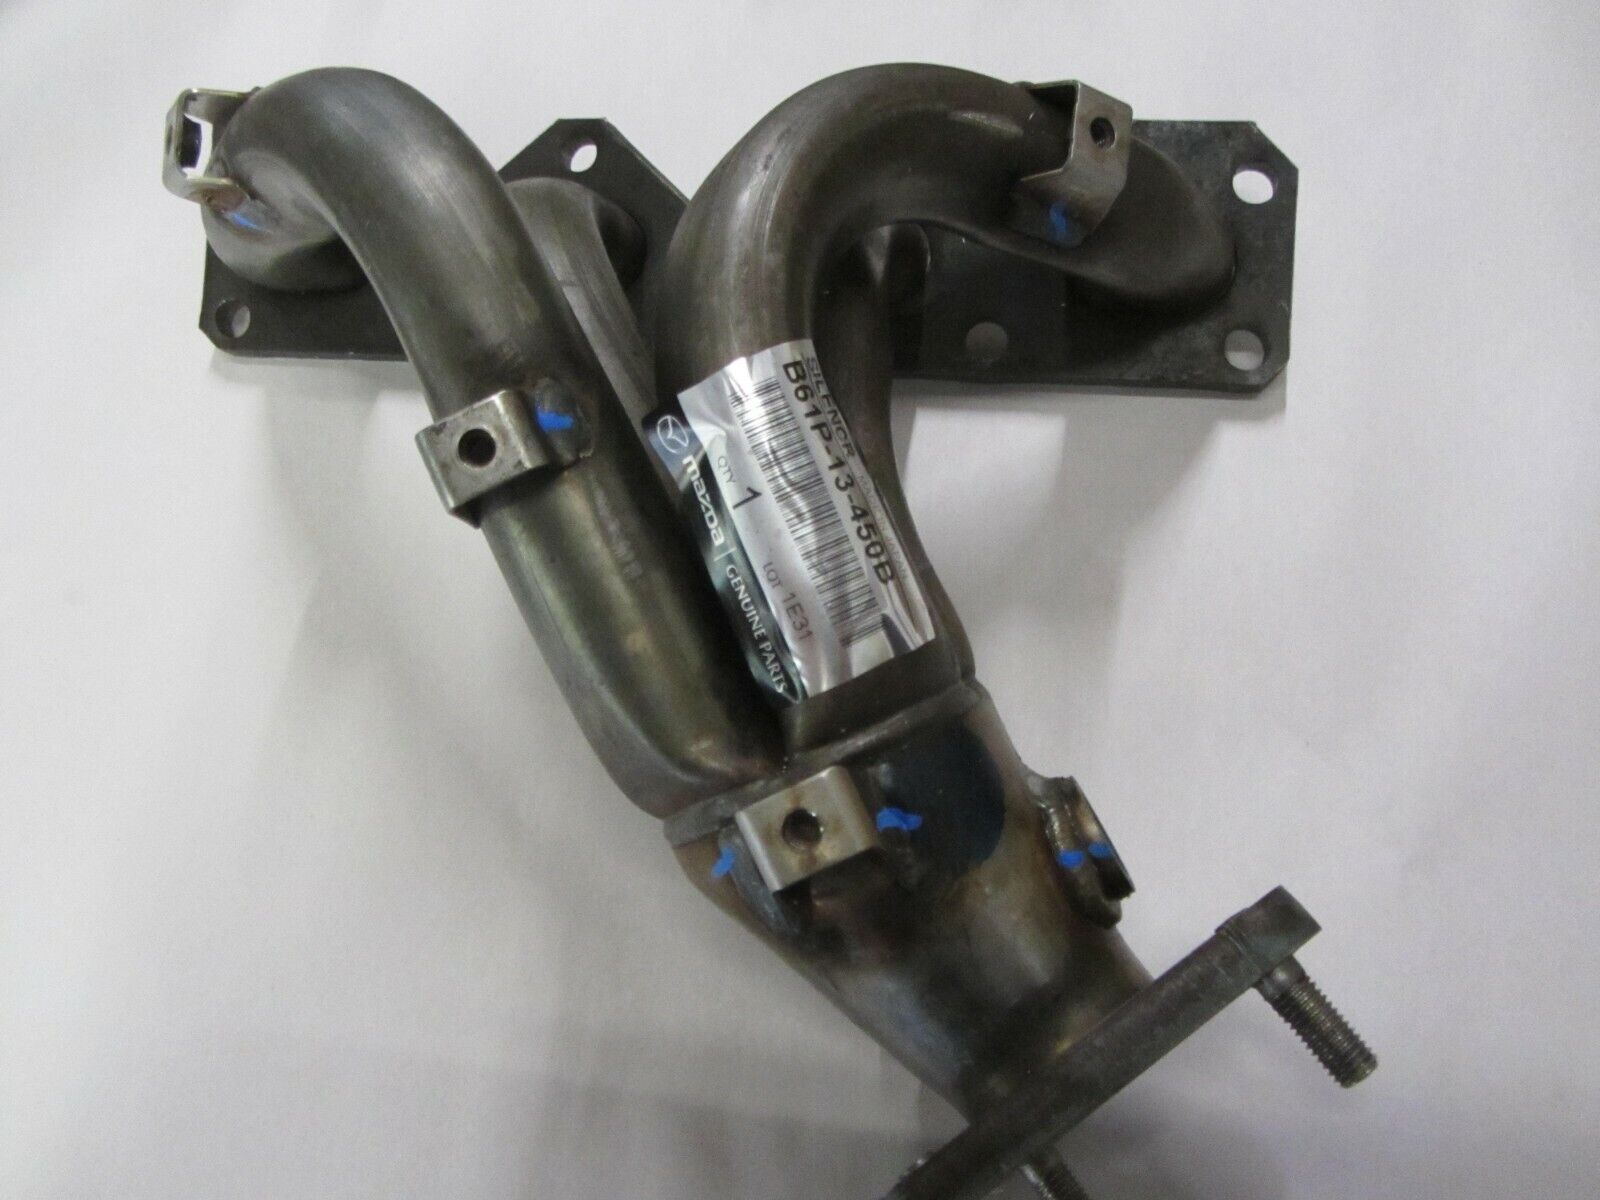
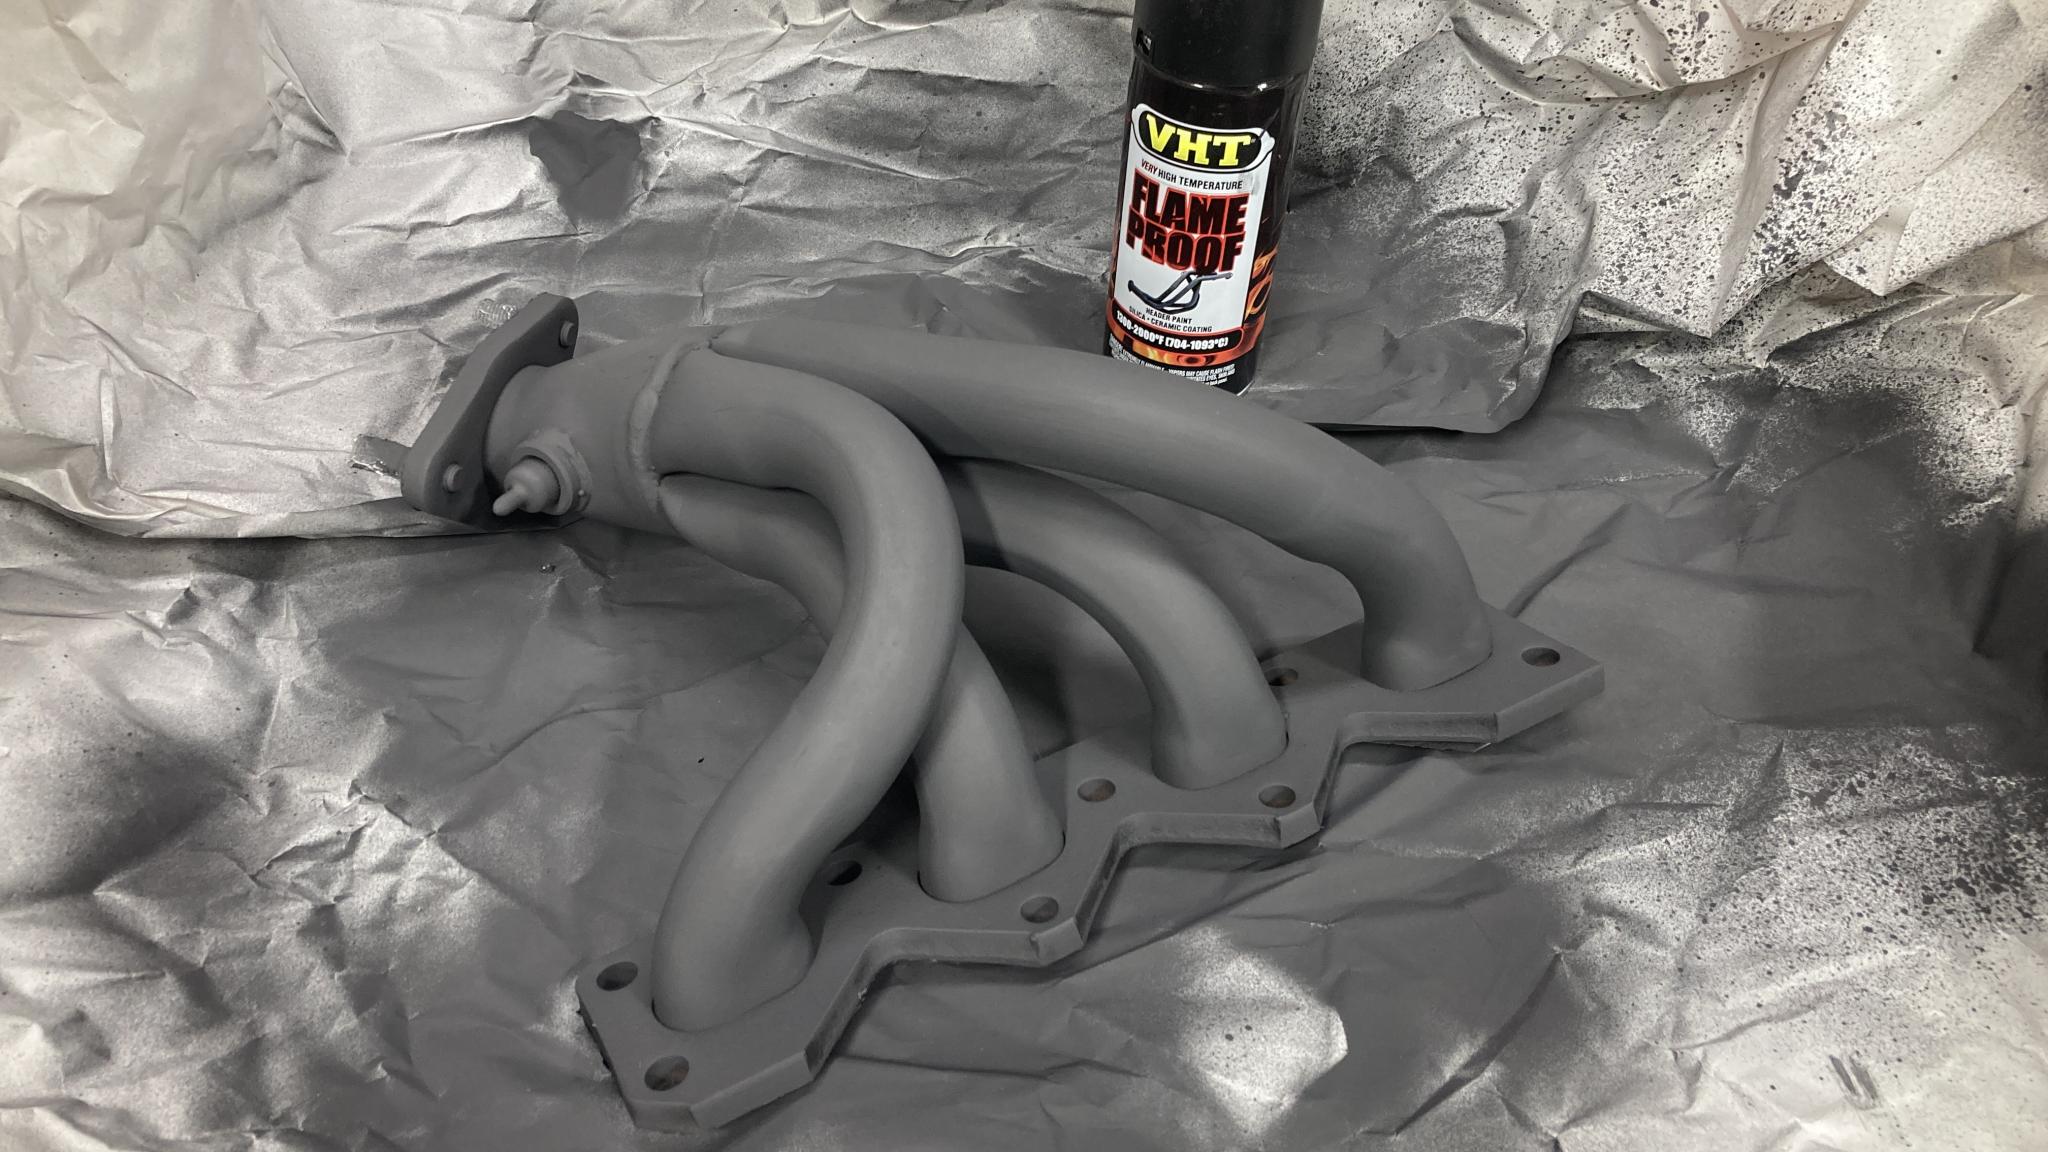
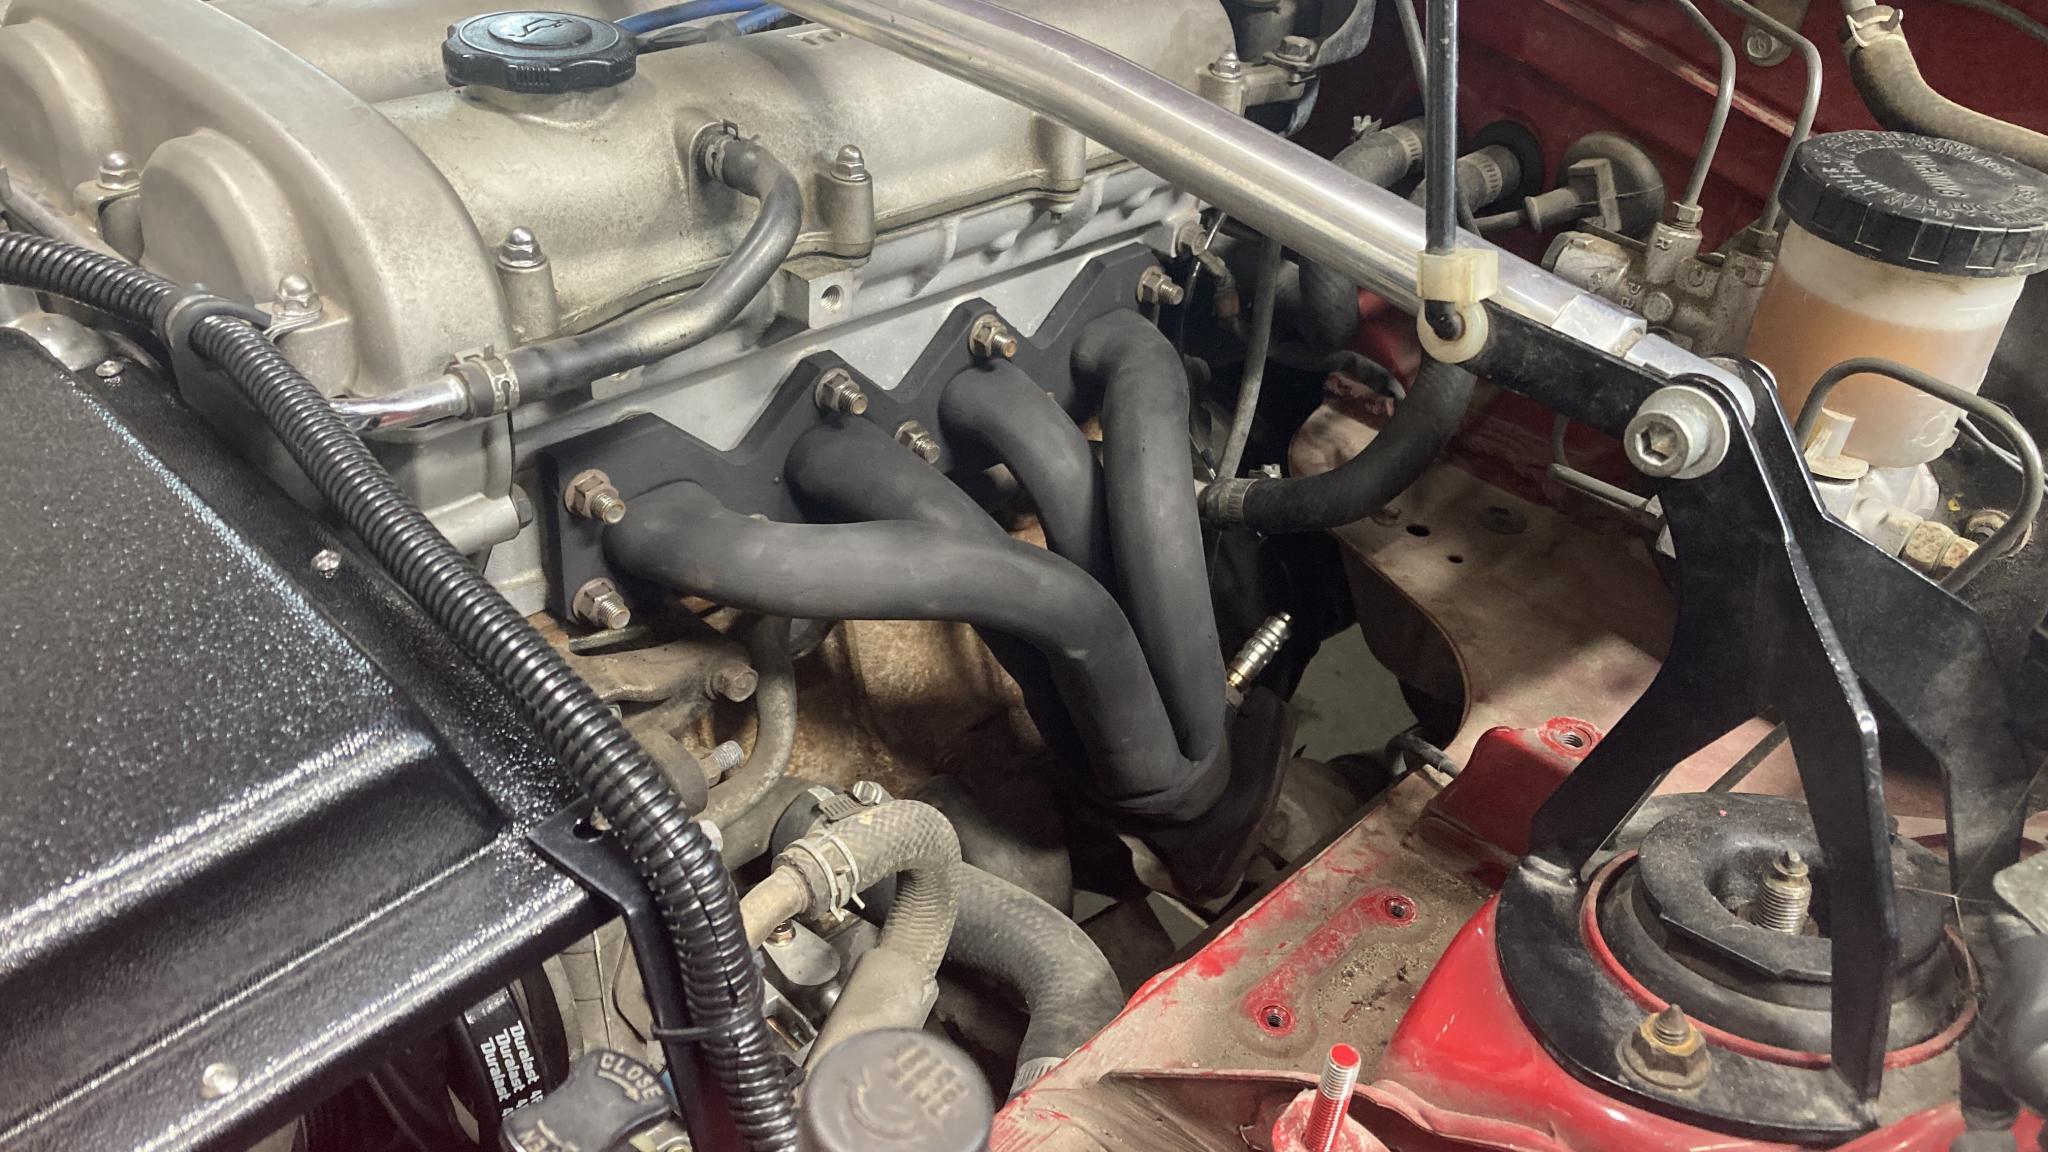
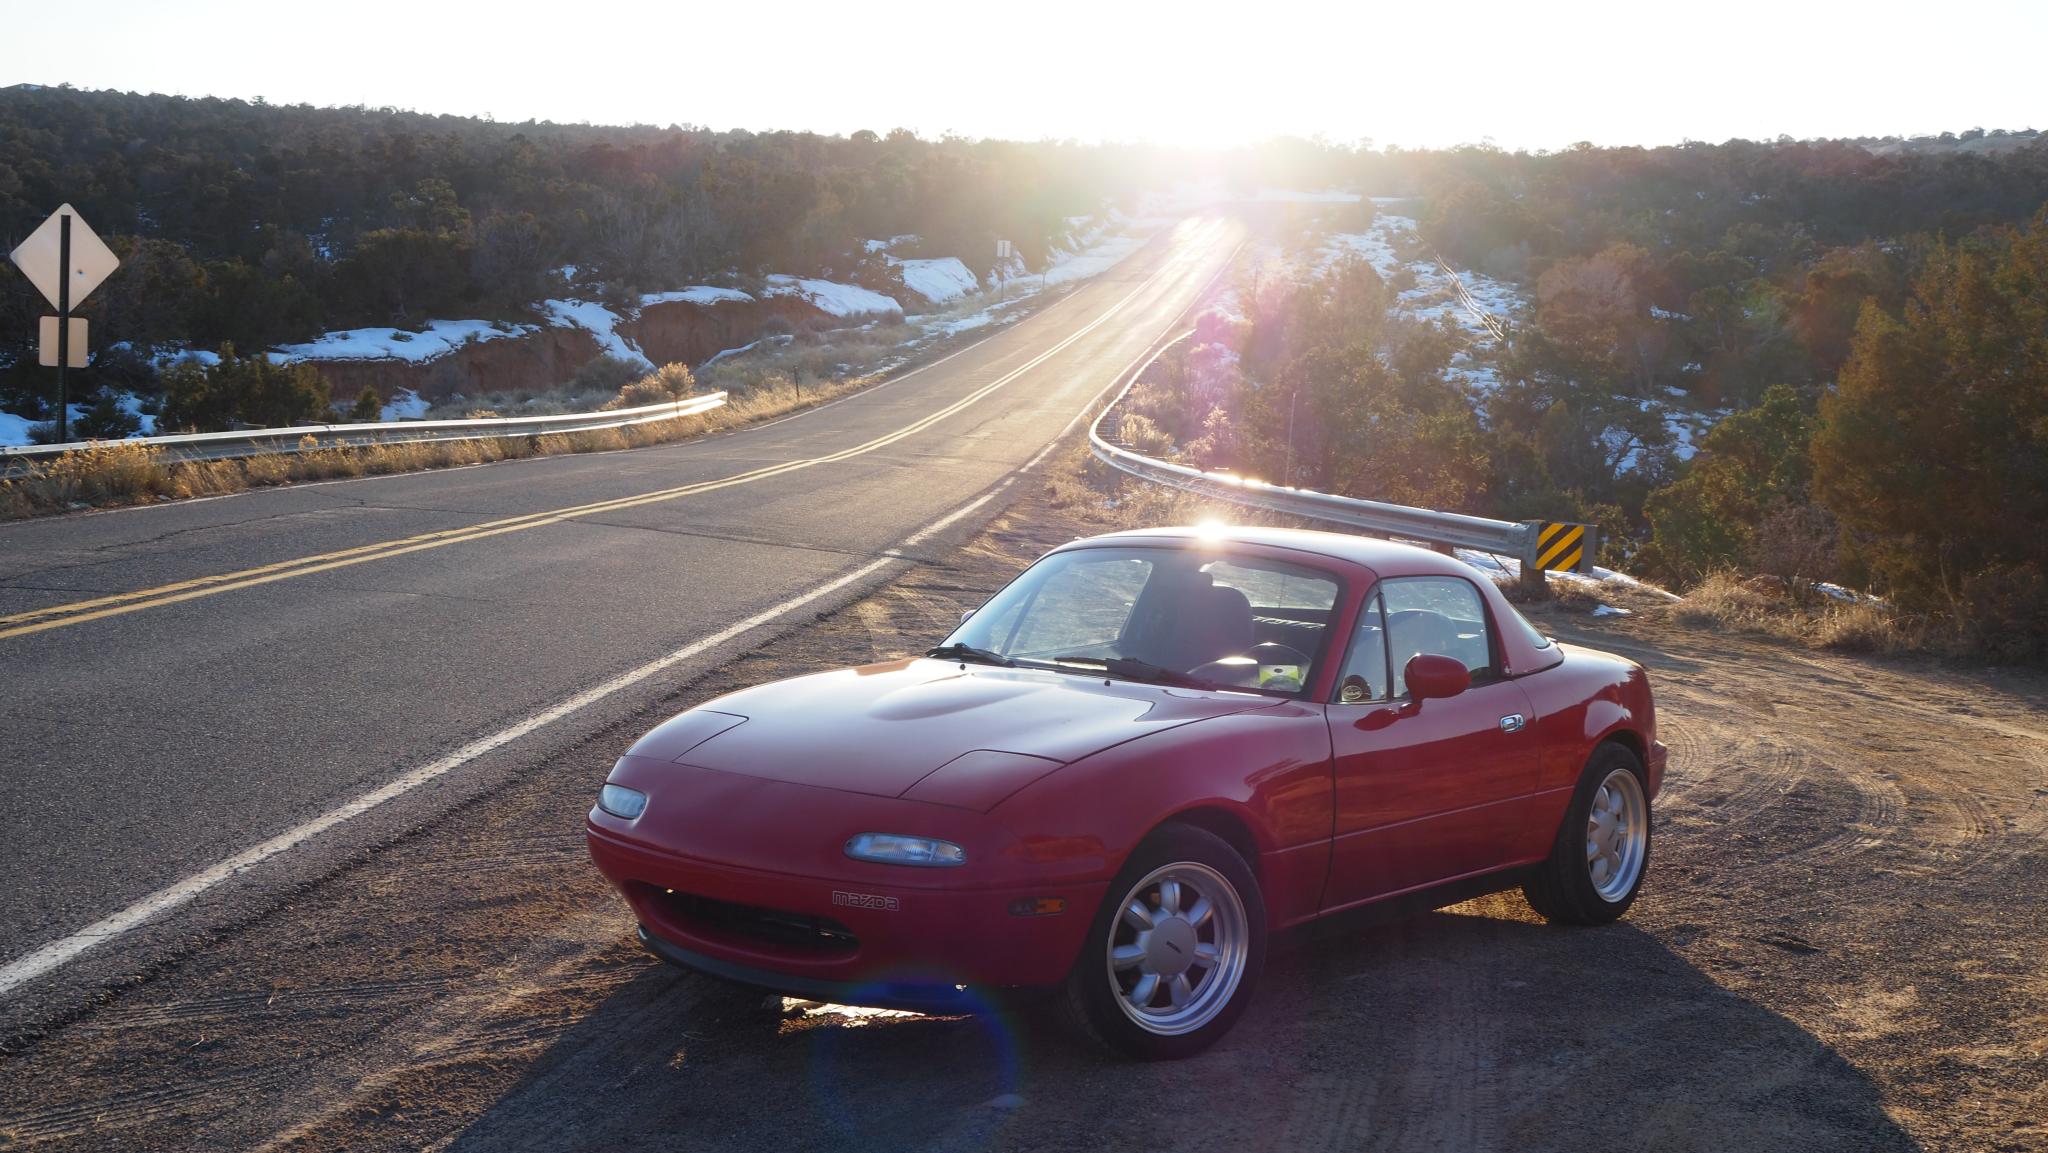
I have had a couple of instances of problems with 338 where I should have known better - bad base timing, worn out plugs, etc. The cobbler's children and all that. So I decided to do a bit of actual maintenance.
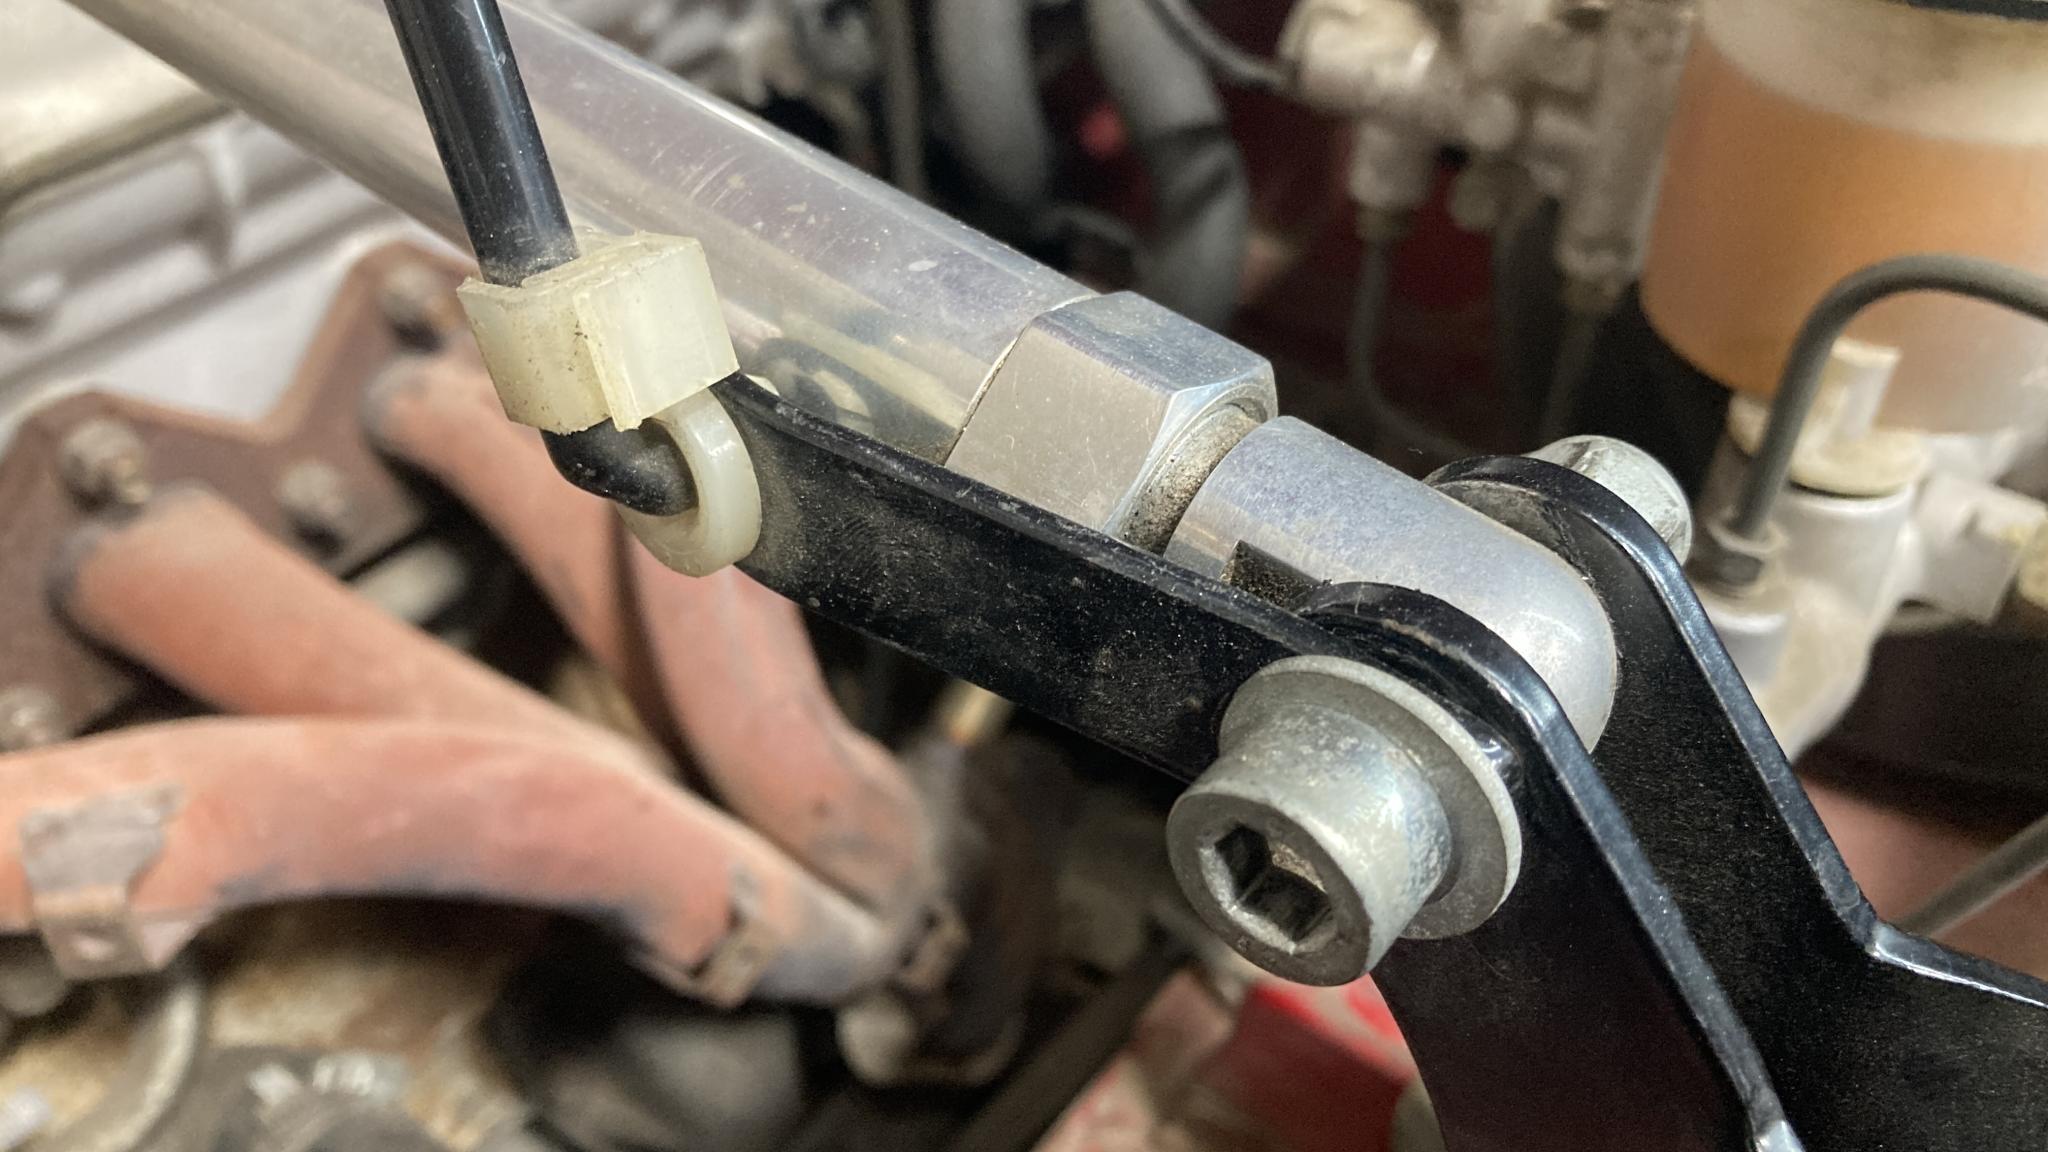
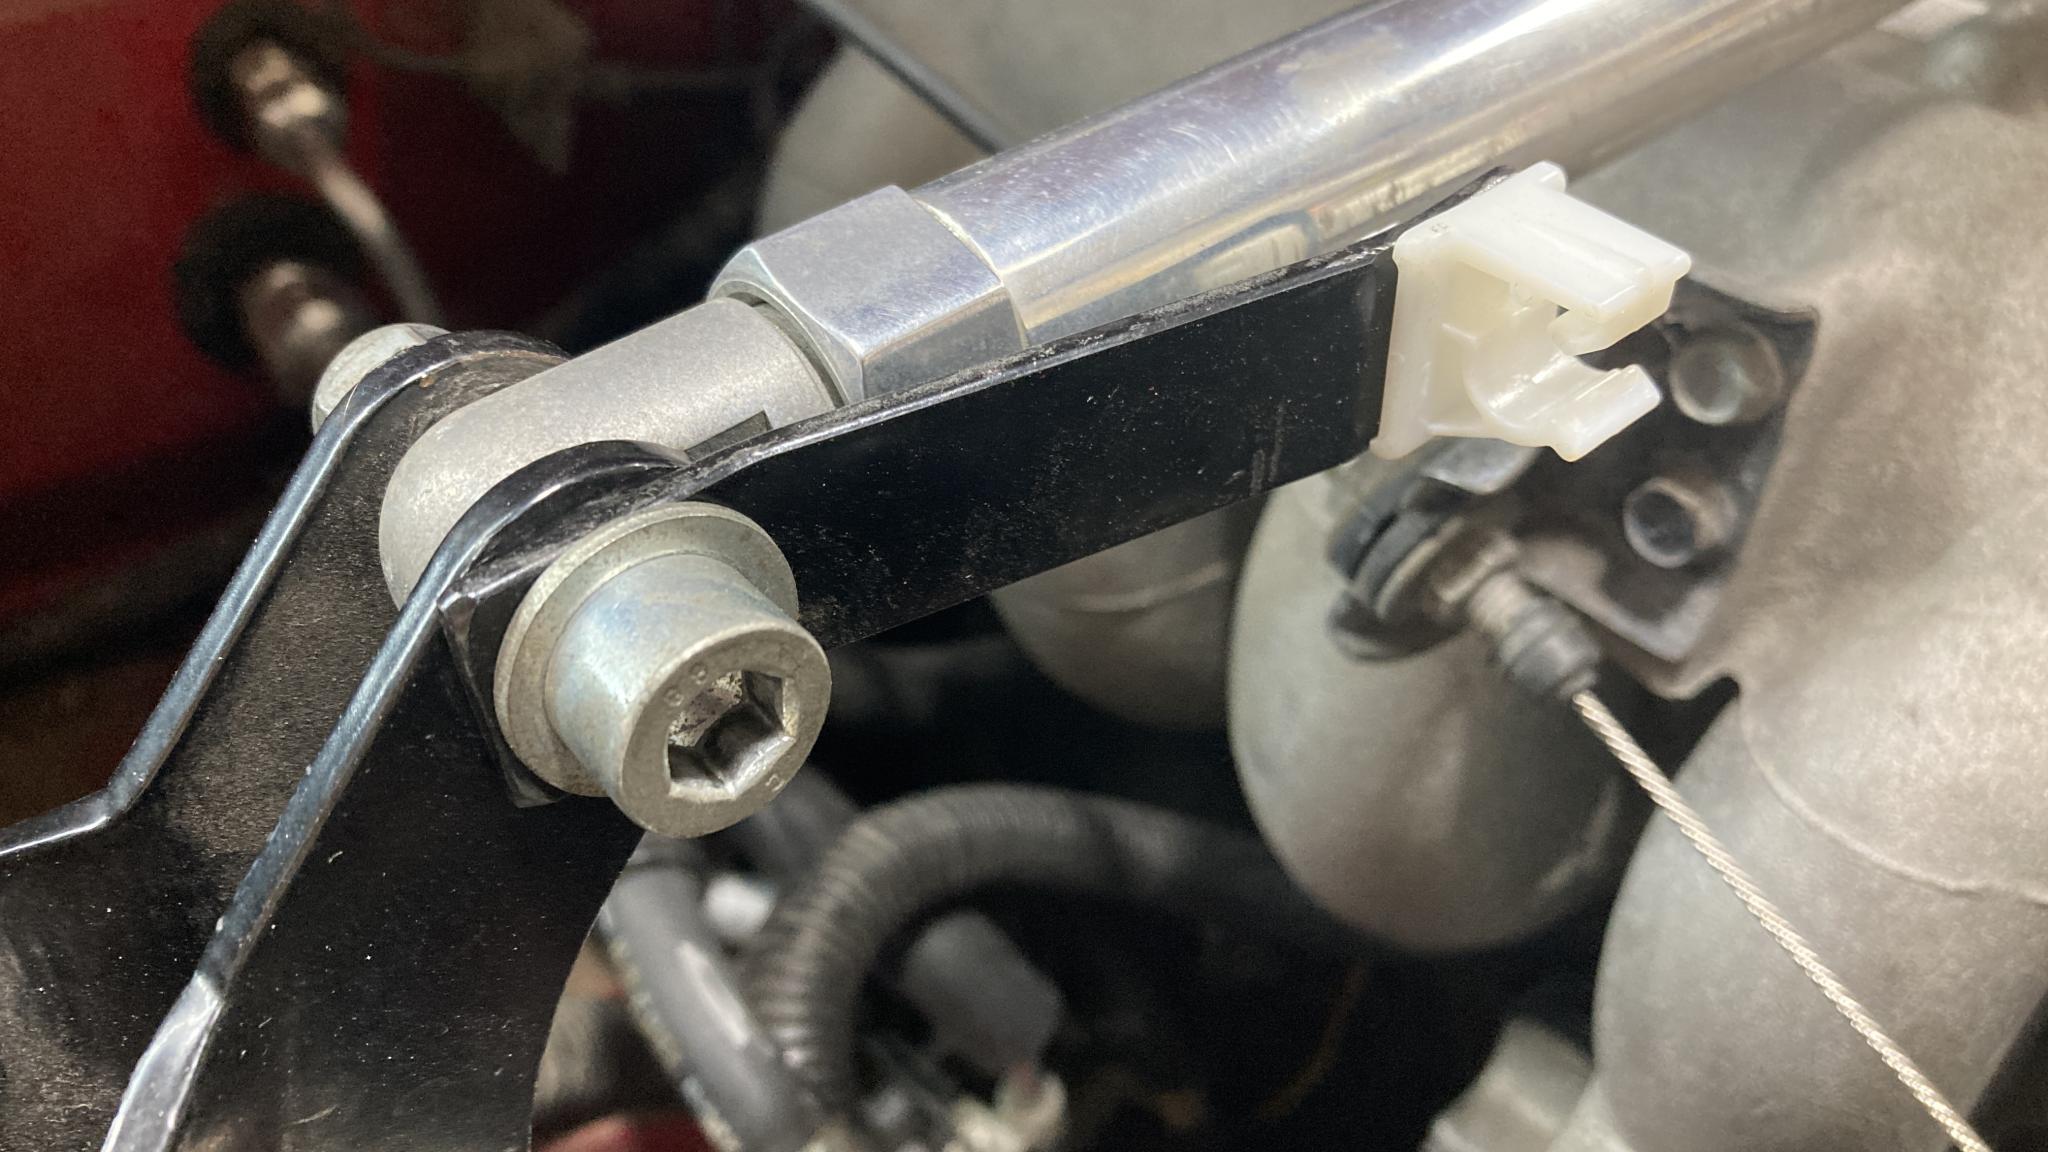
First was a brake fluid flush. It's been looking darker than I like and while I have changed the front pads, I suspect I neglected that. So some nice clear DOT 4. I did discover that the left rear caliper has a different bleeder screw from the others and it was clogged. I have a spare caliper on the shelf but it had a different bleeder screw again. So I removed the non-original one, cleaned it out and I'll keep my eyes open for a factory replacement in the FM salvage parts bin.
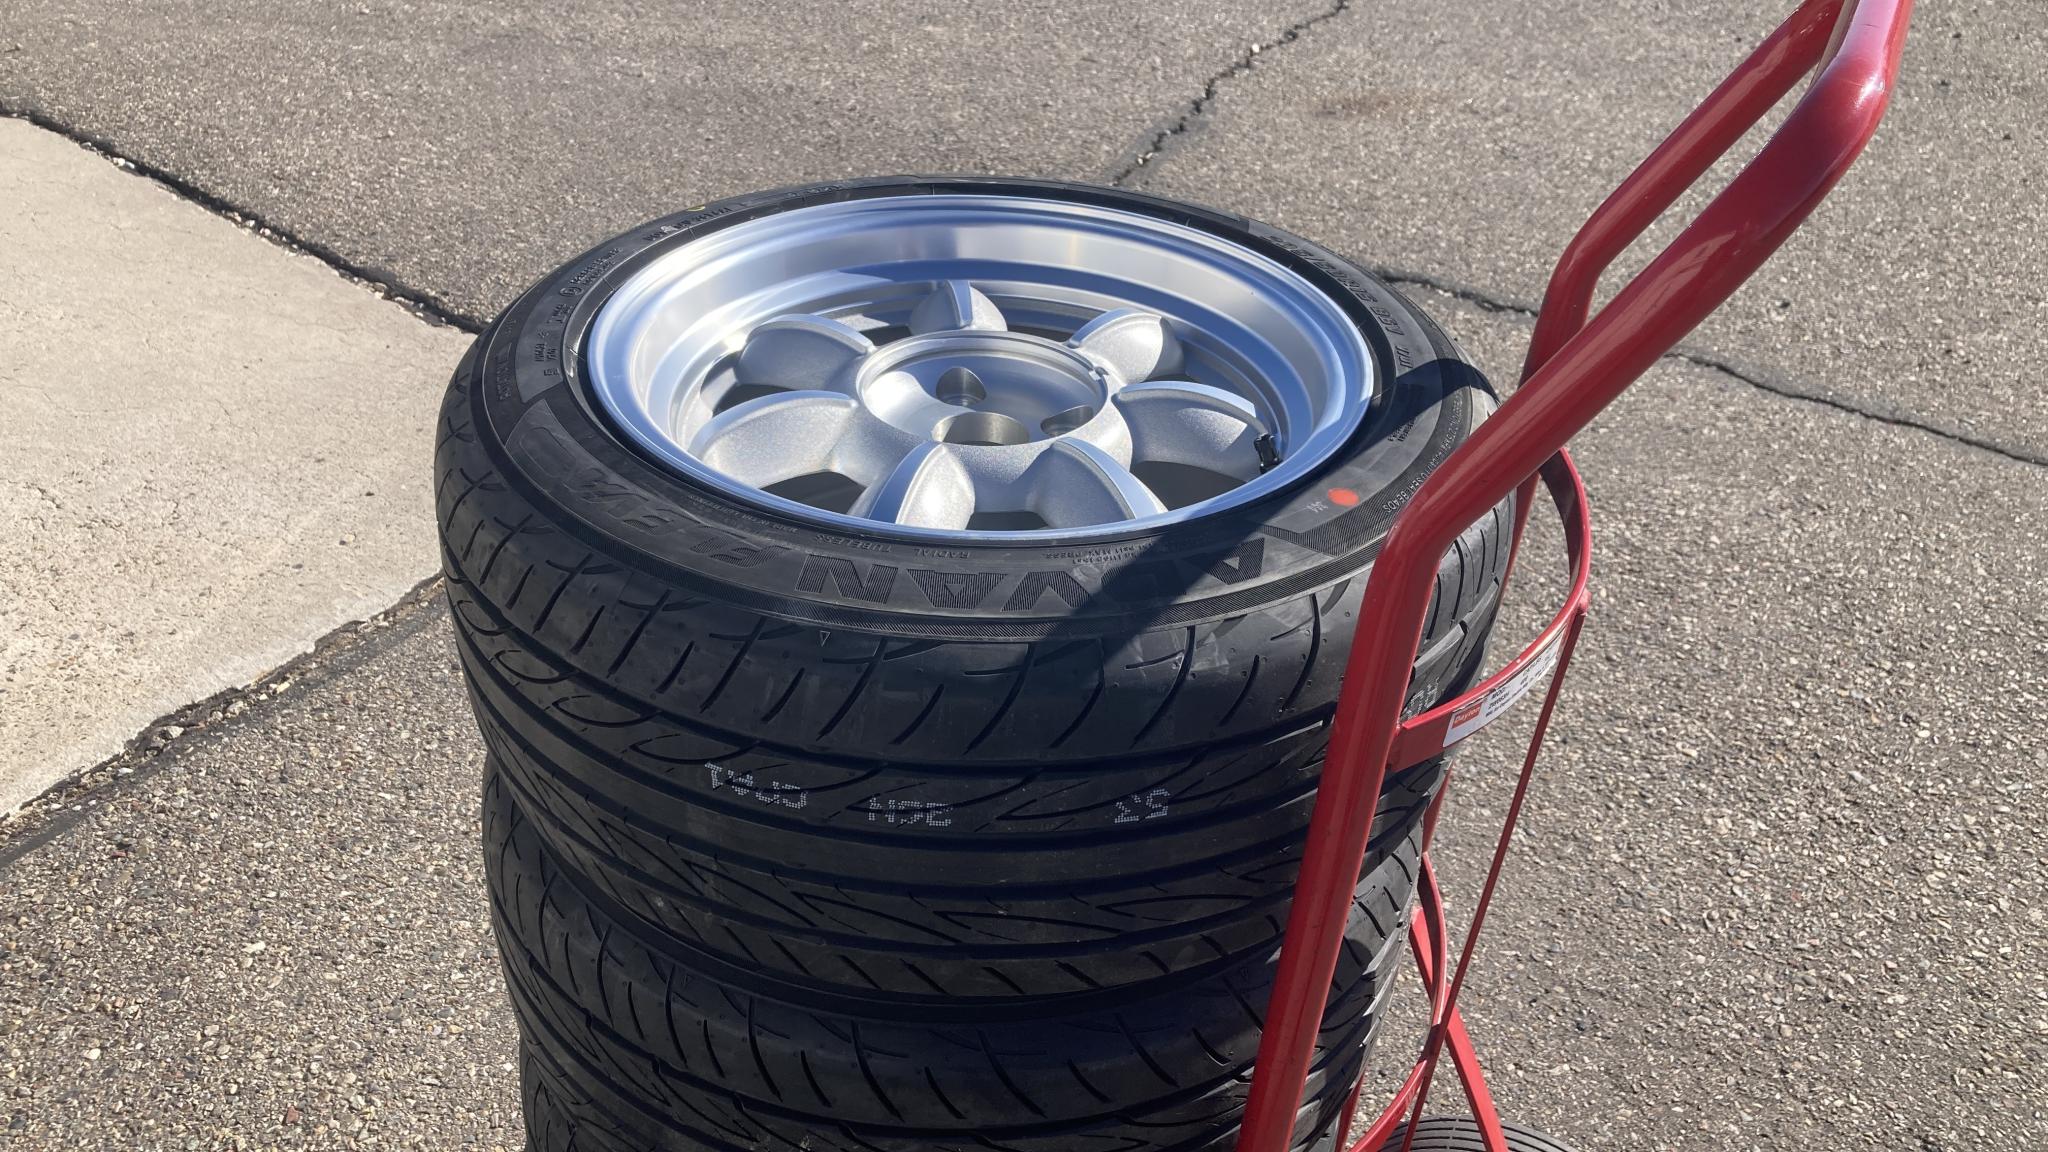
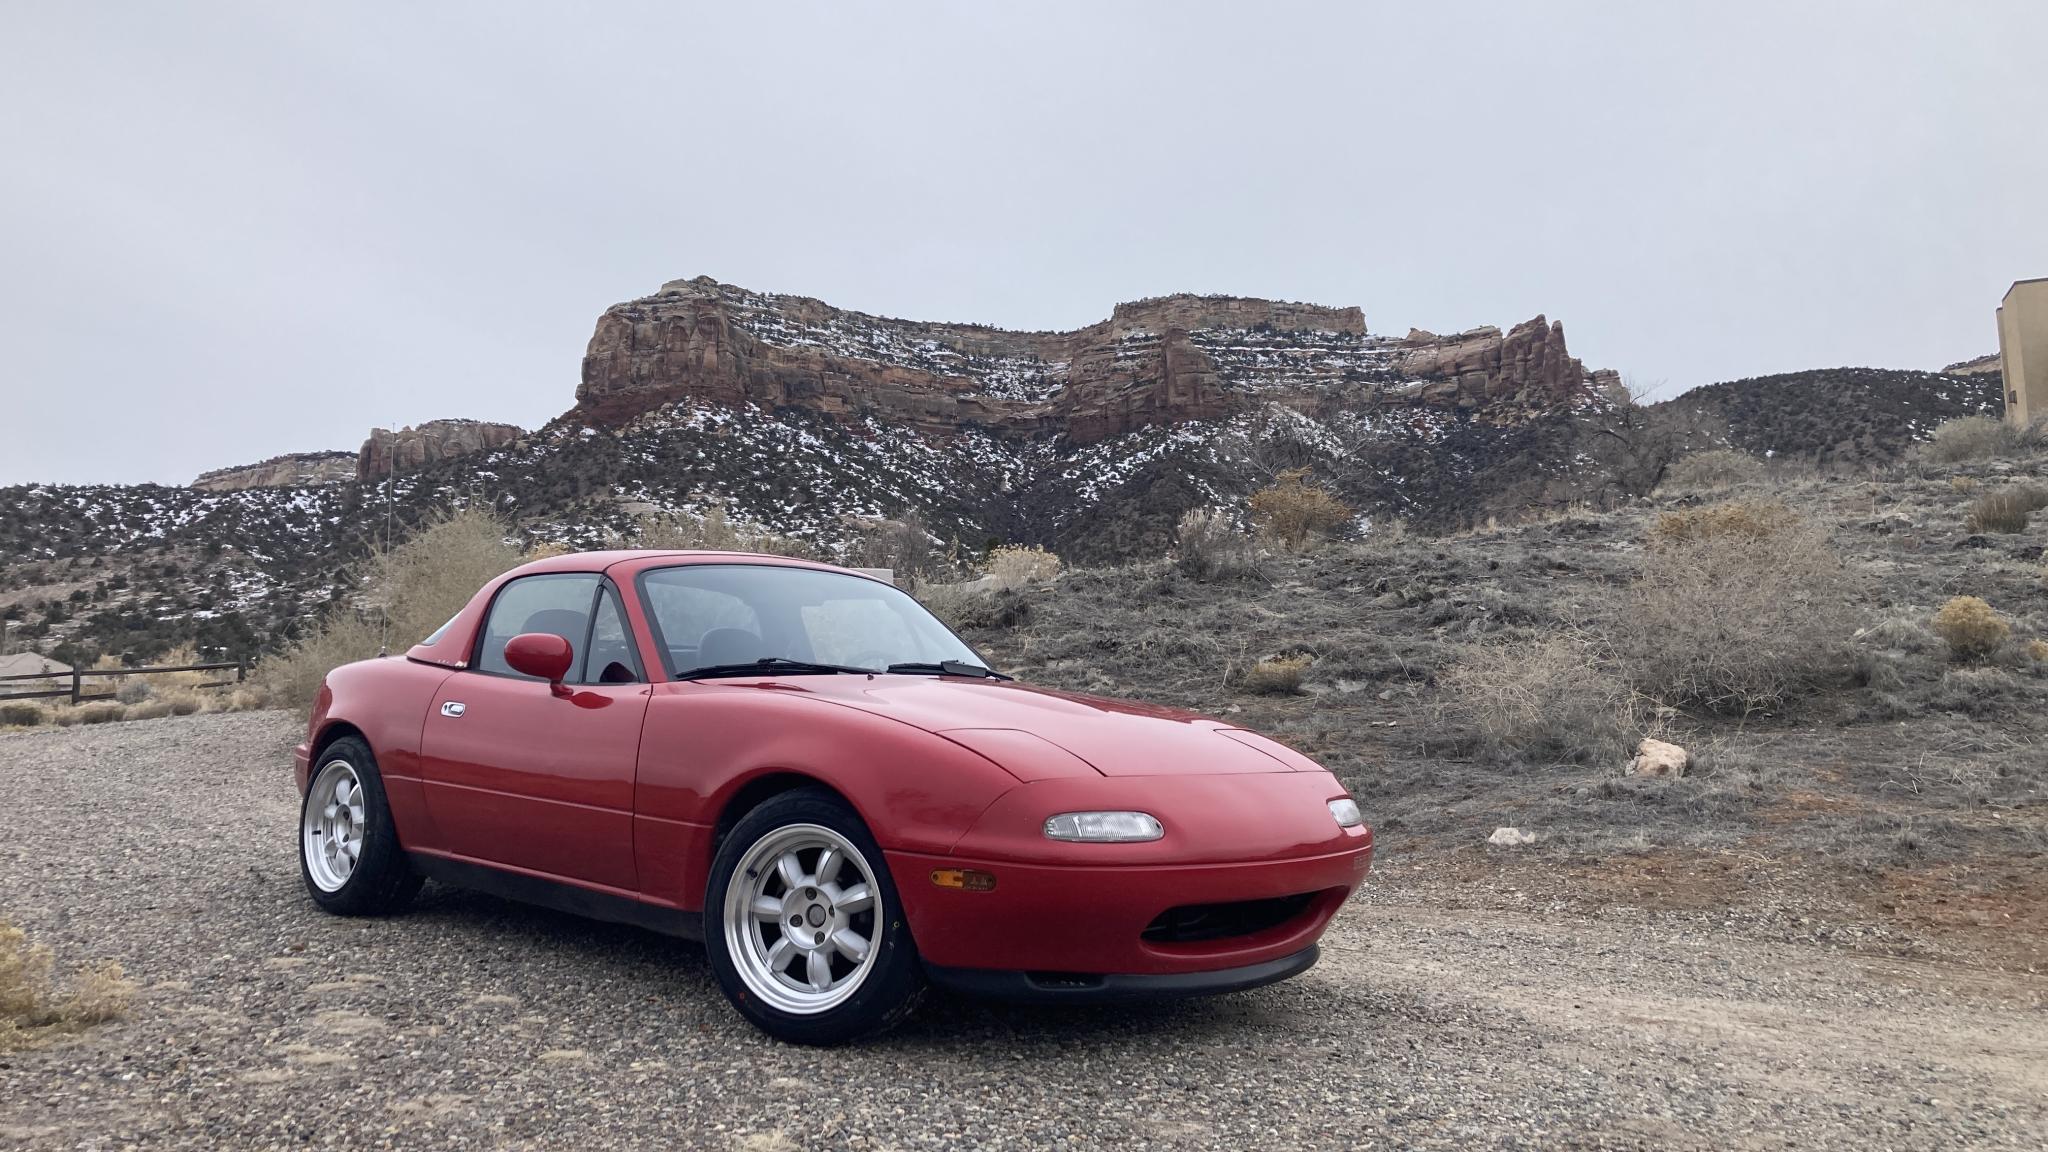
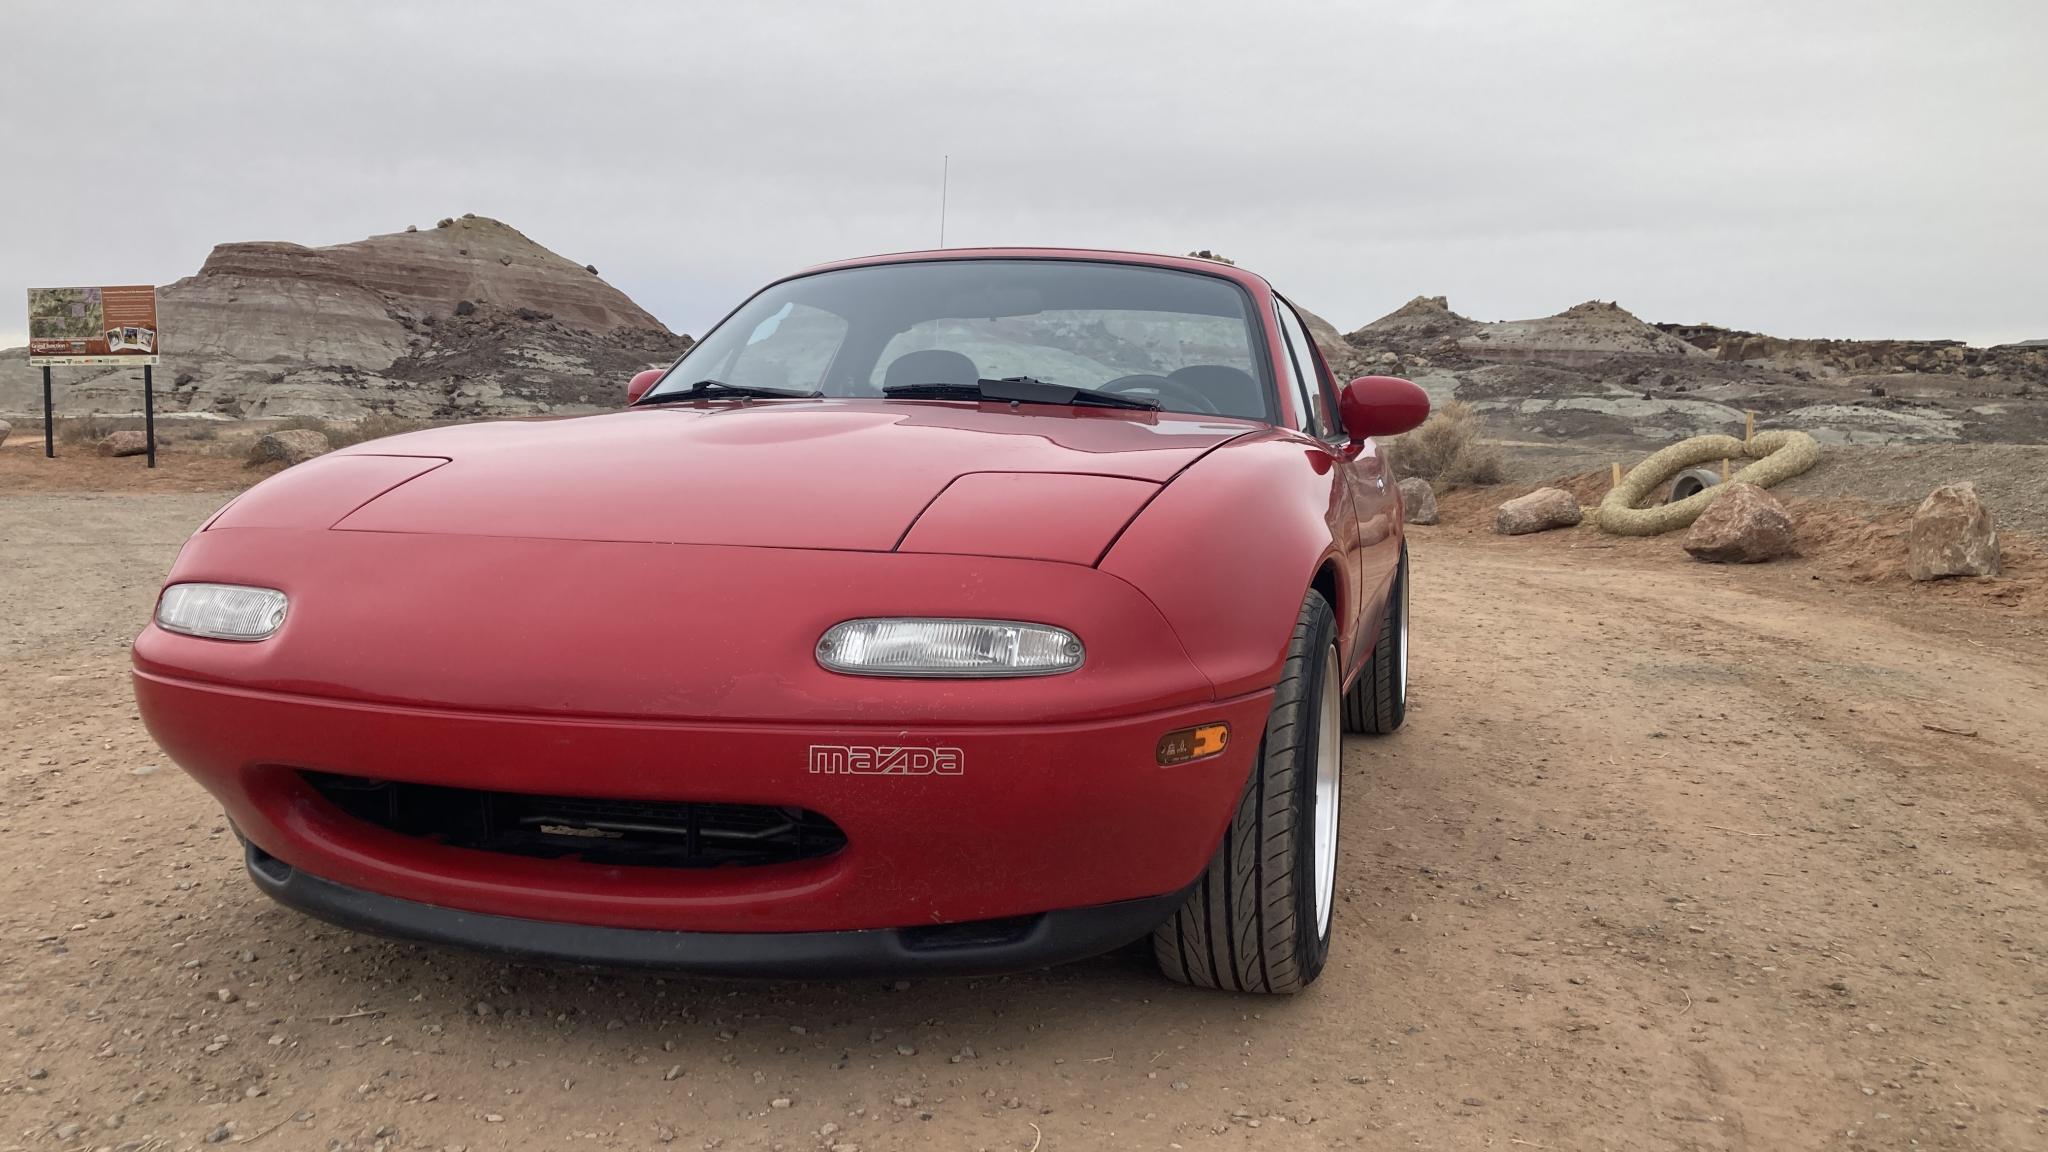
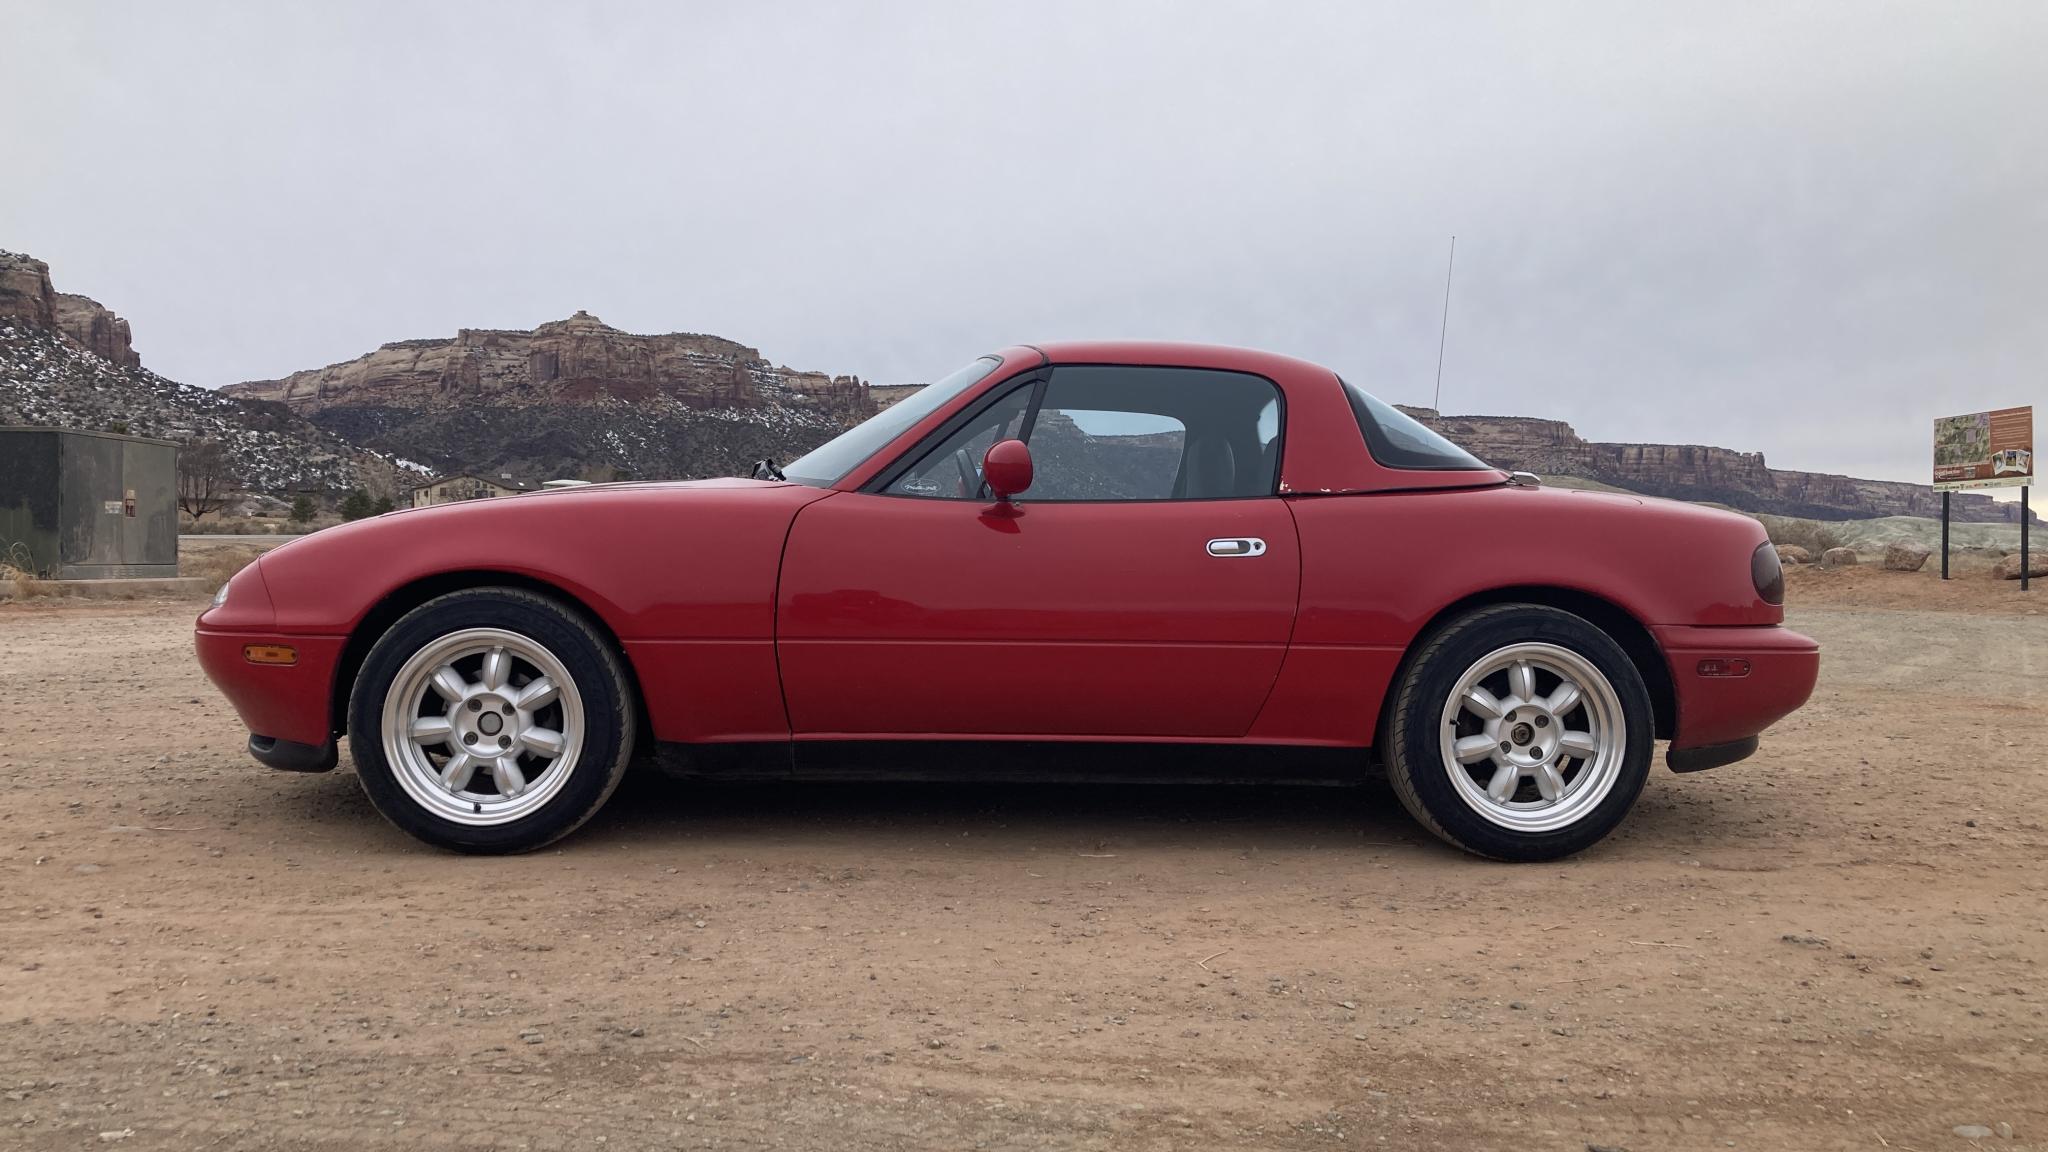
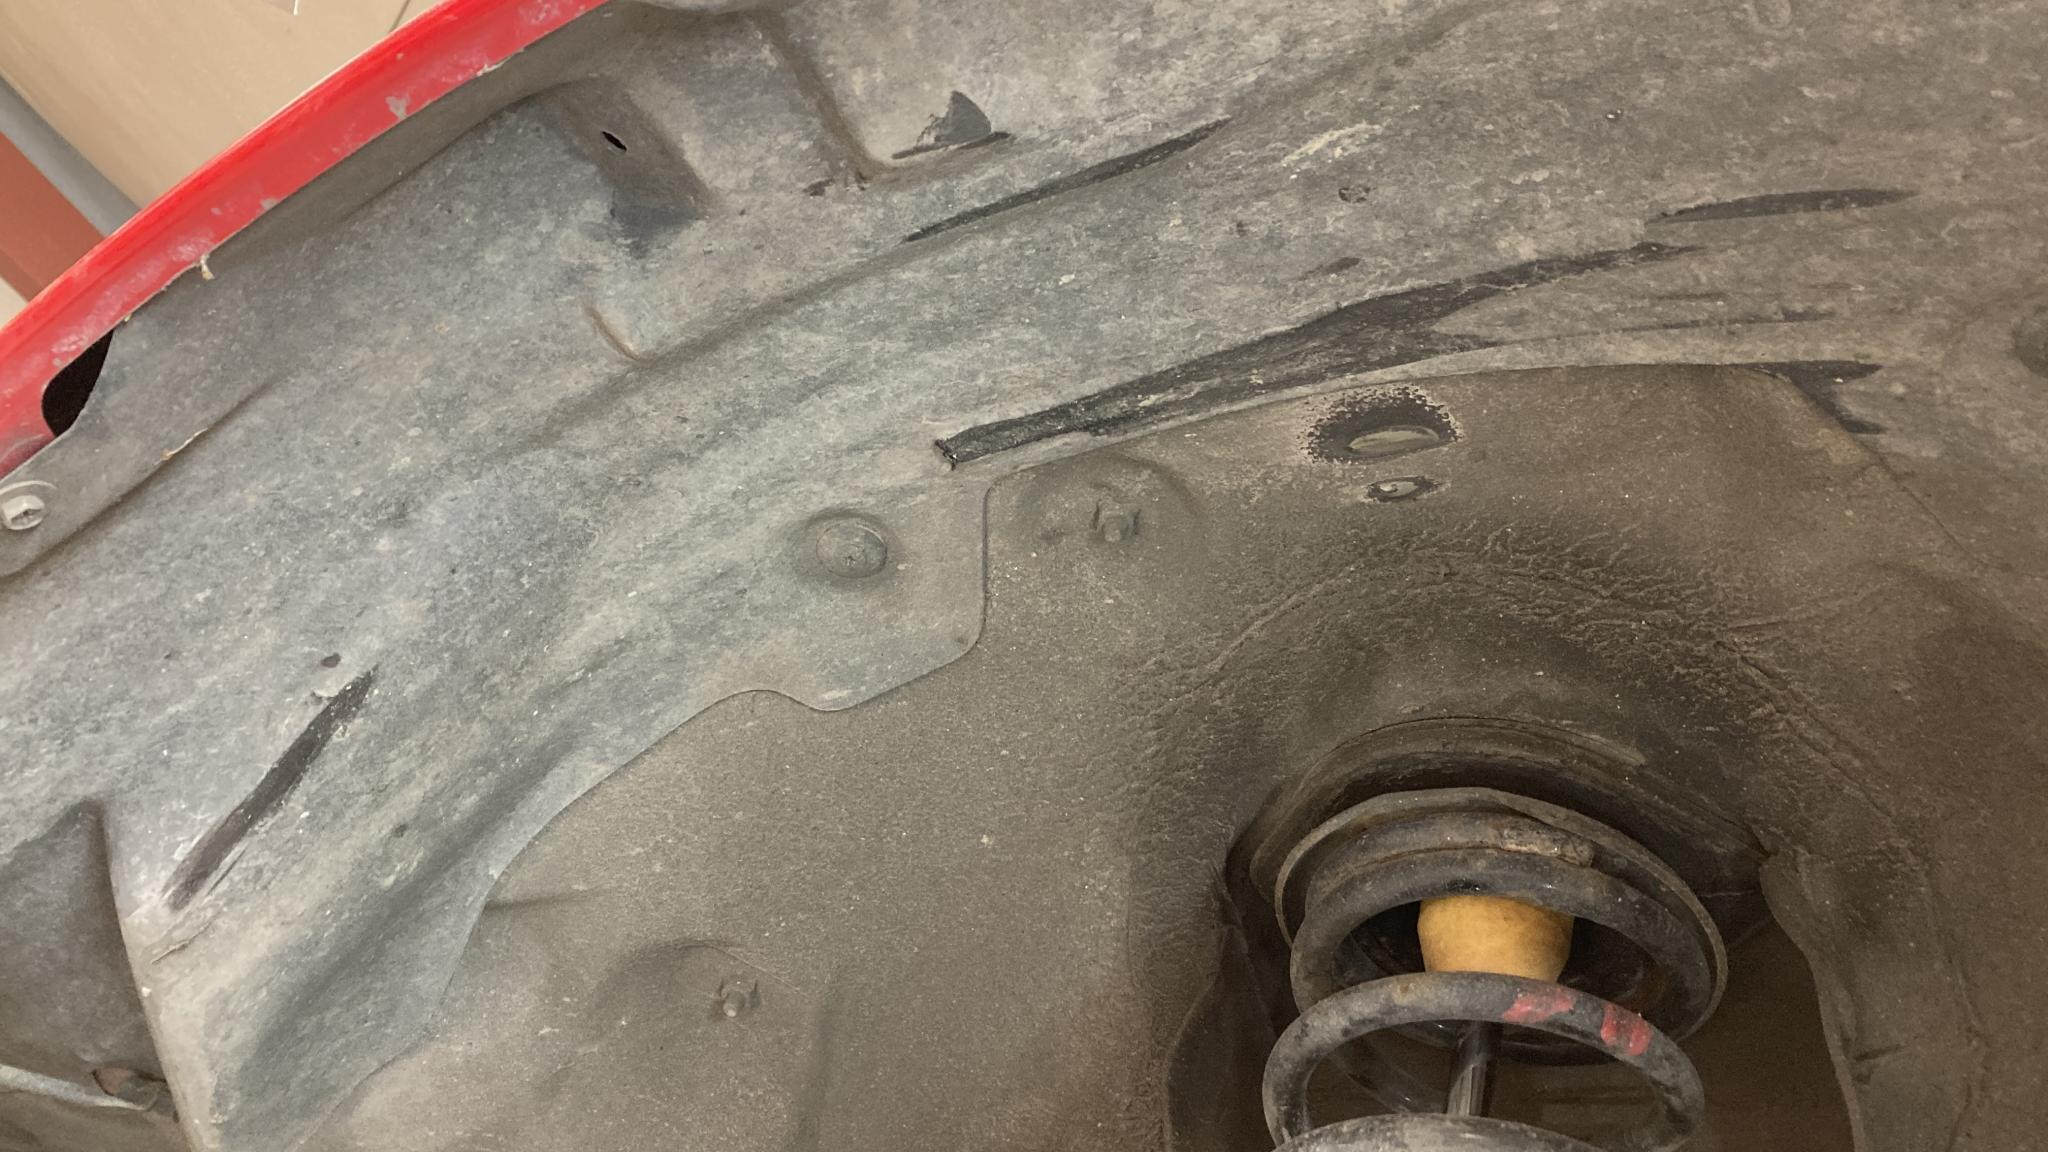
I also found out where my occasional wheel rub was coming from with the new tires. Nothing too serious, the plastic will self-clearance and I gave myself a little extra clearance on the sheetmetal with some percussive persuasion. I think the problem is another slipped upper mount - I've been simply reusing old ones that are better than the ones I've removed. I have a set of four new ones waiting to go on, I think that's moved up the priority list. That bumpstop isn't one I usually use on the front either, so I'll make sure that's updated at the same time.
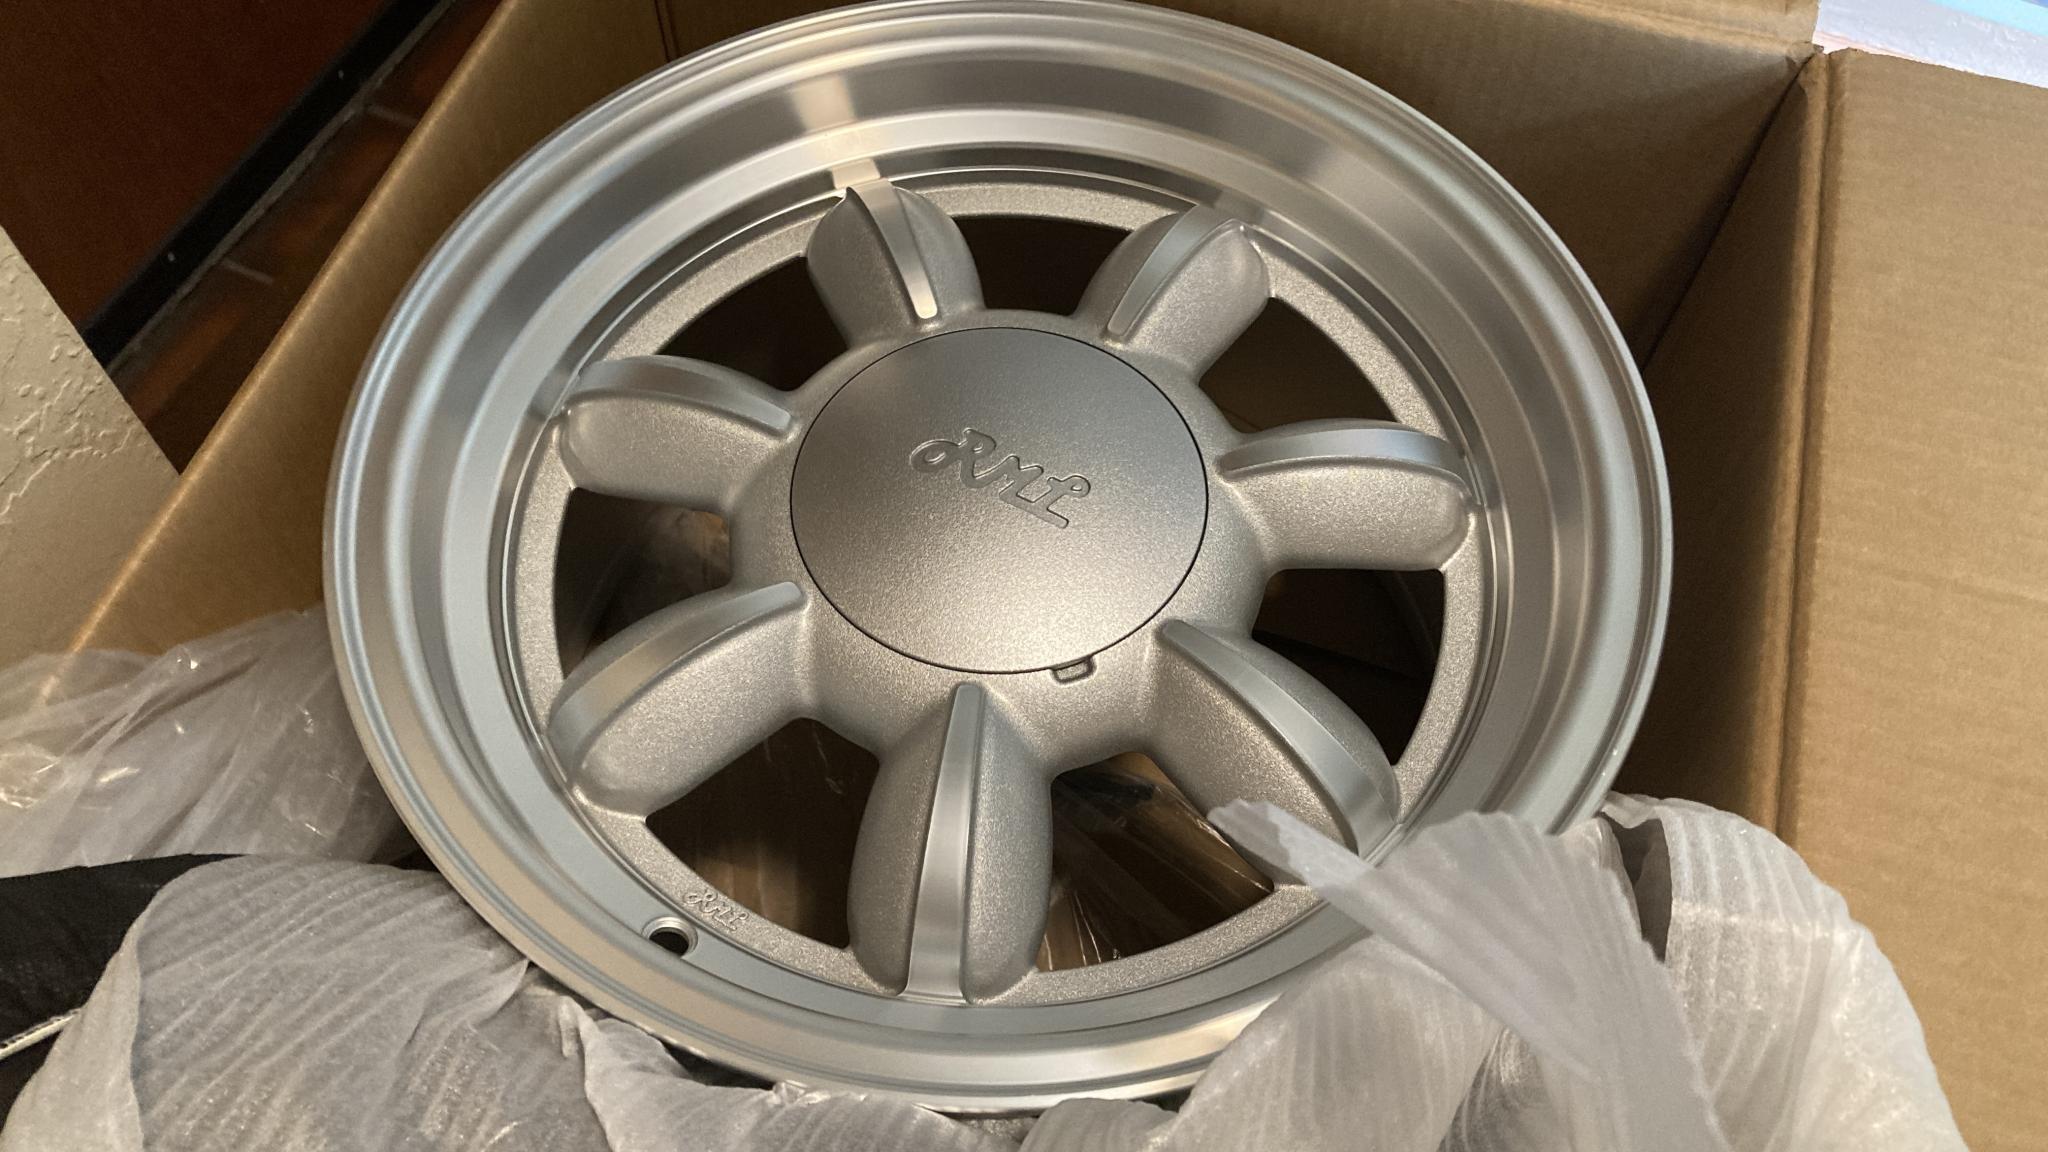
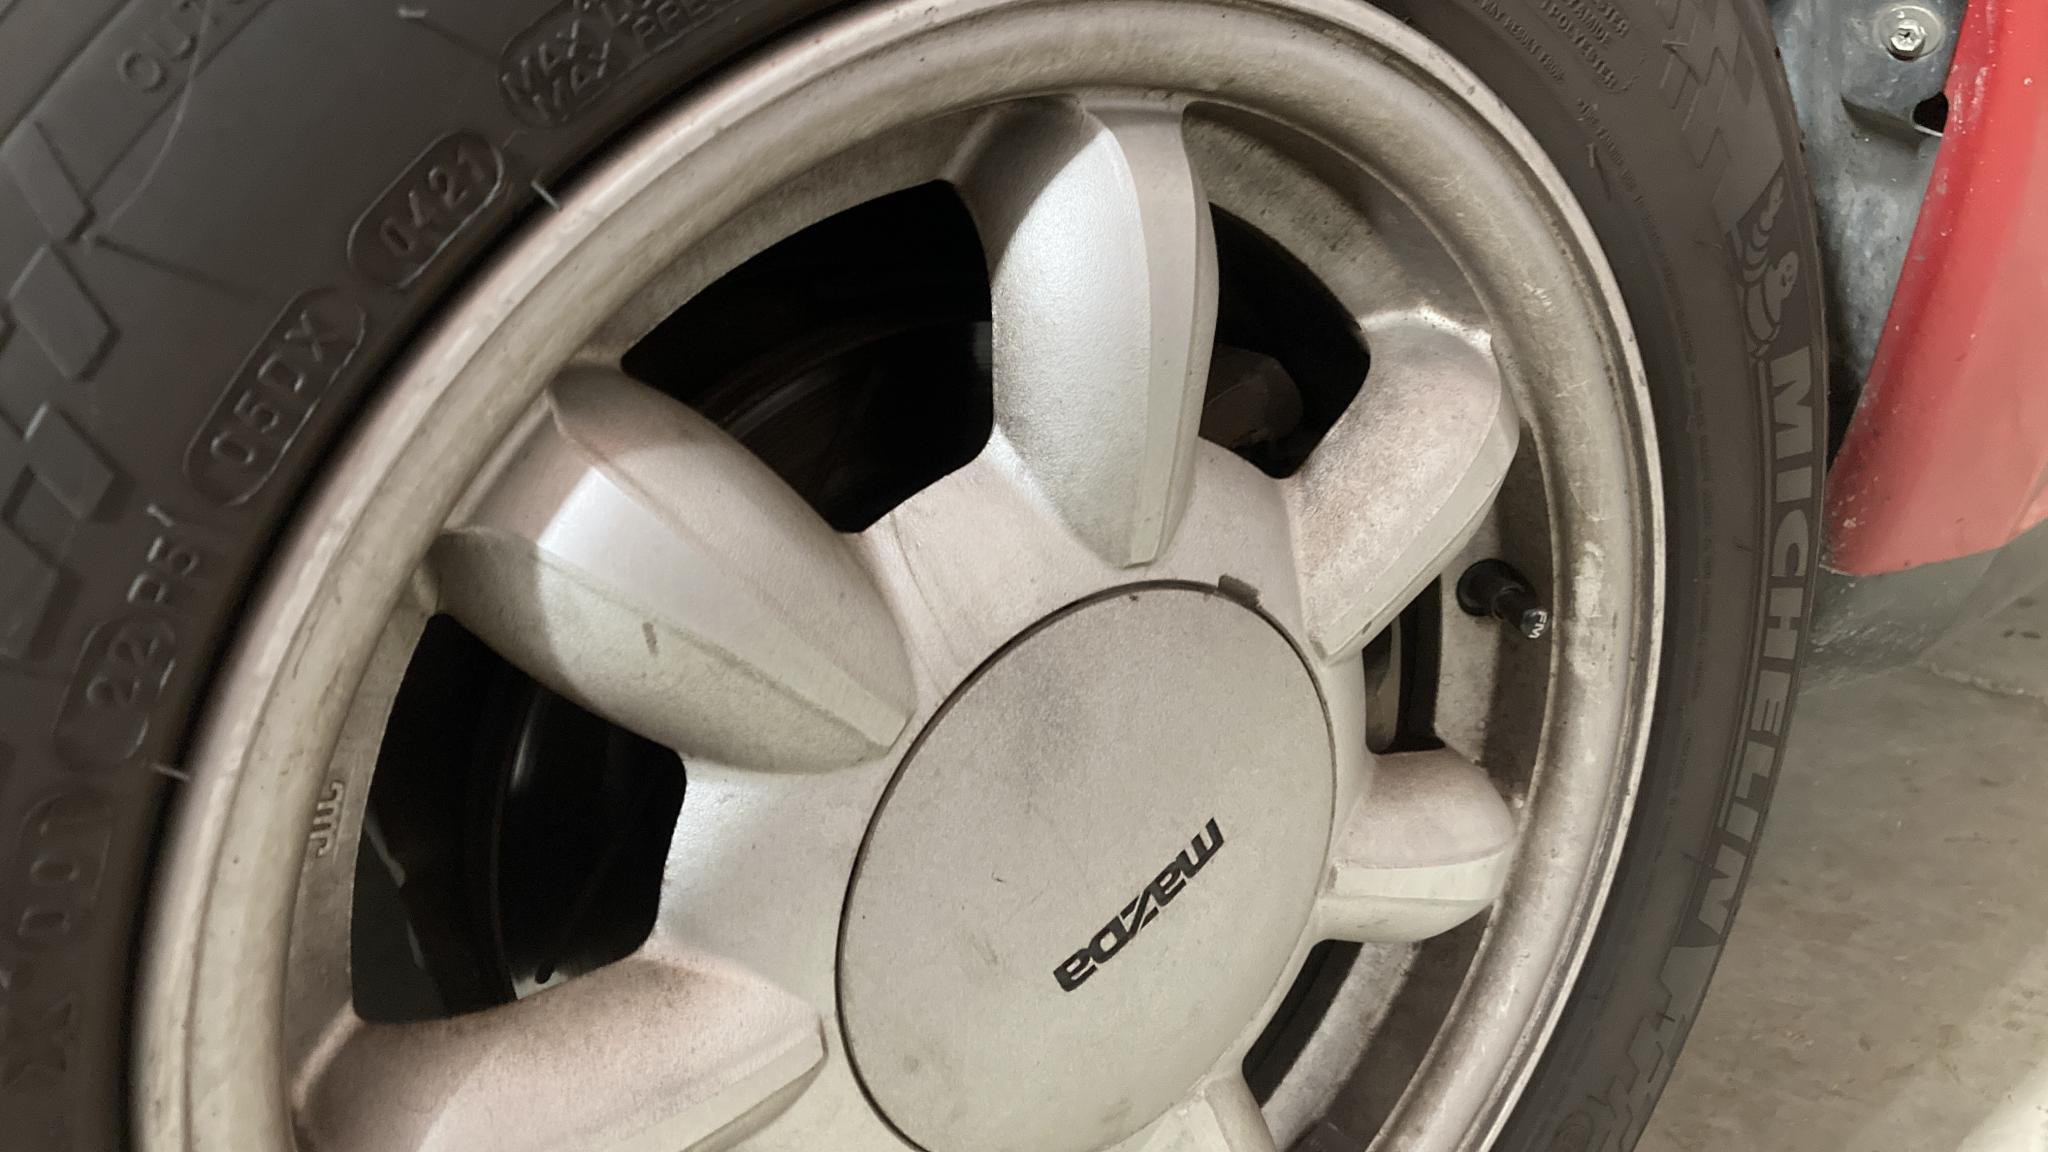
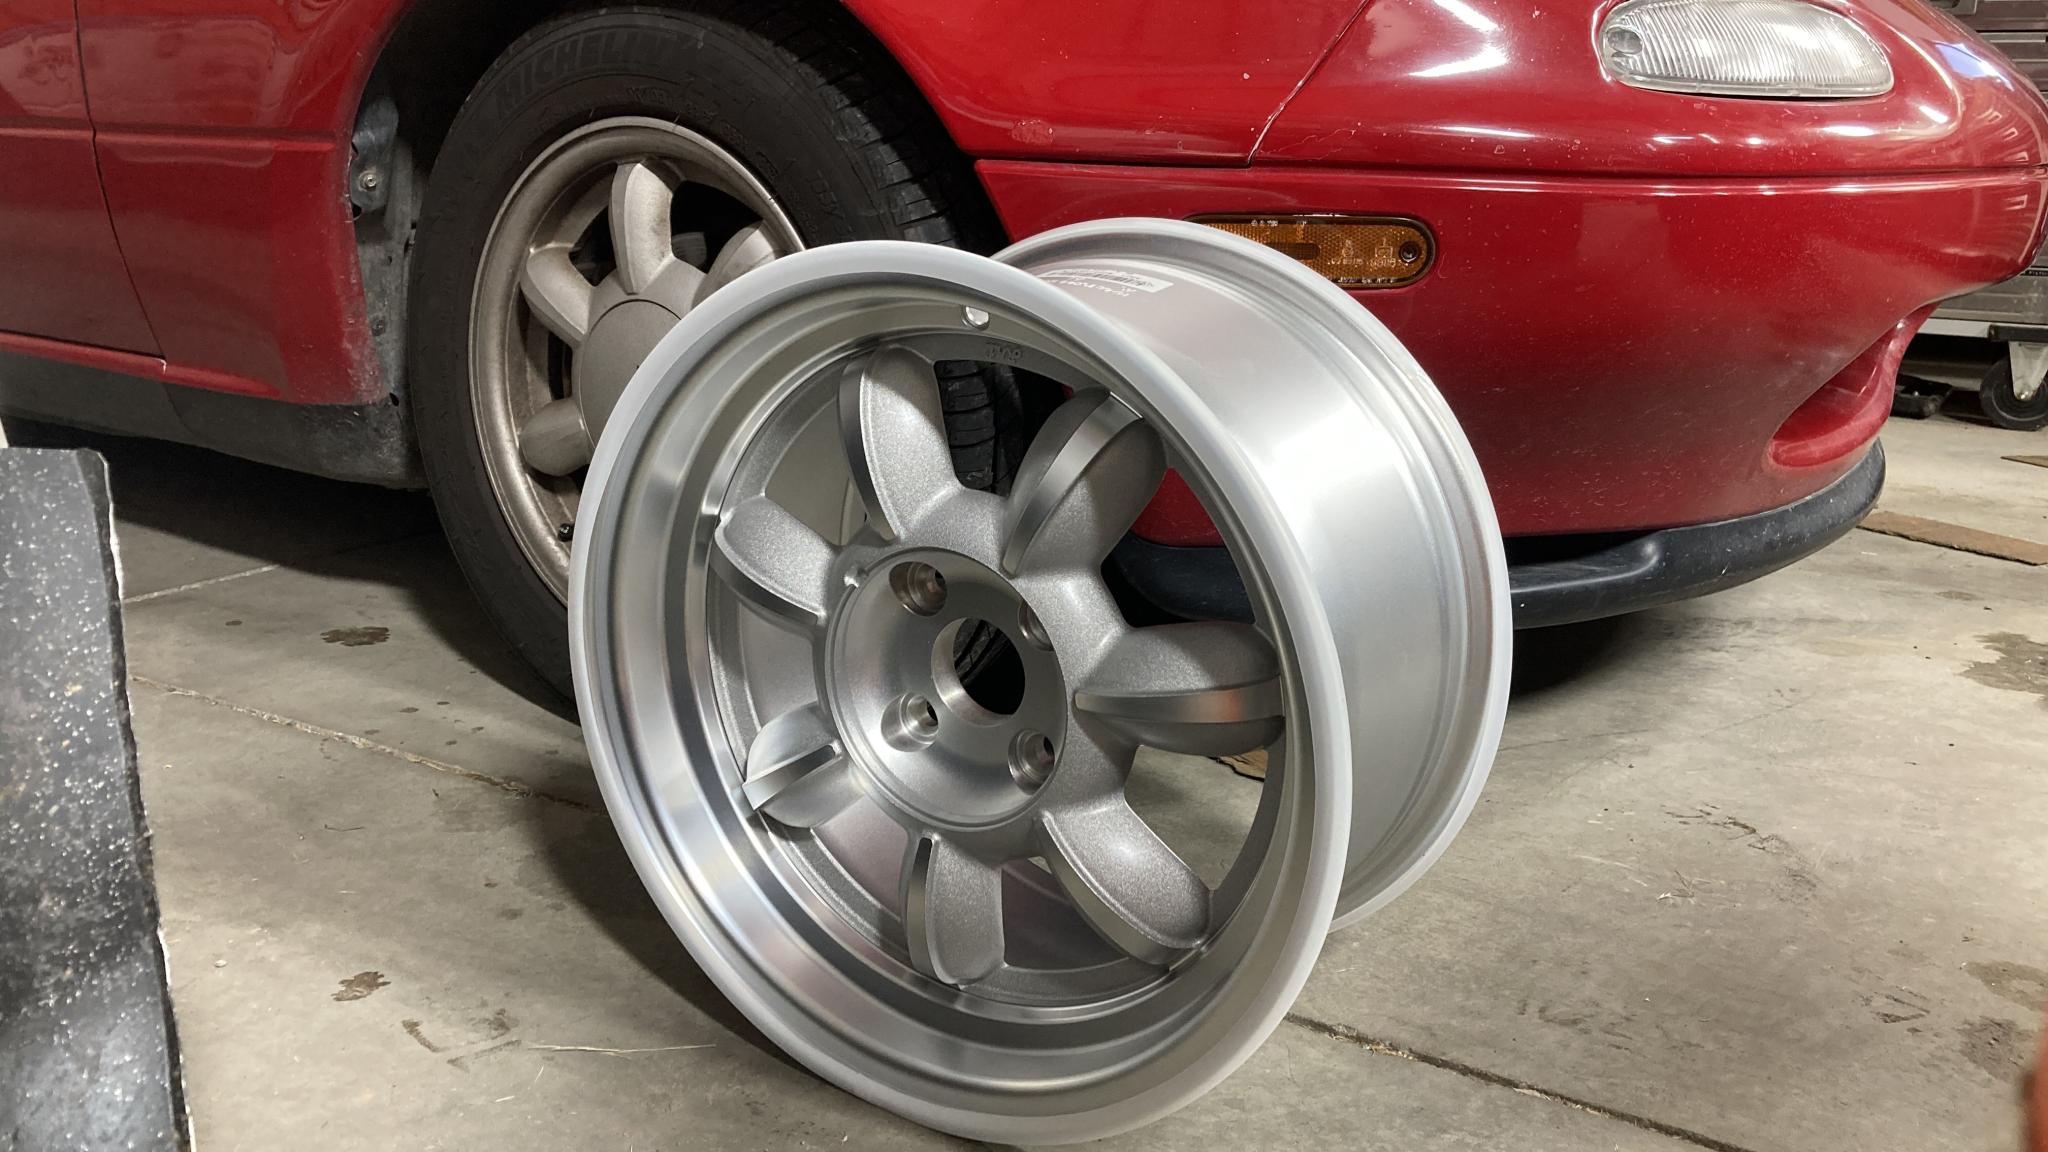
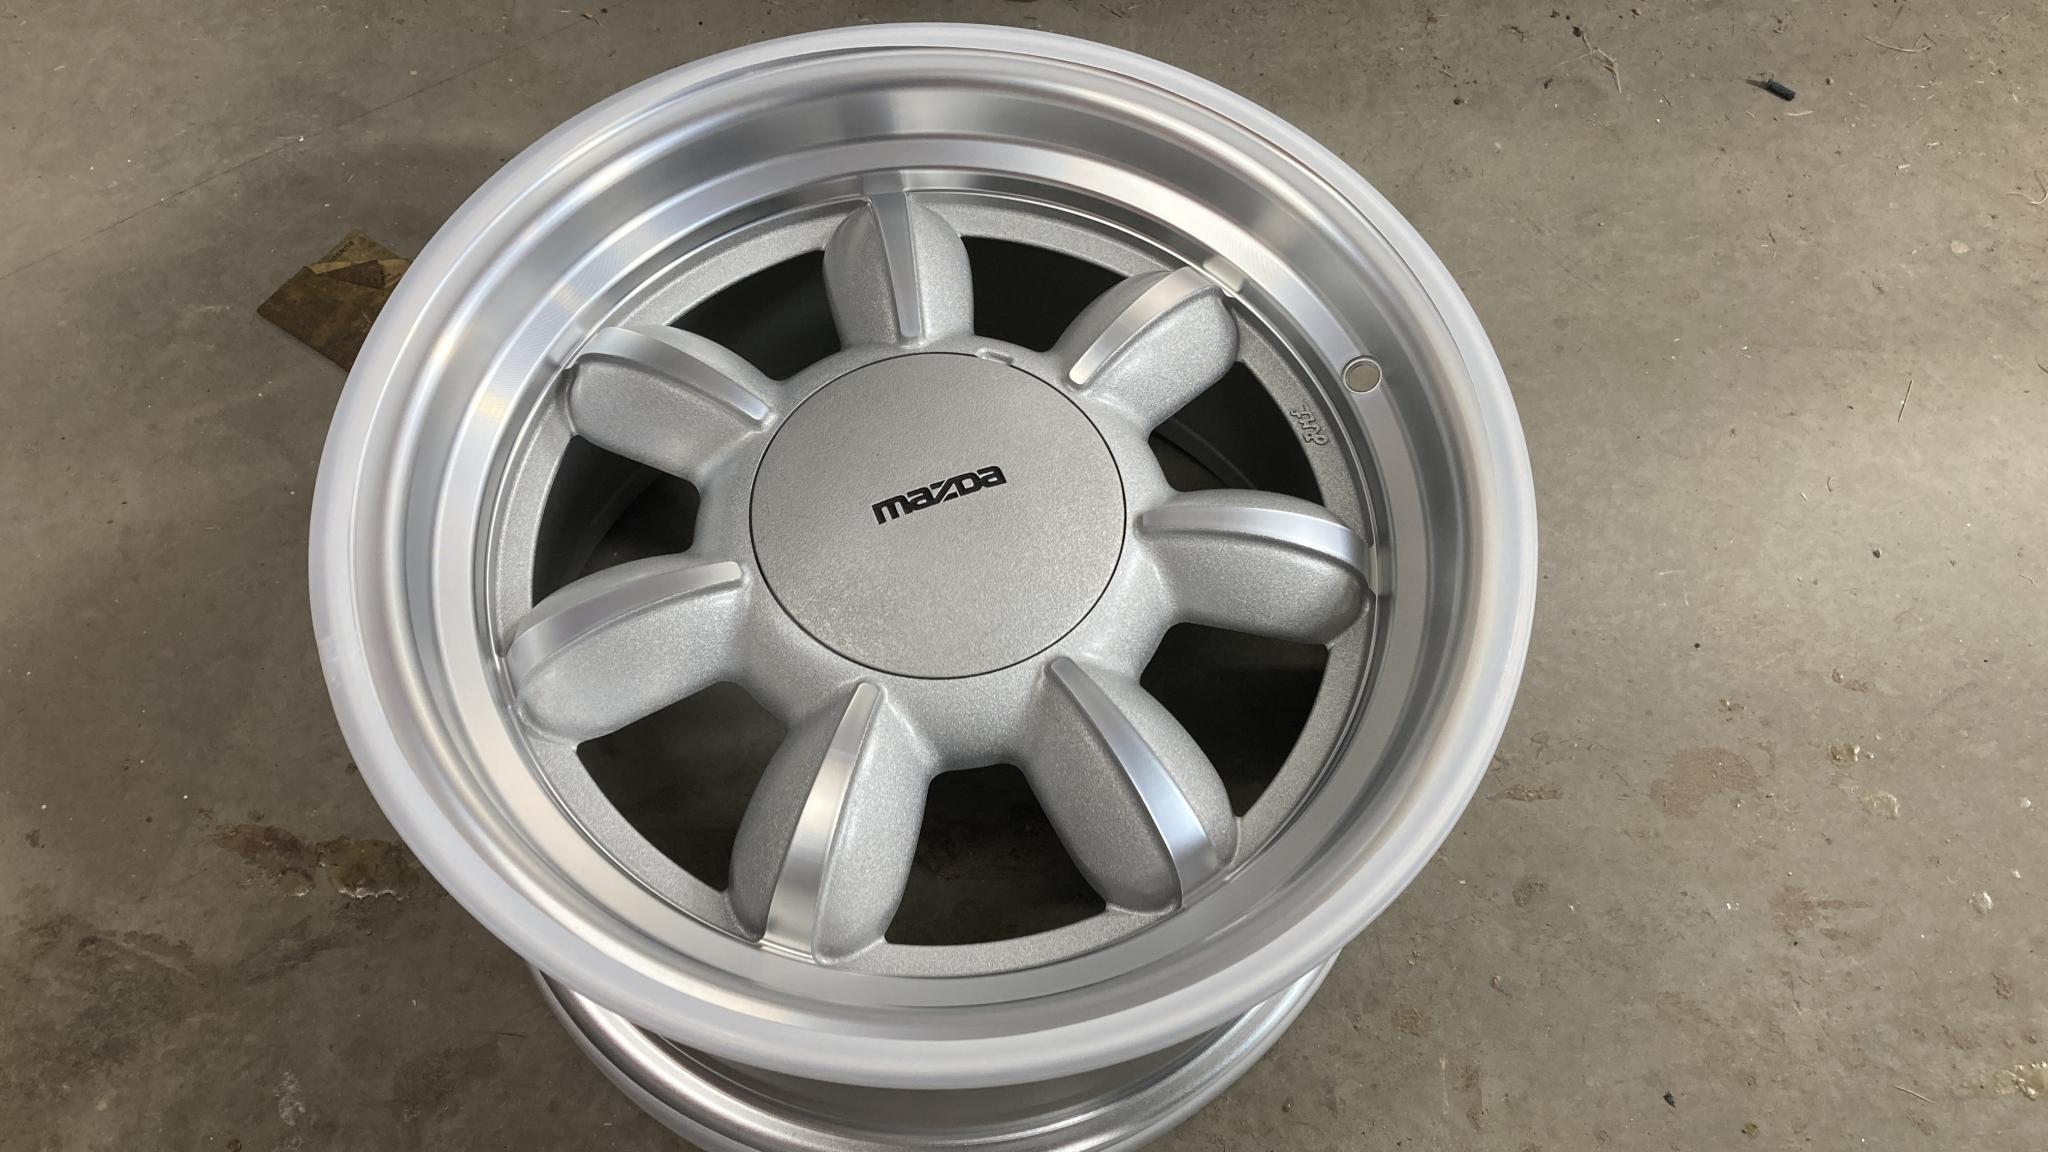
I also moved to a smaller lug nut. The factory 21mm ones were a tight fit in the new wheel, requiring the use of a thin wall socket. The new ones (which I think used to be used on the Targa Miata) let me use a 17. Much better. The only downside is that now I have to pay attention to the correct clocking of the hubcaps as they have a relief for the lug nuts that wasn't needed for the factory ones.
Next was some new Redline MT-90 fluid for the transmission and some 75-90 for the rear diff. The latter is a tiny little thing, the smooth case design that was only used in the earliest cars. This was easy enough. Looks like I'm due for an oil change as well, which means I'm actually driving the car! Good news there.
Since I knew I'd be pulling the shifter to change/replenish the turret fluid, I decided to pick up a shifter rebuild kit from my local Miata shop. I knew the upper boot was probably damaged and there was a good chance the lower was as well. The insulation is usually pretty ragged so I also picked up an upgrade from the shop. The big upper boot is an aftermarket one (guess where I got it?) that is made of thicker rubber and should last longer.
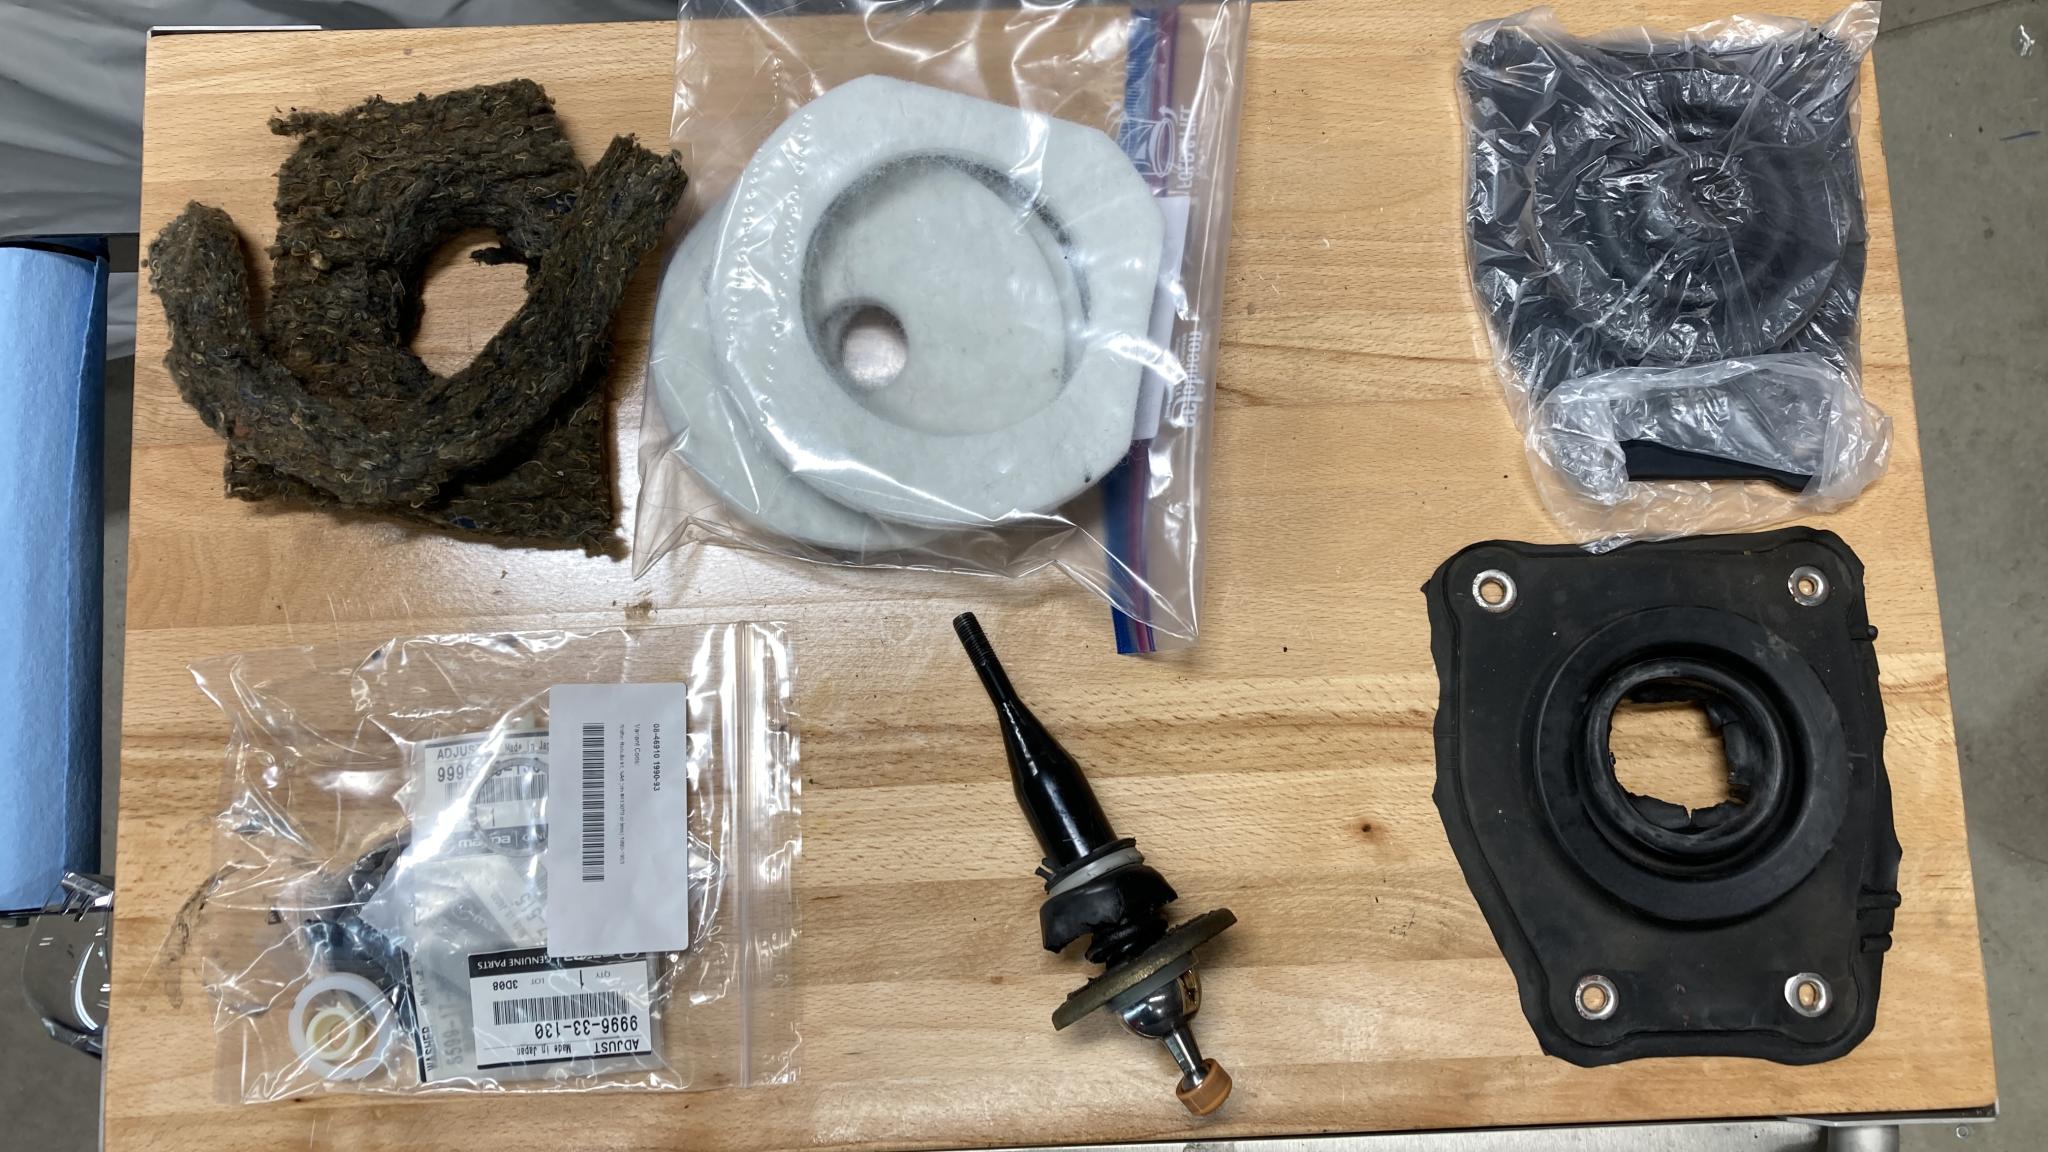
Overall, the shift feel is pretty good on the car, I have no complaints. But when I fished the parts out, I discovered that some of them were definitely past their prime.
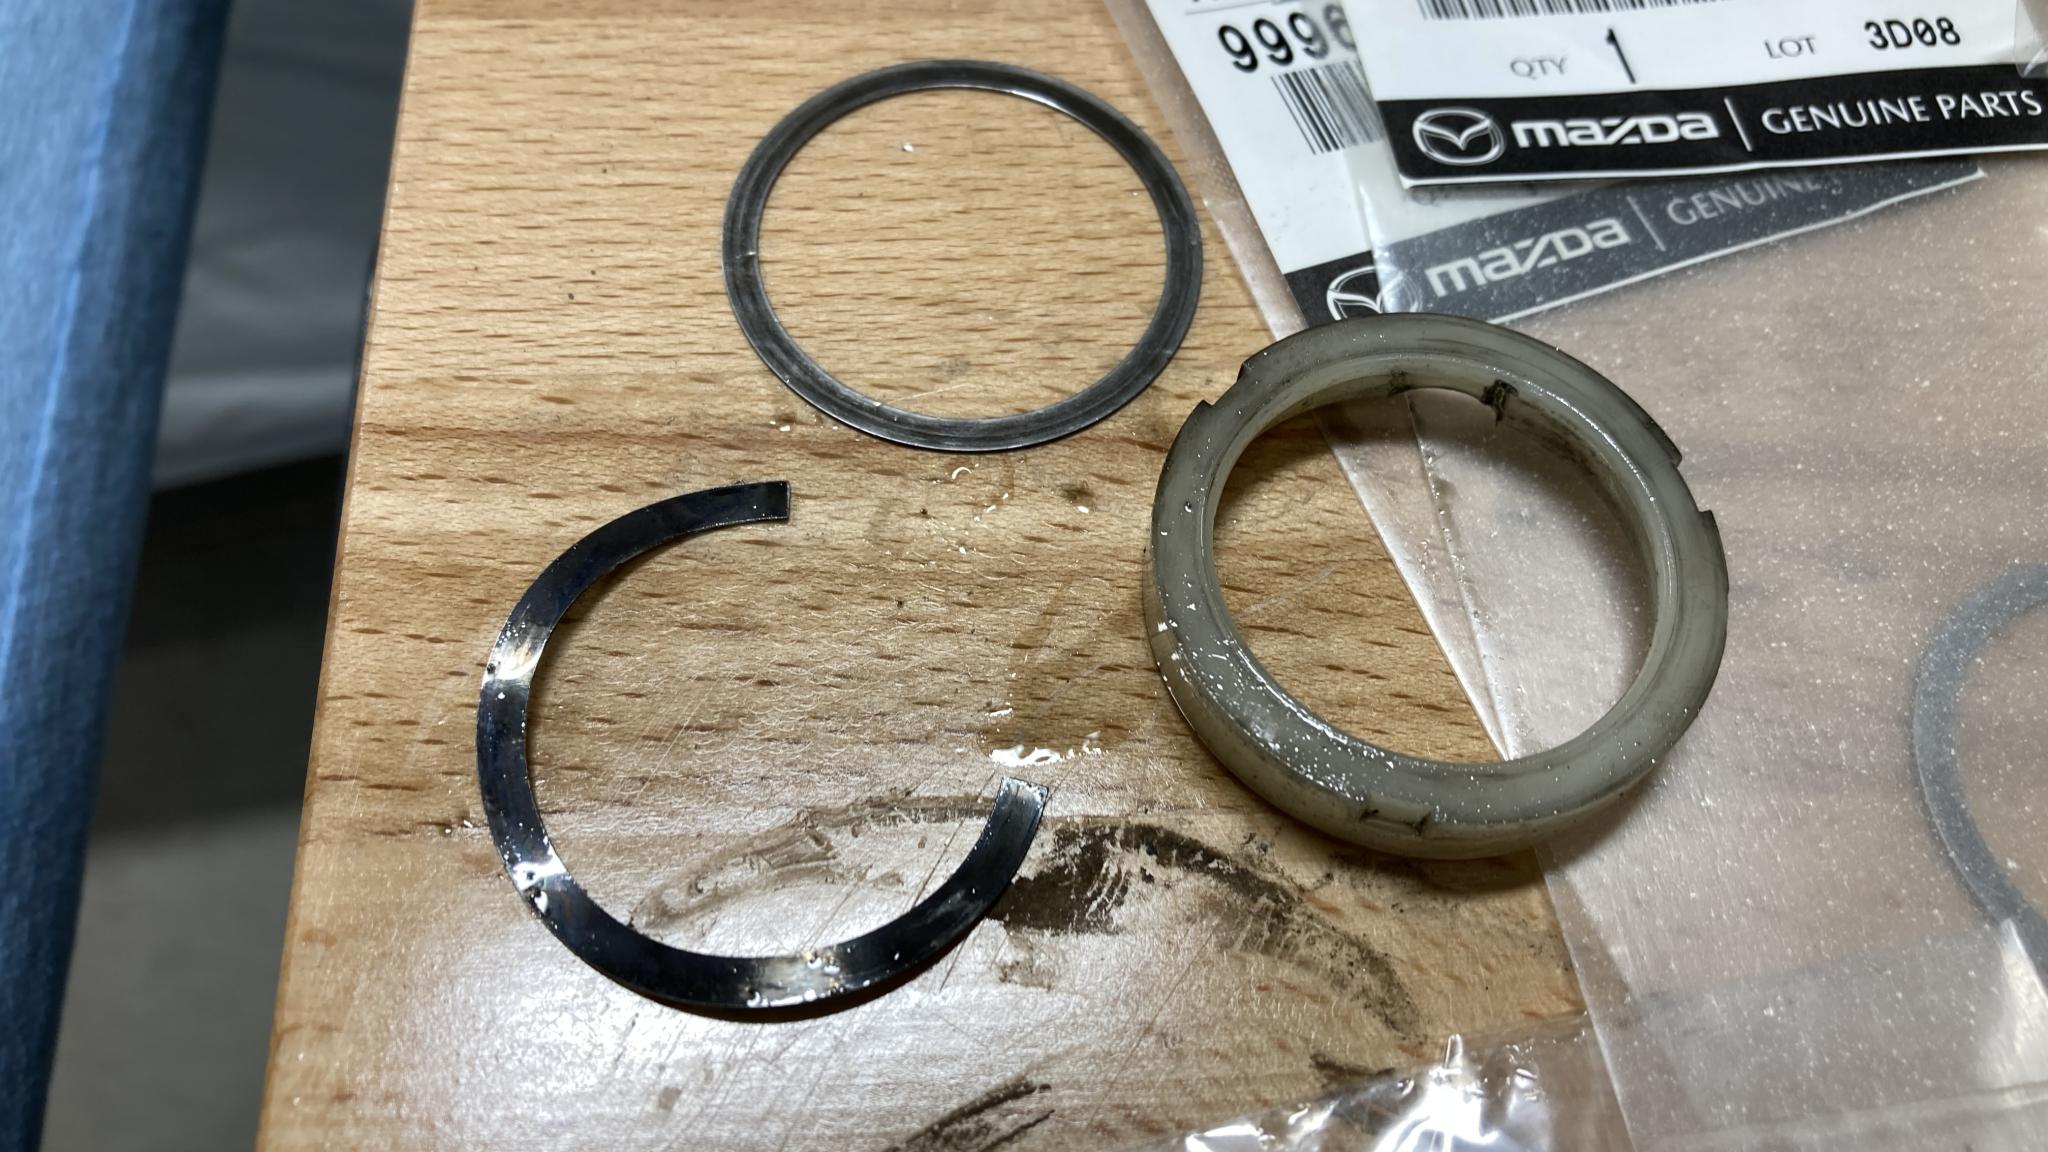
It took me a while to find the broken chunk of the wave washer after it fell down into the turret, but thankfully that's separate from the body of the transmission and it had not traveled far. There's also a washer missing compared to the parts diagram. The new bushing on the bottom of the shifter was a tighter fit so I suspect I've managed to generally rid myself of some slop.
I also had a bolt break off, one of the four for the upper boot. The bottom of those are exposed to the elements so this is not unusual. I suspect the usual solution is to just use the remaining three. In this case, I drilled out the broken piece, retapped and felt good about myself.
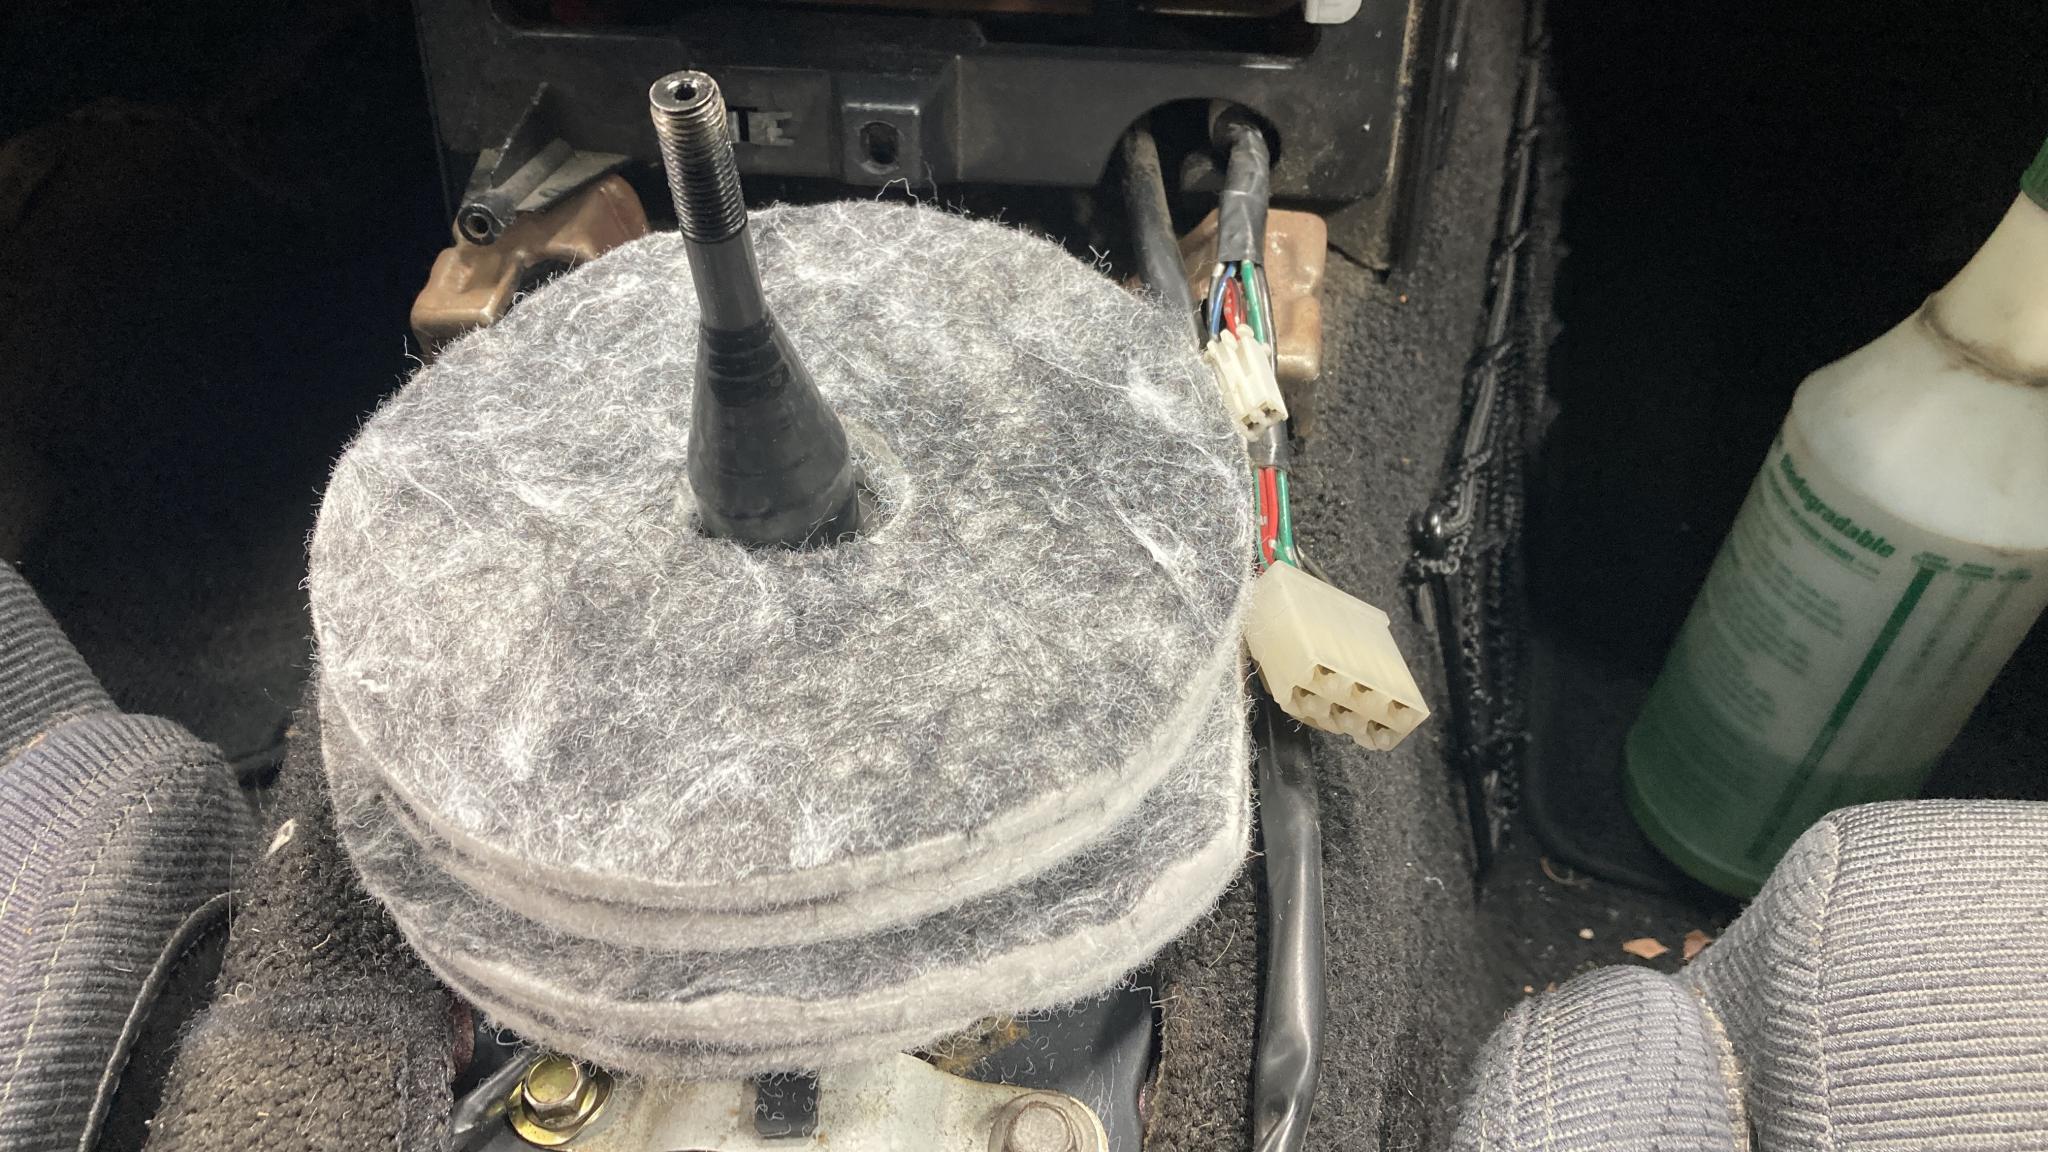
Here's the new insulation. I'm curious about how inflated the shift boot will look.
No chance to drive it yet, as I'm waiting for a package that I want to install before reassembling the interior. So I don't know if the feel has changed.
You'll need to log in to post.