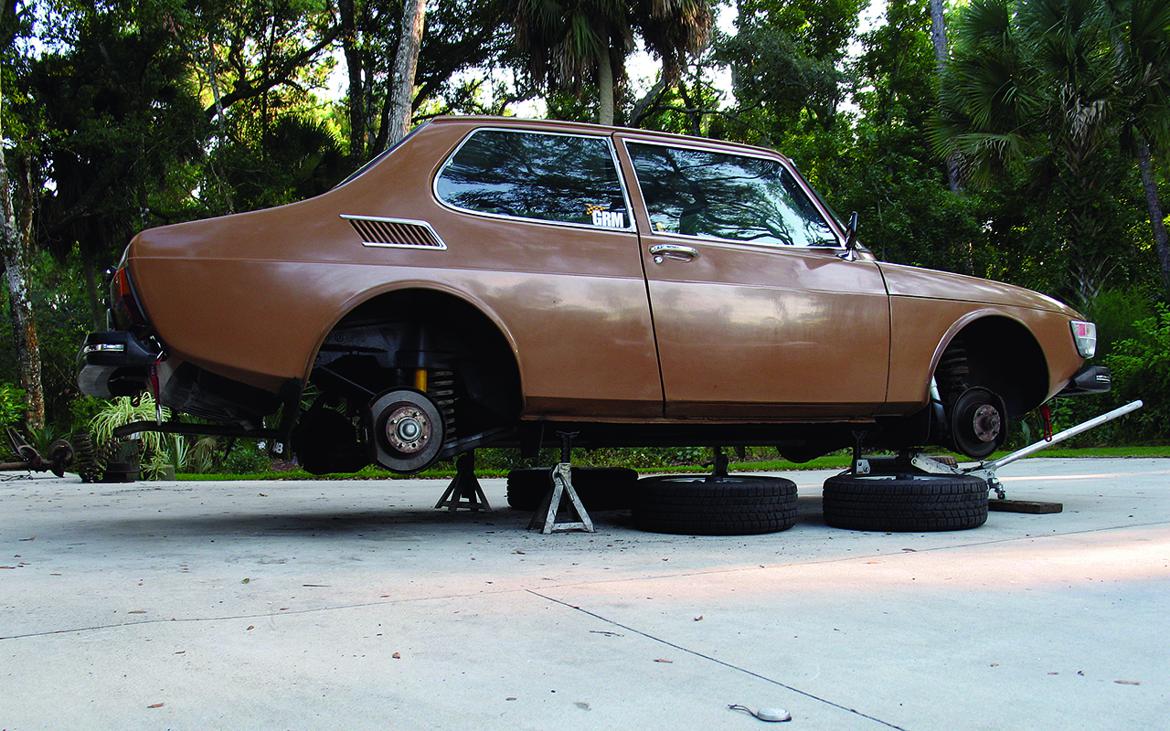
Photography by Per Schroeder
[Editor's Note: This article originally ran in the February 2008 issue of Grassroots Motorsports; for more updates, visit here.]
Reading, writing and ’rithmatic: By now, we hope that all of us are pretty proficient when it comes to the three Rs. Our Saab 99, however, needed some more preparation before it could conquer some Rs of its own, specifically rally and rallycross.
Starting with an older car like this one has added another R into that equation—restoration. Before you can make an older car legal for rally competition, you first need to get it back to like-new condition. This is especially true regarding the suspension. It doesn’t make any sense to bolt on good springs and shock absorbers when everything else under the car is well past its prime.
Rally events are exceptionally hard on equipment. Suspension components, extending to things like ball joints, tie rods and bushings, are more than just wear items when it comes to a rally car, as they are common failure items that can stop a team in its tracks. That means we need to add yet another R into our list—reinforcement.
We started our suspension redo by first replacing our 99’s rear axle beam with one from its successor, the Saab 900. The 900’s axle—we found ours in a salvage yard—is about an eighth of an inch thicker and thus more resistant to bending. The 900 rear axle will bolt to a post-1975 Saab 99 as long as the matching 900 trailing arms are also used.
The newer rear trailing arms, however, use a slightly different shock absorber mount, one that features an eyelet instead of a central threaded pin mount. Since we wanted to use a set of 99-specific Bilsteins that we already had—an $80 score at Carlisle—we welded a small plate into the 900 control arms and drilled a hole to accommodate the 99 shocks. We have found that Bilsteins are up to the task of moderate rally usage and they’re what we’d call Historic class-appropriate for our old Swede.
We replaced all of the car’s suspension bushings with polyurethane pieces from Powerflex. For helpful hints on how to install new bushings, see the sidebar accompanying this story. New ball joints and tie rod ends rounded out the restoration of our suspension.
Rally competition puts a whole ’nother level of stress on a car. In addition to the speeds, there’s the airborne thing to consider. What goes up must come down.
So, we attacked the front lower control arms. We added triangular plates and rewelded the pivot points. Our Obi-Wan Kenobi of Saabs, rally competitor Luke Sorensen, helped us with these plates and reinforcement points.
Luke has found that the reinforced arms have created a new problem, however: ball joint failure after repeated jumps. We’ll just have to keep an eye on the arms after hard landings.
The front upper shock mounts were also reinforced, as we added an L-shaped bracket to convert the single-shear pin mount to a double-shear setup. This is essentially how the original Saab factory rally cars were built.
To give the suspension as much cushion and ground clearance as possible, we then installed a set of used factory rally springs that came from Saab’s Sport & Rally catalog. These particular springs are taller and stiffer than the already springy factory parts and came with the car when we purchased it from Luke.
While the Saab was still pegged up on jack stands, we went through our brakes. We bolted on rebuilt front and rear calipers, but since the rotors looked brand-new we didn’t feel the need to replace them.
Finding the right brake pads did take a little bit of work, as Porterfield did not have a listing for our car. To find a solution, we used pencil and paper to trace our old pads, scanned that image into a computer, and e-mailed the file to Porterfield for some advice. Turns out that the Saab’s Girling calipers and pads are very similar to those used on older Triumphs.
Here’s a surprise for you folks: Saabs are weird. The hand brake operates the front wheels, so it’s not going to be helpful as a turning aid.
To remedy this situation, we first completely removed the stock setup. We then rerouted the brake lines so both rear brakes are now on the same circuit. This allowed us to install one of K Turn Rally’s hydraulic hand brakes. The $250 setup uses a small Wilwood master cylinder to activate only the rear brakes. Now we can get tail-happy at will.
While we had our Saab’s front end torn apart, we figured now would be a good time to add a skid plate. The Saab’s transmission is quite vulnerable as it hangs low and forward; it needs protection from a very stout plate.
We formed the frame for our skid plate out of 1.5-inch steel tubing that was then attached to the chassis with quarter-inch tabs. The outer skin is 3/16-inch aluminum that we bent to match the curve of the frame. The result is wicked-stout protection that can be unbolted when servicing the driveline.
Now that our Saab’s chassis and suspension are ready to handle rallycross and road work with aplomb, we need to work on our safety gear. Coming up next we’ll get to work on a roll cage, FIA-approved seats and even a fuel cell. The we can go play in the dirt.
View all comments on the GRM forums
You'll need to log in to post.