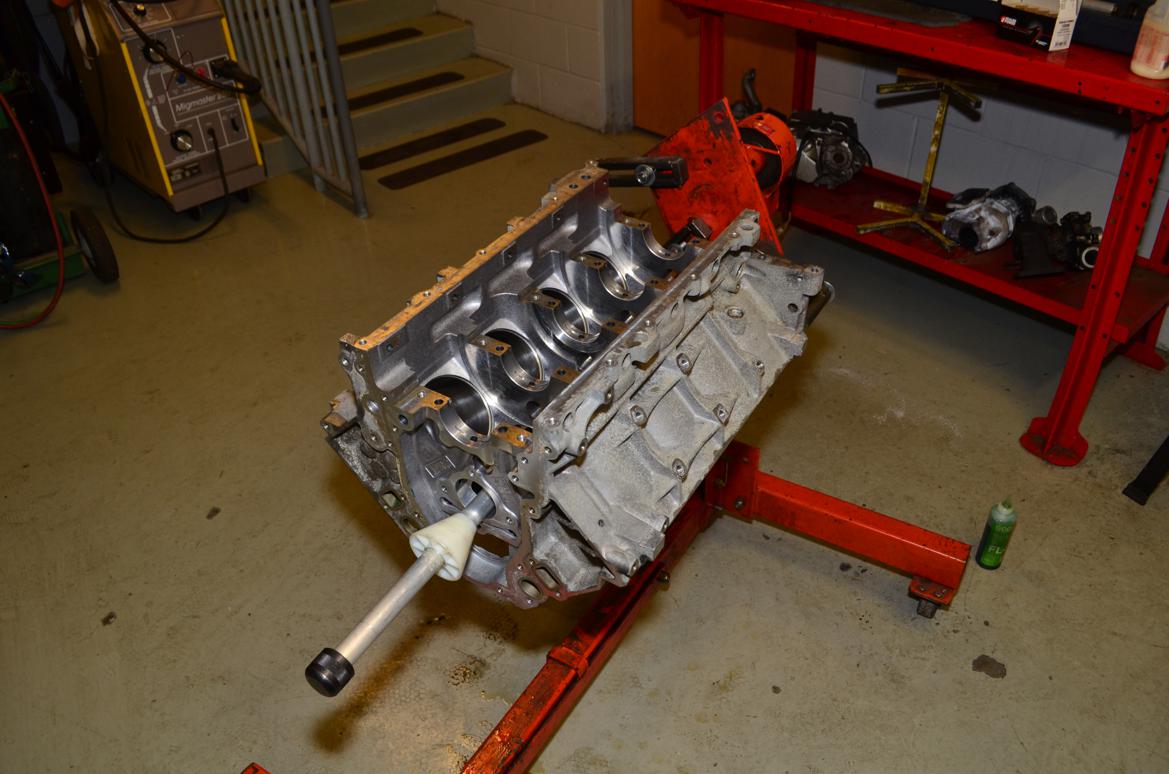
Interesting tidbit: Not all LS cam bearings are the same outside diameter, so you can put the wrong ones in the wrong spots (or try to) and ruin them in the process.

Camshaft bearing installation isn't rocket science, but it does require a special tool.

The tool has a plastic cone on one end, and a punch on the other. Smack it with a hammer, and it seats cam bearings without deformation or misalignment.

We used bearings from Sealed Power. Why two boxes? Doing this for the first time can be tricky, and we didn't want a ruined bearing to delay our build while we ordered more.

We reamed away any high spots on our bearings.
We’re rebuilding our $400 LS1 in a class at our local tech school, Daytona State College, and we were finally starting to have some fun. After balancing our crankshaft, it was time to install our cam bearings.
First, we cleaned everything very, very well. This was the first step of final assembly, so we were officially treating our engine like a rocket about to be launched. Every spec of dust or piece of dirt was the enemy, just waiting to ruin our engine.
Next, it was time to put the bearings in. We used a set from Sealed Power, one of Federal-Mogul’s brands. Using a special camshaft bearing installation tool, we pressed in the bearings in one by one, stopping after each bearing was set to test the cam and remove any high spots (they’re shiny marks on the bearings). We were careful to align our oil holes properly, too. After an hour or so, we had perfectly installed cam bearings and a camshaft that spun like butter.
Next step: It’s finally time to put the bottom end together.
Interesting tidbit: Not all LS cam bearings are the same outside diameter, so you can put the wrong ones in the wrong spots (or try to) and ruin them in the process.
Displaying 1-2 of 2 commentsView all comments on the GRM forums
You'll need to log in to post.