

Photography by Carl Heideman
Wiring is often the most feared part of any project. But even a complicated job–like wiring up this Miata-powered MGB–can be accomplished by nearly anyone if it’s boiled down to basic principles, compartmentalized, and done neatly.
That doesn’t make it a fast job, however. We usually figure 20-40 hours for a task like this one.
There are two main options for a solution involving a radical engine swap: Wire the whole car from scratch, perhaps with a kit from one of the many vendors who supply them, or adapt OEM wiring to do the job. While there are great use cases for wiring from scratch, we felt the OEM adaptation route better fit our guiding swap strategy: Use only MGB or Miata parts to ensure longterm reliability and serviceability.
So we used the body wiring harness from the MGB and the engine harness from the Miata. Simple enough, right?
We’re not going to get into electrical theory here–there are so many good resources available–but tackling a job like this requires a good understanding of the basic principles of electricity. Knowing how a circuit is completed and how components like switches, sensors, relays, lights, motors, generators/alternators and batteries do their jobs is important. With this knowledge, the rest of the job can be broken into compartments.
For us, those compartments are logical sections of the car’s full electrical system: charging, starting, fuel pump, engine management, cooling, HVAC/heater, wipers, horn, dashboard, etc. There may be an overwhelming 100-plus circuits and wires to deal with in the whole system, but many of these sections are in more reasonable clusters of five to 30 wires. We can install and test each section as we go, taking our time to do all of the work according to a system–usually the factory’s.
Neatness counts. Too many wiring jobs are done with poorly routed, tangled wires. We’re very careful to choose convenient and logical routes for wires. We do our best to keep wires from crossing each other, including at entrances and exits in the loom. We use quality terminals and make very careful crimps. It takes a few extra hours to execute this type of detailed wiring, but it pays off in spades in the long term.
Since the lights, wipers, dashboard, horns and much of the body of our MGB GT were still factory items, it made sense to stick with the factory wiring harness. While Lucas wiring doesn’t have a stellar reputation, we’ve found that most of the time, it’s corrosion or poor “repairs” that are to blame, not Lucas.
In fact, there are two features of Lucas wiring that we find exemplary. First, the “bullet” connectors are easy to install and use (with the right tools) and provide for neat installation with easy serviceability. Second, Lucas uses a strict color convention that makes troubleshooting very easy once it’s understood: A black wire is always a ground; a brown wire is always unswitched, unfused positive; a purple wire is always unswitched, fused, positive; a green wire is always switched, fused positive; etc. Since the 50-plus year-old harness in our MGB GT suffered from corrosion and previous repairs, we started with a new one sourced from British Wiring.
The next part of our harness was for the engine management and ancillaries. The obvious choice was to use Miata wiring, and that’s what we did.
Even though the 1994 Miata harness was now nearly 30 years old, it was in excellent shape, so we reused it after removing all of the body harness sections we weren’t going to need. In the end, we probably removed about 75% of the harness, but the wiring that remained can be serviced by anyone who knows Miatas or can read a Miata wiring diagram.
Since this car is resto-modded, there was also a third part of our harness: Heated seats, cruise control, air conditioning and other accoutrements had been installed in the car. While the Miata harness technically had many of these components, the locations and switching requirements would have meant a lot of modification.
So we instead scratch-built wiring for these components and stuck strictly to Lucas coloring. This looked correct in the car and also made it possible for anyone with Lucas understanding to service these parts in the future, even if they don’t have the wiring diagram. We figured using Lucas conventions was close enough to our strategy to use only Miata and MGB parts for this swap.
So in the end, we had three wiring harnesses in the car: the MGB GT body harness, the Miata engine management harness, and the custom harness we scratch-built. Following our compartmentalization strategy, each harness was taped independently so they could be recognized and serviced appropriately. They were connected with just a few junctions, either at the fuse box or the main battery connection at the starter.
Thanks to all that work and lots of testing along the way, the car started and ran on the first try. Really.
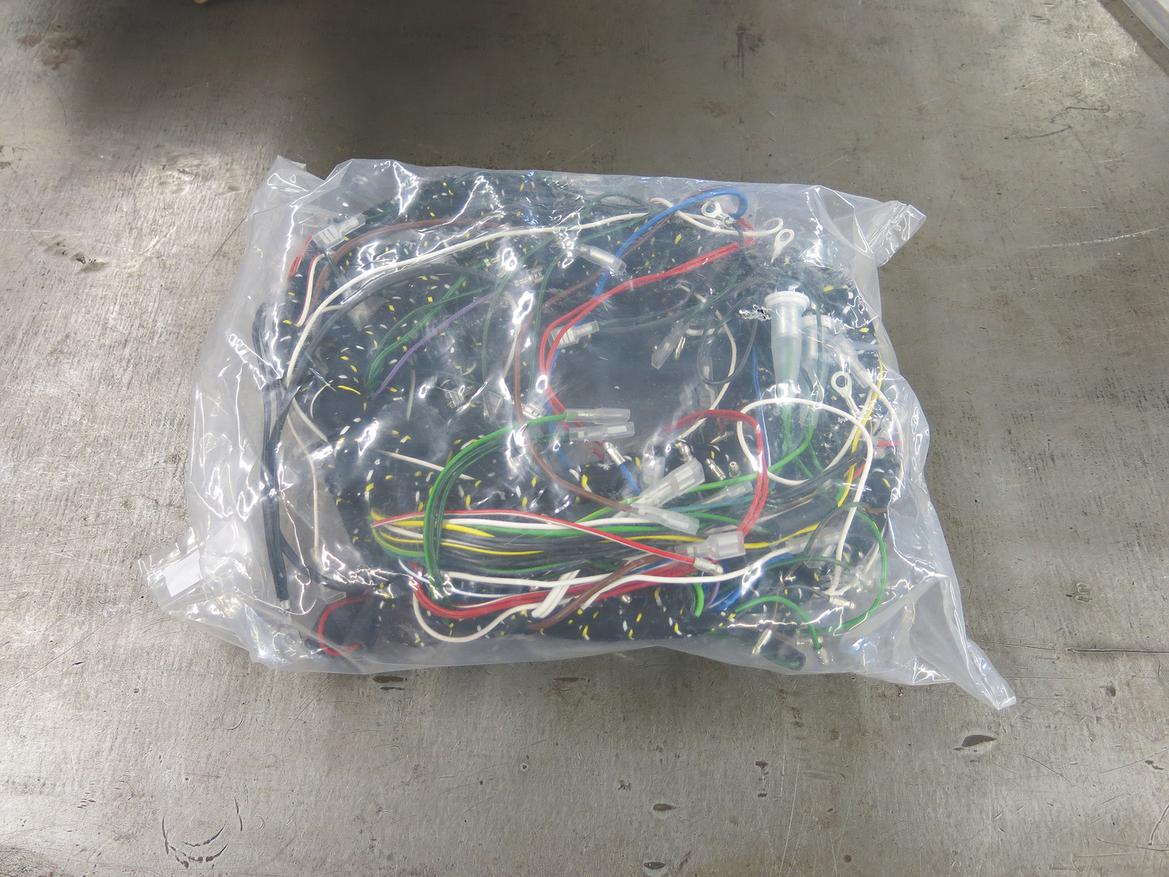
1. We started fresh with the MGB GT’s body harness, sourcing a new one from British Wiring. We left it all bagged up until the engine harness was ready.
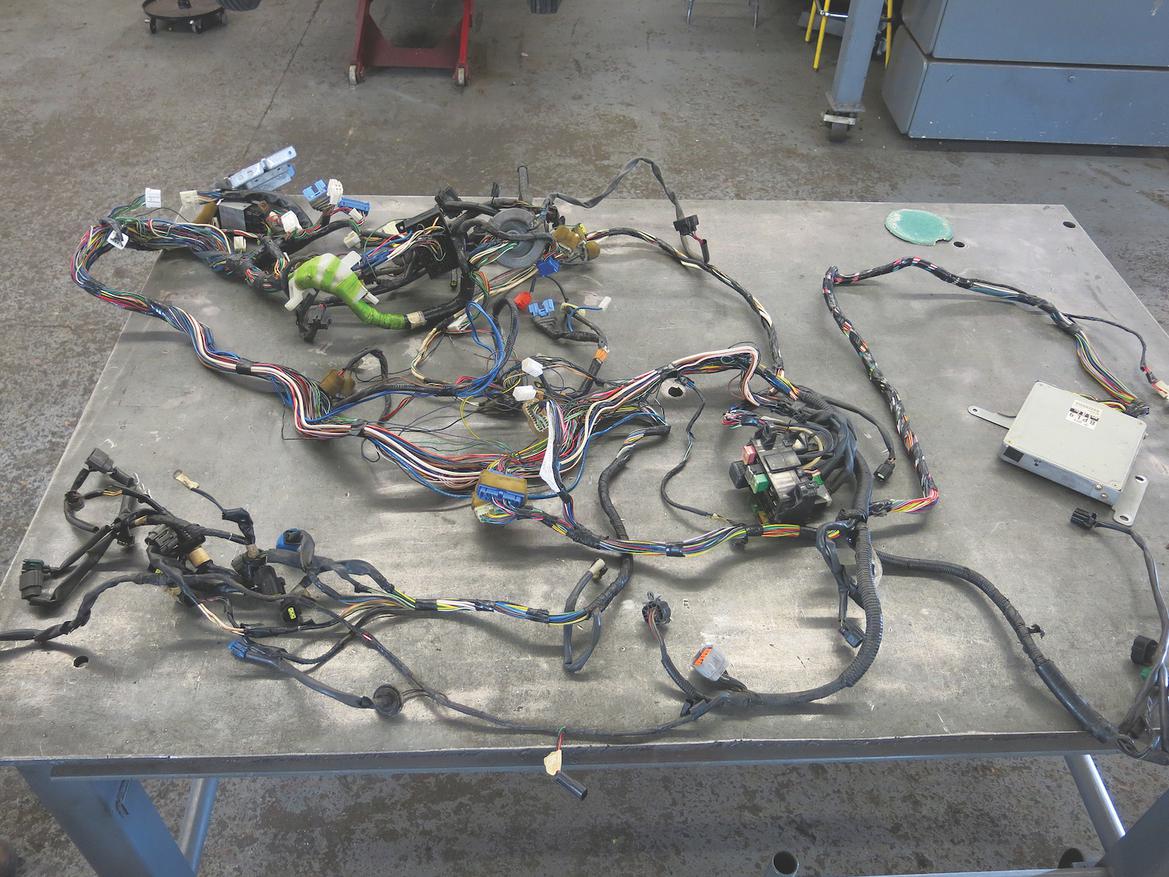
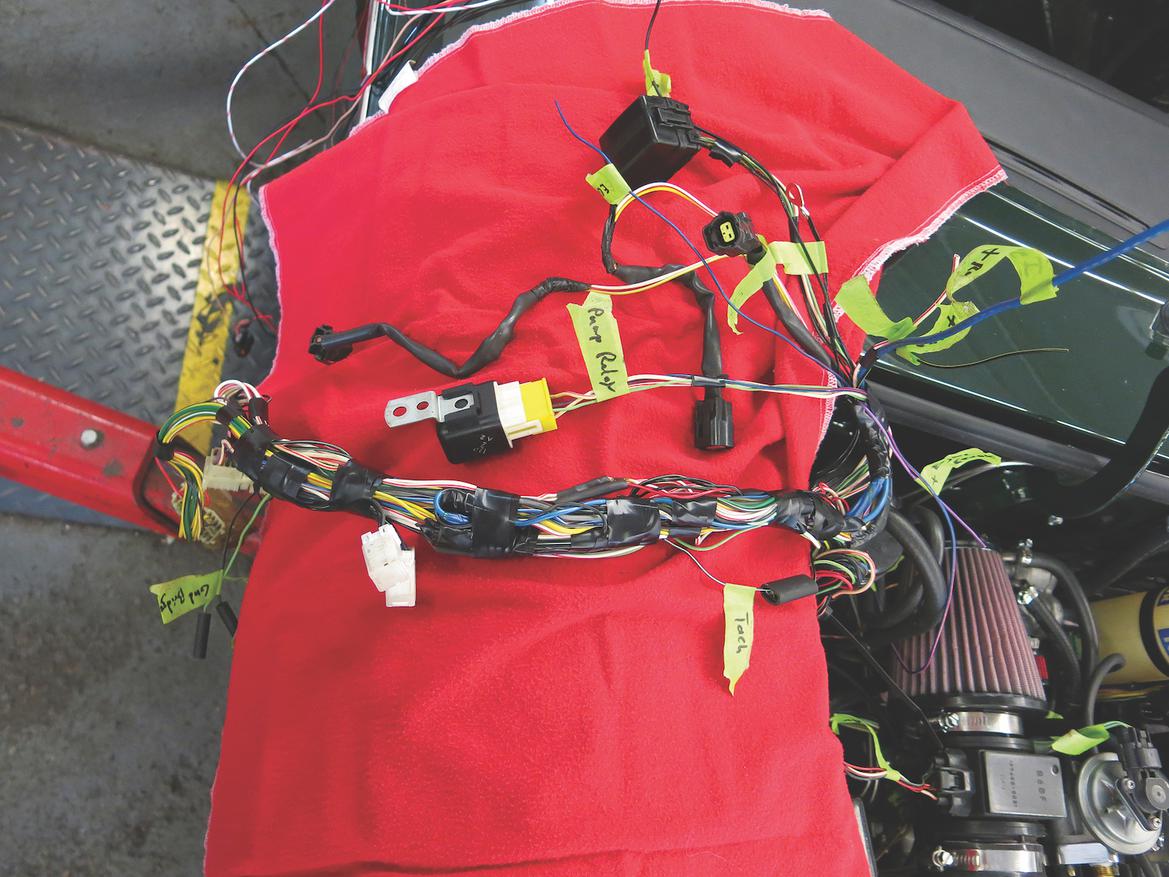
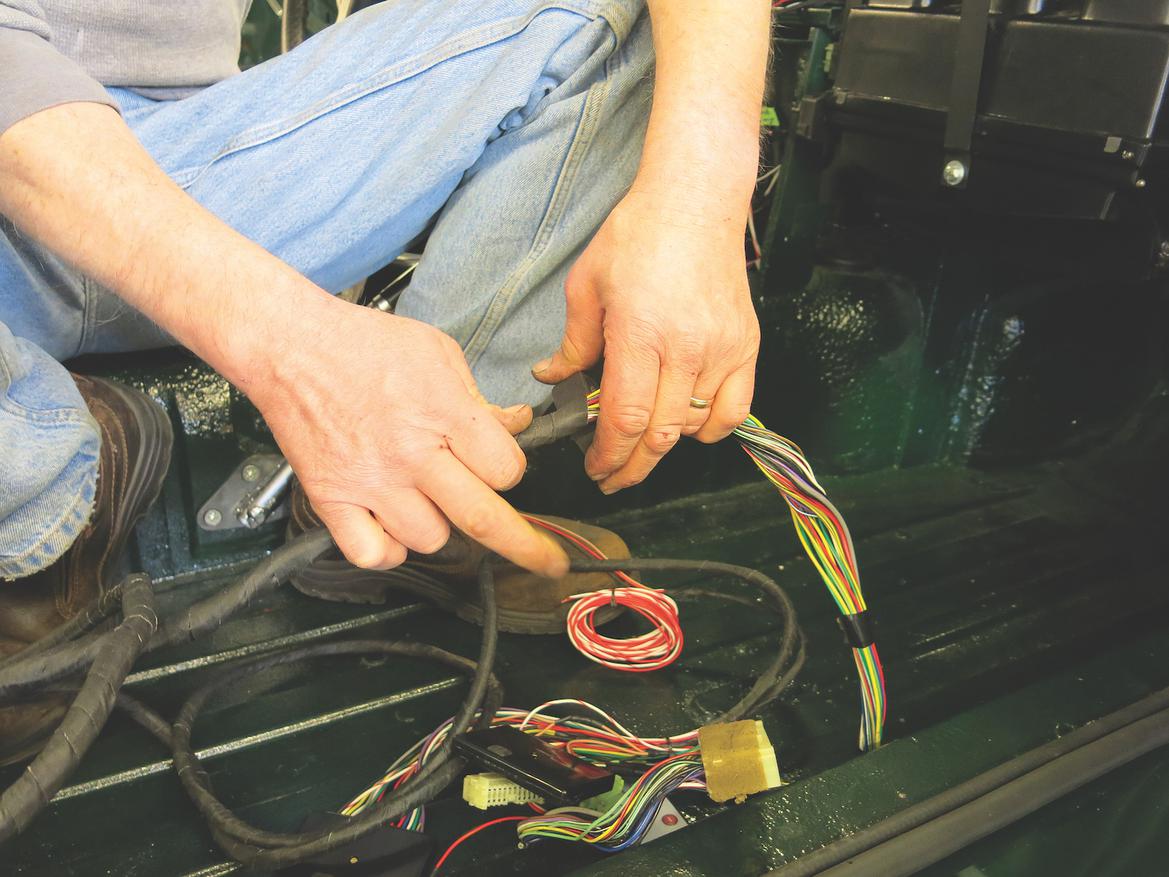
2. After carefully removing the entire wiring harness from our engine donor, a 1994 Miata, we laid it out on a table in preparation for removing all of the unnecessary wires.
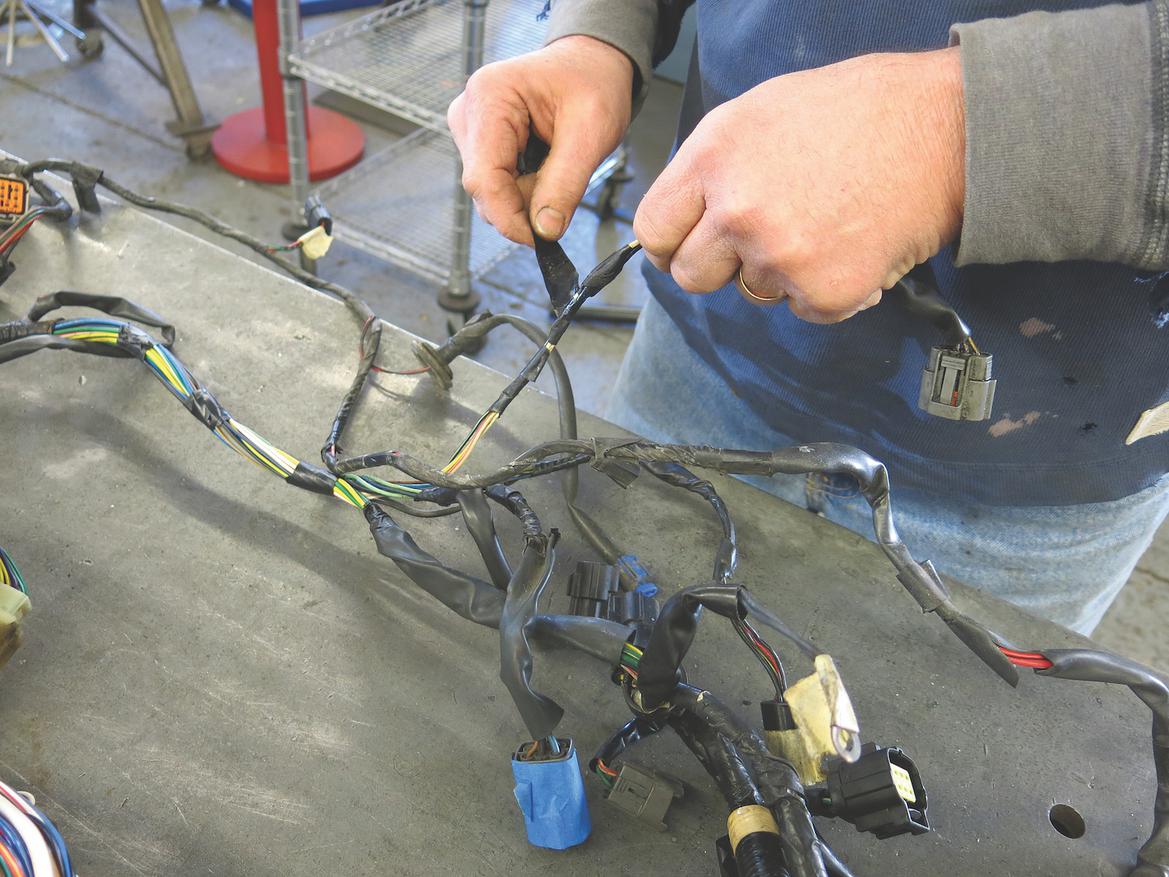
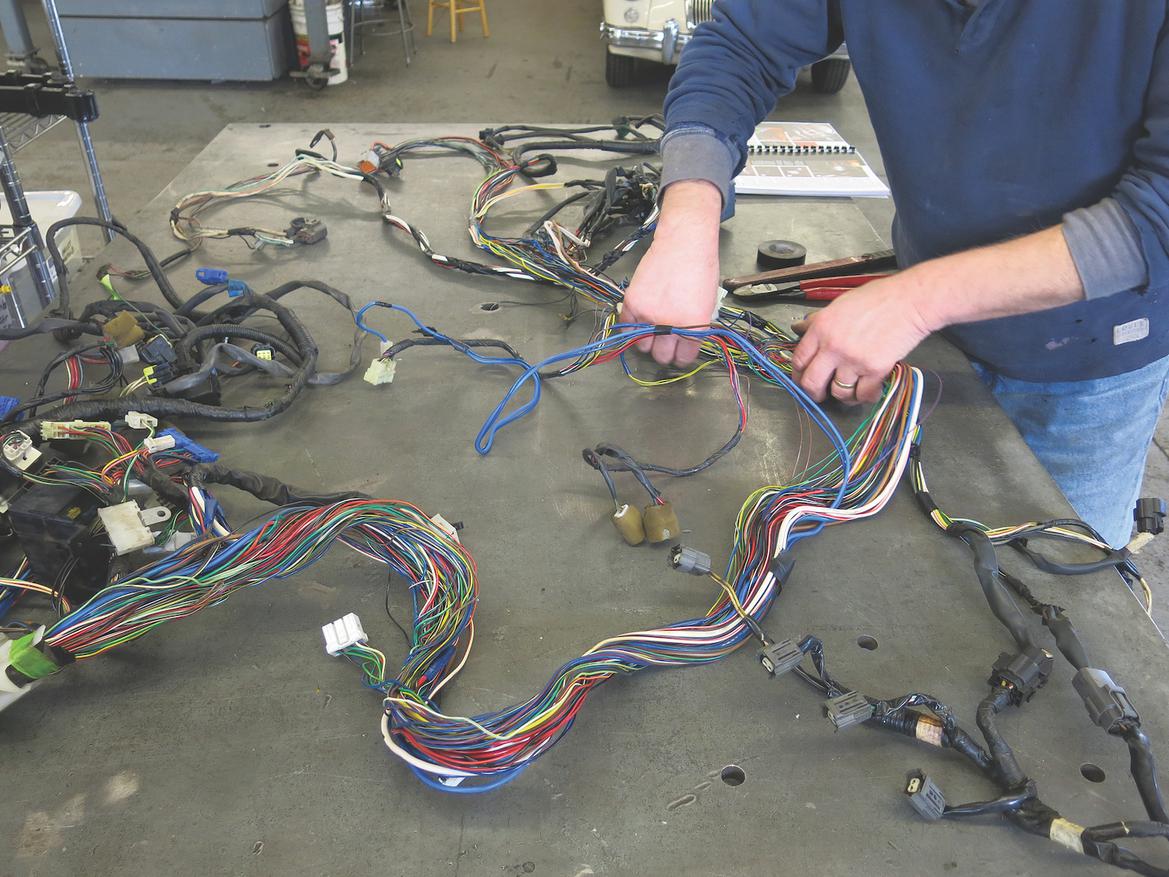
3,4. We then removed all of the tape from the entire harness so we could see each wire–a fairly sticky job. We cleaned the harness with grease and wax remover once all the tape was off.
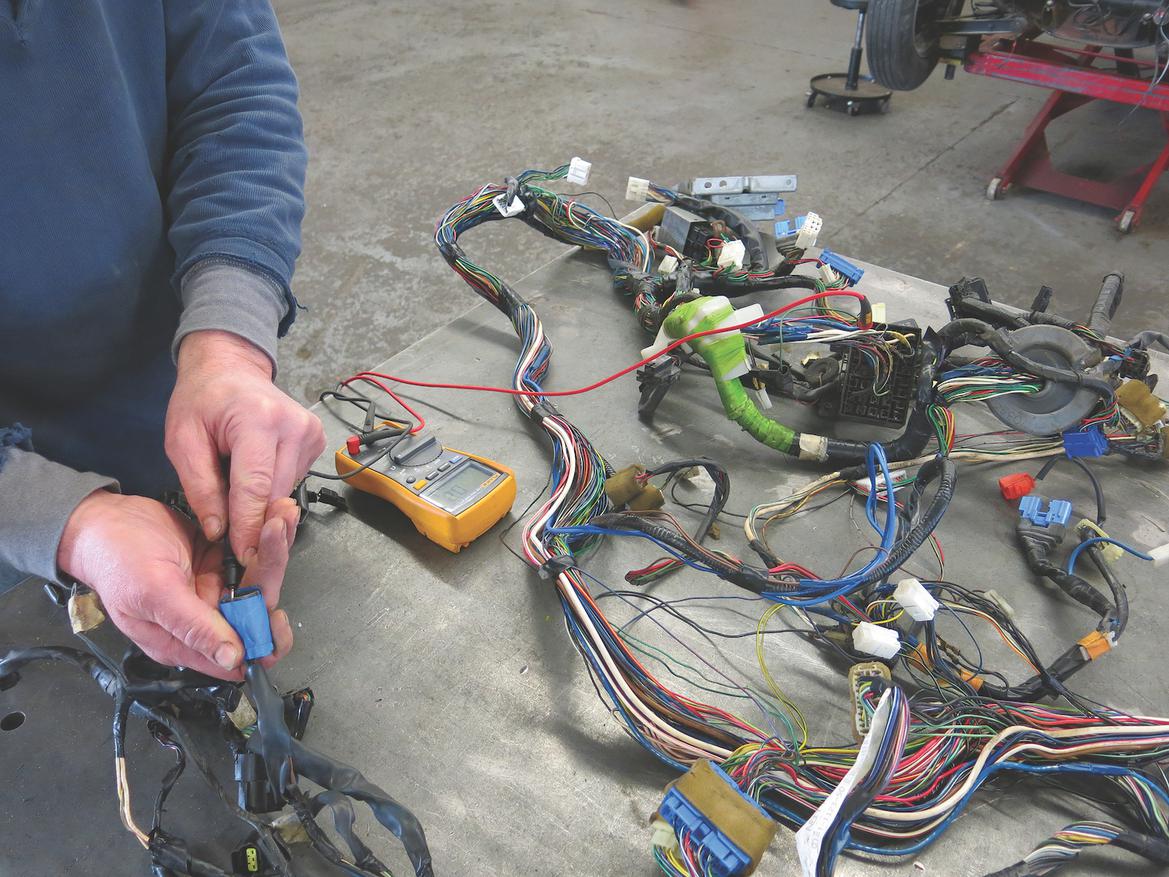
5. With the factory service manual and wiring diagram at our side, we started removing wires for circuits we weren’t going to use. For the remaining circuits, we used a volt/Ohm meter to check continuity on every connection. For many circuits, that meant multiple checks. For example, on the fuel pump circuit, we checked from the pump wire to the relay, then from the relay to the appropriate pin on the ECU.
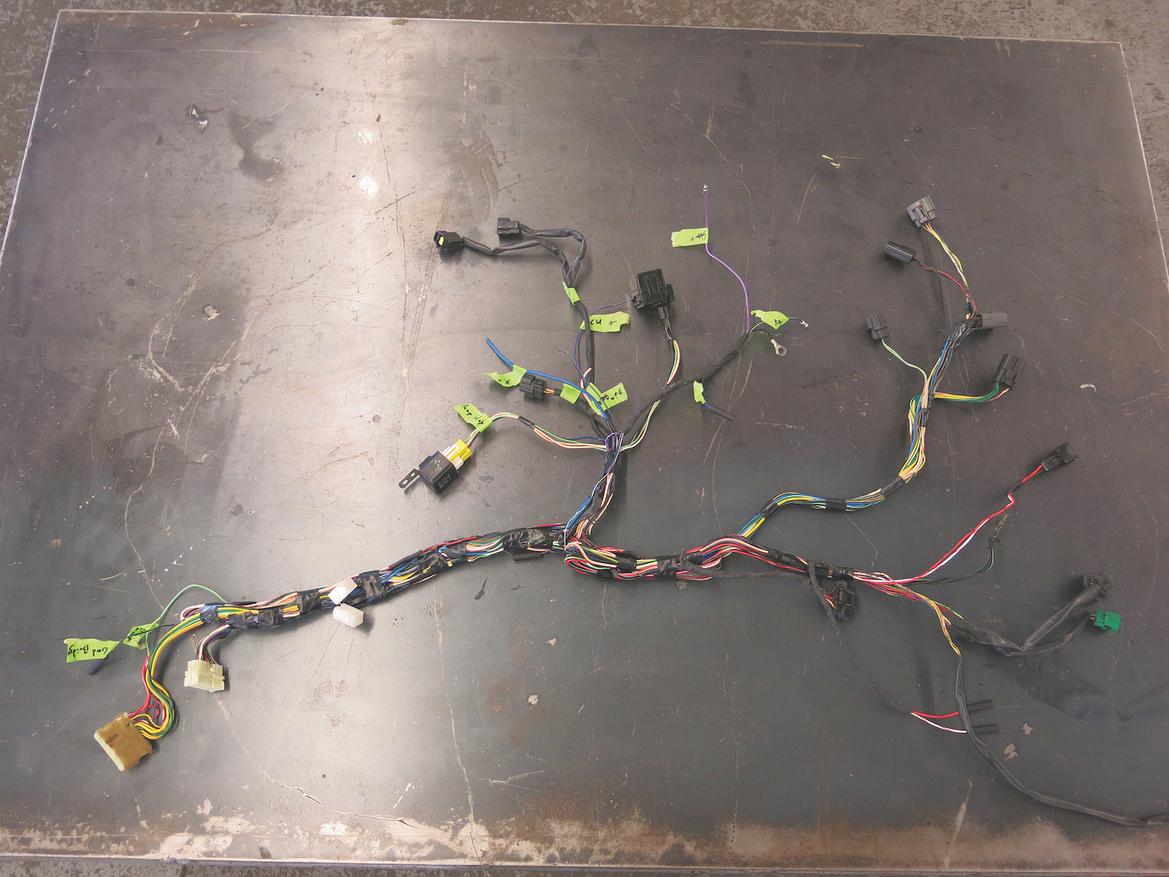
6. The remaining engine management harness was still pretty complicated but much simpler than the original harness. We labeled appropriate parts of the harness with masking tape so we wouldn’t have to look to the wiring diagram quite as much in the future.
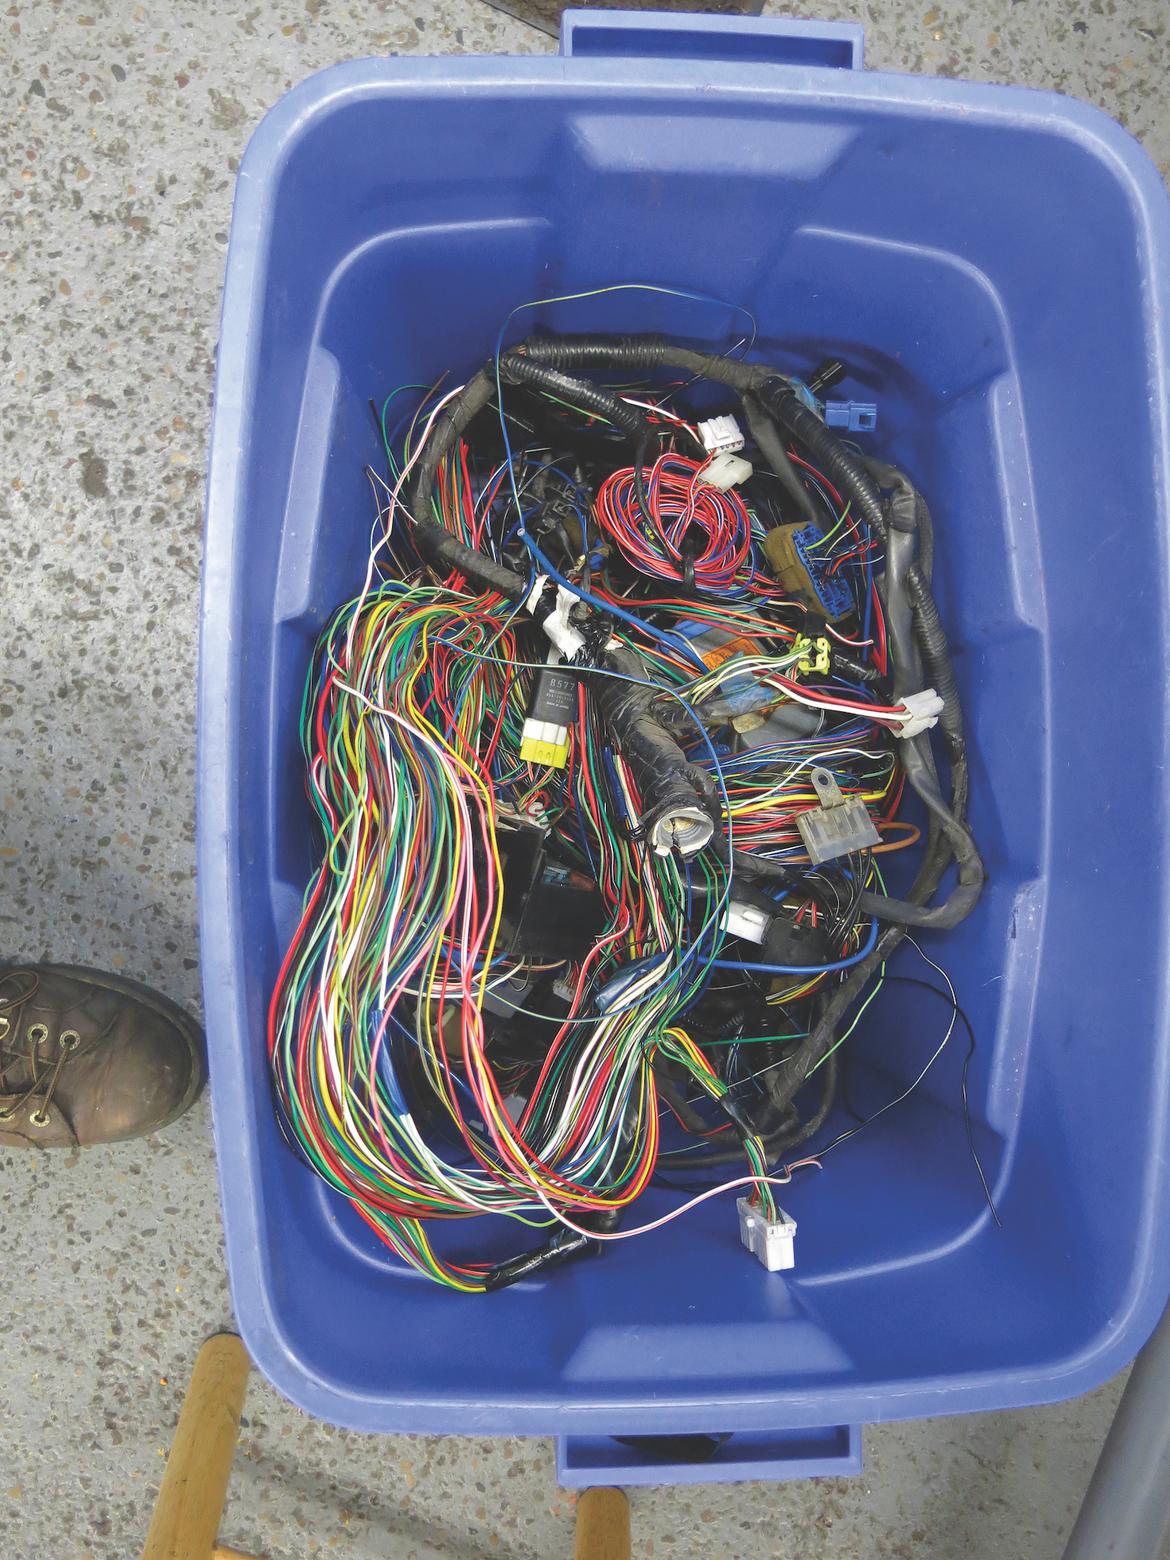
7. We ended up with a lot of extra wiring. We play with a lot of Miatas and will be able to repair or enhance harnesses with correct wire sizes and color codes using these leftovers.
8. We then pulled the body harness out of the bag and started routing it into roughly appropriate positions in the car. With the dash out, it looked a bit messy, but as we added components, we tightened up the routing neatly.
9. We did the same rough position/neaten-up routine in the engine bay.
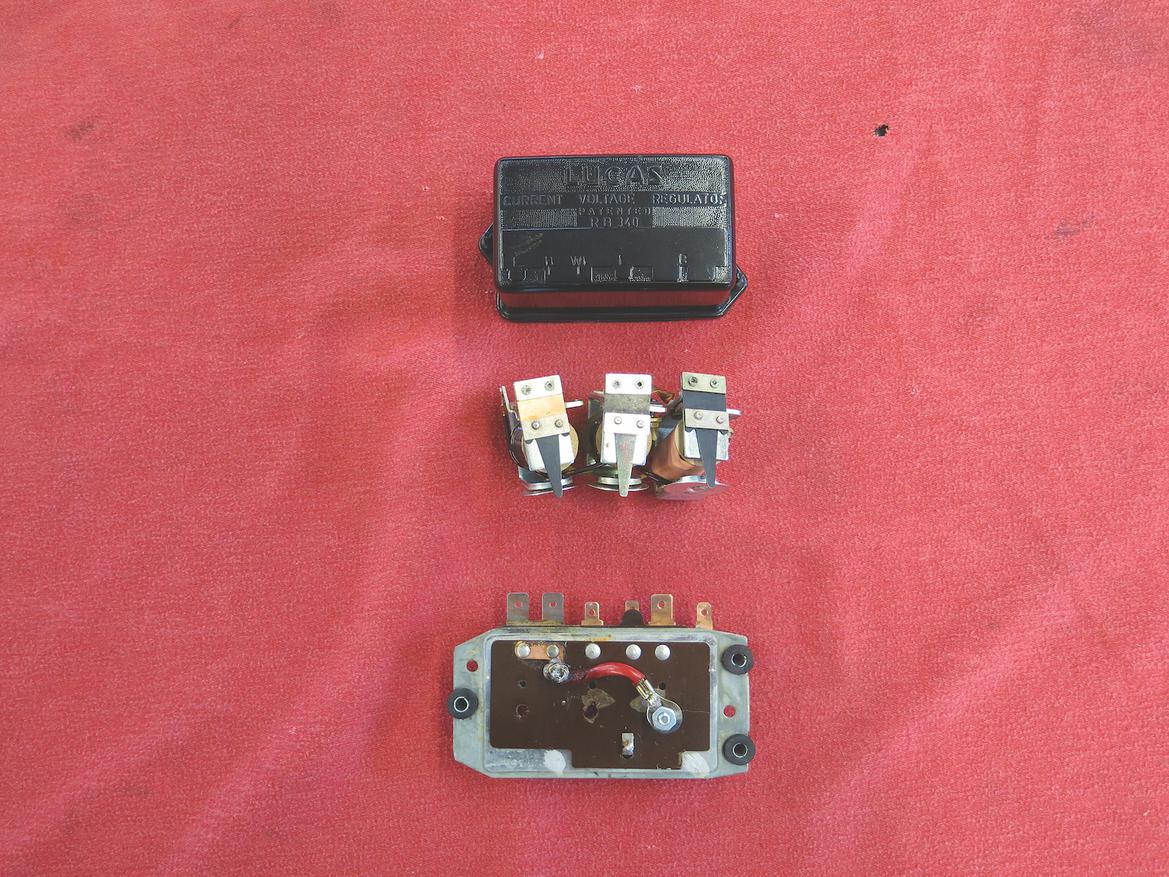
10. The MGB body harness was set up for a generator and external voltage regulator, neither of which we needed because we used the Miata alternator wiring. Since the voltage regulator is a wiring union on the MGB, we gutted it so we could still use it as a union.
11. We then started work on the scratch-built harness for the accessories we’d added to the car–a/c, cruise control, heated seats and more. Again, we laid in the wiring rough, then neatened it up as we went along.
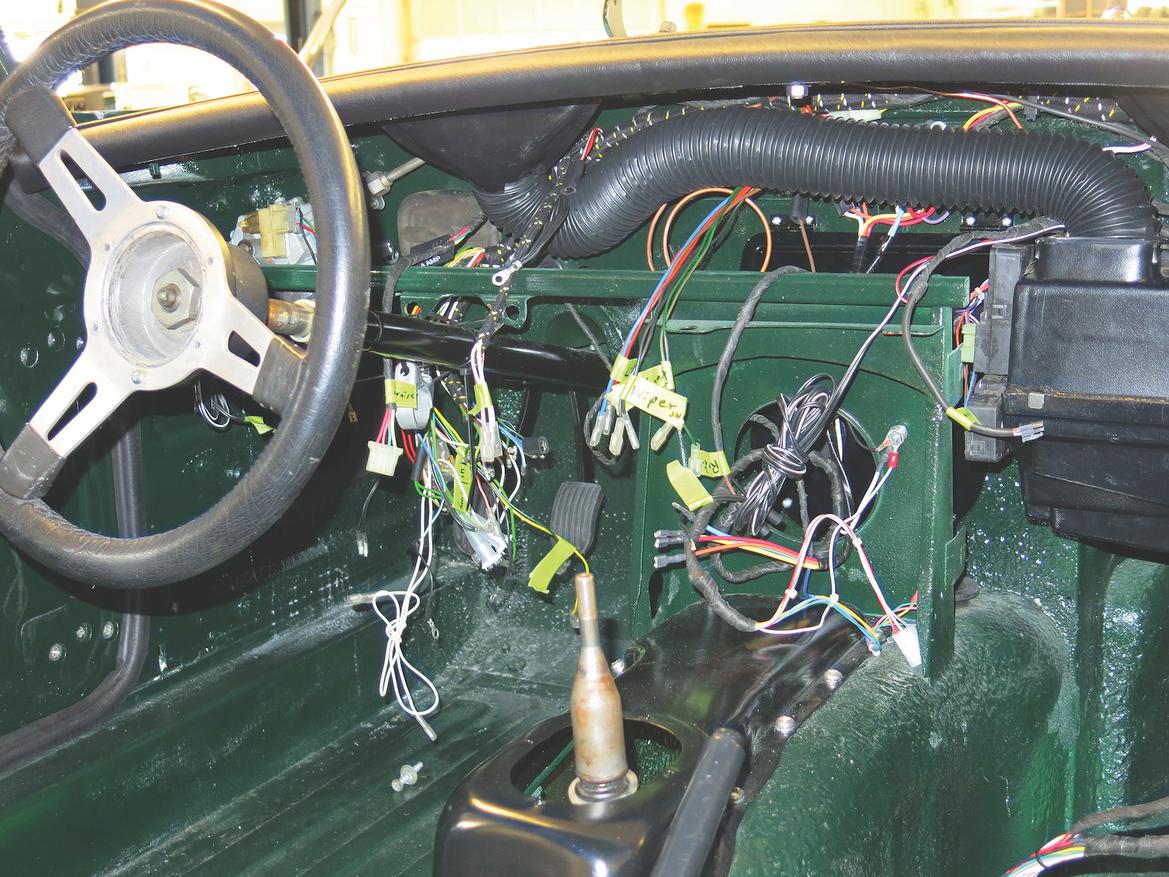
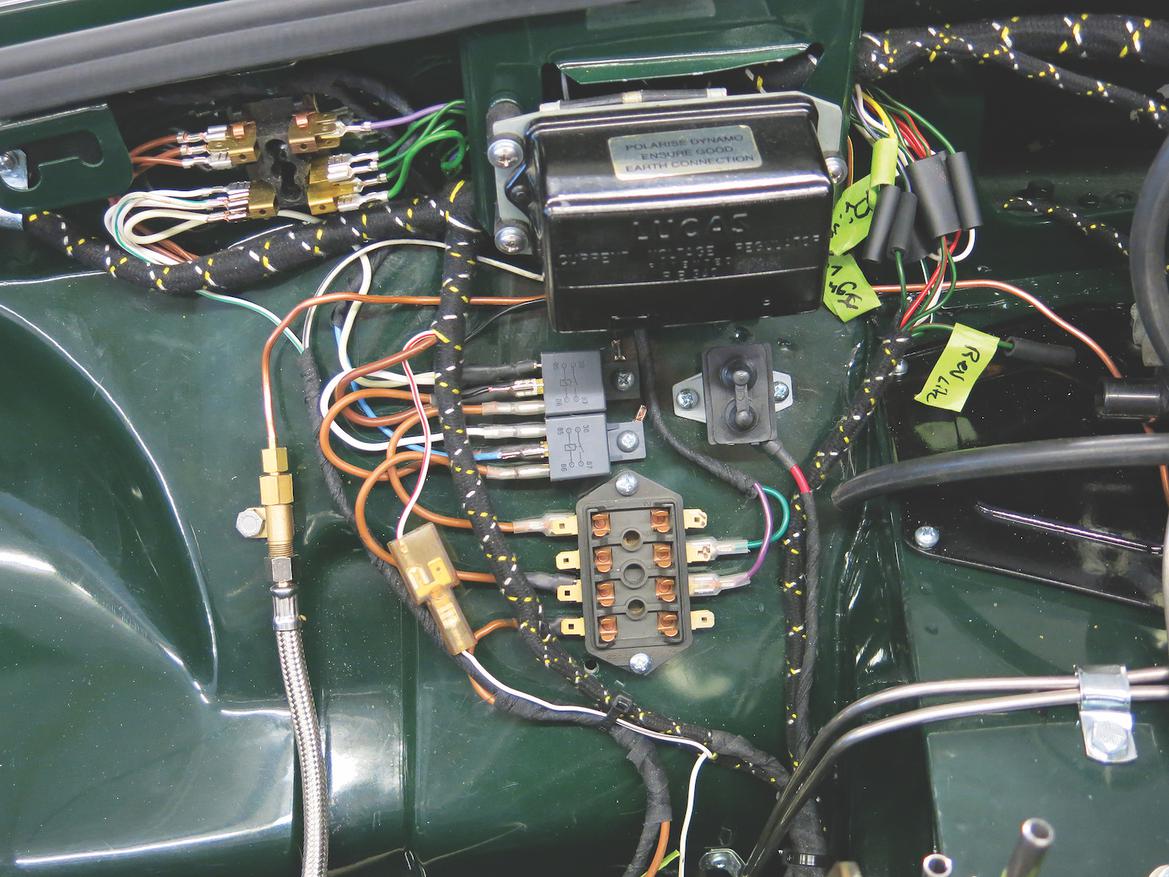
12. There’s a lot going on in this photo. The fuse box in the upper left is the factory unit connected to the body harness. We used the gutted voltage regulator as a union point for some of the factory accessories as well as for the scratch-built harness. Below the regulator are relays and a circuit breaker for components in the scratch-built harness. Since the scratch-built harness also had fused circuits, we used another MGB fuse box (from a newer MGB). Note that we kept the wiring very neat and gave the bends and routing a factory look. Plus, we taped and labeled the MGB harness just as we had with the Miata harness; as sections of the harness were completed, the labels came off.
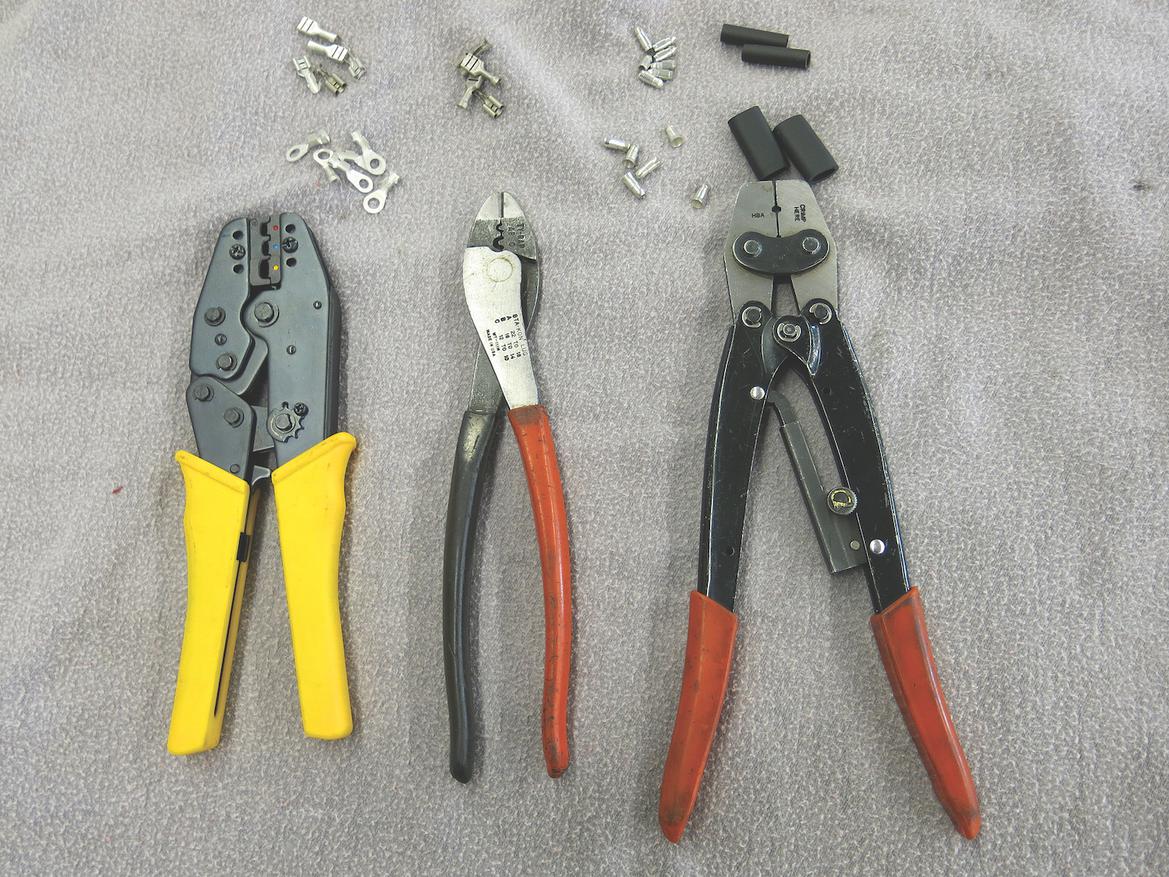
13. These three tools were essential for the scratch-built harness. On the left is a high-quality ratcheting crimper. In the middle is an old-school manual crimper that works better than a ratcheting crimper for some applications. On the right is a special crimper available from British Wiring and other suppliers that crimps Lucas bullet connectors. We of course used high-quality terminals as well. We like to buy them bare and put OEM-looking covers on them. These were all sourced from British Wiring.
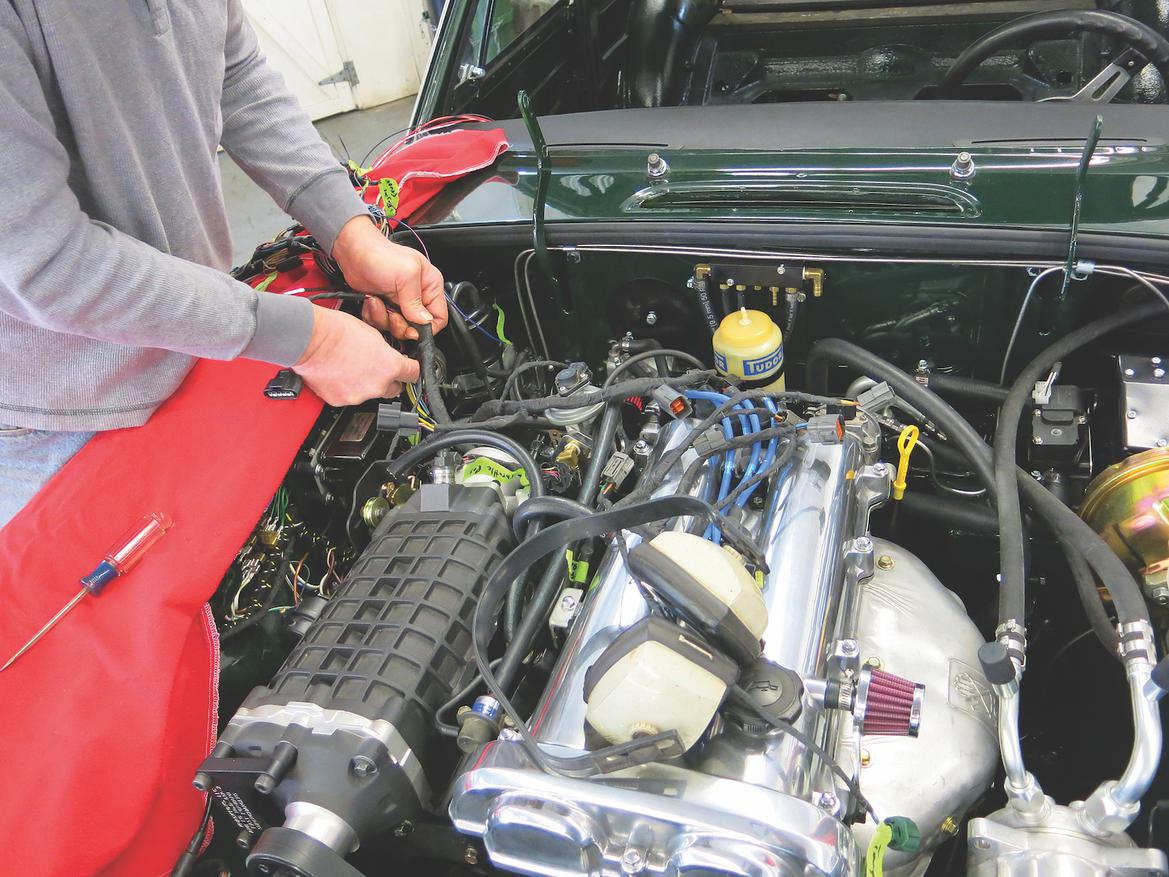
14. With the first two harnesses installed, it was time to put in the engine management harness. We again laid in the harness and roughly positioned the components. Since we had used similar positions for all of the components, our next steps were to just snap in the connectors on the injectors, coils, sensors, relays and other components.
15. With the bulk of the work done and each section tested, we started taping up the harnesses. The factory harness had its OEM-style cloth covering. We used a dull black tape on the engine management harness and a shiny black tape on the scratch-built harness. That way, each harness subtly fit in the car as a theme but could be individually identified for service.
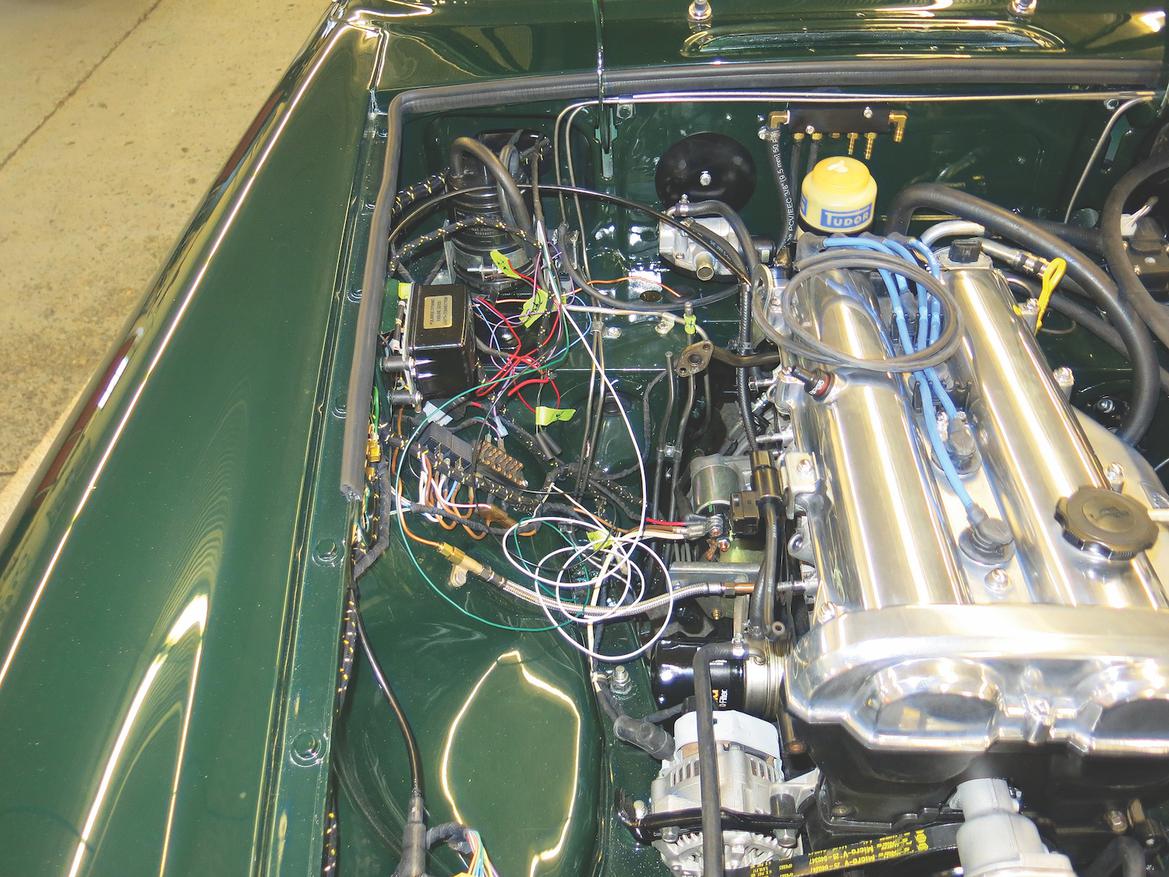
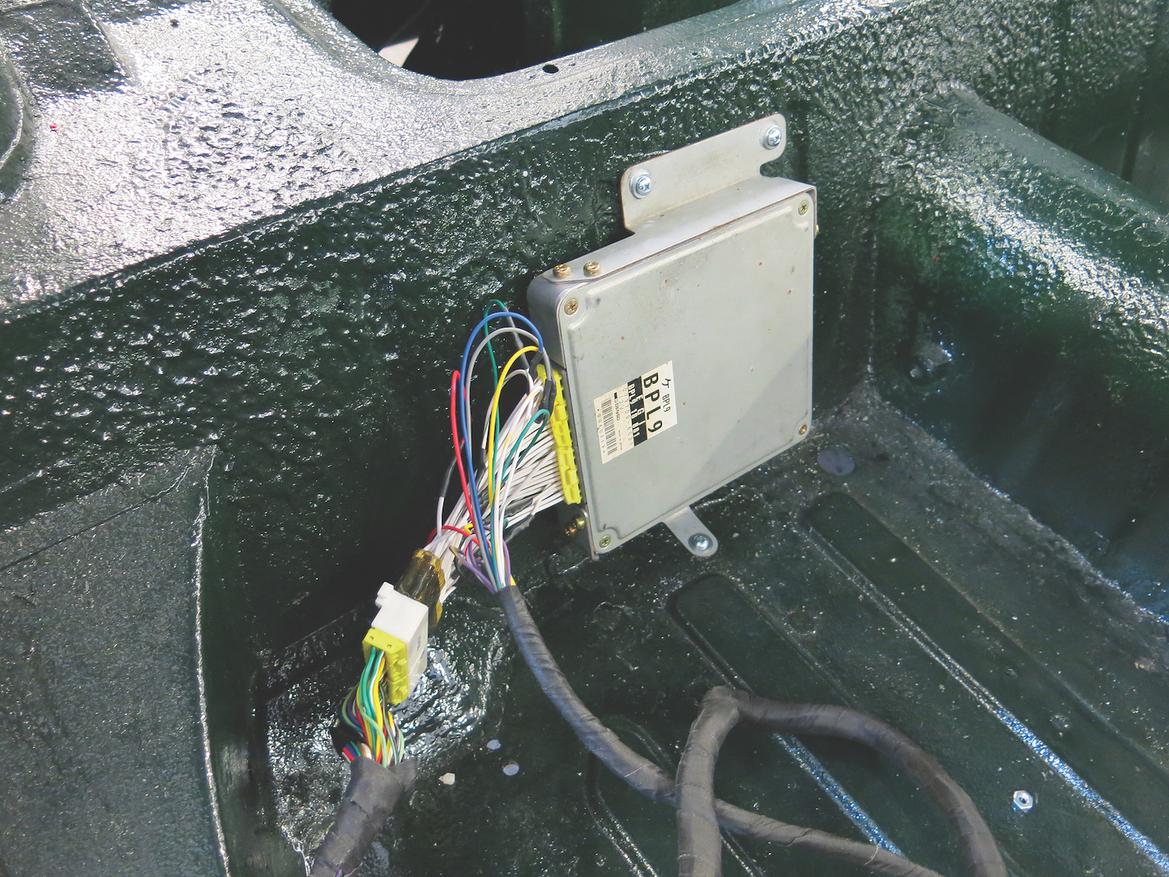
16. There’s actually a fourth harness in this car that we didn’t mention in the main body of the story. This car has a Fast Forward supercharger, which uses a piggyback ECU and a fifth injector for additional fueling and supercharger cooling. The white wires at the ECU are part of an intermediate wiring harness for the piggyback ECU. We mounted the ECU behind the passenger seat, the same location as in the Miata.
17. We used more of the dull black tape for the engine management harness in the interior.
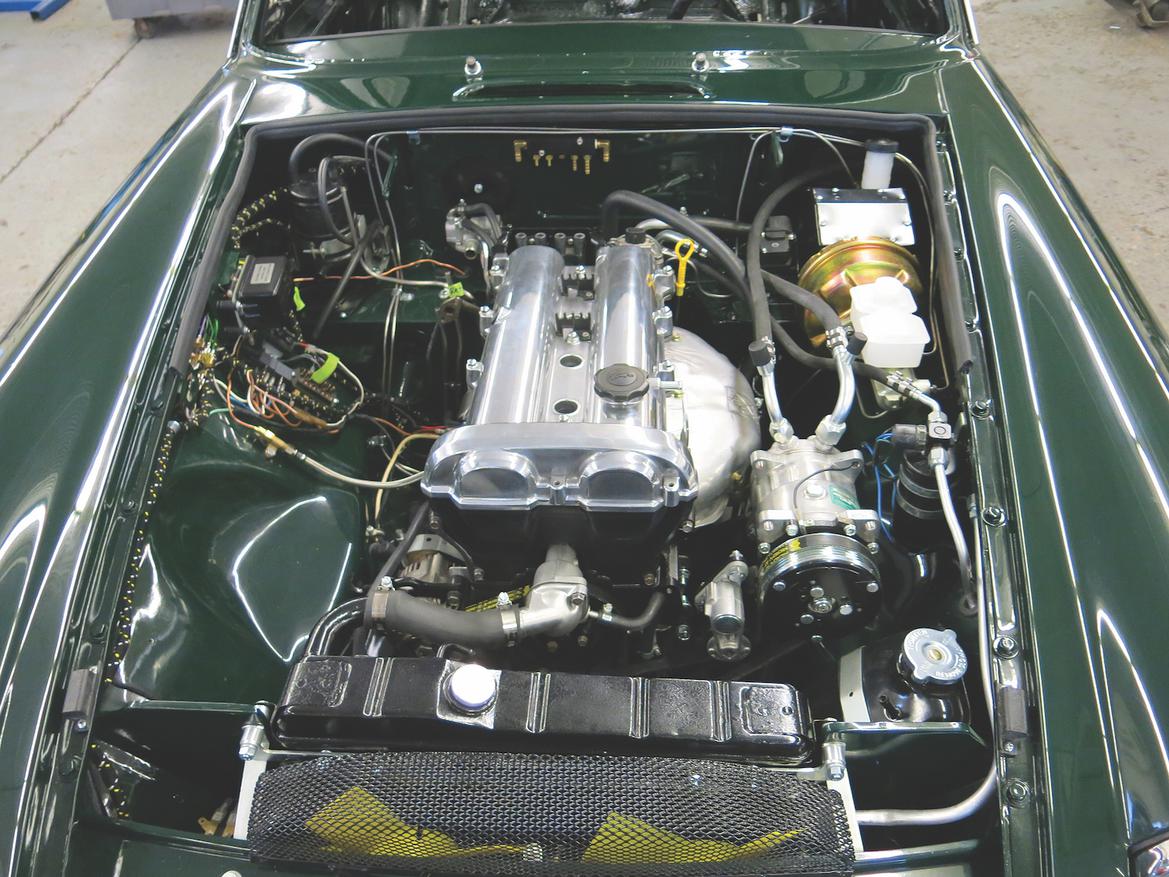
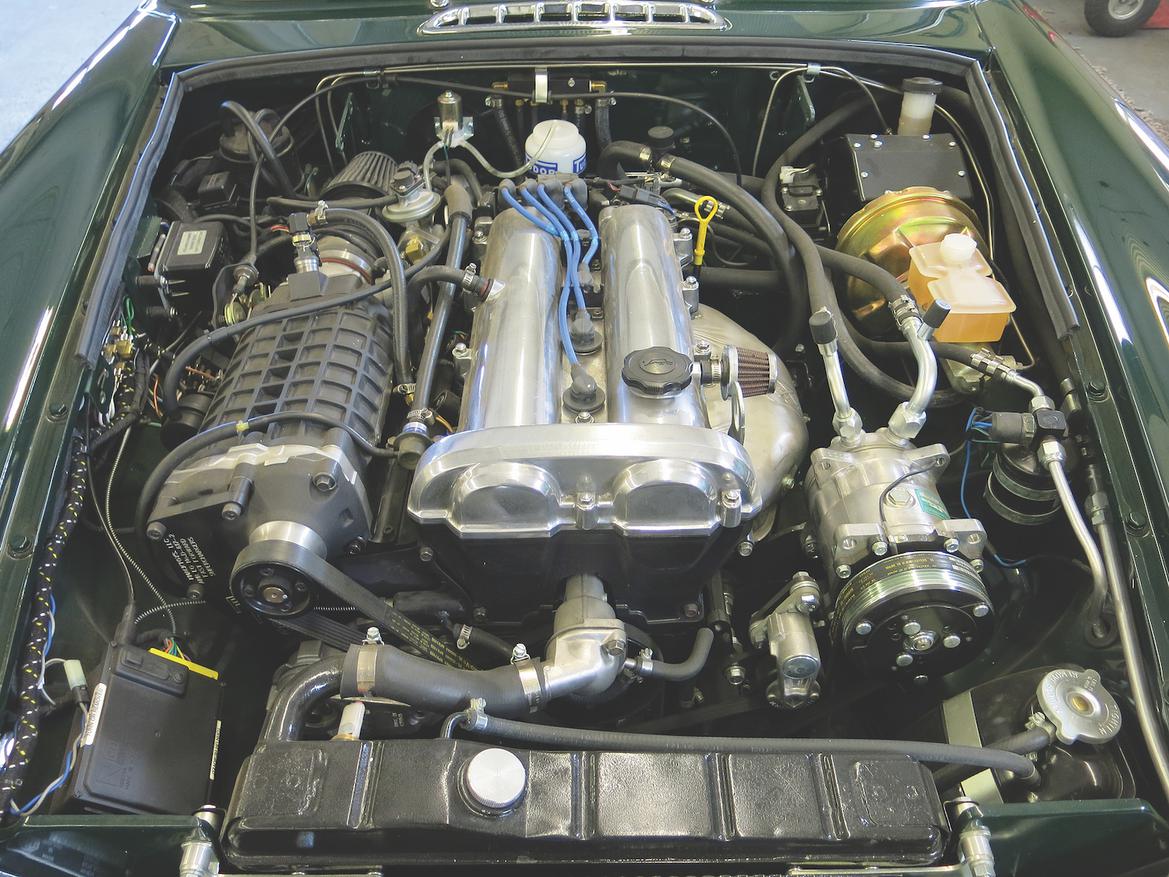
18. The finished job looks OEM because we used and followed OEM components and methods. Our wiring is neat, serviceable, and will offer years of reliable enjoyment.

Our Miata-powered MGB swap showcases just about everything you’d encounter in any cross-pollination swap, from how to engineer enough cooling to designing custom steering linkage. In future installments, we’ll tackle some more details that separate a good swap from a sloppy swap. Past installments can be found here:
Engine Swap How-To: 14 Steps Before You Swap That Engine
Swap Science: 19 Steps to Build Your Own Engine Mounts From Scratch
Swap Science: How to Make Transmission Mounts
Swap Science: Getting Your Clutch Setup Just Right
Swap Science: How To Make A Functional Gas Pedal
Swap Science: How To Hang An Alternator
Swap Science: Engine, Steering, and Exhaust Fitment
Swap Science: Keeping Things Cool by Building a Cooling System
View all comments on the GRM forums
You'll need to log in to post.


